Computer CDs crafts: useful homemade items for home, garden, and children
Compact discs are now almost no longer used. But, many of them have been preserved in large quantities. Some of them have lost relevance, while others are out of order.
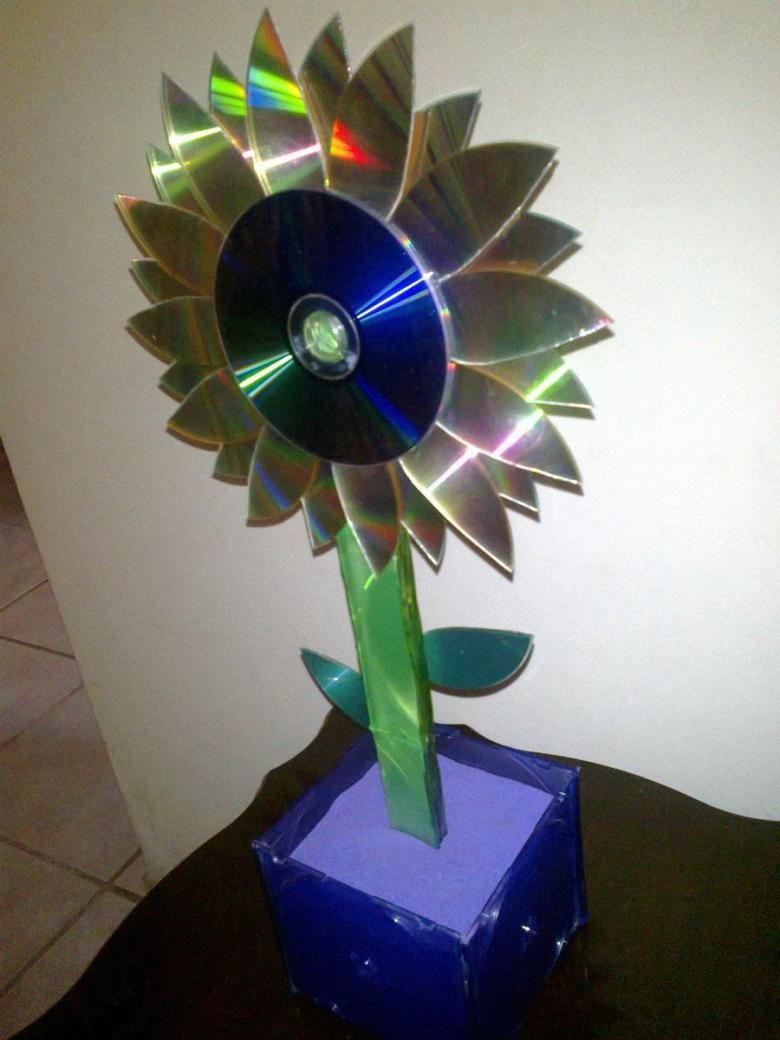
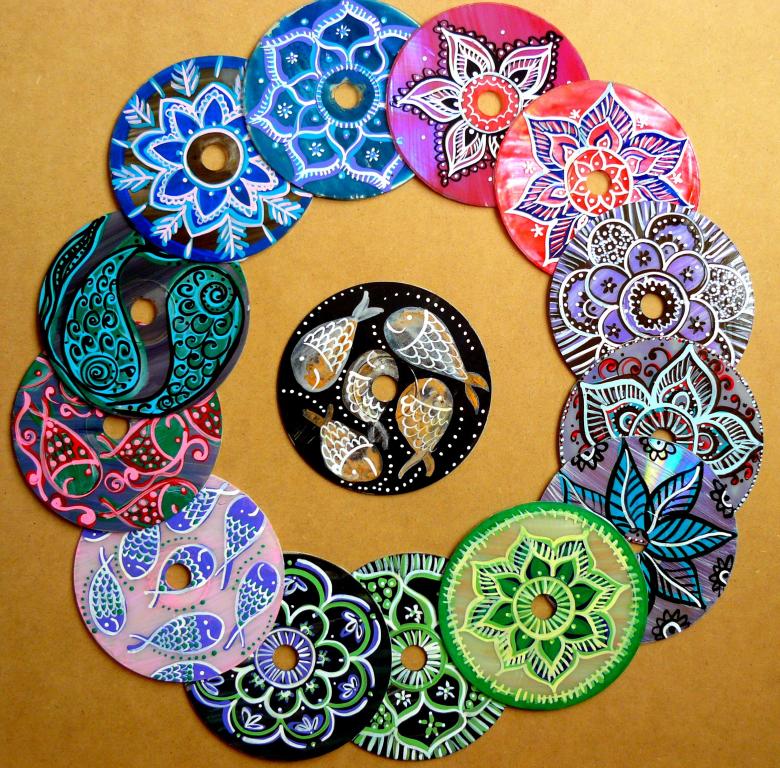
Do not necessarily throw them away, you can make all kinds of original handicrafts from computer disks. It can be not only decorative elements, but also useful products for the home.
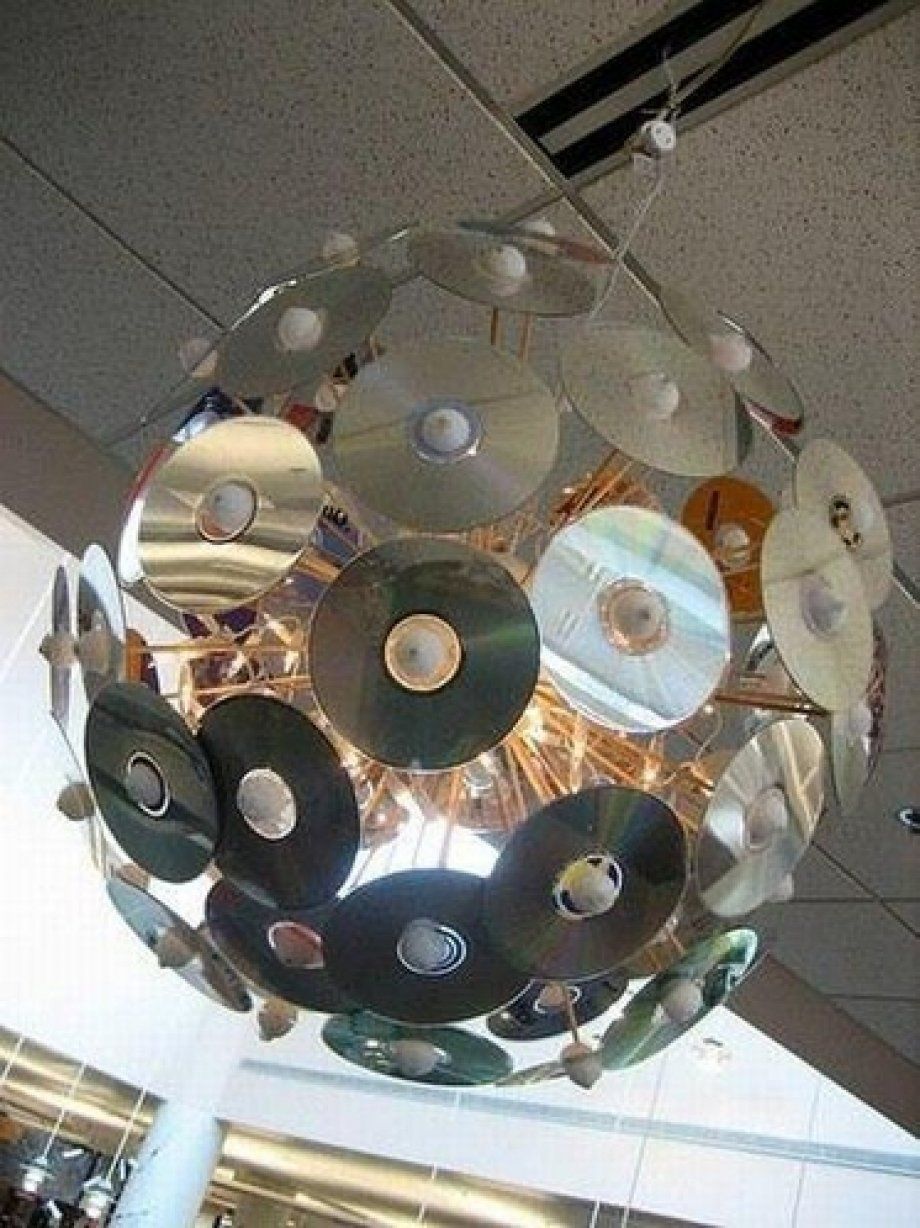
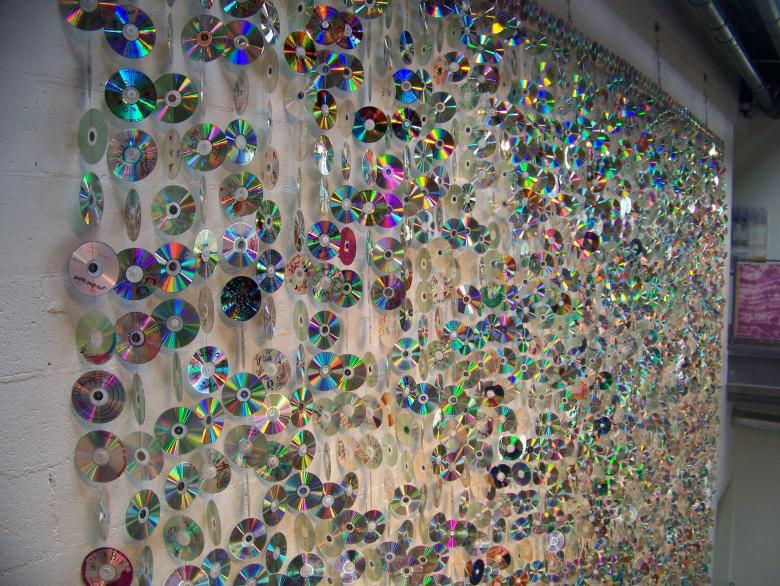
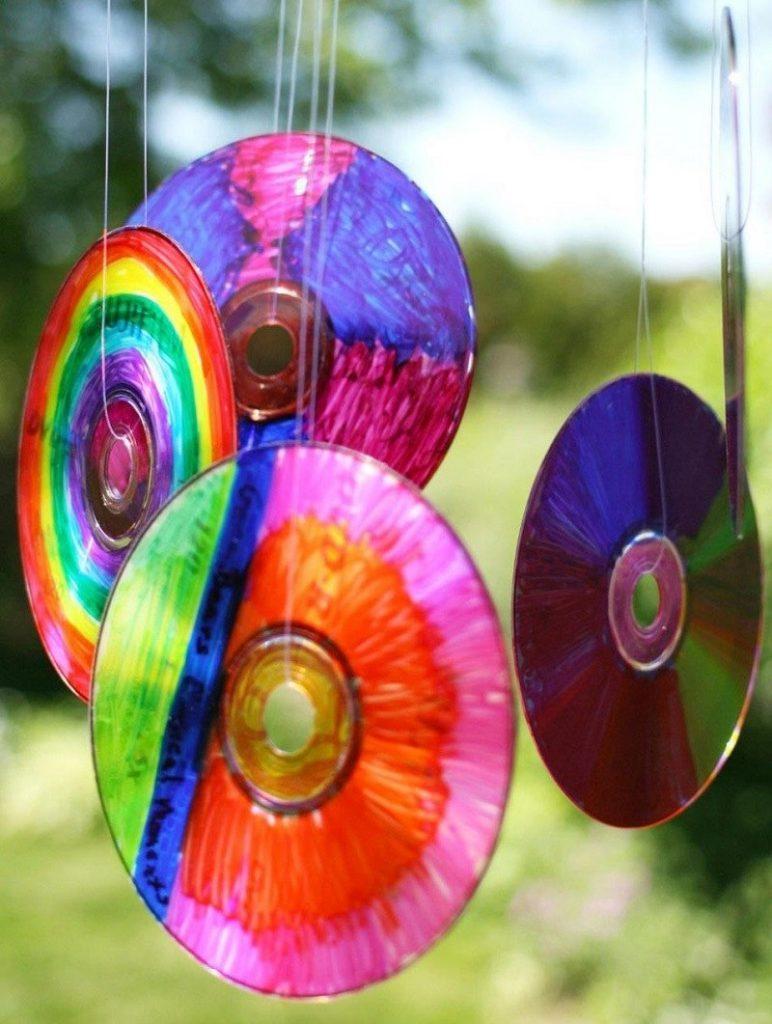
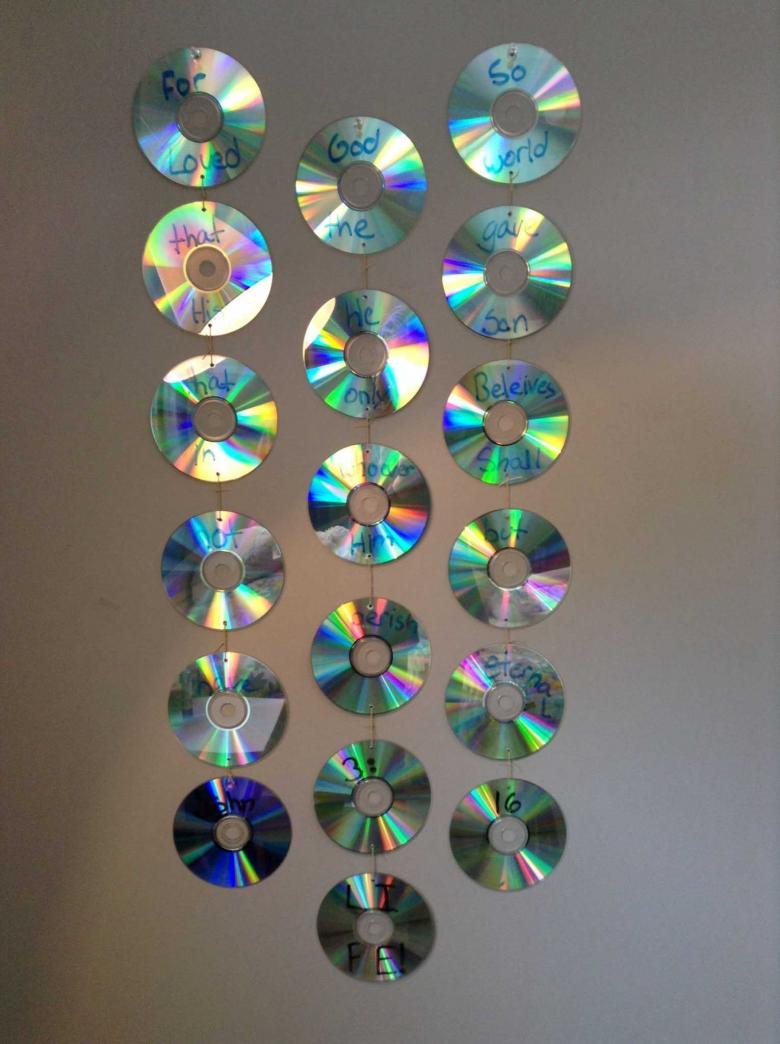
Iridescent curtains
From computer disks you can make original curtains, giving the interior of the house modernity and originality. Thanks to the shimmering surface in the light, the construction looks very bright and attractive.
For the manufacture will be required:
- CD disks (the number depends on the desired size of the curtain);
- paper clips;
- drill bit.

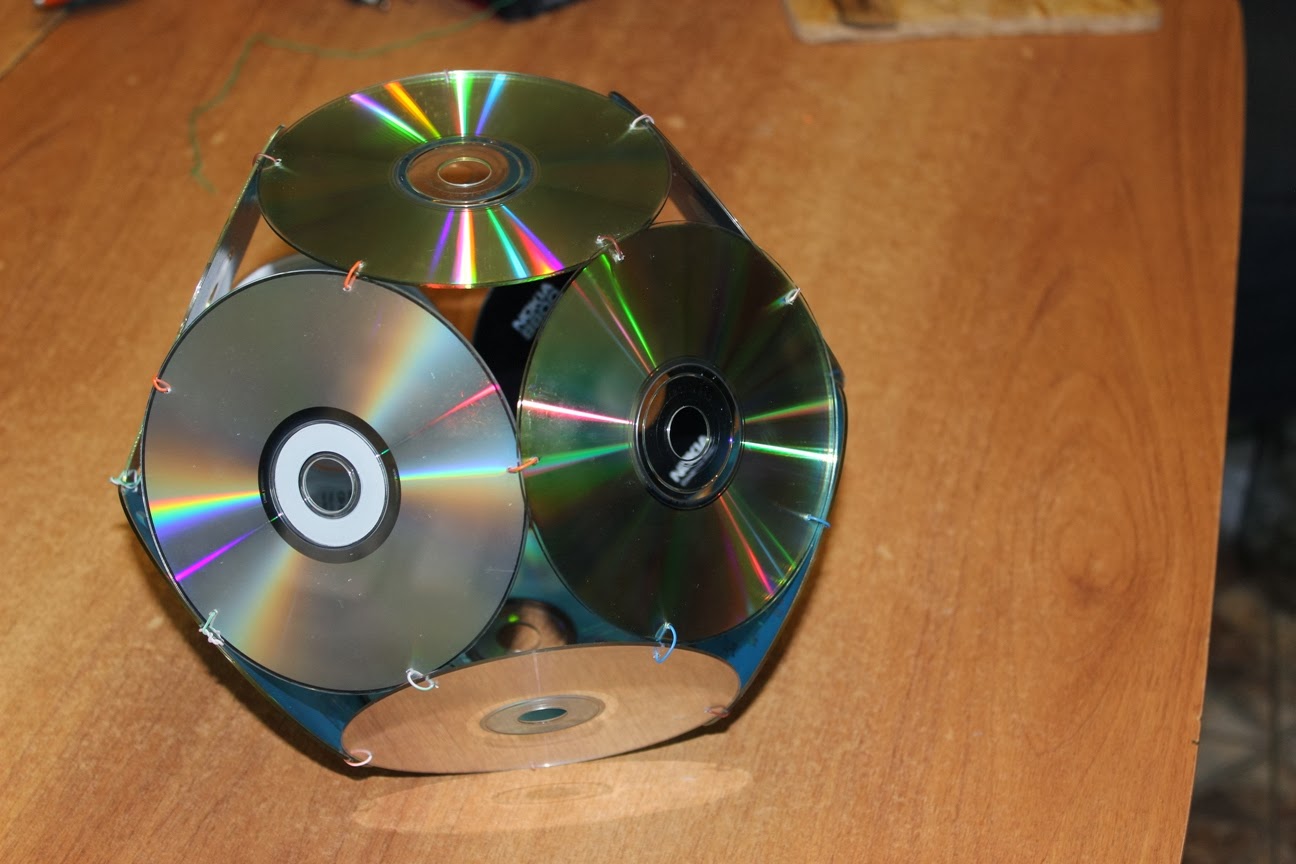
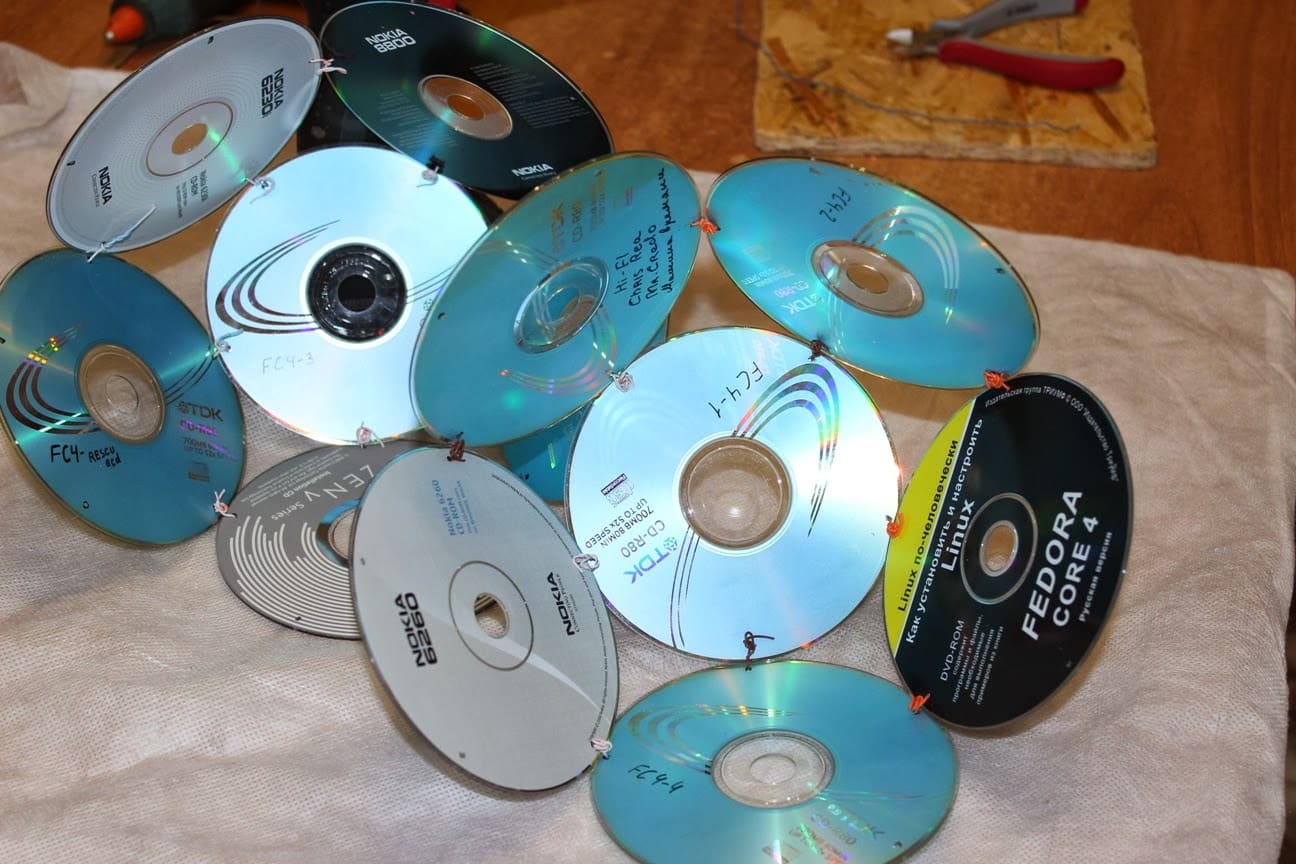
In each disc necessary to make four holes that are diametrically opposed to the location. For convenience, you can draw the marks, simply by drawing a level cross on the circle.

The holes should be placed almost at the edge, leaving only a few millimeters for a secure fit. Paper clips are used to connect the discs together in a single plane.

The shape of the curtain can be almost any shape. It is not necessary to make it classic rectangular, you can give a round, diamond-shaped, oval or any arbitrary shape. The curtains are easy to fasten on conventional curtain rails.
It is acceptable to use the same fasteners that are used for conventional curtains. If the curtain rod is round, you can enlarge the hole in the center of the discs and hang the curtain without additional fasteners.
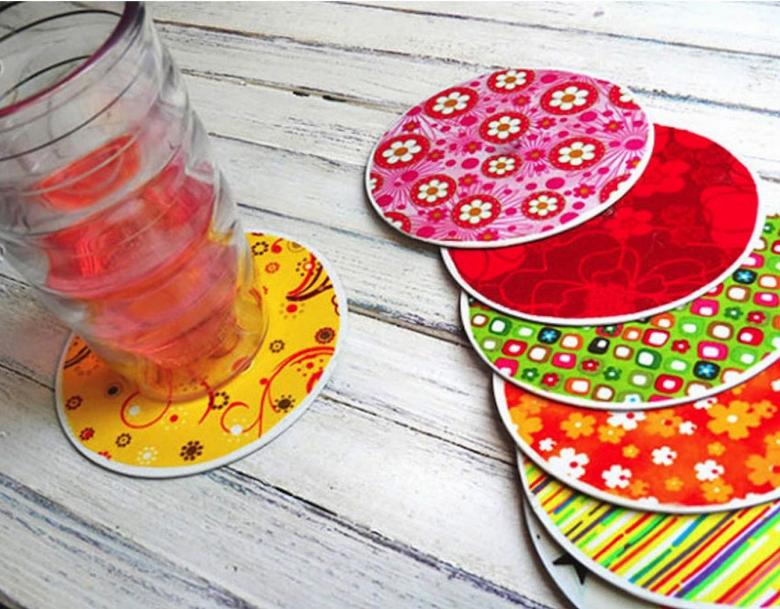
Cup holders
Discs are ideal for making coasters for hot drinks.
To create the craft you will need:
- 2 CDs (for 1 coaster);
- corrugated cardboard;
- glue;
- scissors;
- files for papers;
- acrylic primer;
- napkins for decoupage;
- sandpaper;
- putty;
- acrylic varnish.
The product has a multi-layer construction, consisting of two CDs and a paper pad. Due to this product can withstand higher loads and reliably protect the surface of the table from the effects of high temperature.
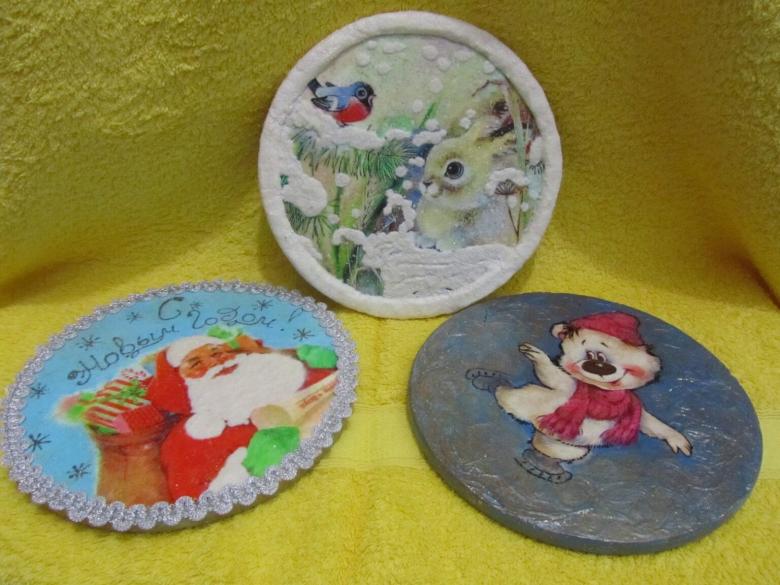
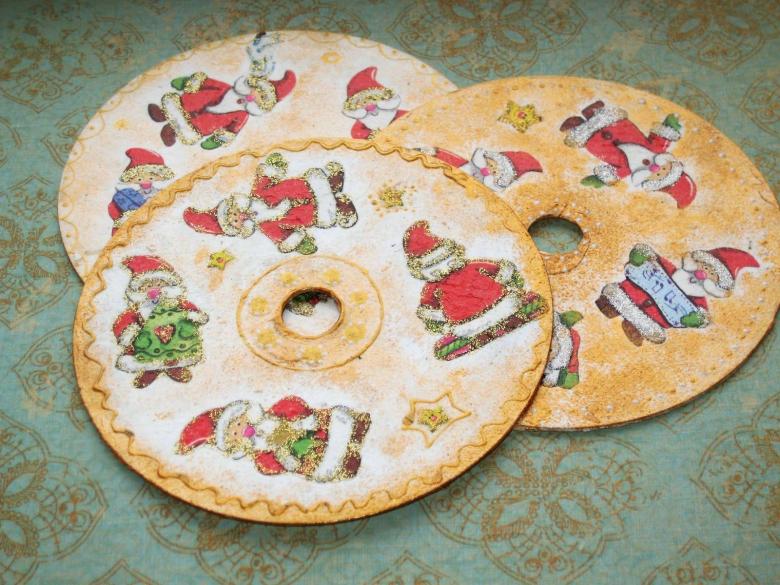
If you use only 1 disc, the stand will heat up quickly. The decor can be almost anything, usually the technique of decoupage is used. For example, you can make gift articles with their own hands from computer disks on February 23, March 8 or birthday, simply by adding appropriate decorations.
Procedure for making:
- Cut a piece from cardboard to the size of the disk.
- Glue 3 elements together, the cardboard should be in the middle.
- Place the piece in a document file and leave it under the press for a few hours.
- Cover the central hole and the edges with putty. Leave to dry completely.
- Finely sand the surface and apply primer.
- Apply the decor on both sides with decoupage technique.
- After drying, remove the remainder of the cloth from the edges and varnish the object with acrylic lacquer.
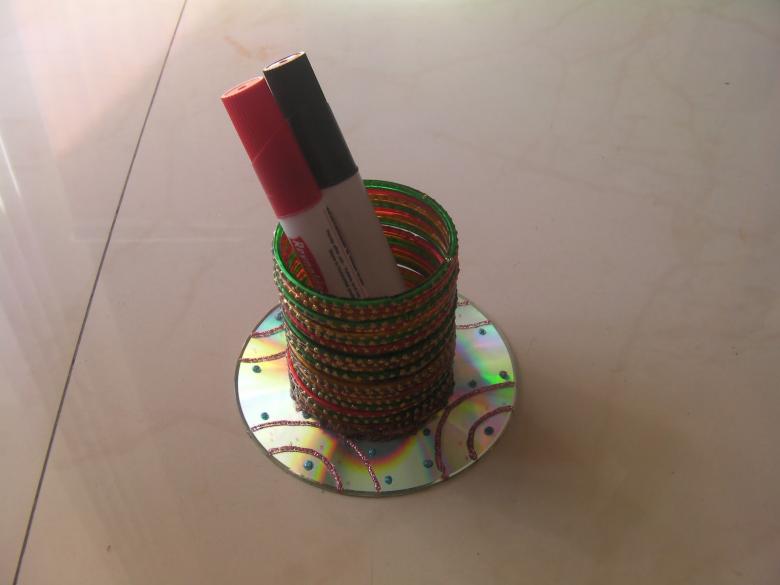
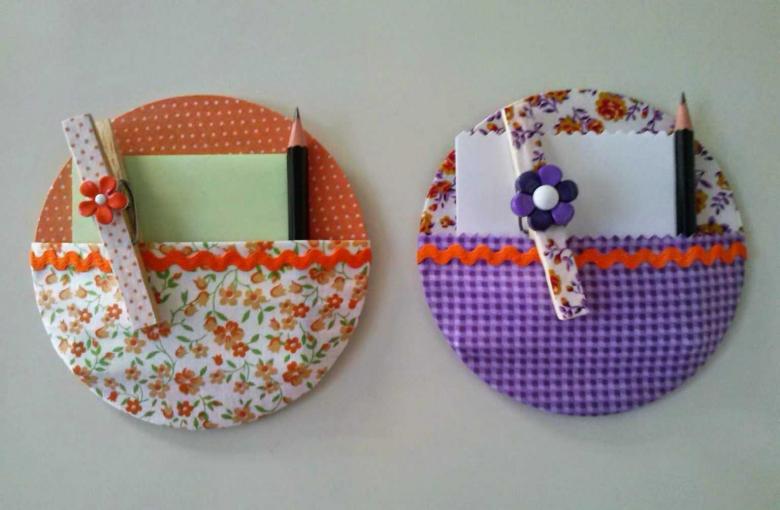
Stationery organizer
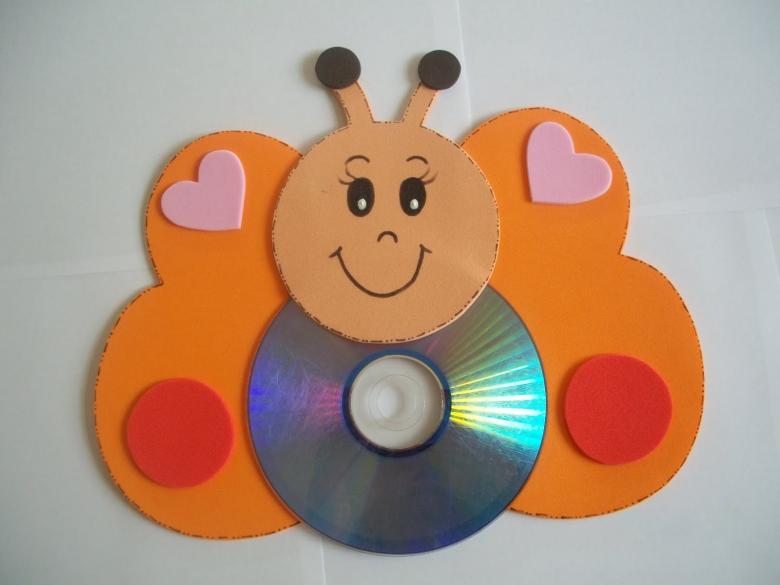
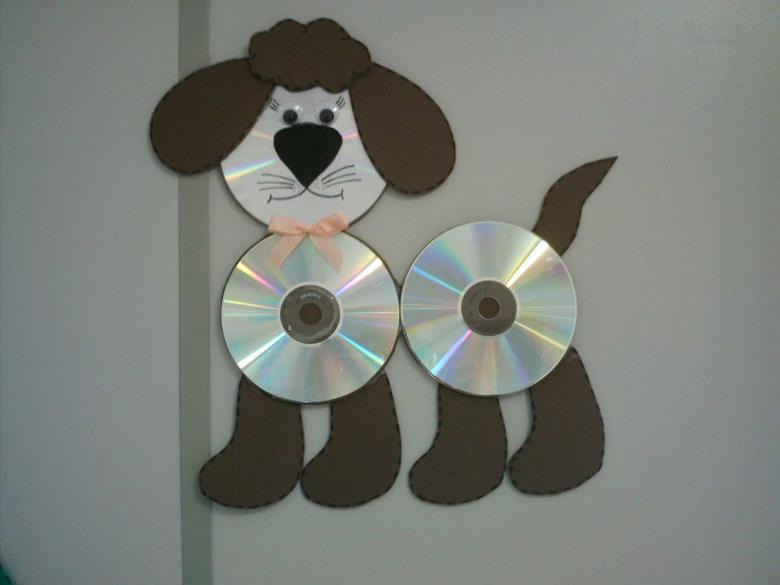
A useful idea for a handmade craft out of computer disks for children. The organizer not only allows for convenient storage of school supplies, but also looks very attractive thanks to the shine of the CDs. With the help of parents, even elementary schoolchildren can cope with the making of such a craft.
Materials and tools:
- CDs;
- glue gun;
- tape;
- felt fabric.
Assembly Instructions:
- Cut pockets out of felt fabric.
- Glue blanks to disks with hot glue.
- Decorate the edges of the product with braid.
- Glue the loop to the other side of the disk.
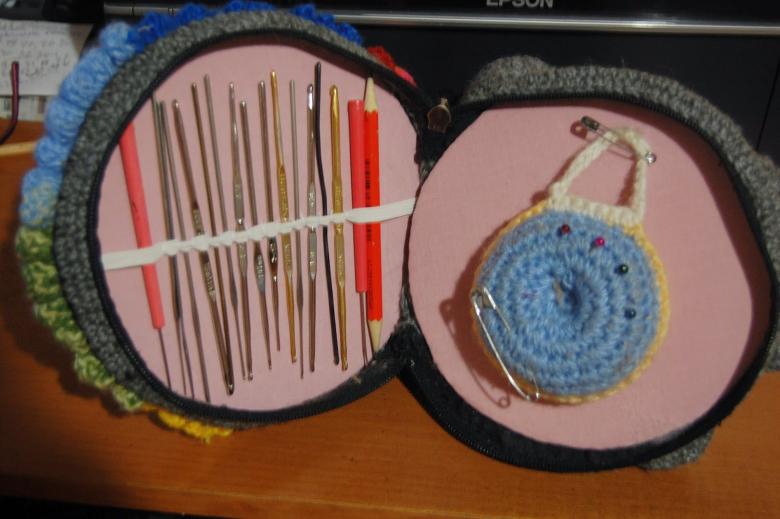
This way you can make any number of organizers for different accessories. The size of pockets should vary depending on the items you store. You can use different additional decorations, for example, beads, satin fabric, sequins, etc.
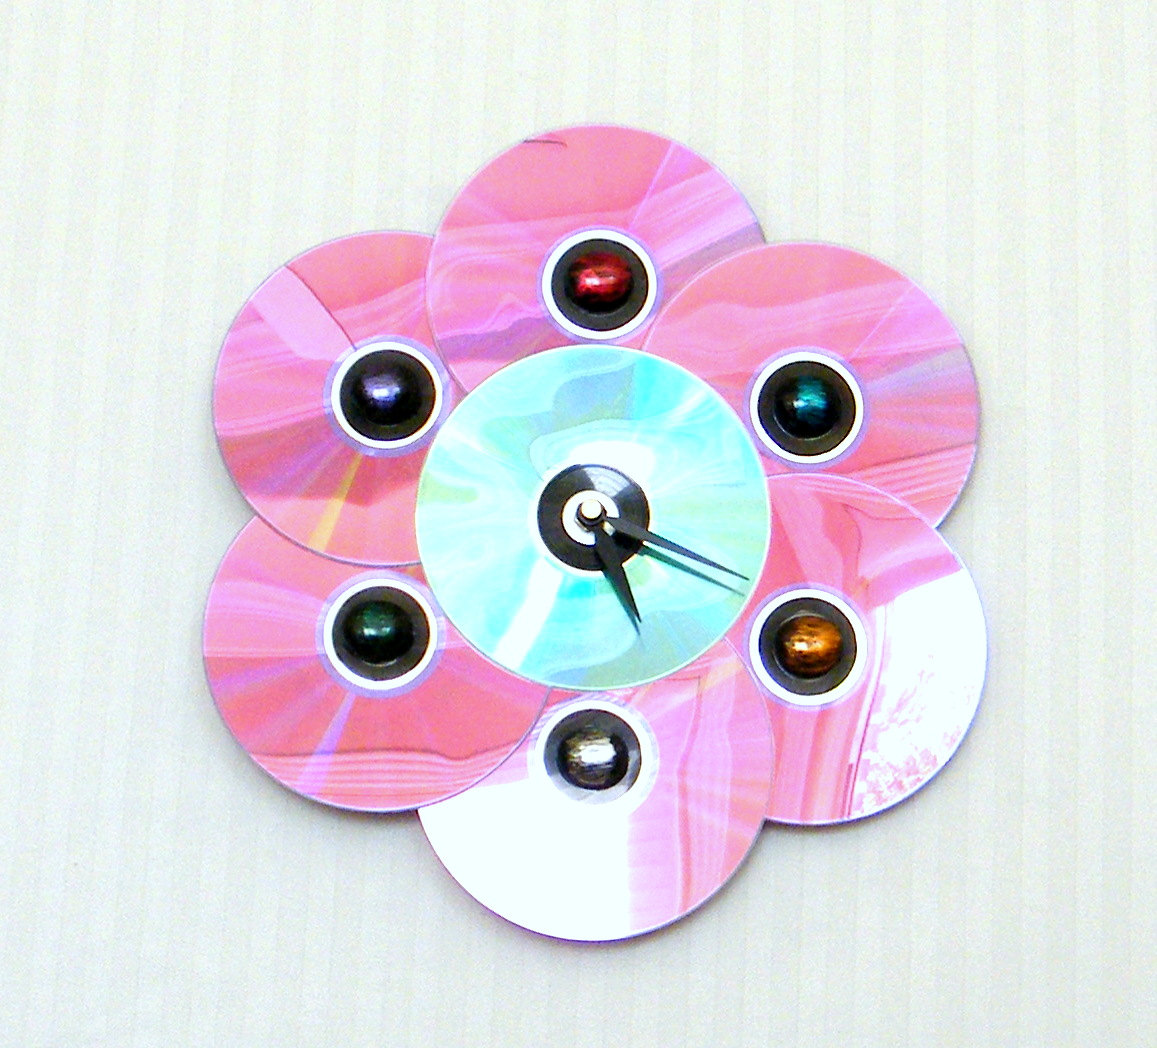
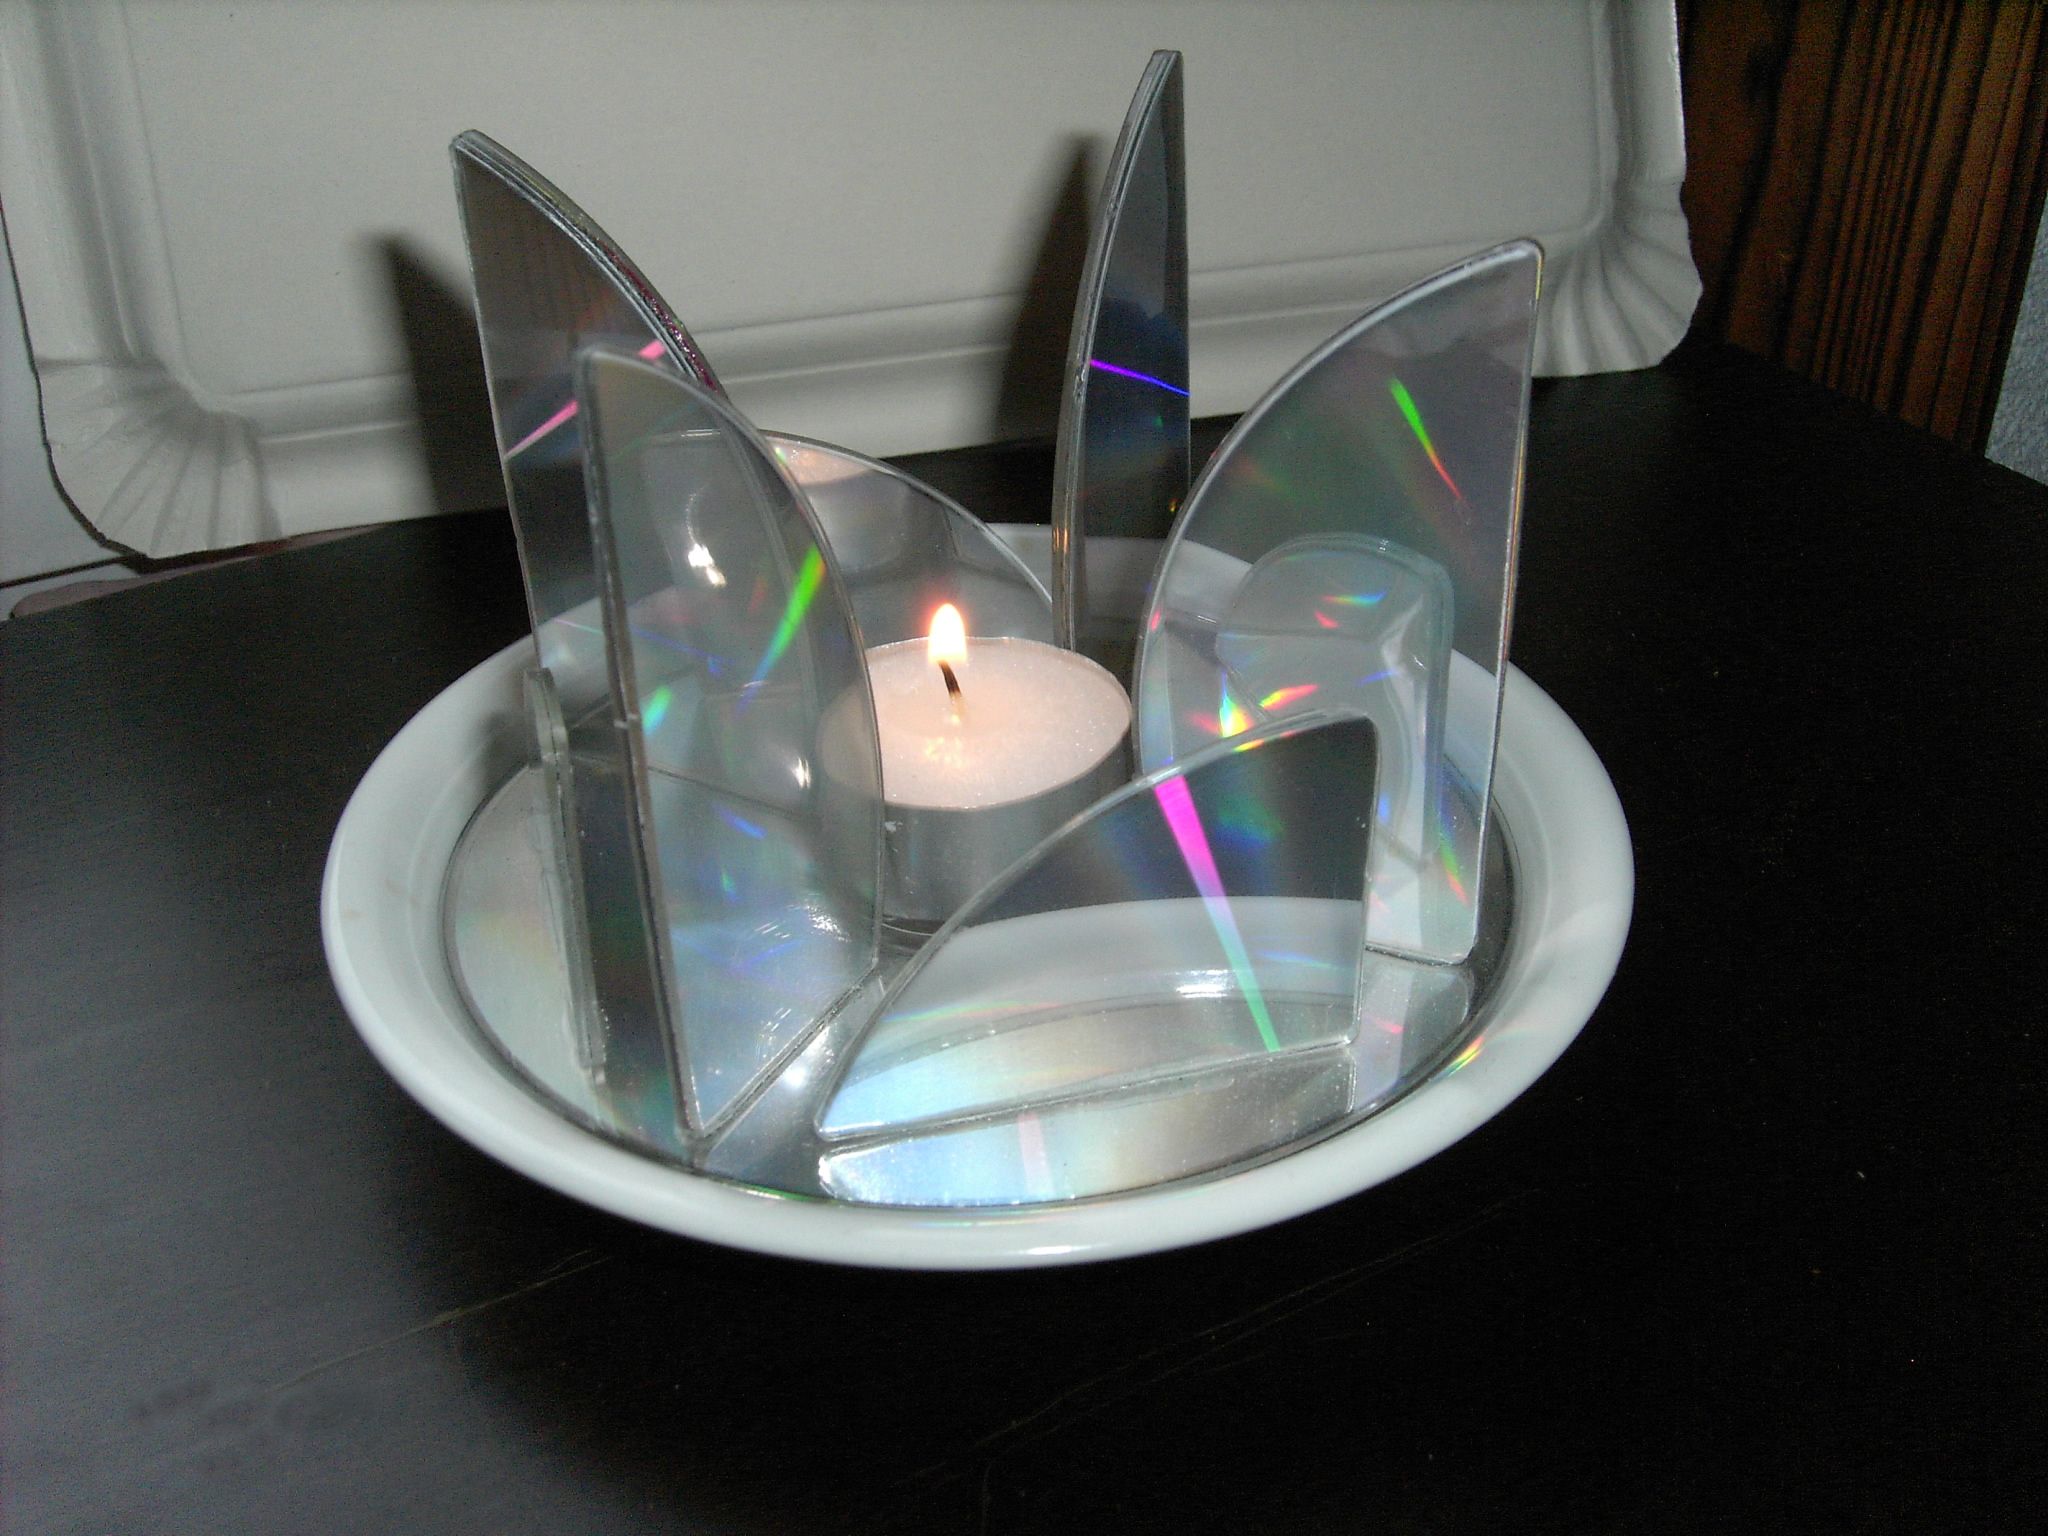
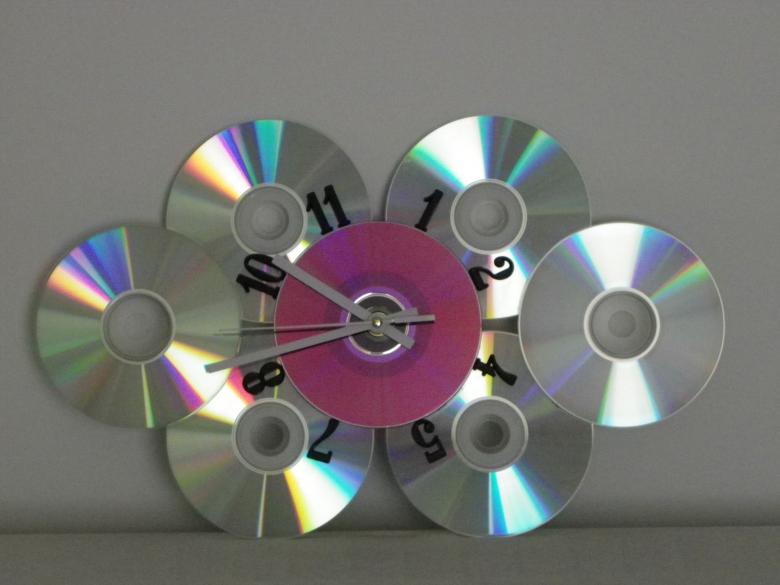
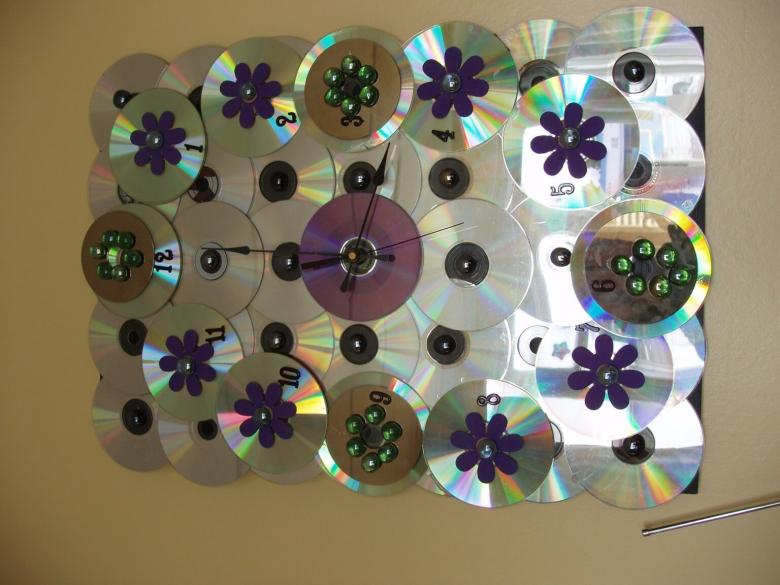
Decorative clock
An unusual and stylish decoration for the house. It looks especially good in modern interiors. For the work we need the following materials and tools:
- disk;
- corrugated cardboard;
- colored paper;
- template with arrows and numbers;
- scissors;
- glue.
Master class on making:
- Print out the template and cut out the numbers from it.
- Cut out the arrows from heavy paper. For sealing, you can make double-layered pieces.
- Cut out a round base from cardboard and glue the disc to it. The diameter of the base should be 1.5-2 cm smaller than the disc.
- Around the circle blank glue the numbers. It is recommended to mark the template in advance.
- Fix the arrows so that they can be rotated. The easiest way to do this is with a paper clip.
- Decorate the clock with decorative elements - rhinestones, applique, decoupage, beads, etc.
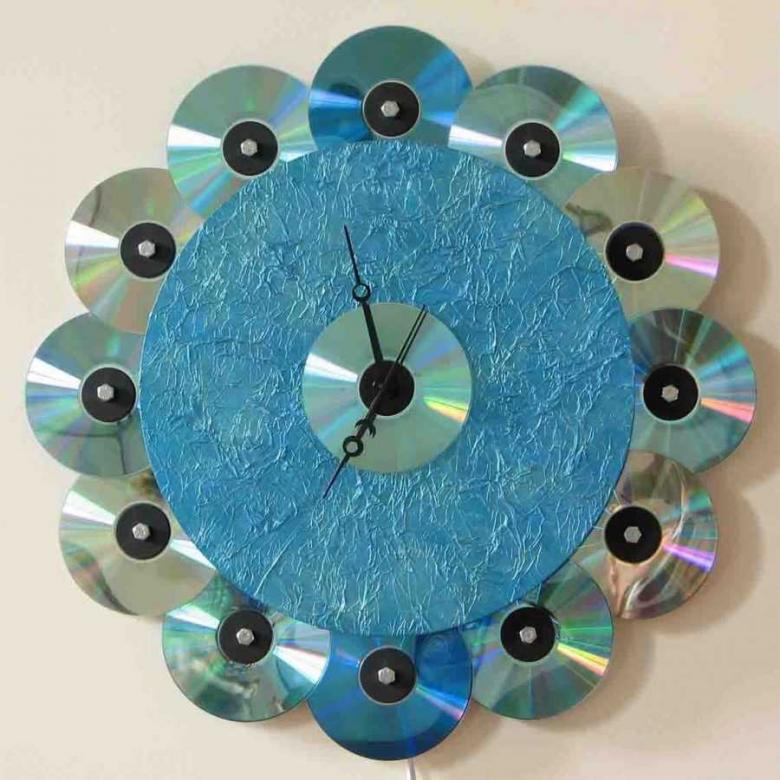
Such a craft is ideal for decorating the interior of the kitchen, living room or corridor. Clocks can even be decorated with appliances, for example, a refrigerator.
Weather vane for villas
The original version of the handmade craft from computer disks for the country. Decorative wind turbine can be installed in the garden, in the garden or just near the house as an element of landscape design. The product performs not only a decorative function, but also indicates the wind direction.
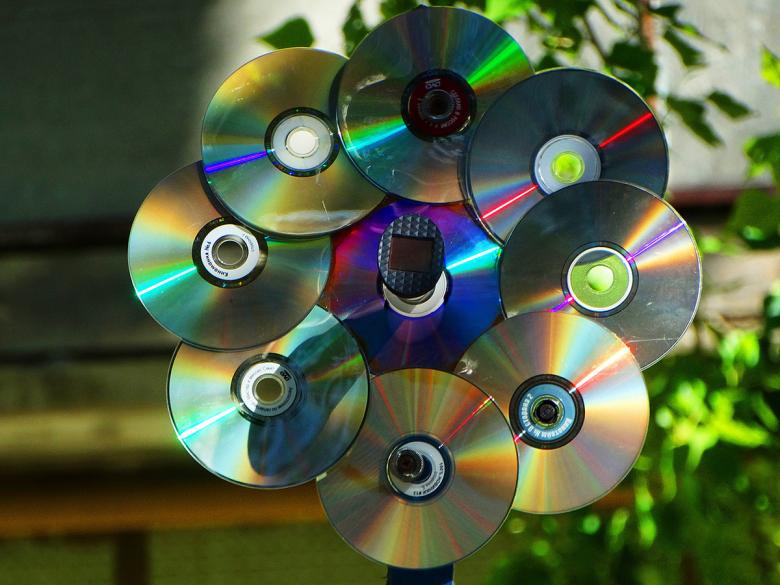
To make a handicraft you will need skills with tools. The base is best made of wheels from a scooter or rollers. The wheel should be clamped in a vise and cuts should be made in the rubber coating. The grooves serve as attachment points for the wheels. One disc is inserted into each slot. It is recommended to use epoxy glue to fix the wheel securely.
The rocker for the spinning wheel is optimally made from a wooden bar. Do not take too big a bar, otherwise the weather vane will turn out sluggish. It is necessary to make a hole in the end face and fix the base of the wind vane.
At the other end of the bar fix a shank, which can also be cut from disks. Next, you need to determine the balance point and drill a hole in it for fixing. The weather vane can be fixed on a metal rod. Due to the lightness and the large plane of the disks the weathercock will easily rotate under the influence of the wind.
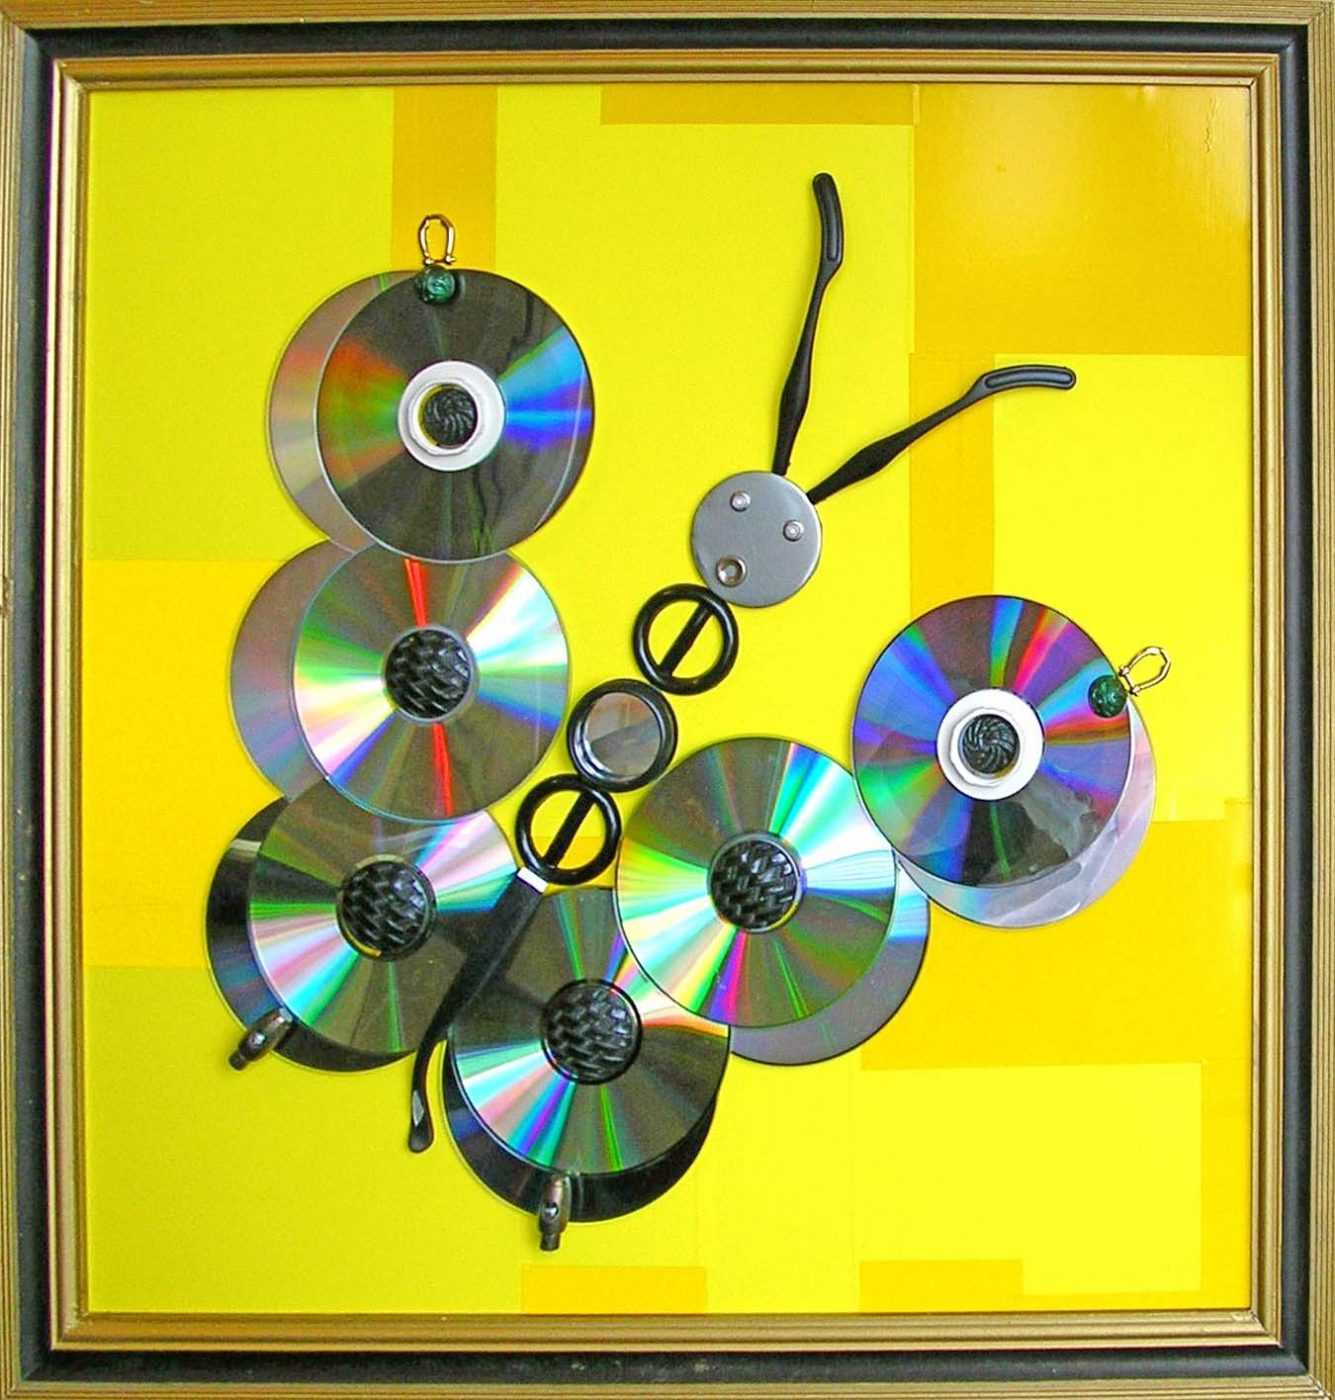
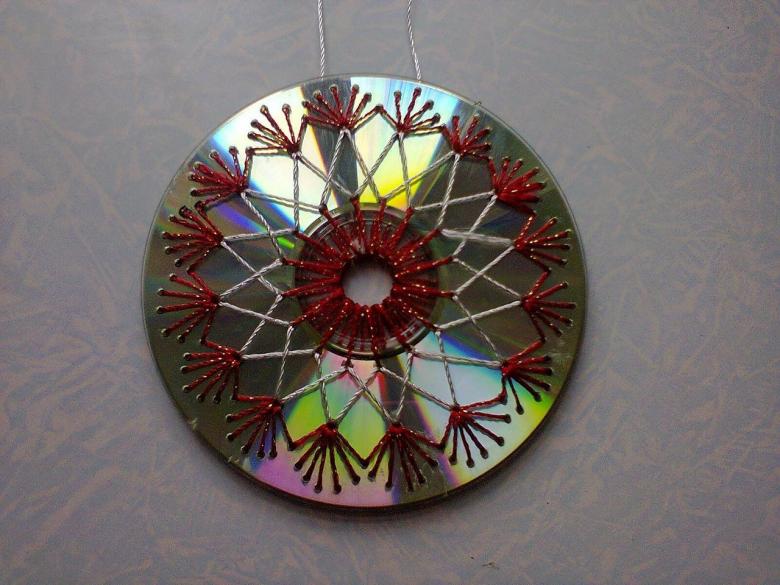
Christmas tree decorations
CDs can be used to make all kinds of Christmas decorations. This is a good idea of computer disk crafts for kindergarten or just to decorate the house. To make the simplest toy you need:
- disks;
- pictures for applique (you can print them out, cut from postcards or magazines);
- a glue gun;
- small decorations - beads, rhinestones, sequins, etc;
- satin ribbon.
Order of creation of the decoration:
- Glue the ribbon to the disc with hot glue.
- Apply the markings for decorative pictures. The appliques should cover the holes.
- Around the circle, evenly fix the pictures with glue.
- If desired, decorate the toys with additional decorations.
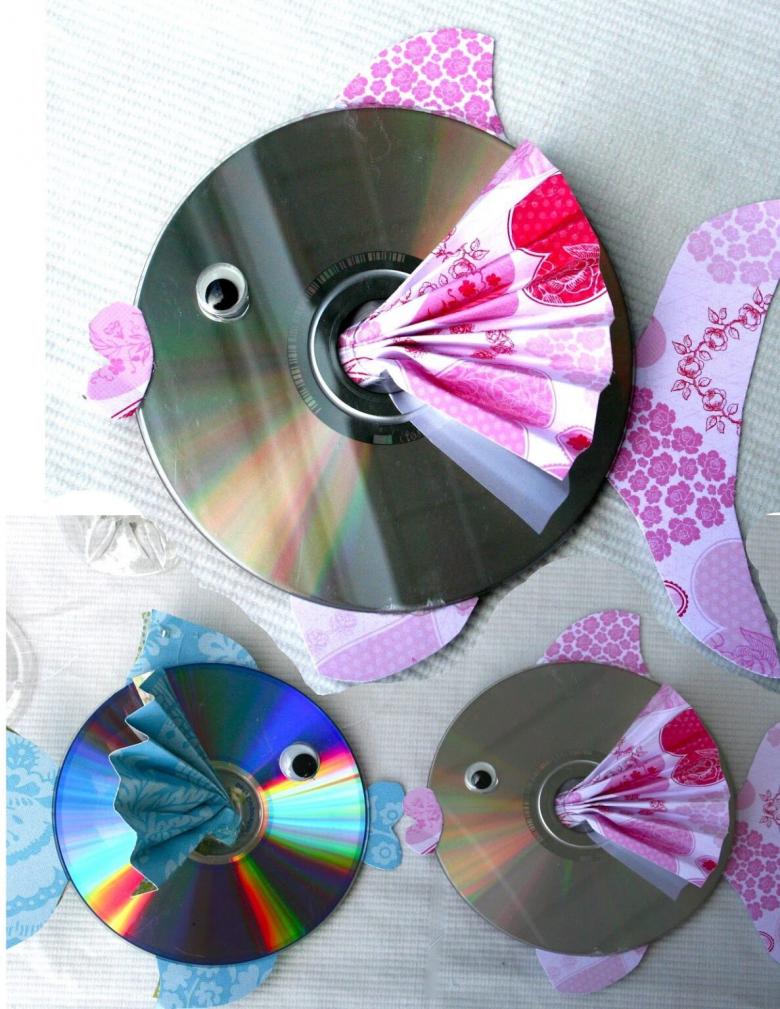
The shape, size and decor of such toys can be almost any. It is possible to connect several discs with each other.
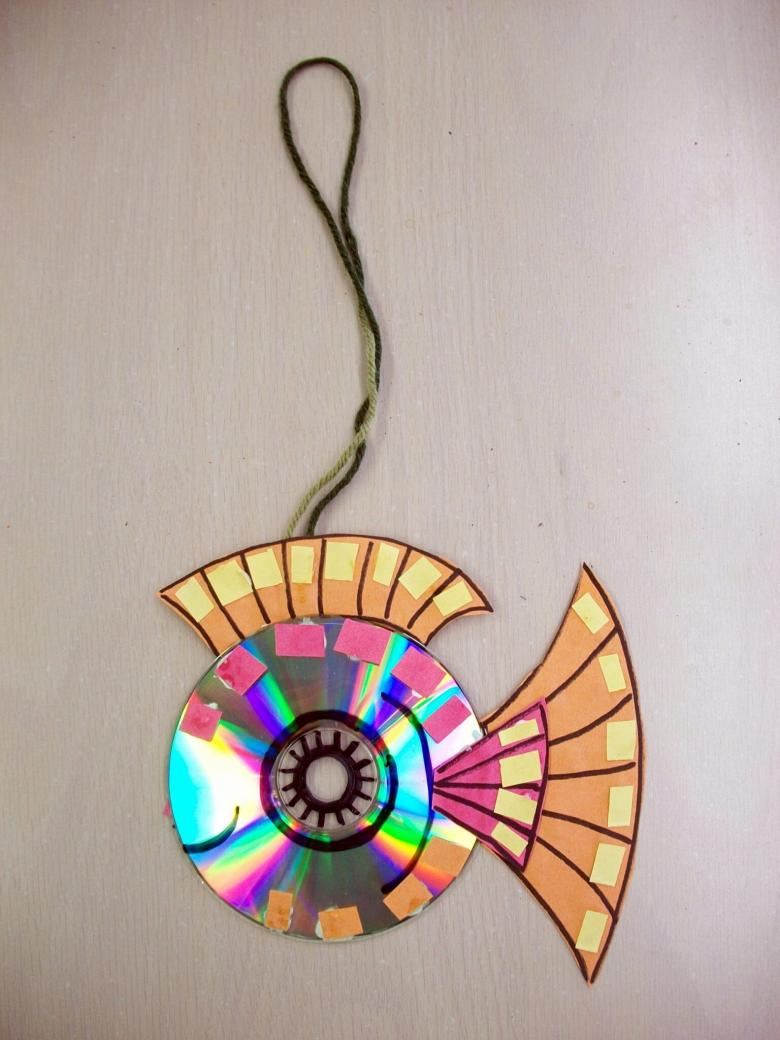
Toys with movable mounts and pendants made of several disks look original.
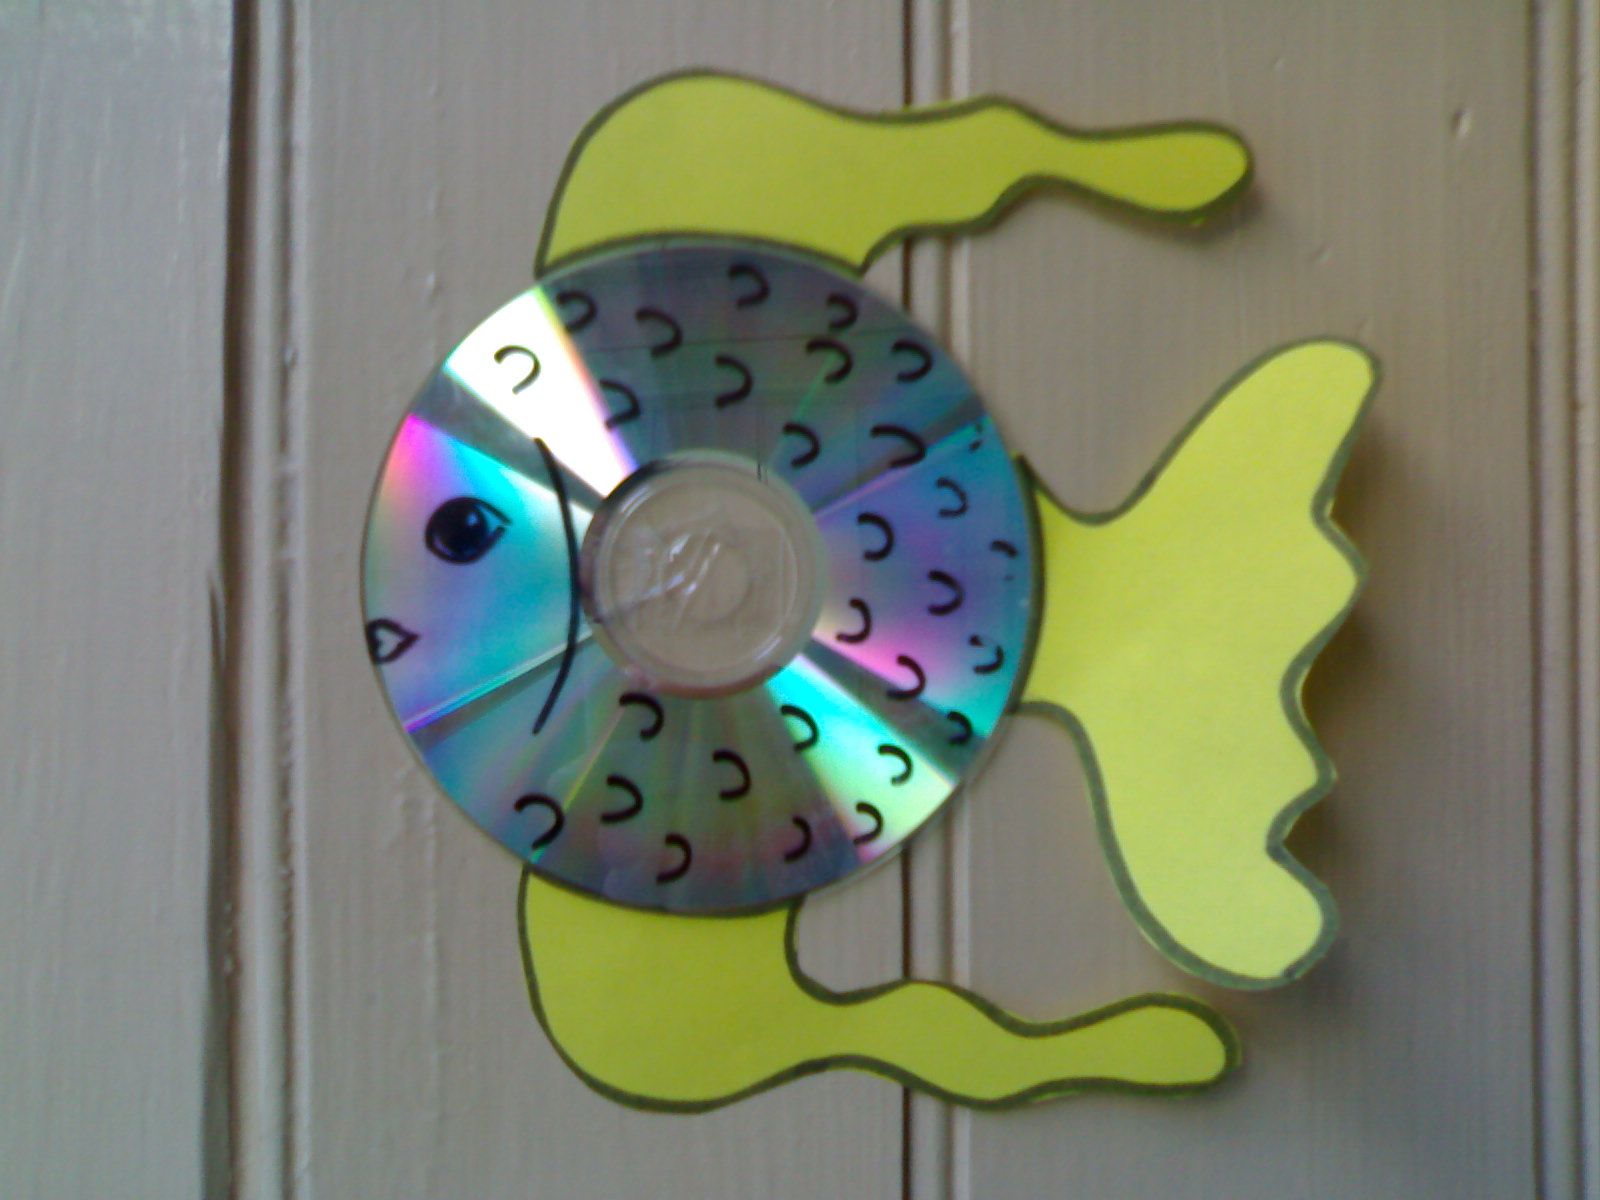
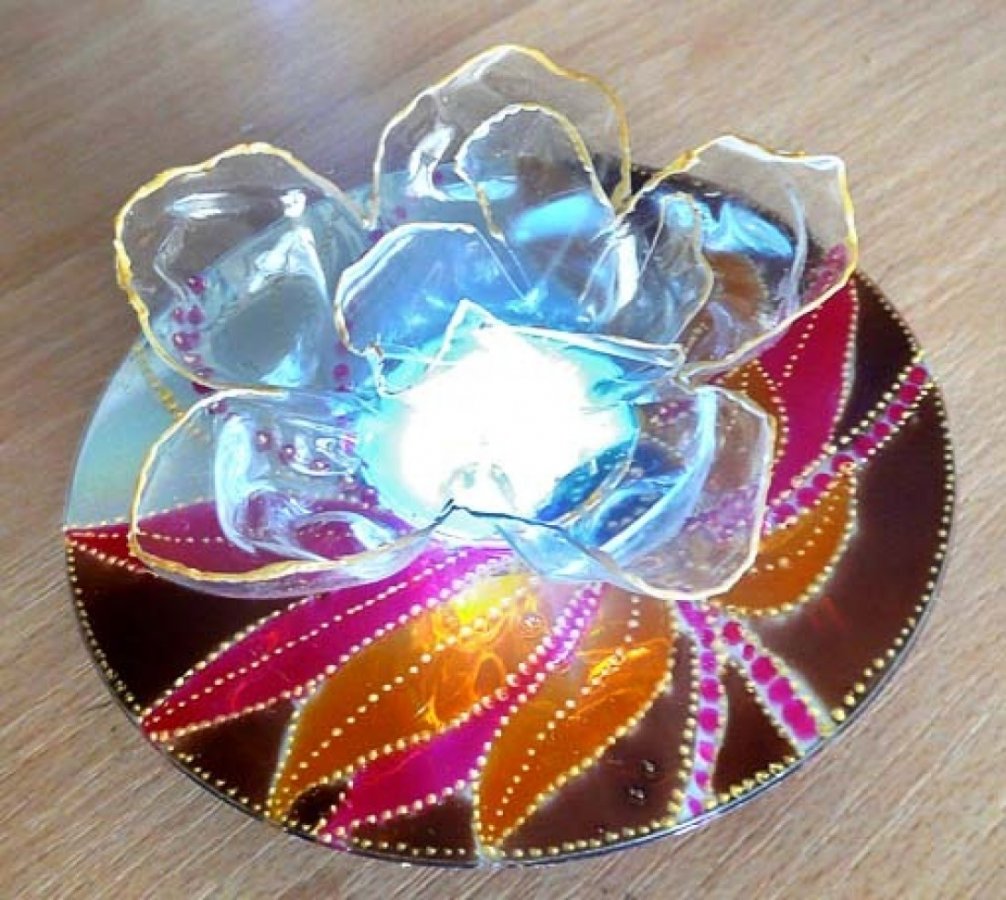
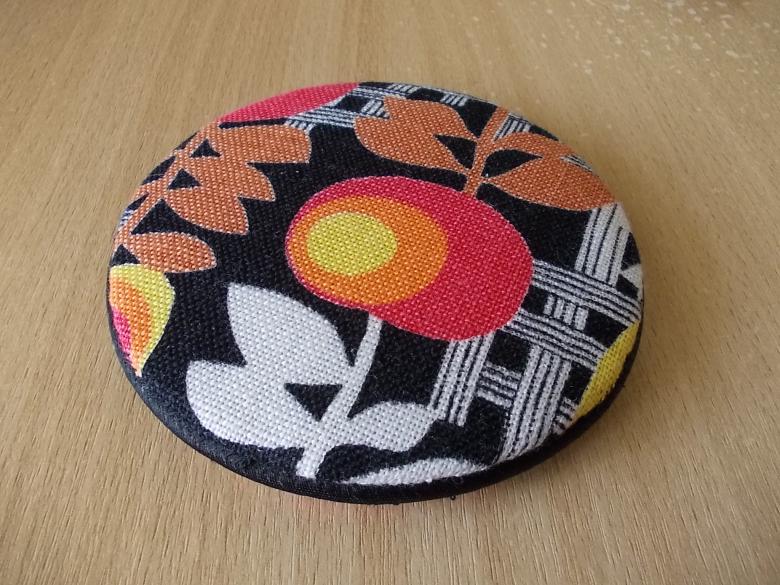
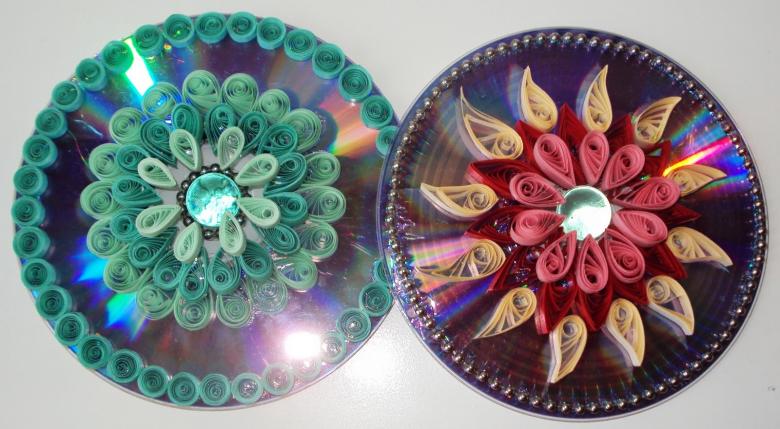
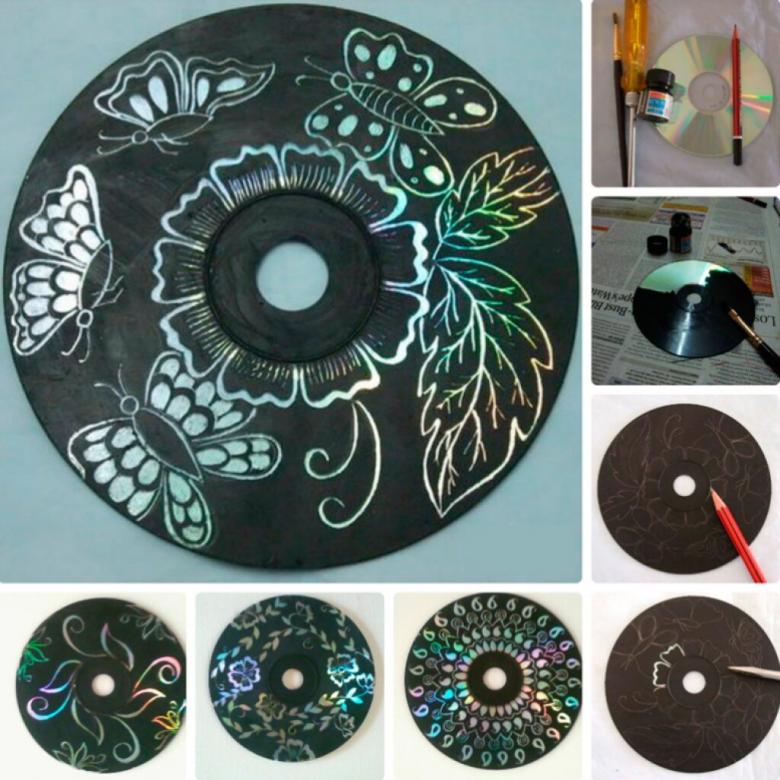
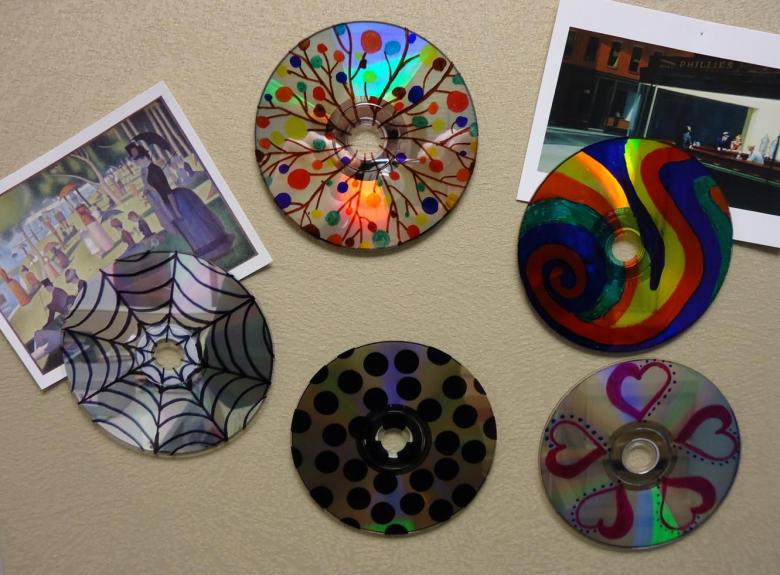
Magnet on the fridge
A computer disk is a good base for a decorative magnet on the fridge. It can be decorated with a photo, applications or some abstract picture. It is not just a stylish decoration, but also a wonderful holiday gift made with your own hands.
Materials and tools:
- CD;
- magnetic strip;
- a cut out picture or photo;
- acrylic-based white primer;
- paints for stained glass;
- polymer clay;
- acrylic paints;
- varnish.
Fabrication technique:
- To mold decorative elements from polymer clay. These can be all kinds of flowers, leaves or geometric shapes.
- Dry the clay pieces in the oven at a low temperature for 1 hour.
- Paint the decor with the desired paints.
- Coat both sides of the disc with primer.
- Glue the central element of the composition - a photo or a picture - to the front side. Leave space around the edges to fix the clay decoration.
- Paint the base and the photo with stained glass paint. Leave to dry completely.
- Glue decorative clay pieces around the perimeter.
- Glue the magnetic strip on the back side.
- Coat the front part with varnish.
Magnetic tape can be purchased in hardware stores. Alternatively, it is acceptable to use the base from old, deteriorating decorative magnets.
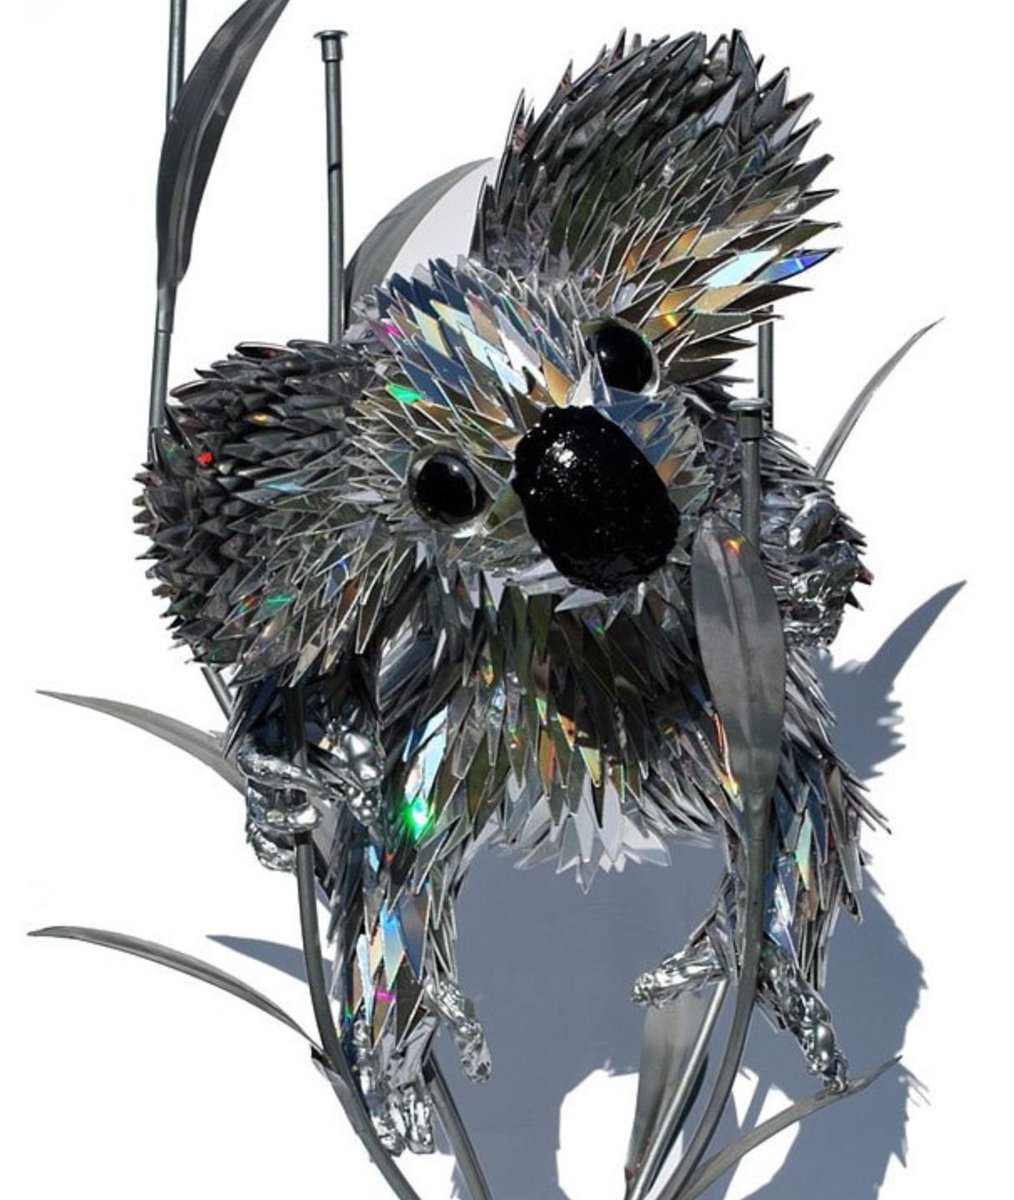
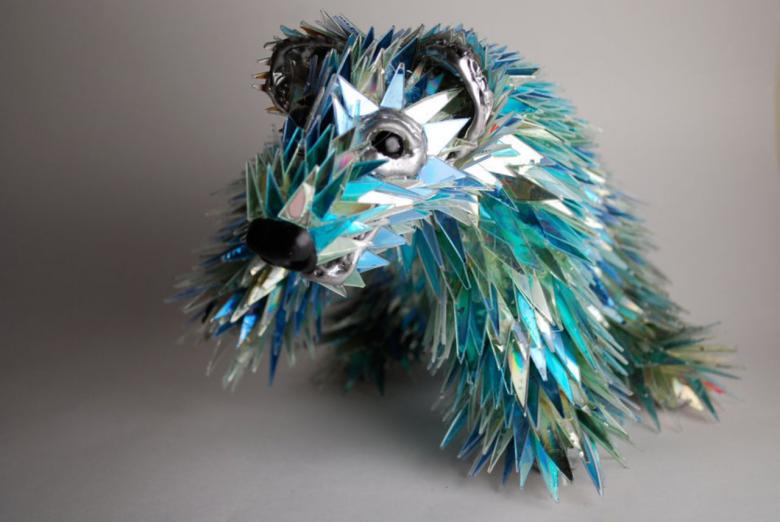
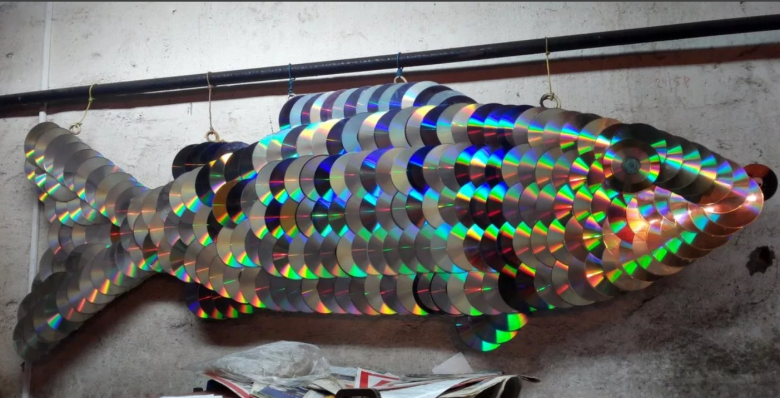
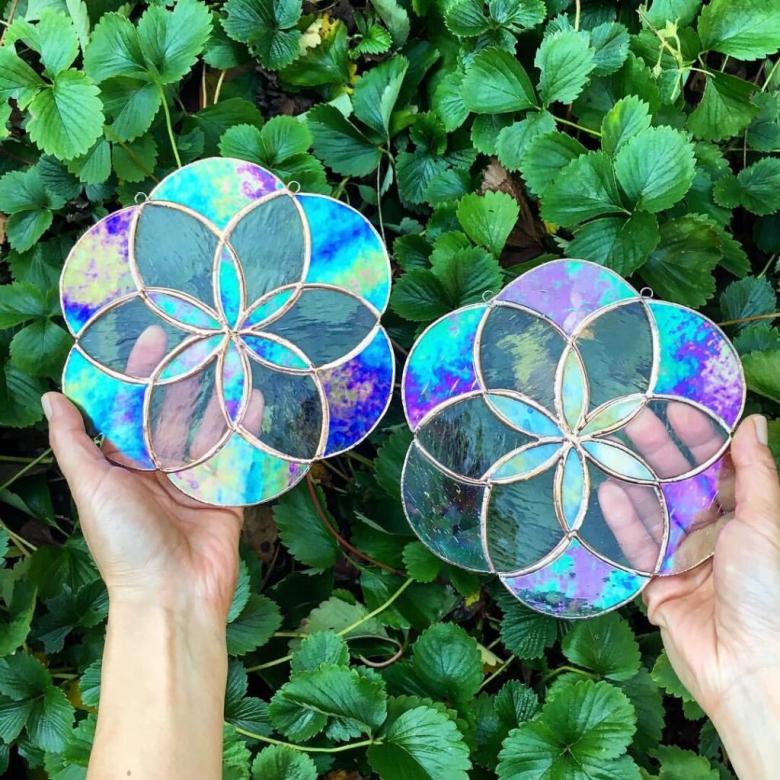
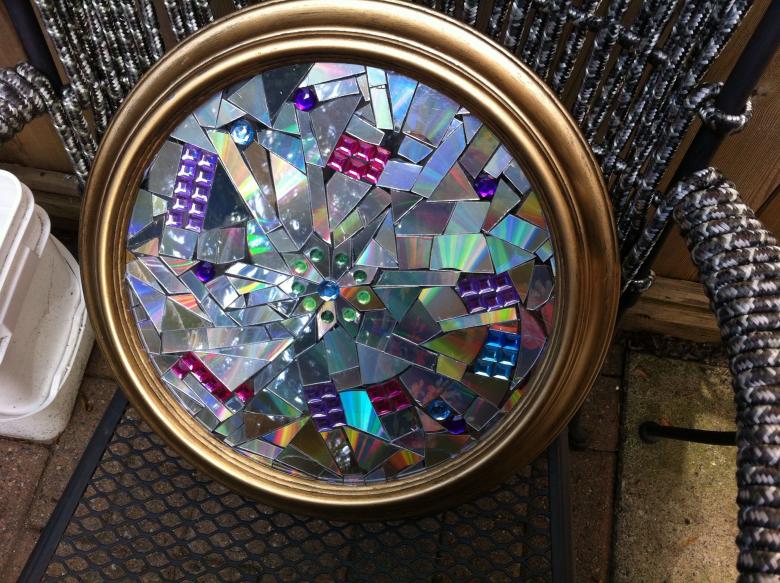
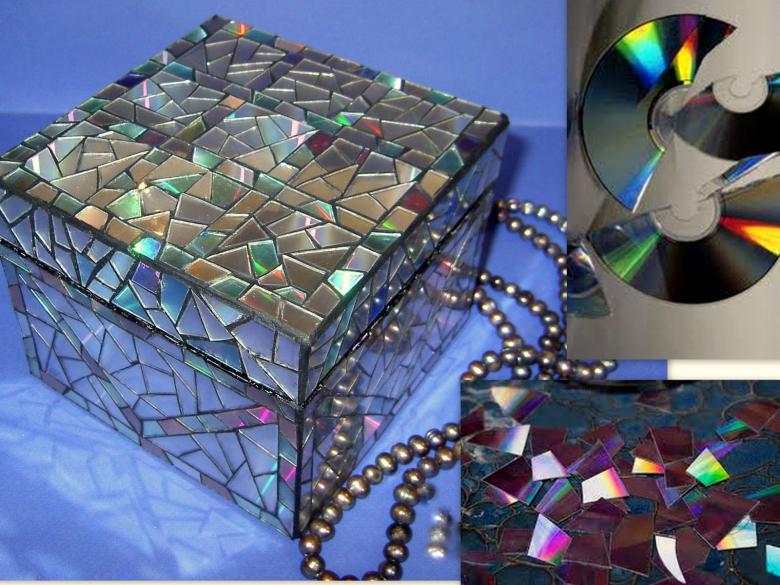
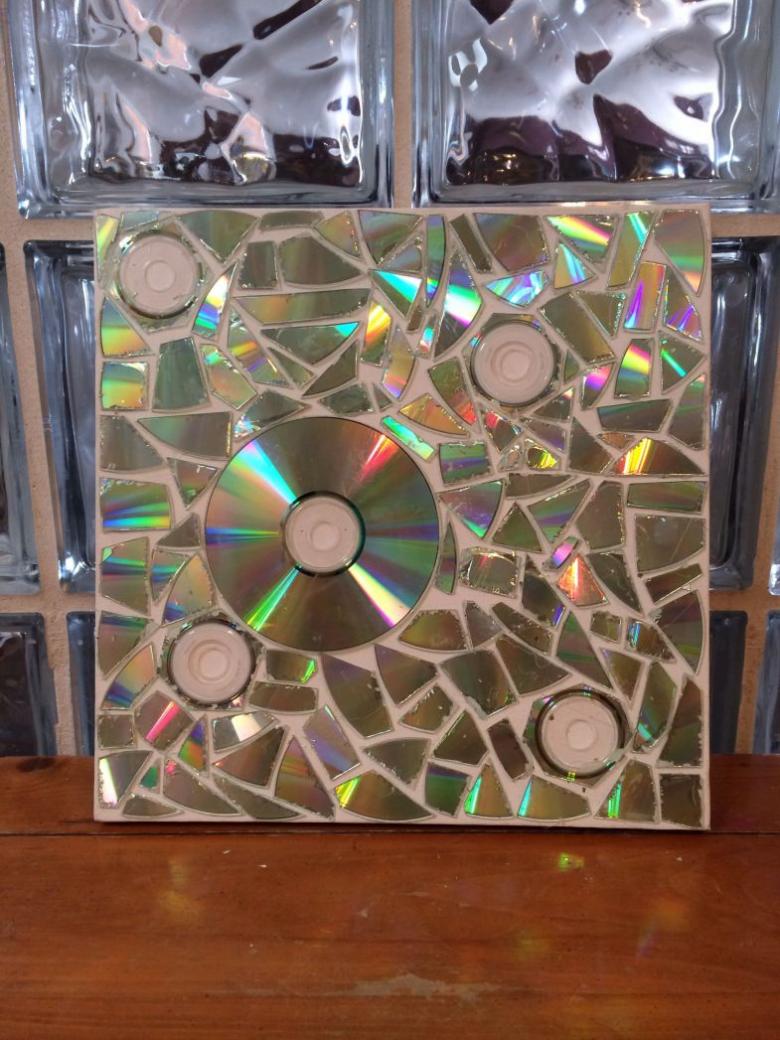
Mosaic from disks
With the help of mosaic technique you can decorate any surface - walls, mirrors, furniture fronts, vases, caskets, etc. The technique is quite complicated, so this option crafts more for adults and older children. It is necessary to work with gloves.
Necessary materials:
- a large number of computer disks;
- glue;
- putty;
- varnish;
- scissors;
- rags.
Order of creating a mosaic:
- Clean the surface to be decorated from dirt. If necessary, sand with sandpaper.
- Cut the discs into pieces of different sizes. Each piece is a separate element of the mosaic.
- Draw a template for your future composition on the surface.
- Glue the mosaic parts to the surface according to the chosen pattern. If large gaps remain, they can be filled with small pieces of discs.
- Fill the gaps with putty.
- After the mortar hardens, grind the surface to a shiny finish.
- Coat the finished surface with several coats of varnish.
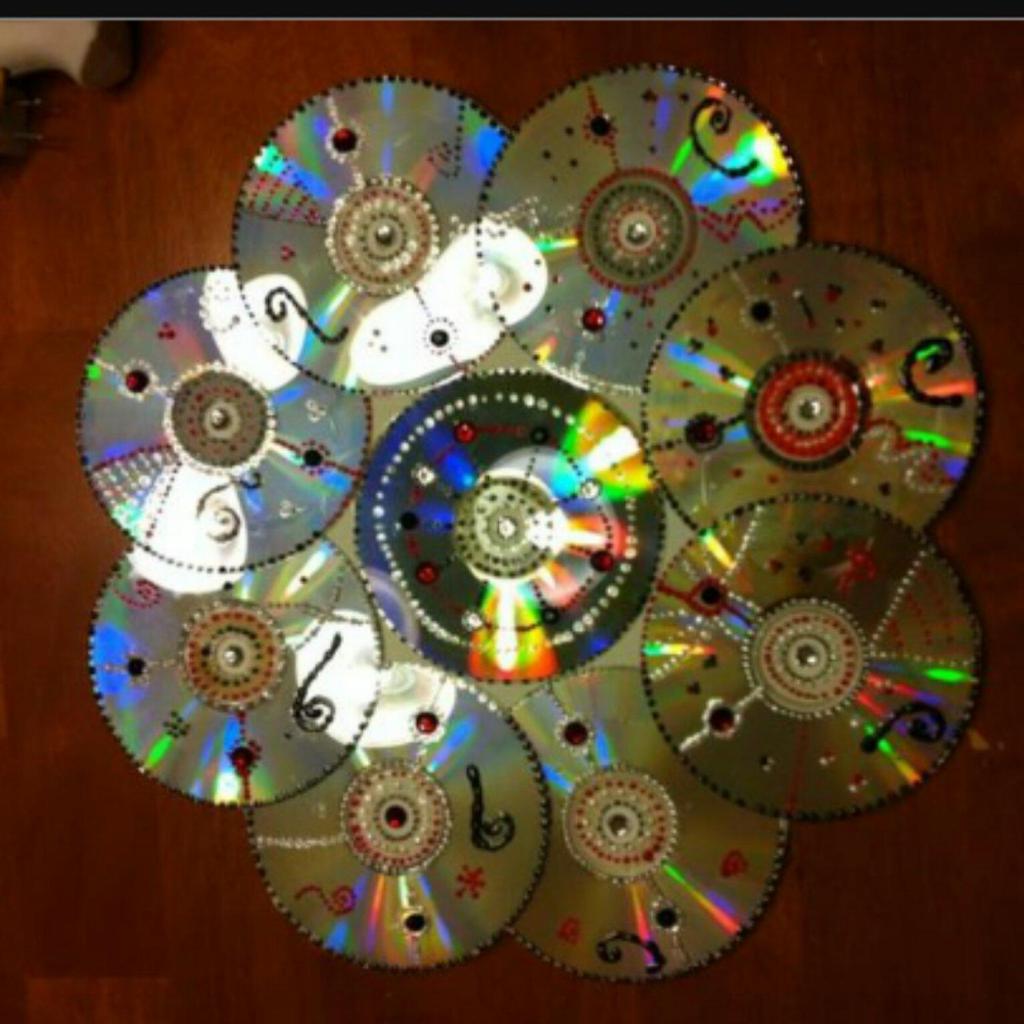
Thus ordinary computer disks are used to make the most different and unusual handicrafts. Showing imagination, you can create a real masterpiece.
Disks are great for making all kinds of crafts for kindergarten or school. They create original decorations for the house, landscape design, all kinds of useful household items and other products.
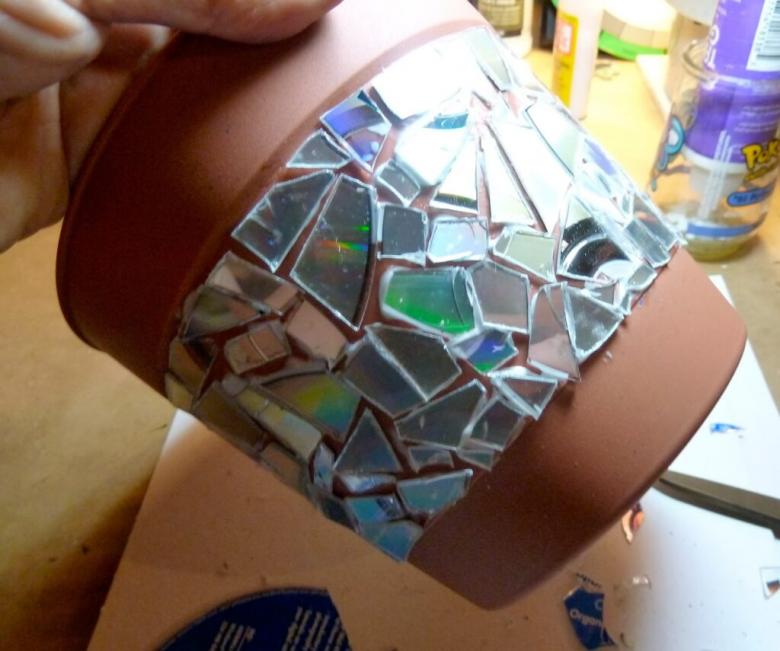
Photo ideas of homemade crafts from computer disks