Chestnut crafts with your own hands - making interesting crafts, photo ideas, tips
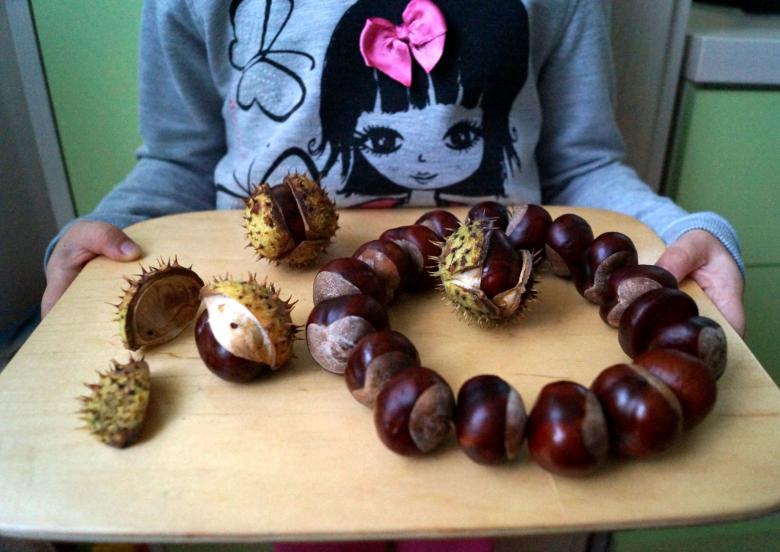
Ripe chestnuts, which in autumn are easy to gather in any city park, serve as a great theme for inspiration. Their smooth surface and pleasant, natural colouring catch the eye. There is a desire to use chestnuts to decorate interiors and to create fun children's crafts.
The advantage of chestnuts for creativity at home is the ease of preparing them for work. All you need to do is collect them, wash them and dry them with a towel. They store well at home, so if you want it is not difficult to provide a sufficient supply of natural material for creativity.
A disadvantage of chestnuts is their hardness. They are not easy to machine. For this reason, it is more convenient to use them for crafts in their original form.
Chestnut crafts for kids
The simplest chestnut crafts for children to make with their own hands is not difficult in just a few minutes. It will be very good if the creative process of creating a regular and familiar objects, the children will be directly involved.
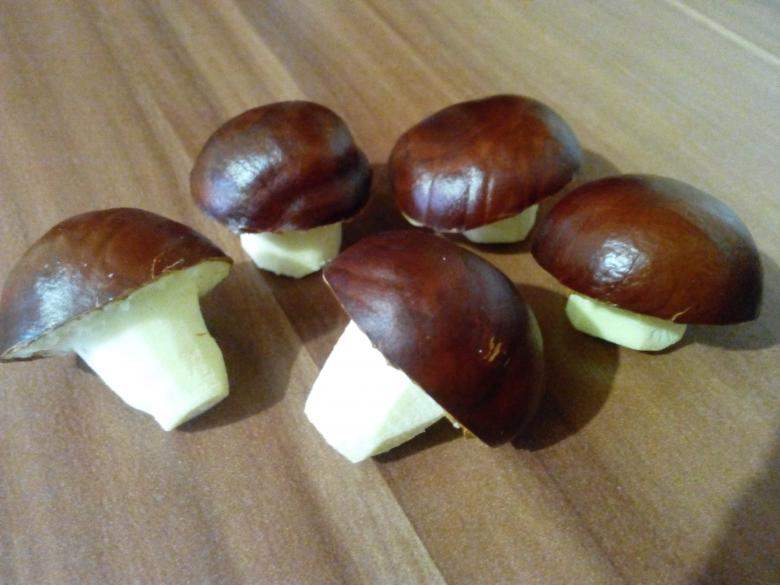
Examples of such crafts would be mushrooms or flowers made from plasticine and chestnut tree fruits.
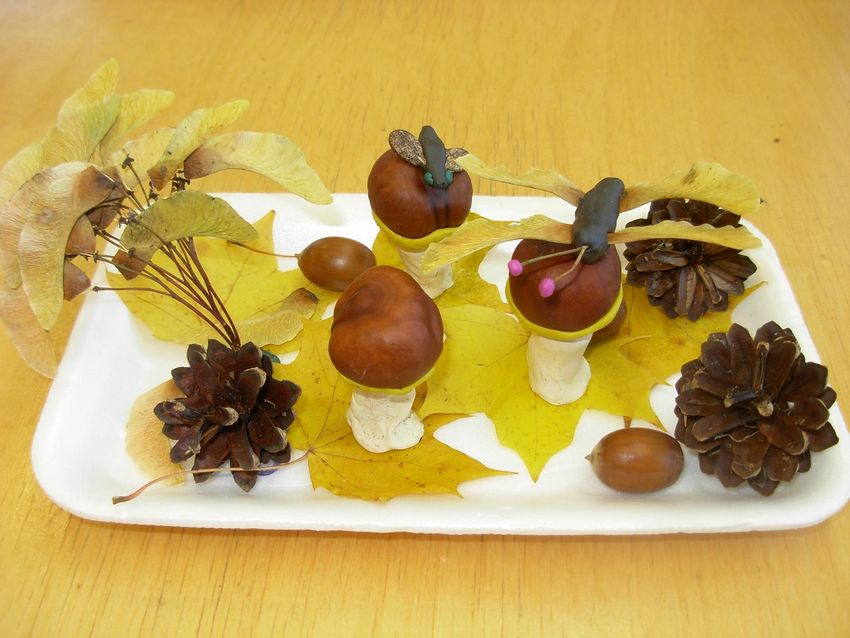
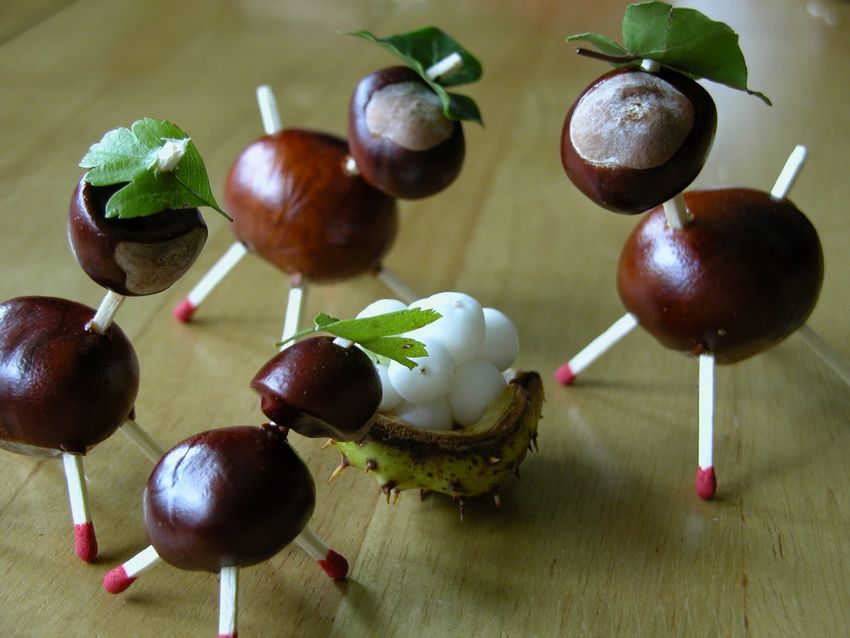
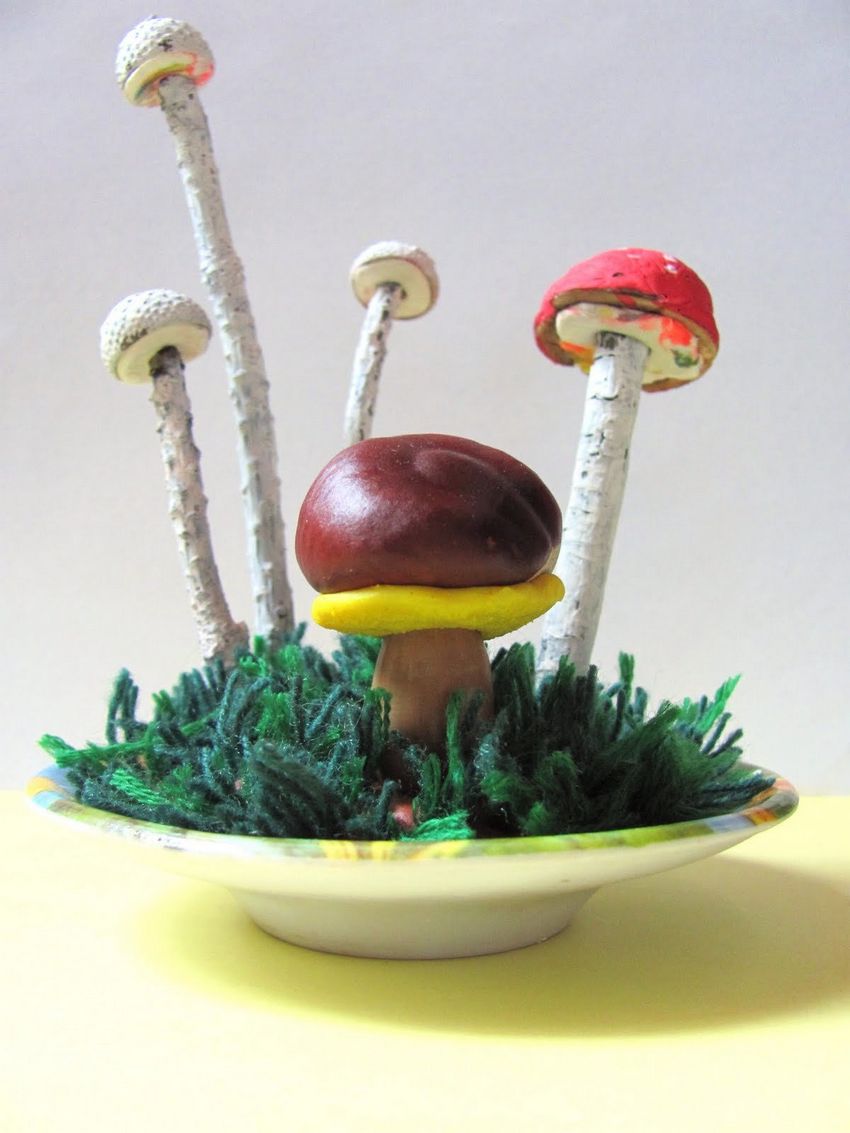
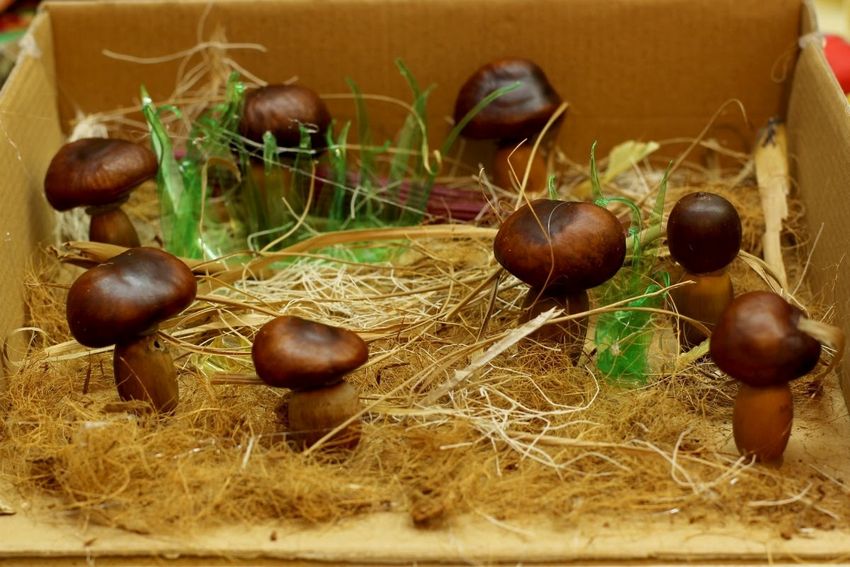
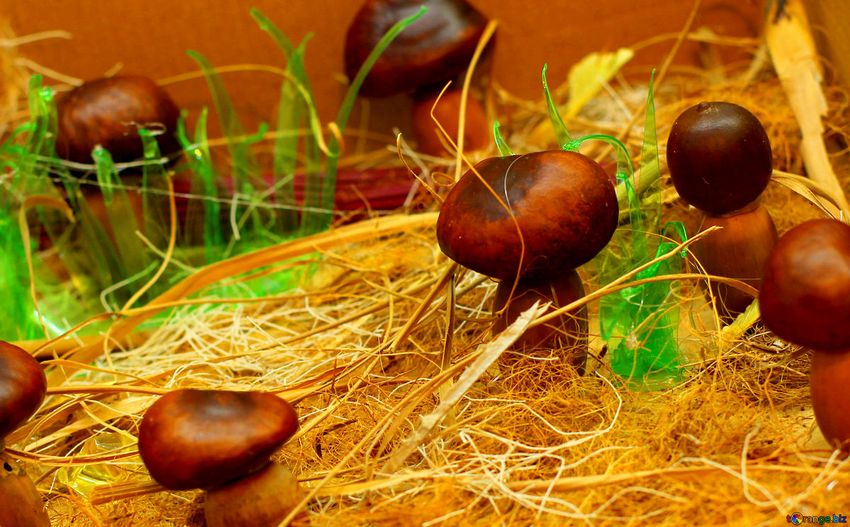
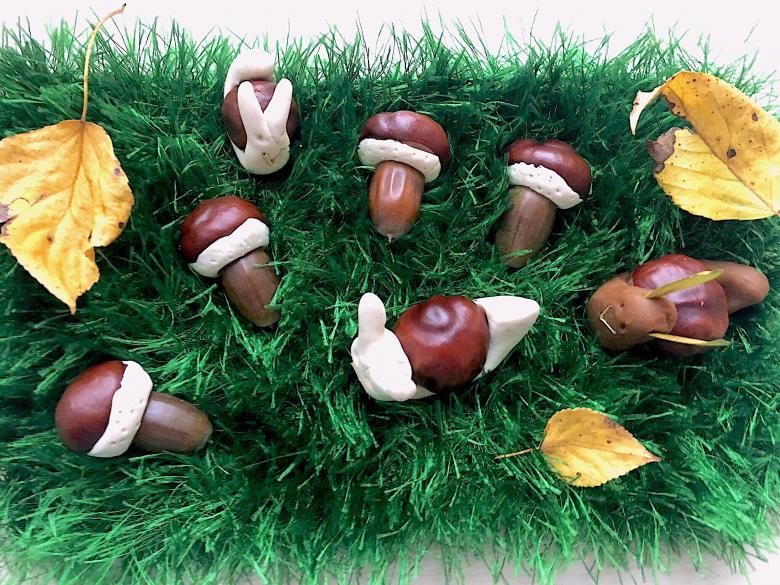
Mushroom meadow
For the work you need to prepare:
- several nuts of the chestnut tree;
- dried leaves and herbs;
- a couple of twigs;
- pine needles;
- a box or a sheet of thick cardboard;
- plasticine;
- PVA glue.
Order of work.
- To make a beautiful clearing with mushrooms, you need to prepare the base of the craft. For this prepared cardboard base should be covered with a thin layer of glue, fix dry grasses, twigs and leaves at your discretion.
- For the mushrooms you need to mold the legs of plasticine. The legs should be stable. For reliable fixation, it is convenient to use glue.
- Ready mushrooms to fix on the clearing.
- If desired, you can paint them. But even in their natural form they look attractive.
- Complement the mushrooms easy as if accidentally stuck to them pine needles.
As the legs for the mushrooms, white plasticine or acorns look spectacular.
Make flowers out of chestnuts is not difficult to applique on a sheet of cardboard. If you want to create and volumetric bouquet of homemade "chestnut" flowers is not difficult.
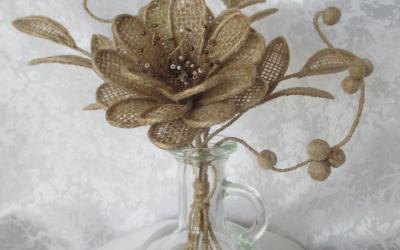
Autumn bouquet
To work you will need:
- sprigs to make stems;
- chestnuts;
- ash seeds;
- plasticine;
- dried leaves;
- PVA glue.
Order of work.
- Such an autumn bouquet can be fixed on a sheet of cardboard. But it is more convenient to use a tall glass for it.
- Leaves should be glued to the twigs.
- Roll a sausage from plasticine and wrap it around a nut. This will be the middle of the flower.
- Into the plasticine rim carefully insert the sharp edges of dried ash seeds. These are the petals.
- Fix the flower on the stem with plasticine.
A spectacular autumn bouquet will perfectly complement the home interior or serve as an exhibit for a themed exhibition in the kindergarten.
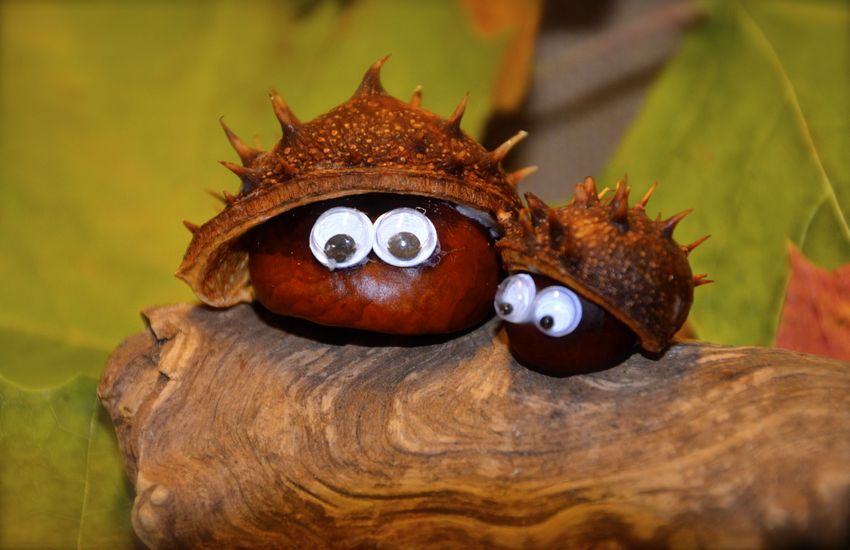
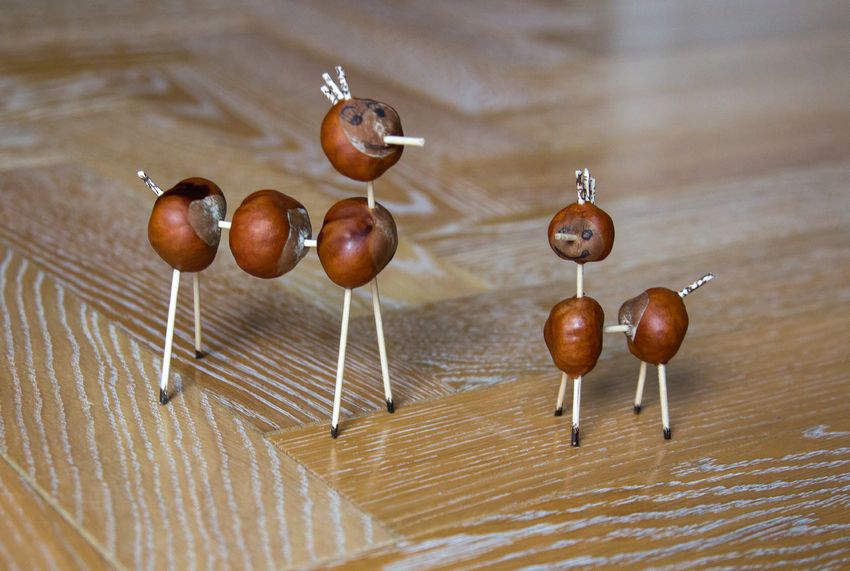
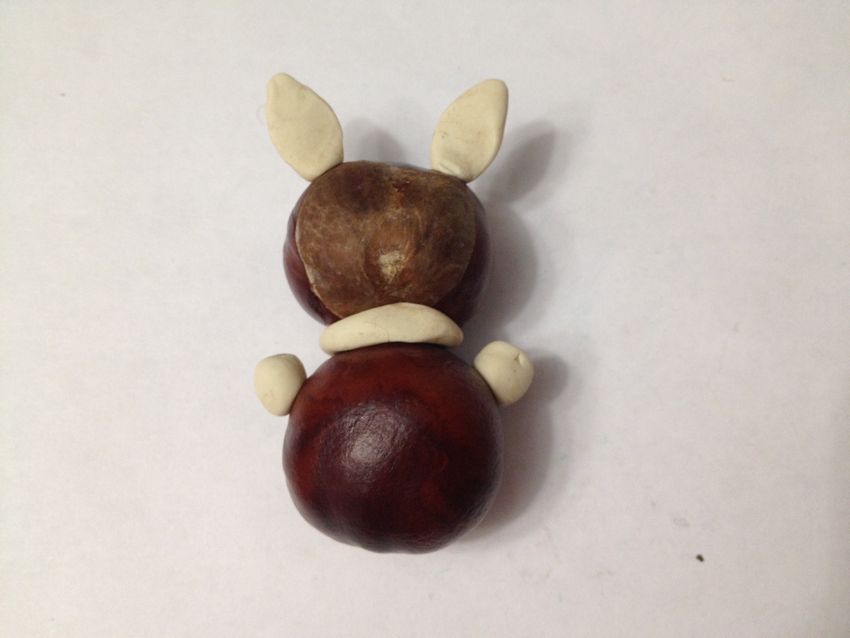
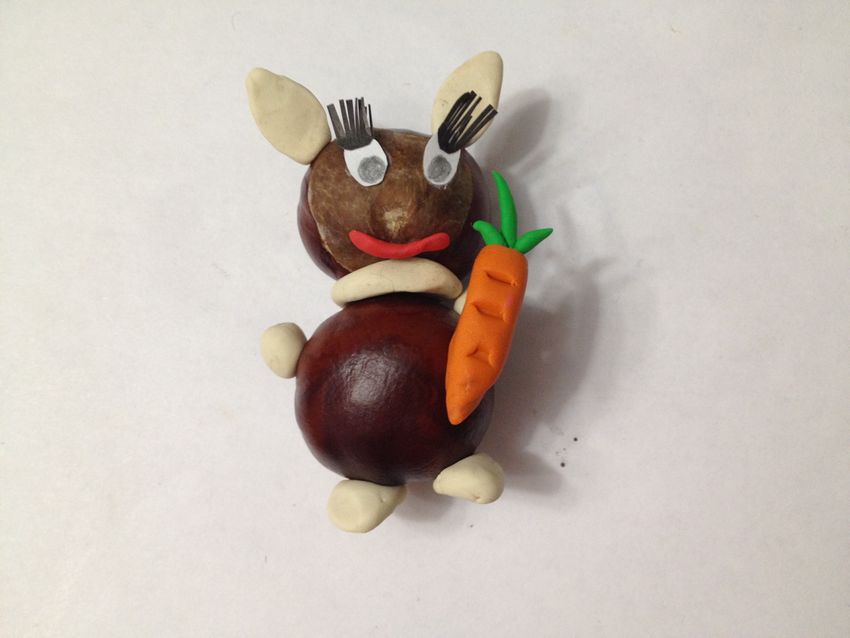
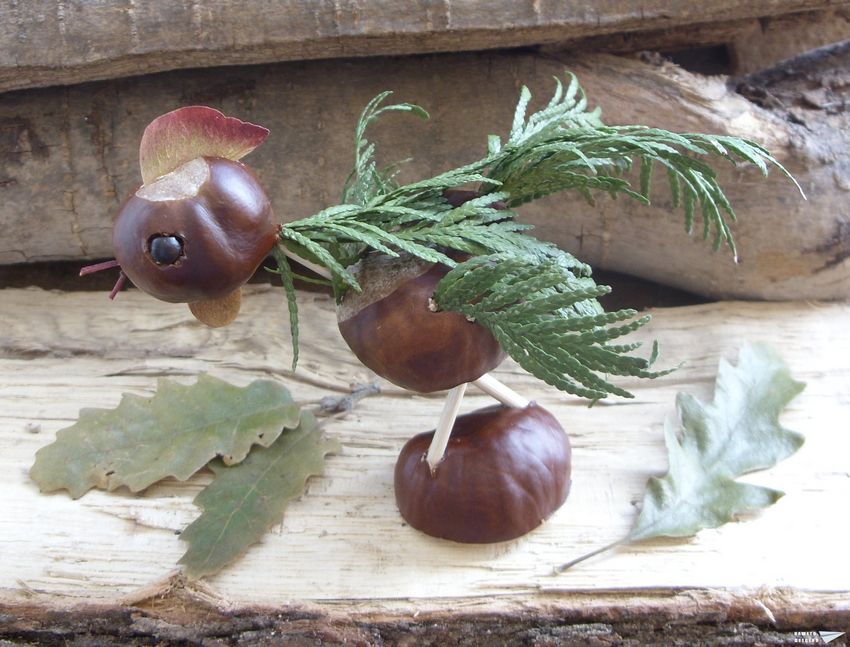
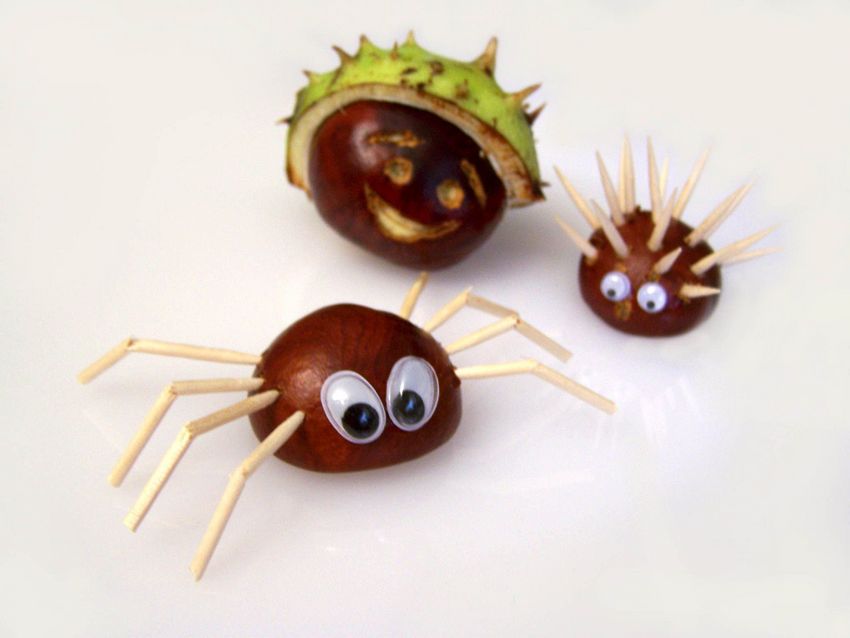
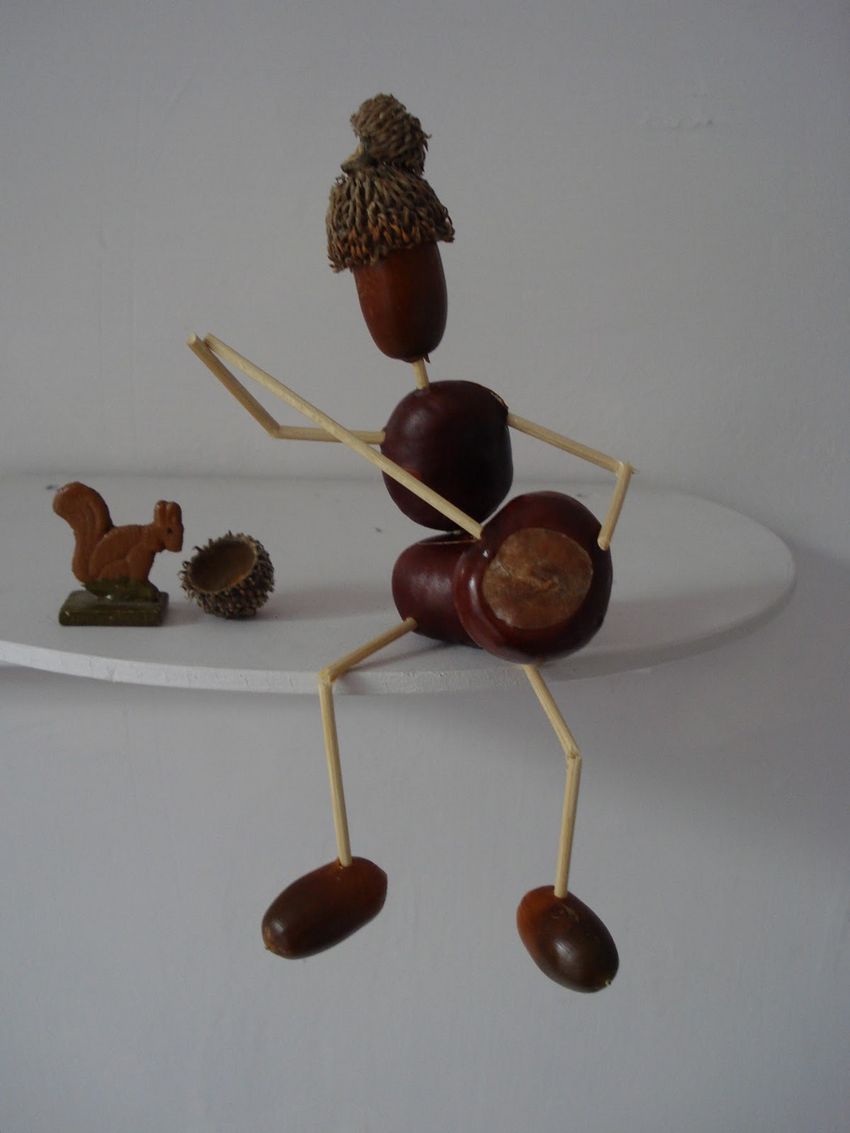
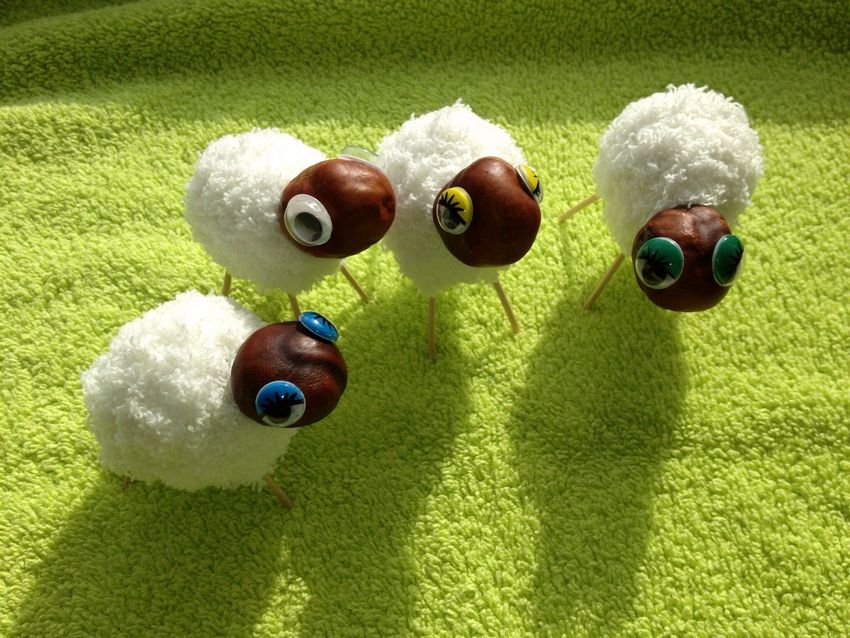
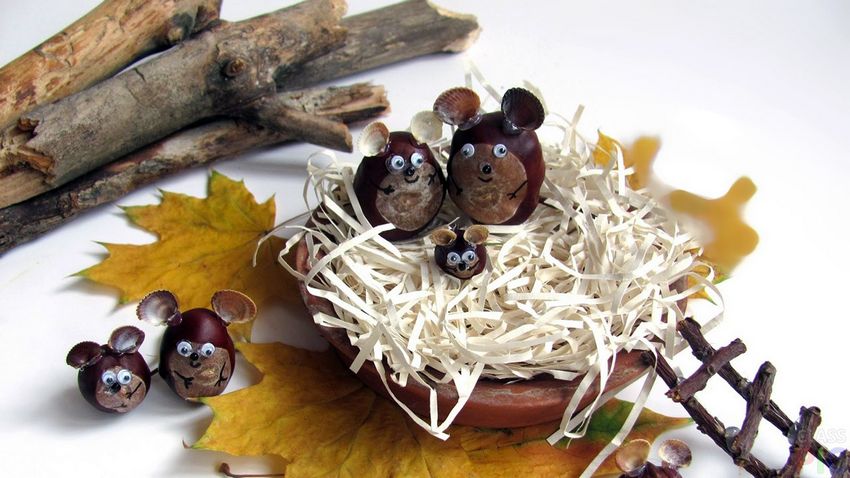
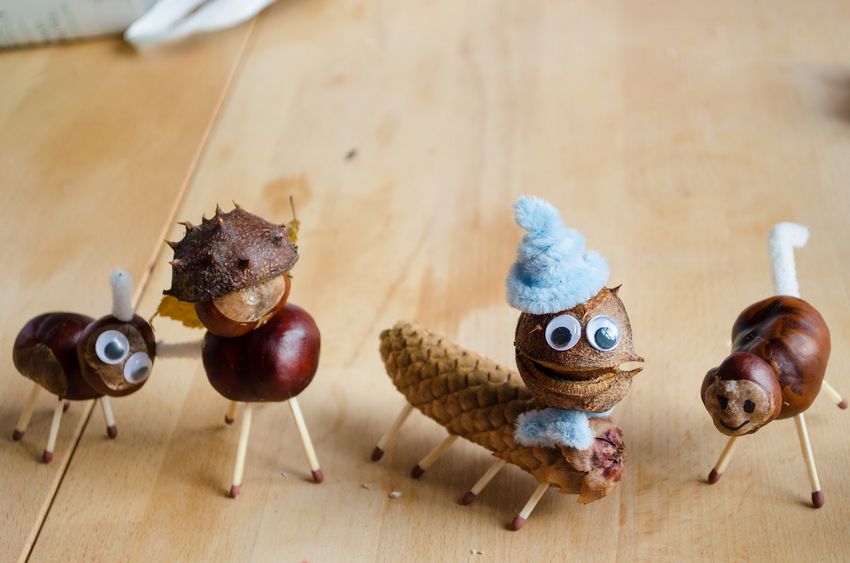
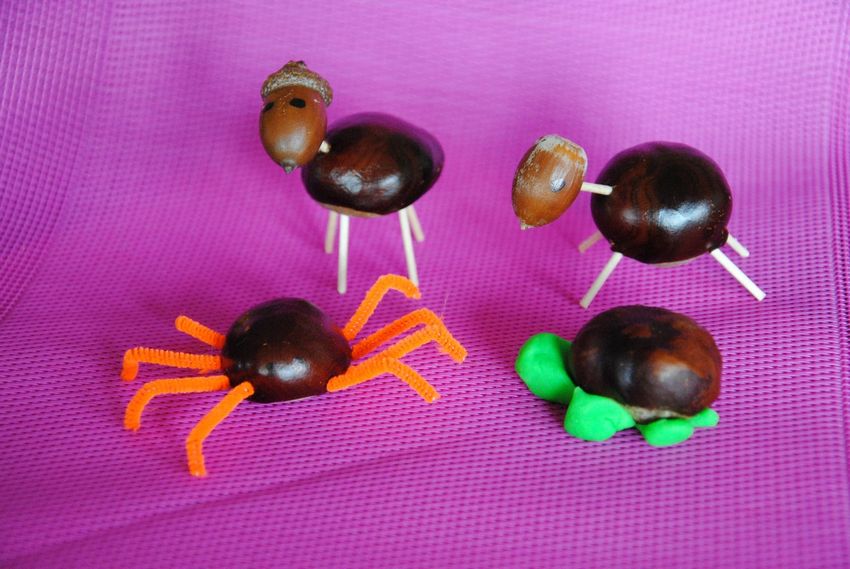
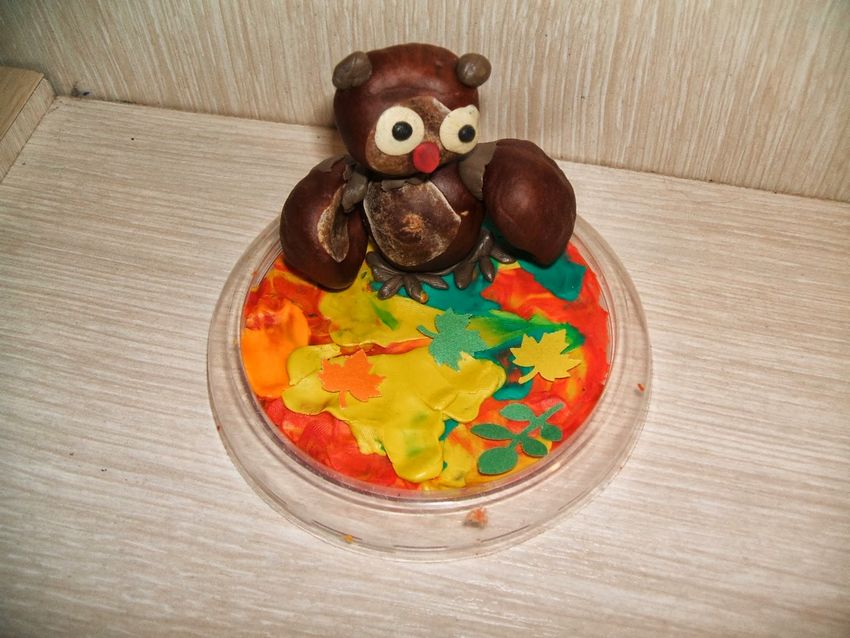
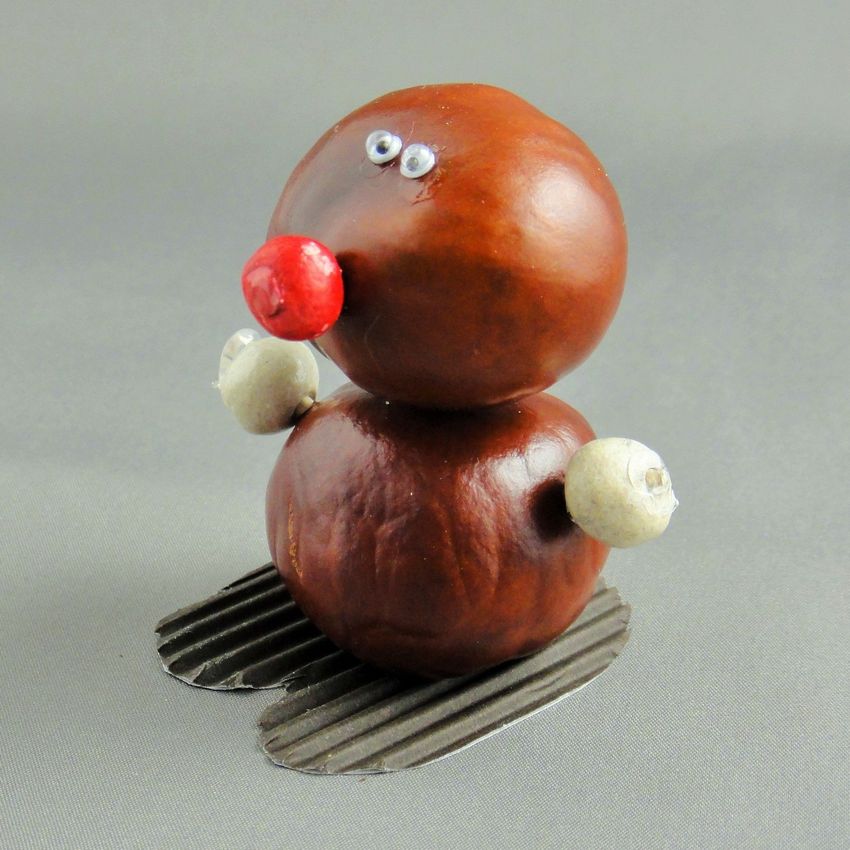
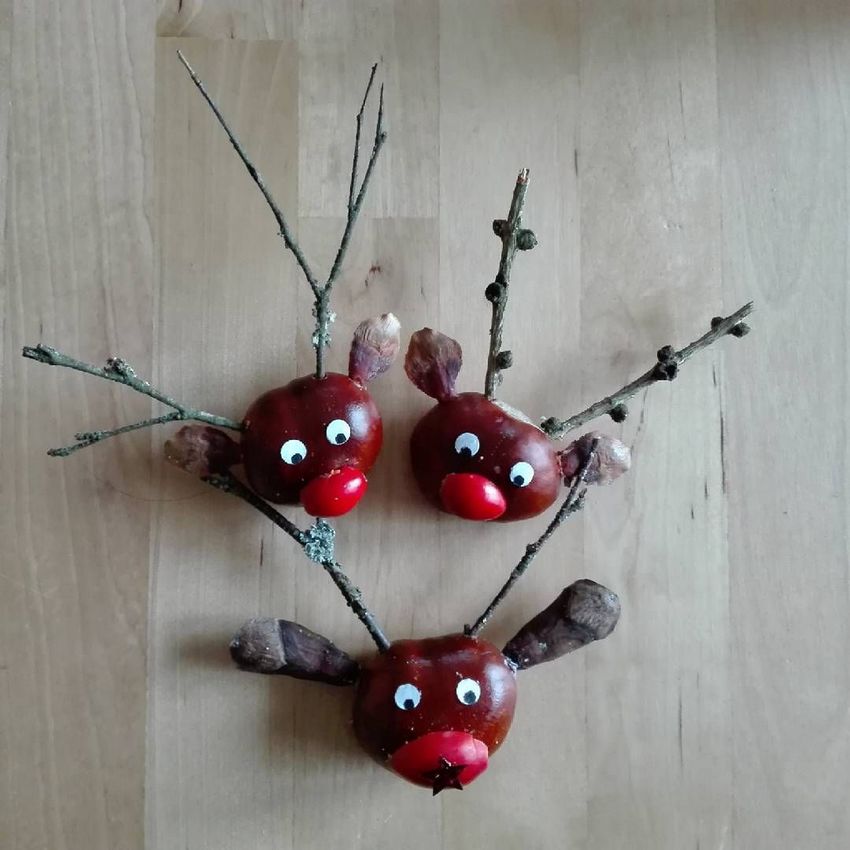
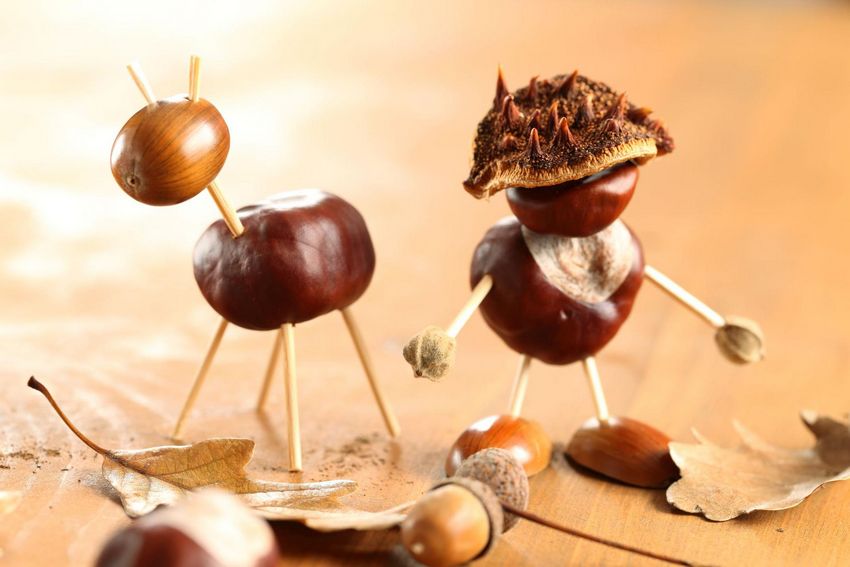
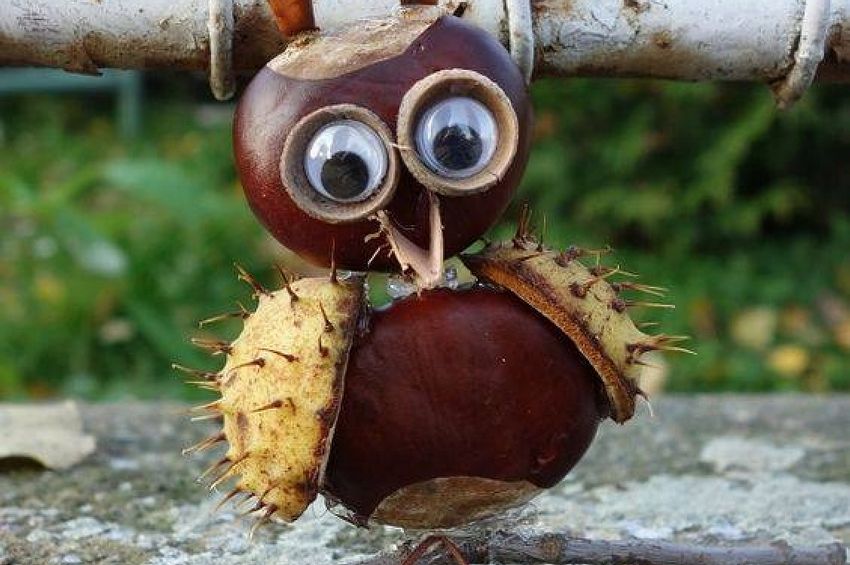
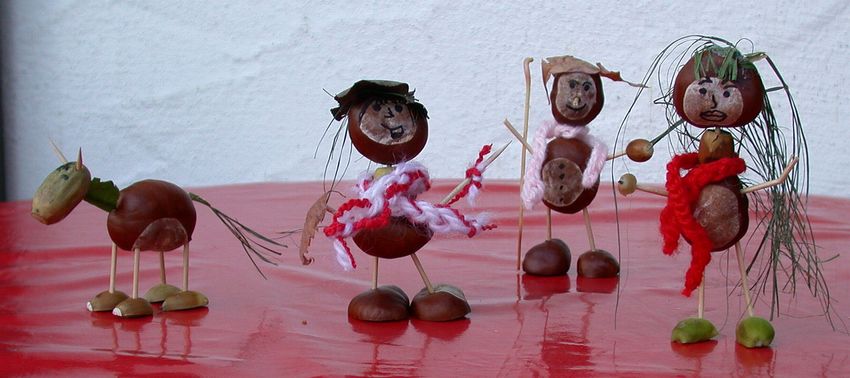
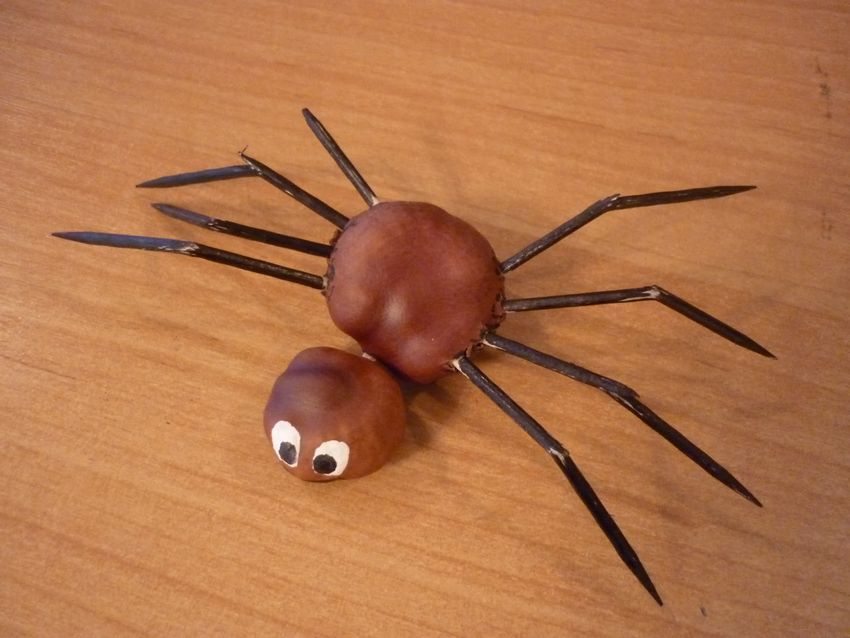
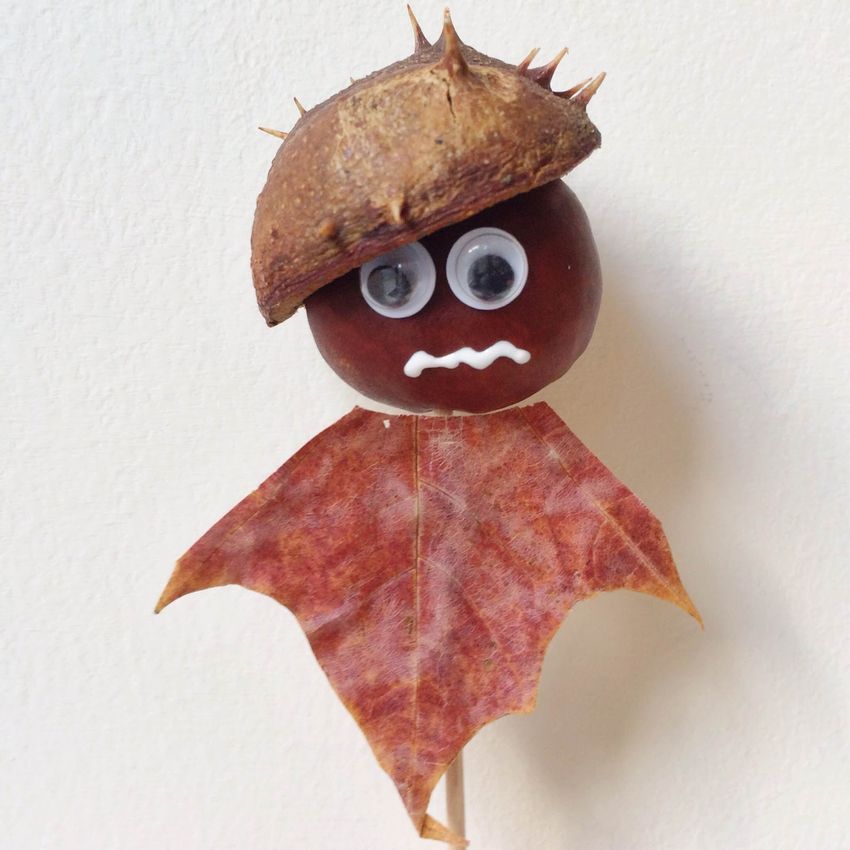
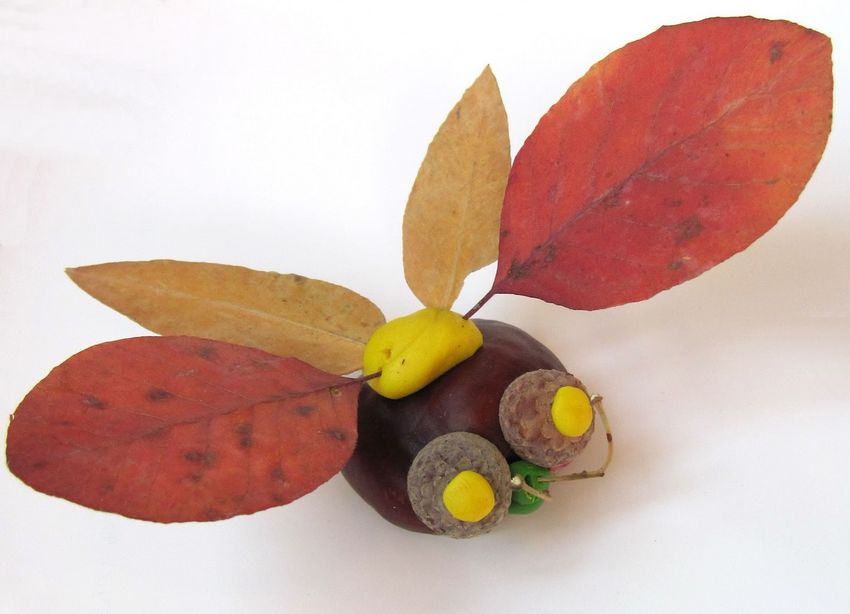
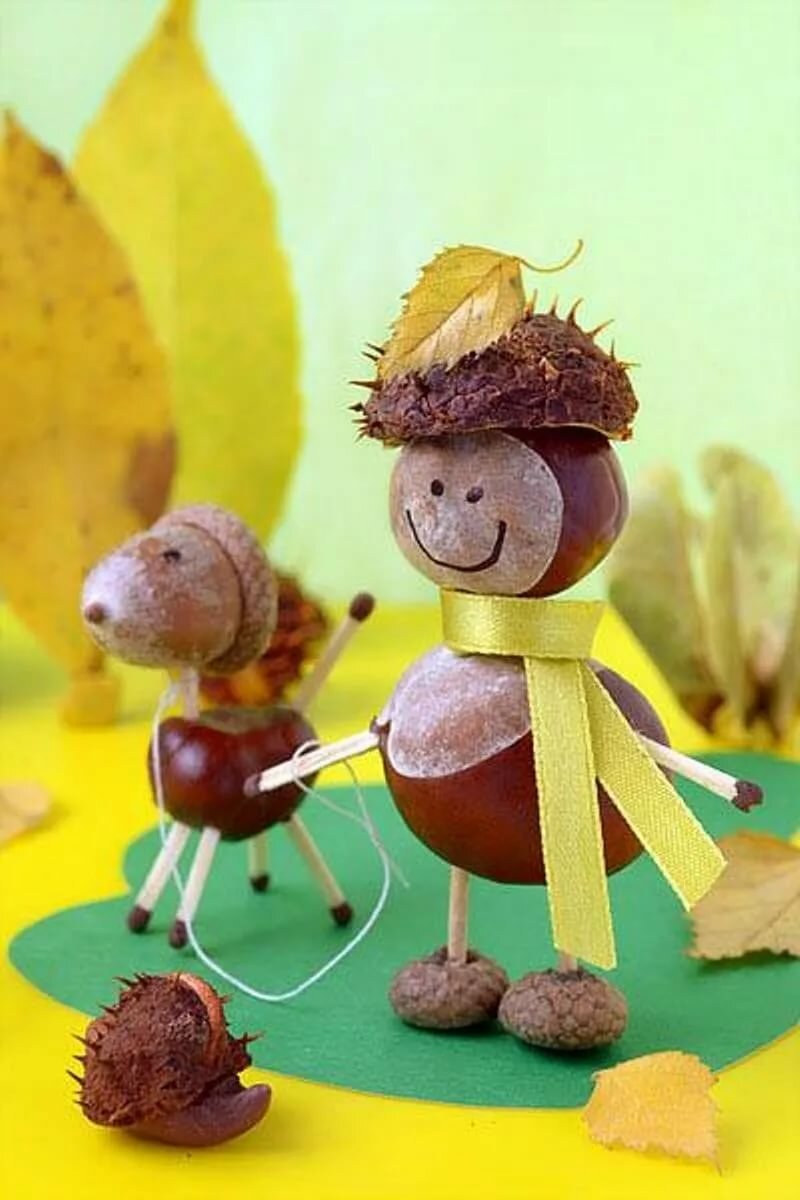
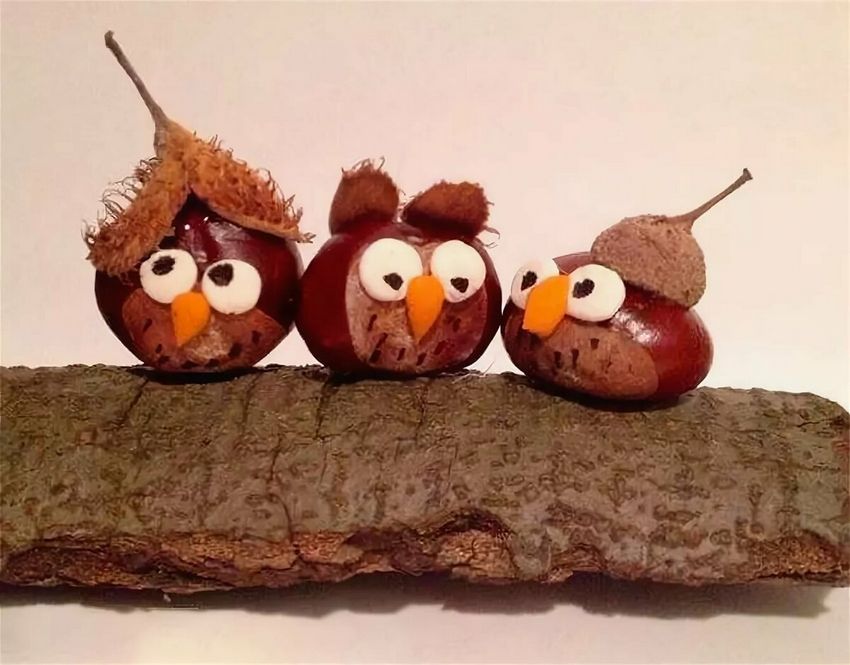
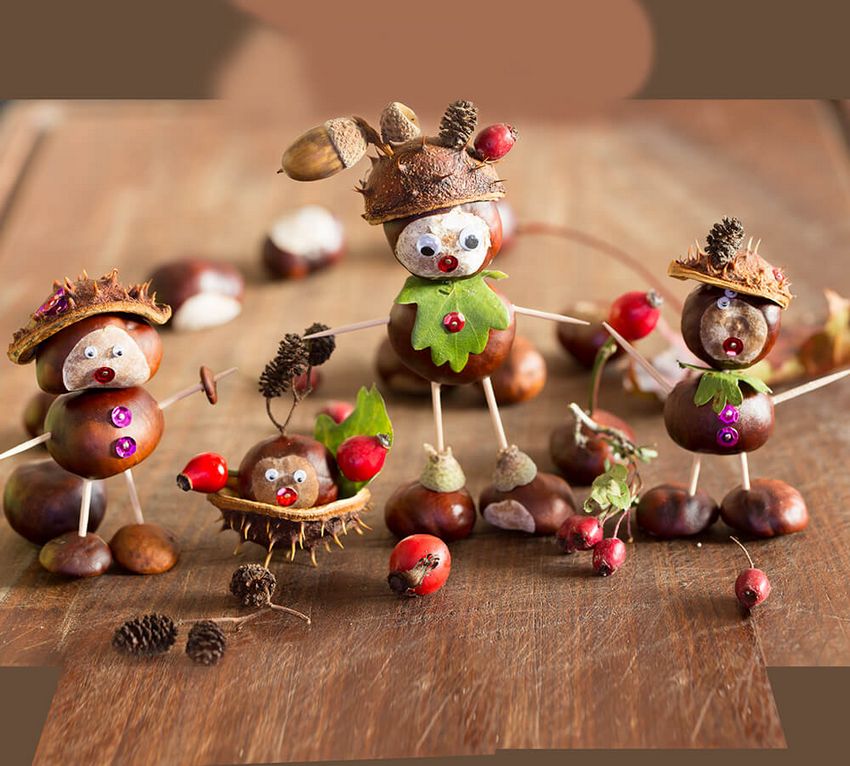
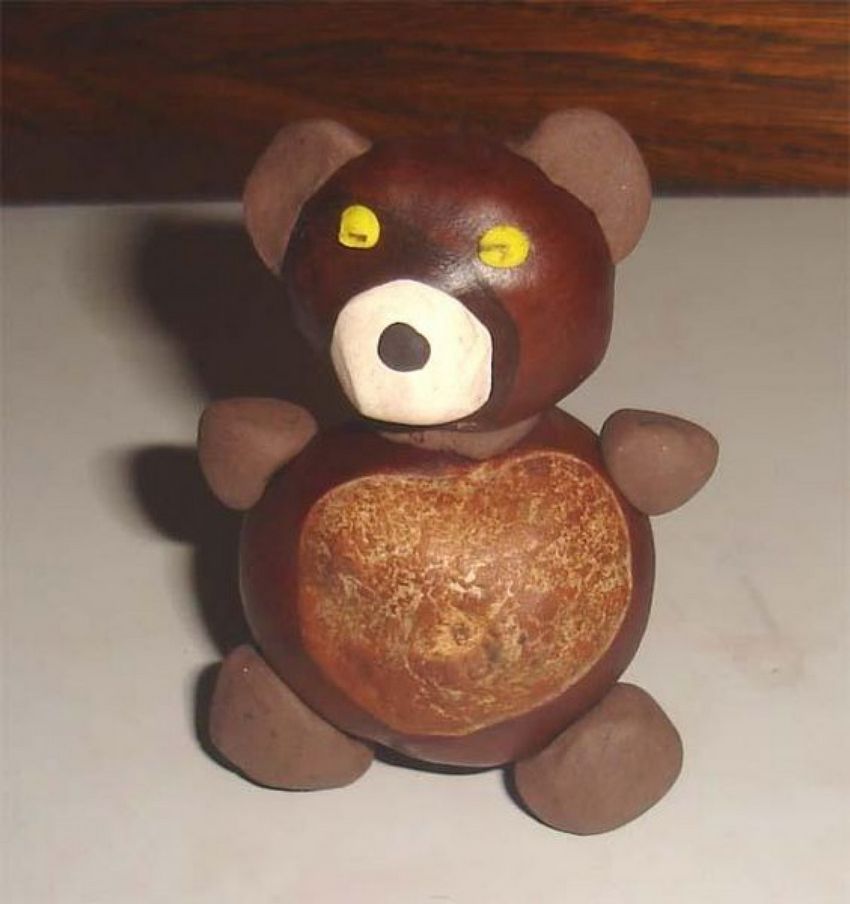
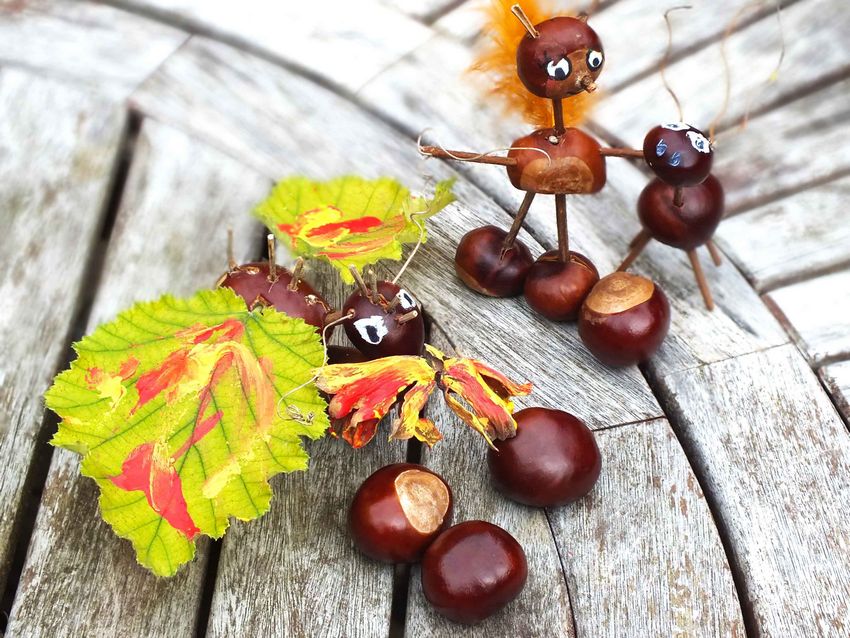
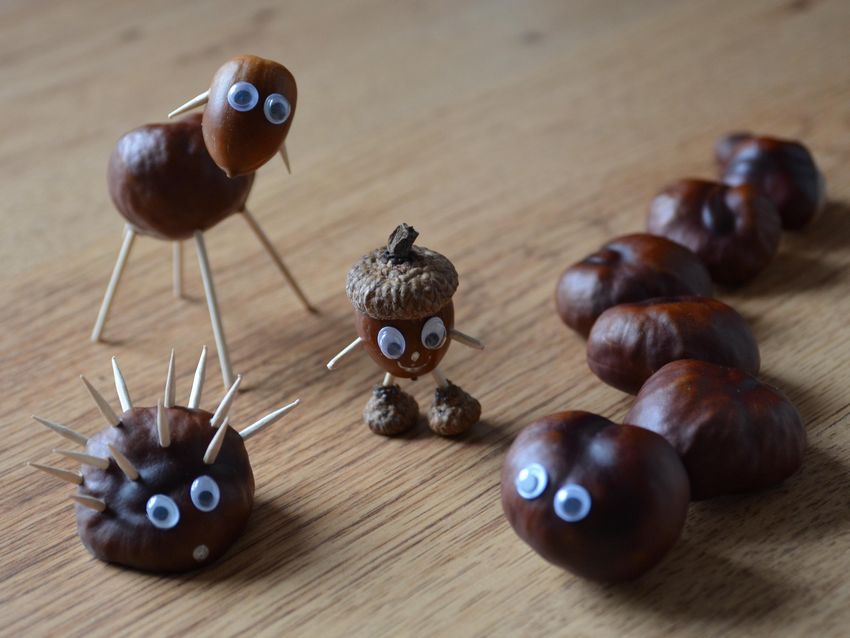
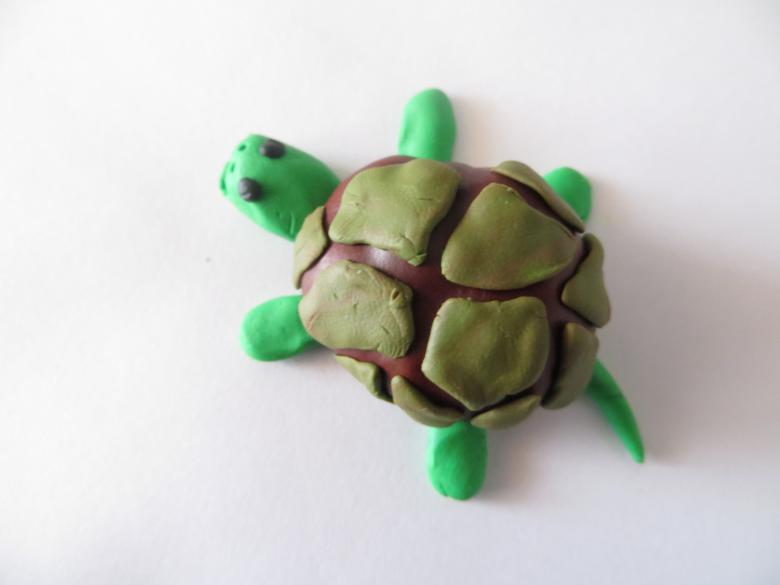
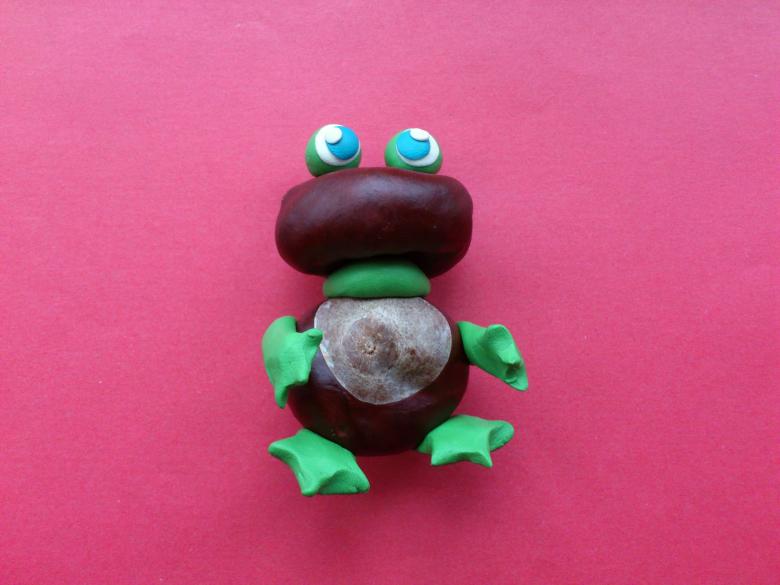
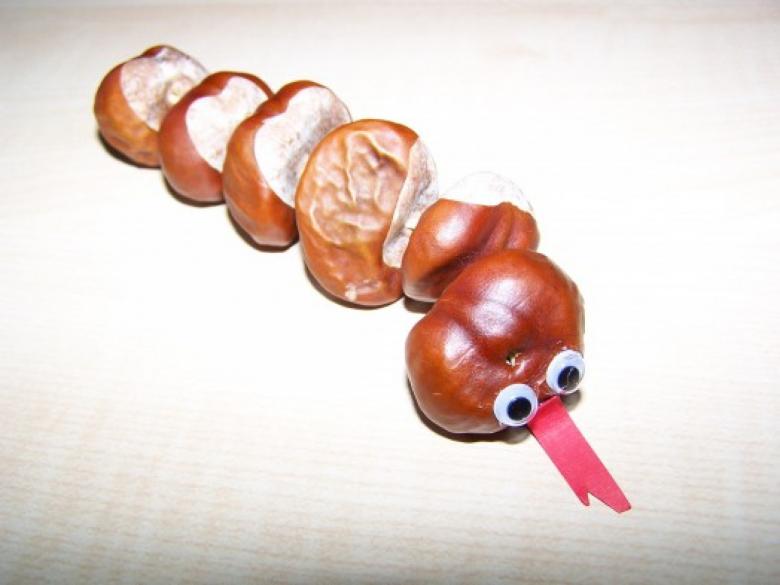
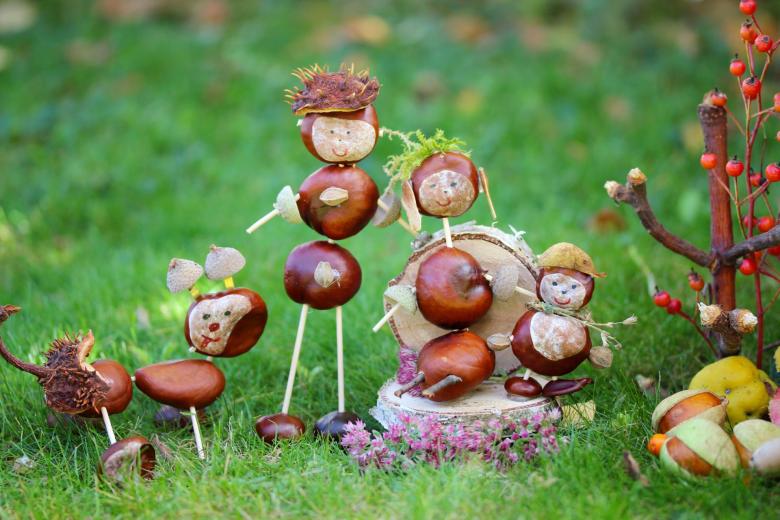
The themes of chestnuts and plasticine are very varied and limited only by the imagination of the craftsman. It is not difficult to make funny little men, fairy tale characters, different animals and insects.
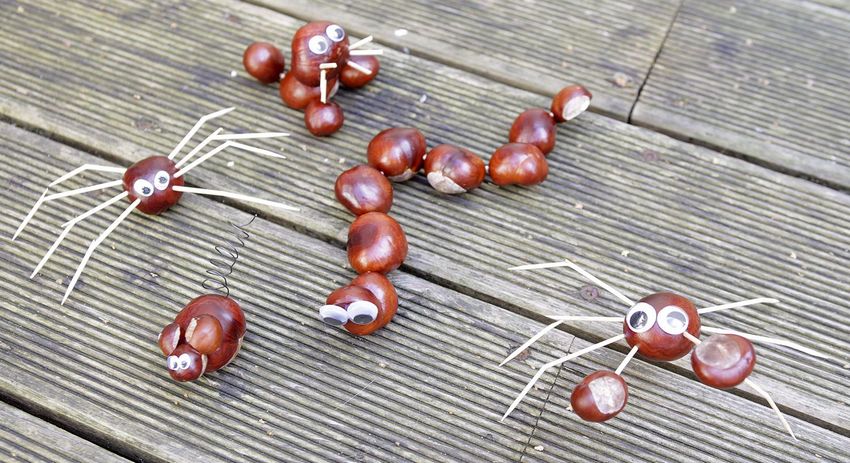
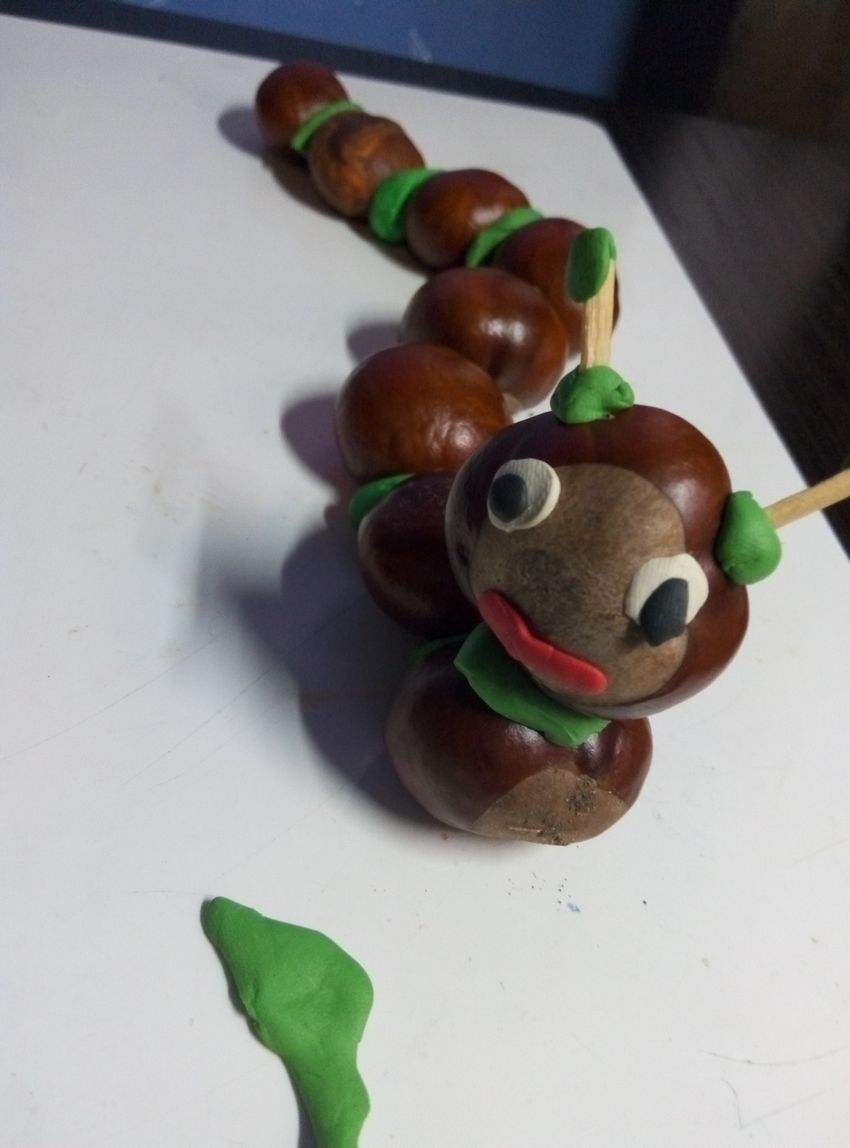
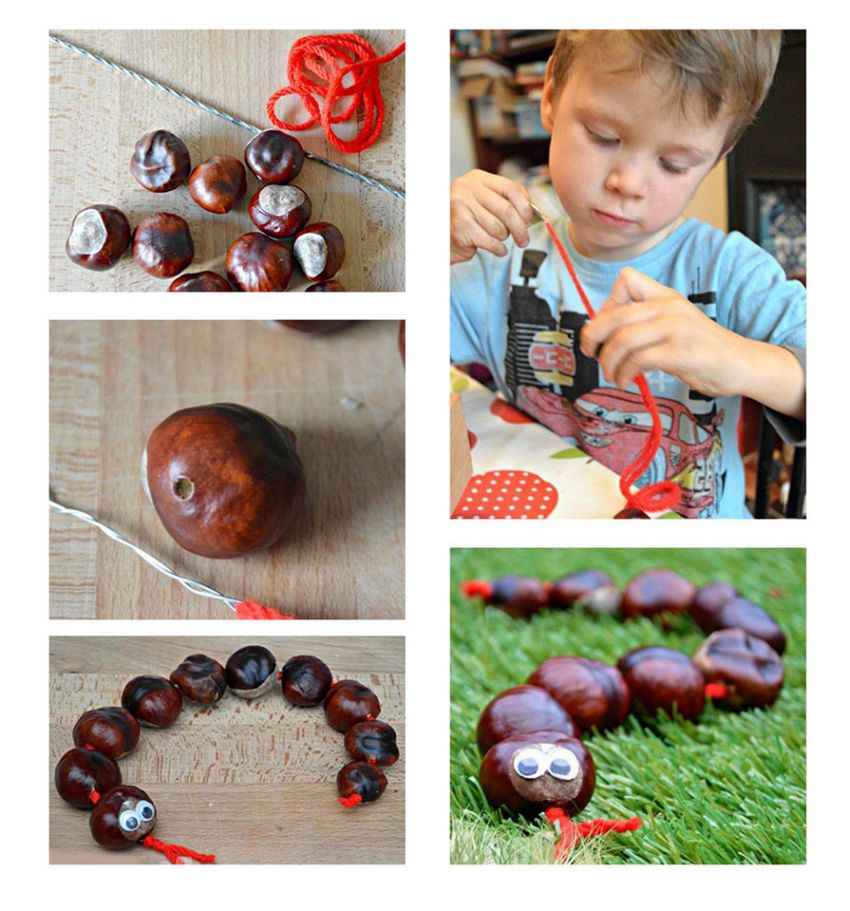
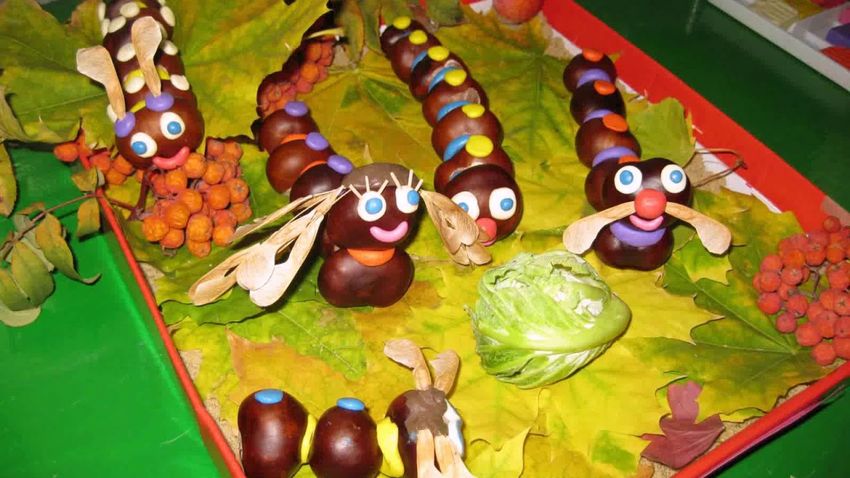
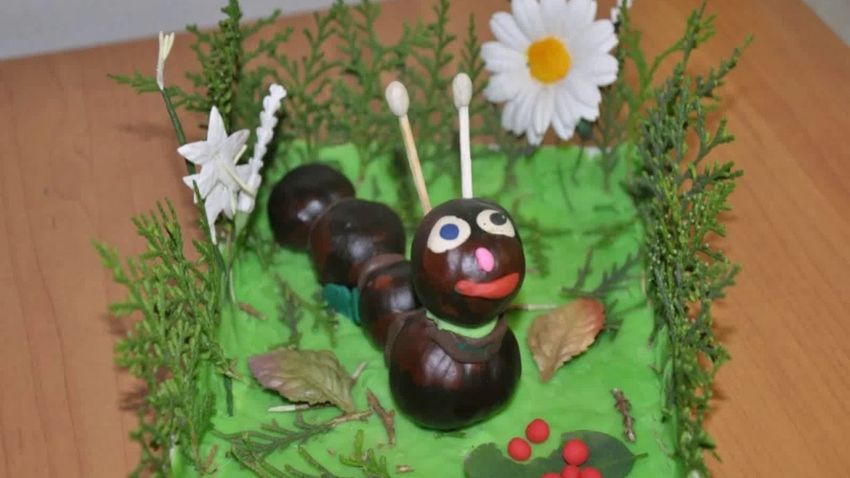
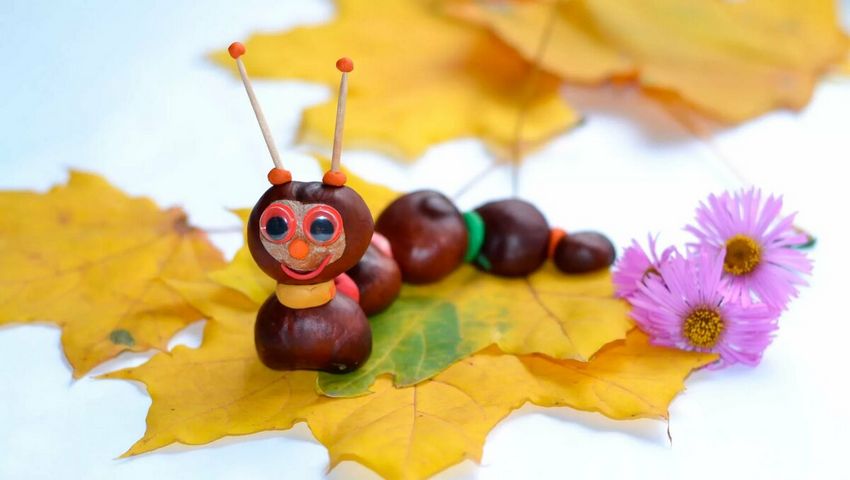
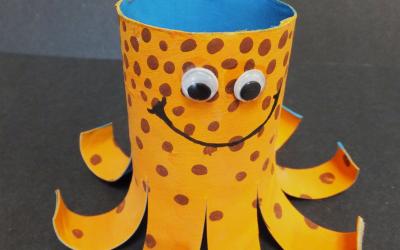
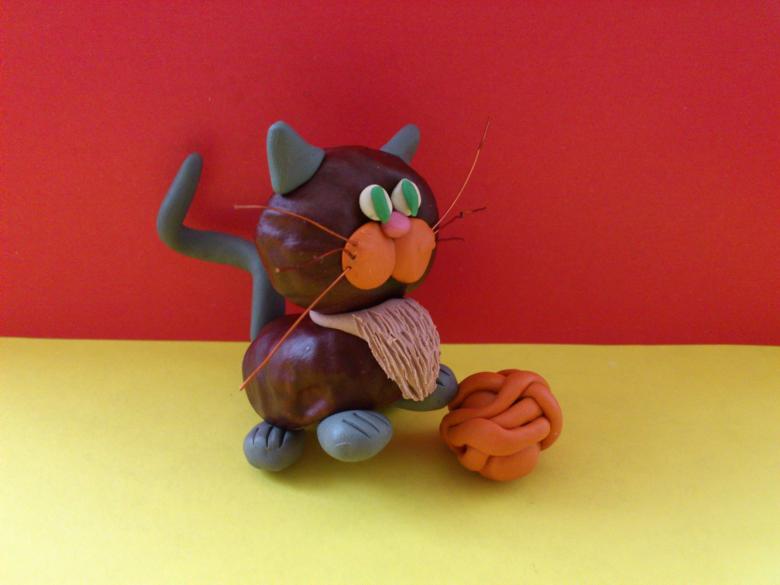
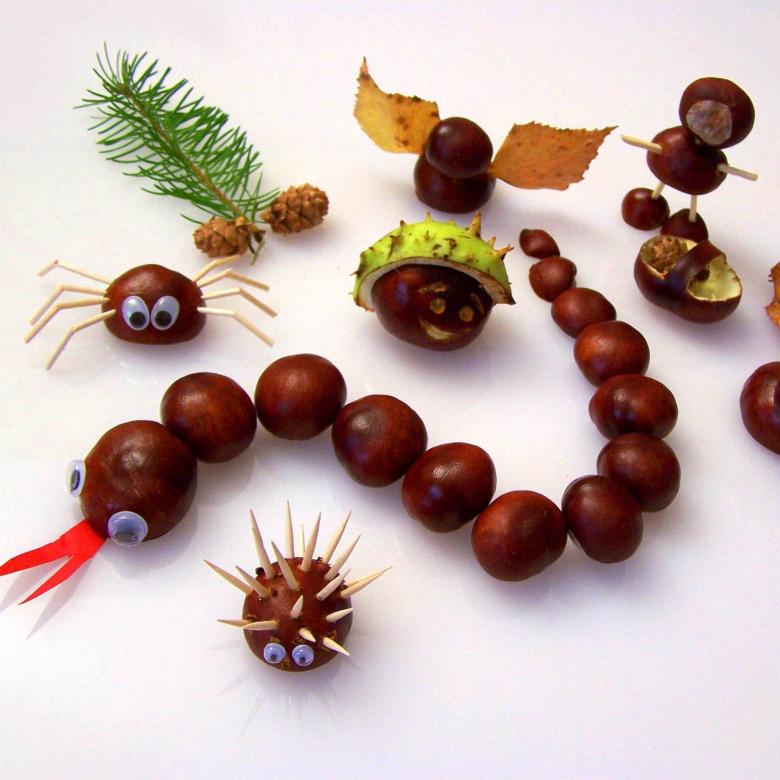
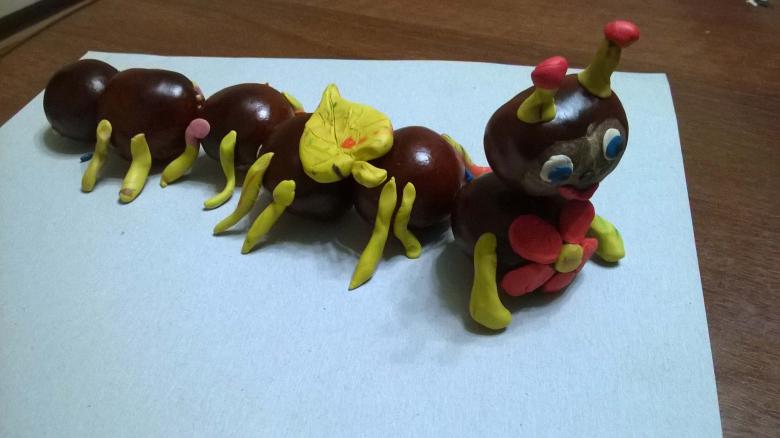
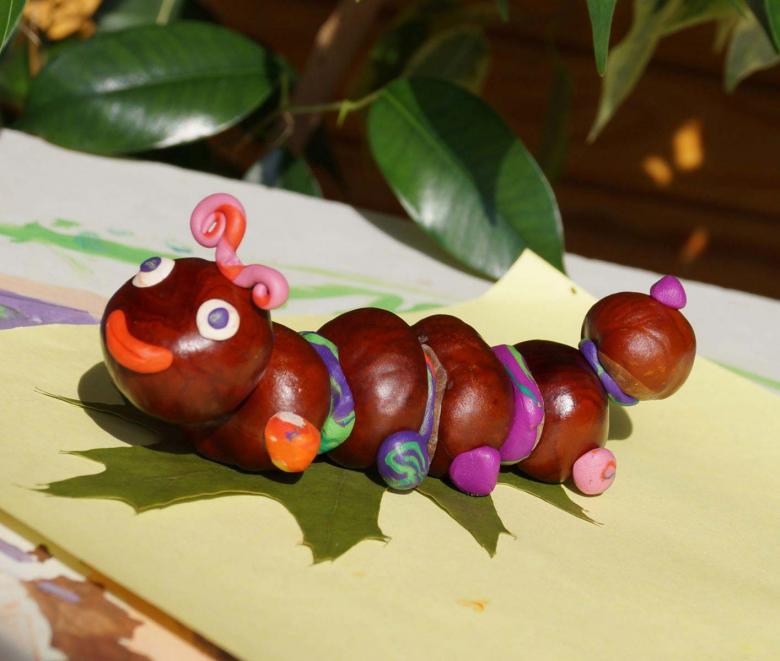
Caterpillar
To create a funny caterpillar it makes sense to pick up nuts of equal size. Connect them easily with clay or toothpicks.
For toothpicks, you will need to poke holes beforehand.
To work we need to prepare:
- 5-7 nuts;
- Several wooden toothpicks;
- plasticine.
Order of work.
- An important point is the design of the head of the caterpillar. Therefore, and work is more convenient to start with her. Need to pierce a couple of holes in them to insert the toothpicks.
- The upper sharp tips of the toothpicks covered with plasticine balls. This caterpillar antennae.
- Then make eyes and mouth out of plasticine of different colors.
- The next step is the serial connection of caterpillar body parts. It is easy to do with clay mass or toothpicks (matches).
As an original decorative device will serve as a caterpillar coloring in bright green gouache.
Complement the handicrafts conveniently with other natural material:
- twigs;
- cones;
- grasses;
- Dried leaves and flowers;
- stones.
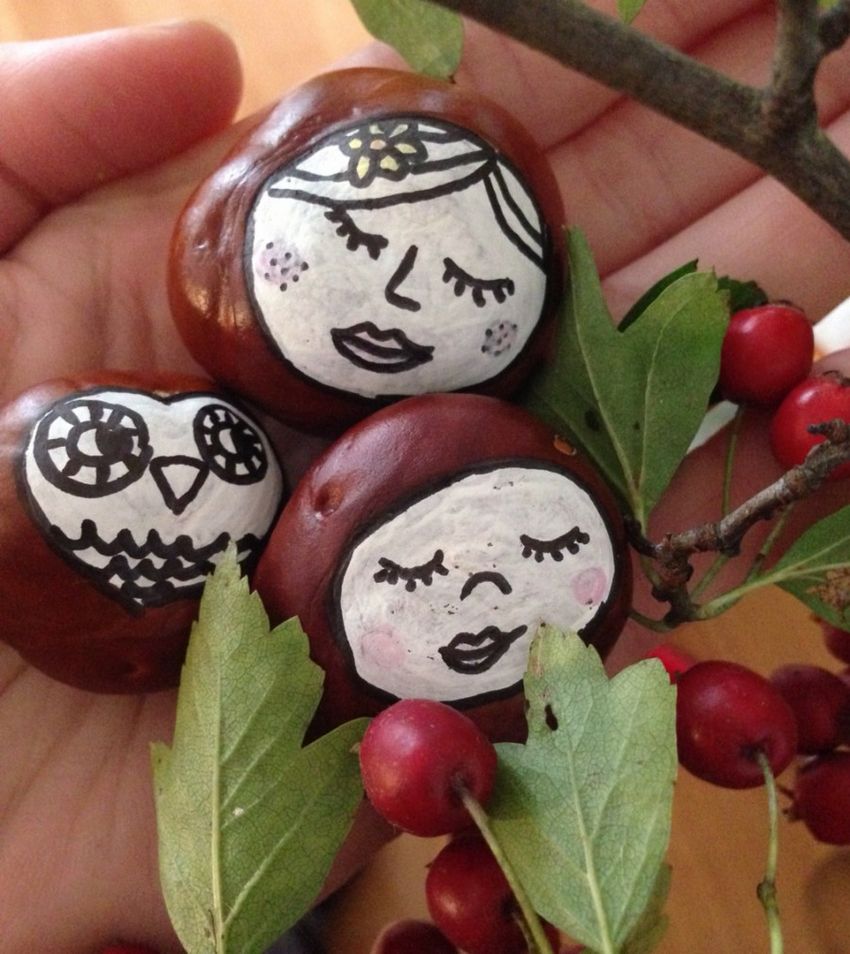
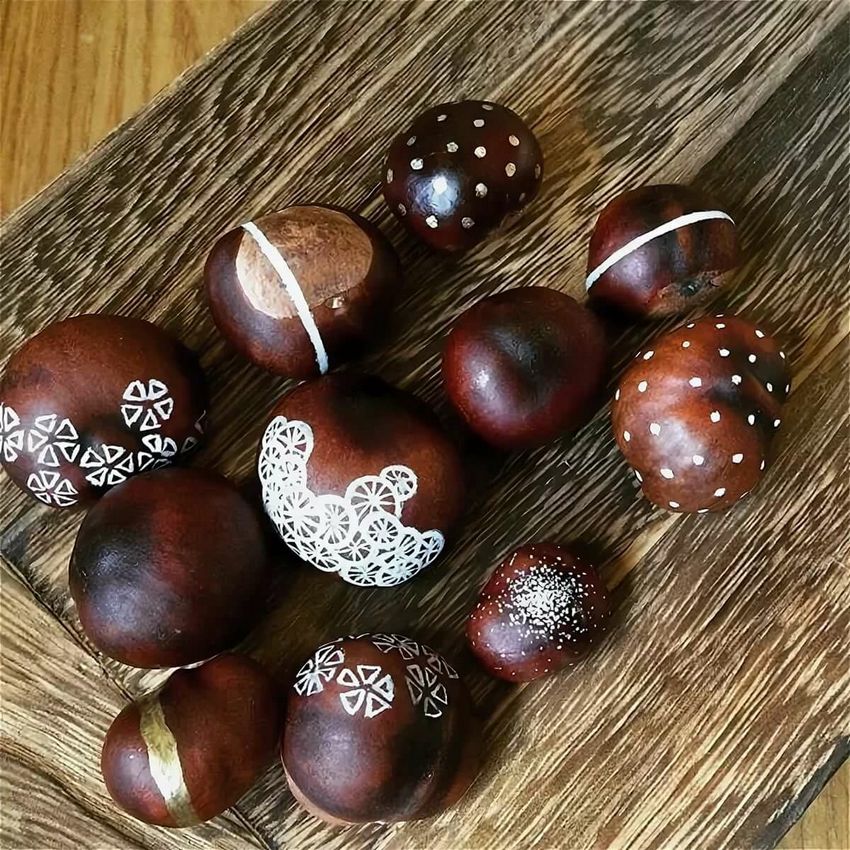
Kids can be offered to paint large nuts with bright colors of their choice.
Crafts for younger students
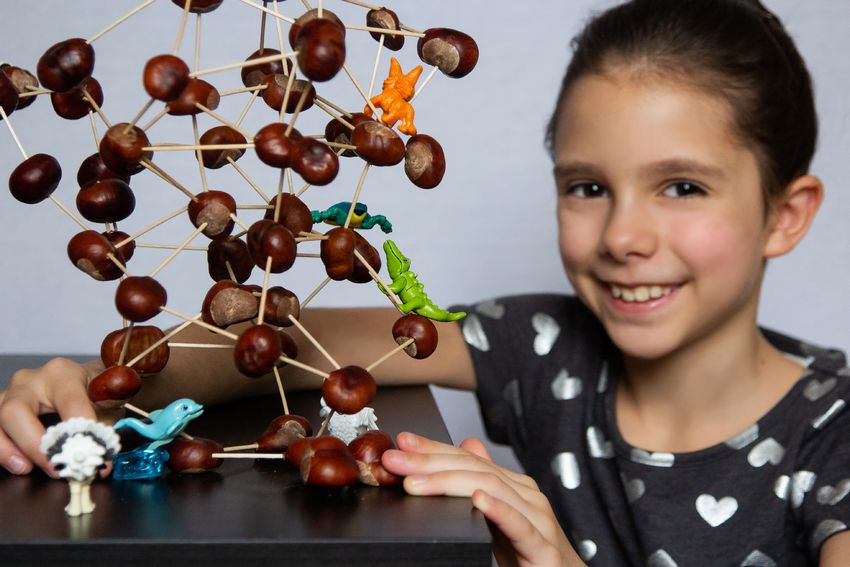
More complicated crafts can be made together with primary school age children.
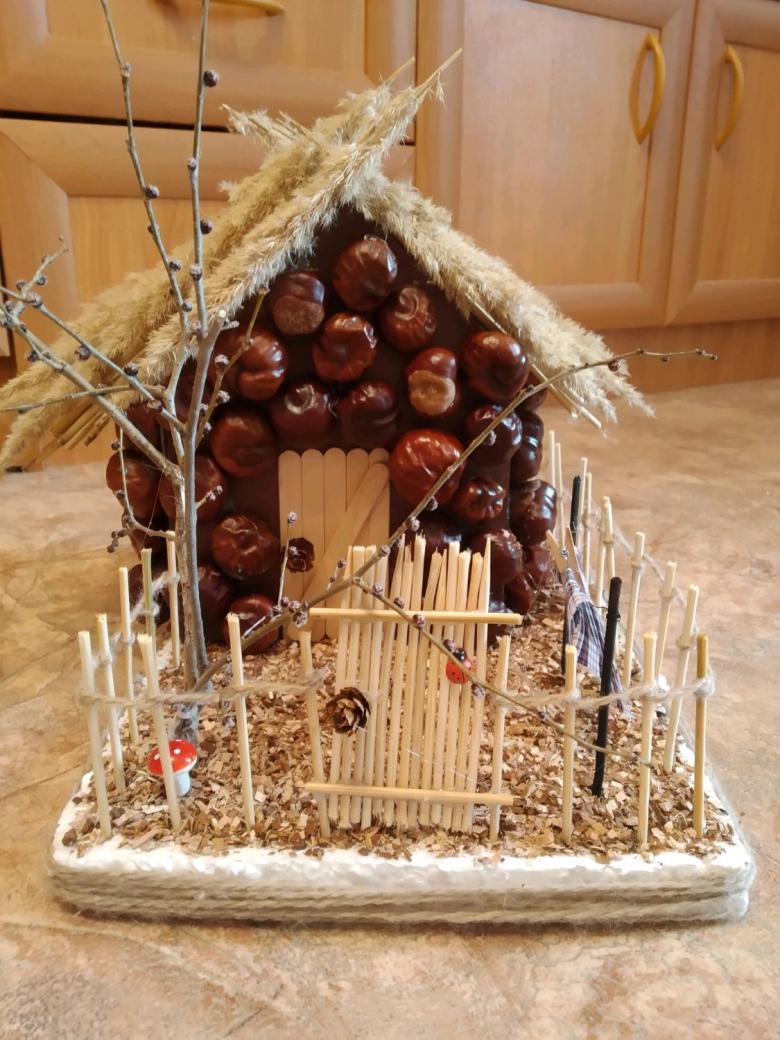
Fairy House
For the work we need to prepare:
- a low cardboard box as a base;
- a box for the house;
- plasticine;
- chestnut tree nuts;
- dried leaves;
- PVA glue.
Order of work.
- The cardboard base should be covered with a thin layer of plasticine. Along the edges, fix the leaves of the trees.
- The box-base for the house, complement the roof of cardboard.
- Cover the workpiece with plasticine or glue, fix neatly with nuts.
- Complement the house windows and the door of paper.
- Stove pipe is easy to mold out of clay.
- Dried house fix on the base.
- The roof is easy to decorate with twigs or dried grass.
- Complement the base with a decorative pond of blue plasticine.
Additions to the fairy-tale hut is not difficult to make from materials of natural origin.
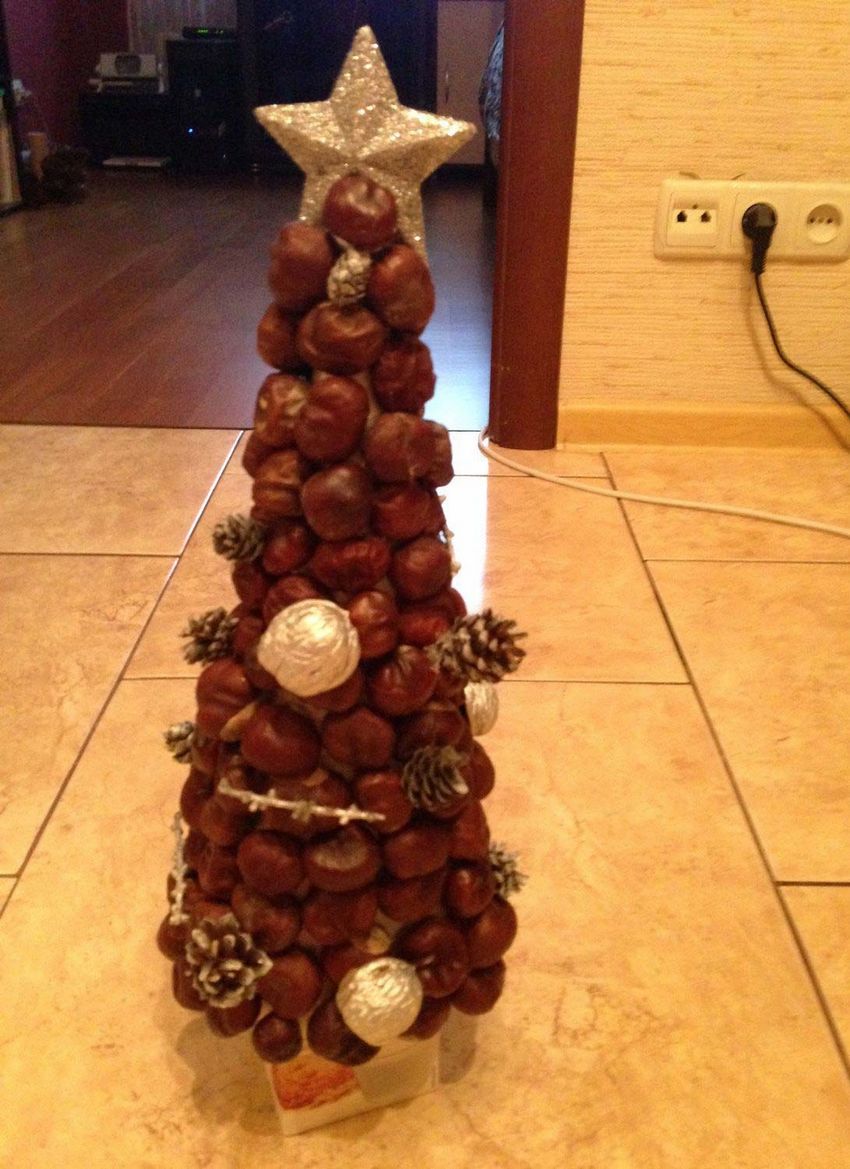
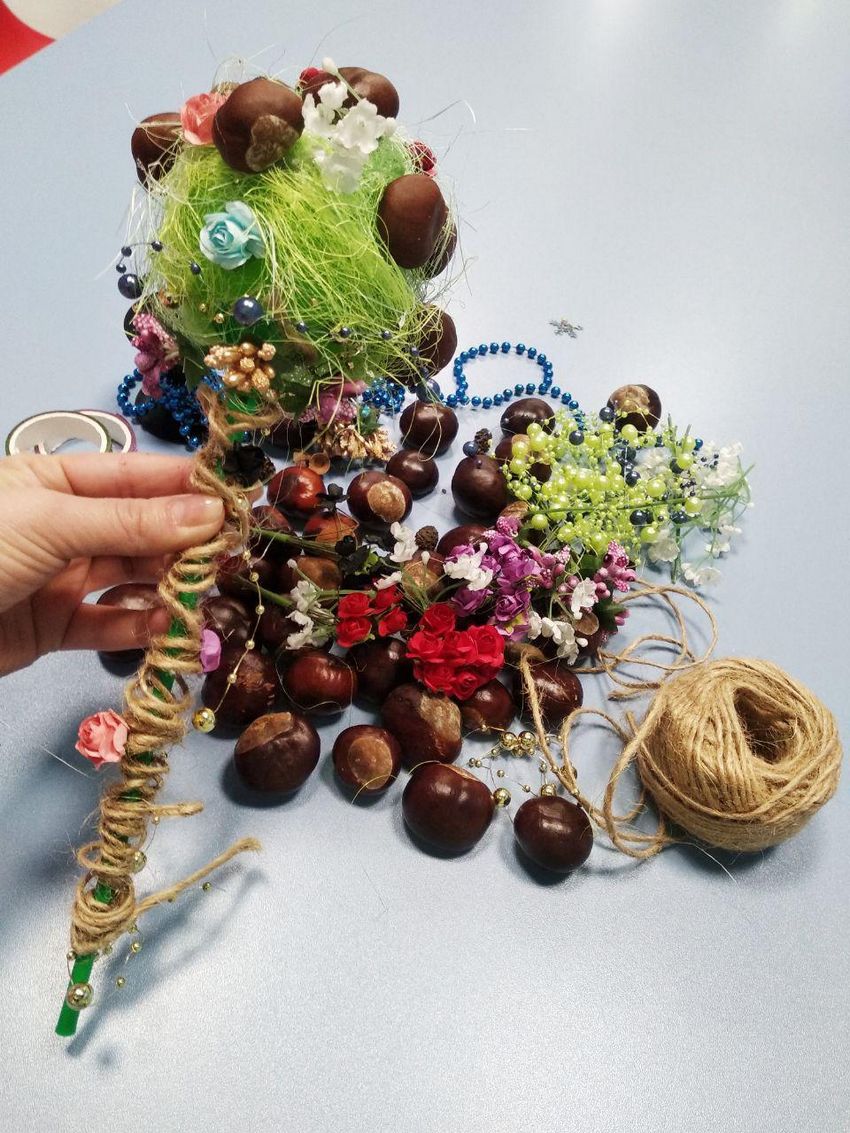
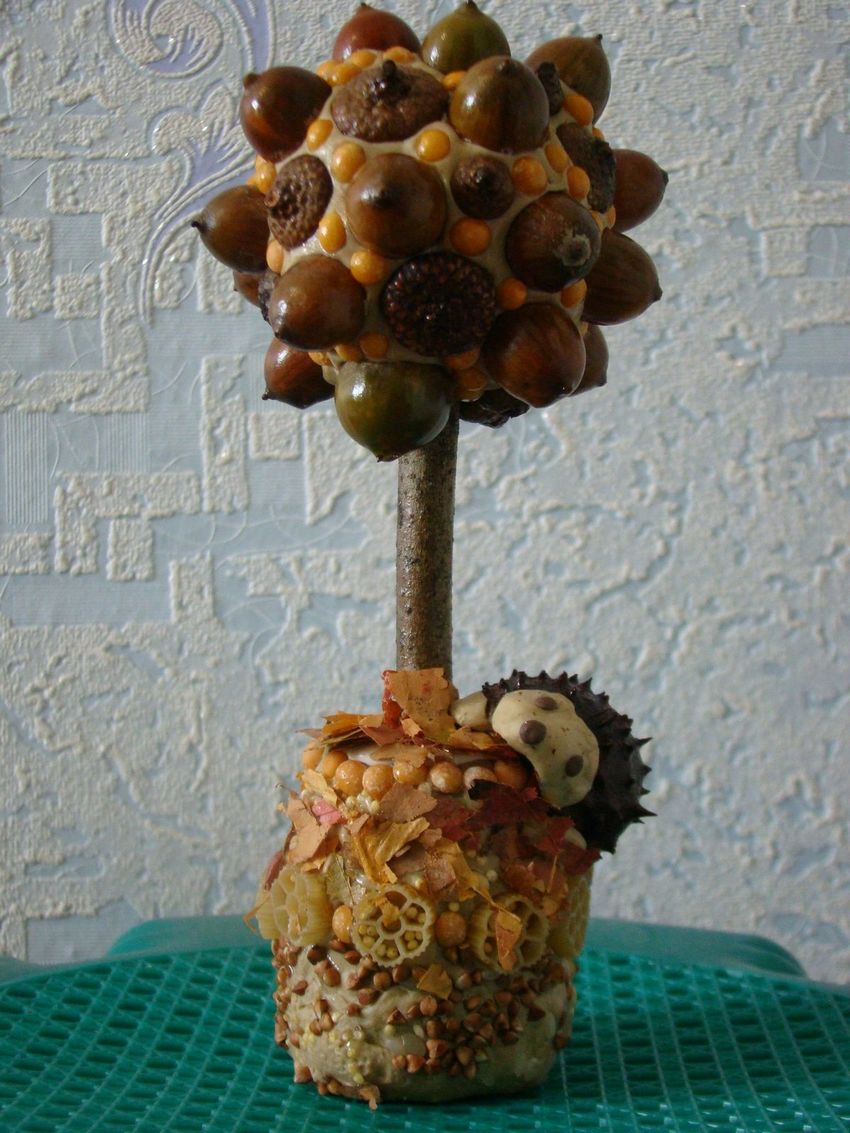
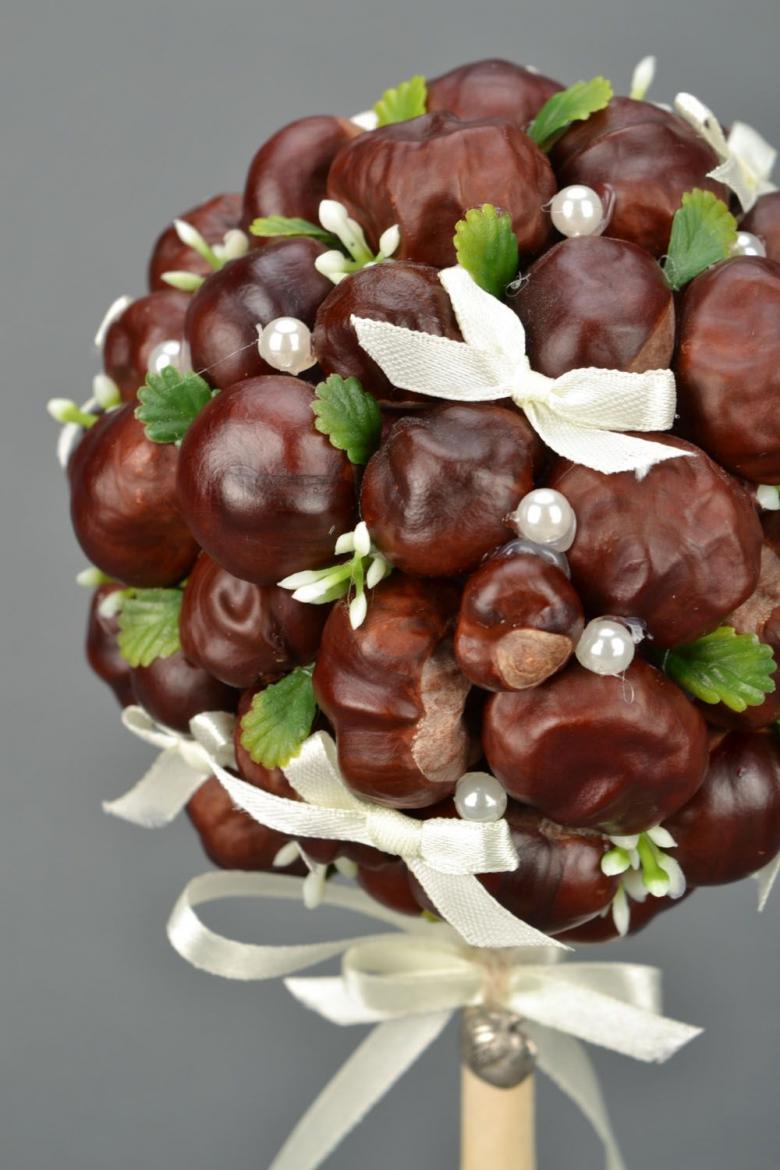
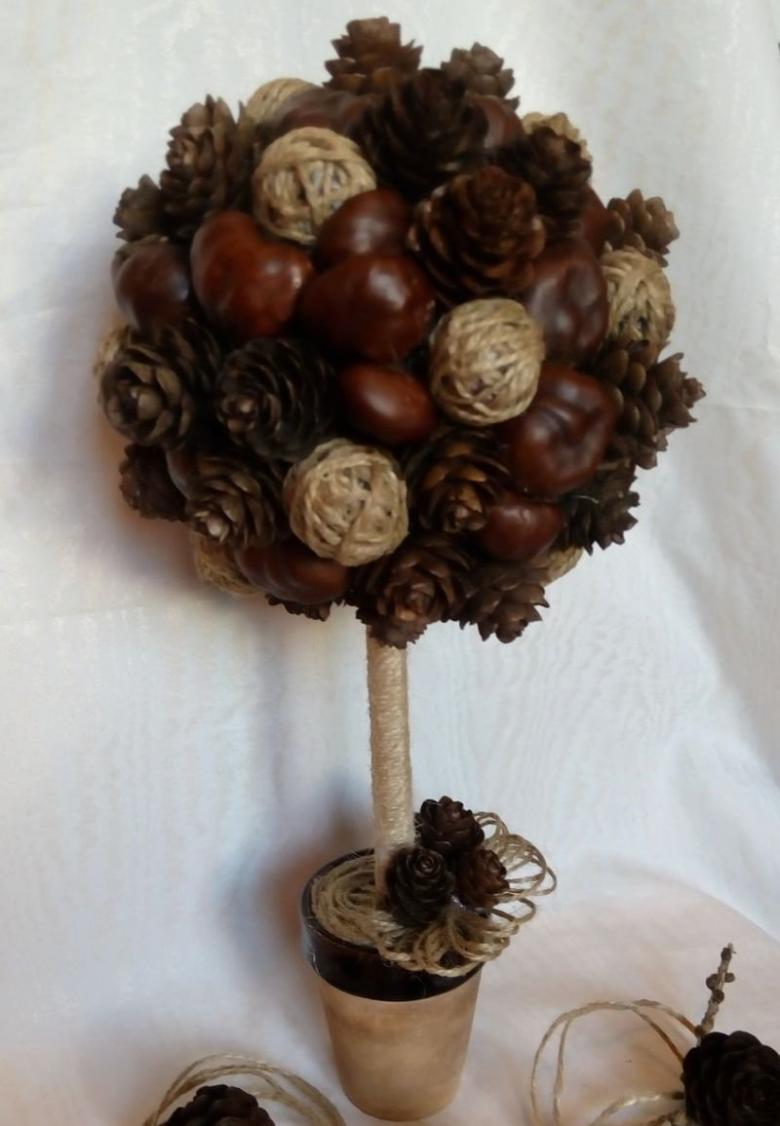
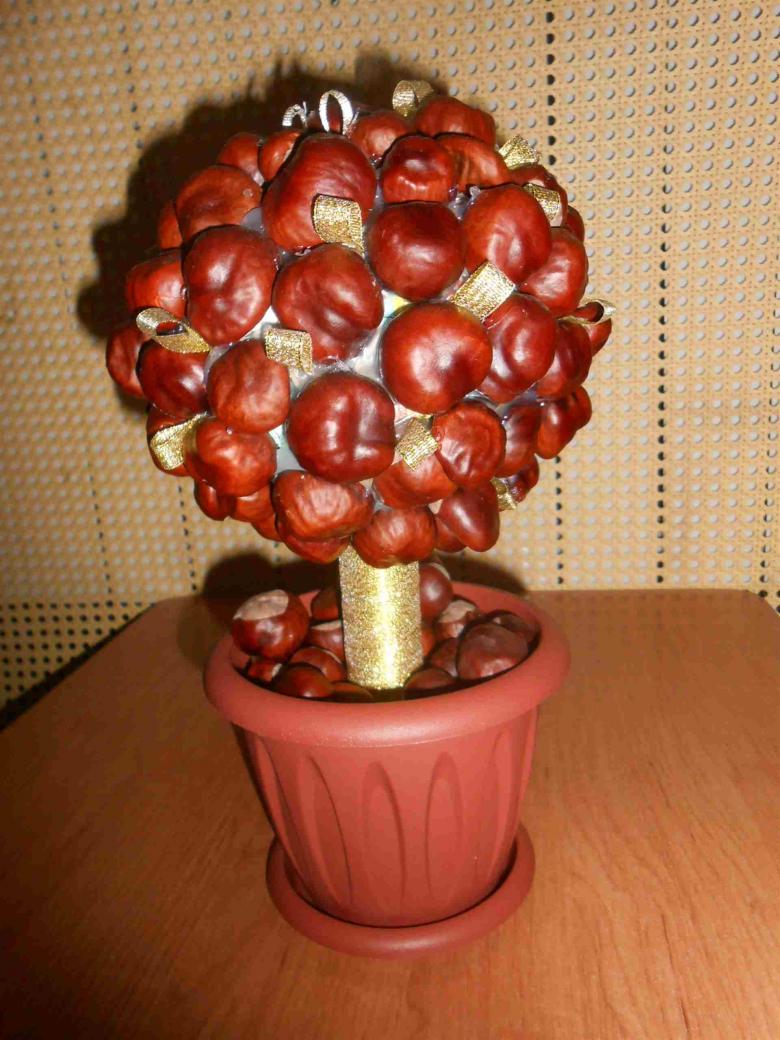
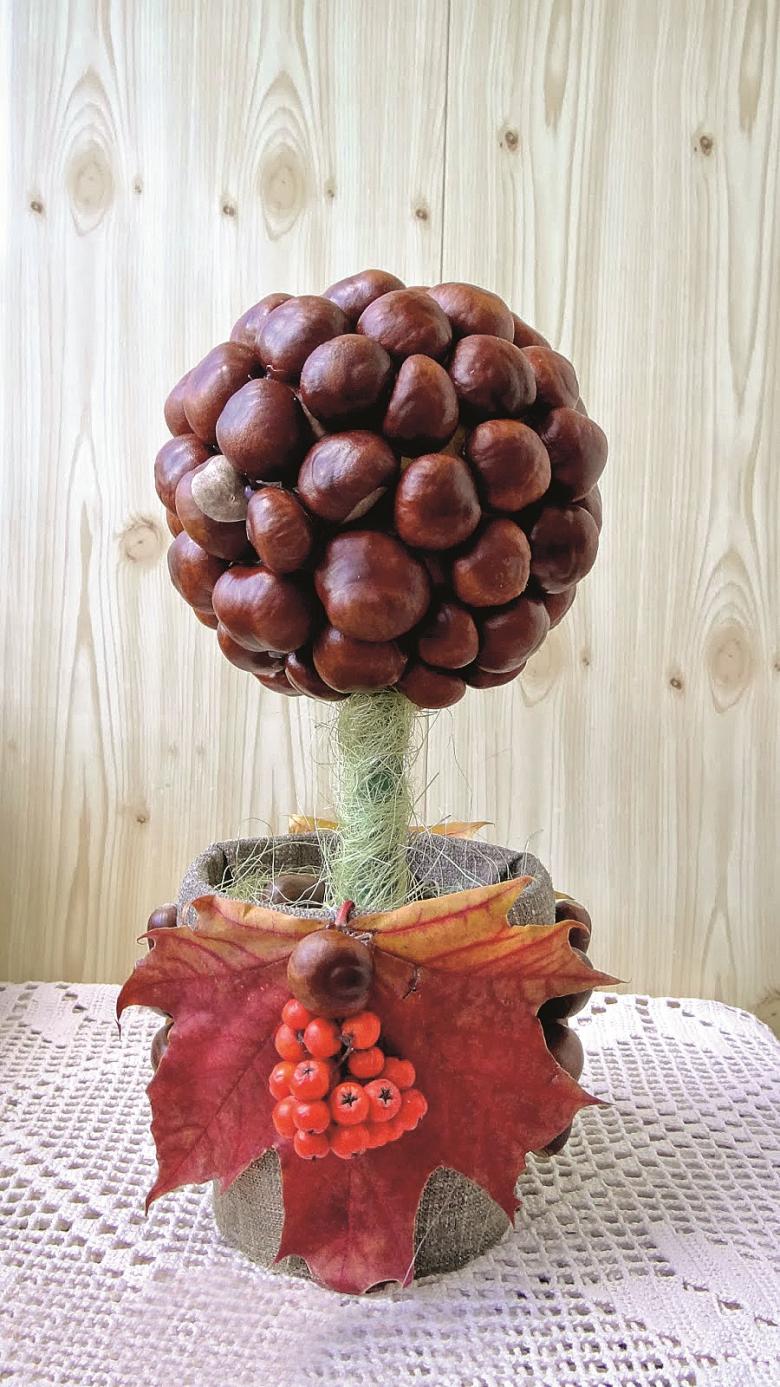
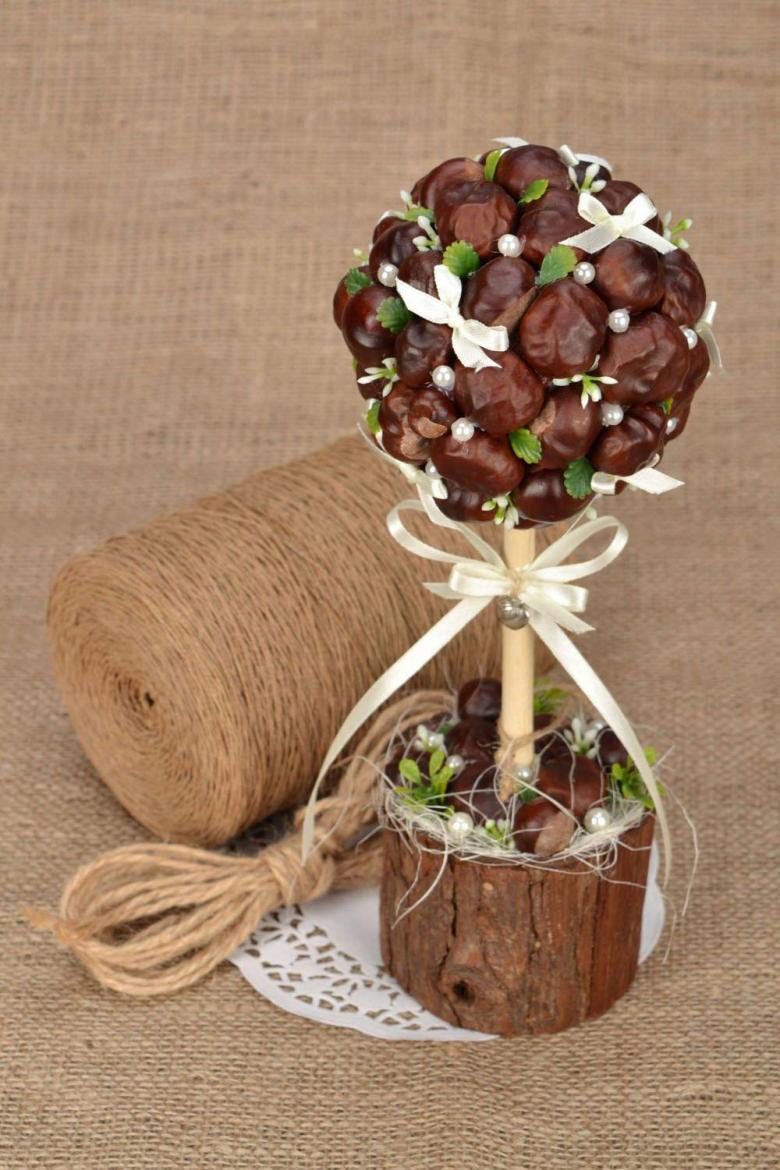
Chestnut topiary
Chestnut crafts with their own hands is not difficult to make and decorate the interior.
The original topiary, in the design of which nuts are used instead of coffee beans, will perfectly complement the home environment.
For the work it is necessary to prepare:
- flower pot;
- stick and ball;
- nuts;
- quality glue;
- plaster;
- colorless varnish;
- decorative elements.
Order of work.
- Using quality glue, decorate the ball-the base of the topiary.
- Carefully wrap the stick with a ribbon, fix it with a drop of glue.
- Strengthen the workpiece in the pot with plaster.
- After the product dries, decorate the primer. It is easy to paint or cover it with moss.
- Model easy to decorate more to your liking and varnish colorless.
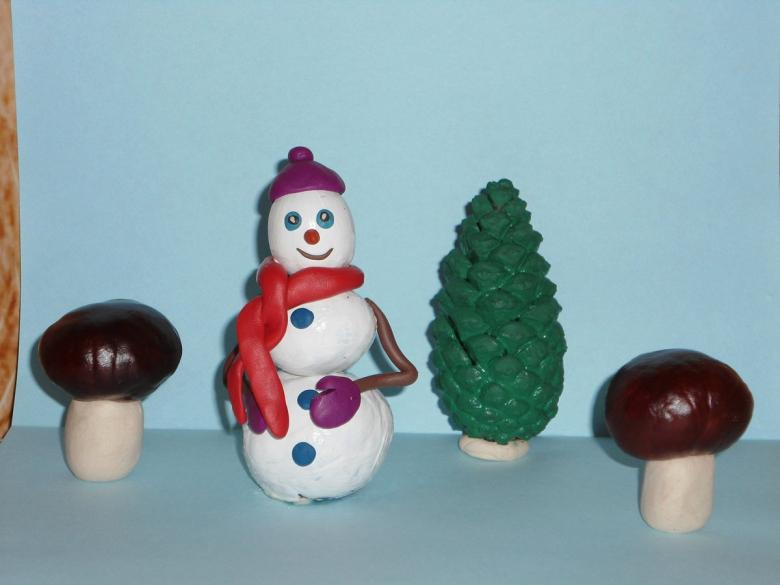
Similarly, easy to make and Christmas tree. As the basis is convenient to use a cone of cardboard or ready-made base of similar shape.
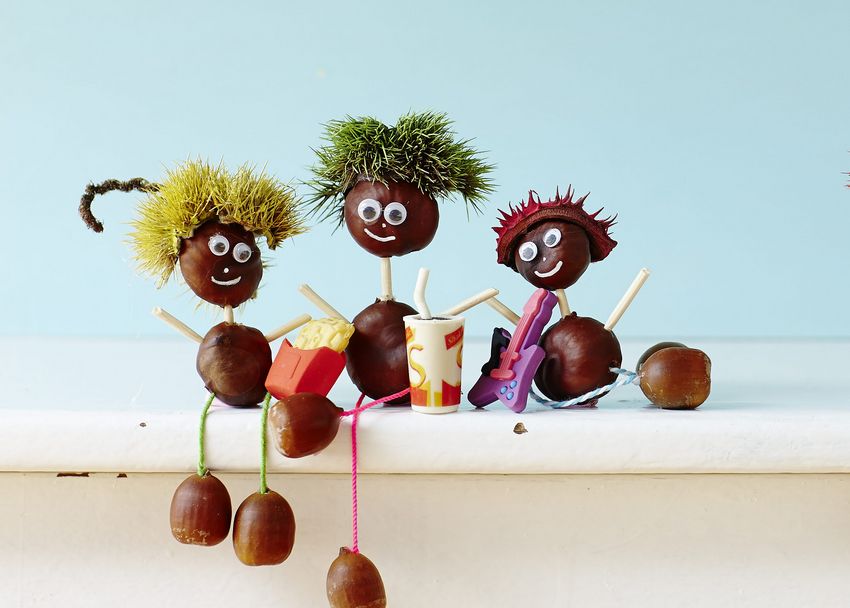
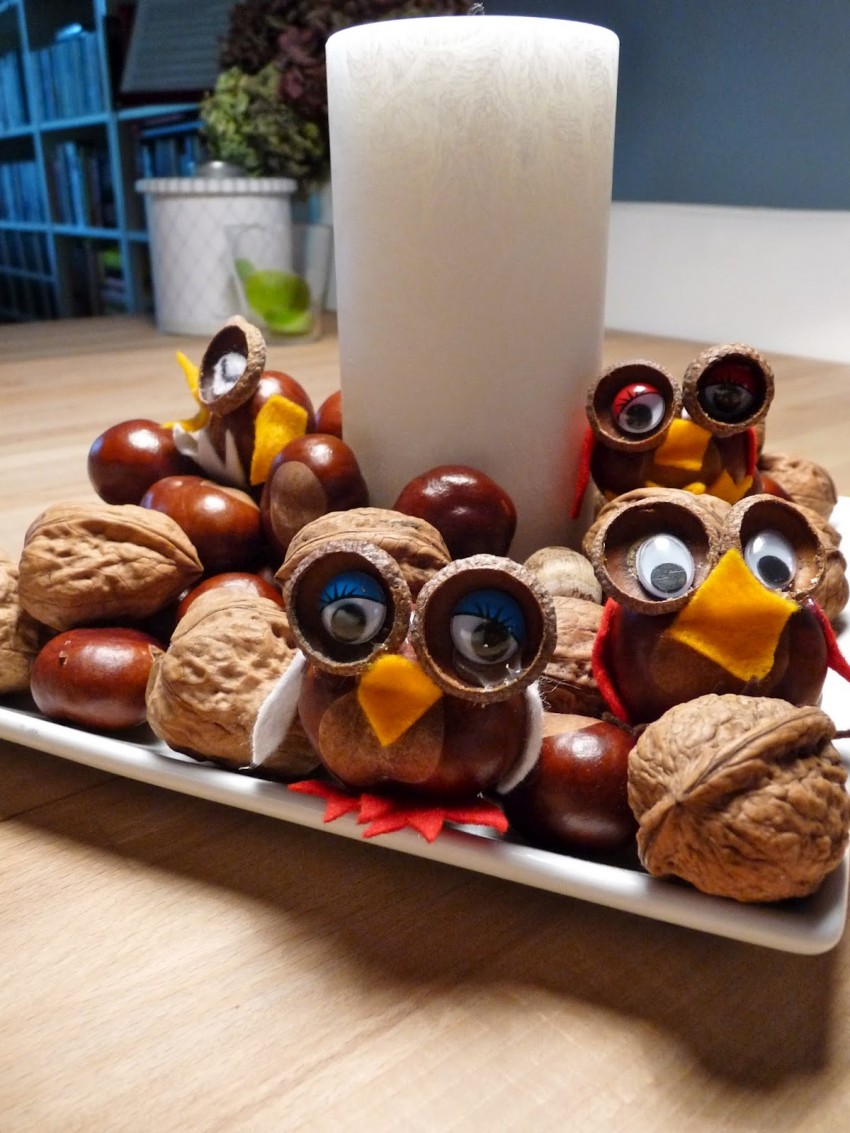
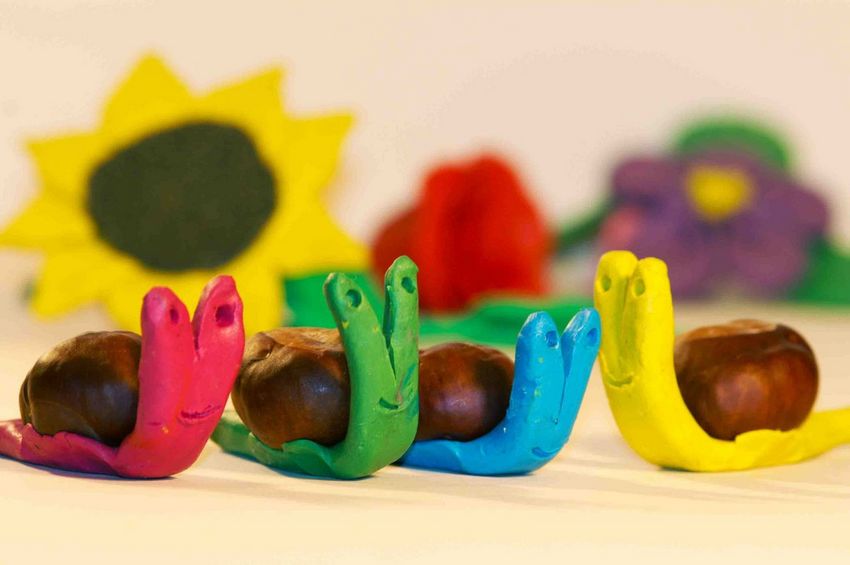
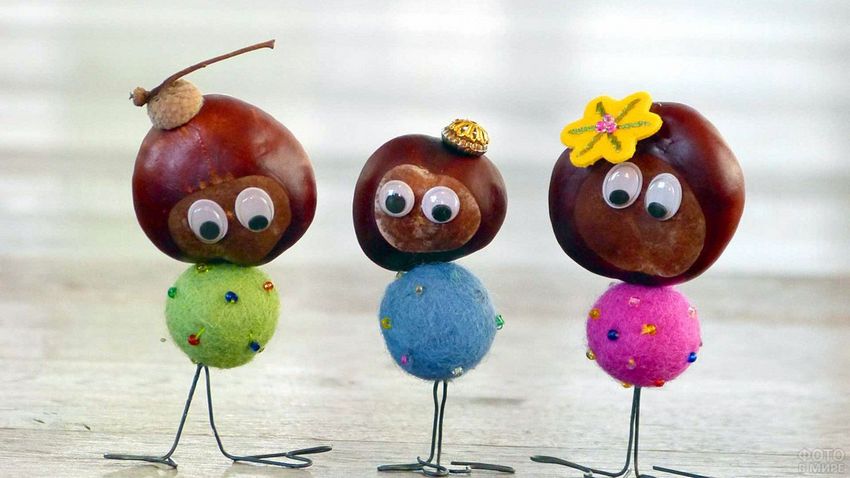
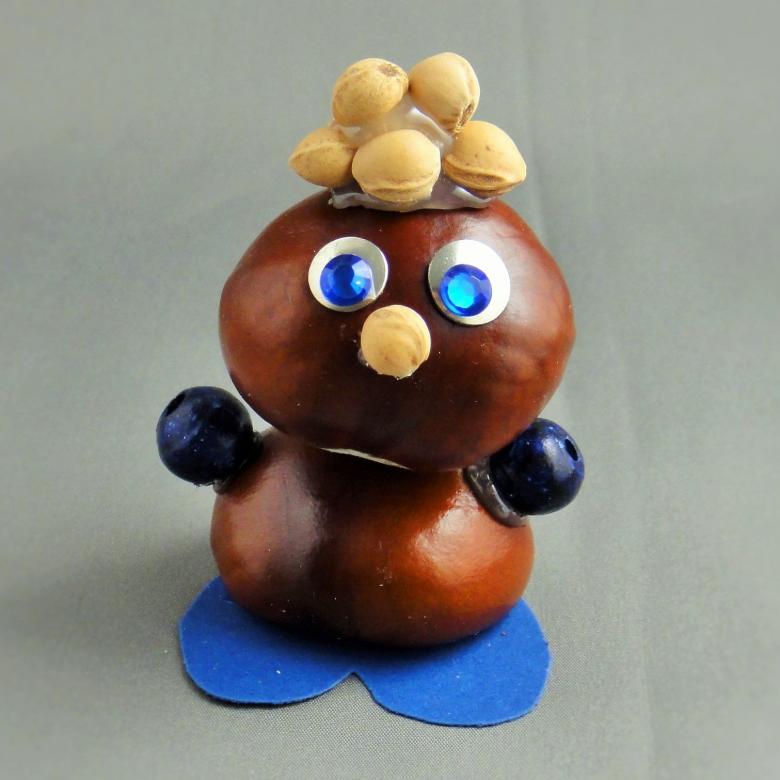
Continuing the New Year's theme, it is easy to make a family of funny tadpoles in brightly colored caps out of chestnuts.
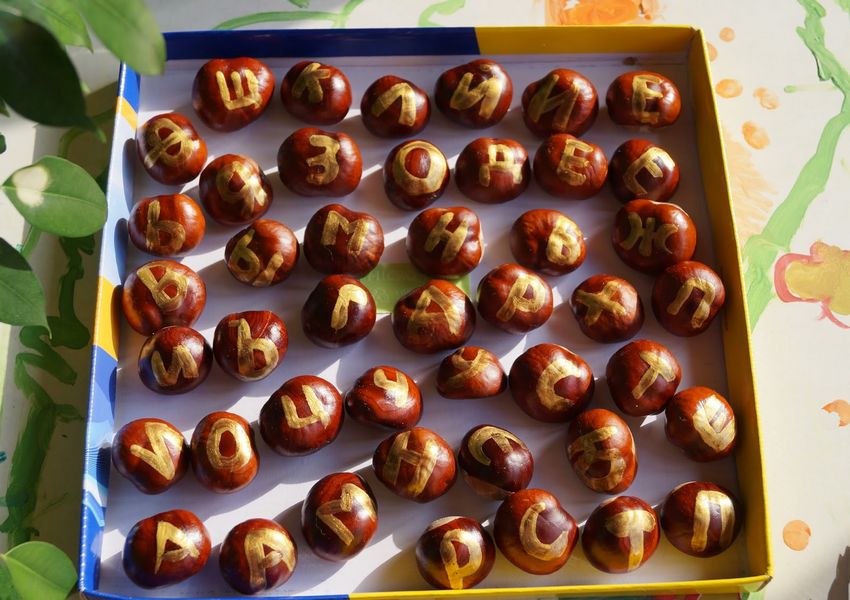
The original visual aid made from nuts with numbers or letters on them will help your child learn the basics of counting or the alphabet.
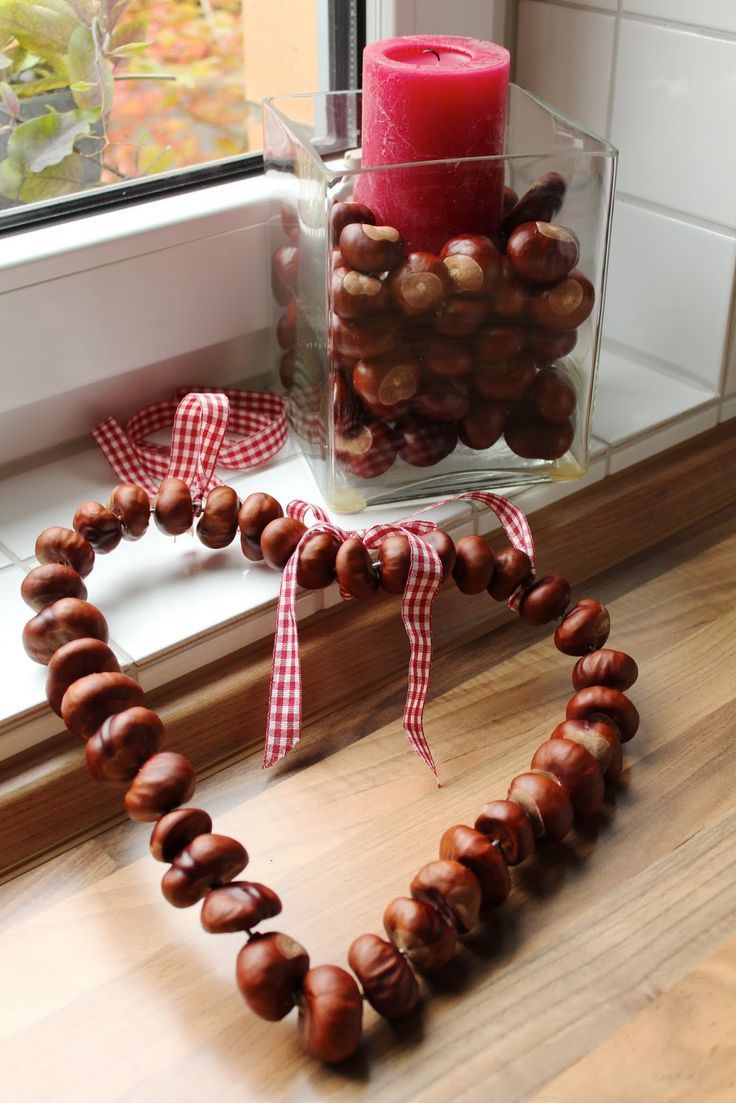
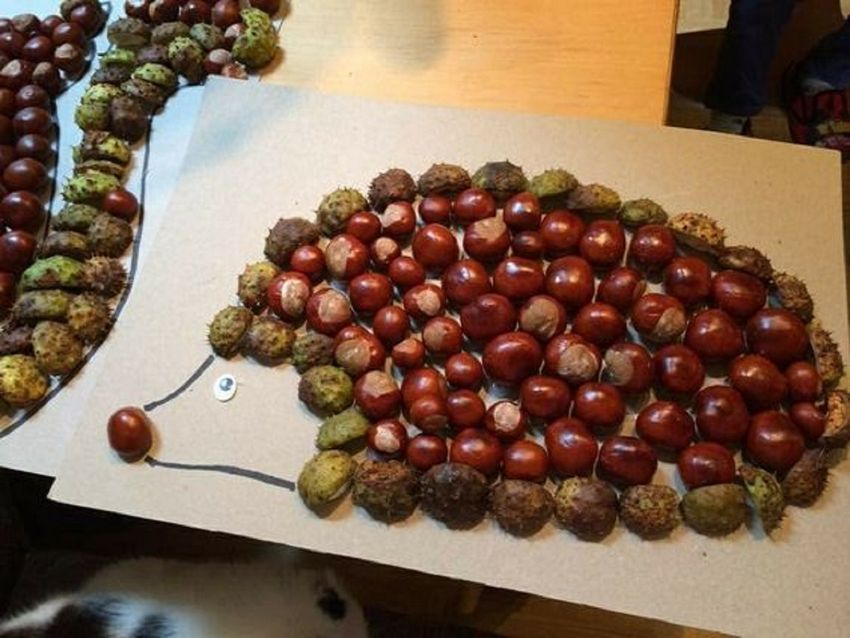
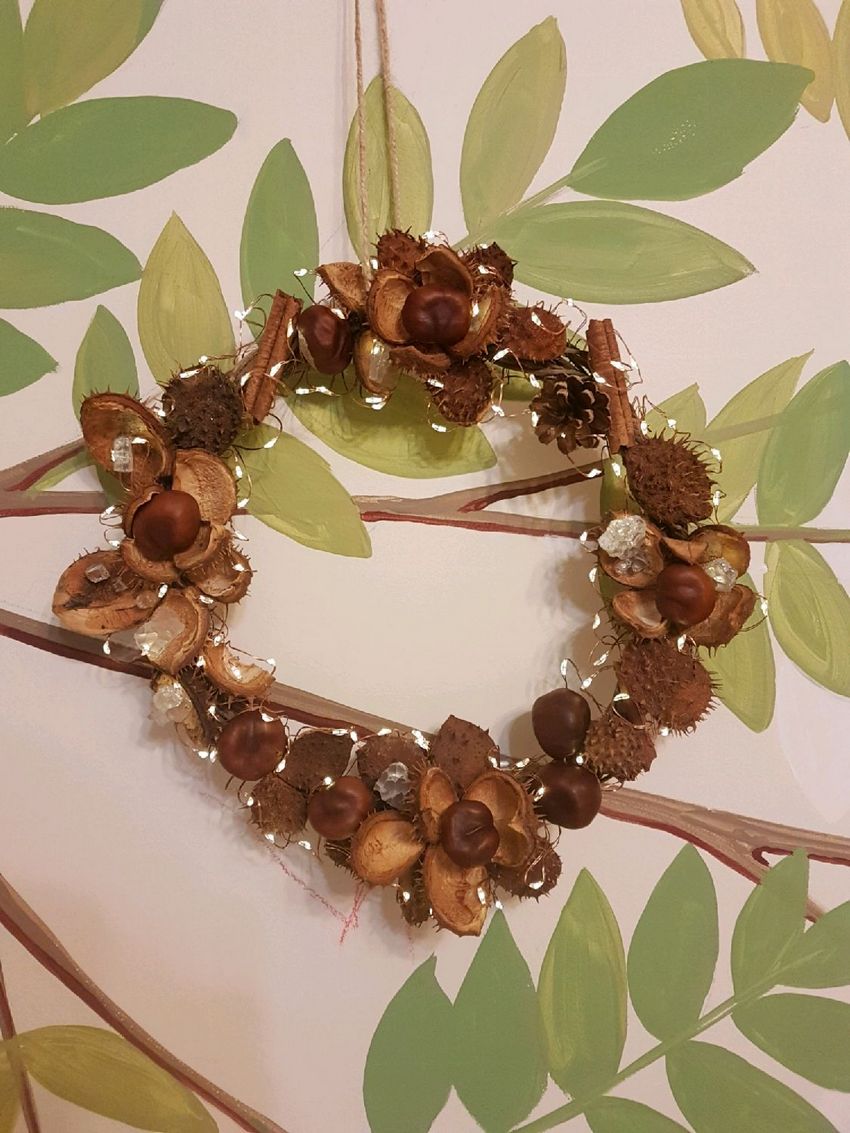
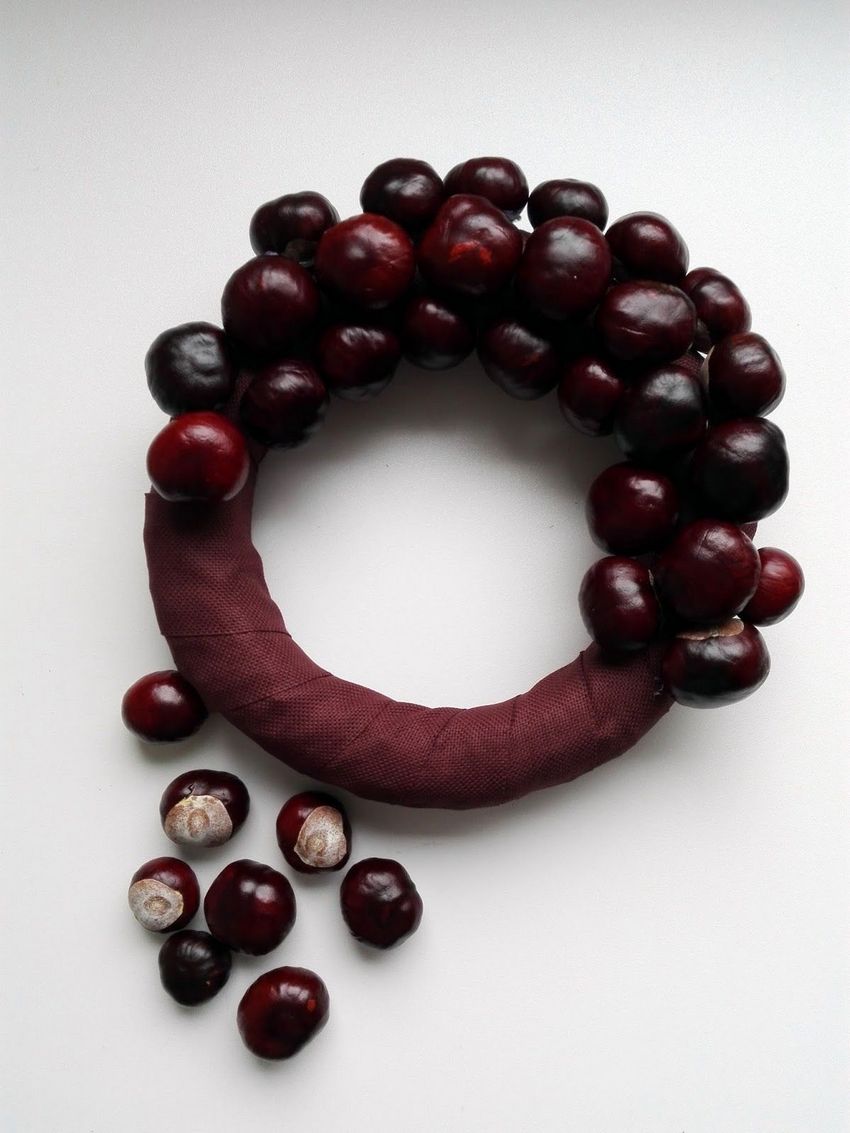
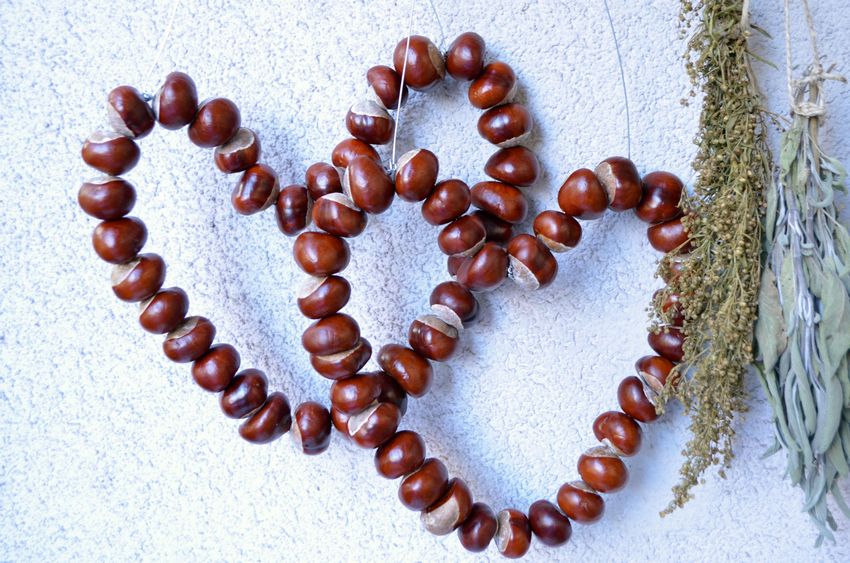
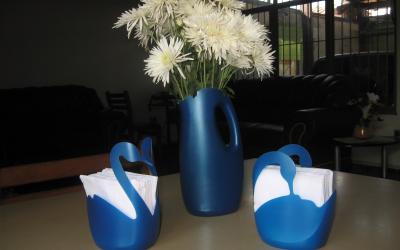
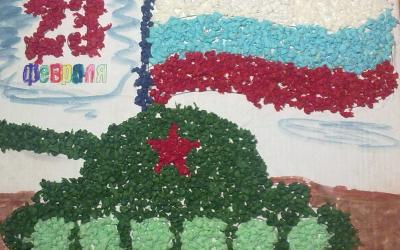
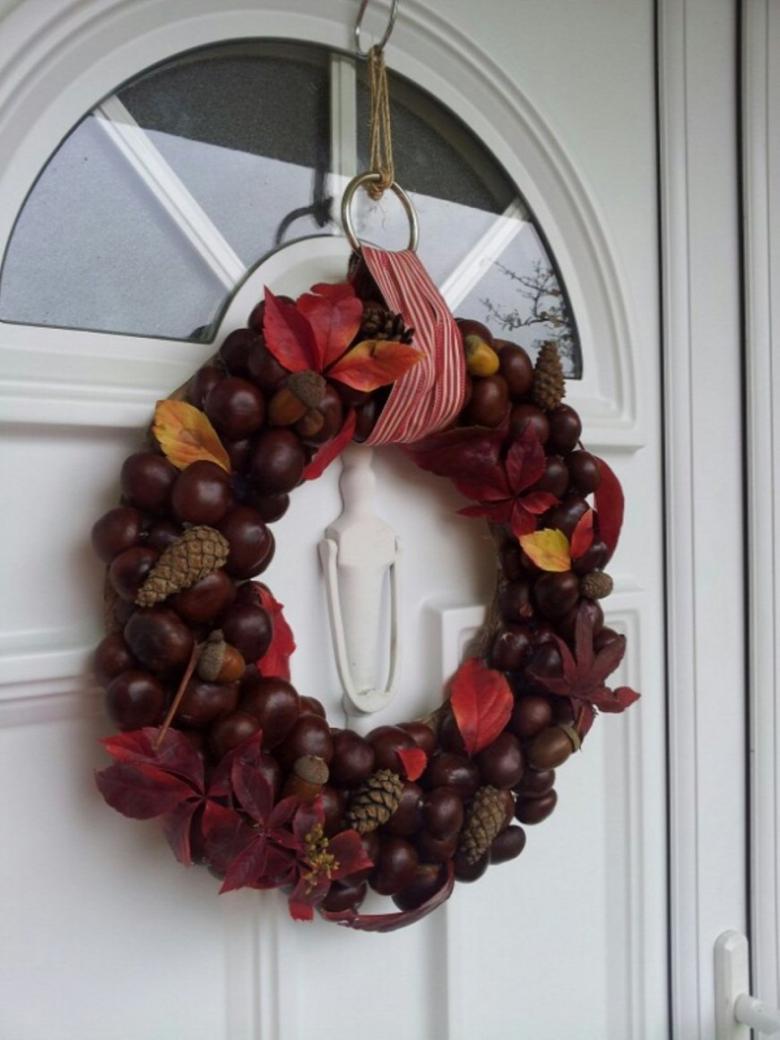
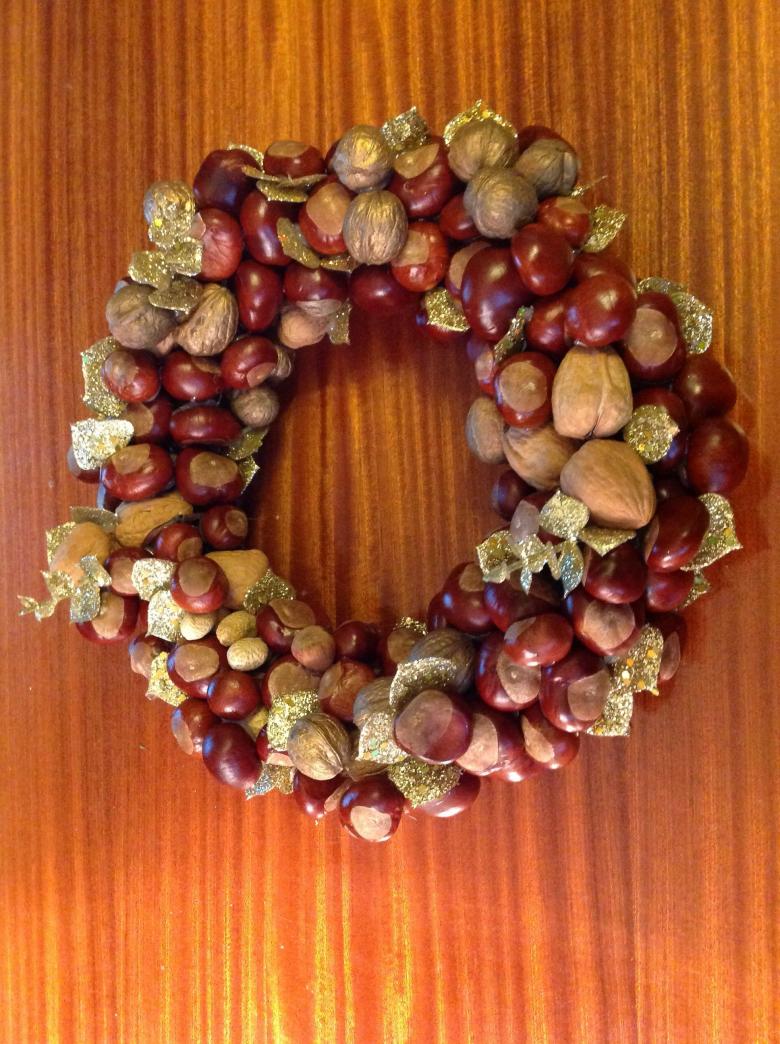
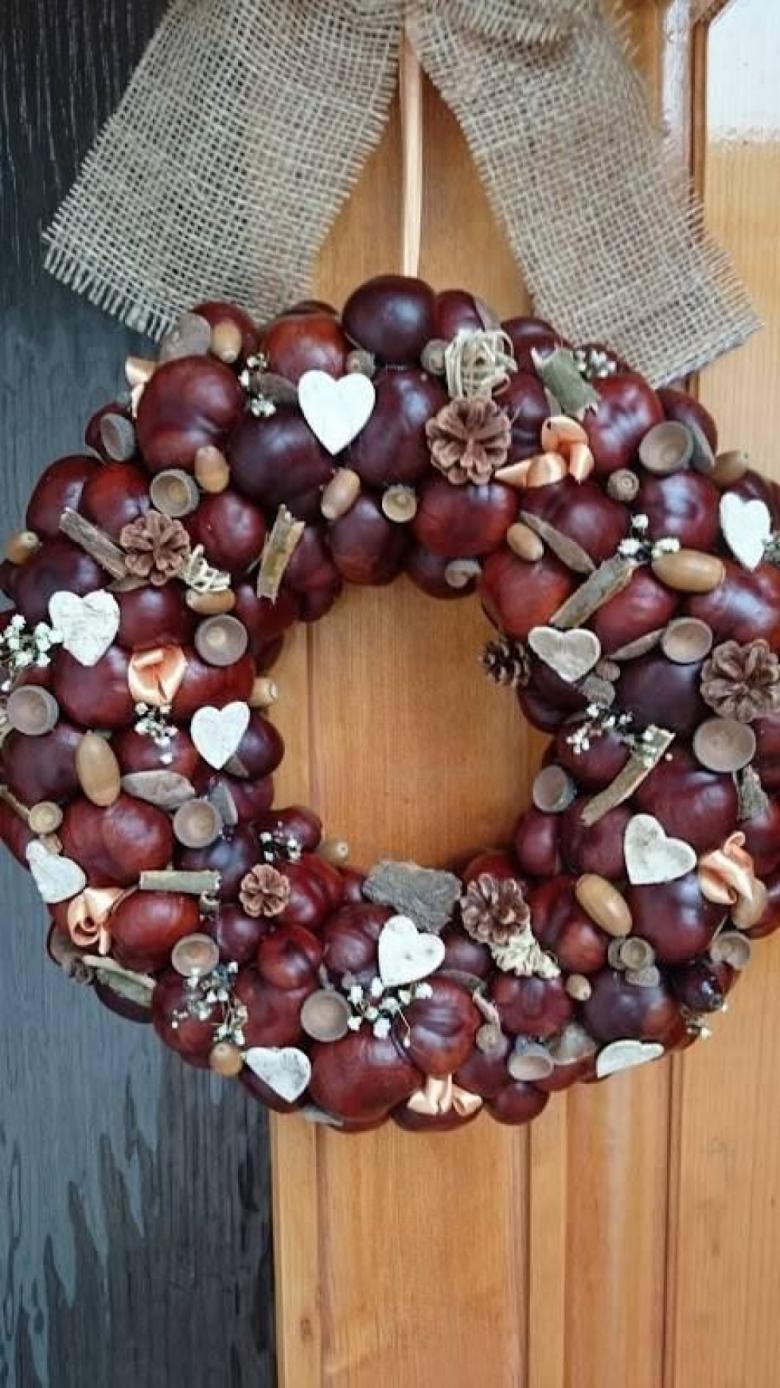
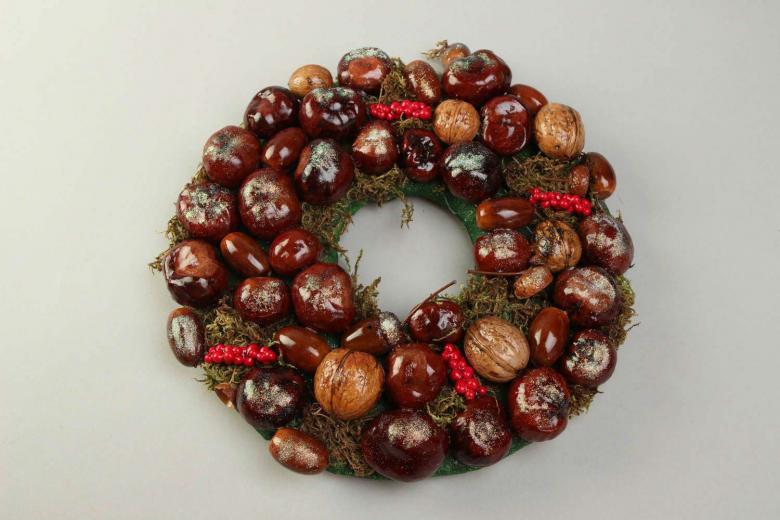
When you collect a lot of chestnuts, it's easy to make a beautiful wreath from them, decorate a vase or create an original wall panel.
Creating original crafts is a great way to spend time with your family.
Photo examples of chestnut crafts