Winter crafts - the best ideas and how to make them
In snowy winters, there is something for a child to do during the day - to play snowballs, skate or sled, but quickly comes a long, gloomy evening and parents "drive" the children home.
That's during this period is the time to do various crafts and handicrafts, especially since very often in kindergarten, and at school give children the task - to prepare some of their own handicrafts on a winter theme.

Specially to buy the necessary materials do not have - everything you need to make original things, it is easy to find in any home.
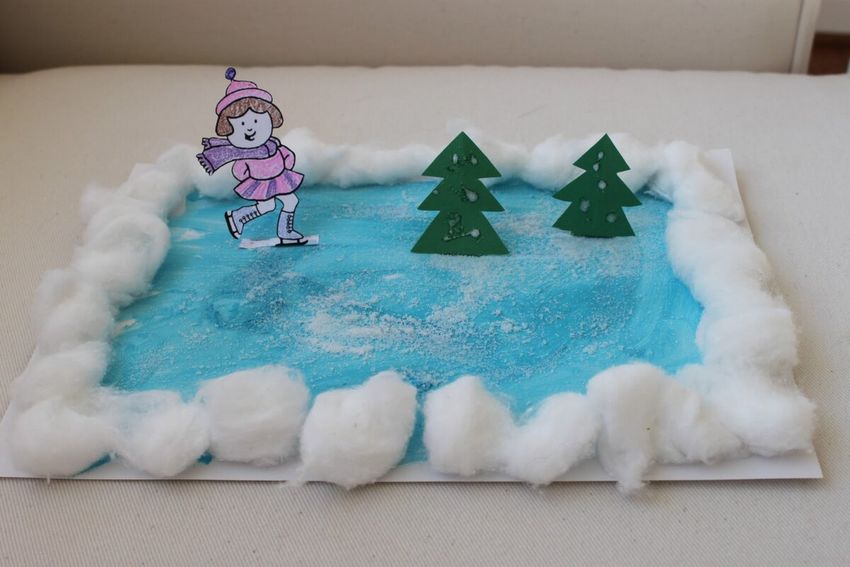
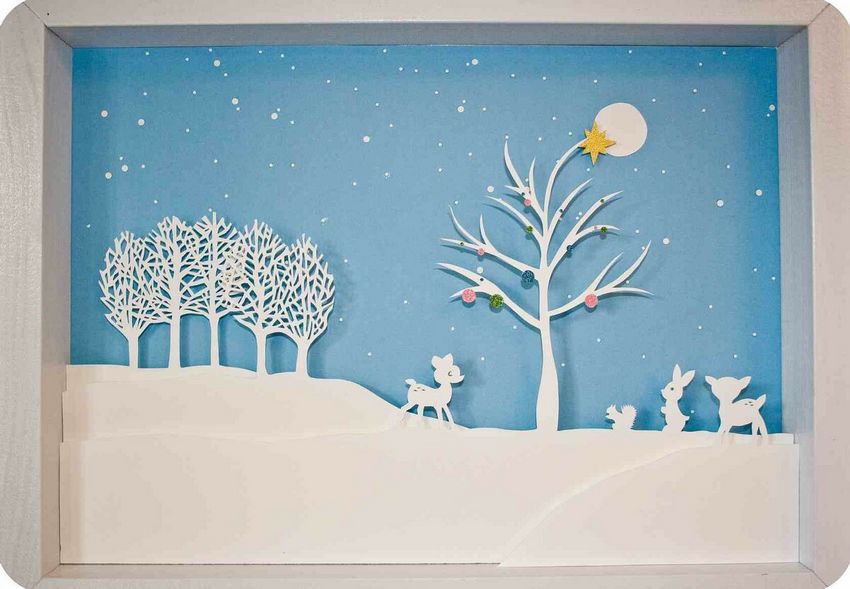
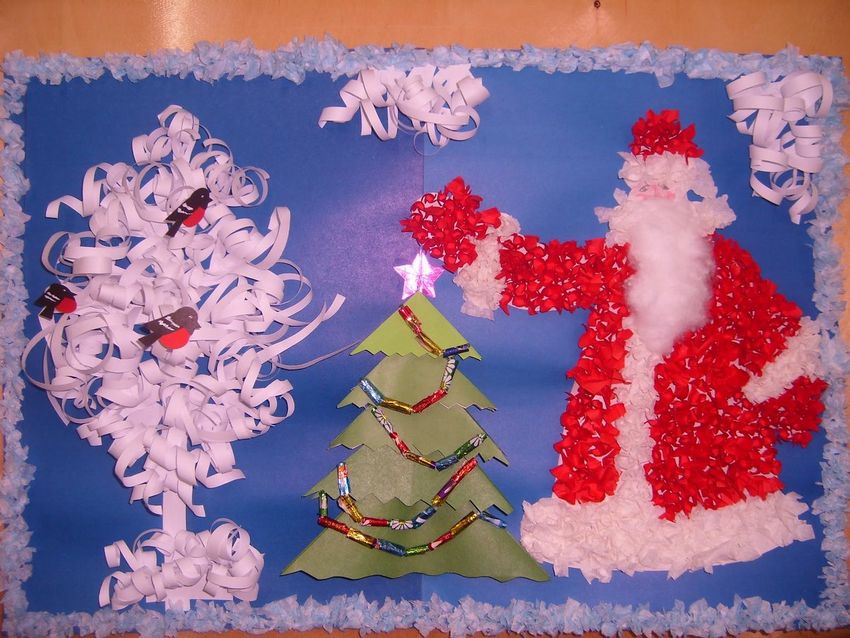
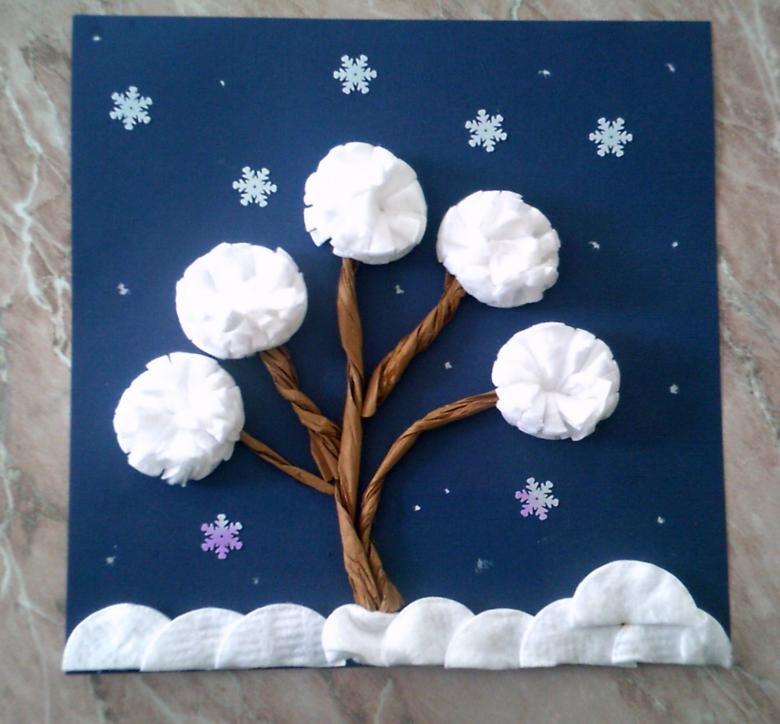
The simplest applique
Work on crafts is possible with children from one and a half years of age. To make an applique you will need:
- sheets of colored cardboard;
- absorbent cotton and scissors;
- glue.

Work process
Those actions, which will require scissors, should be carried out by an adult. This will be cutting out the trunks and branches of the trees. The rest of the work can be given to the kid.
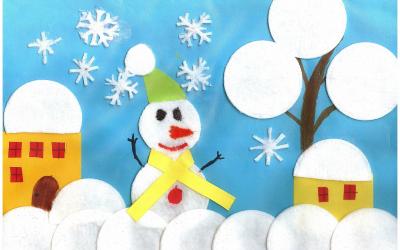
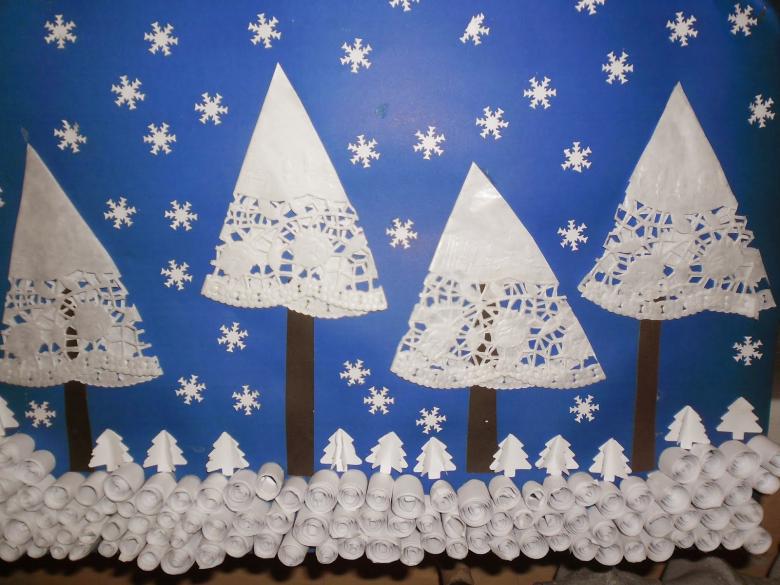
- Tree trunks and branches are glued on a sheet of blue cardboard.
- The absorbent cotton is torn, to get shapes of clouds, drifts, snow lying on the branches.
- Under the supervision of an adult, the shapes are glued to the appropriate places in the appliqué.
Picture of a snow-covered forest and the sky covered with clouds is ready.
Benefits .
Such work not only entertains the child, but also develops necessary skills in the baby, such as:
- activation of the work of the brain;
- development of fine motor skills;
- promotes the development of imagination and fantasy.
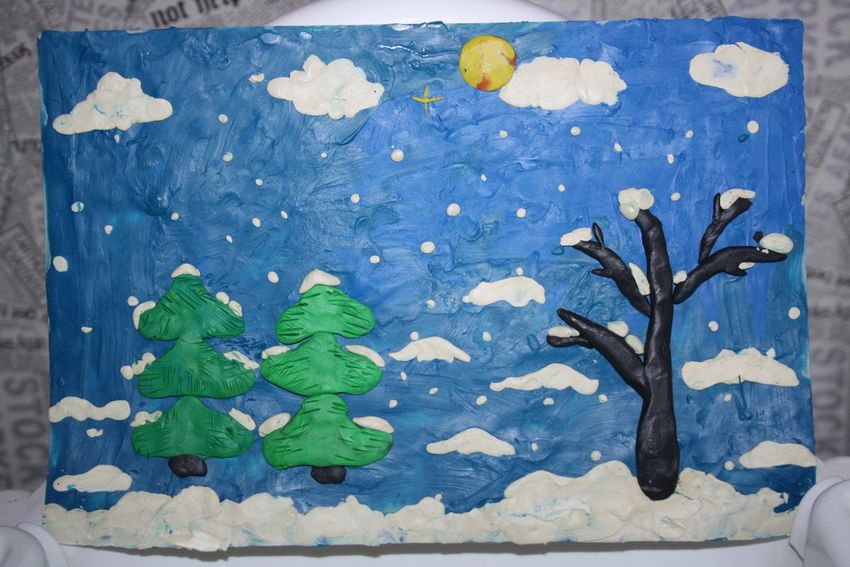
Another simplest option
We offer another way of easy crafts on the theme of "Winter" with the youngest children. And in this case we do with improvised materials:
- black cardboard;
- glue;
- salt or semolina.

How to Works
On a sheet of cardboard adult glue draws a simple composition - a house, Christmas tree, tree, month in the sky and the stars. Offer a child to do a "trick" and sprinkle the entire area of the picture with salt or semolina.

Then gently blowing off the extra "powder" and oh my God, a picture of a snowy moonlit night comes to life in front of your child!
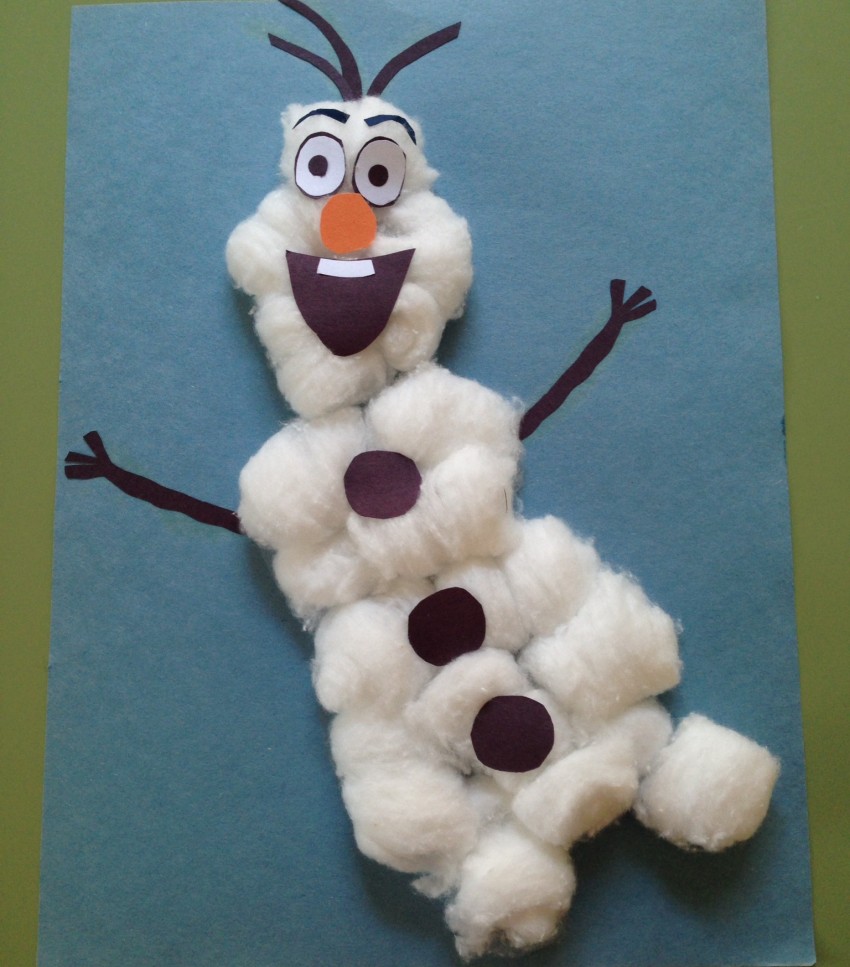
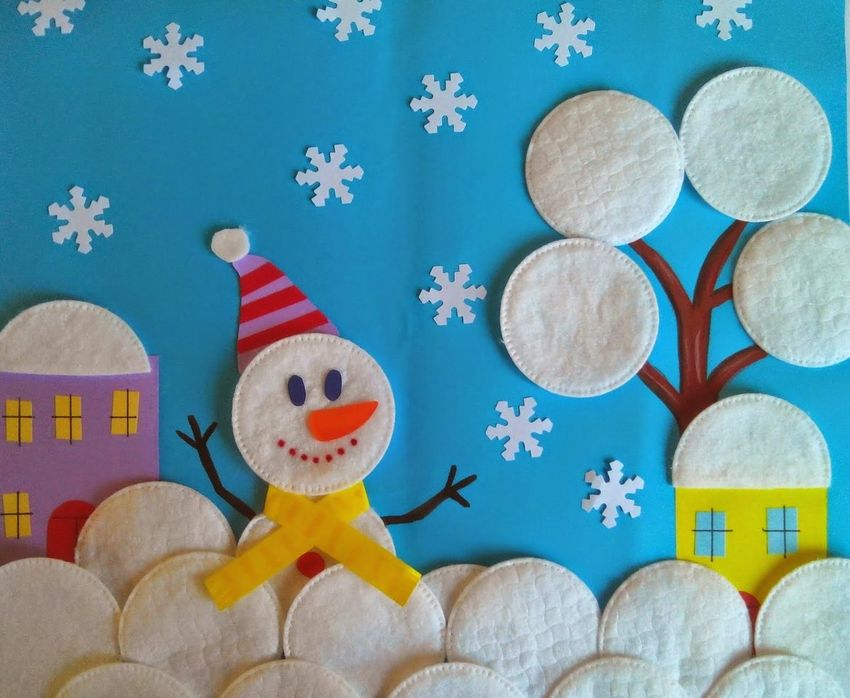
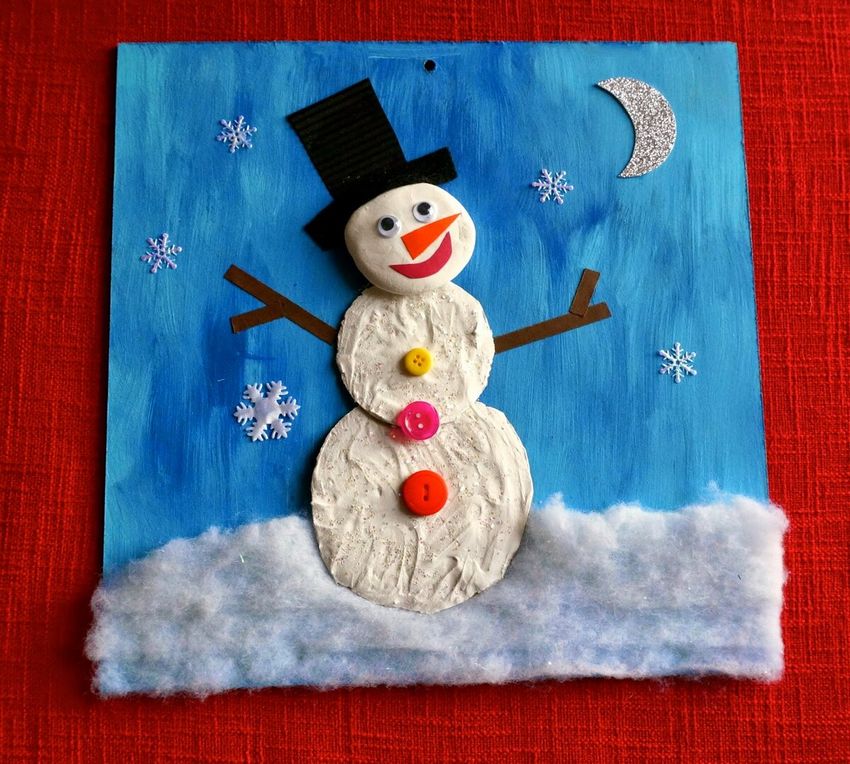
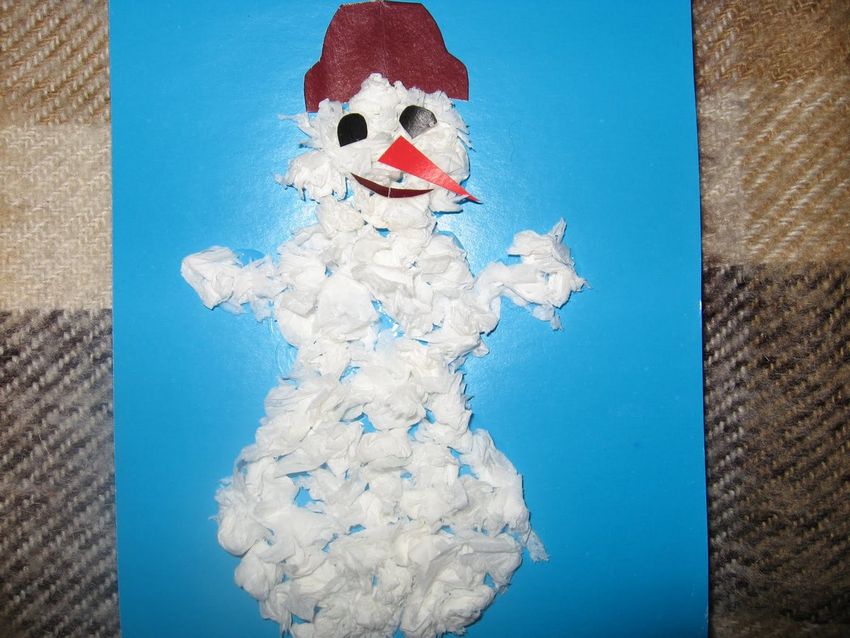
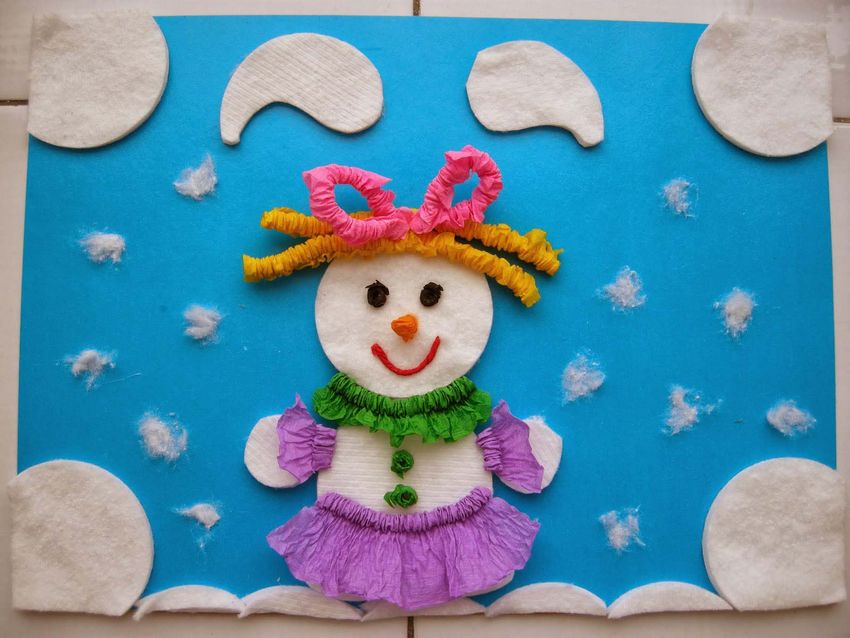
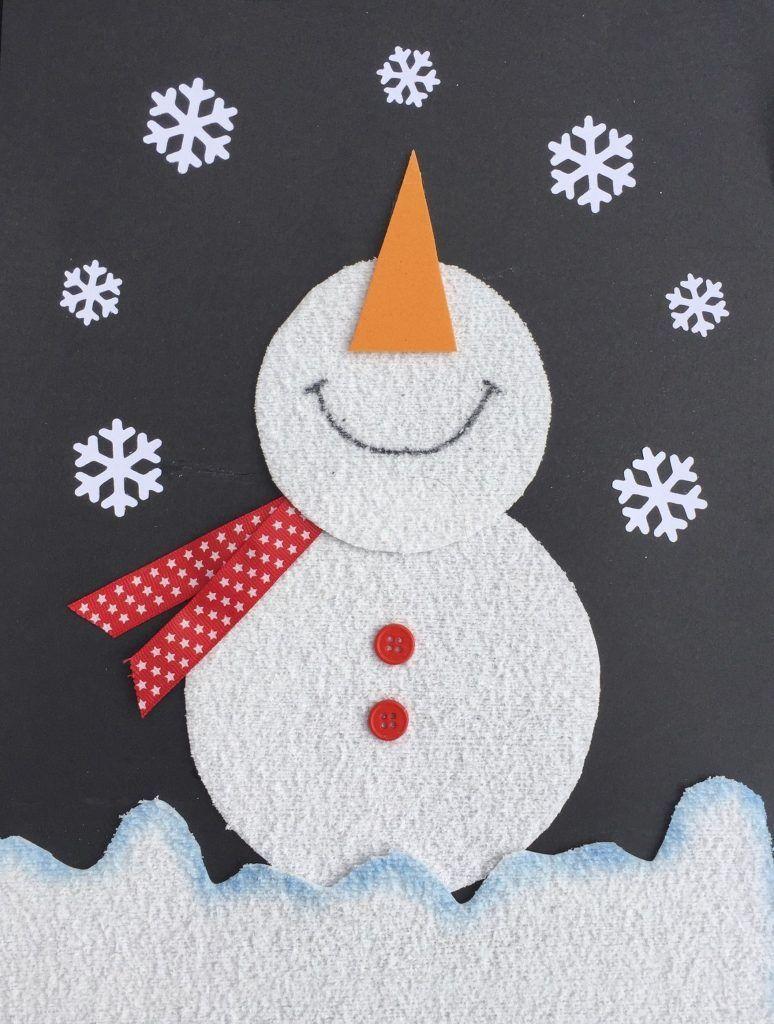
Snowmen .
To make cute snowmen will be required:
- cotton disks;
- cardboard in different colors;
- Glue and scissors.

Glue the cotton disks - the base of the future snowmen - onto cardboard. Cut out additional parts of the snowmen from cardboard of appropriate colors:
- mouth and nose;
- a bucket and a broom;
- a scarf.
All work on gluing the cotton disks and parts of the "body" and "tools" of the snowman may well be entrusted to a child.
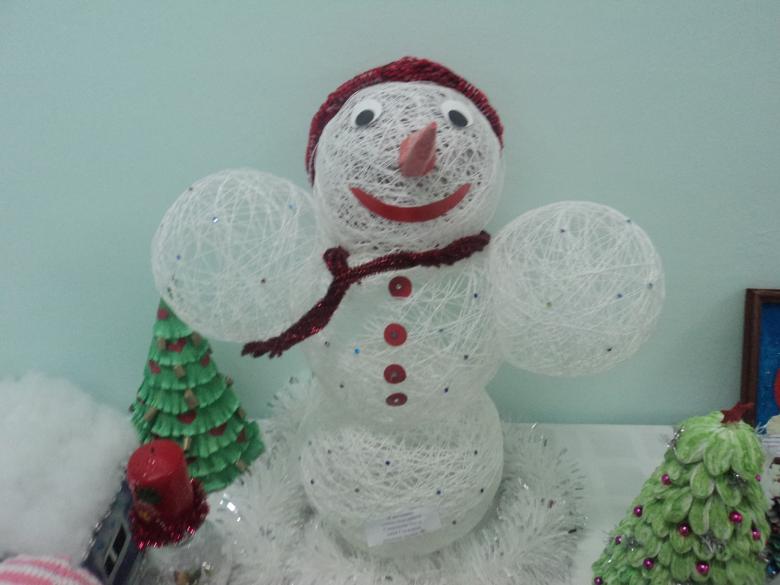
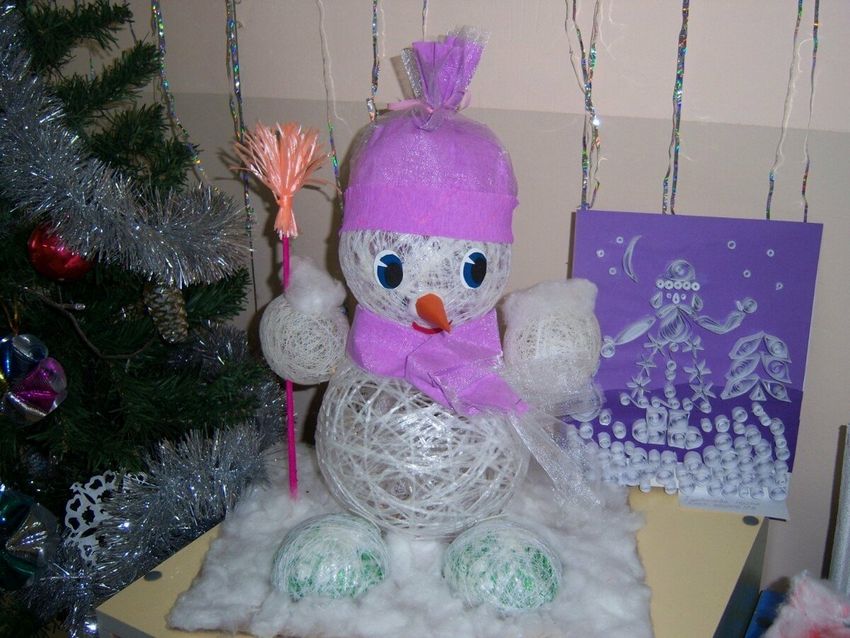
Three-dimensional figure
With older children, you can make a more complex composition - a three-dimensional figure of a snowman, which will be an excellent handmade craft for kindergarten on the theme of "Winter".

Necessary materials and work algorithm
For a three-dimensional figure we will need:
- threads of white color;
- balloons (4 pieces);
- glue;
- buttons and colored cardboard.
Step by step instructions
- The first step of the work is to inflate the balloons to the appropriate size.
- Stage 2. The surface of the balls is smeared with glue.
- Step #3. We wrap thread soaked in glue on balloons.
- Step #4. We give time to fully dry the workpiece.
- Step #5. We pop balls and carefully take them out through holes in threads.
- Stage #6. We unite "threaded" balls with each other.
- Step #7. From red cardboard we cut out the snowman's nose and buttons for the costume, and from black - eyes and mouth.
- Step #8. All parts are carefully glued in the right places.
- Step #9. We make a cube of blue (or red) cardboard, glue the edges together, and "place" it on the head of the snowman.
One of the most important figures of winter fun - ready!
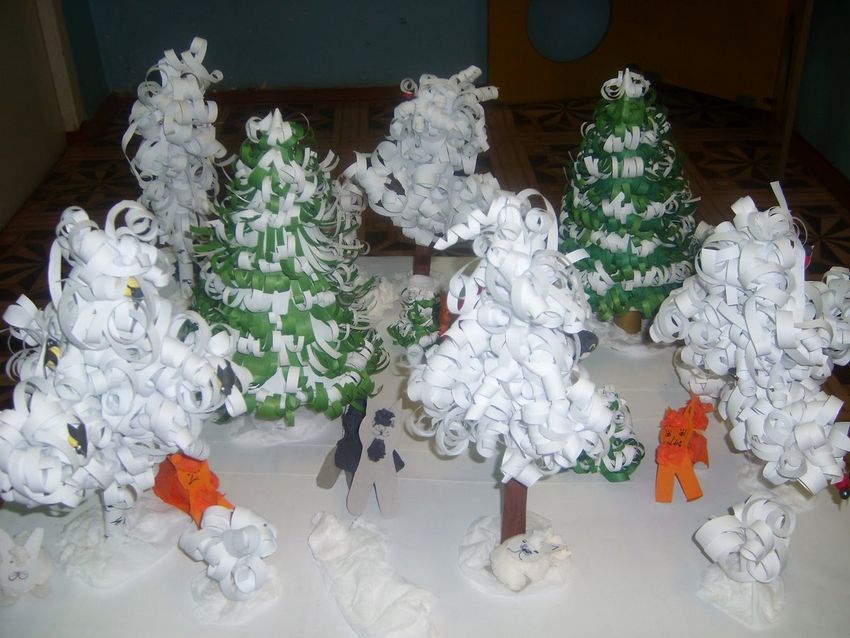
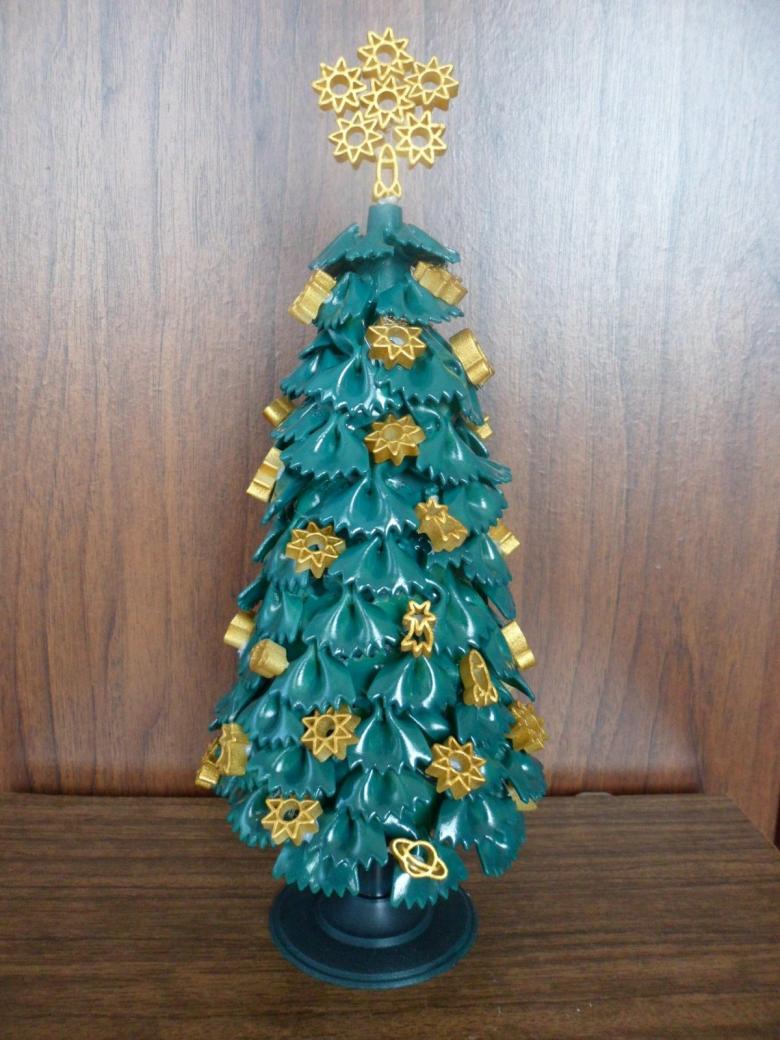
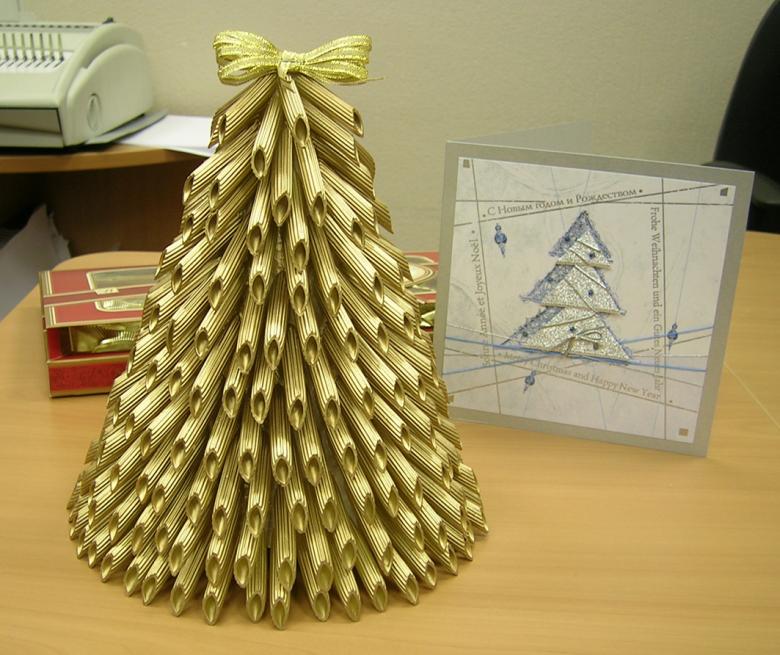
Christmas trees out of macaroni
A very original way to make a New Year tree out of ... macaroni! You will need the most basic things - paper, glue, paint and the familiar product.
- The first step in making your future tree will be the decoration of the cone.

Keep in mind! The diameter of the cone should not exceed a quarter of its height, it is necessary for the stability of the construction. It will not hurt to glue the cone to a sheet of cardboard - this will further increase the reliability of the Christmas tree.
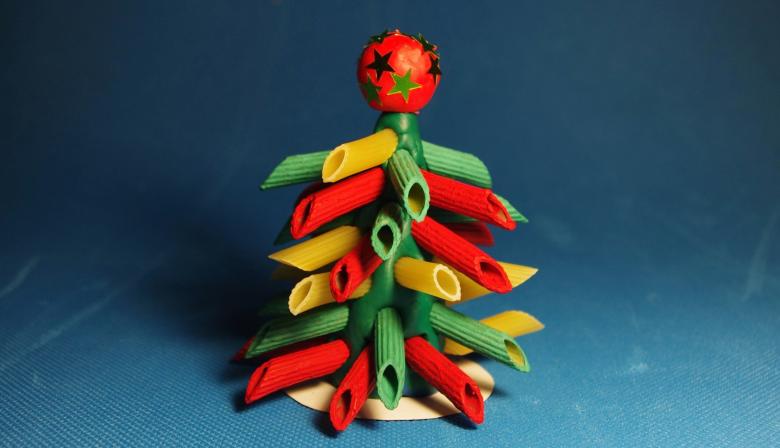
- Step #2. Gluing pasta (at an angle of about 45°) should start from the bottom row.
- Step #3. The next row is attached so that the "branches" of the lower row remain visible.
- Step #4. Similarly, the following rows are made up to the very top of the forest beauty.
- Step #5. When you are finished with the gluing process, you can paint the "branches" with green or gold gouache. With older children it is possible to use spray paint.
Remember! Aerosol paint is toxic and when working with it, you should take precautions.

- Step #6. A traditional star is cut out of red cardboard and attached to the top of the tree.
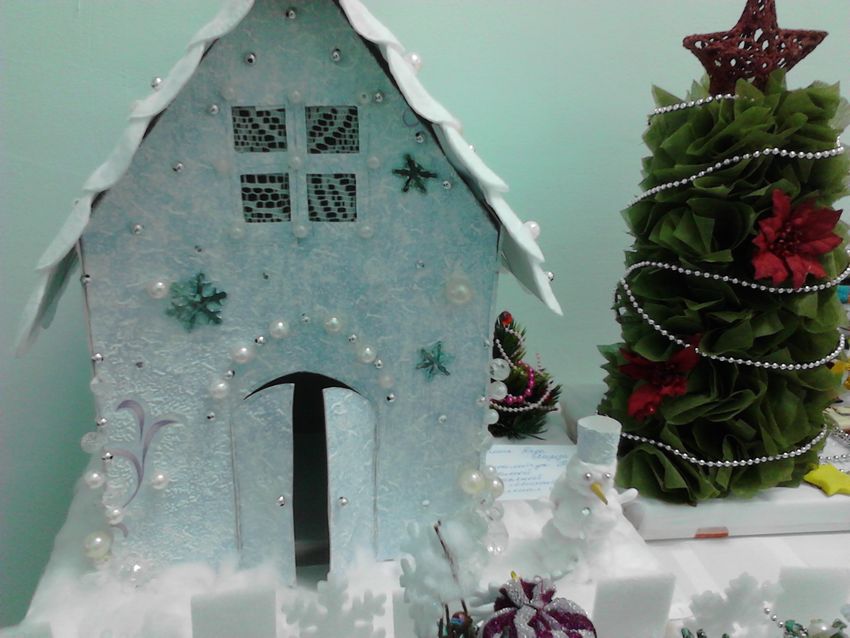
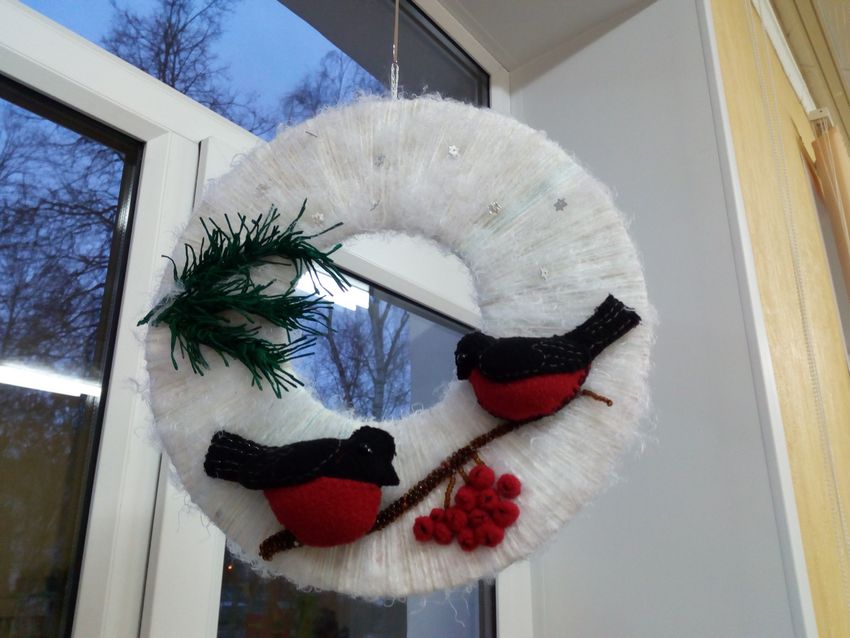
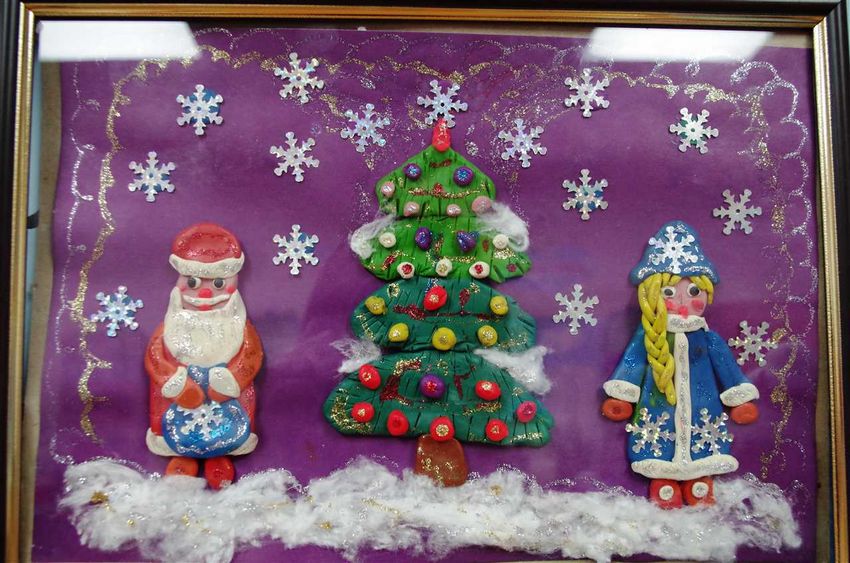
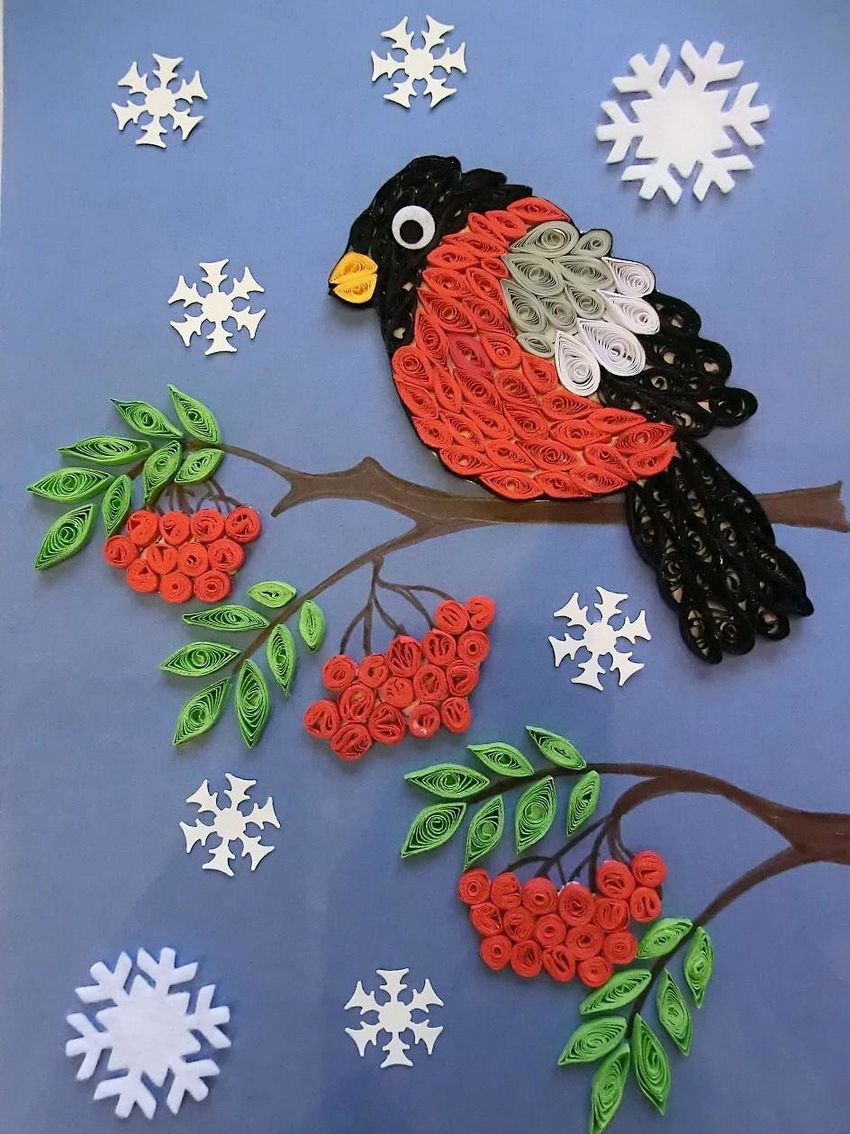
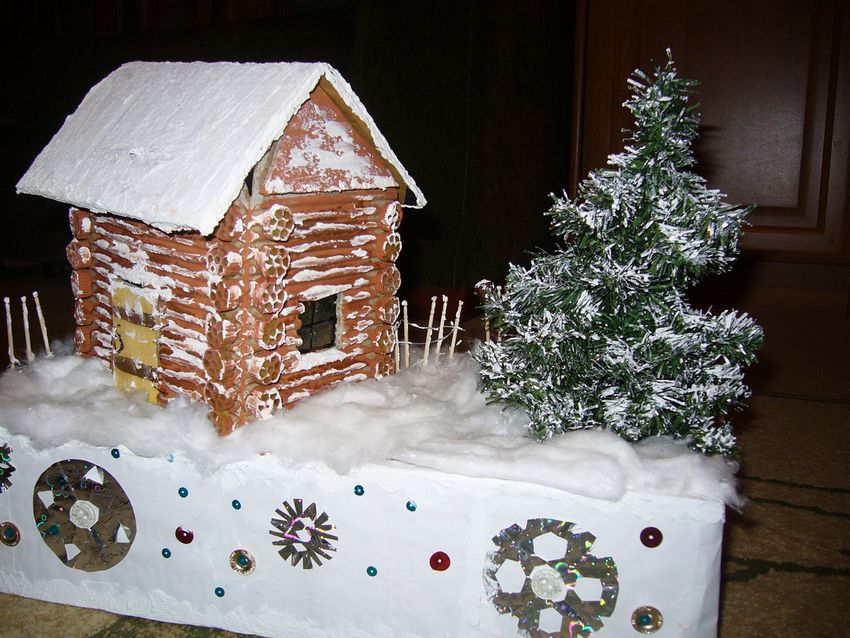
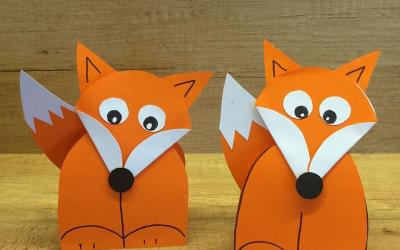
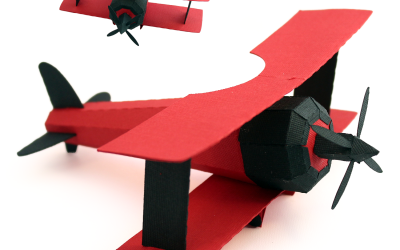
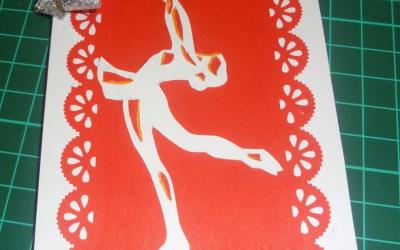
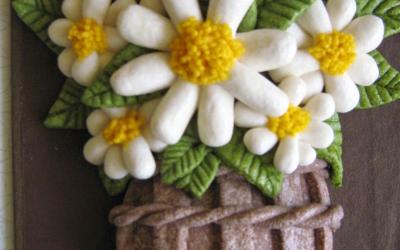
Different variants
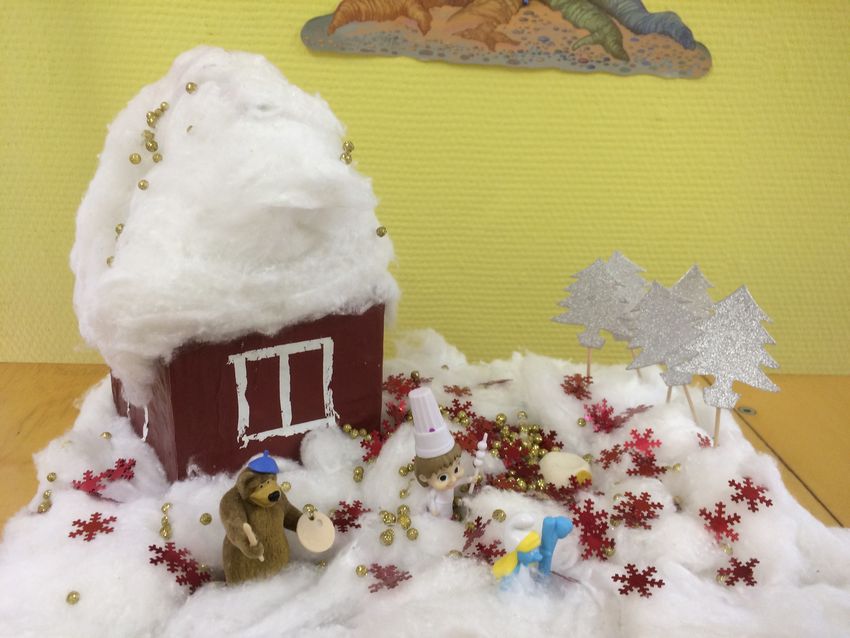
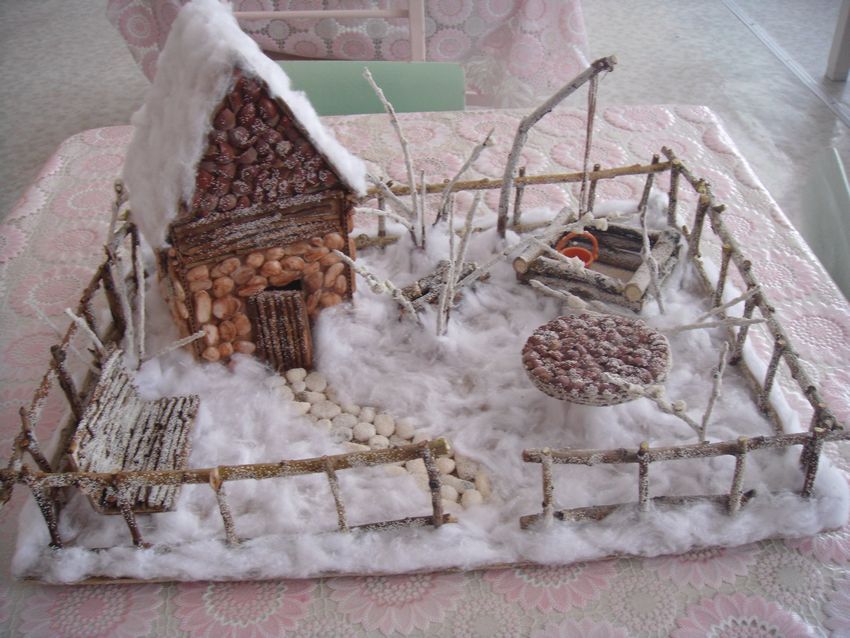
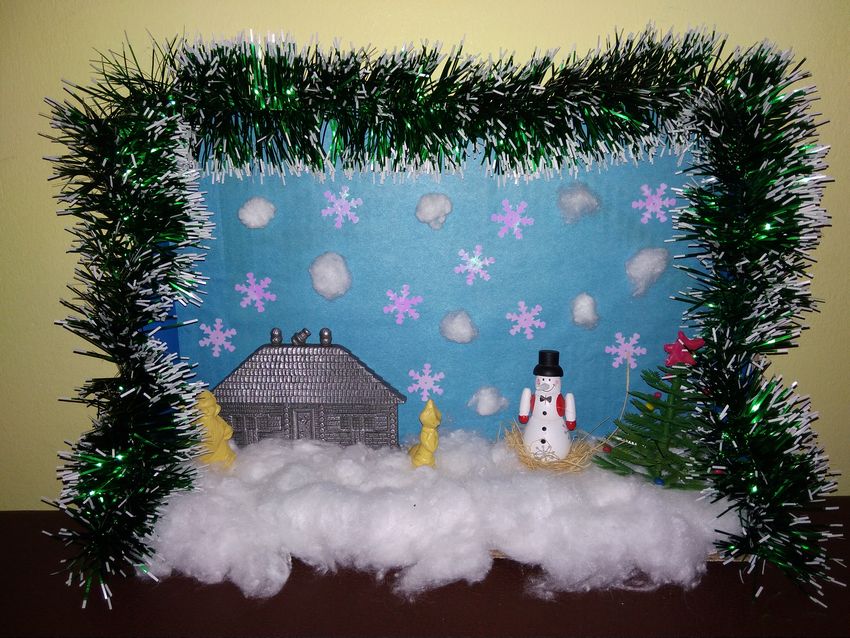
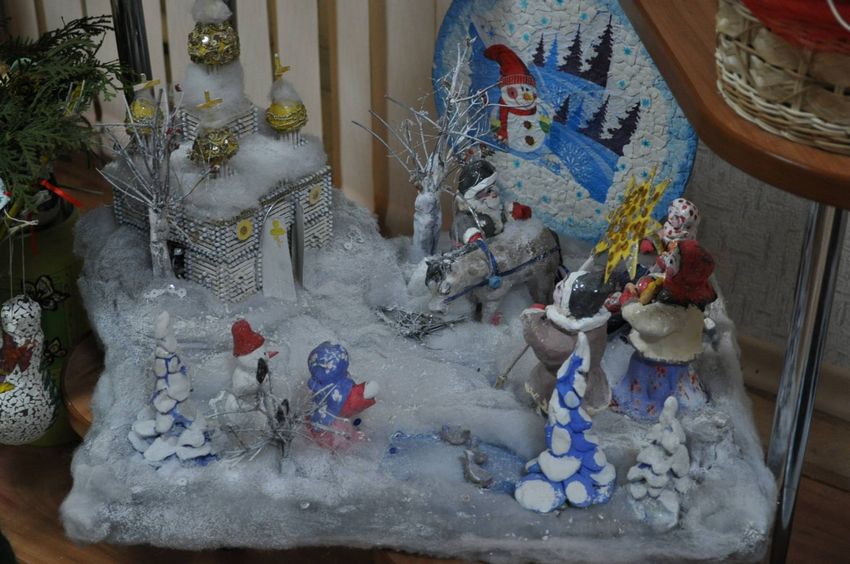
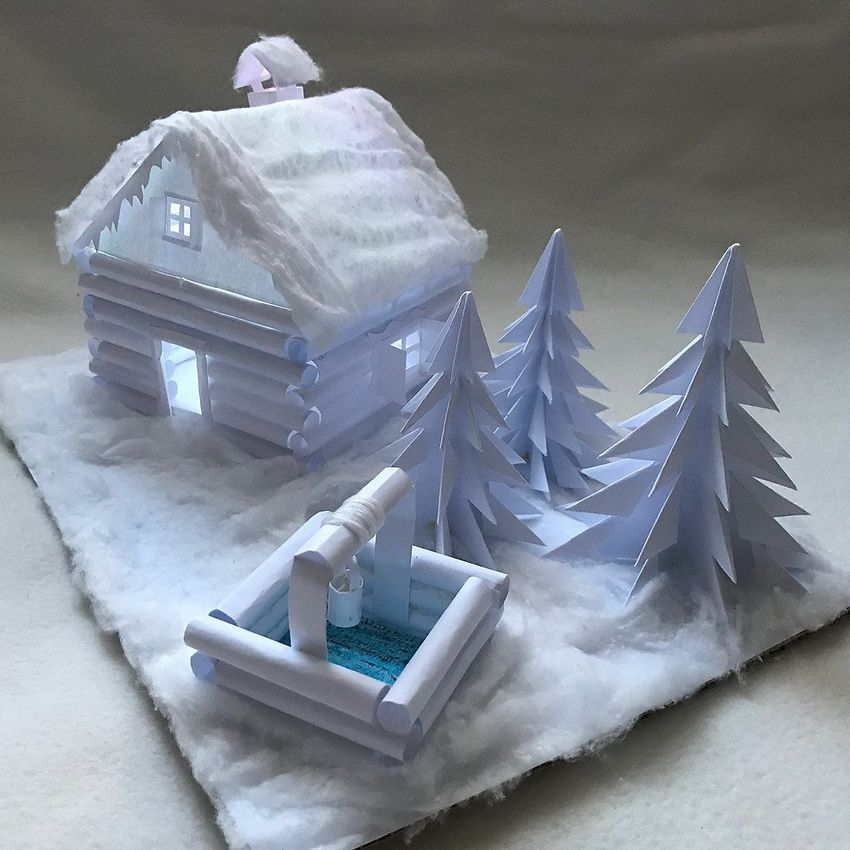
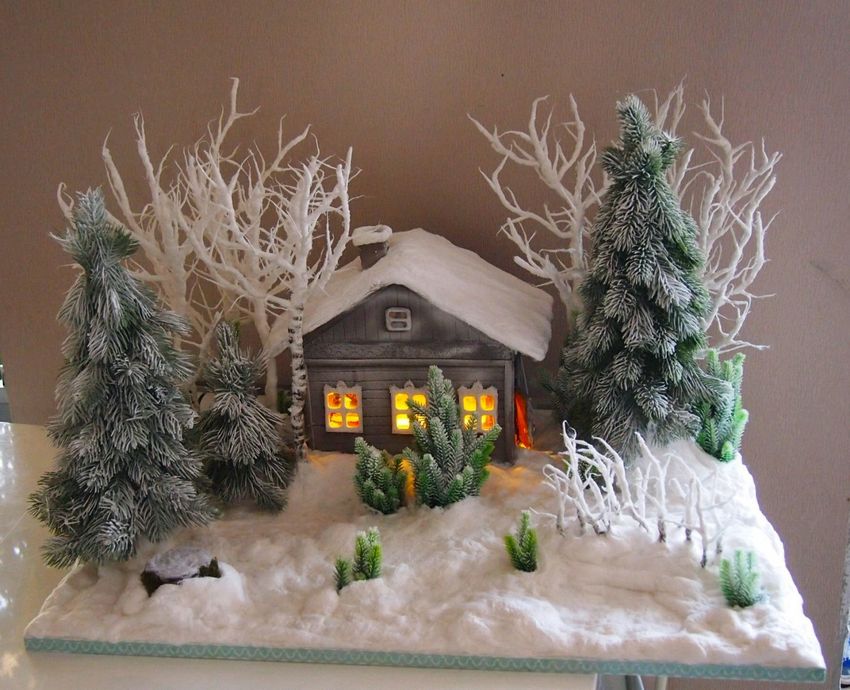
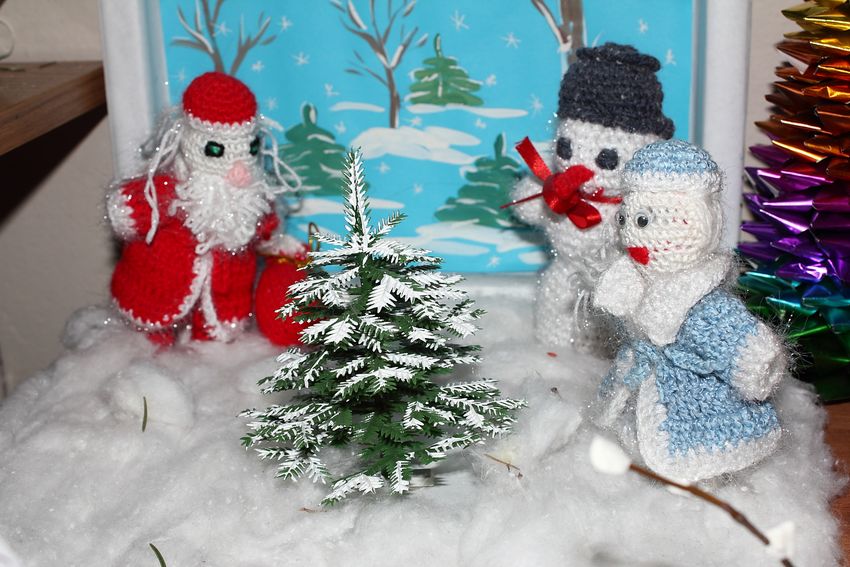
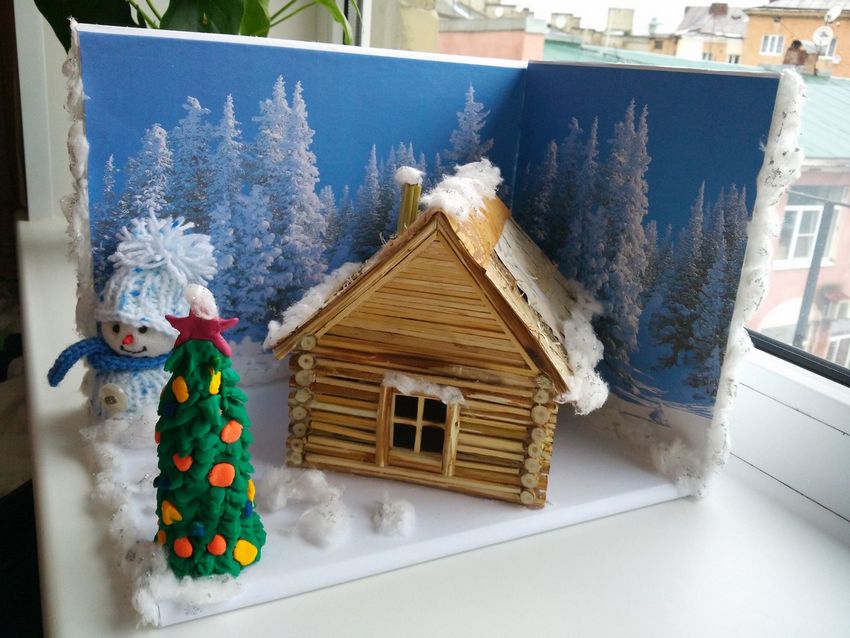
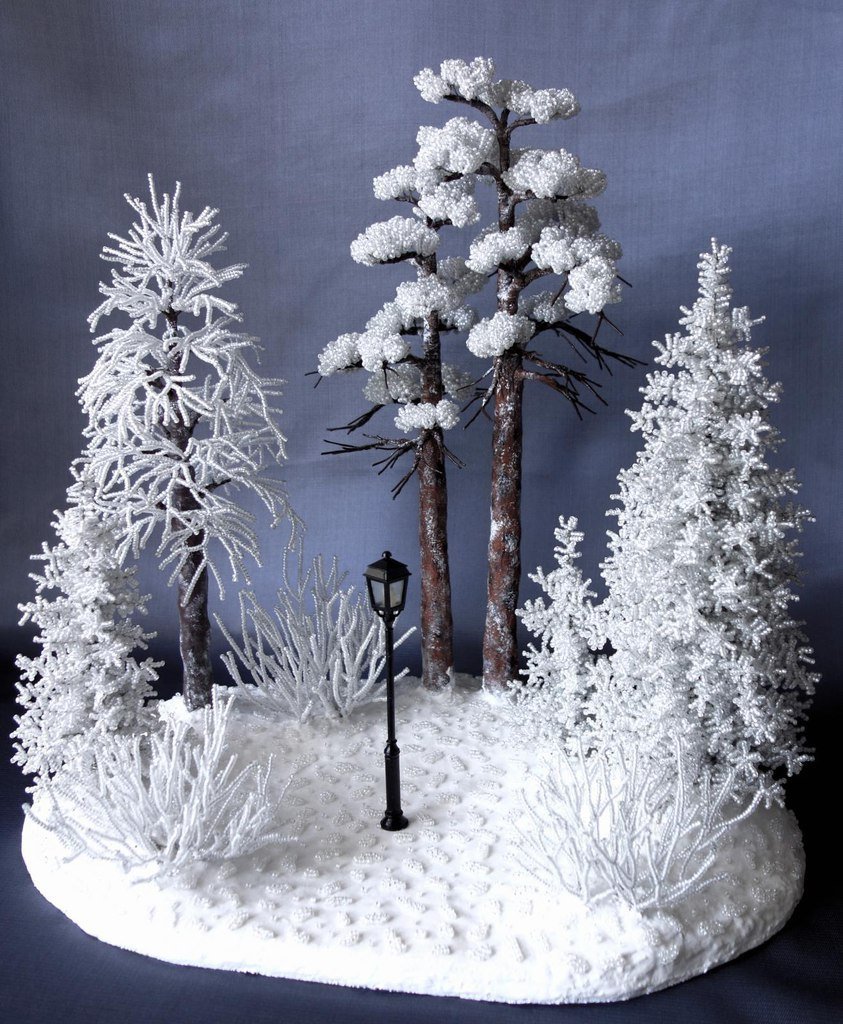
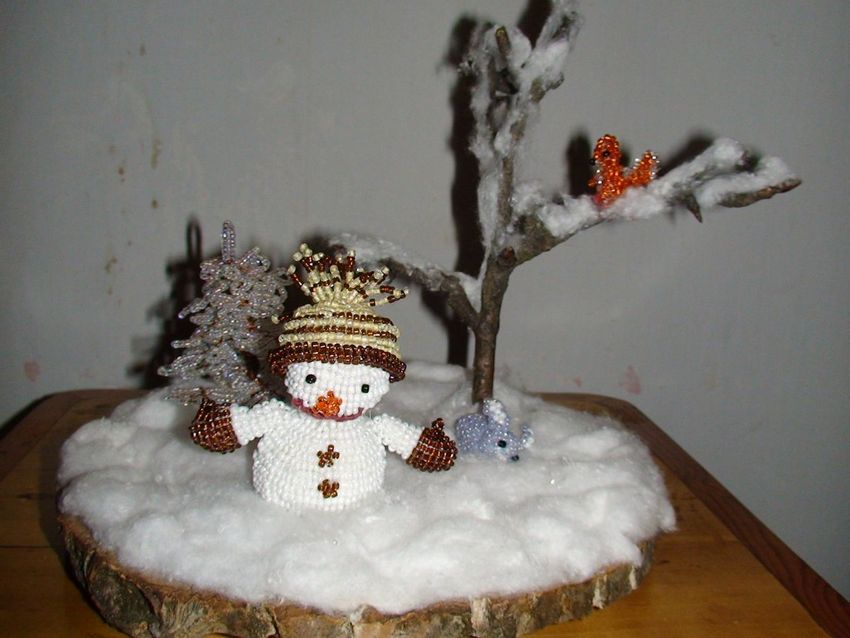
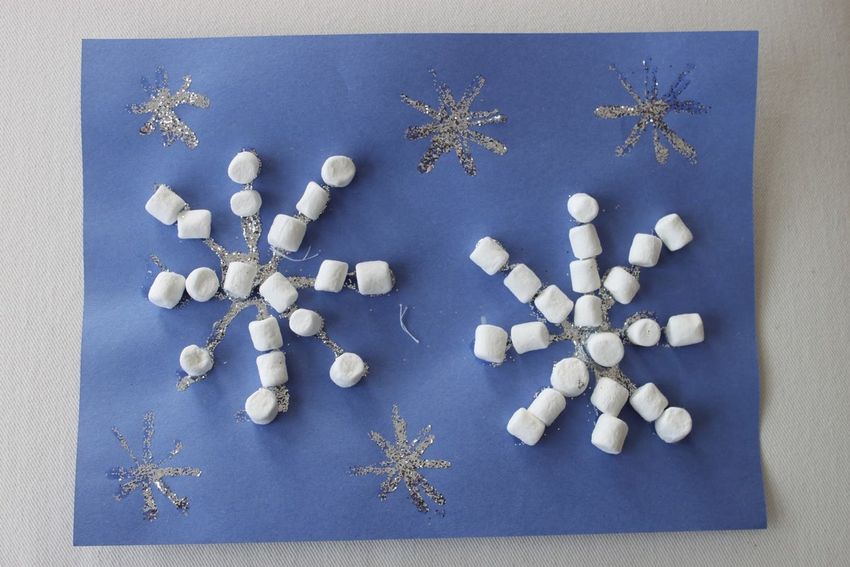
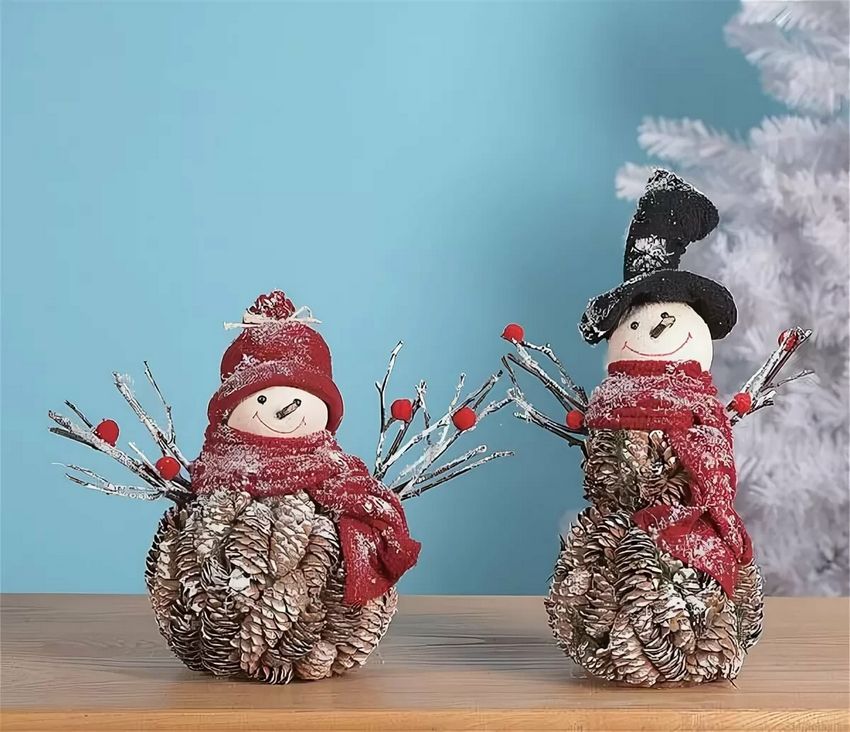
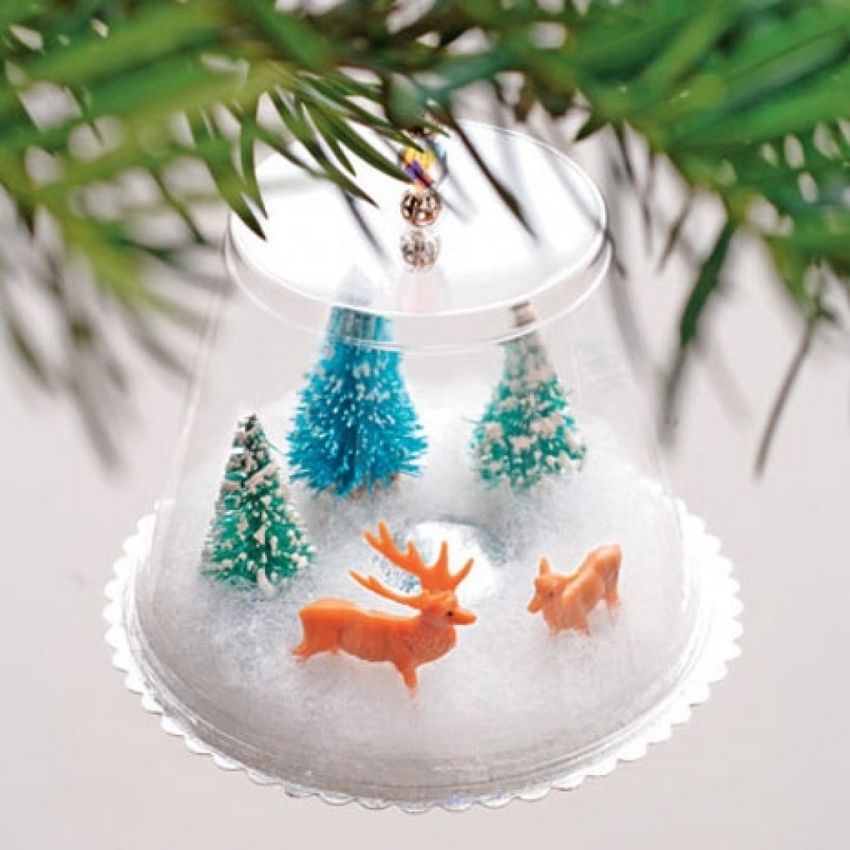
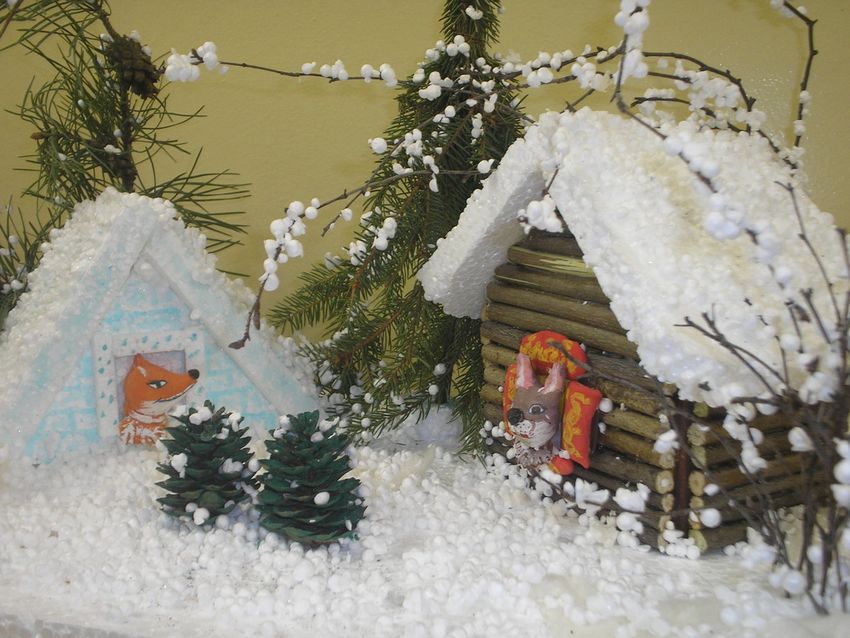
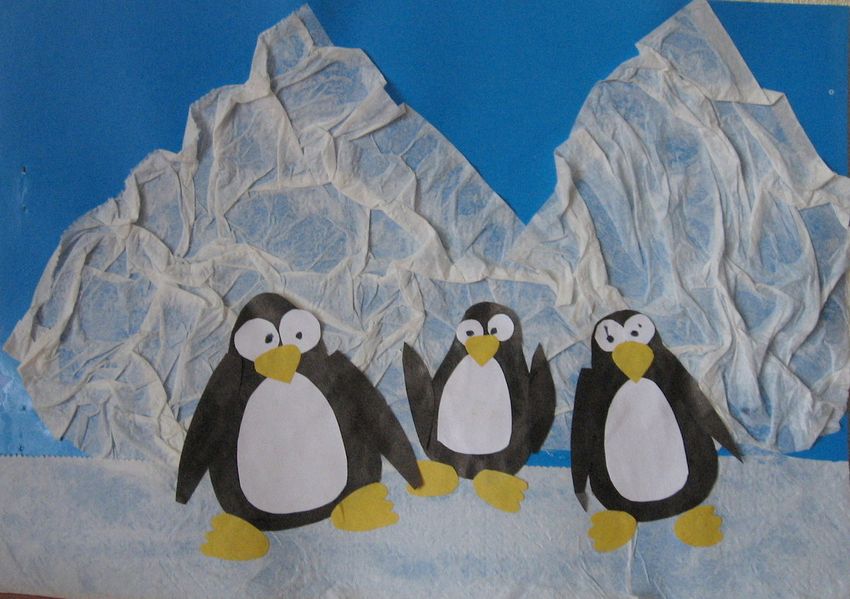
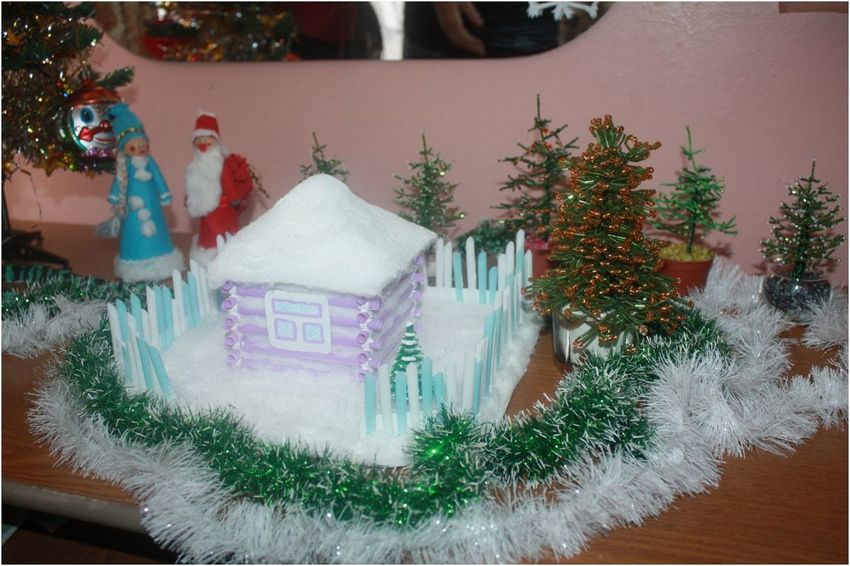
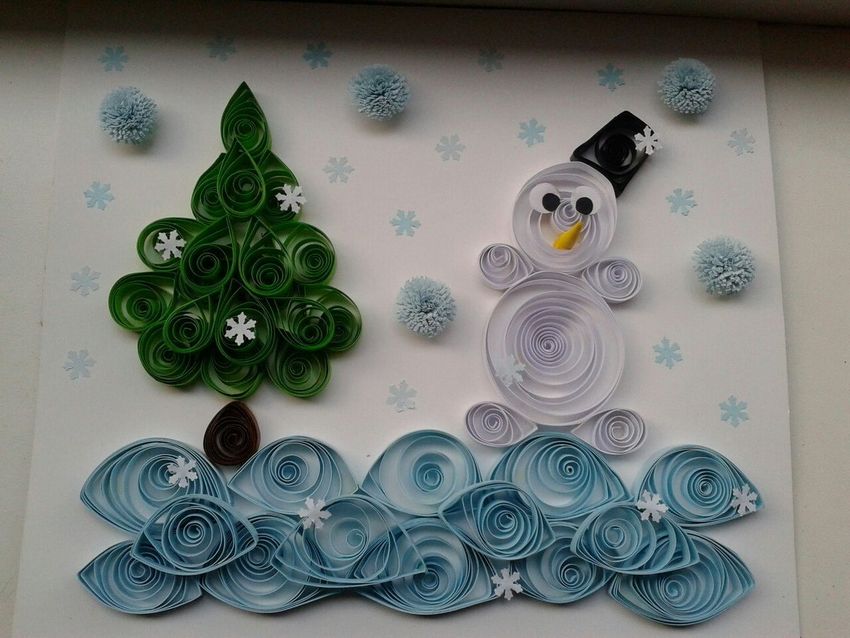
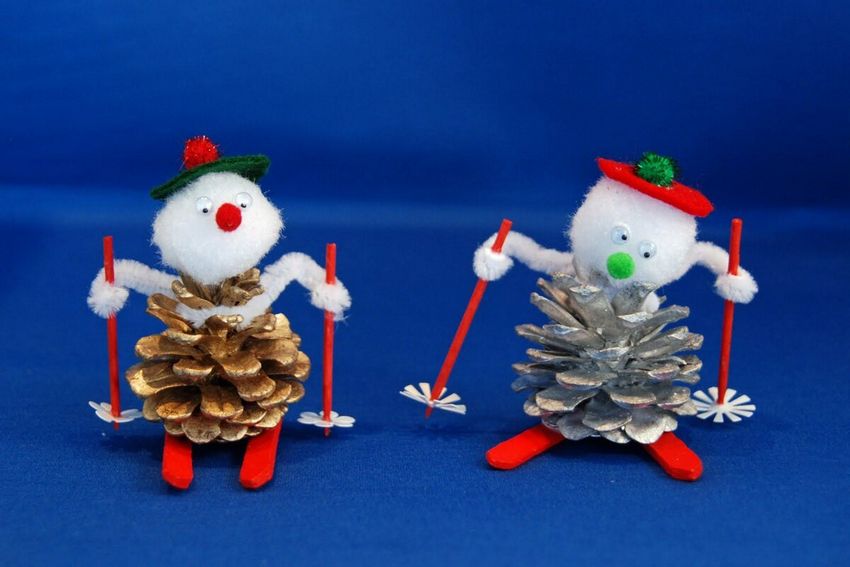
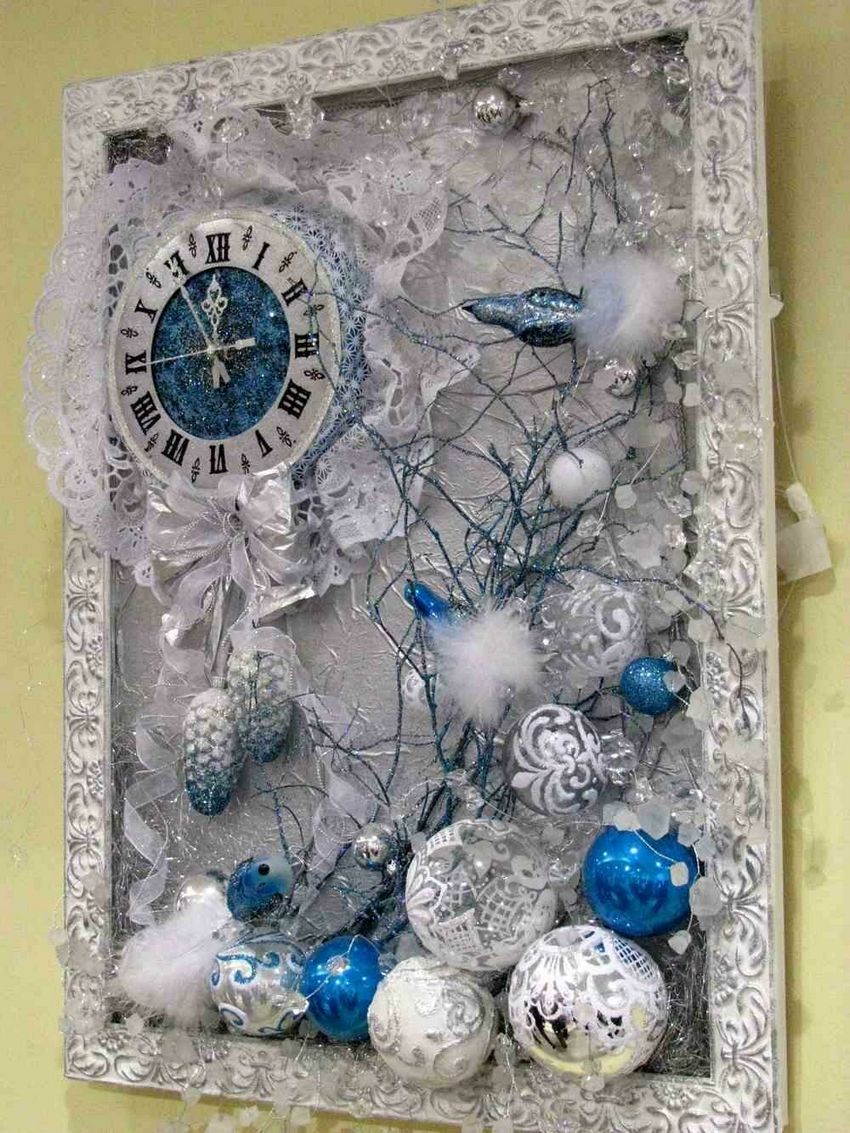
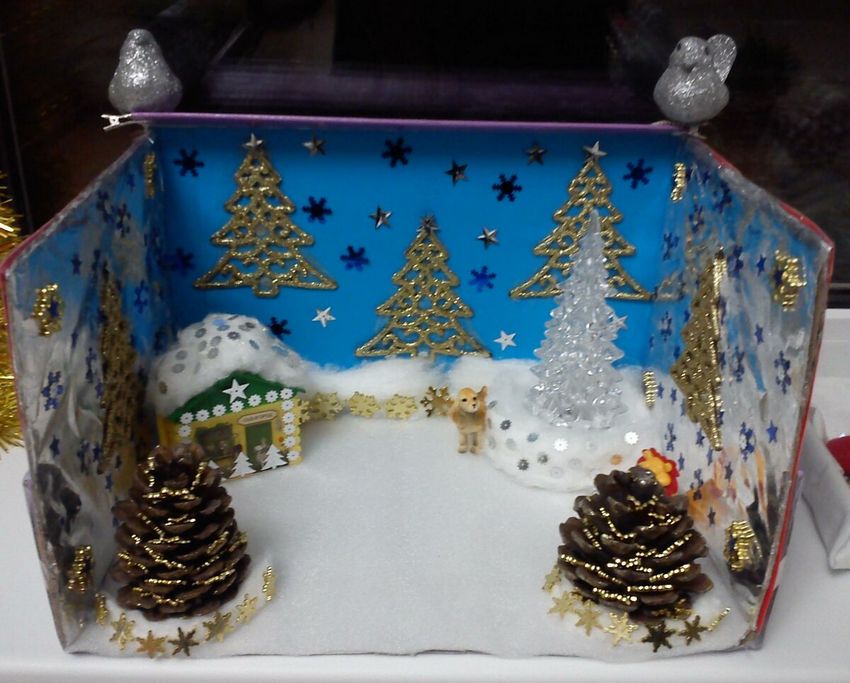
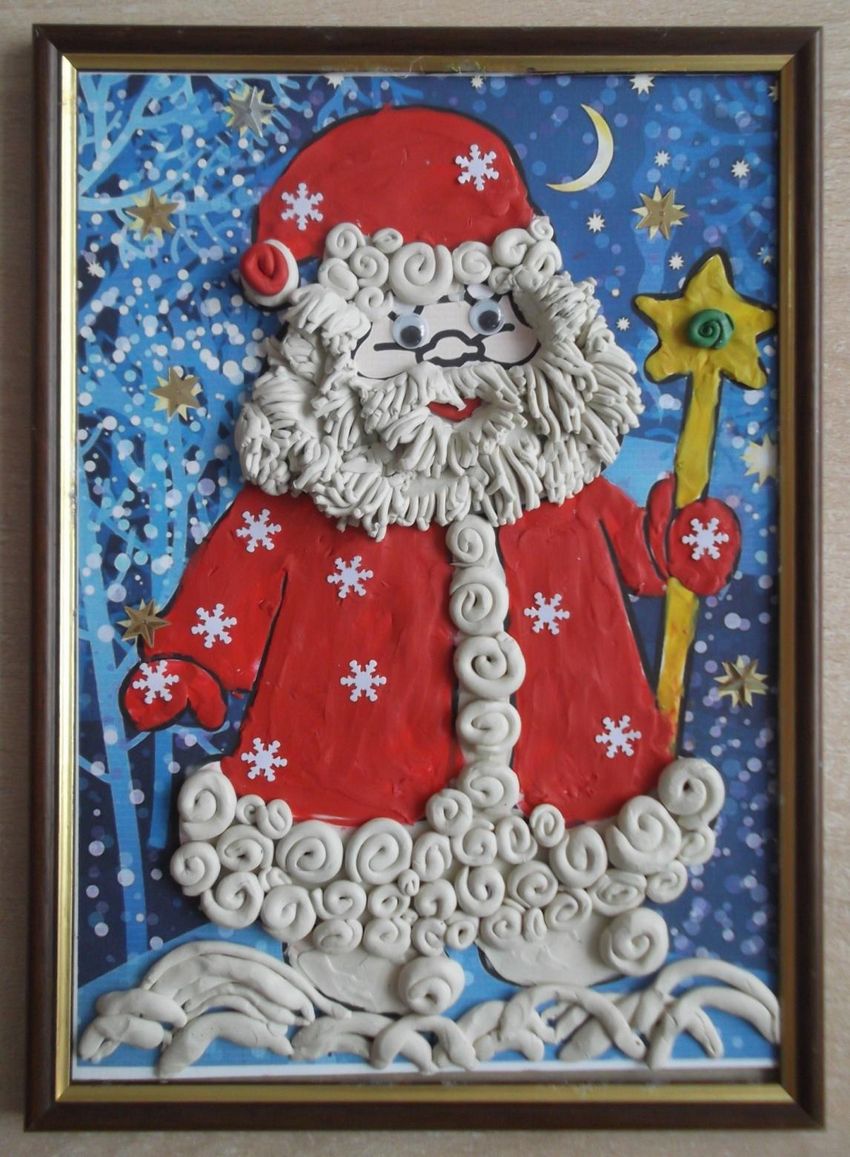
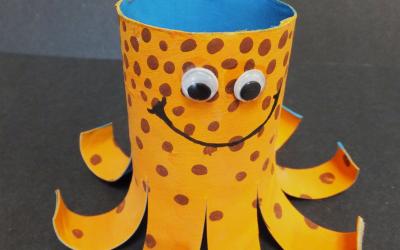
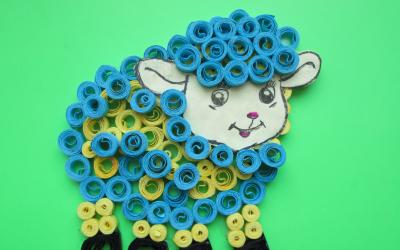
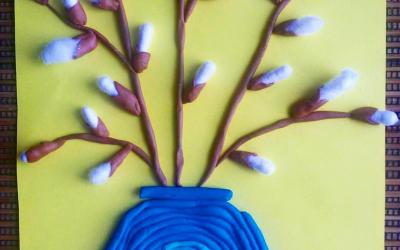
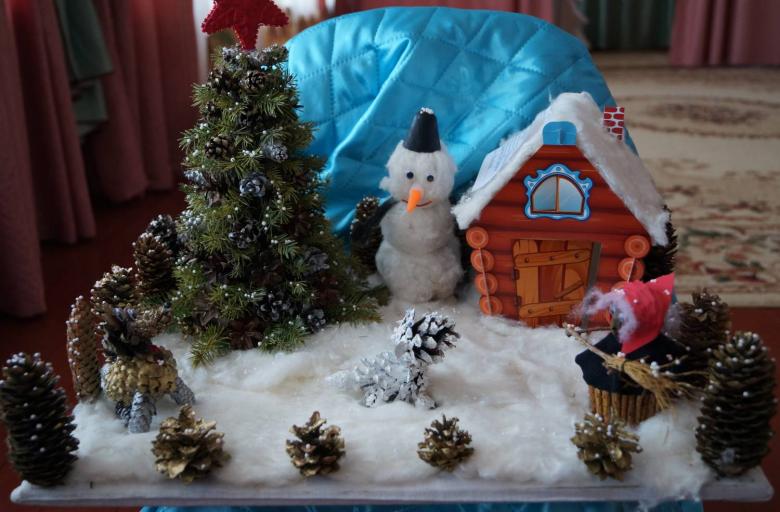
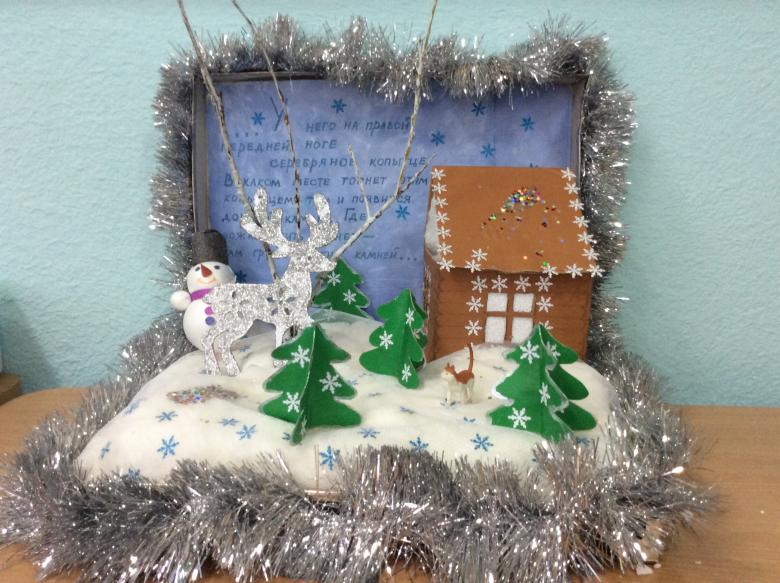
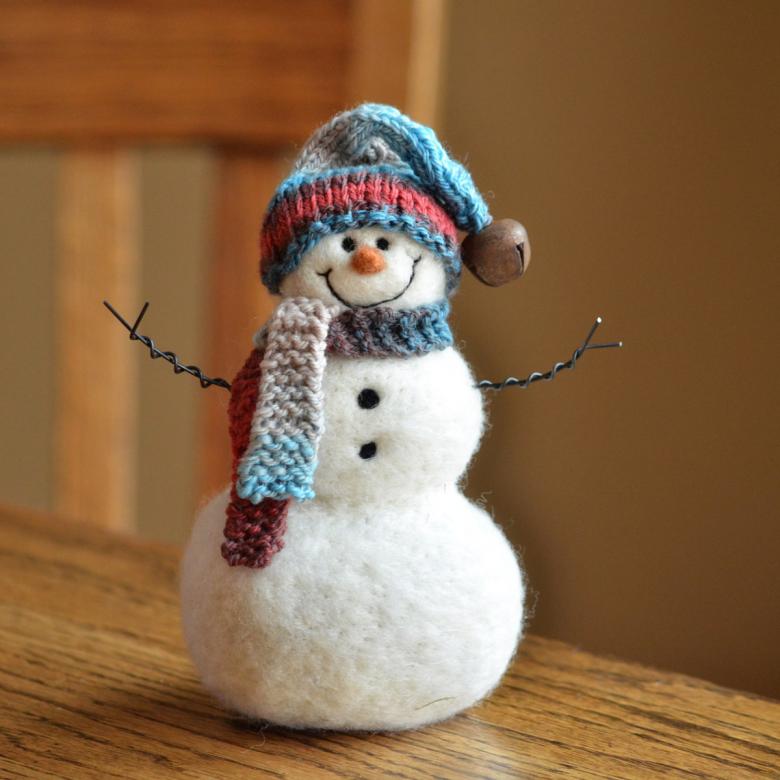
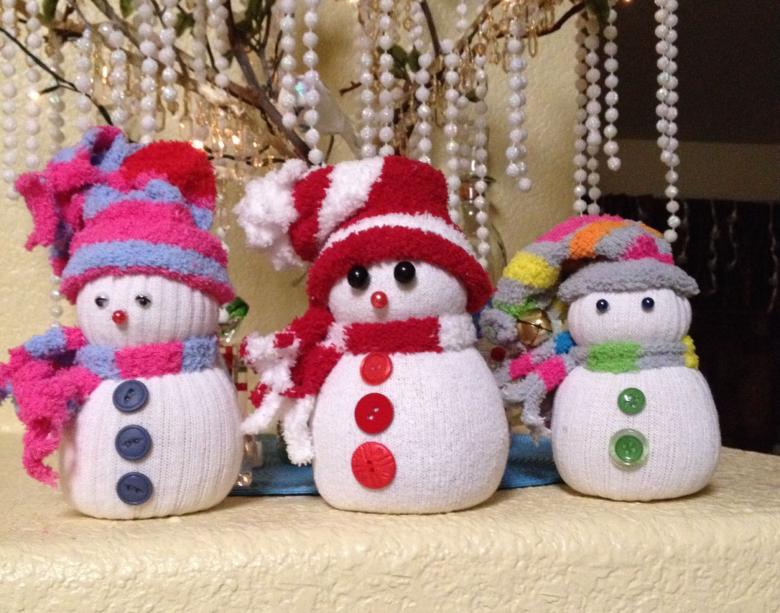
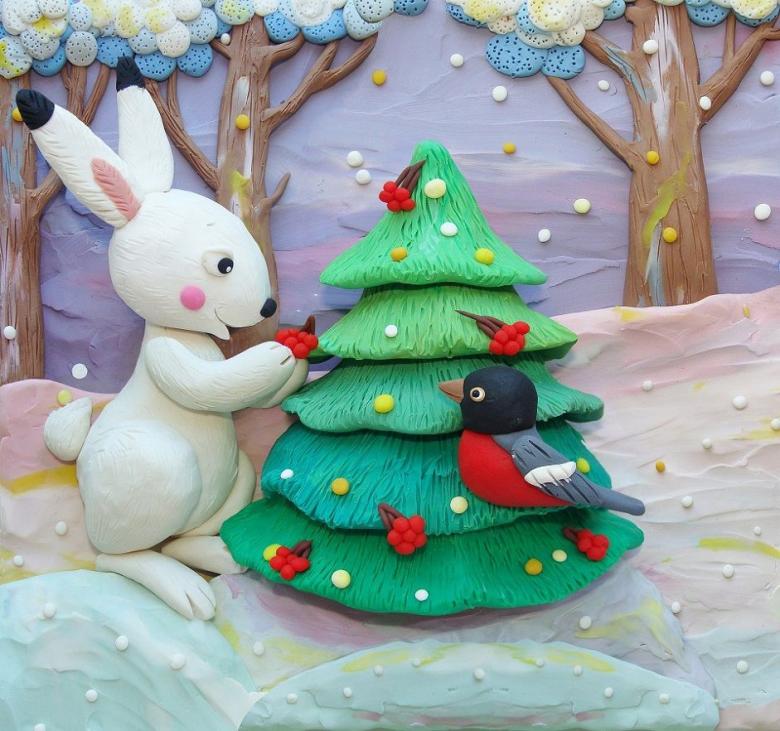
Below in our photo gallery we offer to see pictures of children's crafts on the theme "Winter". You can find images of different animals made from cones and plasticine, soft applications of paper, felt and absorbent cotton, a variety of snowflake shapes, tabletop compositions and dioramas. The most advantageous look products, placed in various vessels. Consider how to make such a magical craft.

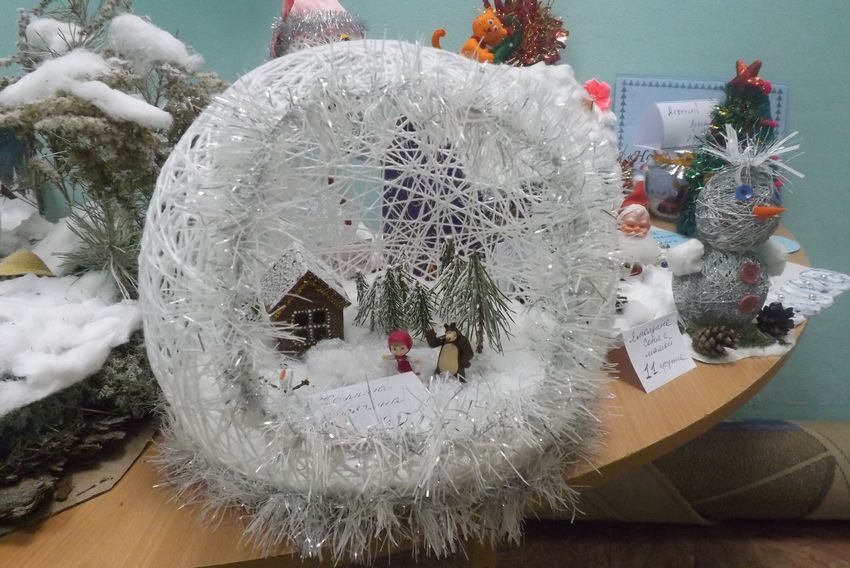
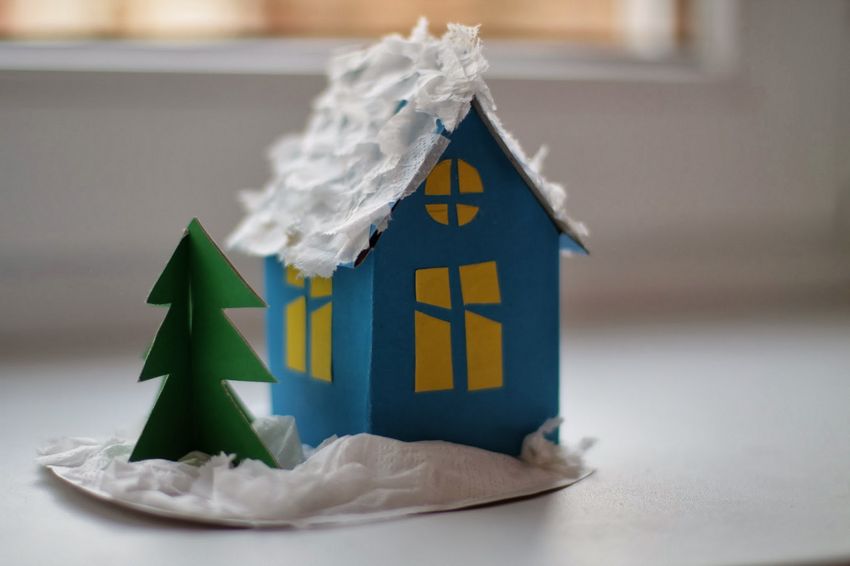
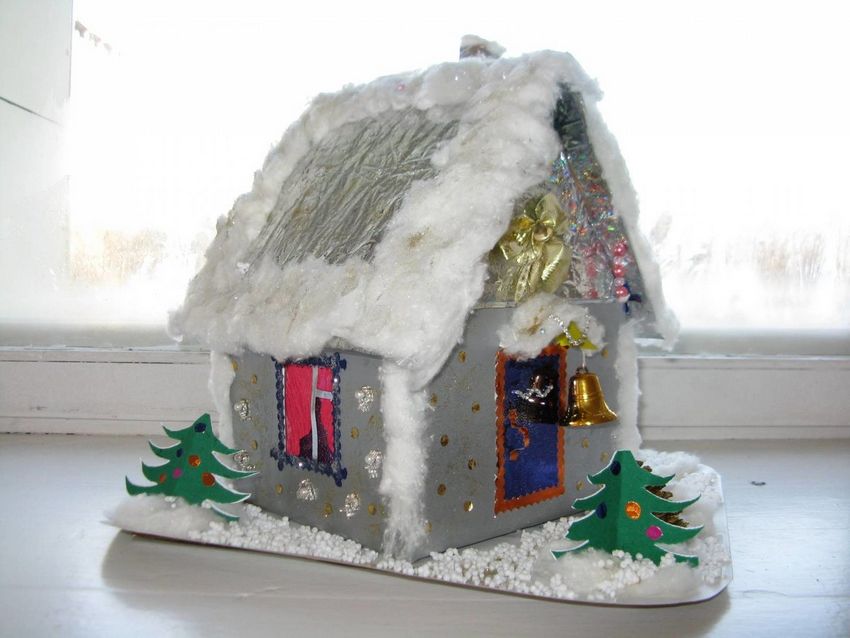
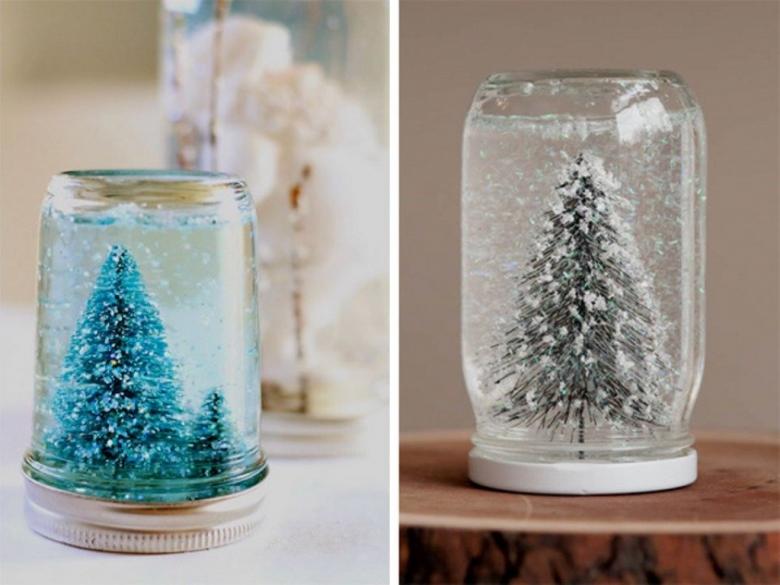
Souvenir with moving snow
To make this original thing will be required:
- A glass jar with a tightly fitting lid;
- A small house;
- figures of animals and people;
- glycerin;
- tinsel and sequins;
- waterproof glue.
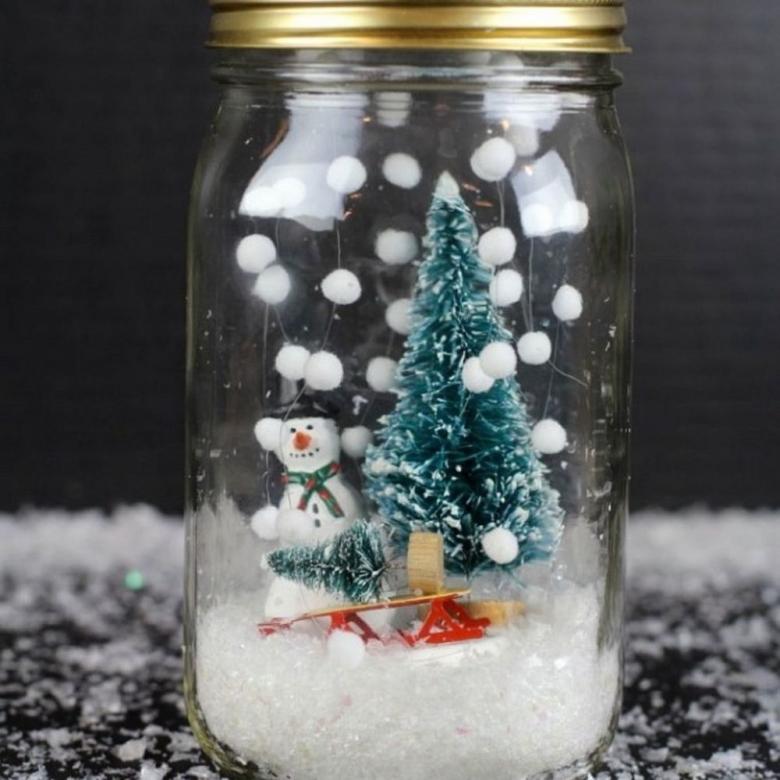
You can make figures, a Christmas tree and a house yourself (from cardboard or from plasticine), or you can buy miniature products in a toy store.
- Check how much glycerin you need to pour into the jar and mark the level with a felt-tip pen.
- Then figures and tinsel - artificial snow - are attached to the lid of the jar.
- The necessary amount of glycerin is poured and glitter is poured.
- Glue is applied to the jar, in the area of the threads, and the lid is tightly screwed.
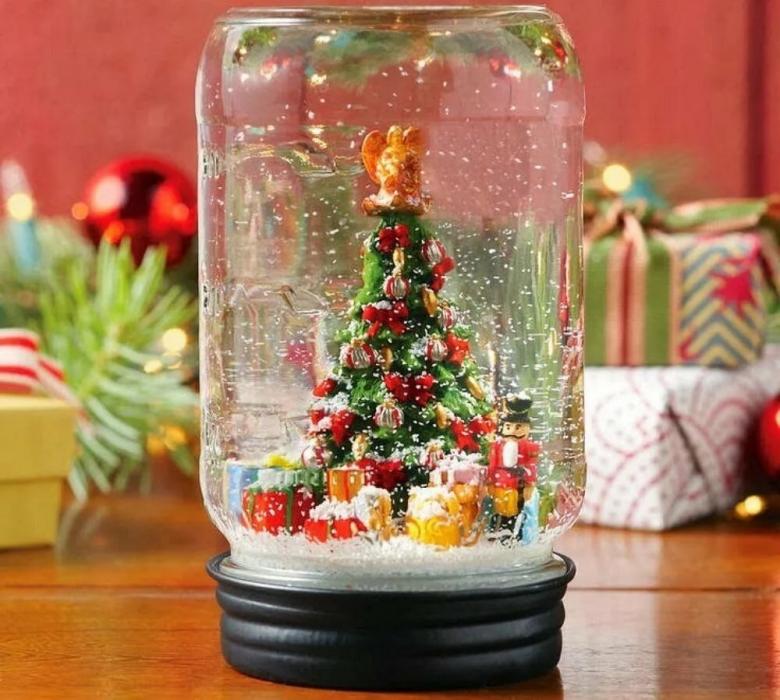
A magical souvenir with falling (after shaking) snow is ready!
As you can see, making original crafts together with a child is not so difficult, the main thing is the desire and aspiration to make something unusual.
Photo ideas for winter crafts