Spring crafts: making paper flowers and a doll's garden with our own hands
With the onset of spring, parents have more worries, as this is the time of year when various holidays are concentrated. On this occasion, kindergartens and schools are often asked to bring different kinds of handicrafts.

Of course, everyone in childhood made crafts with their own hands, but as adults, many could already forget about such a skill, and imagination is no longer particularly lacking.
Thus, almost every parent spends his or her free evening on various ideas to make crafts on the theme of "Spring" for kindergarten or school. And if you can think of something easier for the baby, then as a parent of a schoolchild, you still need to consider the complexity of the task depending on the age.
Make a craft on the theme of "spring" in school, or any other topic usually depends on the class in which your child is studying. Despite this, many teachers are still sympathetic and often do not pay attention to such moments.
In search of fresh and interesting ideas, we suggest you pay attention to some creative and at the same time simple crafts that you can make even with your child.
Actually make crafts is not so difficult. Of course, it requires an expression of imagination, but it takes a little time, and the materials can always be found at hand. Let's look at some different examples of crafts that can be made with different materials.
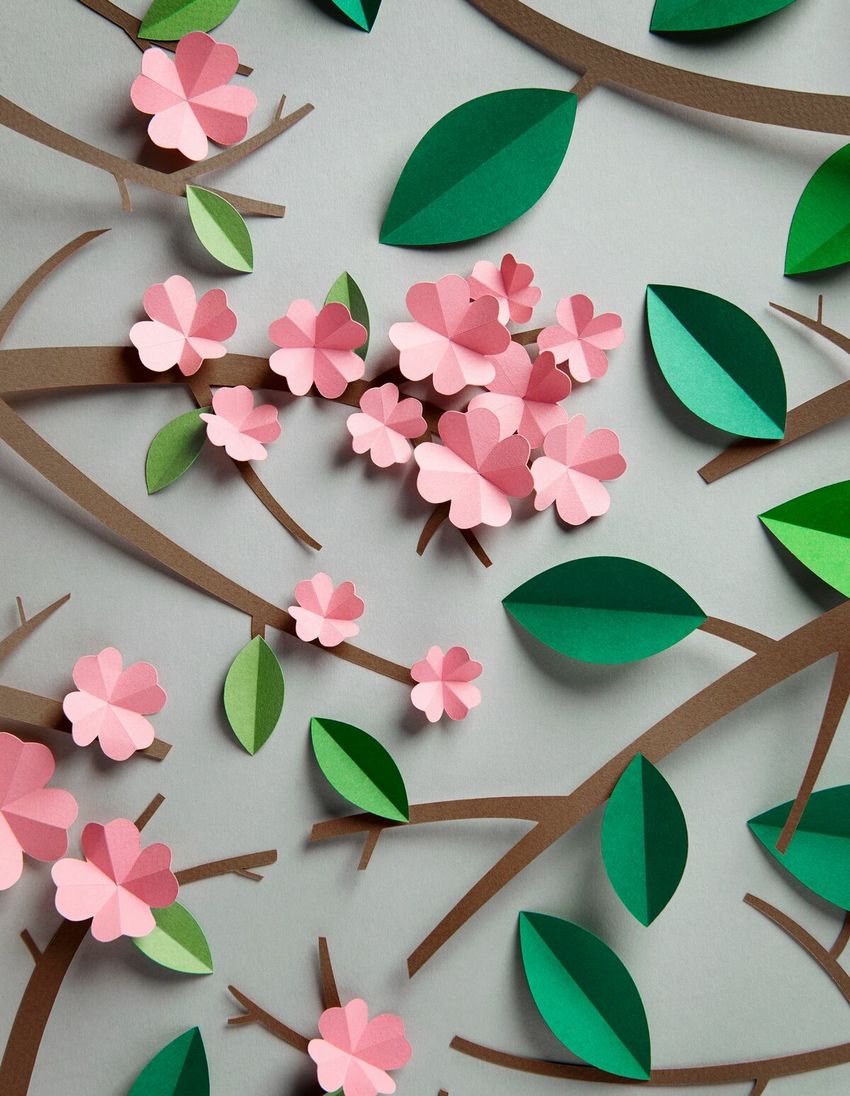
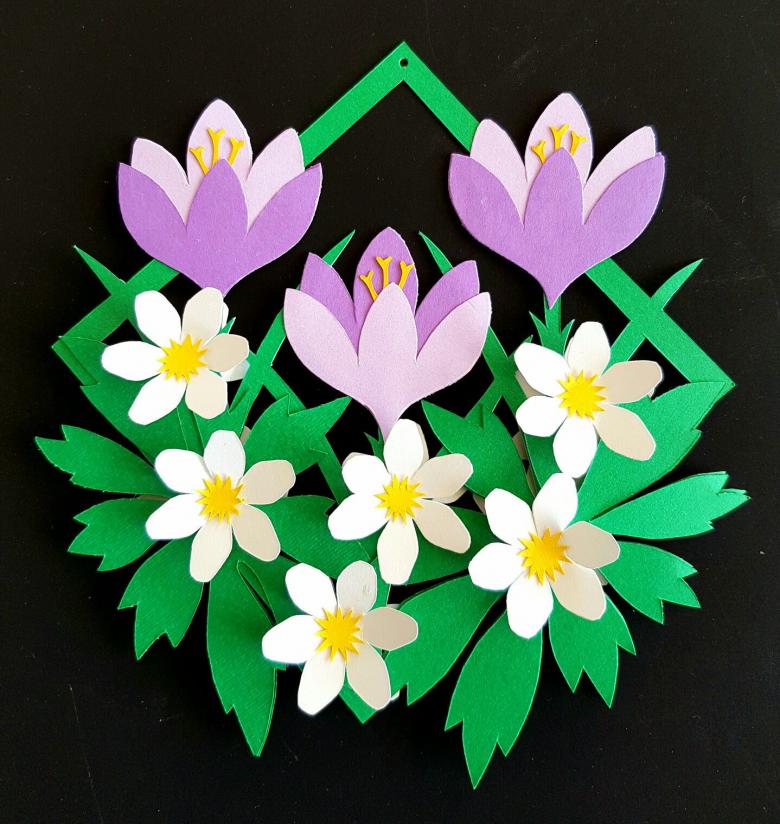
Paper crafts
Working with paper and cardboard is simple and quick. Let's look at some ideas for paper and cardboard crafts.
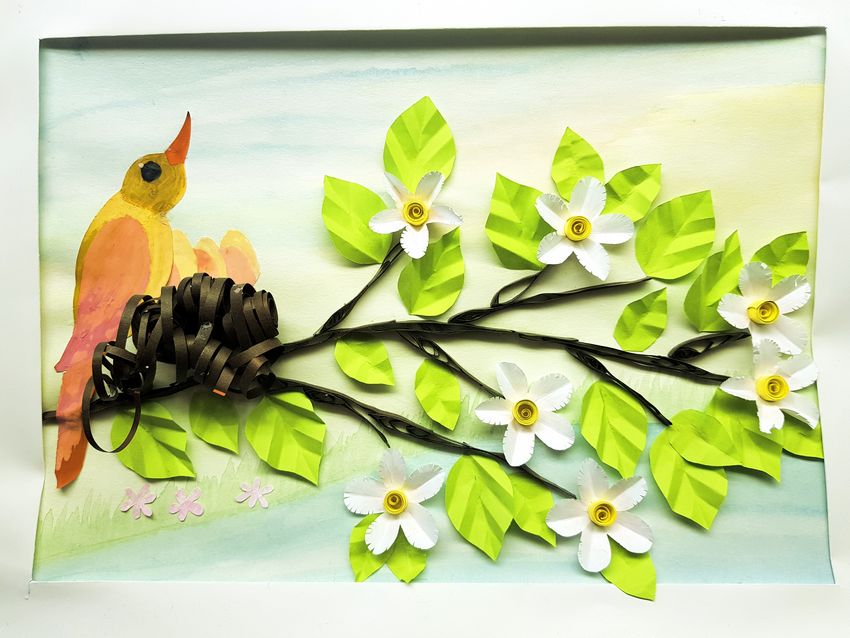
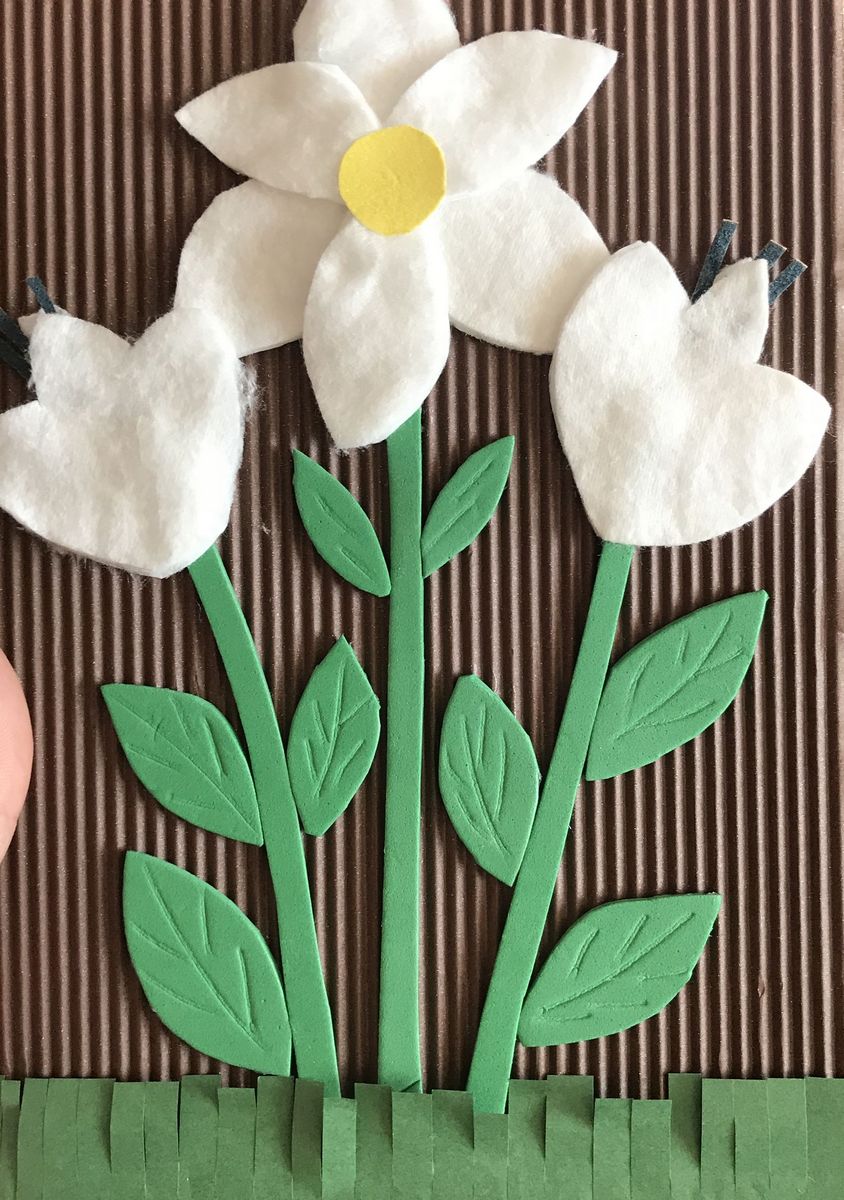
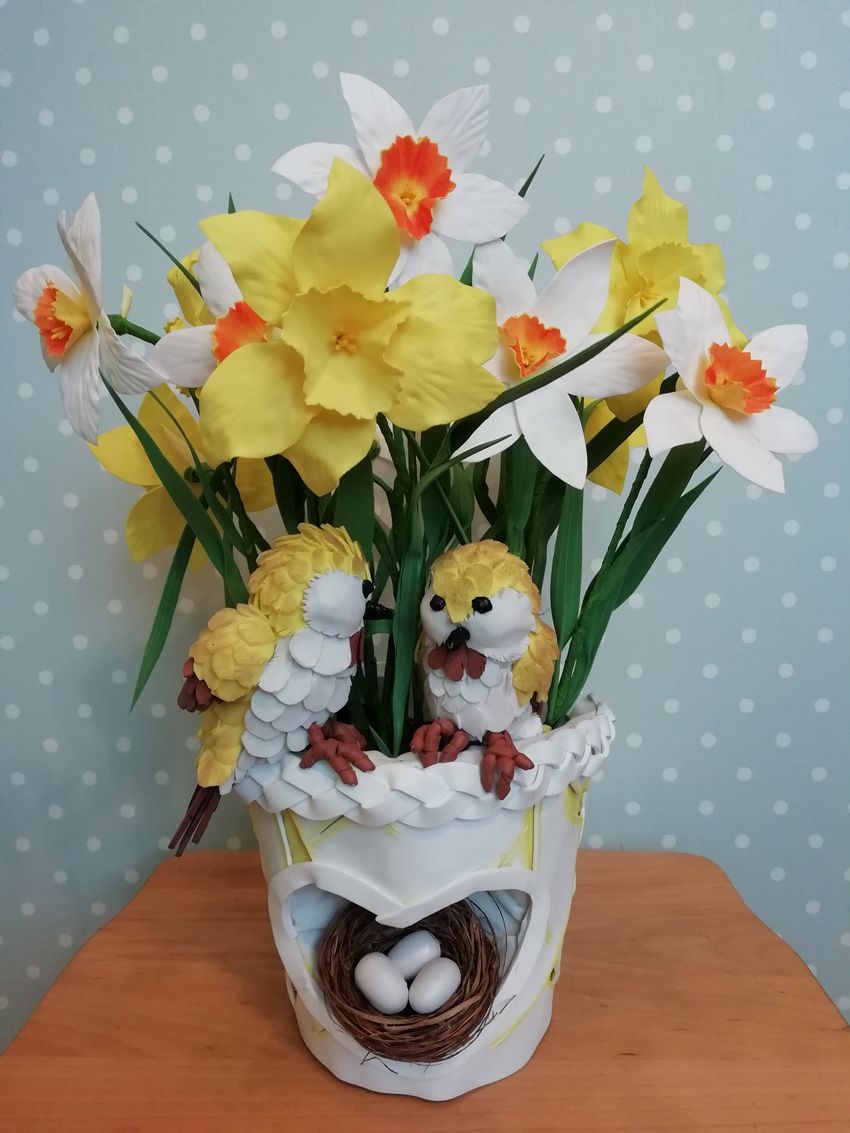
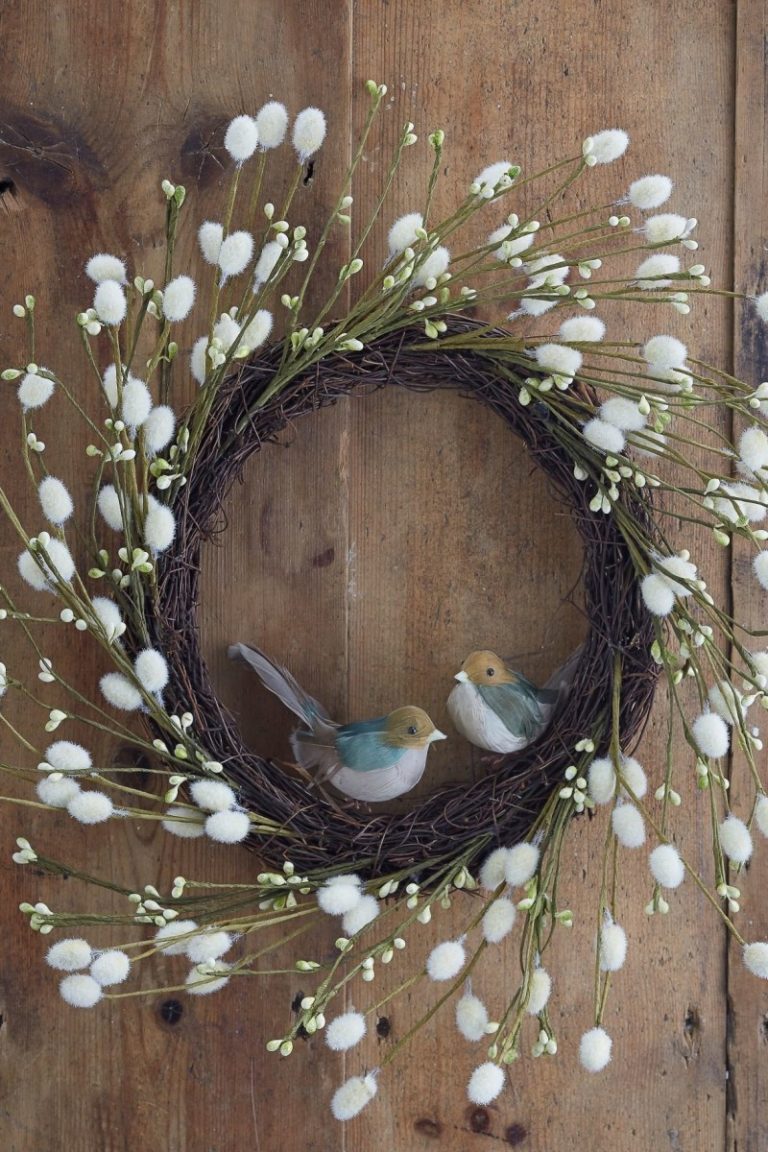
"A nest with birds."
A simple applique that you can make for the baby. The result is a real springtime work. It is necessary to prepare colored and corrugated paper, thin cardboard, a small piece of fur, glue and plastic eyes.

Then denote on brown paper the trunk and branches, from green paper cut out leaves in an oval shape. Draw a circle on the cardboard and cut in half. From one half make a nest: glue the side with narrow strips of corrugated paper.
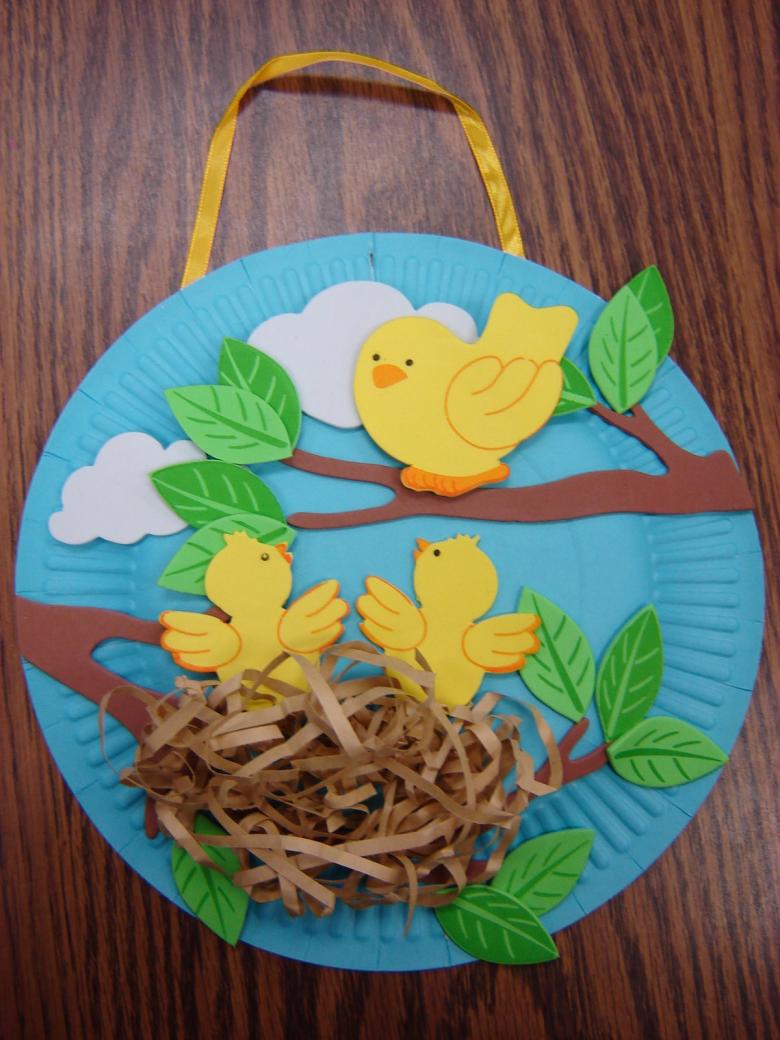
Cut rectangles of fur 3 * 4 cm, sew together on three sides - these fluffy lumps will be birds. Attach birds eyes, and cut out of yellow paper triangles - beaks. Glue a tree with a nest to the cardboard, put the birds there. Done!
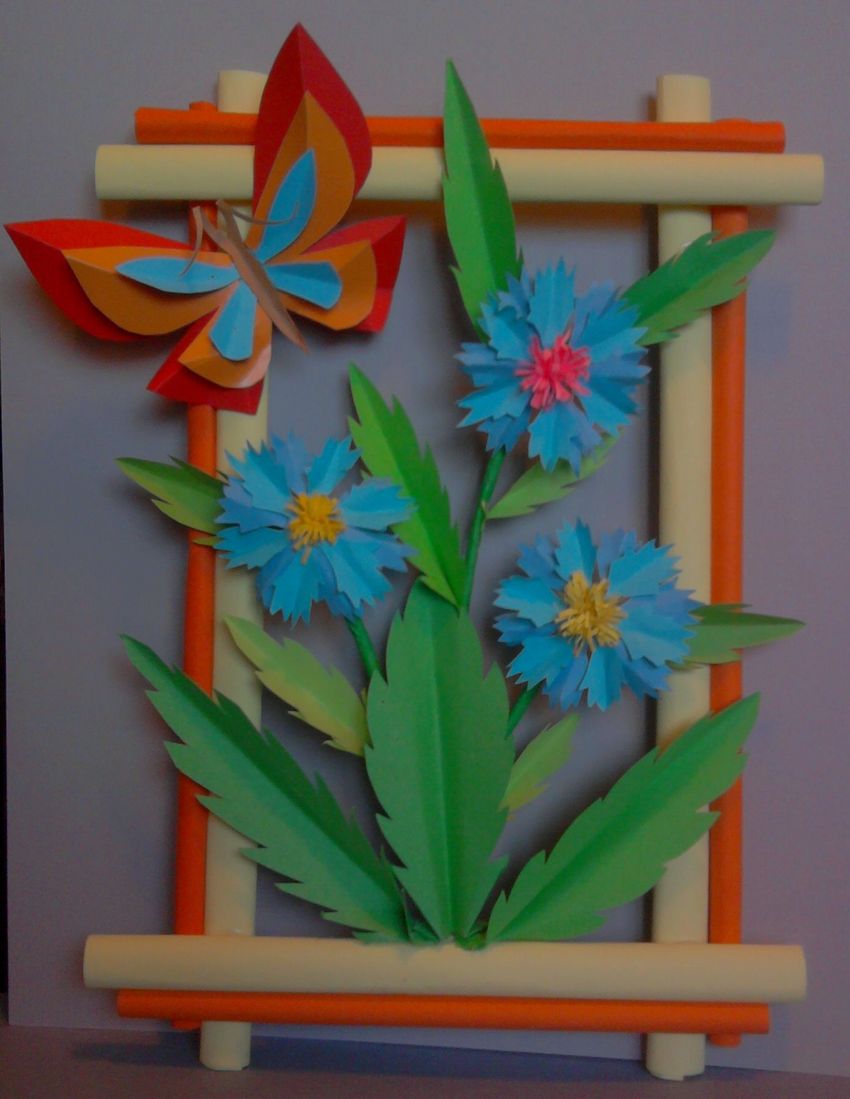
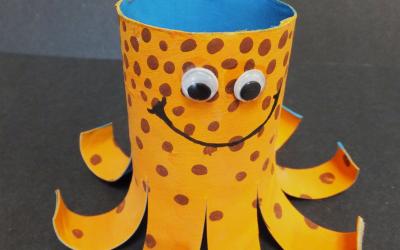
3D butterflies
Such butterflies can be made with paper and toilet paper sleeve. The body of the butterfly will be from the sleeve, so the handicraft will be made in volumetric form.

For this idea, it is better to use self-adhesive paper, with which you will glue the "body" and the wings of cardboard, as a decoration we use buttons, beads, ribbons, etc.

It is better to use hot glue, but if you share the work with a child, use regular PVA.

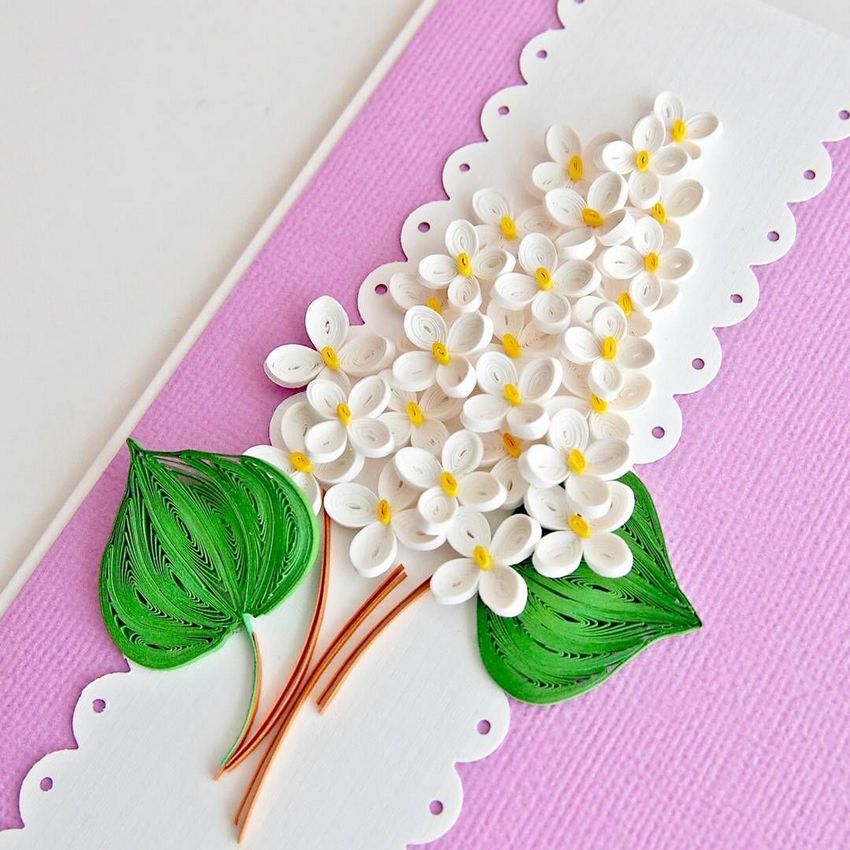
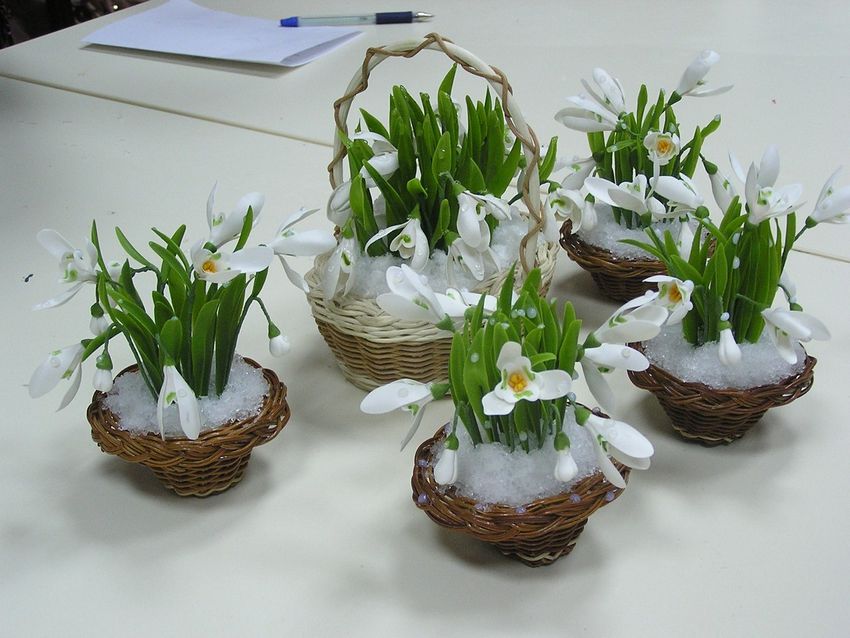
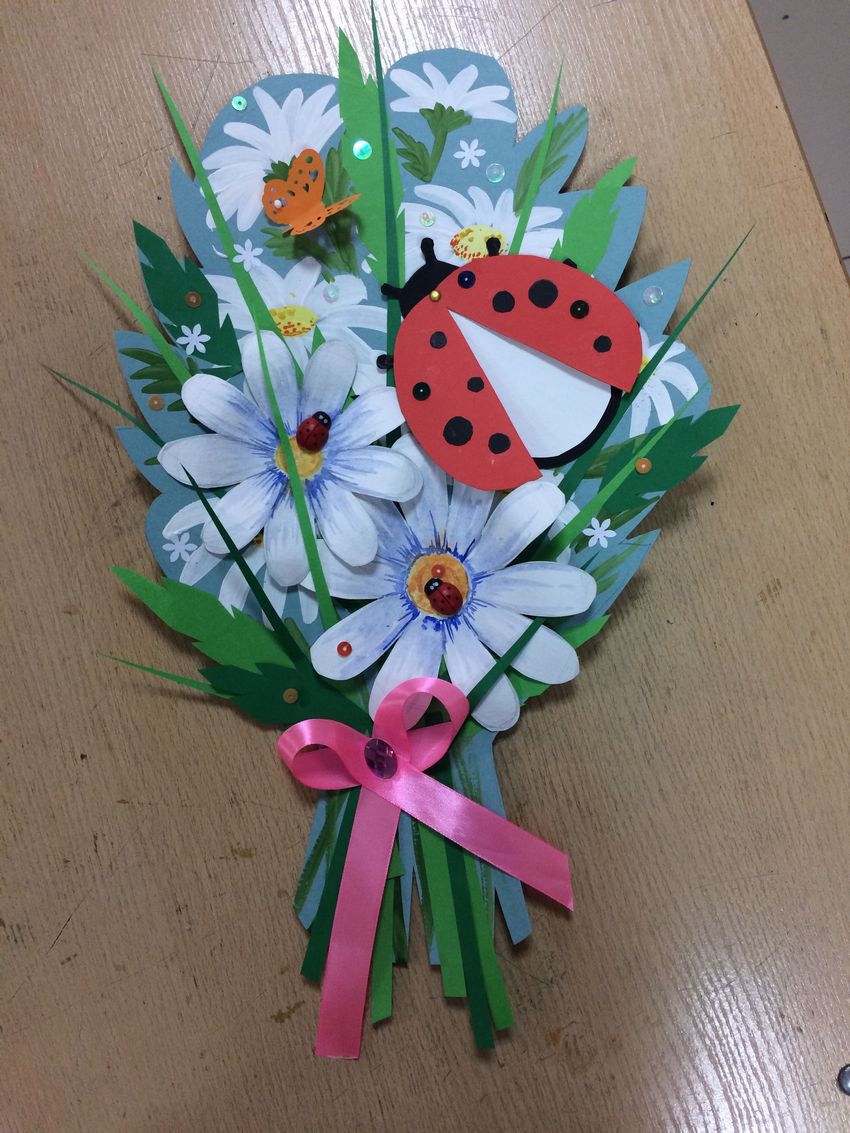
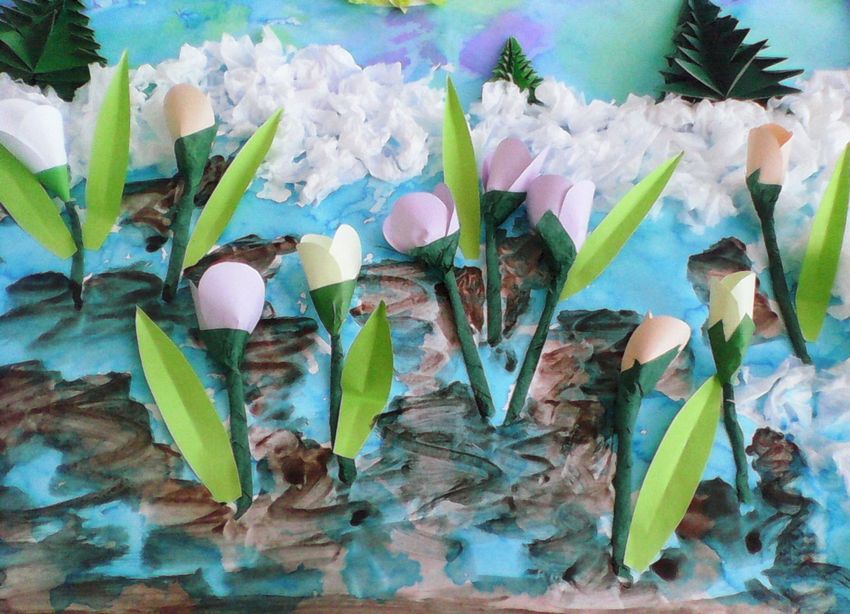
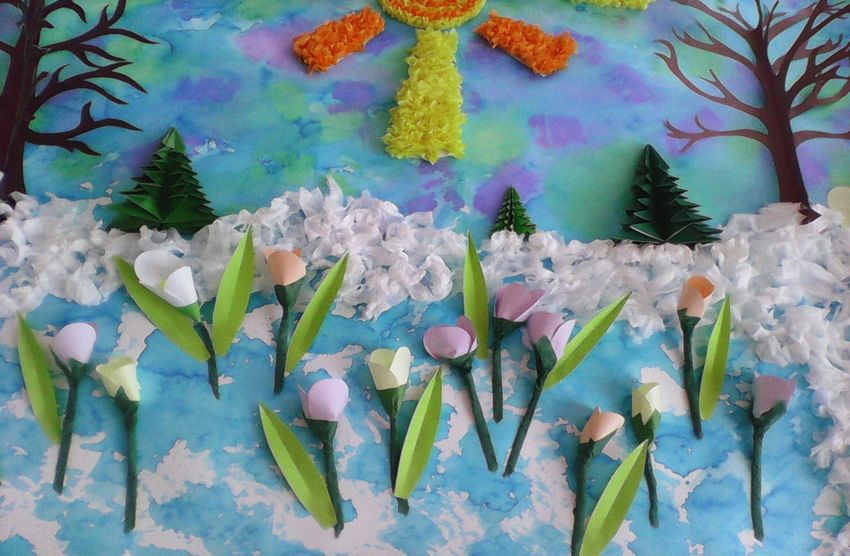
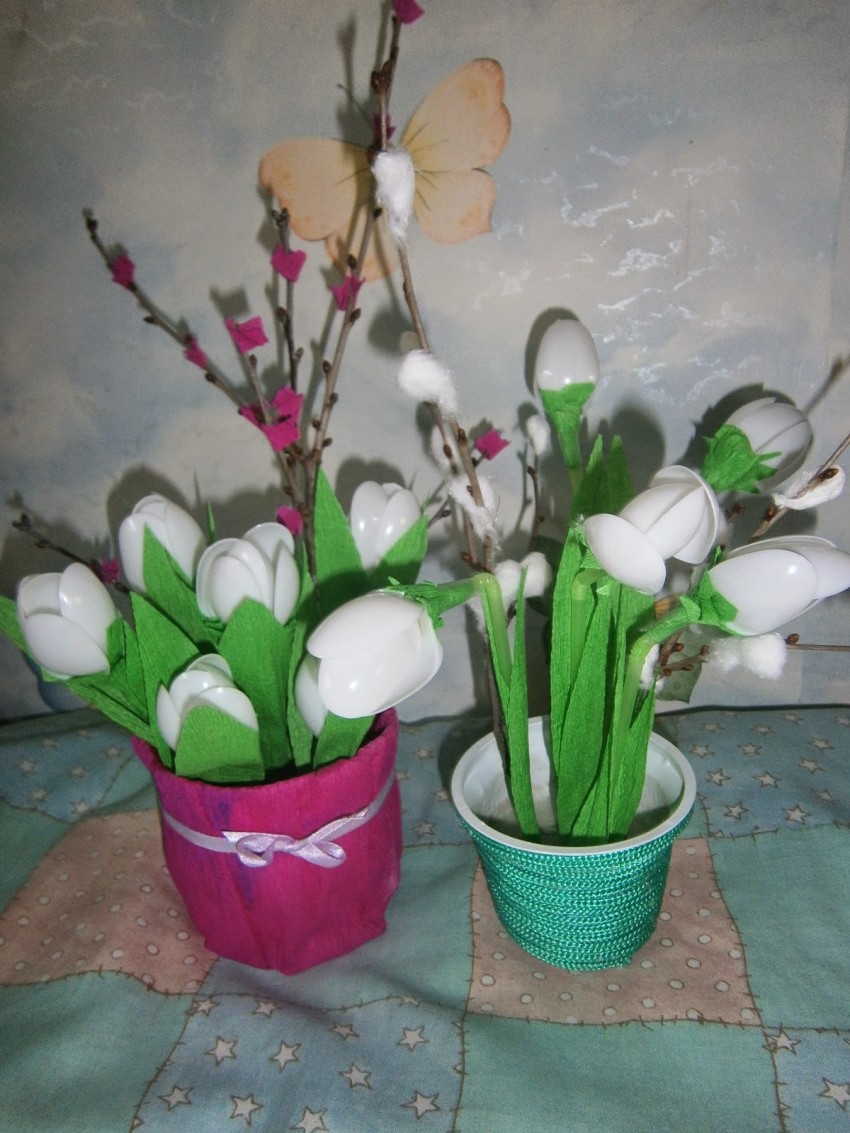
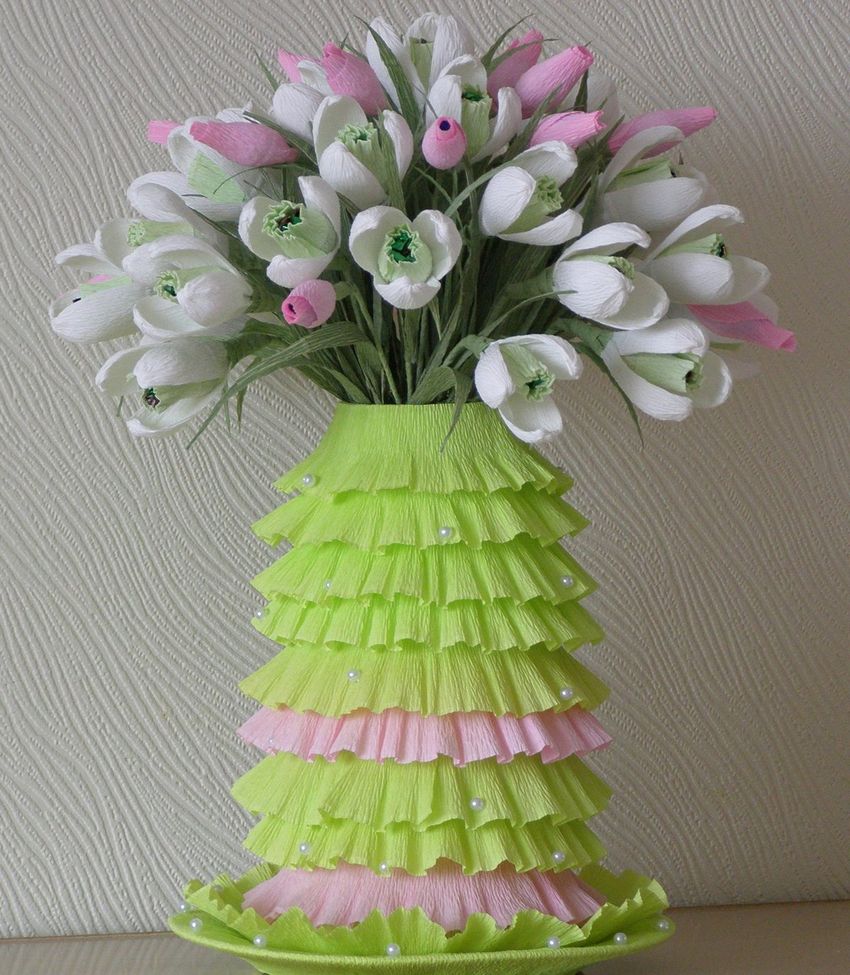
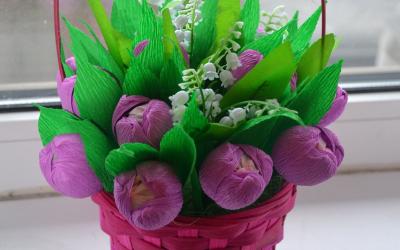
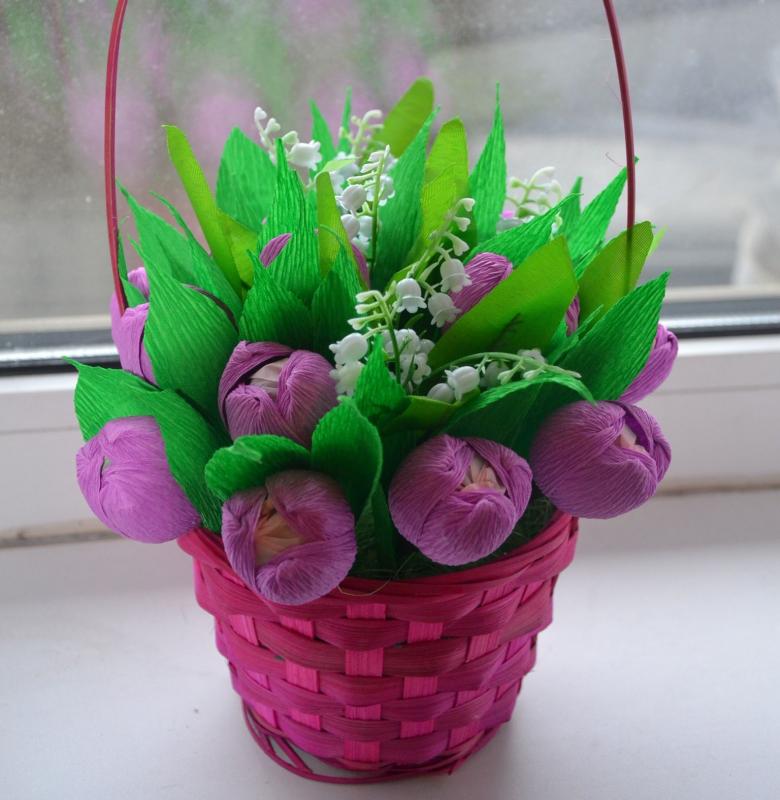
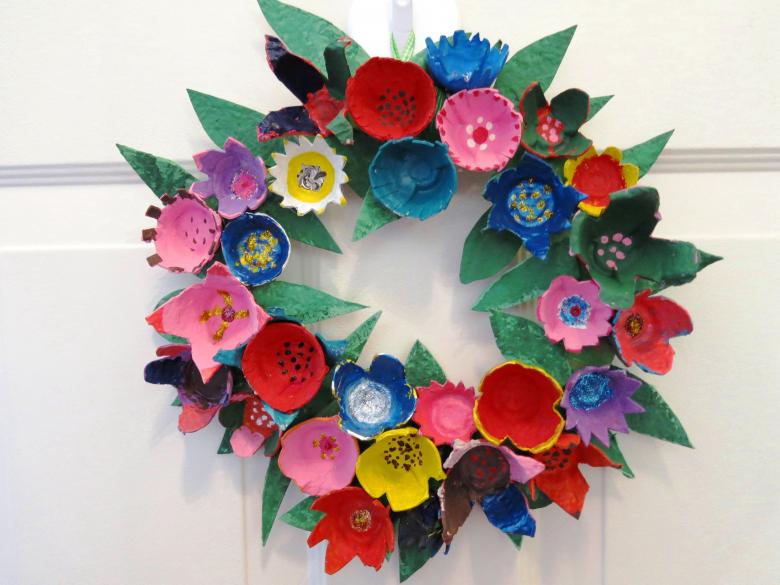
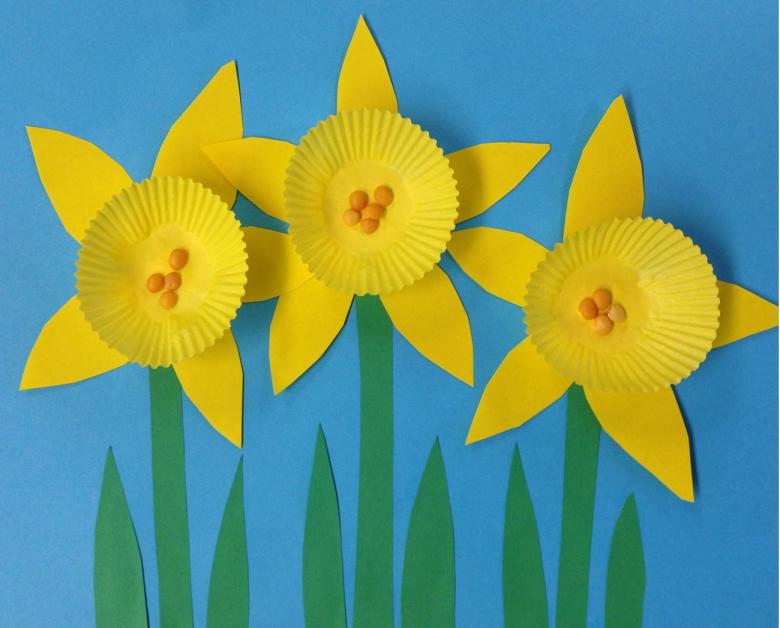
Bouquets from paper cupcake molds
Do not want to fuss much? Use cupcake molds, colored paper or even foil. You can glue them to colored cardboard, and from colored paper attach stems - the bouquet is ready.
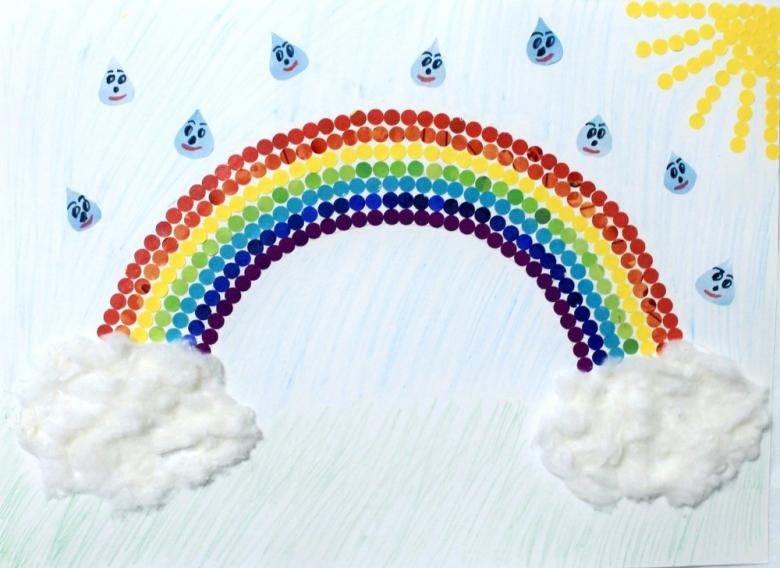
A cloud with a rainbow
Performance of this work in general does not require much effort. From white paper cut two equal clouds. From colored paper cut seven strips, preferably of the same size.
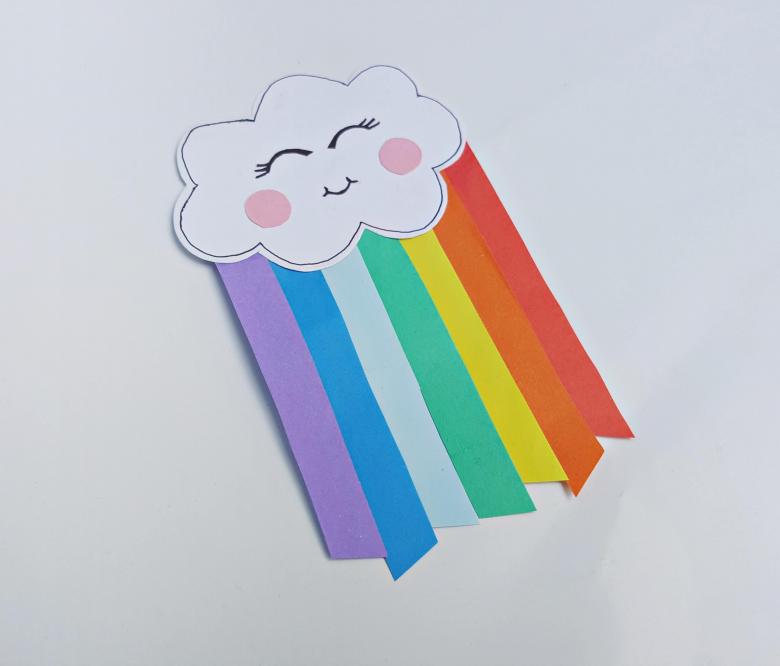
Each strip should match the color of the rainbow. All parts of the "rainbow" glue to one cloud, then glue a second cloud to "hide" the base of the rainbow. Do not forget to draw a cloud "face".
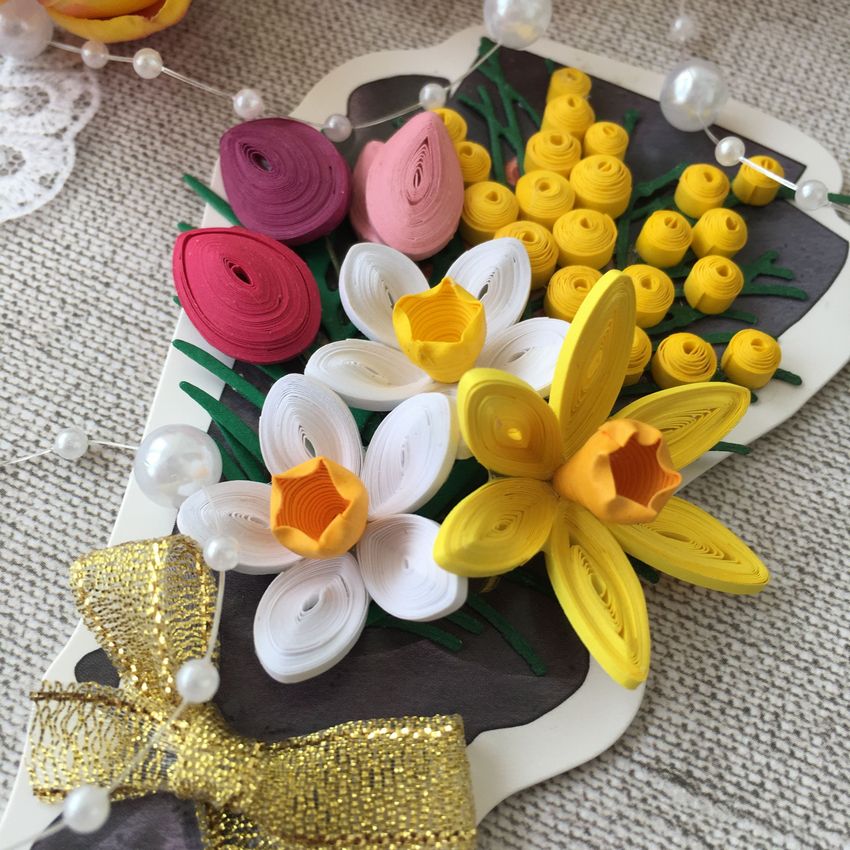
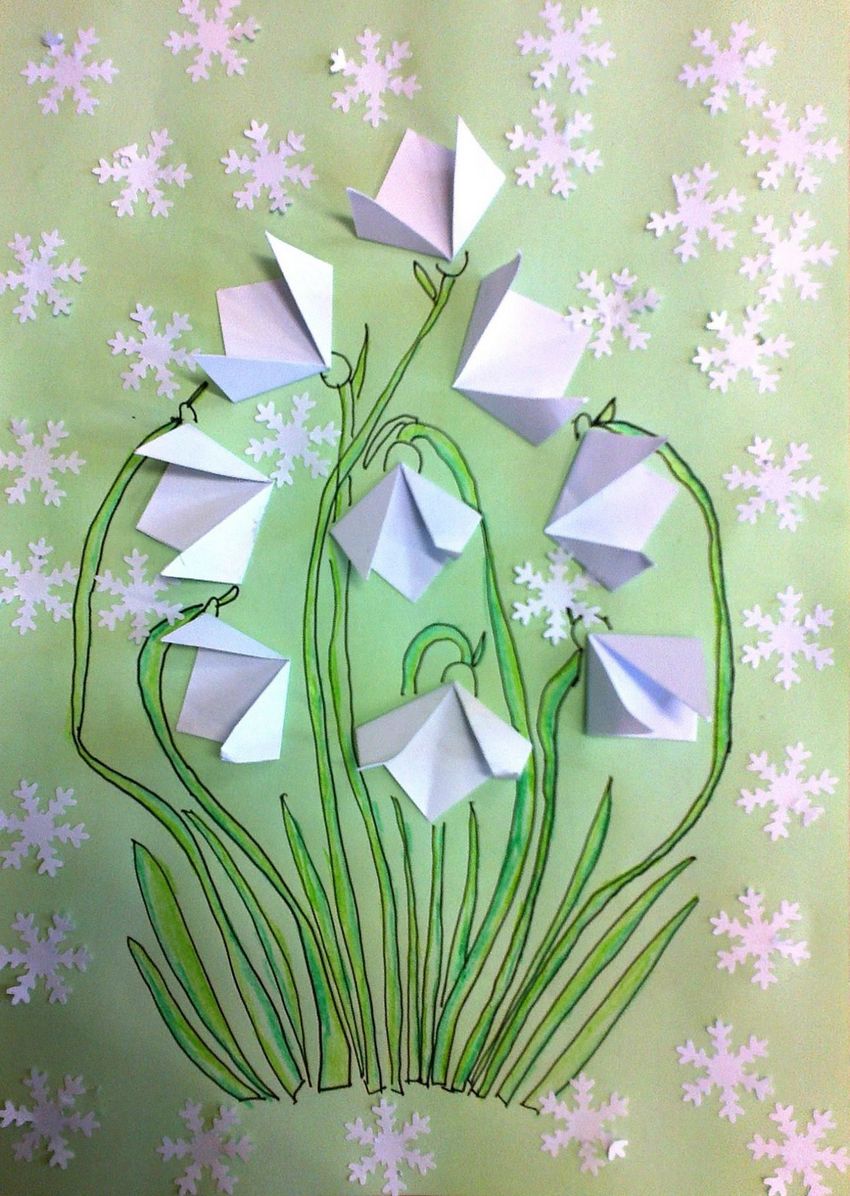
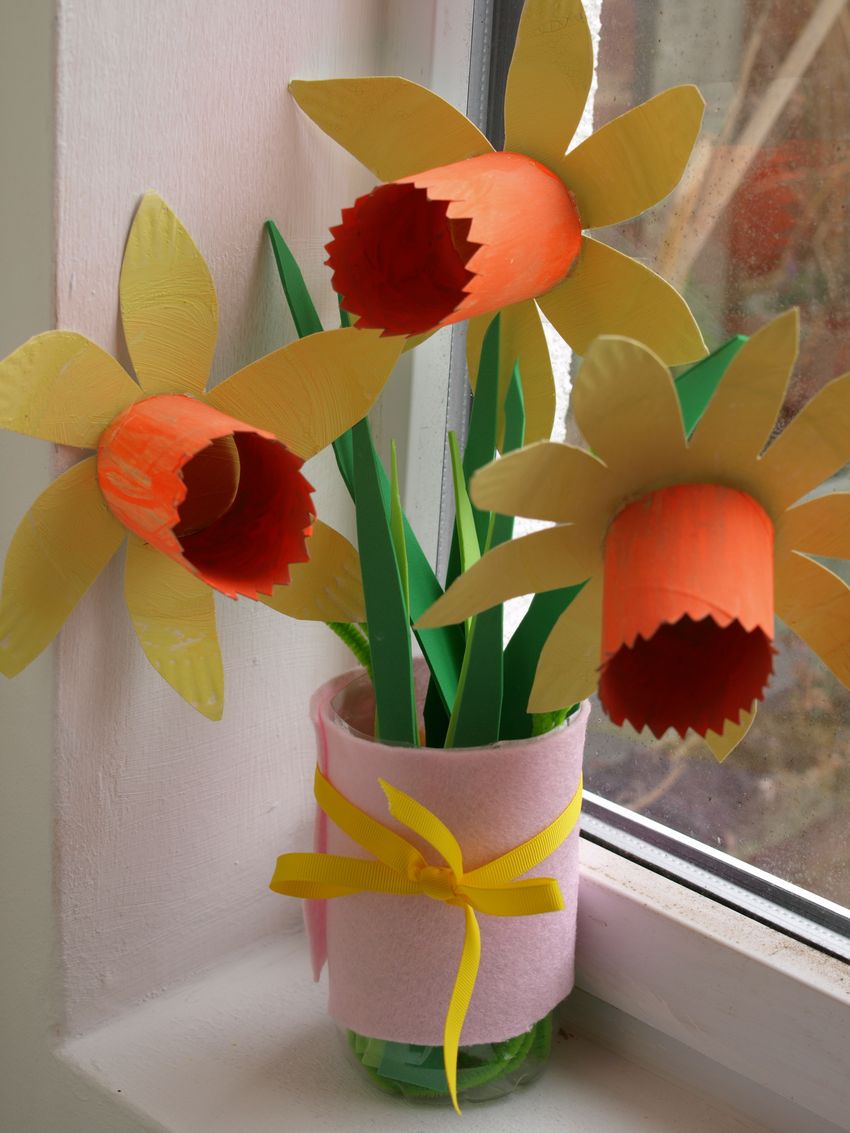
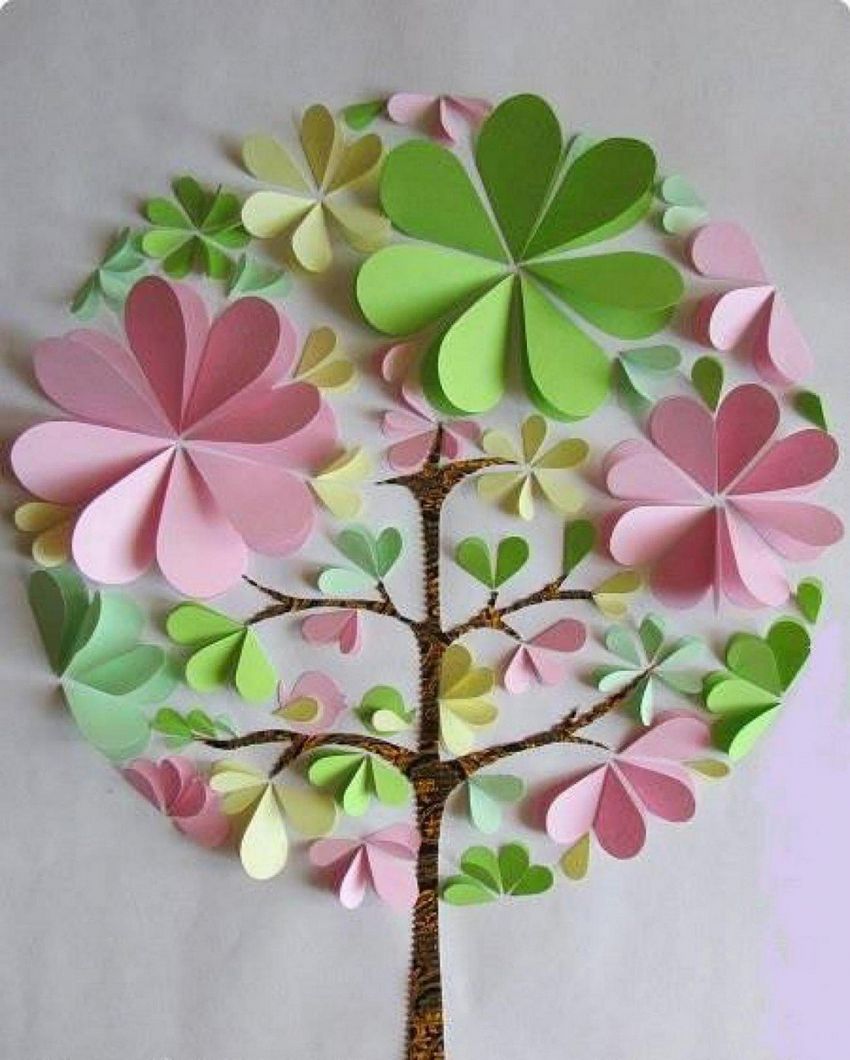
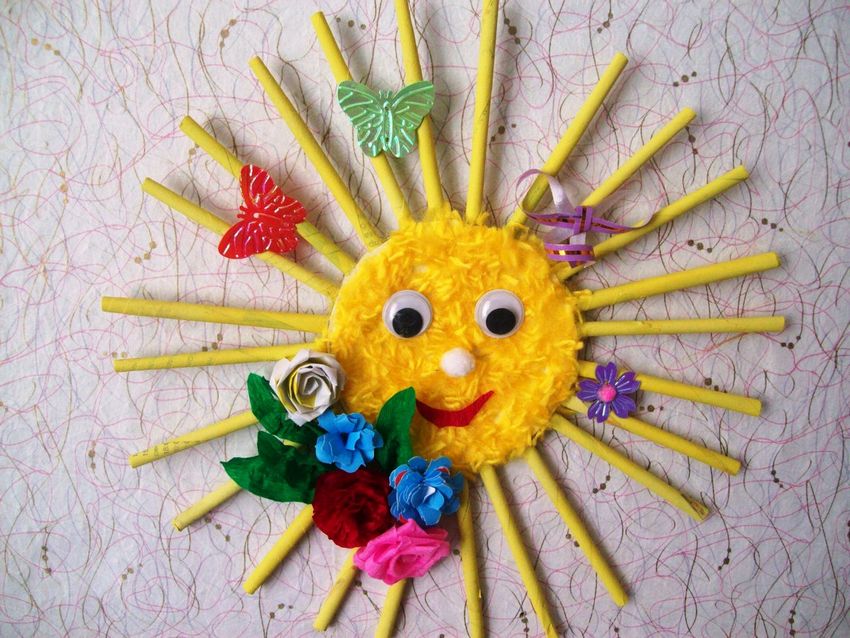
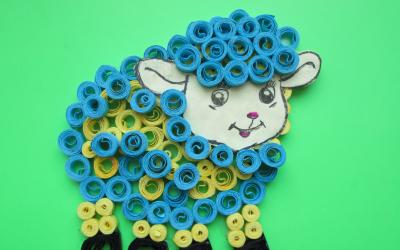
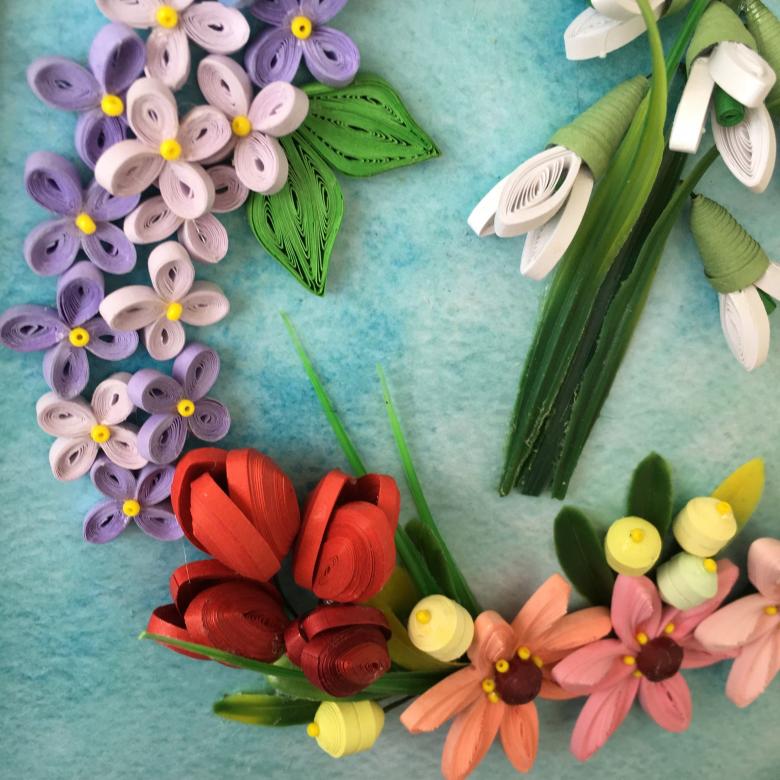
Handicrafts of paper rings
Everyone remembers the paper rings? Many adults were personally engaged in their "making" in kindergarten and elementary school, as they used to decorate holidays.
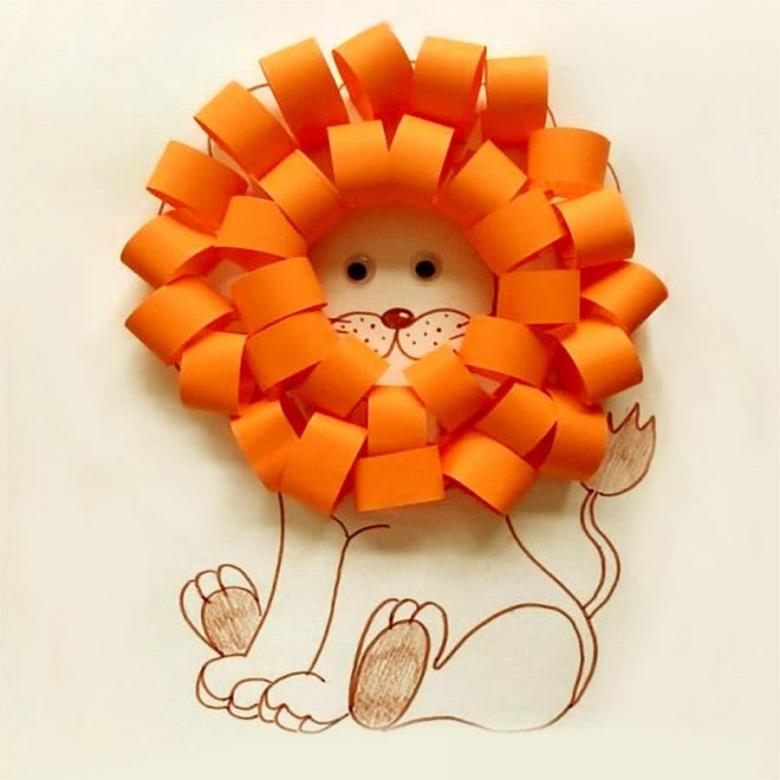
Despite the fact that paper rings are no longer used, the technique is still "alive. Paper rings can be used to make three-dimensional flowers, or a volumetric cloud.

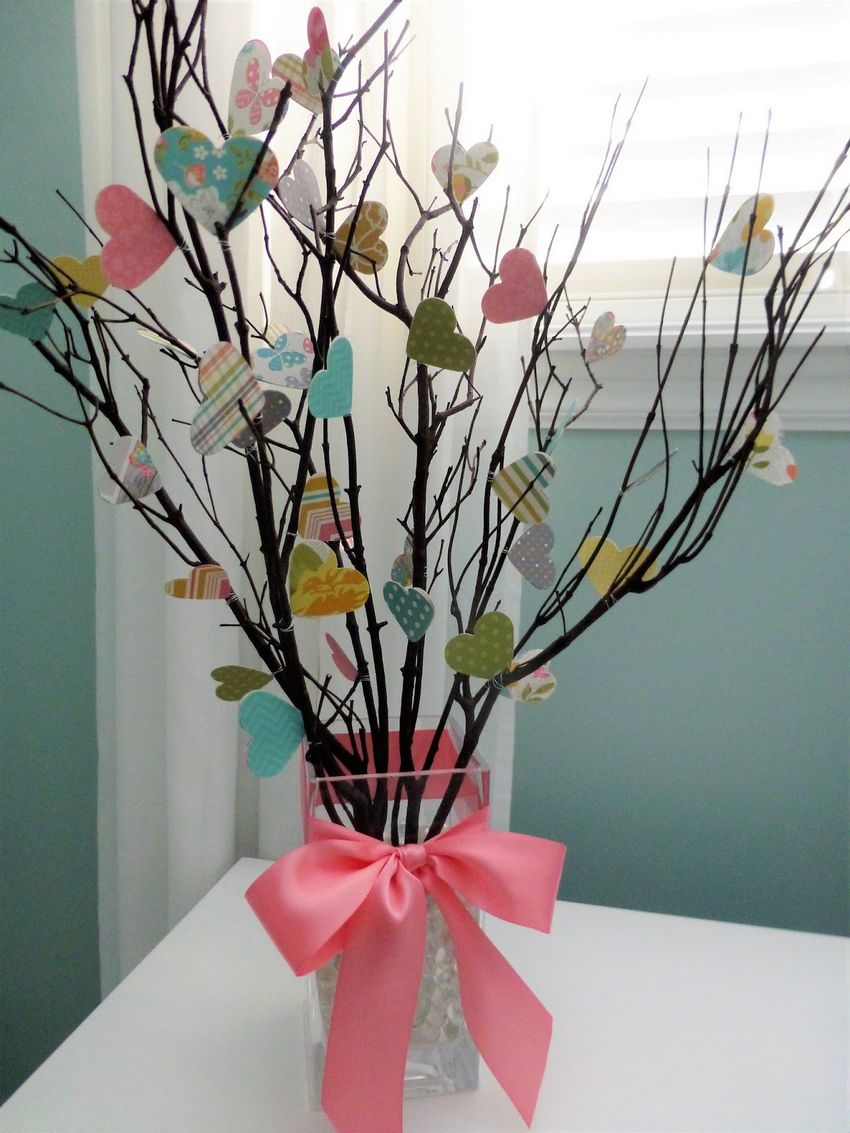
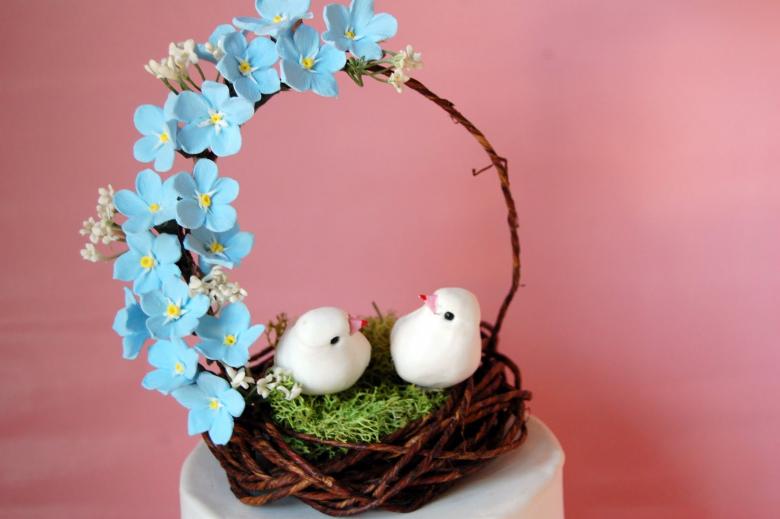
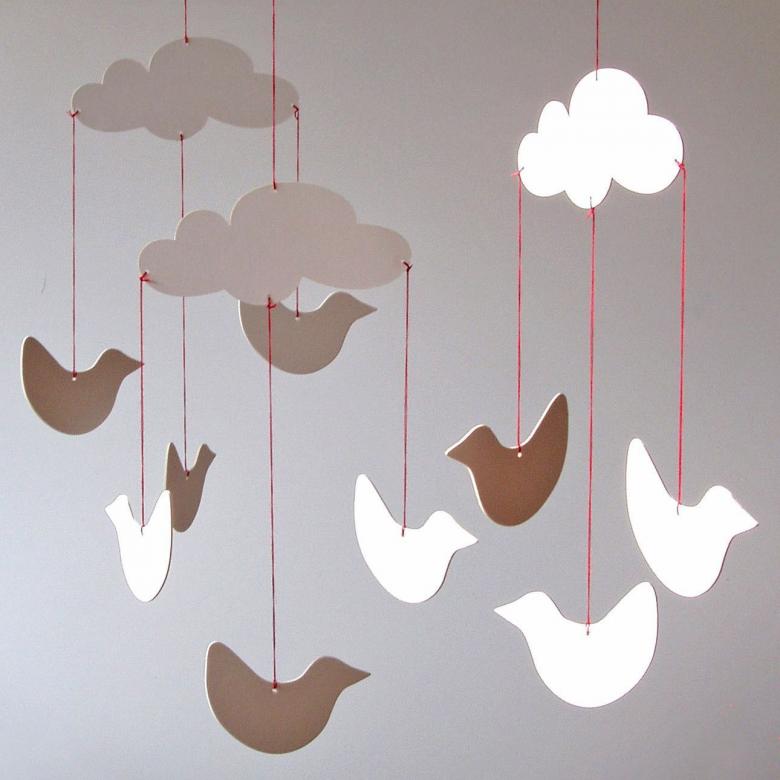
Mobiles with birds
The basis of the mobiles will be an ordinary branch, it can be painted, and you can leave the natural. We do the birds from paper, they do not have to be three-dimensional - it all depends on your own preferences and willingness to "join" the process.
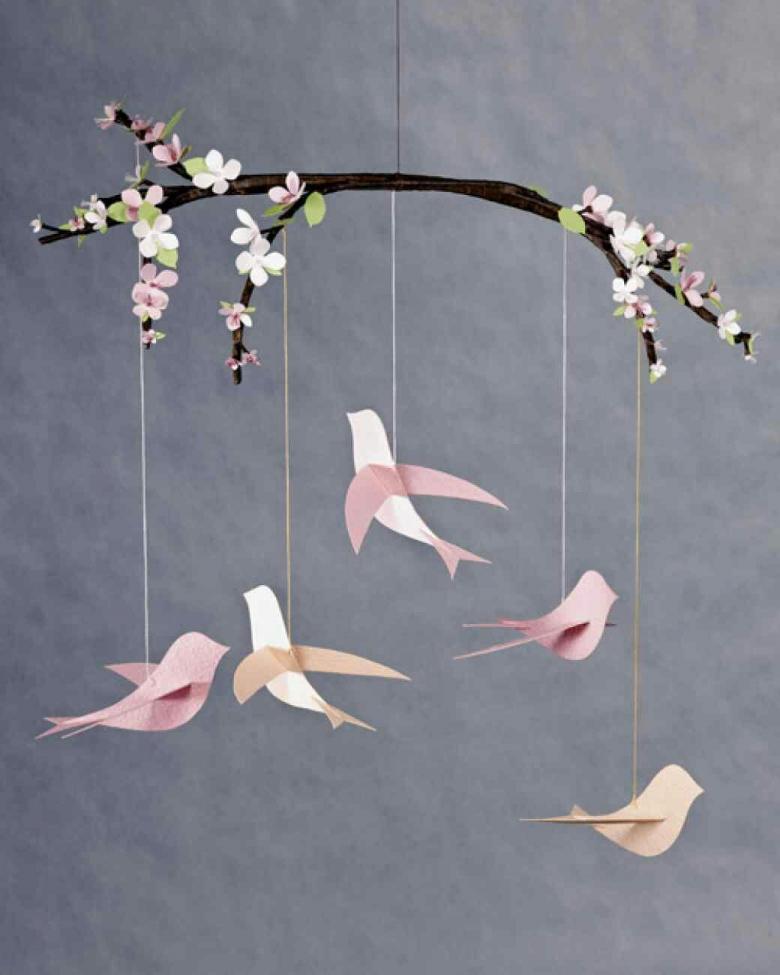
The birds are suspended from the branch on a fishing line, and it is better to attach the birds to the fishing line with double-sided tape or hot glue - so it is safer. You can add clouds of absorbent cotton, and also hang them like birds.
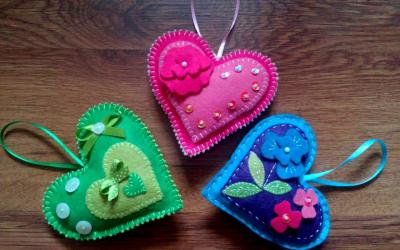
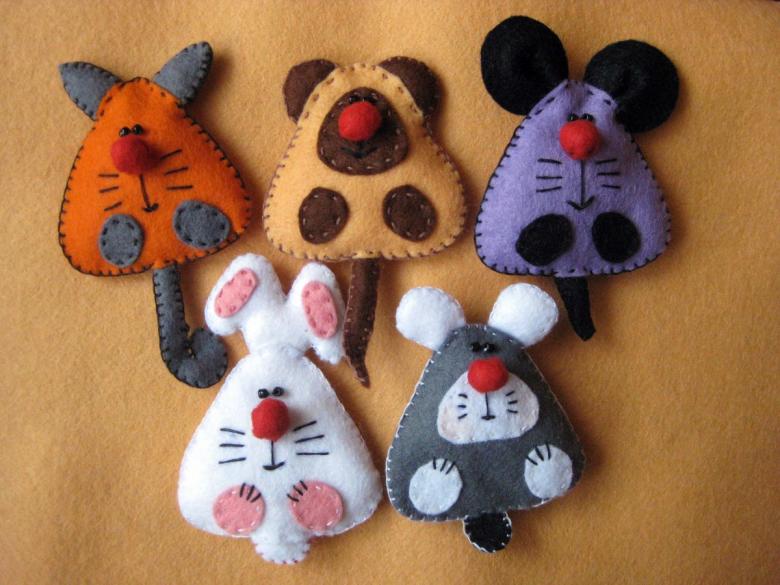
Felt crafts
Felt is quite often found in various ready-made kits for needlework, designed for children. Quite popular material has a large variety of colors. With felt, you can cut out a variety of animals, and you can make them three-dimensional.

There are many variations, on the Internet there are many video instructions, which explain in detail how to create a craft with felt.
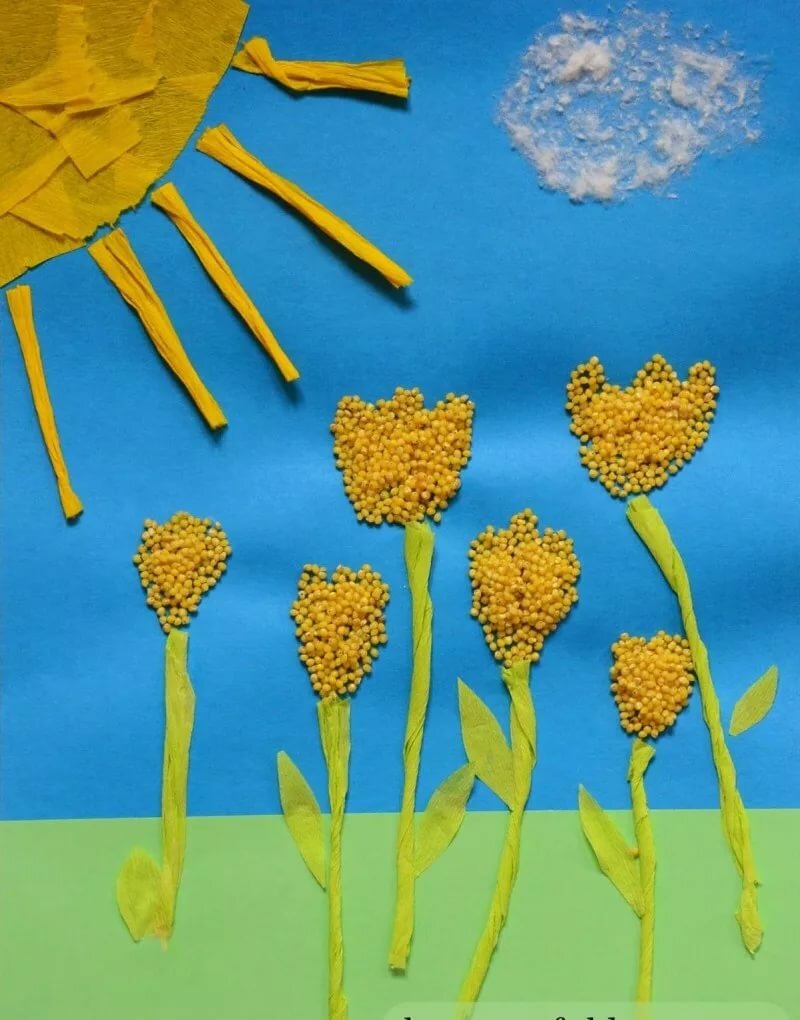
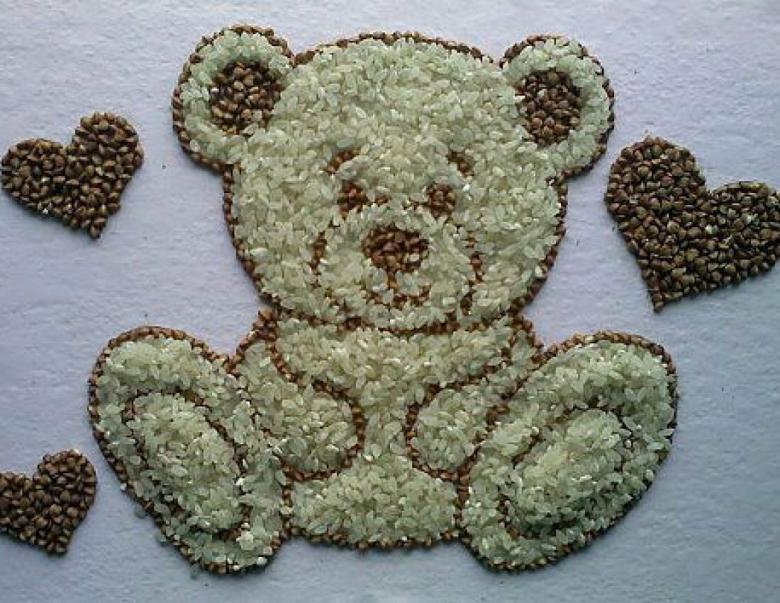
Handicrafts from cereals
We offer an original idea - a butterfly made of groats. The work turns out bright and unusual. To make such a butterfly, you need to prepare a thick cardboard, PVA glue, decorations such as beads, rhinestones, beads, etc., groats (millet, buckwheat and crushed corn).
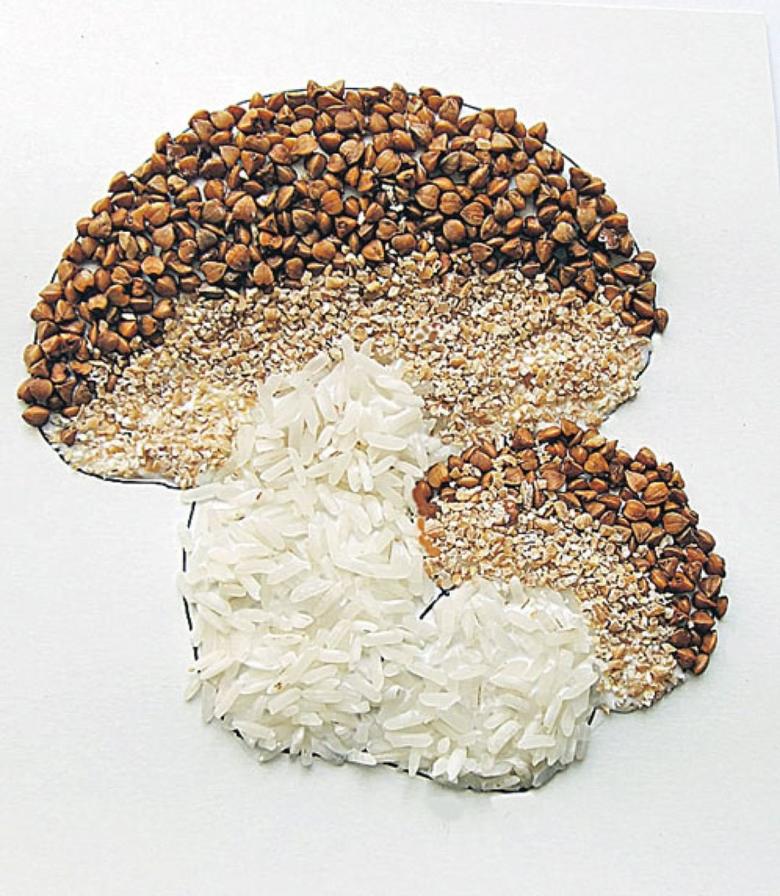
Butterfly can draw your own, or you can use a template. If you use a template, simply outline the drawing of the butterfly on cardboard. Along the contour of the butterfly, apply glue and fill them with buckwheat, as well as use decorations in the form of rhinestones and beads.

The distance of 3 centimeters from the outline on the inside fill with millet. Then again lead "buckwheat" strip. We alternate with millet twice more. "Millet" part of the butterfly should be 9 cm. with a separation of "buckwheat" stripes. Afterwards, fill everything with corn. The body of the butterfly can be decorated with decorations.
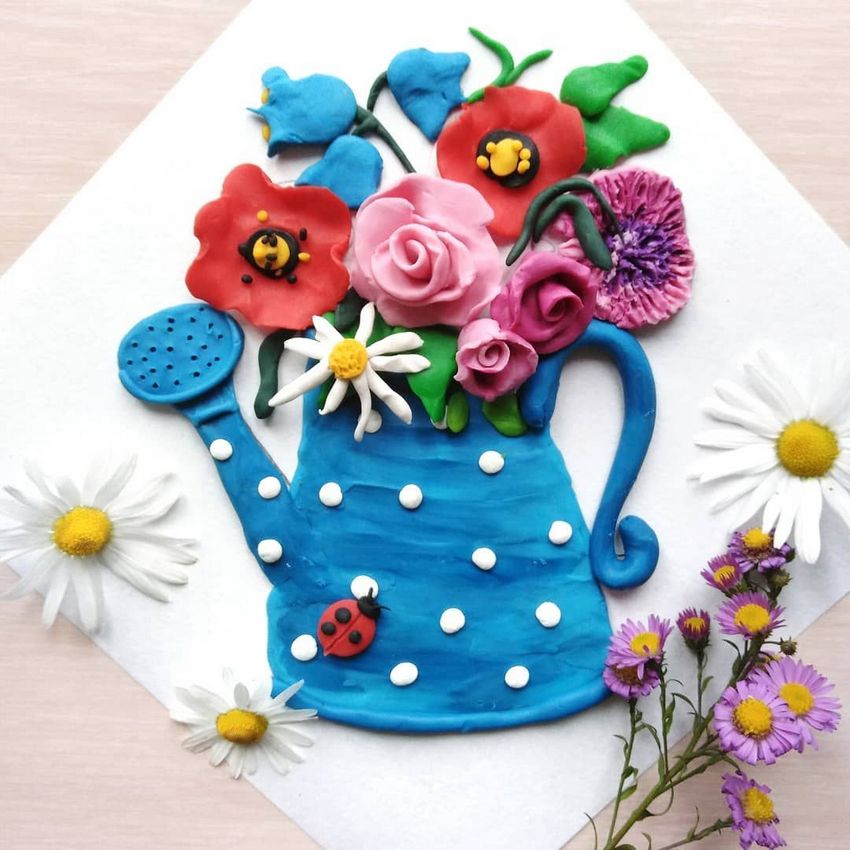
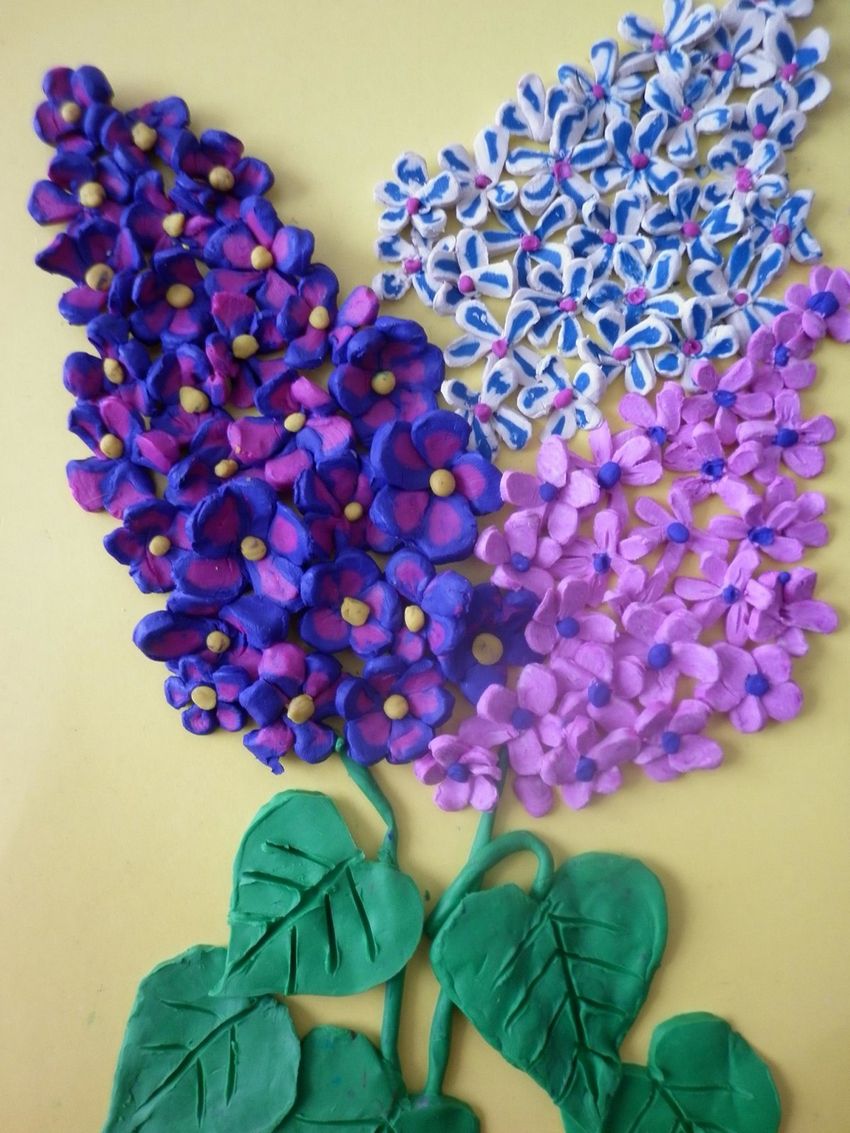
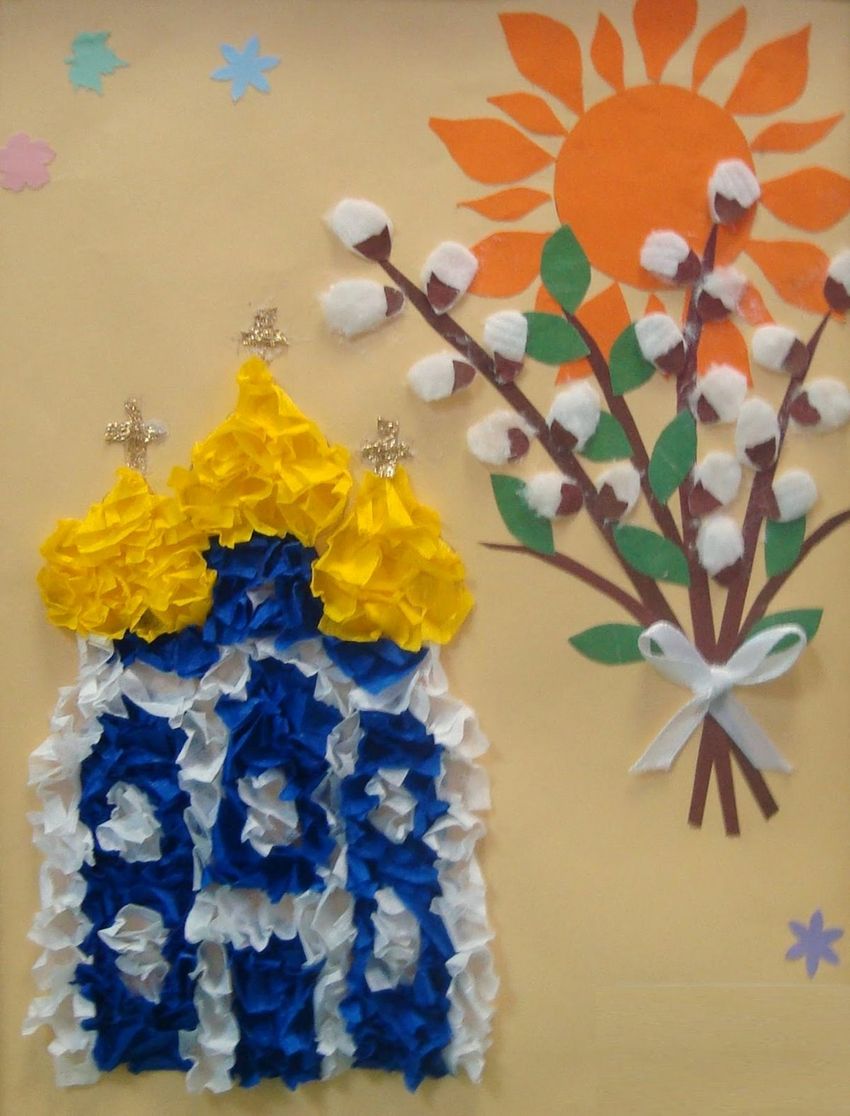
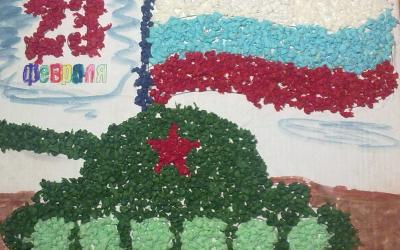
Handicrafts made of clay: panels
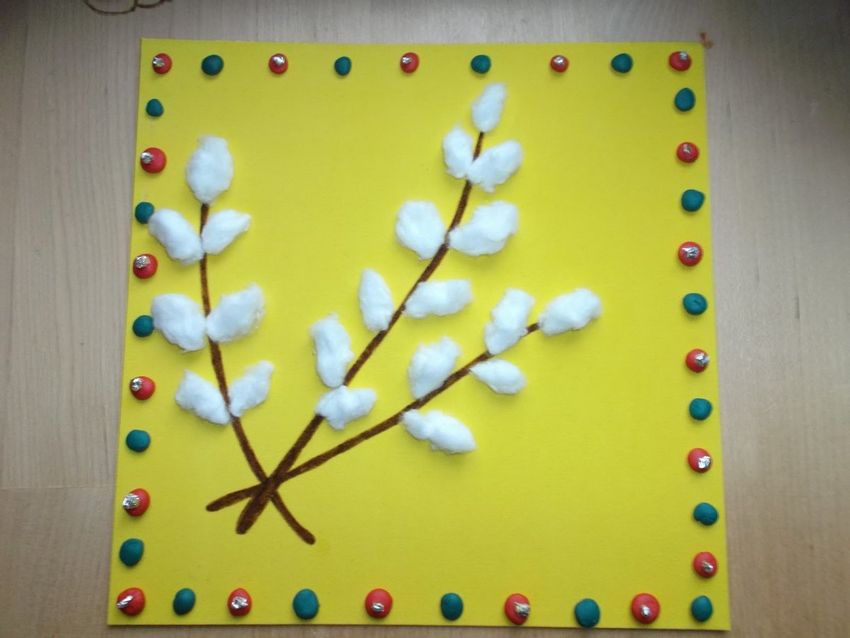
Often parents are asked to bring plasticine crafts on the theme of "Spring". So, what can "spring" to slip? A great option would be to make a panel, it's quick and easy. Make a panel with a willow tree. You will need cardboard, colored clay, absorbent cotton.
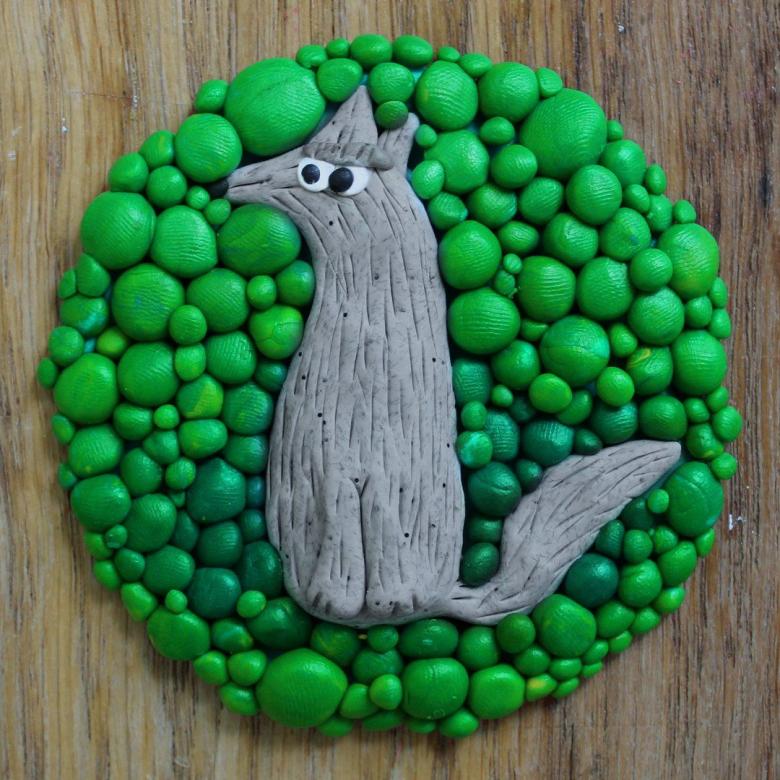
Draw a willow branch on the cardboard with a pencil. Twist twigs of brown plasticine and glue them to the cardboard. Twist a willow bud from absorbent cotton, "wrap" brown clay around the bottom and attach to twigs. Done!

Button crafts
Buttons can be used for a variety of purposes. Larger buttons can make part of the "picture" with colors, and if you take a lot of colored buttons - you can create an entire rainbow!
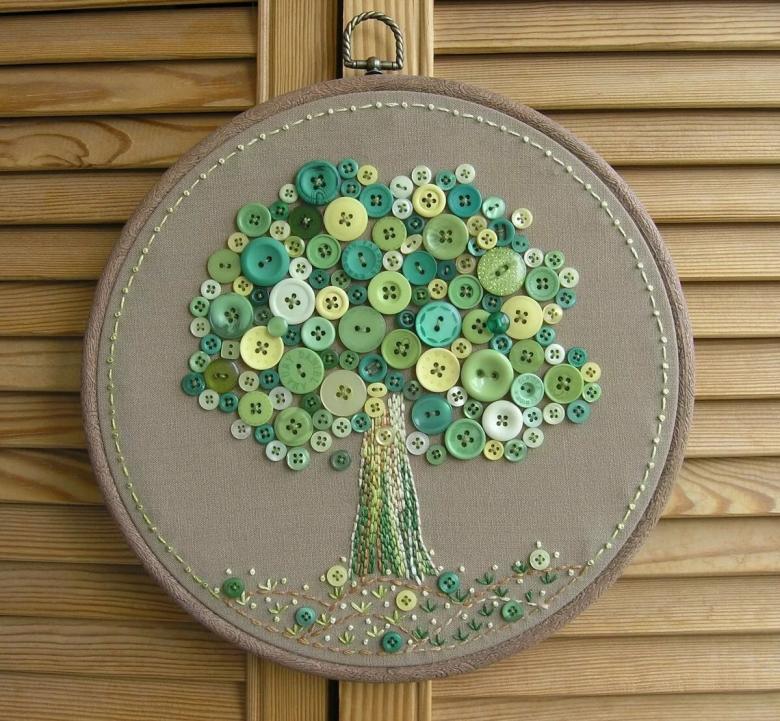
In general, in this case, fantasy has no boundaries, the main thing is simply to choose buttons of the required size. And remember, this kind of work is suitable for children over three years old, as the buttons are small details that your child can easily swallow.

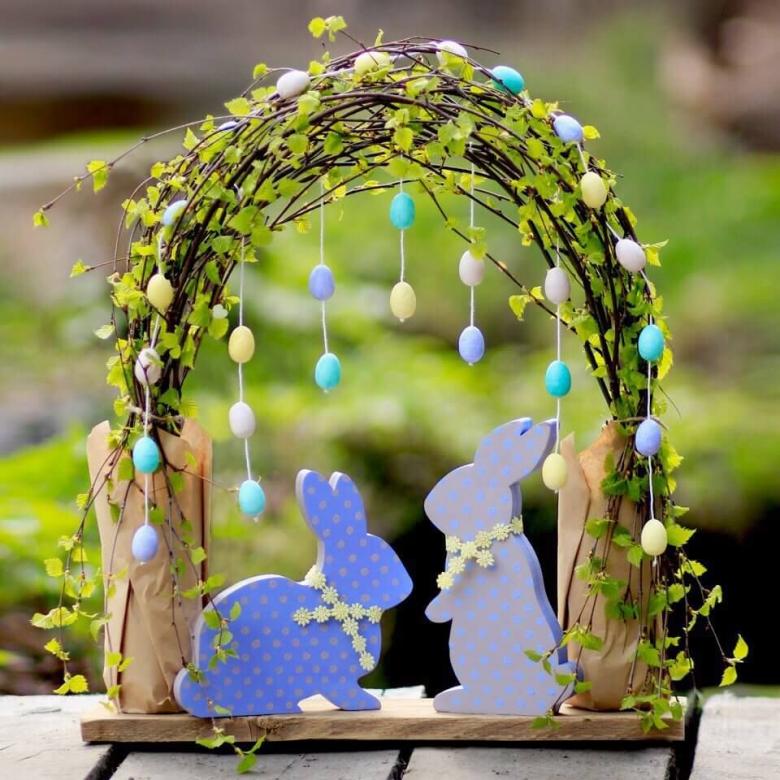
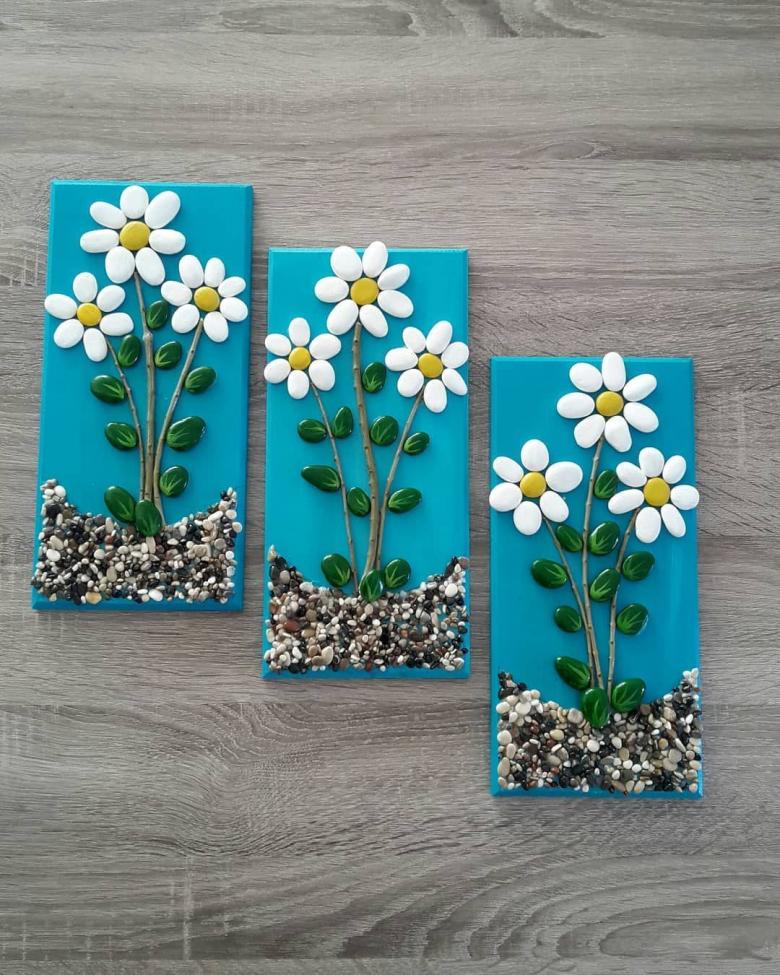
Handicrafts from natural materials
Natural materials such as stones or cones can be a great basis for a craft. Consider a few options.
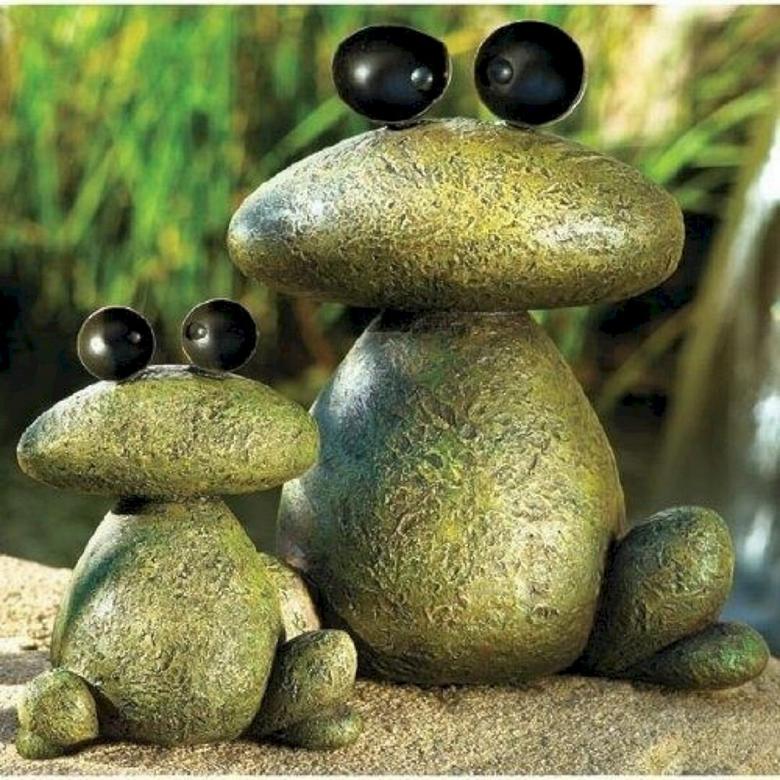
A frog made of stone
Choose a stone for the body better flat, but you can do with what you can find. The stones should be of different sizes, you'll need glue, acrylic paints and green cardboard.

Glue the body of the frog: one large stone is glued together with "legs" - smaller stones. You can glue eyes from small pebbles, or you can paint with paint. You can use acrylic paint to paint the frog either completely or just "face".
On the green cardboard, draw a water lily and do not forget to glue the finished dried frog.
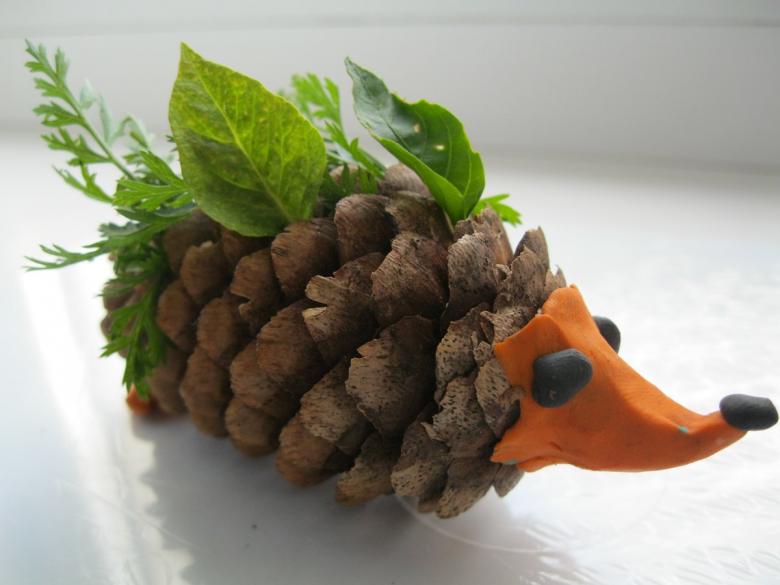
A hedgehog from cones
You will need a cone and plasticine. Use clay to make the hedgehog's face and eyes, and glue them to the pine cone side of the stem. To make the hedgehog prickly - you can "insert" toothpicks into the cone, or glue them if the cone is not particularly open with scales. You can also use pine needles instead of toothpicks.
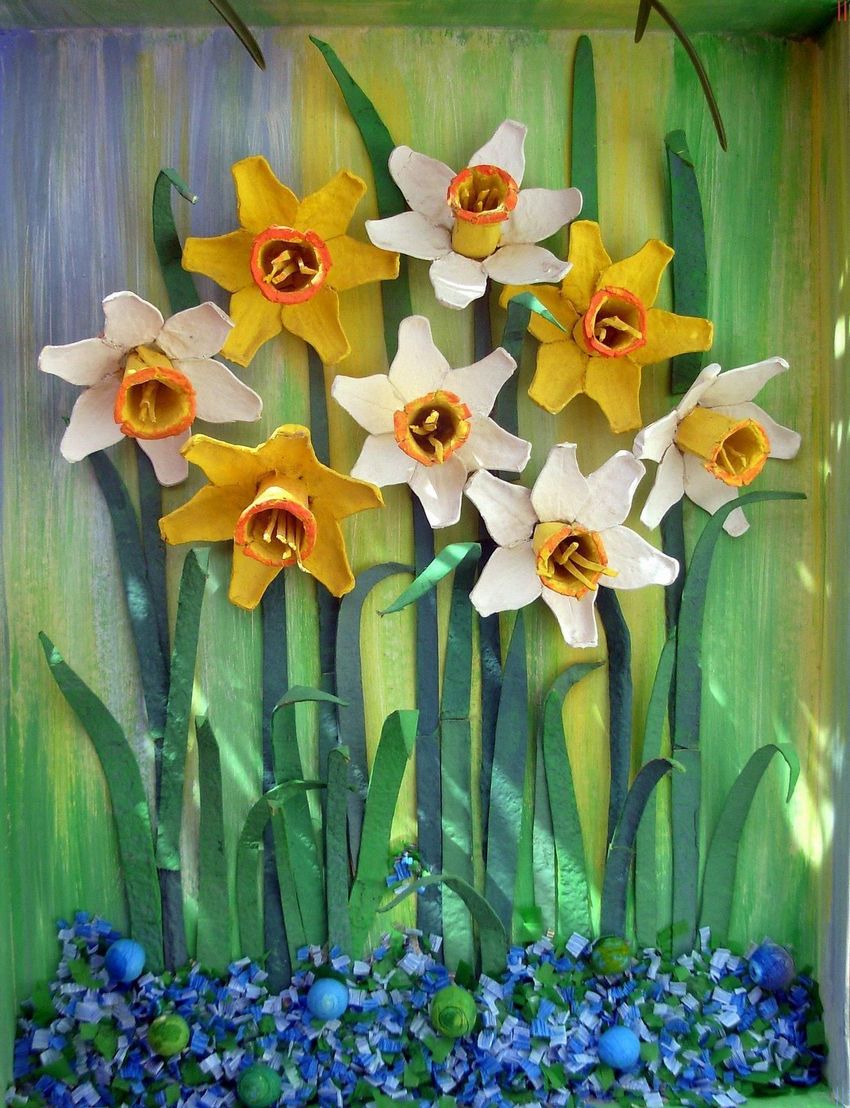
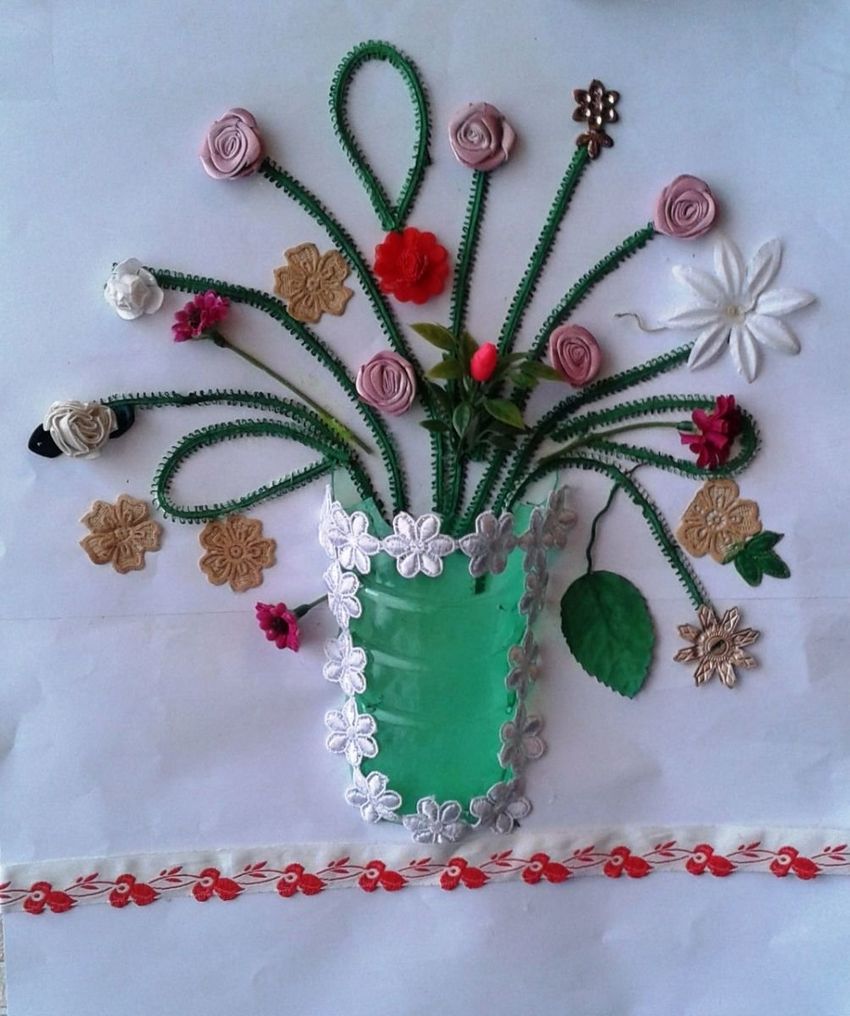
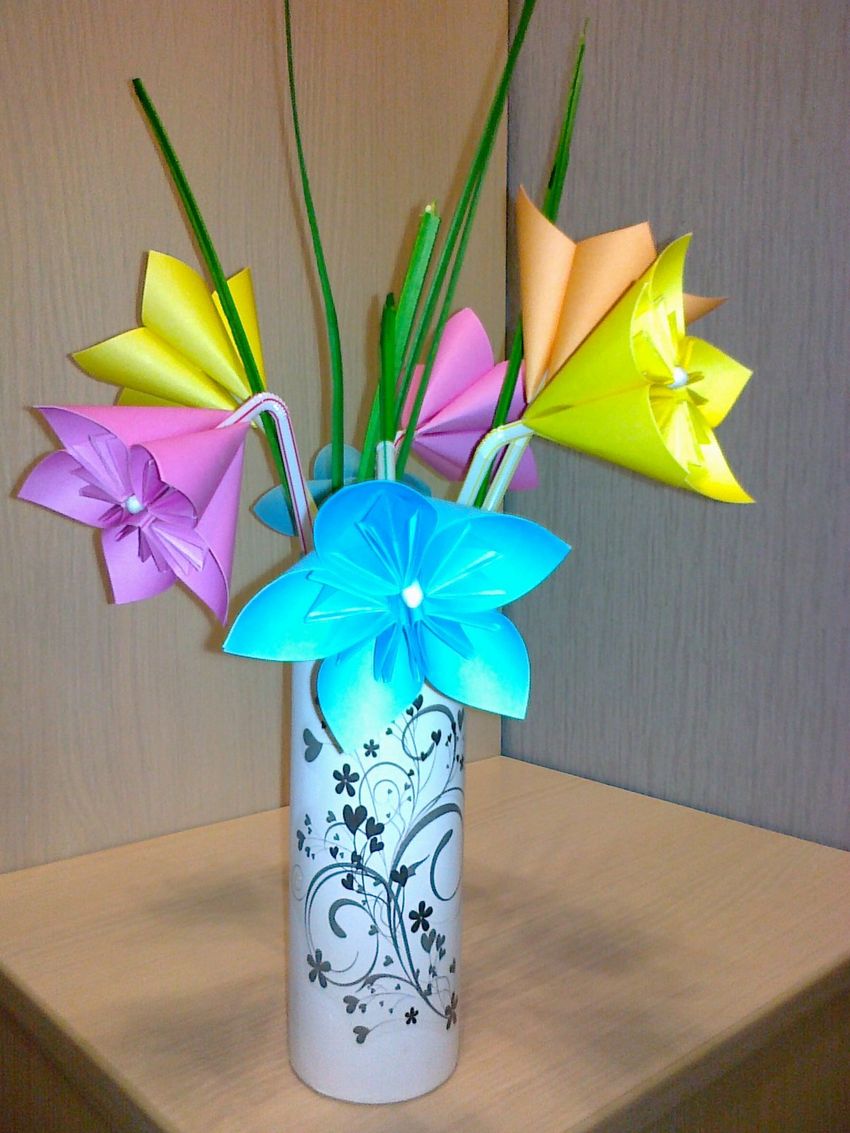
Crafts from different materials
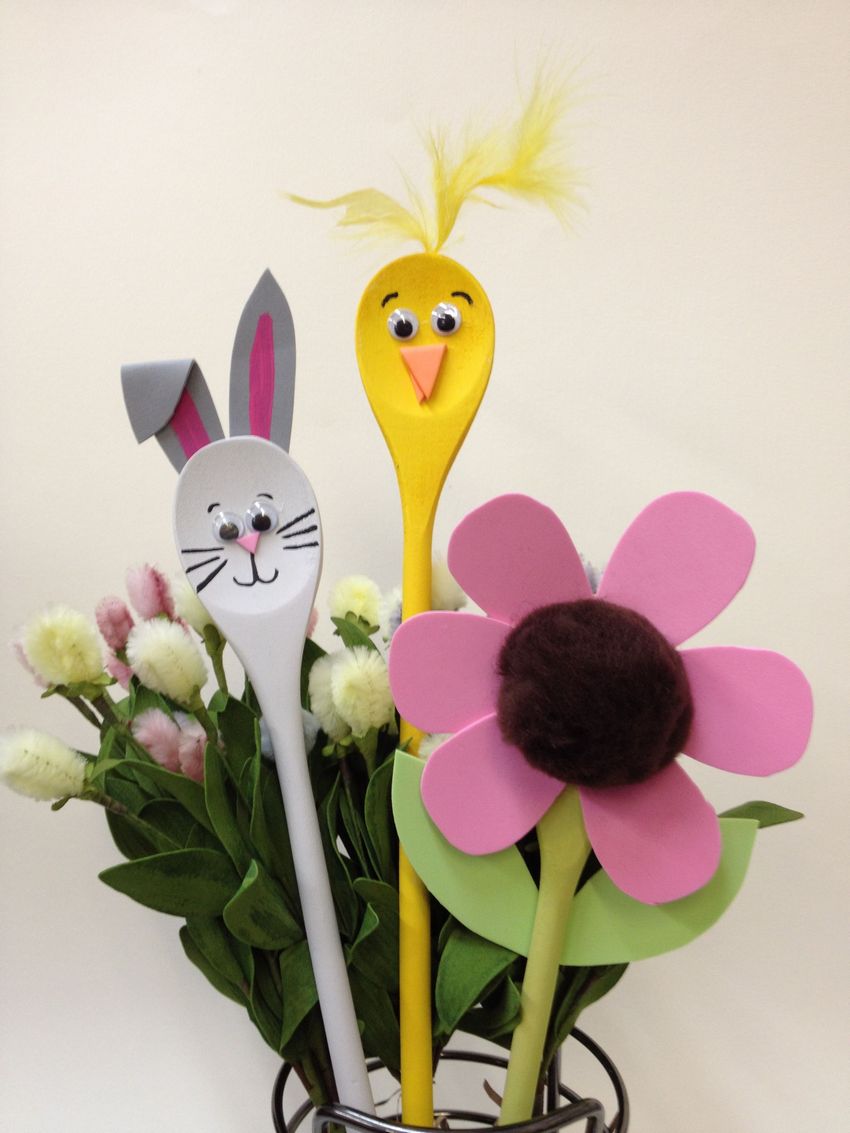
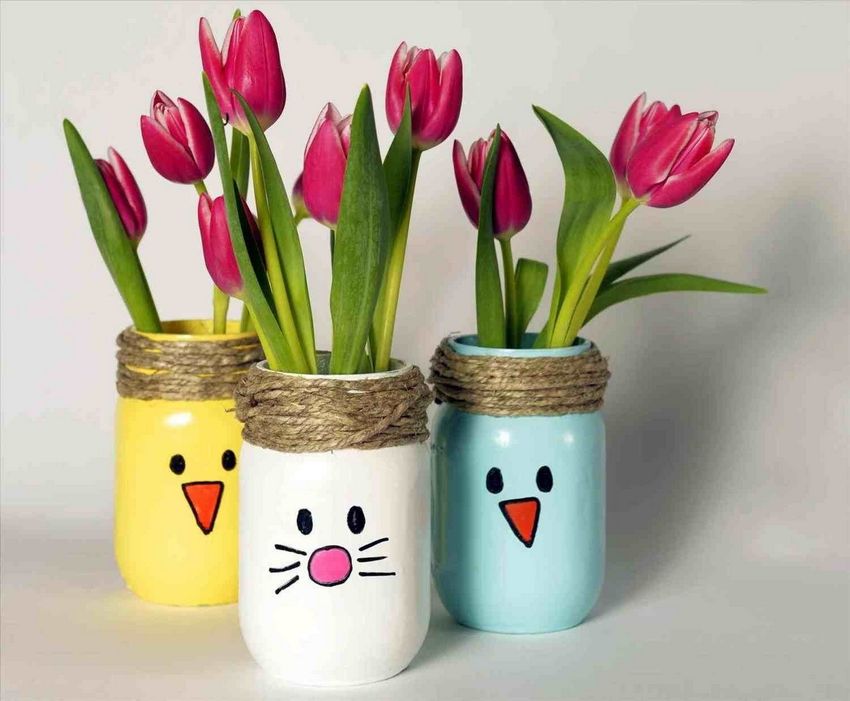
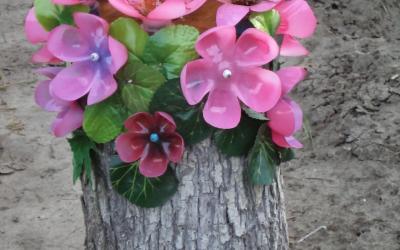
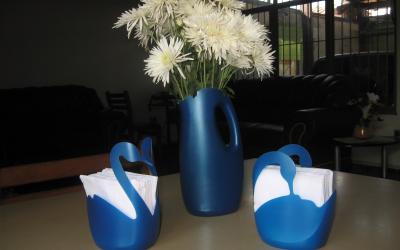
Take a closer look at what you have on hand at home. If you paint over a normal plastic bottle you can make an excellent "vase" for a paper bouquet.
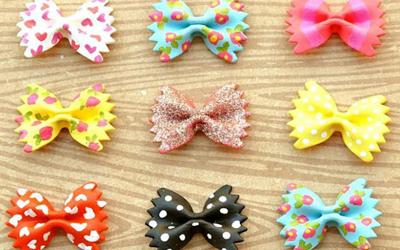
You can use all kinds of pasta and make an entire painting. The Kinder Surprise container and plasticine can be used to "create" a chicken, or even several.

There can be many variations, it all depends on your imagination. The crafts are best made together with children - because it's fun, educational and entertaining!
Photo ideas for spring crafts