The pompon from threads by hand: tips on making for beginners
Pompom gained its fame thanks to the military. Pompoms served as insignia in the army. In France, pompoms were sewn on the caps of sailors. This was done to protect the head, then the bumps on the low ceilings of the holds. Now these fluffy balls are used not only as a detail of clothing, but also as objects for creativity and interior decorating.
Tips for needlewomen on making pompoms
How to make a pompom out of thread with your own hands, so that it turns out beautiful and smooth? To make this thing yourself is quite easy and fast. In the process of creating the product, it is advisable to follow some tips:
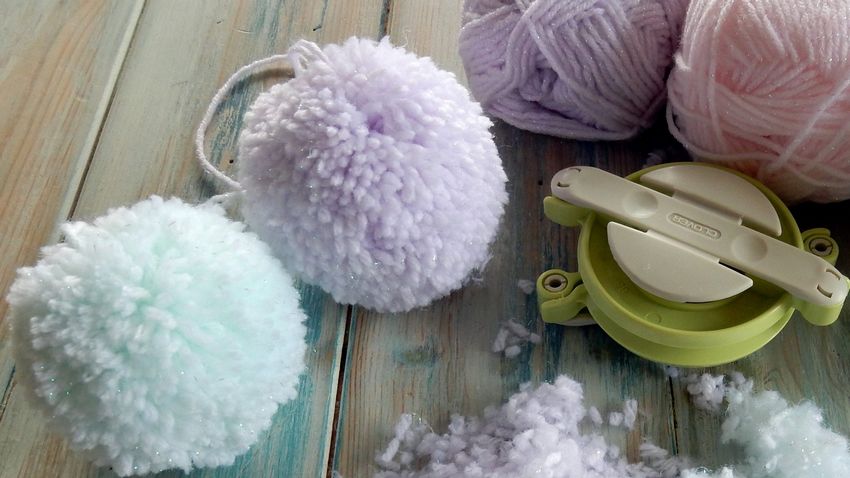
- To make the pompon come out lush and voluminous, use threads that have a dense and porous texture. The best approach is to use yarns with natural wool fibers. Products made of such a yarn will hold their shape better and turn out more voluminous and fluffy.
- To make it easier to create a pattern, you can buy special rulers. Usually templates in the form of a circle or square are used.
- Scissors are necessary to have sharply sharpened.
- It is better to choose a color for the pompon in the tone of the item you are going to decorate, or contrasting to it.
- If you want to create a thing with a design of several colors, use a special scheme.
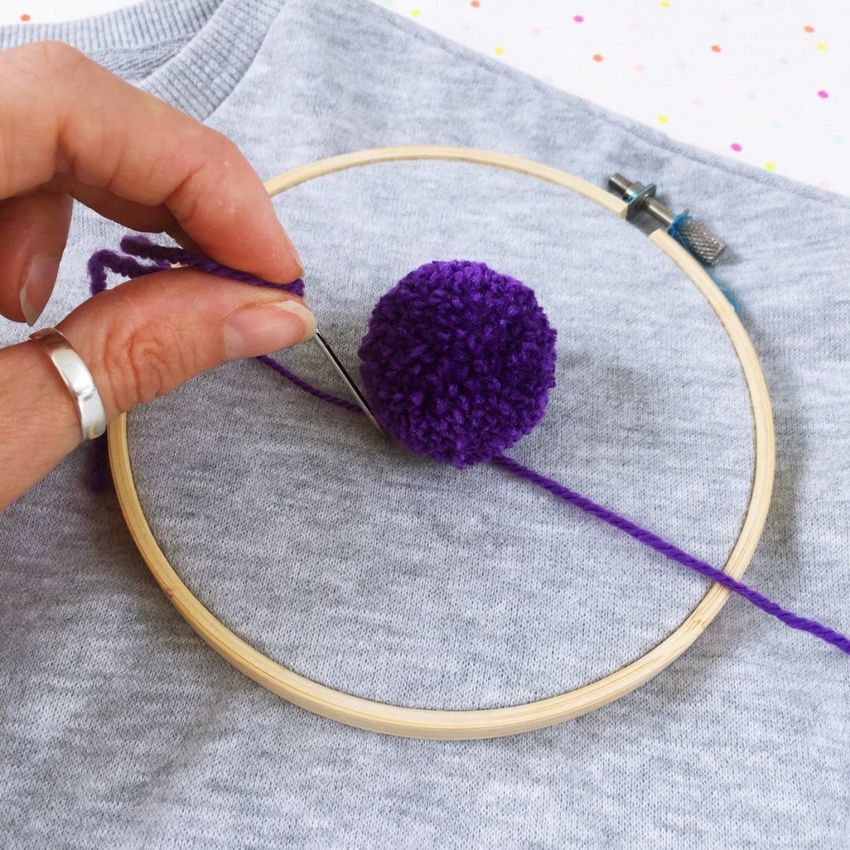
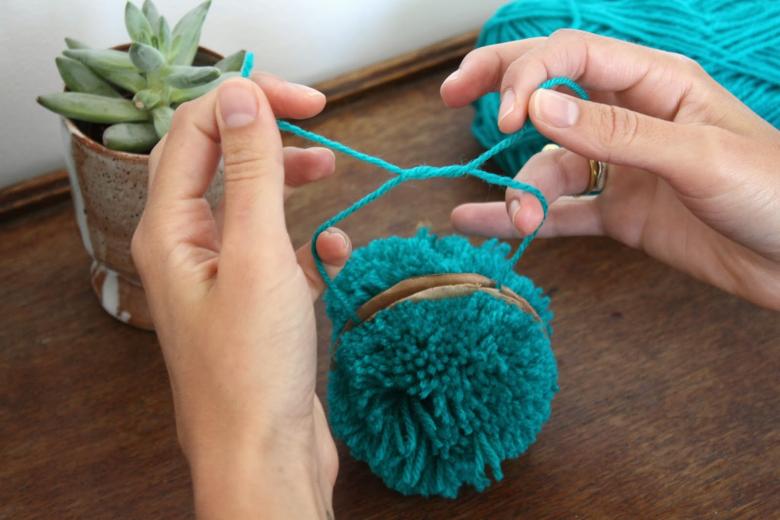
- For a product to maintain a neat appearance for a long time, the pompon should be tightly fixed in the center with thread. To knit the yarn stronger, you can use silk yarns for this purpose. They are stronger and won't show on the finished piece. For greater strength, you can wet the thread and tie the piece several times. You can also secure the product with a special knot - a constrictor. This knot is very strong and can tighten a lot.
- Washing pompons is recommended only by hand at water temperature of 30 degrees. The product is dried in a hanging form. After drying, the pompon is combed and trimmed with scissors.

Methods of making pompoms
There are several methods of making pompoms with their own hands:
- Classic - yarn is wound onto a round cardboard template.
- Forked - the yarn is wound in the process on a fork. This option is suitable for creating small pompons.
- On the hand - using your own fingers. In this method it is not necessary to use any devices.
- Fast - on the legs of the chair. It is used if you need to make a large number of pompons.
Consider them step by step.
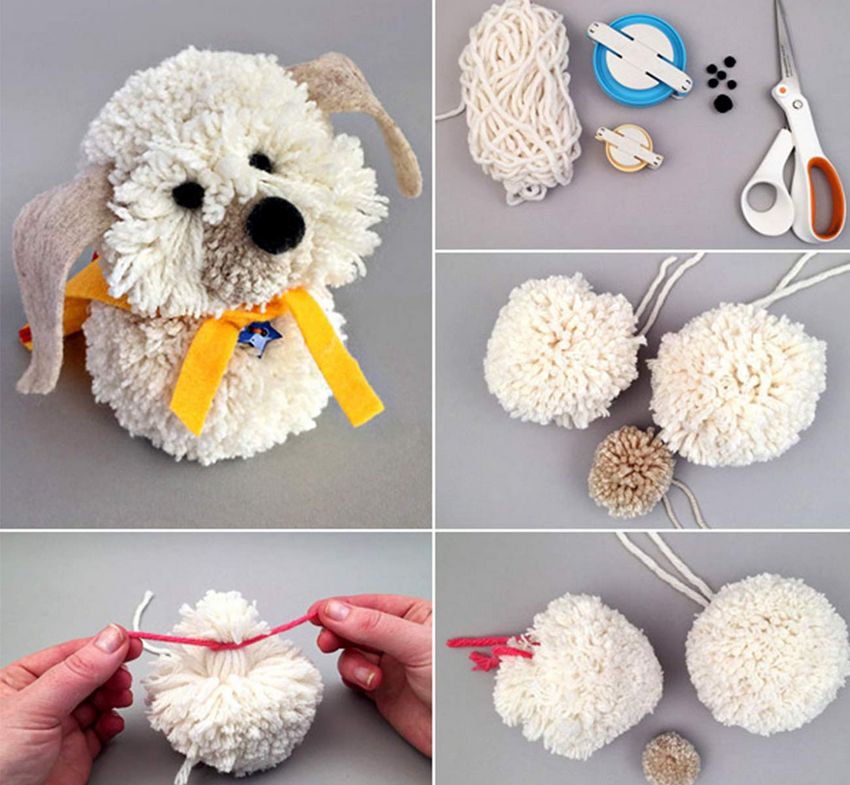
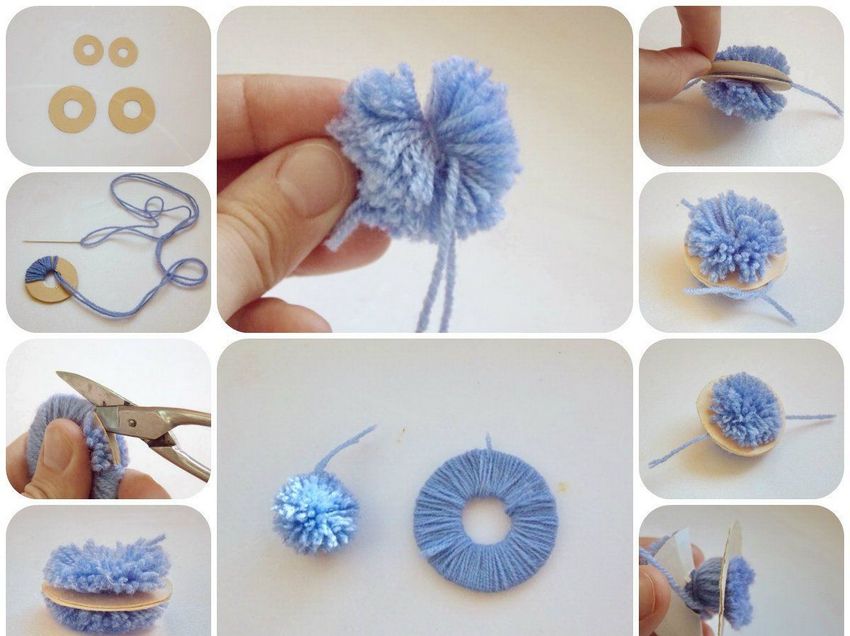
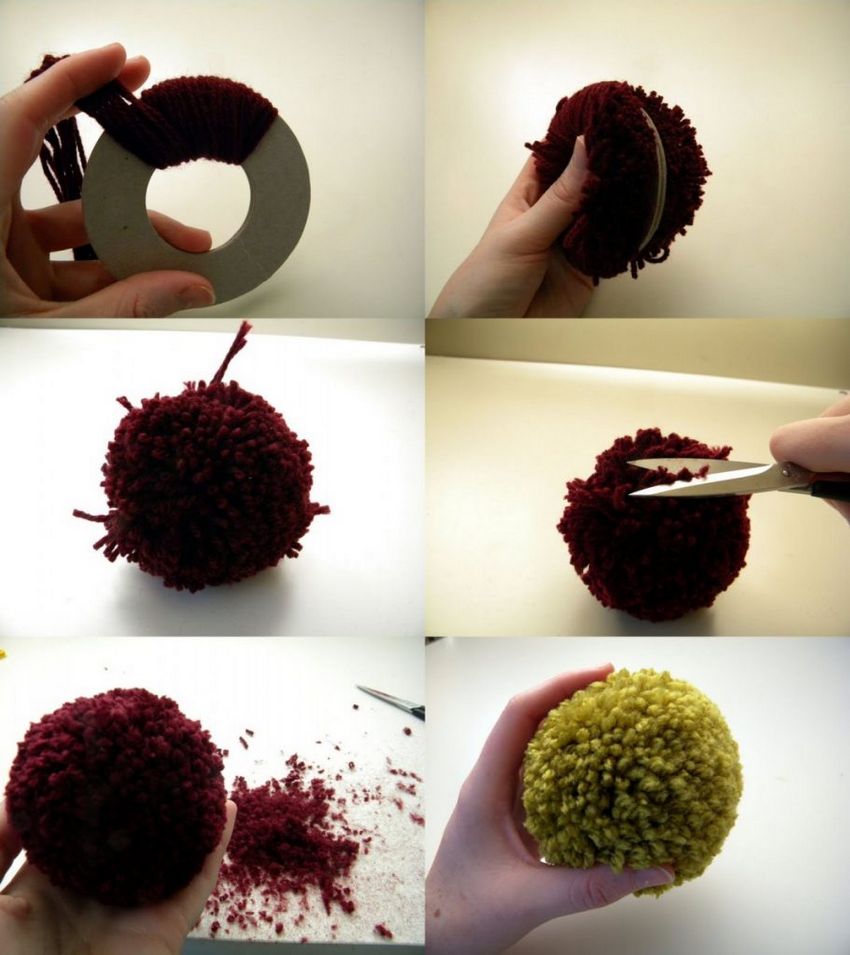
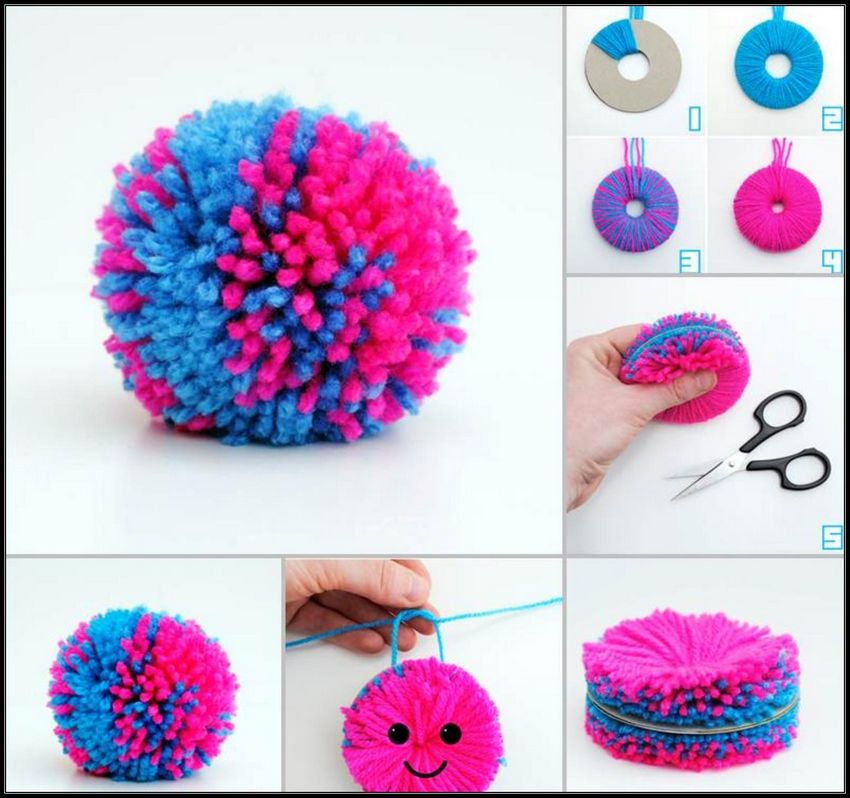
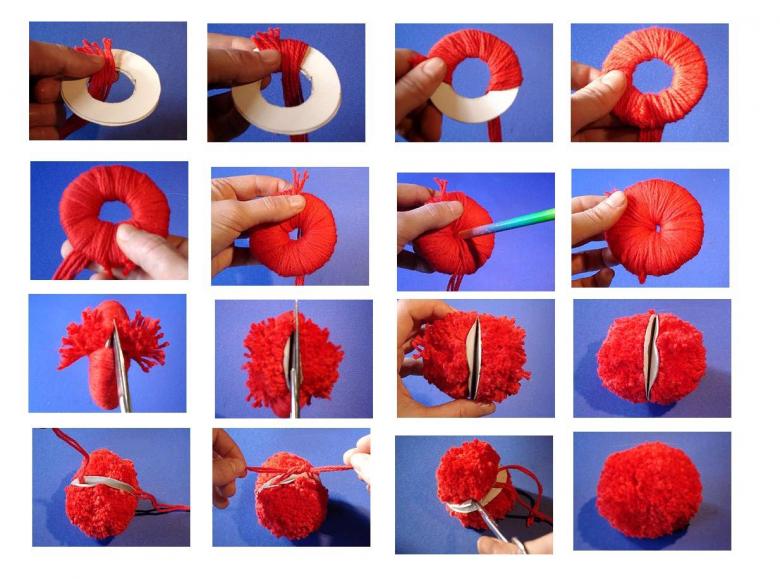
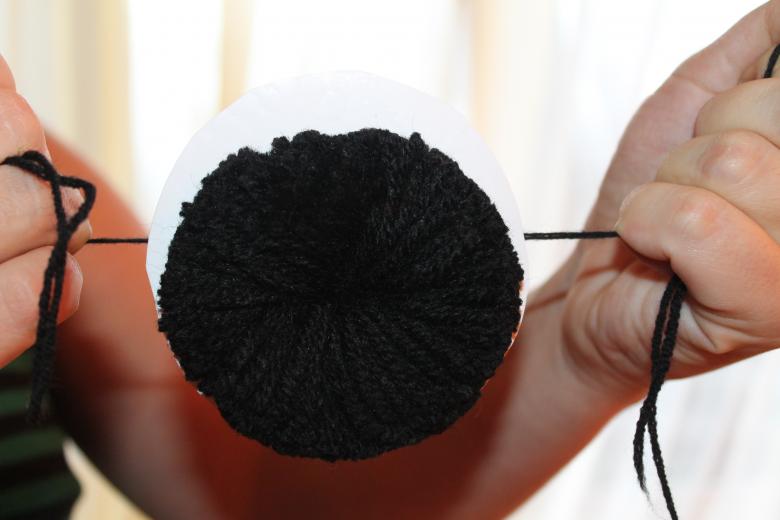
Classic, using a round base
This method uses a round template made of thick cardboard. Circles are drawn with a compass or with the help of a template. You can simply trace any round objects of appropriate size (saucer, lid, coin, etc.) Make two identical blanks in the form of a loaf. The radius of the finished thing will be equal to the distance between the central and outer circles. That is, the larger such a blank will be, the larger the pompon will come out.

The templates should be put together and wrap the yarn on them. The finished pompon will be more fluffy if you wind more threads. Next, the wound yarn is cut with scissors along the outer edge between the blanks.

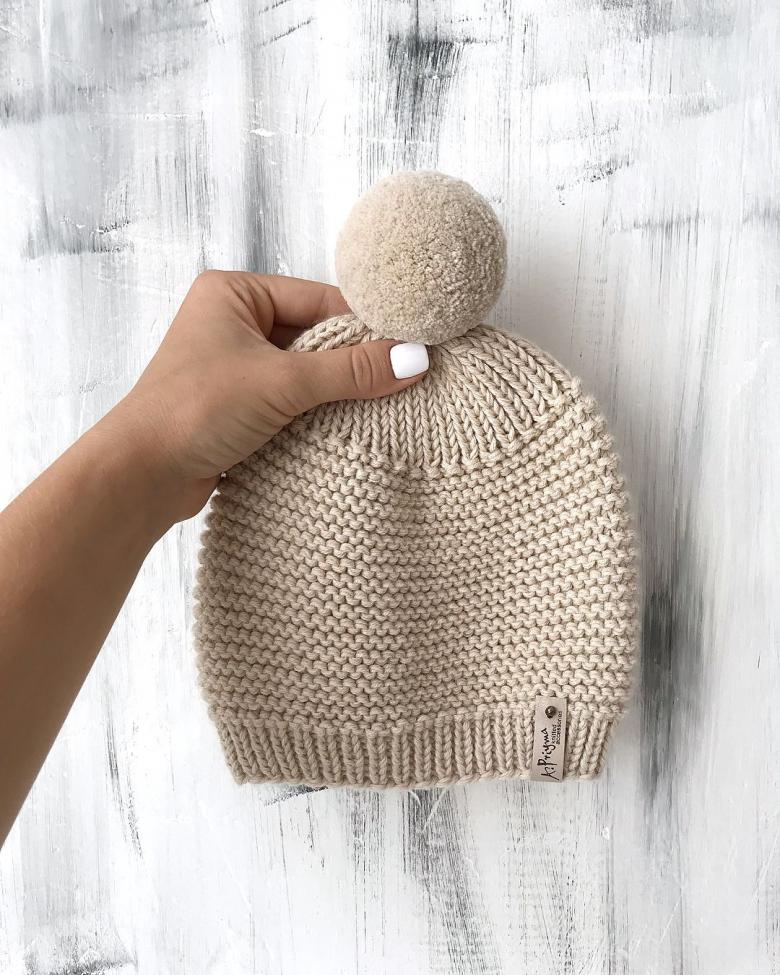
Thread for fixation should be stretched between the cardboard parts and tightly tie the bundle of yarn with it. Now you can remove the cardboard templates. Finished ball to fluff and trim with scissors. Such a pompon from yarn with their own hands will work well for a hat.
Finger pompon
In this way products of different sizes are formed. Two fingers are enough for a small pompon, for a large one, the whole palm is used. For this method, you don't need anything but yarn and scissors.
Place the yarn on the inside of your palm and press it down with your thumb. Then start wrapping the yarn around the desired number of fingers. Do not wind it tightly, so that it will be easy to remove the workpiece later. Coil the yarn until the workpiece is thick enough. Carefully remove the skein from your hand. Place a piece of yarn under the workpiece and tie it tightly in the middle. Cut the yarn along the fold on both sides. The piece is left to shake and trim with scissors.
Pom-pom made with a fork
This cutlery can be found in every home. Using a fork, you can quickly make small pompons.

Stretch a piece of thread in the middle between the prongs of the fork and place vertically. Place the end of the yarn from the ball of yarn horizontally on the fork and hold it with your finger. Now begin to wrap the yarn around it. Continue winding the yarn on the device until the desired thickness. Cut off the rest of the yarn. Throw the back of the piece of the first yarn over the top of the skein and tie the ends well with a double knot. Remove the piece and cut the loops. Fluff up the piece and trim to the desired shape.
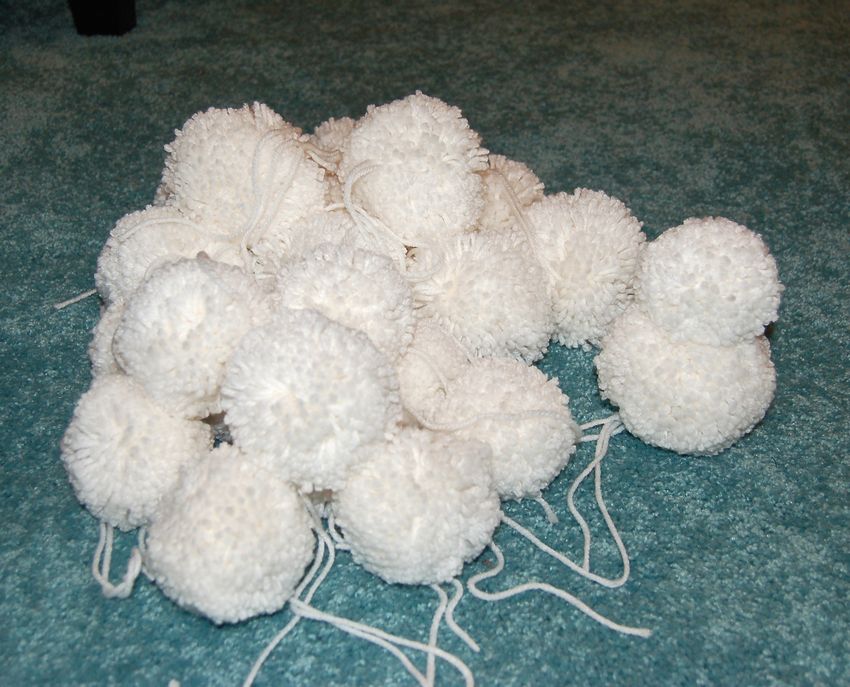
A quick way to make on a chair
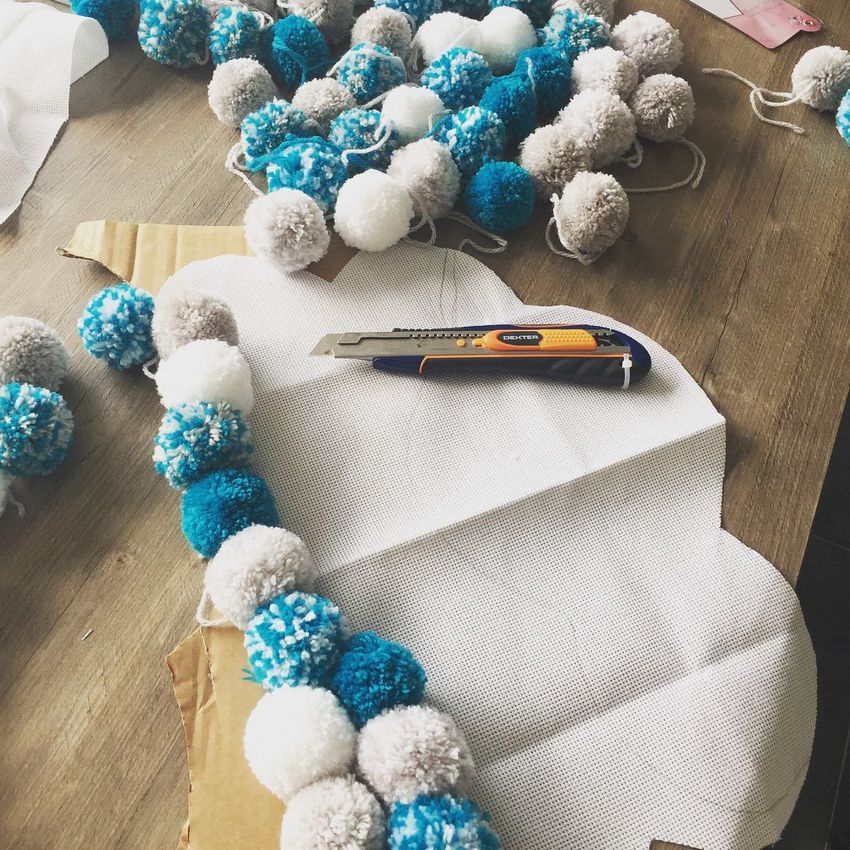
Sometimes you need to make many pompoms at once. For this purpose, this method will work well. It is the best way to save time.
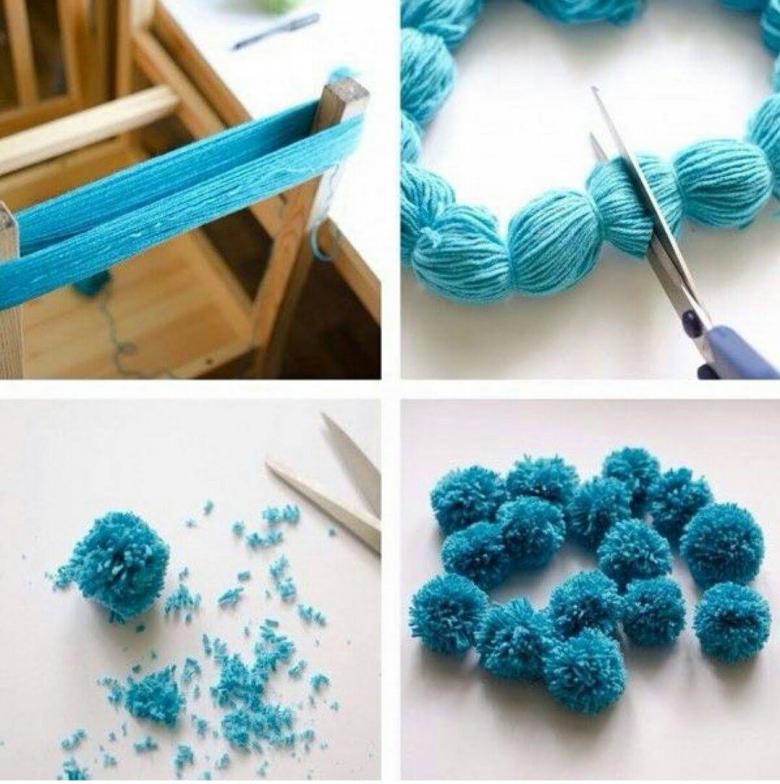
Turn the chair over. Fix the end of the yarn on one leg of the chair, and start to wrap the yarn around the opposite legs. Wind the yarn to the desired thickness of the blank. Cut off the rest of the yarn and fix it on the leg. The resulting billet tie sections of thread in several places. Knots will be the centers of the finished products. Cut the wound threads in the middle between the adjacent knots. Fluff up the finished pompoms and trim with scissors.
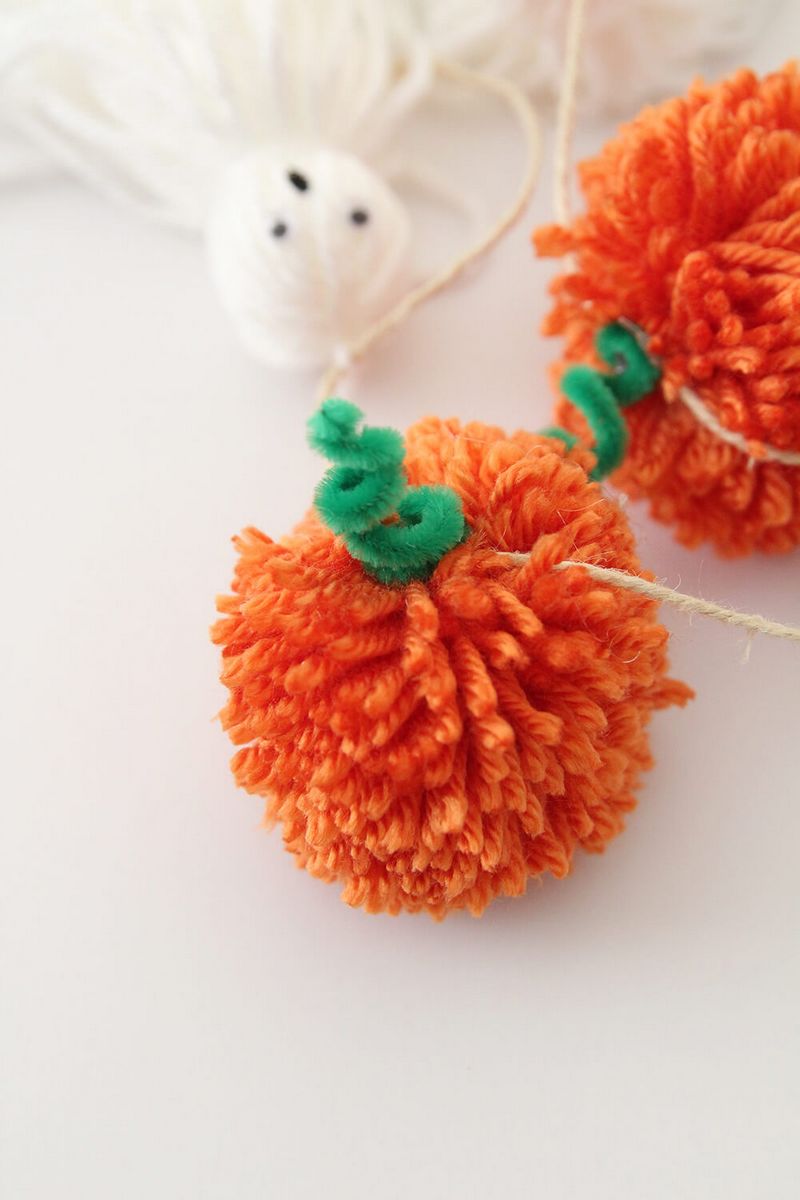
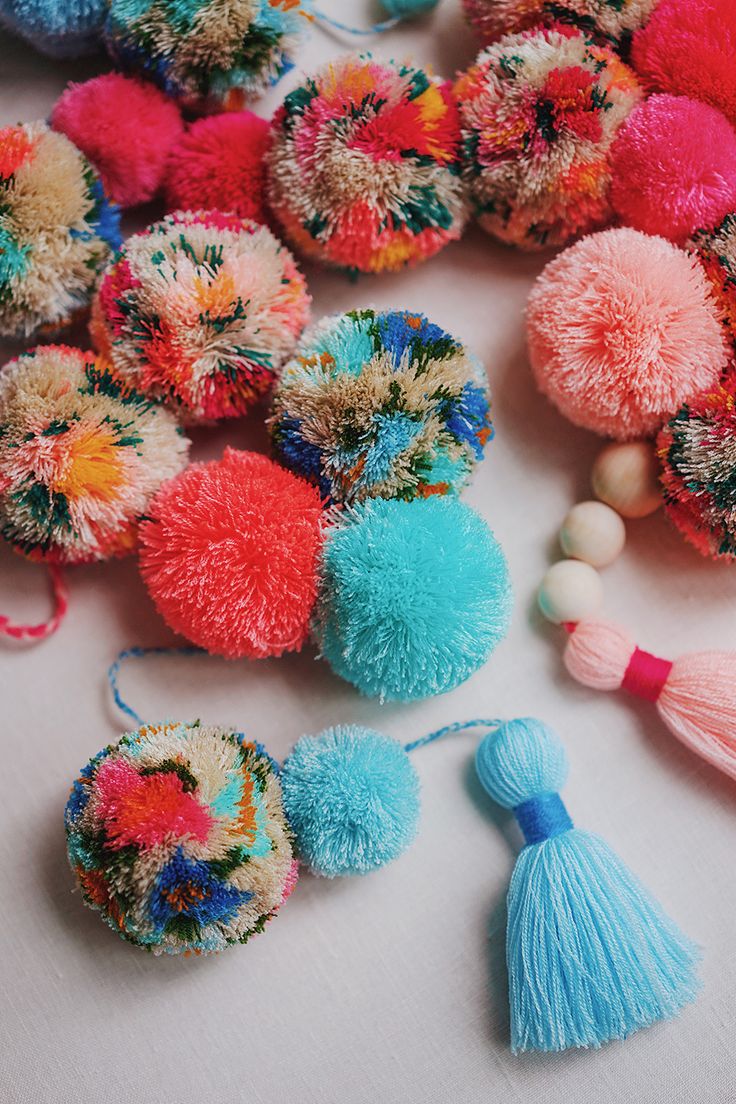
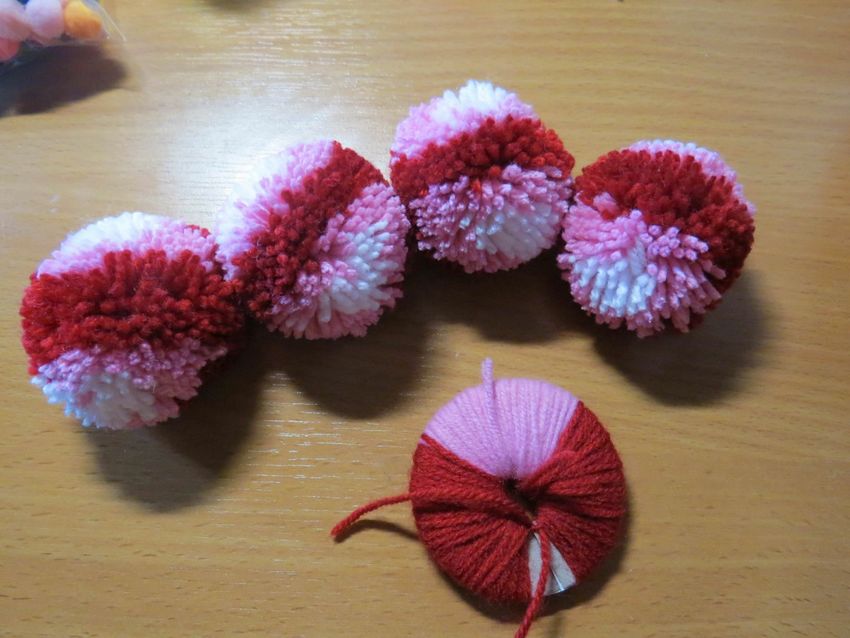
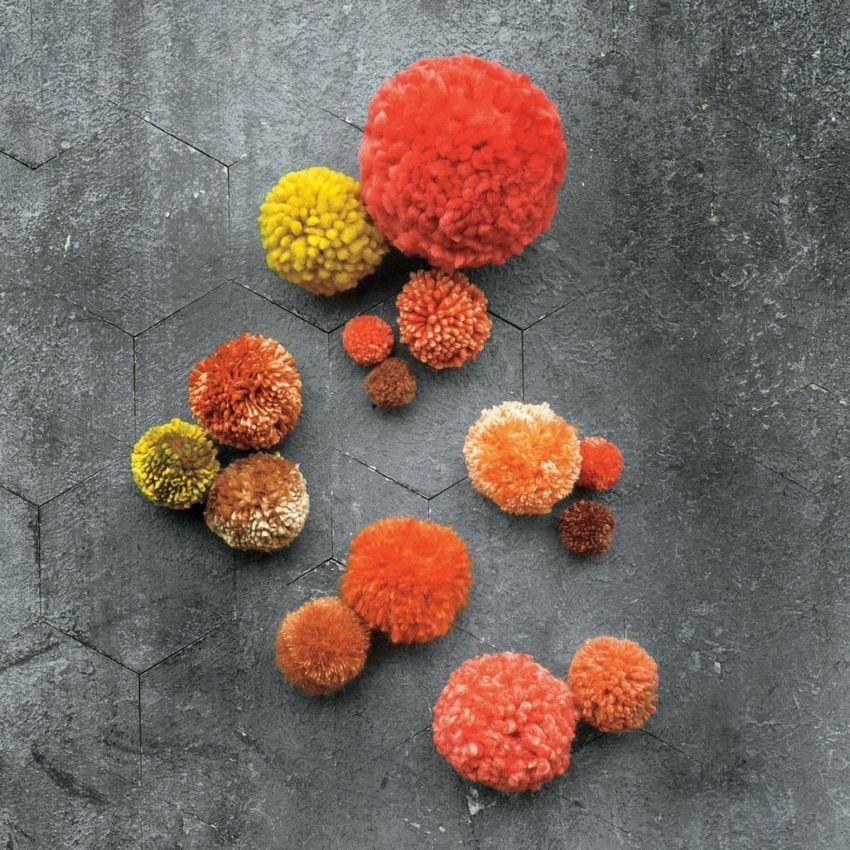
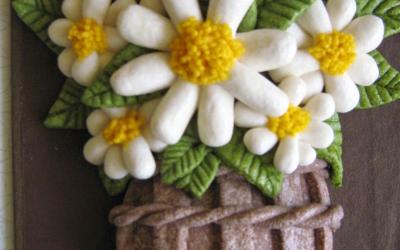
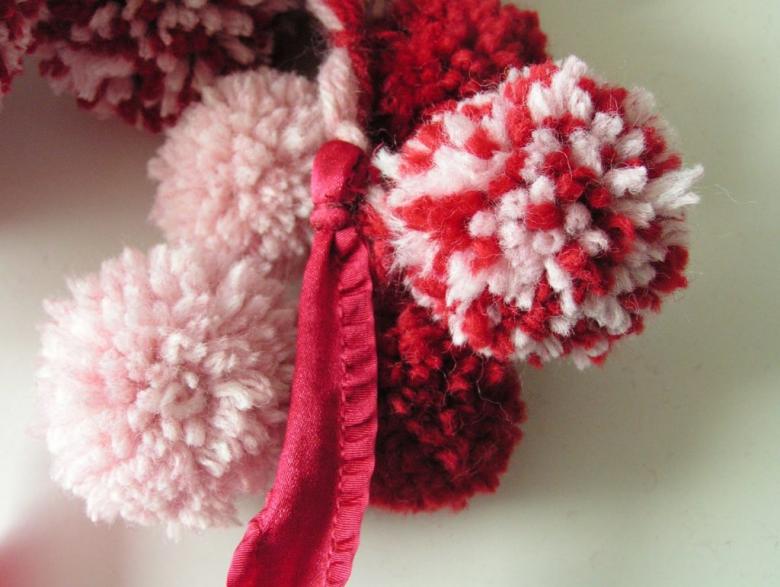
Multicolored pompoms in the form of fruit and flowers
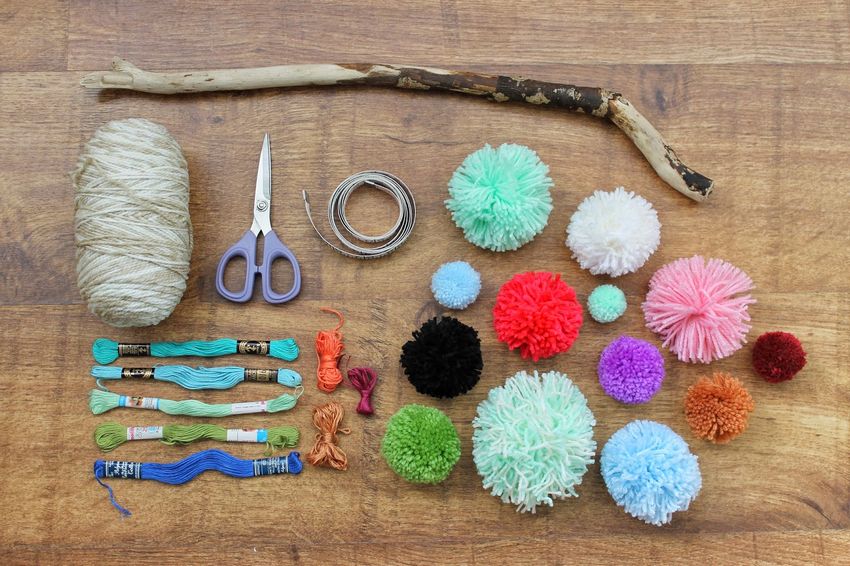
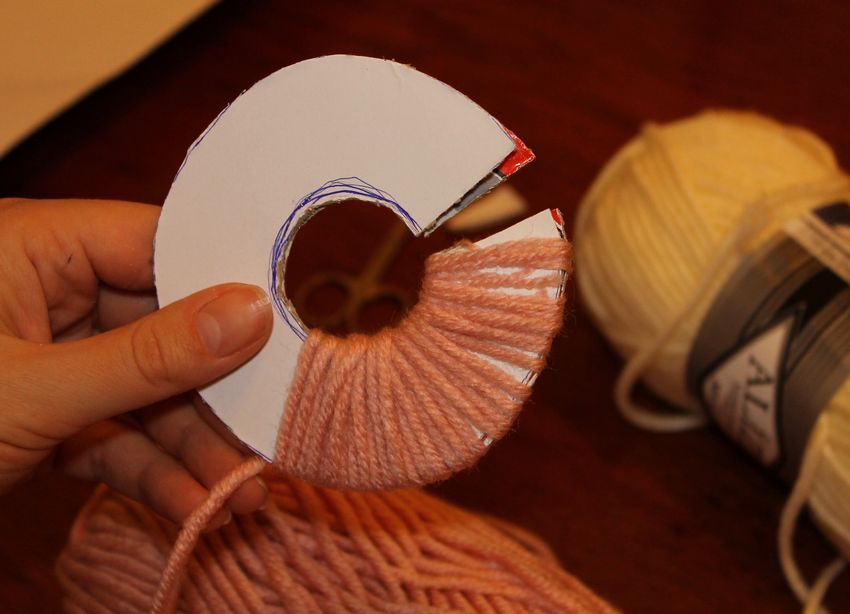
Multicolored pompoms in the form of flowers or fruits to make a little harder than usual. Create these products under a special scheme. To make such products will require experience. To work you need to prepare:
- yarn of two or more colors;
- templates of cardboard in the form of horseshoes (4 pieces);
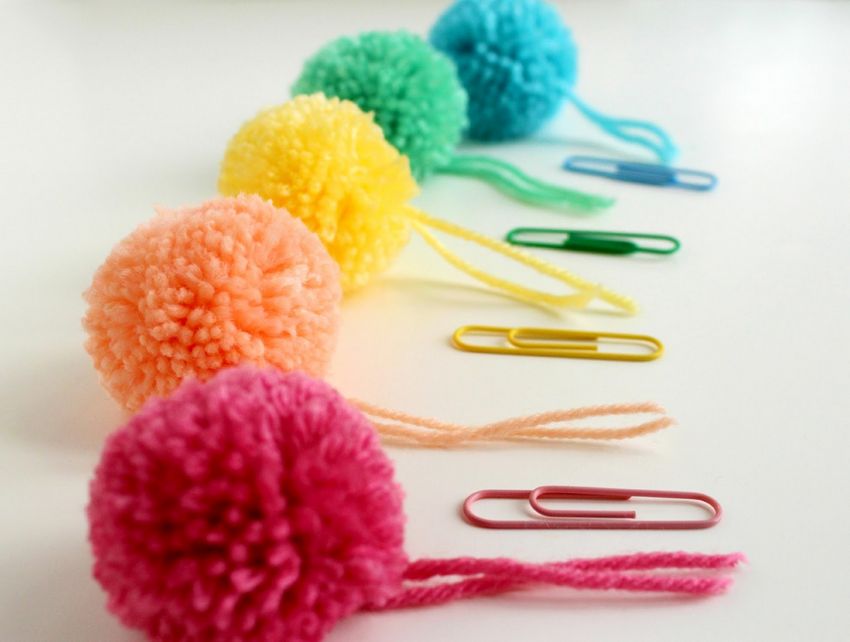
- clips (4 pieces);
- scissors.
Let's see how to make multicolored pom-poms from threads with your own hands step by step.

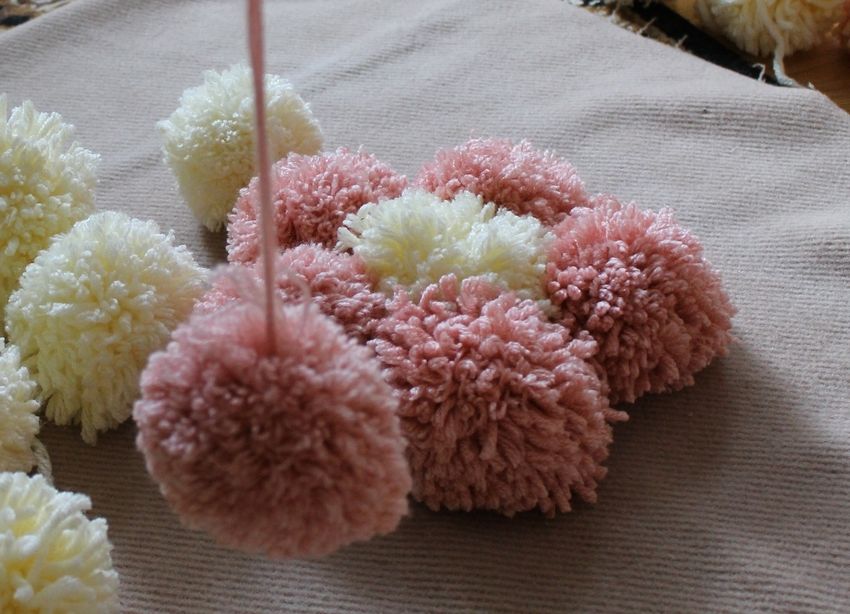
Pom-pom flower .
Procedure:
- Visually divide the scheme in half and begin to wrap the templates alternately with layers of yarn of the desired colors.
- First - the middle layer of yellow yarn.
- Then - a layer of pink wider.
- Next - a layer of green thinner.
- On top of all the wrap white yarn.
- Do the same way the second piece and connect both to each other with clips.
- Now you can cut the threads on the outer edges.
- Next, tie the pompom with a fixing string and remove the cardboard.
- It remains to fluff up the flower and trim it.
Taking this master class as a basis, you can create products in the form of other flowers, berries and fruits.
Pom-pom lemon
Work description:
- We take the first blank and wind white yarn on it.
- On top of yellow yarn, leaving the center white.
- Then wrap the template again with white yarn.
- Then in the middle we wind a layer of yellow.
- Then again a layer of white thread.
- The last layer will be yellow.
- The second pattern we wrap only yellow yarn. This will be the second half of the lemon.
- Connect the templates with clips and cut the yarn.
- Tie the pompon with string and remove the cardboard.
- With scissors give the product the shape of a lemon.

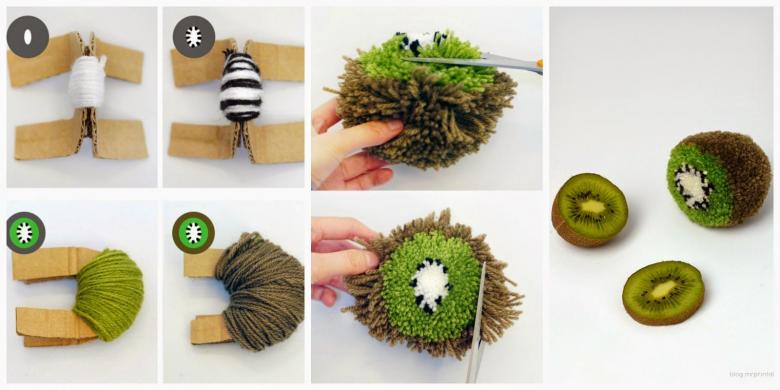
Kiwi pompon .
Workflow:
- On the first pattern, wind several layers of white thread.
- On top of some places wind a little black thread.
- Next comes a layer of green yarn.
- The topmost layer will be brown yarn.
- For the second half of the kiwi, wrap the entire second template with brown yarn.
- Both pieces are connected and cut.
- Fix the product in the middle and remove the cardboard.
- Using scissors, give the pompom a kiwi shape.
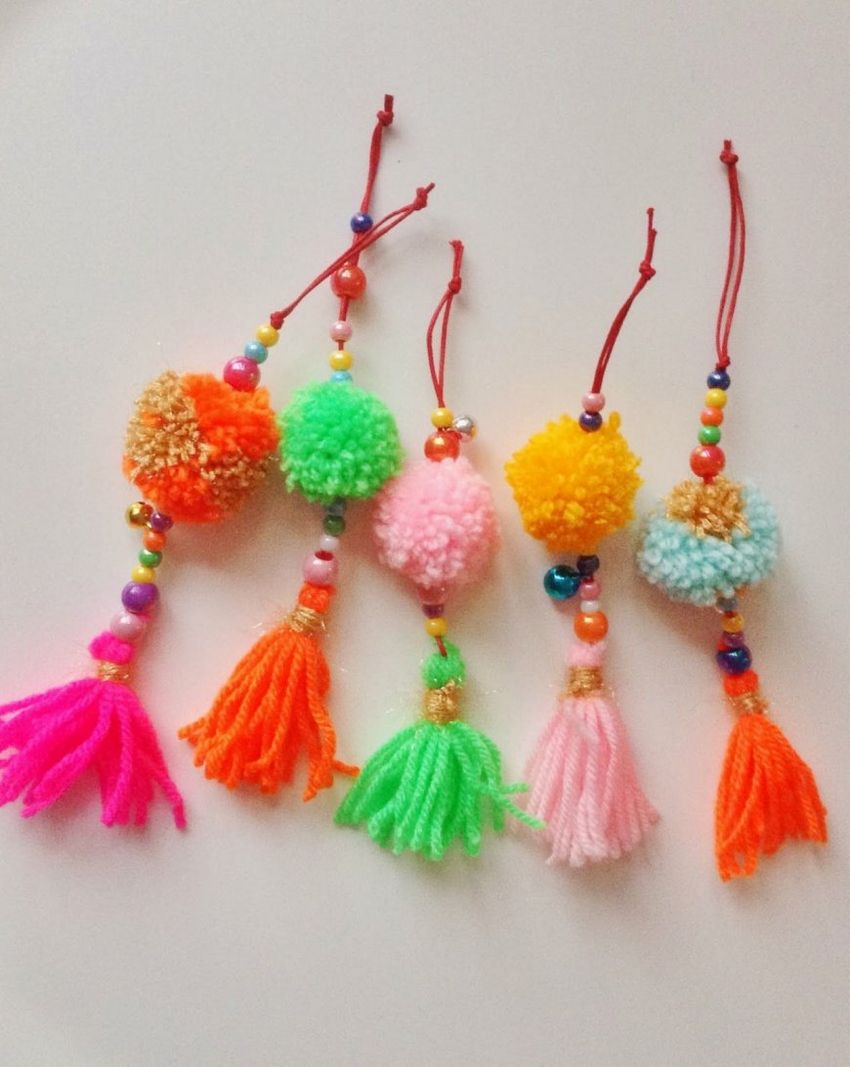
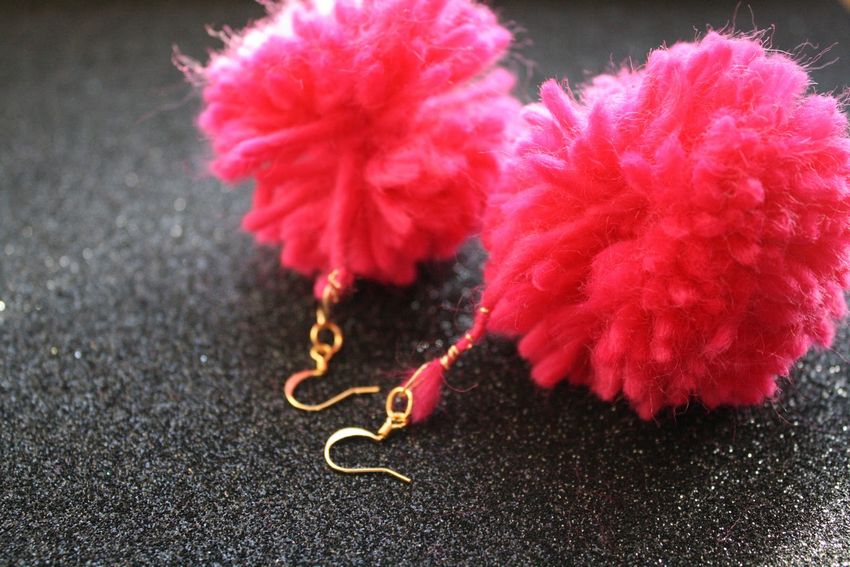
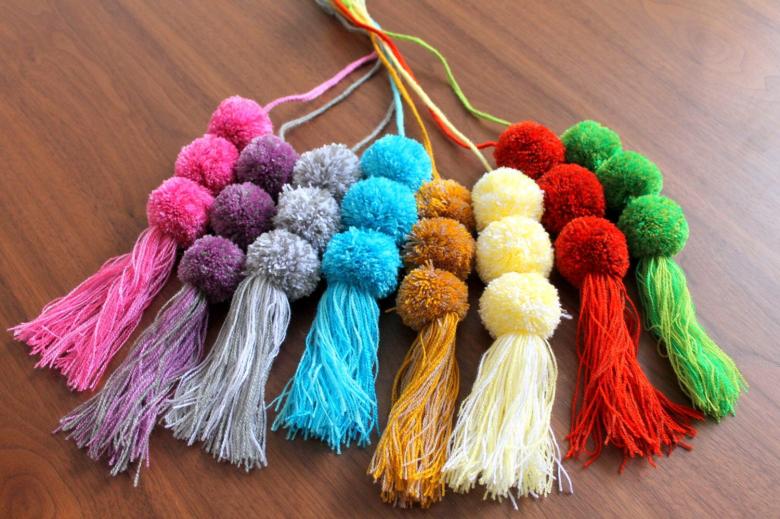
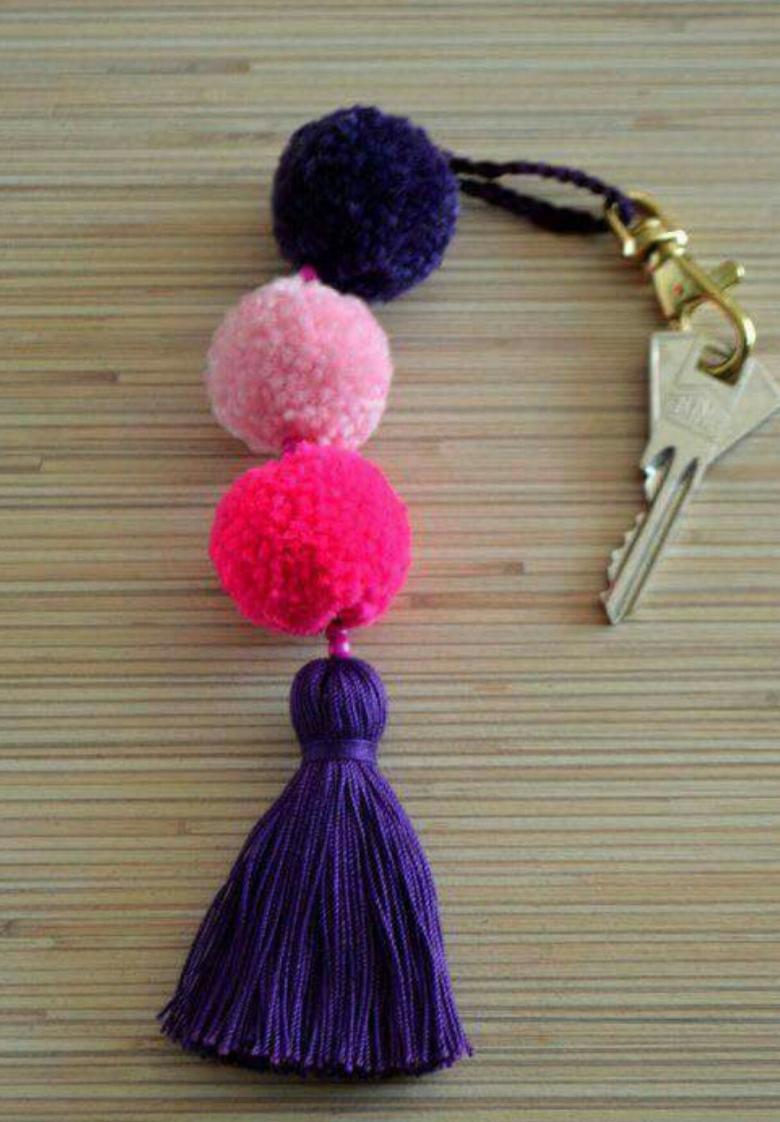
How to make a pompon-bristle
Tassel is one of the varieties of pompon. They are used to decorate curtains, rugs, jewelry and other items. Make a tassel is not difficult at all. To work you need to take yarn, scissors and a rectangular template made of cardboard.
Manufacturing process:
- Wrap the yarn of the required amount on the cardboard template.
- On the upper side of the blank, tie the yarn in the center.
- On the underside of the template, cut the threads along the fold.
- Remove the cardboard and tie off the yarn again at a distance of 1-2 cm from the beginning of the tassel.
- Use scissors to trim the ends of the tassel.
You can crochet a string to secure the tassel.
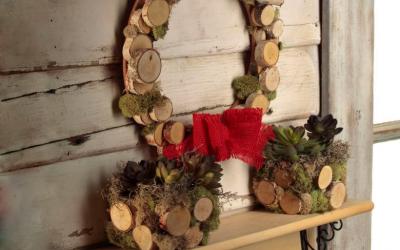
Where to use pompoms
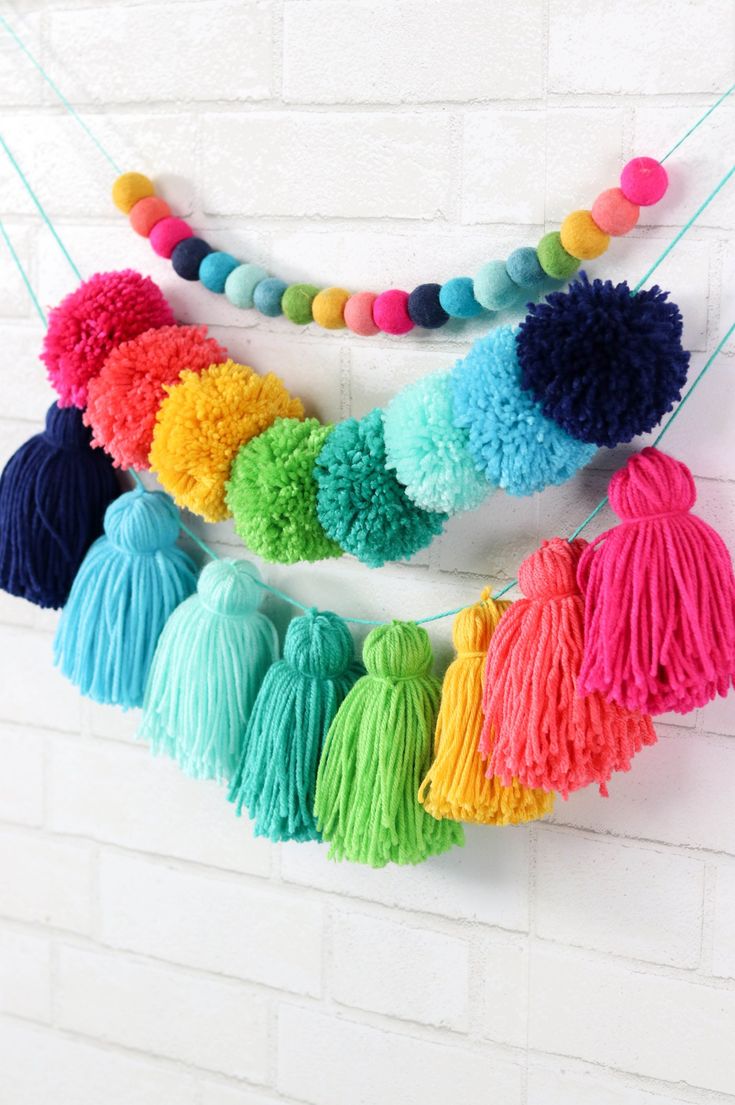
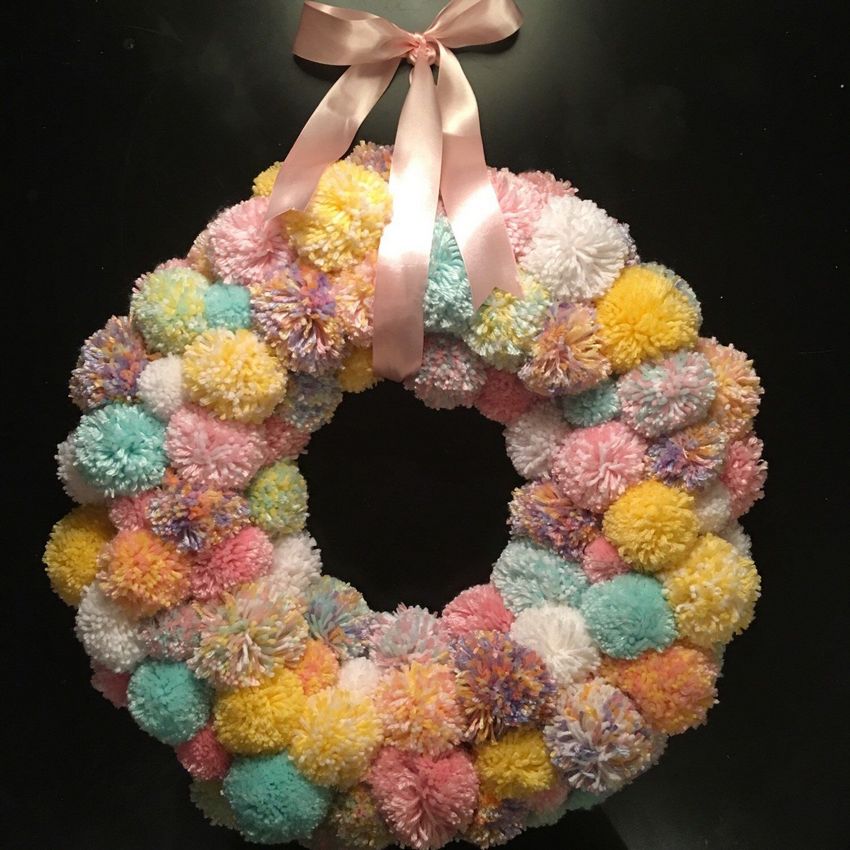
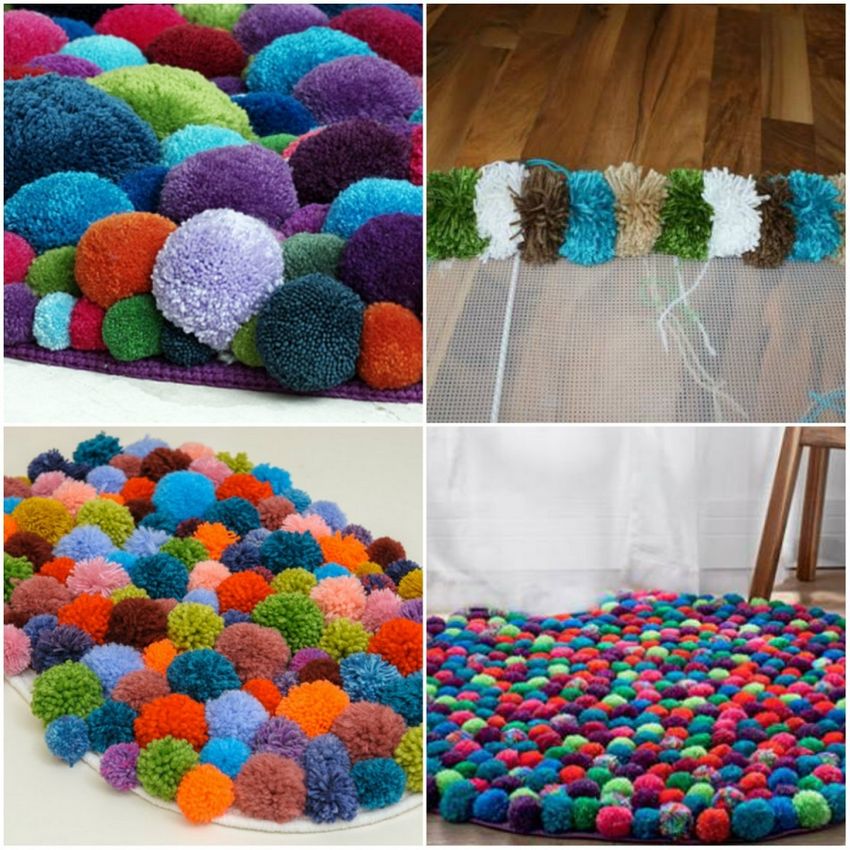
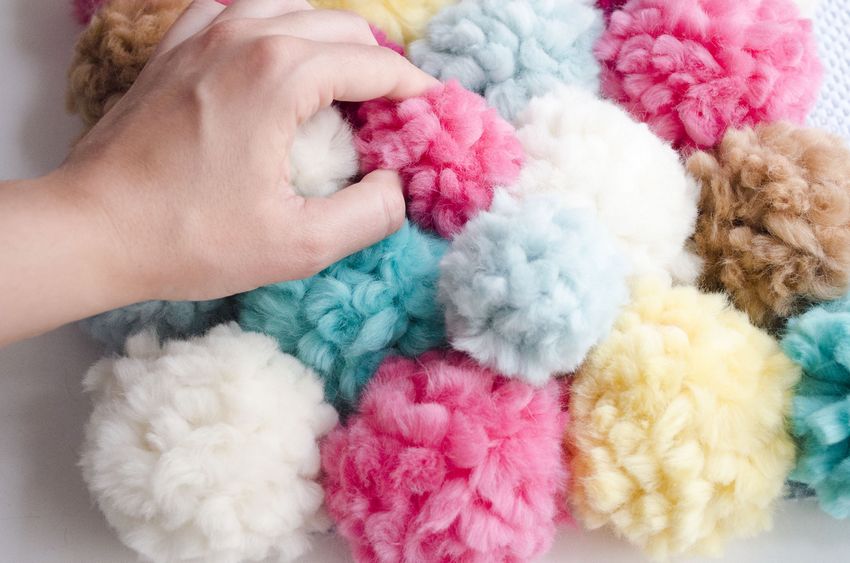
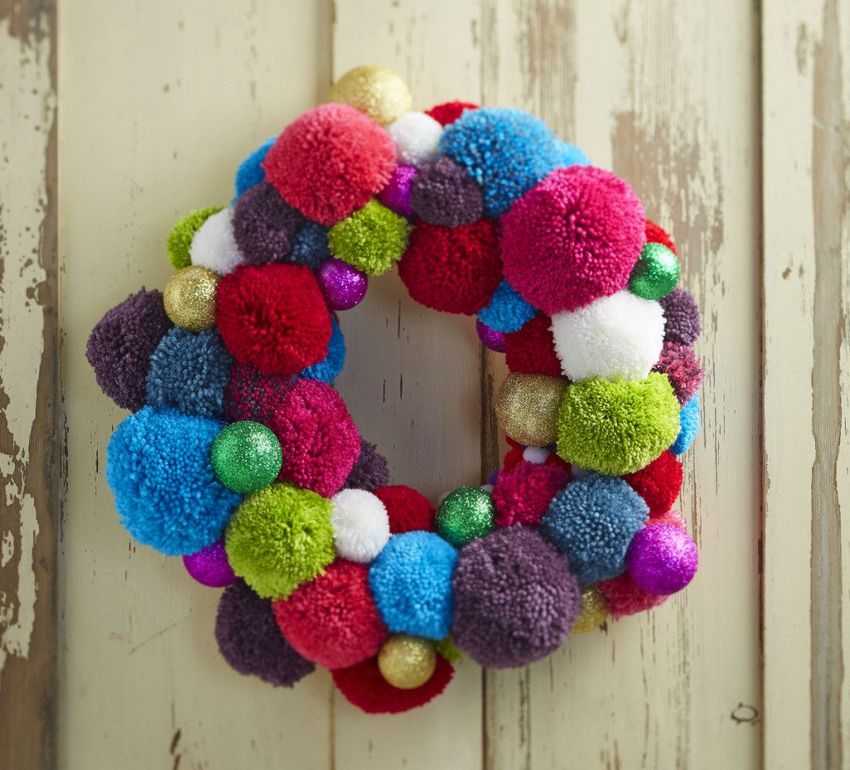
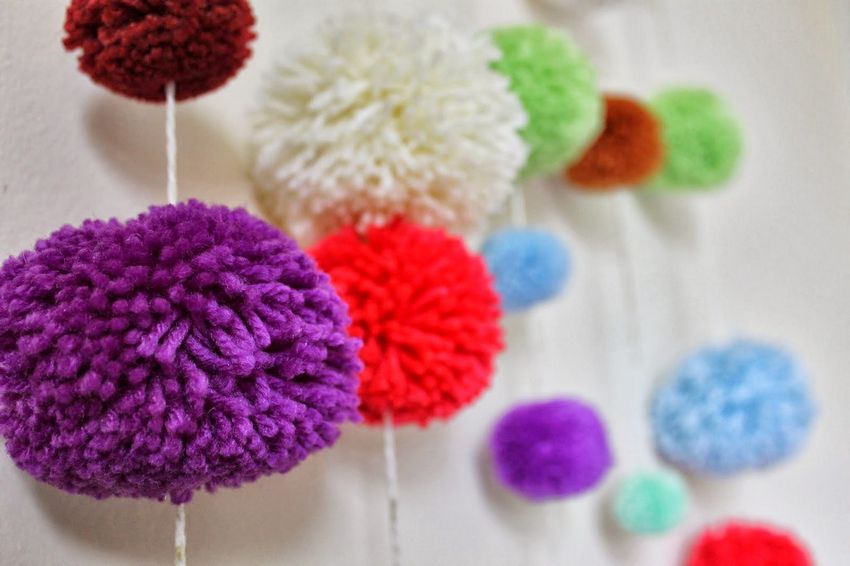
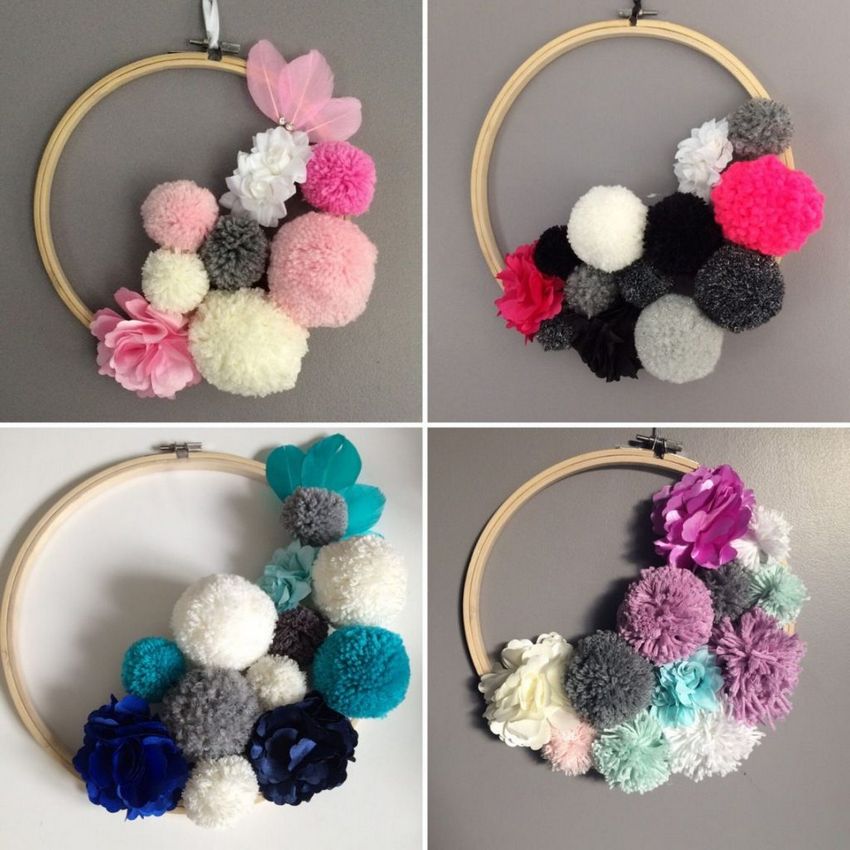
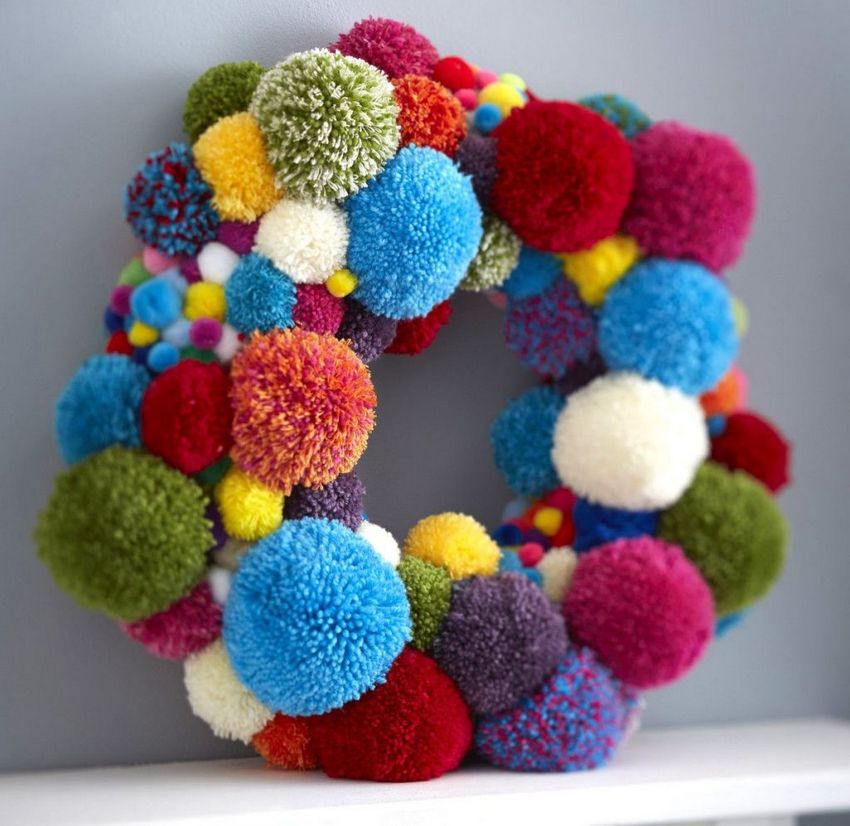
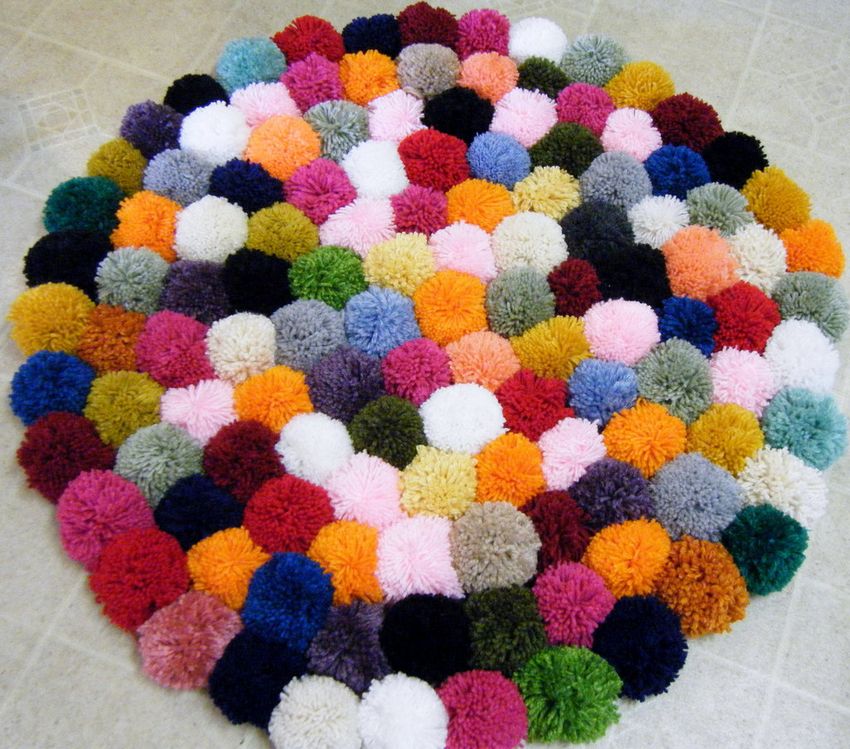
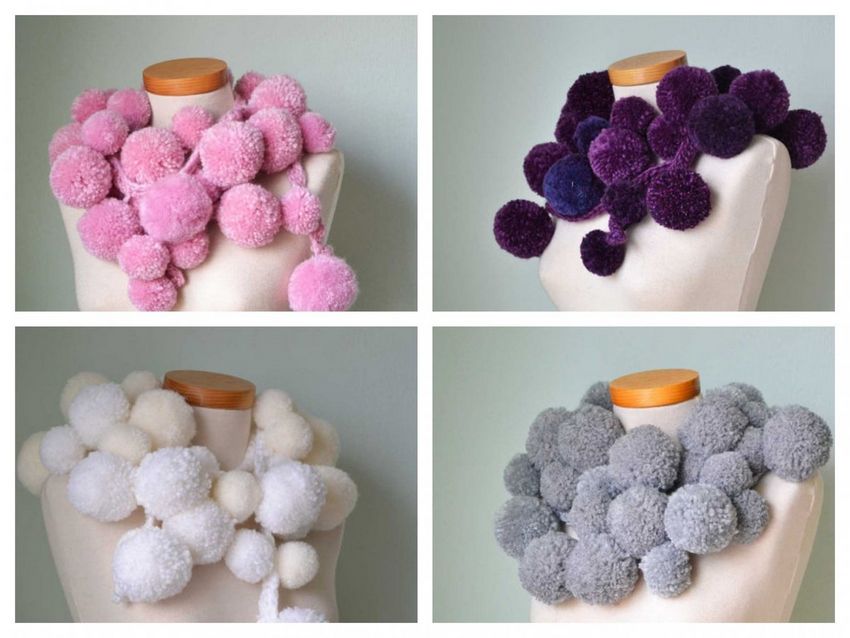
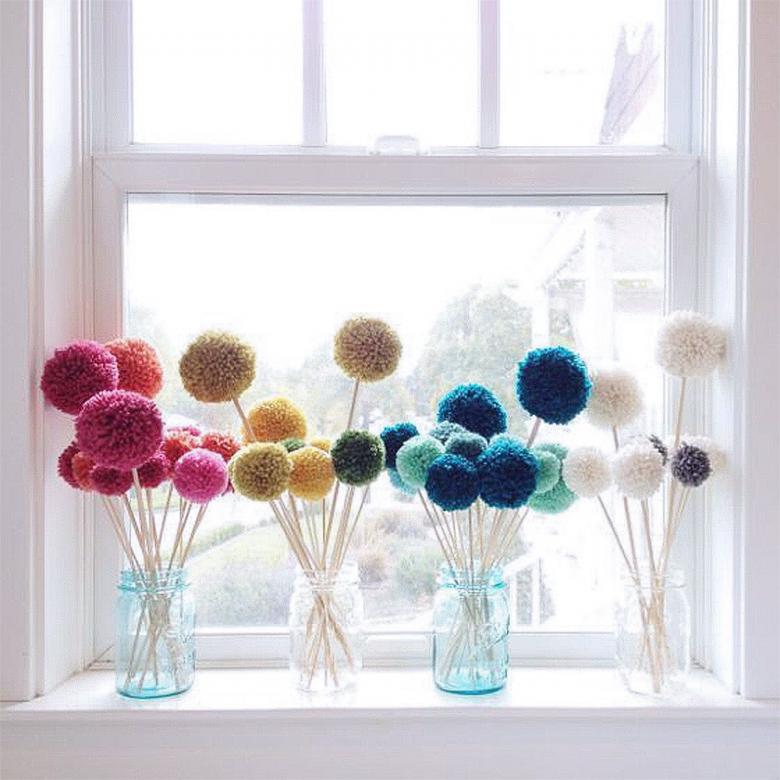
Each of the above methods of creating pompoms is widely used by needlewomen. Pompoms decorate not only knitted items of clothing (hats, mittens, scarves), but also use them in the interior. From pompoms create cozy plaids, rugs, pillows.
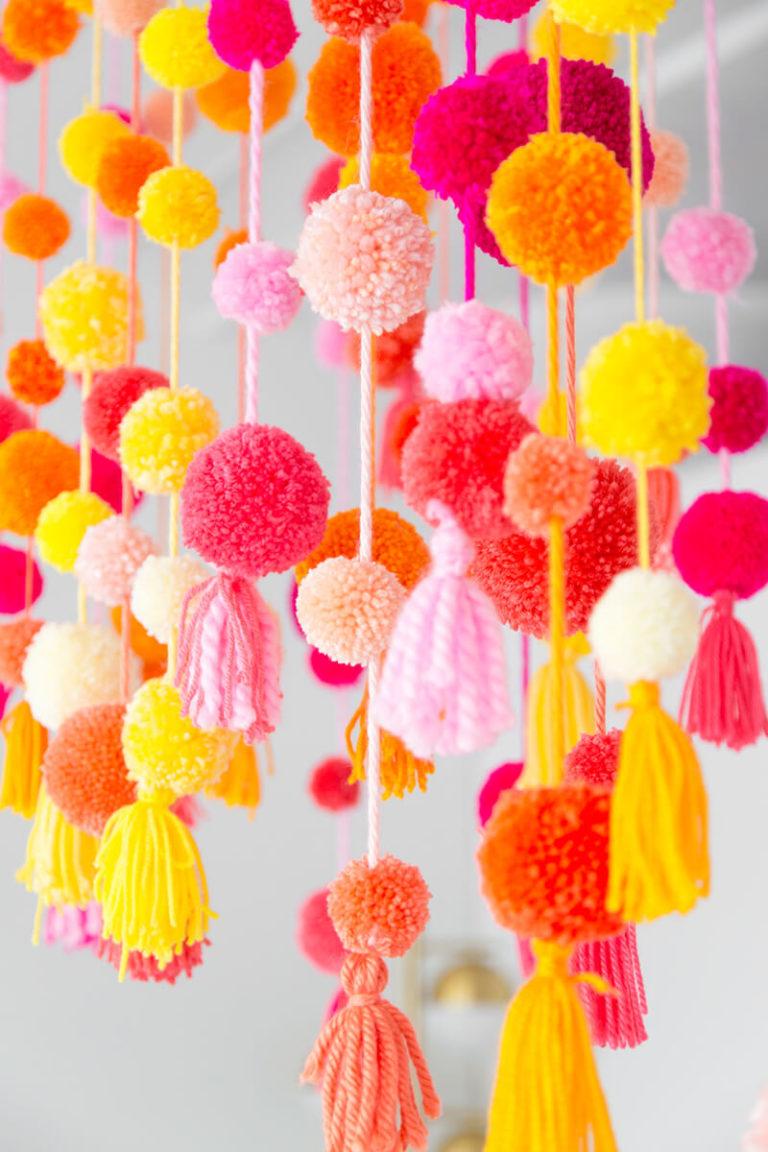
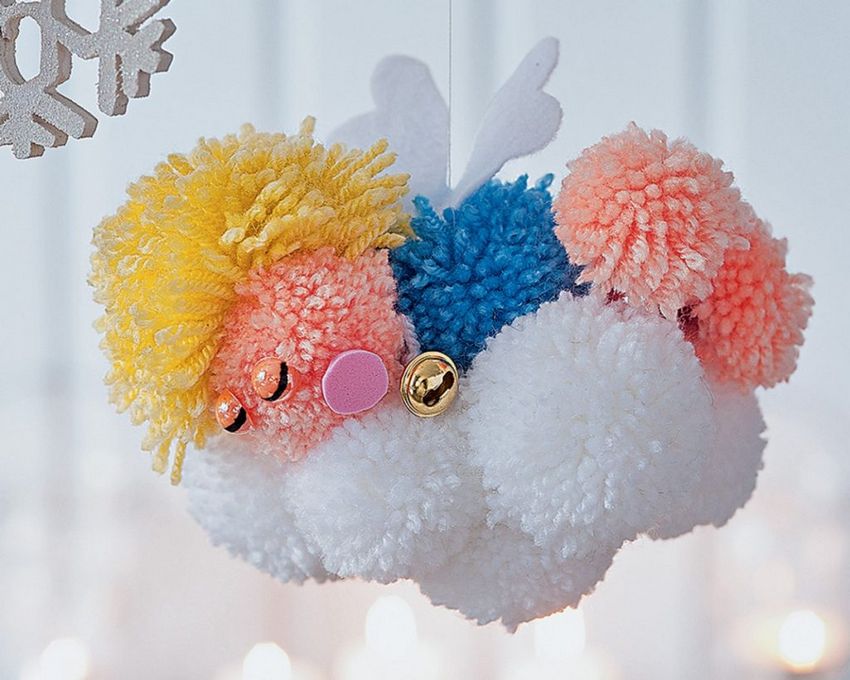
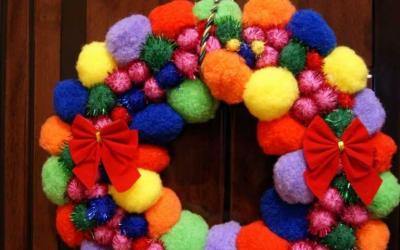
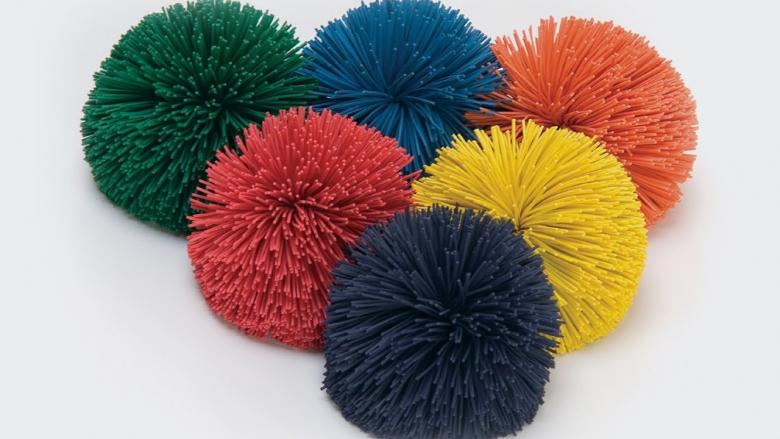
Also pompoms are used to create children's crafts, Christmas decorations, trinkets. Pompoms can be made not only from yarn. Fur pompoms often decorate hats, bags and even shoes. Bright pompoms from polyethylene or corrugated paper are made for cheerleading (dance show at sporting events).
Large pompoms from tulle and corrugated paper are created for decorating festive events. Master classes on how to create such things are also available on the Internet. Such products can easily lift the spirits of both children and adults, because they radiate warmth and positive energy.
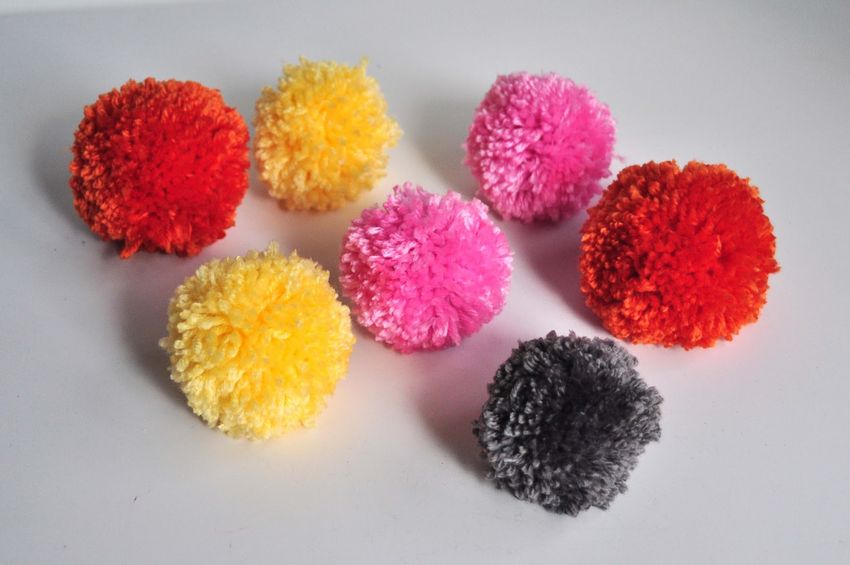
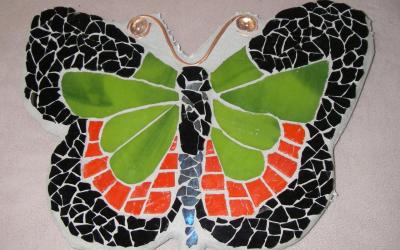
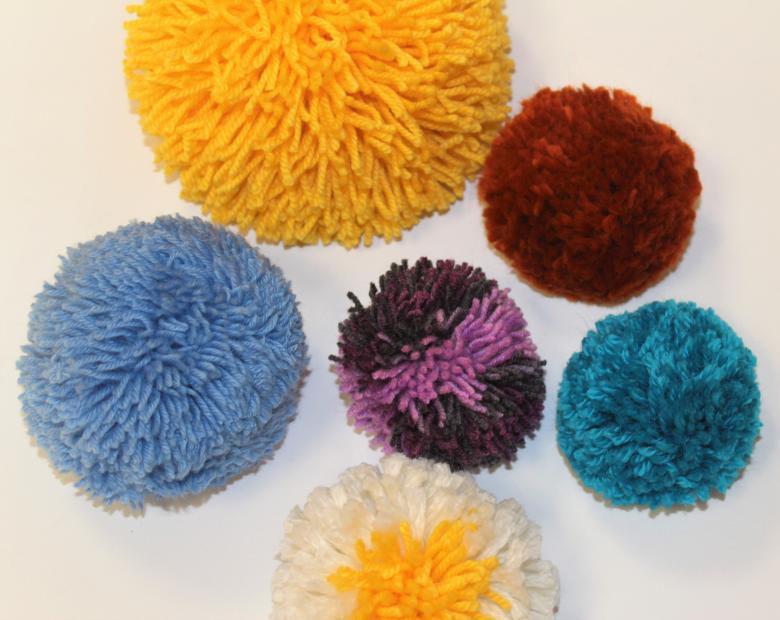
Photo examples of homemade pompoms