Handmade crafts from sponge dishes - master classes on making for February 23, March 8 and other holidays
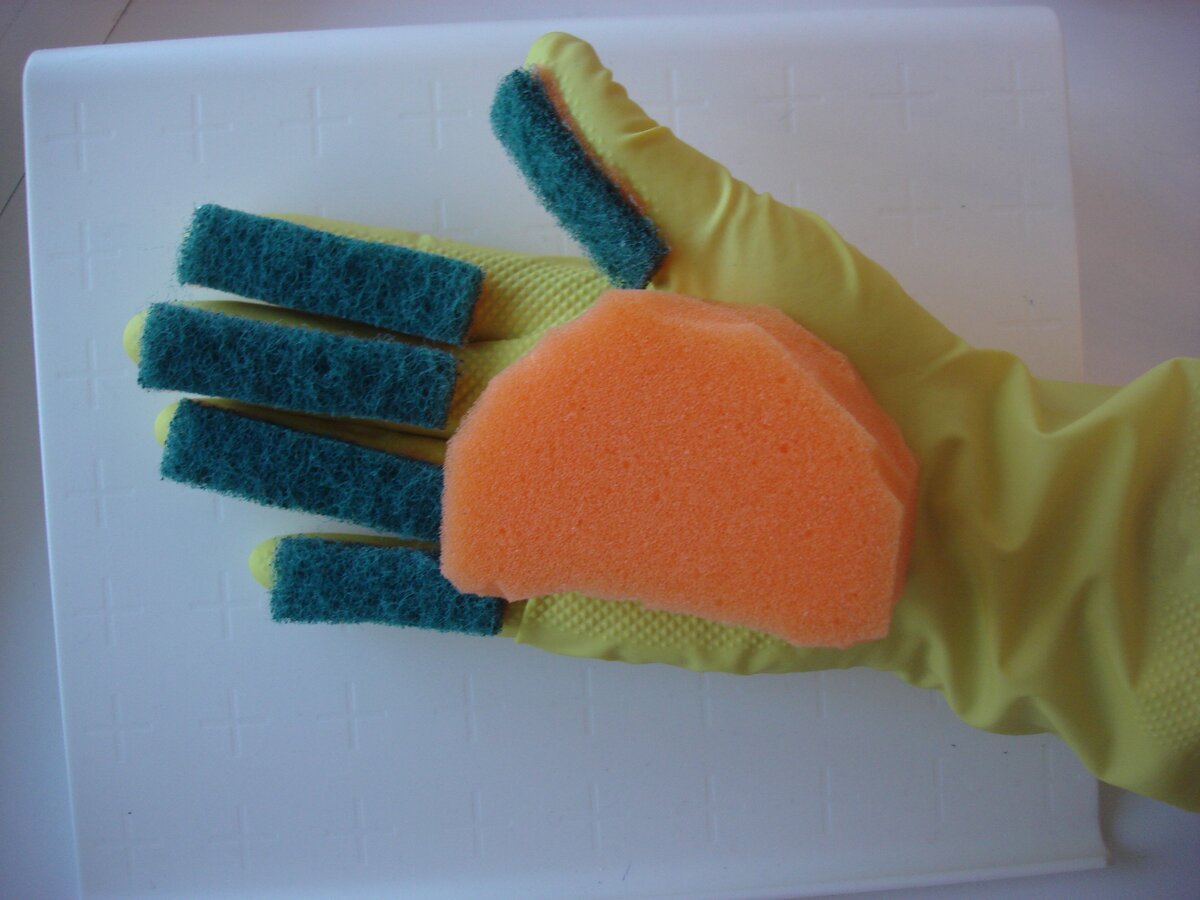
Washing sponge is an inexpensive but very useful product. With its help, you can create a variety of crafts: for beauty, for usefulness, for the development of various skills in young children. Many educators and elementary school teachers turn to sponges as a material for creative activities at different stages of learning.
Materials needed
Any creative activity requires prior preparation. The workplace is cleaned and covered with foil. This allows you to protect the surface from glue, paint, scratches with sharp objects.

The basic materials for creating crafts are:
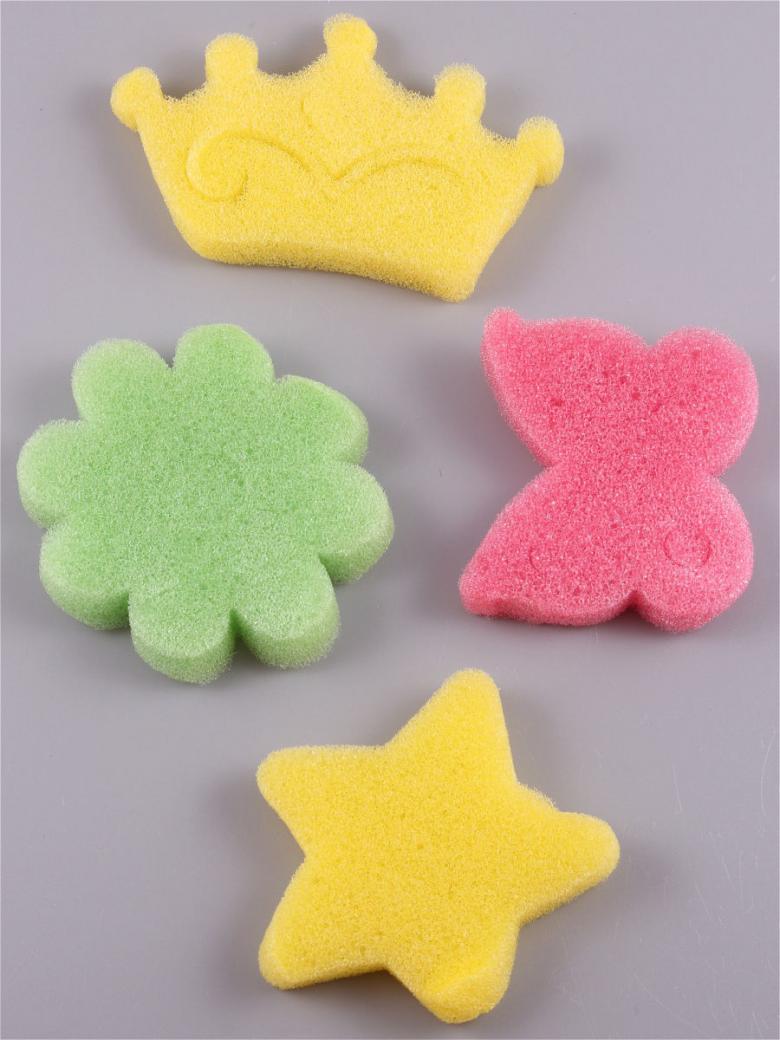
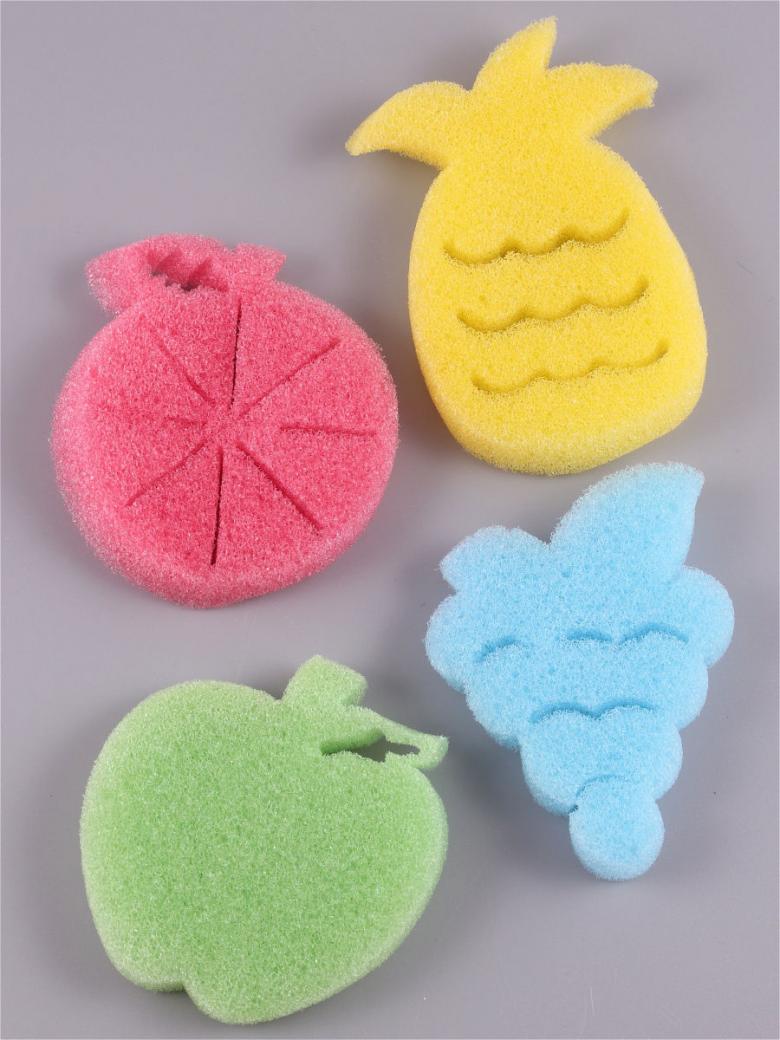
- dishwashing sponges of different sizes and colors;
- sponges for cars;
- foam rubber insulation for window frames;
- foam rubber filler for furniture and cushions.
Tools will be needed:
- scissors;
- glue or duct tape;
- hot glue;
- ruler;
- pencil;
- scissors or a utility knife;
- felt-tip pens;
- cardboard;
- elements for decorating (beads, sequins, sequins).
Depending on the type of crafts can be used thread and needle, paint, glue eyes.
Advantages of sponges
Sponges are a material. Which provides great scope for creative activity. On their basis, you can create three-dimensional handicrafts, applications, make products useful in everyday life.
The material has original properties:
- elasticity;
- volume;
- absorbency;
- swelling from moisture.
These properties allow the sponges to be used not only to create original crafts, but also to study the properties of water, paint. The texture features make it easy to color the material with watercolors or gouache.
Working with the sponge promotes:
- the development of fine motor skills;
- developing a creative perception of the world;
- learning about the properties of liquids
- perseverance.
Dishwashing sponge crafts are more suitable for children in middle and preparatory groups of kindergarten or elementary school students.
Handicrafts for February 23
February 23 is a special holiday, for which children in kindergarten and school try to make interesting crafts. Among the common ideas - cards, models of tanks, ships, planes. To work use materials such as cardboard, paper, plasticine. Interesting turn out on February 23 handicrafts from sponges for washing dishes.
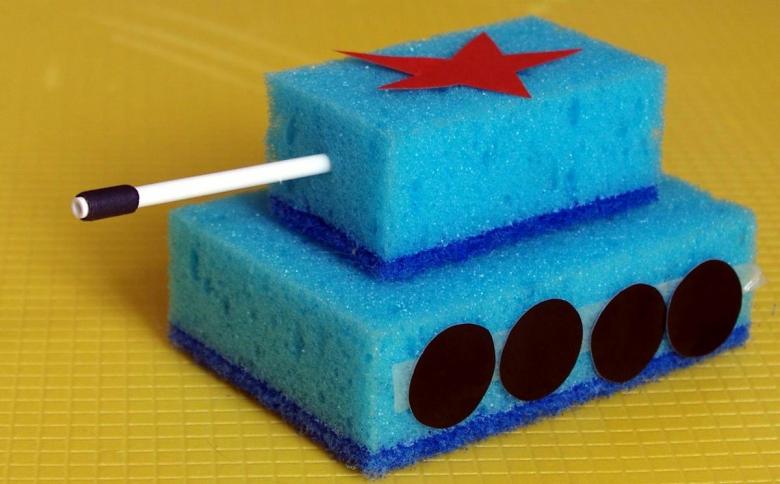
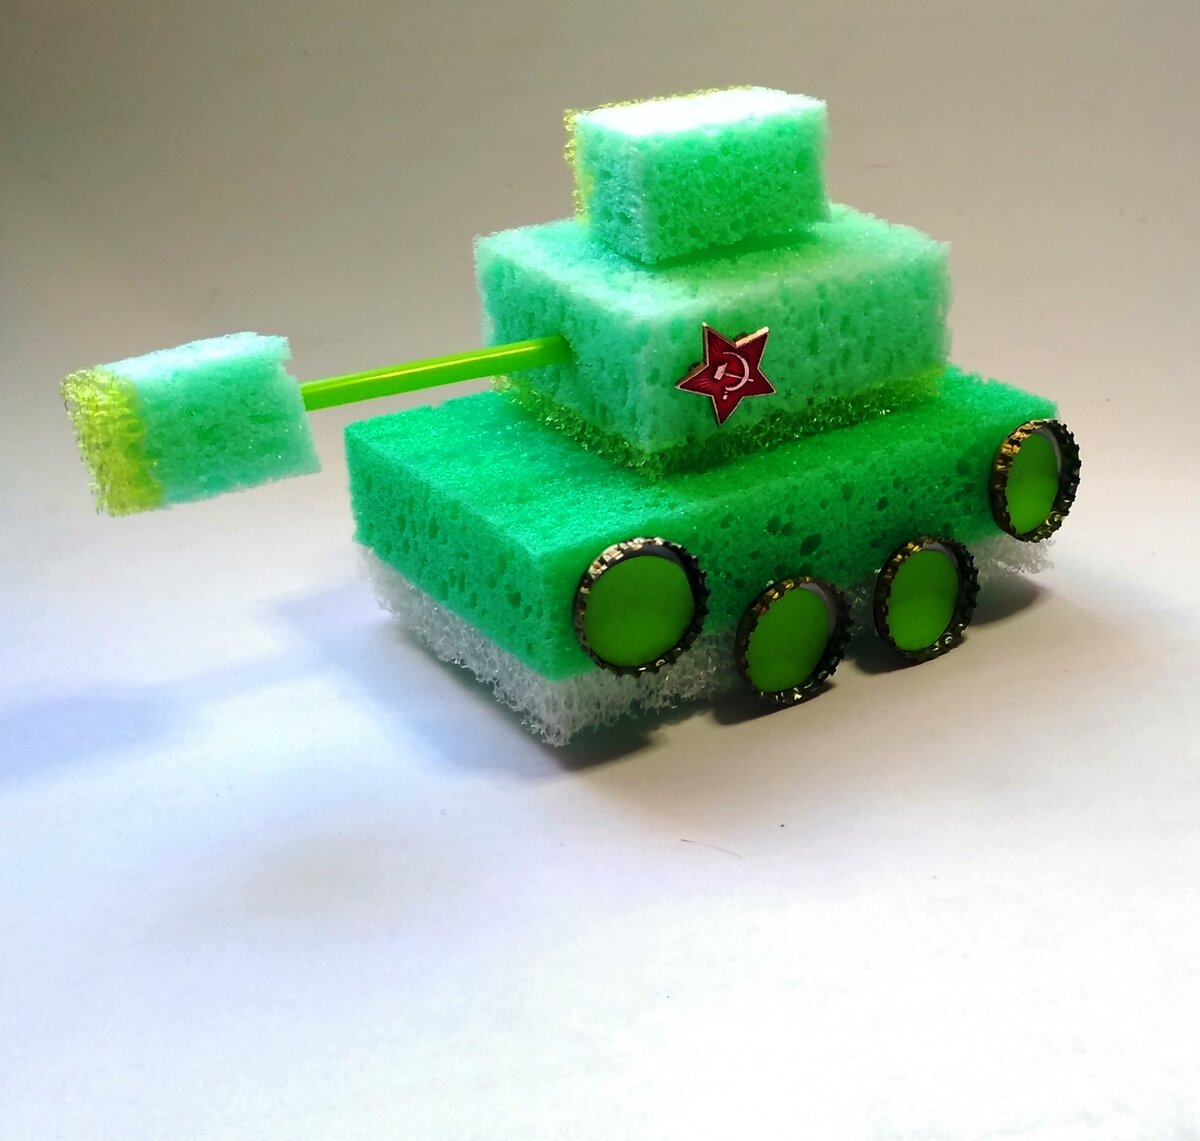
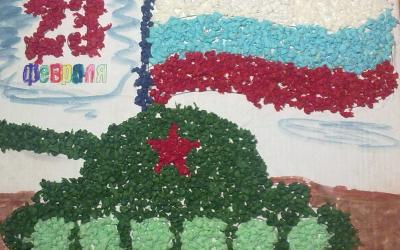
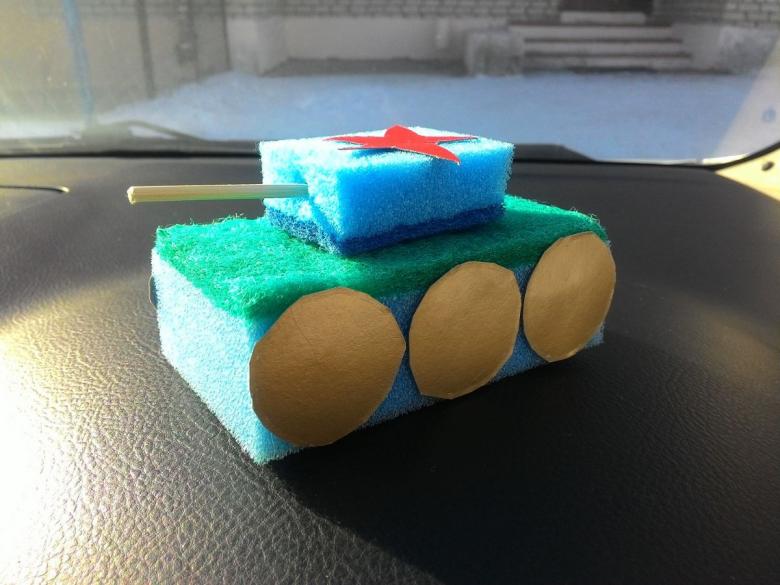
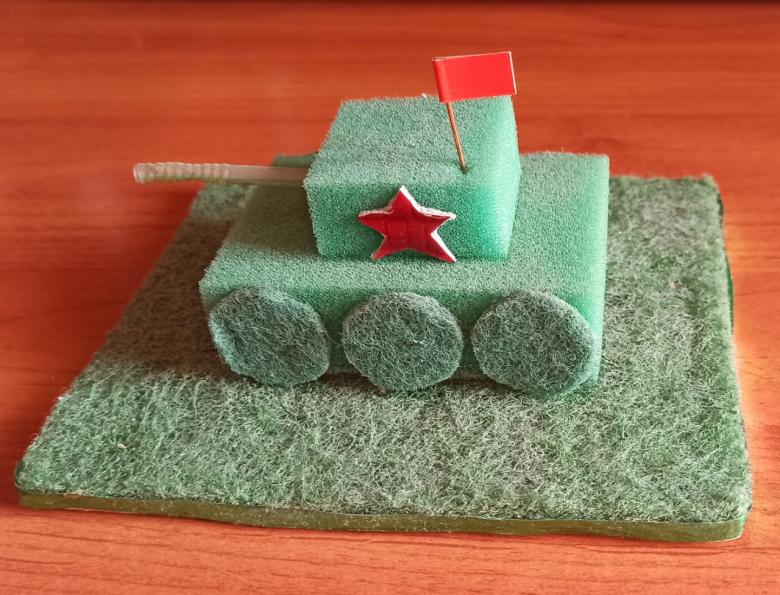
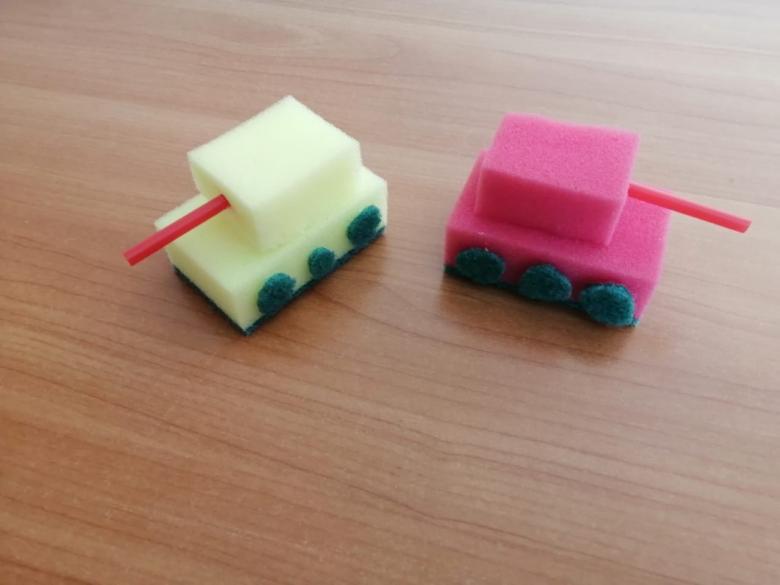
Tank .
An interesting dishwashing sponge craft for children will be a tank. It can be suggested to do on the eve of February 23 or May 9. The activity will be equally interesting for boys and girls.
For the craft you will need:
- 2 sponges for washing dishes;
- red and black colored paper;
- a straw from a lollipop;
- glue or a hot-air glue gun.
The sequence of making the tank consists of several steps.
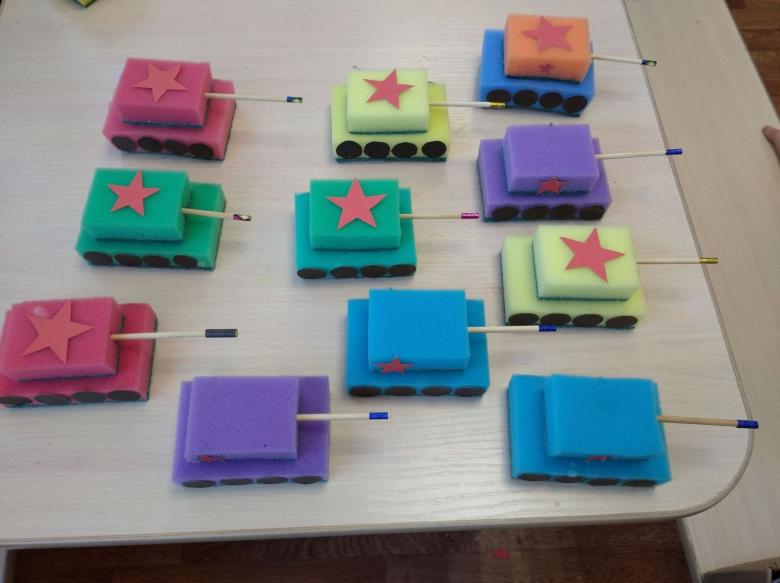
- The base. The tank consists of two parts. For the bottom, use a sponge of full size. For the upper part (turret) the sponge is cut on all sides by 1-1.5 centimeters. Parts are glued together.
- Muzzle. For the muzzle use a tube from a lollipop. To create the tip of a black paper cut a strip of width of 1 cm and a length of 2-3 cm. It is rolled and glued to the end of the stick. The finished muzzle is inserted in the center of the side of the tower.
- Wheels. From black paper cut 8 circles. The diameter of the circle is slightly less than the height of the soft part of the sponge. Ready-made circles of 4 glued to each side of the tank.
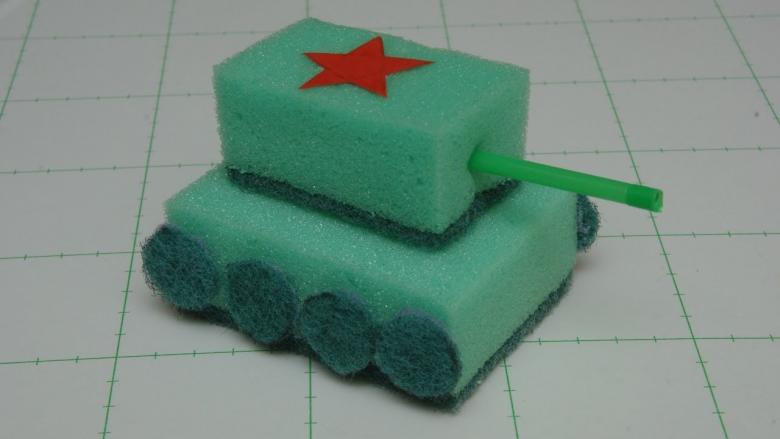
- Star. The decoration is a five-pointed star. It is cut out of red paper and glued on top of the tower.
Specialists recommend using a hot glue gun to glue the parts together. It gives a faster and more reliable result.
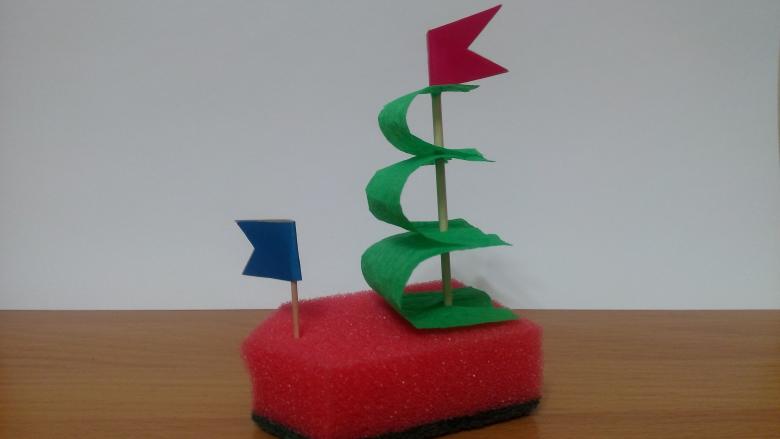
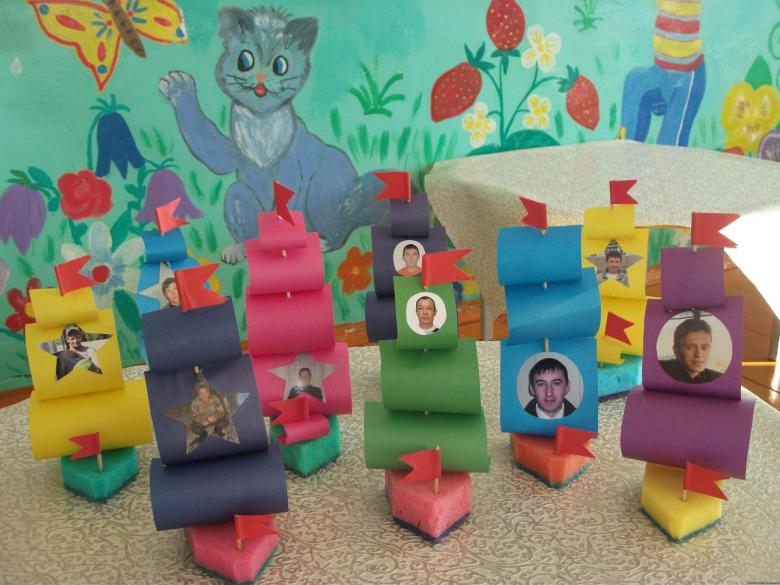
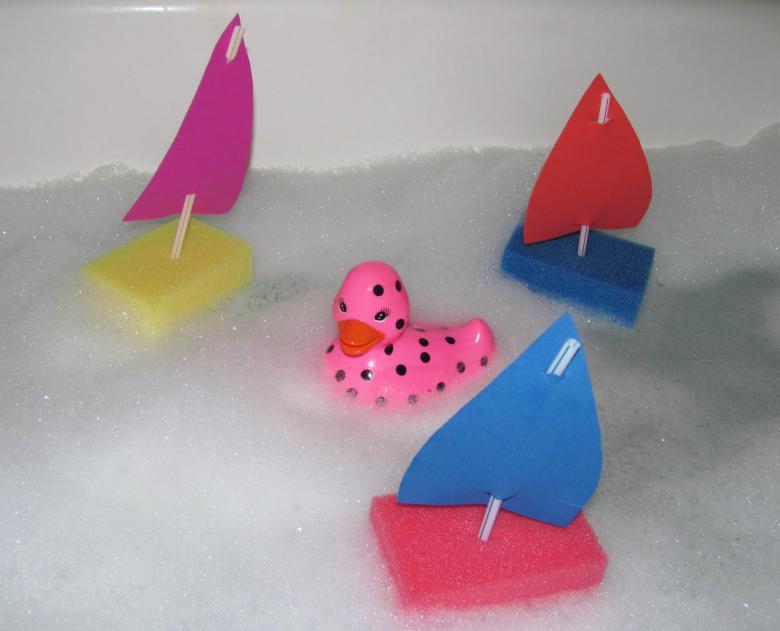
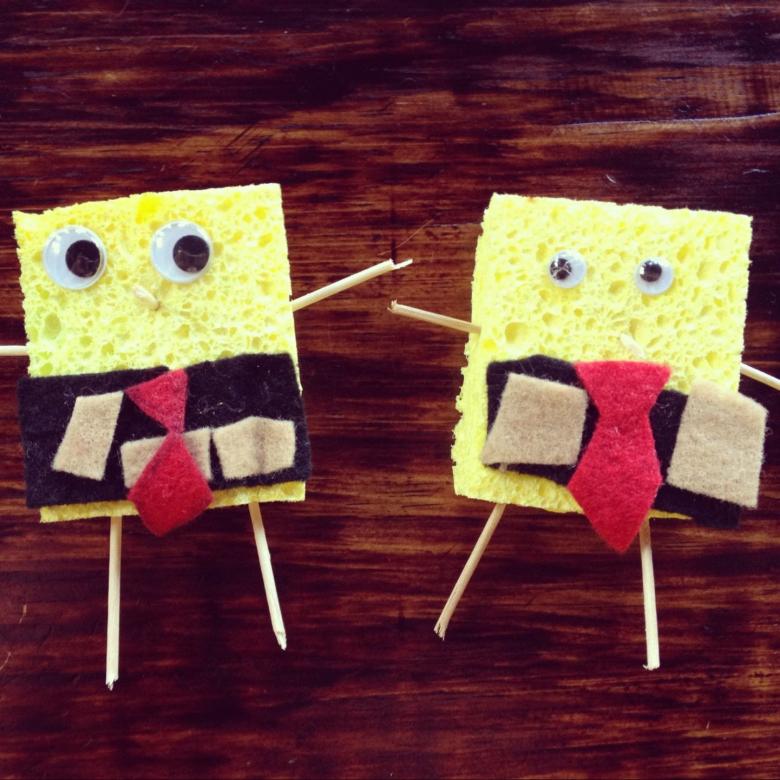
Ship
Ship from sponge for washing dishes - this is a craft, which is recommended to do in the middle groups of kindergarten.
The work will require:
- dishwashing sponge;
- toothpicks (long and short);
- colored paper;
- scissors;
- ruler;
- pencil;
- glue.
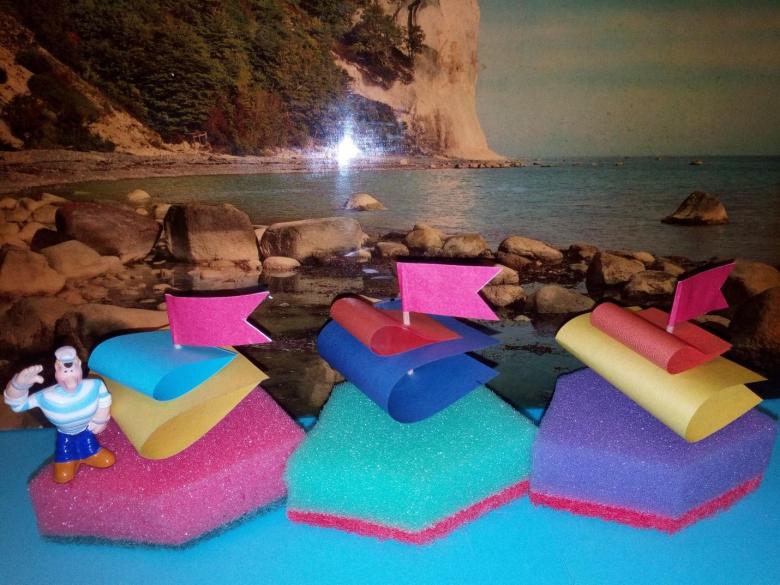
The advantage of a sailboat is that children make a typical product, but they can be creative, choosing the color of the base, the sail, the shape of the flag.
For the work should follow a series of simple steps.
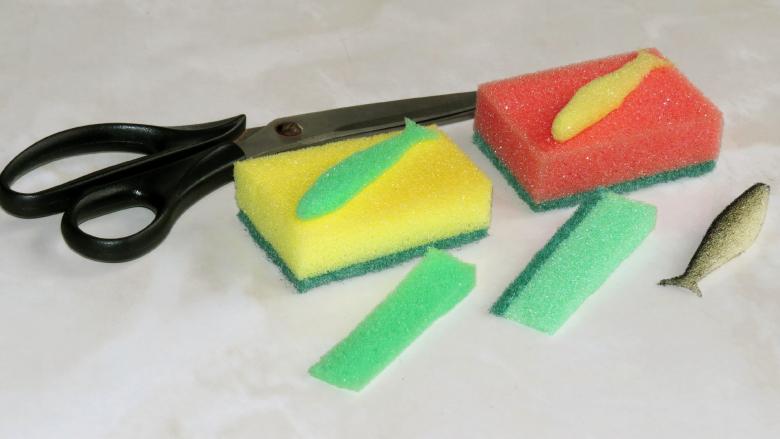
- Making the base. The base of the ship is a sponge. It can be cleaned from stiff fibers or left in its original form. On one side, the edges of the sponge are trimmed so that you get a sharp triangle. Older children can manage on their own. Smaller ones are helped by adults or skip this step.
- Making a mast. A long toothpick serves as a mast. The sharp edge should be shortened so that the mast was not too big. After that, place the toothpick in the middle, closer to the straight edge of the sponge.
- Making the sail. Sail made of colored paper. To do this, cut out 2 or 3 rectangles. Depending on the child's desire, the sail may have a triangular shape. Ready-made sail (sails) pinned on the mast.
- Making a flag. From colored paper cut a rectangle and roll it in half. In the center put a short toothpick, glue the sides of the rectangle. We get a rectangular flag on a stick. Toothpick inserted in the center of the bow of the ship.
To ensure the safety of the work instead of toothpicks allowed to use a juice tube or other straight sticks.
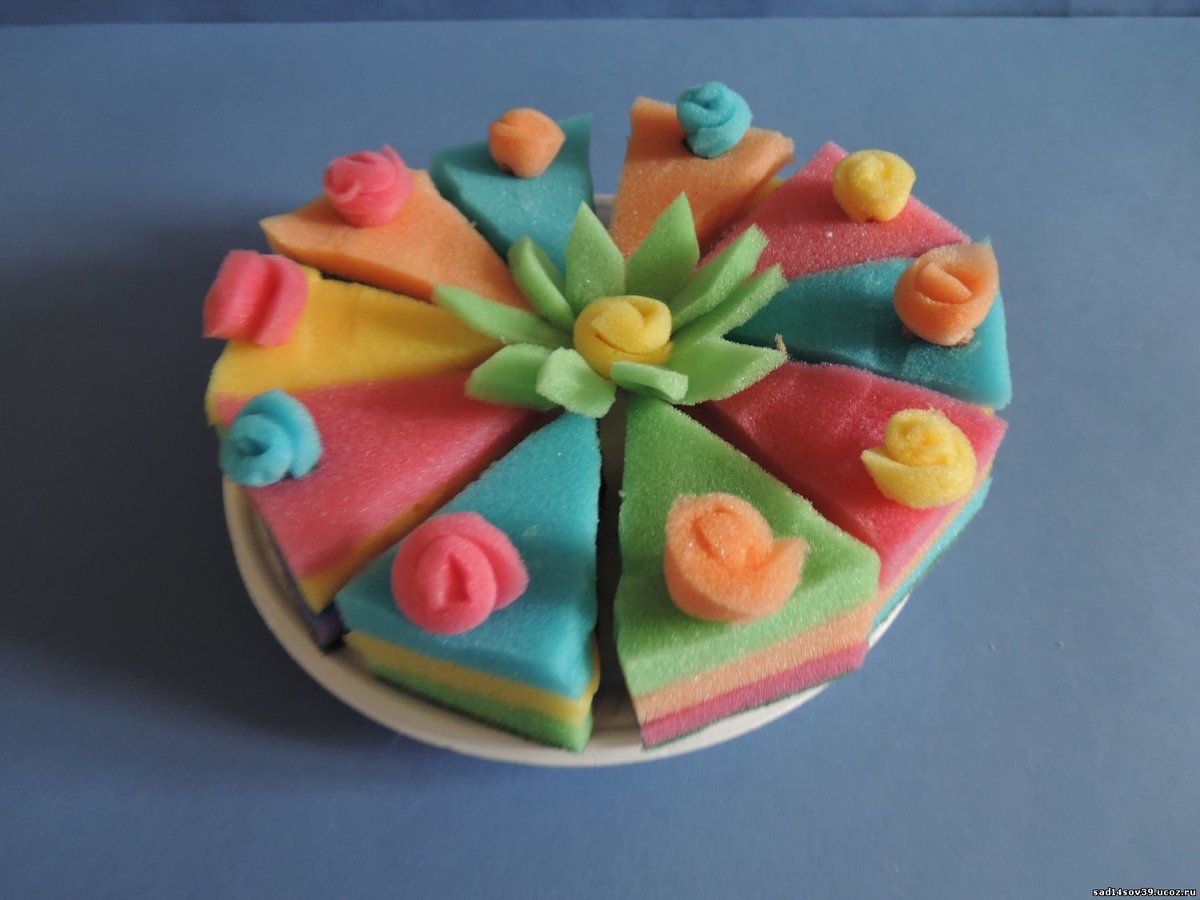
Crafts for March 8
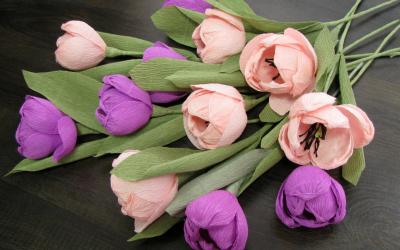
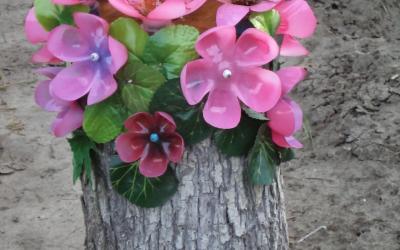
March 8 is a spring holiday. So most of the crafts are related to flowers or something useful for moms or grandmothers.
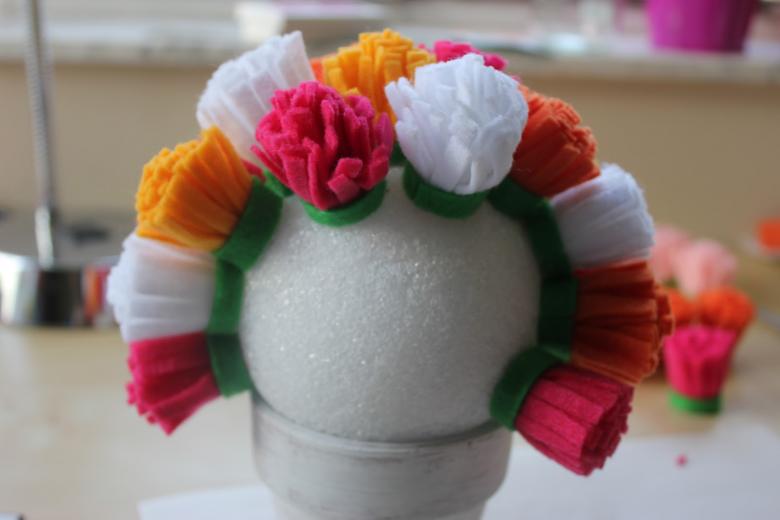
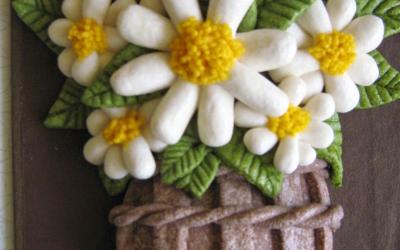
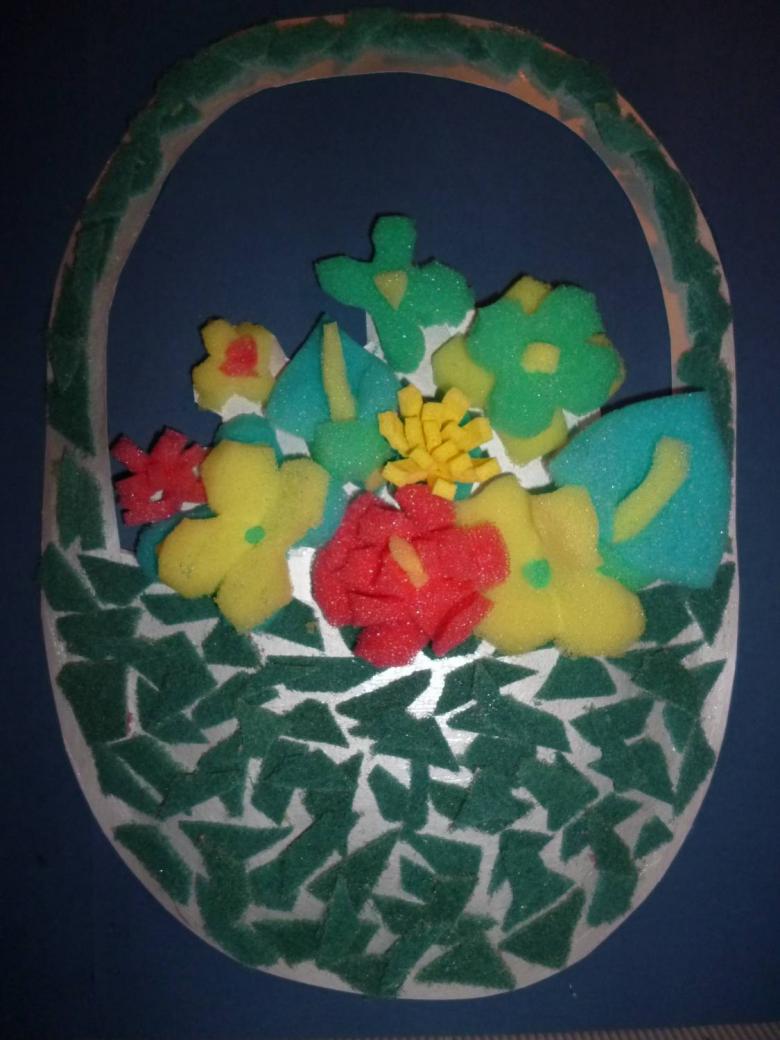
Applique vase with flowers
A vase with flowers is very cute. It is suitable as a design for a greeting card.
For making it will need:
- colored cardboard;
- colored sponges;
- felt-tip pens;
- glue or a hot air gun.
During the work should follow the sequence of actions.
- Vase. To begin with choose a sponge of bright color. Its corners are cut off from one edge. The finished vase is glued to the cardboard.
- Stems and leaves. From sponge green cut out 0.5 cm thick strips and rhombic leaves.
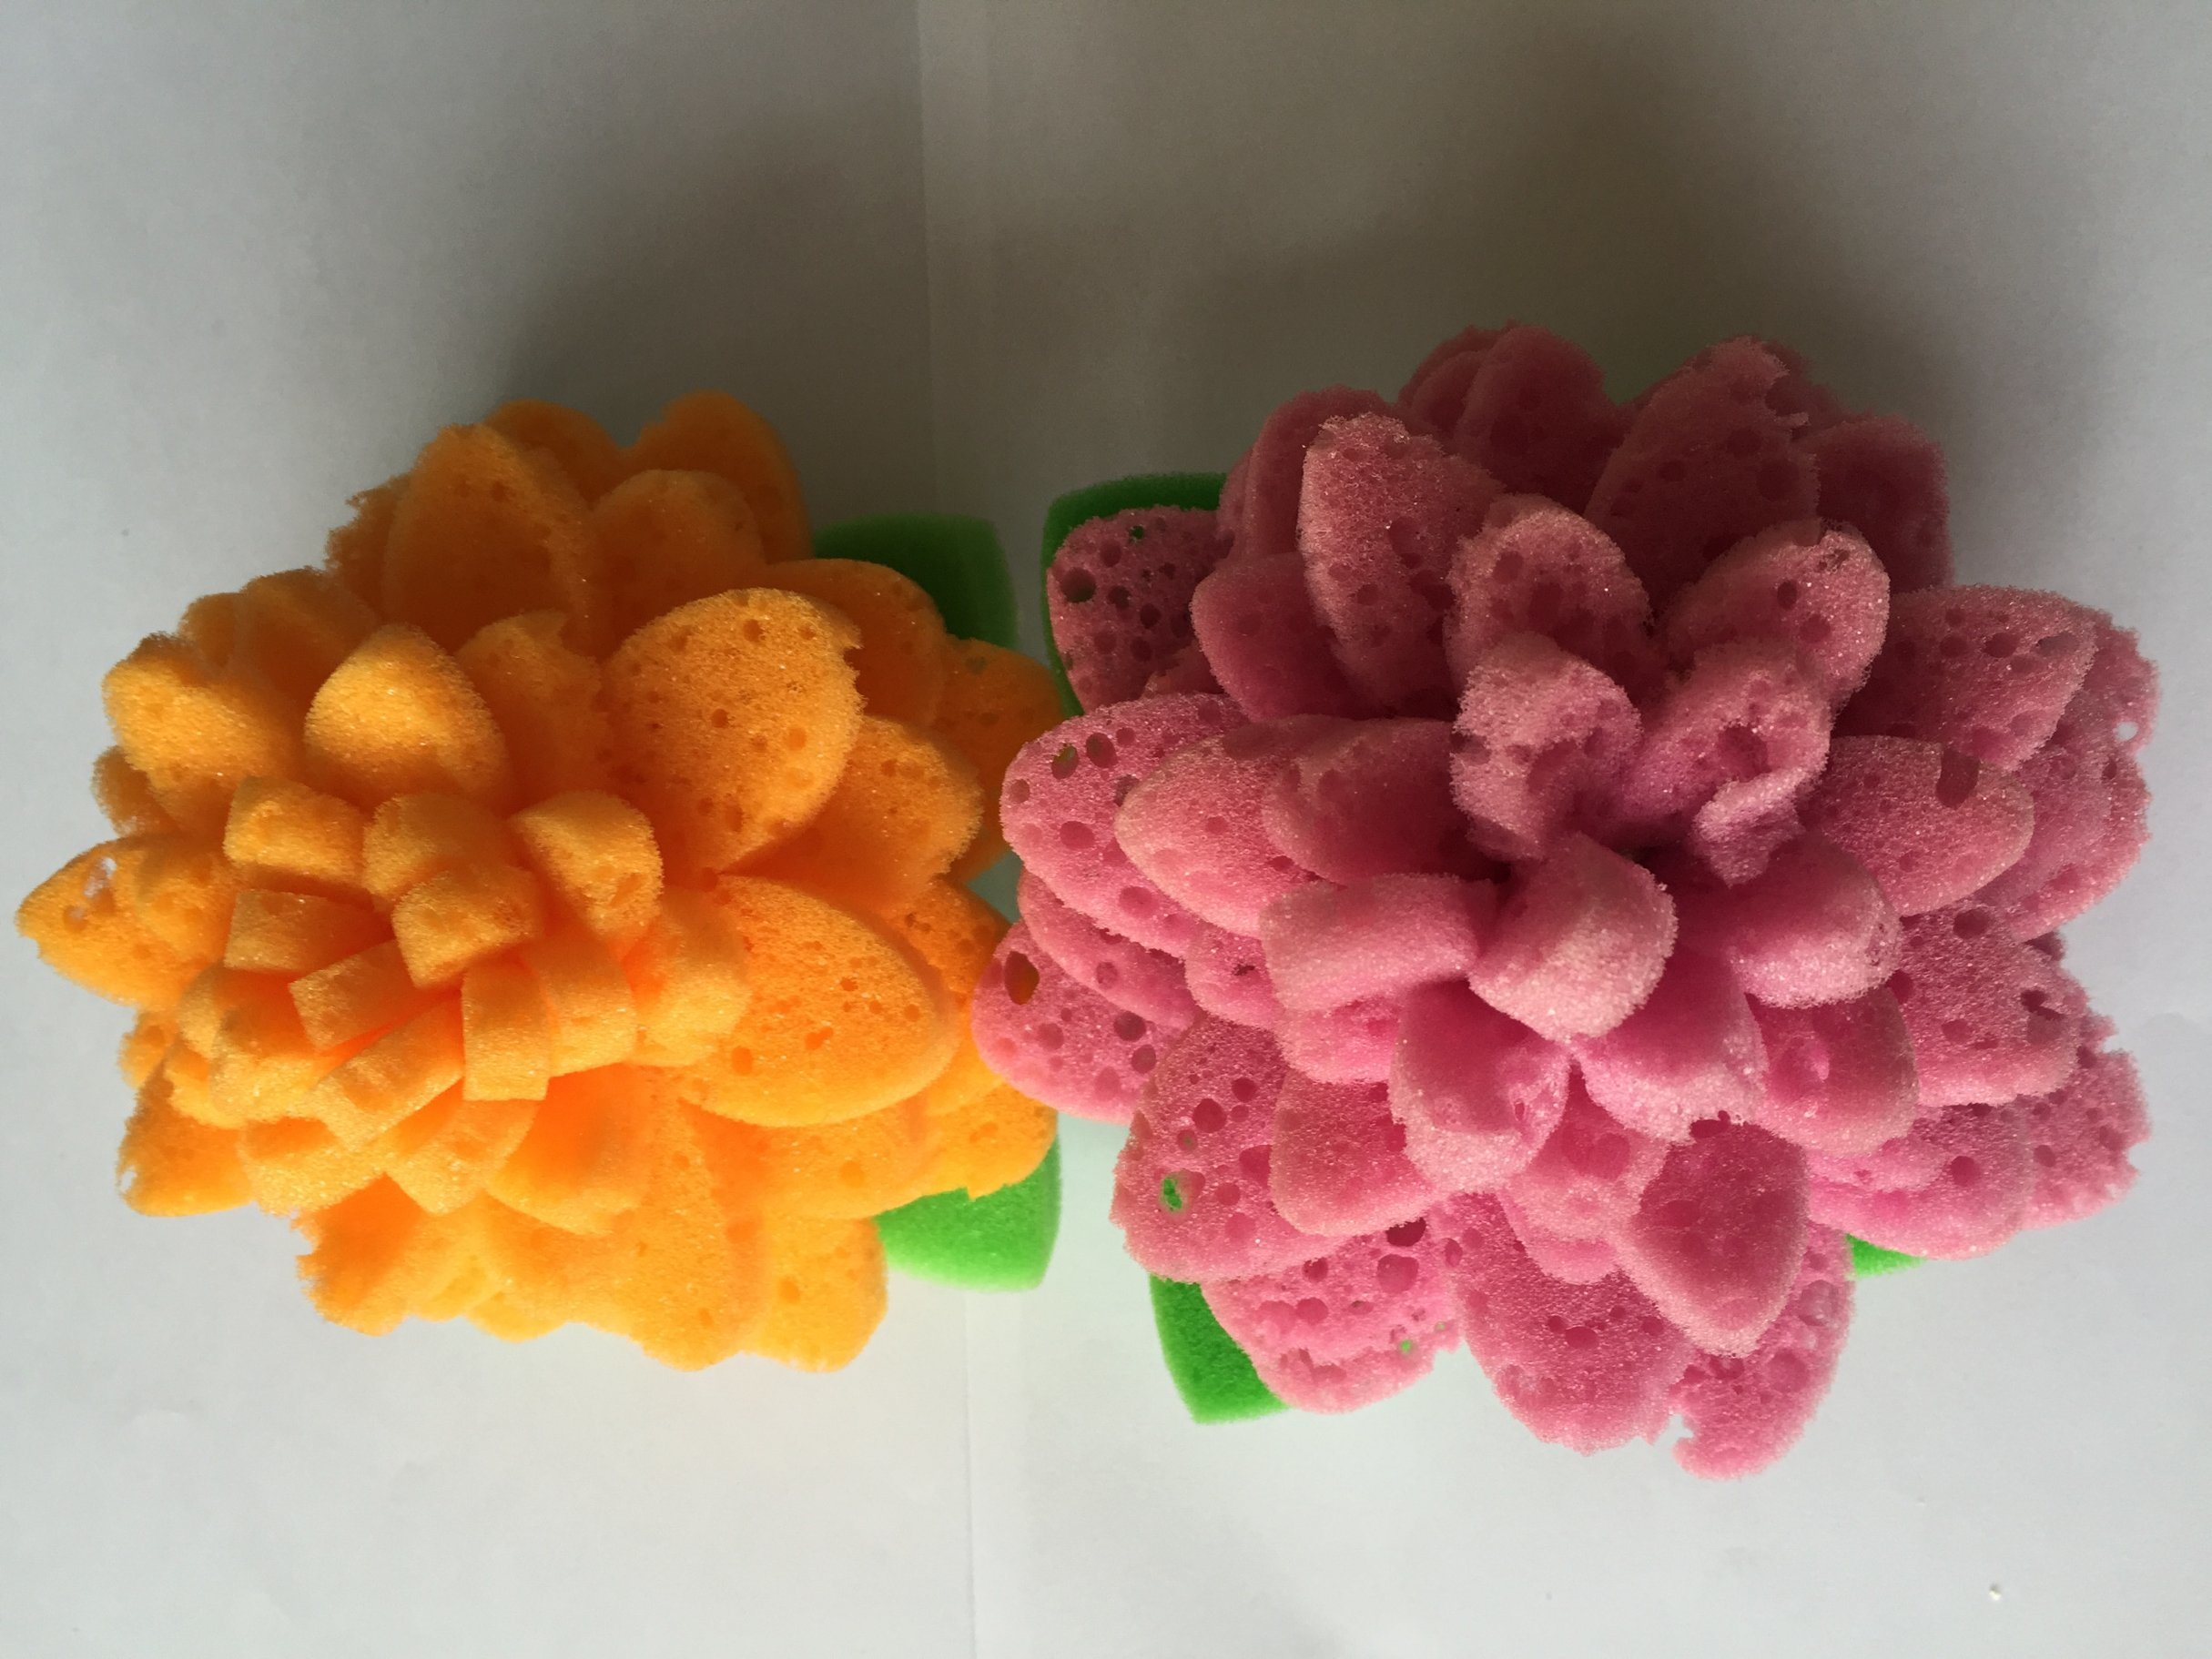
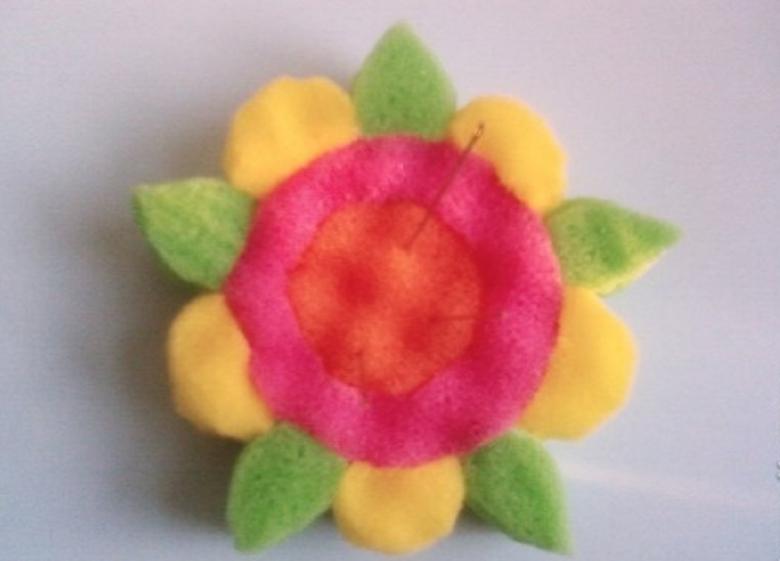
- Flowers. Yellow sponge cut circles. The number depends on the number of flowers in a vase. From the pink, red, yellow or white sponge cut petals (ovals). For each flower requires 5 petals.
- Assembly. Above the vase glued flower stems and leaves. To each stem attached to the middle and petals.
The finished card can be signed or decorated with a ribbon.

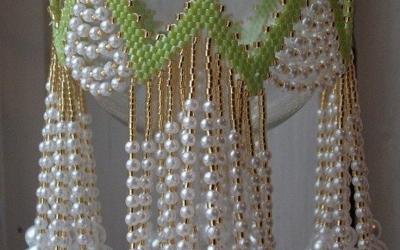
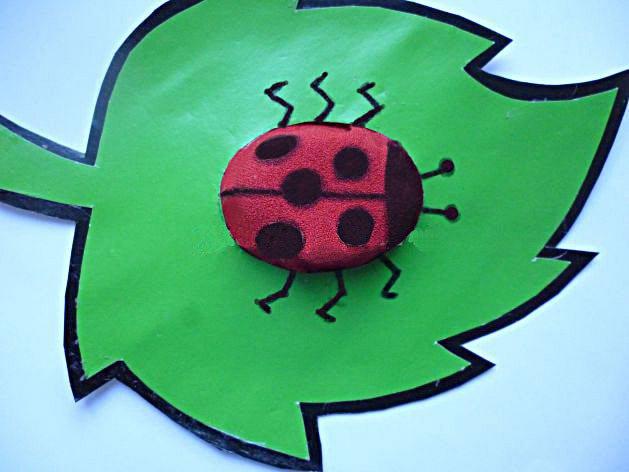
Ladybug Needlepoint
A good gift for March 8 will be a needlepoint craft out of dishwashing sponge. Such a gift can be presented to mom or grandmother who are fond of embroidery or sewing.
To make it you will need:
- a heat gun or glue;
- Red and green sponges;
- cardboard;
- scissors;
- Black felt-tip pen;
- ribbon or tape.
Makes a simple enough handicraft.
- Basis. Cut out of cardboard a square slightly larger than the future of ladybugs. It is the basis.
- Loops. A piece of ribbon or tape cut and folded in half so as to obtain the loop. Finished loop is glued to the back side of the cardboard.
- Leaf. On a green sponge draw a leaf shape. Harvested contour carefully cut out a sheet and glued to the cardboard.
- Ladybug. From the red sponge cut a circle. The body ladybug glued on top of the leaf. Black marker on the back draw spots and head of the insect. Eyes are made of white paper or glue ready-made.
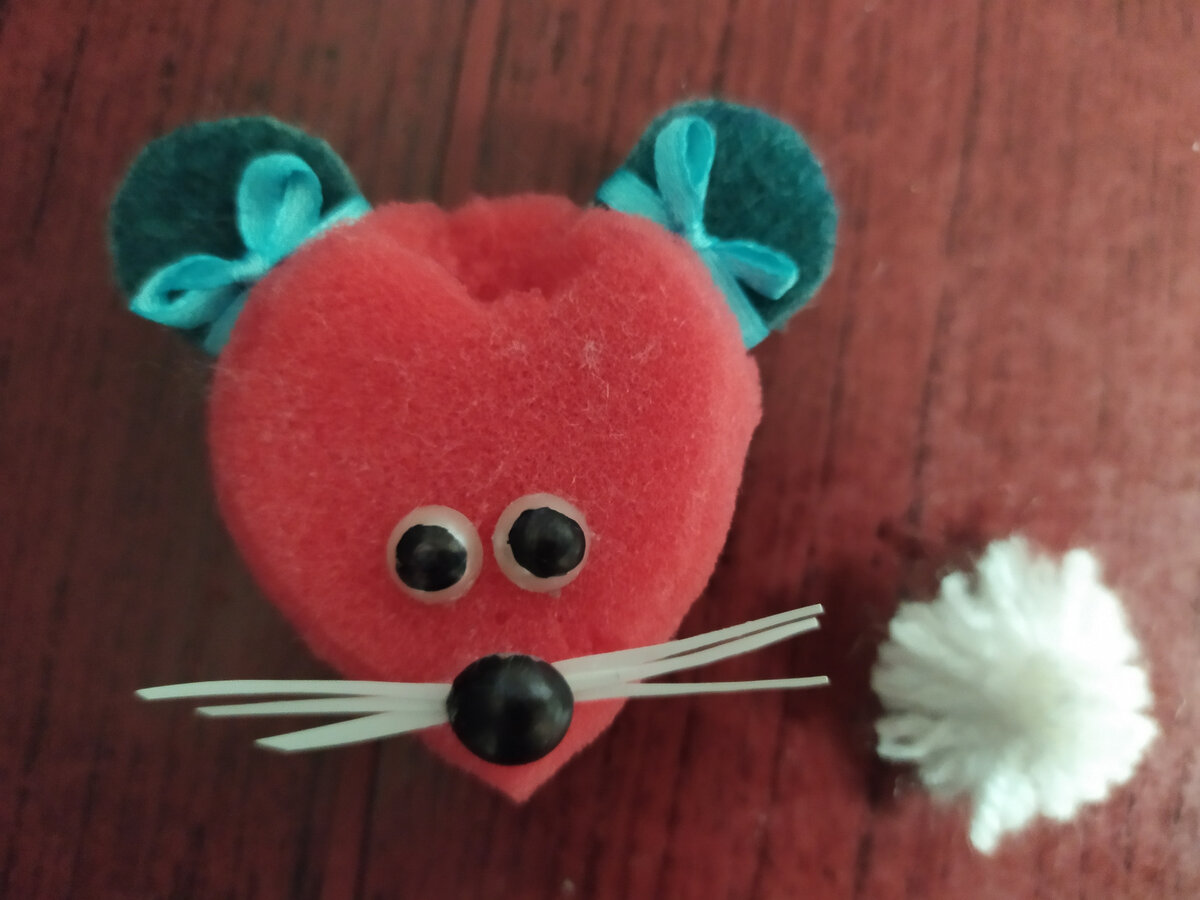
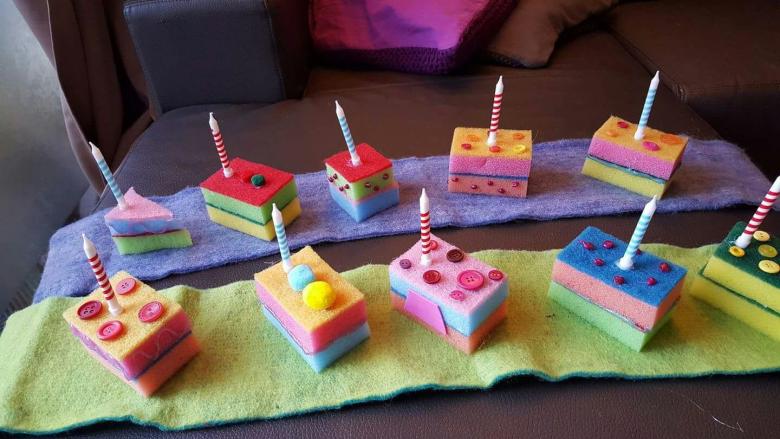
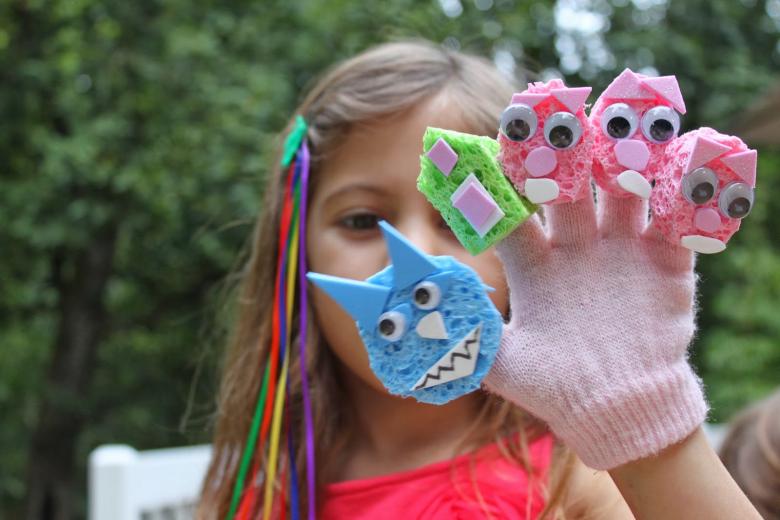
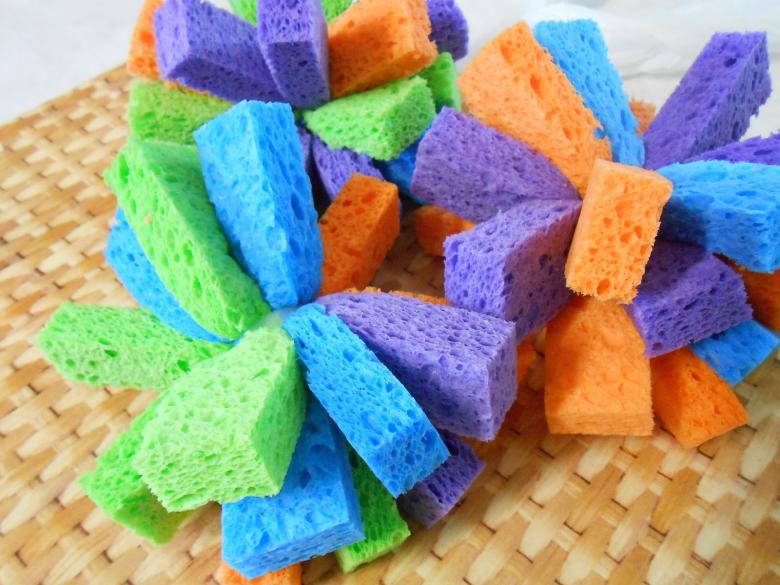
Ideas for the little ones
Separate attention should be paid to crafts from dishwashing sponges for small children. Here the scope of imagination does not end with applique and volumetric figures.
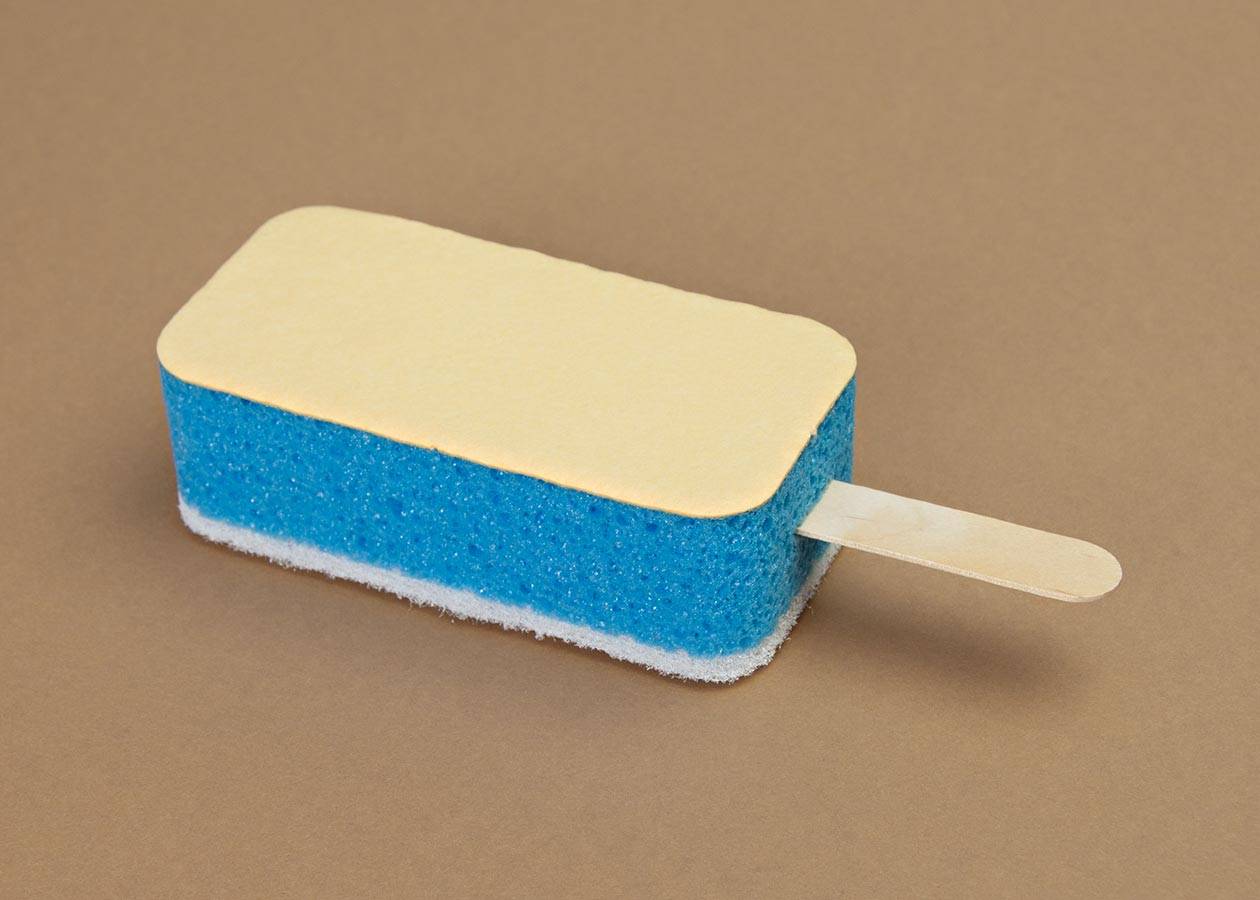
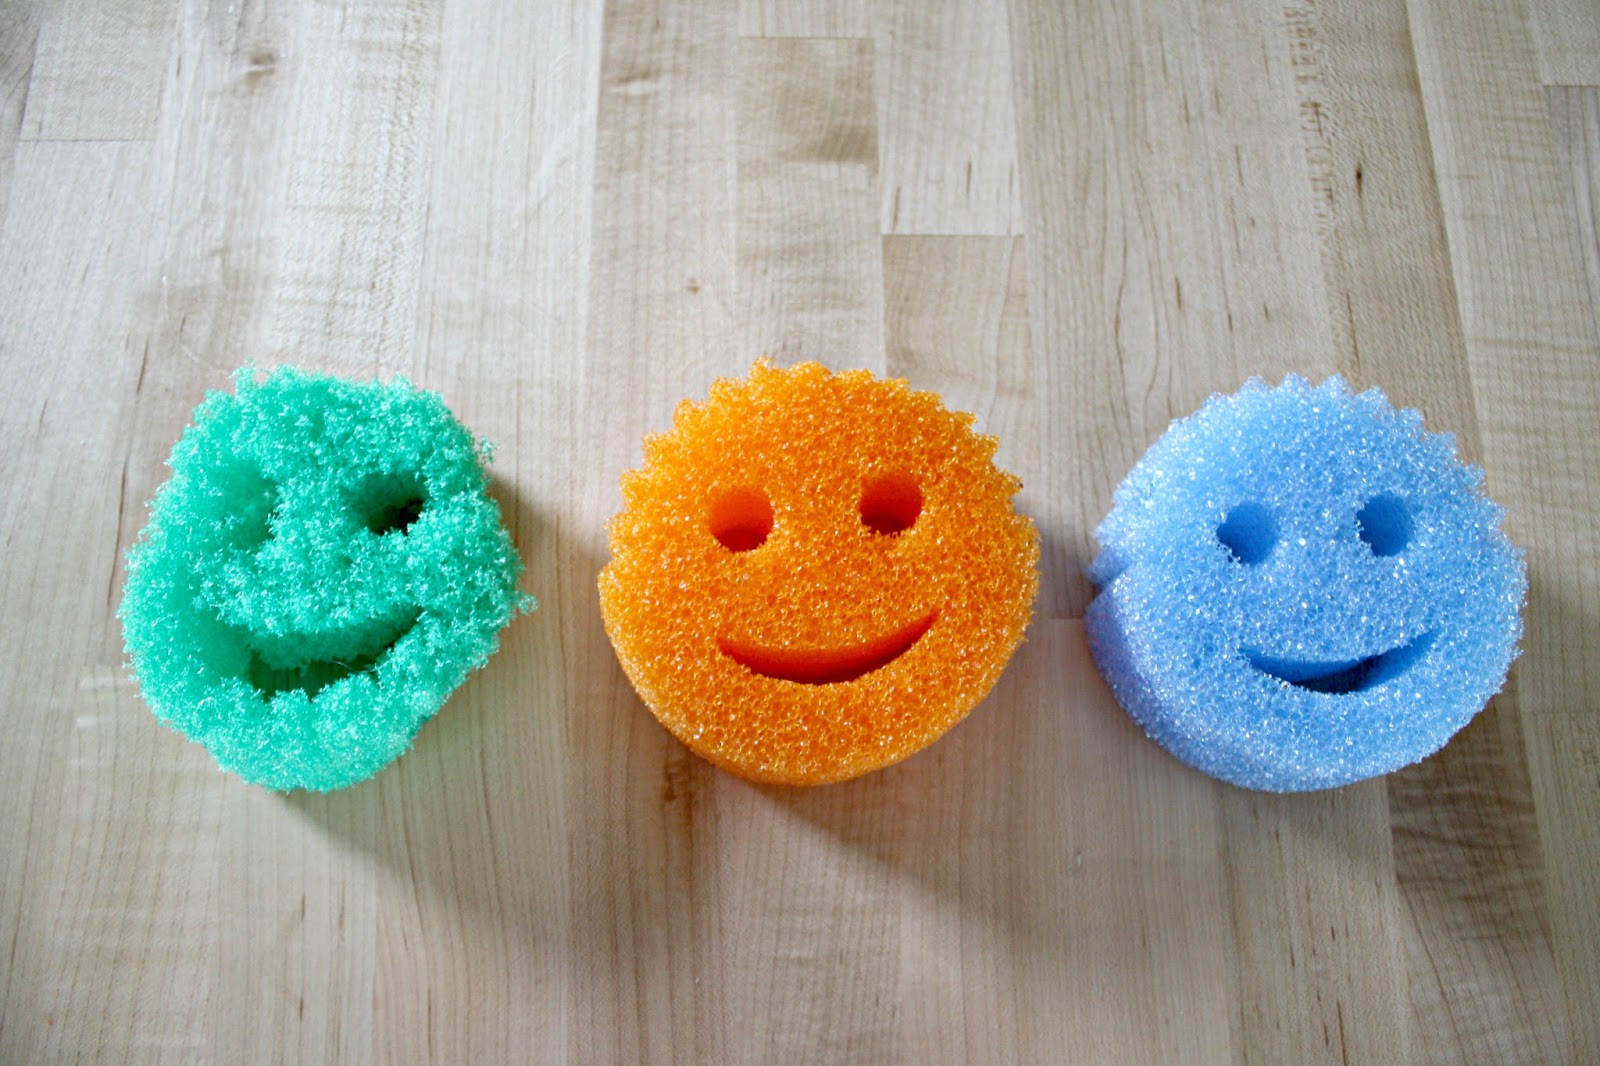
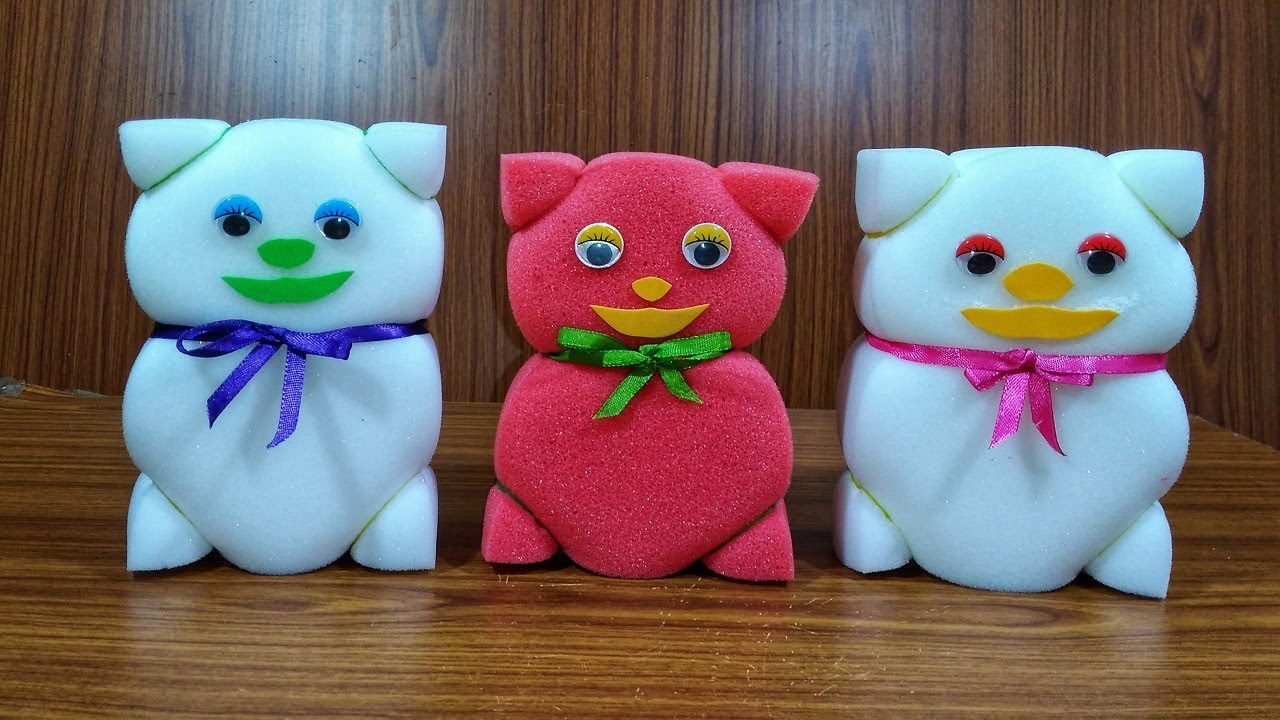
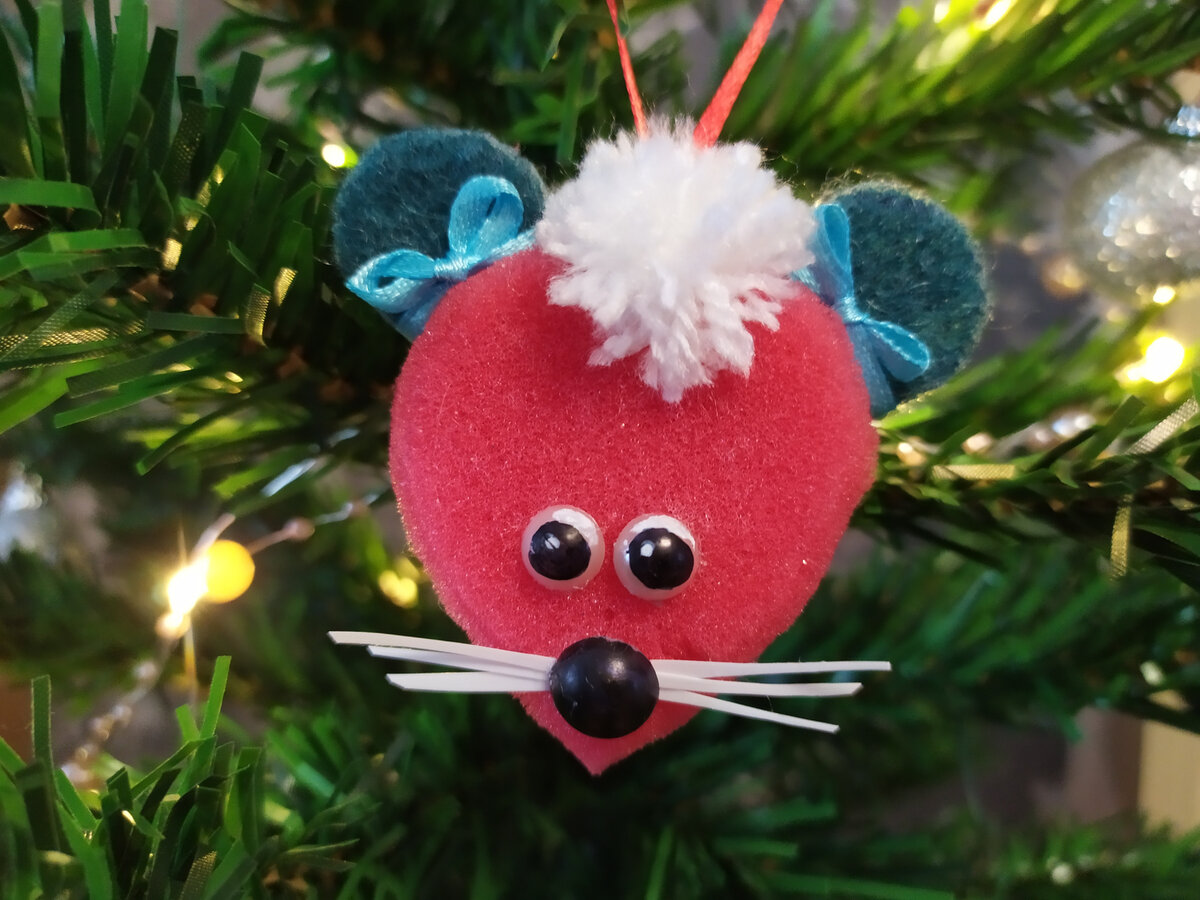
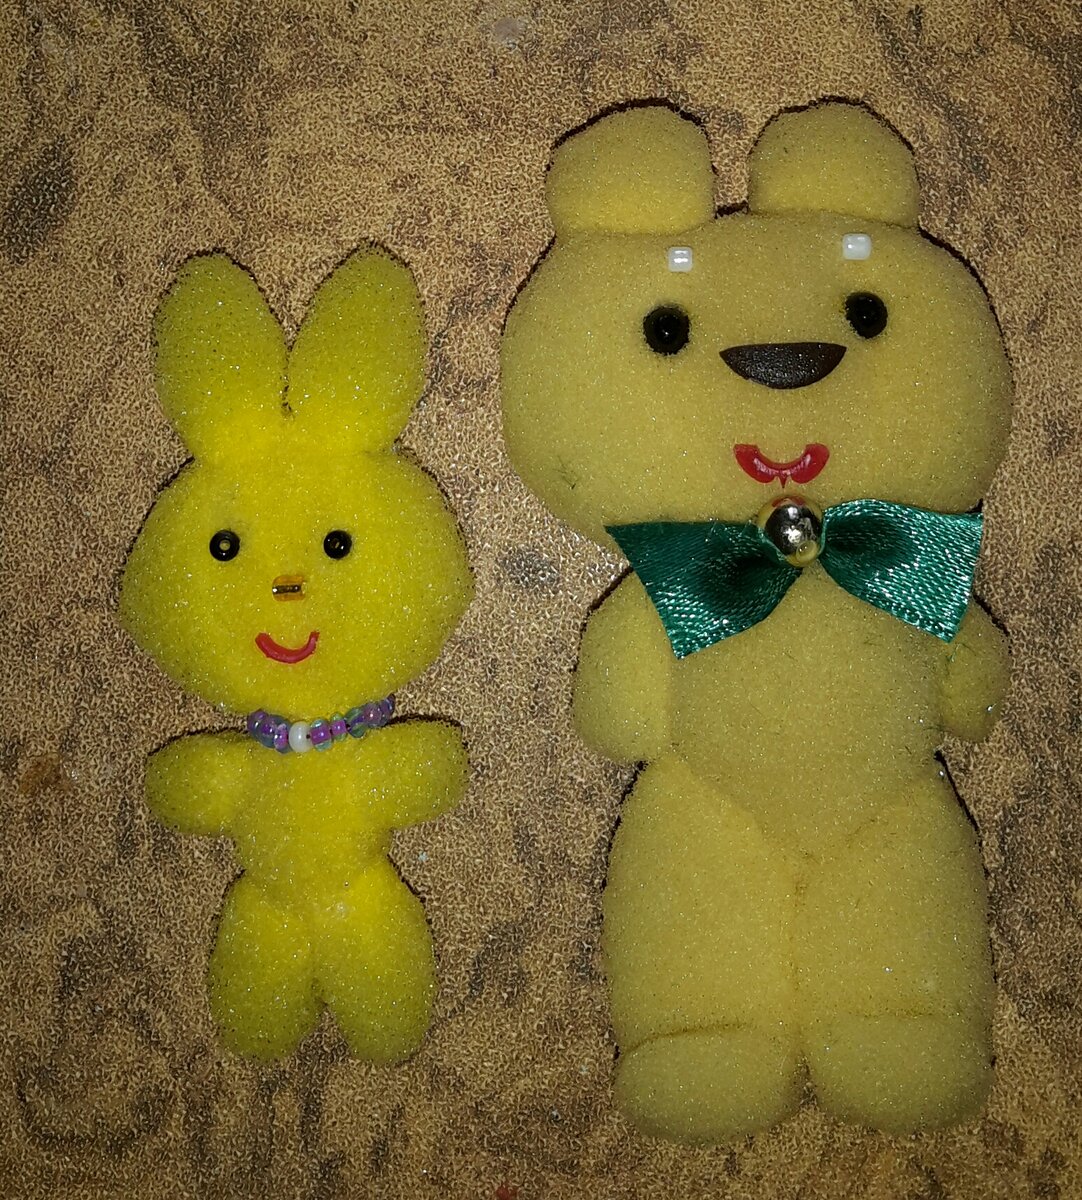
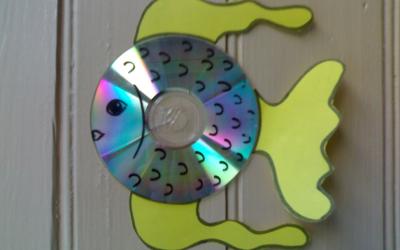
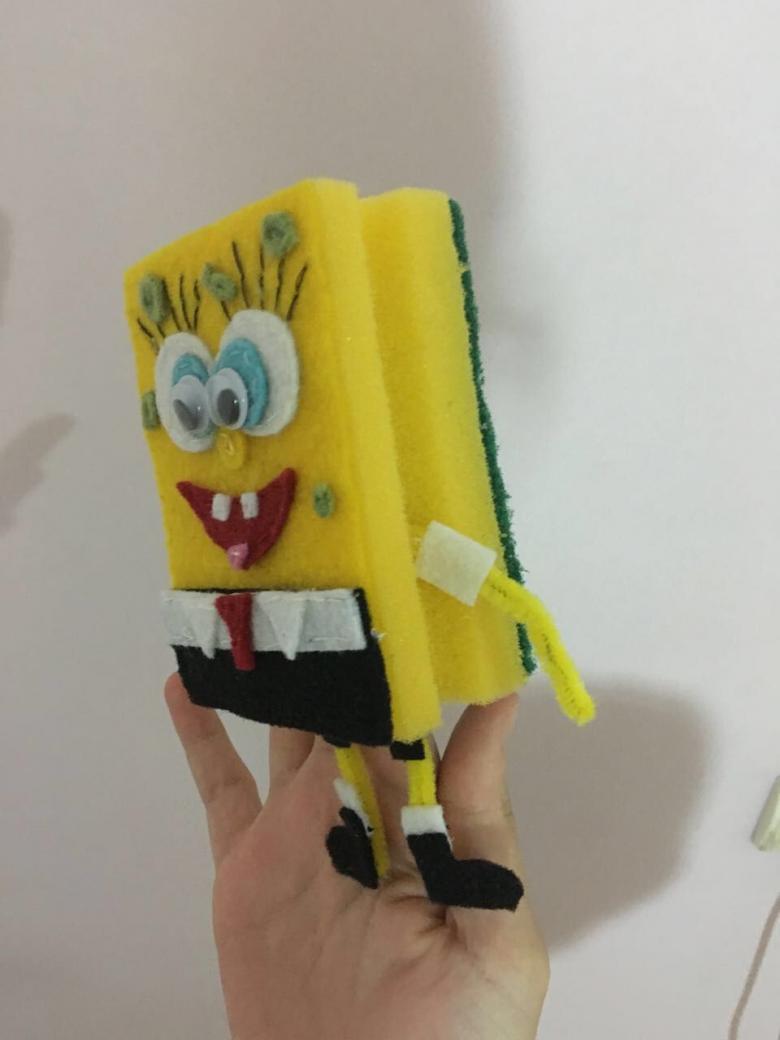
Figurines of animals. Various animal figures are cut out of sponges (whale, pigeon, cat), eyes, mouth and other elements are glued on them, obtaining interesting characters. Finished crafts are suitable for playing in a child's room or bath, learning animals, colors.
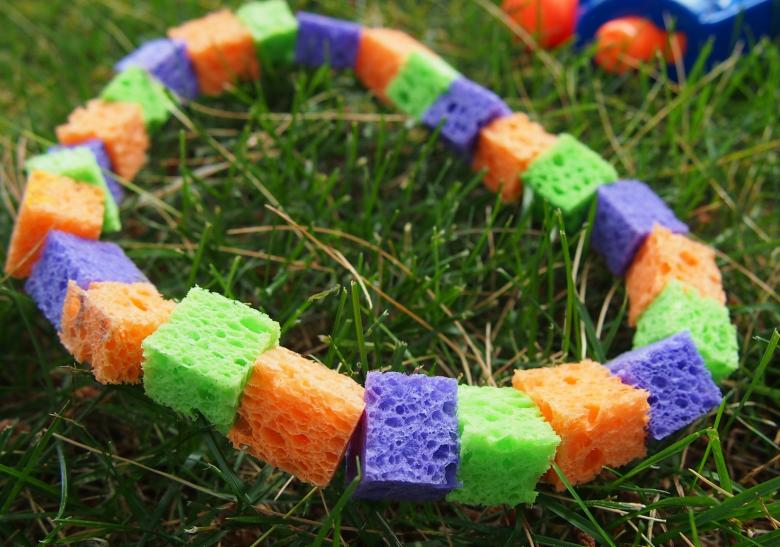
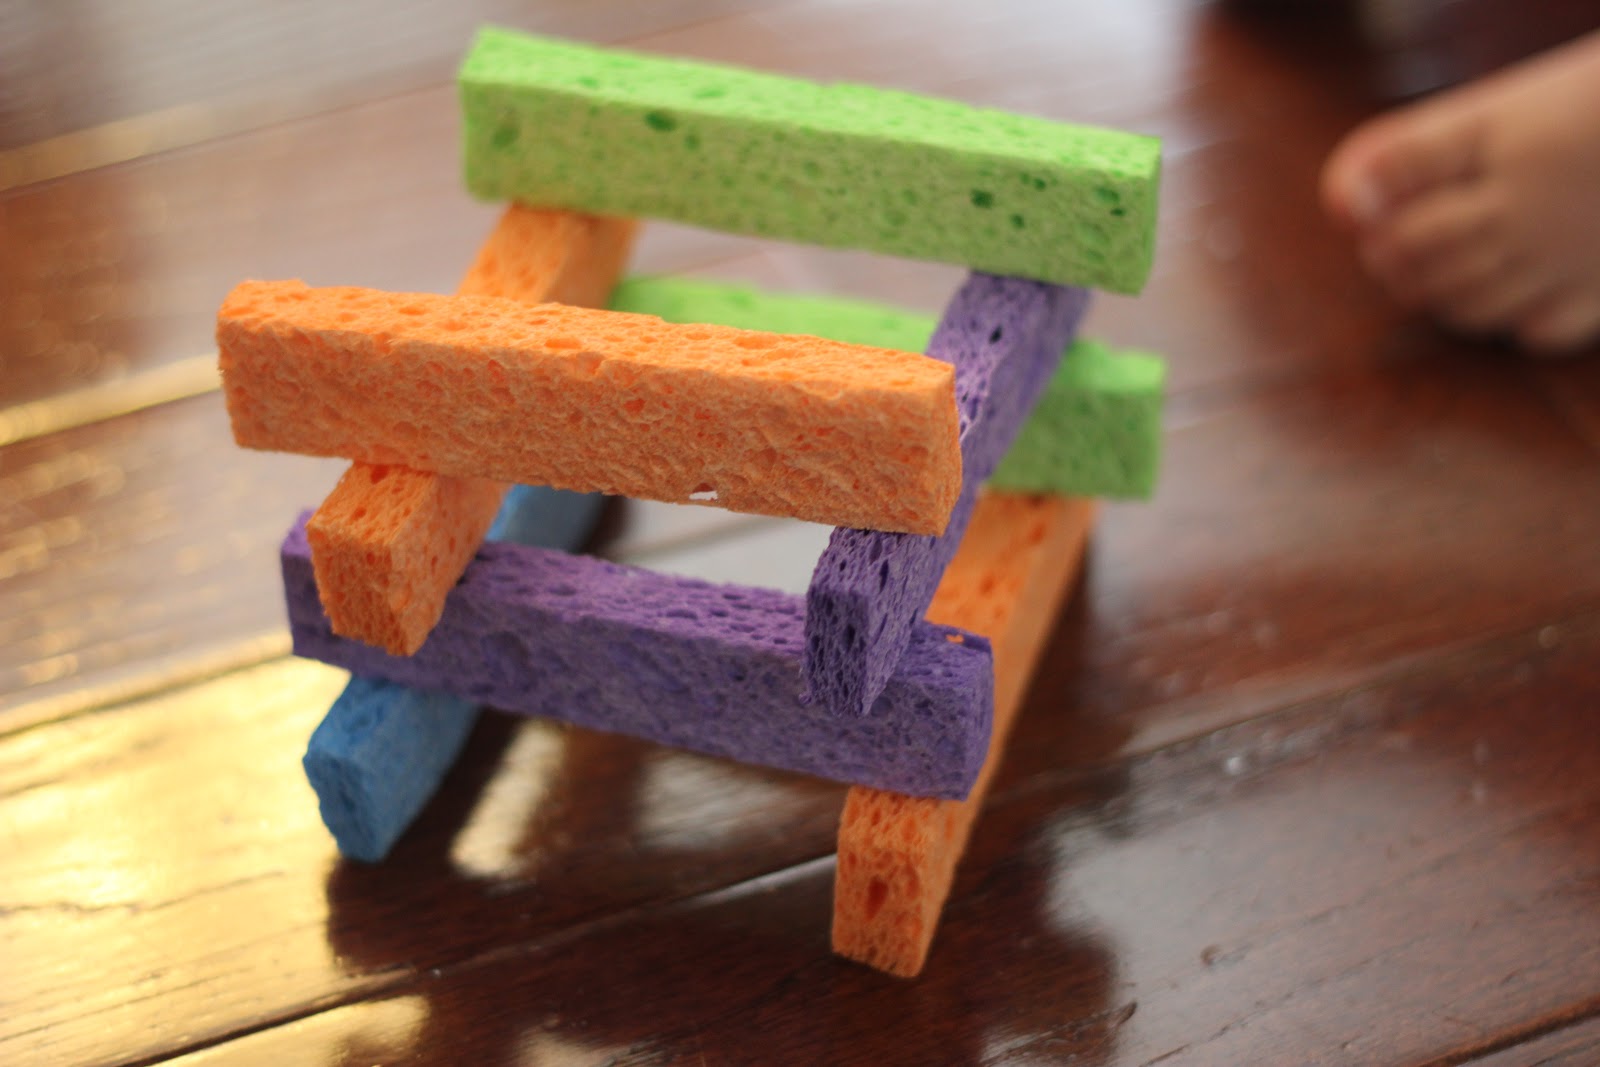
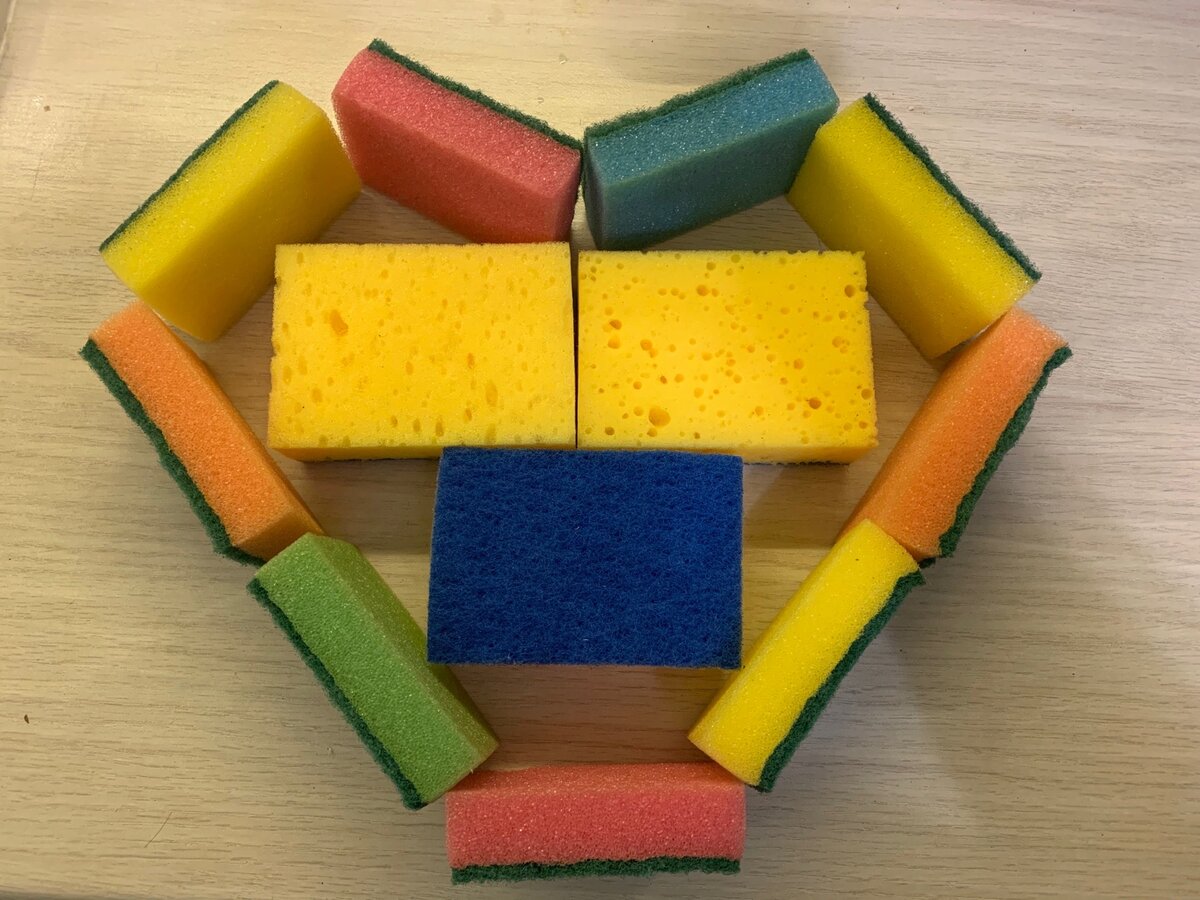
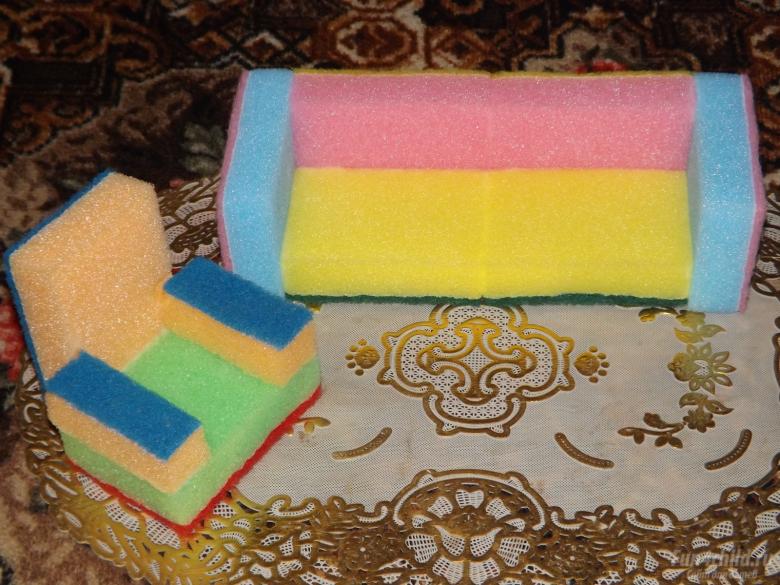
Learning geometry and color. From sponges of different colors cut geometric shapes (circle, square, triangle, rum, etc.). It is better to prepare a set of shapes of each color. Products can be sorted by shape and color. Lay them out different shapes. furniture for dolls. Sponges have a rectangular shape. They are great for making furniture for dolls (couch, bed, chair, table).
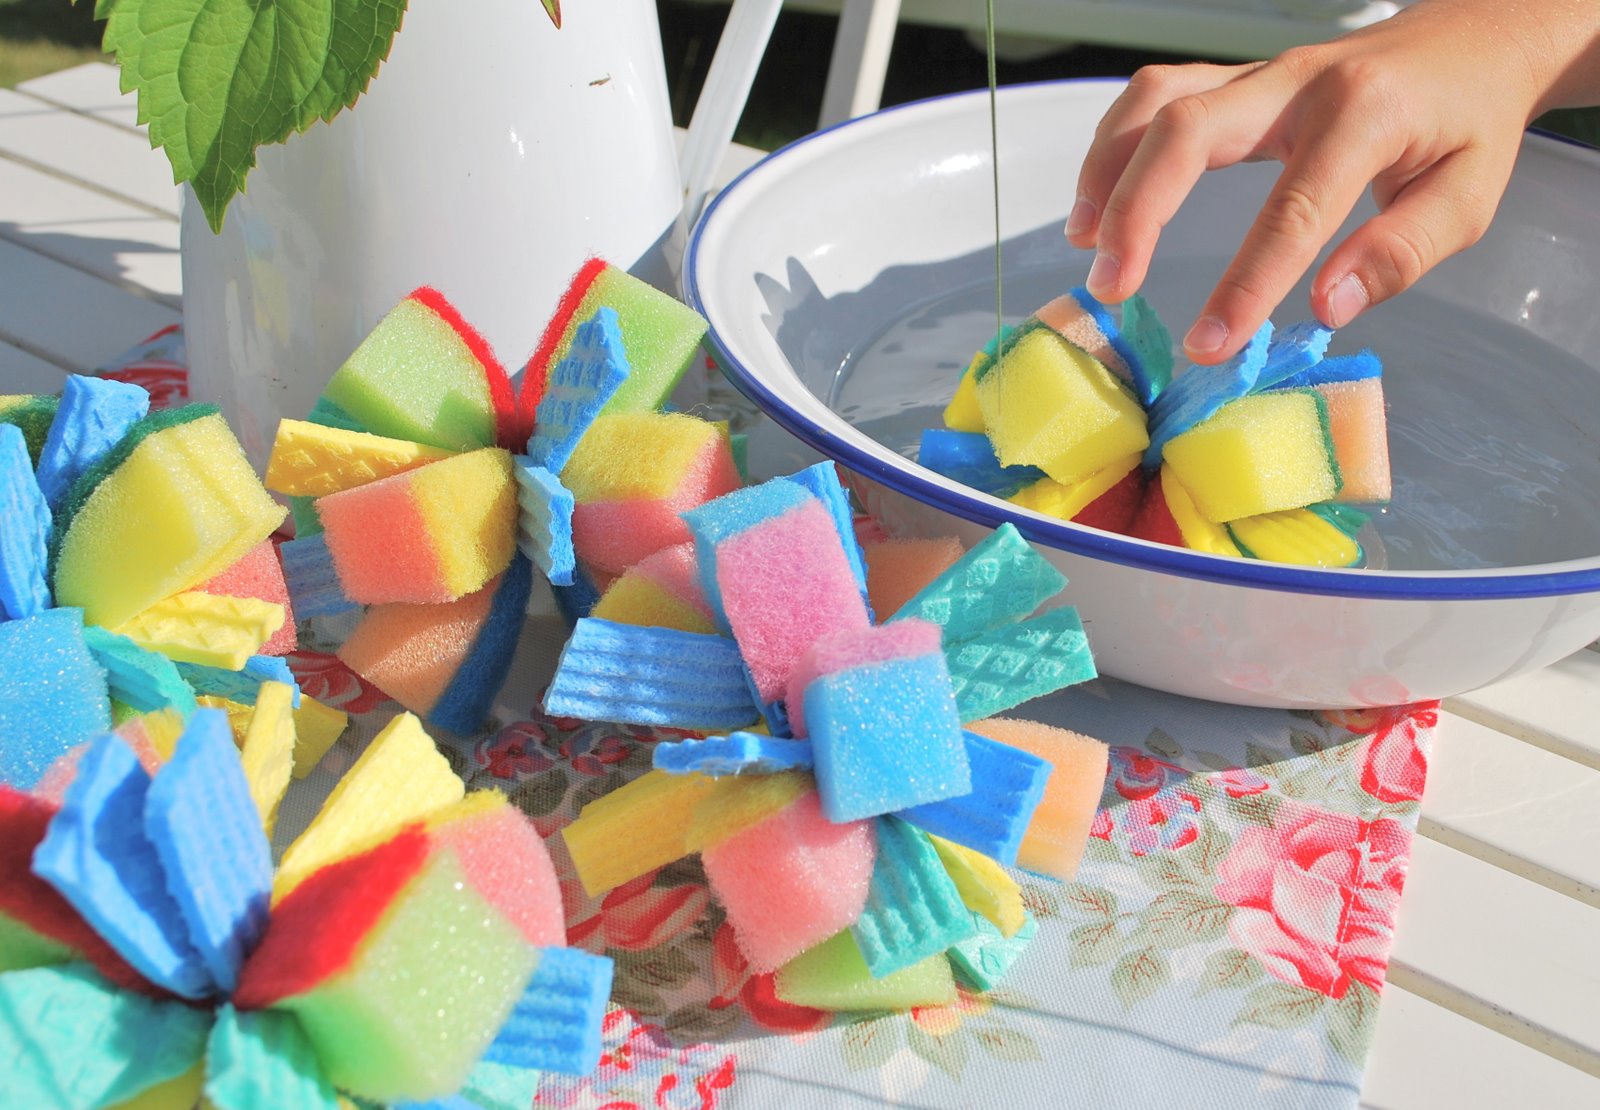
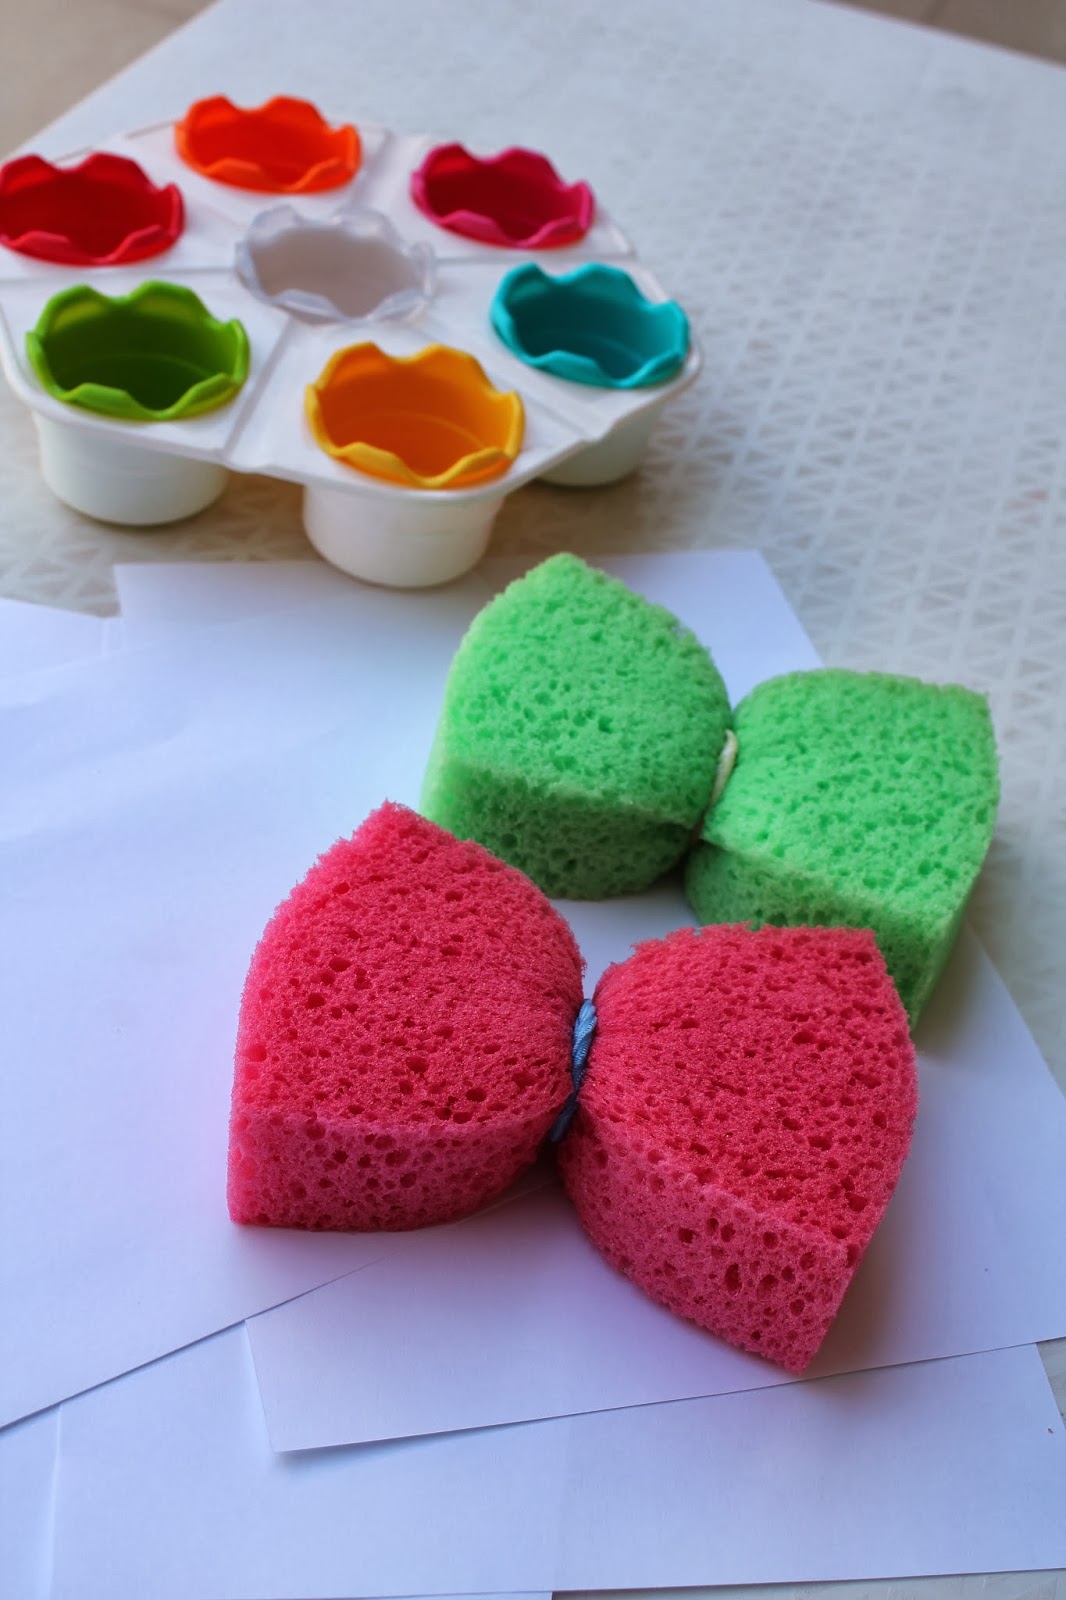
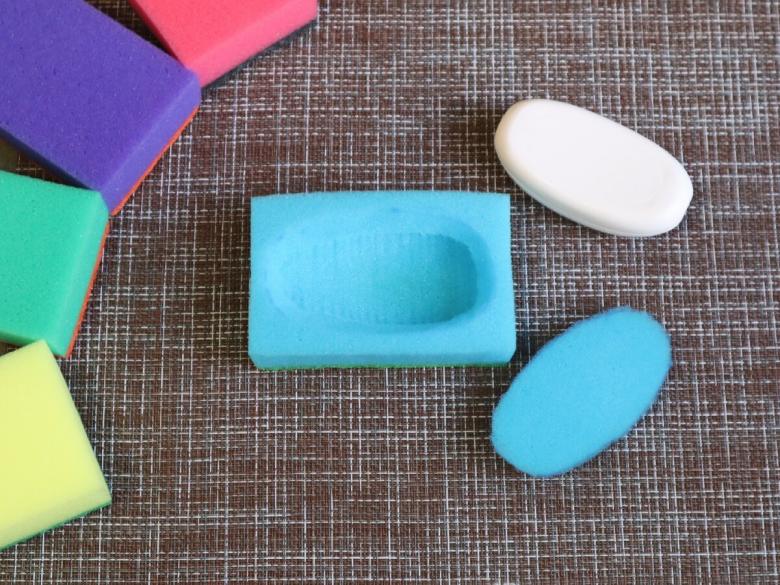
Stamps for drawing. If you cut out different shapes (circle, flower, triangle, square, leaf, etc.) from sponge beforehand, you can apply them in the process of drawing. It is enough to slightly moisten the sponge in paint and lean it against a sheet of paper. It will leave a bright trace - a stamp.
Children of all ages love engaging sponge art. They will happily plunge into the process, creating crafts not only from a template, but also coming up with something new. The main task of the leader or parent in the work is to prompt and guide the children's actions, letting them bring their own ideas to life.
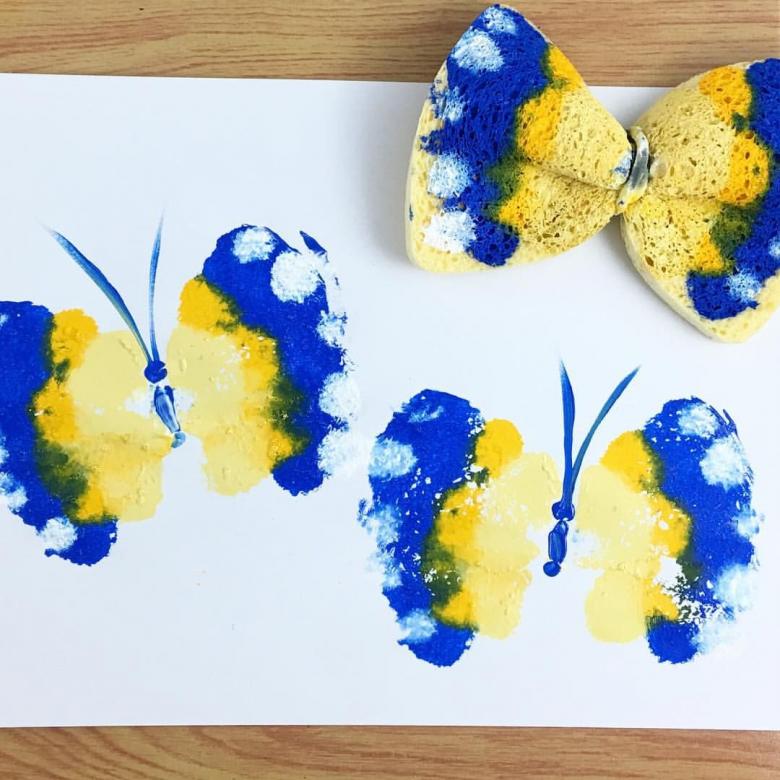
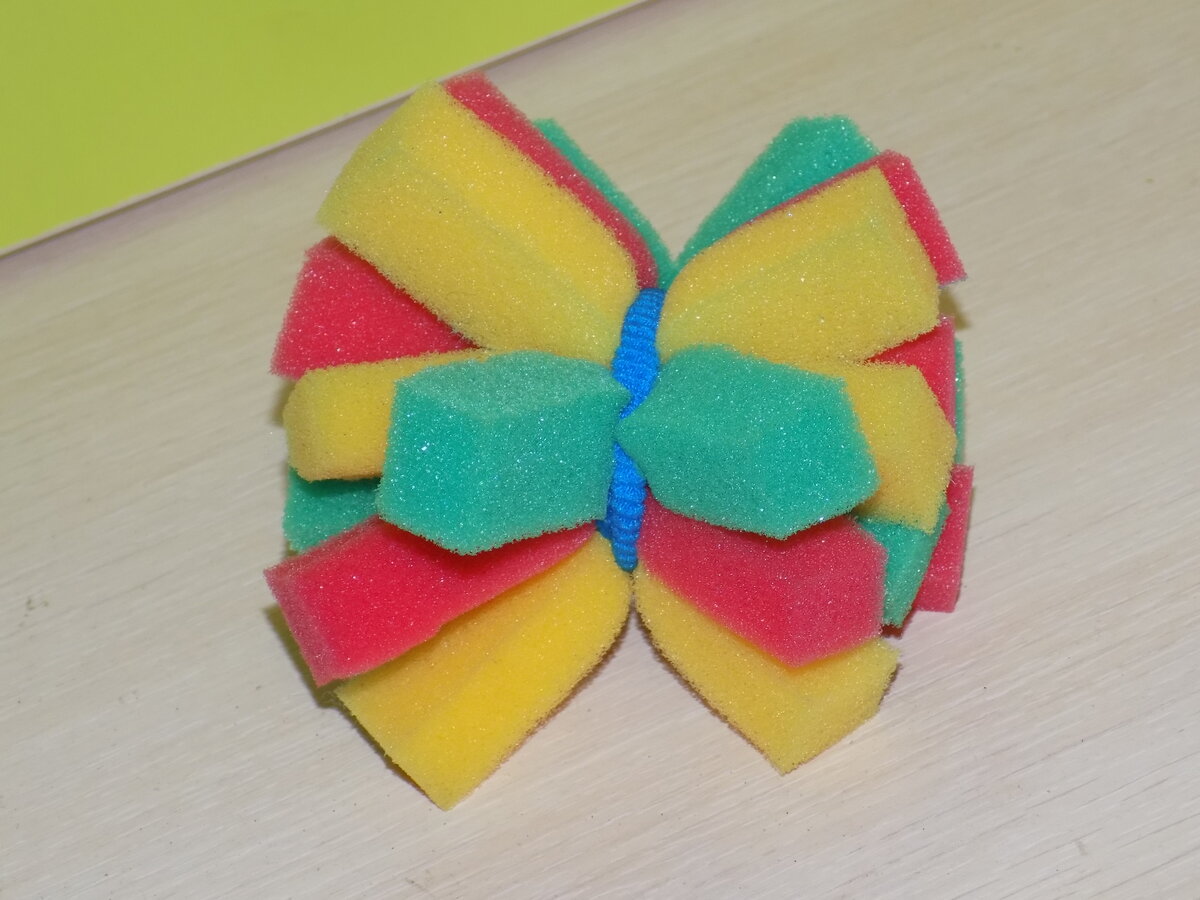
Photo ideas of homemade crafts from dish sponge