Pincushions with their own hands: how to make, patterns, sewing schemes and tips on decoration
Kitchen glove - a very simple thing, but it is necessary for every housewife. The glove not only protects the hands from burns, but also is a great element of decor. These things are always in the kitchen in a prominent place, so many women are so carefully choose them.
You can buy ready-made oven mitts. But what is sold in stores, not often pleases with originality. The quality also leaves much to be desired. Synthetic stuff usually doesn't last very long. So what to do? There is only one way out - to make your own hands.
Preparation and choice of materials
What is the best fabric to use, so that the products will last long enough? To sew high-quality gloves for the kitchen with your own hands, you need to choose the right material, as well as the filler.
The best approach for these products will be natural fabrics:
- Cotton - a material on which you can easily create an original design. It is very versatile.
- Chintz, sateen, calico.
- Linen will look beautiful in interiors with a classic design and in the cottage. Linen can be decorated with embroidery.
- Denim (denim fabric).
- Felt is a very dense material, one of the most popular. It is convenient to work with it. Felt is sold in various colors.
These materials can withstand heat well, which is very important to protect your hands from burns. It is not necessary to buy a new fabric at all. For sewing gloves, it is good to use unnecessary old things, which are a lot in every home.
Synthetics and satin should not be used to make gloves! These materials can easily ignite. Shedding fabrics should not be chosen either. This is easy to check by soaking the scrap in hot water. If the water is clean, the fabric is suitable for use. The fabric should be washed and ironed before working. It is better to wash in a washing machine.
Inner filler.
For thin tackles, which serve to remove lids or move pots, just two layers of fabric will suffice. For things that take dishes out of the oven, you definitely need a filler. The following materials are suitable for the work:
- Felt and fleece are well resistant to high temperatures.
- Felt and batting. When choosing batting, it is better to choose the fabric for the base. If it burns, batting can easily catch fire and you can get burned.
- Drap, terry cloth. Drap is the perfect filler. It can withstand any temperature. It is better to take a demi-seasonal, winter is too thick and uncomfortable to work with.
Often use sintepon. But this material has a low thermal conductivity, so it is better to give it up. The thickness of the filler should not exceed 3 mm. Too thick a tack will be uncomfortable when "grabbing".
Shapes of tacking and peculiarities of work with patterns
Before you start the work, you need to decide on the shape of the product. There are sites on the Internet, where there are gloves with patterns for their own hands made of fabric. Also a lot of photos of such things. More often the following forms are used:
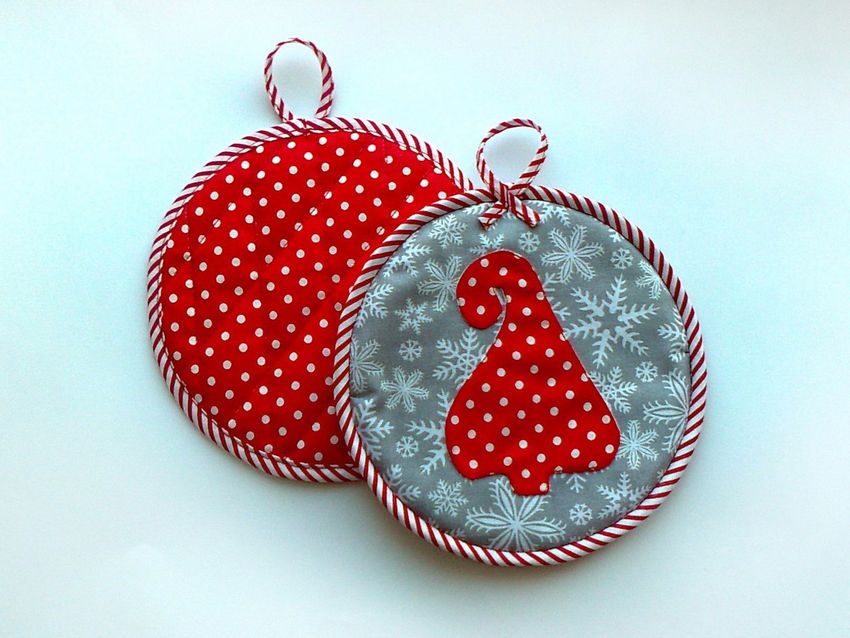
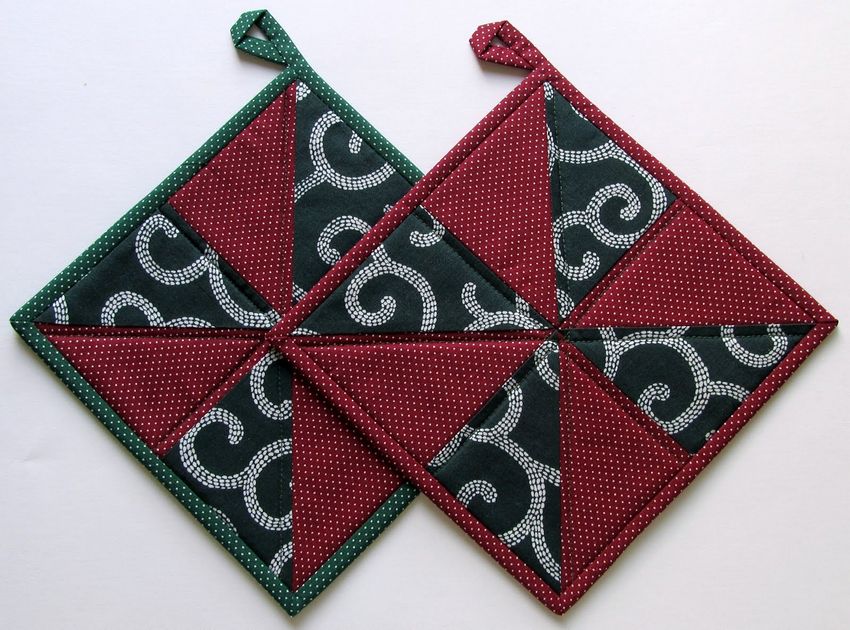
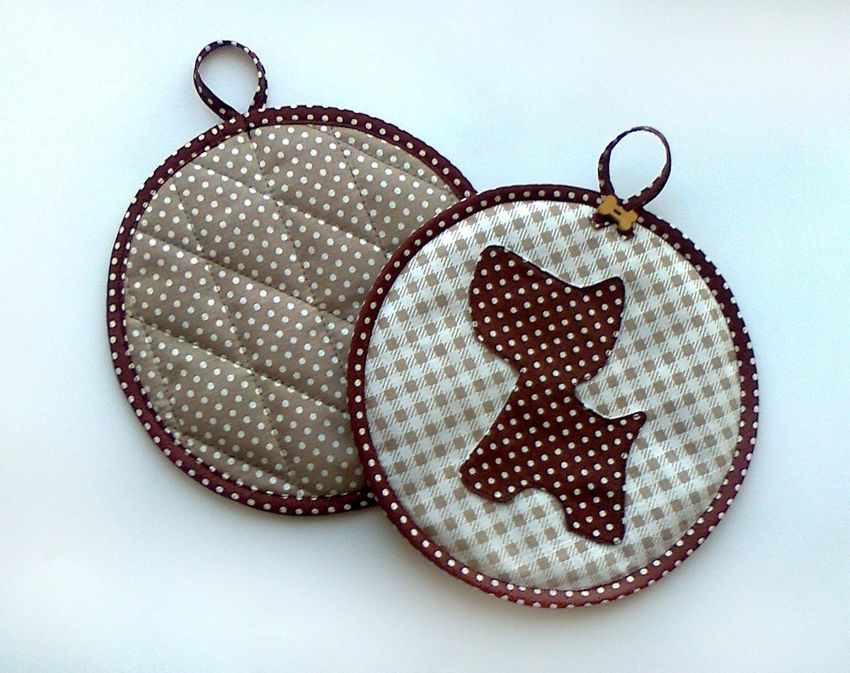
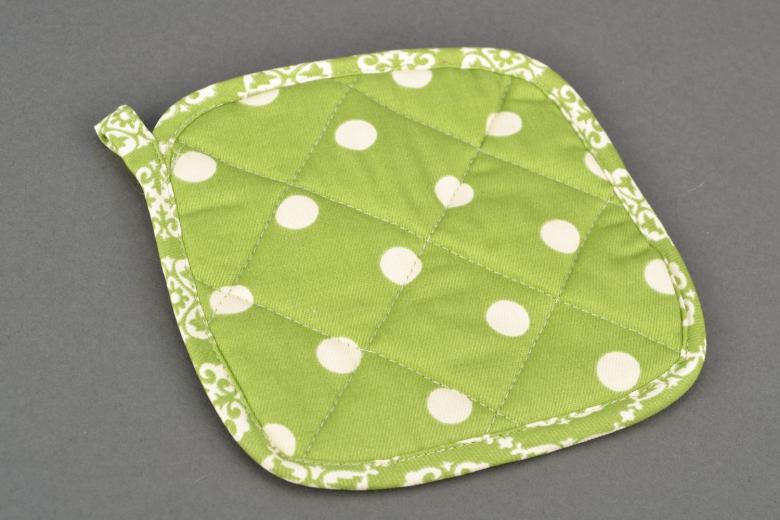
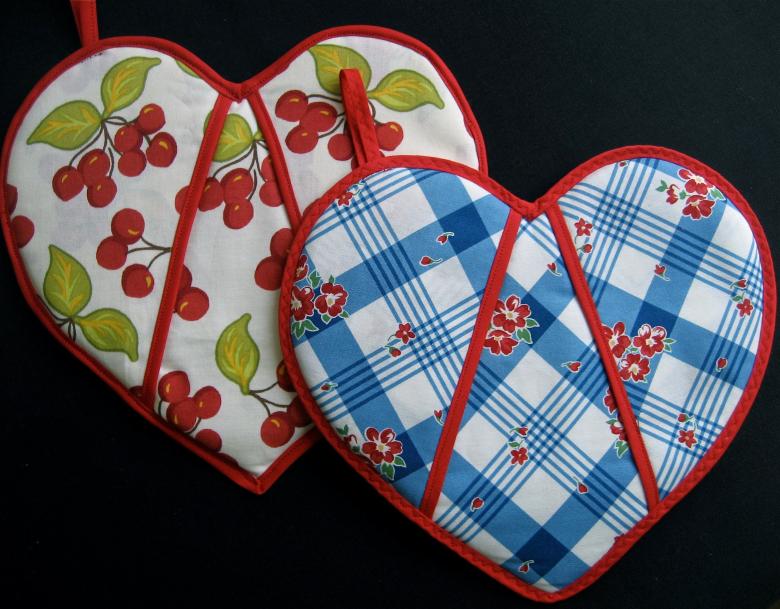
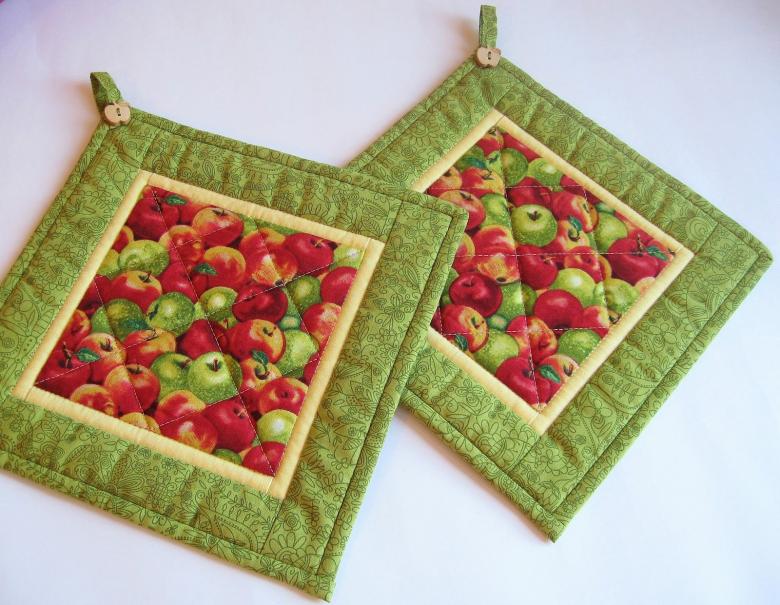
- Geometry. Usually it is a square or a circle. They can be made in a variety of sizes to fit well with your dishes.
- Mitten or Mittens. The shape is also very common and convenient. It is put on the hand and used to get the dishes out of the oven. In order not to burn your wrists, it is better to make such a thing in an elongated form.
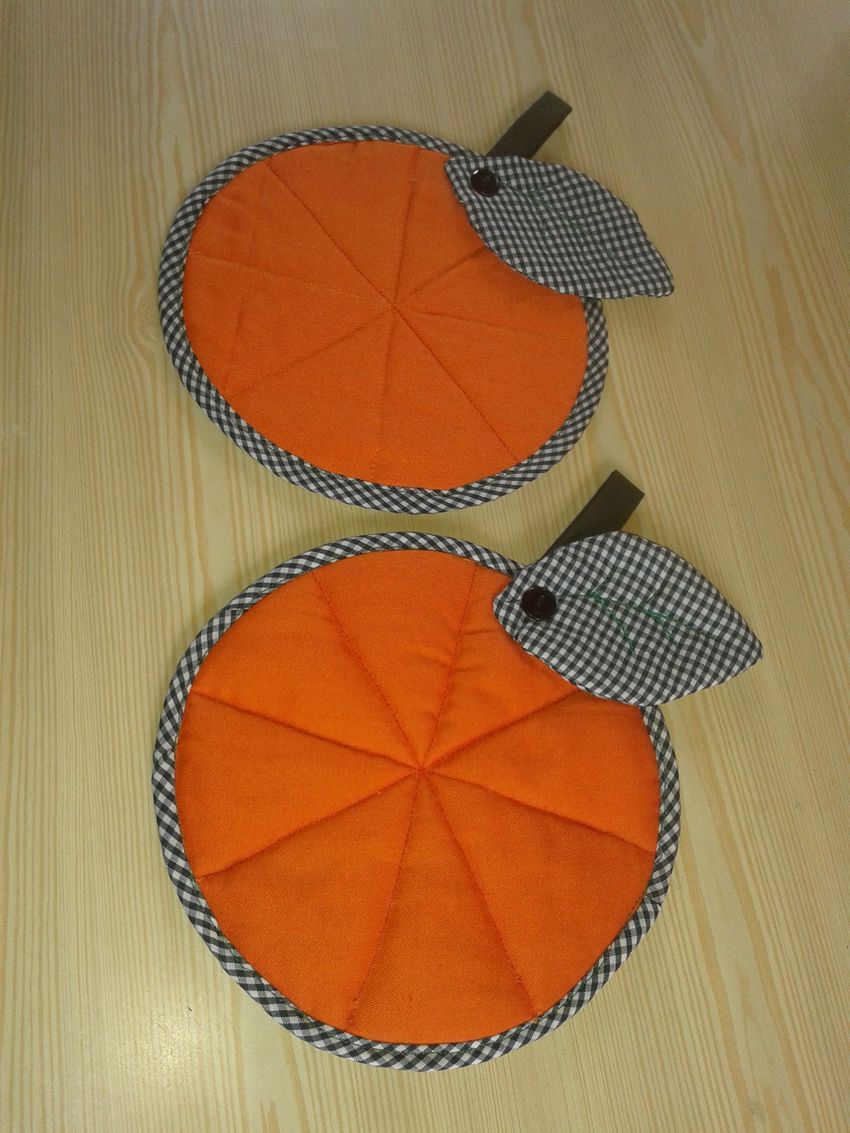
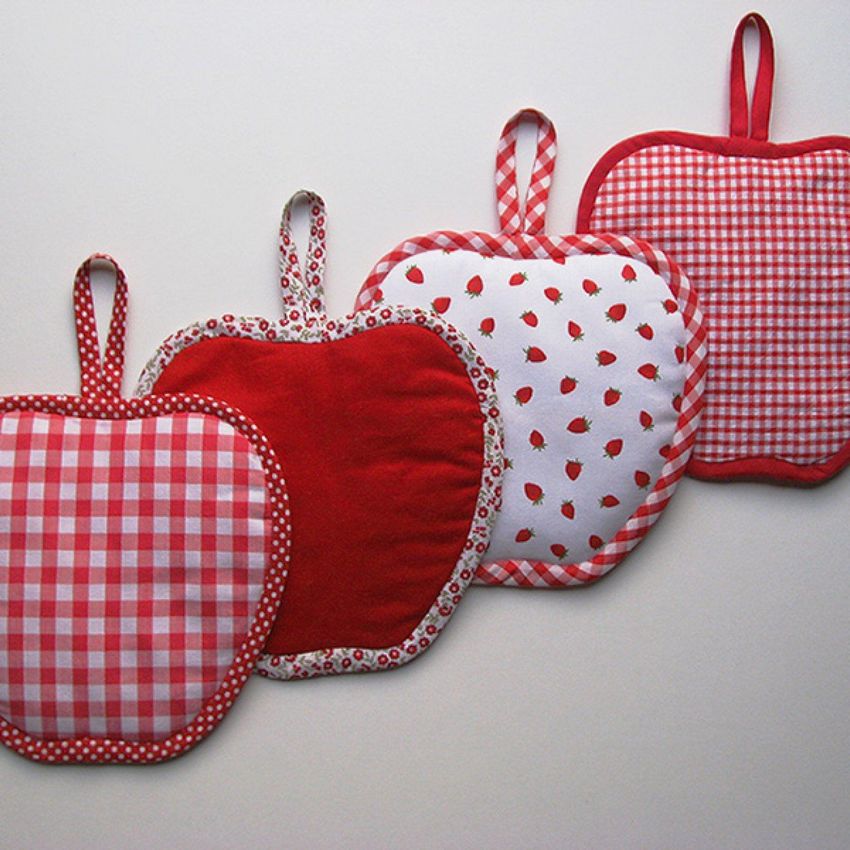
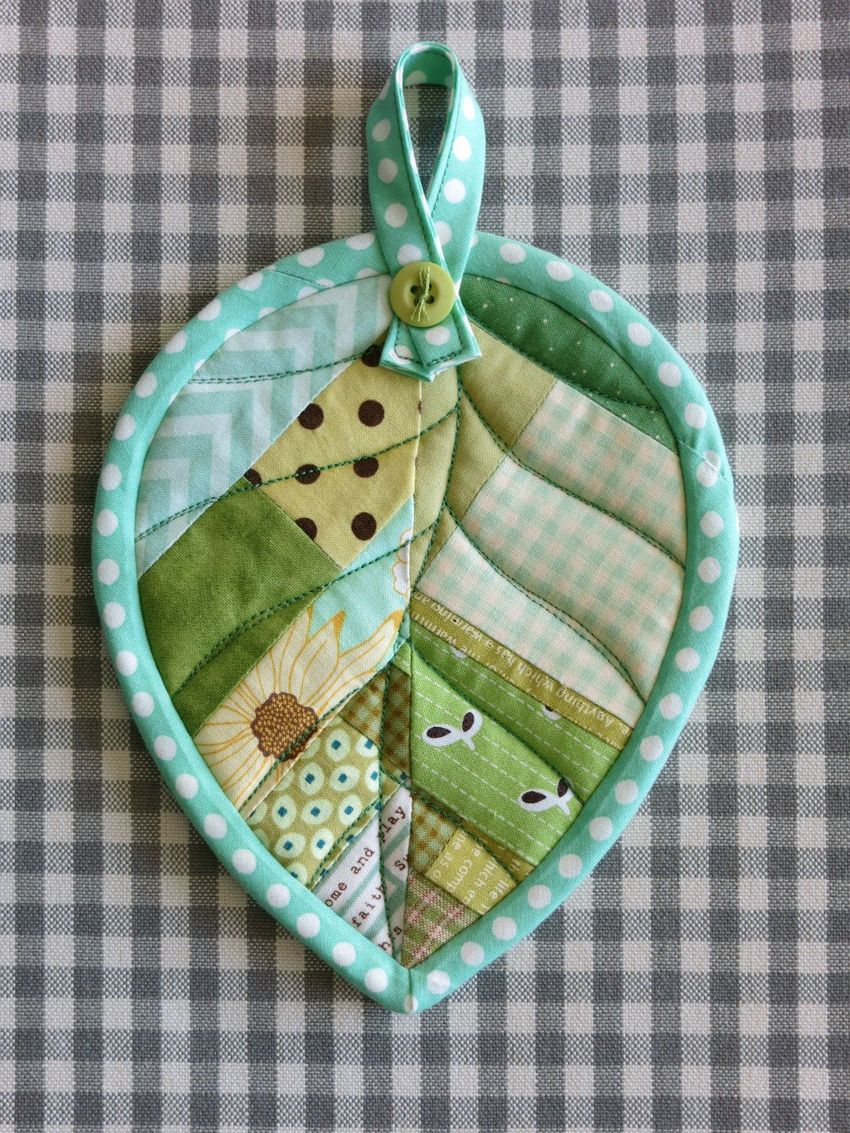
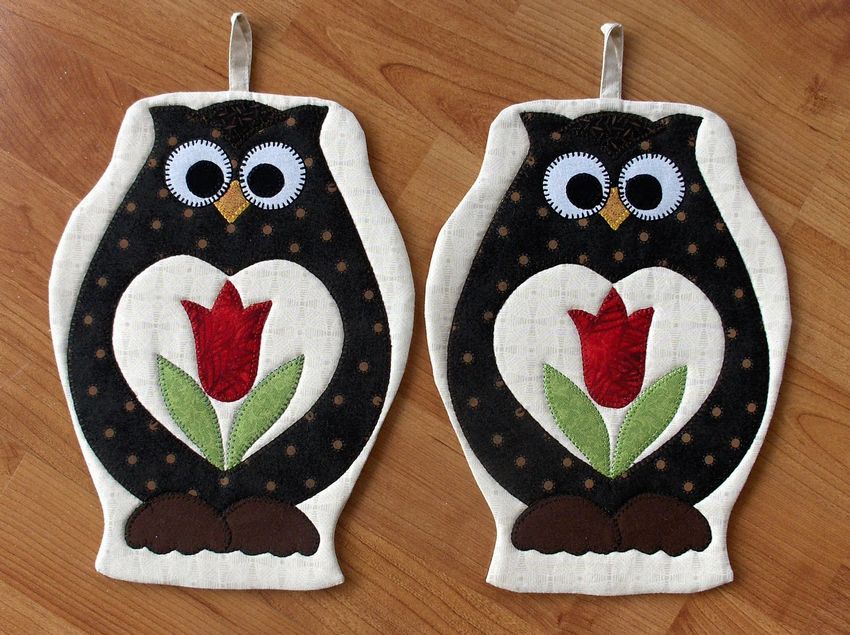
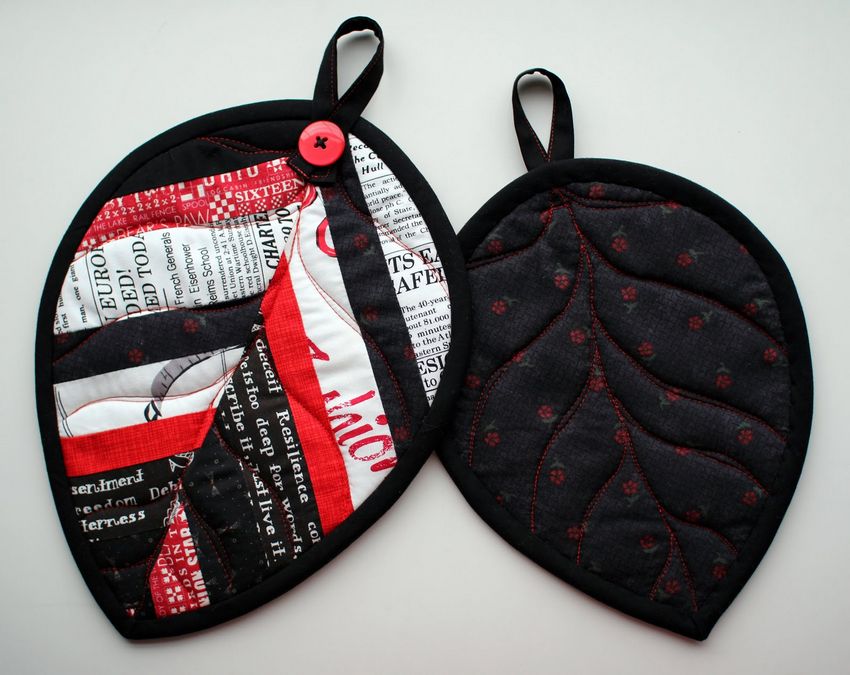
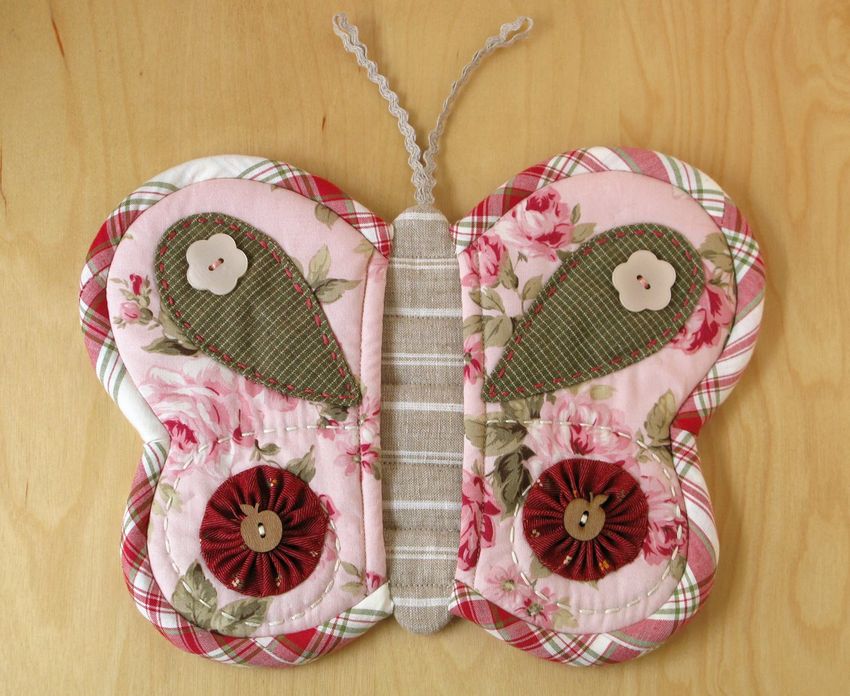
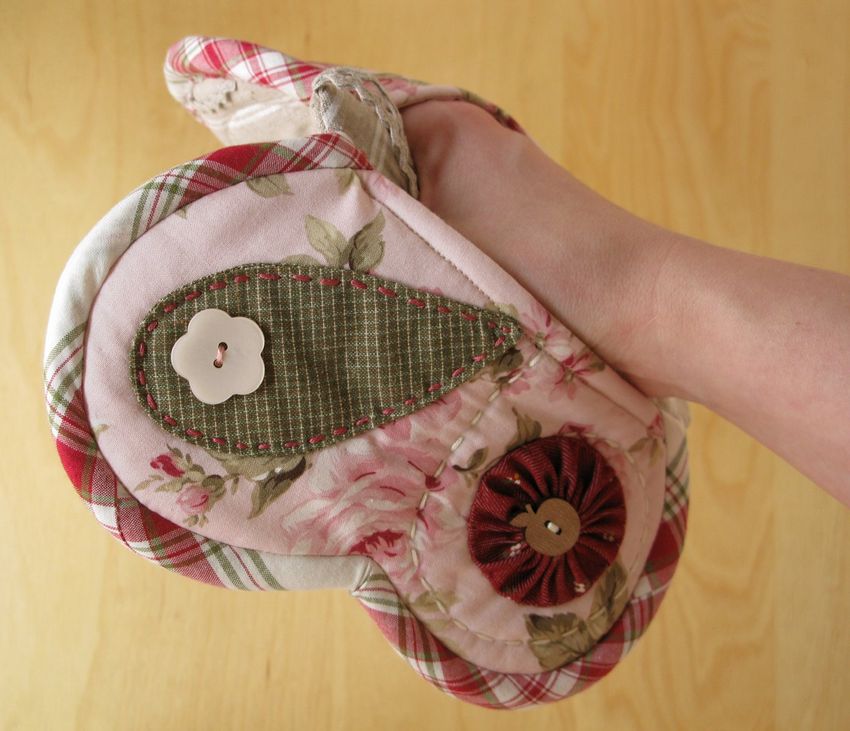
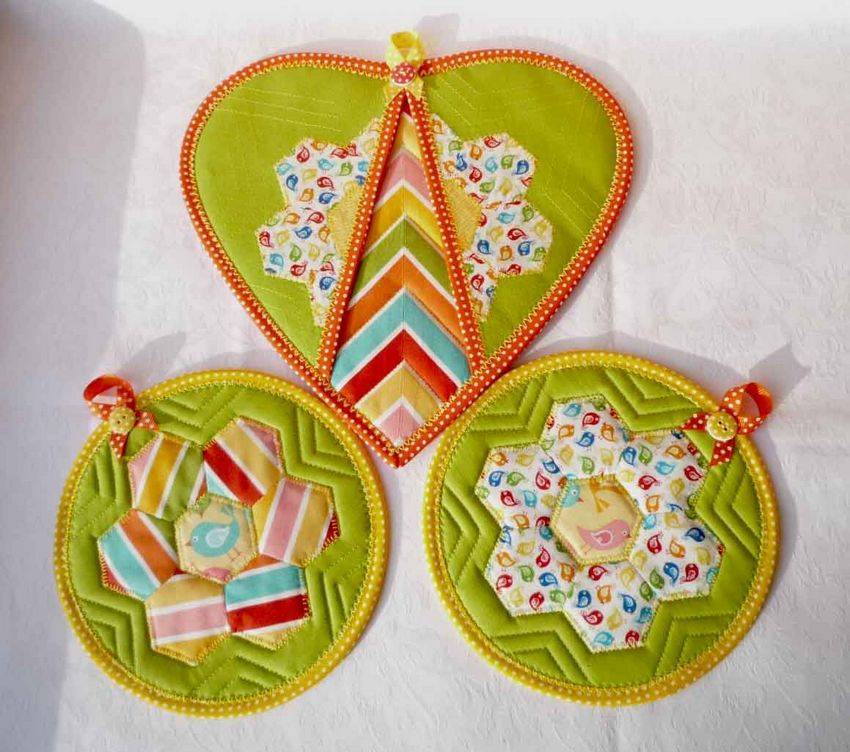
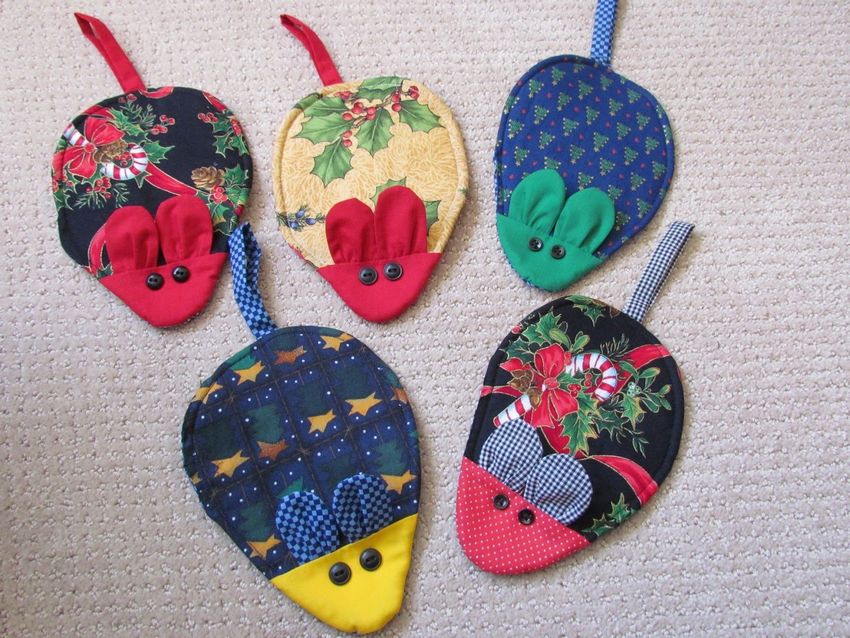
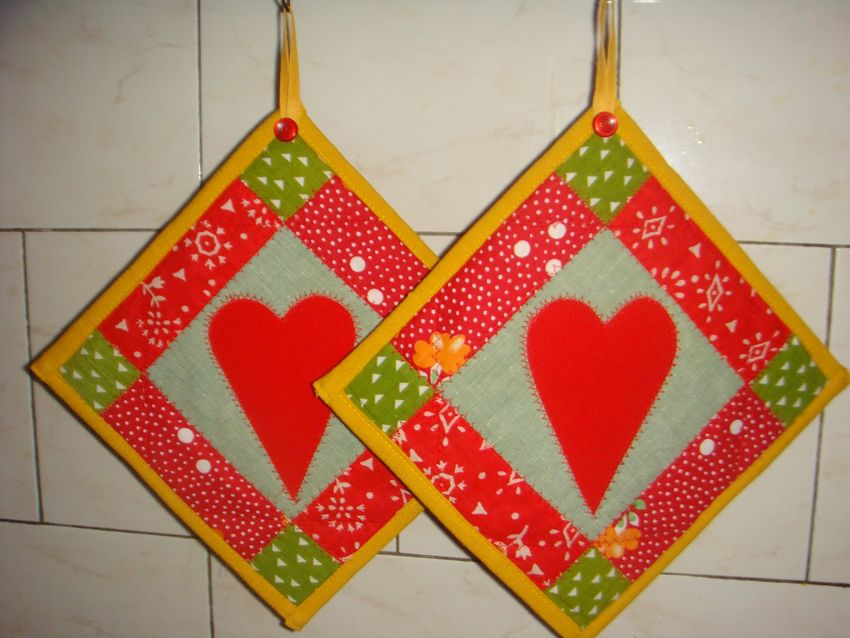
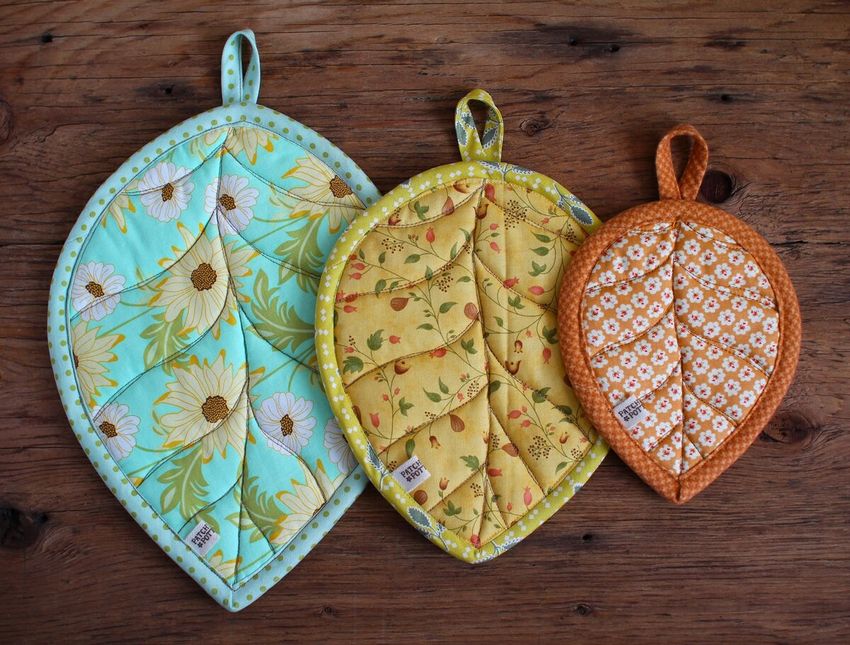
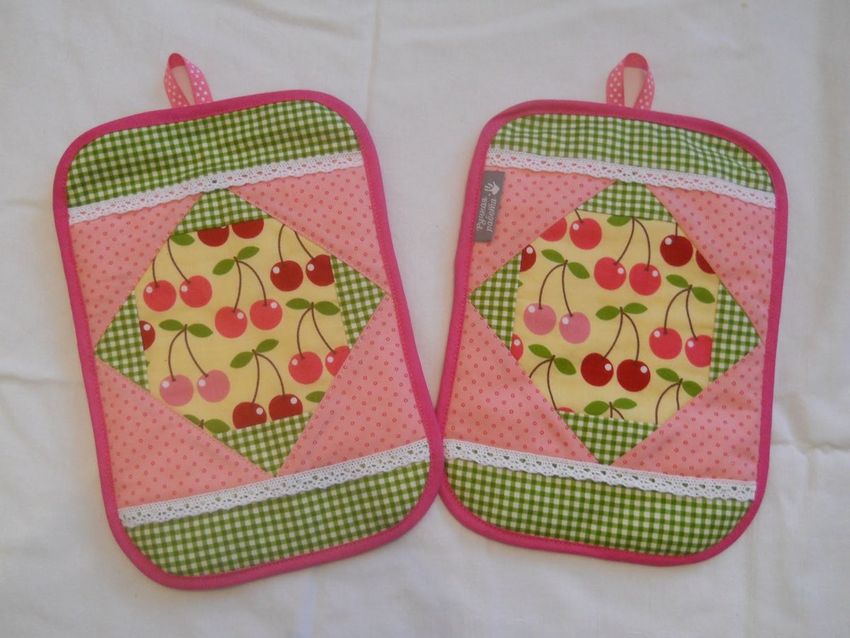
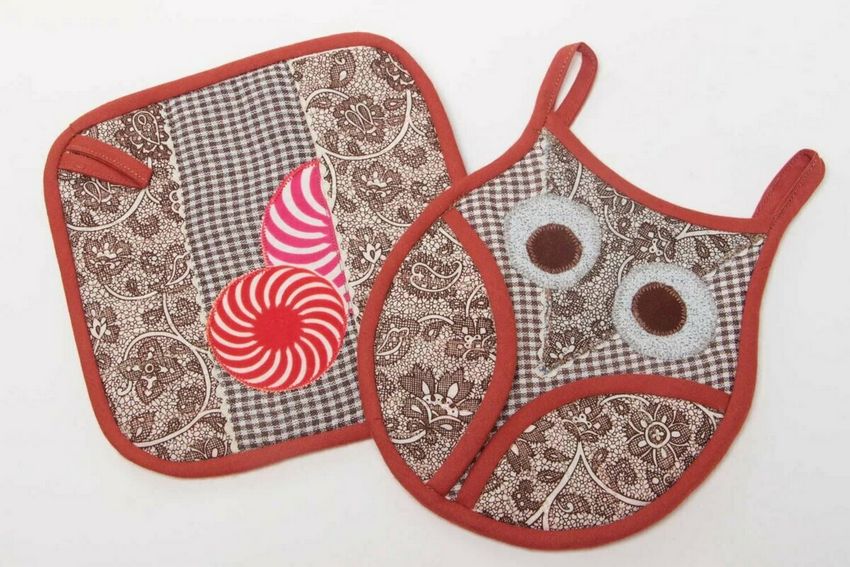
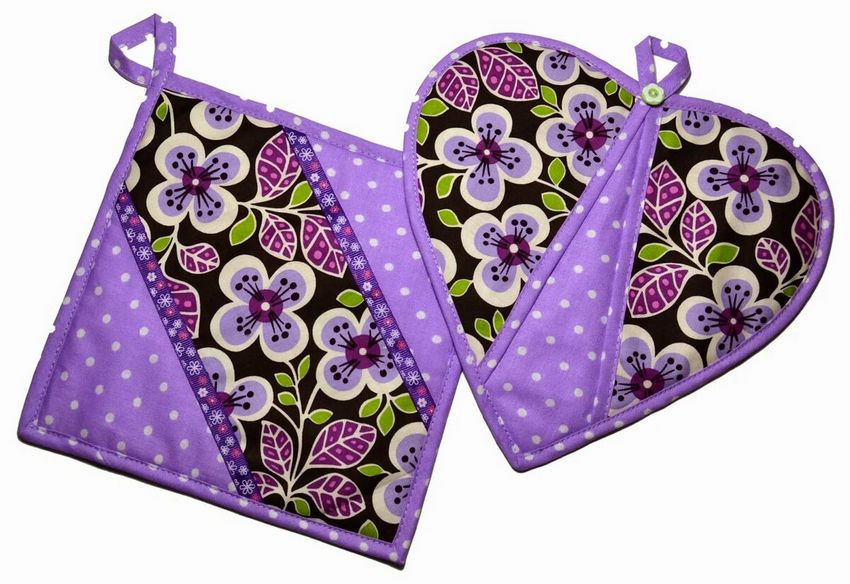
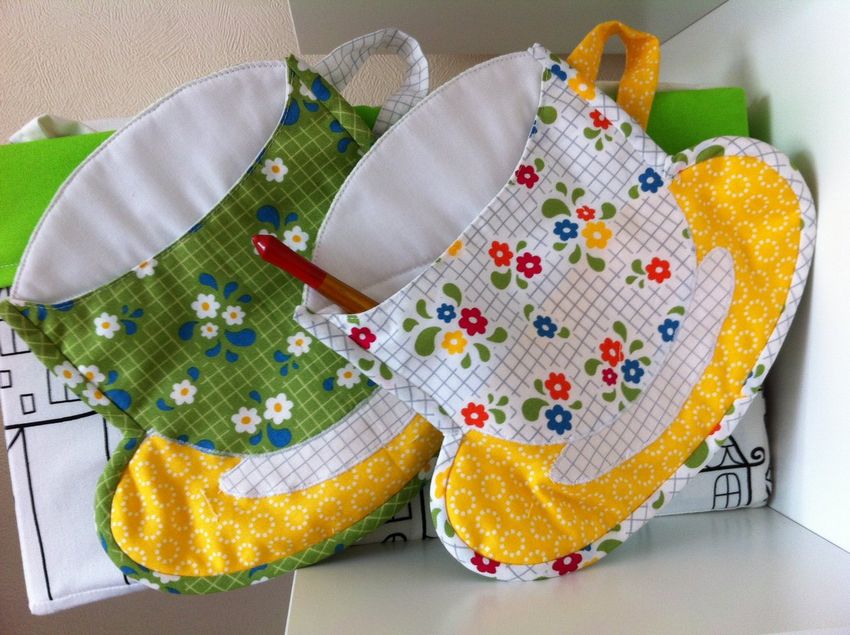
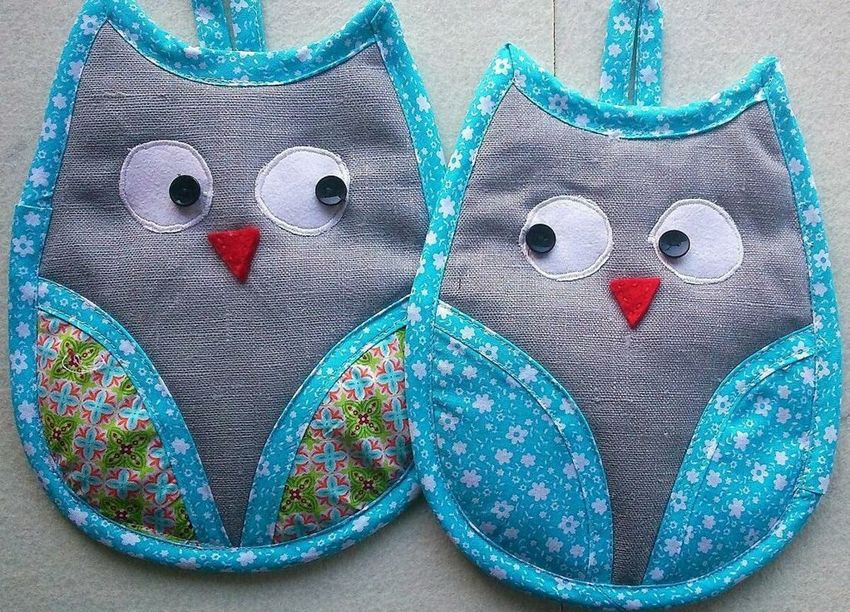
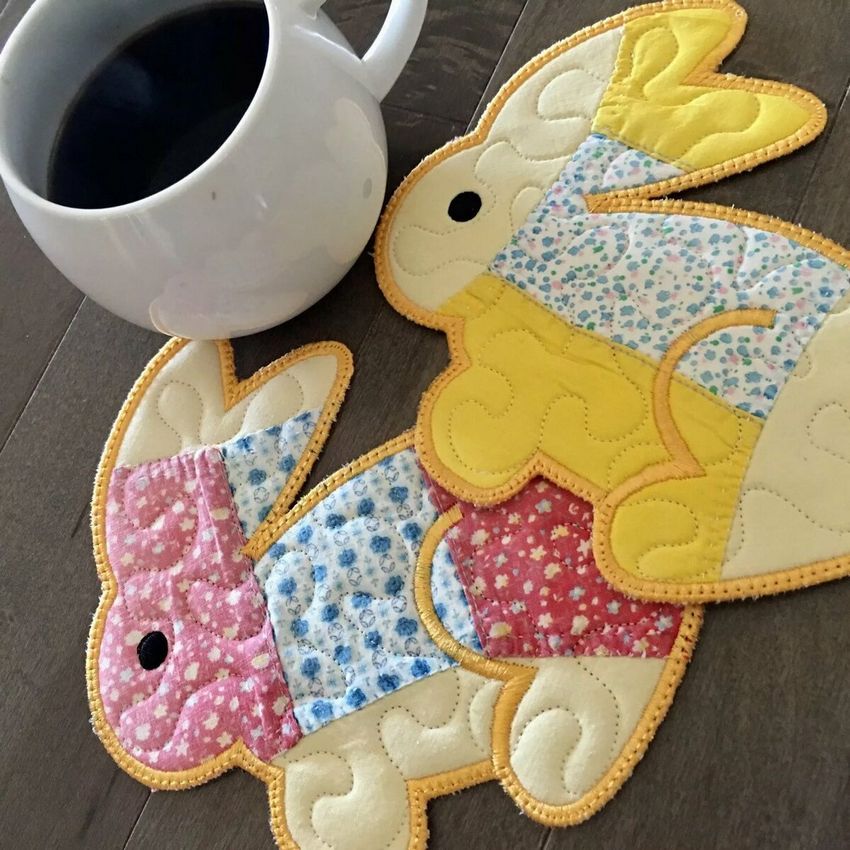
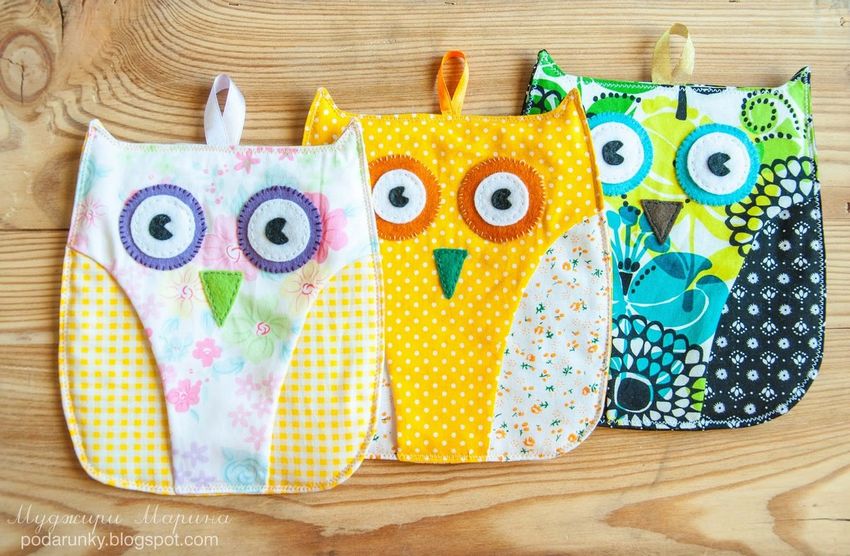
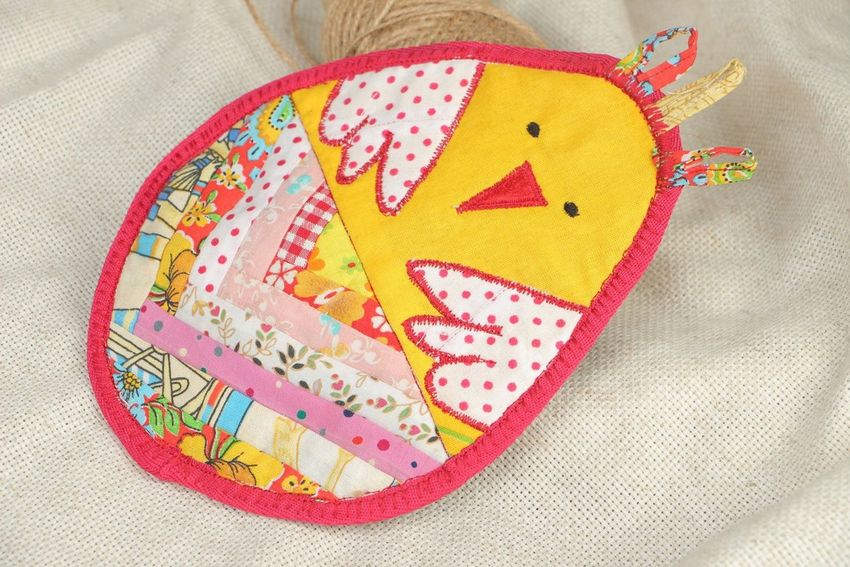
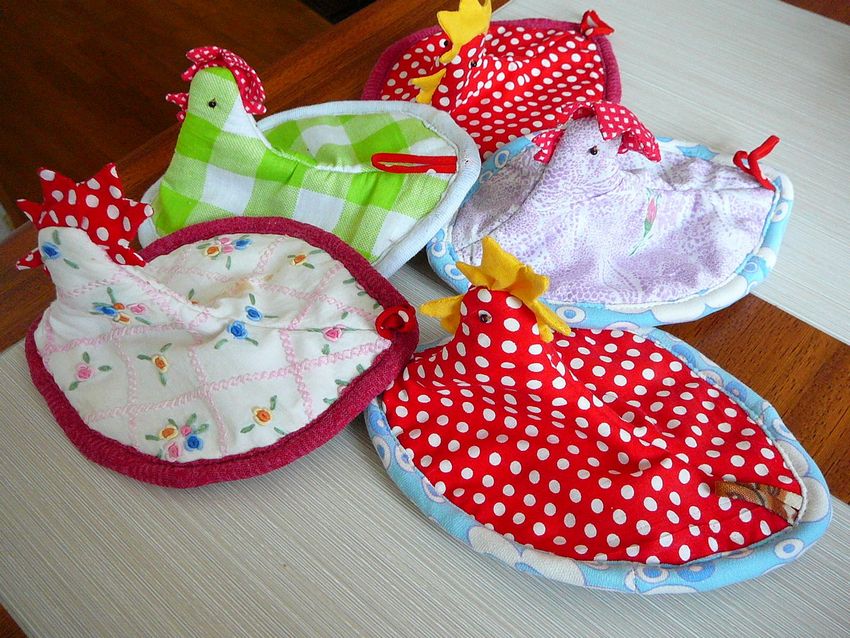
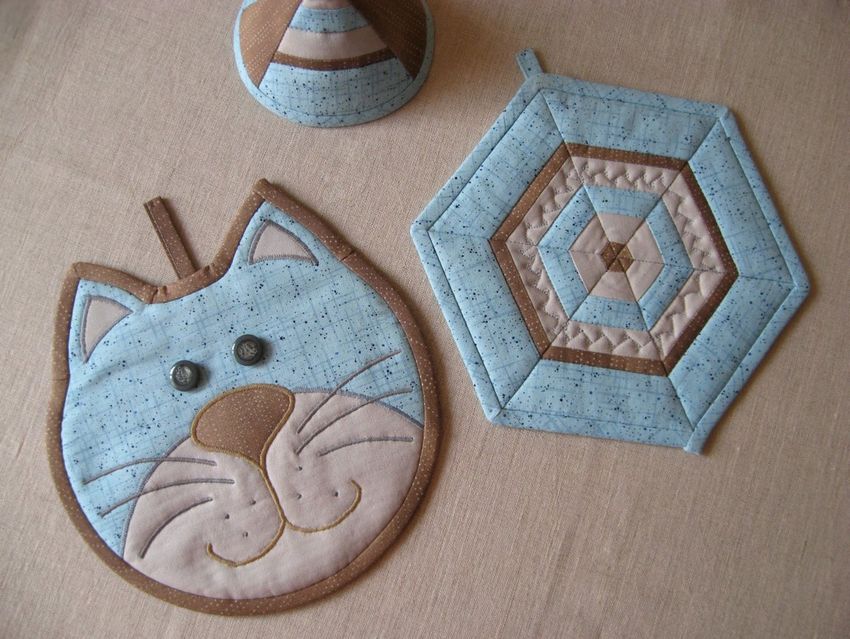
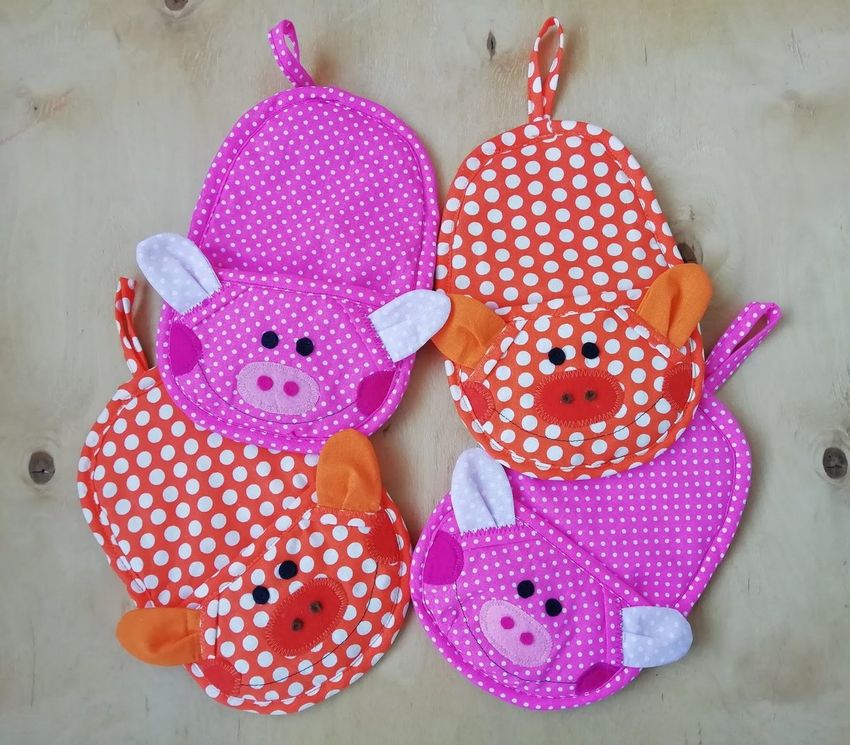
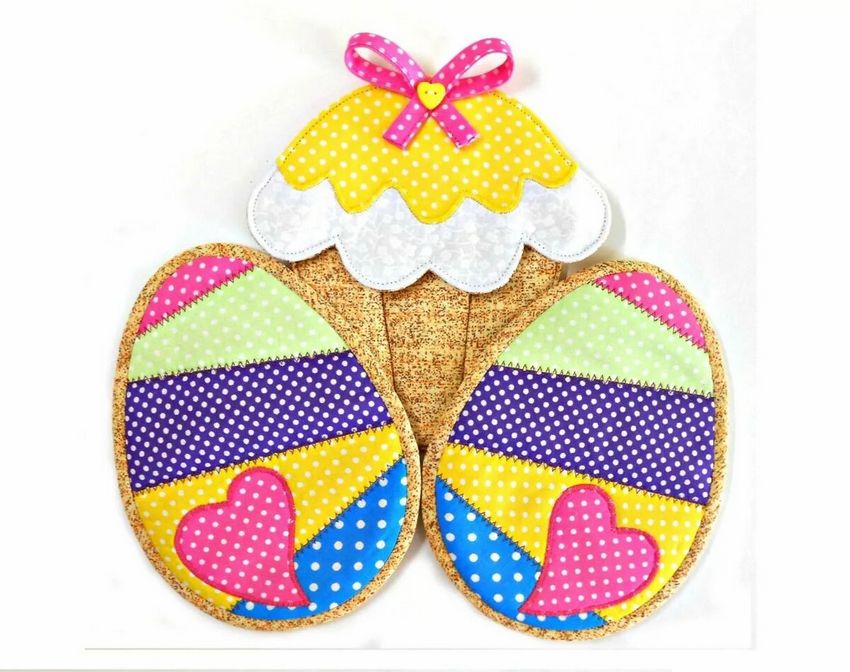
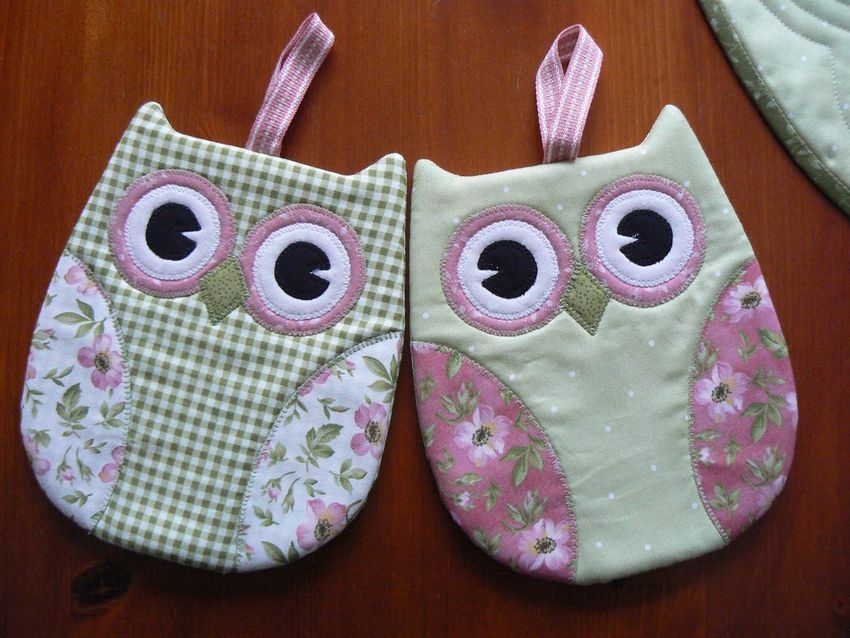
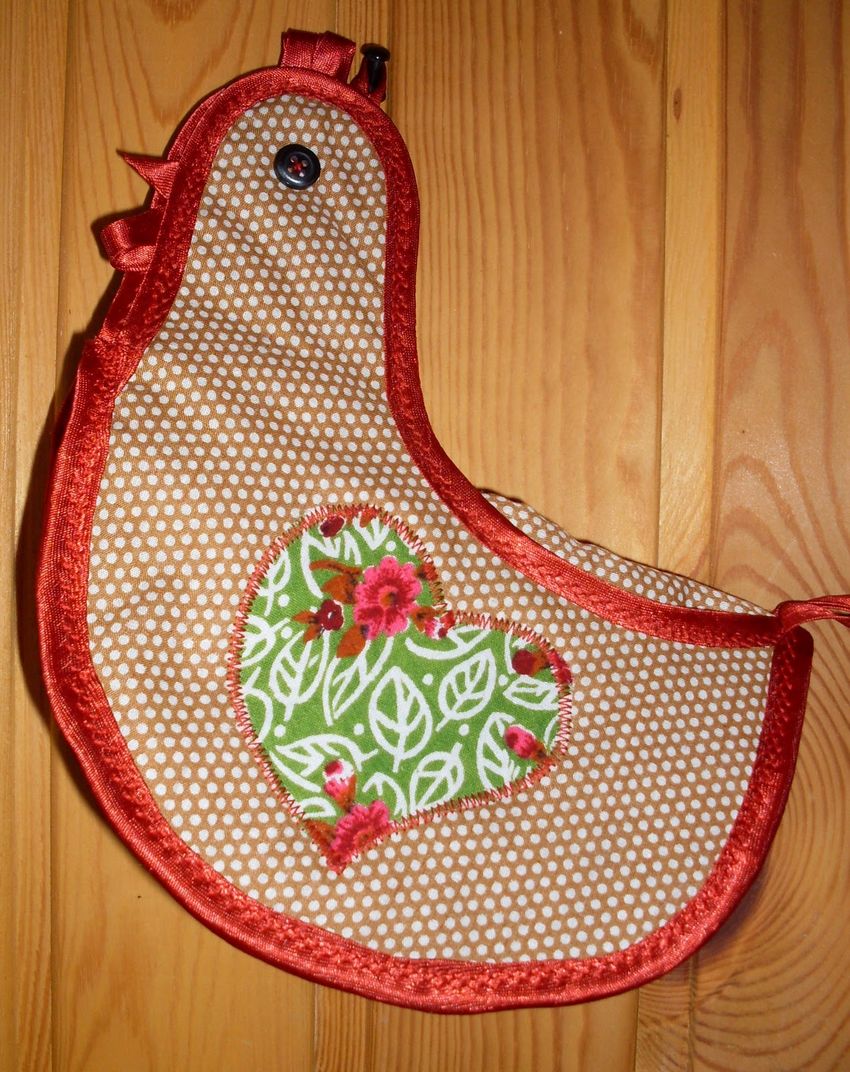
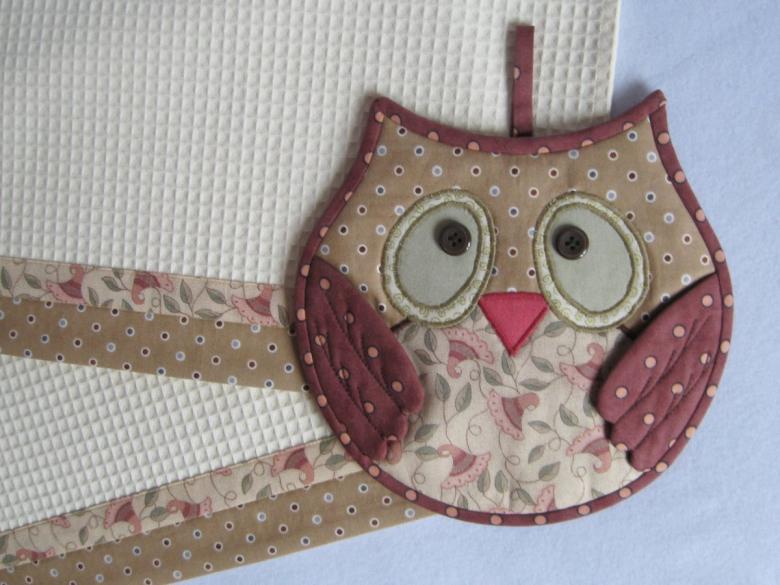
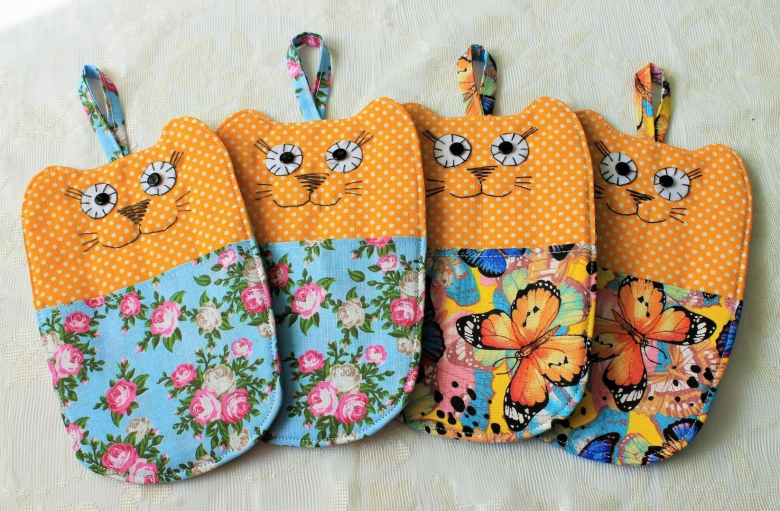
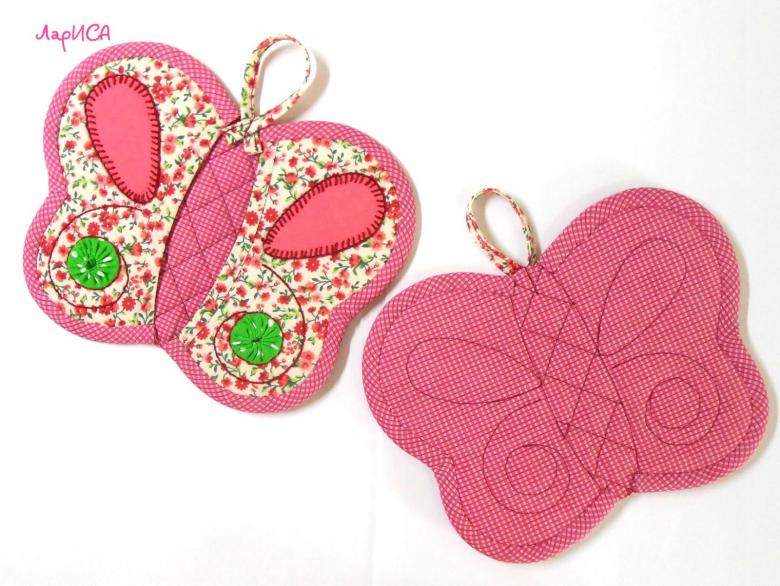
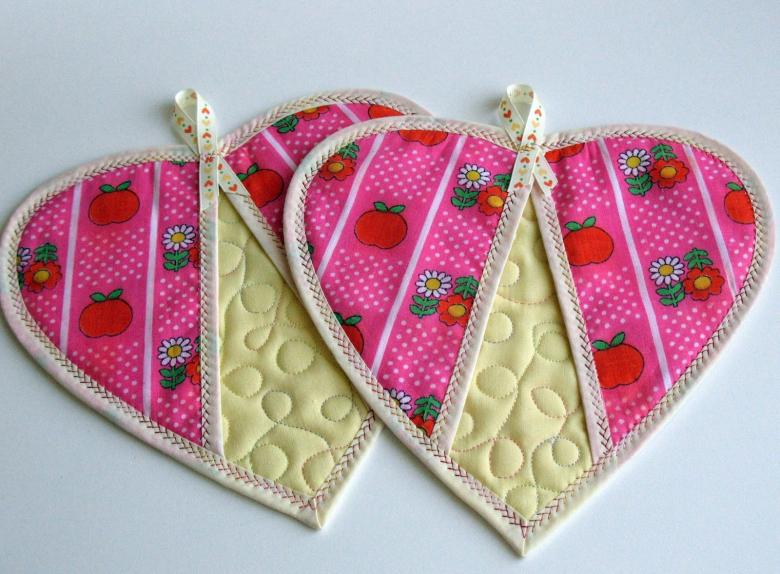
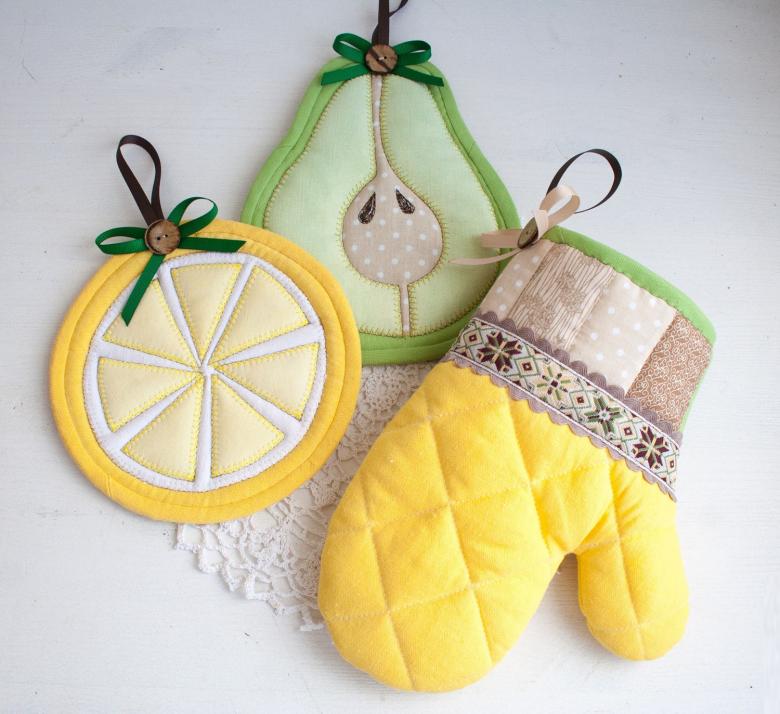
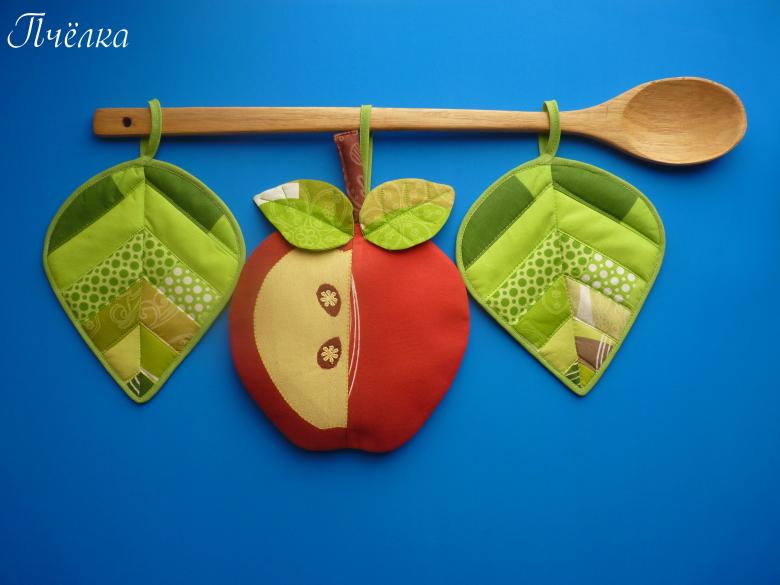
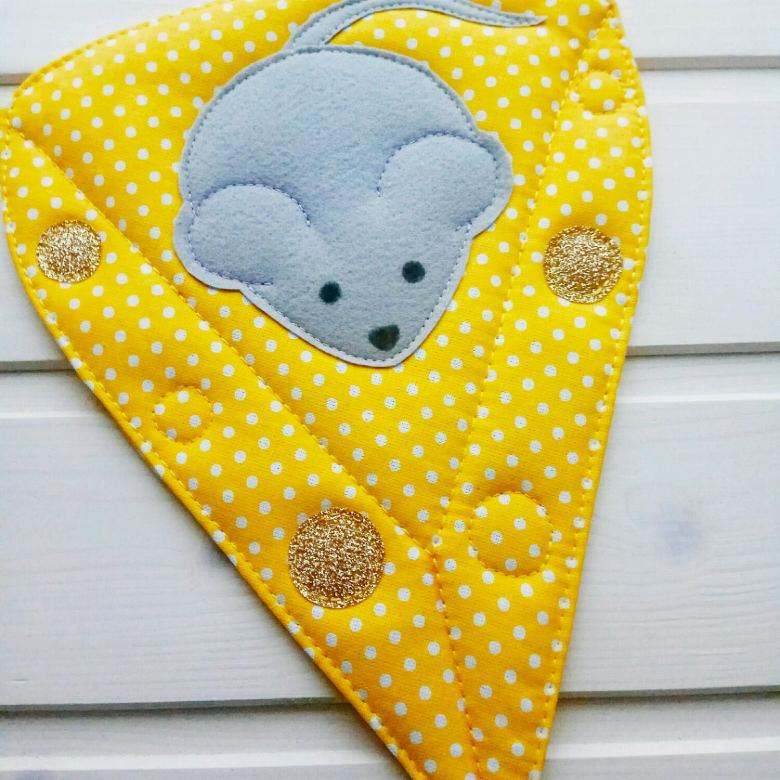
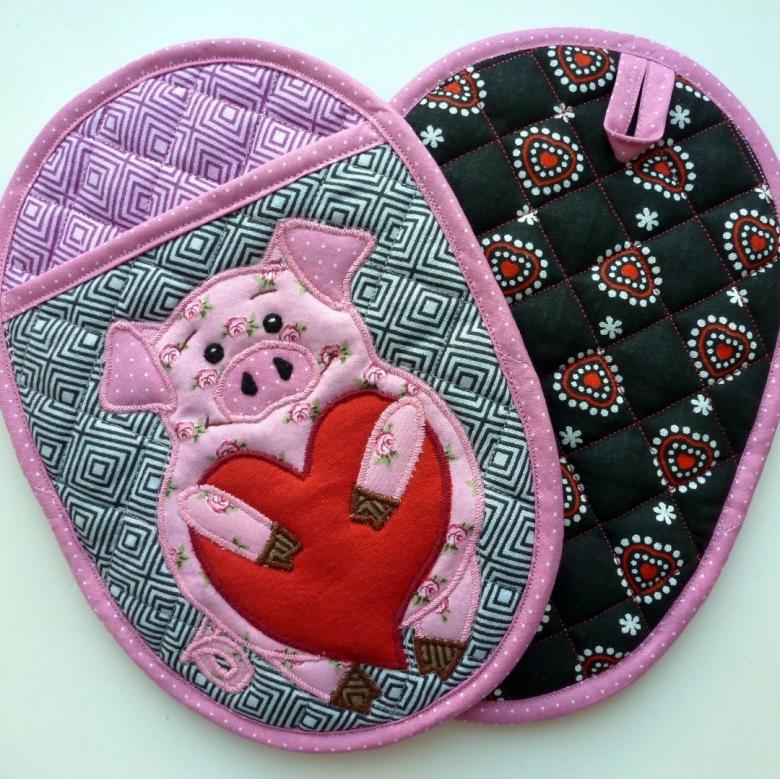
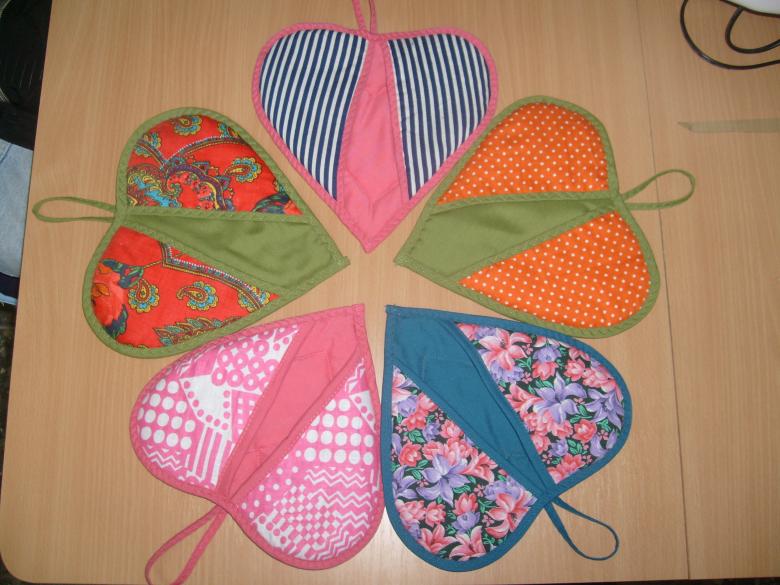
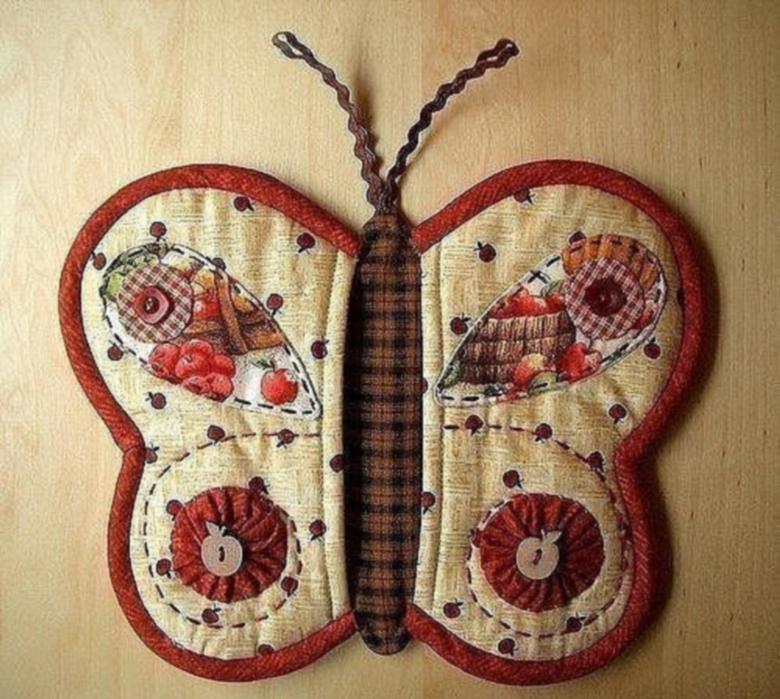
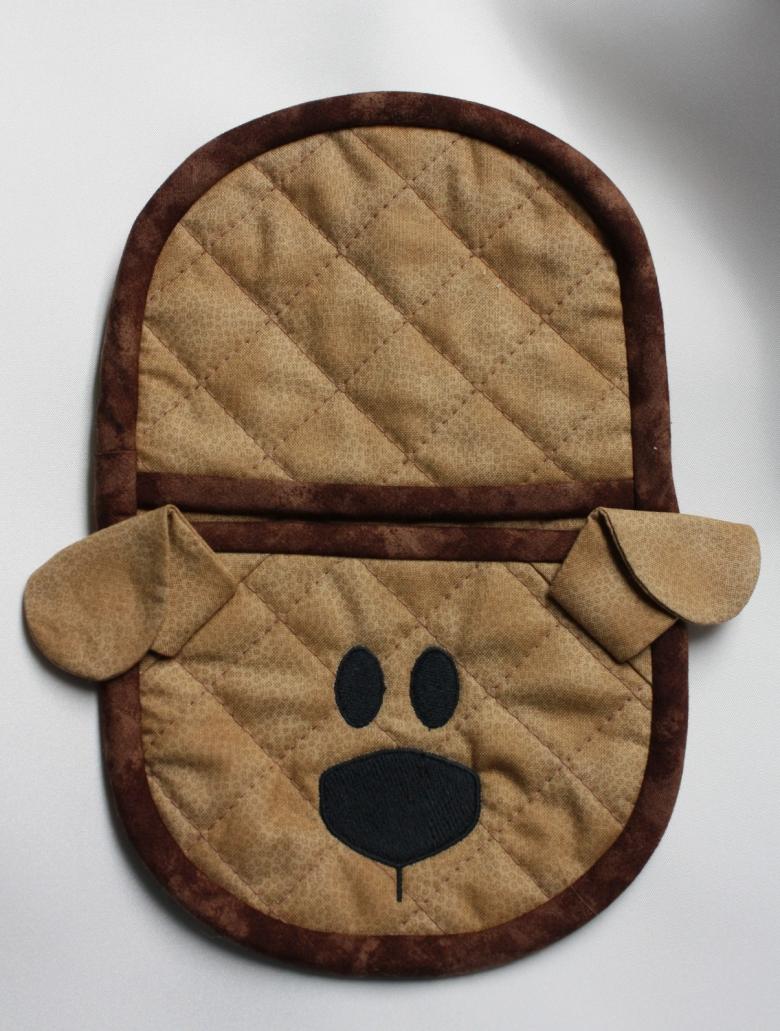
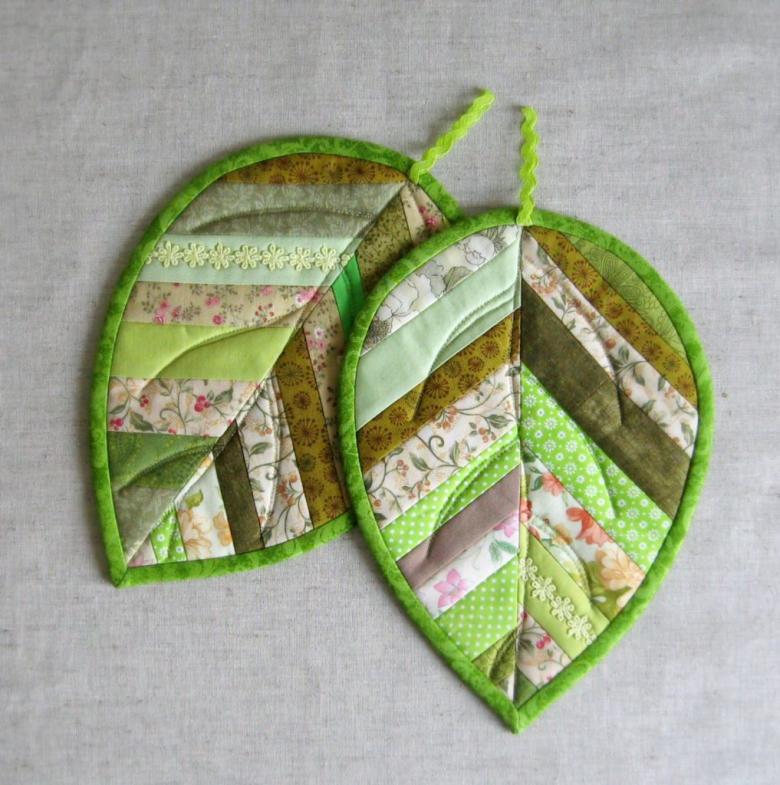
- Model. These gloves come in a variety of sizes and shapes. It all depends on how developed your imagination is. They can be different animals (birds, fish, mice, butterflies, cats, dogs, etc.) or plants (fruits, berries, leaves, flowers). Such things always look cute and beautiful. Making such things may seem difficult. But, if you follow the instructions, everything will work out.
The pattern for making tack can be printed out or drawn yourself. If the material is loose, it is better to treat it with an overlock. Do not forget about seam allowances. It is better to leave 1-1,5 cm. For decorations do not use satin, rhinestones, beads. Do not use markers or pens. These items leave marks on the fabric that cannot be removed.
What you need for the work:
- A sewing needle;
- pins;
- thread;
- ruler;
- scissors;
- soap or a pencil.
It is good if you have a sewing machine, it will simplify the process. But you can do well without it.
Master classes on sewing oven mitts
If everything you need for work is ready, you can start the process. Simple products can easily make novice needlewomen and even children. Let's consider in detail some master classes.
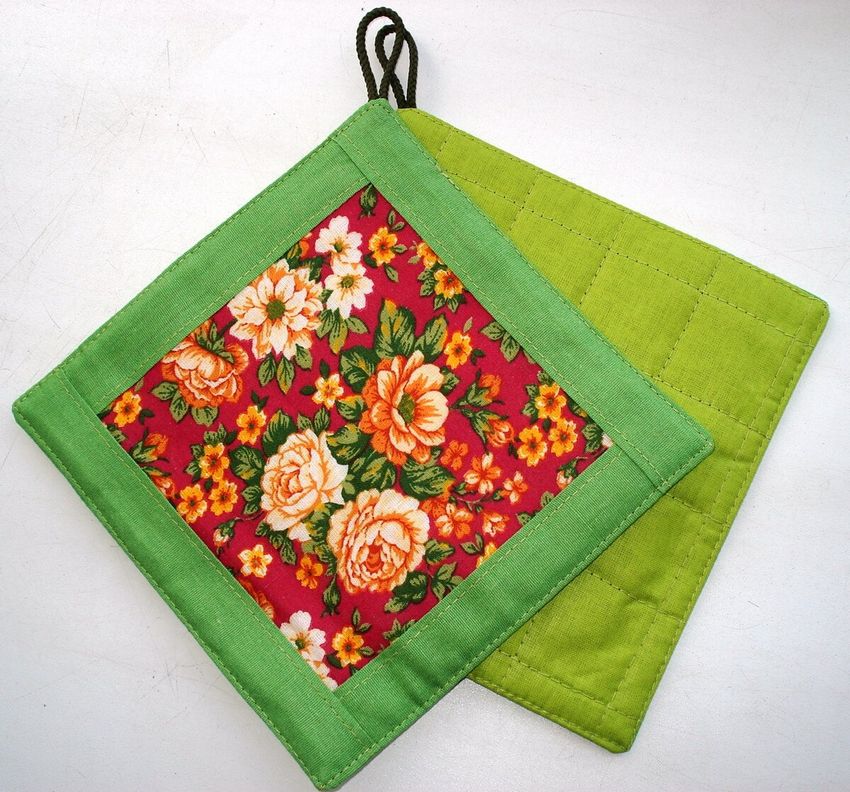
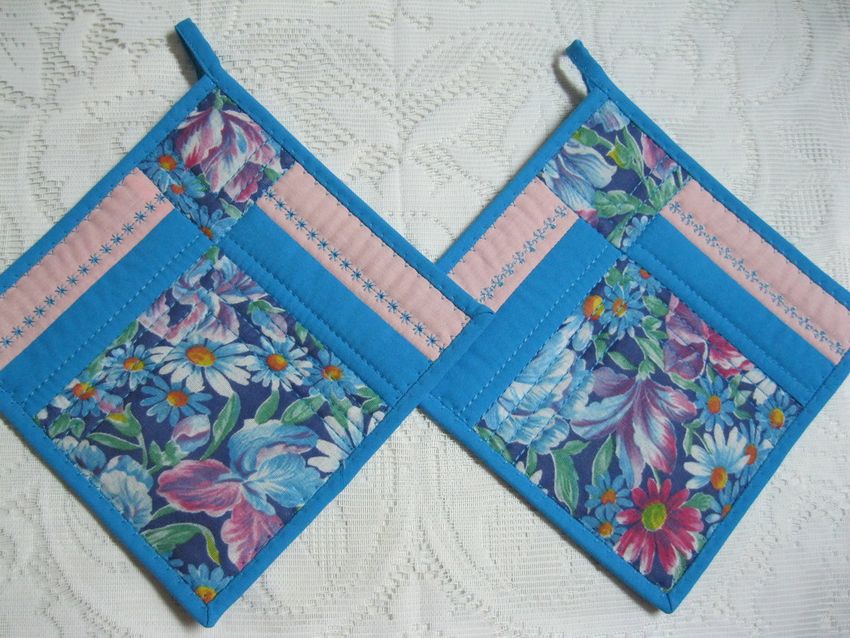
A simple square tack
The square is the simplest of the options. You need to prepare:
- fabric for the base;
- inner filler;
- thread, needle, scissors;
- braid for decoration.
Let's get to work:
- Make a template of the desired size.
- The fabric is folded in half, transfer the template. Do not forget about seam allowances.
- Filling add 2-3 layers and transfer the template. Allowances are not necessary.
- Fold the fabric face inward. Place inside the filler.
- Sew through the seams, leaving room to turn the item.
- Turn the piece inside out, insert a buttonhole and sew.
- Sew the braid.
Similarly sew gloves of any other shape.
Glove made of denim (denim)
This is a very dense fabric. The gloves made of denim are practical and will last a long time. The filler may not be used in the manufacture of such gloves.
For the work to prepare:
- denim fabric;
- scissors, needle;
- bright threads.
Let's get to work:
- Mark four squares, cut out.
- Bright thread to sew the parts together. You can handmade.
- Sew on loop.
- You can make edging tape.

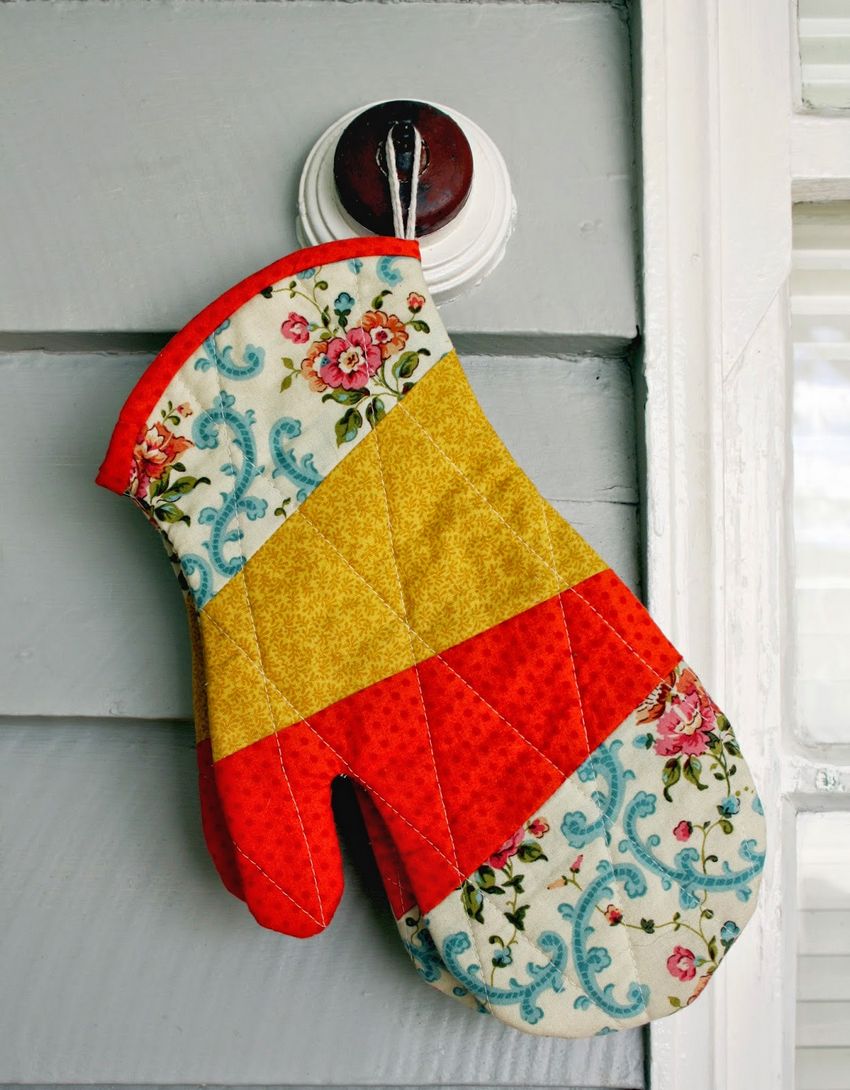
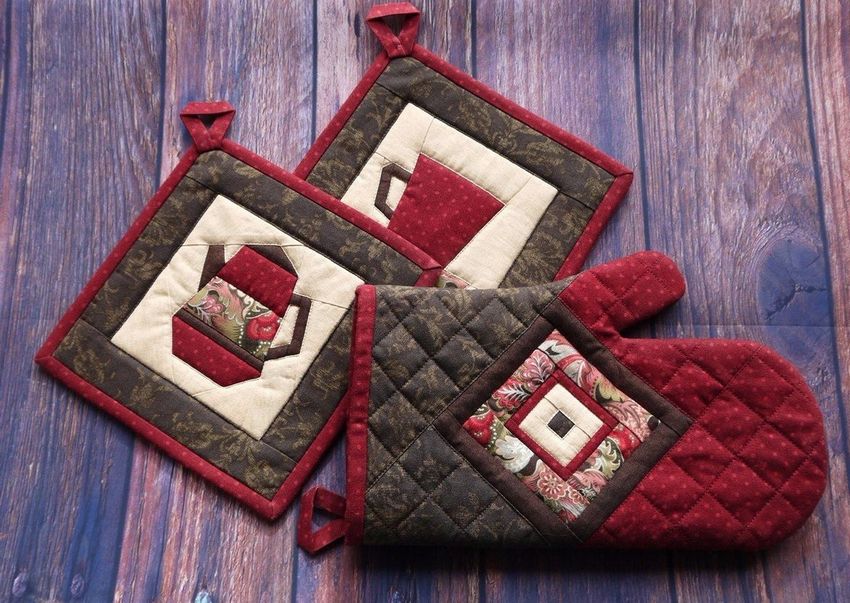
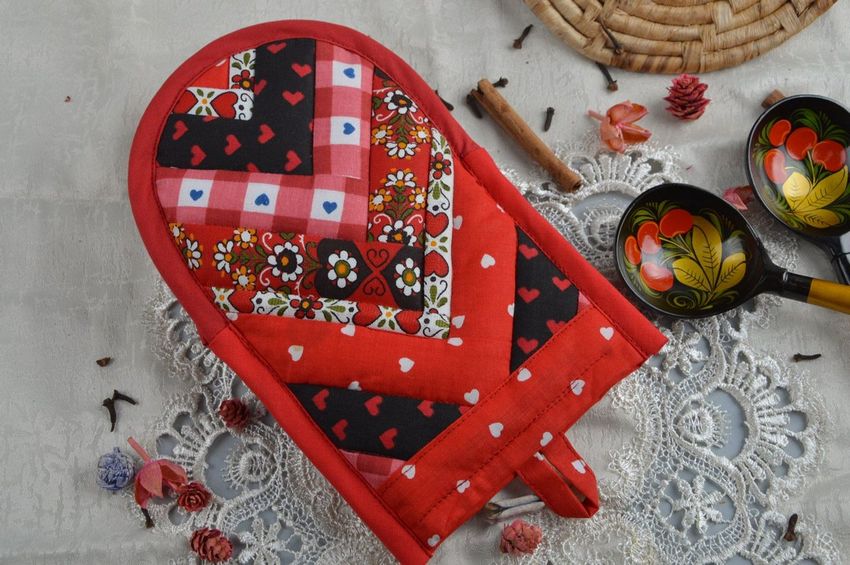
Mittens quilted
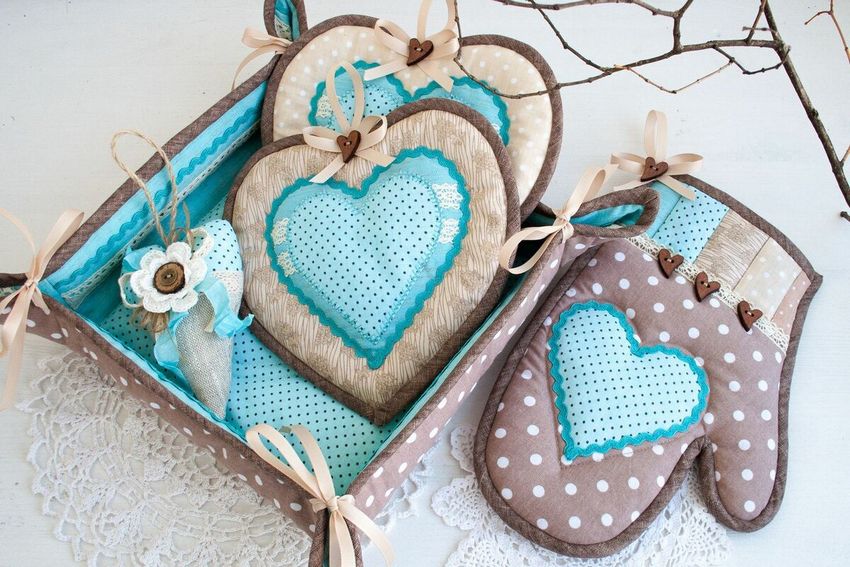
Mittens in the form of a mitten are very convenient to use, because the closed form does not allow you to burn your hands. They are always in fashion and make the interior more cozy.
To make mittens you need:
- fabric, filler;
- needle, thread, scissors;
- decorative tape.
Let's get to work:
- Make a pattern. You can just trace your hand, adding 2-3 cm on each side.
- Fabric fold in half, transfer the template, cut out. You need to have 4 pieces.
- Cut templates from the filler.
- Fold the parts of the mittens in this way: fabric outward facing, inside the filler.
- Quilting, make the other piece in the same way.
- Connect both parts, leaving a hole for the hand.
- Sew on loop and decorative ribbon.
Other types of oven mitts
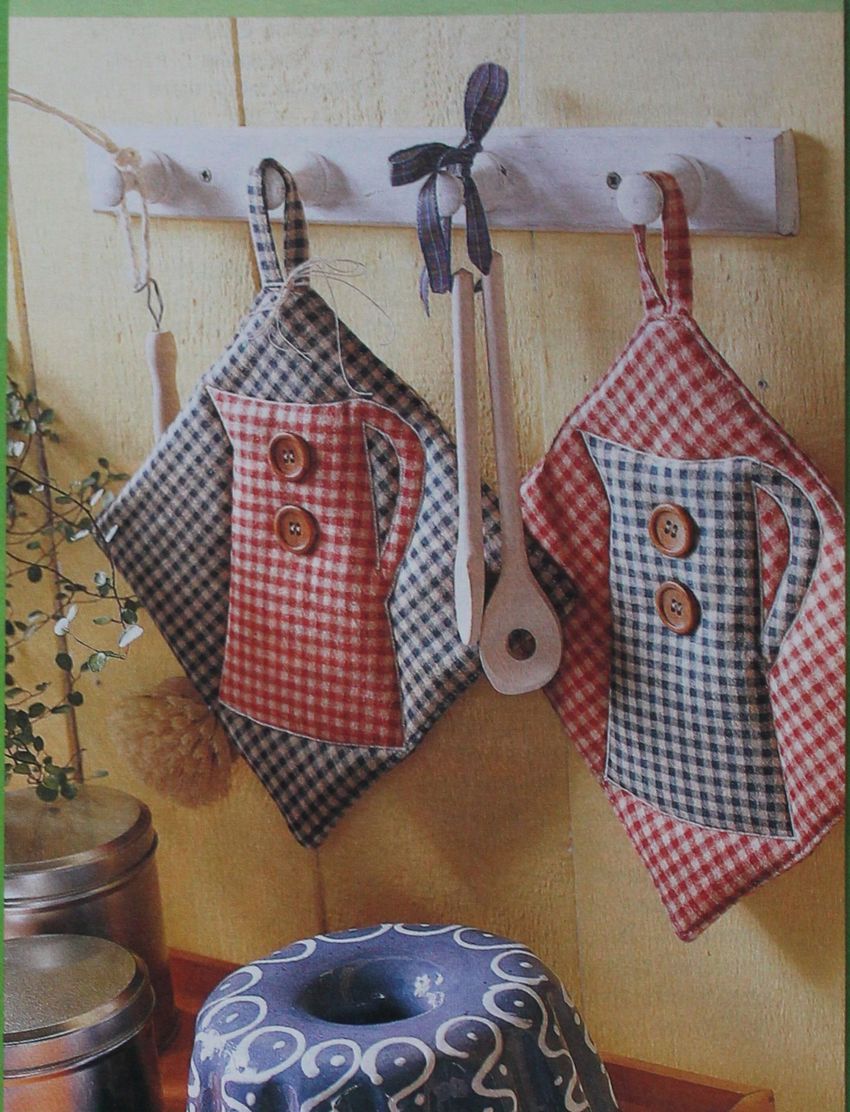
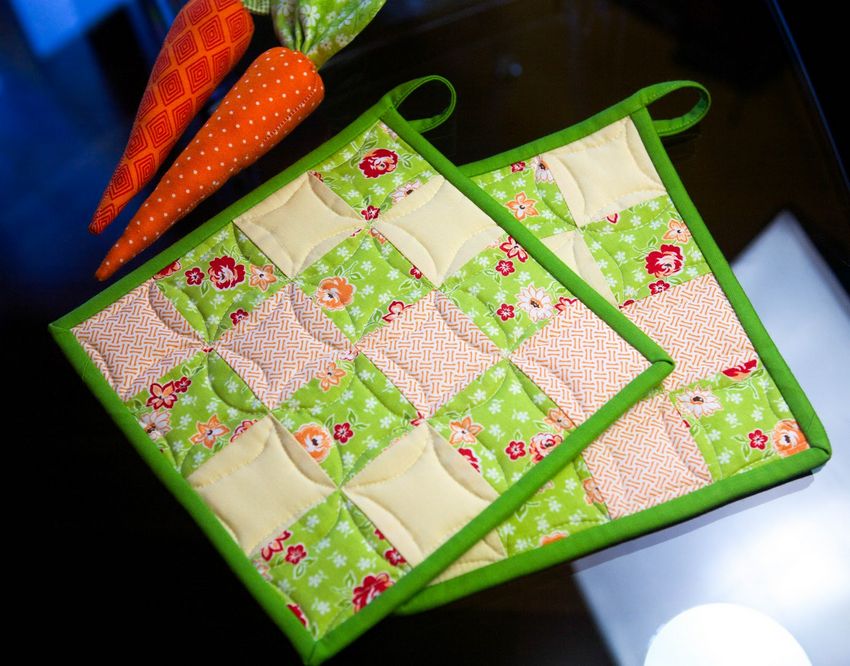
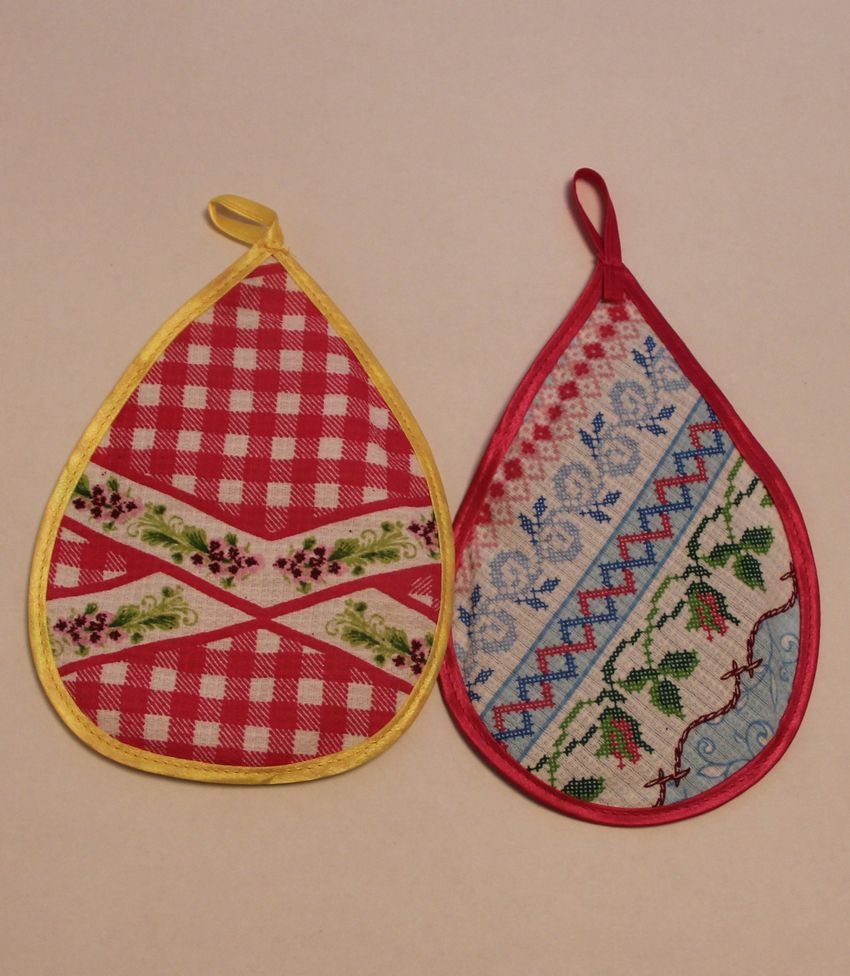
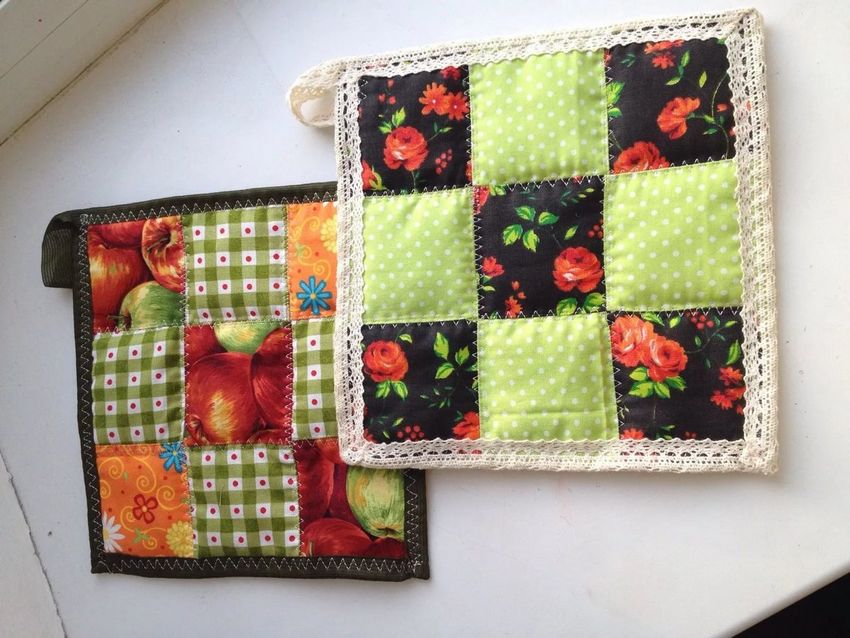
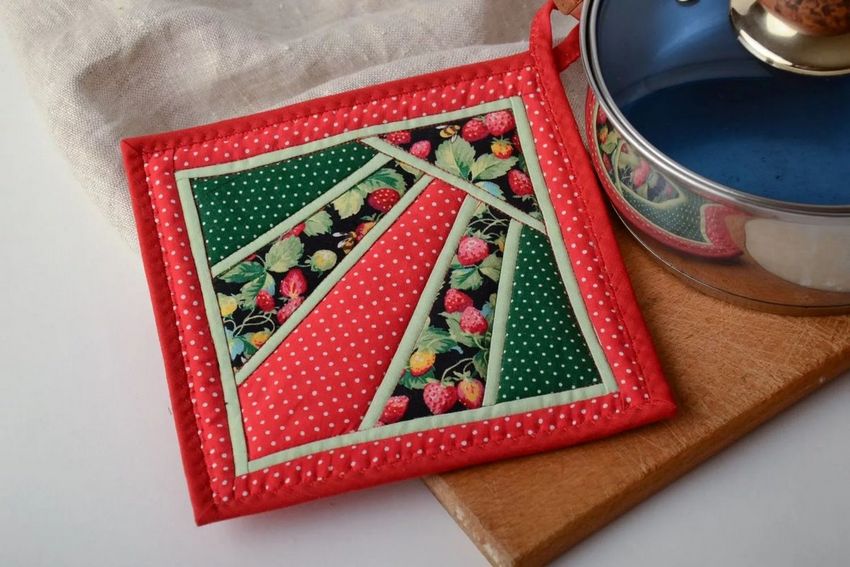
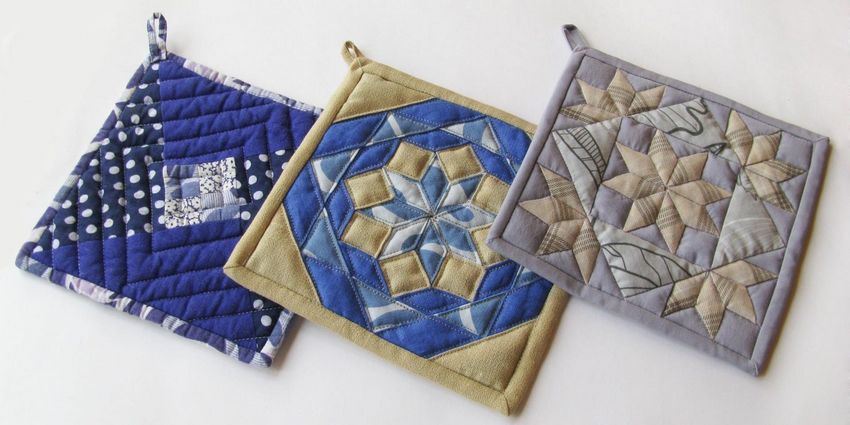
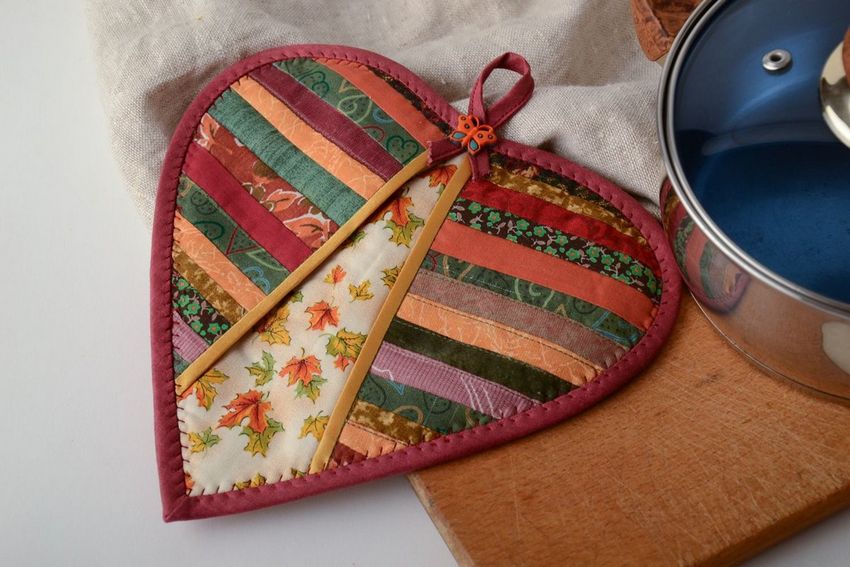
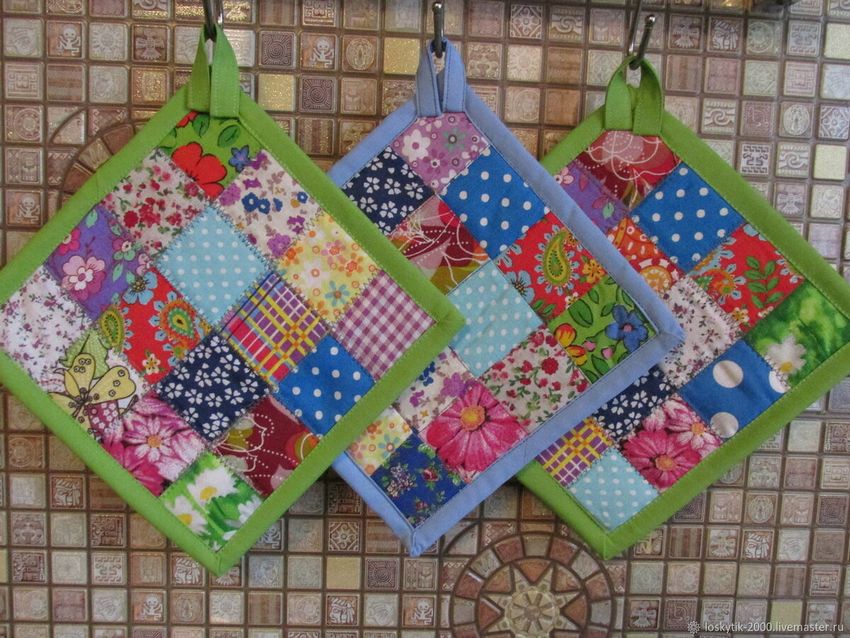
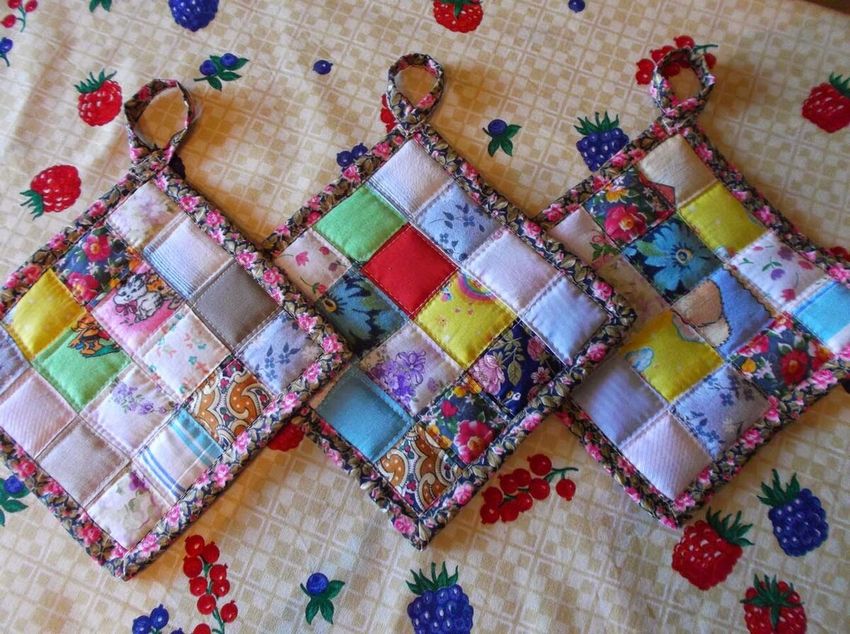
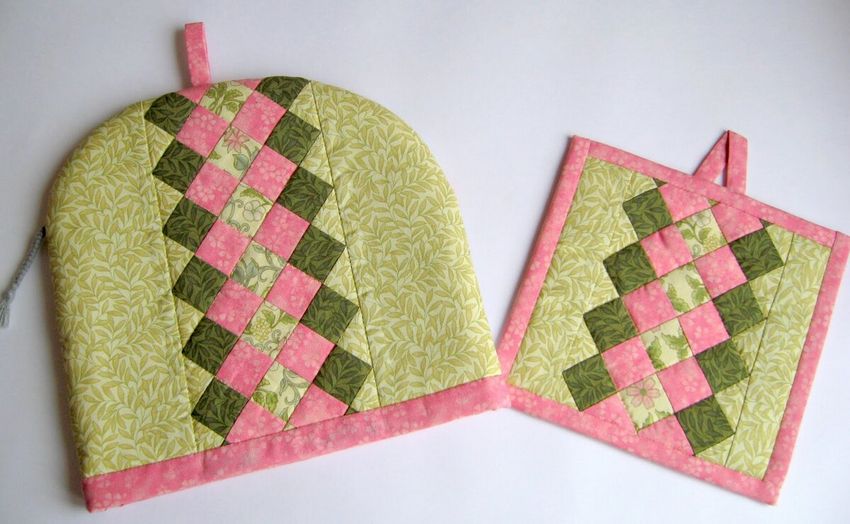
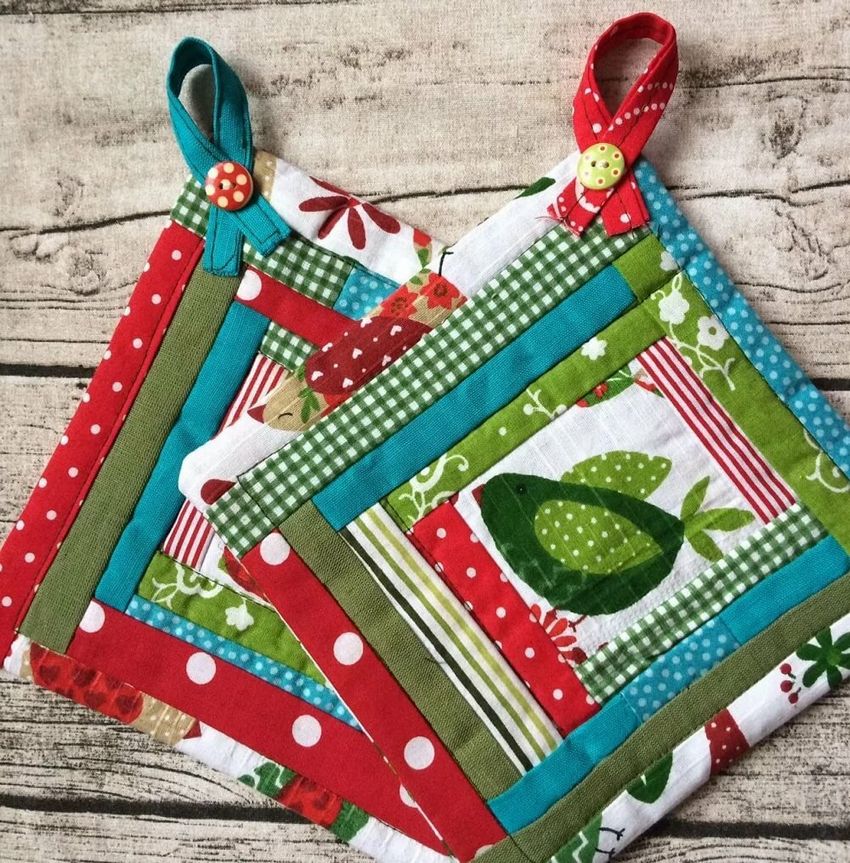
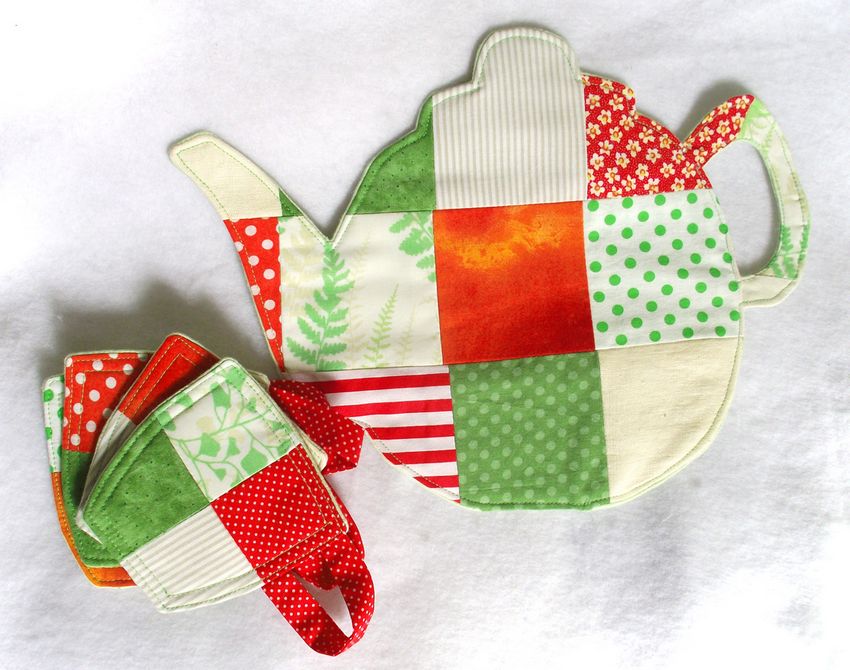
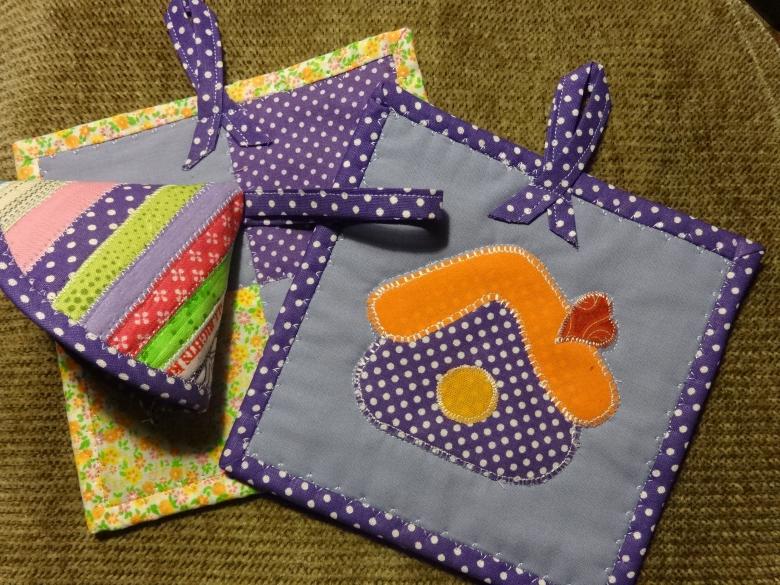
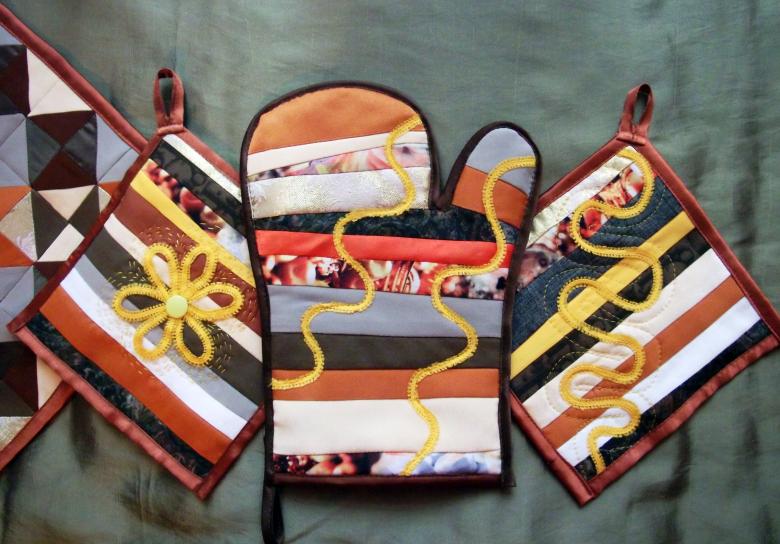
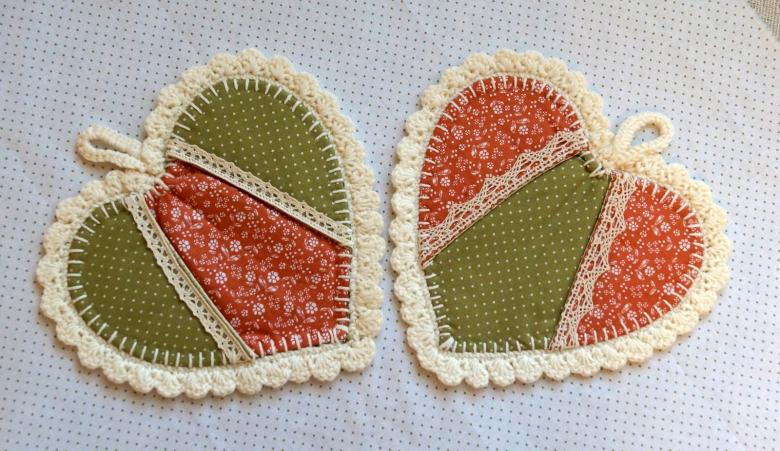
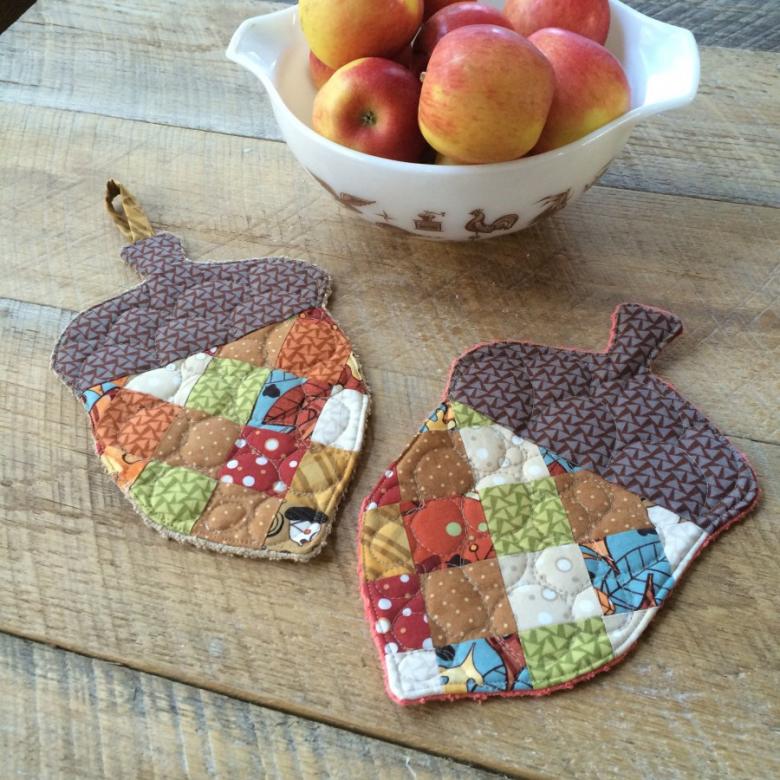
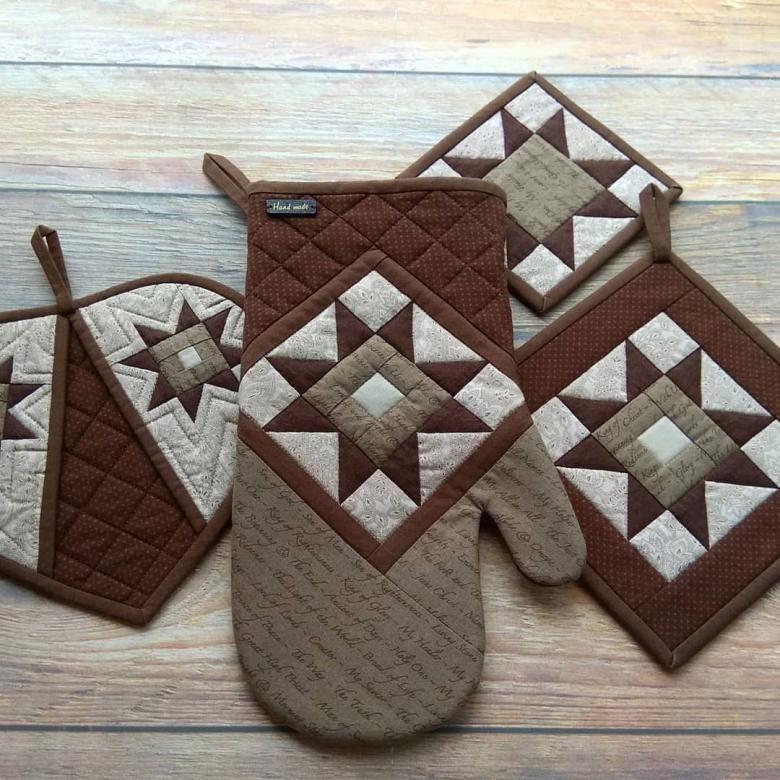
Now that you know the simple options for making oven mitts, you can apply other ideas. Great look mittens made in patchwork style. The patchwork technique requires special diligence and care. The process is quite difficult, but fascinating. In the work you can apply a variety of combinations of colors and shapes. Patterns of gloves from scraps with their own hands, new ideas, schemes of any complexity are on the Internet.
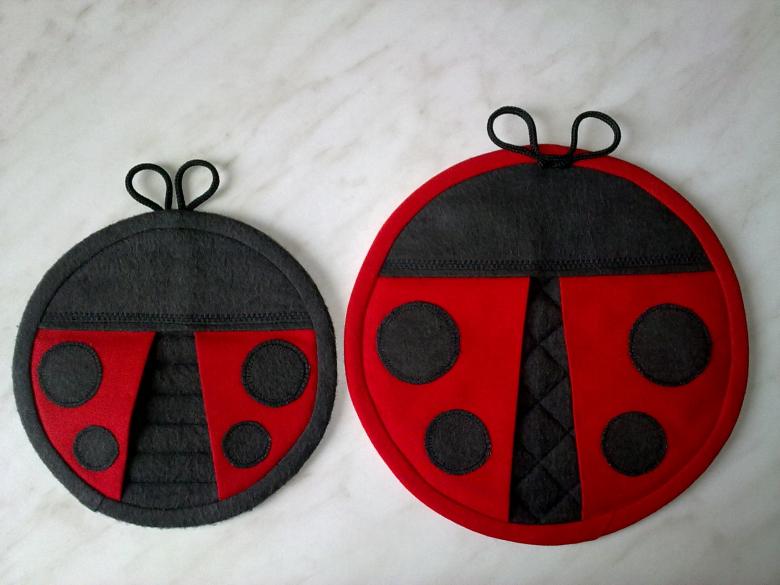
Felt is well suited for sewing these products. It does not crumble, so the edges do not need to work. Details made of felt are well held by hand stitching. Sew such a tack can easily even a schoolgirl.

Knitted gloves can well decorate the interior of the kitchen. You can knit a thing of any shape and color. You only need a scheme with a description of the work. It is not advisable to combine knitted and woven oven mitts in the kitchen.
Fantasize and be creative. This activity will delight you by creating an original thing for the kitchen interior, or a good gift for relatives and friends. If you find it difficult to implement your idea, you can turn to professional needleworkers.
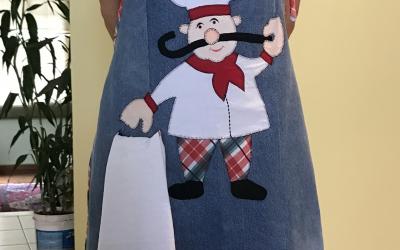
Photo ideas of beautiful homemade gloves