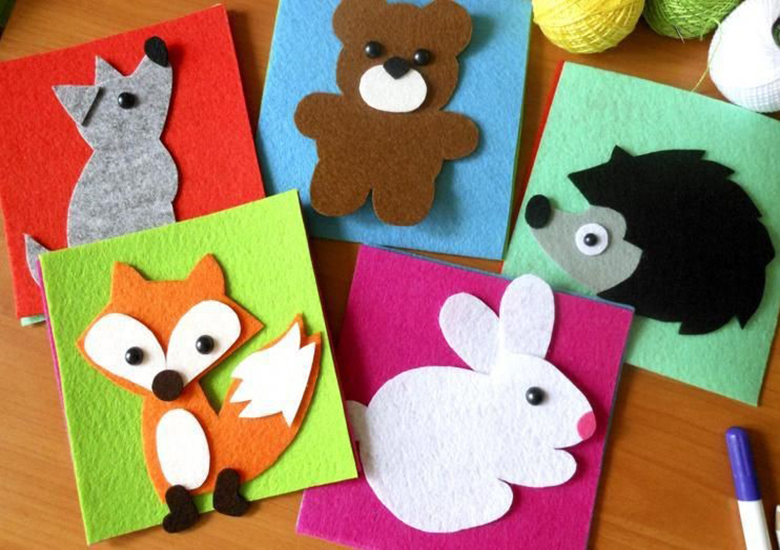
Animal-themed collage with original decoration: the most unusual ideas
Useful pastime with a child - an incredibly important and at the same time fascinating process for both kids and parents. With the right approach, the child will have the opportunity to realize creative potential and new knowledge.
Developing creativity through the game process is not difficult, the main thing is to arm oneself with unconventional ideas and a variety of materials with different textures and interesting colors.

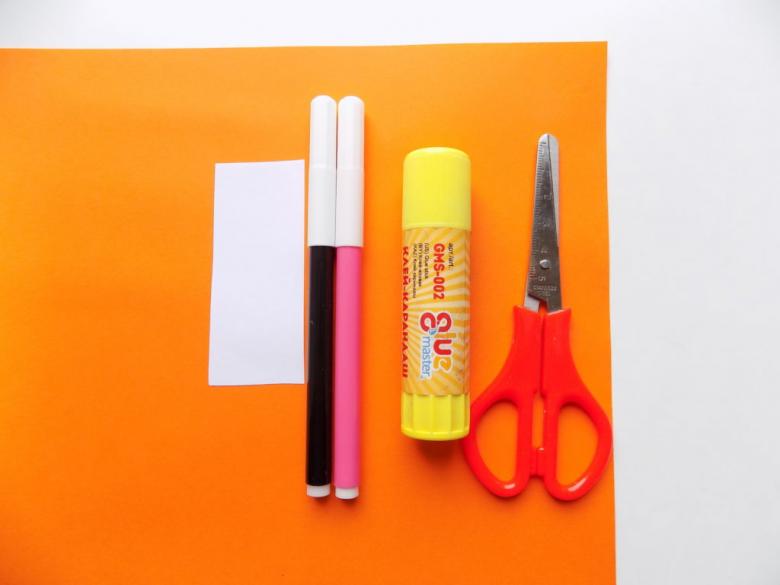
Basic Materials
To perform the workshops, the following materials and tools will be needed:
- Colored paper and cardboard;
- Glue;
- Paints, felt-tip pens, pencils;
- Scissors;
- Templates of animals;
- Cotton, gauze, beads, thread.

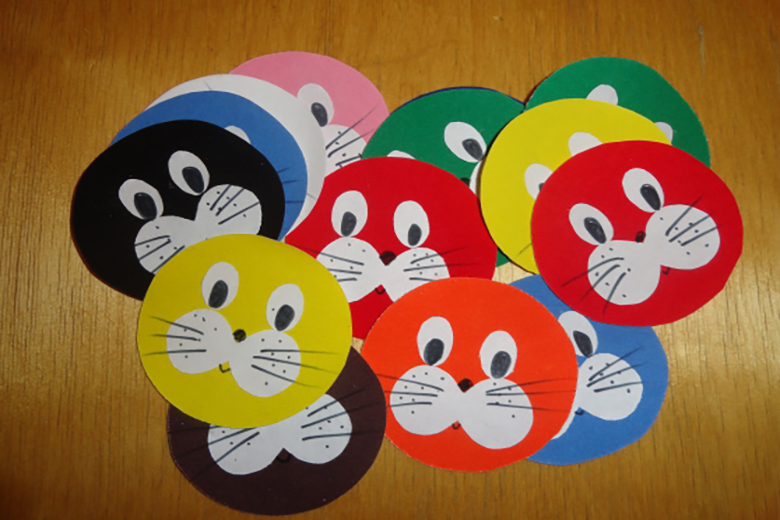
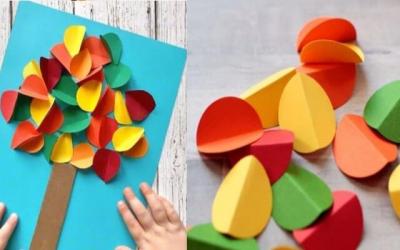
Original paper animals
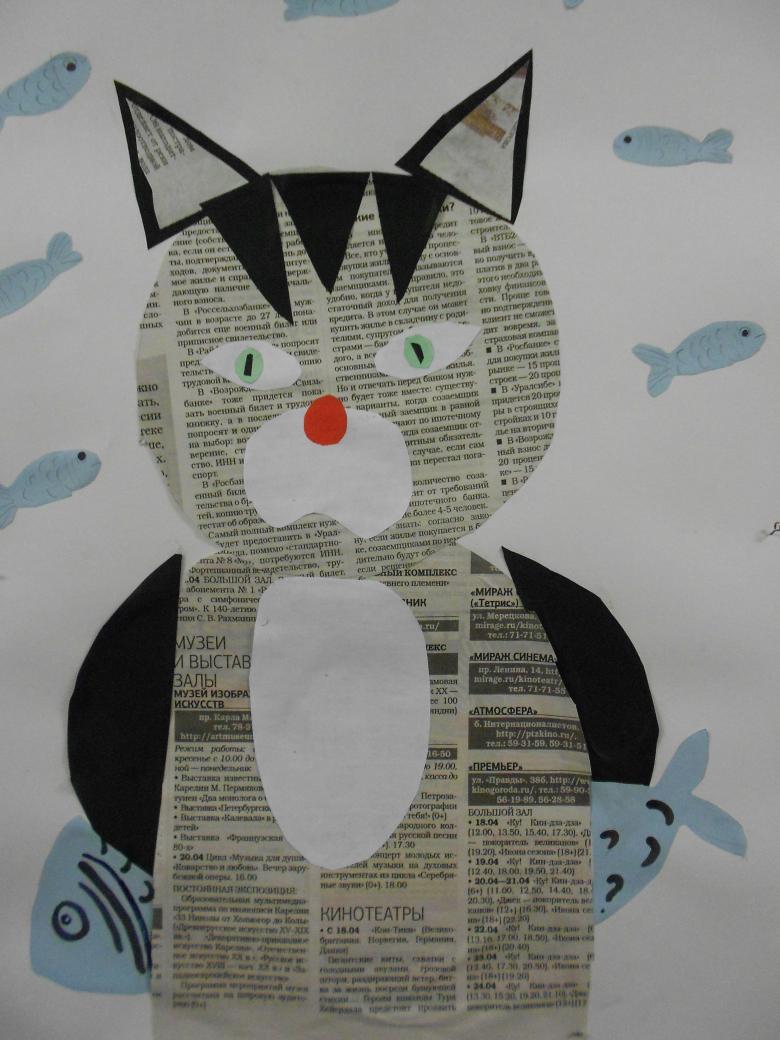
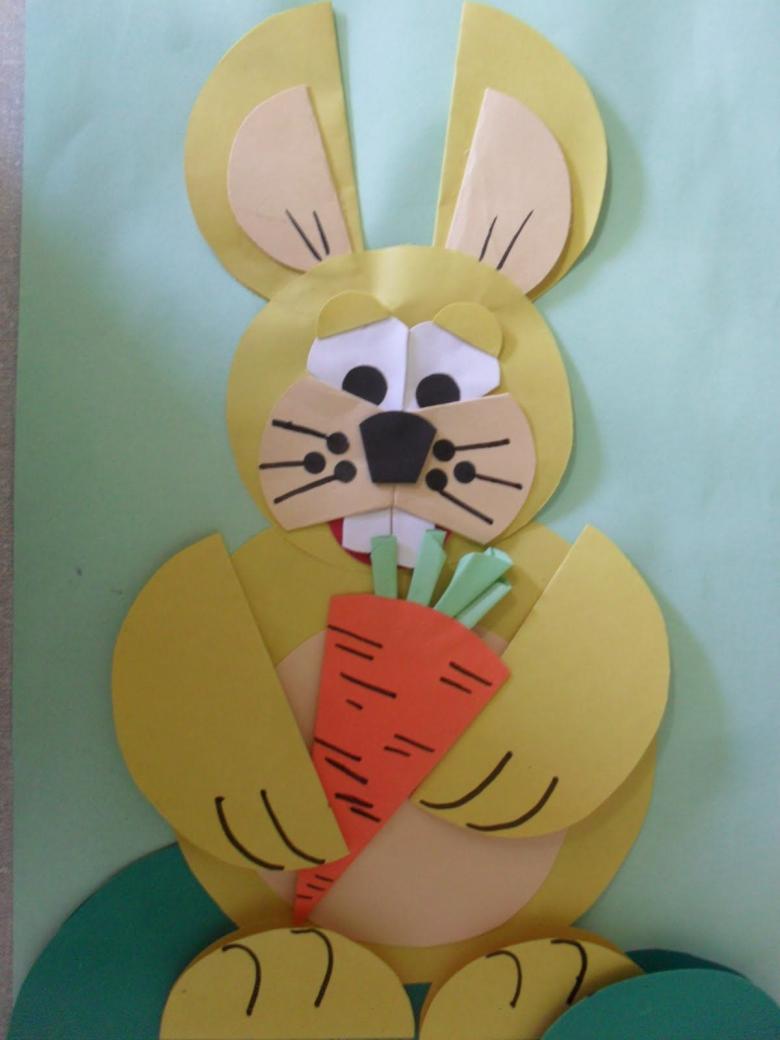
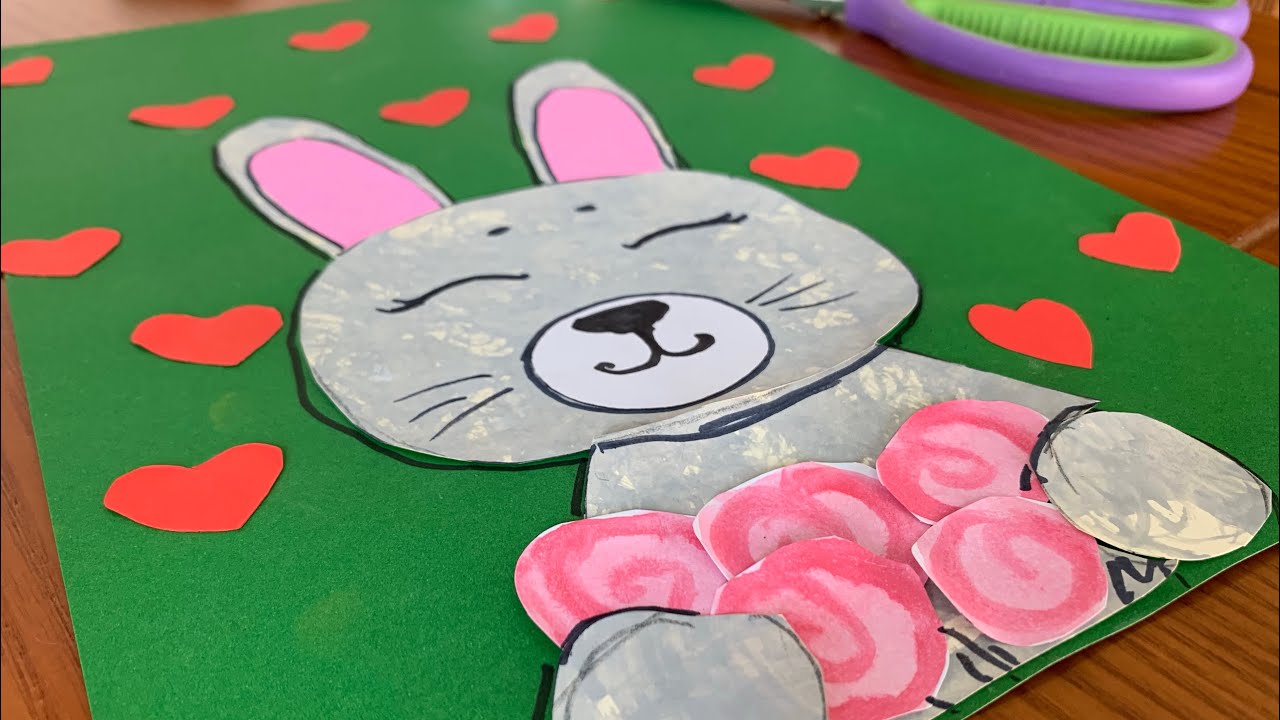
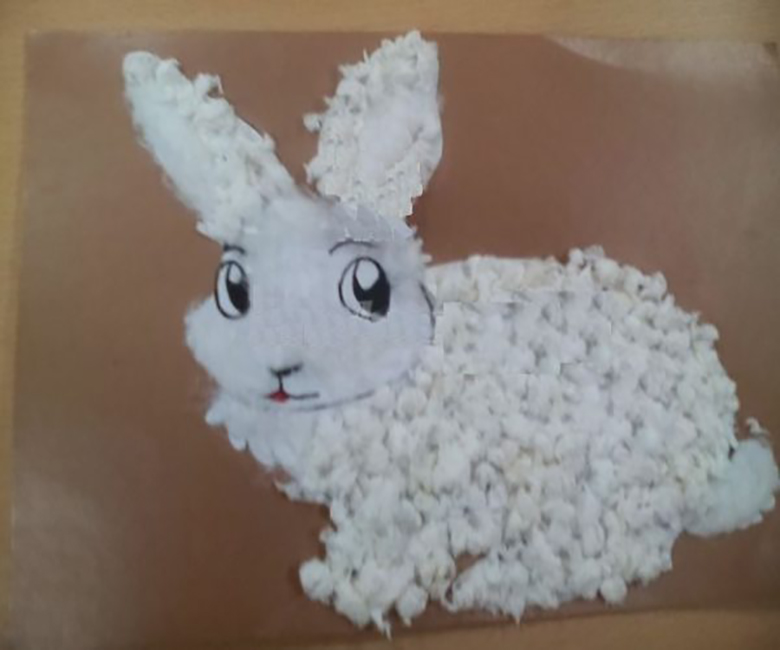
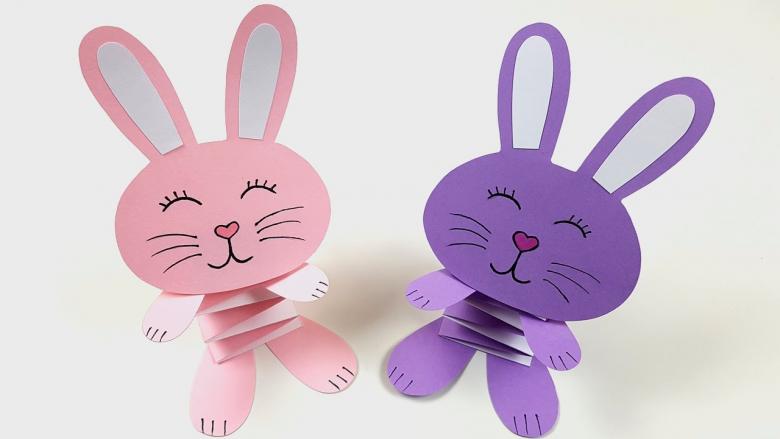
Bunny accordion
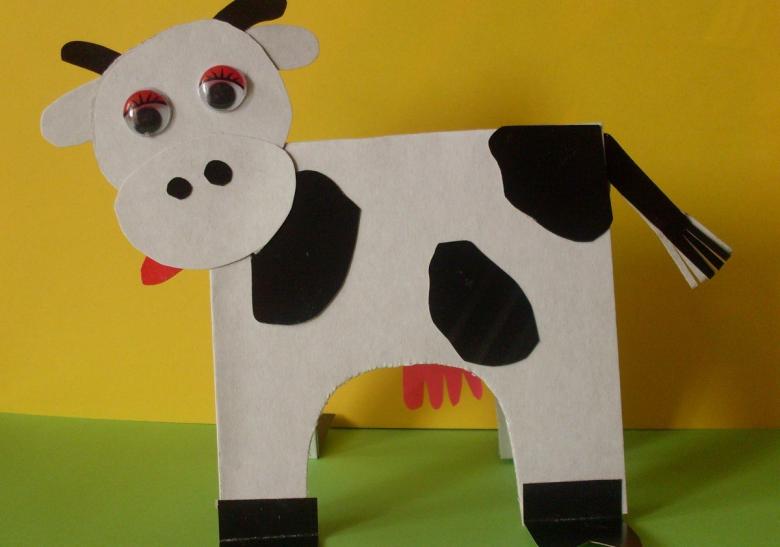
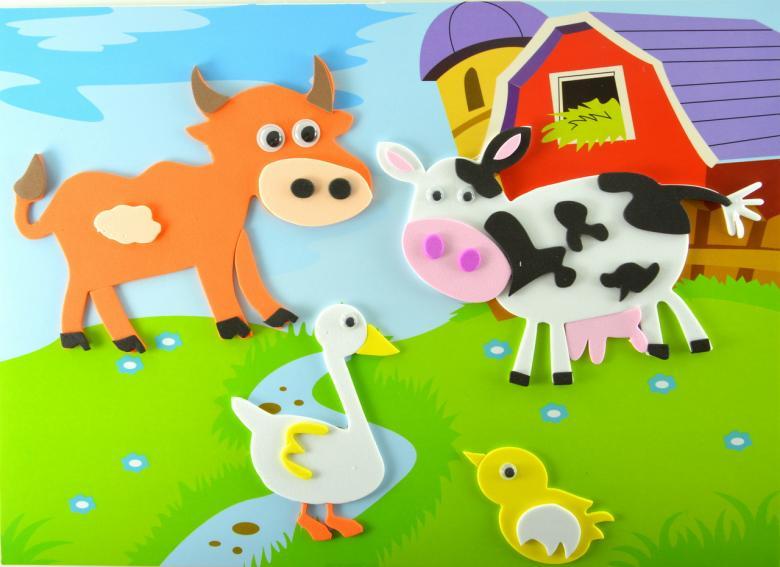
Quite a frequent task for parents and educators is a collage in the middle group on the theme of domestic animals, where the work process raises a lot of questions. In practice, making such pictures with children is solid fun. The main thing is to use quality materials and take care of the safety of the child.
Materials: white and pink cardboard, a simple pencil, glue, paper eyes, stapler or double-sided tape, an A4 sheet, black felt-tip pen and scissors.

To do the work and get a quality result, it is important to follow the steps of the work:
- Cut the sheet of paper into two equal parts.
- Put the sheet of paper with its narrow side and begin to gradually bend small strips of paper to get an accordion.
- Both sheets need to turn into an accordion (to get more voluminous beast you can take 4 sheets instead of two).
- Glue the resulting accordion of two sheets, press in the middle, bend in half and fix this position in the center of the product threads, stapler or glue. Also use double-sided tape.
- Glue the side parts to get a semicircle (fan). Glue the side folds on the other side to make a circle.
- From colored paper cut out the following parts: two long white ears, two inserts of pink (in size slightly smaller than the resulting ear), white teeth, nose, cheeks, eyes of paper (the pupil is drawn with a black felt pen), two paws.
- Glue the eyes, teeth, cheeks (on her nose, with finished drawing on the cheeks little black dot). On top place ears, glued previously pink inserts on them. At the bottom are paws.

To make a bunny interactive toy or decoration with the back you can attach a thread or a thin strip of paper parallel to the toy. So crafts can decorate the room or turn it into a toy on his finger to use for home theater. If you glue the bunny on a sheet of folded paper - get a great card.

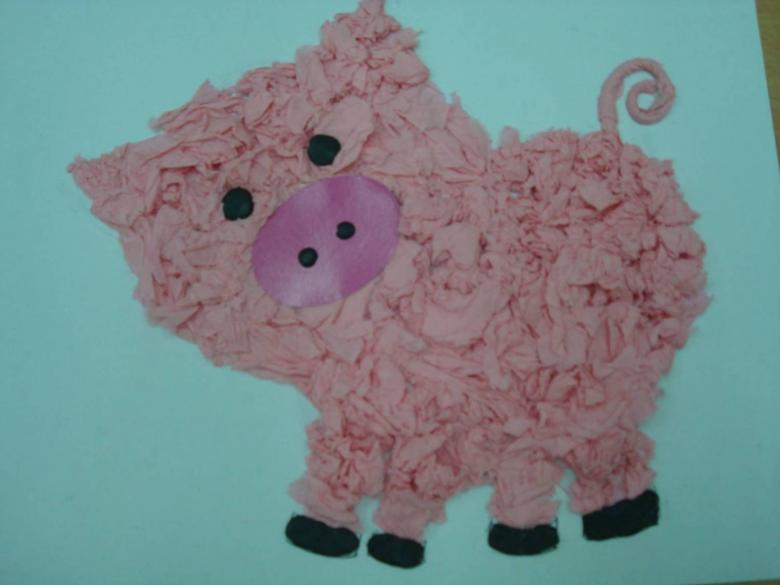
Dog out of paper strips
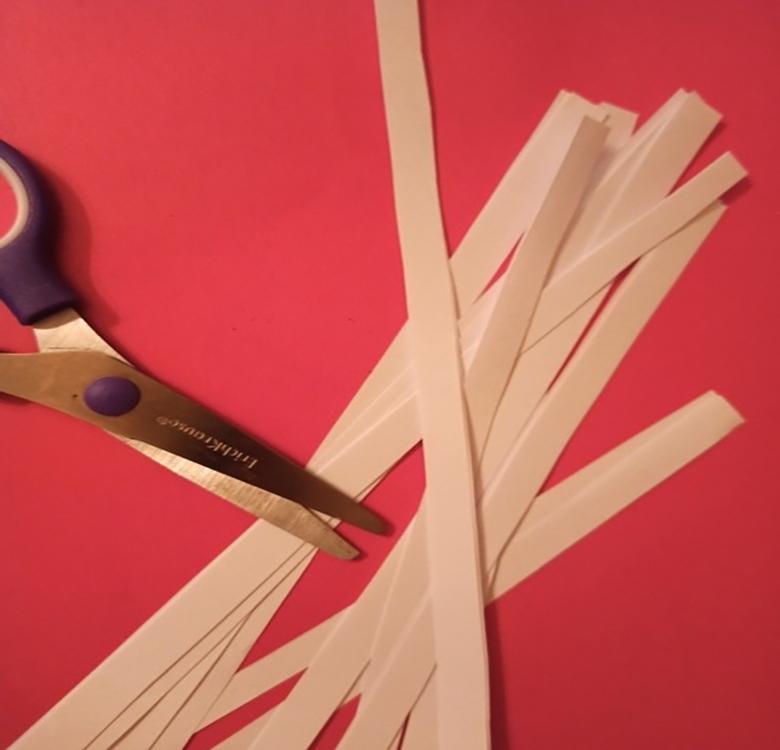
Handicrafts made from strips of paper are easy to perform and colorful. To perform such an applique will need: double-sided cardboard of two colors (there can be more if desired), dark cardboard or paper for the nose, a red shade for the collar, scissors, a simple pencil, glue, marker, a button or a bead for a decorative purpose.
Work Stages:
- Cut out a circle, according to the desired size of the dog, and 4 thin strips of cardboard. Their length depends on the size of the circle, because as a result they will wrap around the circle and create a semblance of an oval. As a basis, you can take the strips of length 21 cm and width of 1 cm, the size of the circle of 2.5 cm. as a result, the animal will be 13 cm high.
- Bend the ends of the strips on both sides to make it easier to glue the cut parts to the base.
- Glue the first strip evenly in the middle to the outer edge of the base. Place the second strip across the first, with glue also applied at the top where the parts intersect to hold the construction together.
- The remaining two parts are placed between the first and also the bottom and top fasten with glue. The result should be the body of the future dog.
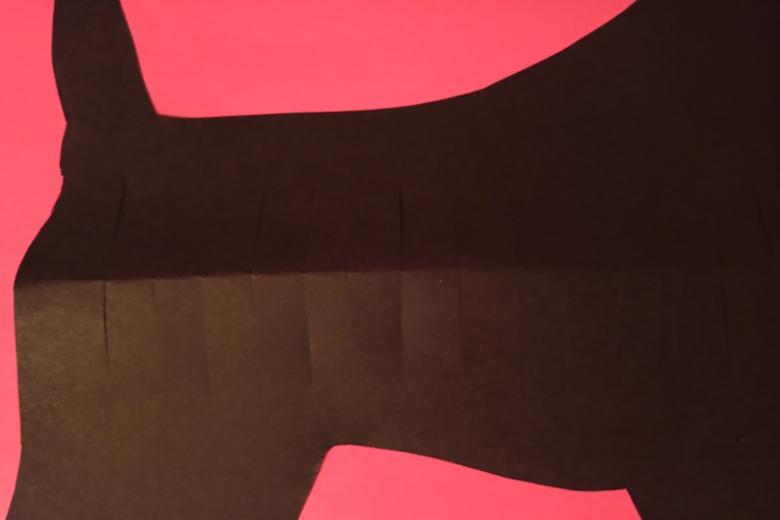
- Cut out of cardboard base of the muzzle, ears, nose, paws and tail. You can draw the templates yourself or use ready-made ones from the internet.
- On the head attach a nose, draw eyes and a smile with a felt-tip pen. On top glue the ears. Cut out and glue a small strip of cardboard in the shape of the neck, connecting the head with the body.
- Bottom locate paws (they can be solid, or separately 2 parts for front and rear paws). Glue the tail at the back.
- As a decoration, make a collar from a thin strip of brightly colored pattern to the size of the neck. Attach a button or bead to the front of the collar.
The dog is ready.

If you make a small loop of thread, you can decorate a room with the craft or hang it on the Christmas tree in the New Year holidays. The dog is suitable for volumetric applique of several animals, if its base from a circle is glued to a cardboard sheet.

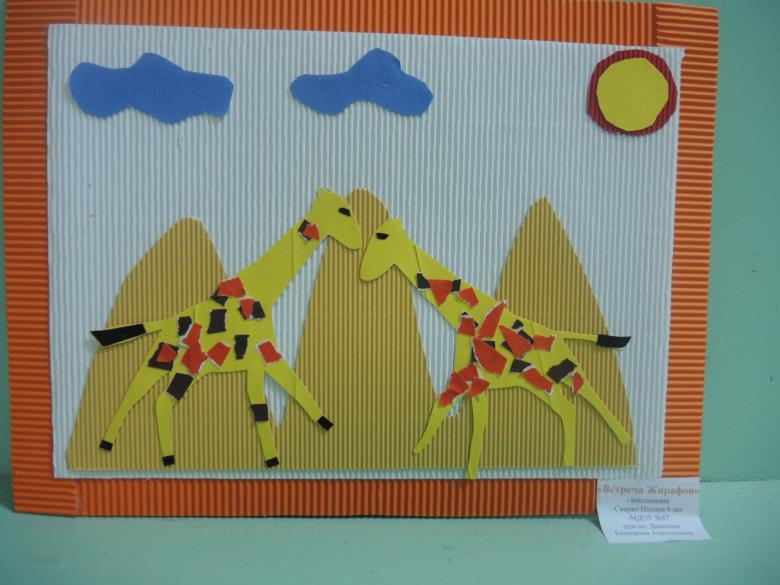
Family of giraffes
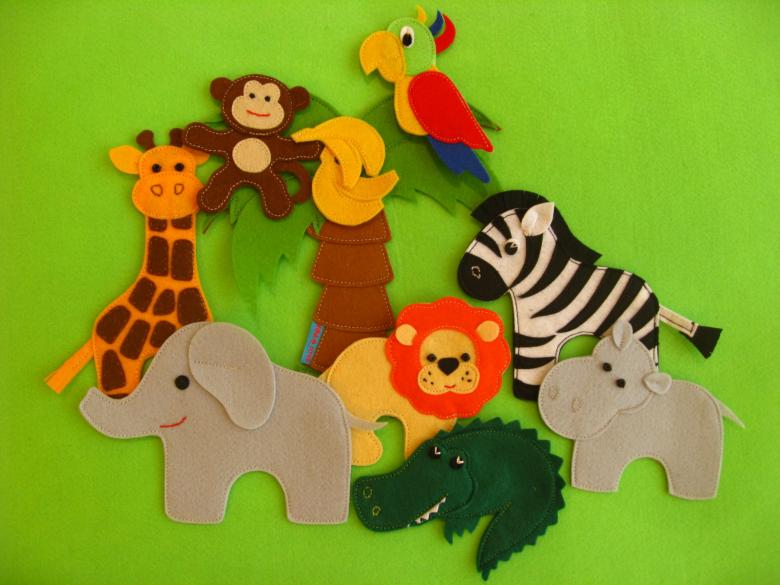
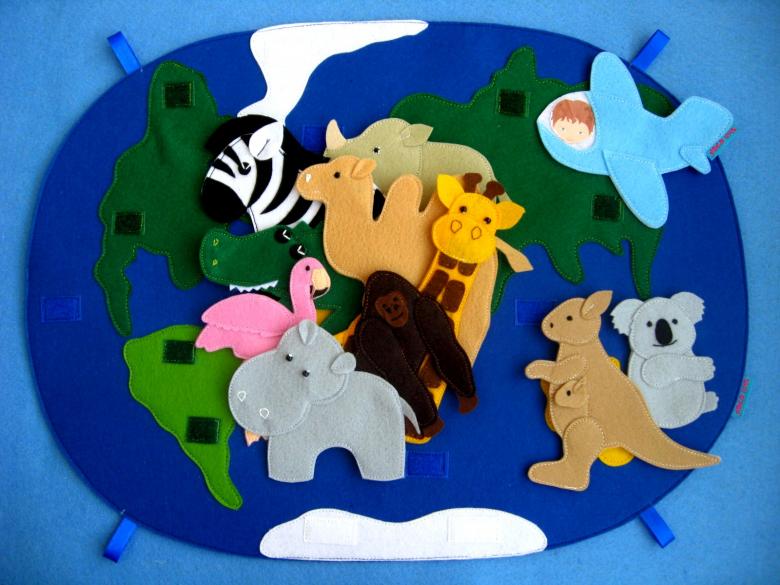
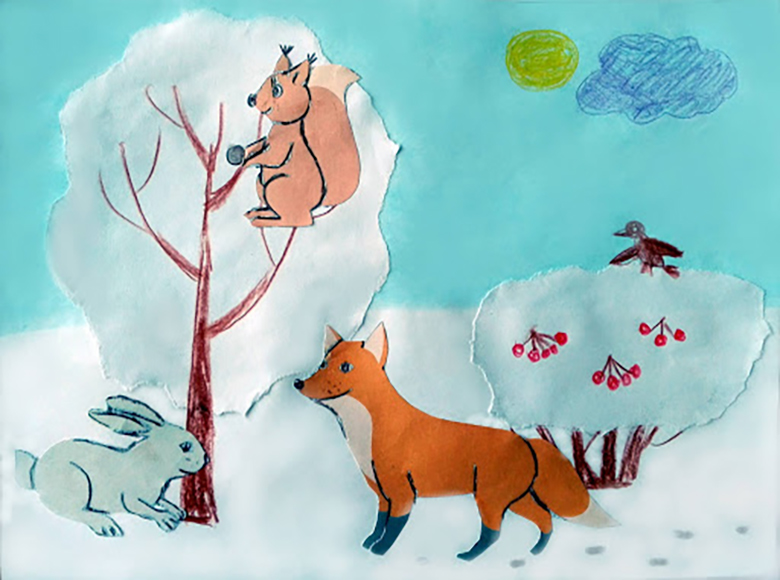
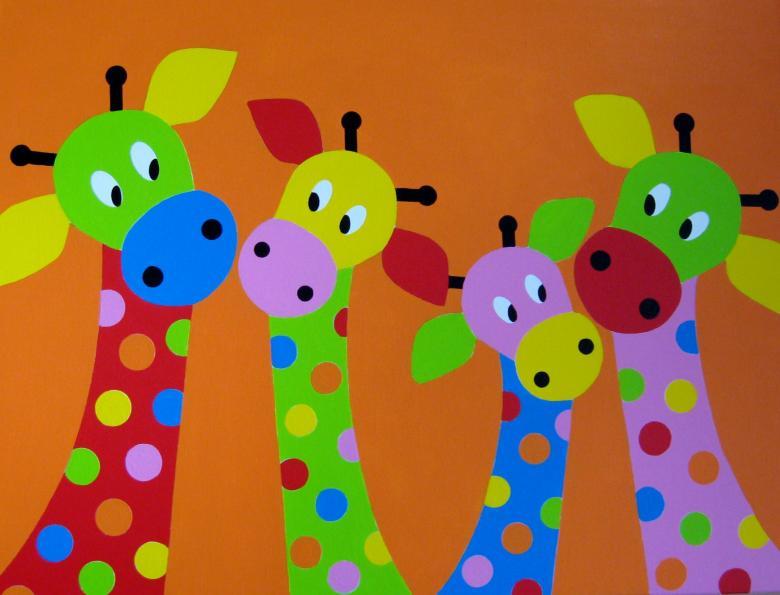
Many parents think that applique on the themes of the animals of Africa - it is more difficult than the work with the usual animals for the European resident, but this is a mistaken opinion. Children enjoy making bright and unusual animals.
For work you will need: colored paper, scissors, glue, colored cardboard, black felt-tip pen.
The work process can be divided into several stages:
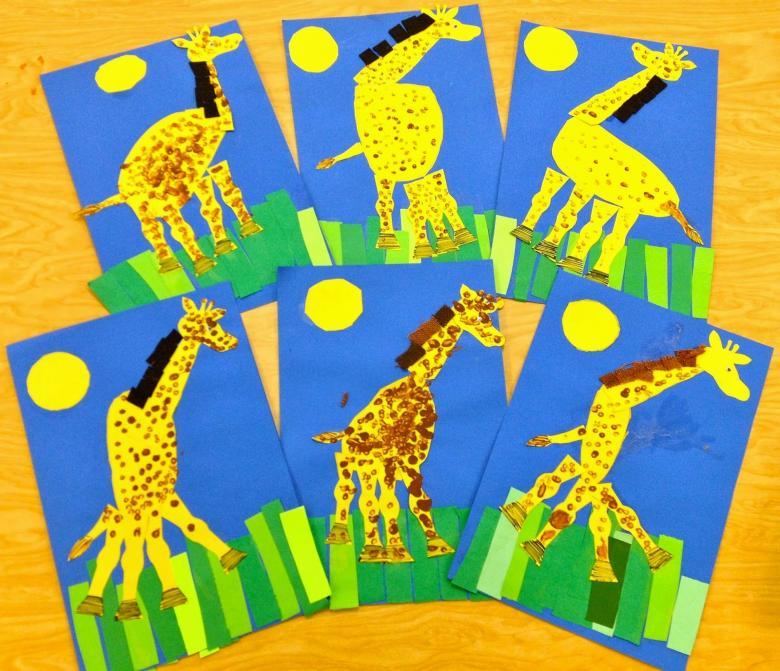
- Prepare a sheet of blue cardboard. From yellow cut out the sun and the rays. From the same small rounded hills, which will be located at the bottom of the applique as the ground. From brown cardboard cut out the base for the palm (a slightly bent strip 1.5 cm wide). From the green cardboard make the leaves for the palm tree. They can have a slightly curved shape, or simply consist of small triangles or pieces of paper. It will be more interesting for a child to create leaves from separate elements.
- For the giraffe, you'll need white paper or cardboard. On it translate the template or draw yourself a giraffe, and then you need to apply the markings of spots all over the body of the animal. The location of the spots is arbitrary. It is desirable to draw the reliefs, so that children can independently request spots.
- Using felt-tip pen, draw eyes, nose, mouth, and small hooves on paws.
- Glue the resulting details on the yellow sheet, following the sequence: hills, the sun, the base of the palm, leaves on top of it. Next, a giraffe (it would be better if it was a family of giraffes, where one animal is smaller).

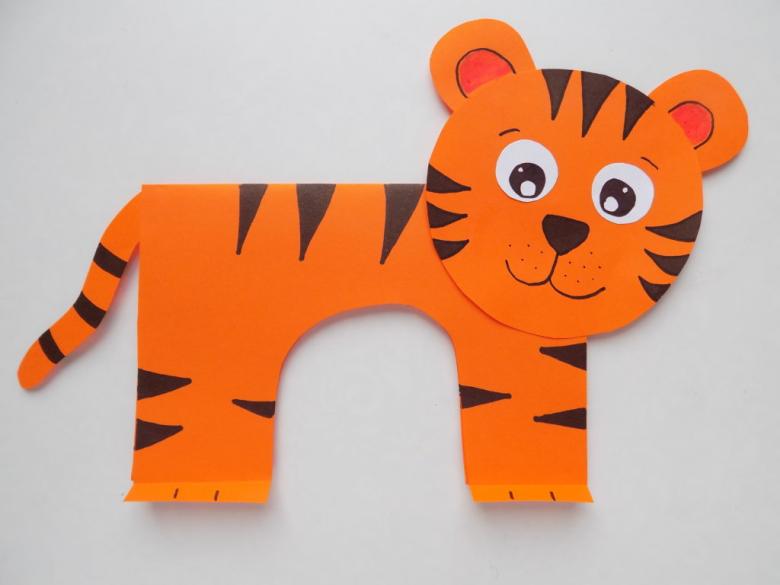
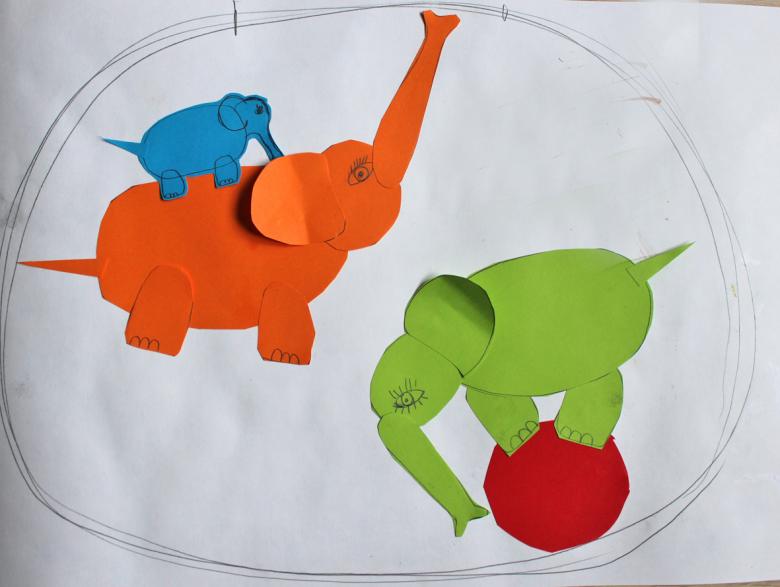
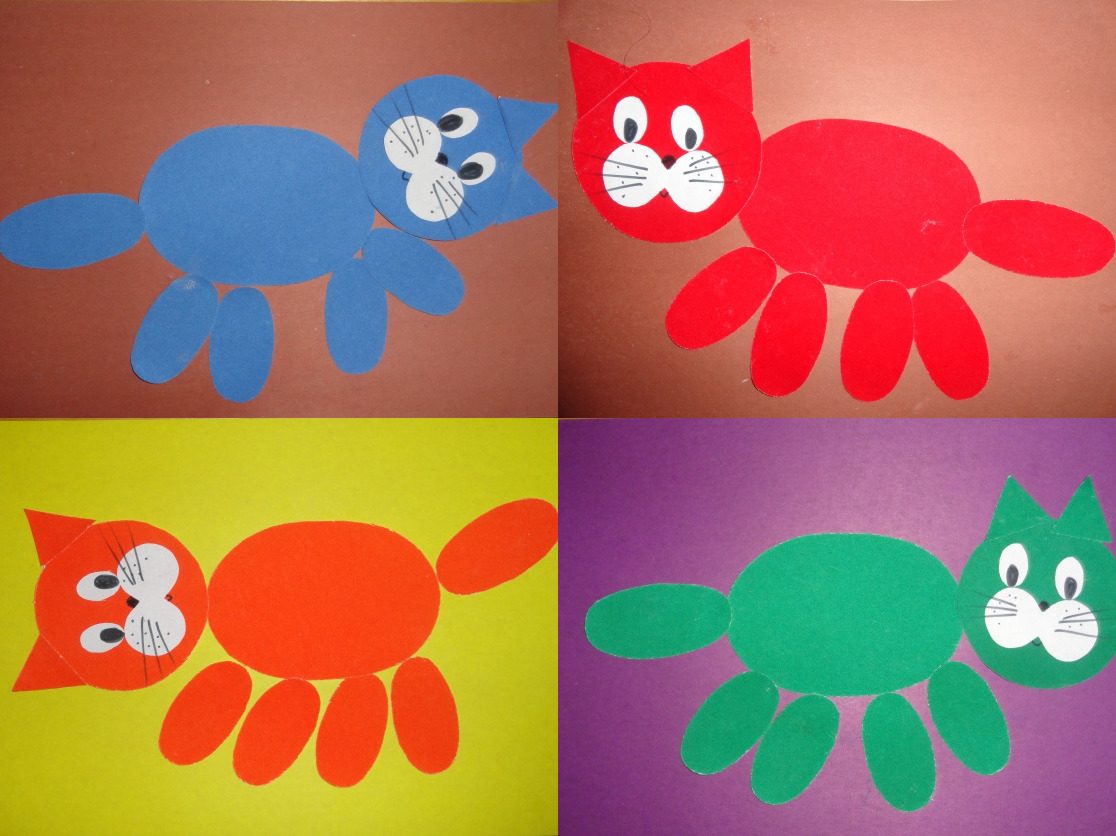
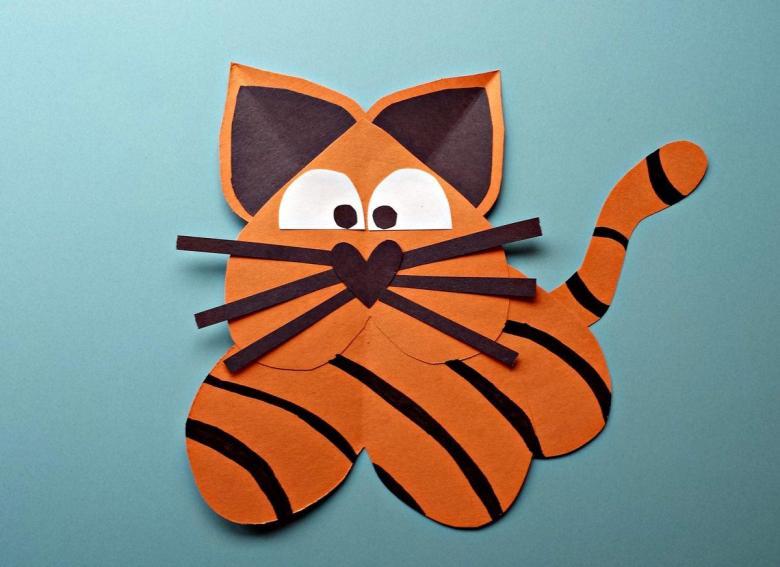
A bright tiger
Another interesting and beautiful applique on the theme of animals of hot countries in the preparatory group is a tiger.
To make this animal you need: orange and black cardboard, scissors, glue, black felt pens.
Work process:
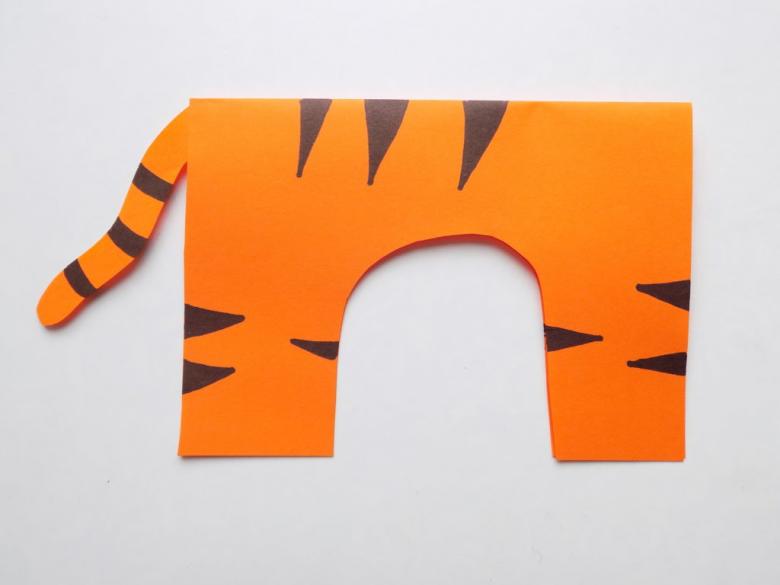
- Cut out a rectangle from orange cardboard (the size depends on personal wishes, for a small applique you can take the parameters of width 30, length 8). Fold it in half and glue the halves. In the middle of the bottom draw an oval cutout to make two paws. Cut out the excess.
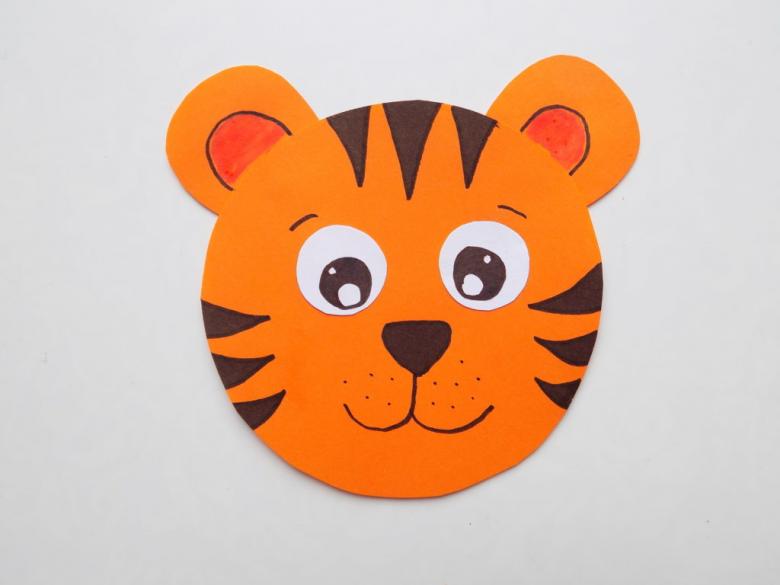
- Cut out a circle of the same color with a diameter of about 6 cm, small rounded ears, a tail, two eyes from white paper.
- Cut thin black strips of paper 1 cm wide.
- Glue the ears to the circle so that the cut is hidden on the back side. Position the eyes and draw the pupils on the white circles with a black felt-tip pen. In the same way, draw the nose, mouth, eyebrows and dots around the mouth, as well as a mustache. On the sides, glue black strips of small length to decorate the face, but do not cover it (about 1.5 cm in length).
- Attach the tail, pre-glued to it black markings. On the paws marker draw the claws. Connect the head with the body.
Tiger ready, it can be used as a toy or as a decoration for a postcard. For applique on the theme of animals of the hot countries in the older group, the task can be made more complicated, adding the creation of other inhabitants of the savannah, as well as elements of vegetation.
Time spent making an applique will give your child an unforgettable experience.