Tissue applique with their own hands: the advantage of working with tissues and common techniques for children and beginners
Applique is a type of creativity, which is actively used for the development of young children. He allows you to involve a variety of materials. Often the basis for creativity are colored paper, cardboard, leaves, cereals, pasta. Recently, more and more popular are handicrafts made of napkins.

The advantages of working with tissues
To create the works will require ordinary napkins. Depending on the quality, you can use two or four layers, single-colored, colored. Napkins are torn into pieces, rolled out of them lumps, tubes, cut out petals, creating three-dimensional compositions.
The technique is suitable for working with children of all ages and has its own undeniable advantages.
- Different complexity of work. Depending on the age of children, work is done quite simple or more complicated, combining materials and techniques.
- Universality. The technique is used as an independent form of creativity or in combination with other areas of creativity.
- Development of fine motor skills. Tissue application is aimed at the development of tactile sensations, the perception of different textures, work with small elements.
- Assiduity. The technique is painstaking, requires attention and accuracy.
Specialists recommend conducting tissue applications for children in the junior and middle groups of kindergarten, elementary school students, people with problems with the work of the fingers.
Necessary materials
Napkins are an accessible and inexpensive material for creativity. They differ in a wide range of colors, tear easily, crumple, do not require serious preparation for work.
Before the lesson, you should prepare the necessary materials:
- The basis (a sheet of cardboard, on which the applique will be made);
- tissues (it's better to prepare all the colors that will be needed);
- pencils or felt-tip pens;
- glue (for napkins will do PVA, pencil, paper);
- scissors.

Depending on the theme of the application, paints, decorative wire, colored scotch tape, toothpicks and other materials may be needed.

Common techniques
Work with napkins is characterized by diversity. During the work it is possible to create crumpled lumps that fill the template, twisting tubes or forming volumetric parts.

Experts distinguish 3 directions;
- lumps;
- pipes;
- volumetric applique.

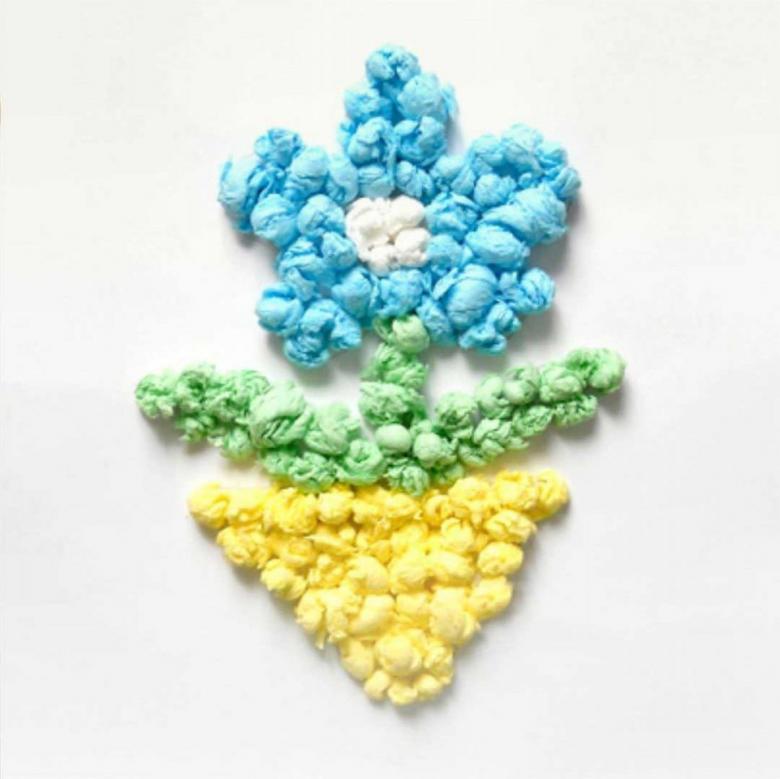
Lumps
Applique from lumps is also known as Pape Art. The technique is used to develop fine motor skills in children and adults with problems of finger mobility.

The work is carried out in several stages.
- Preparation. Prepare in advance the napkins in the necessary colors (according to the template);
- A small piece of the whole sheet is torn off and rolled into a ball. It is recommended to prepare in advance a sufficient number of balls of each color.
- Ready balls are glued to the figure according to the template.
The main task is to glue the balls close enough to each other. The finished product should not contain voids.

Curled tubes
The technique of twisted tubes involves the creation of tissue dense tubes. Material of the desired color is prepared in advance for the work.
- Prepared napkins are cut into strips. The width of the strip depends on the type of craft. Sometimes it is enough to divide the sheet into 4 parts.
- The strip is tightly twisted into a tube. It is important that the twist went smoothly, not askew. It is better to do it with dry hands.
- Tubes smeared with glue. This allows them to become stronger and not to untwist. After this material is dried for 10-15 minutes.
- Ready twists are glued to the template. Finished work is covered with varnish.

The technique of application of twisted tubes is suitable for creating products of varying complexity. It allows you to create an imitation of decorating with forging or openwork casting. Applique with tubes is actively used for decorating pictures, bottles, creating panels.
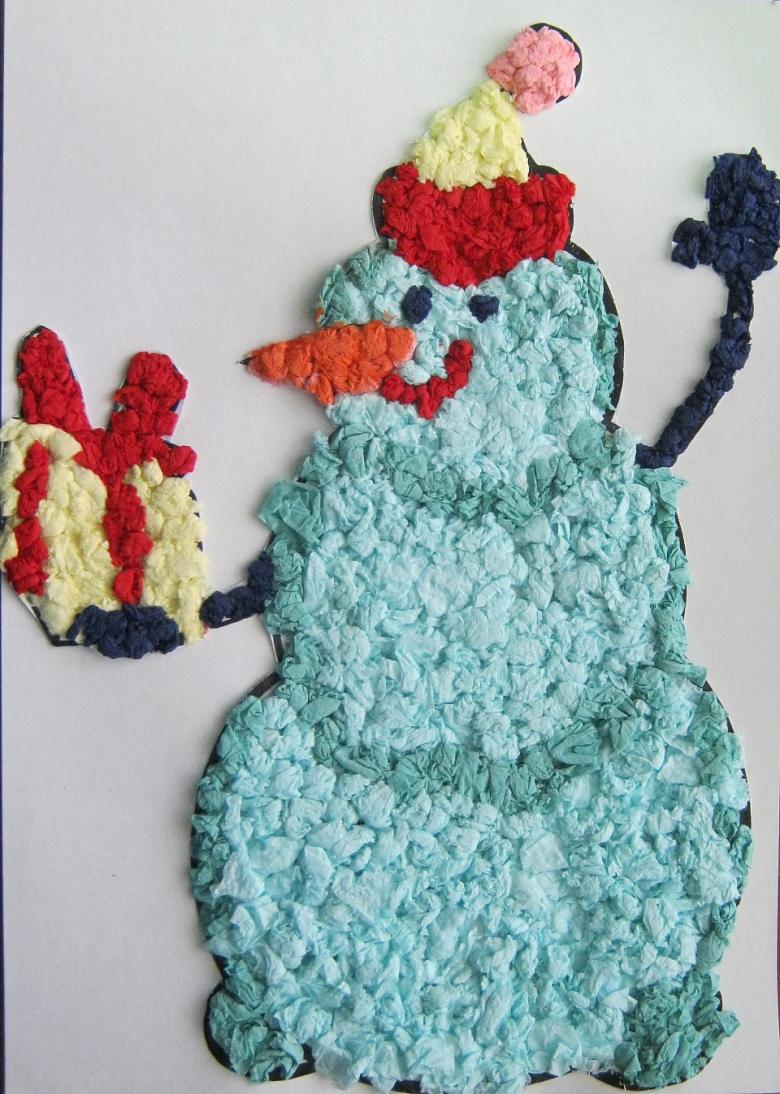
Three-dimensional applique
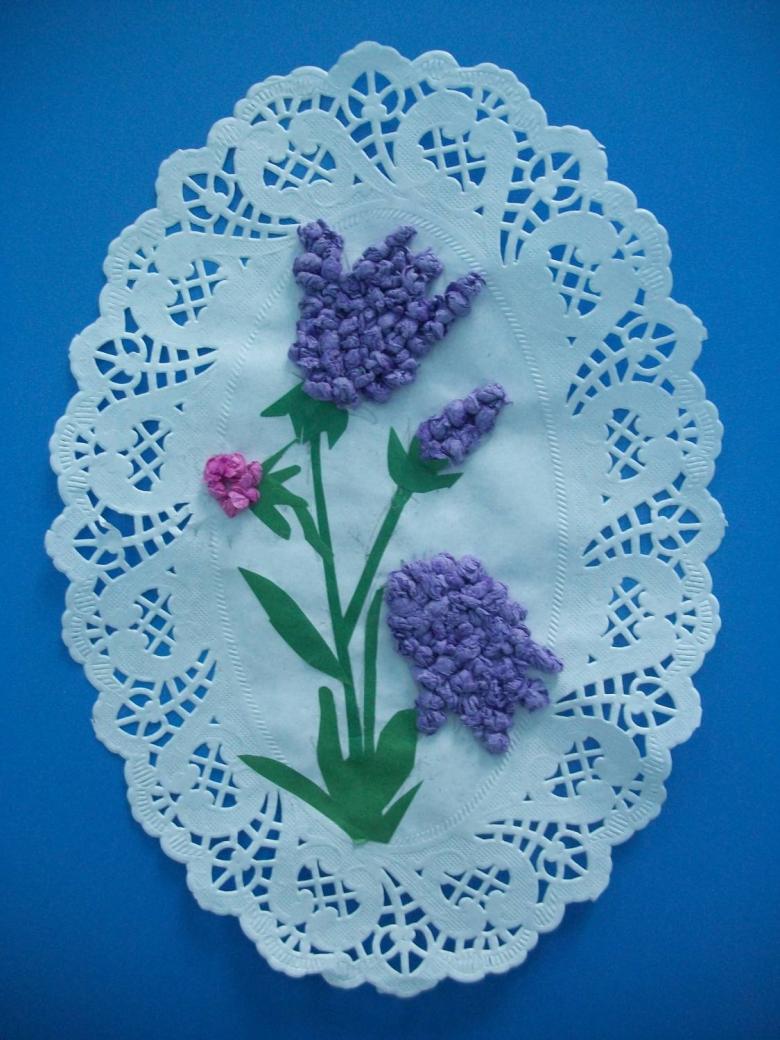
Three-dimensional application of tissues allows you to get a 3d effect. It is used to make winter compositions with a volumetric snowman, or greeting cards with balloons and flowers. A variety of colors allows the most accurate reproduction of bunches of lilacs, carnations, and rowan trees.

A distinctive feature of the technique is that first the volumetric element is created.
- Several napkins are cut into even squares and stacked. The thickness of the stack determines how puffy the piece will be.
- Staple the layers of tissues in the center.
- The finished piece is trimmed at the edges, giving it a shape. If the craft is made in the younger group of kindergarten, the pile should not be too thick.
- Layers of tissues are spread out, giving the product volume.
Finished parts are glued to the template along with other elements of the applique.

Applications for the little ones
Applications for the smallest vary in variety. Depending on the time of year, they involve creating snowmen, snowflakes, spring flowers, rain. Very interesting turn out of napkins applique lily of the valley.

Lilies of the valley
Applique of lily of the valley is made in the technique of lumps. It is suitable for children of preschool and primary school age.
To make the handicraft will need:
- napkins of white color;
- colored paper (green and white);
- cardboard for the base;
- glue;
- scissors.
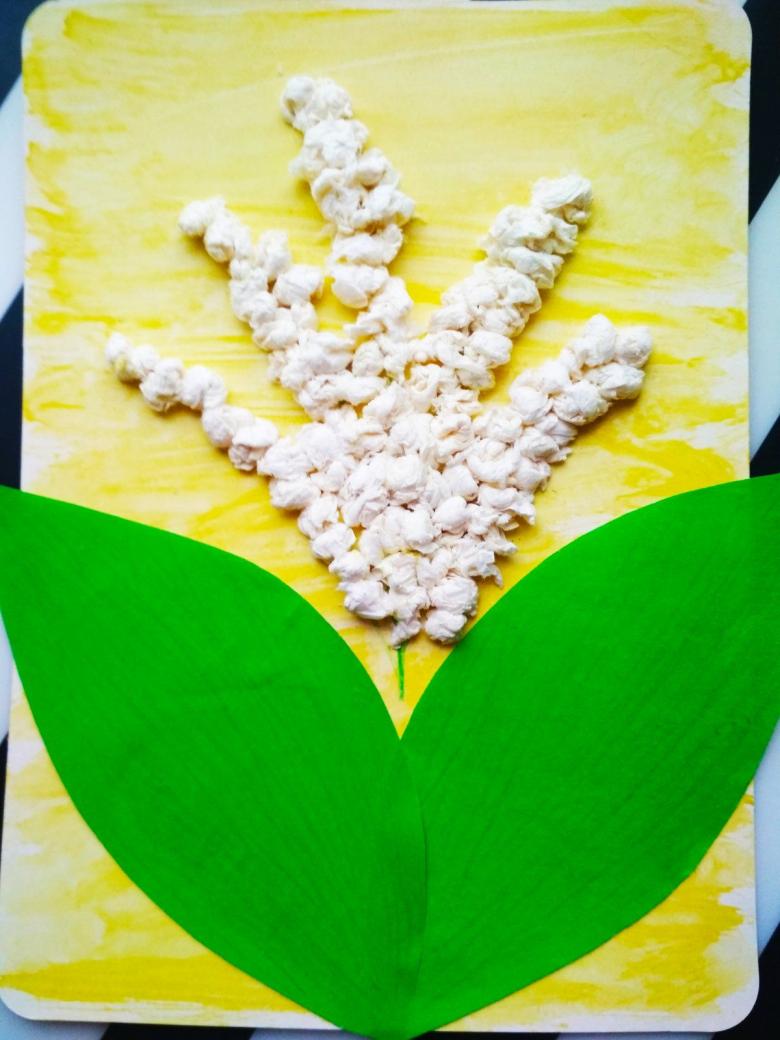
The work is done in several stages.
- Preparing the workplace and materials. For applique you will need a flat table, covered with oilcloth for protection. All materials are prepared in advance.
- Preparation of the template. To begin with, a template is prepared. The lily of the valley will be glued to it. It can be half of an A4 sheet of any color.
- Making leaves and a stem. From colored paper in green cut out 3 leaves of oval shape. Each leaf is folded to form a vein. Stem - a long rectangle. It rolled into a tube.
- Making flowers. Tissue cut into 4 parts, the layers divide. Each piece is crumpled into a ball. Need to prepare a sufficient number of lily of the valley.
- Assembly. The first thing glued to the template leaves and stems. On top of the sheets near the stem glue the lumps.
The finished craft can be used as a greeting card.

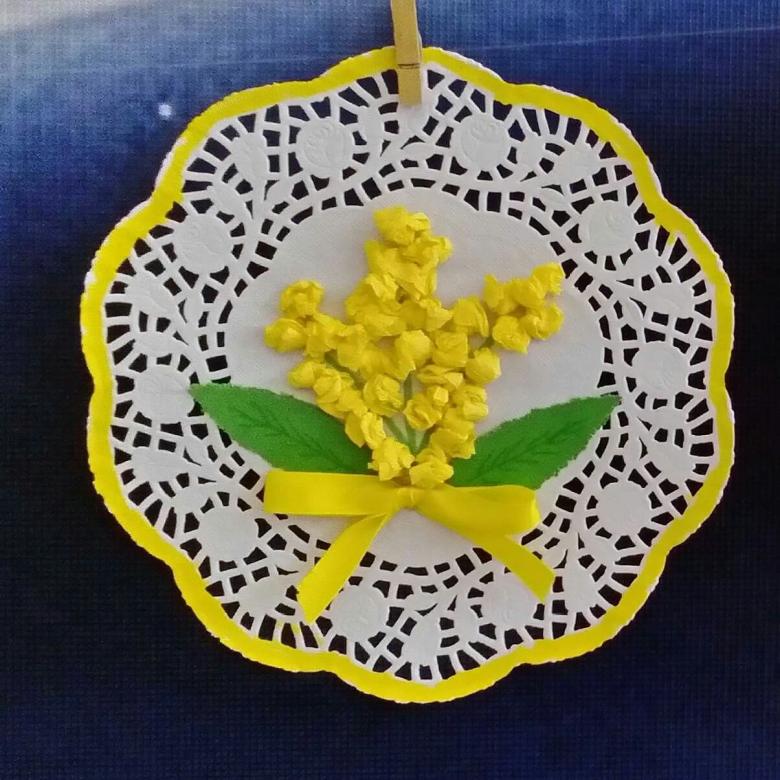
Mimosa .
For the younger group is suitable application of napkins mimosa. This theme will be most relevant in the spring or on the eve of March 8. This work gives room for creativity. Depending on the age of children, the vase and leaves of the plant can be drawn with pencils or glued from colored paper.
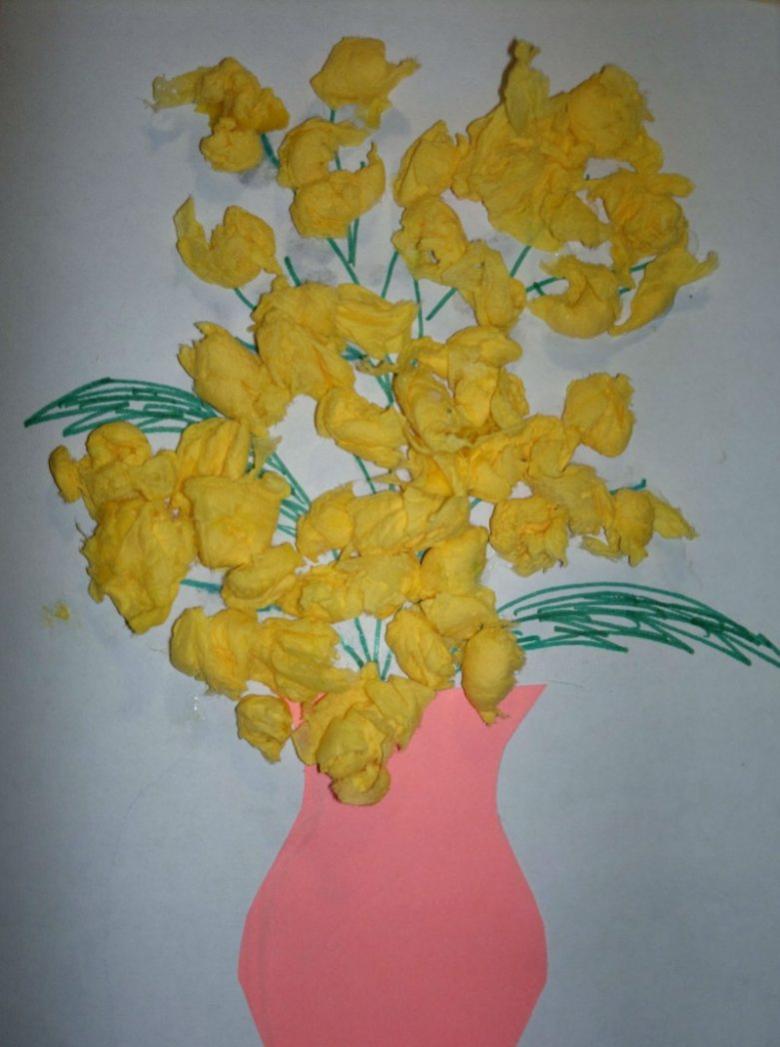
The work will require:
- cardboard;
- yellow napkins;
- colored paper (for the vase and greenery);
- glue;
- scissors;
- colored pencils.

If making a mimosa applique from napkins with your own hands, it is important to follow the sequence of stages.
- Preparation of the base. First give children to choose a sheet of cardboard, on which the applique will be.
- Preparing the template of the vase. Circle the vase template on colored paper and cut it out.
- Prepare the leaves. From green paper cut out oval leaves. From the edges of the straw cut, imitating the peculiarity of mimosa greens.
- Preparation of flowers. Napkins are cut into squares and rolled into balls.
- Assembly. On the template with a green pencil to draw the guides of the sprigs of mimosa. Glued on top of the yellow lumps. When the flowers are formed green leaves are glued, so that they slightly cover the flowers. Finally, glue the vase.
Handicraft mimosa varies in performance.

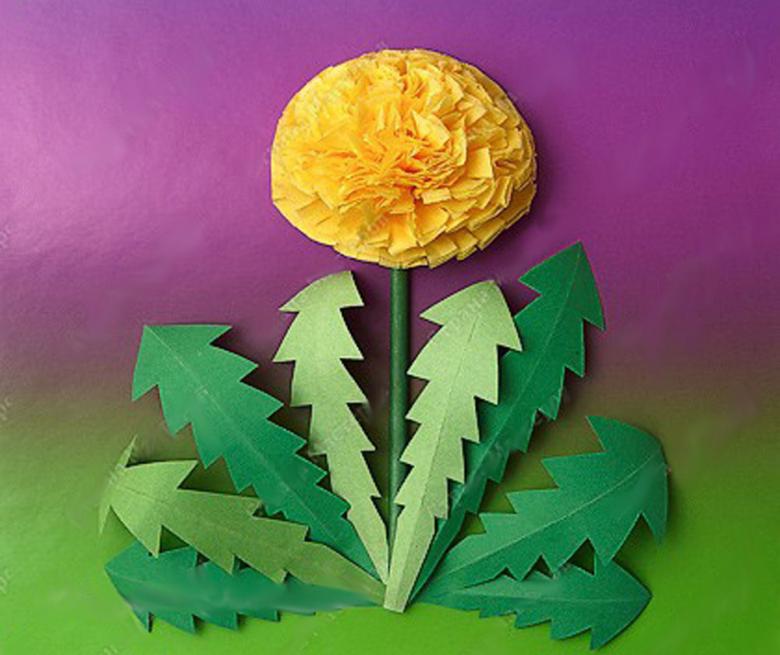
Dandelion
Dandelion is a craft from napkins in the volume technique.
For its manufacture will be required:
- cardboard;
- green paper;
- yellow or white tissues;
- glue;
- stapler.

The collage is simple and suitable for preschool children.
- Making flowers. Napkins are cut into squares and stacked. In the center of the layers fix with a stapler. Napkins are given a circle shape. The edges are sliced in straws with a spacing of 3-5 mm. Dissolve the finished flowers.
- Making leaves and stem. From green paper cut out 2 longitudinal leaves, the shape resembles the greenery of a dandelion. Shape a tube for the stem.
- Assembly. Glued to the cardboard stem. On the side of it - the greenery. Completes the application bright yellow flower.
Making crafts from napkins is a fun activity that will be useful not only for young children, but also for adults. Starting with simple panels, you can learn to make three-dimensional and complex products that will be a worthy decoration of the interior.

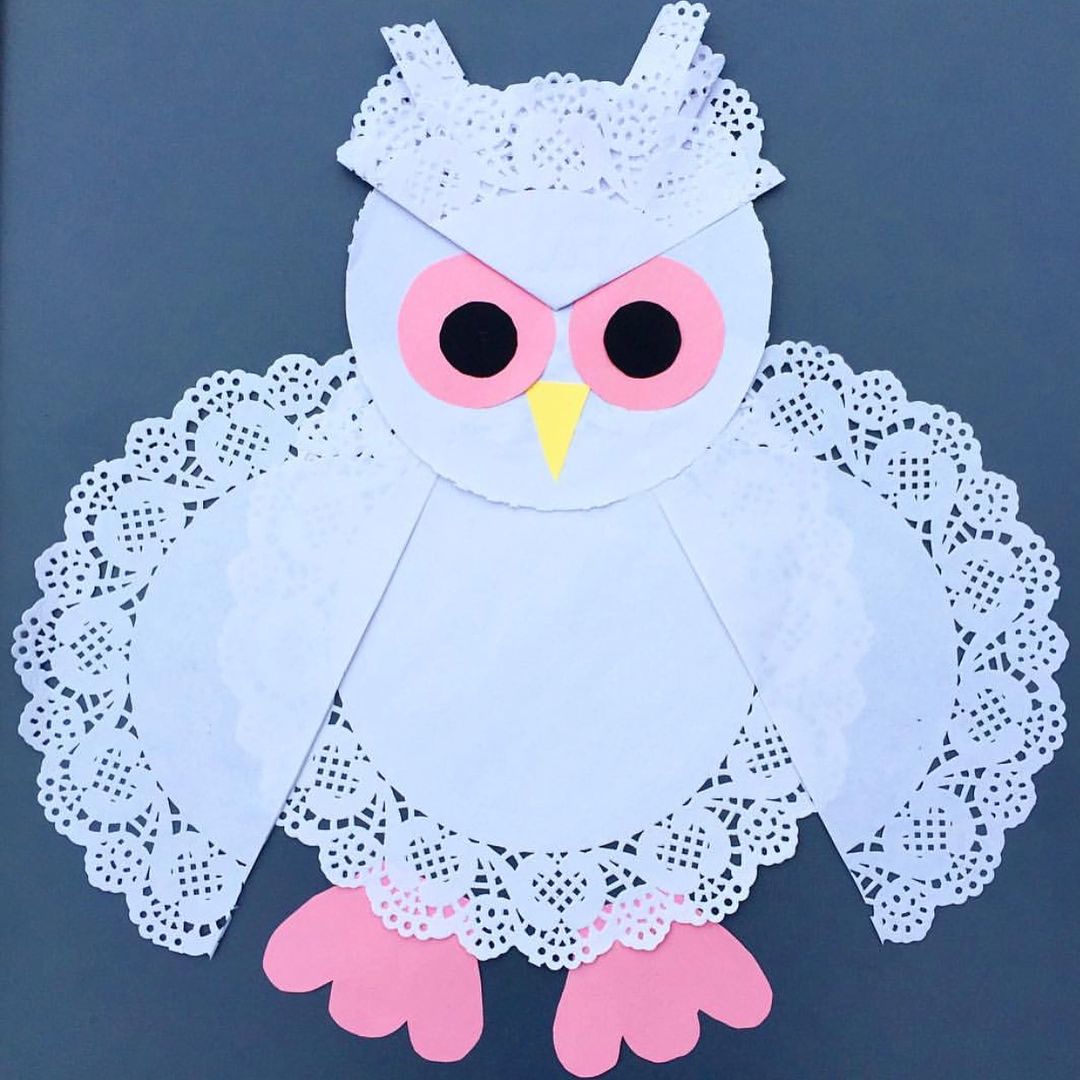
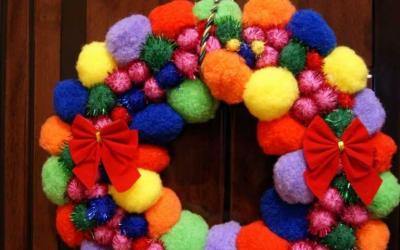
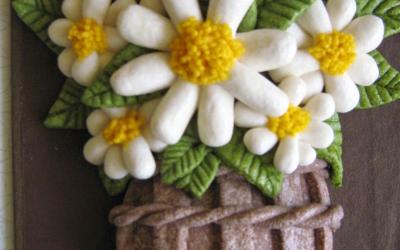
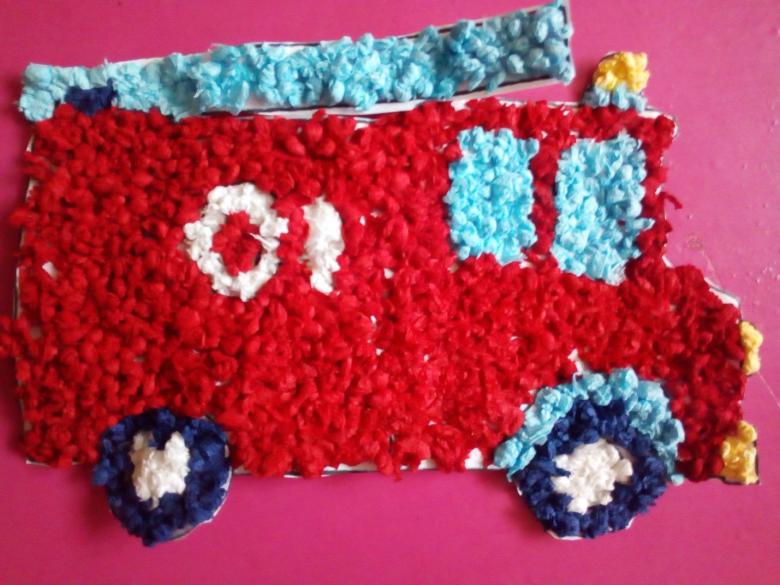
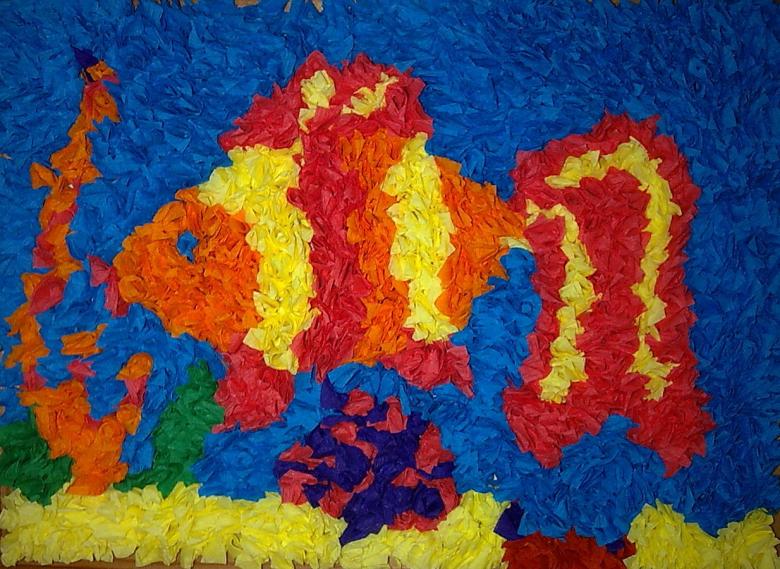
Photo ideas of homemade napkin appliques