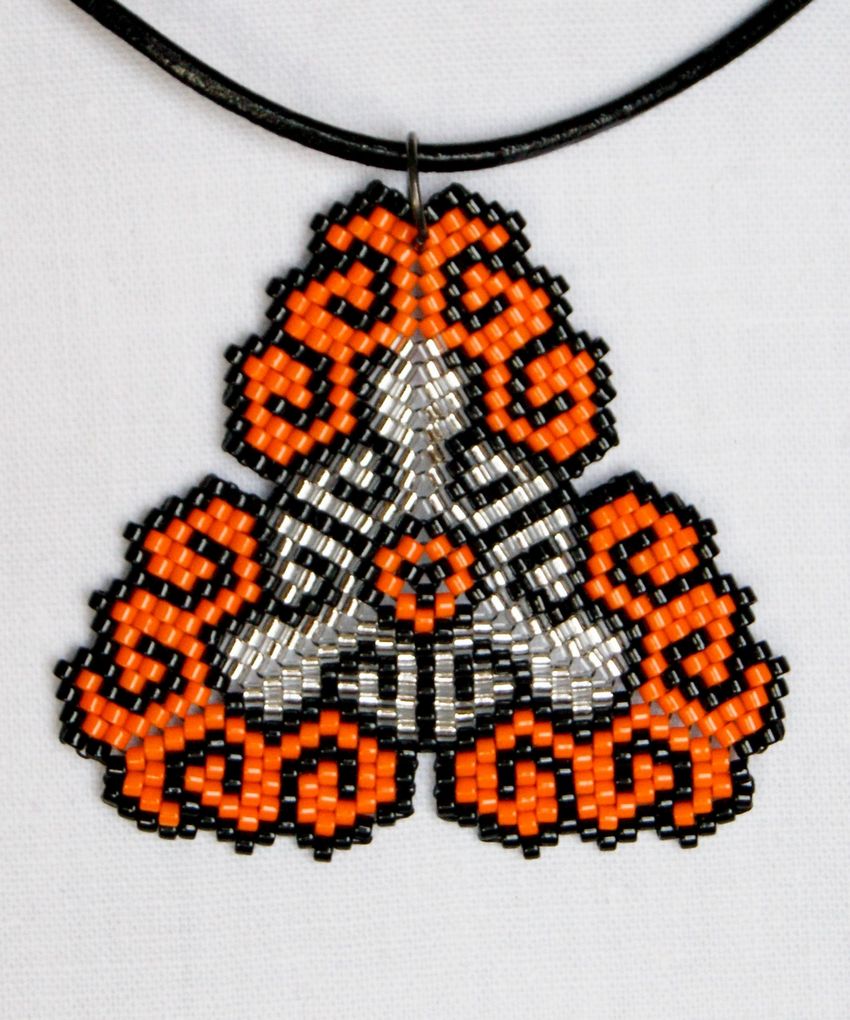
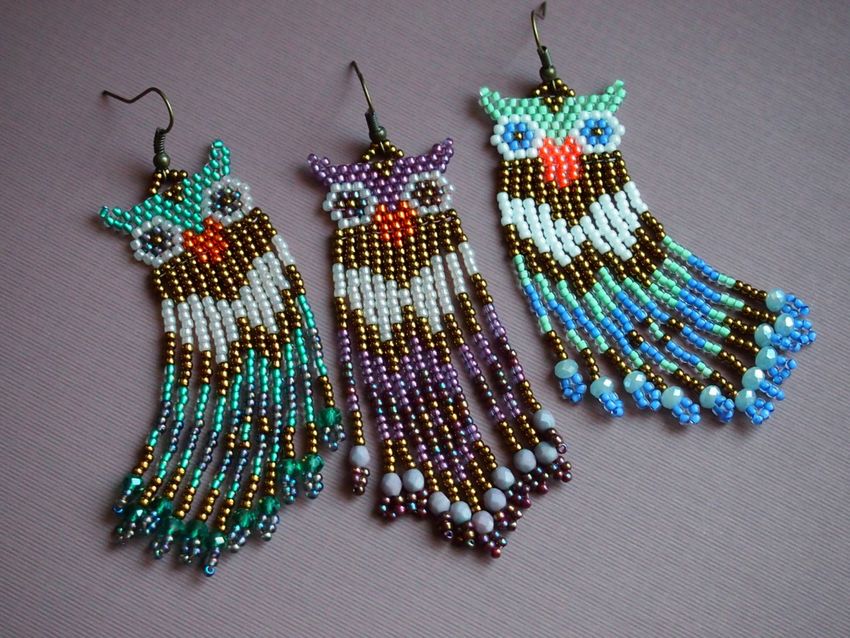
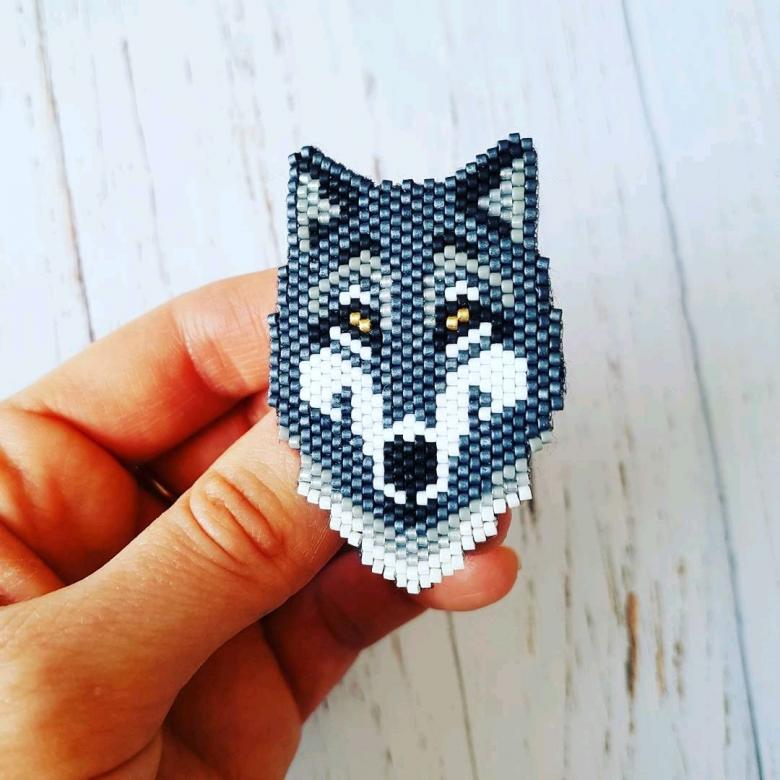
Brick weaving - schemes, instructions, guidelines for beginners
In beadwork, as in any other form of needlework, there are several basic techniques, having mastered which it is possible to perform the vast majority of work. This article will focus on the brick weaving technique. It will be given detailed information about what is a technique and sorted out schemes of brick weaving for beginners.
Brick weaving
The name given to this technique of beadwork derives from the fact that the weaving turns out similar to brickwork. The technique is very similar to the mosaic technique, only much more convenient. The products are much more elastic and flexible than in the mosaic technique.
A peculiarity of the brick technique is the weaving itself, the beads of the subsequent row are fixed by the thread of the previous row.

The technique is suitable both for making small trinkets, and for decorating clothes.
Materials
A standard set of materials necessary for work:
- Beads.
- String or fishing line.
- Scheme of weaving.
- Auxiliary items: scissors, glue.
- Needle for beading.

Weaving technique
The work should be done very carefully, as the rows must be straight. The thread on the sides should not be noticeable, otherwise it will spoil the whole picture.

Weaving algorithm:
- The first two beads are put on the thread with a needle and fastened with a loop so that they touch one side.
- The third bead is put on the thread from top to bottom through the second bead, the weaving should go counter.
- In the same scheme, put all the other beads of the first row.
- Thread the first and second beads of the second row on the needle.
- Lead them through the loop between the first and second beads of the first row so that the first bead of the second row lies between the two beads of the first row.
- The beads of the second row are led from the bottom up. Both the expansion and contraction of the second row is possible.
After gaining a little experience with this technique, it becomes clear in what works the use of brick weaving will be appropriate.
Tips and tricks for beginners
There are no difficulties and pitfalls in the work of this technique. Tips from experienced needlewomen will help to avoid making silly mistakes:
- To narrow or expand the product, remove or string additional beads around the edges. This will help maintain the integrity of the row.
- If you need to narrow the center, weave one bead through two loops.
- Increase the row in the central part by weaving two beads through one loop.
- Thread should be threaded through the rows and trimmed when the row is complete.
- When the weaving is complete, the thread is threaded through all the rows and secured at the end point.
- A strict rule of brick technique: when weaving the next row, the working thread is weaved through the loops of the previous row.
Master Class
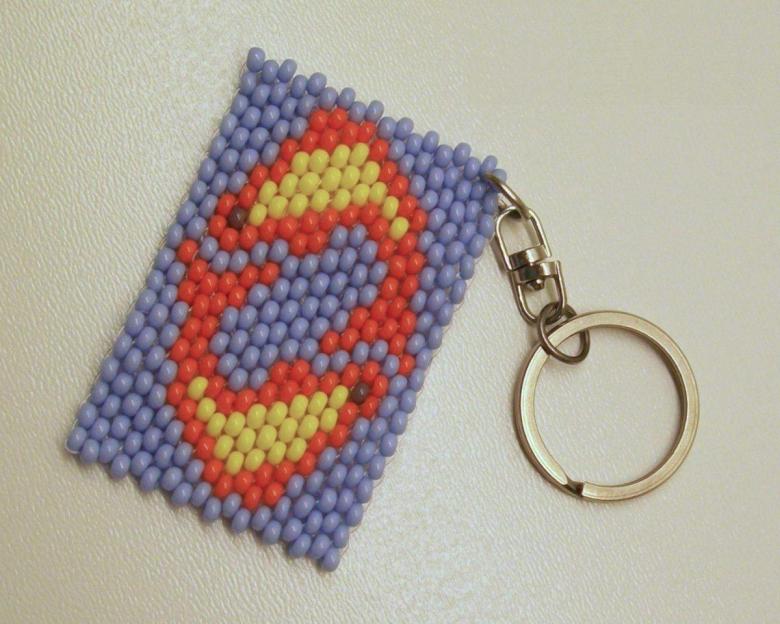
In this section we will share some examples of weaving, in particular patterns for making key chains using a brick technique.
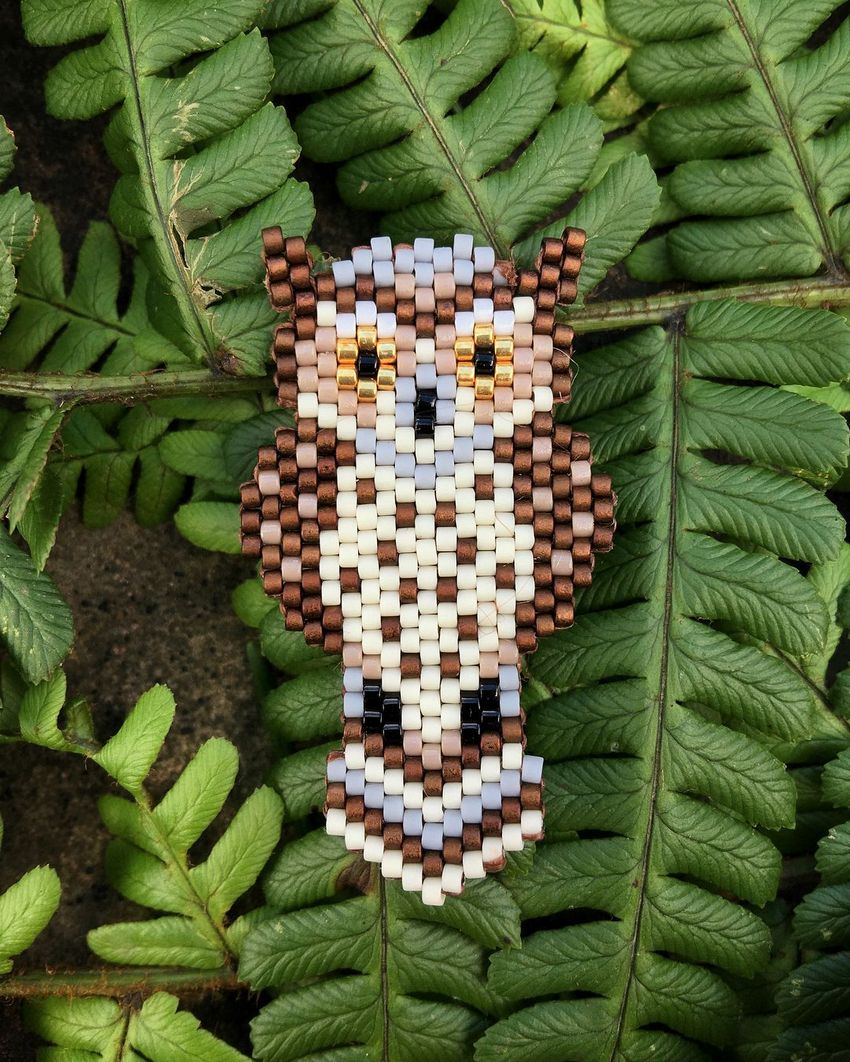
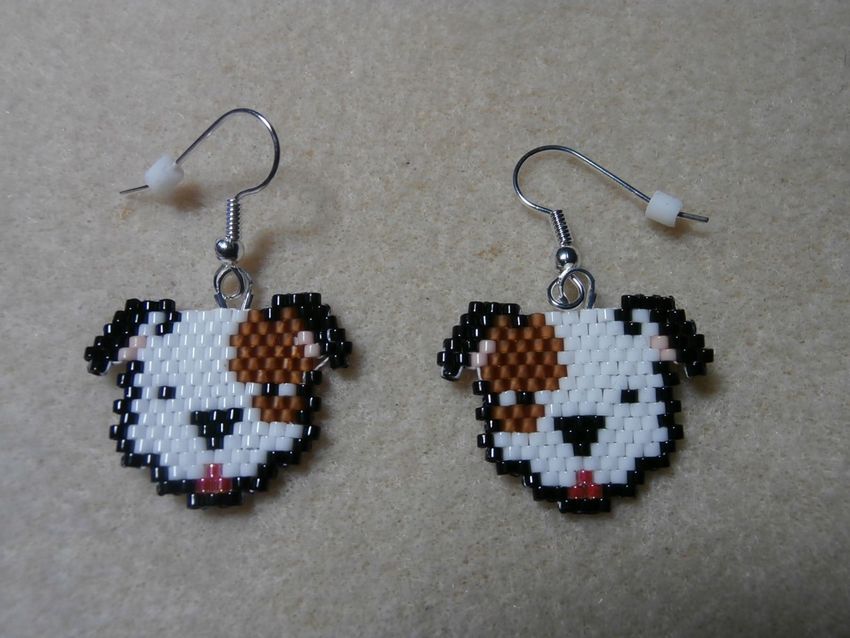
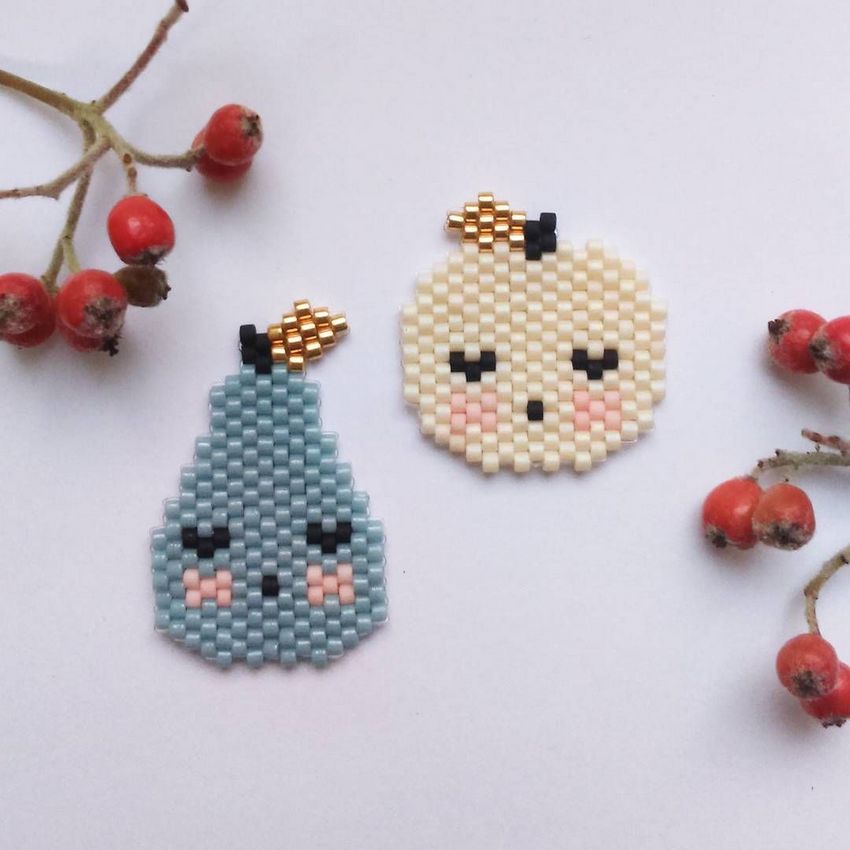
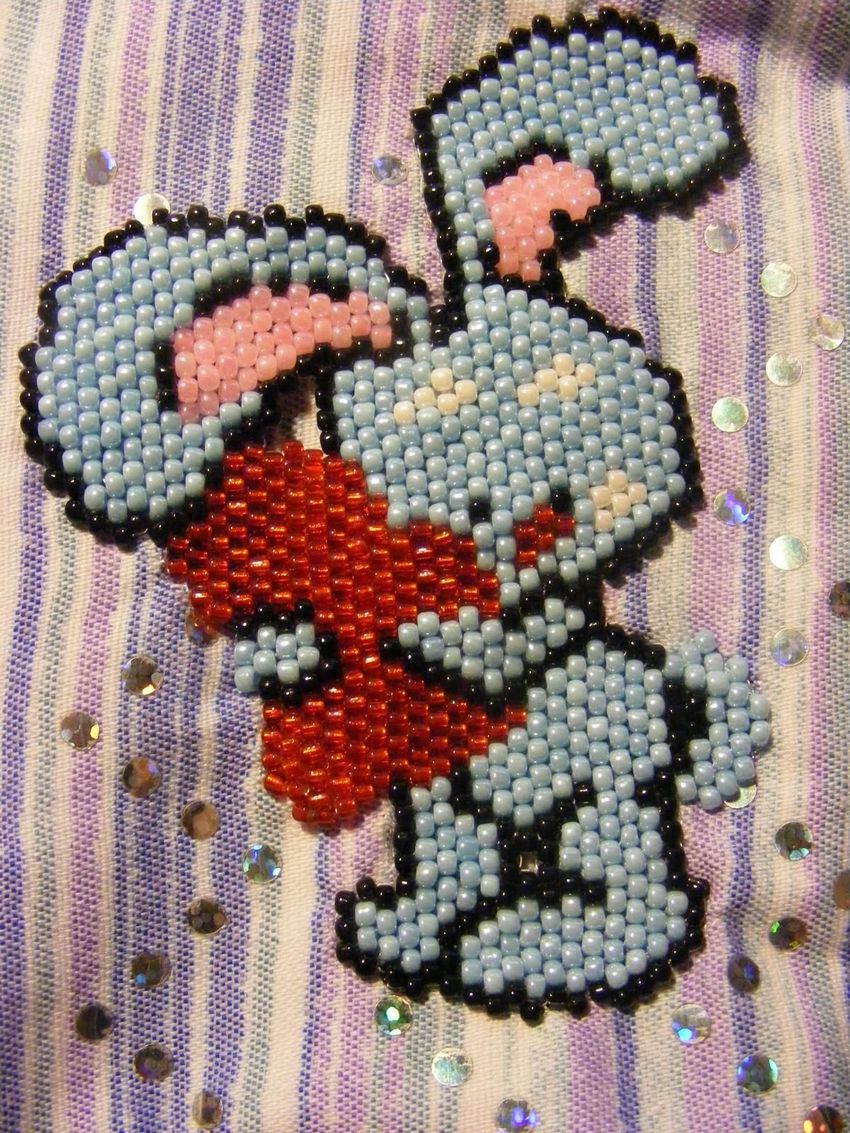
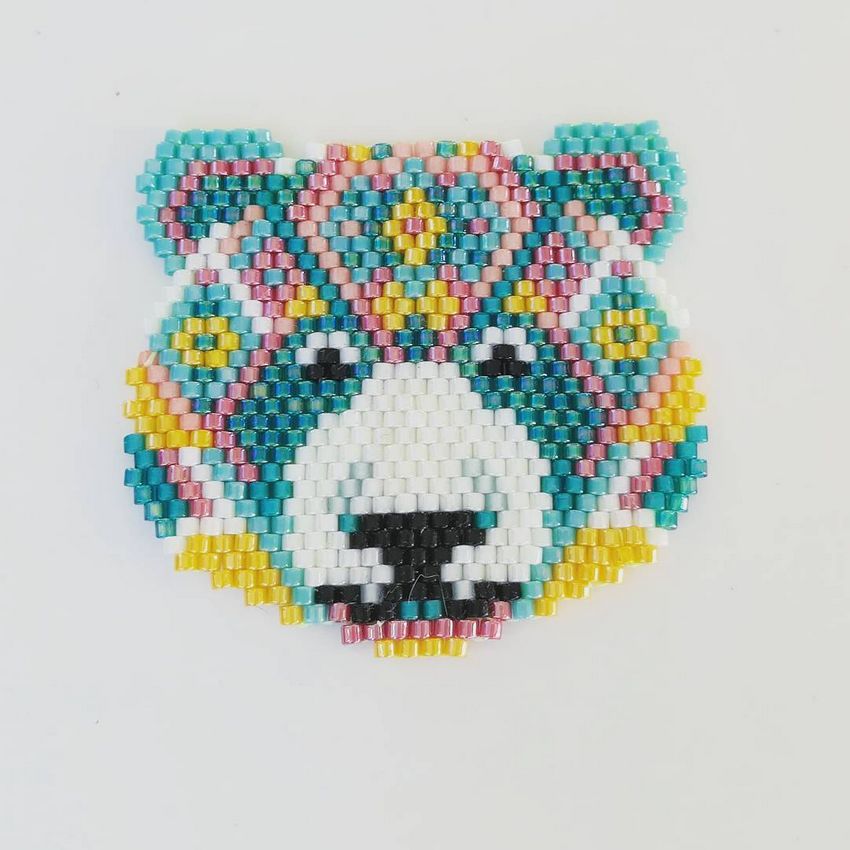
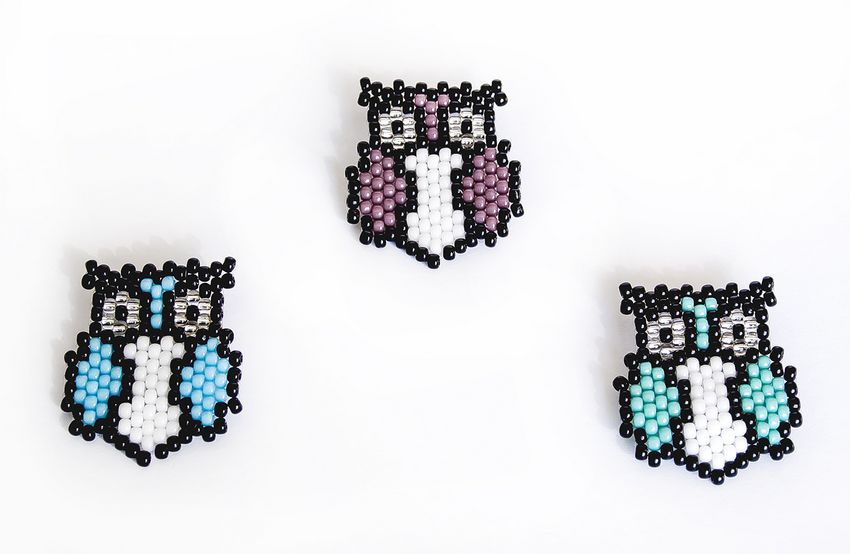
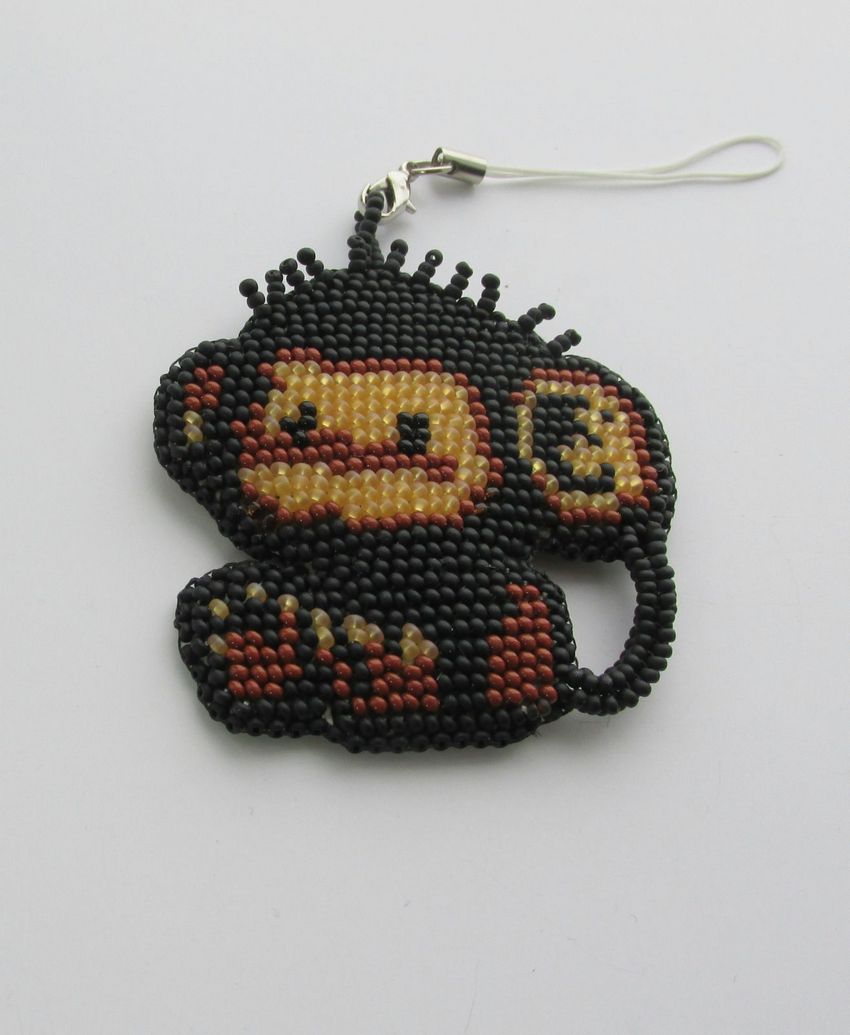
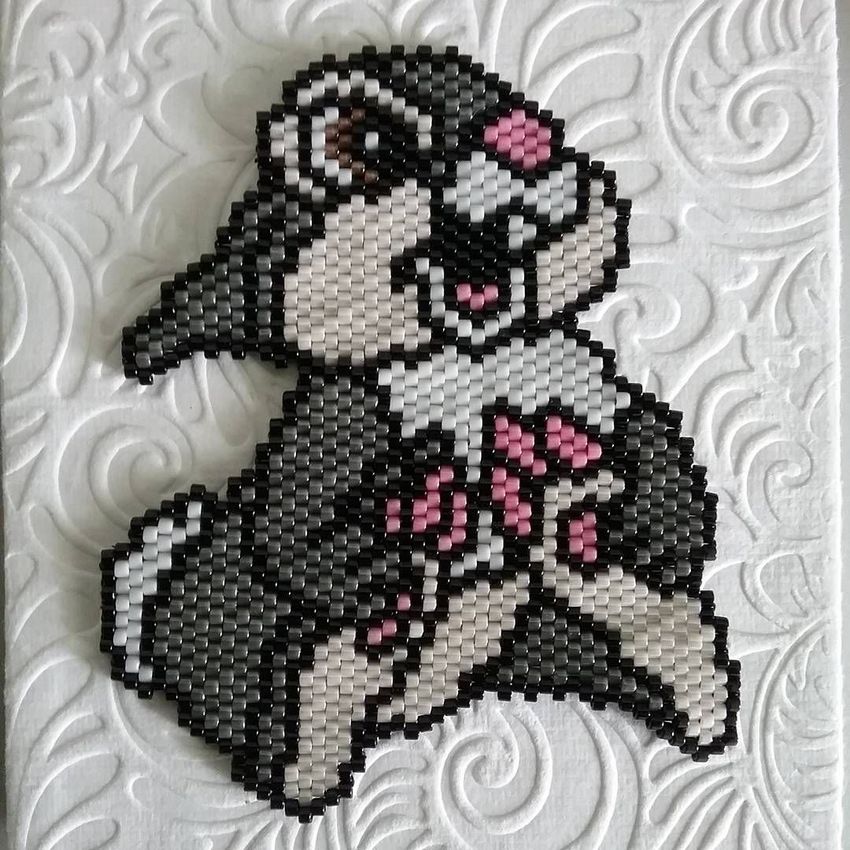
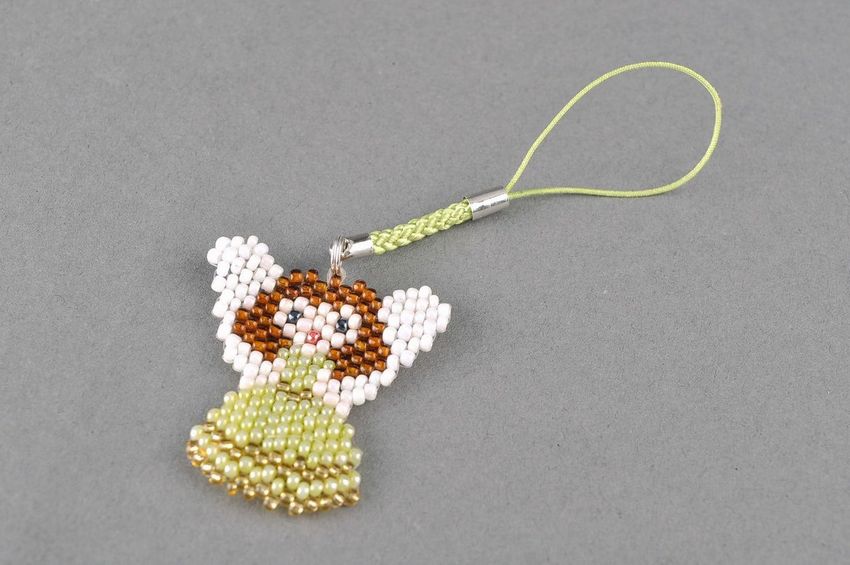
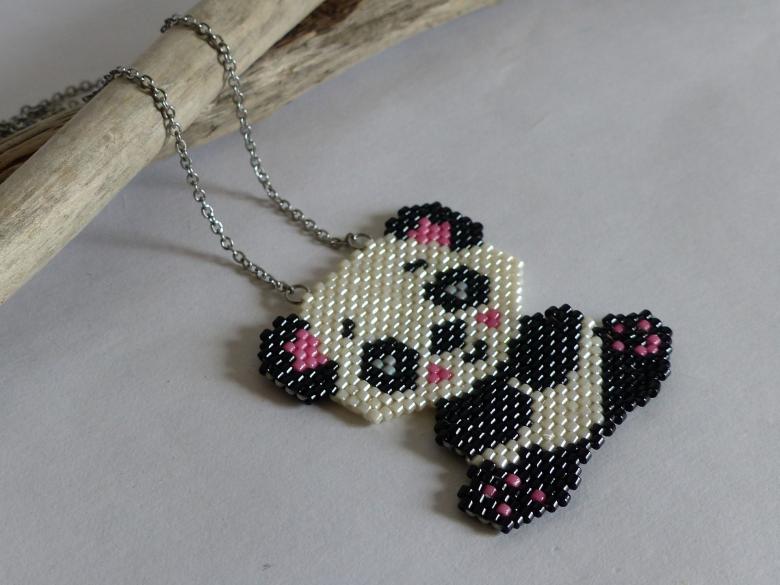
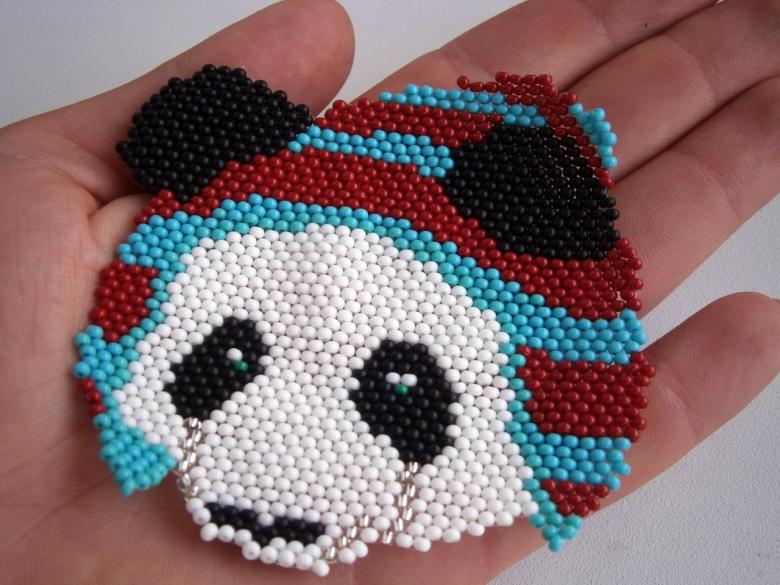
Panda .
Materials required for making pendant:
- Scheme of weaving.
- Beads black, gray, white and light green.
- Needle for beading.
- Ring for a keychain.
- String or fishing line.
- Auxiliary tools: scissors.
Weaving begins with the upper part.
Algorithm of execution of work:
- The first row of the charm is skipped, weaving begins with the second. With the help of a needle on a thread thread threaded black beads.
- The bead is lowered to the end, the needle is threaded through it, making a loop.
- The second bead is threaded in the same way.
- Then a white bead is put through the back end of the working thread.
- Based on the diagram, thread the necessary beads of the first row.
- After completing the first row, pull the thread through the bottom in the direction of the top, continue weaving according to the scheme.
- In the middle of the third row you will need to go up and make an initial row of black beads.
- Back to the first row, 10 black beads are threaded on the thread.
- A loop is made, the thread is threaded through the white beads at the base and goes into the middle of the third row. After that, weaving continues according to the scheme.
- In places where the scheme will be narrowed, you need to grab one thread between the beads.
- In places where the pattern will expand, two beads must be threaded into one loop at the edges.
- When the work is complete, the protruding threads should be passed between the elements, and the ends should be cut off.
- The final step is to attach the ring.
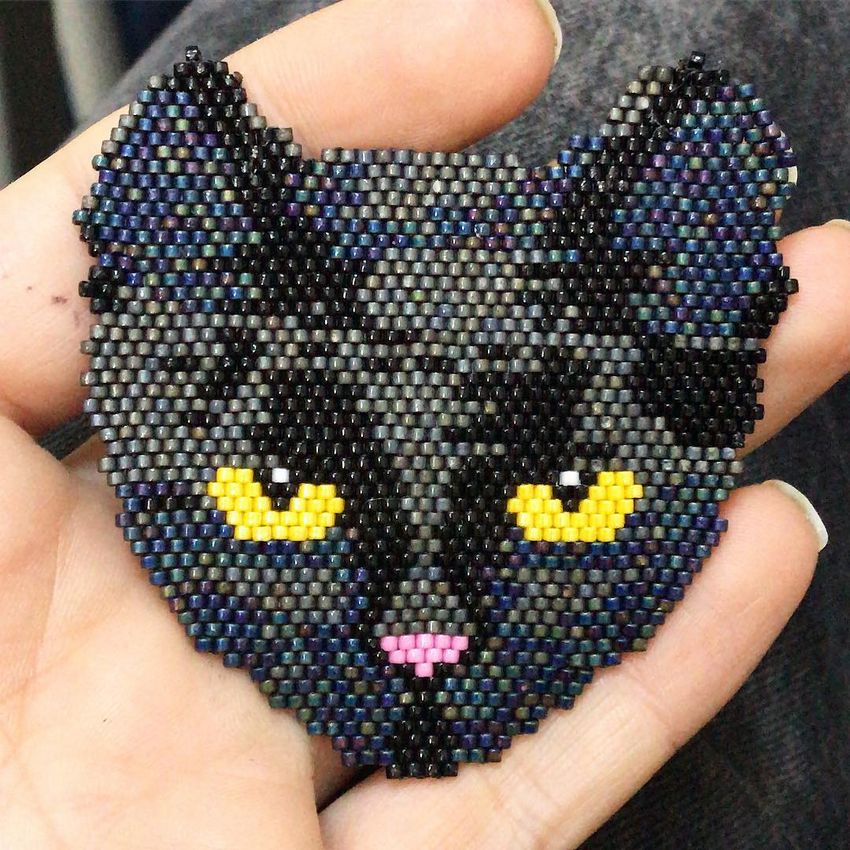
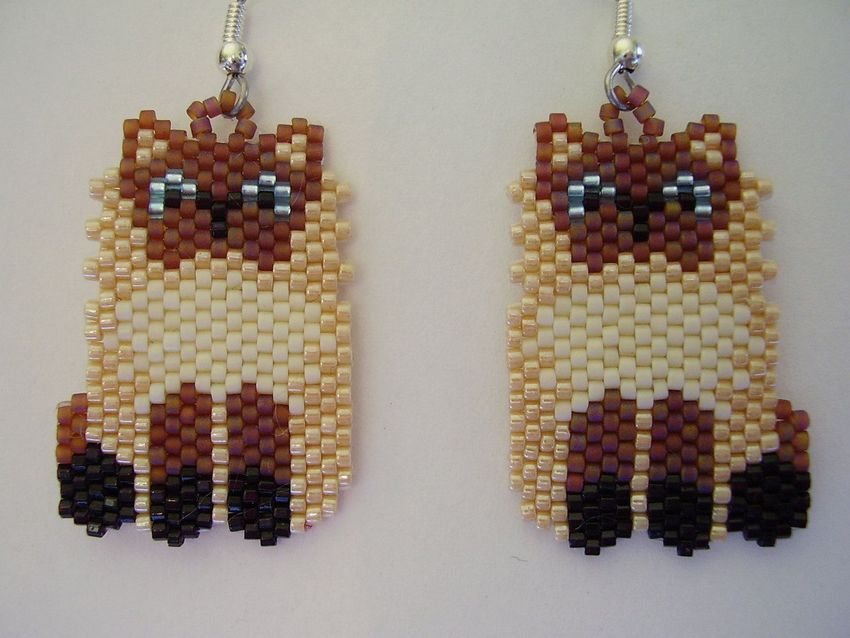
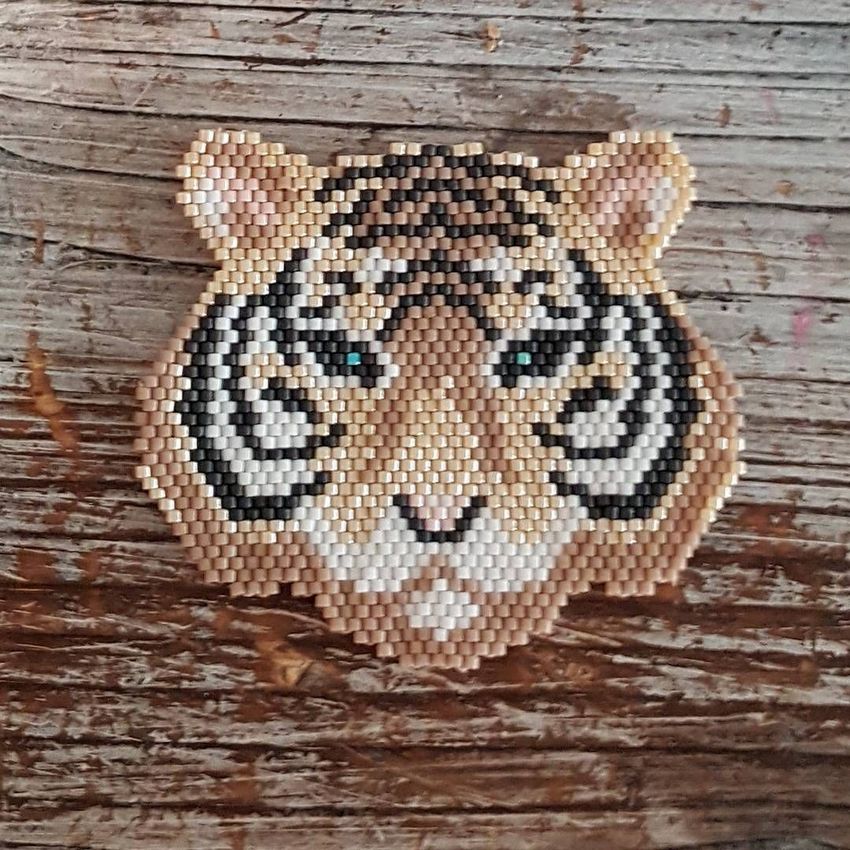
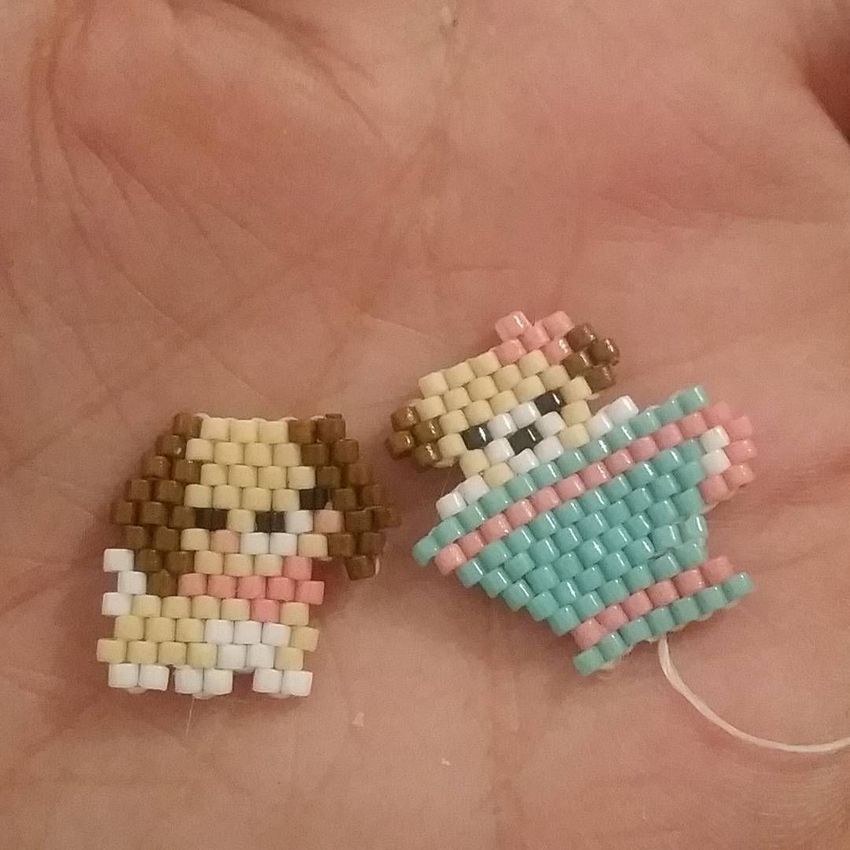
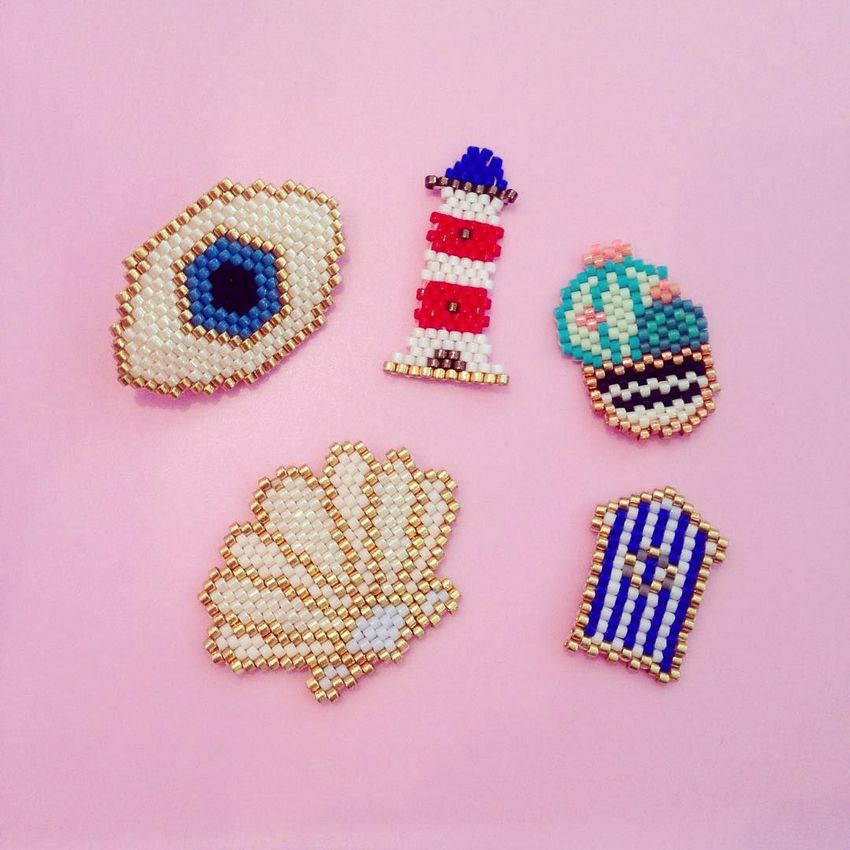
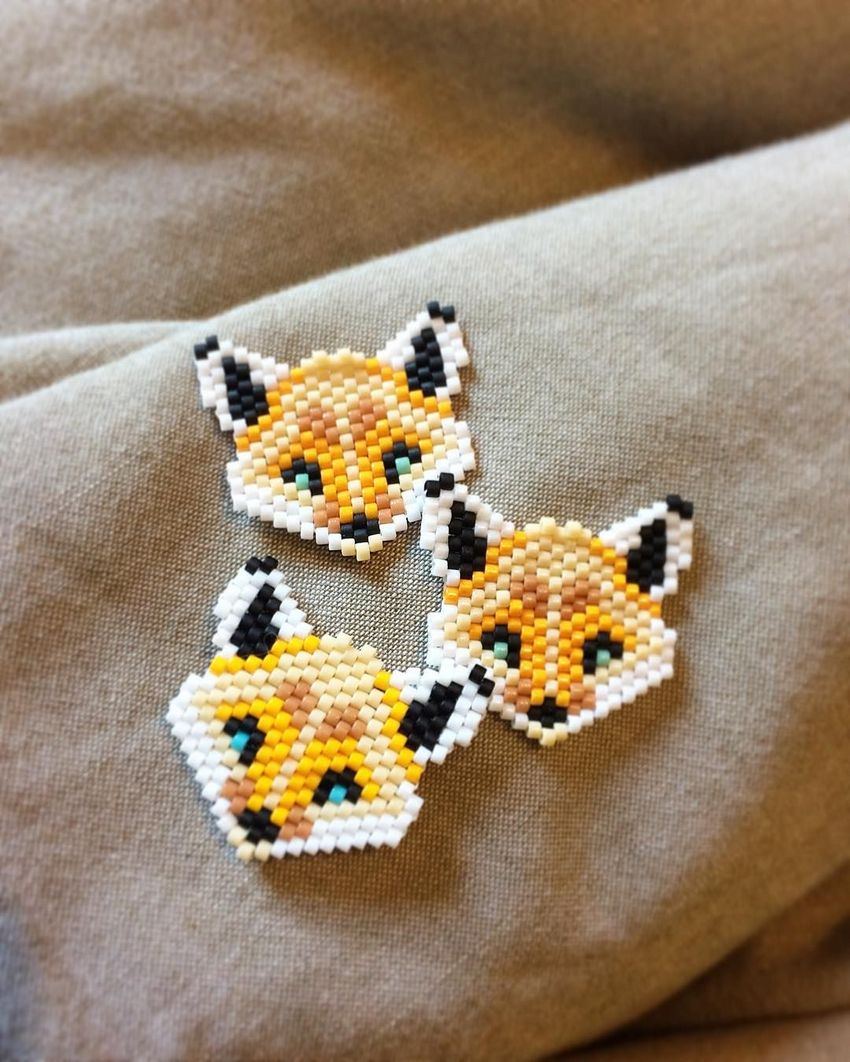
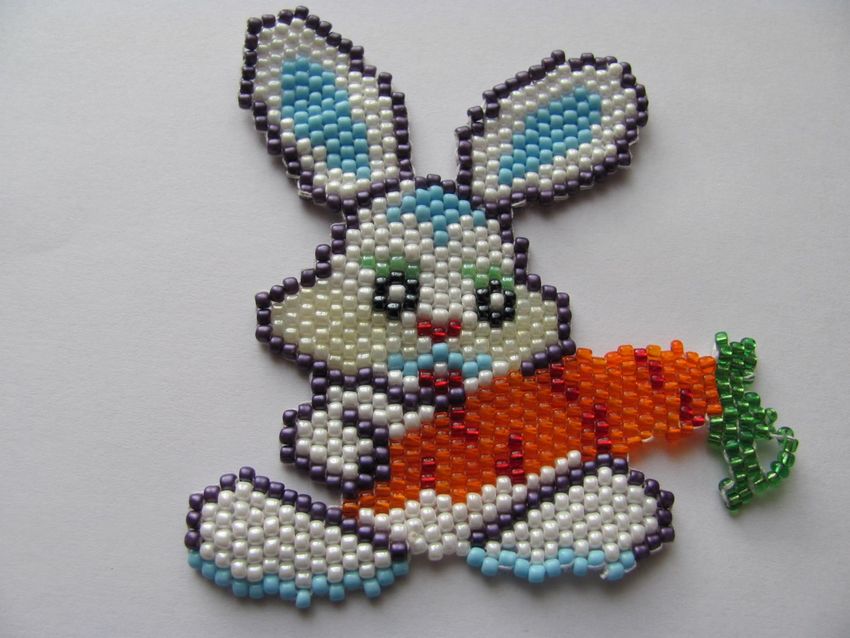
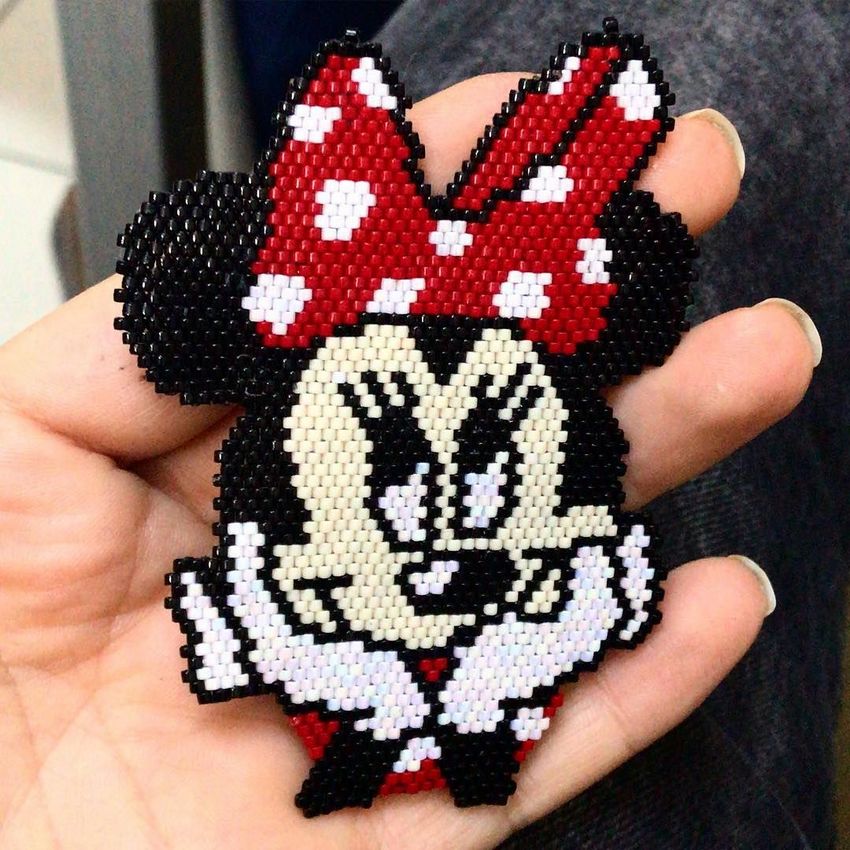
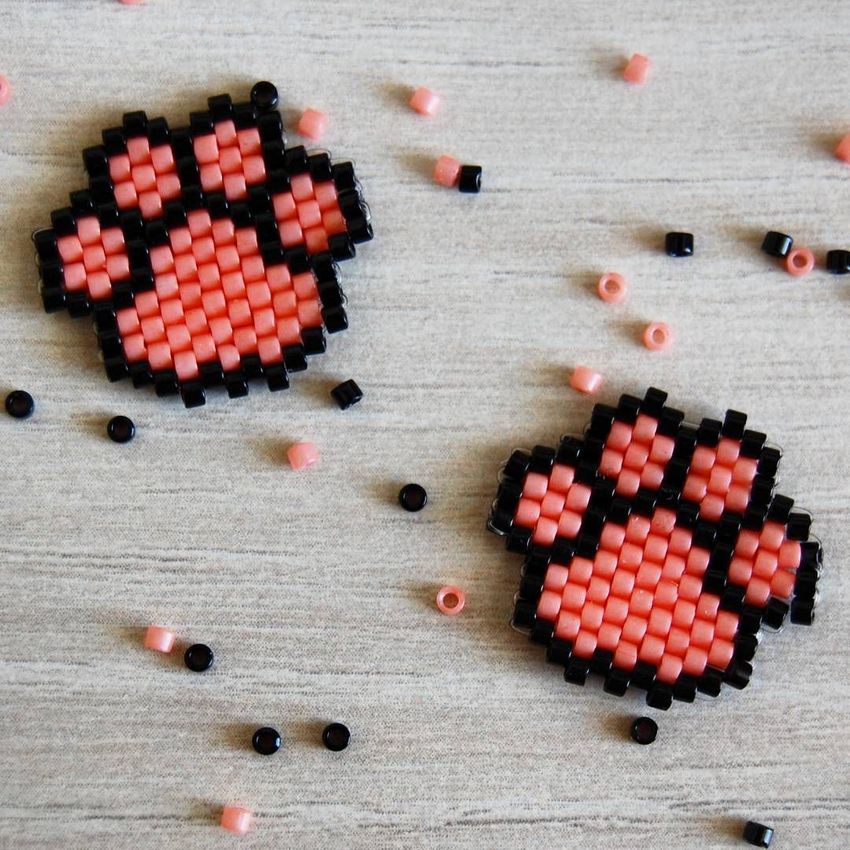
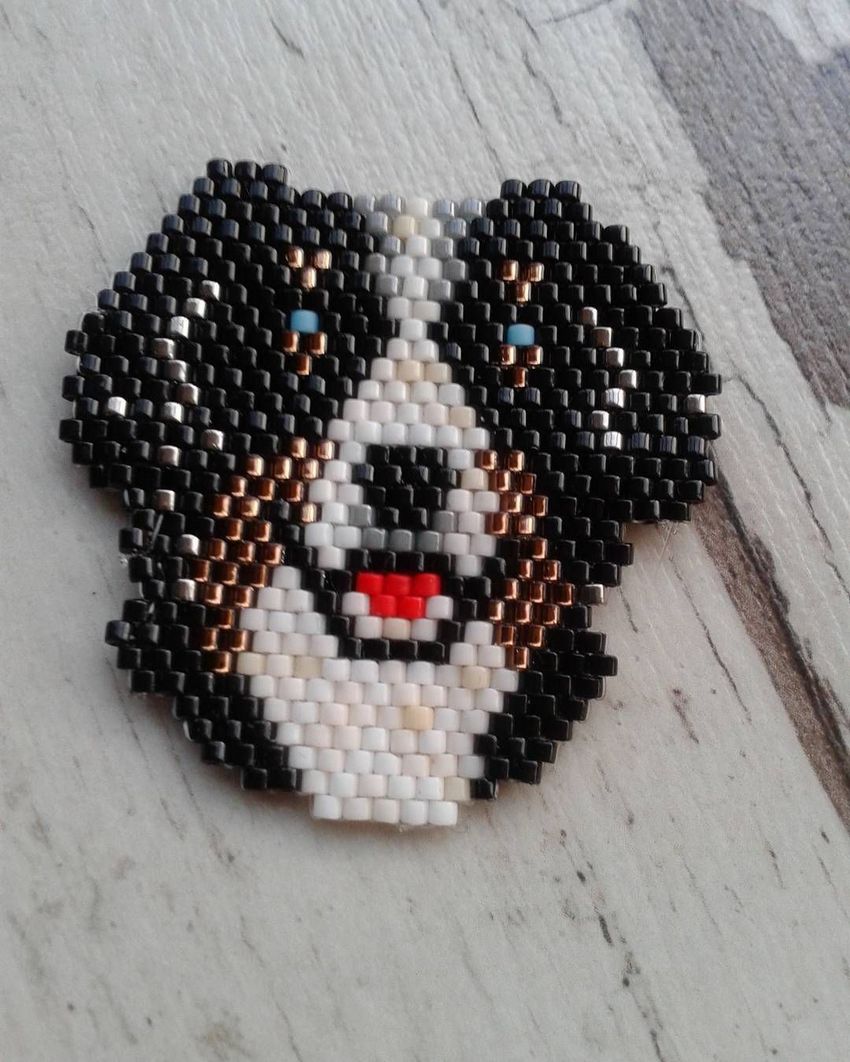
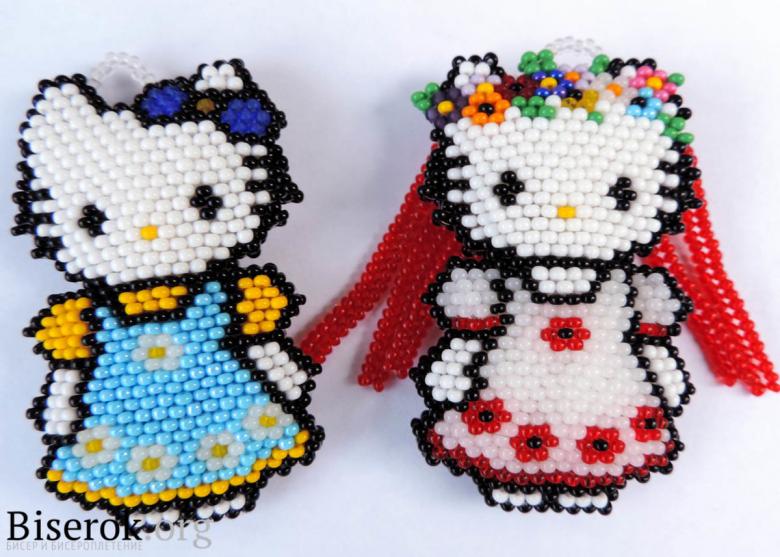
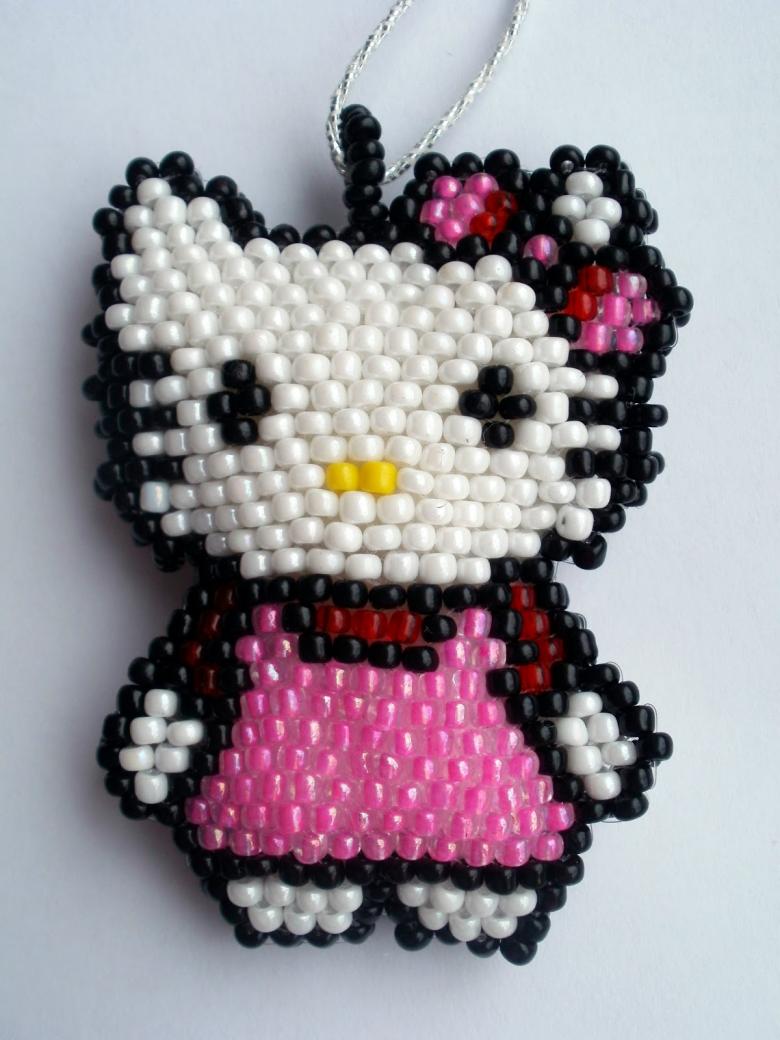
Souvenir, Kitty Hello Kitty
Weaving will be carried out from top to bottom, stringing beads according to the scheme is necessary in the direction from left to right.
- A length of a thread and a half meter is taken. Beads are threaded on it, as indicated in the diagram. Work begins with a row below the ears, they are made last.
- Needle slipped into the second bead from bottom to top. According to this scheme are weaved through the remaining beads.
- The end result is the first row.
- Continues weaving under the scheme of the second row.
- String the first two beads of the next row and threaded through the loop formed between the first and second beads of the previous row.
- The needle is threaded from top to bottom.
- Then one bead at a time is threaded to the end of the row.
- At the end of the row, the last black bead is taken and led through the last loop of the first row from the bottom up.
- Subsequent rows begin with two beads. Weaving continues in the same way.
- When weaving is complete, the thread is threaded through the rows and cut off.
It remains to weave the ears:
- After completing the body, a thread should remain on top. Two beads, white and black, are put on it.
- The needle is carried between them and through the white beads upwards, getting a loop.
- In the same way doplettes the remaining beads of this row.
- The next row begins with one bead, which is threaded between the first two beads of the previous row.
- All subsequent rows begin in the same way, the bead is threaded through the loop and out the top. It is necessary to tighten the thread to make the craftwork strong.
- At the end of the work, the remaining thread is put through the rows, the tip is cut.
The right ear is made from a separate thread:
- We take 60 centimeters of thread and pass it through the beads of the first row.
- The needle is threaded so that at the end it comes out the top of the outermost glass.
- Further weaving is carried out according to the scheme.
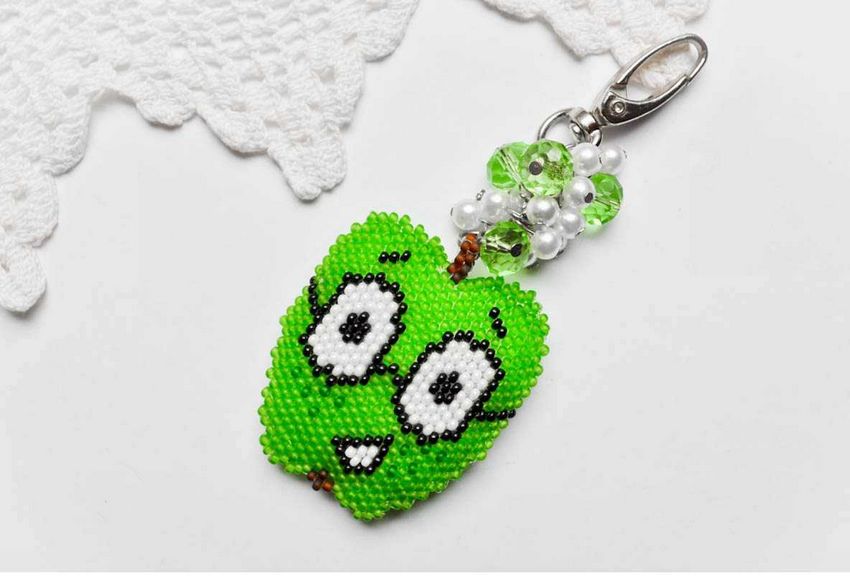
- From the handicraft can be made keychain, adding a connecting ring.
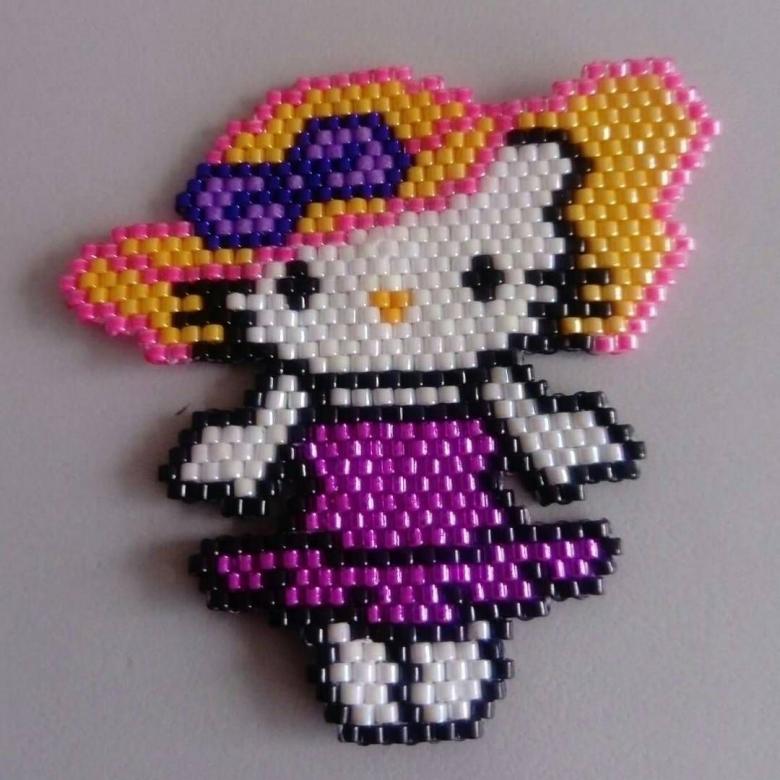
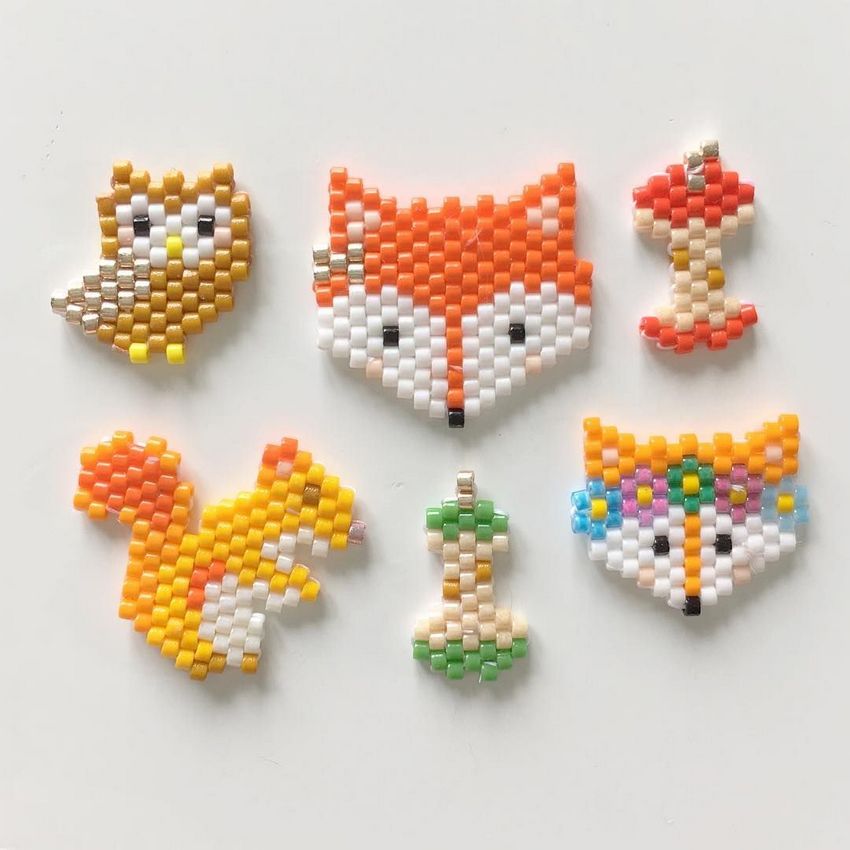
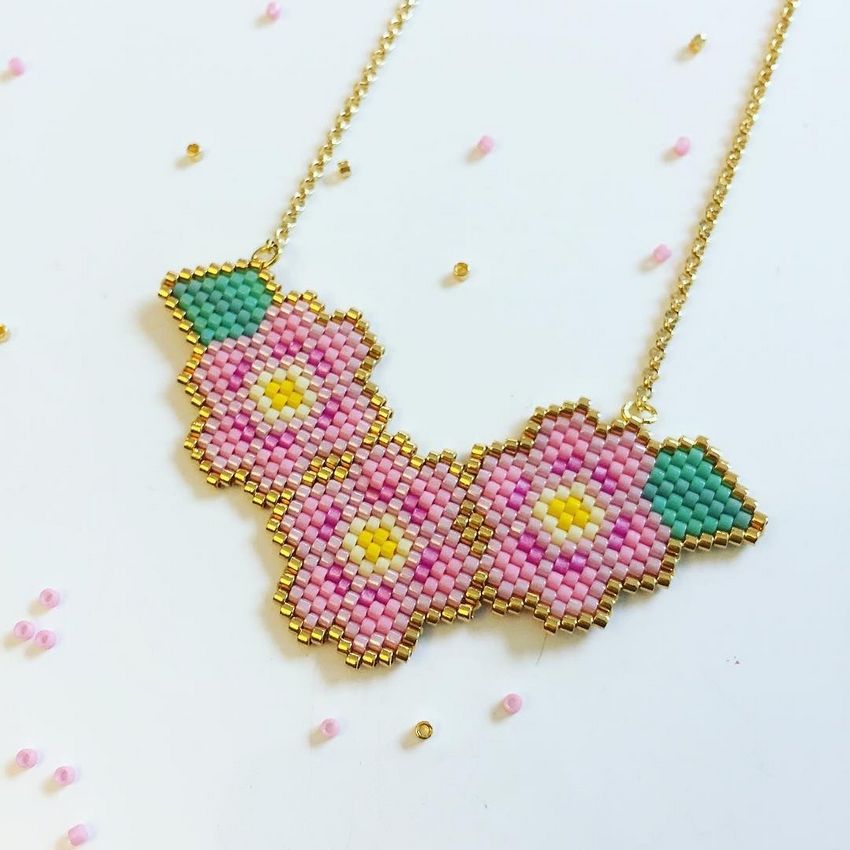
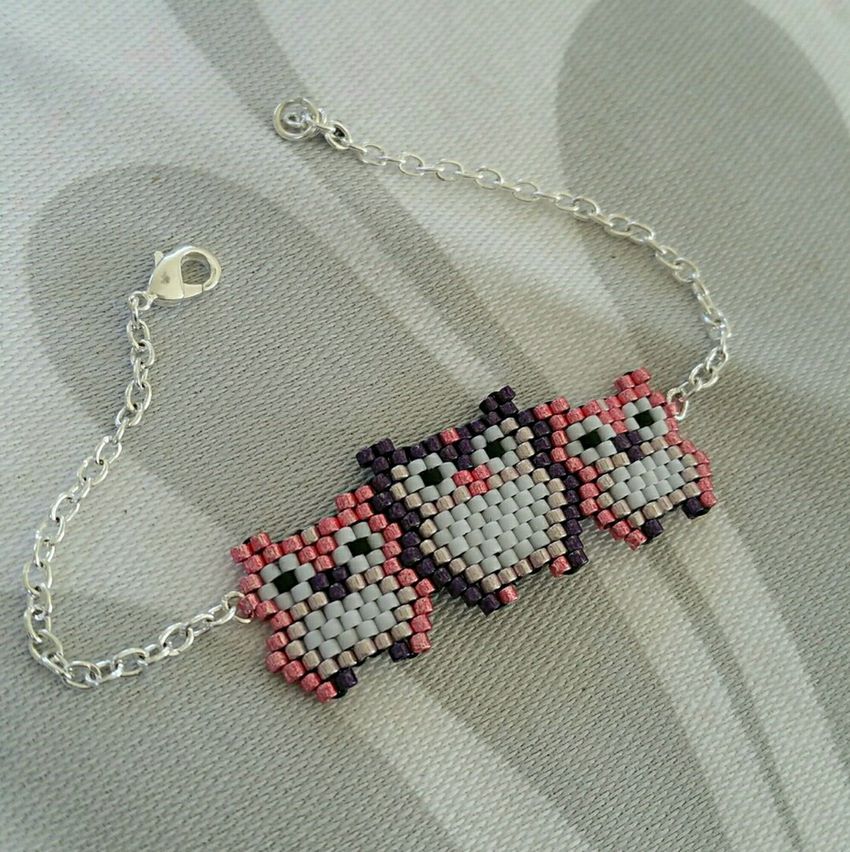
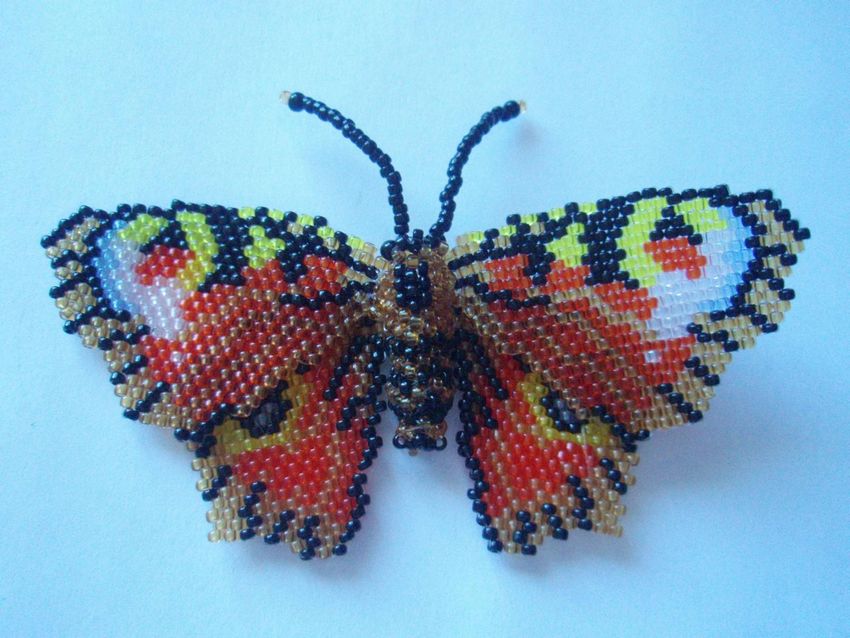
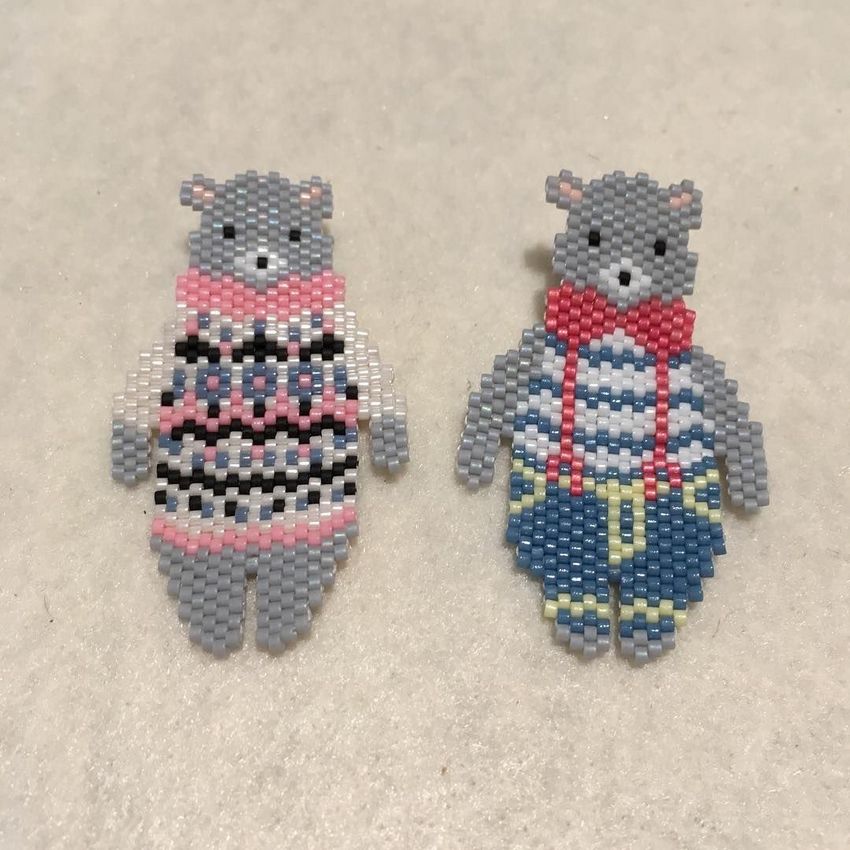
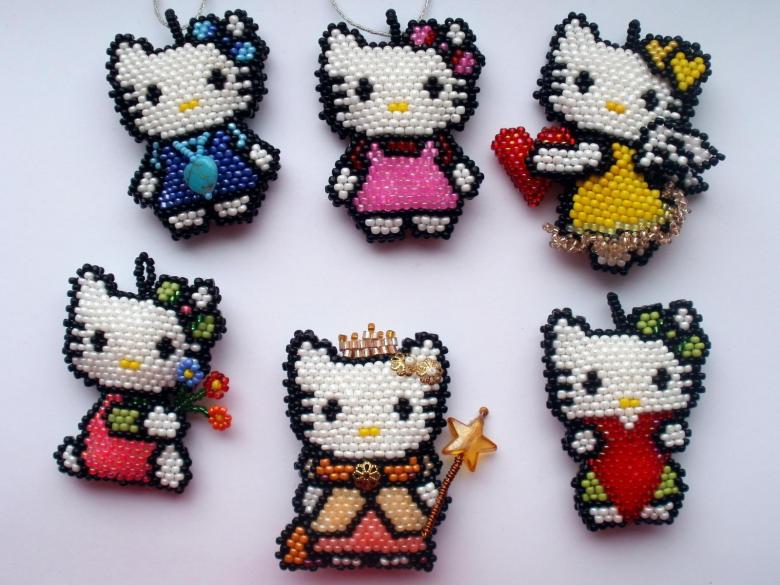
From small crafts can be made combinations. You can experiment with combinations of different weaving techniques.
After mastering all the basic techniques you can freely make up to 90% of all kinds of handicrafts. The main thing is the desire and assiduity.
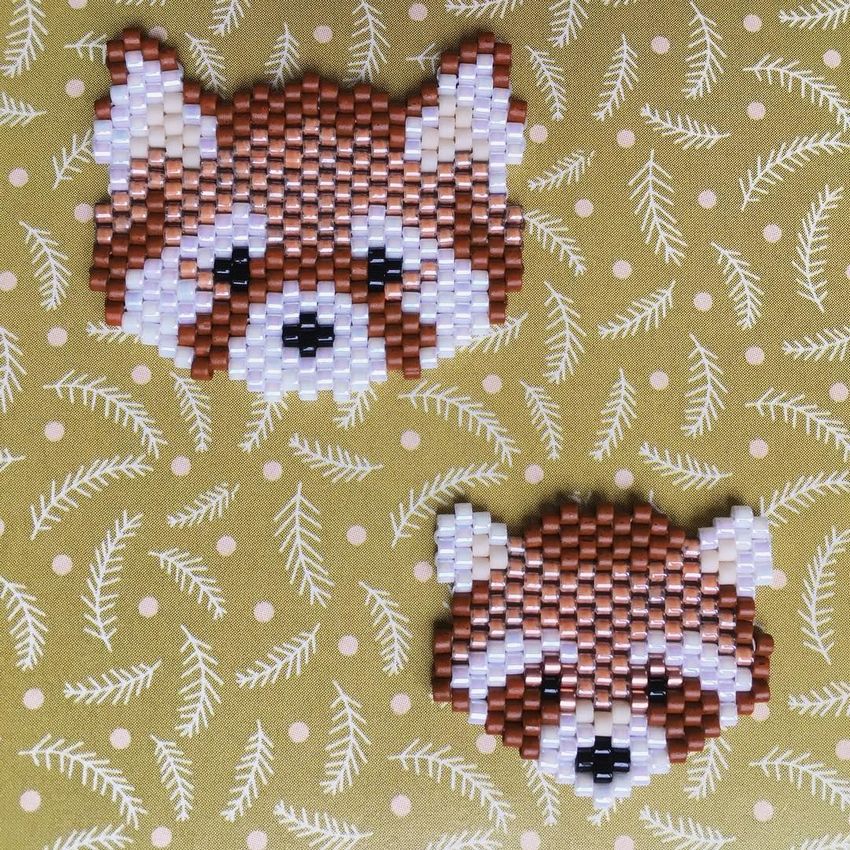
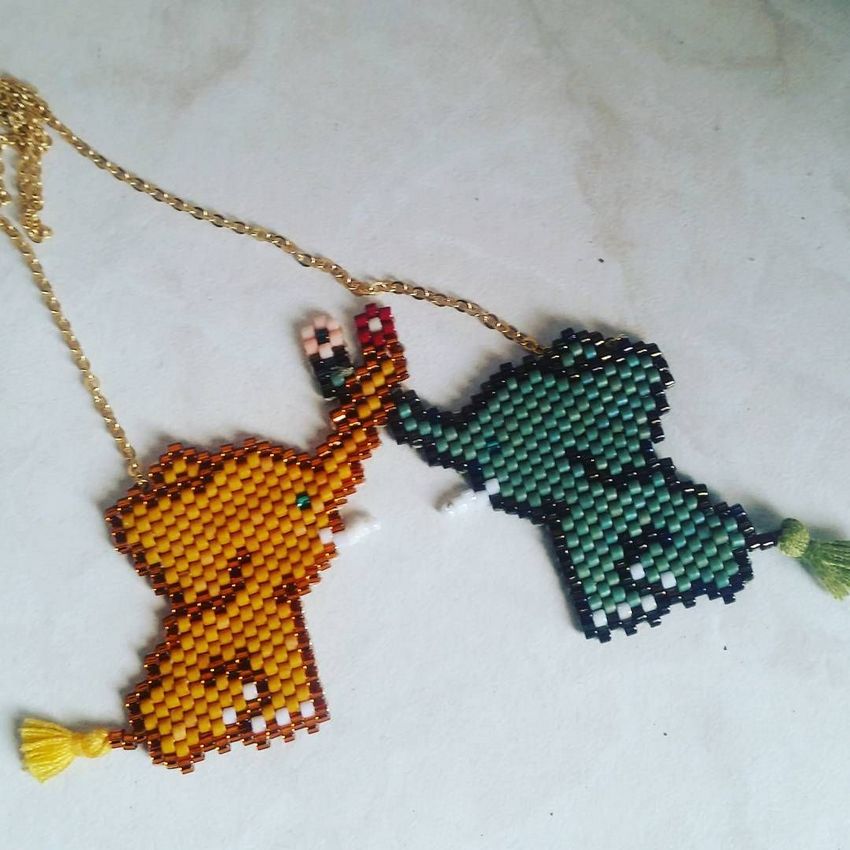
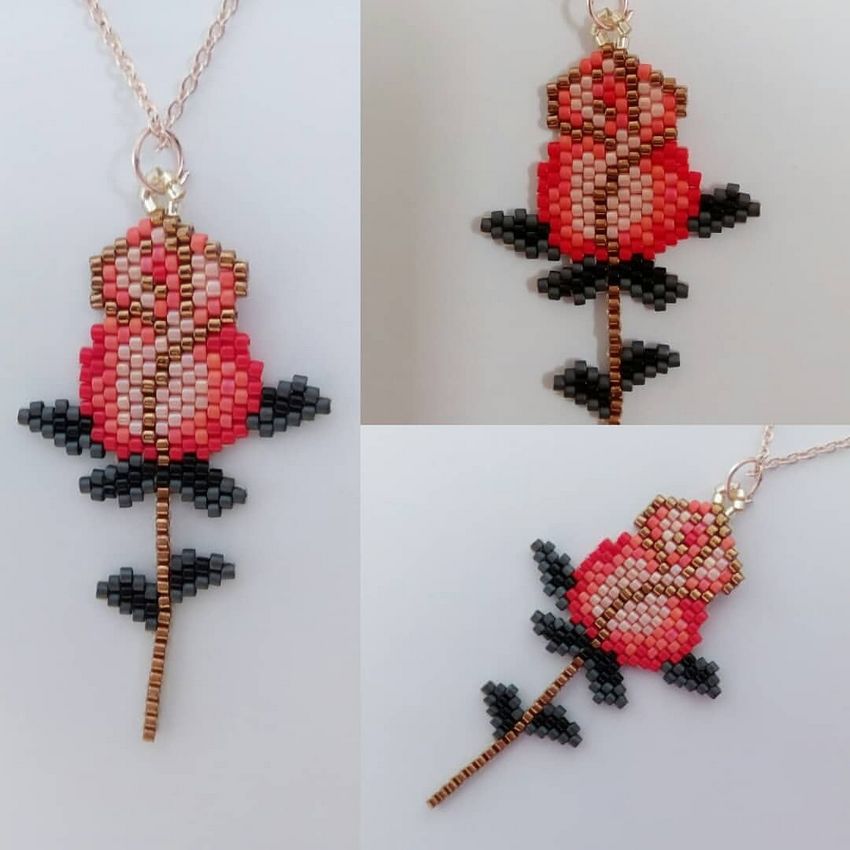
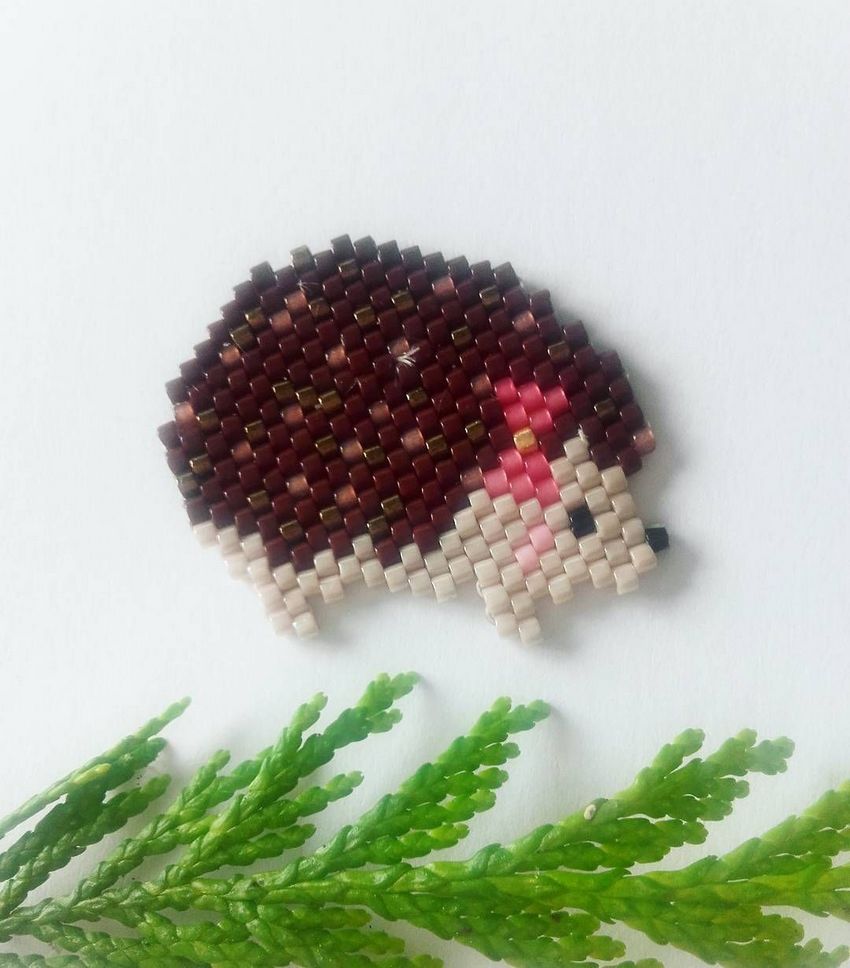
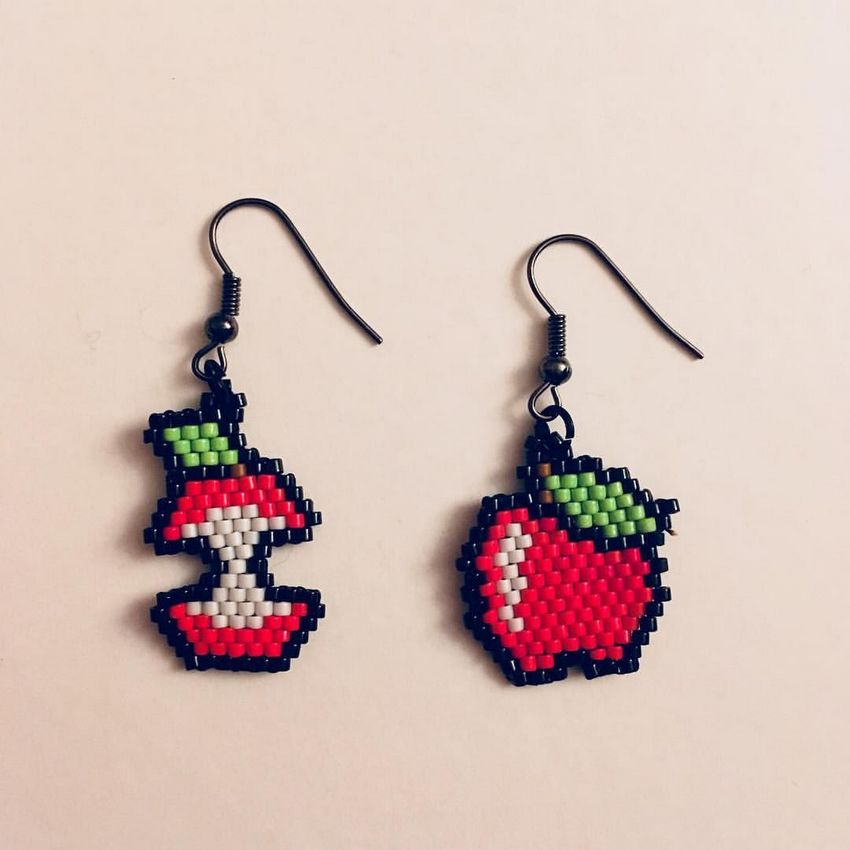
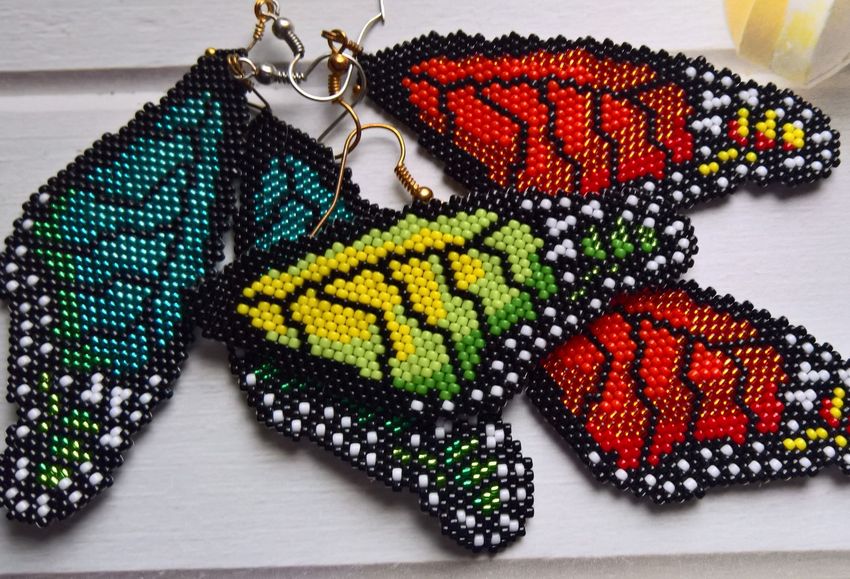
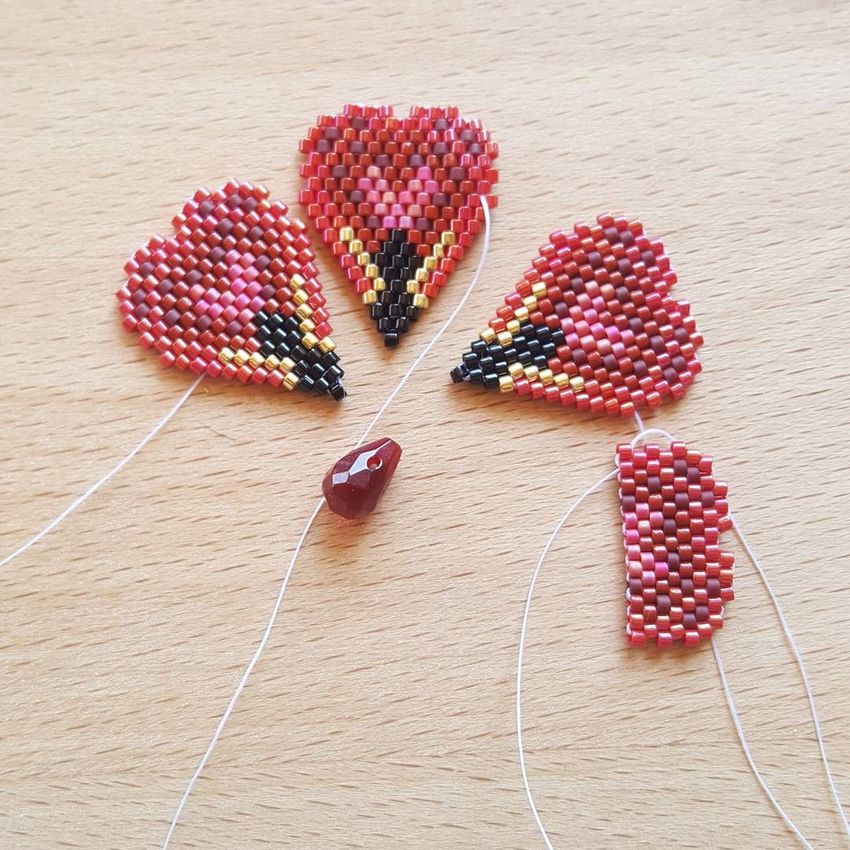
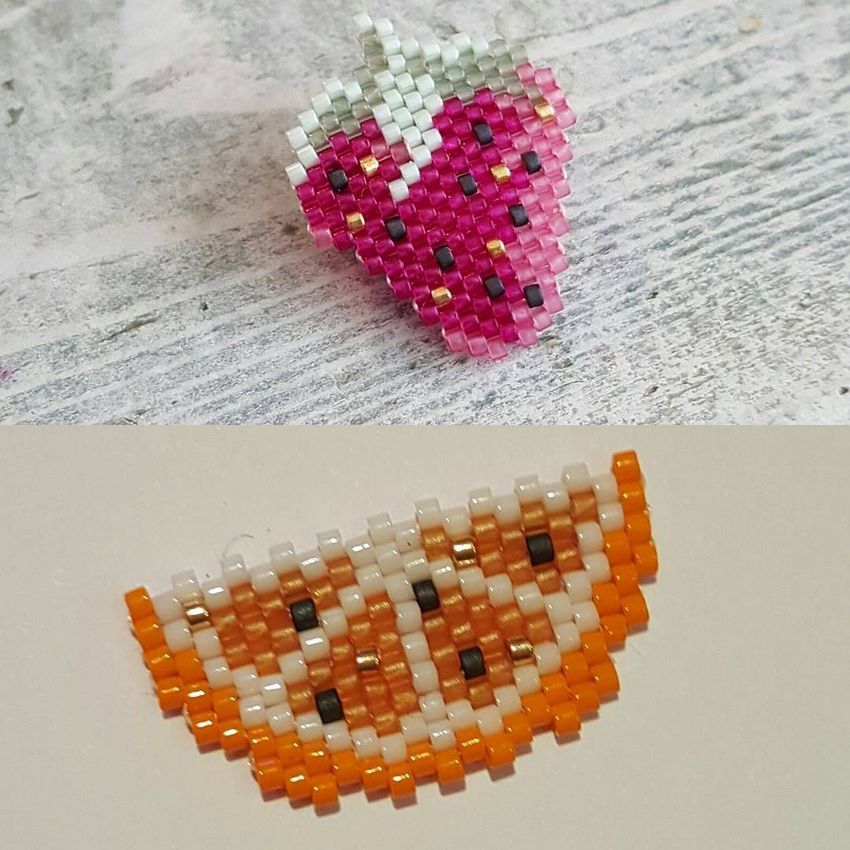
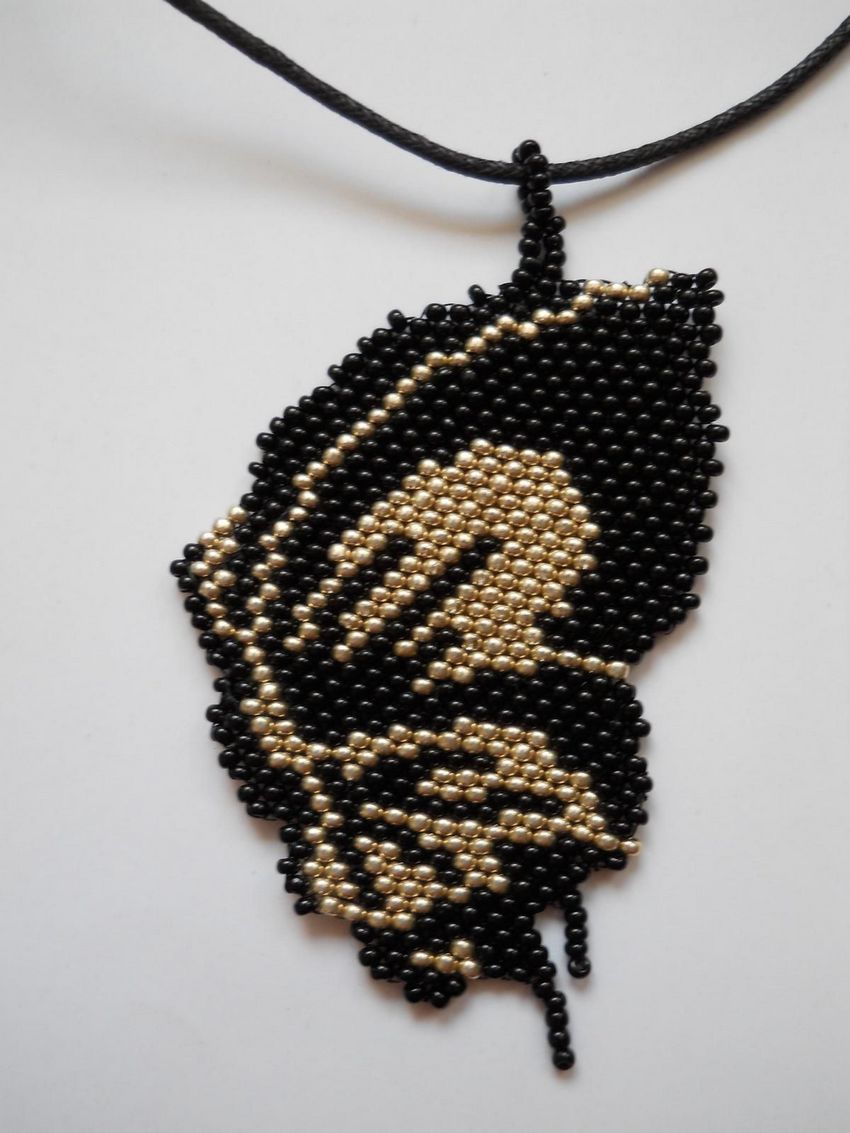
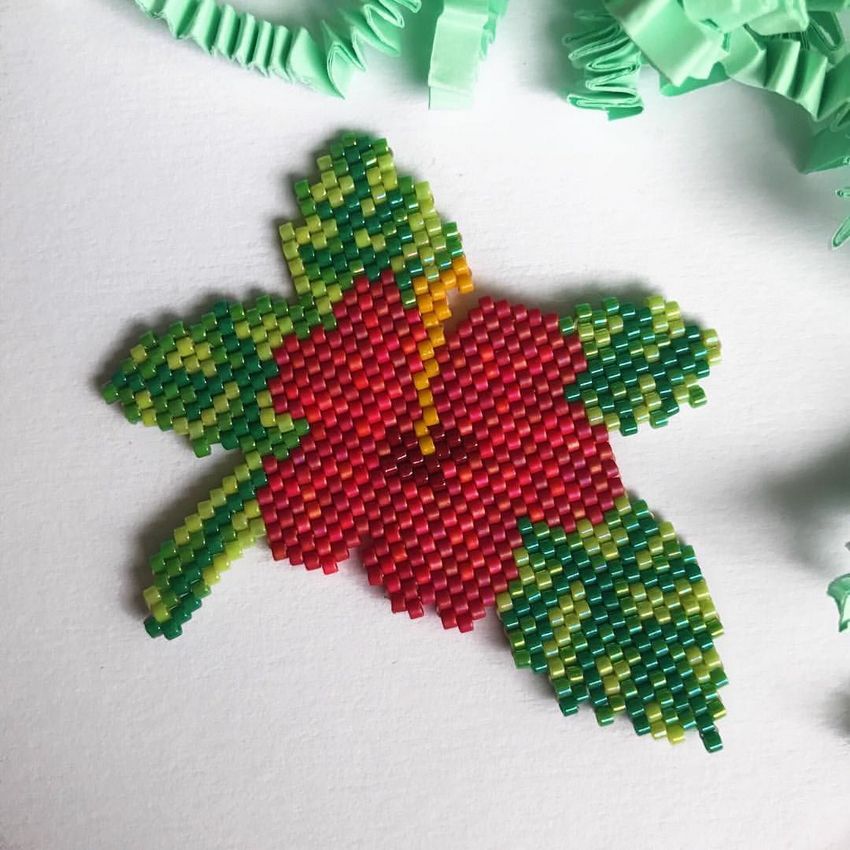
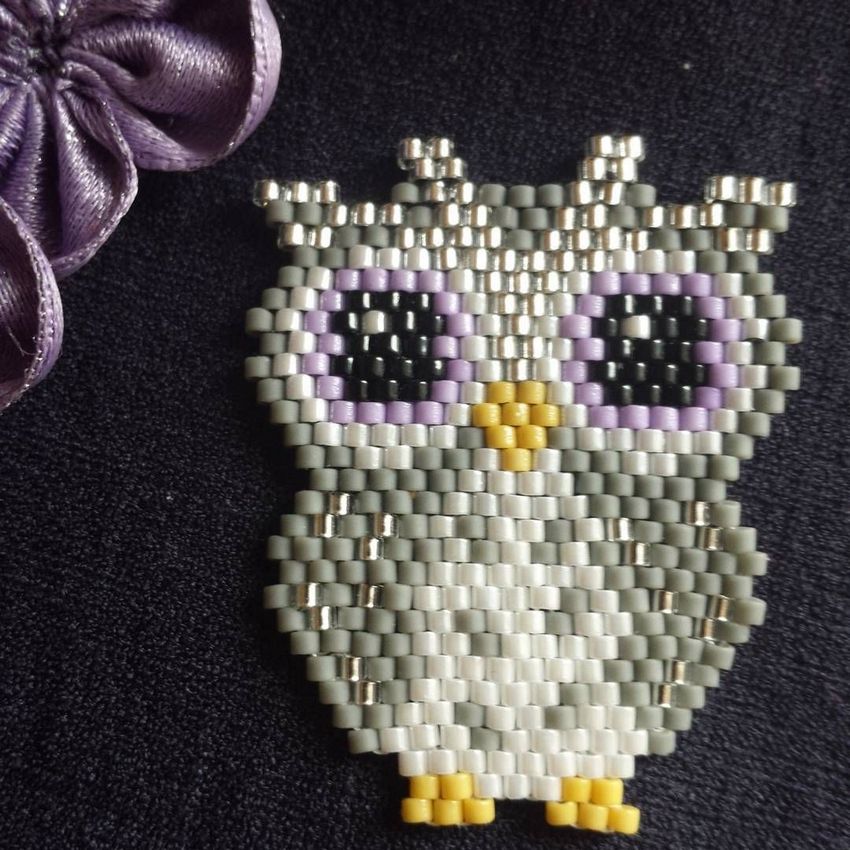
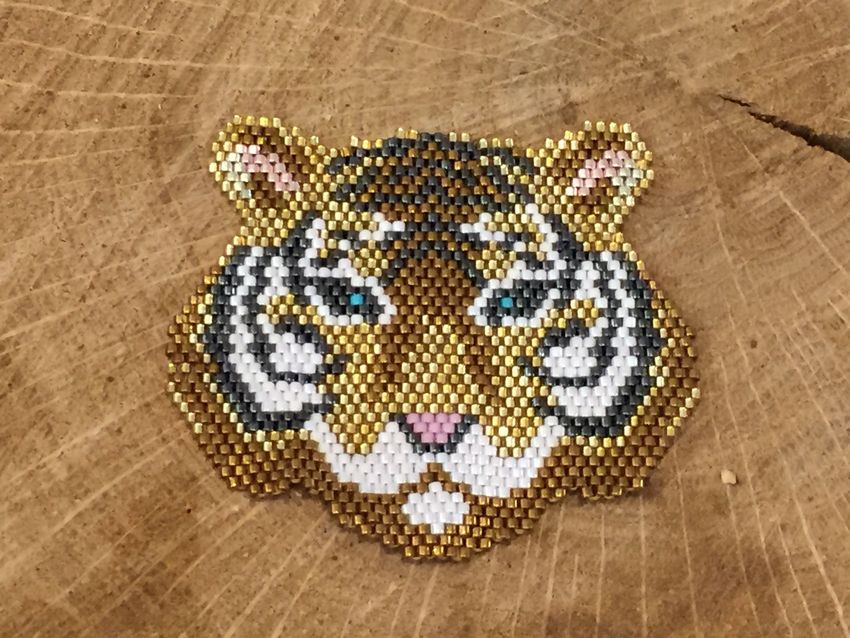
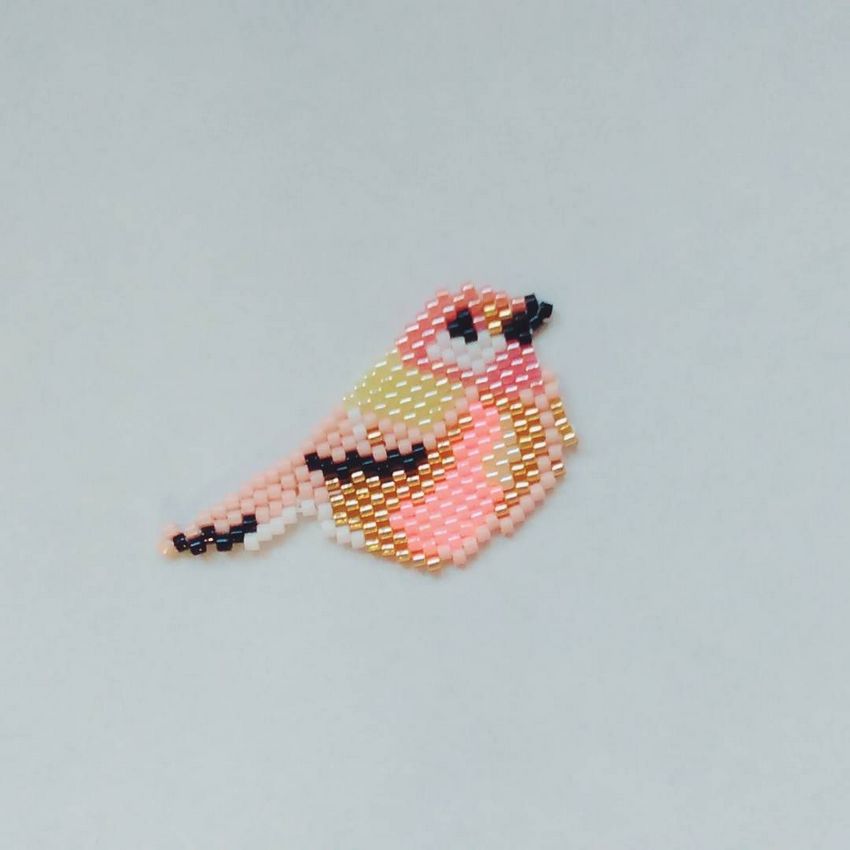
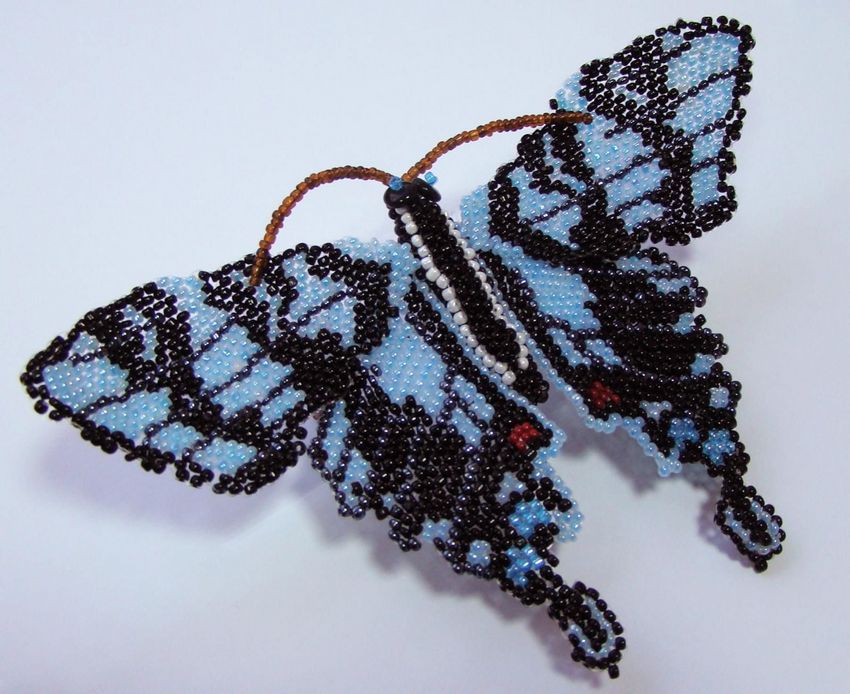
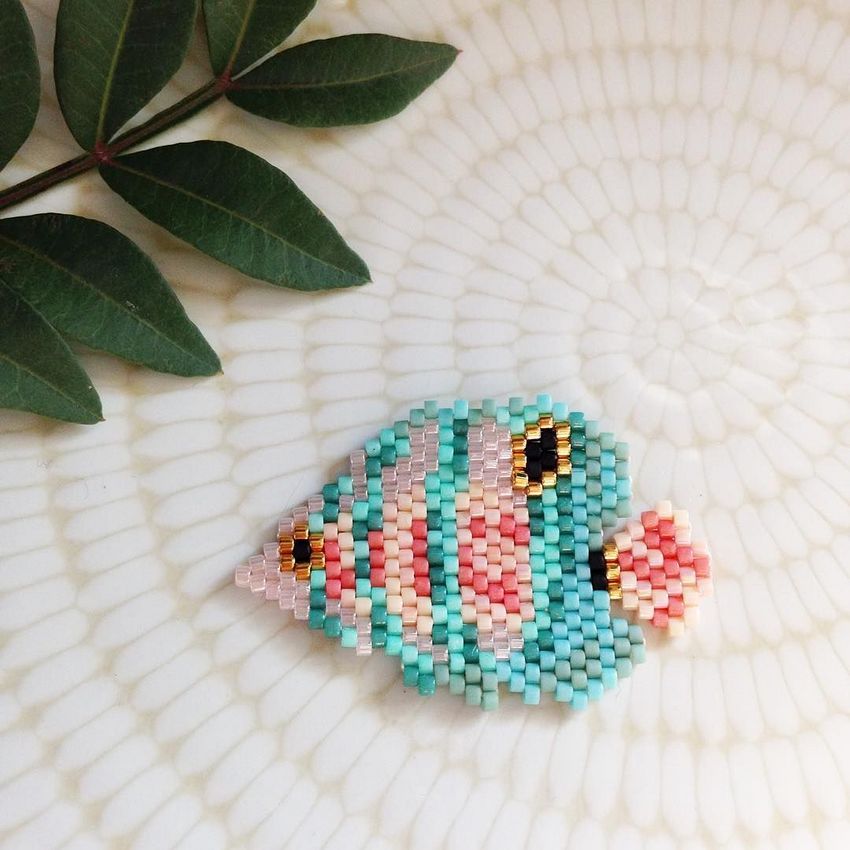
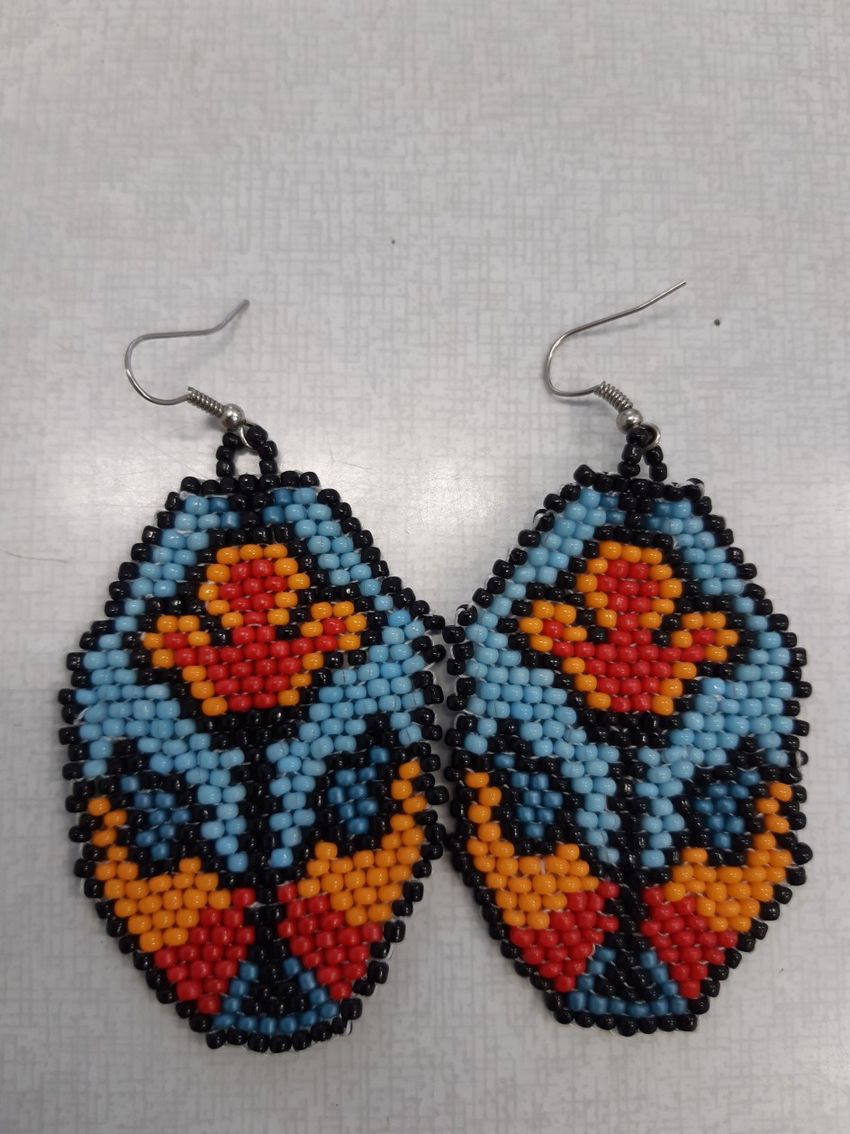
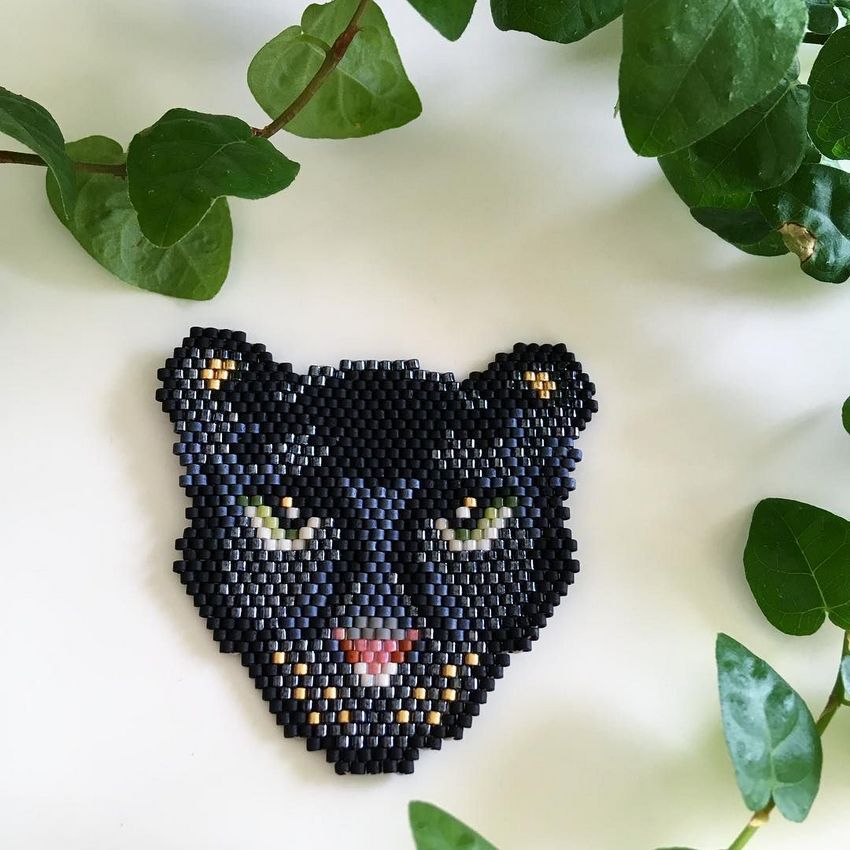
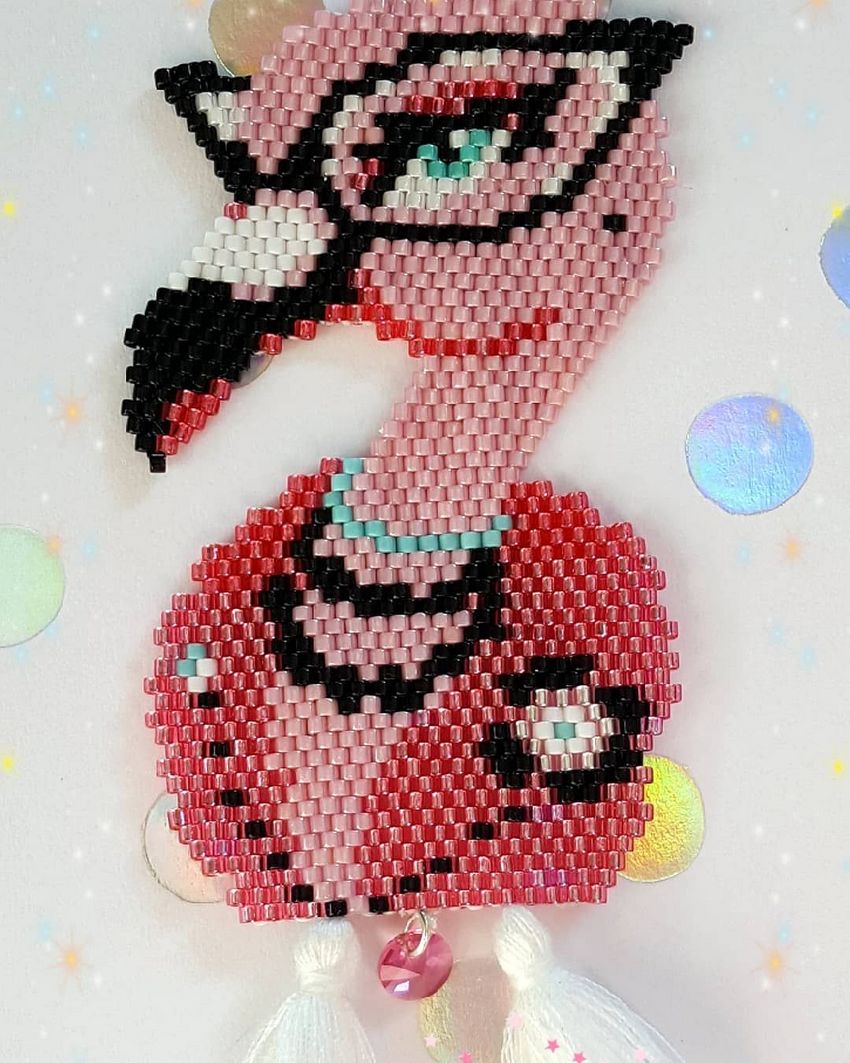
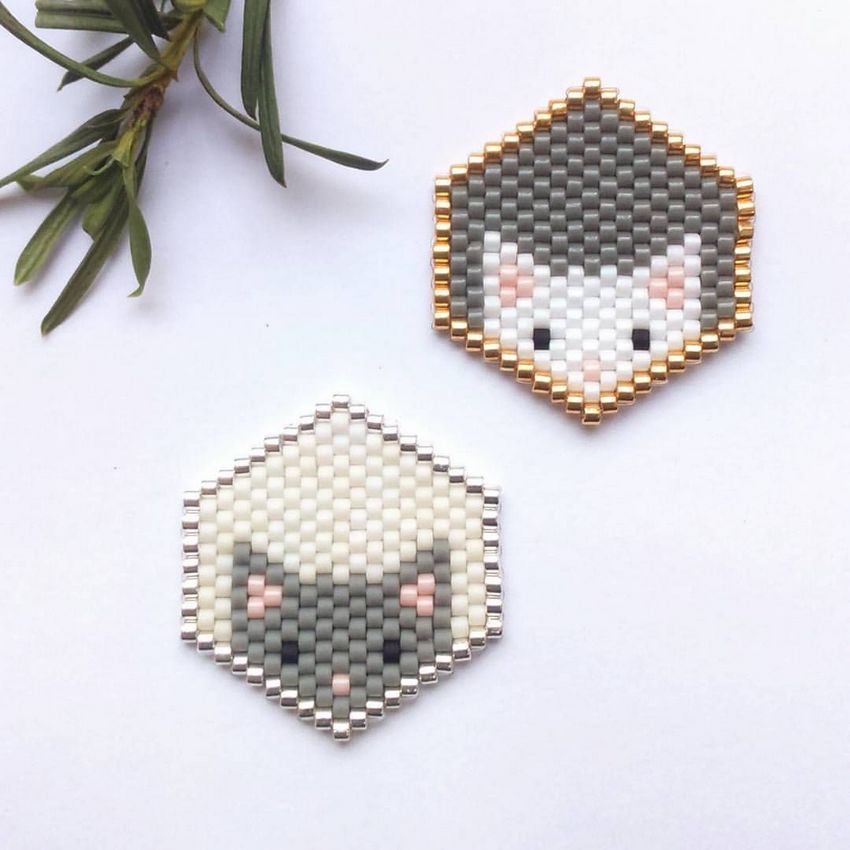
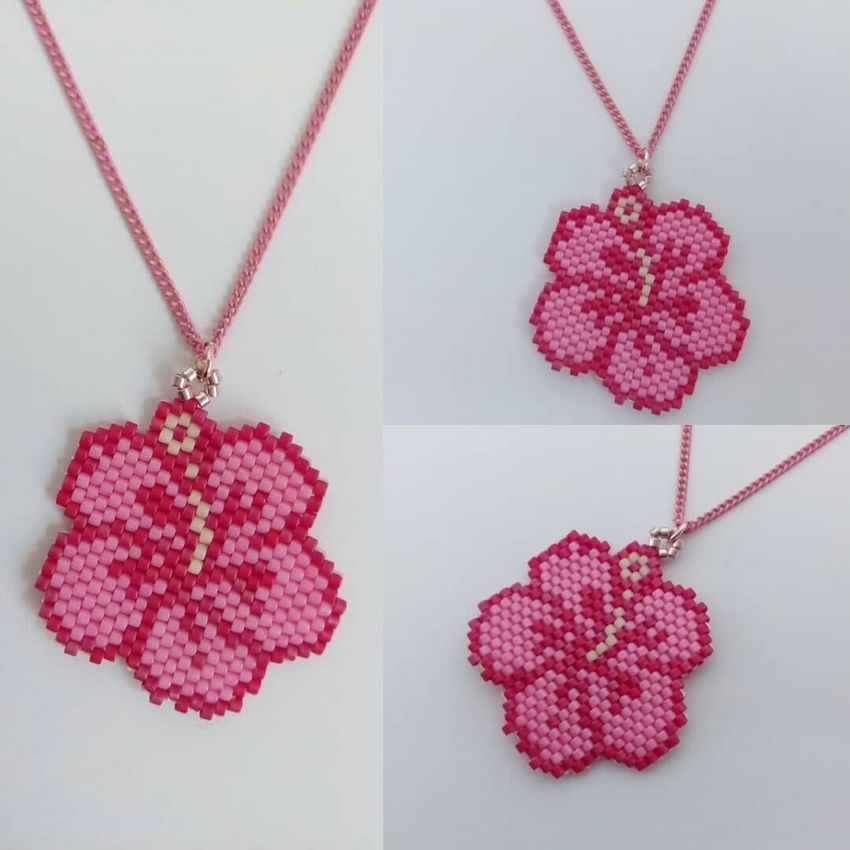
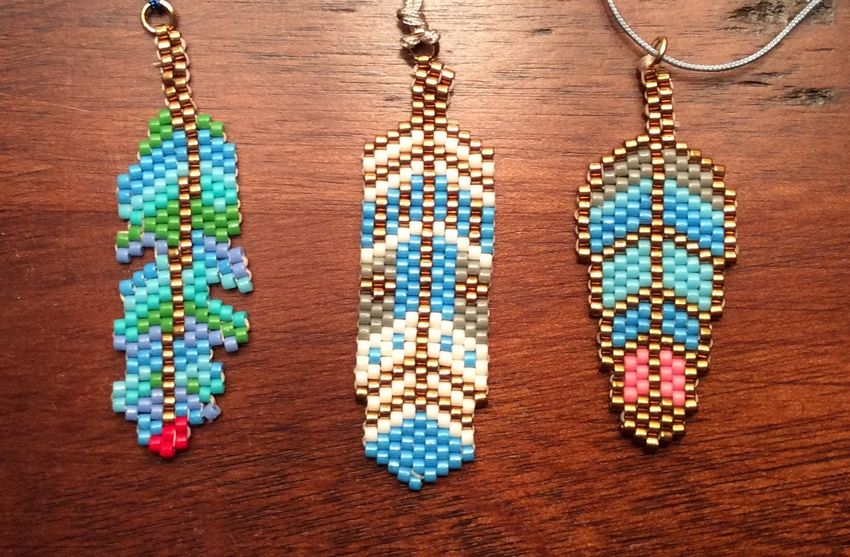
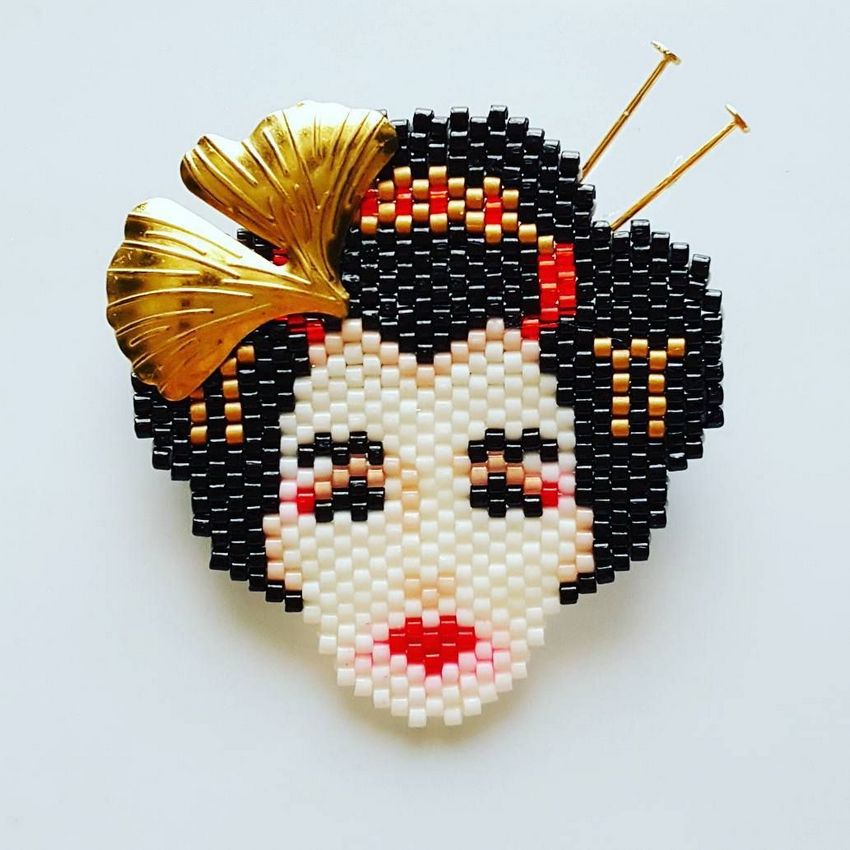
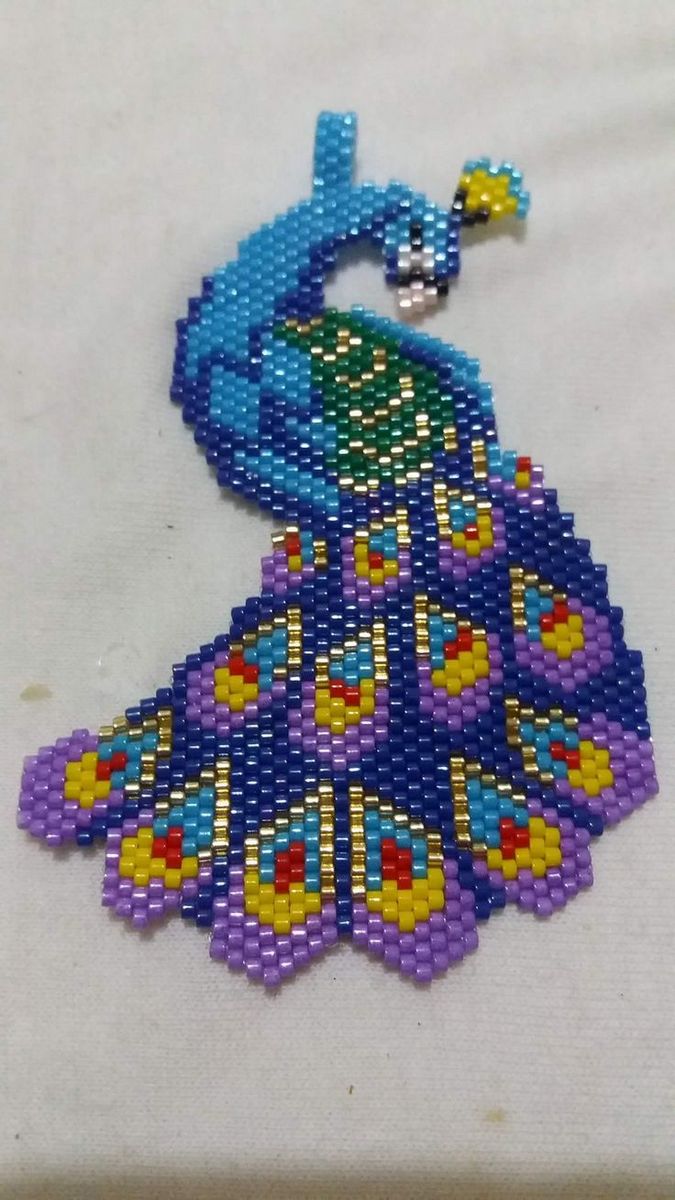
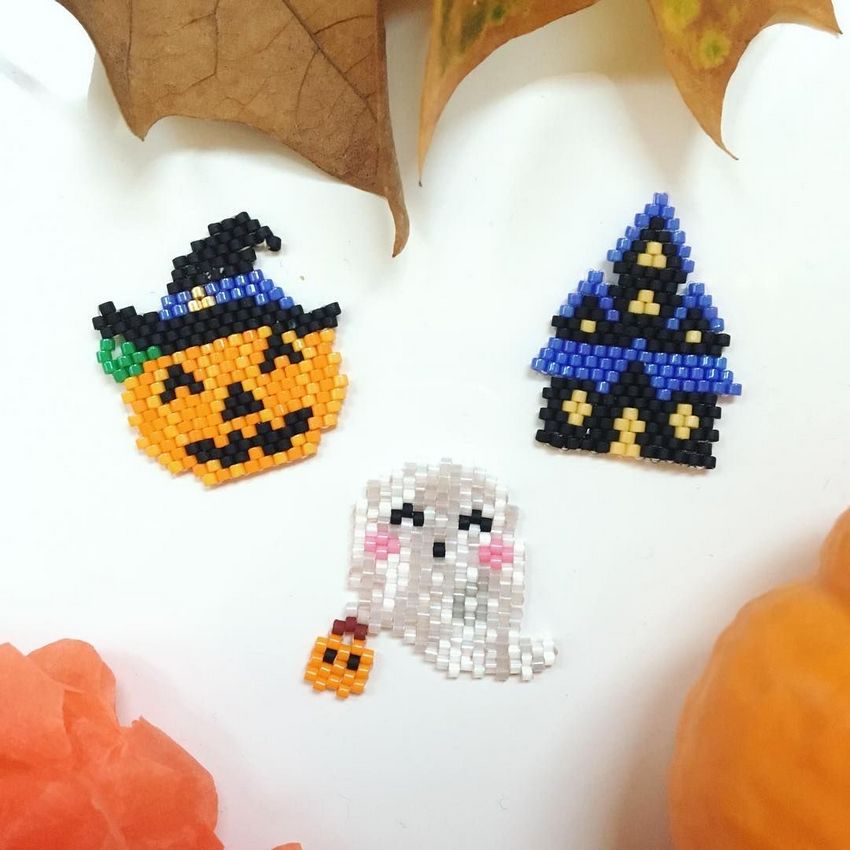
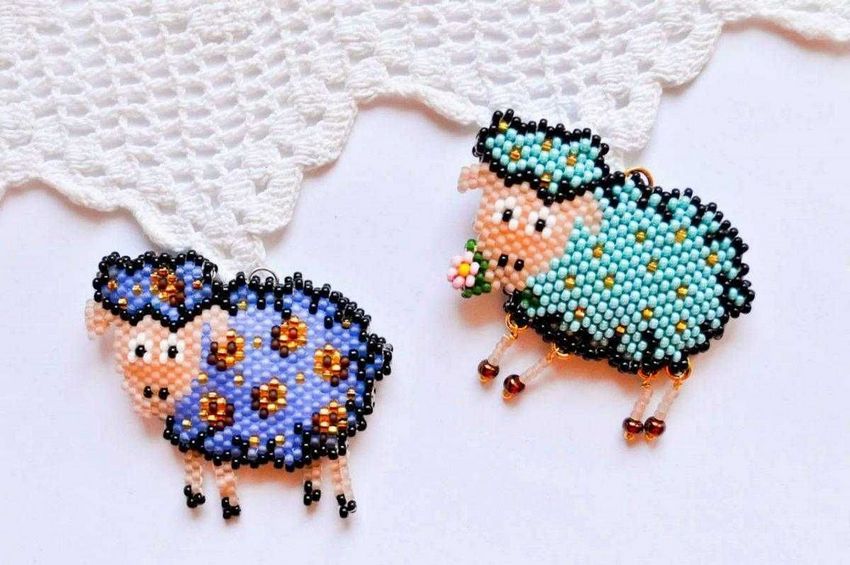
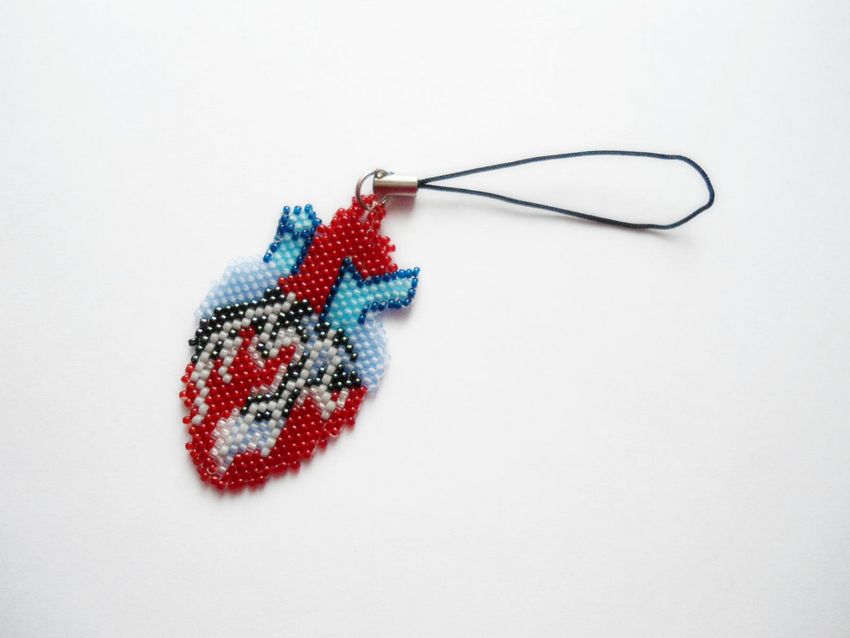
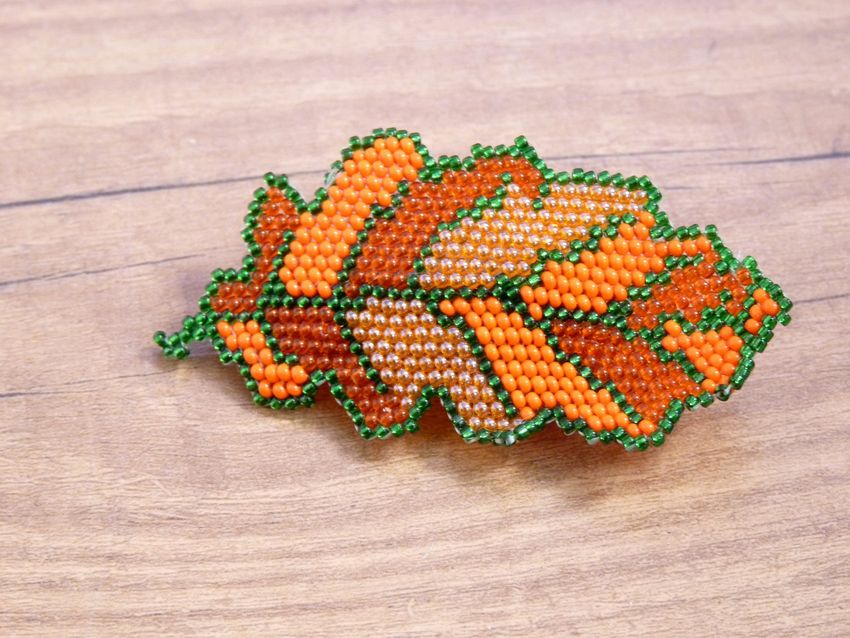
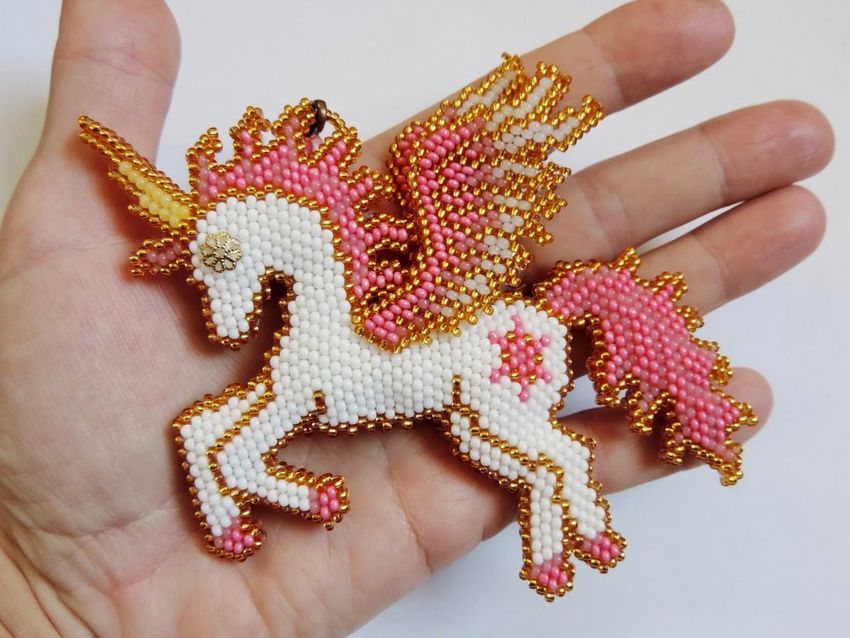
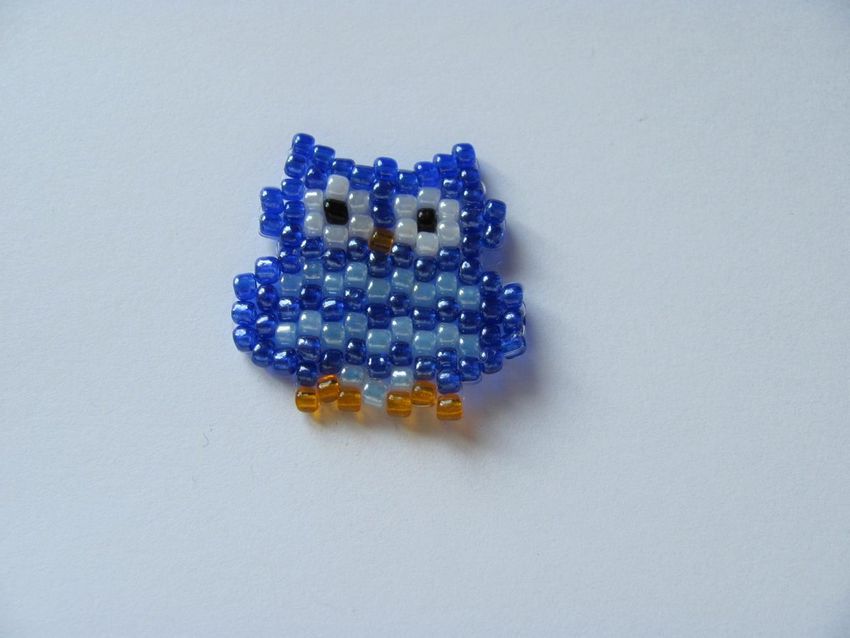
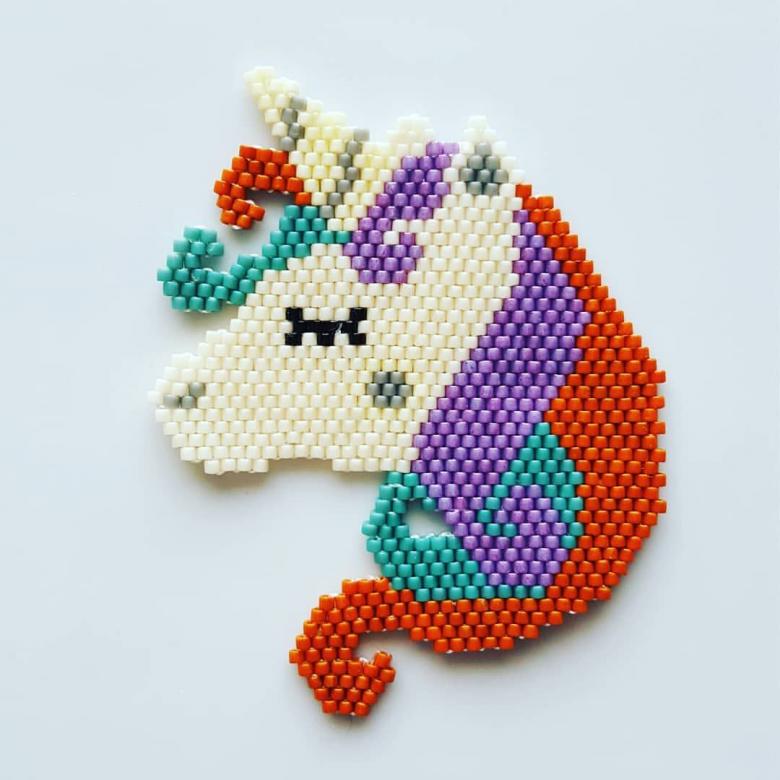
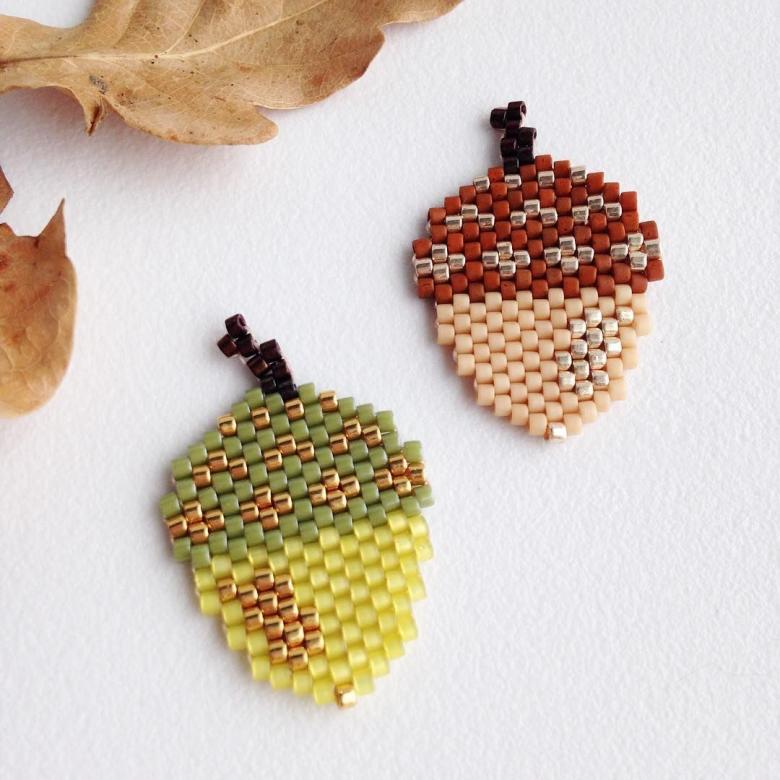
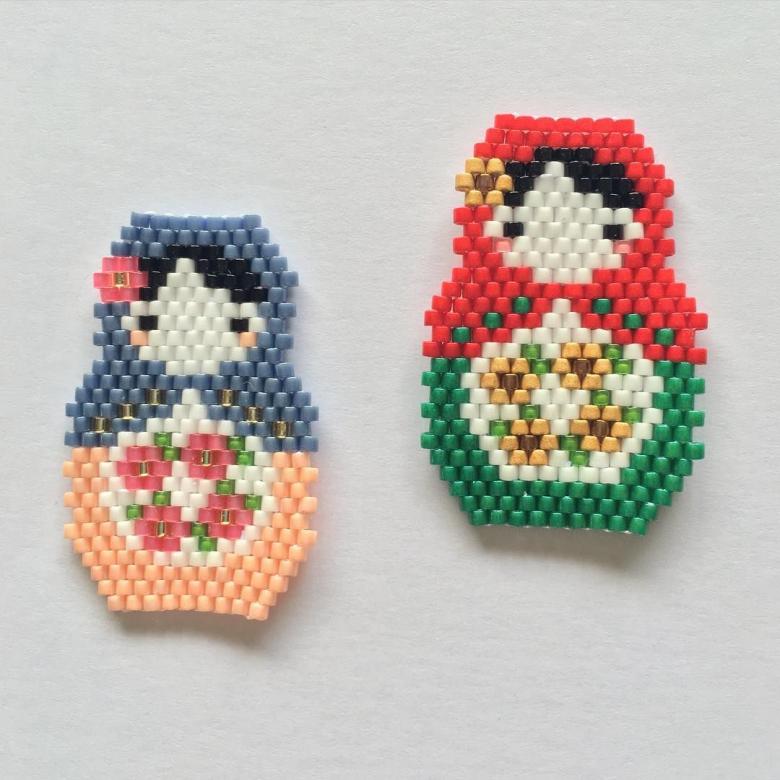
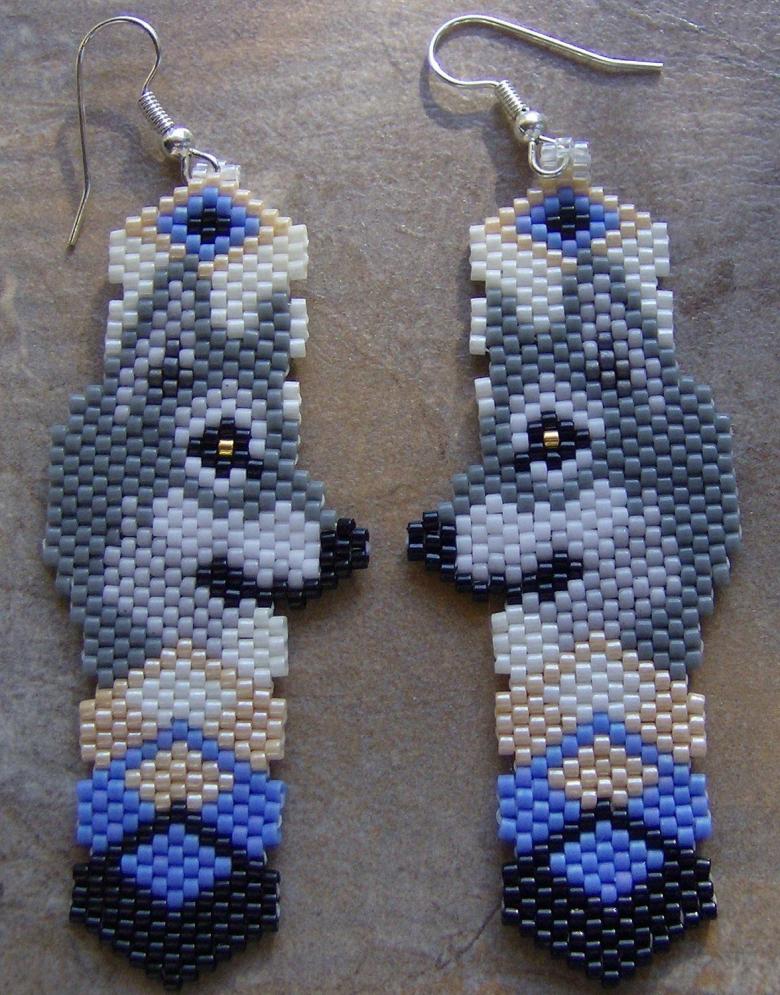
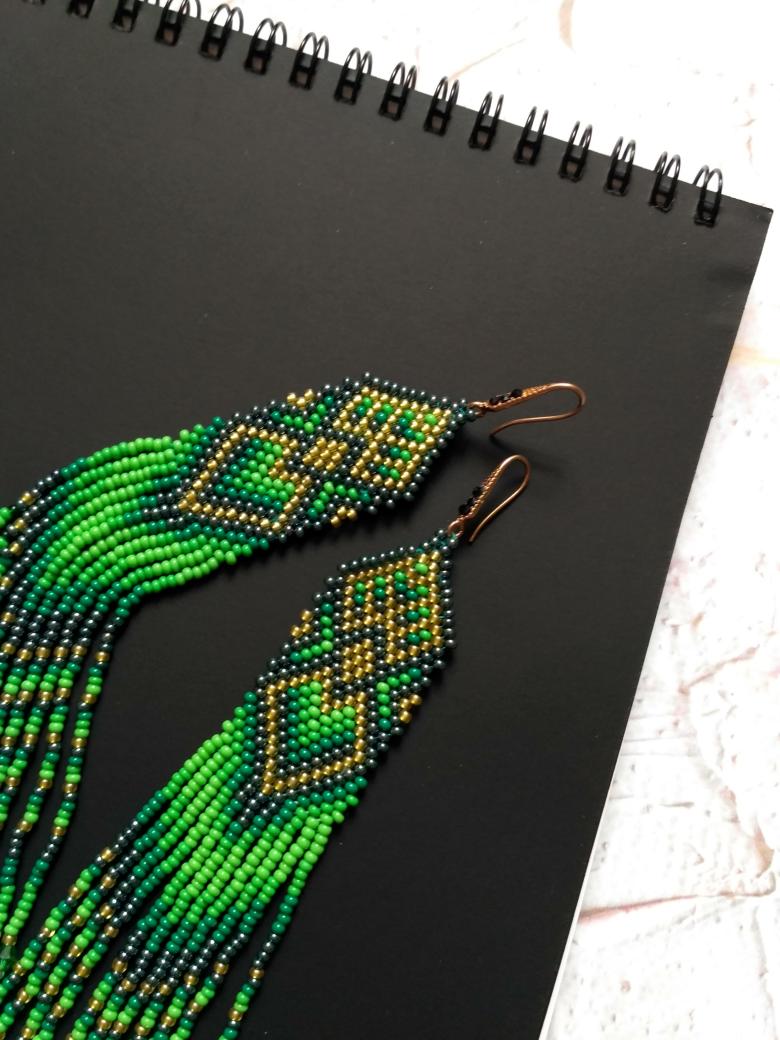
Photo examples of work with brick weaving