The matryoshka with their own hands - traditional and modern methods of making toys
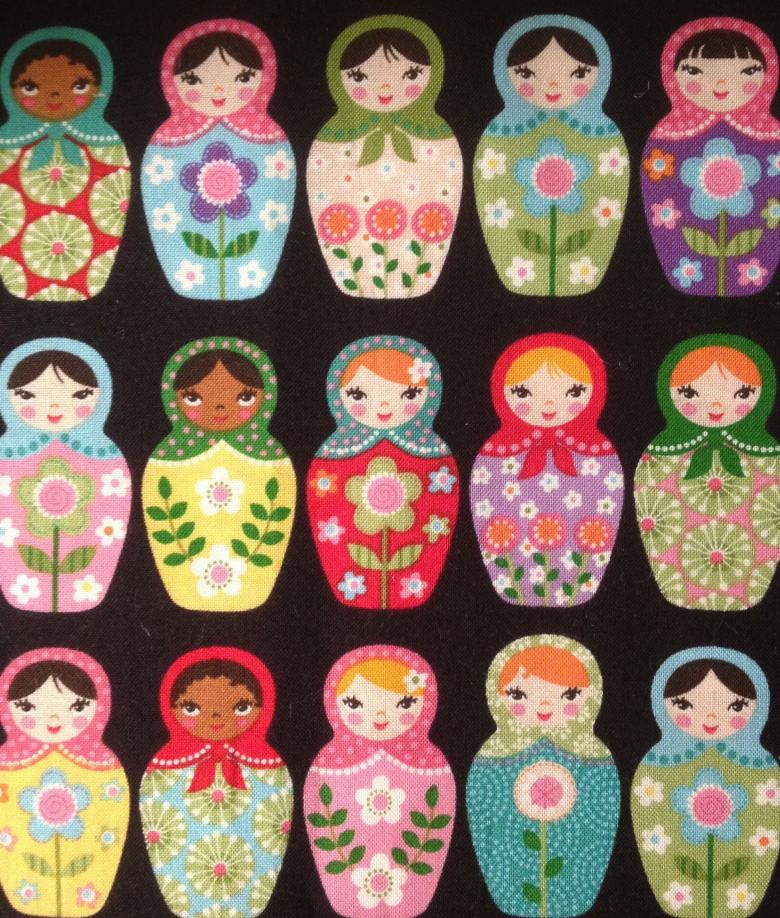
Matryoshka dolls are one of the most popular symbols of Russia!

Creation History
The classic matryoshka doll, called "a gift with a Russian soul". Every tourist coming to Russia is happy to take such a souvenir with him. Its prototype is a wooden statuette of a Buddhist saint Fukurum. Originally it looked like a sage with an elongated head. The figurine consisted of two parts, and inside were hidden the same sages, stacked inside each other. A total of five such figures turned out.

According to one version, Vasily Zvezdochkin and Sergey Malyutin in 1890 turned the toy into a clearer and nicer one, creating an image of a girl, ruddy and cheerful, in a sundress and scarf. Having invested in her the very kindness and part of her soul, which from generation to generation pleases the eye.
At that time, the most popular name was Matryoshka, which gave her her that name.
The classic matryoshka doll is made of wood, and is often found on the counter of souvenir stores.
But what if the toy is needed now. Or that it is not just a souvenir, but a gift made with love. In that case, try to make a matryoshka doll with your own hands from different materials.

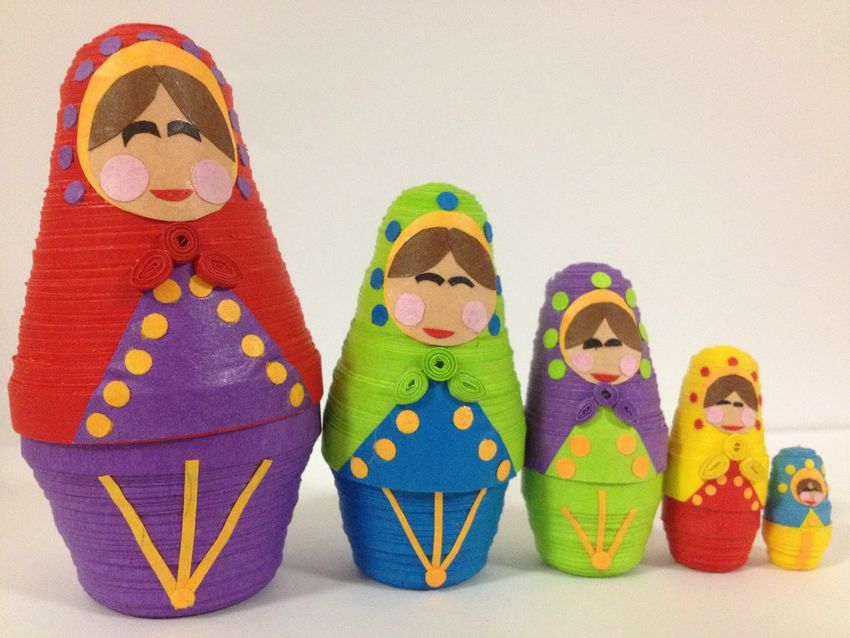
Matryoshka made of paper products
Paper cup.
A child can make it himself.
We need:
- paper cups of white color, different sizes;
- felt-tip pens (paints, pencils).

All you need to do is draw a matryoshka pattern on each cup, trying to use less water so that the cup does not get soggy. When all the cups are ready, cover with the larger one. Smaller cups are stacked in a logical order and get a nice toy.
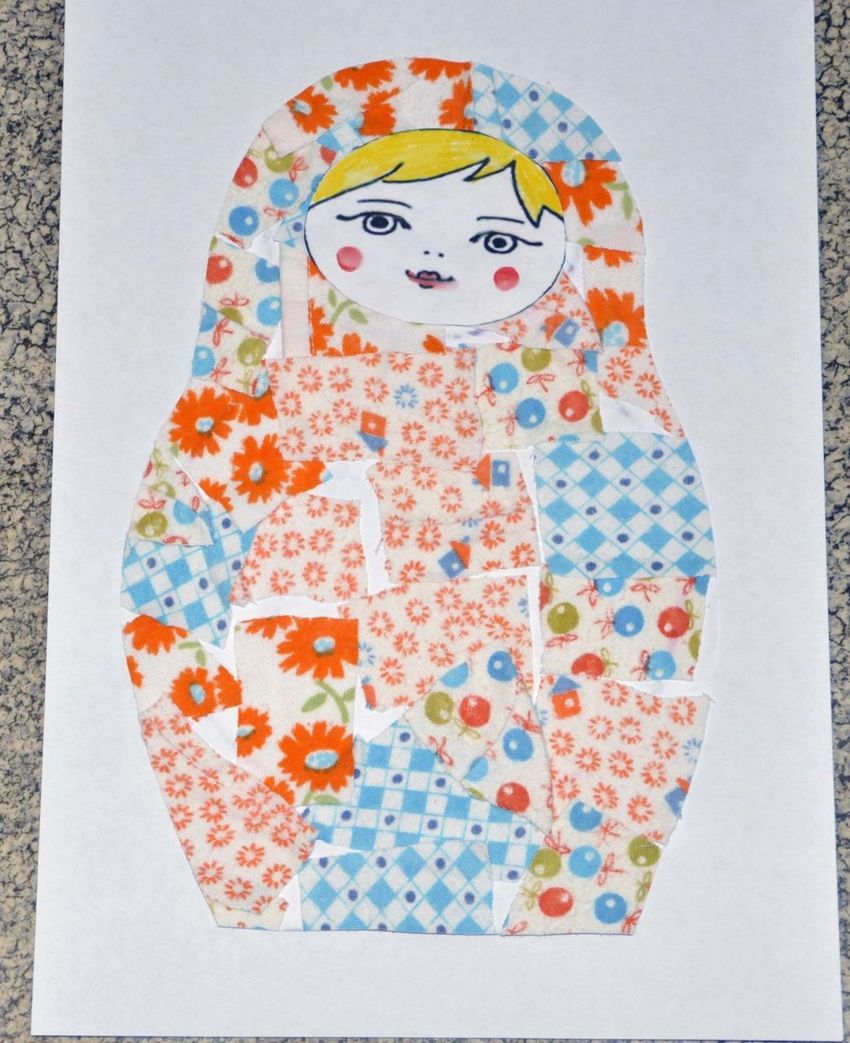
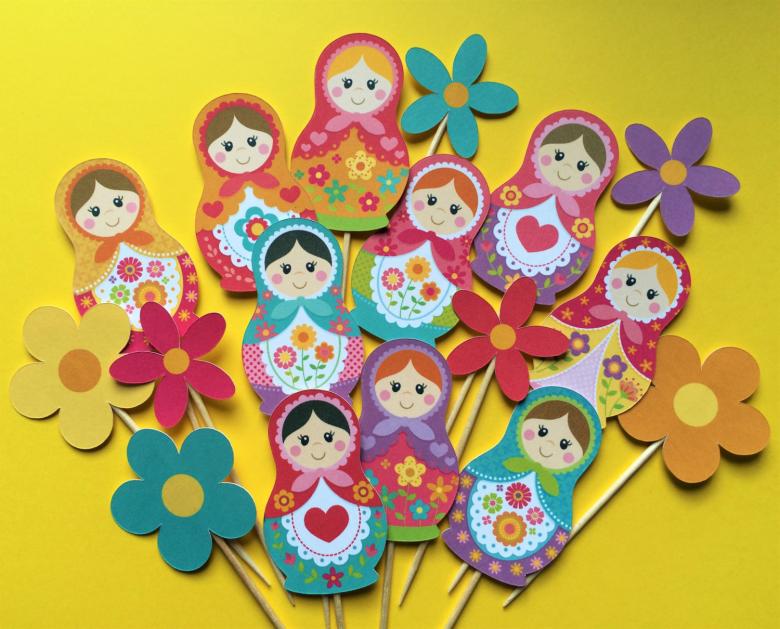
Matryoshka made of paper
It is easy to make a model of matryoshka out of paper with their own hands, but you can also involve kids.
Suitable for a child from 3-5 years, under the supervision of an adult.
Materials for the work:
- paper (not very thin, it is necessary that would hold its shape);
- glue;
- scissors (safe).
Just print the template on paper and let a child cut out the outline. Or draw a matryoshka doll shape on paper and also ask them to cut out.Drawing a matryoshka can be than convenient. You can draw with pencils or felt-tip pens, paints will also do.

Or make an application: cut out different shapes from colored paper (triangles, circles) and glue to our stencil, if you do not forget to cut out the colored paper face (circle), and draw there eyes and mouth.Such a toy will be flat, in order to put the toy, it is better to use cardboard.

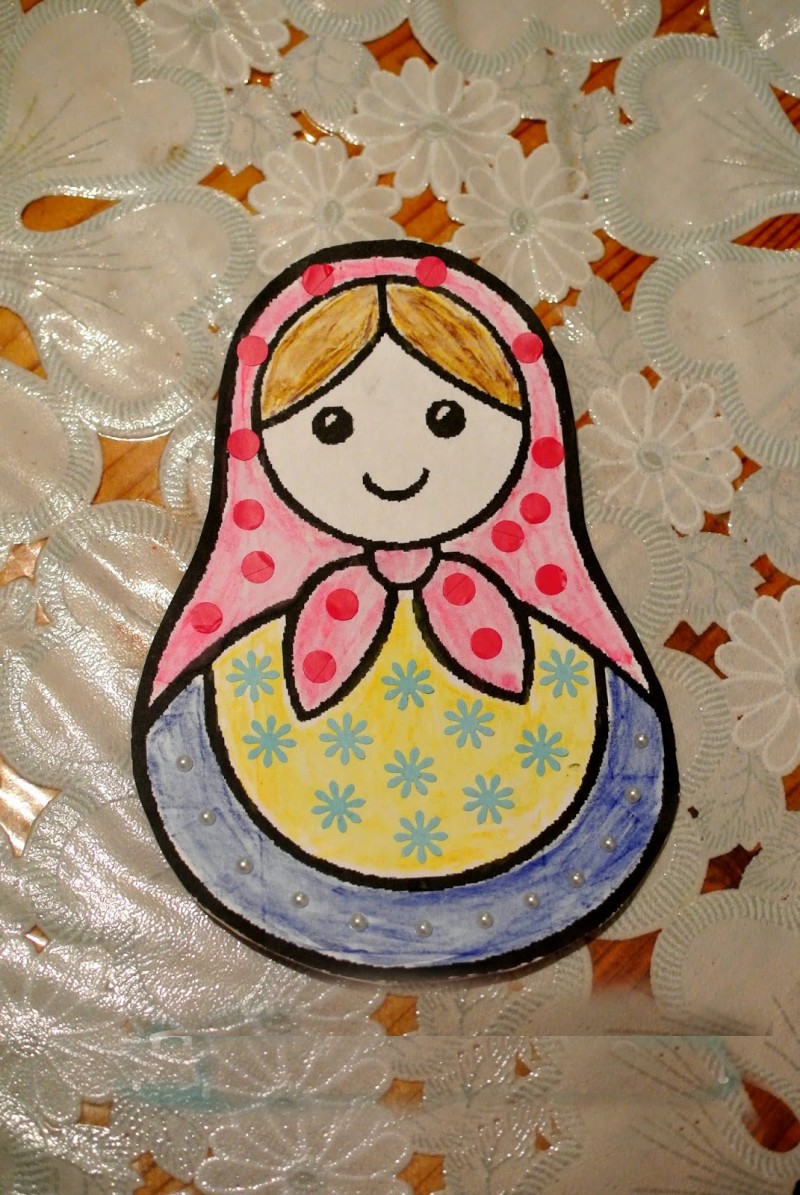
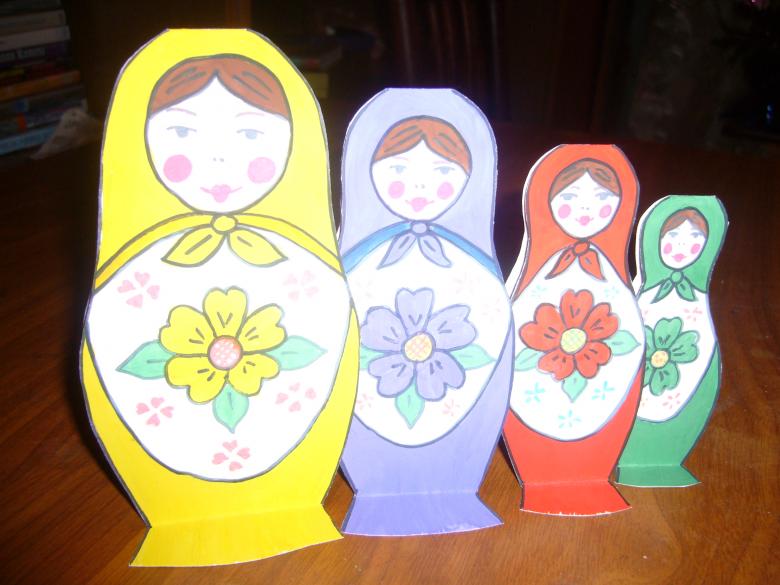
Cardboard .
From 3-5 years, under supervision.
Materials:
- Cardboard (white for the face, the color of the matryoshka itself as desired);
- material for decorations (sequins, colored sand, colored paper);
- glue (PVA is better);
- scissors.
Apply the template to the cardboard and cut out.

There are several options:
- We take a matryoshka and separately cut from large to small, to the bottom of the finished matryoshka glue a rectangular piece of cardboard, so that the figure stood, do the same with smaller matryoshkas.
- Choose a stencil, where matryoshkas are connected to each other by stands at the bottom. After cutting, such a matryoshka can be folded into an accordion, where each toy will be hidden one by one.
- Cut out all the elements (headscarf, face).
- Decorate as desired.

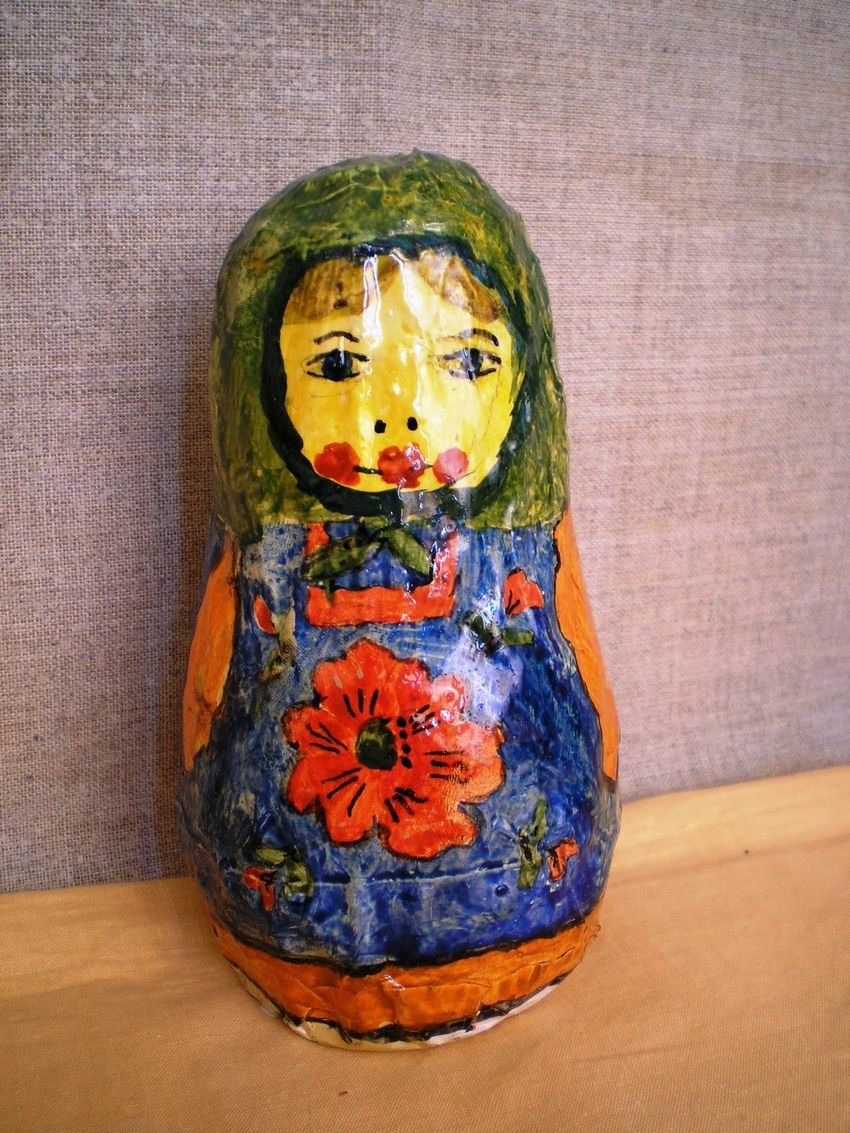
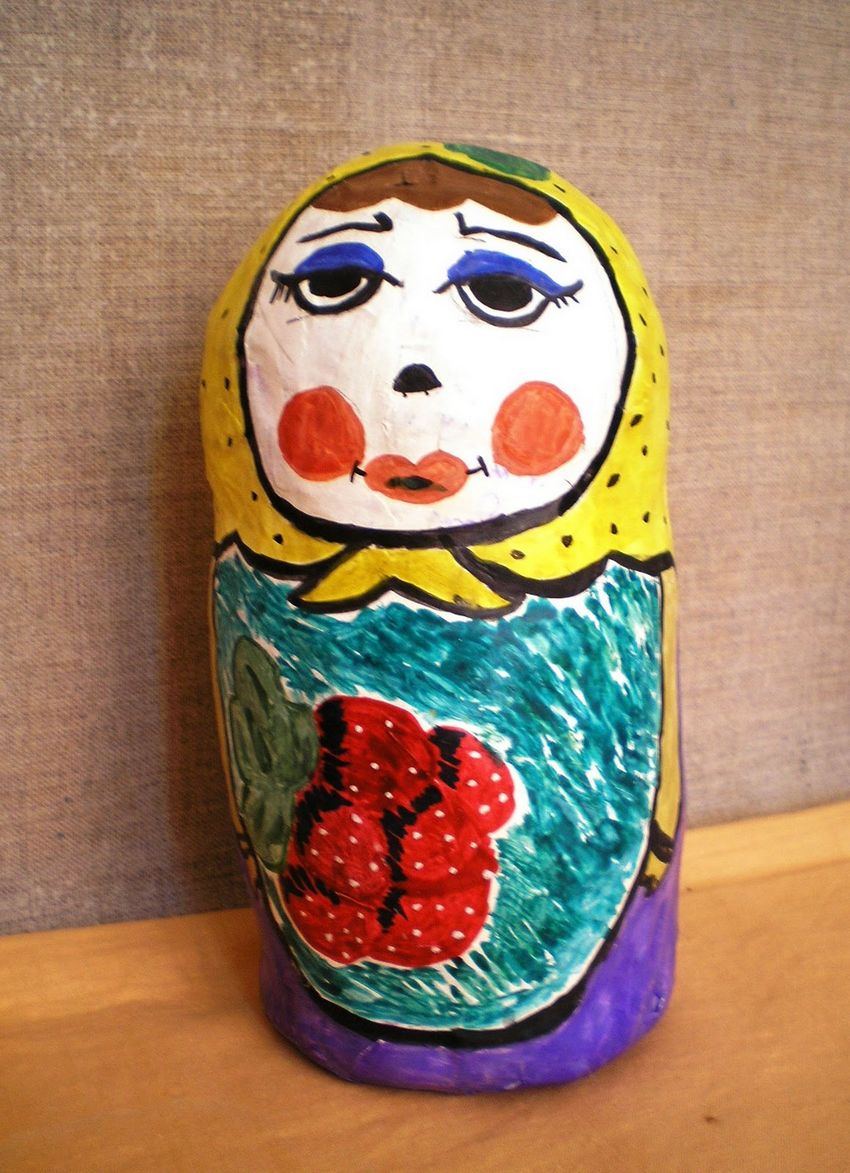
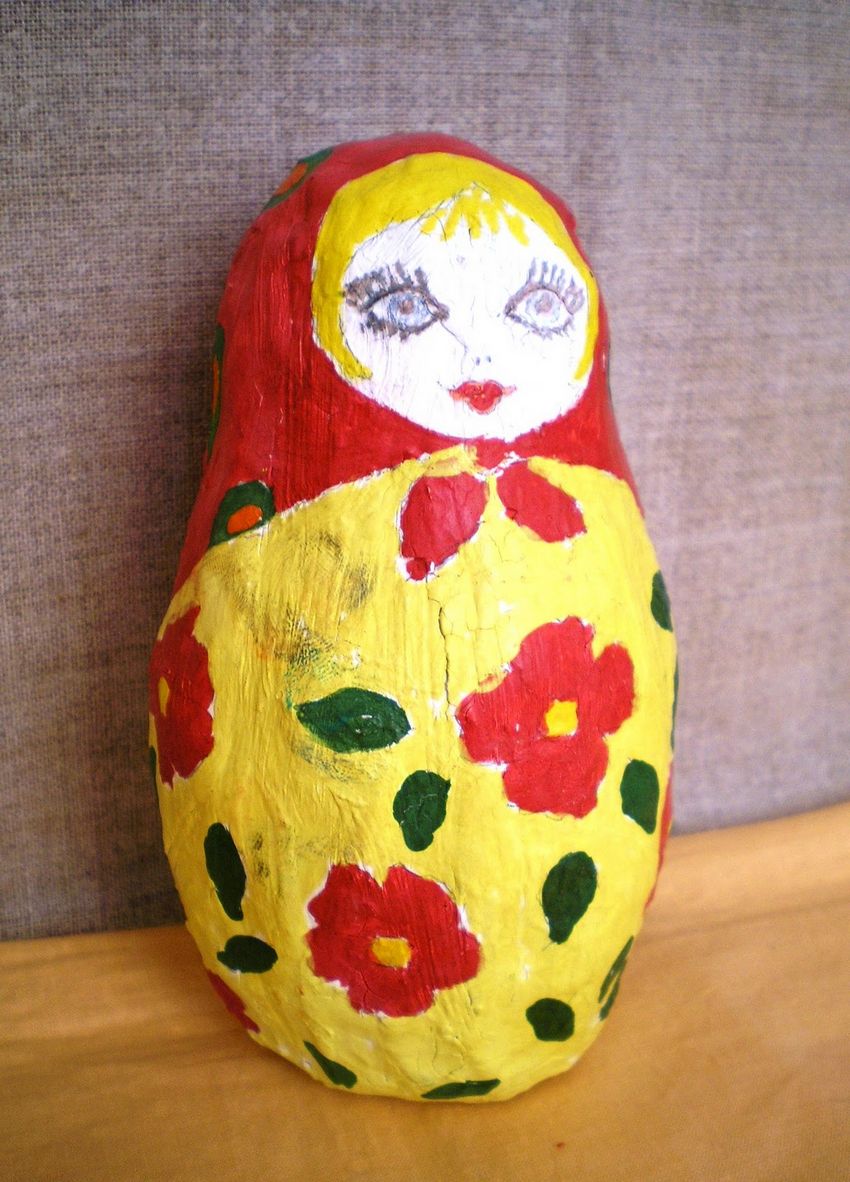
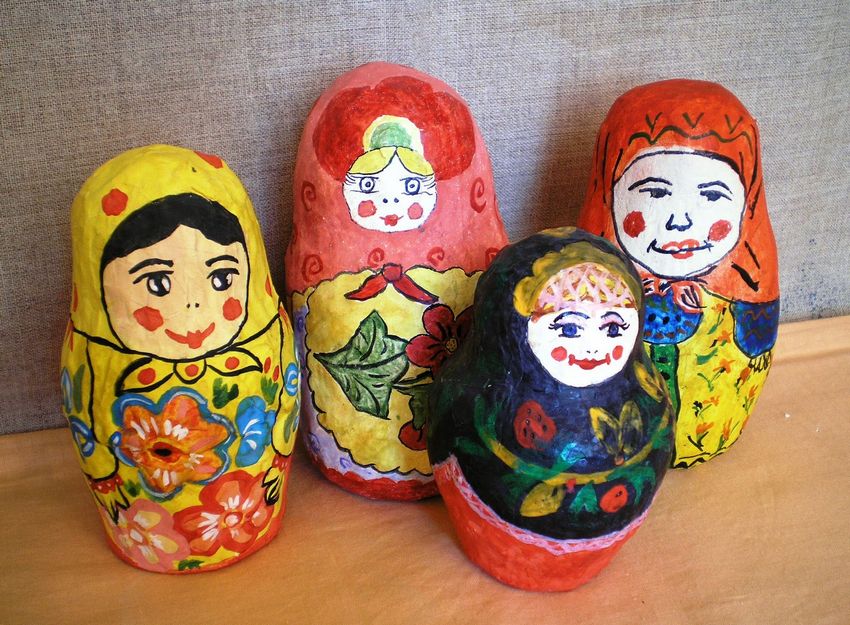
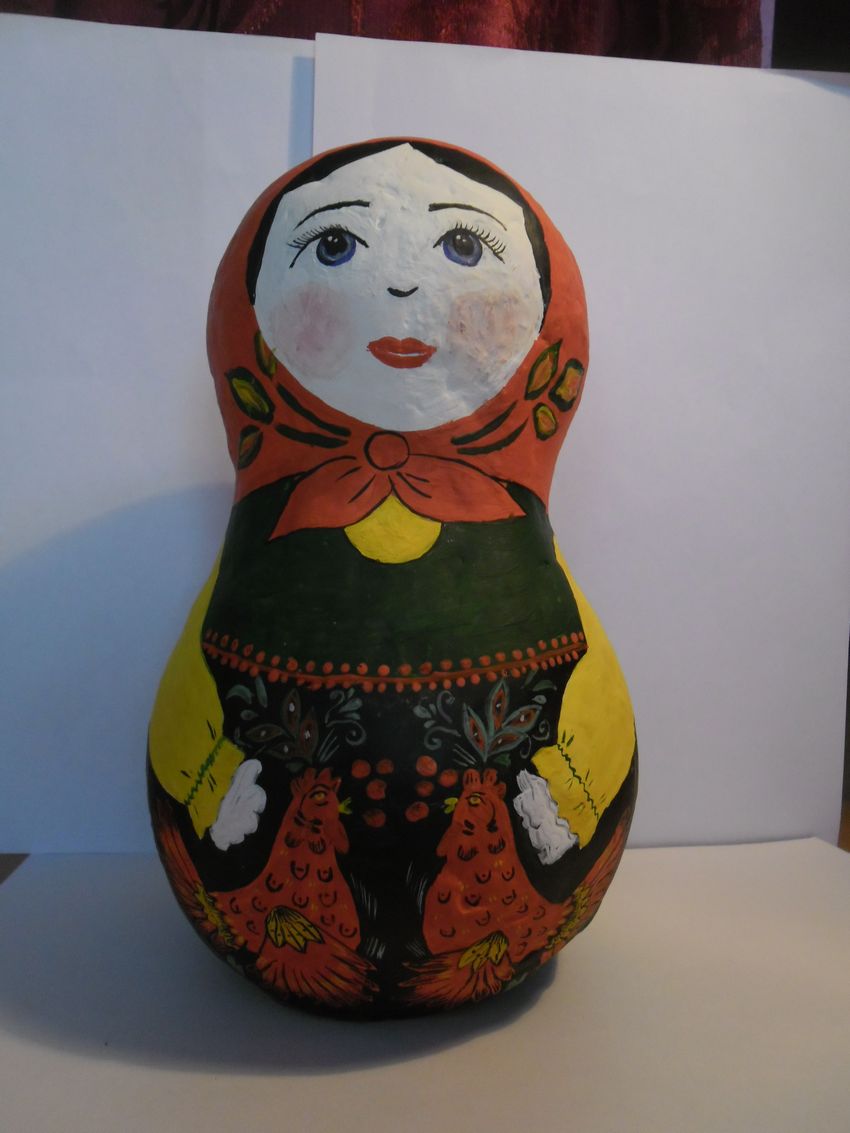
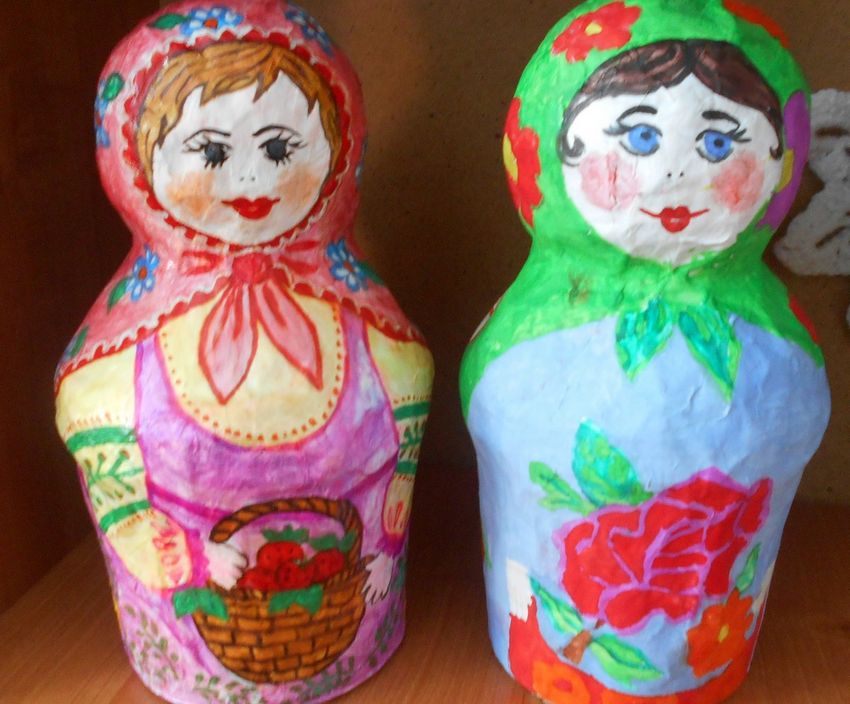
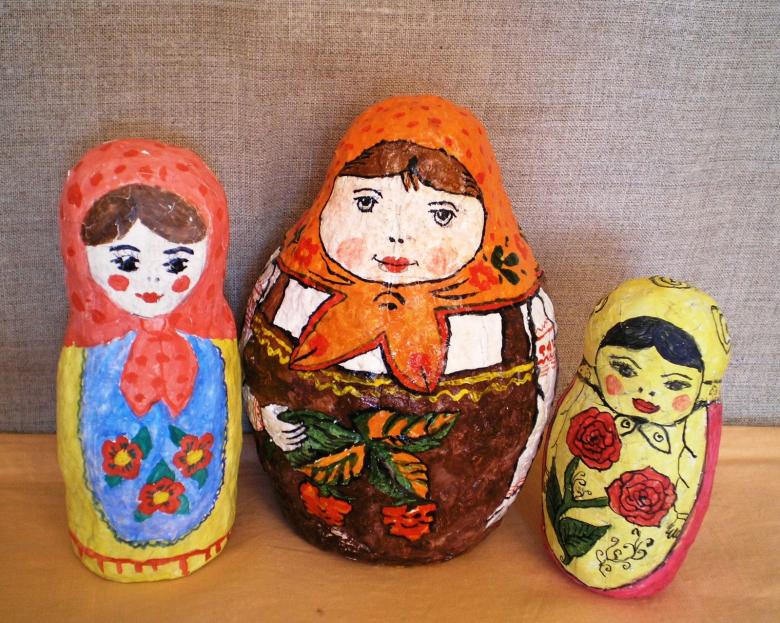
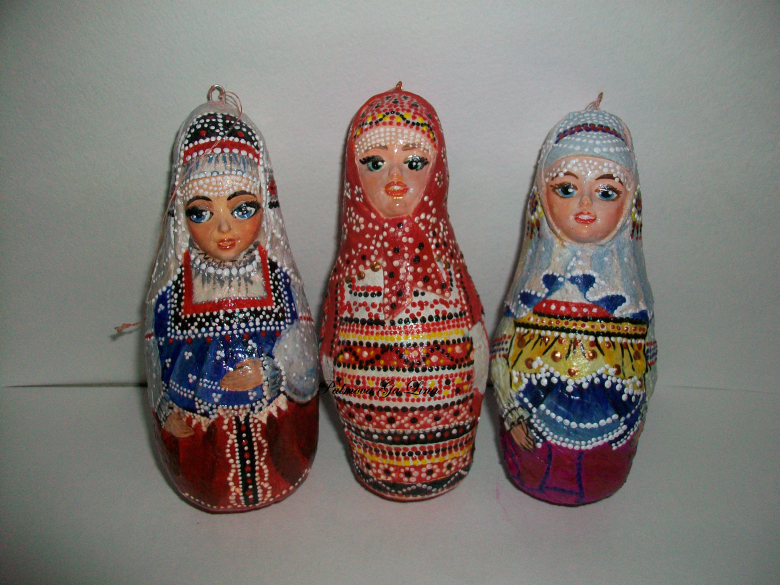
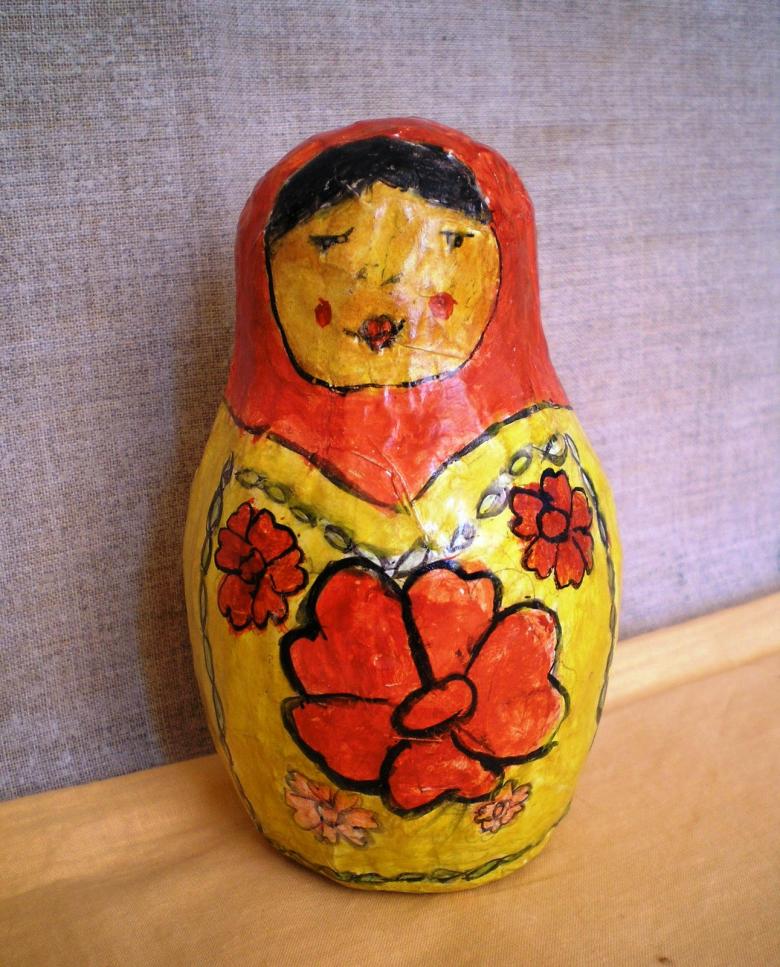
Papier mache
There will be a task with a star.
Materials:
- cardboard;
- marker (will serve as a frame);
- PVA glue;
- Paper napkins or toilet paper.

- Take the marker and cover it with tissues soaked in PVA.
- We wrap not a very thick layer, so it could quickly dry, but kept the shape afterwards.
- When the workpiece dried, we cut it into two parts, pull out the marker and glue the halves.
- You can leave the marker inside, if you want, but the toy will be less stable.
- Wrap a napkin around the workpiece so that it looks like a matryoshka.
- Let it dry.
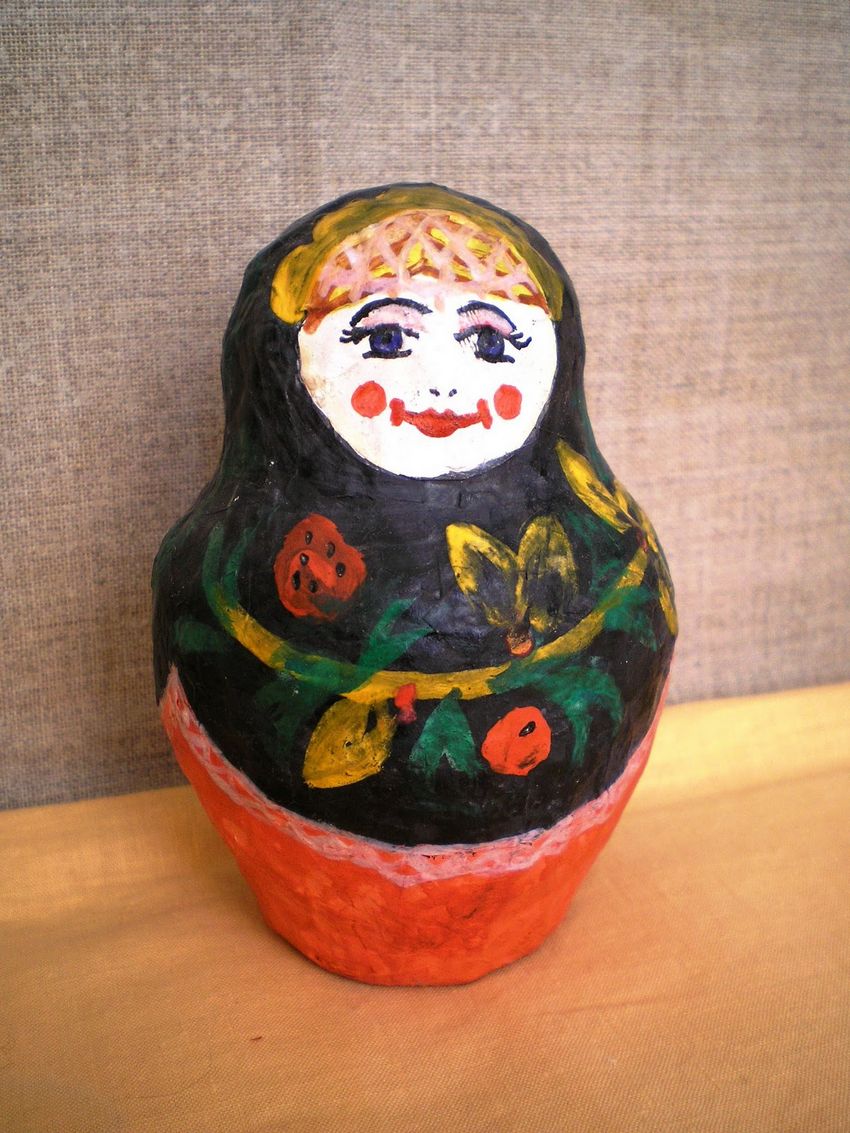
- Paint and decorate a matryoshka doll if you wish.
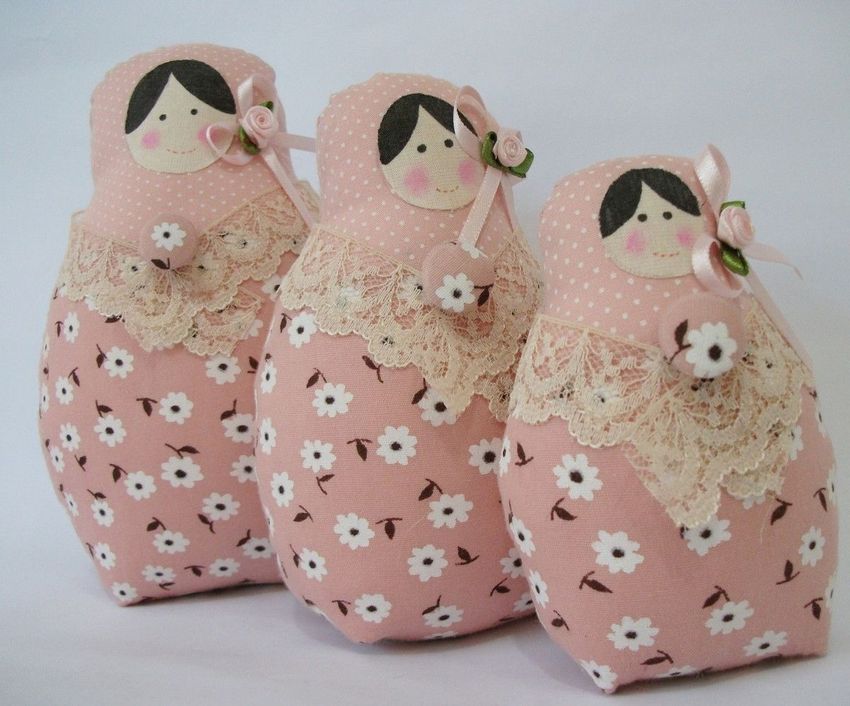
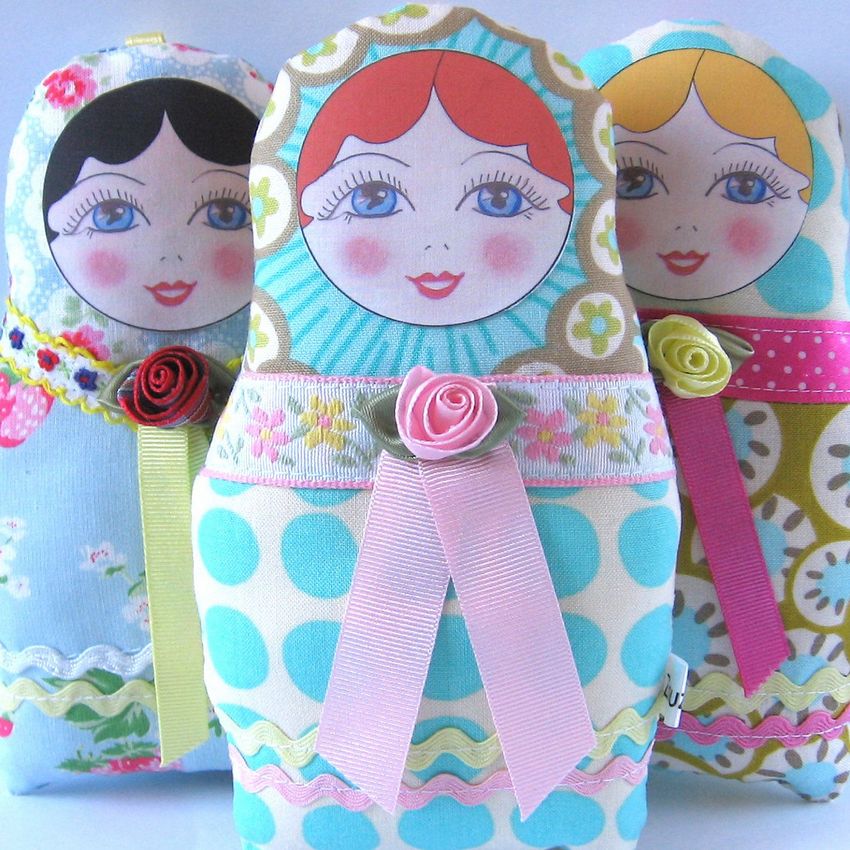
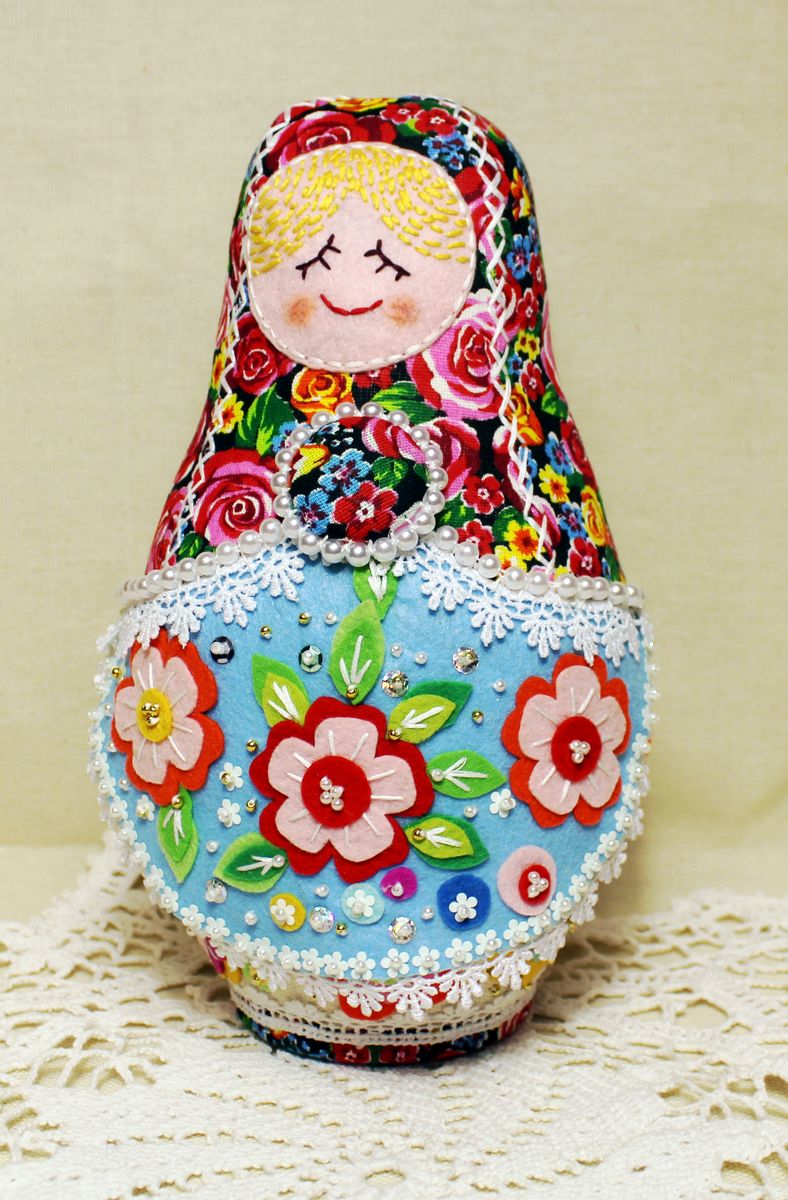
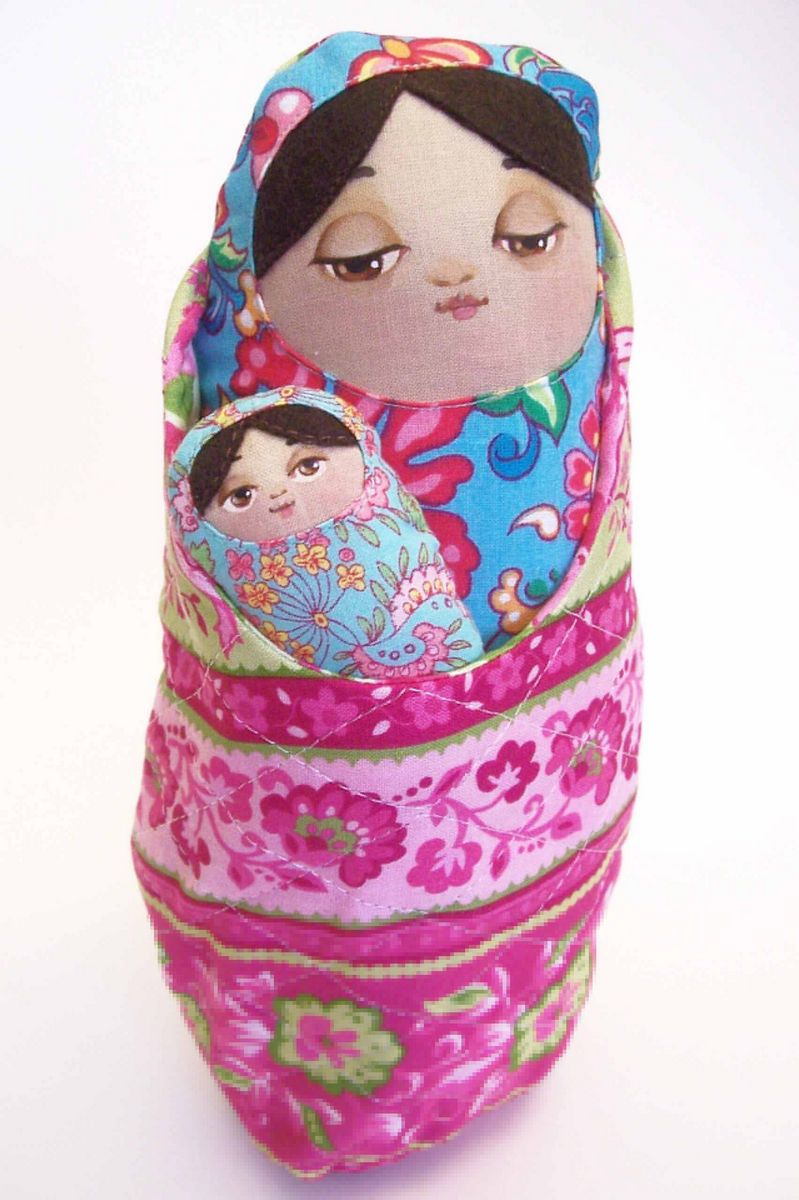
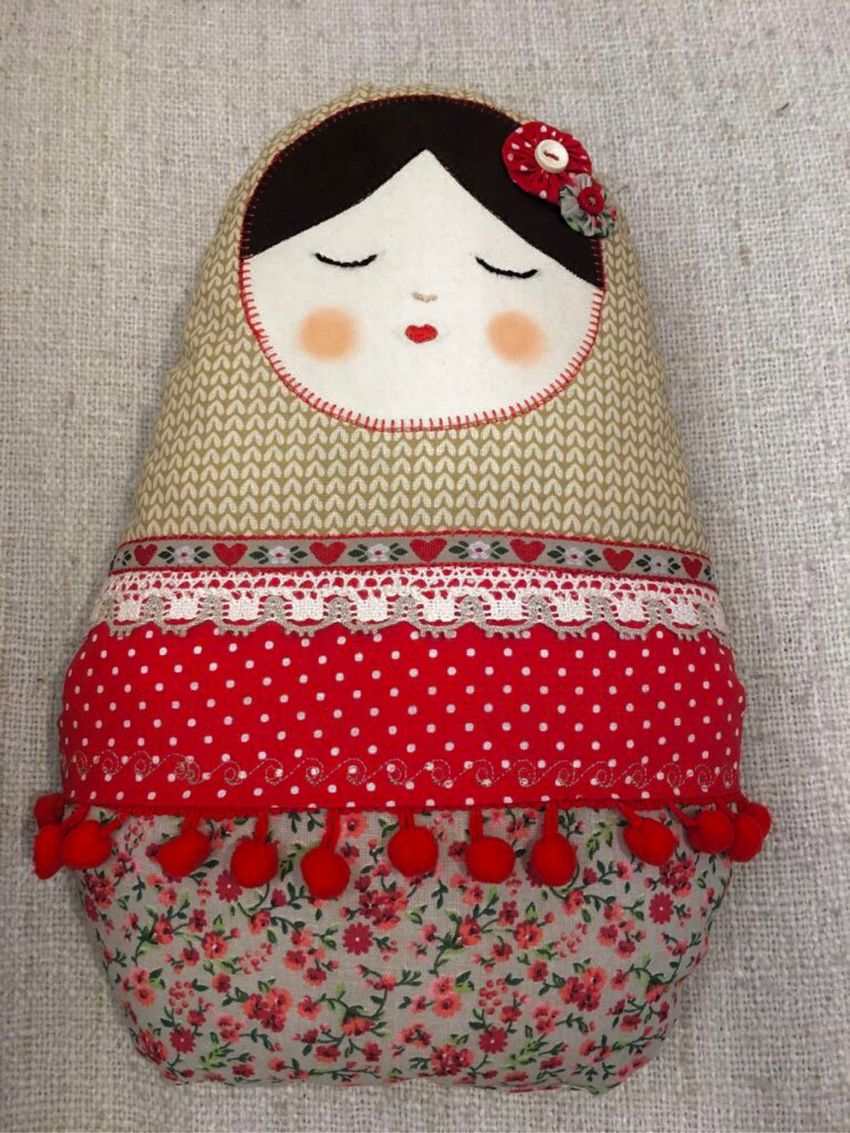
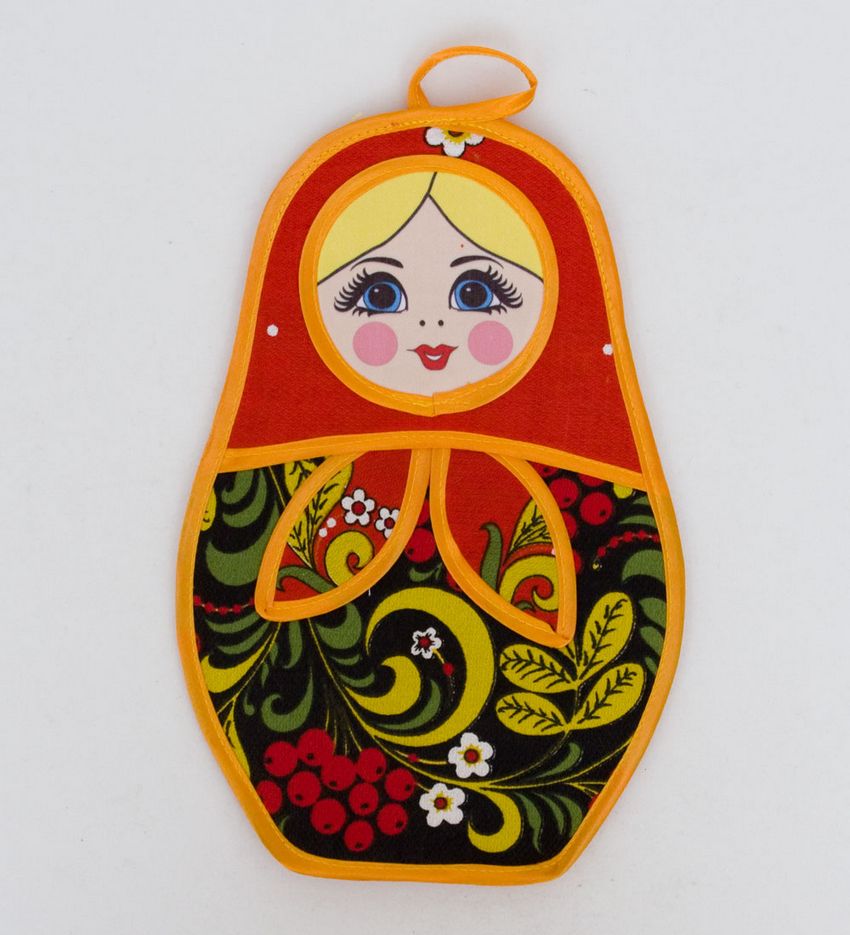
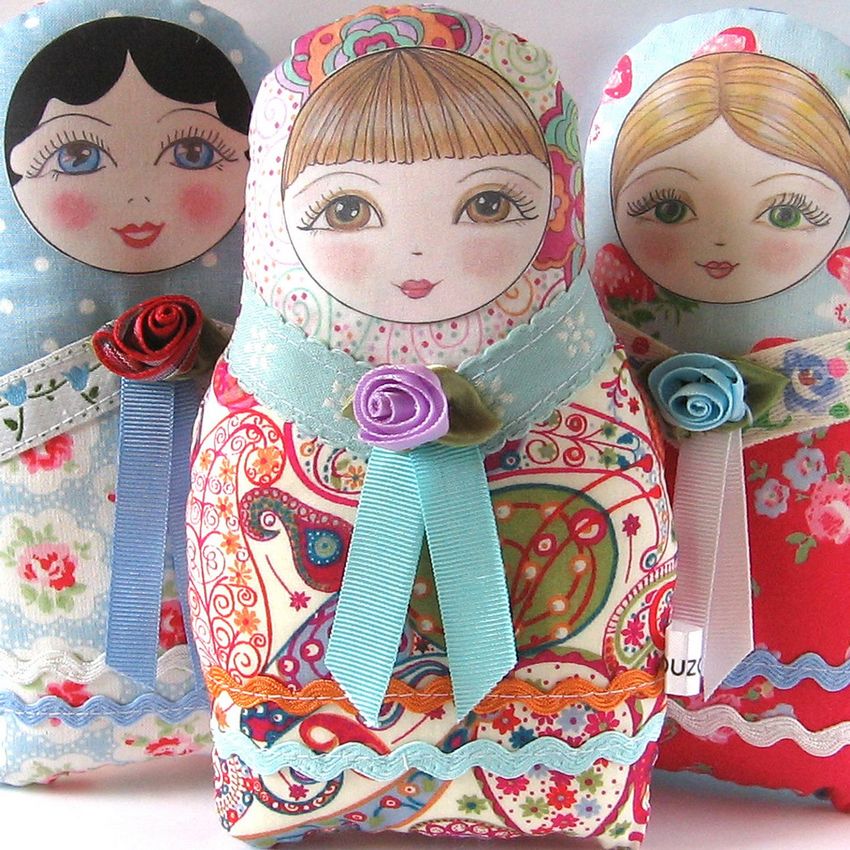
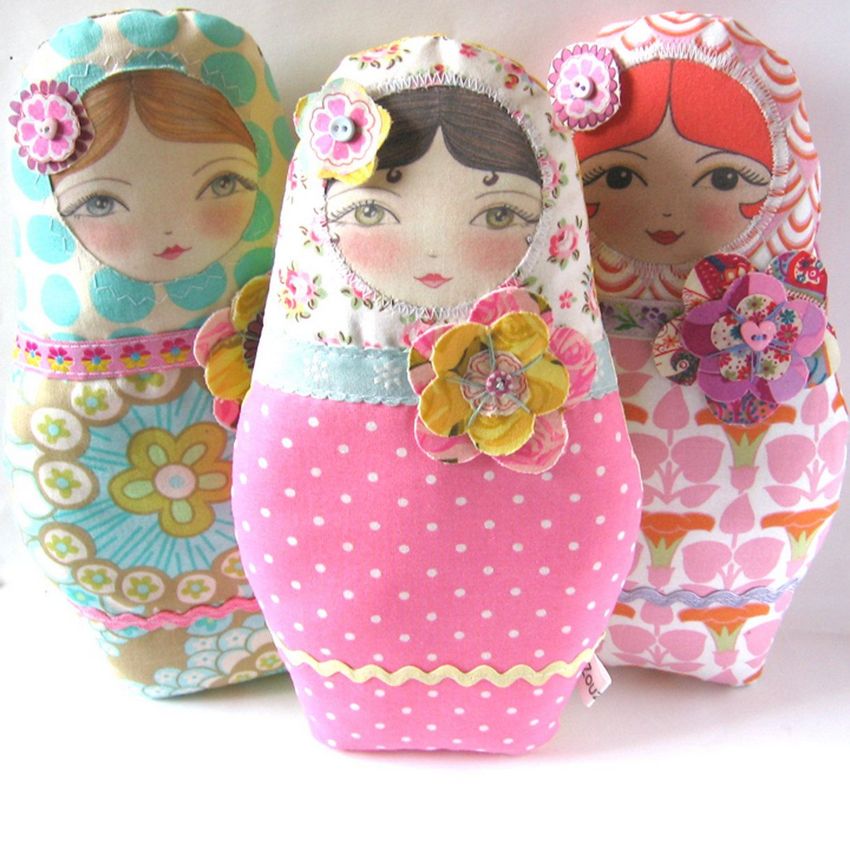
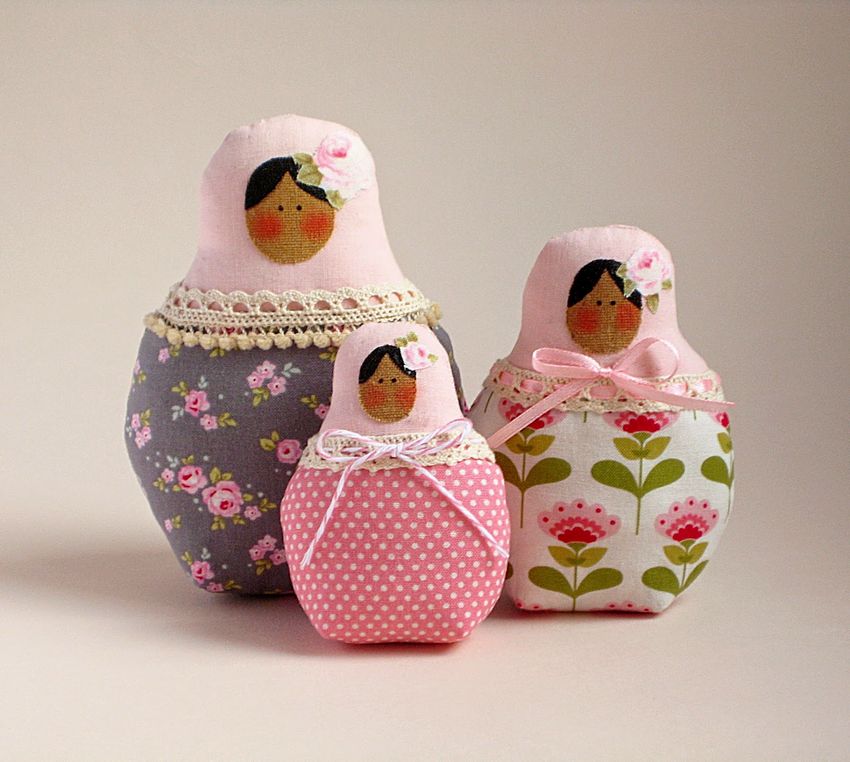
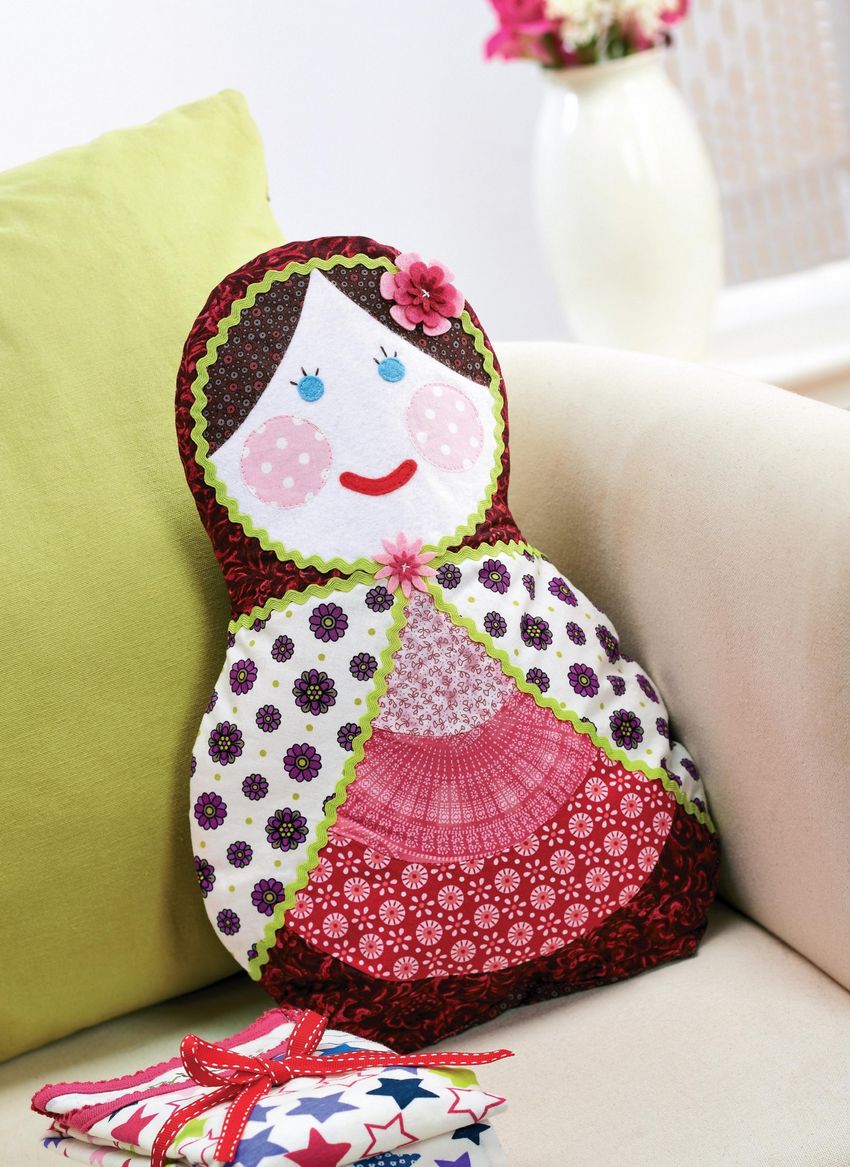
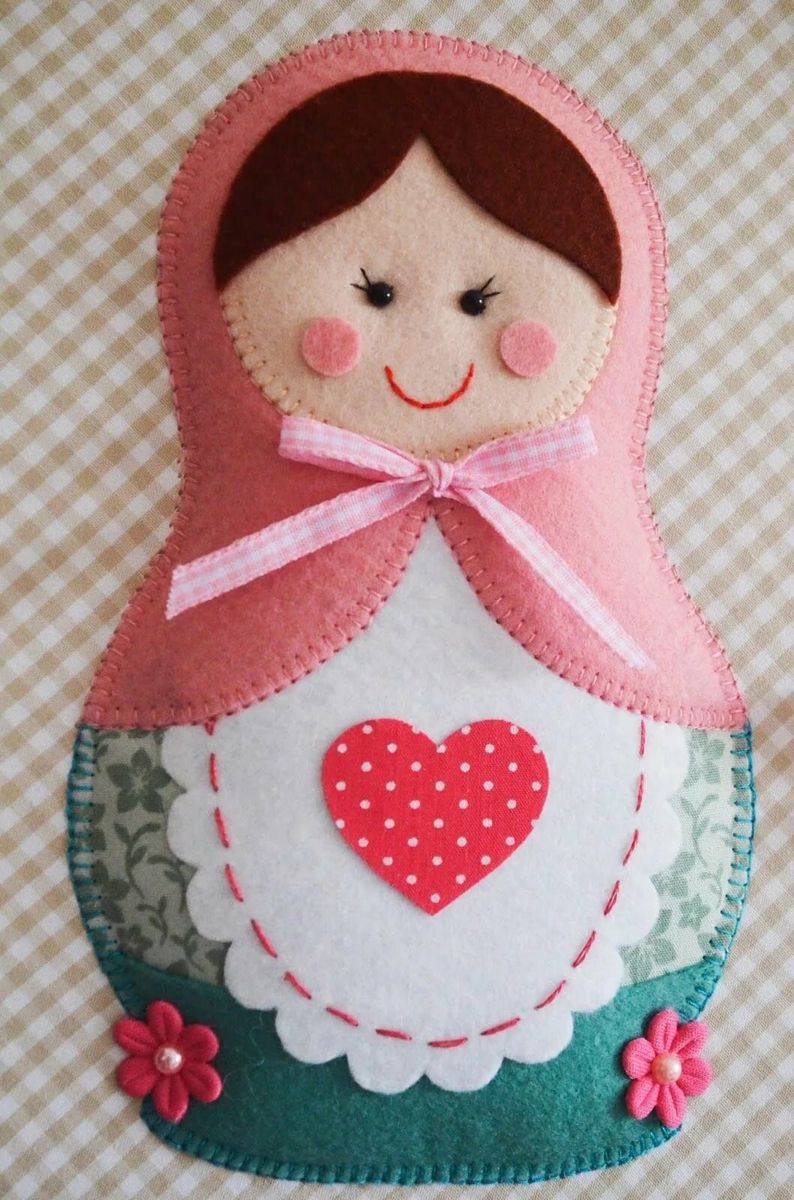
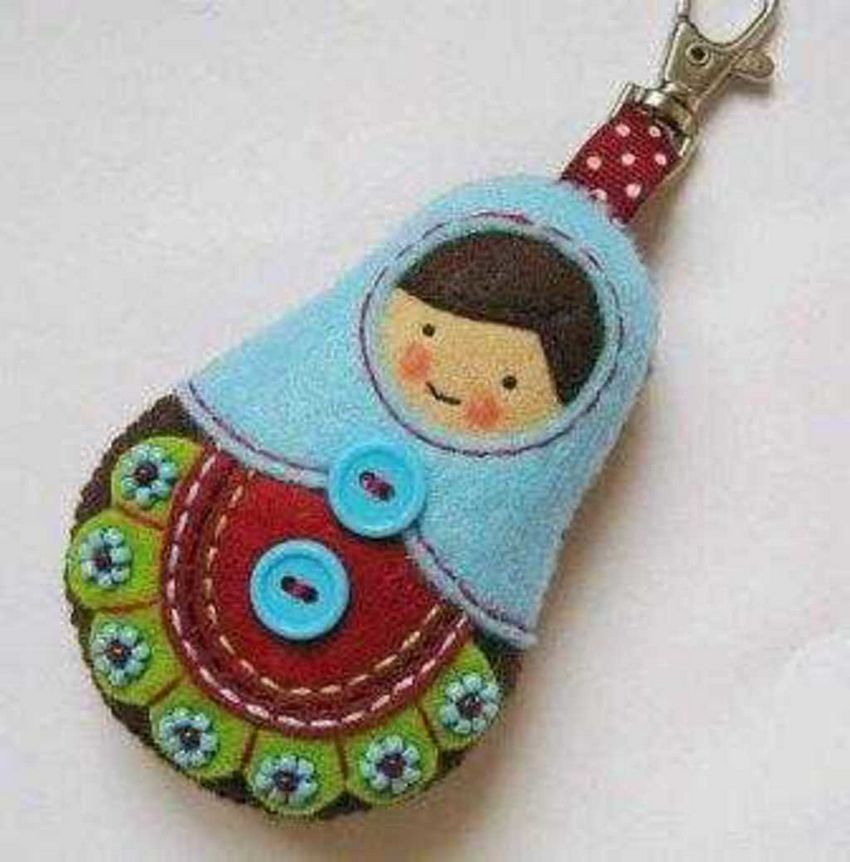
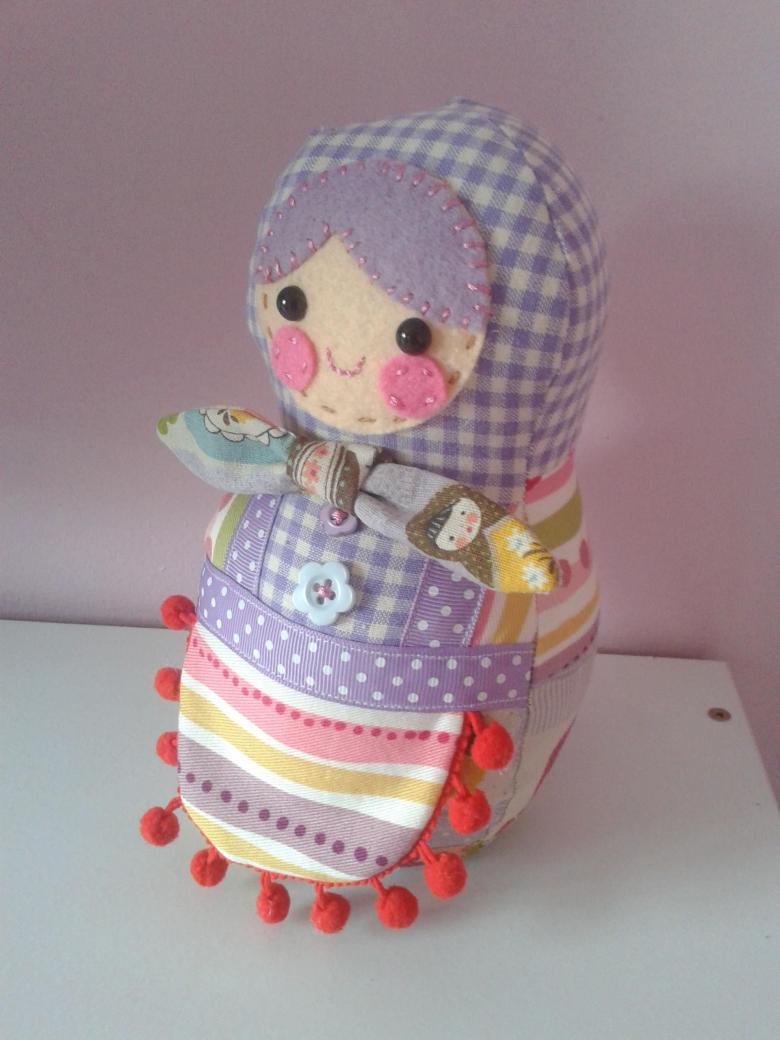
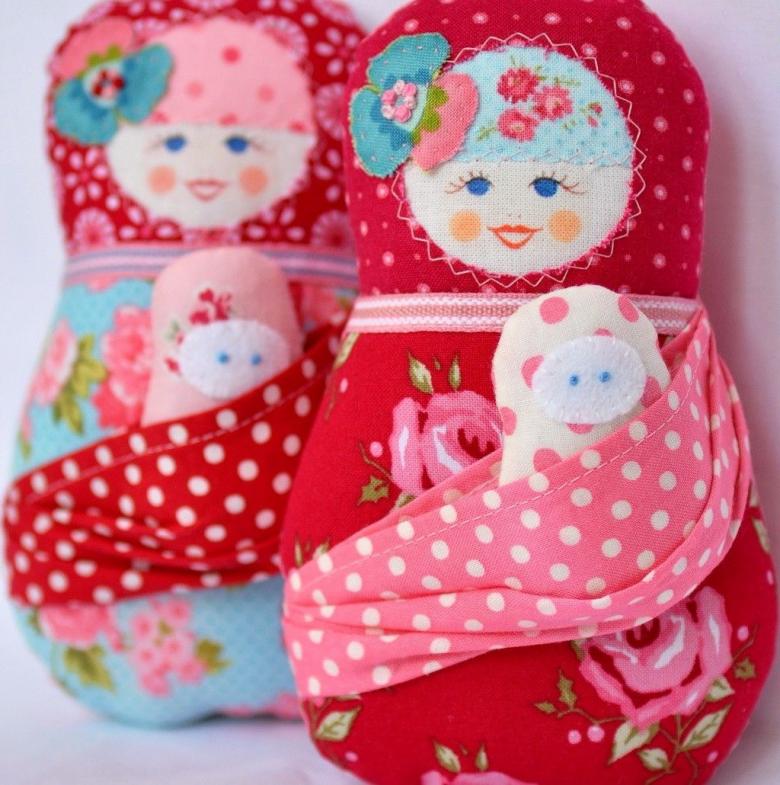
Matryoshka out of fabric
If you have a little skills in sewing, you can sew matryoshka doll with your own hands out of fabric. It will be soft and fairly stable.
You'll need:
- scissors;
- pattern;
- Beige fabric and fabric with flowers;
- absorbent cotton (or other filler).

Cut out on the pattern of all the parts. The fabric is folded in half, so there would be two parts (face-neck, stomach-back.) The result should be separate head and torso. Head stitch, leaving a hole for filling the bottom, and draw a face. Sew together head and torso. Through the hole that remains, all filled with cotton. Put on a doll kerchief.
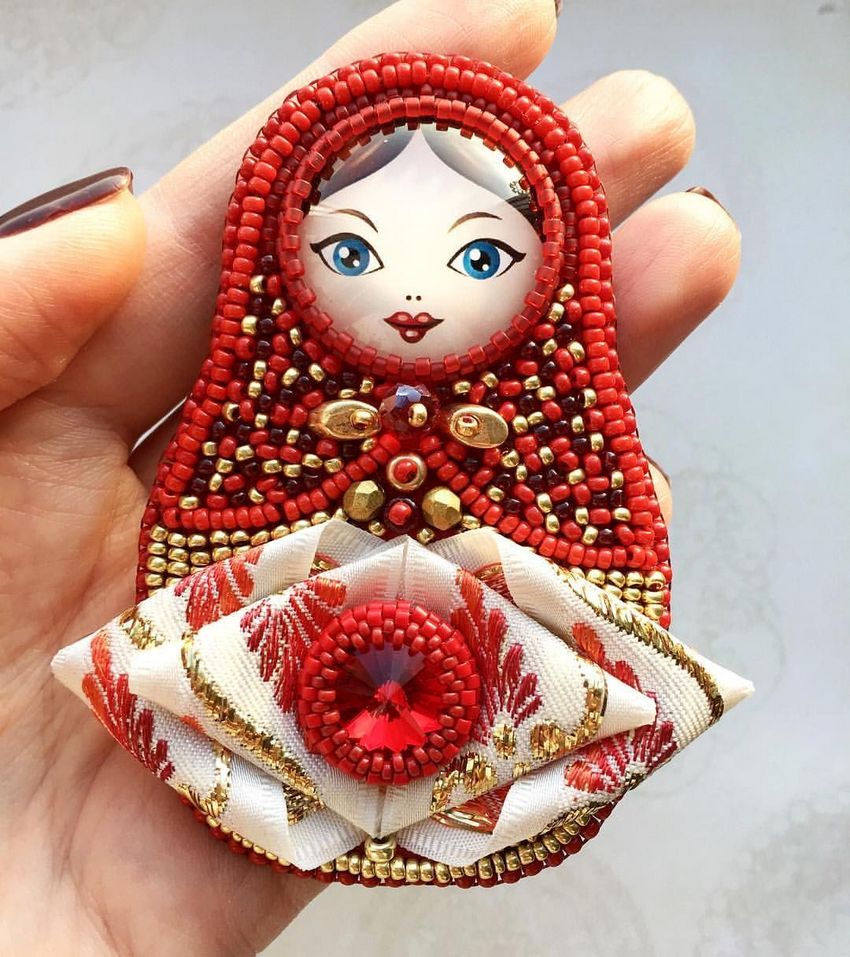
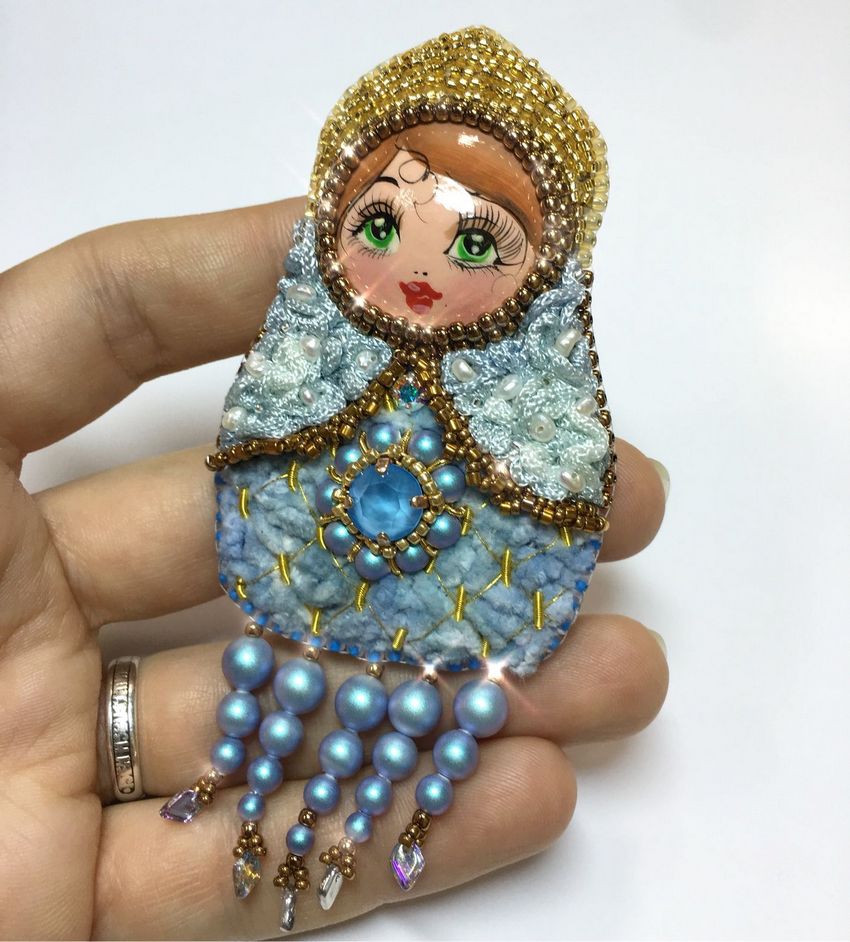
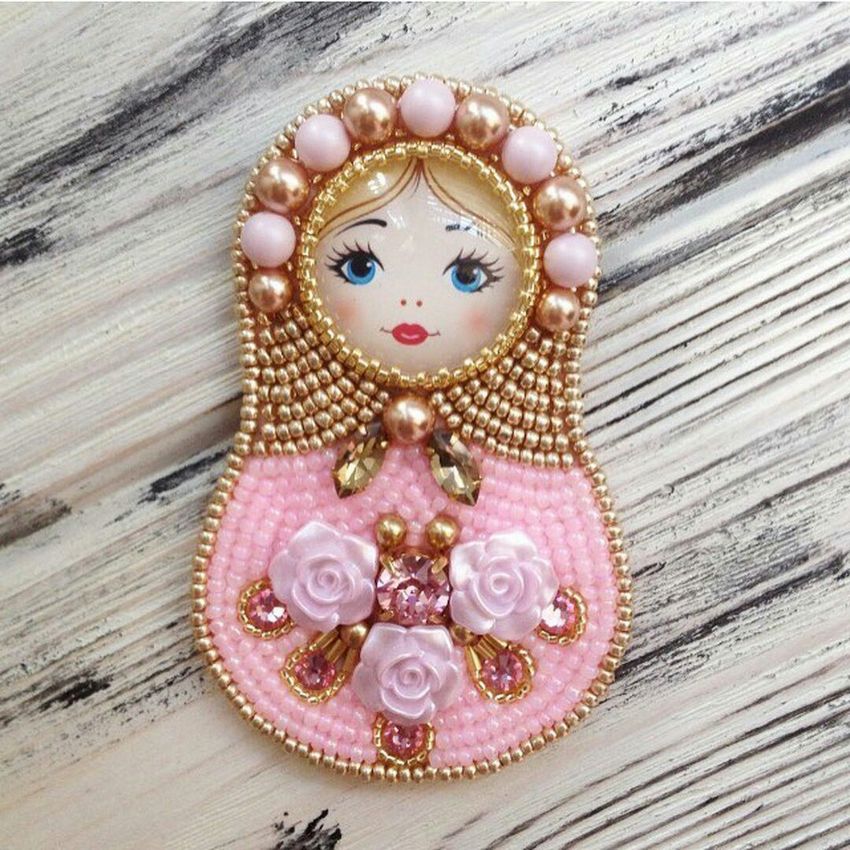
You can decorate the doll with beads.
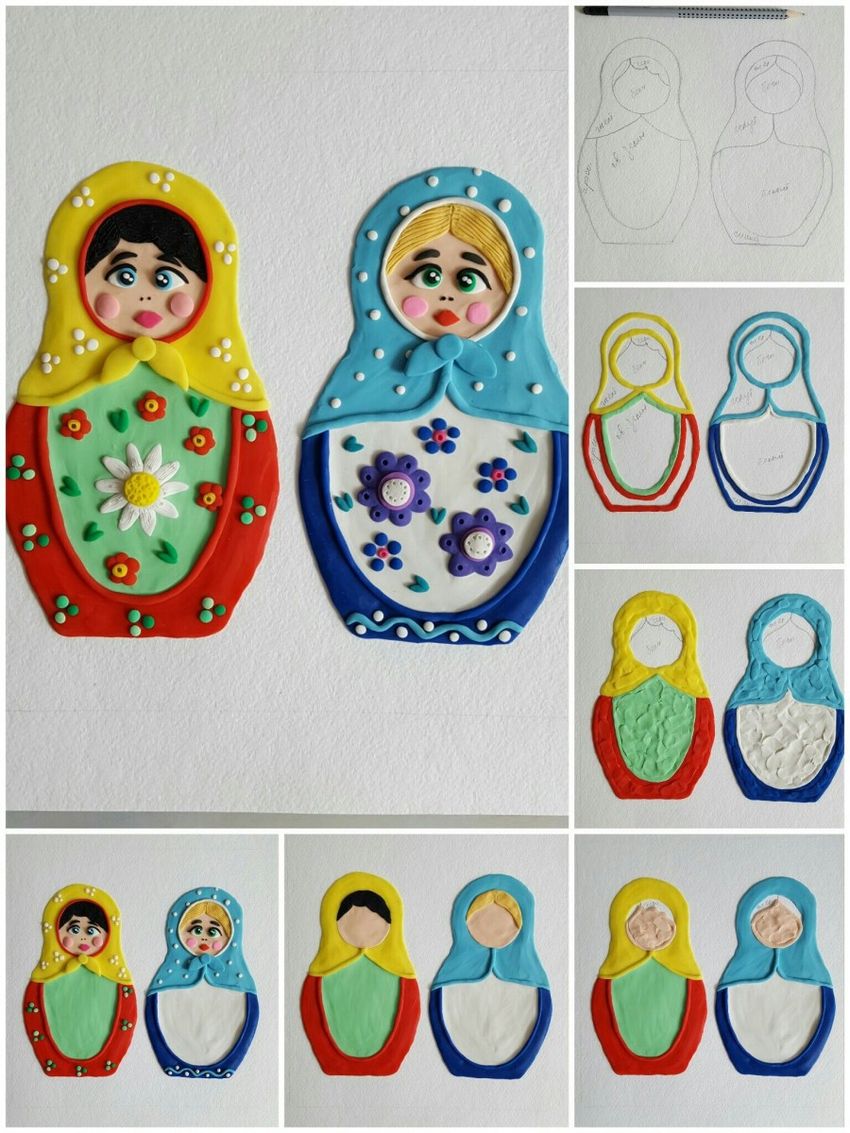
Matryoshka doll from modeling materials
Working with plasticine is quite simple and interesting for a child, the other options will require the participation of an adult.

Figurine made of plasticine
Everything is very simple. We make the head and body of matryoshka dolls, eyes, mouth, attached to the body peas of plasticine and put on a kerchief.
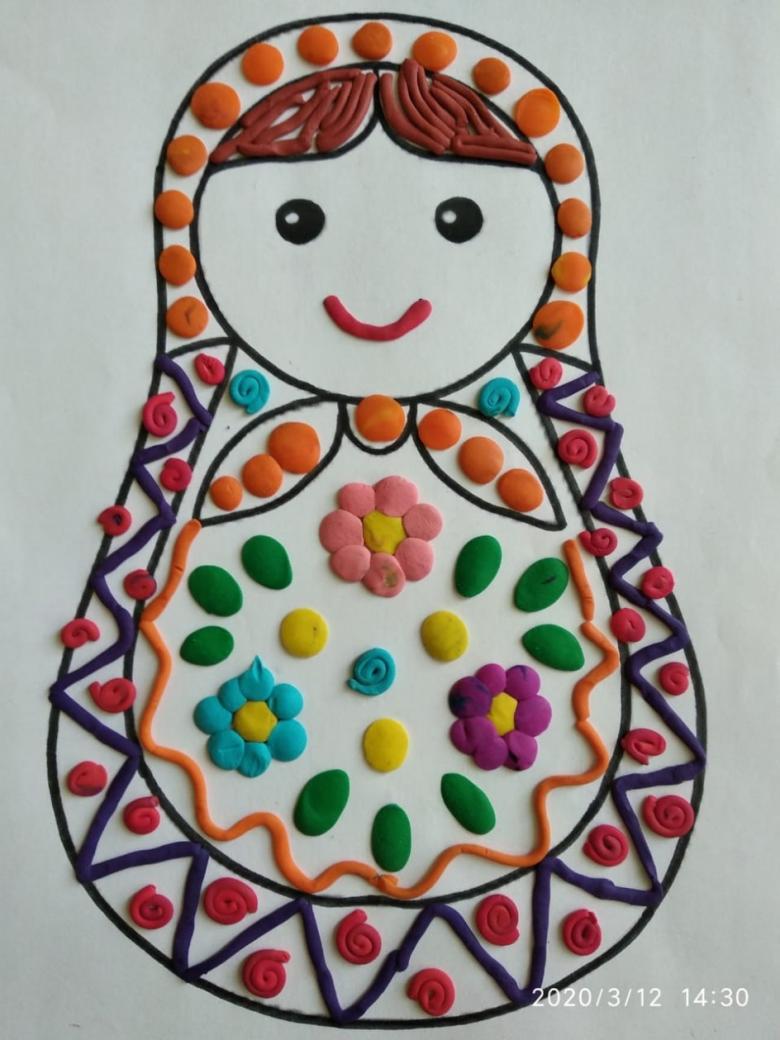
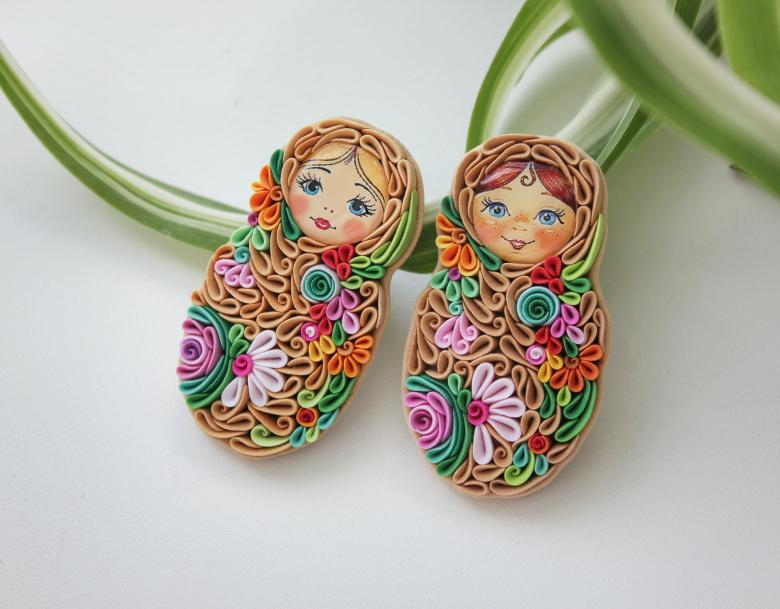
Figure of polymer clay
- Take clay of different colors and do the same as with plasticine.
- It is better to make a flat figure, so it is sure to dry.
- Bake in the oven for about 30 minutes at 110 degrees. (baking time may vary depending on manufacturer).
Salted dough figurine
- Make a matryoshka doll out of salt dough, making it flat.
- For embossing make sure to make an apron and kerchief, dress with circles.
- Bake for 10-20 minutes at 130 degrees.
- Allow figure to cool.
- Decorate figurine as desired.

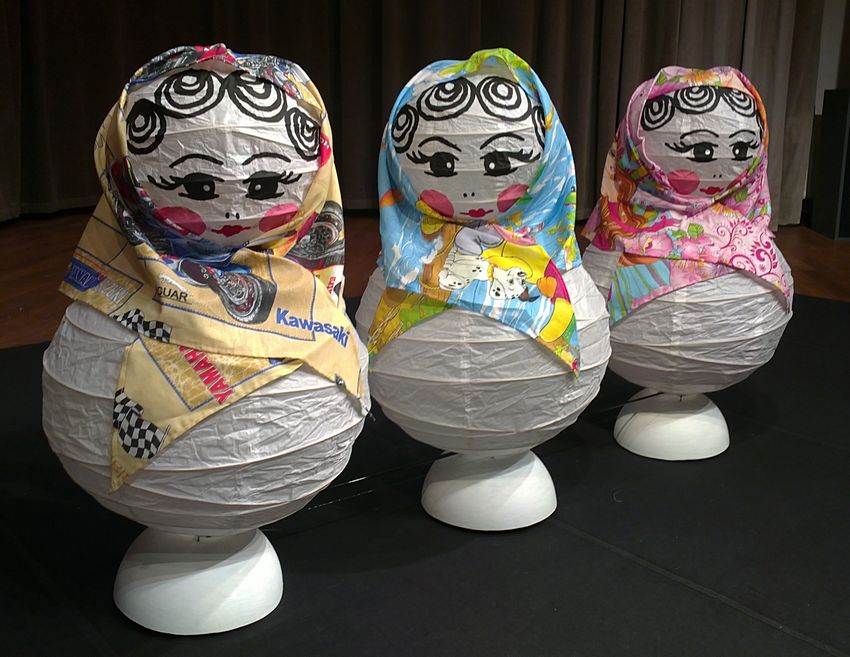
Matryoshka made of bottles
You will need:
- bottles of different sizes;
- gouache paint;
- scissors.
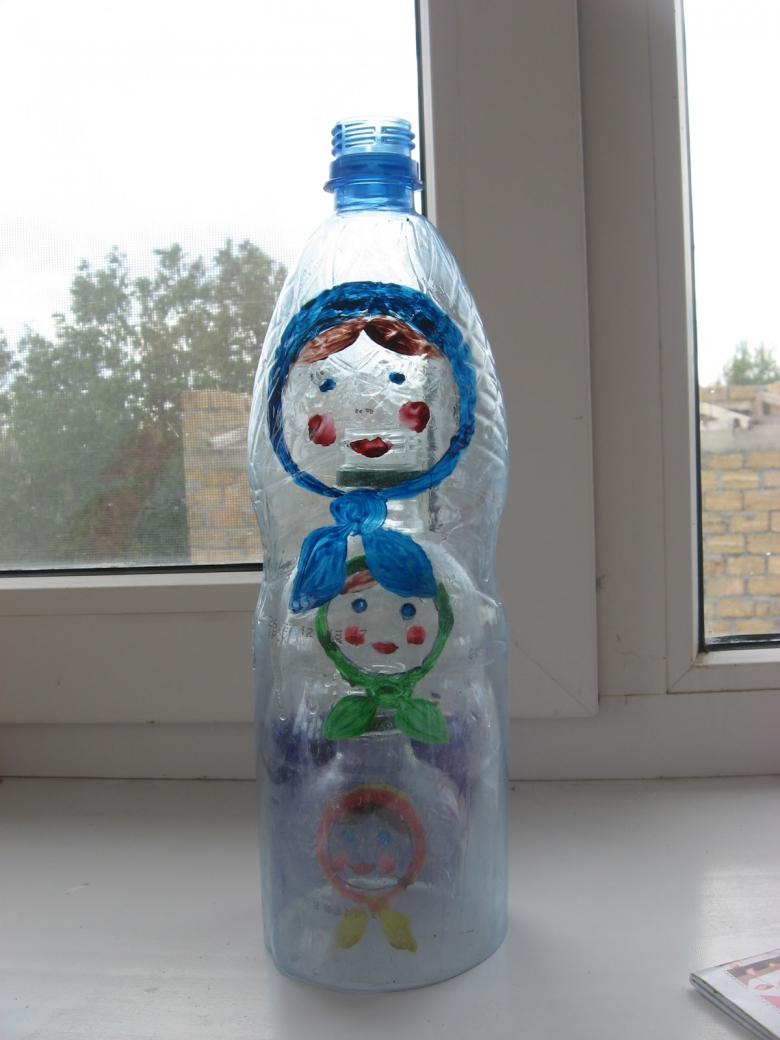
Clean the bottle from the label and wash, remove the glue. Allow it to dry. Cut off lower part and trim edges. Paint as you like and let dry. Do the same with other bottles. That would nestle in each other, cut off the neck and also work them, so as not to cut.
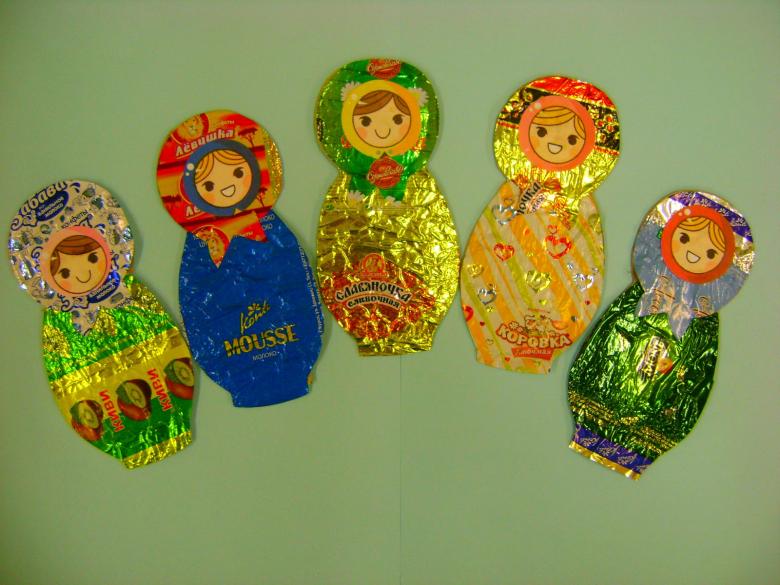
Matryoshka doll out of hand-made materials
In case we did not have all the necessary materials at home, or if we have them, but just a little of everything. You can make a matryoshka out of improvised materials and a pinch of imagination.
We will take:
- deodorant;
- A template of a doll's face (if you don't have one, you can draw it);
- a couple of pieces of fabric;
- paint;
- glue;
- paper.
We turn the deodorant into a matryoshka doll. We take the paper and glue it with glue, you should get a matryoshka doll shape. Let it dry. Glue a circle of colored cardboard to the bottom, for stability. The difference between the cardboard and the side of the bottle glue the rest of the paper. Should get a three-dimensional figure. On the resulting figure glue fabric, preferably with a pattern. Draw or glue a face with a template.

On the head we tie a piece of fabric, make a shawl and tie it into a loop. You can drop a little glue, what would not untie.
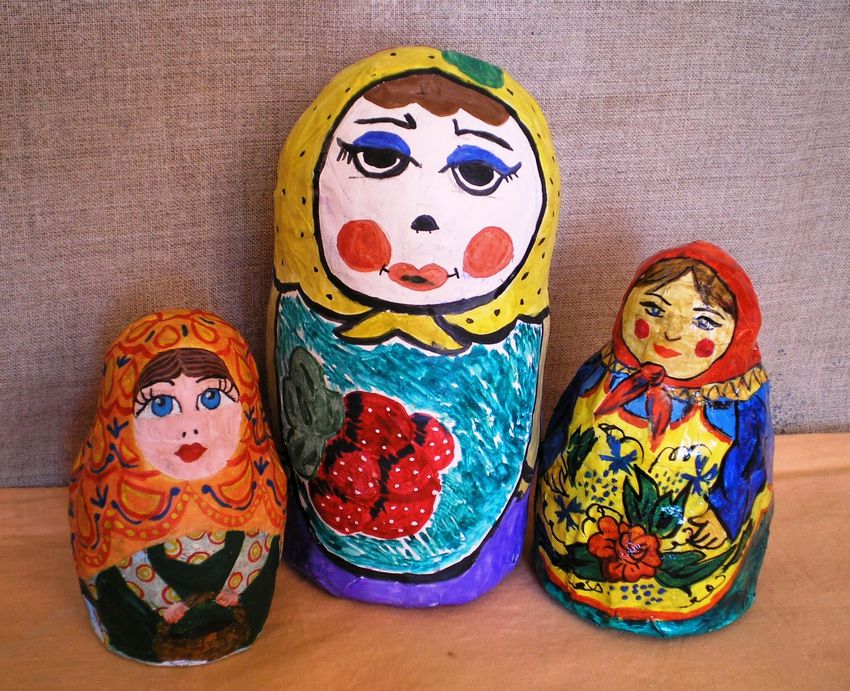
What we learned
So, to make a matryoshka doll is pretty simple. You do not need to be a master of needlework. Show your child how to make a matryoshka doll with their own hands, and you can be sure that this activity will leave a lot of positive emotions, develop fine motor skills, and work with paints turns on imagination and thinking. Beautiful matryoshkas!
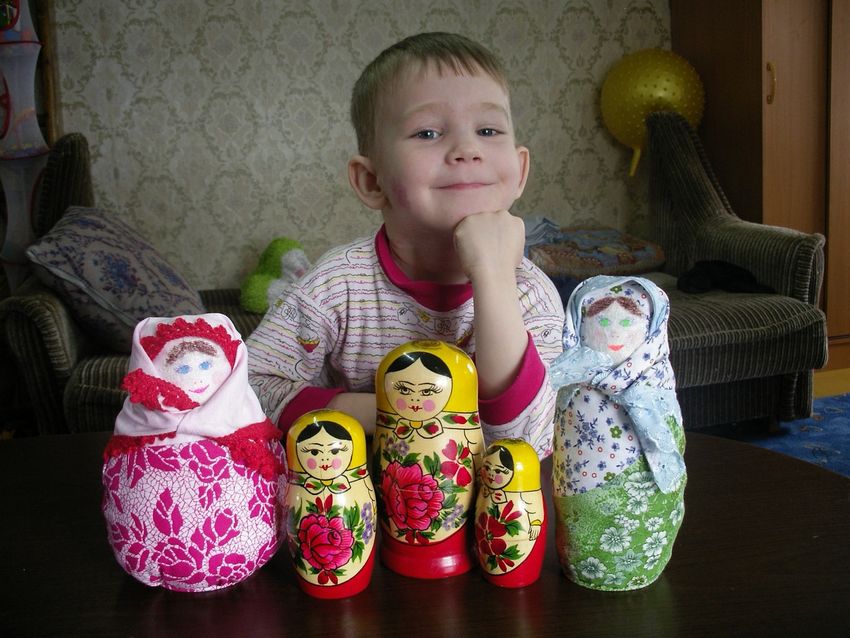
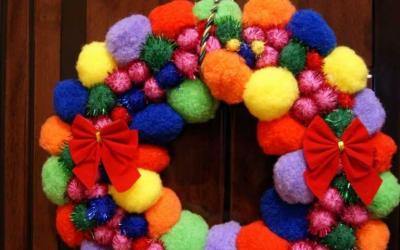
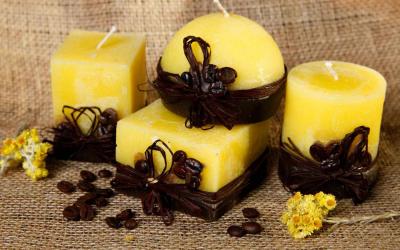
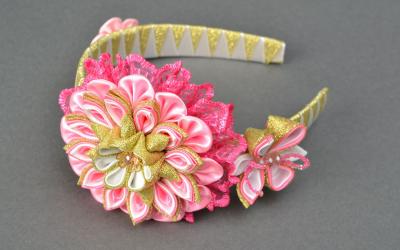
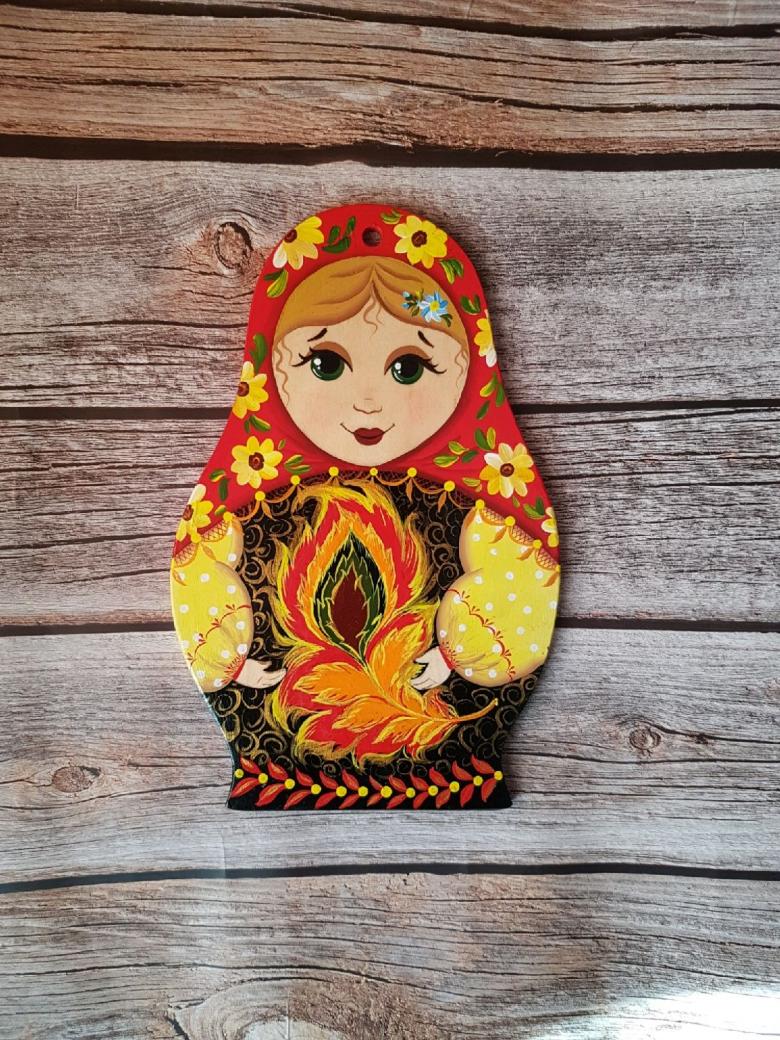
Photo ideas homemade nesting dolls