How to make a ship with your own hands from different materials: the steps and the best solutions for beginners
Kids love the process of launching ships. And, of course, the most inveterate in this case - boys. This technique, as well as real ships, boats, yachts, boats and catamarans. Maritime attributes are filled with special romance, appealing to the boy's soul.
Therefore, ships can rightly be attributed to the category of toys for boys, which will be interesting to make their own, even the most restless tomboy, and this, as you know, a rare phenomenon, and thus especially valuable.
Do you know how to make ships?
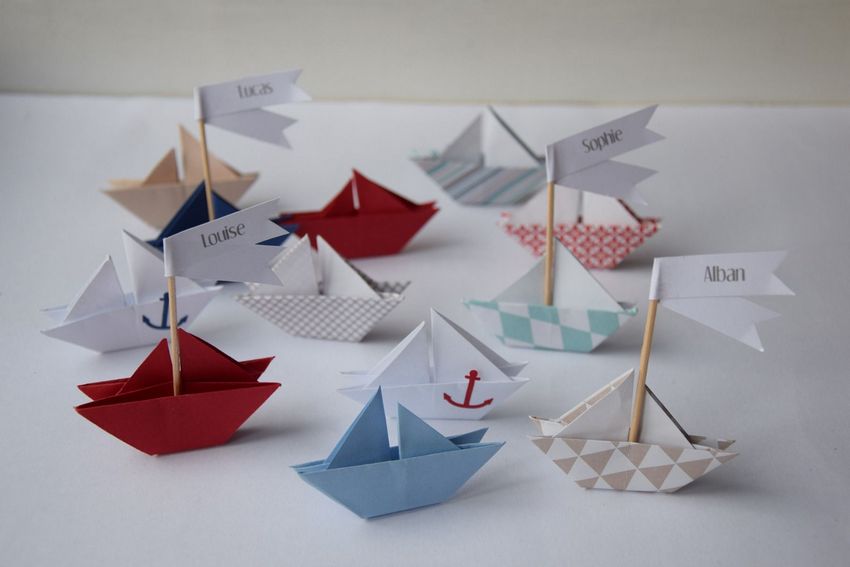
Do you know how to make a ship out of paper to your son, grandson, any child? If the answer is no, please read this useful article. Here you will find a description of different ways to make paper and not only, the ships. And some options involve the co-creation of an adult and child. Let us remember the simple models of paper ships, which are from our distant childhood.
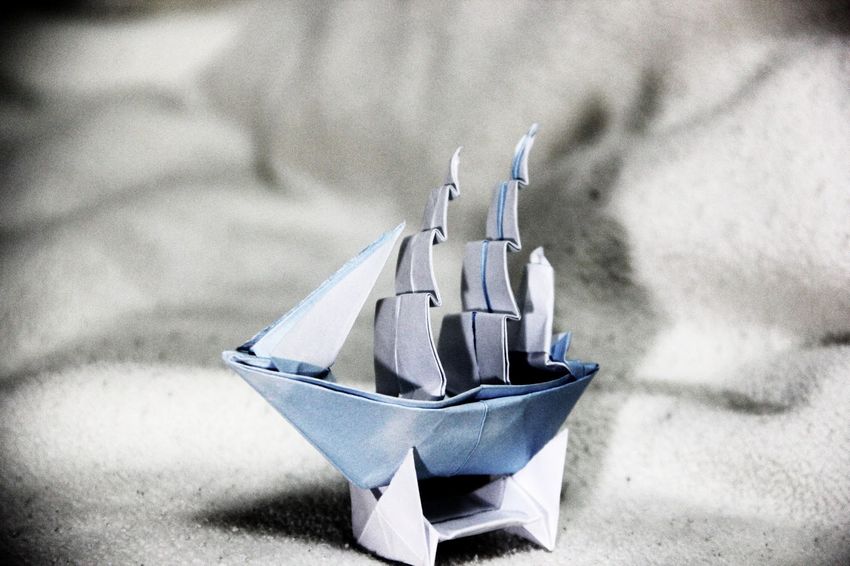
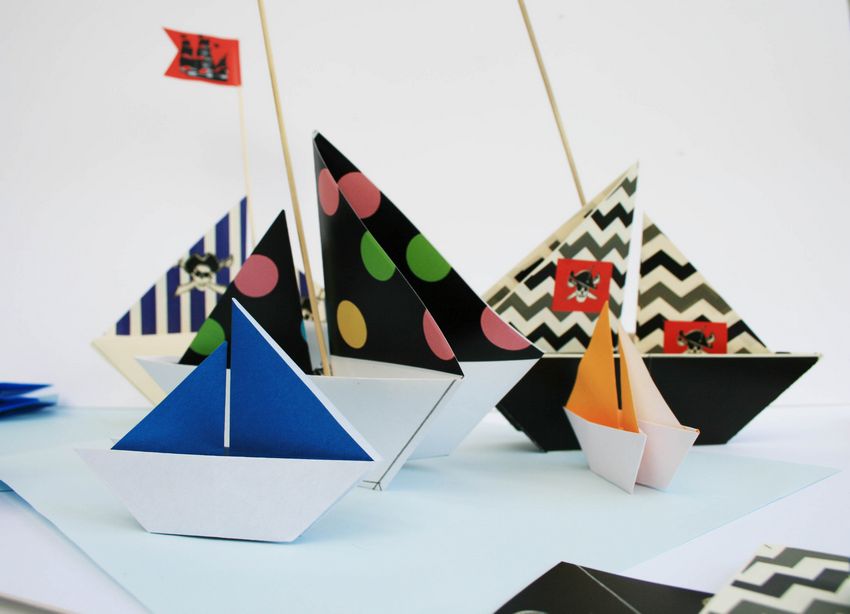
Ship in origami technique
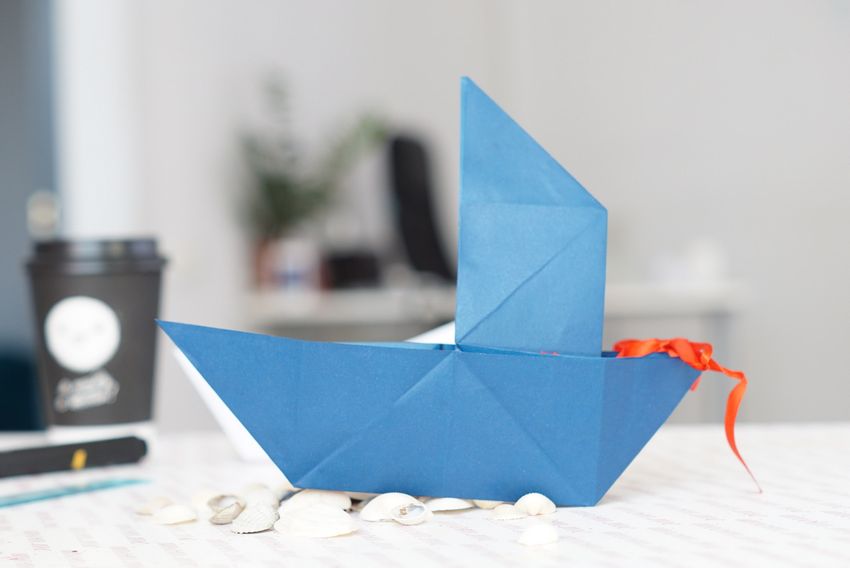
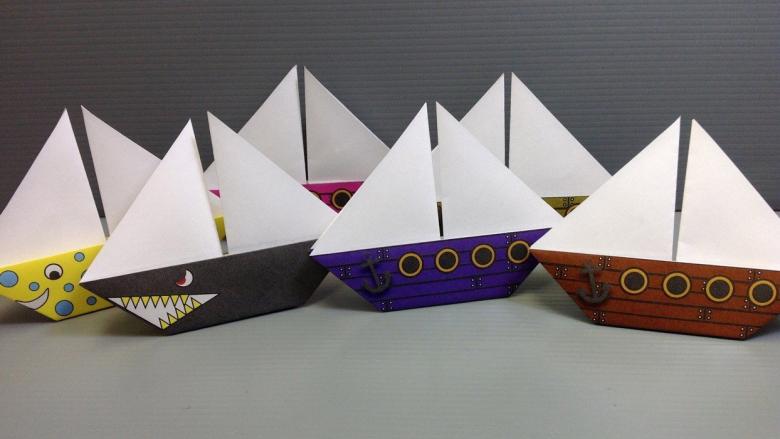
Like a paper plane making ships that were launched on the water Soviet children, involves the use of origami, but in those early years, of course, about this no one ever heard. As you can guess from looking at the photo of the finished ship, to make it in the technique of origami we need only a piece of paper.
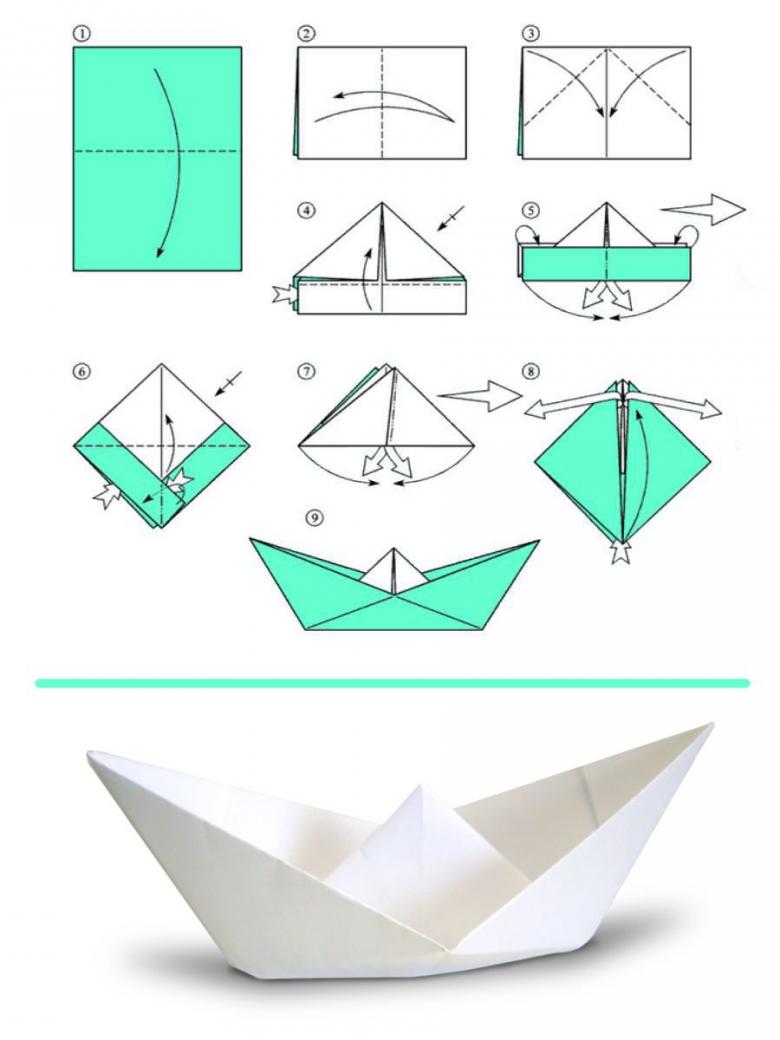
You can use regular office paper in the size of a landscape page or use a notebook page. In the photo in front of you clearly and simply the scheme illustrates the step-by-step assembly of the toy.
Paper craft is strong enough to withstand cargo like little plasticine figures or Kinder-surprise toys.
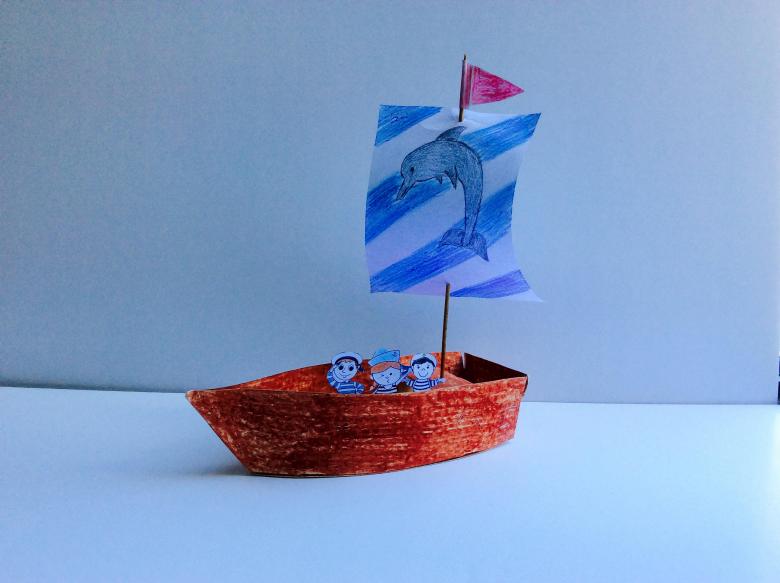
Let the boat on the water, and populated by sailors, and maybe pirates, this exciting process will be remembered by the little man for a long time. On the white ship (it is assumed that your craft from white paper) draw windows and different parts of the ship such as the hold, rudder, stern, deck boards, attach a plasticine anchor, on a toothpick attach a flag of colored cardboard or paper. Name these elements aloud to further develop your child's curiosity.
The making process
So, let's start creating.
- Take a sheet of landscape paper, white or any other color you like.
- Folded in half, you get a rectangular shape.
- Bend one corner to the center of the rectangle.
- Similarly bend the corner on the opposite side.
- Bottom part of the bend on top.
- Now flip the figure.
- Up bend that bottom rectangle.
- Reformed ends tucked and fix inward.
- Shaped the shape of the diamond.
- Next, lift the corner that bottom the opposite way up.
- Again you need to turn and do the same thing on the other side.
- Lift the pointed corner that bottom to the top.
- Next you need to get the rhombus by adding a triangle in the center.
- Begin to form a boat by pulling at the ends.
- Give the bottom of the vessel so that it is volumetric and stable.
Done!
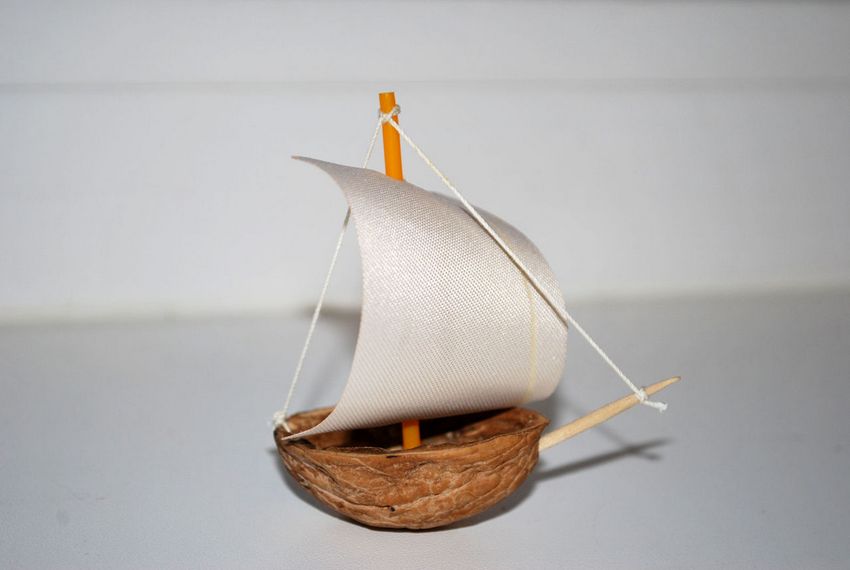
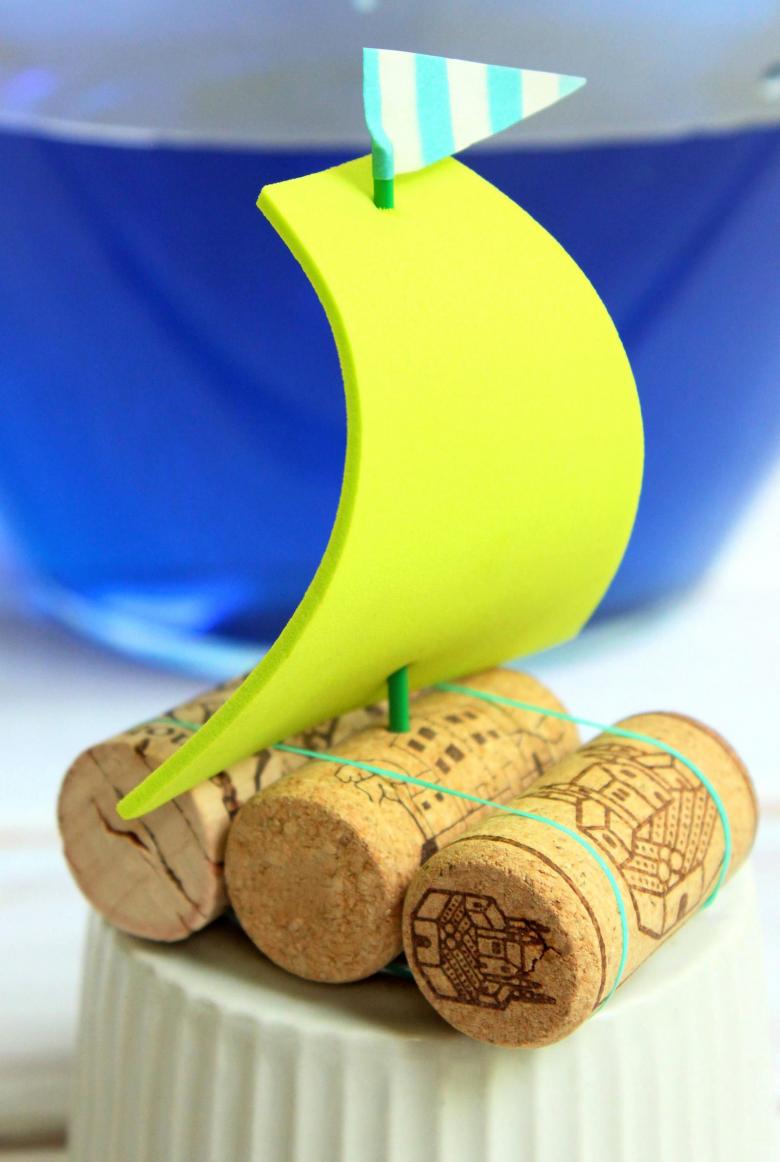
A simple cork boat
Cork is one of the lightest, most waterproof materials.
Such a craft will be fun to do with a preschooler who likes to play in the water, bathing in the tub. This is a great alternative to ducks and other floating children's joys. And, of course, in the spring, when streams are flowing, your child will be excited to run such a boat on the current, and involve your child in the creative process, as well as make a ship out of caps is very easy. This activity develops fine motor skills, teaches the child to independence and, most importantly, introduces him to the joy of creativity.
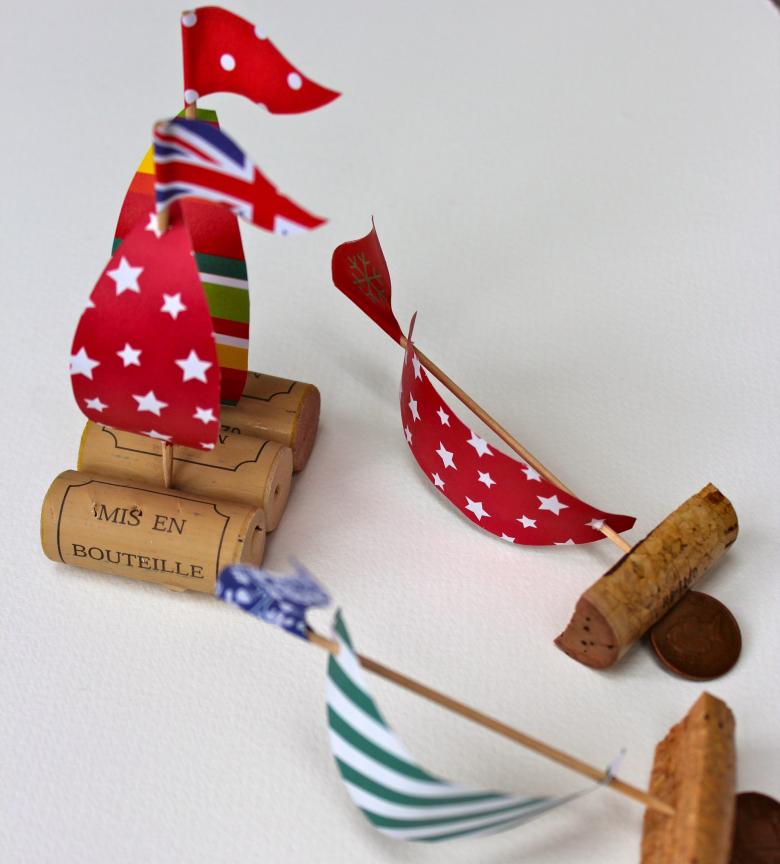
We will need the following materials:
- Corks from wine bottles or champagne bottles.
- Rubber bands for money or duct tape.
- Colored paper or glossy discarded magazine.
- Toothpick or canapé skewer.
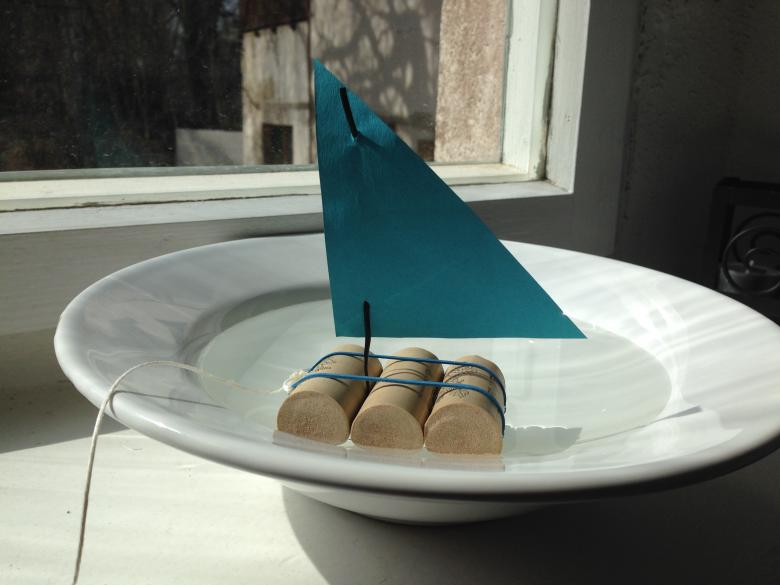
The creative process
- We fasten two corks together with rubber bands.
- In the same way we attach the third plug to the second.
- We have a stable raft.
- Cut out a brightly colored sail from colored paper or an old, unwanted glossy magazine.
- Attach the sail to the mast of a skewer or toothpick.
- The mast should be stuck into the cork.
Voila! A great toy is ready!
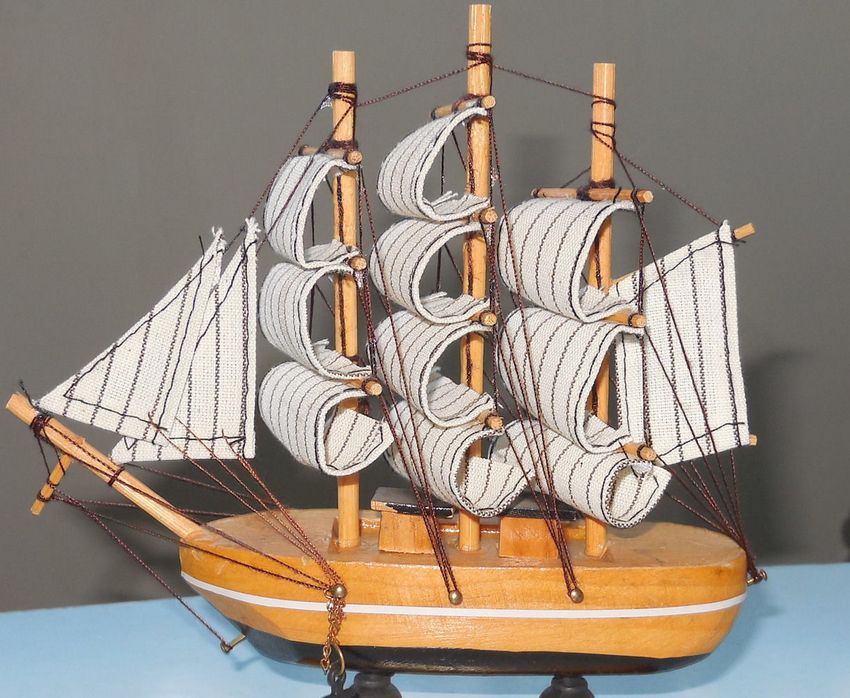
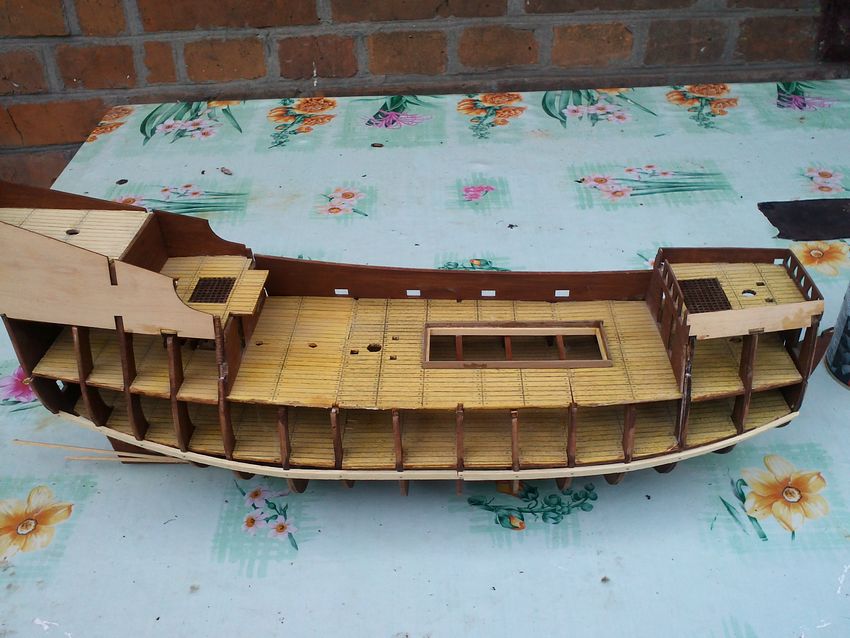
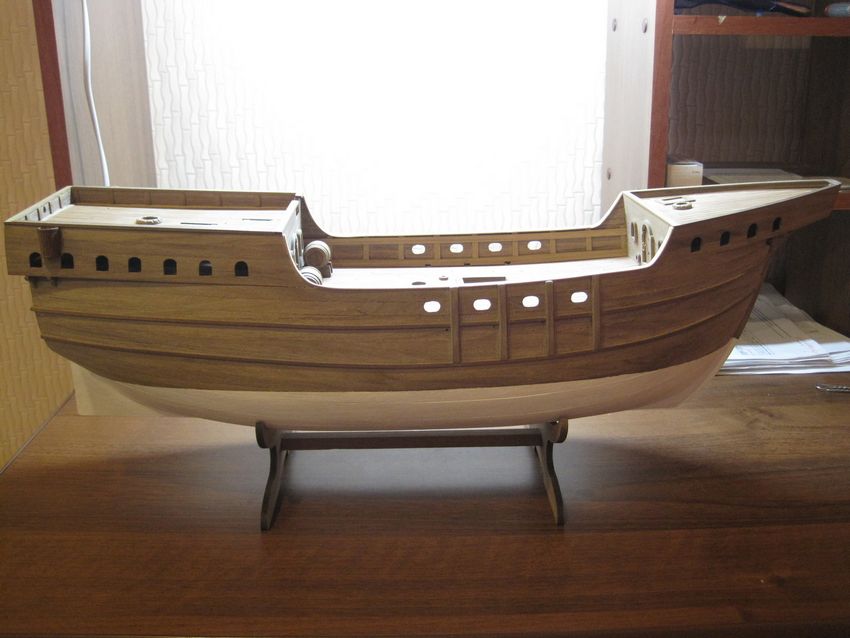
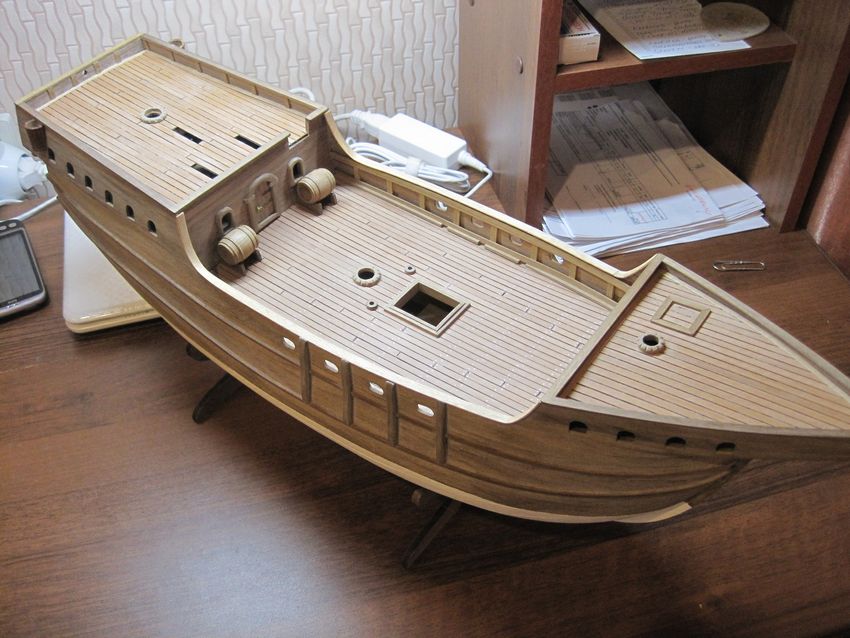
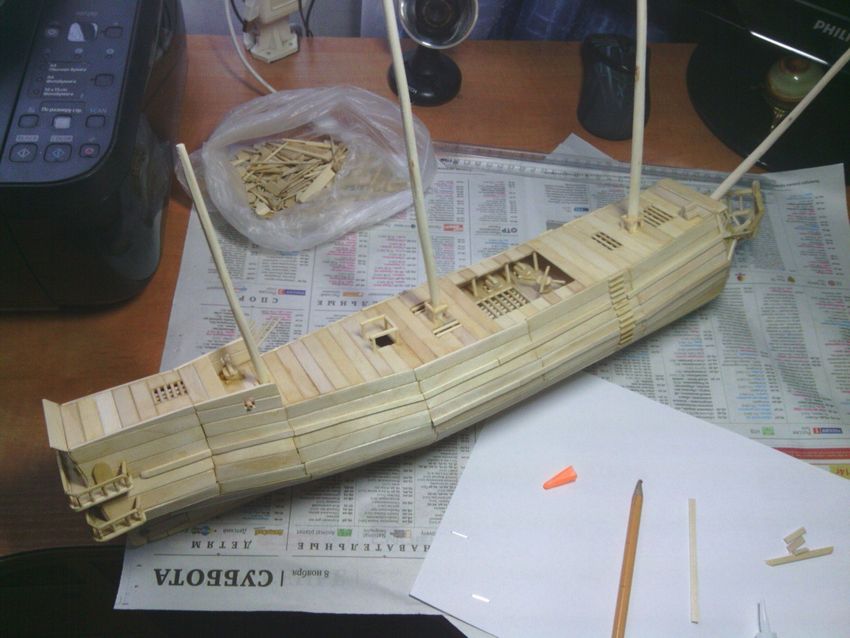
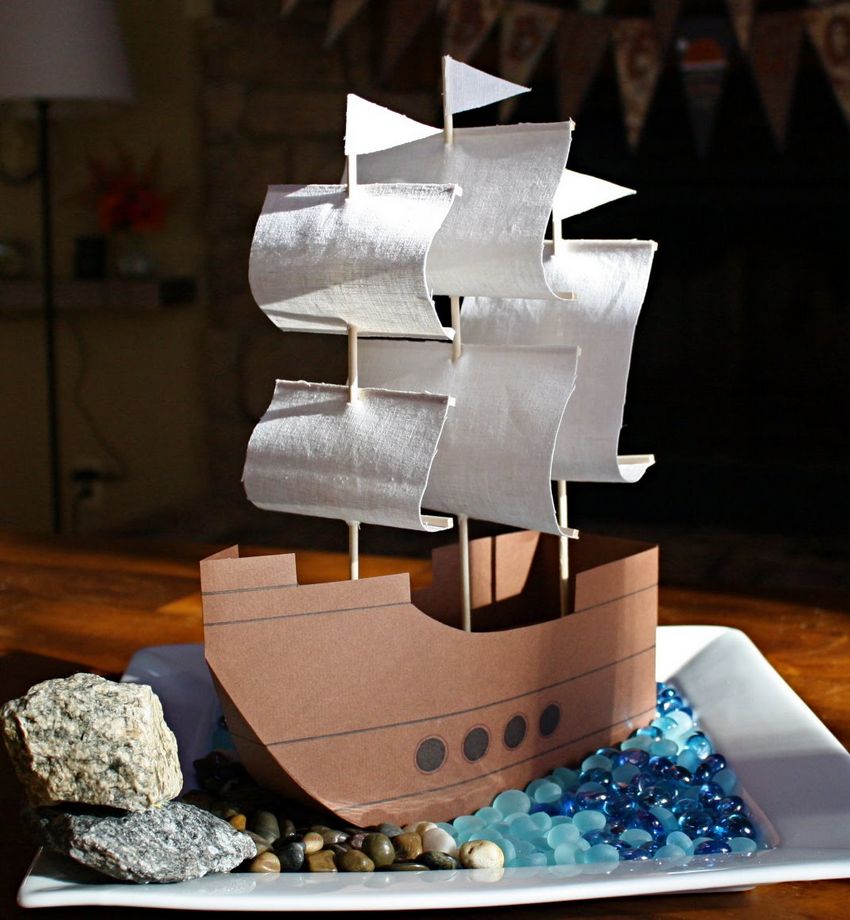
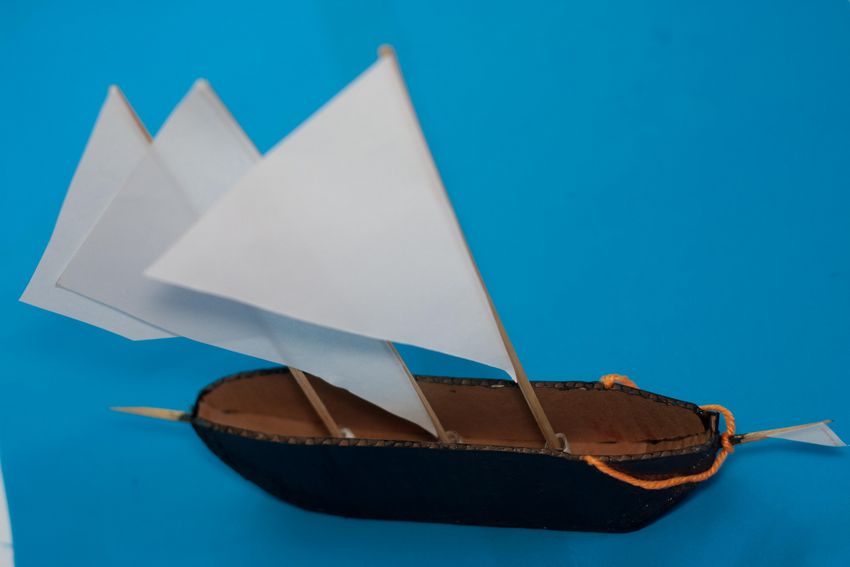
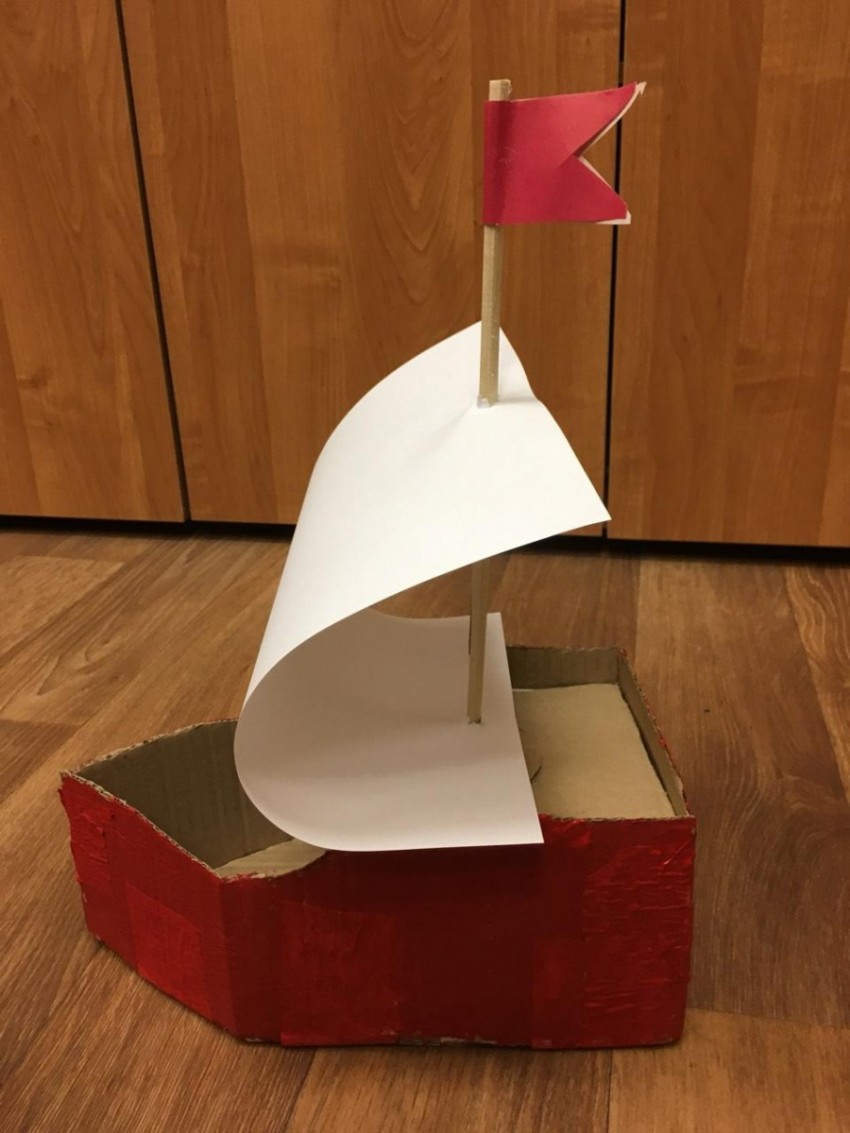
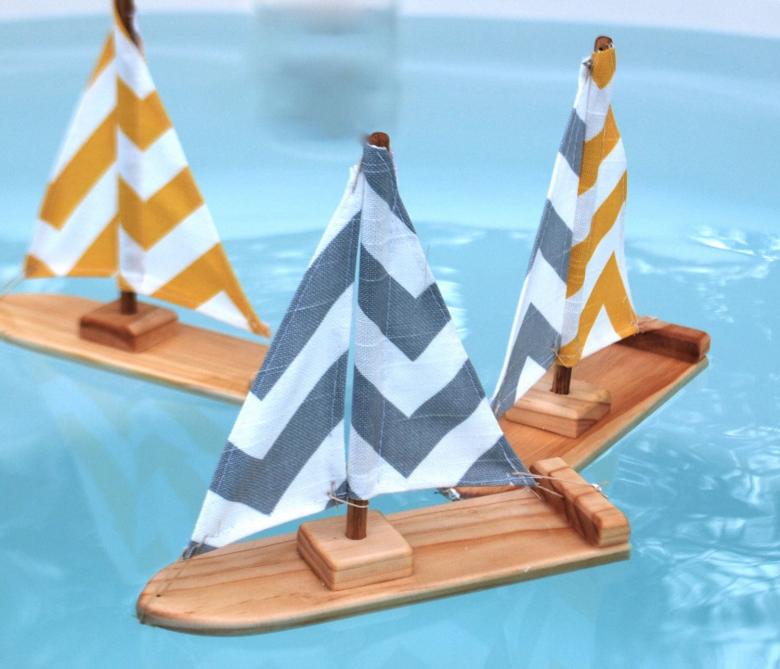
How to make a ship out of wood
We will need:
Sheet of paper, pencil, lime or birch board, jigsaw, hatchet, chisel, roll sticks, toothpicks, fabric for sails, PVA glue, Moment glue, file, sanding disc
So, let's begin:
- From paper we cut out a rectangle 18 by 6 cm in the shape of a ship (as if viewed from above).
- We trace this piece on a wooden board about 2 cm wide.
- Saw two such parts with an ordinary or electric jigsaw.
- Grind one side of each piece.
- We glue them together with PVA glue, fix them with elastic bands for additional fixation, seal the seam with glue and put a weight on top.
- While the glue dries, we will make the mast and other small parts.
- We take a 15 cm long board, about 1 cm wide, we cut it with a knife, shaping it into a cylinder, and file it down. This will be the mast. We make three of them.
- From a bow of the ship we step aside 3-4 cm and draw a line from the bottom preparation to the top corner of the top preparation, it turns out as if the bow of the ship was upturned.
- We saw off on this line extra material first from one side, then from another.
- On the bottom of the ship, draw two lines along the length, 2.5 cm from the edges.
- Along these lines, cut off the excess material with an axe, thus giving the bow of the ship a suitable shape.
- Sharpen the axe more, removing excess material.
- Measure from the stern of the ship 4 cm, draw a line to the seam and saw.
- The hull is ready, sand it from all sides.
- On top of the workpiece, where the deck will presumably be, we draw a rectangle.
- We take a chisel and make a recess along the lines of the rectangle.
- On top of the ship we make three holes.
- We take three masts. You can use sushi and roll sticks as an alternative to the homemade plank masts.
- To each mast we glue 4 toothpicks on the glue of the moment.
- Fix the masts to the ship's hull with PVA glue.
- Cut out the sails from fabric (a rough fabric will look great, like burlap, if you plan to paint the boat a dark color and varnish it) and glue it with PVA.
- Paint the ship with acrylic paint. First paint with light colors, then with dark colors. You can not paint, and cover with a special lacquer on wood. It will be even more spectacular.
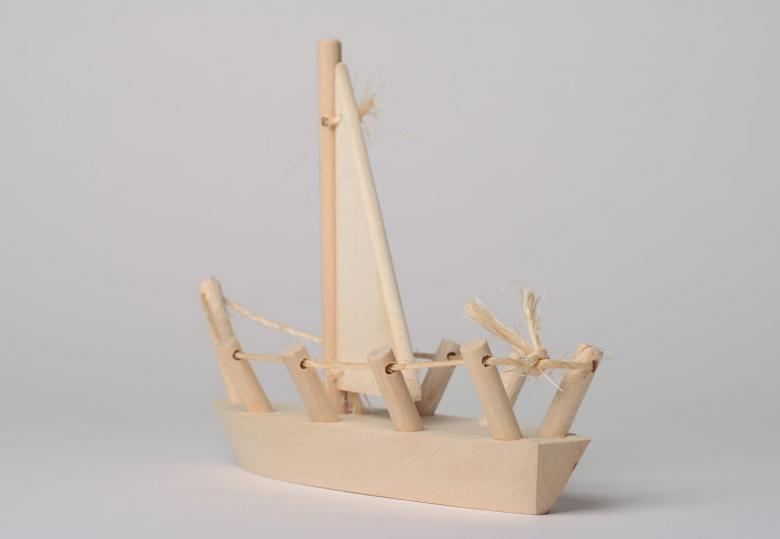
The sailboat is ready. It would not be shameful to give it as a gift or leave it at home as an interior decoration.
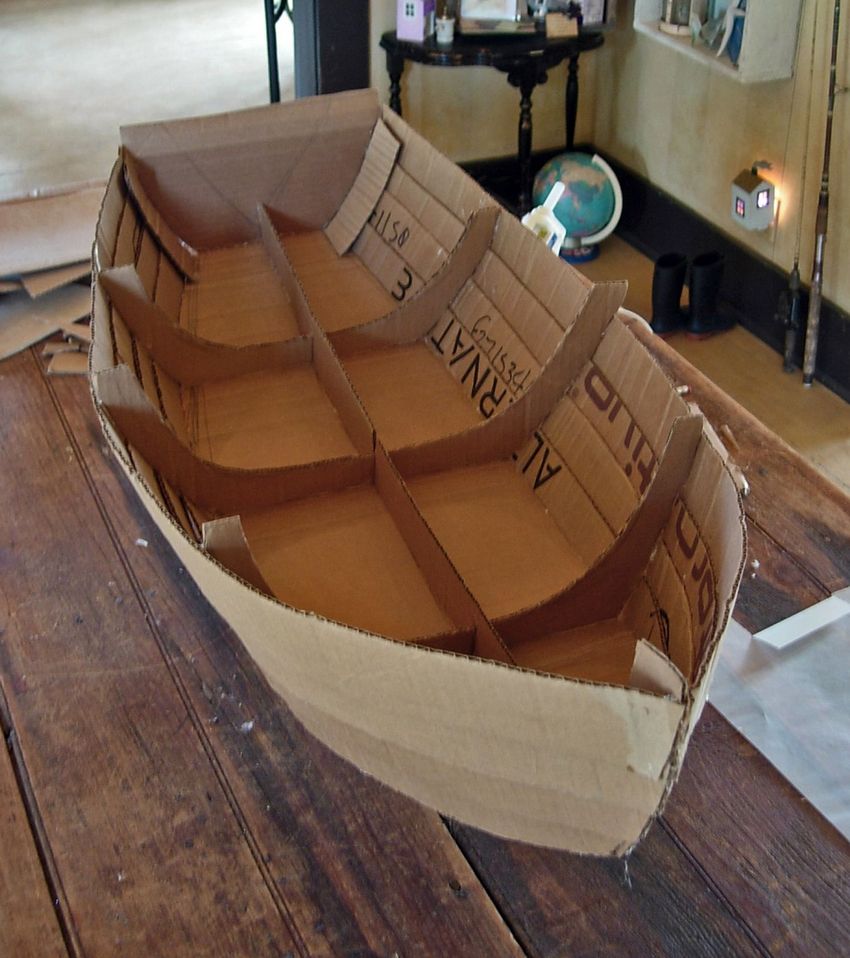
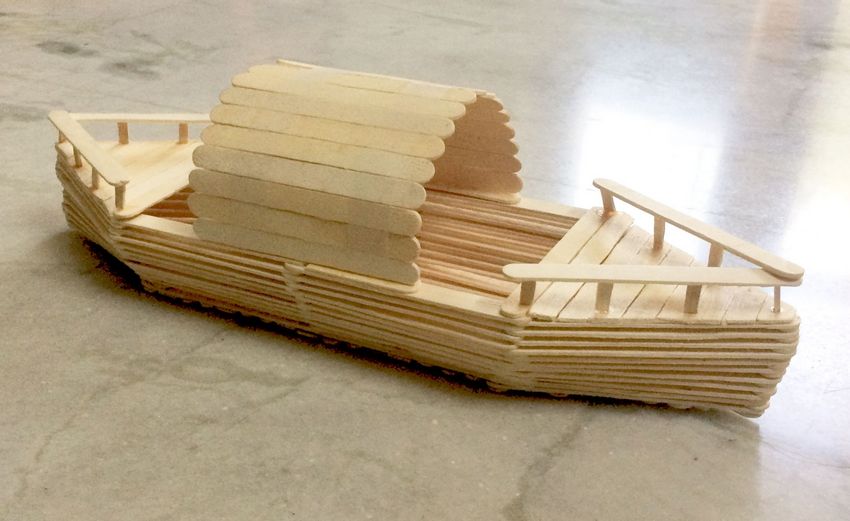
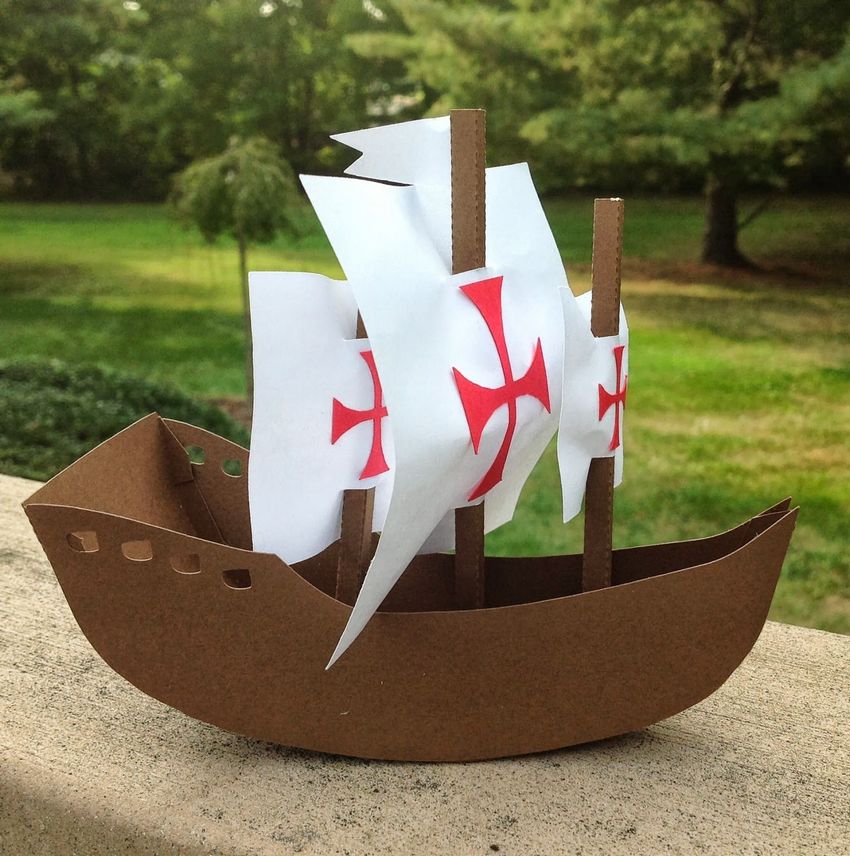
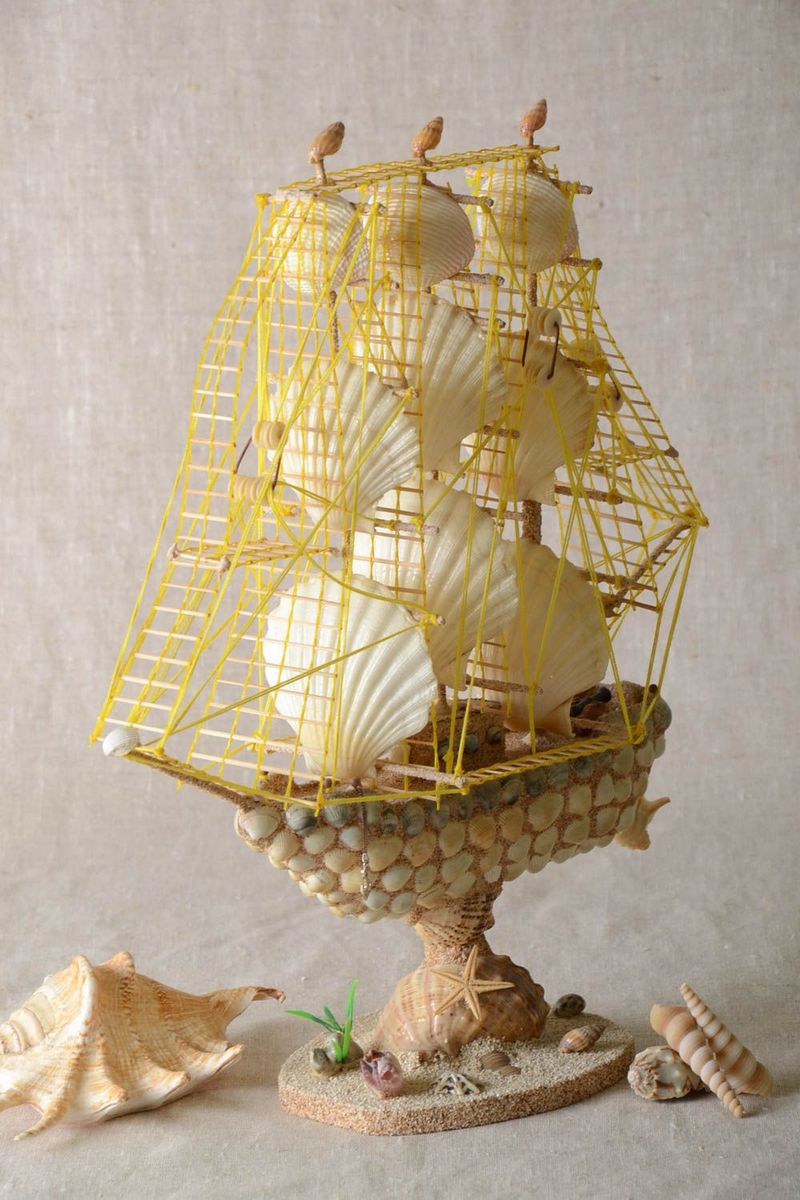
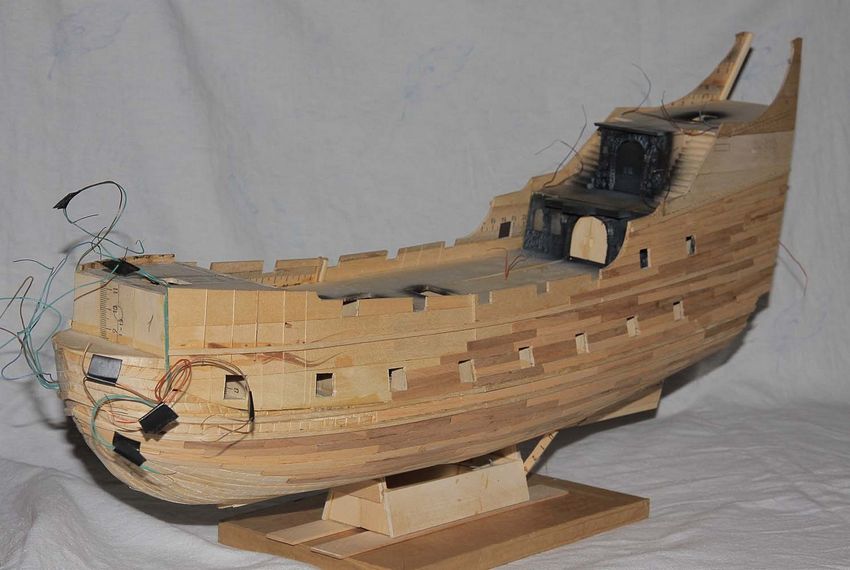
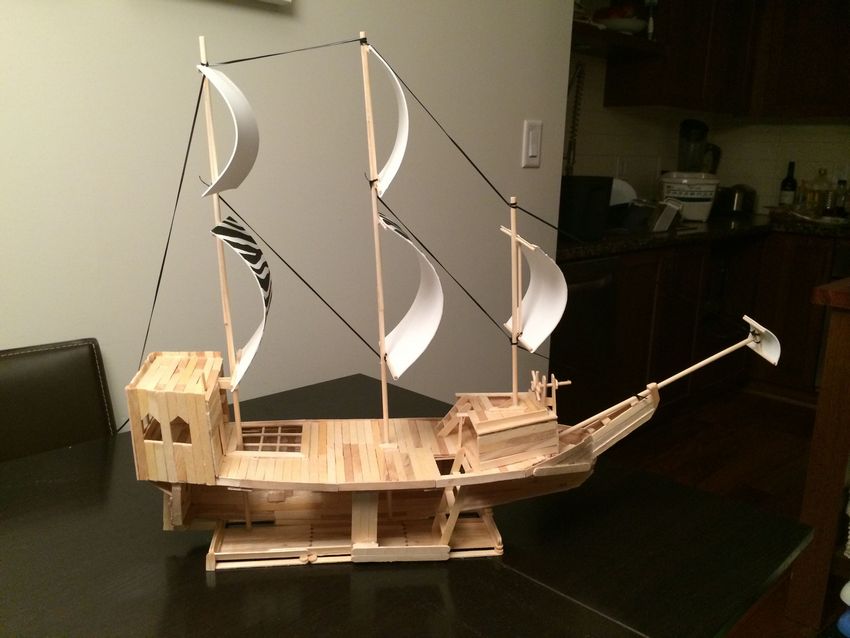
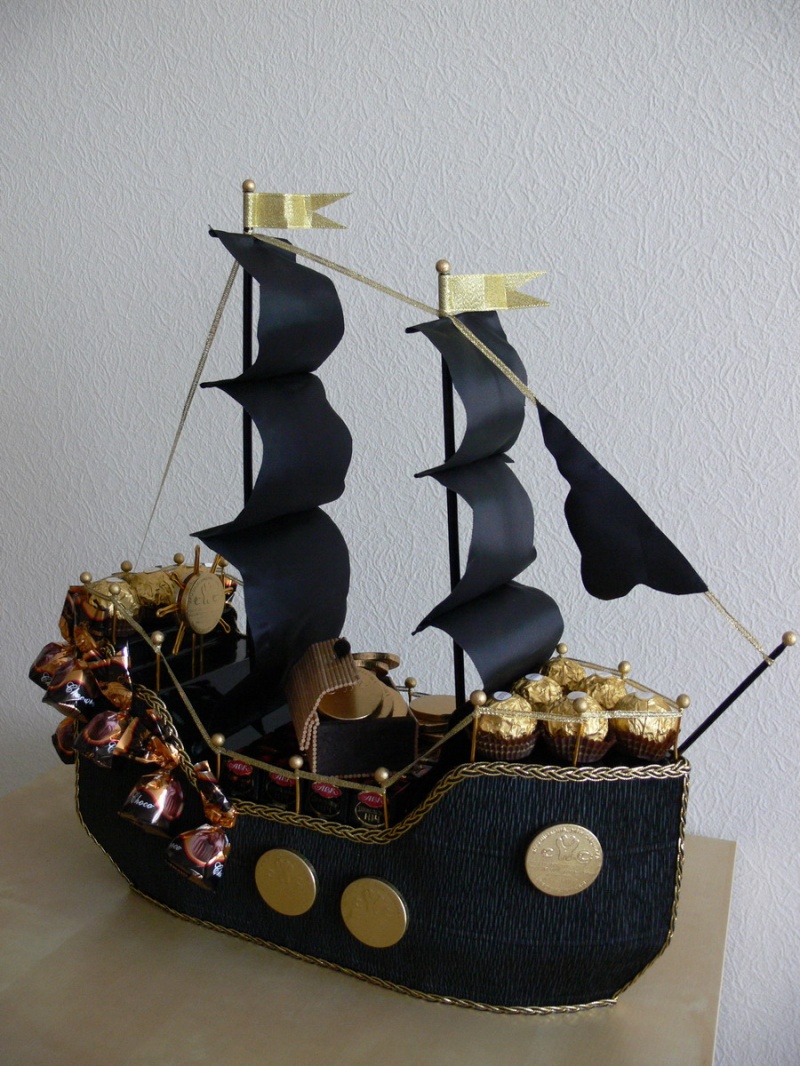
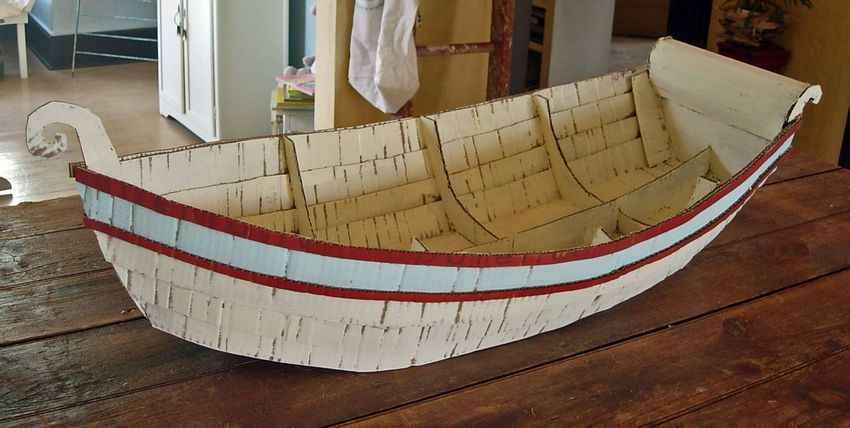
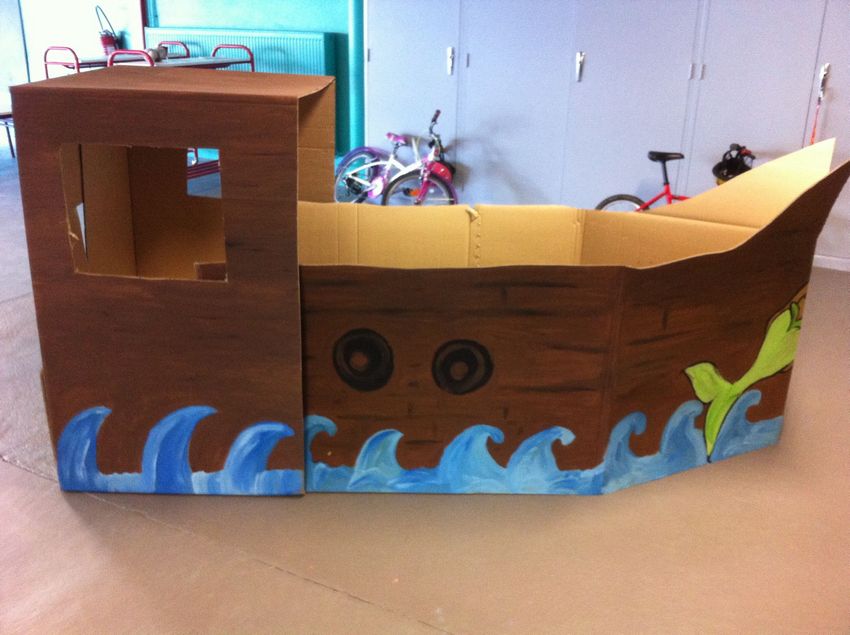
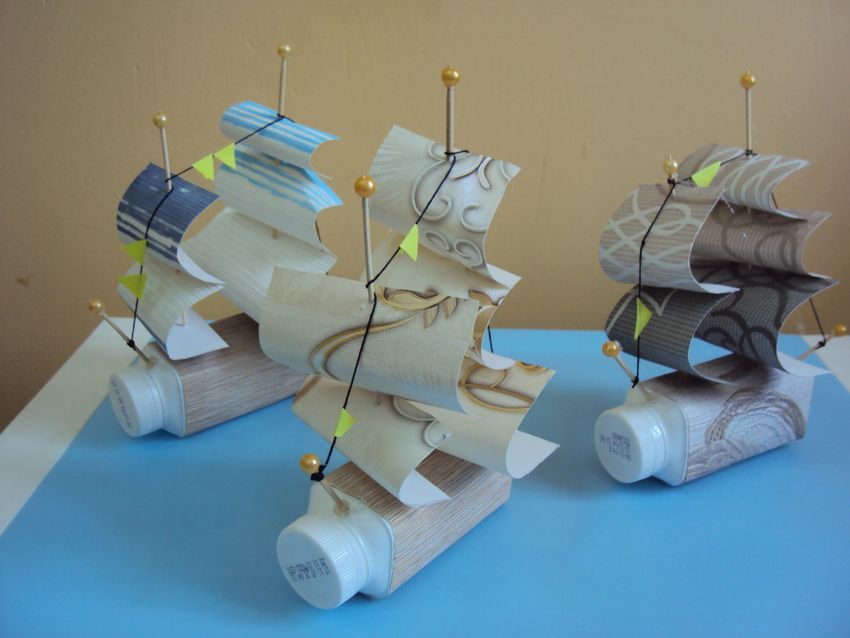
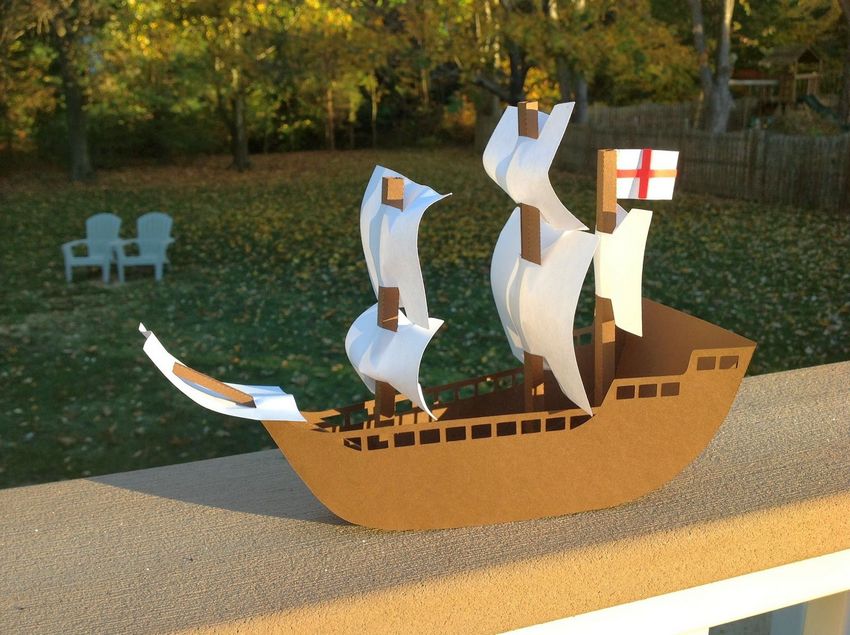
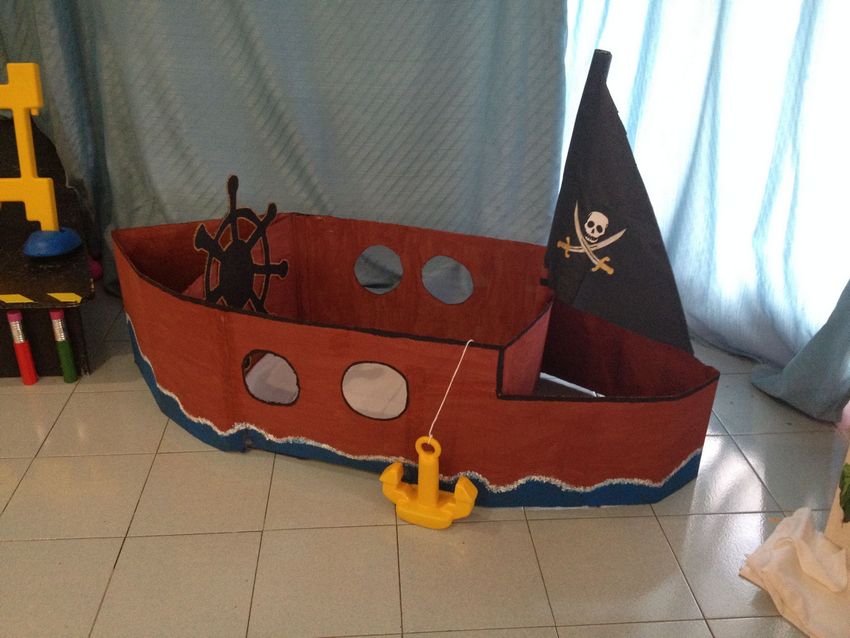
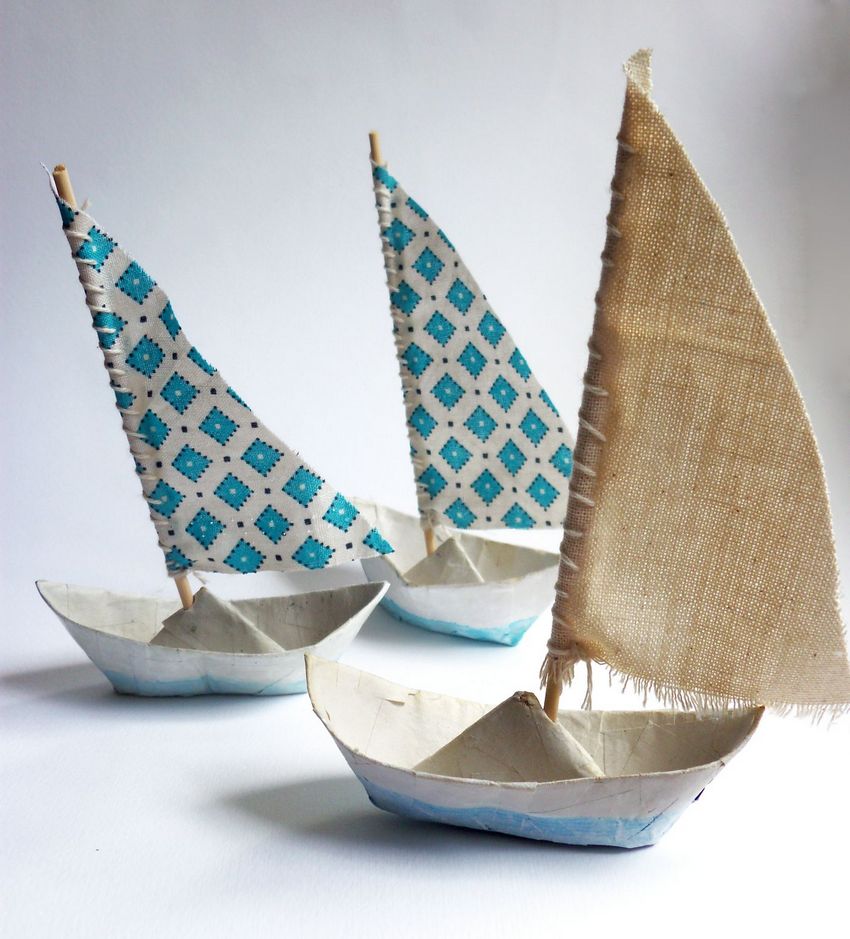
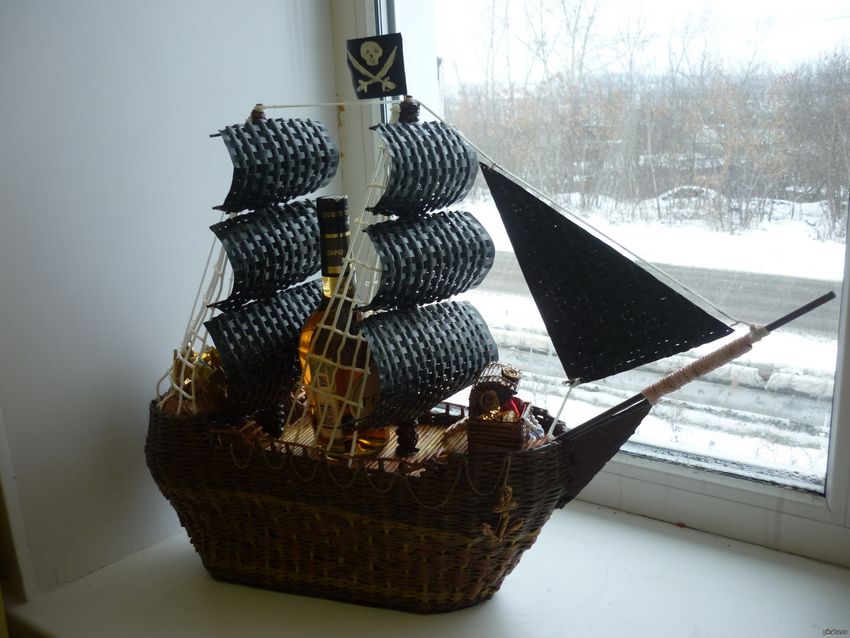
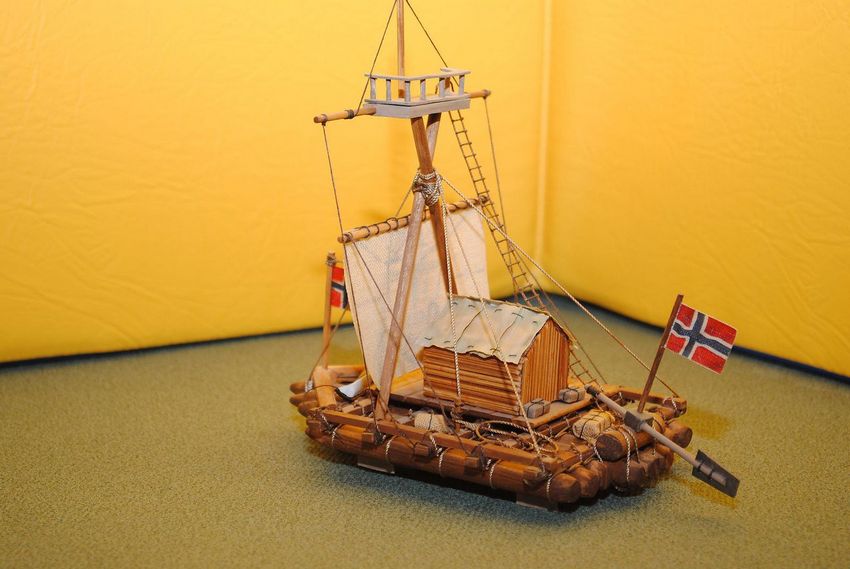
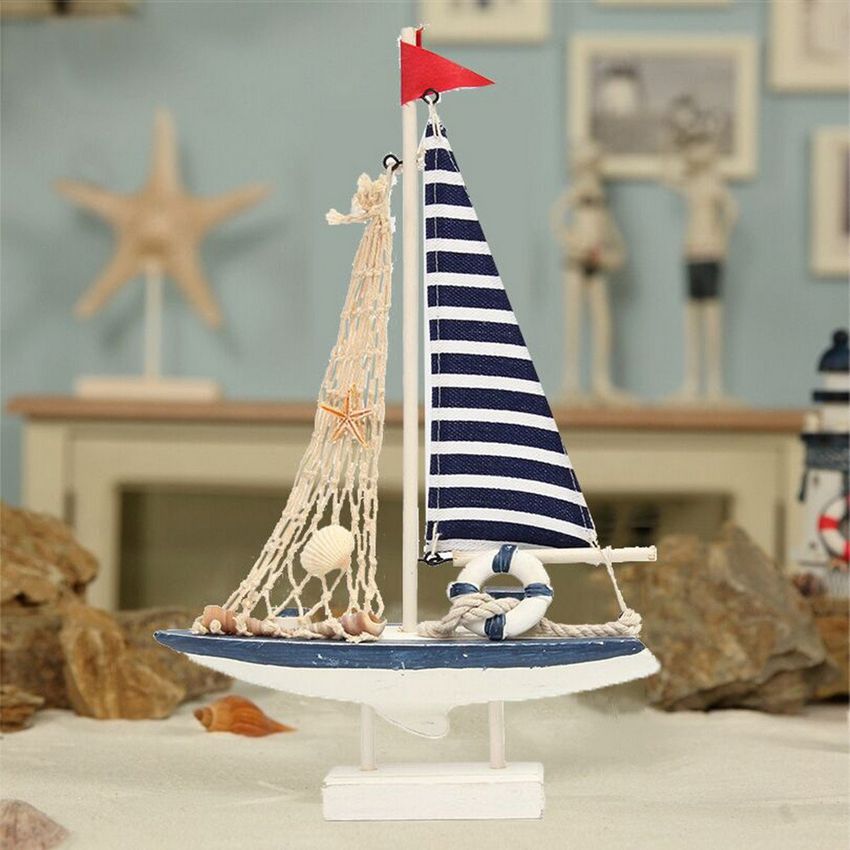
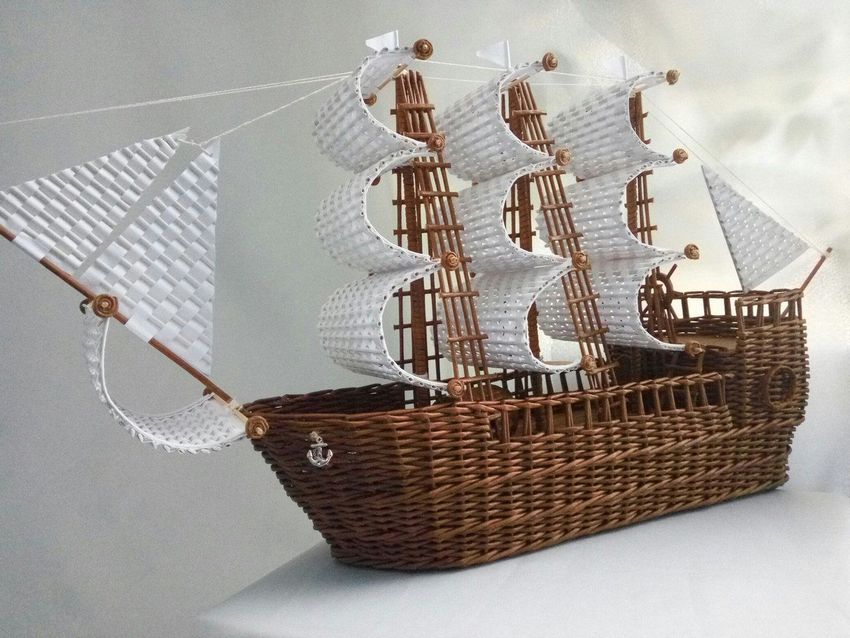
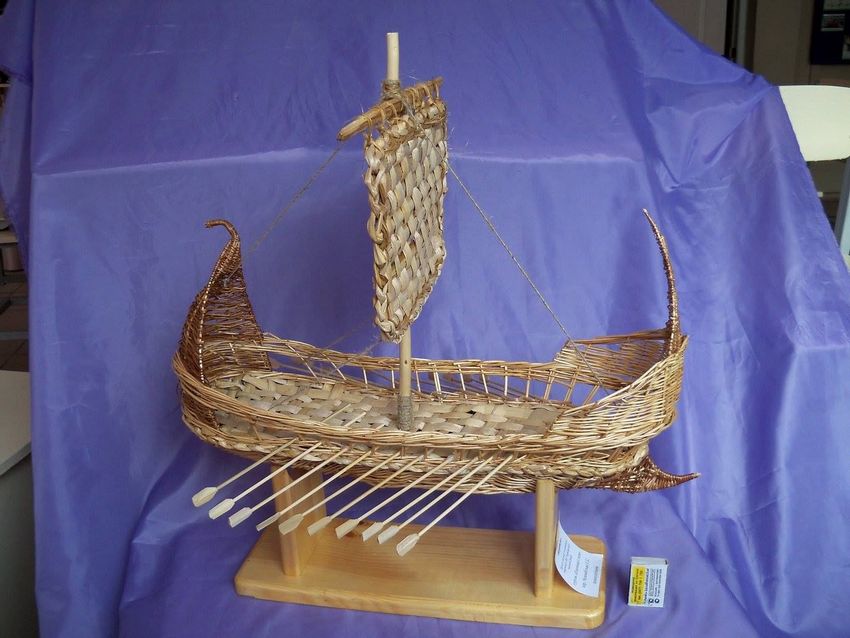
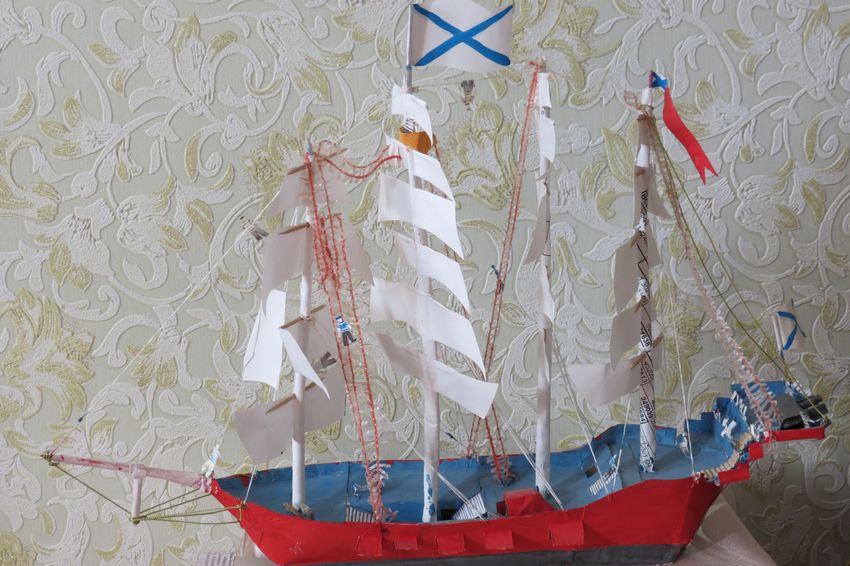
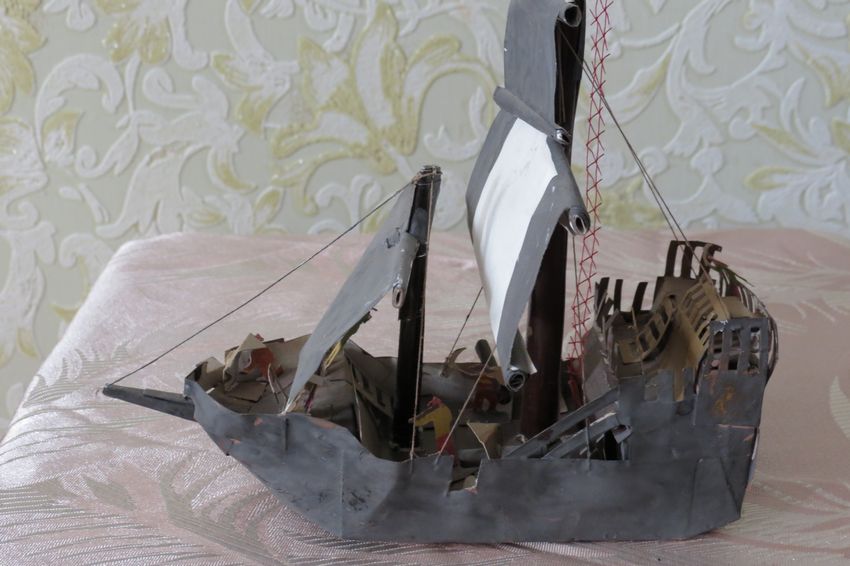
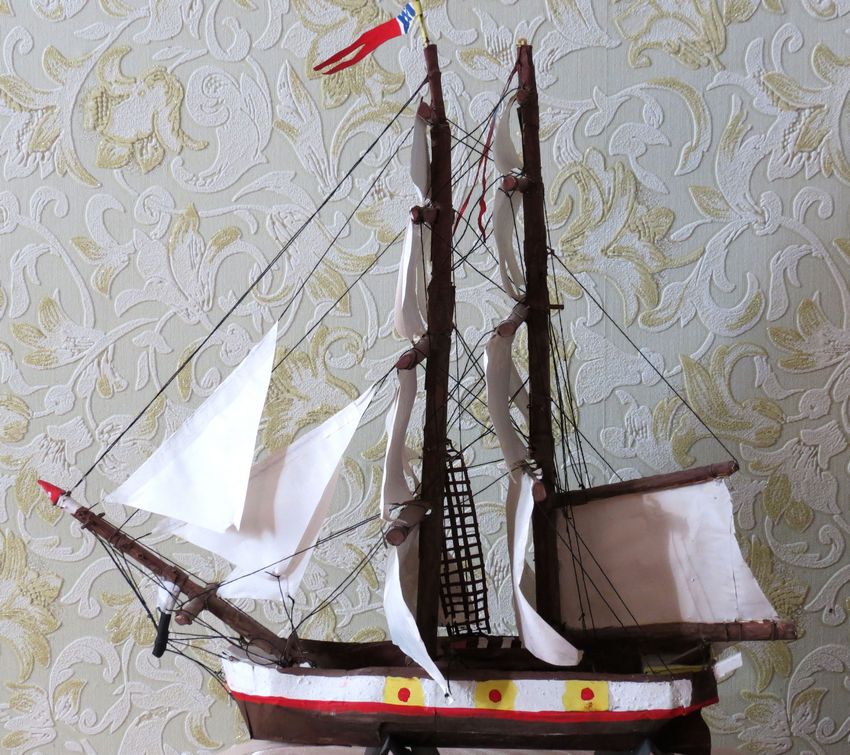
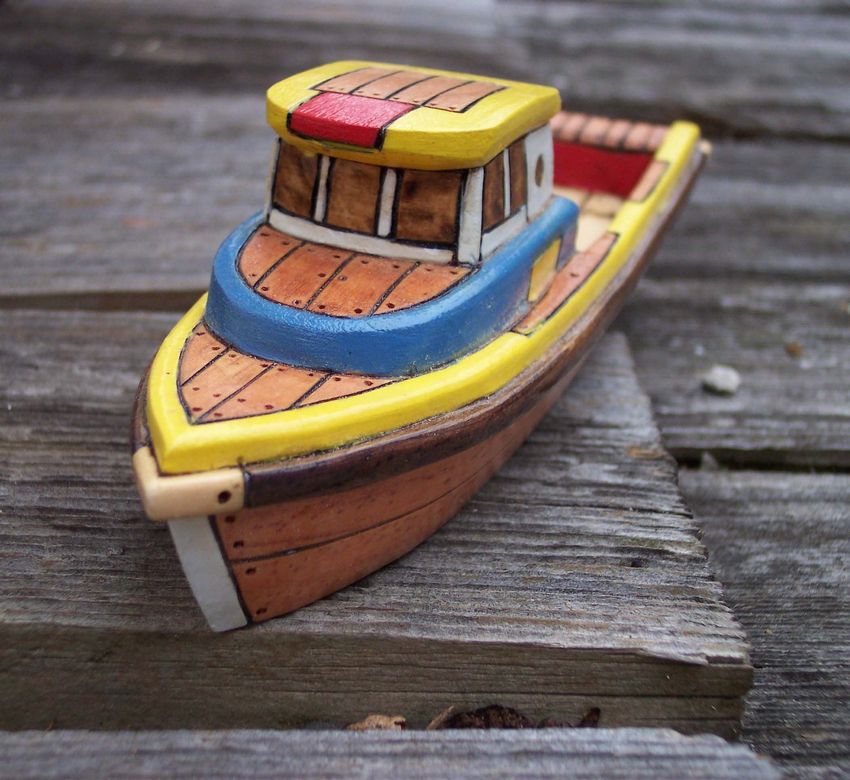
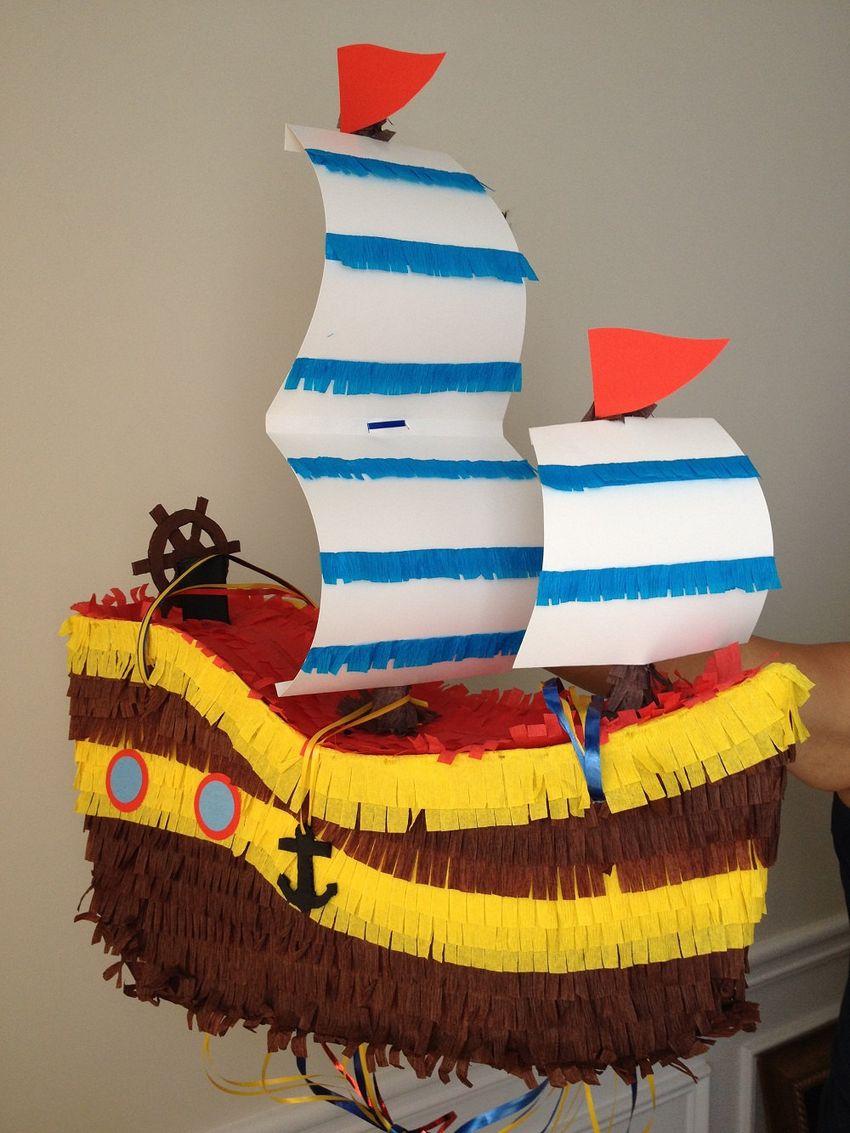
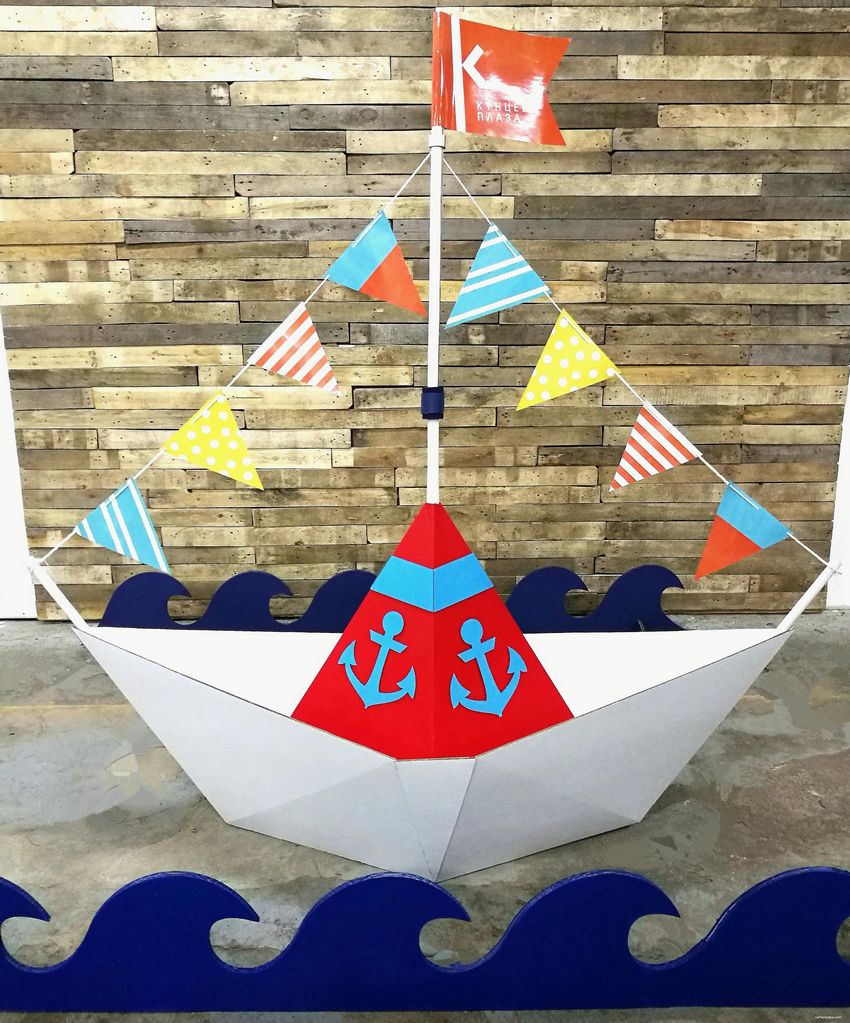
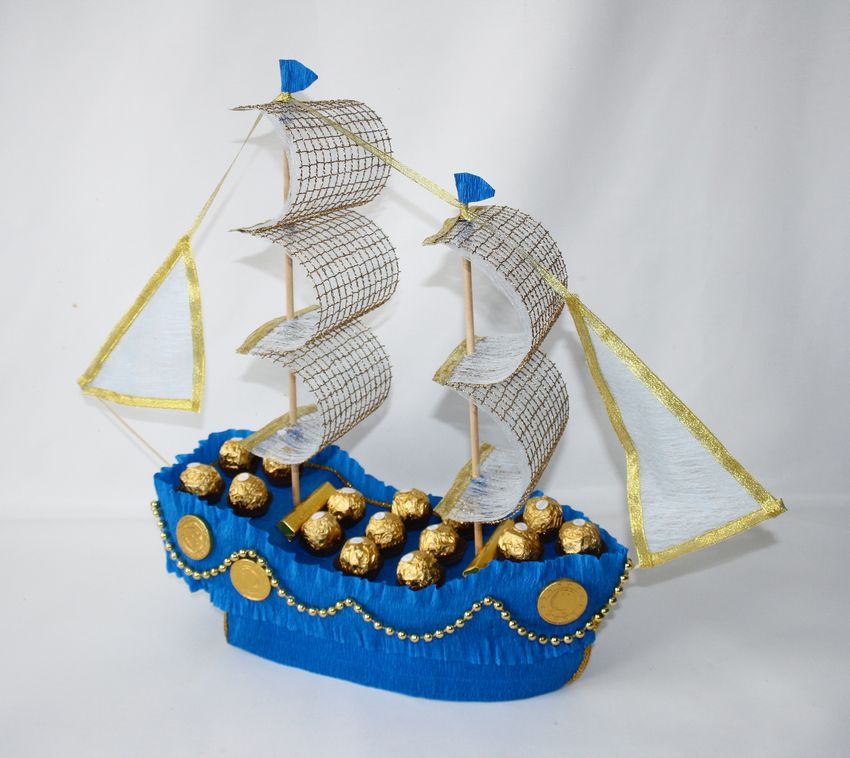
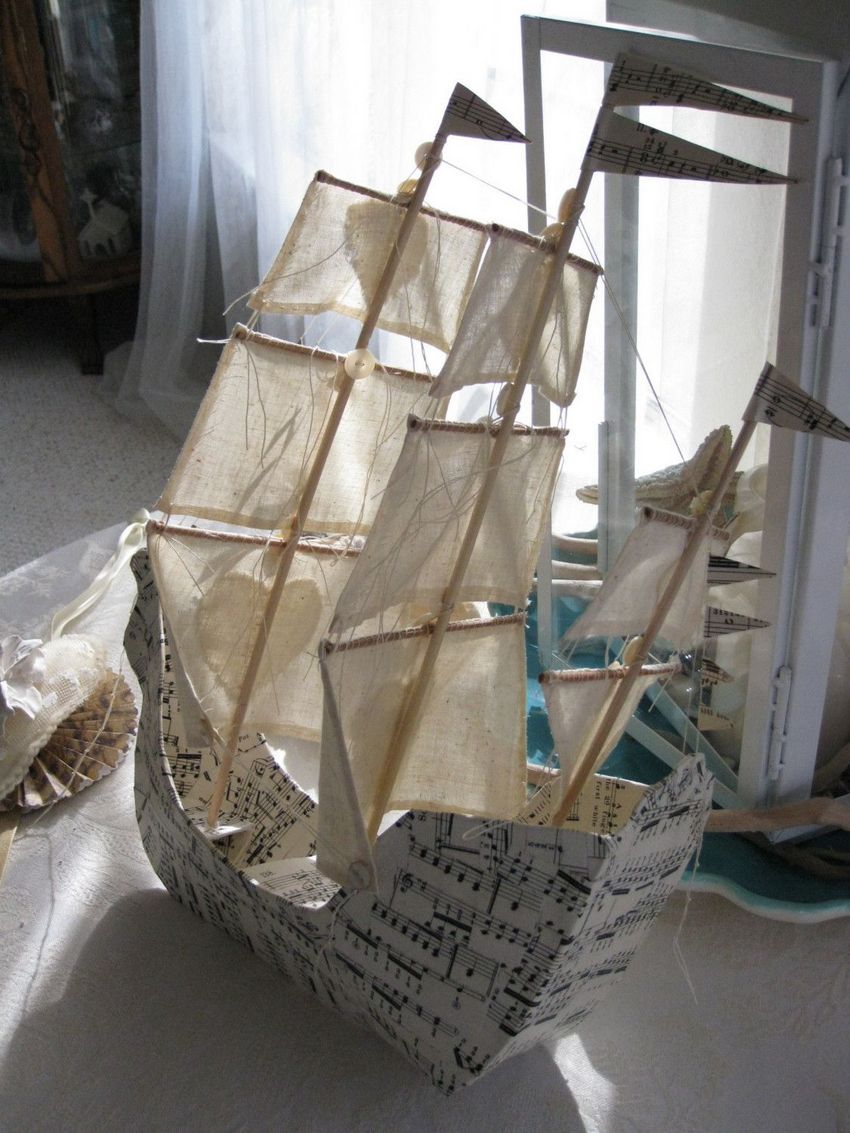
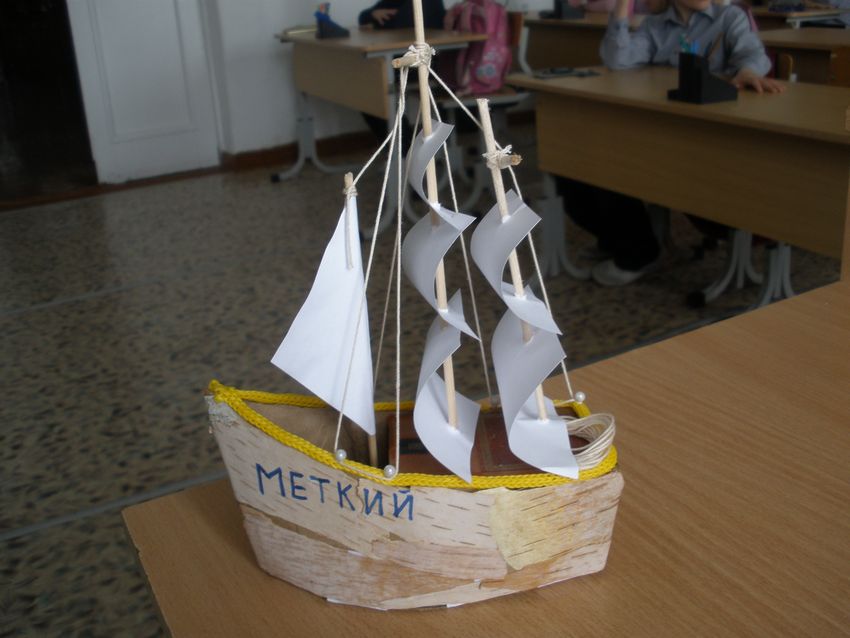
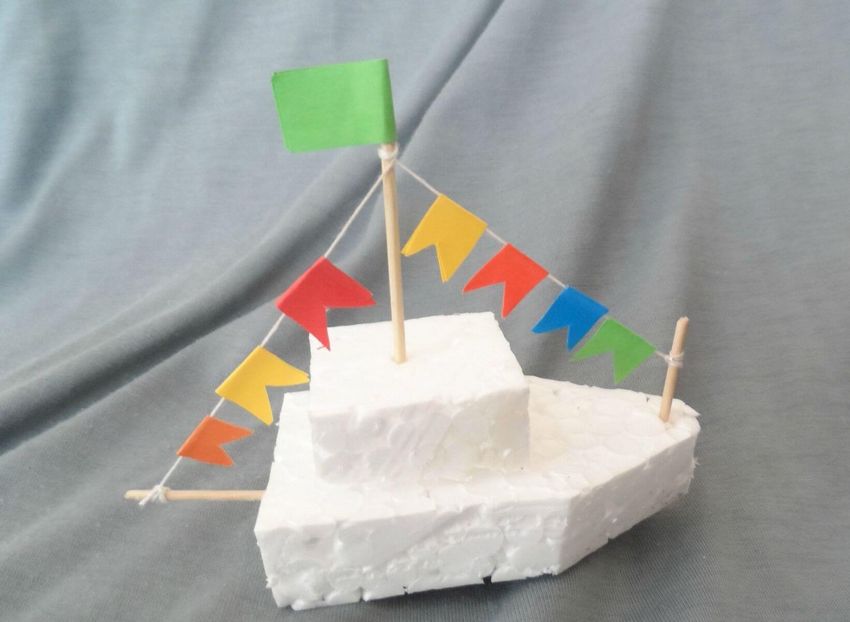
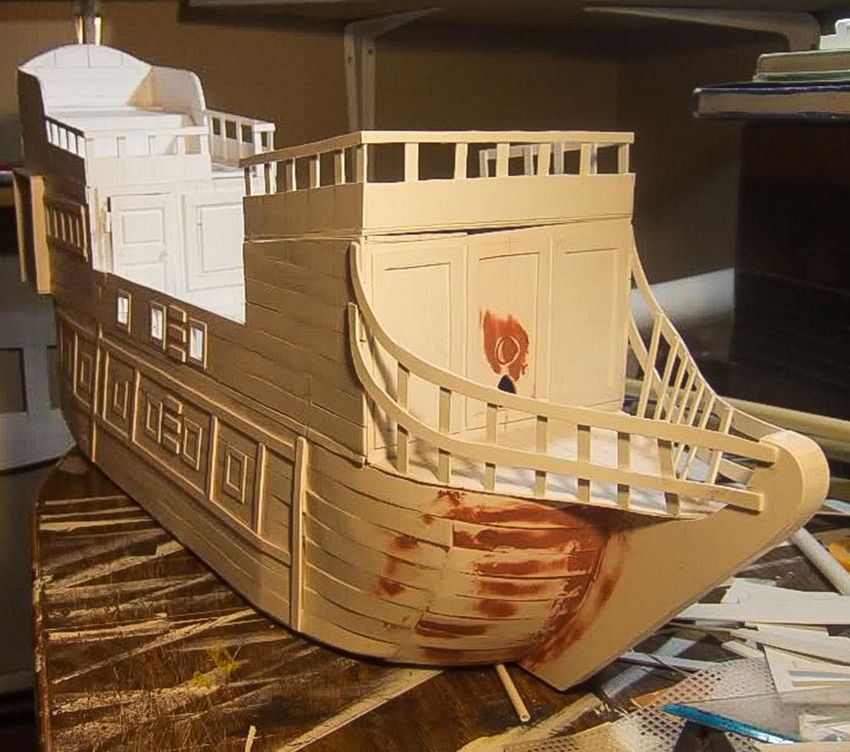
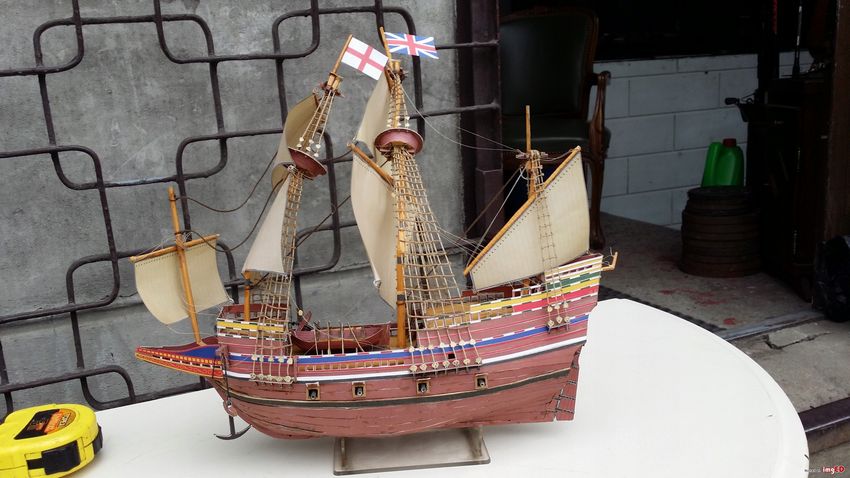
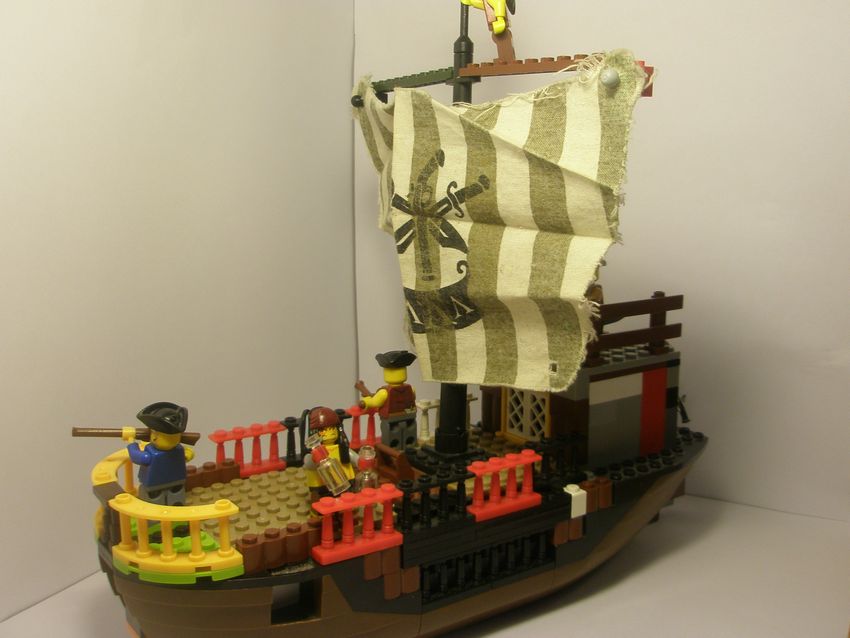
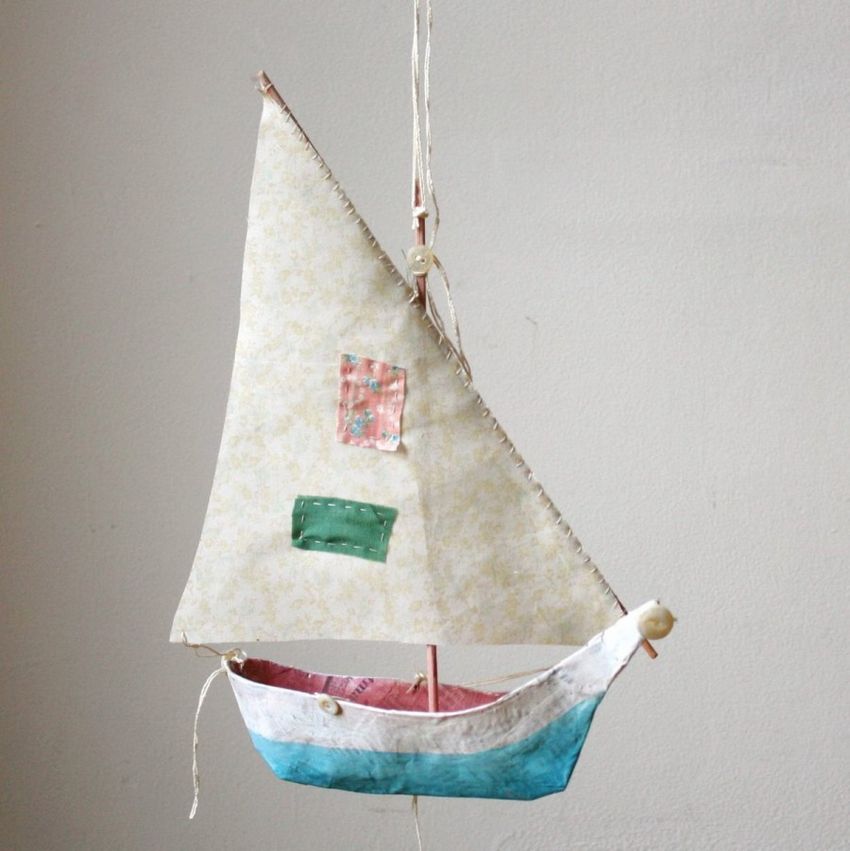
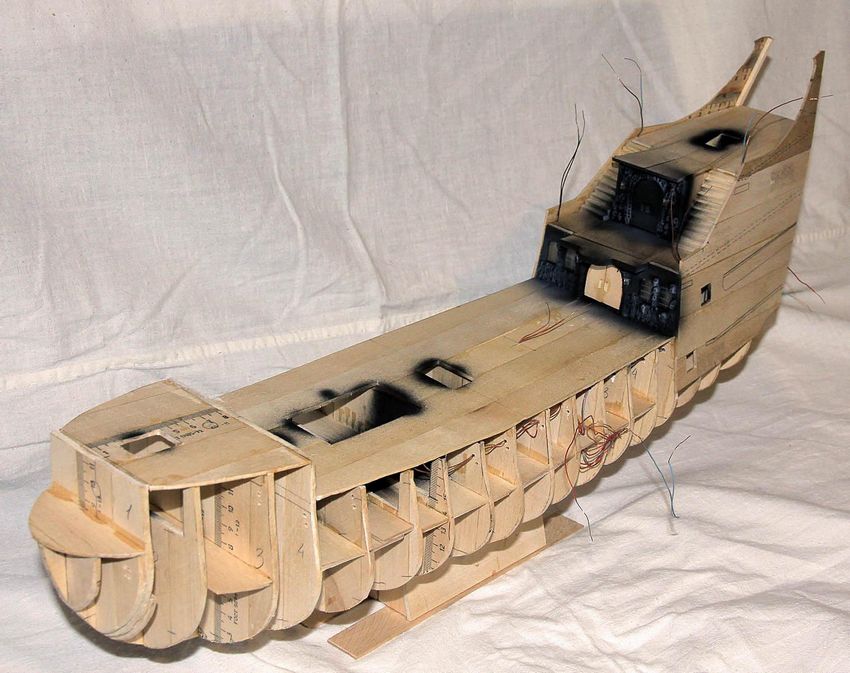
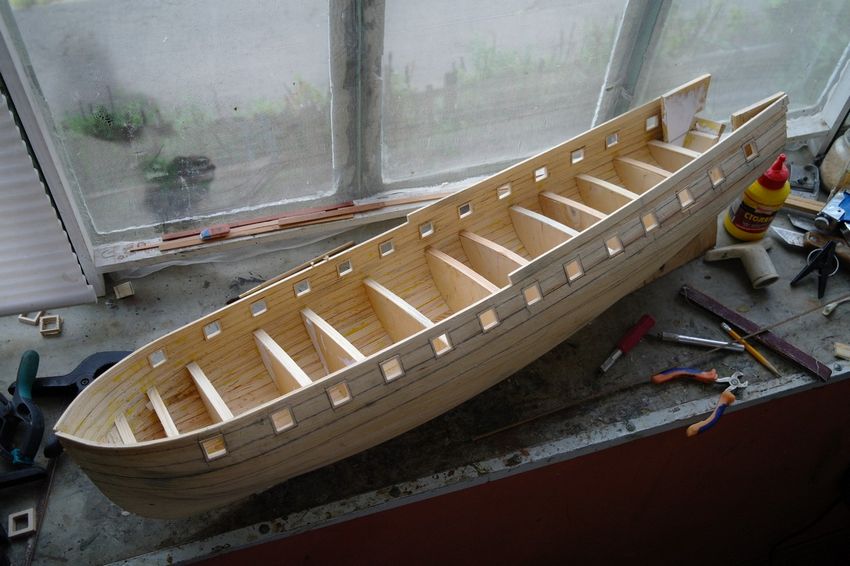
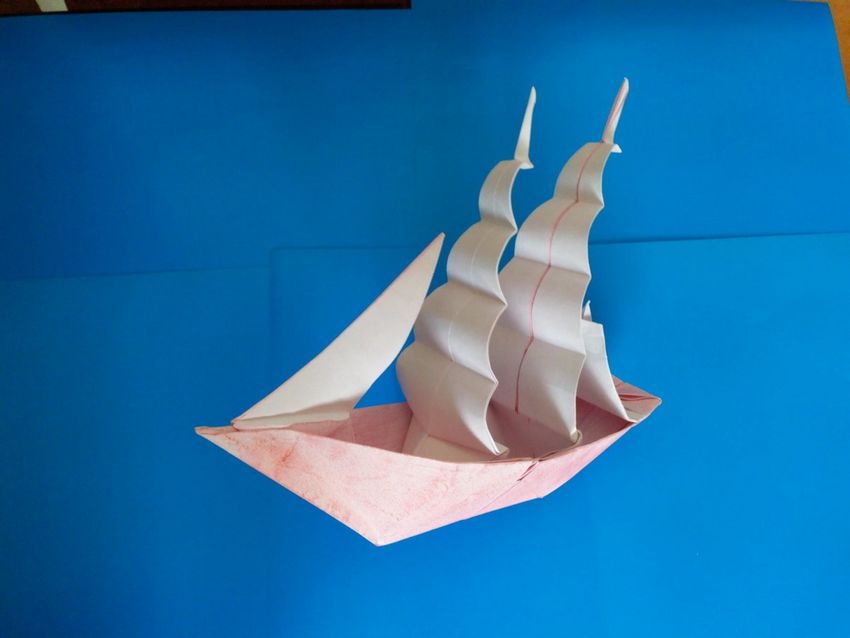
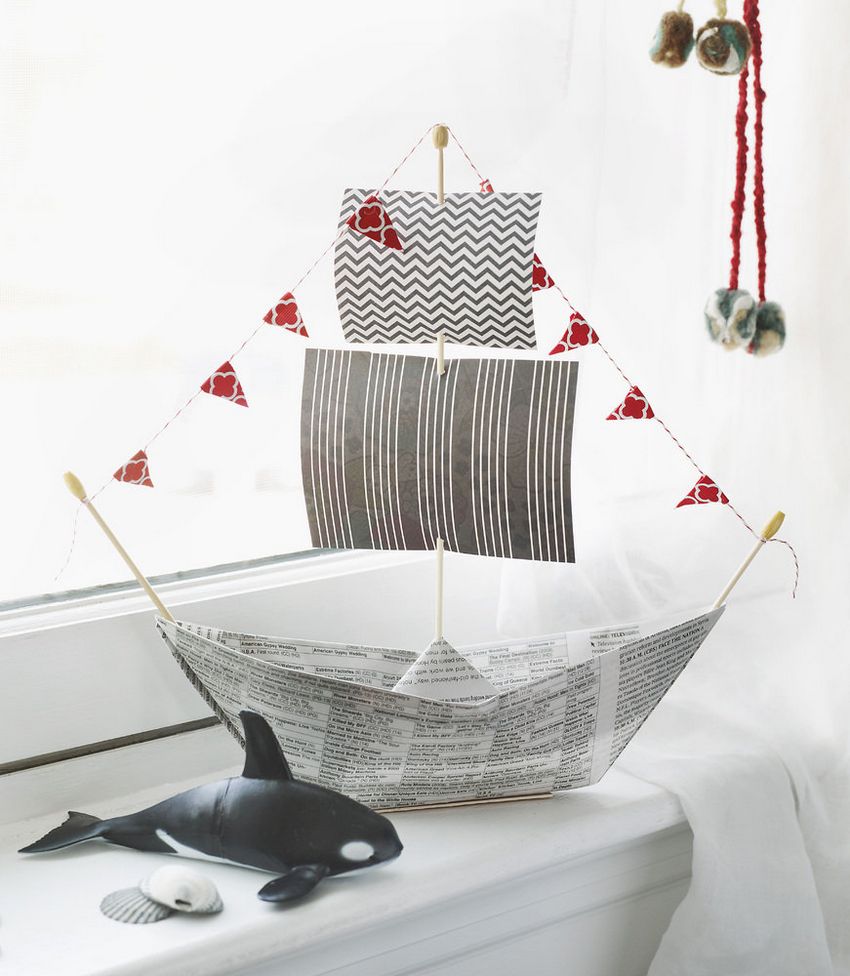
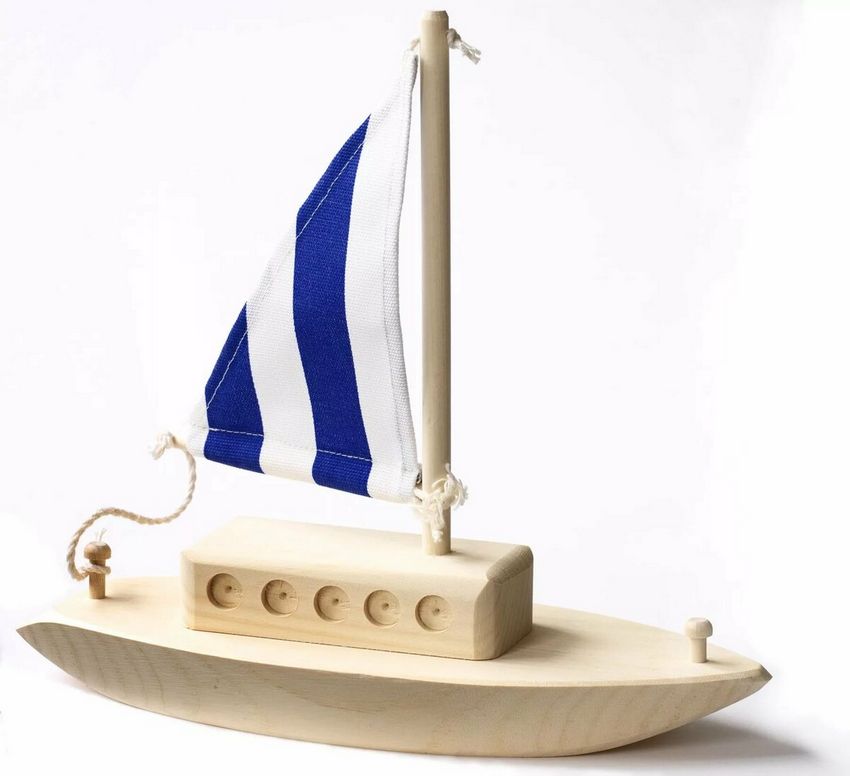
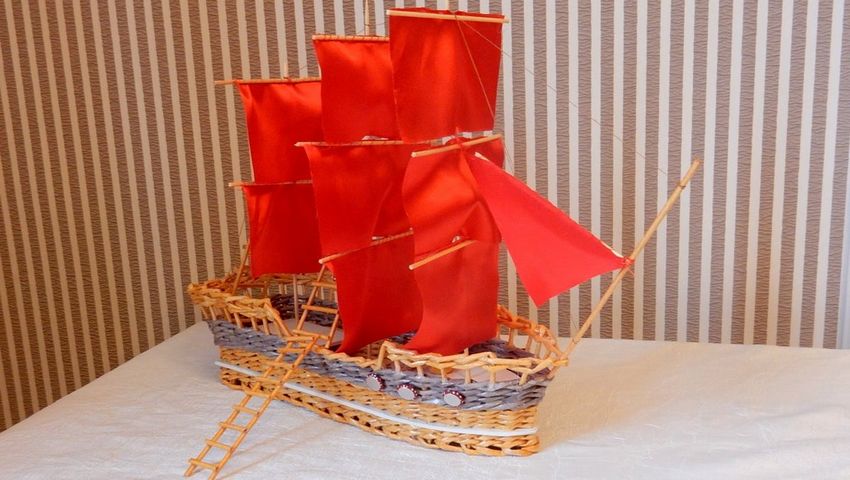
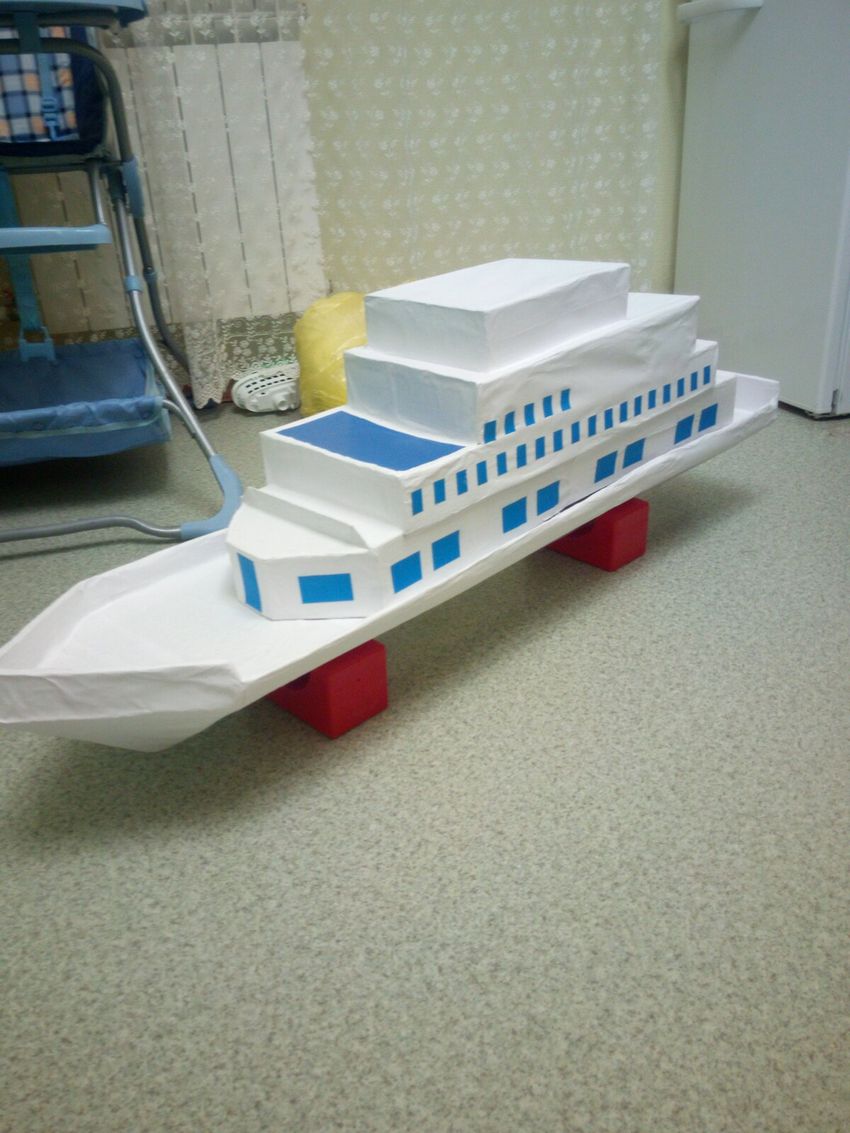
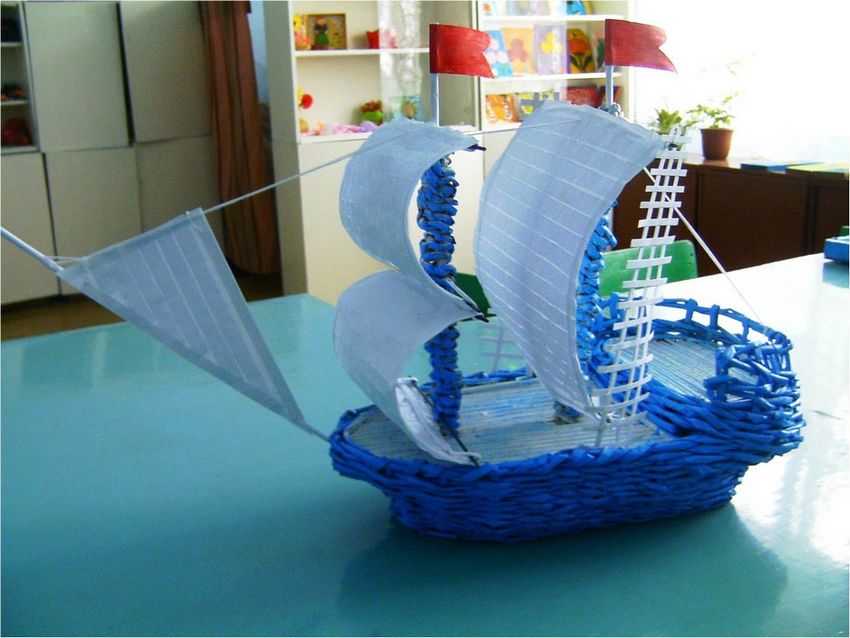
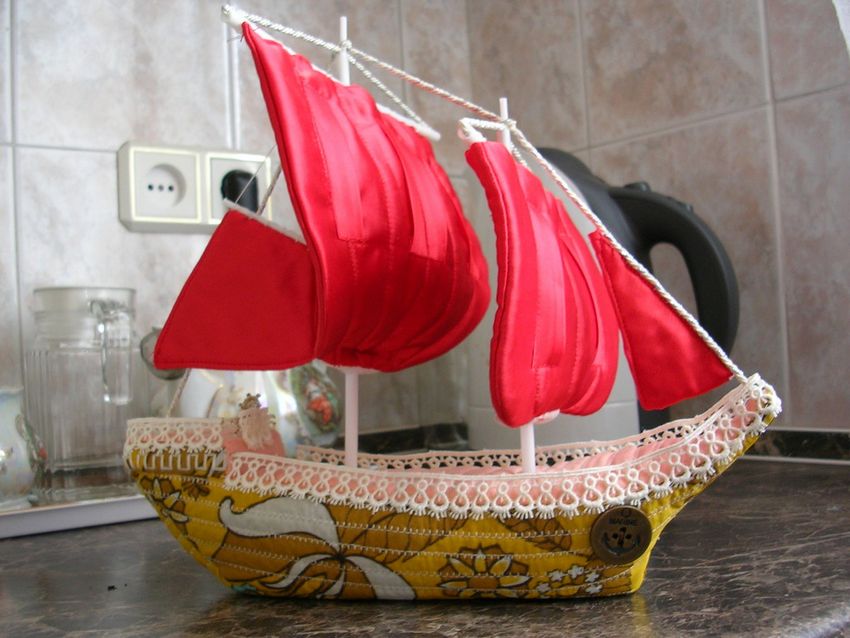
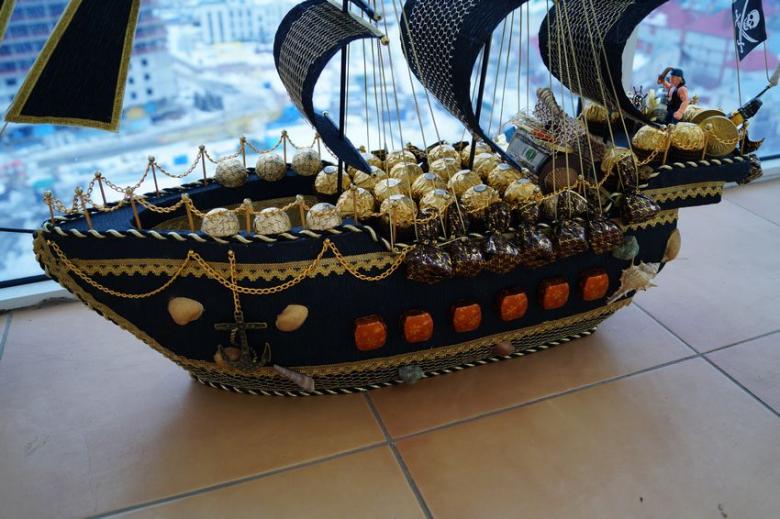
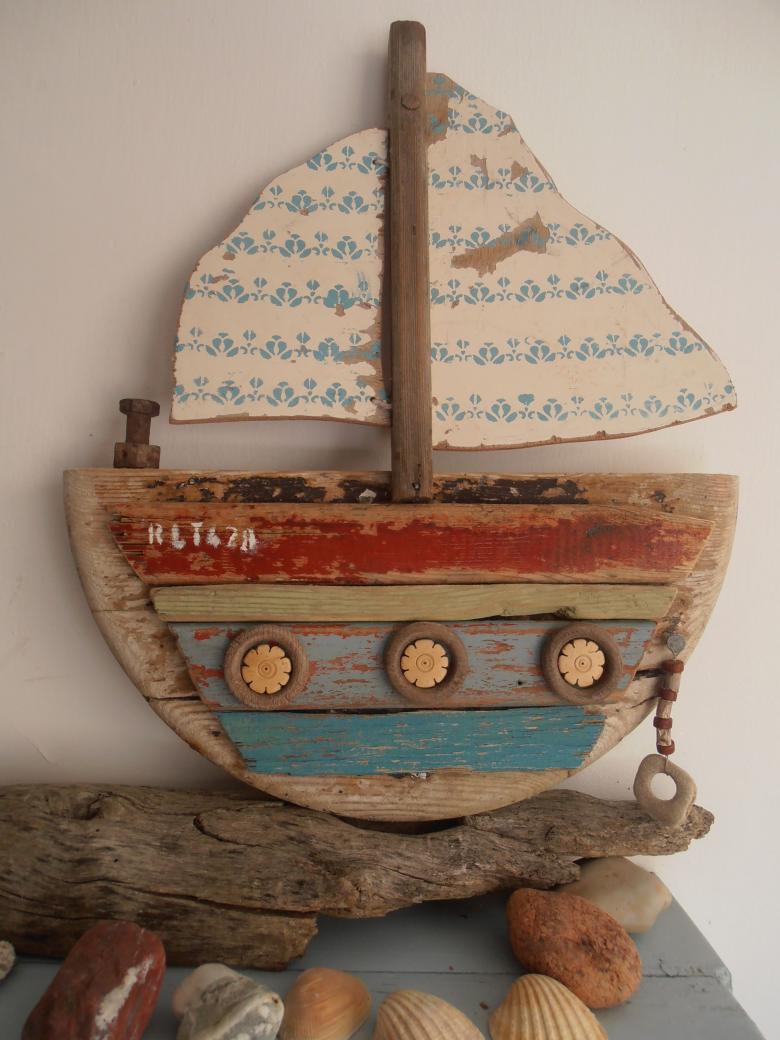
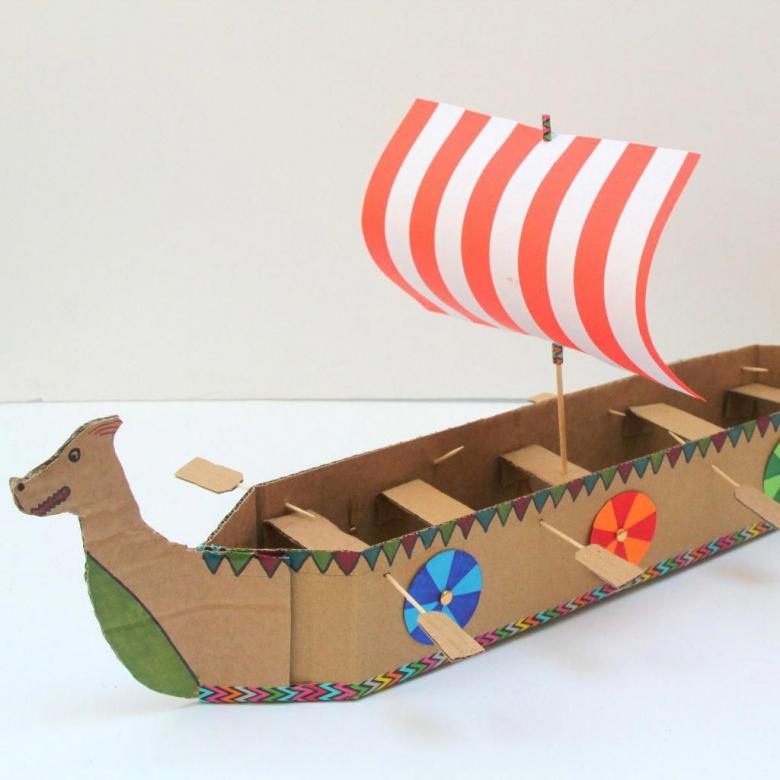
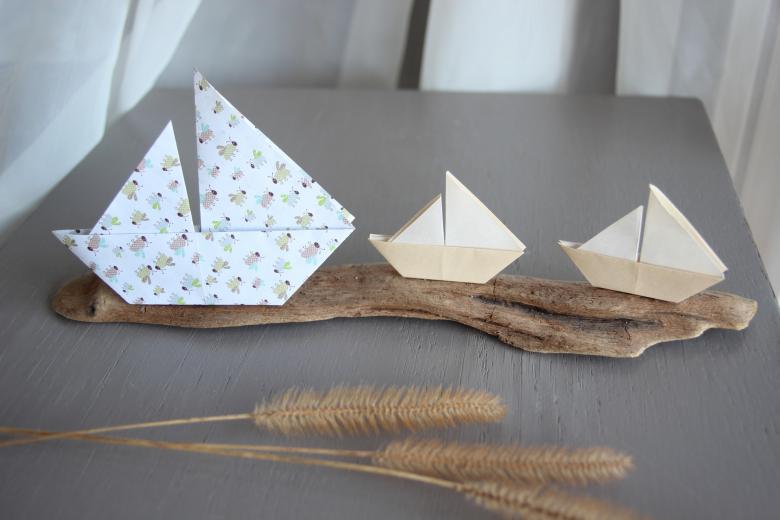
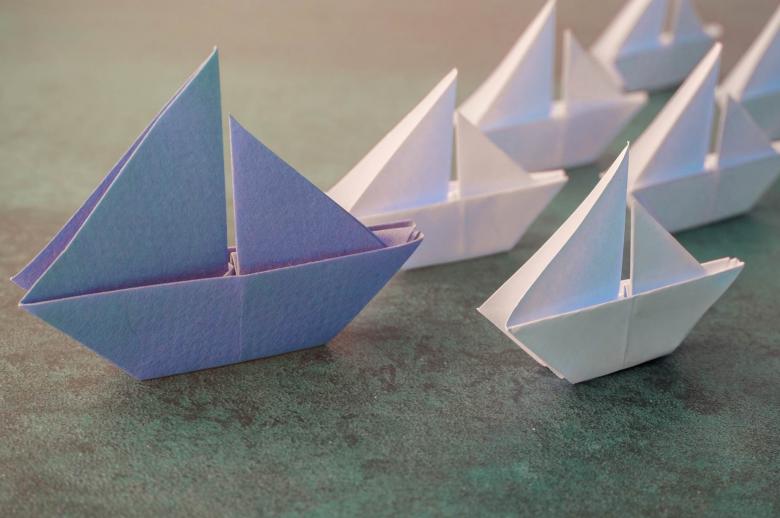
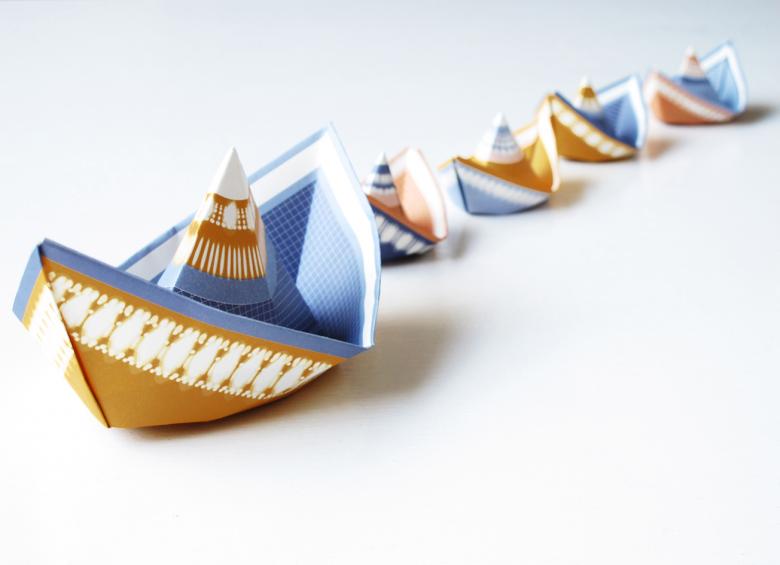
Photo ideas of homemade sailboats