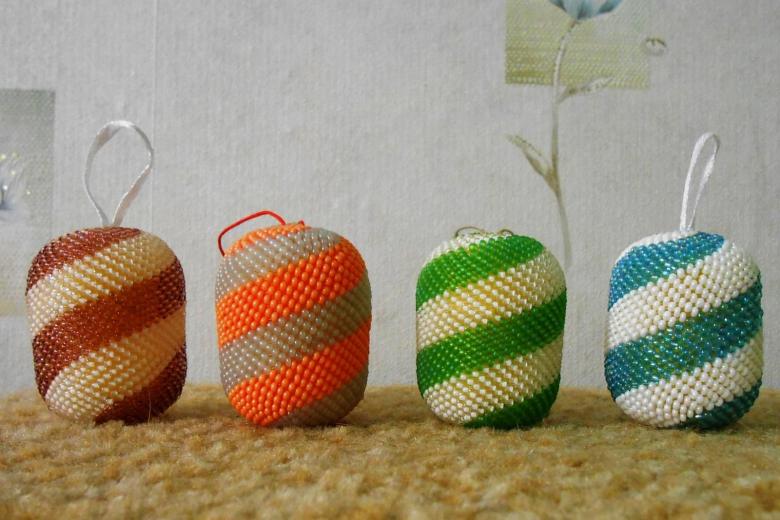
Kinder egg crafts - making unusual crafts from plastic containers
An unusual feeling of excitement in children cause the Kinder-surprises, which do not lose their popularity and prevalence over the years, starting in 1974, when the legendary Ferrero company began producing their first chocolate eggs.
From under the kinder egg remains a small container, which can be used as a salt shaker in nature, keep needles and other items for knitting or embroidery or headphones in it. But with imagination, children and parents can use Kinder eggs for handicrafts, thereby developing imagination and creative thinking.
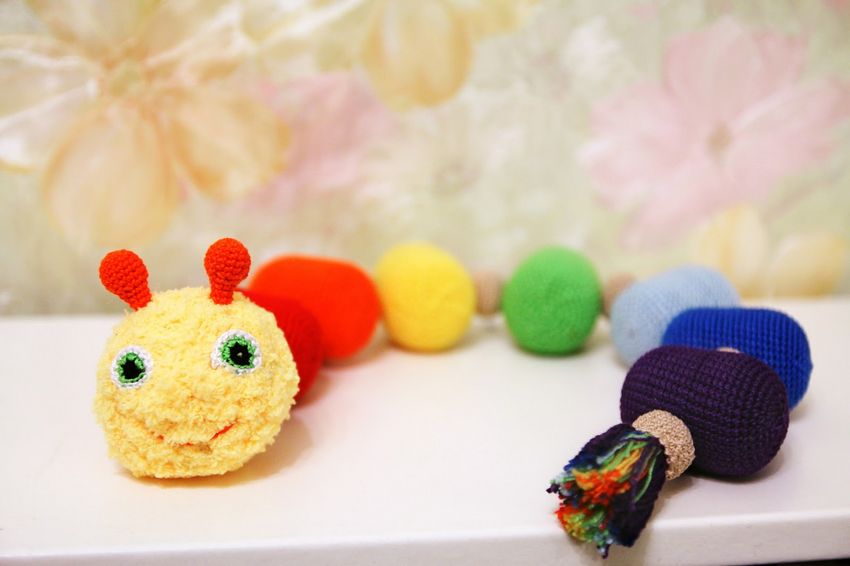
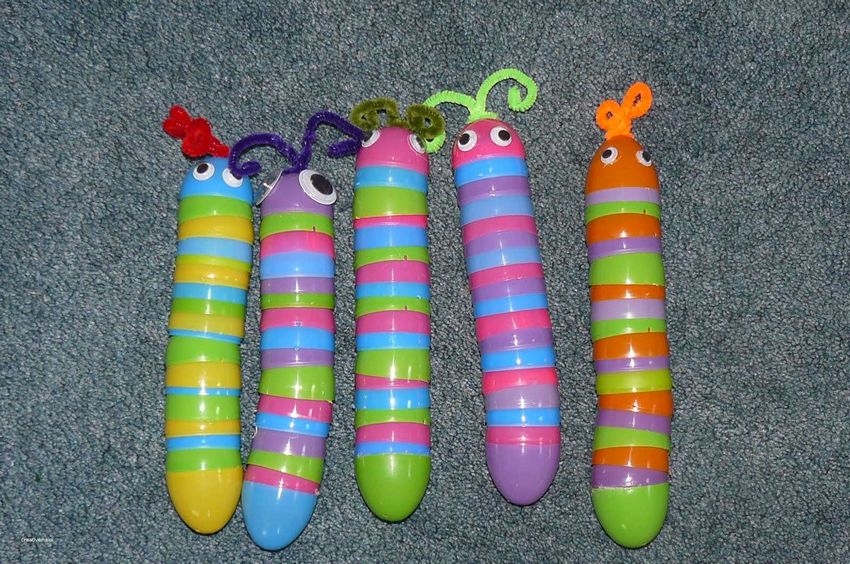
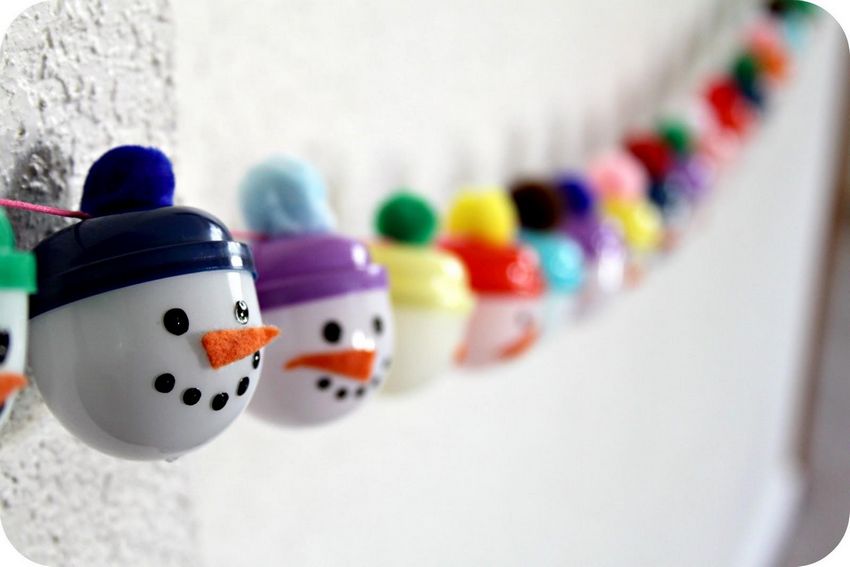
Garland of plastic containers
It will not be difficult to create such a garland, and it will be a good addition for decorating a child's room. For it you need about sixteen or more plastic capsules, which should be connected to each other.
To do this you need to open one capsule and put its lid on the other. The length of the garland can be any and depend on the number of egg containers.
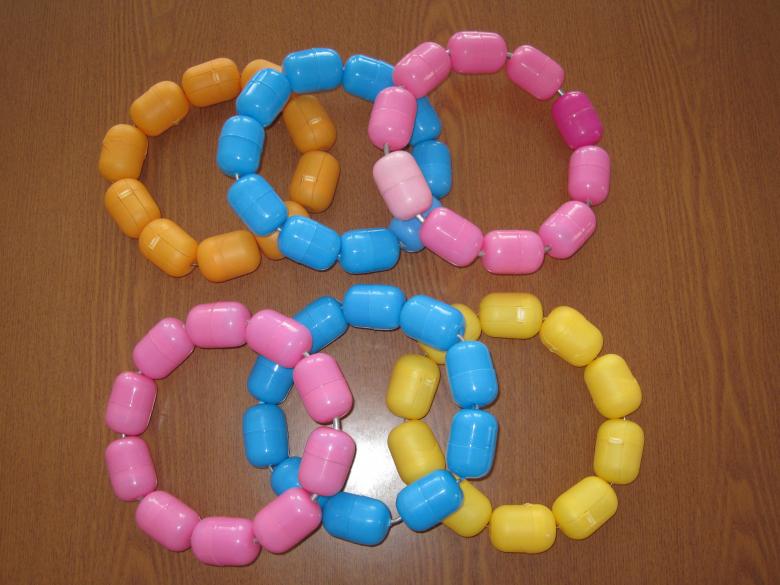
Using imagination and ingenuity, the containers can be painted and given a unique look. An unadorned garland is considered a good option for the flight of imagination and the development of children's abilities.
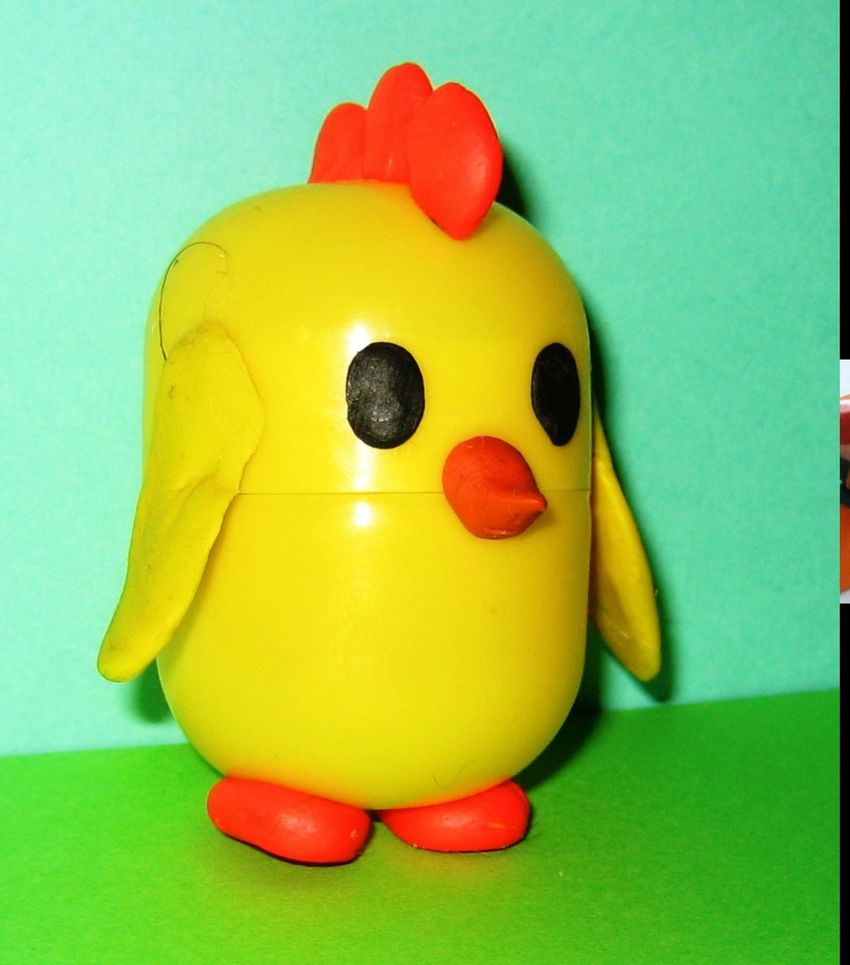
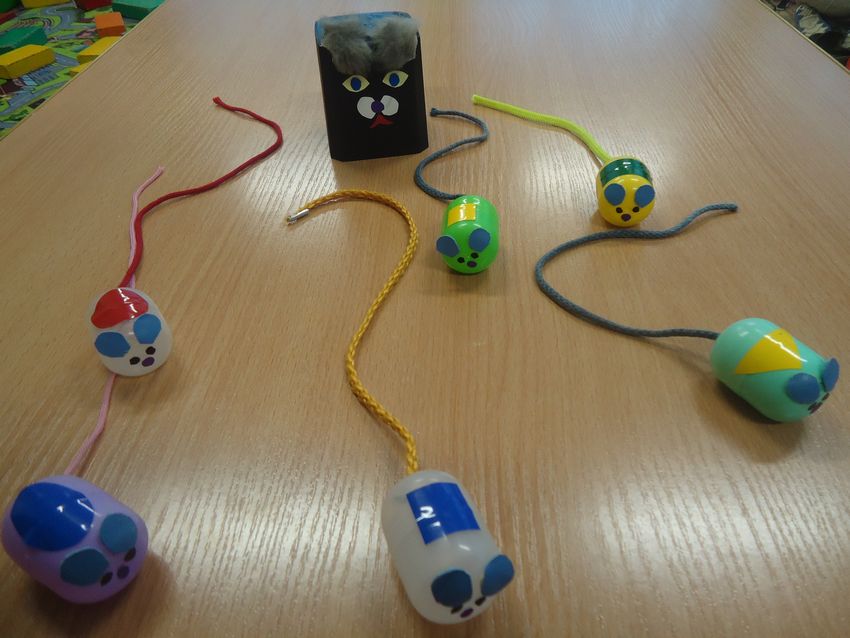
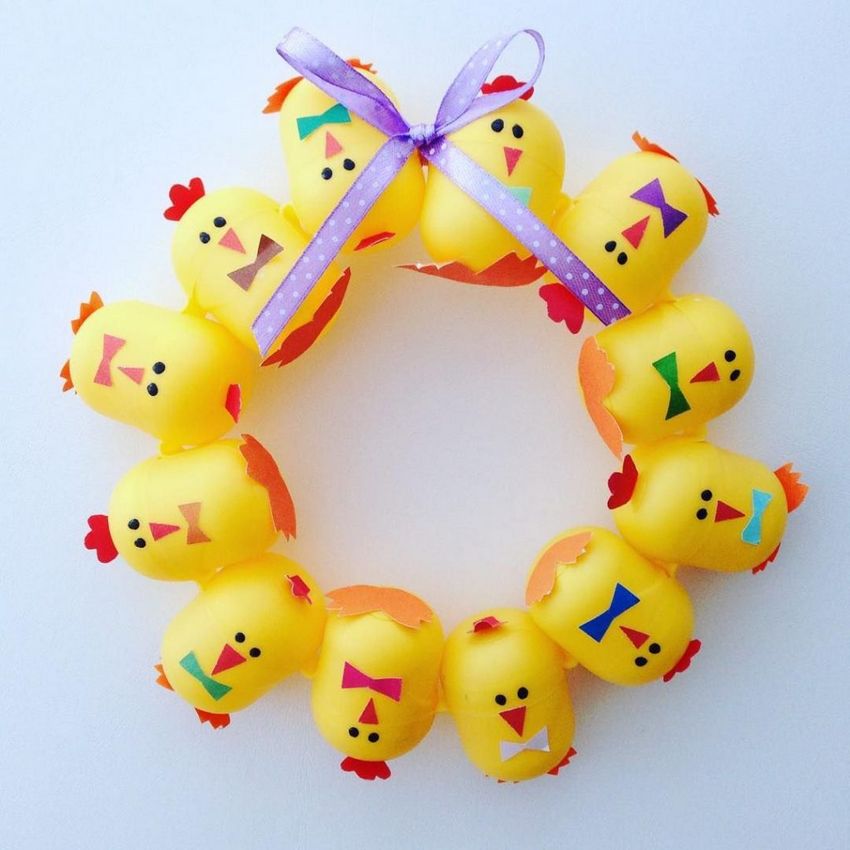
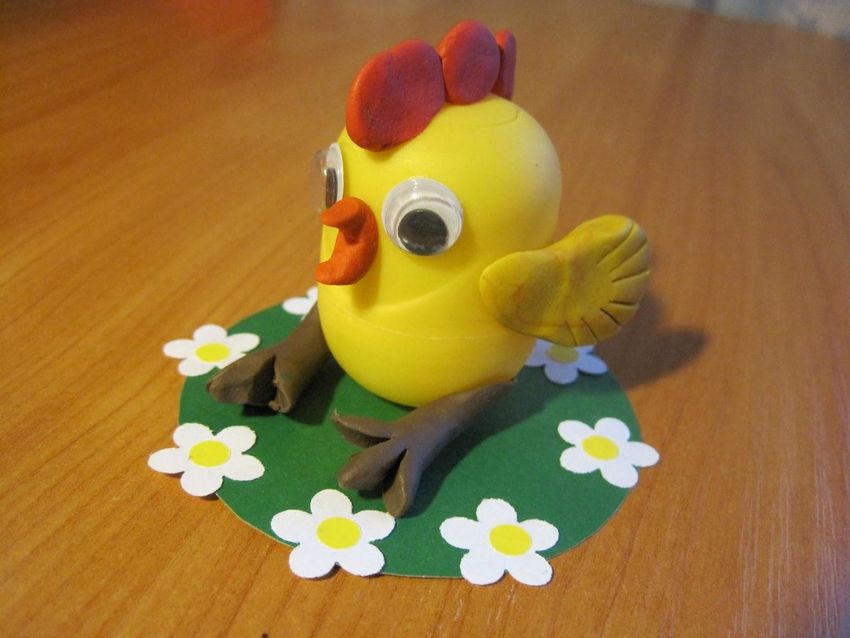
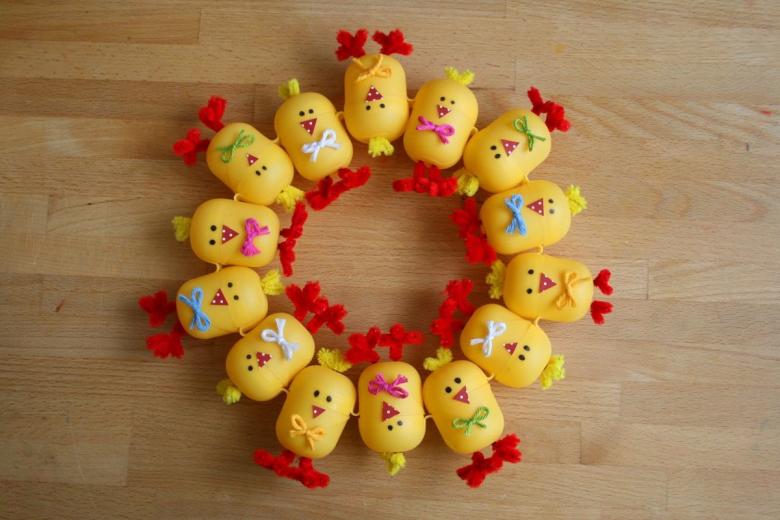
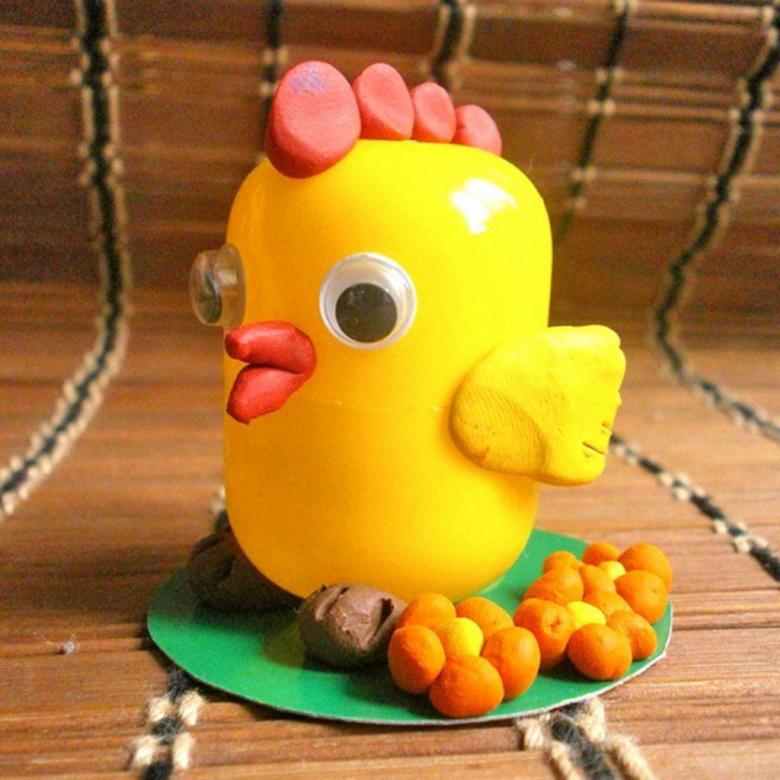
The "little chicken" garland.
For such a garland, you will need capsules, chenille wire of different colors, glue, cardboard.
- First you need to make the legs of the chickens. For this, red chenille wire comes in handy. Yellow wire can be used to make the chicks' chubs.
- The resulting parts are glued or fastened inside the containers, having previously made holes in them.
- From colored paper or cardboard to make a beak chick. Cut out a triangle from it, glue it to the top of the container.
- From cardboard to cut out the eyes and glue them just above the chick's beak, or draw them with a felt-tip pen.
- Connect the resulting chicks with each other. Product is ready.
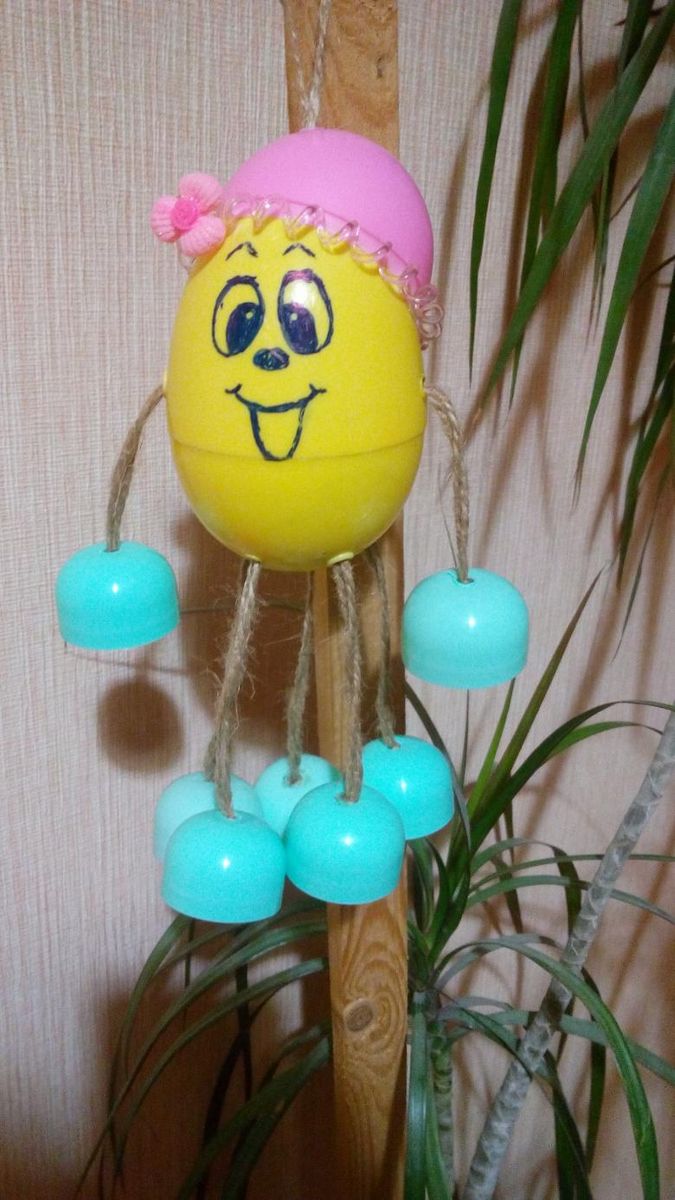
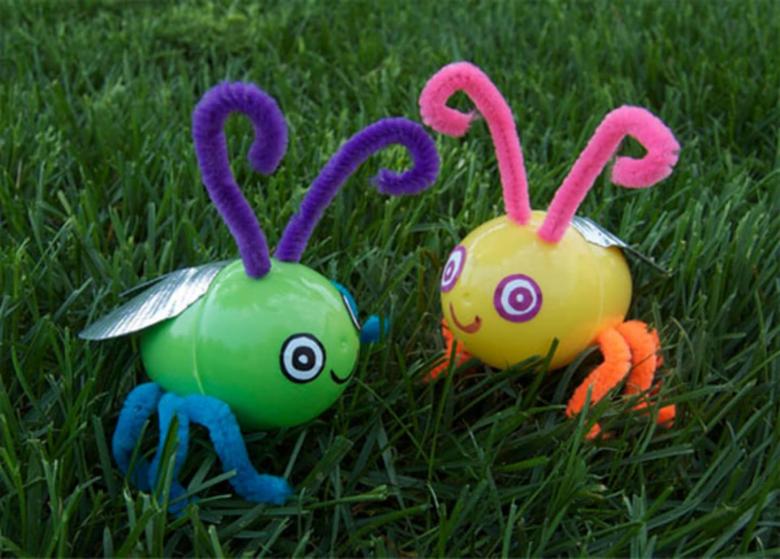
Handicraft "Firefly"
For it will need:
- A capsule .
- Battery-powered glow stick
- Cine wire
- Cardboard
- Highlighter
- Glue

For this craft we need a lamp which can be placed inside the capsule. It should have a power switch and batteries. You need to make whiskers and paws from chenille wire, and draw the eyes with felt-tip pen.
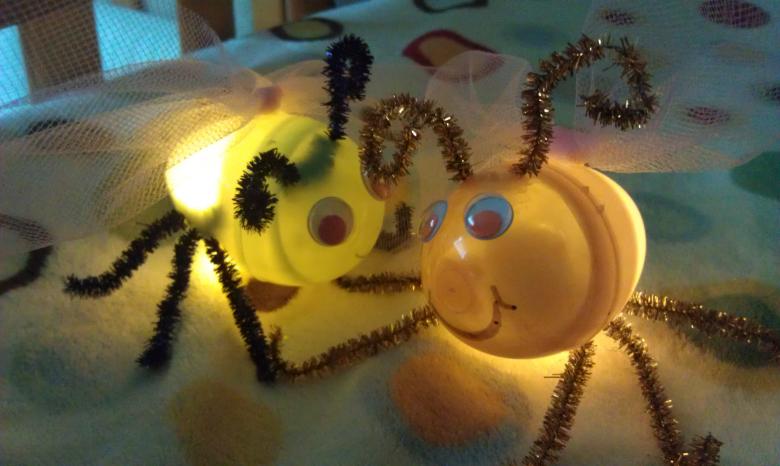
The wings are cut out of cardboard and glued to the body of the capsule. Then place the lamp in the finished capsule and close the container. Such a craft will look good alone in a dark room, as well as in the company of other similar toys.

Rattle for the youngest
Many crafts can be created from Kinder eggs with their own hands for kindergarten. For example, make a rattle. Make it very easy. For it need grits, sand, coffee beans, beads or small stones, which should be poured into a container and close it.

You can tie her cover, thus giving the product a unique look, or paint to your liking. All depends on your imagination.Rattle can be an interesting element of the game to develop hearing children. To do this, you need to make a few rattles with different fillings that will produce different sounds. Gradually the child will learn to distinguish what is in a particular toy.
It is possible to complicate the craft. For this you need an awl and some containers. You need to pierce both sides of the egg with the awl and fill it, leaving a little empty space inside.

Then close the container and thread it on the ribbon. Following these simple steps, you can make a rattle of any length.
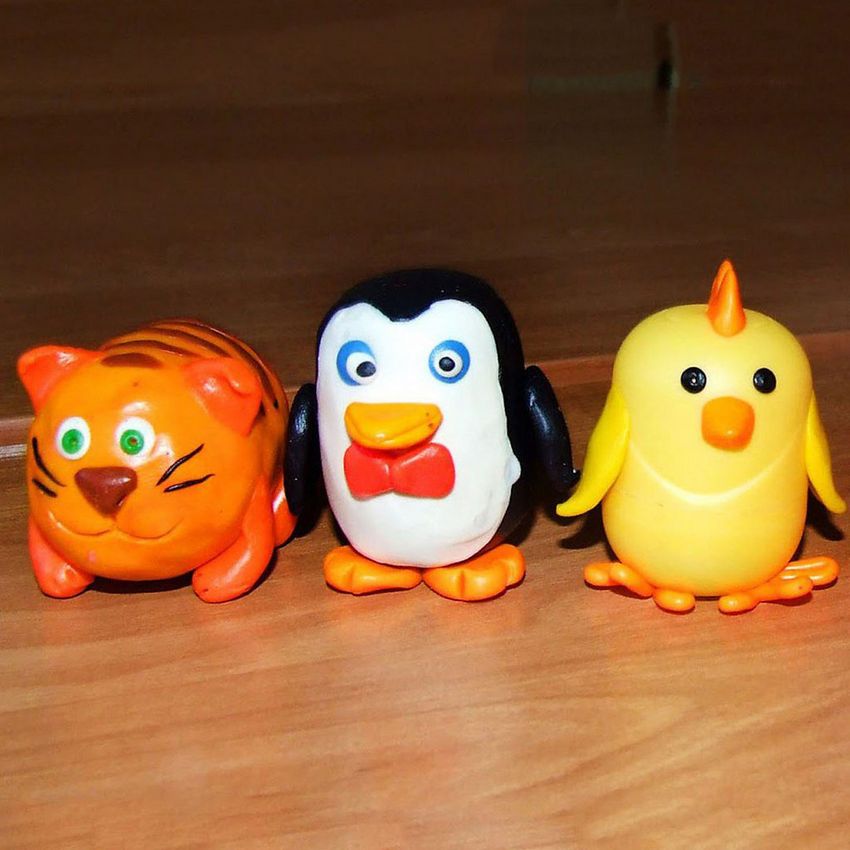
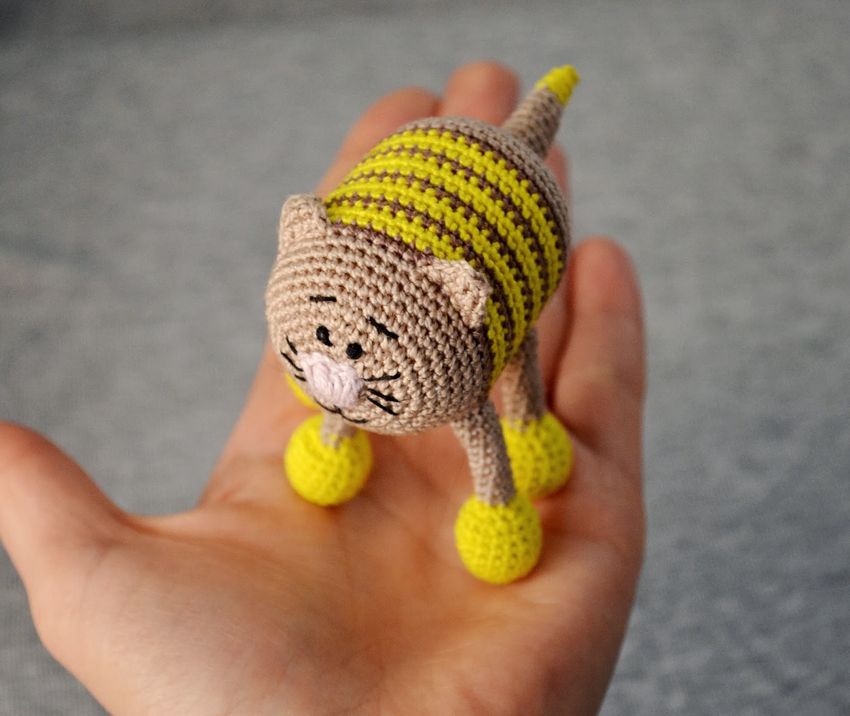
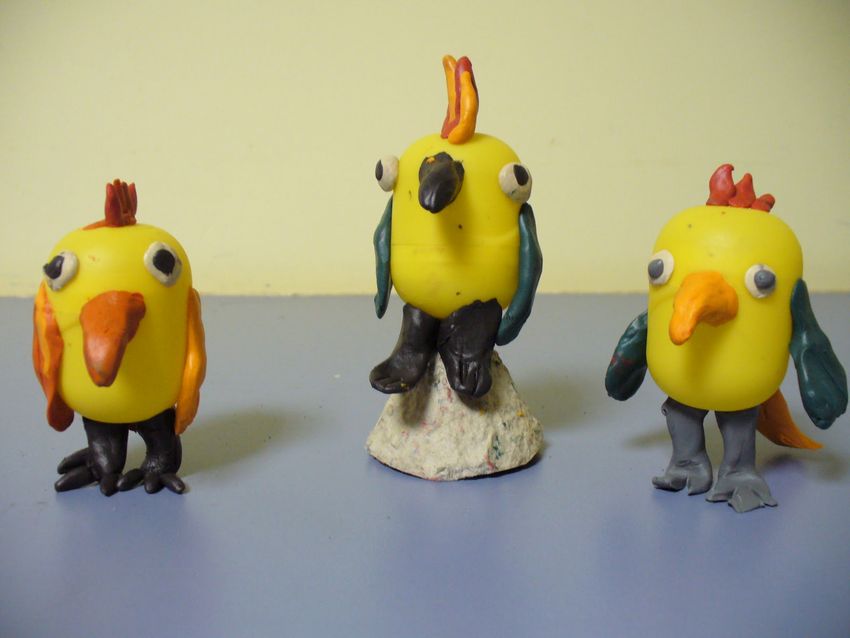
Make a handicraft "Teddy Bear"
Plasticine and eggs from Kinder-surprises - the perfect combination of necessary elements for creativity and creating original children's crafts.For a bear, you need to mold feet, hands, ears and nose. Also mold eyes, or buy. The clay should be of a brown shade. The resulting elements should be attached to the container.
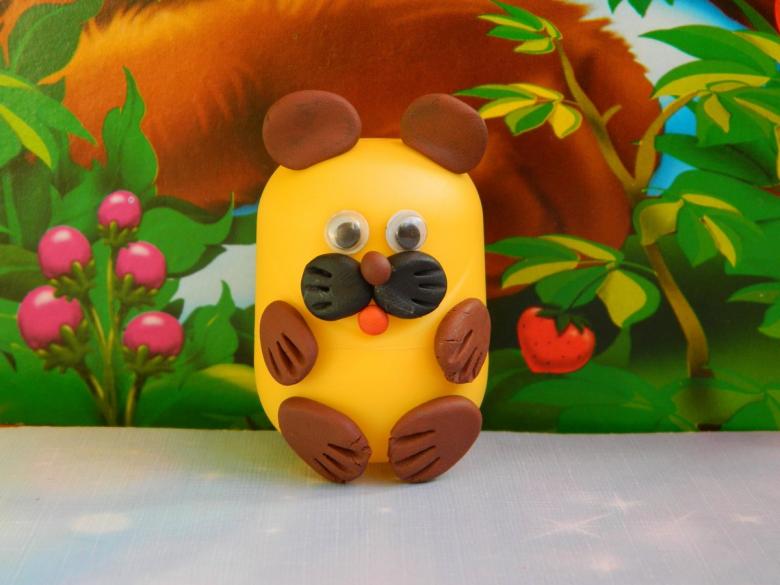
Using this simple method, you can create a large series of original animals, using different colors of clay and your imagination.
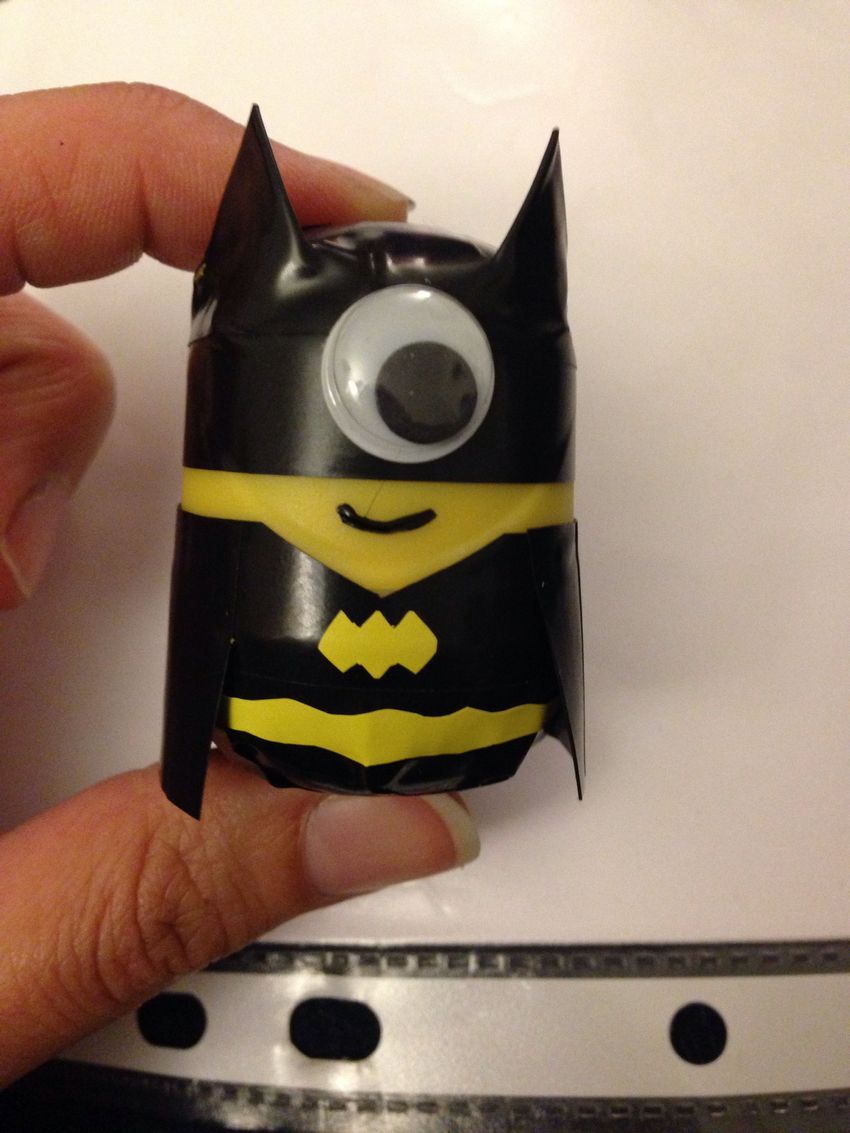
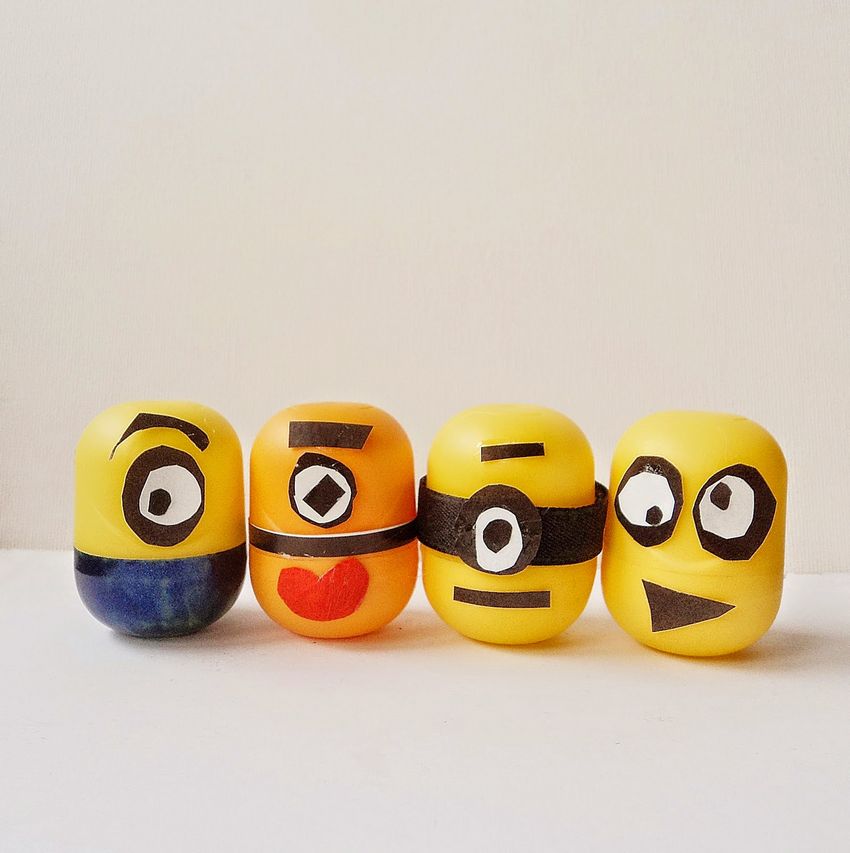
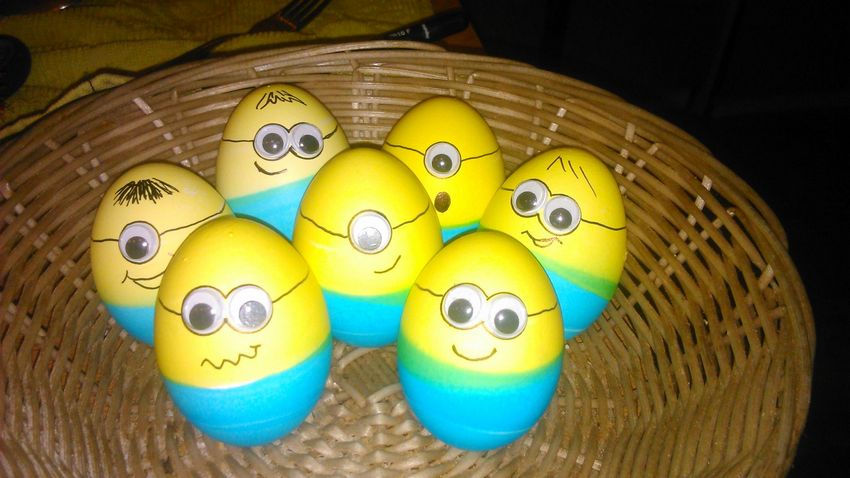
Minions" crafts
For these cute little people you need:
- Yellow containers
- Blue duct tape
- Eyes from the craft section
- Glue
- Crayons
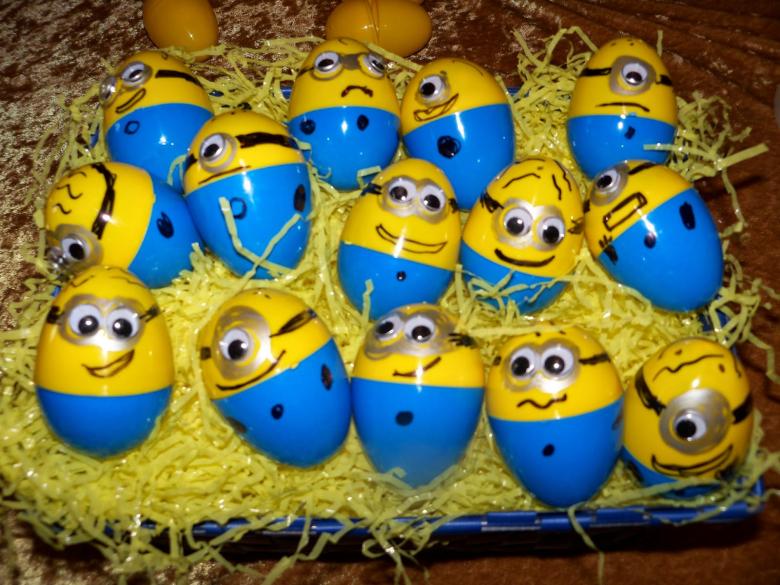
Draw or glue eyes on the top of the container. Duct tape is needed to wrap the bottom of the egg. Next, draw the hands and some hair on the head. Toy ready.

Model "Piglet"
For it you will need:
- Egg container
- Button
- Toy eyes
- Glue
- Clay .
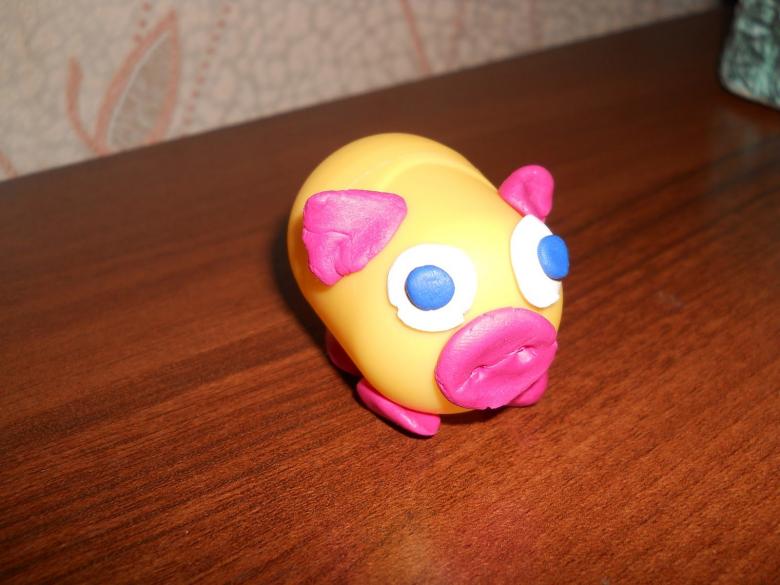
Use clay to make ears, hooves and tail. Glue eyes, buttons and ears. Glue tail, hooves on back. Toy pig will look good on the Christmas tree. To do this, you need to make holes in the capsule, put a ribbon through them and tie the ends with a knot.

Bee Honeycomb
For this handicraft you will need:
- A sleeve made of cardboard
- Yellow containers
- felt-tip pens
- Black thread
- Eye beads
- Colored paper
- Glue
- String
From the sleeve to make a hexagon, divide it into several equal parts. This is the future of the honeycomb. We need to glue them together.
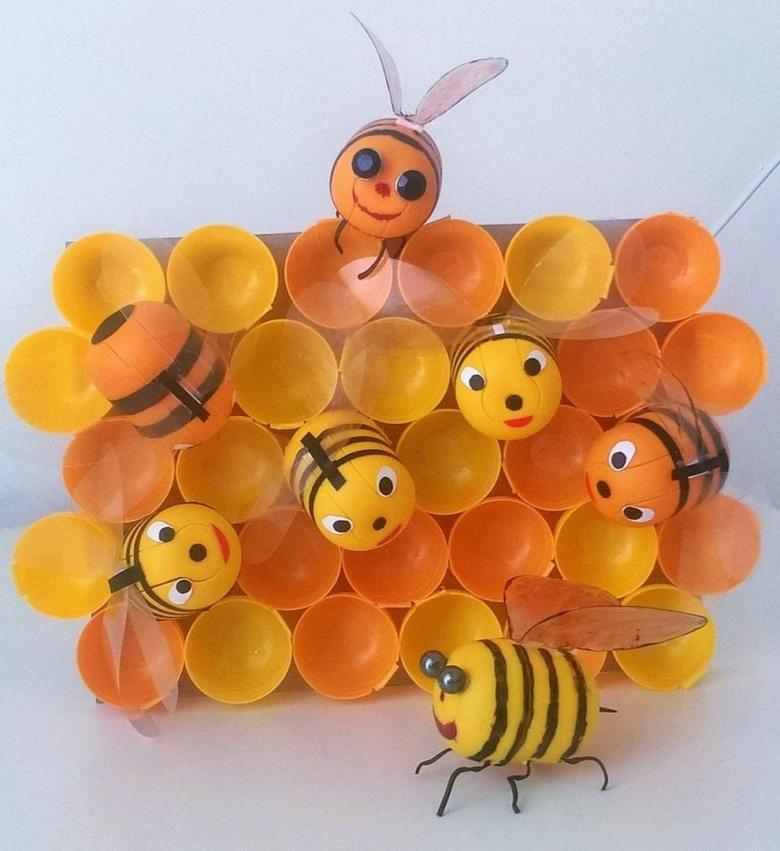
Cut wings for the bees from colored paper. Glue the wings, make strips of thread, pulling them over the containers. Glue beady eyes, or draw them. Hang the bees on fishing line to the honeycomb. Such decorations can decorate a child's room.
Mini-toys .
You can make mini crafts from Kinder Surprise Eggs for Easter, wrapping containers with corrugated paper, attaching a ribbon and drawing eyes and a beak. The mini toy is ready!
You can take two plastic spoons and put a capsule between them. Wrap it with beautiful paper and tie with ribbon. The tulip is ready.
If you know how to knit, you can try tying the container to get funny toys that open their mouths.

The capsules of Kinder Surprises can be used not only as a base for crafts, but also as a container for toothpicks or matches. With a rich imagination and a few things for decoration, you can find a lot of uses for such capsules.
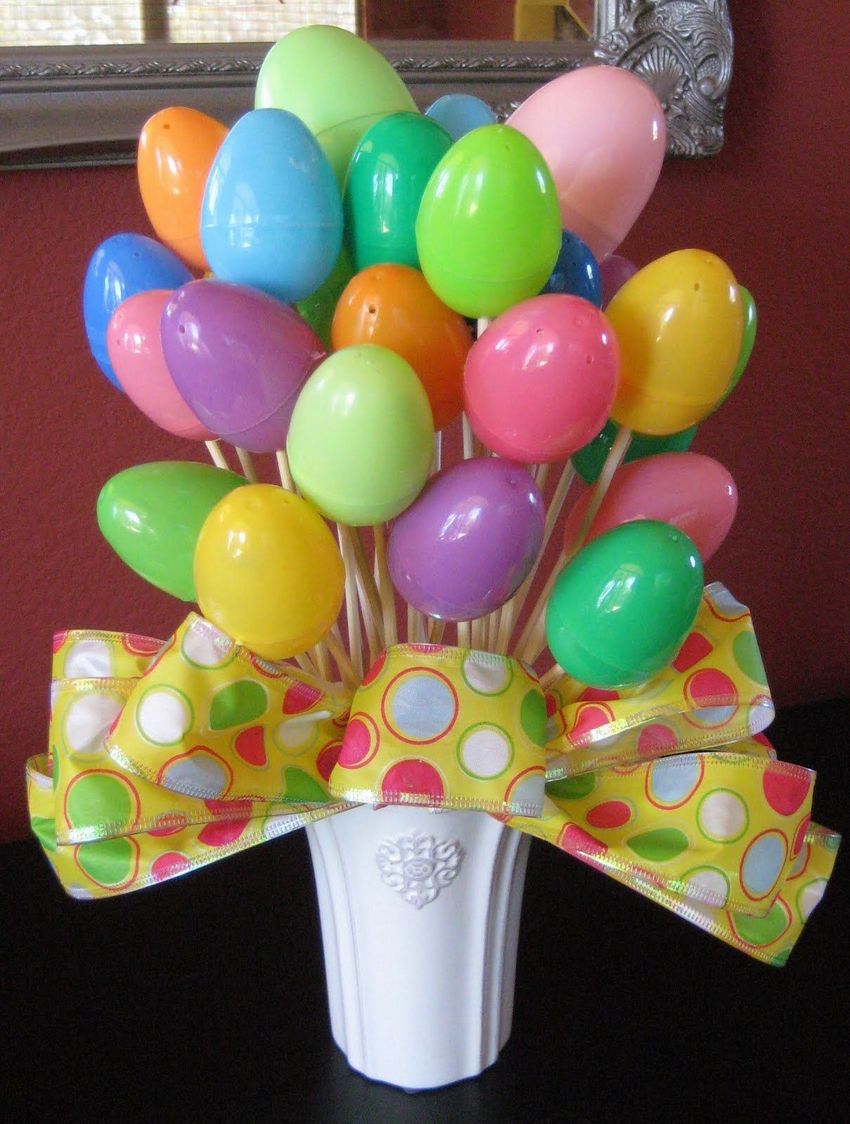
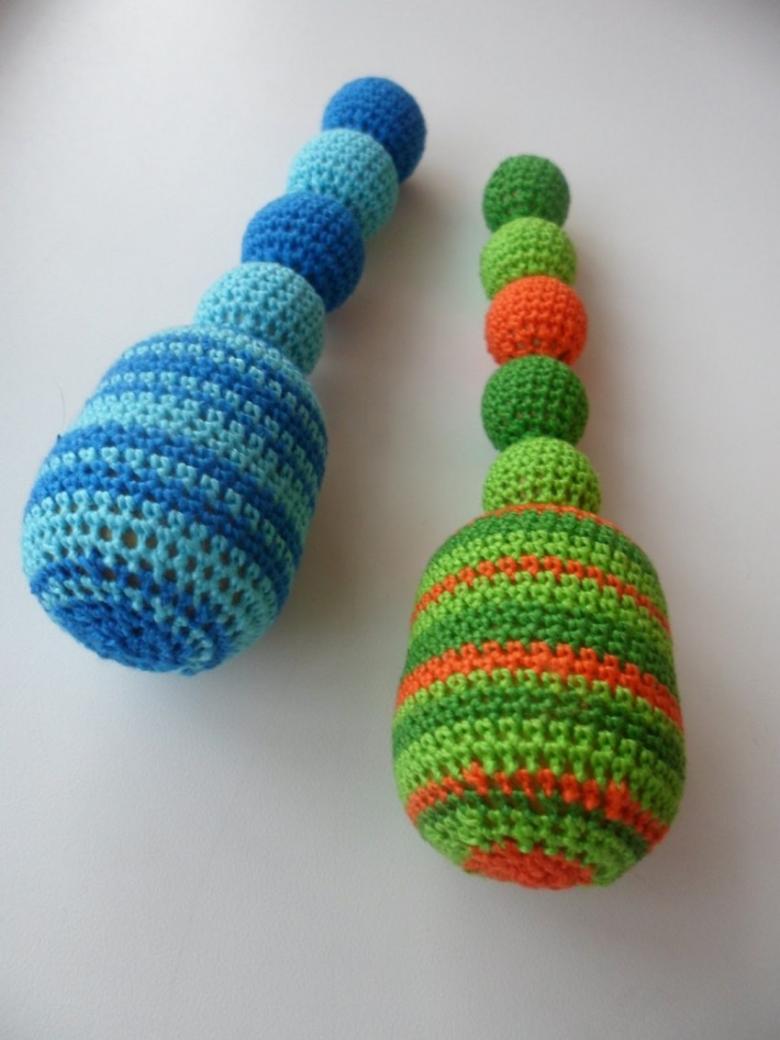
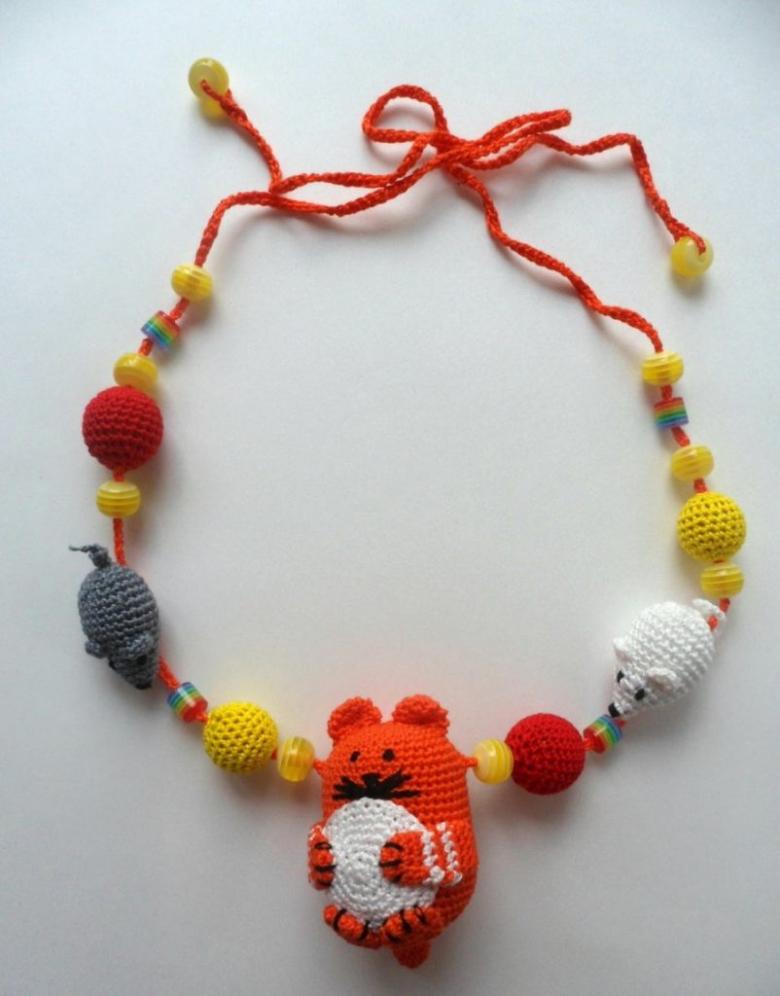
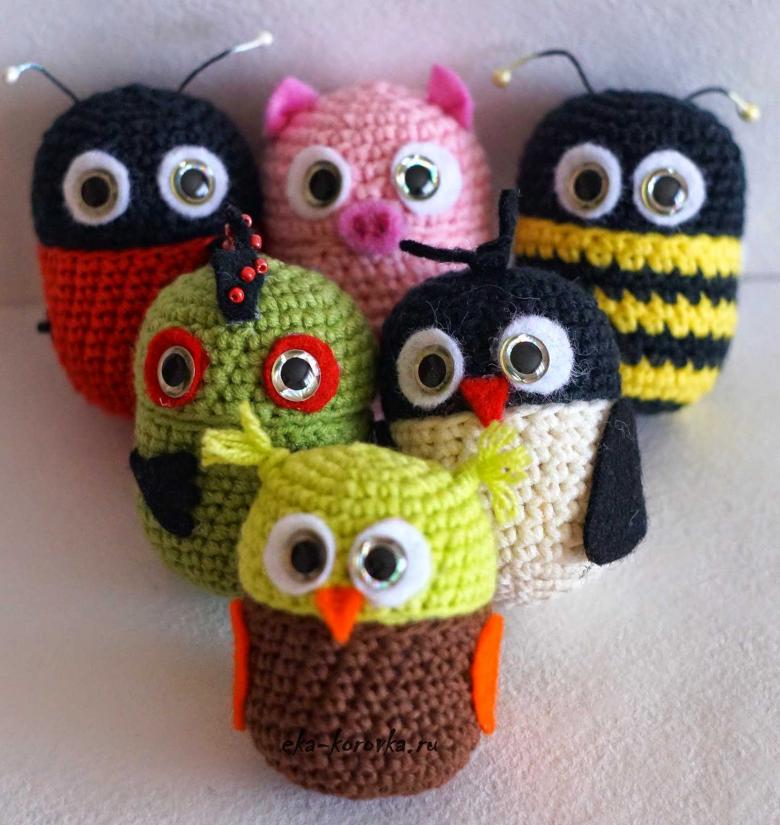
Photo ideas of crafts from Kinder Eggs