Toilet sleeve crafts - interesting projects for interior design and for school crafts
Many people probably remember the commercial in which the whole family is looking at the toilet bowl with interest and watching, as, under the pressure of water, the toilet sleeve dissolves. So, here, destroy the sleeve is not necessarily - it can be the basis for a variety of original crafts!
Varieties of materials
Some types of needlework are impossible to imagine without the purchase of special tools and materials. For example, making pottery is impossible without special clay, lovers of knitting and embroidery cannot do without special threads, but the sleeves from the toilet paper belong to the type of materials, for which there is no need to spend extra money.
So what can be made from this throw-away material?
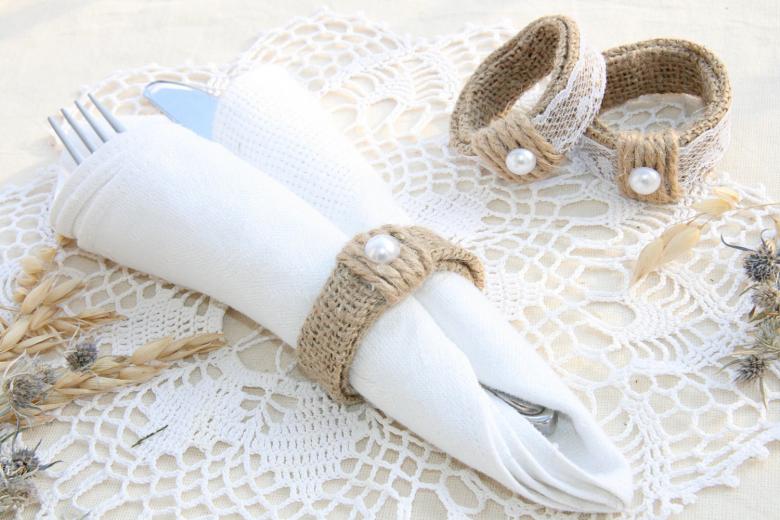
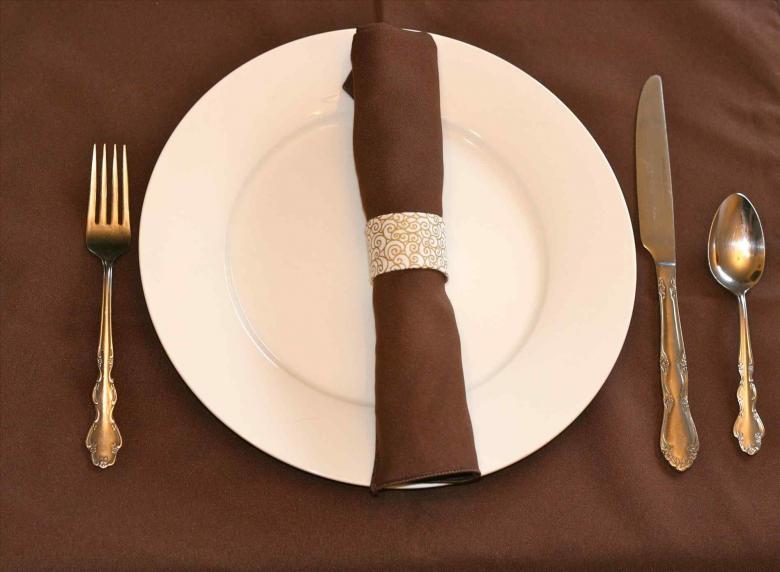
Napkin holder
Serving the table is a whole art, and one of the elements of beautiful decoration is the proper placement of napkins. Napkin ring holder is one of the ways to effectively place a means of hygiene on the holiday table.
For a craft from a sleeve from the toilet paper will be needed:
- glue and a knife;
- three sleeves;
- lace material;
- beads, tinsel, beads.
How to proceed
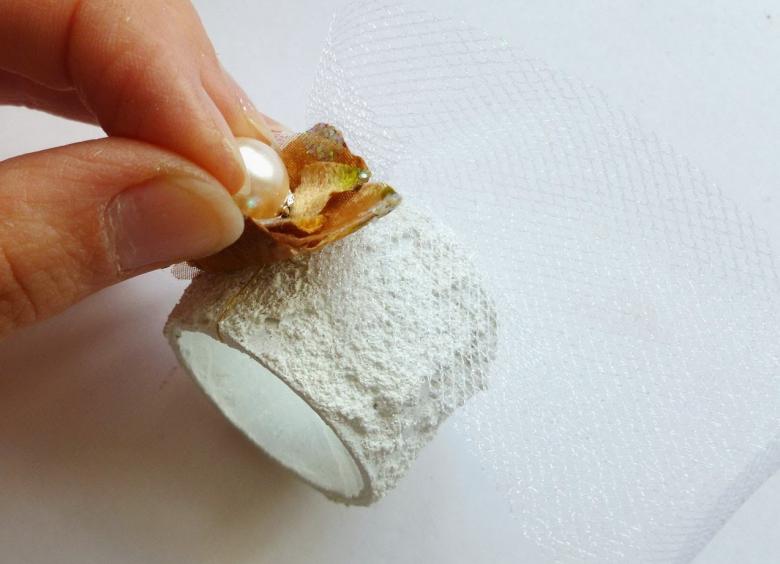
With all the necessary material on hand, you can begin to make an elegant ring holder.
- The sleeves are cut into two pieces about five centimeters long.
- The cut edges are treated with either a nail file or fine sandpaper.
- The lace is glued on the workpiece.
- The joint is decorated with beads or beads.
The ring is ready - it is only necessary to fold a napkin and put it through a holder.
Depending on the theme of the feast, you can decorate the ring with different decorative elements.
Hearts will look natural on the wedding table, snowflakes on the New Year's Eve table. If you're throwing a party for the kids, you can decorate the rings with a children's theme.

Working together
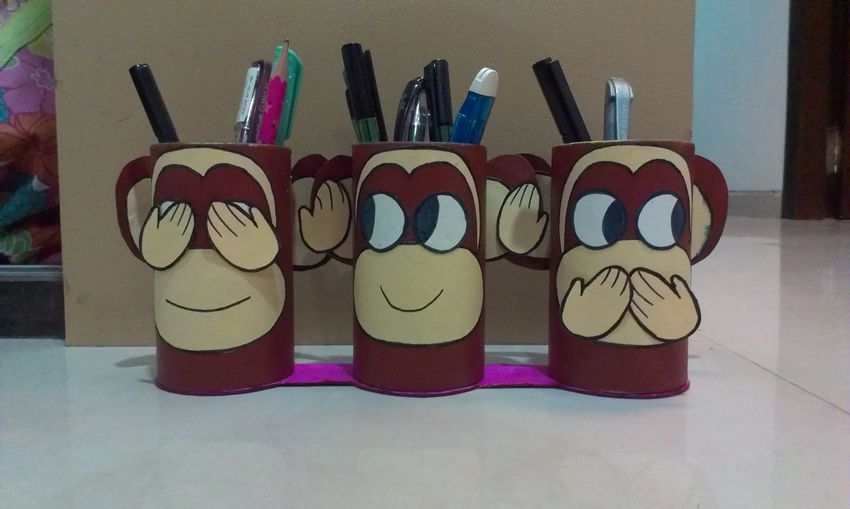
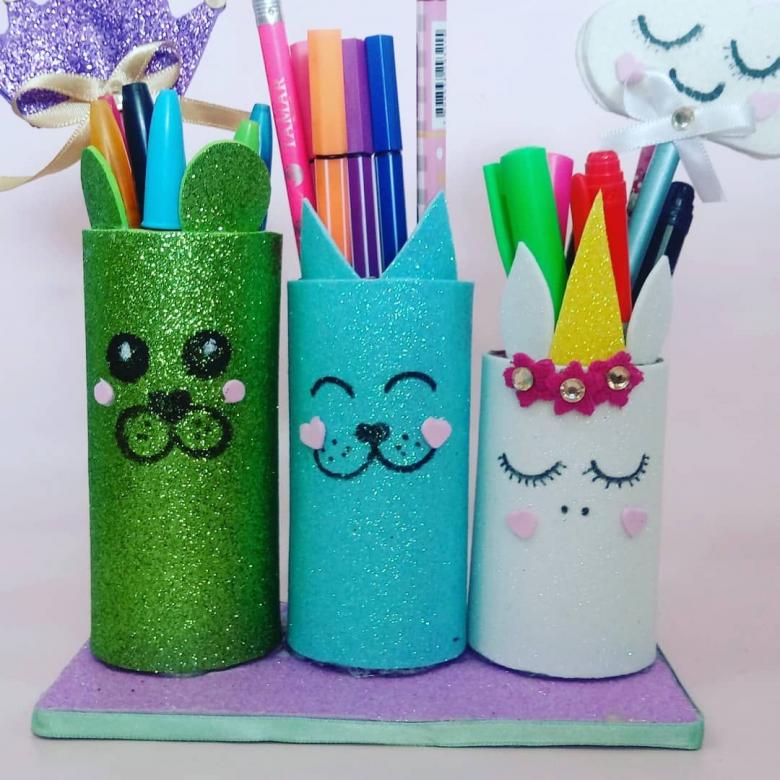
Having a child in the house automatically implies a large number of colored pencils, felt-tip pens, pens, paints, brushes, various stationery. And these things are not always in their places.
How to teach a child to be neat? Suggest that he make a handcraft out of the toilet paper tubes, which will help put all the much-needed items in a certain order.
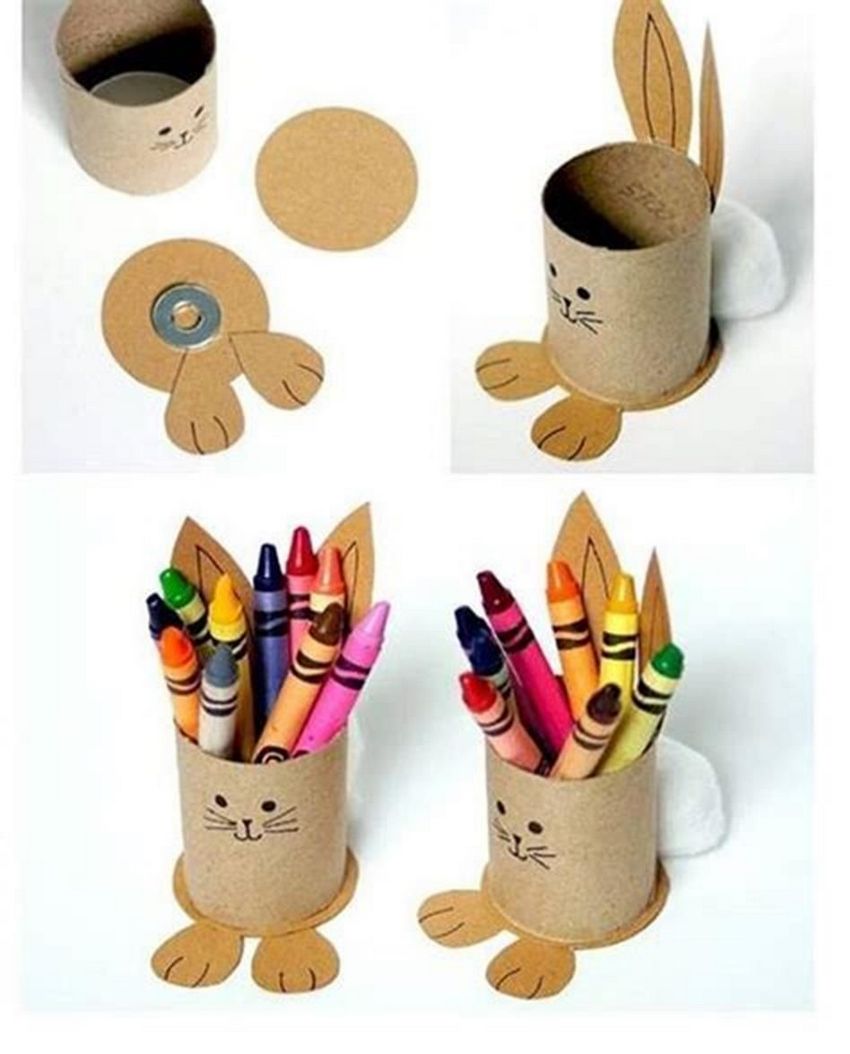
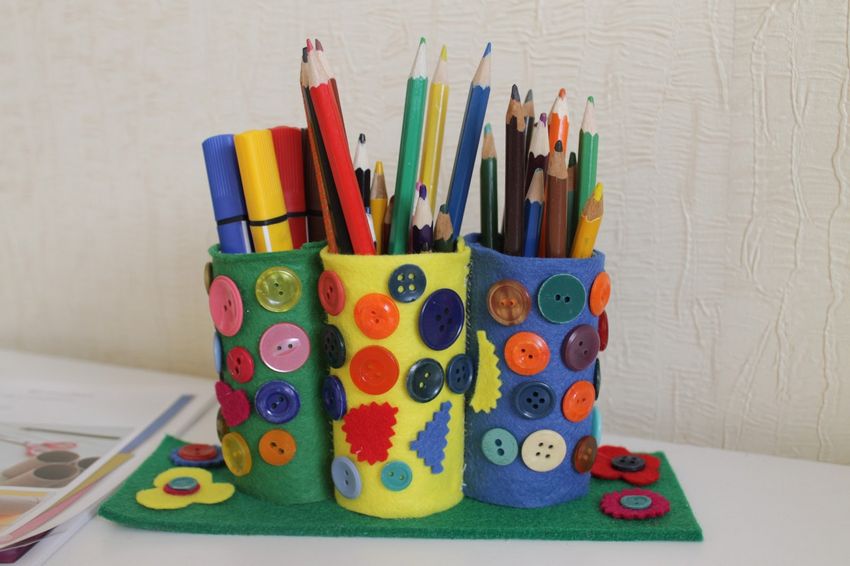
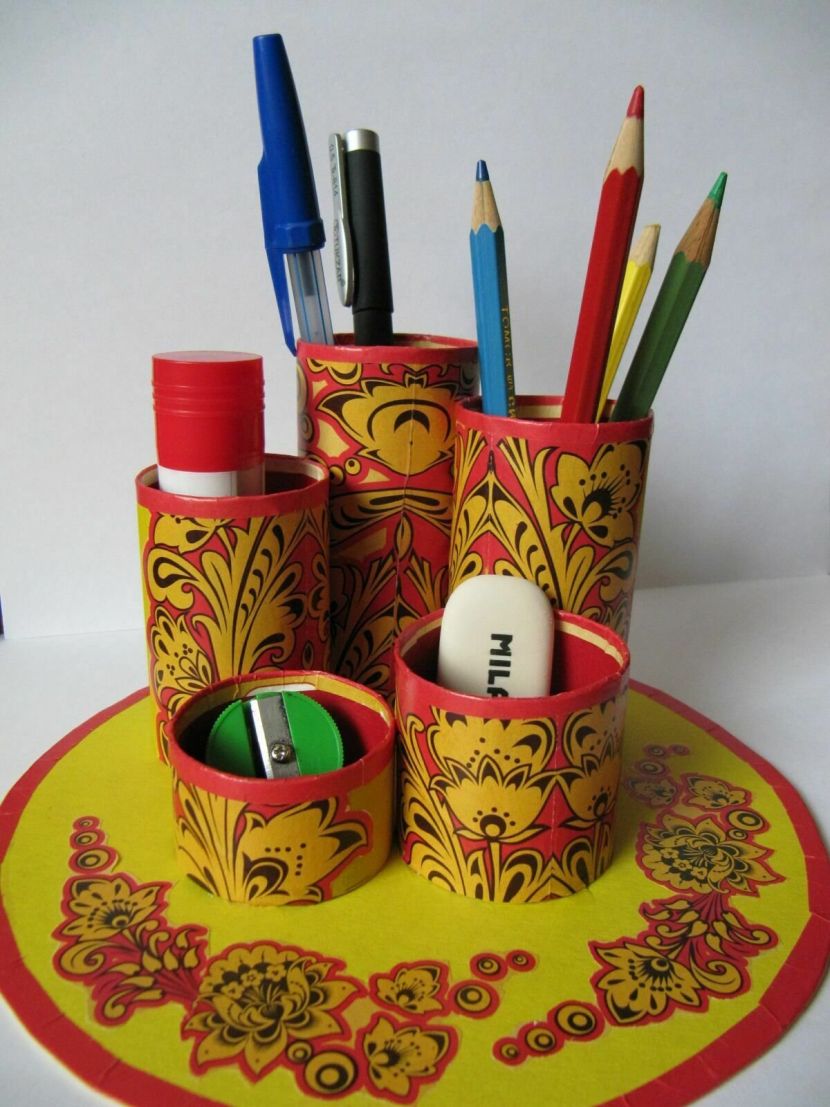
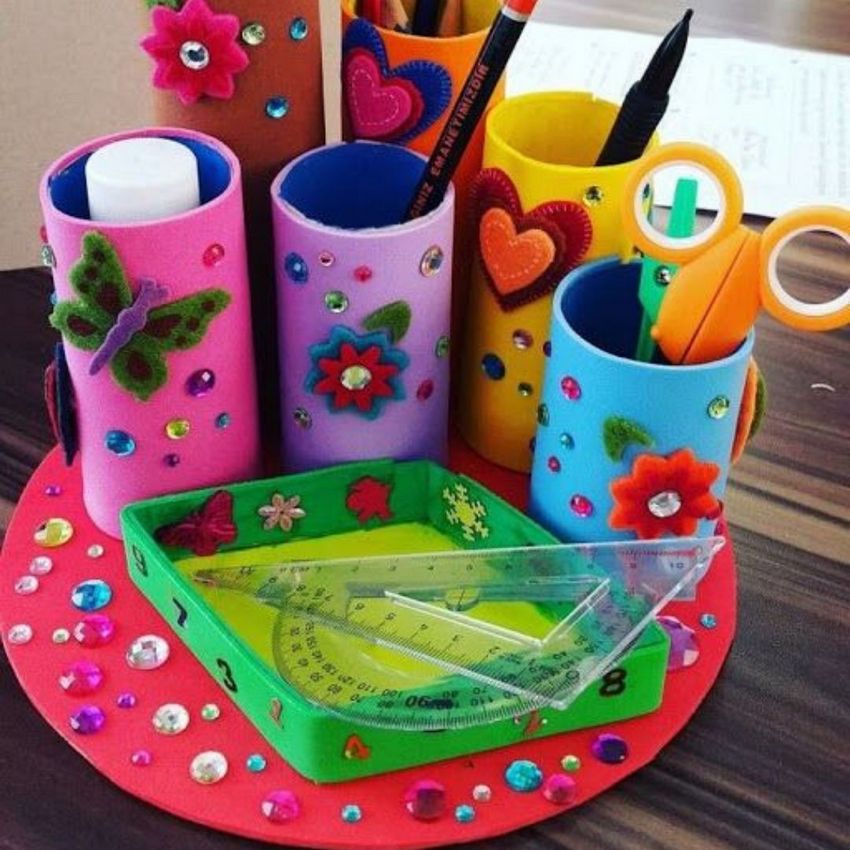
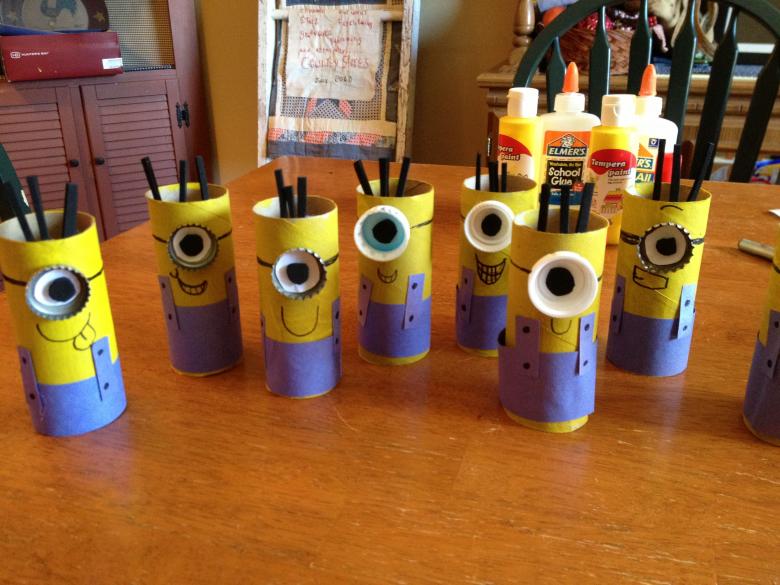
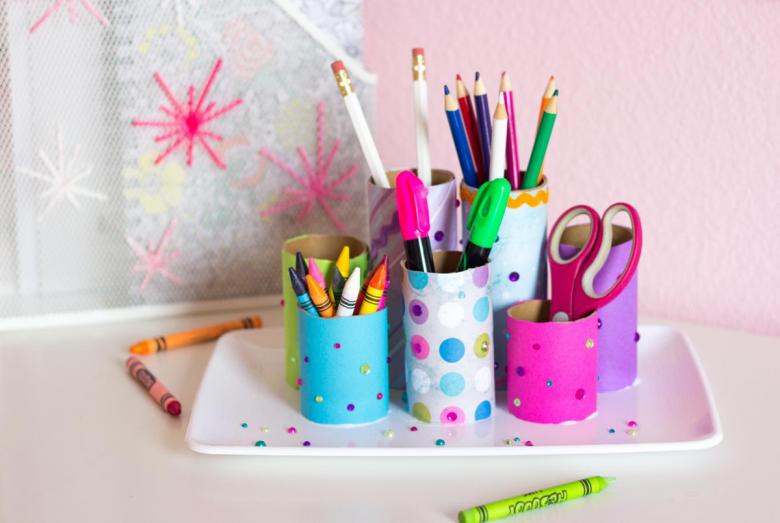
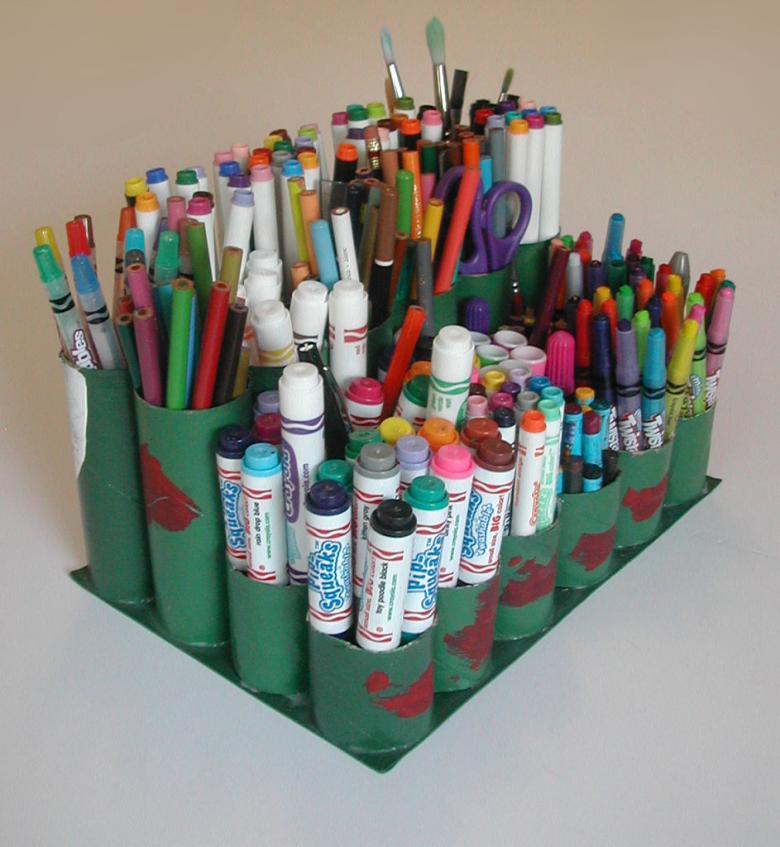
Organizer
Any unusual tools and materials for this work is not required. In addition to the basis - the tubes of toilet paper are required:
- glue and a knife;
- cardboard;
- Multicolored pieces of fabric.
Step by step instruction
- Step #1. A circle is cut out of a piece of cardboard, the base-support of the future organizer.
- Step #2. A child is assigned to glue a piece of brightly colored fabric on the circle.
- Step #3. Prepare five or six sleeves of different heights.
- Step #4. With the help of an adult, the child glues the sleeves with pieces of cloth.
- Step #5. All prefabricated sleeves are attached to a cardboard circle.
It remains to fill the cute organizer with pencils, pens and brushes.
This is one of the possible options for making a functional thing together with a child. At https://imaster.desigusxpro.com/en/ you can find other detailed instructions and workshops on how to make household necessities.
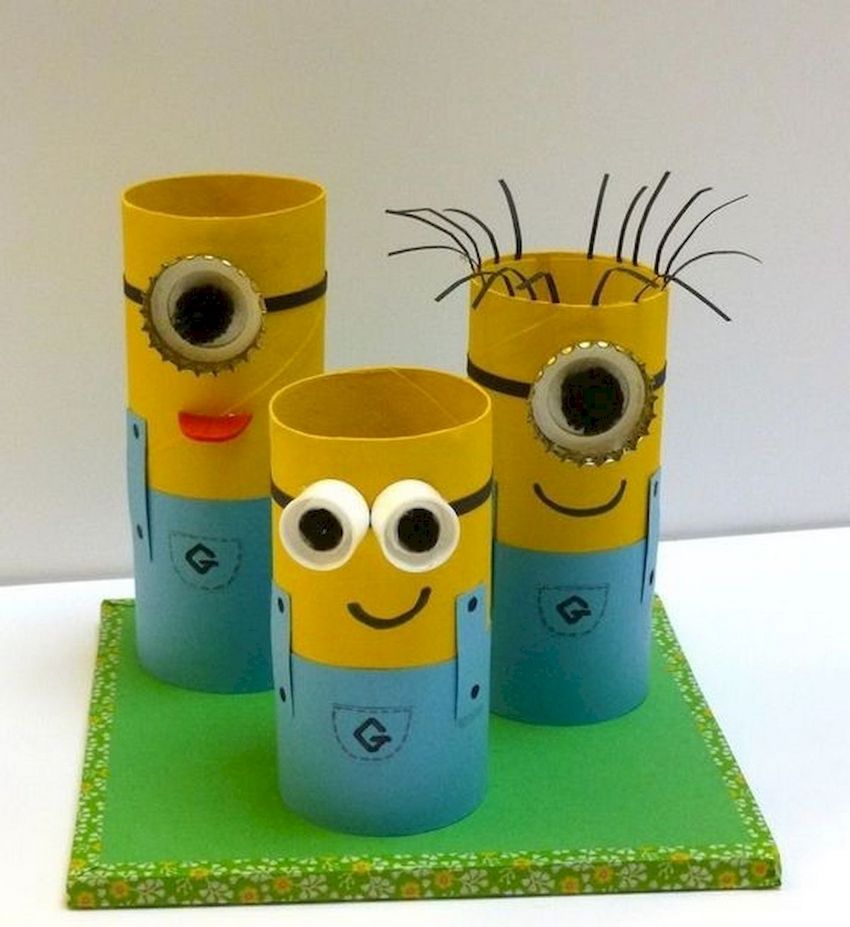
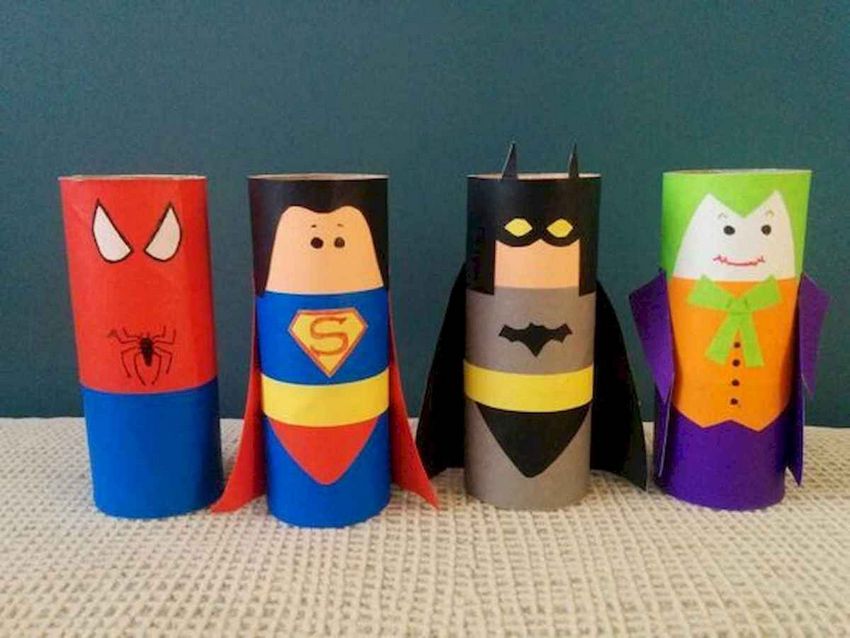
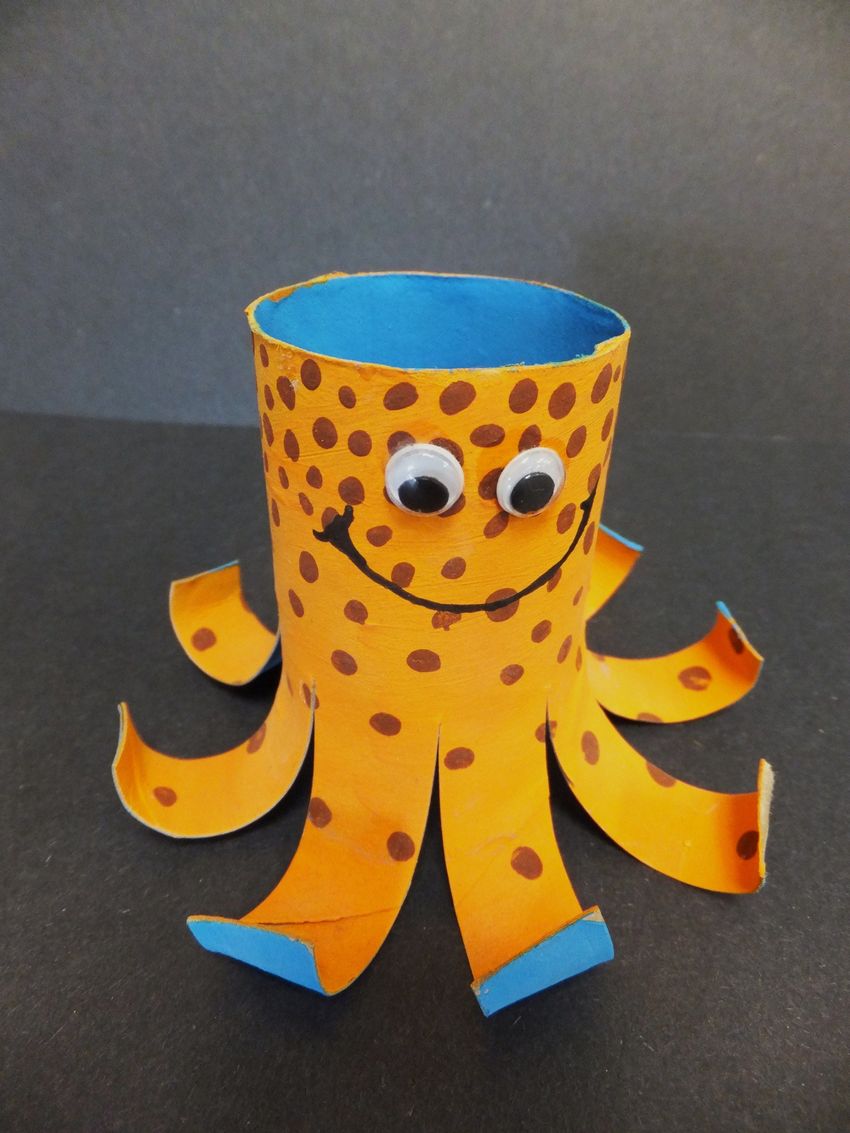
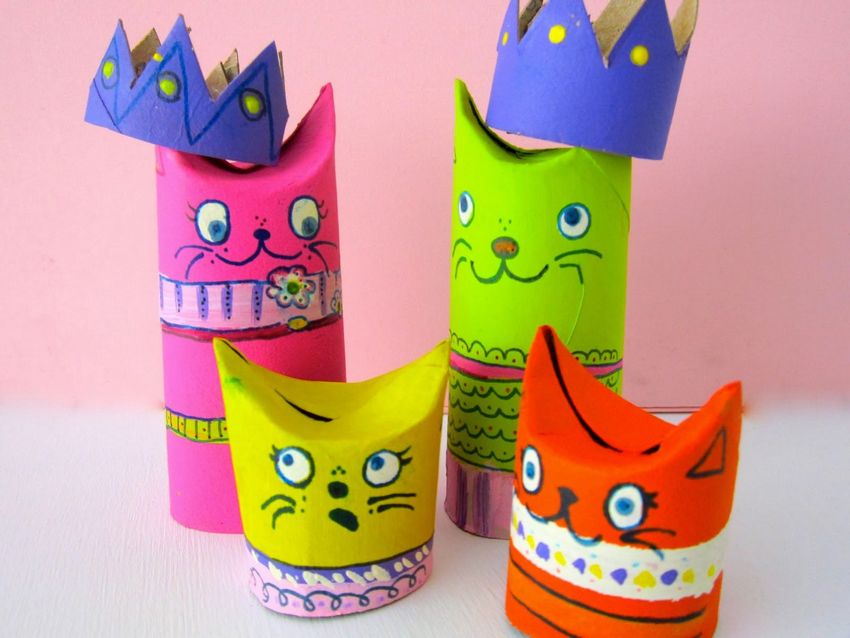
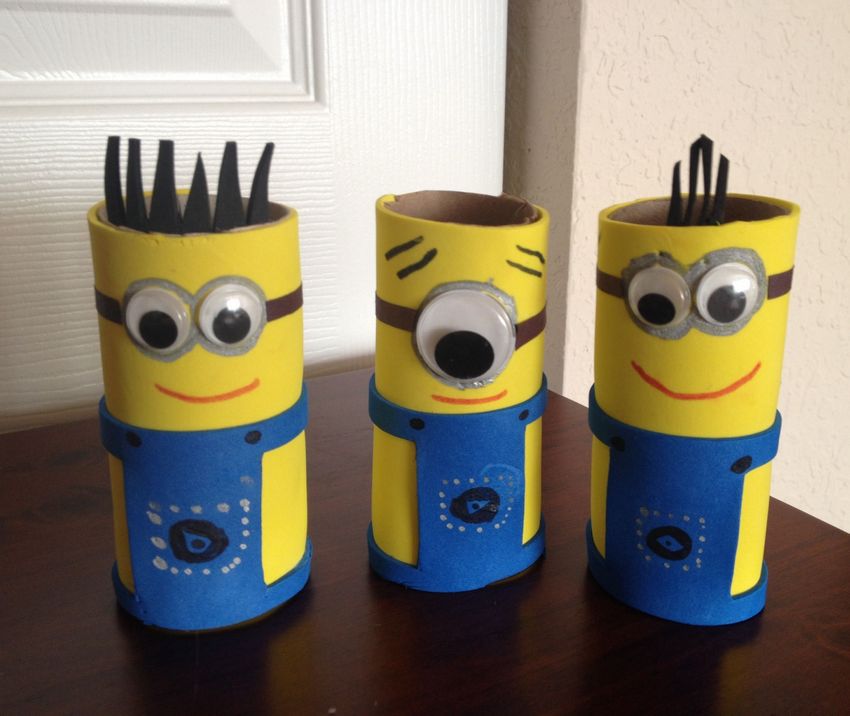
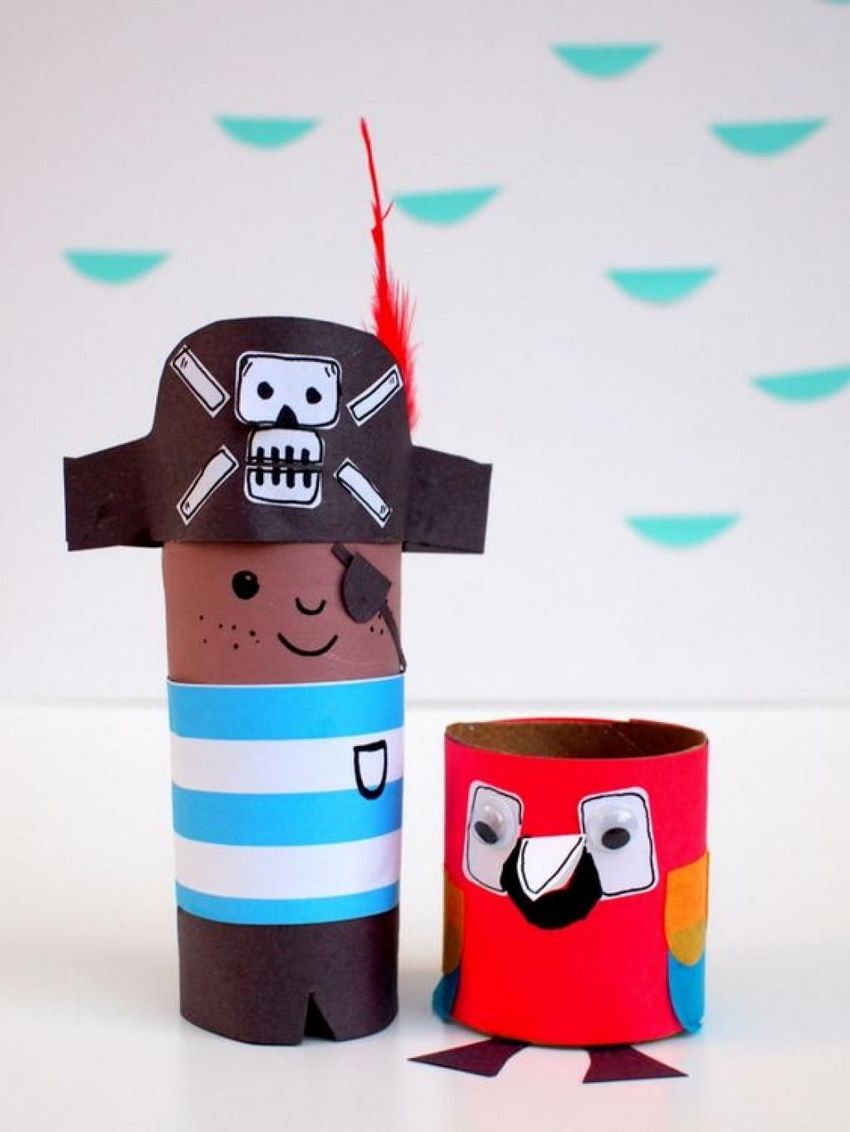
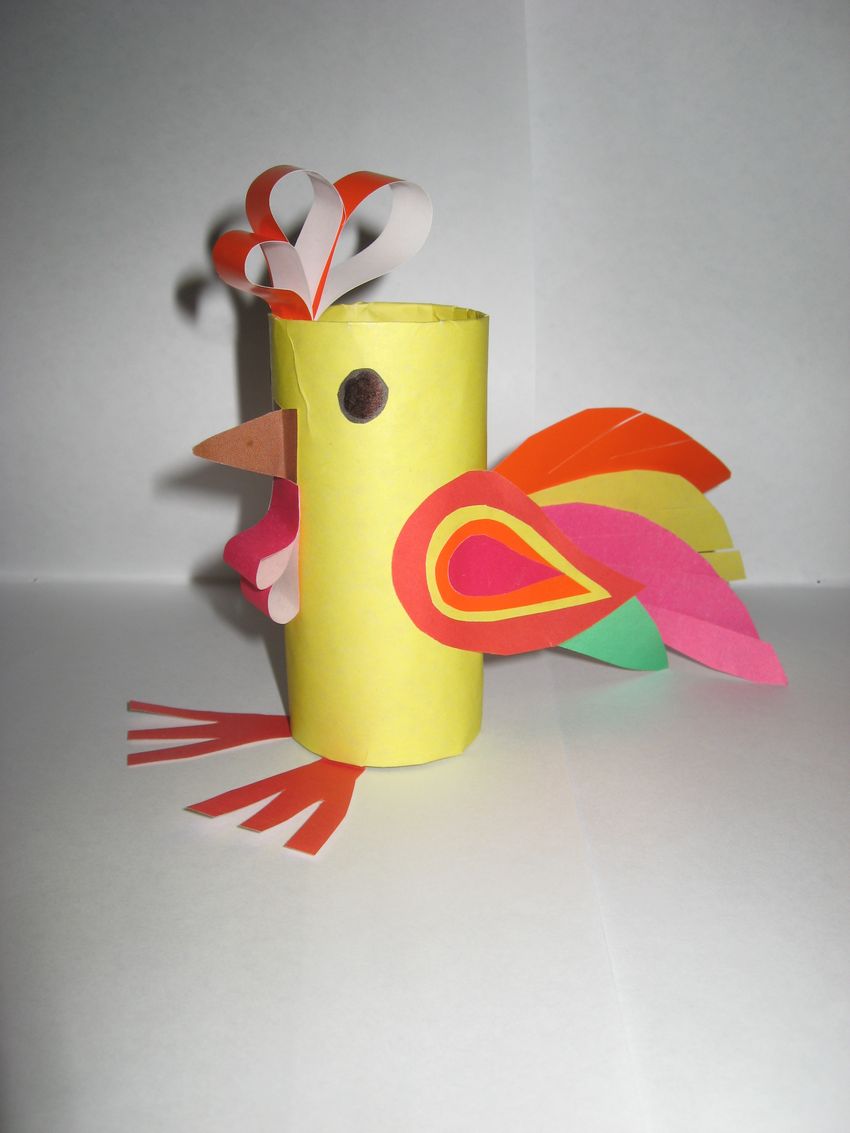
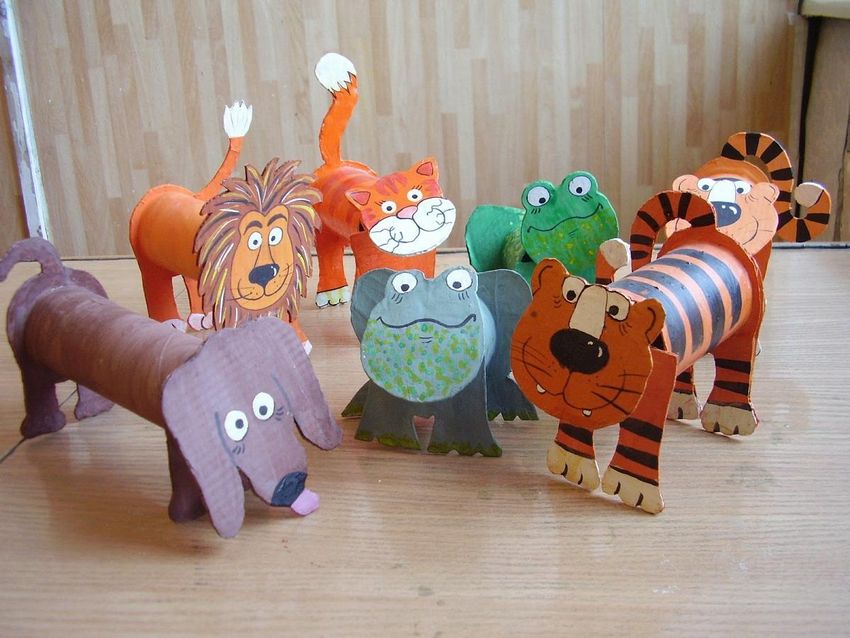
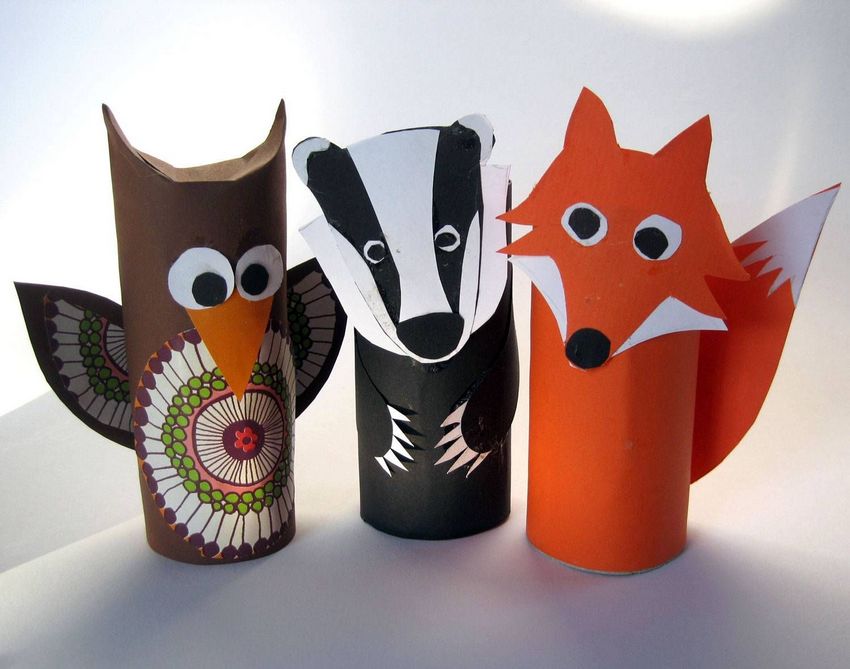
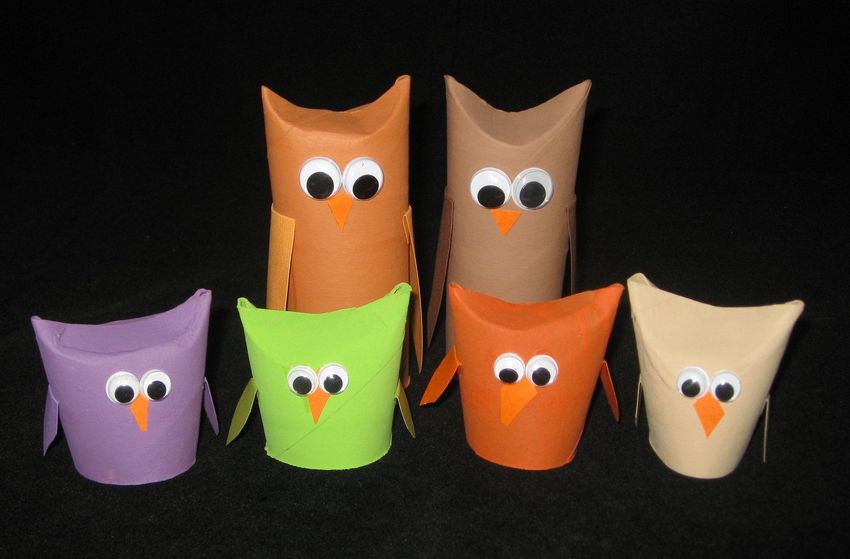
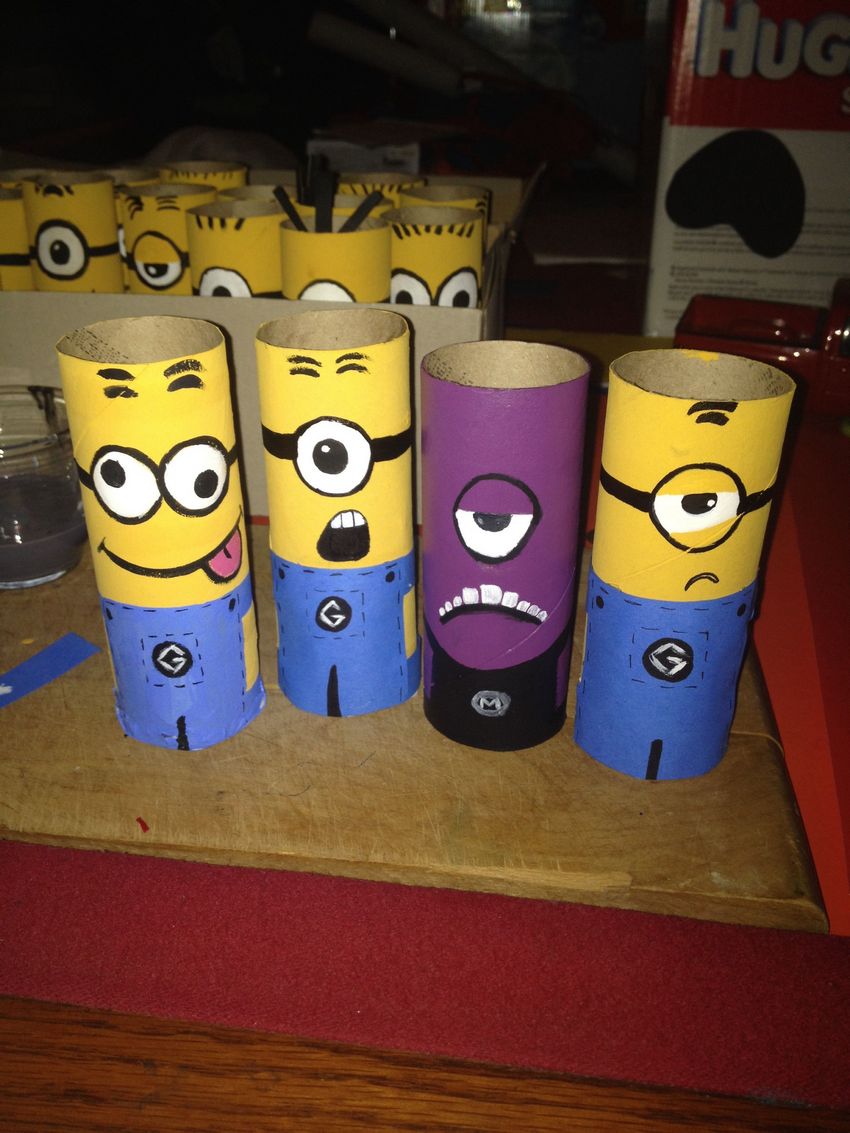
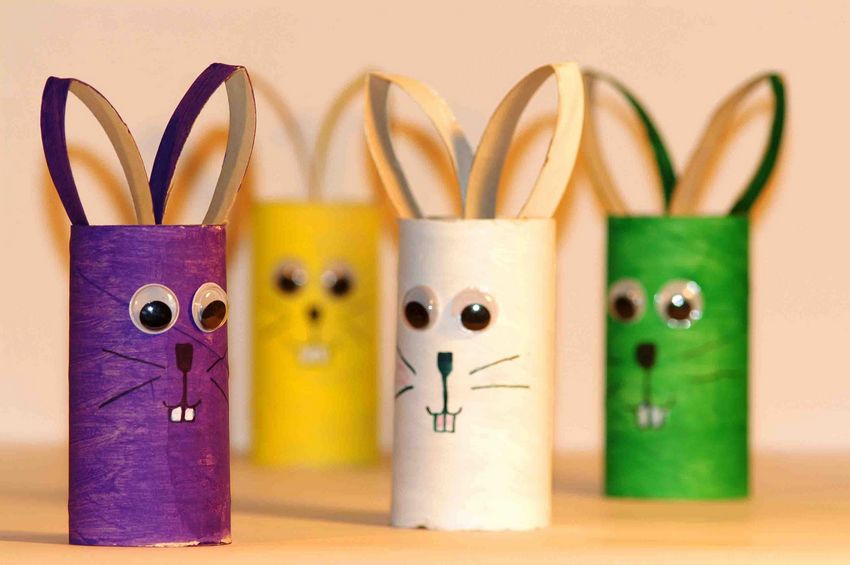
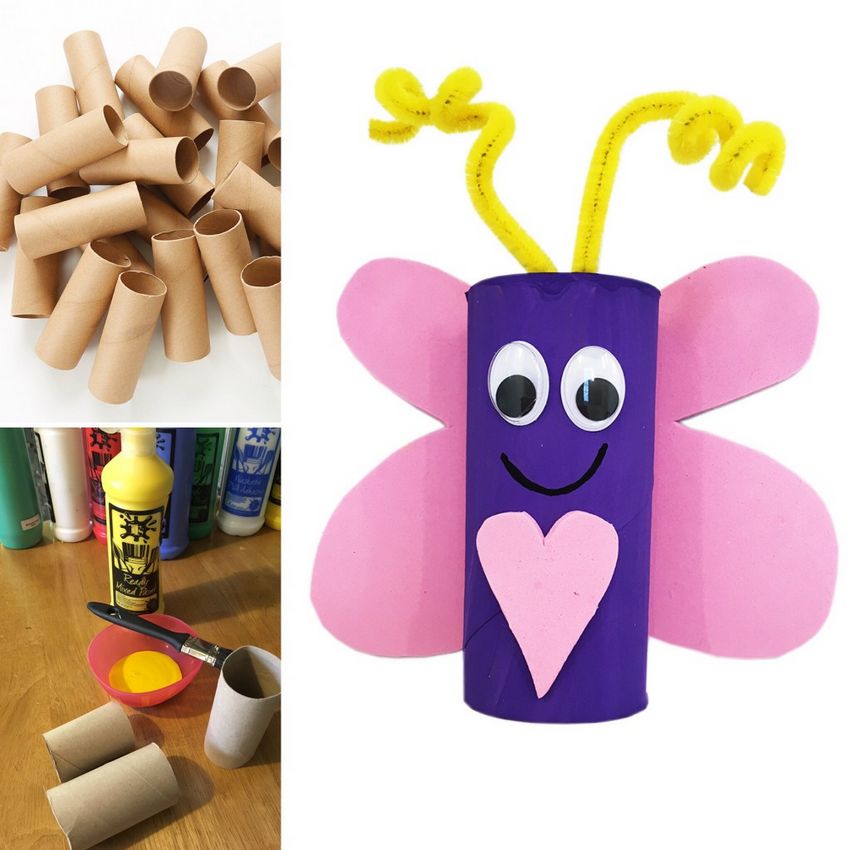
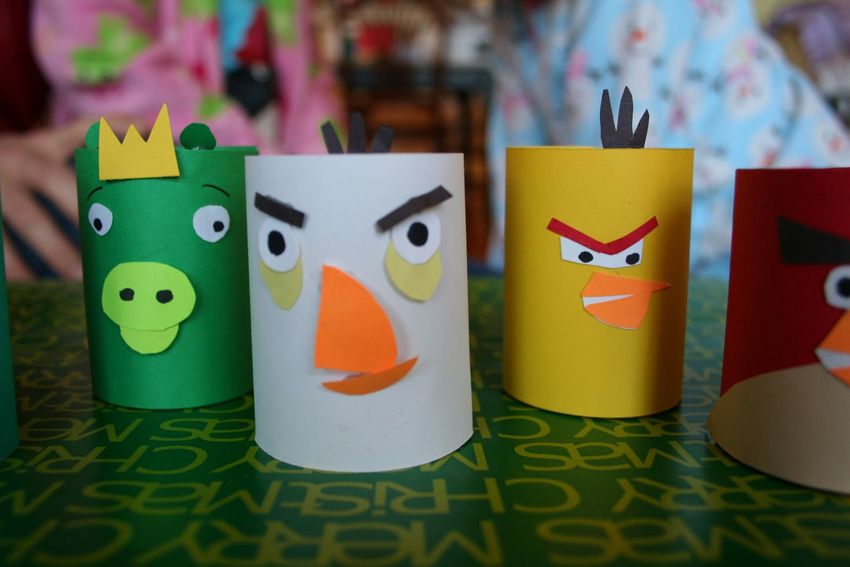
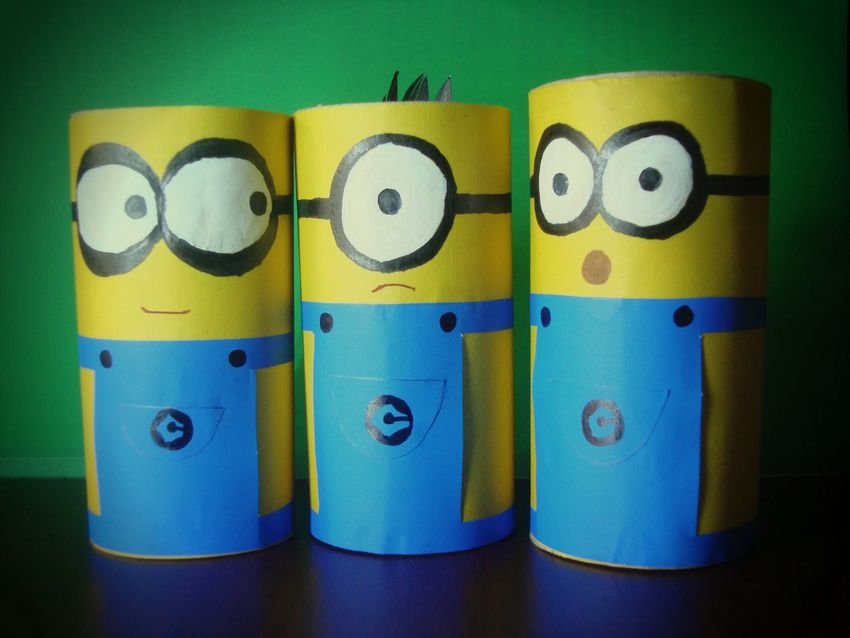
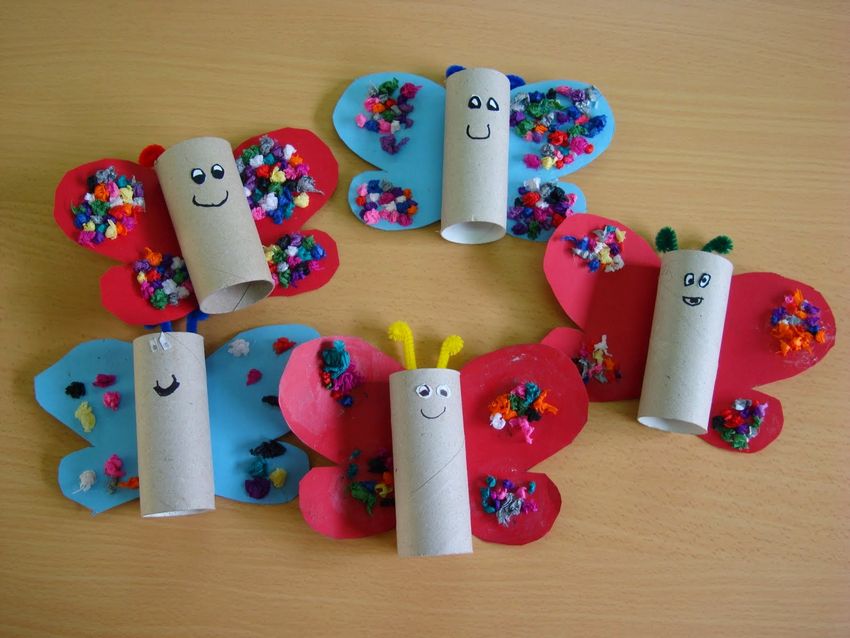
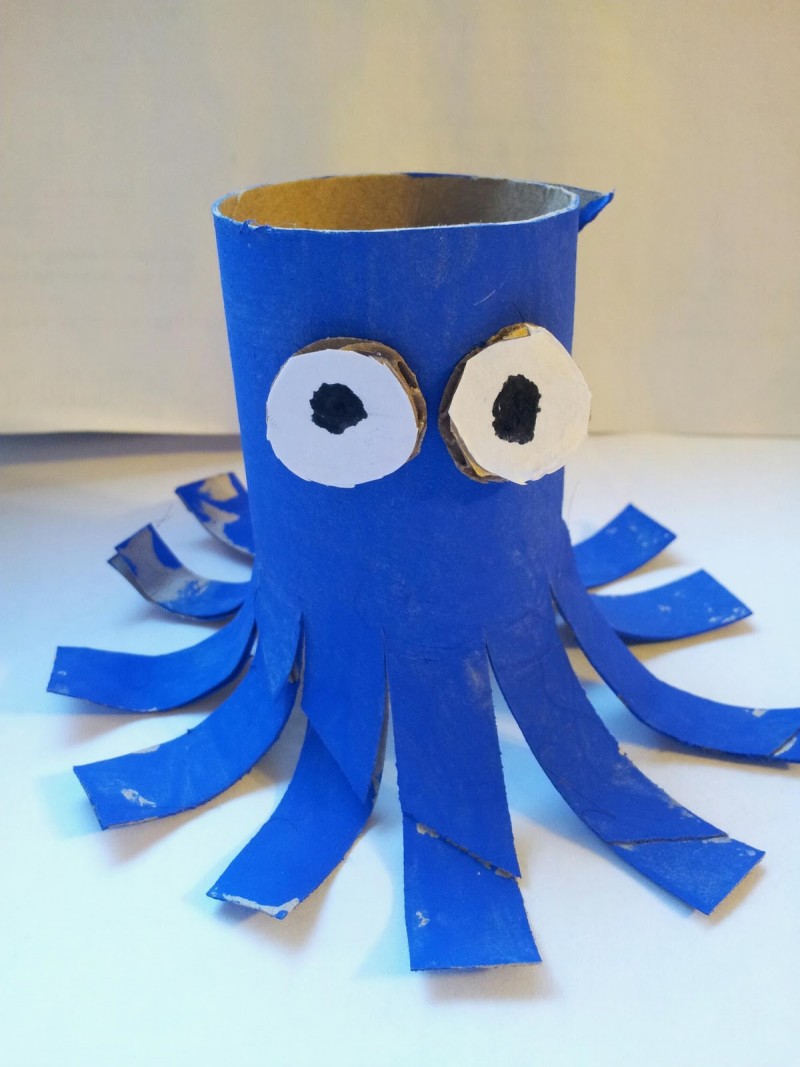
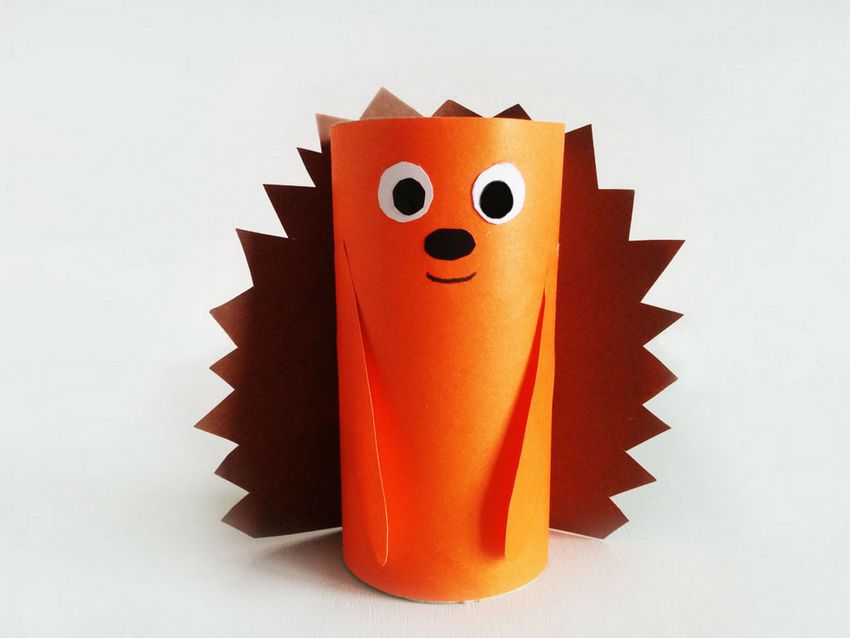
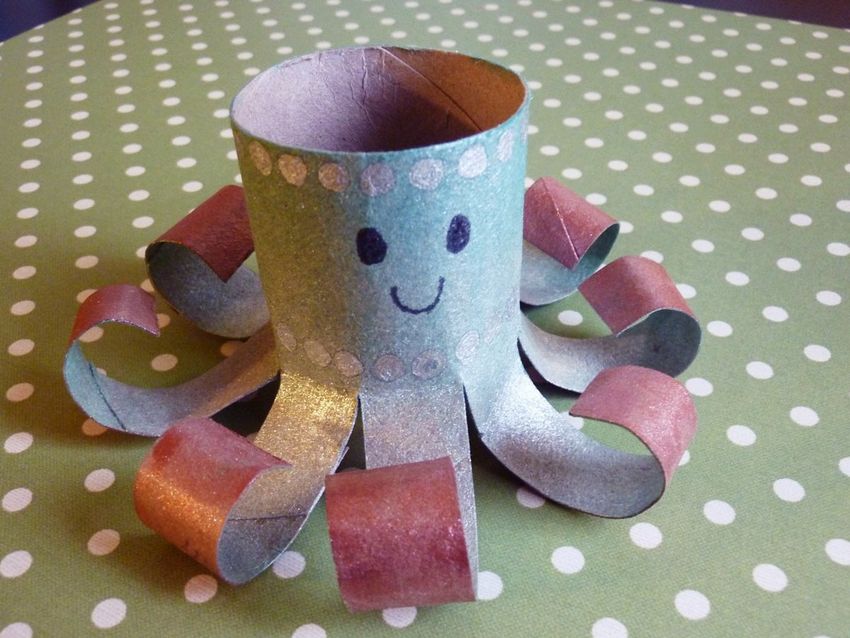
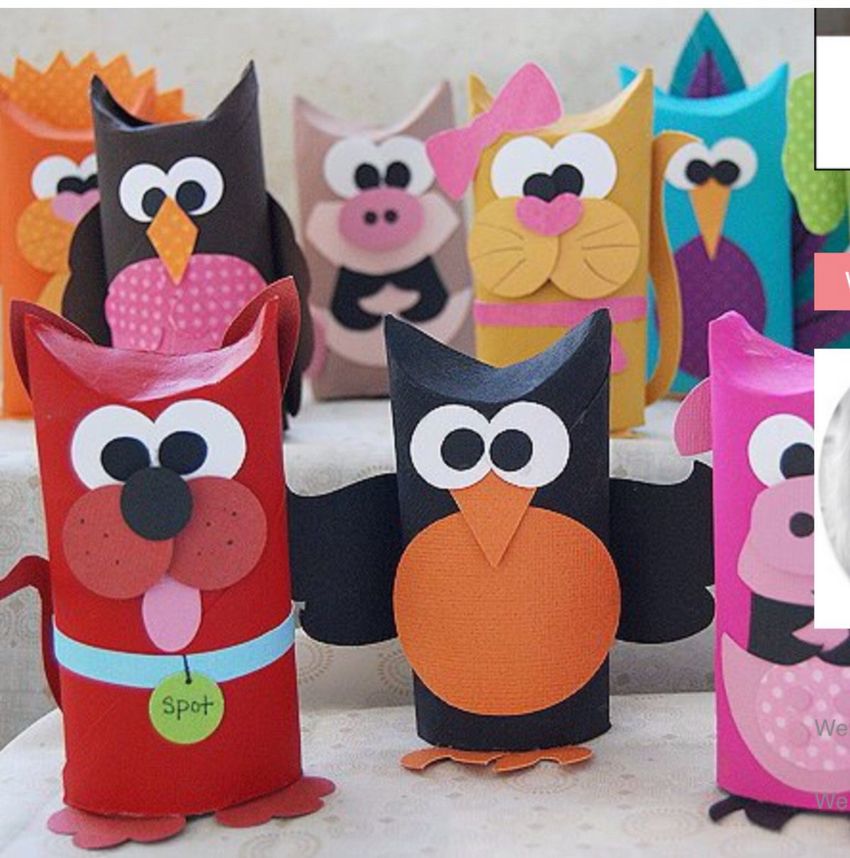
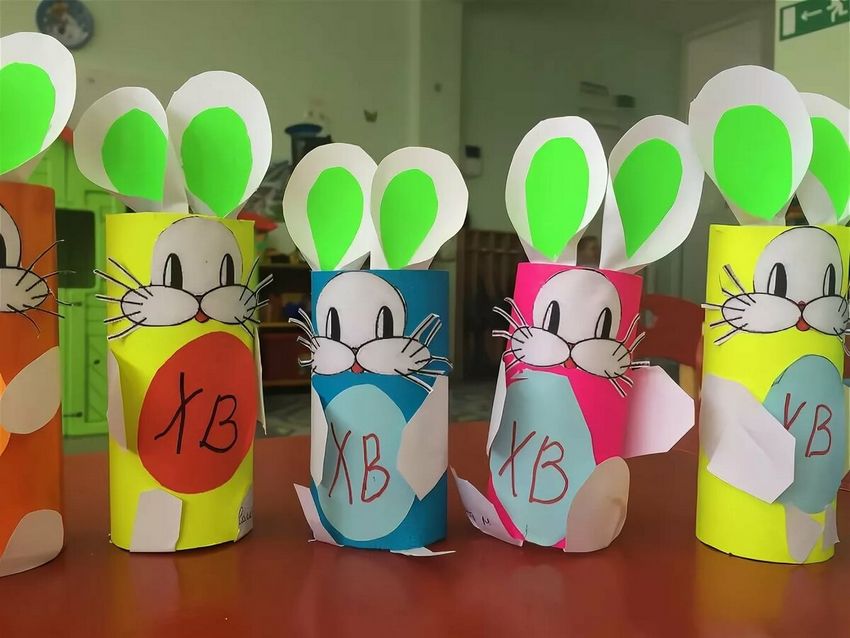
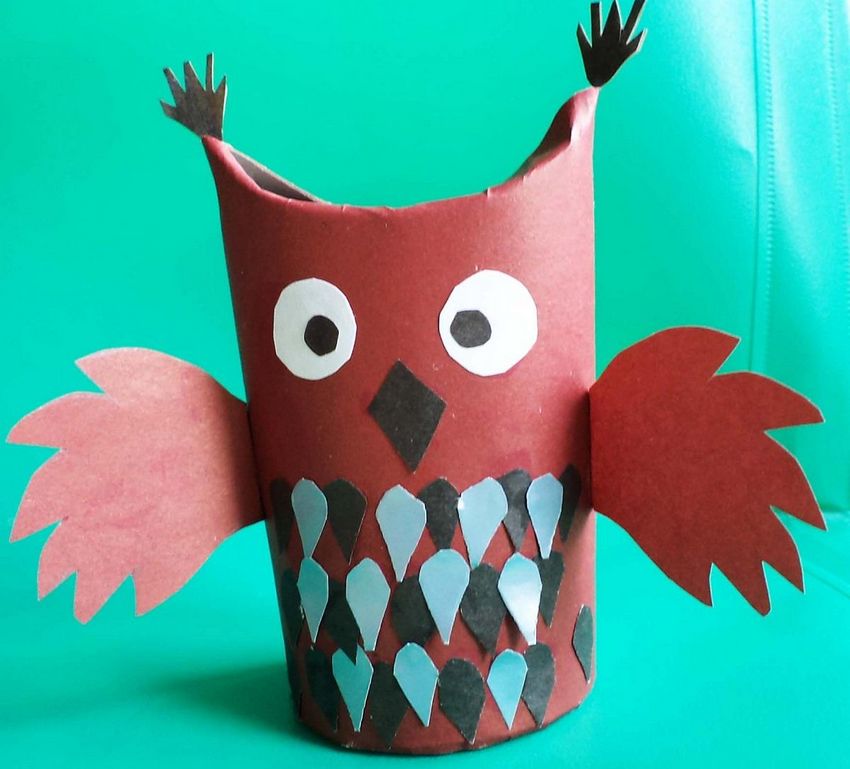
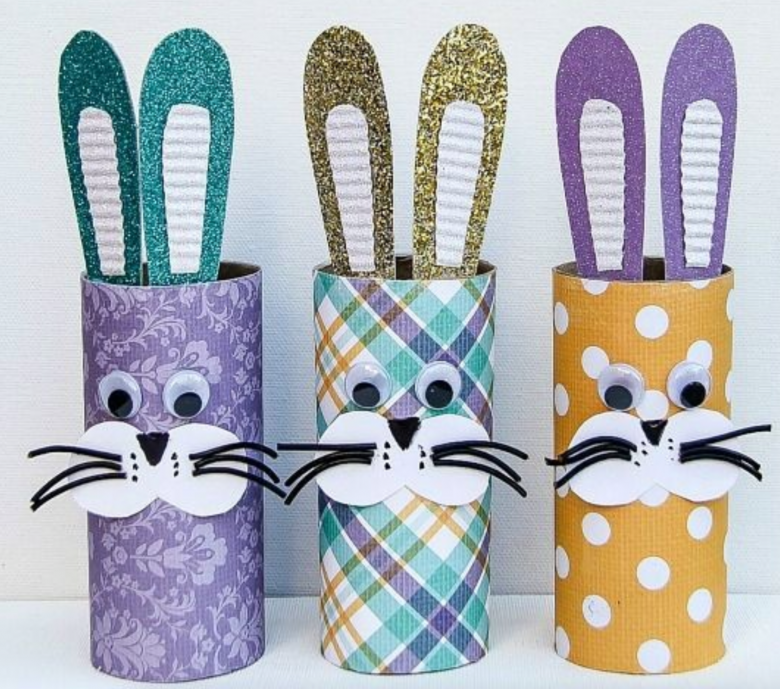
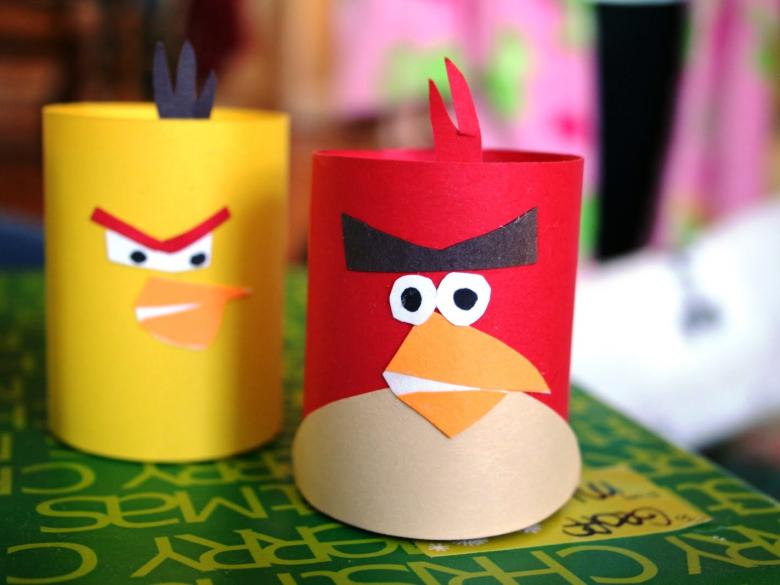
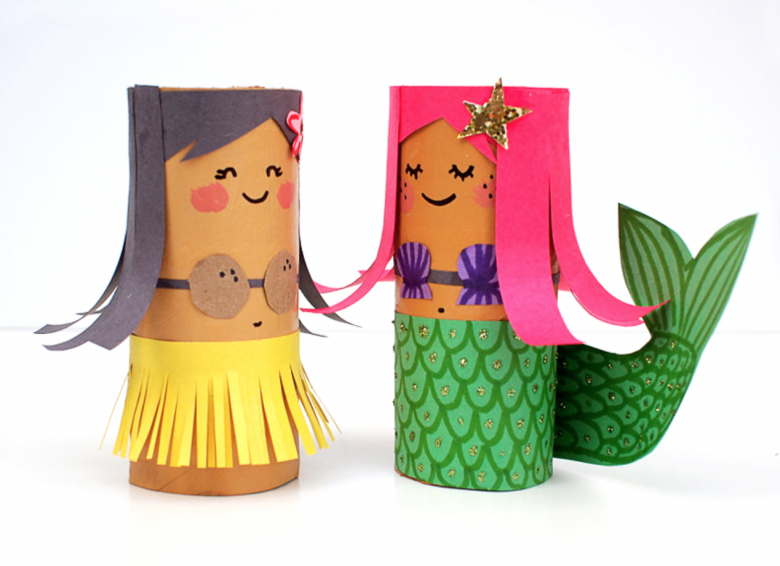
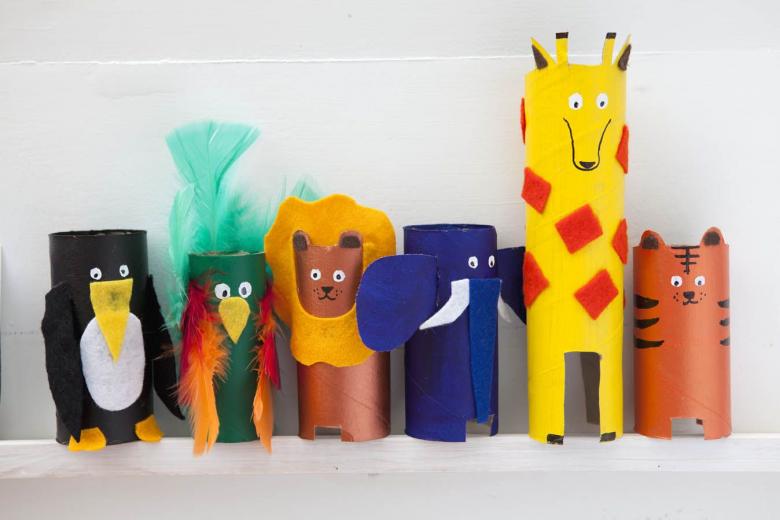
Children's creativity
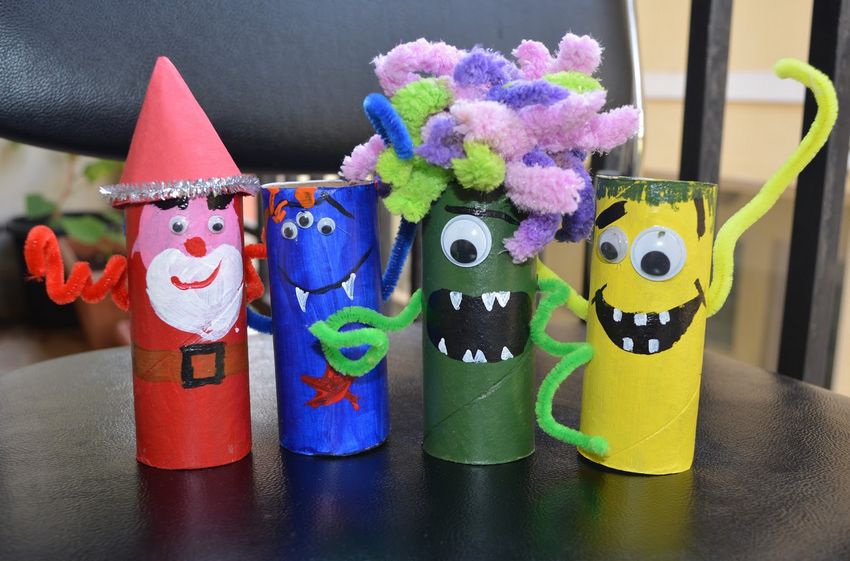
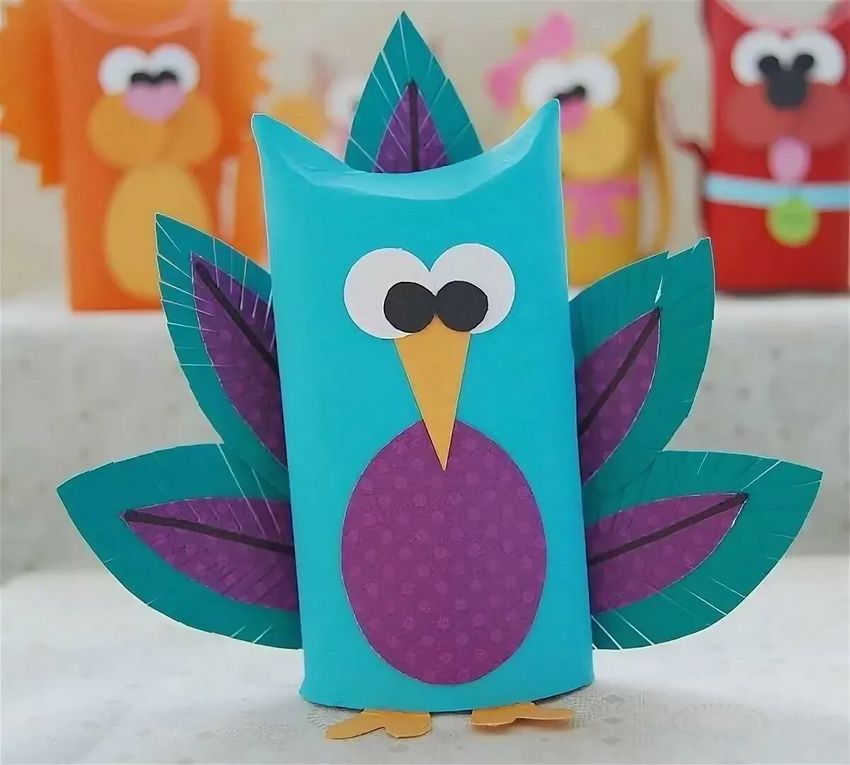
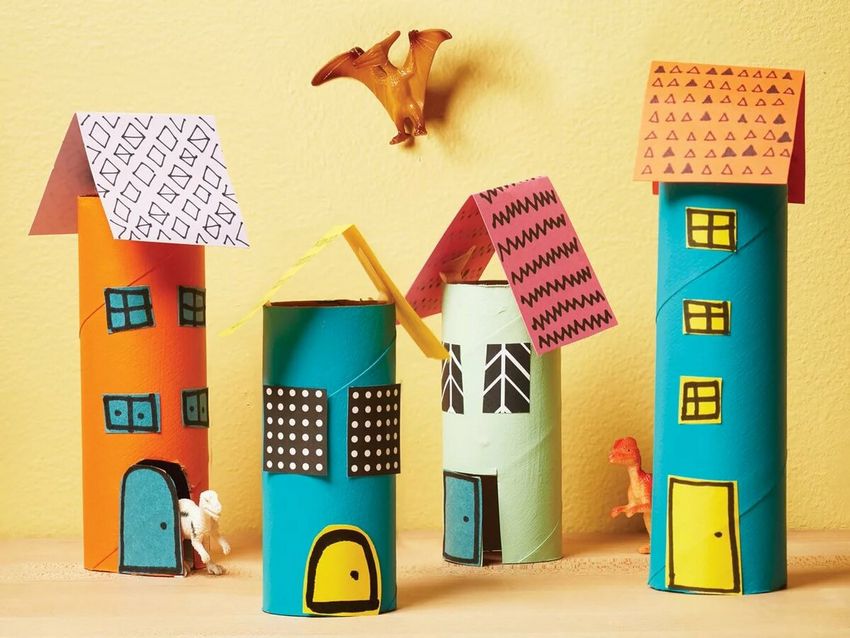
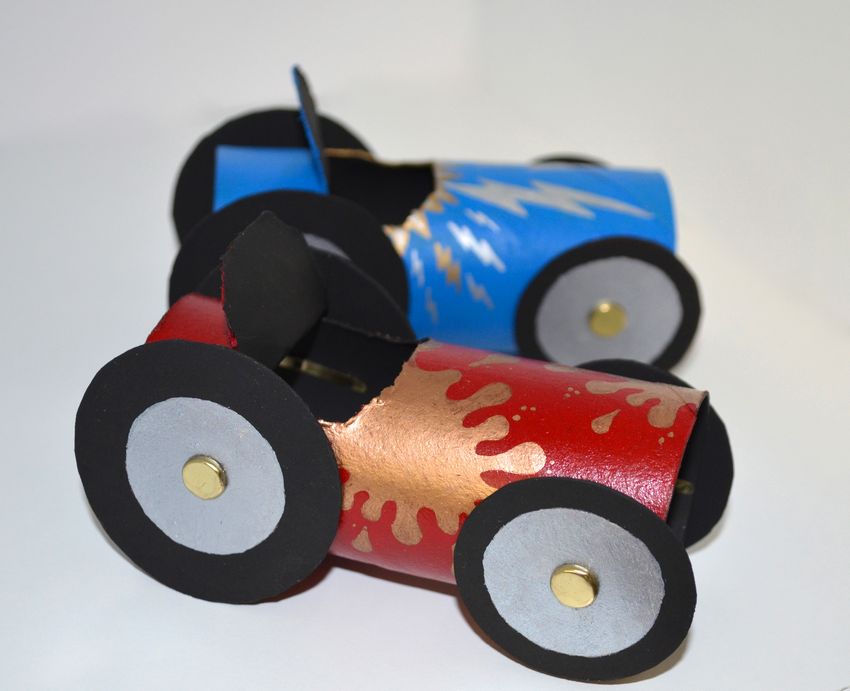
Working together with a child develops the creative thinking of the baby. Children's crafts from bushings are not difficult to perform, but can occupy a favorite child for a certain period of time.

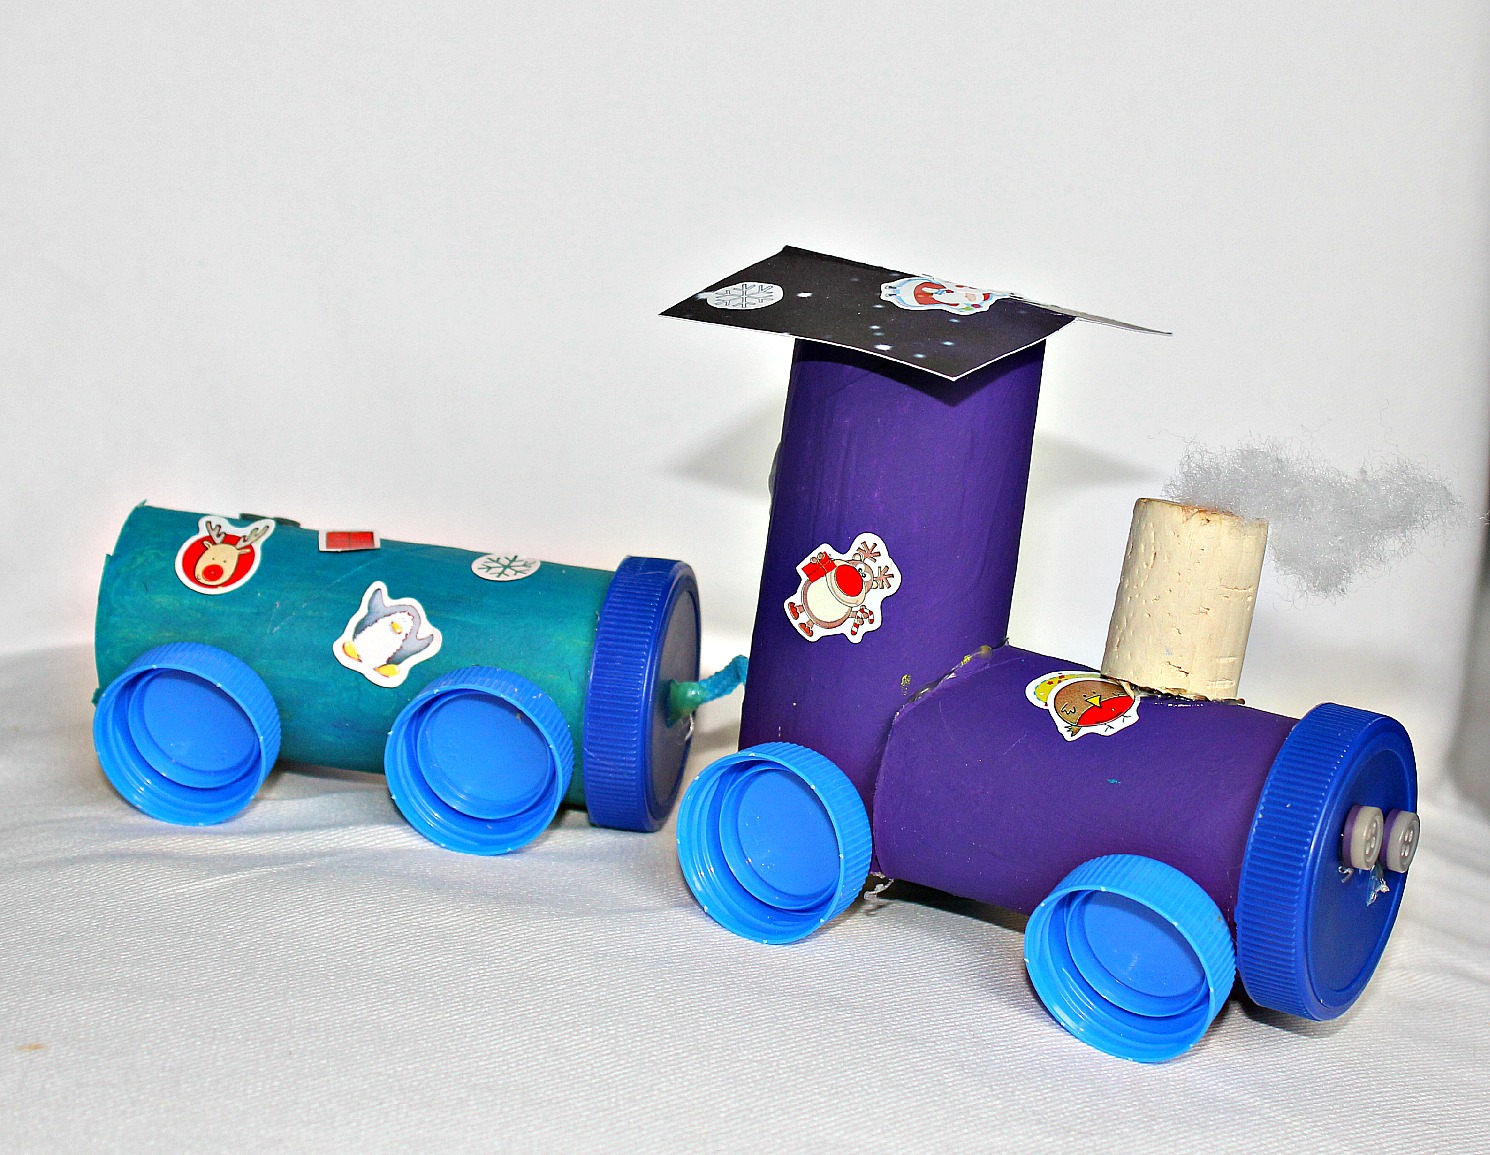
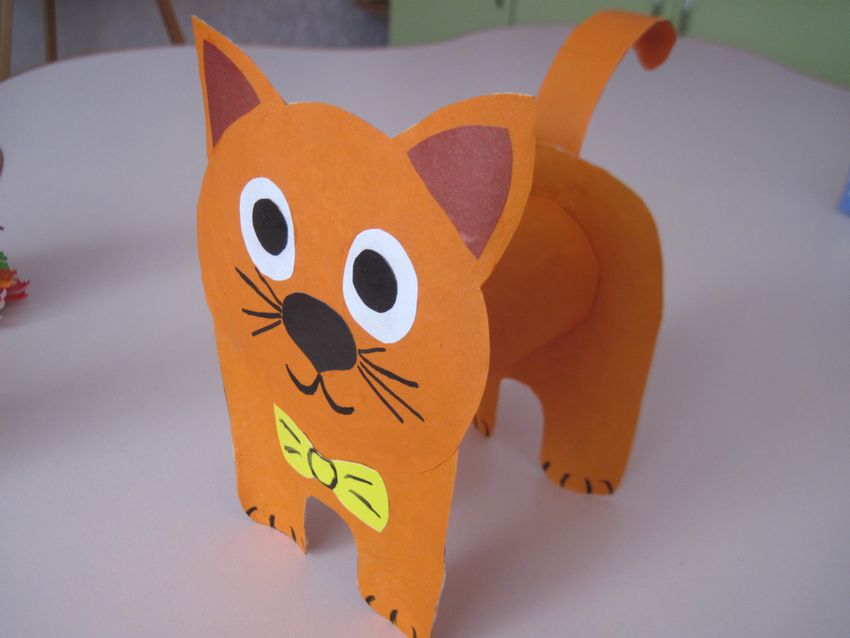
For example, cut out the wheels, steering wheel and a small hole for a seat in the hub and offer a boy to "build" (glue) of parts car. Well, the "lights" and "windows" let him draw with a felt-tip pen.
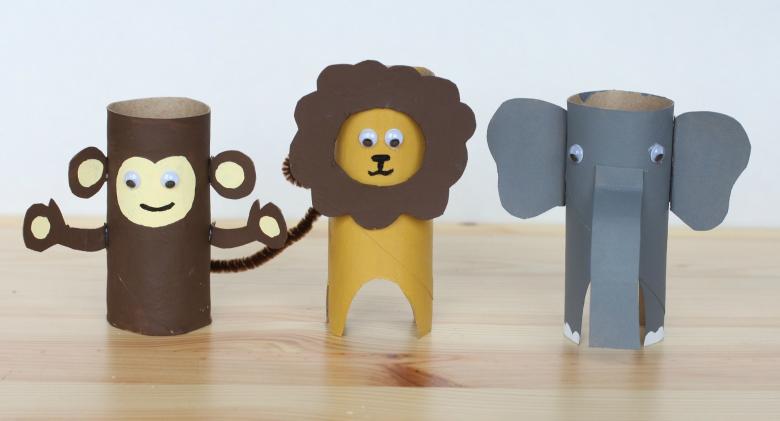
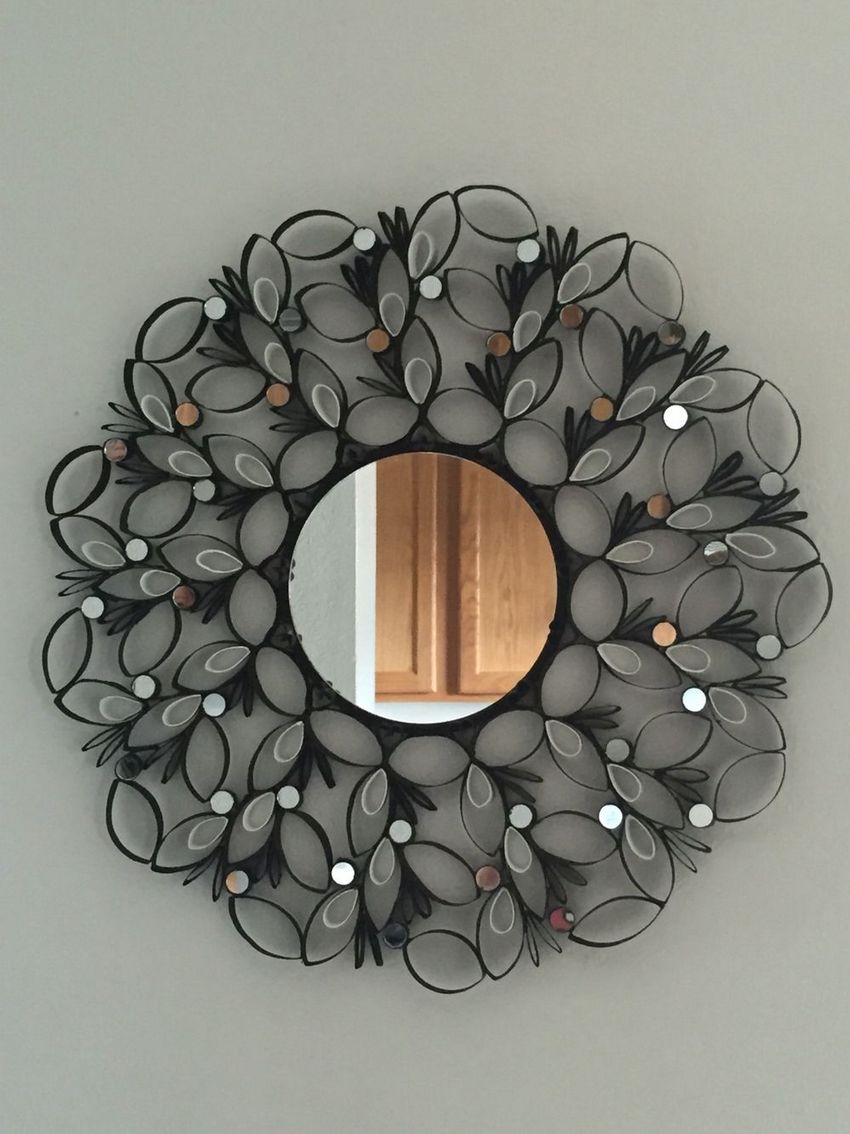
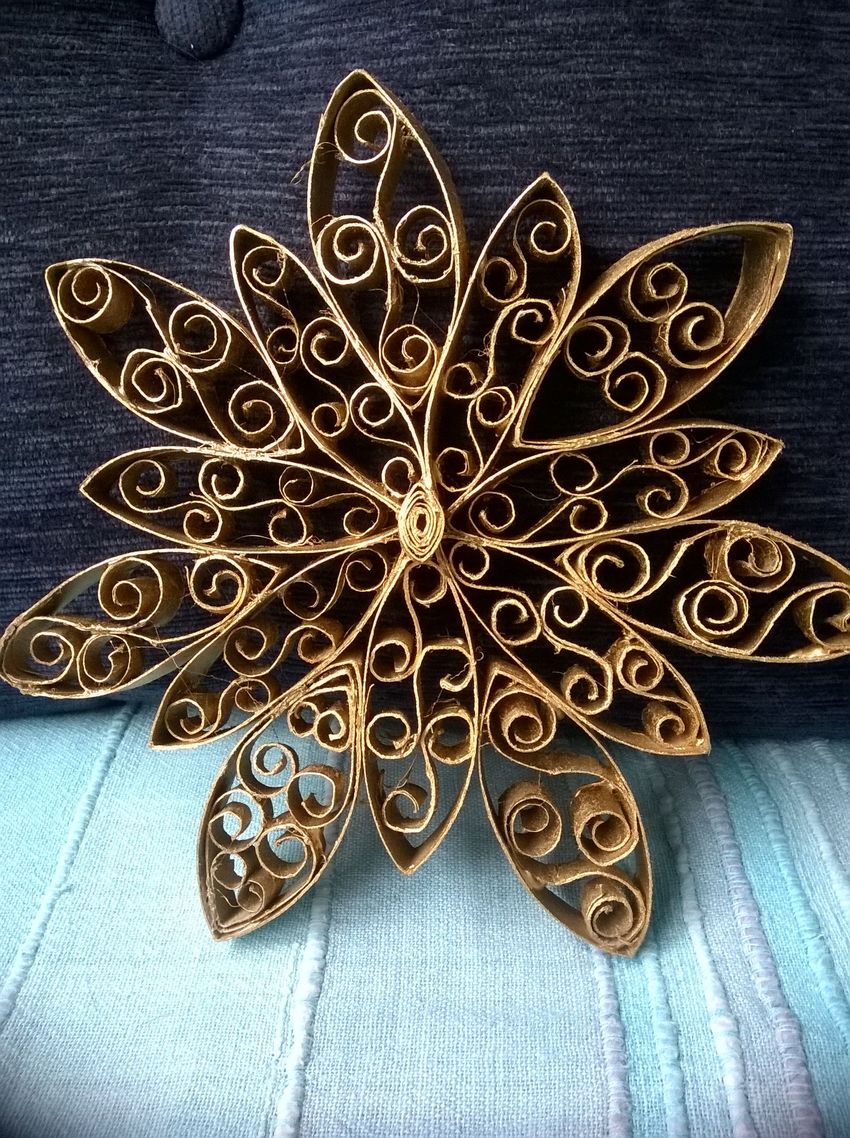
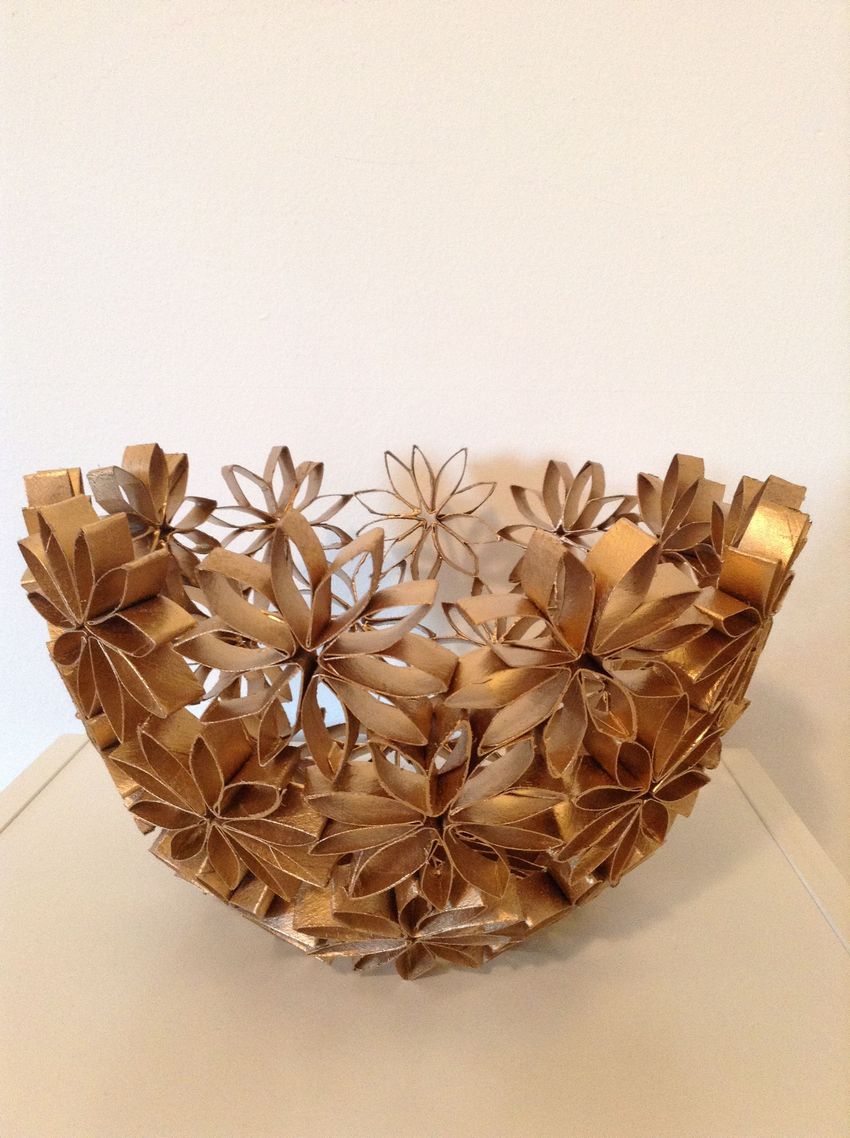
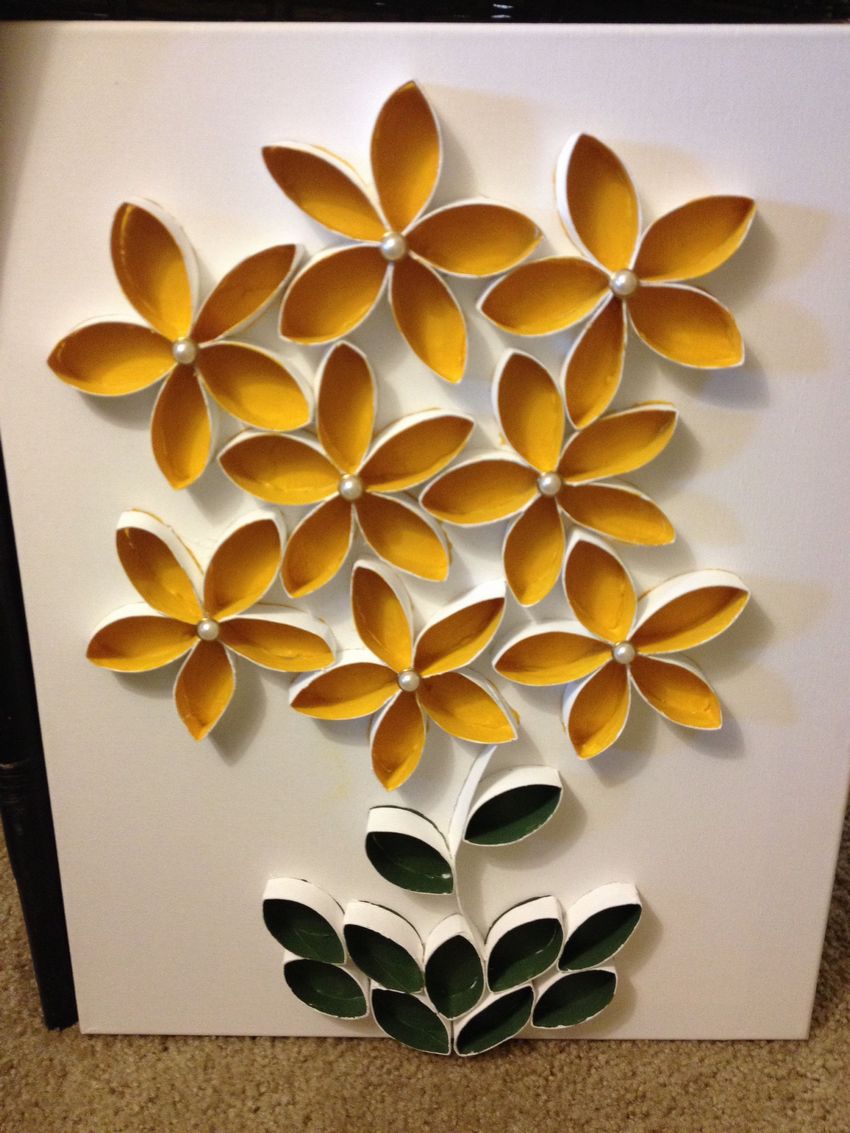
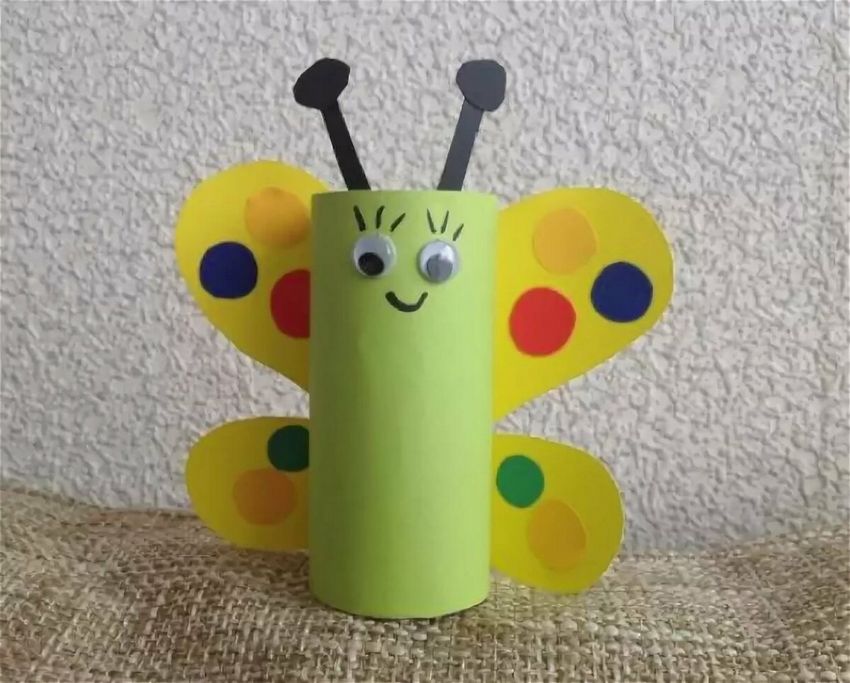
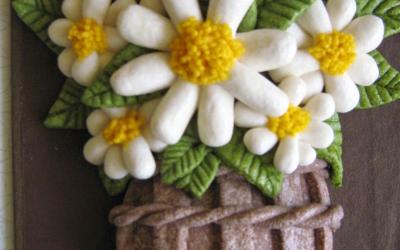
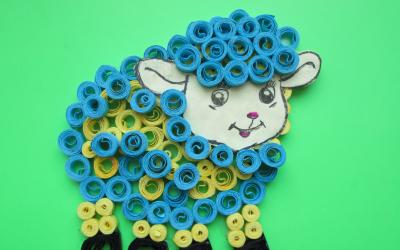
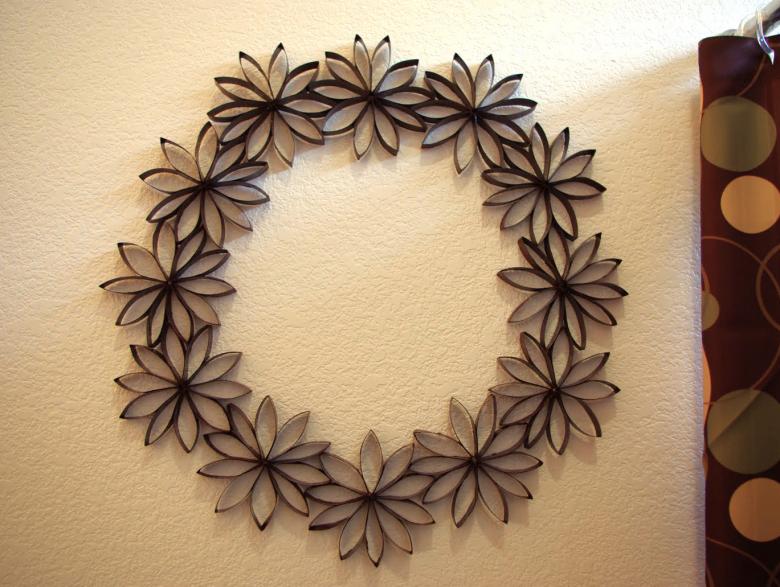
A little girl can be carried away by decorating flowers. Cut the sleeve into rings up to one centimeter wide, give paint, glue and a piece of cardboard. The child will decorate the rings as they wish and glue them to the cardboard in the form of beautiful flowers.
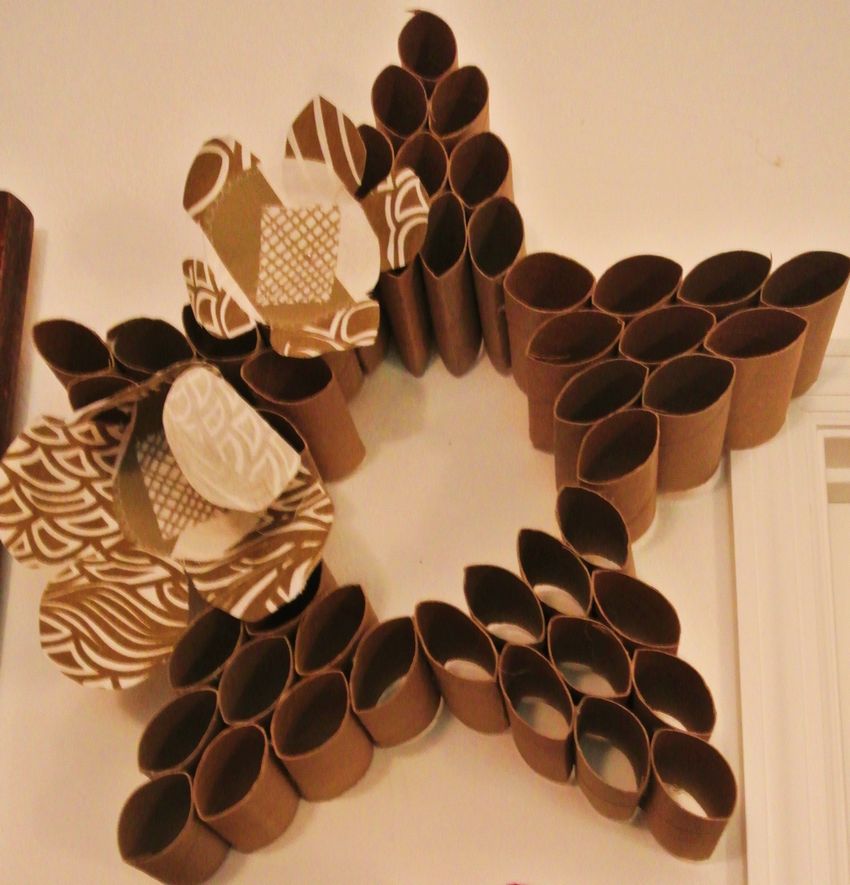
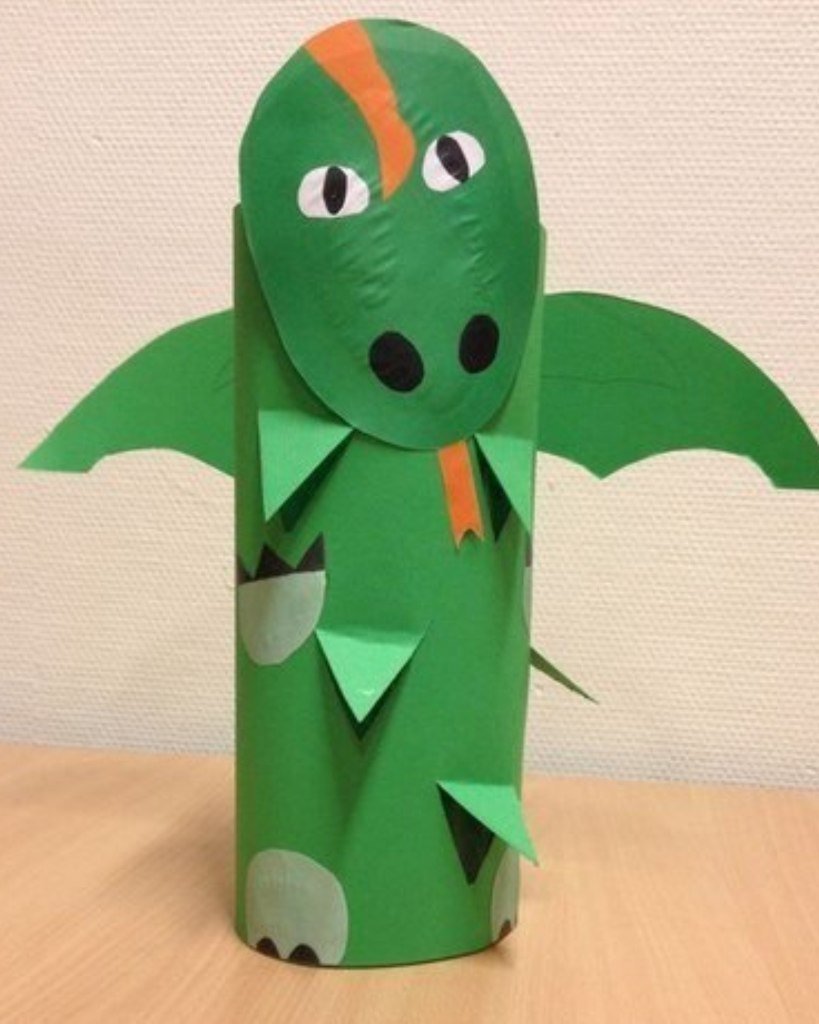
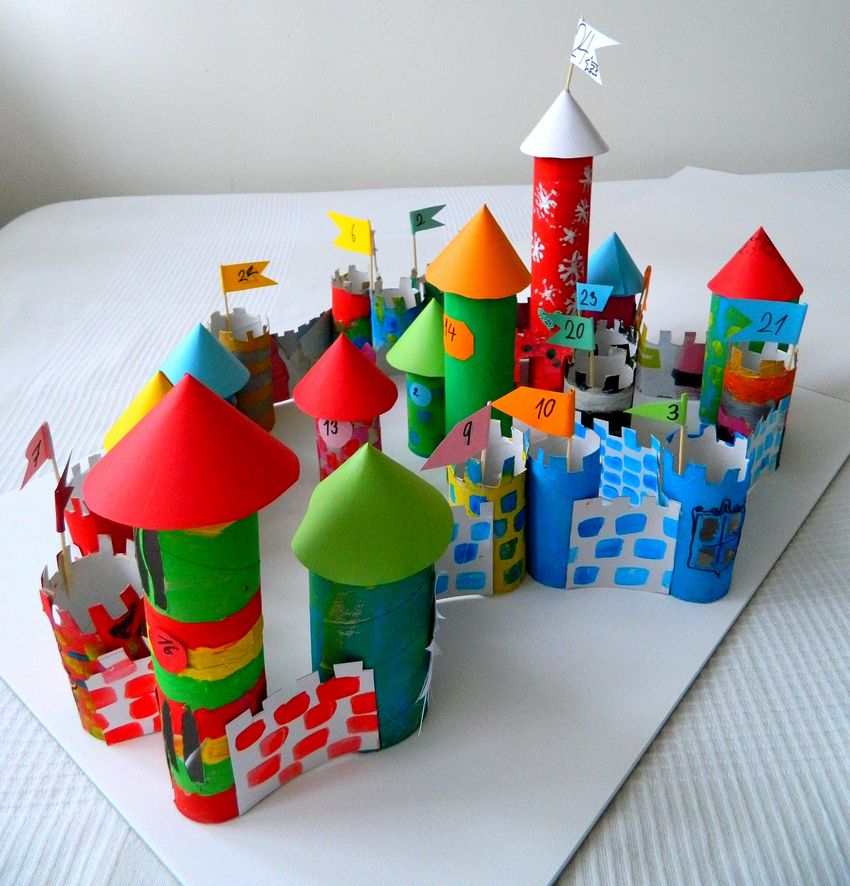
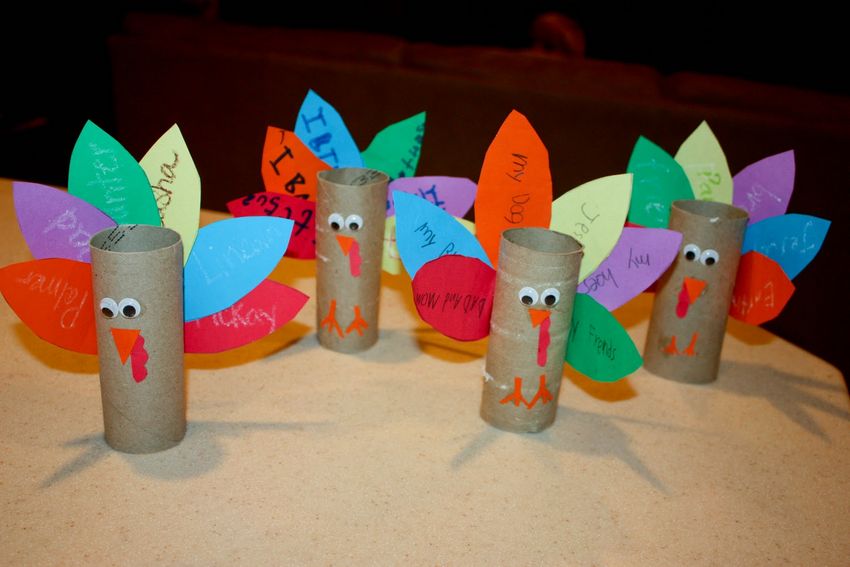
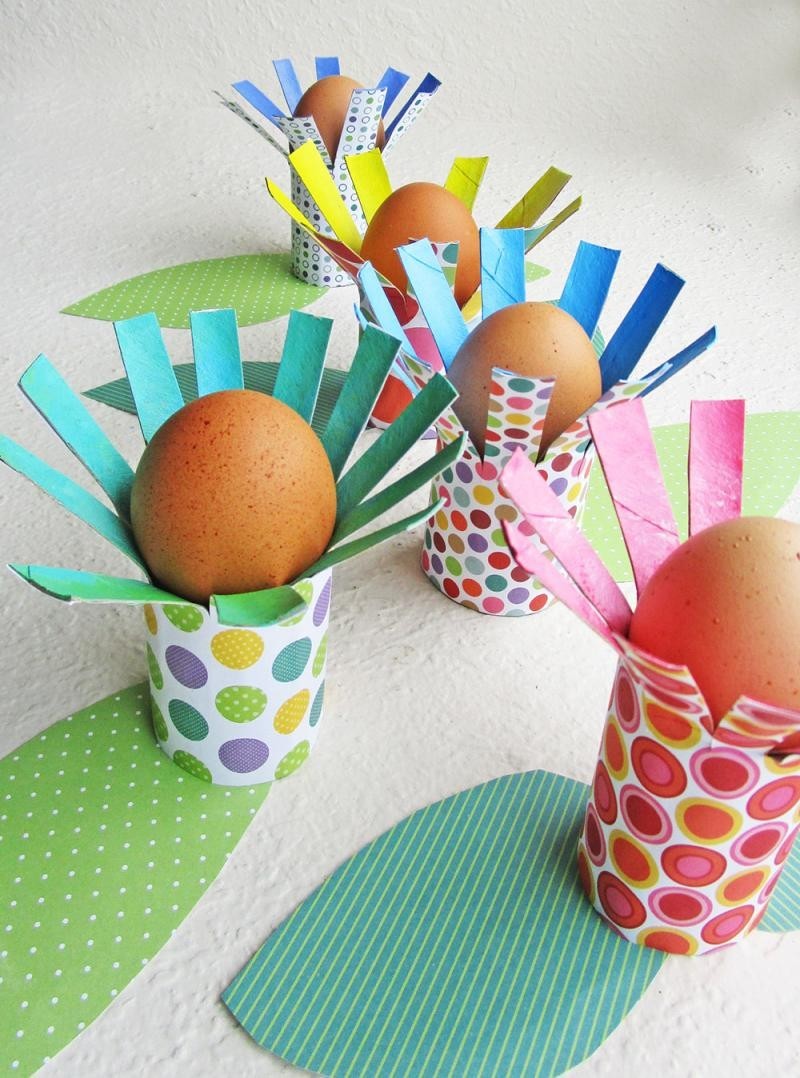
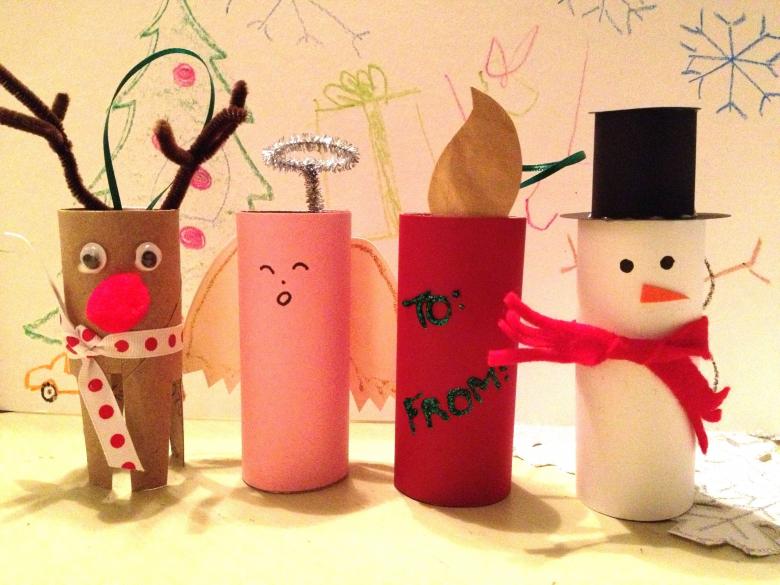
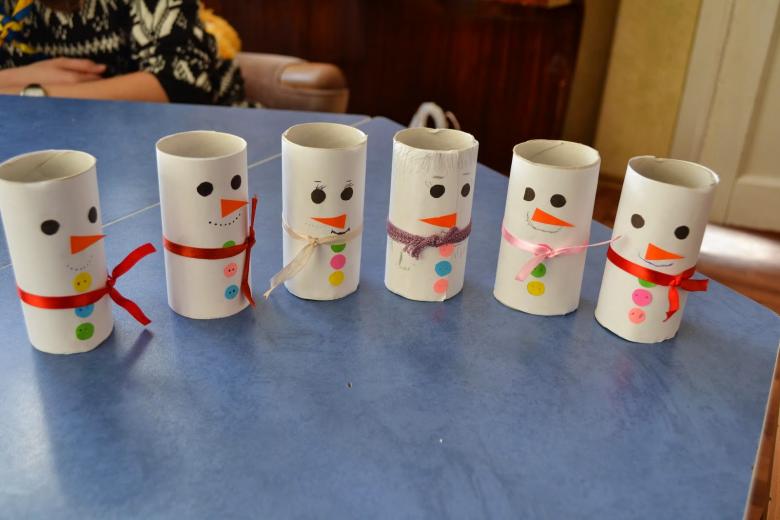
Christmas decorations
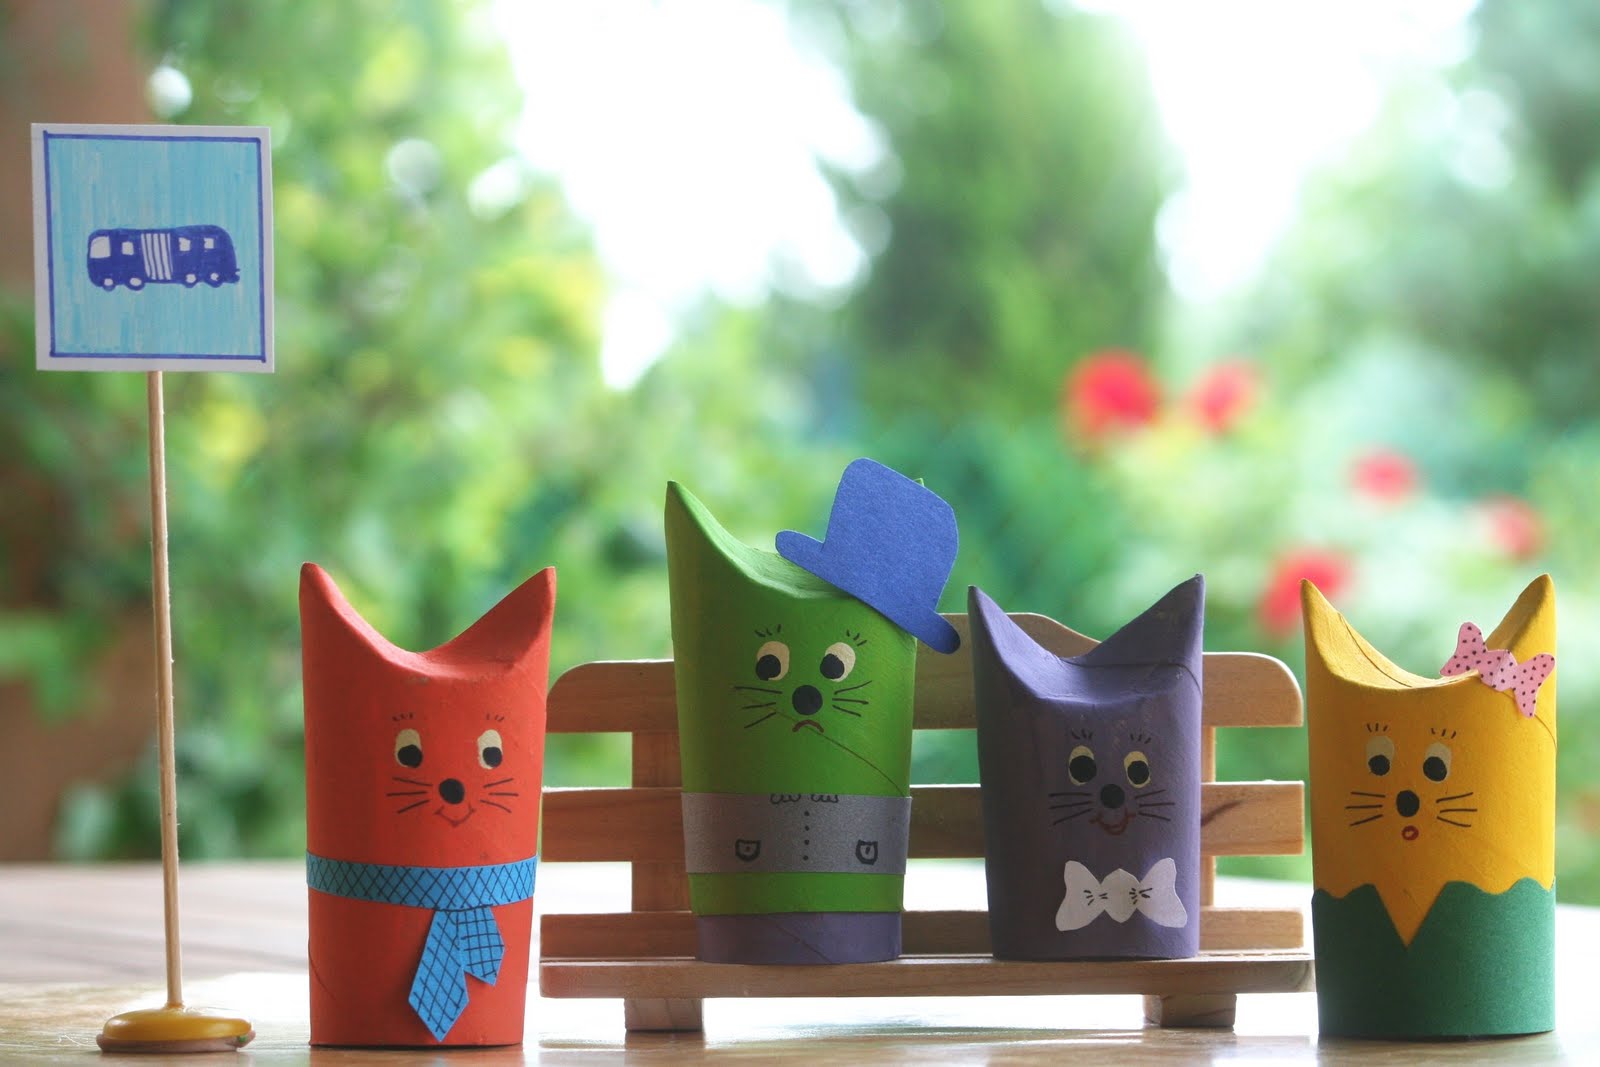
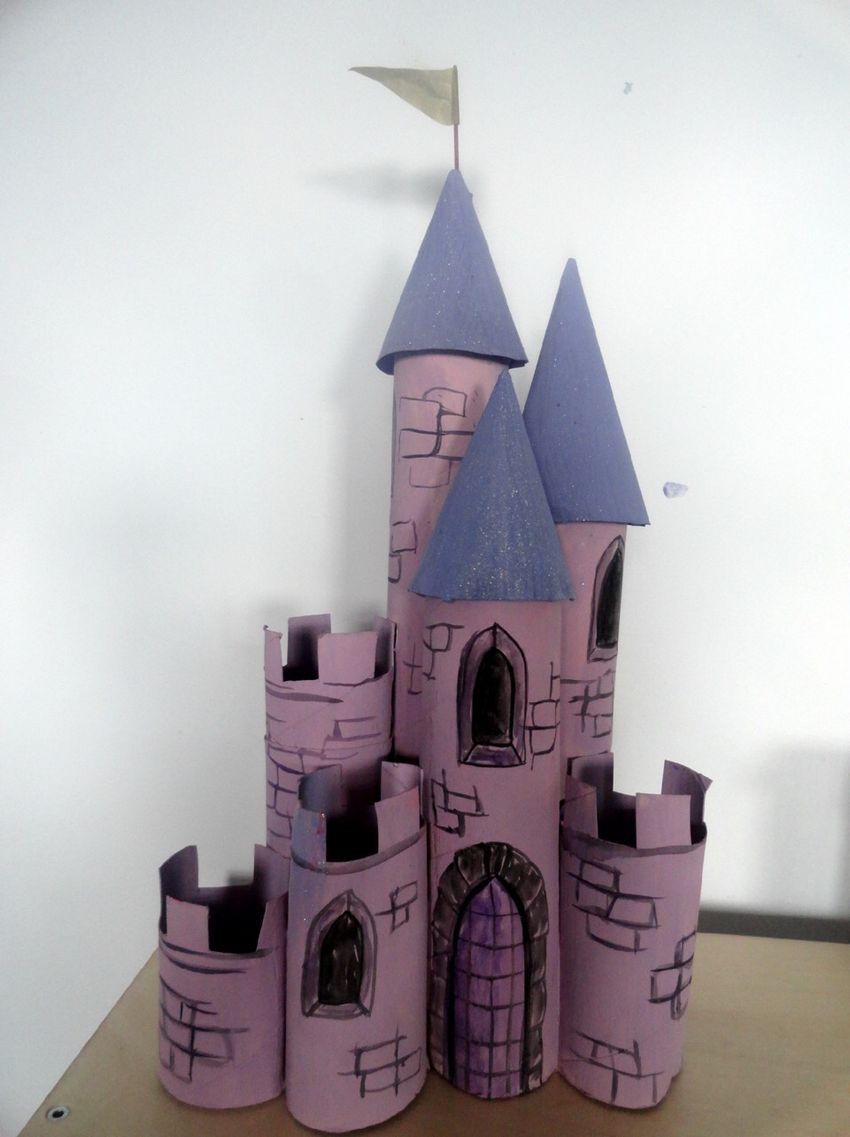
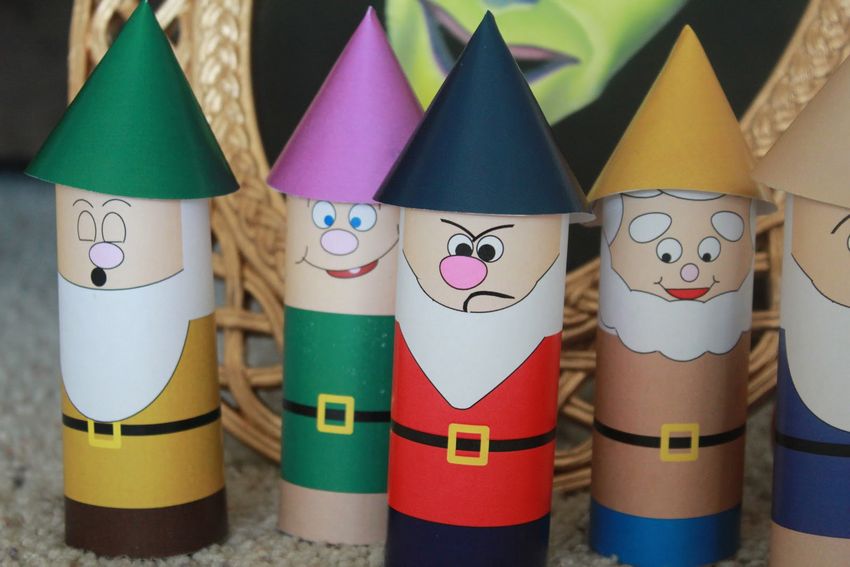
Great decorations for your favorite holiday will be crafts from the toilet paper sleeves made together with children. Here it all depends on the imagination of the masters - it can be simple fairy figurines and whole garlands.
Christmas tree
To make a Christmas beauty, you will need:
- About twenty to twenty-five sleeves;
- Brush and paint green and brown colors;
- glue and scissors;
- small Christmas tree toys;
- Tinsel and Christmas beads.
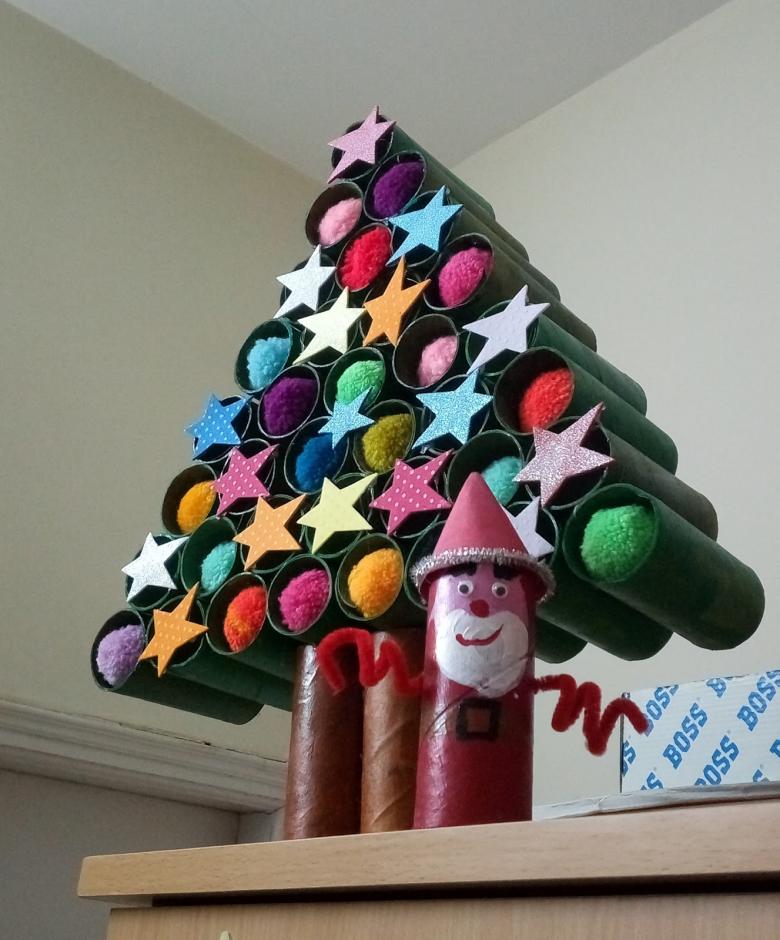
Work Stages
- The first step is to cut the sleeves into two parts.
- The second step will be to paint four sleeves in brown - this will be the trunk of the Christmas tree.
- The third step is to paint the 26-28 halves green.
- Step #4. We glue together brown sleeves.
- Step #5. Glued together 6-7 sleeves - the first row of "branches" of the future Christmas tree.
- Step #6. Green sleeves are placed horizontally on brown workpieces and fastened.
- Step #7. We continue to glue the rows of Christmas tree, each time decreasing by one sleeve. Action is carried out until on top of the Christmas tree is one sleeve.
- Step #8. Starting with the second bottom row, put small Christmas decorations in the sleeves and fasten them.
- Step #9. Place shiny beads and tinsel on top of the green tree.
Our beautiful girl is ready for New Year!
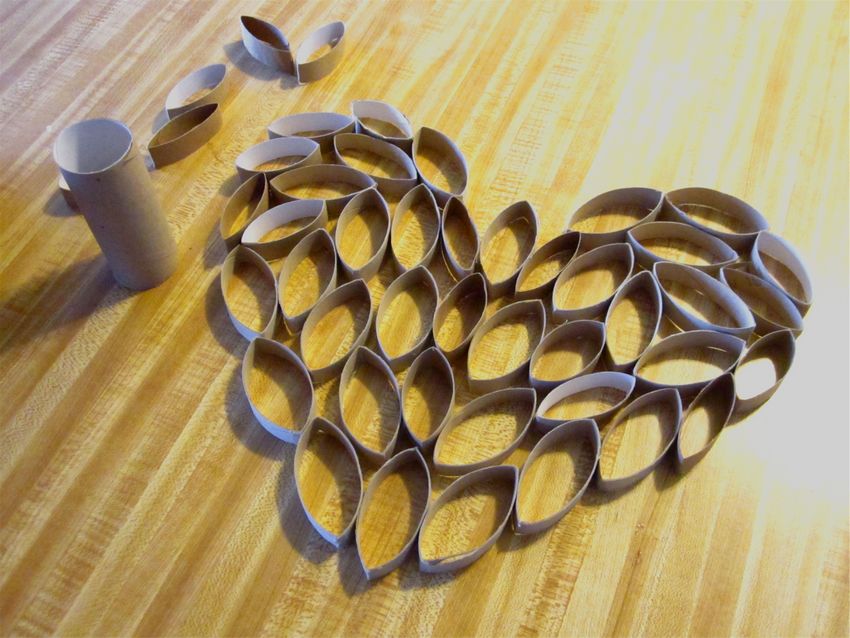
Garland .
To make an original decoration for the Christmas tree you should cut the sleeve into three parts - three to four centimeters wide.
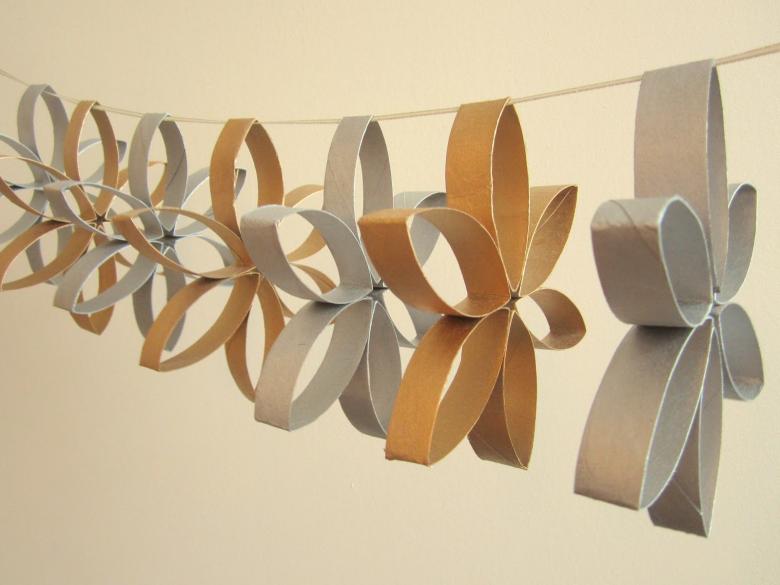
From these rings you should make hearts and paint them in different colors.
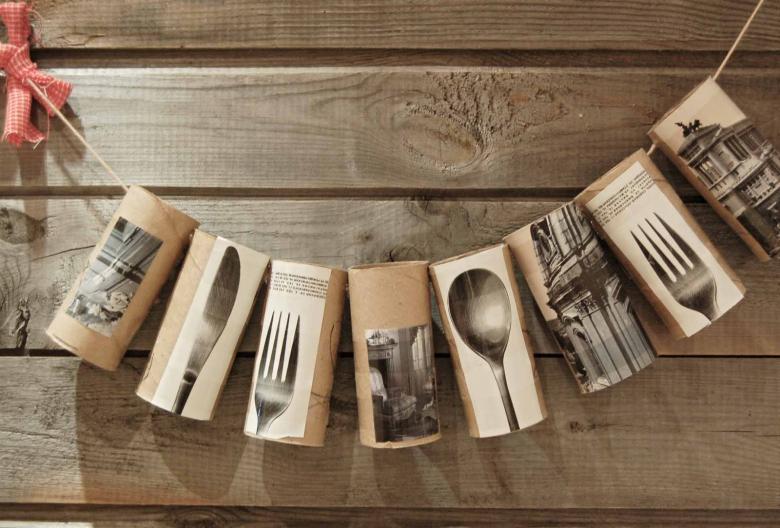
Glue the hearts together. Attach a beautiful twine to the garland. It remains to choose a place on the tree and place the colorful decoration on the tree.
Photo ideas of toilet paper sleeves