Knitting booties for newborns by needle and crochet - tips for choosing a buckle, taking measurements
On maternity leave itching to do needlework. Expecting a baby, we want to do something pleasant and at the same time rewarding. In mind comes to knitting. The idea to make beautiful knitted booties for a newborn baby, comes of itself.

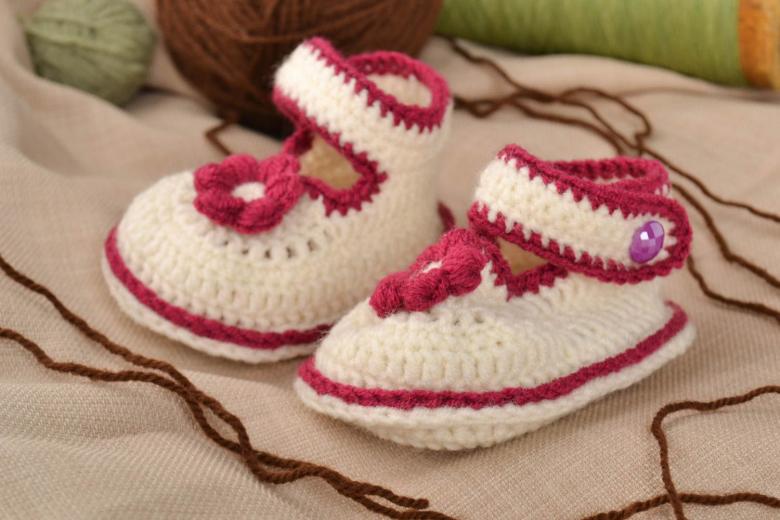
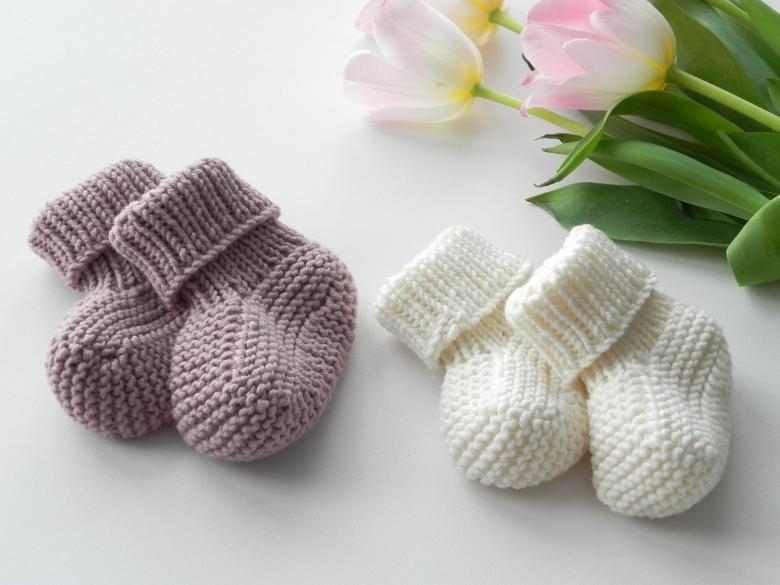
The booties are light knitted booties for an infant, decorative in nature, acting as socks. So where to start and how to make the cutest baby booties, which are already imagined in front of our eyes?

How to choose yarn for booties
It is worth noting that they are differentiated into summer and winter, so it is better to select the yarn by season.
For the summer version it is better to take cotton with an addition of acrylic or bamboo. So the booties will be softer and more pliable, and the baby will be more pleasant, because if you take only pure cotton, they will be rough and can cause discomfort.
Often the yarn itself states that the material is for children, that is, it is hypoallergenic. You can touch the nap, if it is too fluffy or very coarse, then it is better not to take such a yarn, too fluffy material also creates discomfort.
For cold weather choose wool with acrylic. Pure wool will be very prickly.
As for the thickness of the yarn, it is better to give preference to a medium thickness, so it will be easier to cope with it, and the knitting will look neater.
In order to avoid surprises when washing the finished product, knit a small square (5x5) of the selected yarn and wash it. If the garment will stretch, you may want to knit tighter or knit with an allowance for the material to stretch.

How to measure for bootees
If the baby is not yet born, you can take the average size. Immediately after birth, the foot is no more than 9 cm. If the baby has already appeared, it is better to measure the foot, from the extreme point of the heel to the extreme point of the big toe, and add 1 cm.

But keep in mind that a child grows up quickly, and if you want to grow out, there is an average table of size feet depending on age.
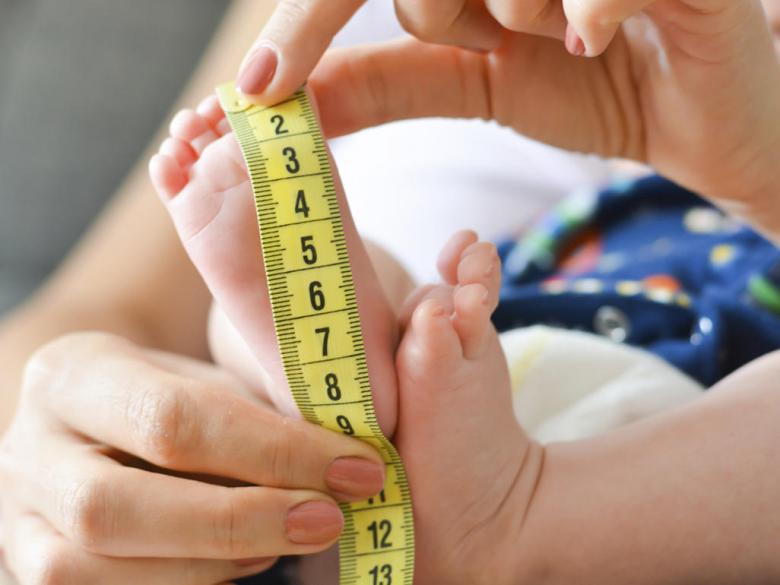
Table of foot size depending on age:
- 0-3 months-9-10cm;
- 3-6 months-10-11cm;
- 6-12months-11-12cm;
- 12-18months-12-13cm;
- 18-24cm-13-14cm.
This is the length of the foot, do not forget to add 1 cm. when knitting the finished fabric.

Bootees on needles
In order to understand what size needle you need, you can look at the label of the yarn, if there is no label, then put the yarn to the needle, ideally they should be the same or the yarn a little thicker. For example, size #2 means that the thickness of the needle is 2 mm.
What would it be better to follow a detailed description of knitting booties by knitting needles for babies. One of these, presented below.
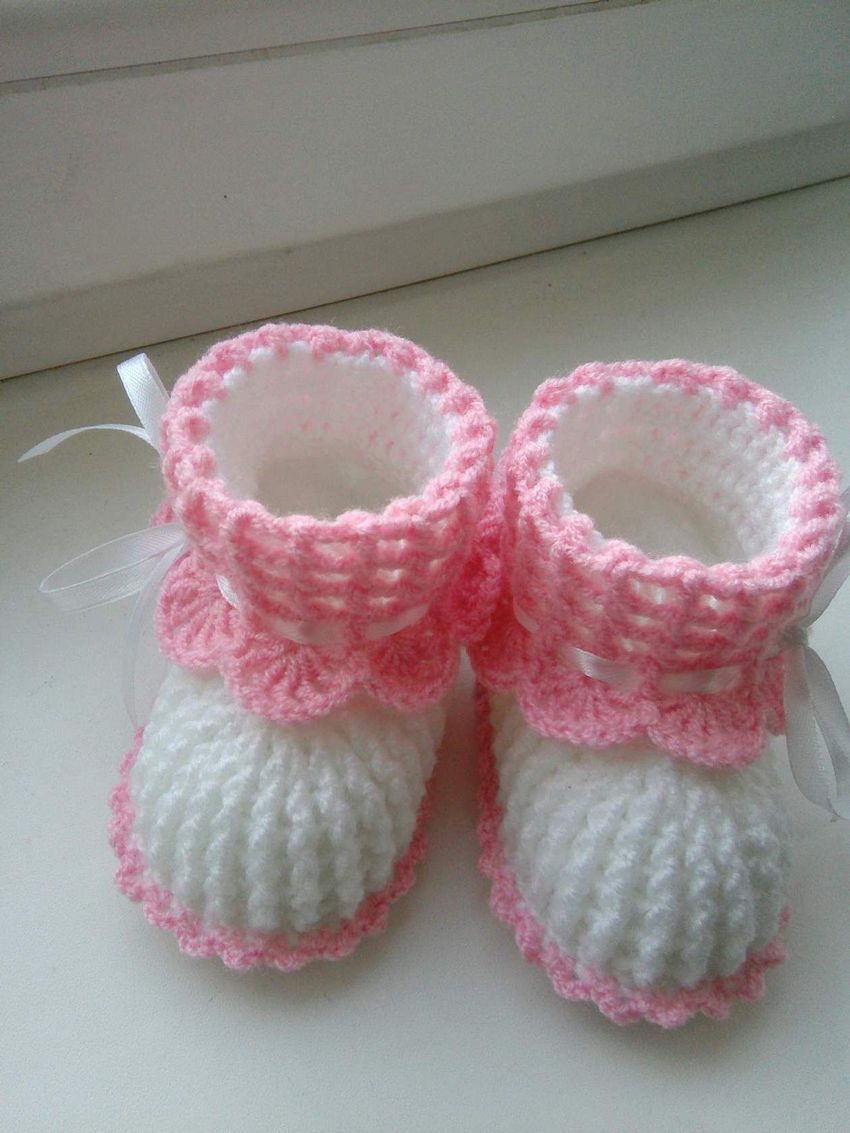
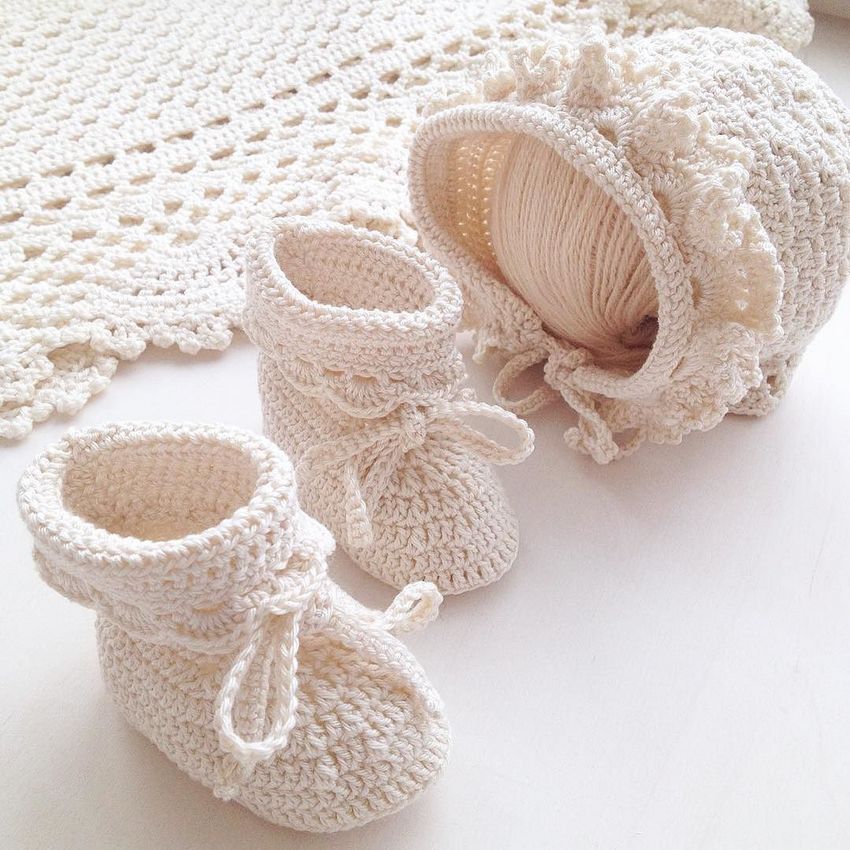
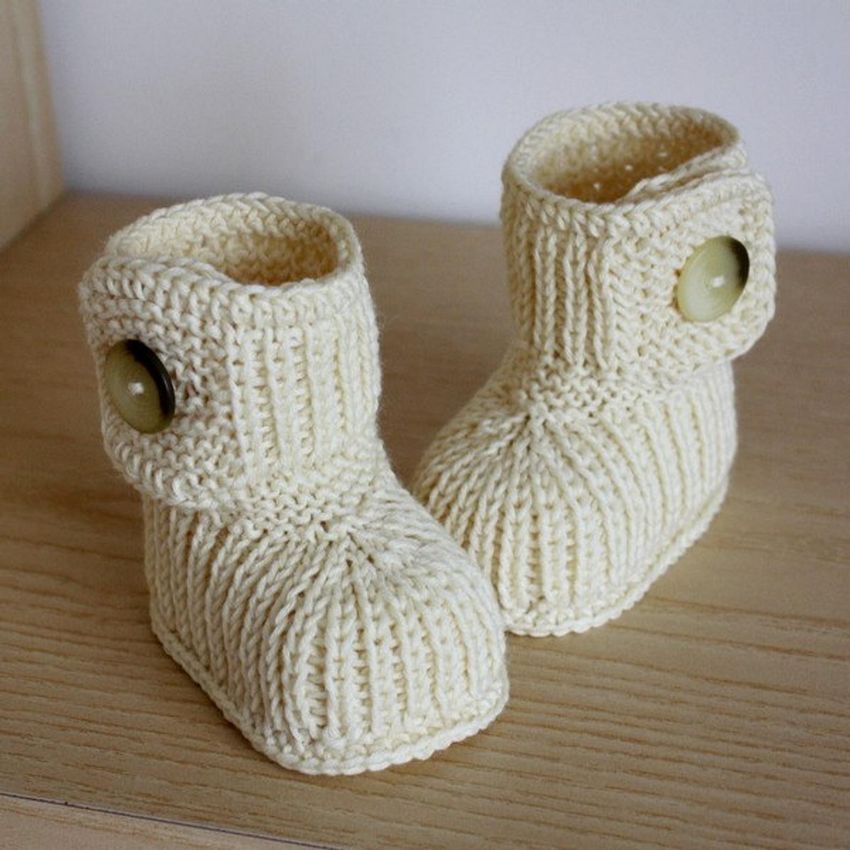
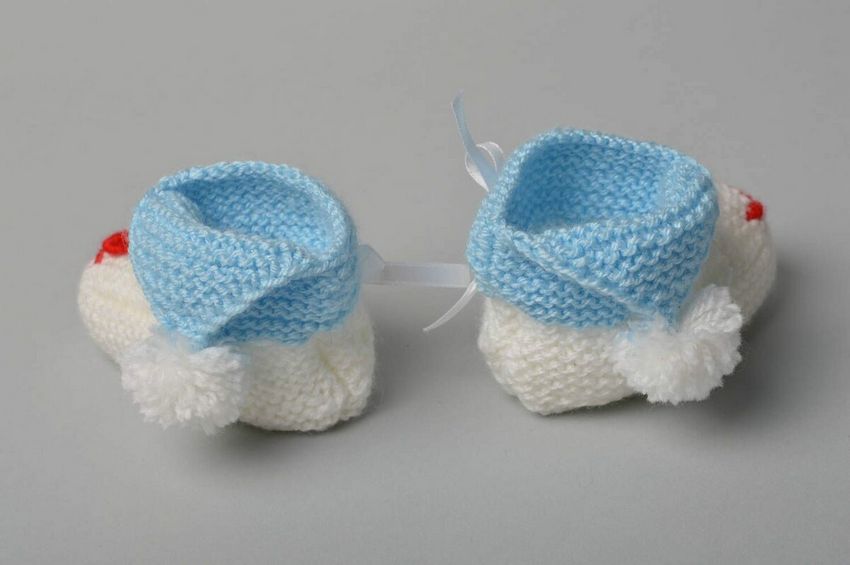
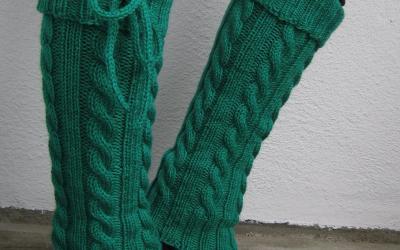
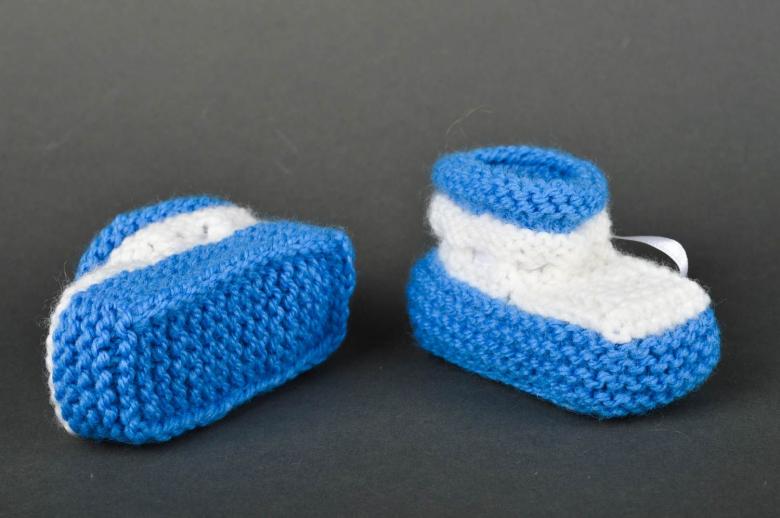
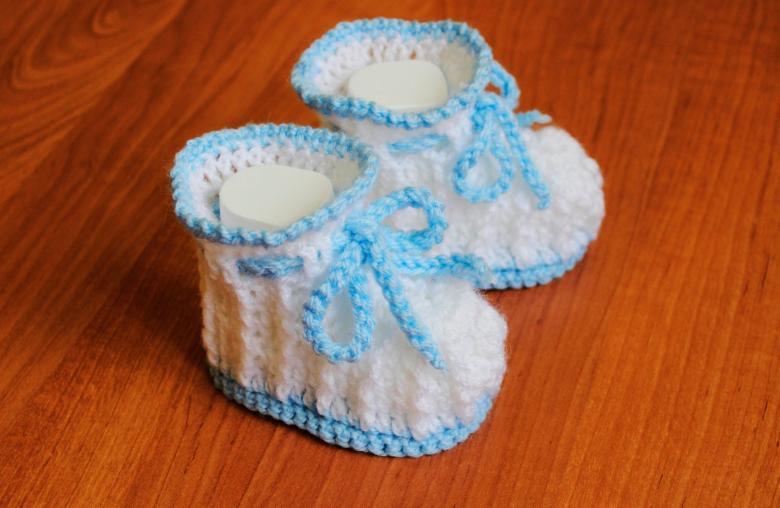
Baby uggi-pinettes for a newborn
You will need:
- Yarn wool plus bamboo
- Needles # 2
We need to take two skeins, because we will knit in two strands.
- Let's put 32 stitches on double needles. We knit on circular needles (2 needles with fishing line).
- The first row we knit all the reversed.
- Turn and the second row we knit with the right side.
- The third again turn around. The total need to knit 5 rows.
- In the 6th row we need to leave the holes for tightening the string.
To do this (the canvas is facing us):
- we knit 12 loops (taking into account the edge);
- knit together 2 with a bend to the right;
- cast on;
- 4 front;
- add;
- two together with a bend to the left;
- the remaining 12, knit to the right.
- Seventh row-all knit reversed.
- The eighth row-all knit on the right.
Now the fabric to us reversed. And we will form a pattern:
- take off a stitch;
- two reversals;
- two lefts;
- two reversals;
- six lefts;
- two reversals;
- six face;
- two reversals;
- six face;
- two reversals;
- two face;
- last reversal.

According to the pattern you need to knit 4 rows.
- The canvas to us is reversed. All the rows we do upside down, it's a kind of a dividing line in the pattern.
- Cloth to us facing.
Further the pattern will go with an offset to the left:
- take off the first one;
- 6 reversed;
- 2 obvorovye;
- 6 reversed (so to the end of the row);
- repeat the pattern from the beginning.
So, we should have 4 such blocks of patterns with separating rows.
- Proceed to form a sock:
- take off the first;
- 19 front;
- one everted, and then without the rest of the knitting;
- turn the work;
- edge;
- nine lefts;
- the tenth stitch of the reversed stitch;
- Turn the cloth;
- work with only ten center stitches, where the first one is removed;
- the remaining eight knit with a handkerchief;
- one reversed.
Thus knit 14 rows.
- The canvas is facing us.
We'll do 8 center knits, reaching the edge, it also knit to the right.
Now you need to lift the loops from the sides, they should be 7 pieces. These seven stitches should be left to the right. Reach 10 stitches that were not touched (side stitches), continue to knit them in the right side, the last one is a turnover stitch.
- Turn the work, the canvas to us reversed.
On one side, we lifted the sock stitches, on the other side we need to lift:
- edge;
- 26 obvs;
- Come to the 27th cropped stitch and it is also knit to the right.
- Lift 7 stitches from the pigtail:
- 7 reversed behind the far stitch (this way you don't get a bump on the heel);
- 10 with the right side;
- one reversal.
- Turn the canvas.Work to us face.Knit all the loops on the right.Such 9 rows.From the selection should be 4 rows of reversed.
- Canvas is facing us.
- K, 26, 27 and 28 stitches together.
- Turn the canvas.
- K, 8 front, two together turnaround.
- Turn the fabric.
- K, 8 knits, two together on the right side.
- Turn the fabric.
- K, 8 front, two together turn-around.
In this way, do the trimming on both sides, until there are 5 loops left uncrossed on both sides (including the edge loops).
In the middle should be 10 loops.
- The canvas on the front side.
- The first take off;
- Eight of the front, the edge, knit together with the next (one of the five), the front, and return it to the left spokes, from the right needle flip, without knitting, on the left, one more loop, and knit three together. Repeat all steps until the left needle has no more stitches.

- Turn the fabric.
- K, three lefts, three together inverted, flip two from right needle to left needle and knit three together;
- one stitch and two stitches back on the left needle;
- Repeat until we have no more stitches on the left needle.
- Set aside the spokes.
- Pull out the thread and cut off about 30 centimeters to stitch the butt.
- With a large needle we stitch through the buttonholes.
- Thread through the shoelace and we are done.
If the description is not enough, or you want something more complicated, you can always knit for babies on a scheme of booties.
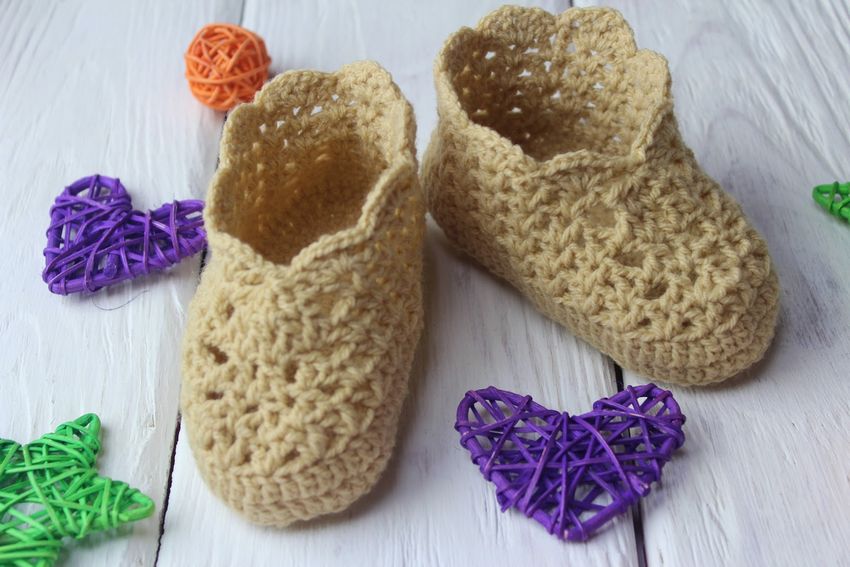
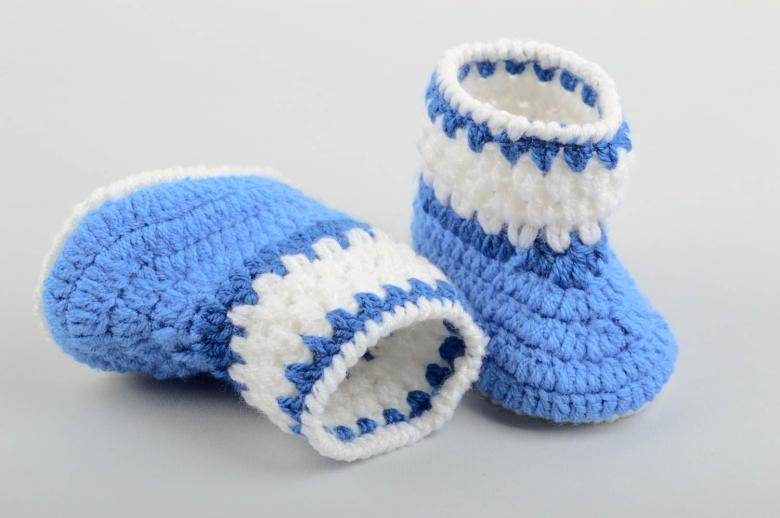
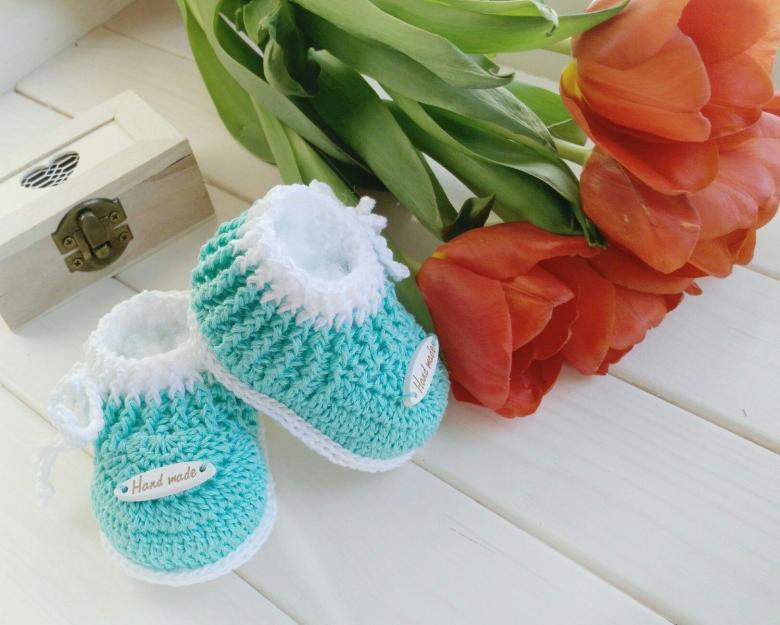
Easy creation of beautiful booties by crochet
Also, not a bad alternative to needles is a crochet.
For some, it is much easier to crochet with a crochet hook than with needles. Sometimes in the schemes presented, it may seem that the size is very small, but in the end, they will stretch a little.
The product begins with the sole. It is better to perform an oval shape, it is more convenient in execution.
- Dial 10 air loops (9 working, 1 lifting loop).
- The first row. From the first stitch you need three loops (half a stitch with a stitch), from the next seven, bring out one stitch each. From the last one bring out six half stitches. The next seven loops, one semi-colon each. From the last 3 stitches. Close the row by joining together the last stitch and the first stitch.
The total should be 26 stitches.
- Dial 2 stitches. From each of the first 6 loops, derive two. Repeat the next seven stitches without change. In total there should be 38 stitches.
- Repeat two stitches for lifting, in the second stitch we do a semicolon, and in all subsequent stitches, one stitch to the end. At the end of the connecting column (join the first and last stitches). Should come out 40 loops.
- The fourth row starts the vertical wall.
- Again 2 air loops. Next all knit a semicolon with a hook from one loop of one semicolon. Finish off with a connecting stitch.
- Make a grip on the back of the loop, so the product will be neater.
- Fifth row, repeat as the fourth.
- Finish with a connecting loop and cut off, pull out the thread, hide it inside the slipper.

Now knit the bootee lift. Fold the thread in half.
- Find the middle loop of the resulting oval. From it count 9 stitches to each side.
- From the tenth stitch we take out 3 air loops. Next, knit 18 semicolons with a double stitch. You need to leave one stitch of each semi-colon on the hook.
- When finished, you need to pull the thread through all the loops left on the hook.
- Knit the yarn with a connection stitch, and then knit three air loops.
- Bind the outside stitch with the 19th stitch of the column.
- We cut the working thread and hide it inside the bootie.
The booties are ready.

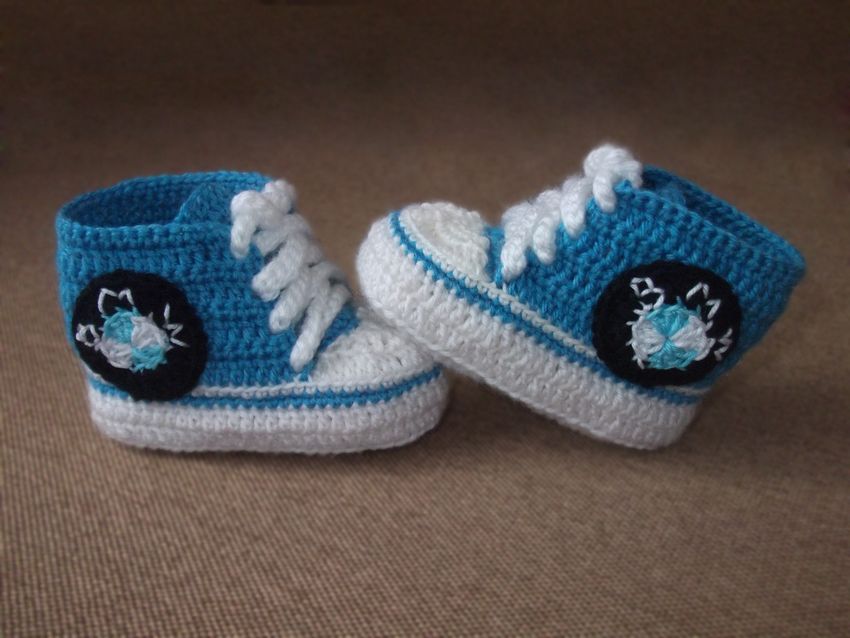
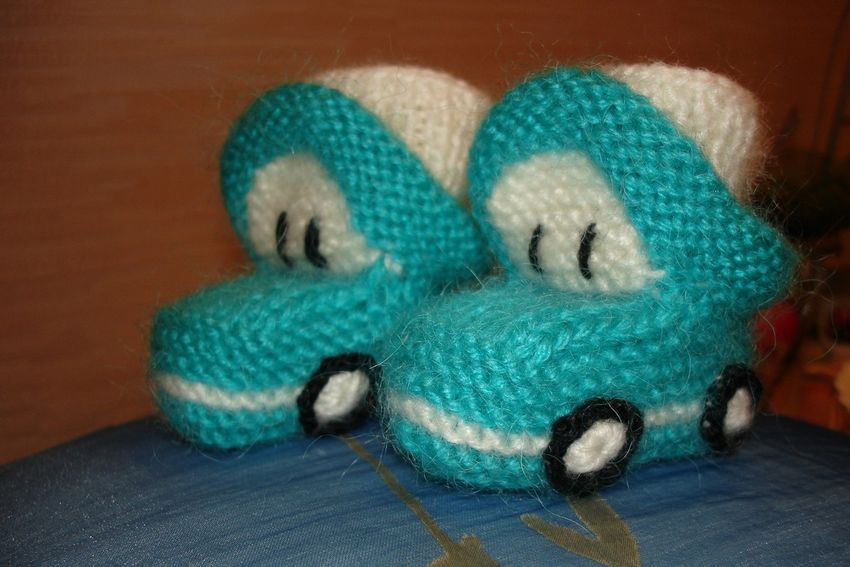
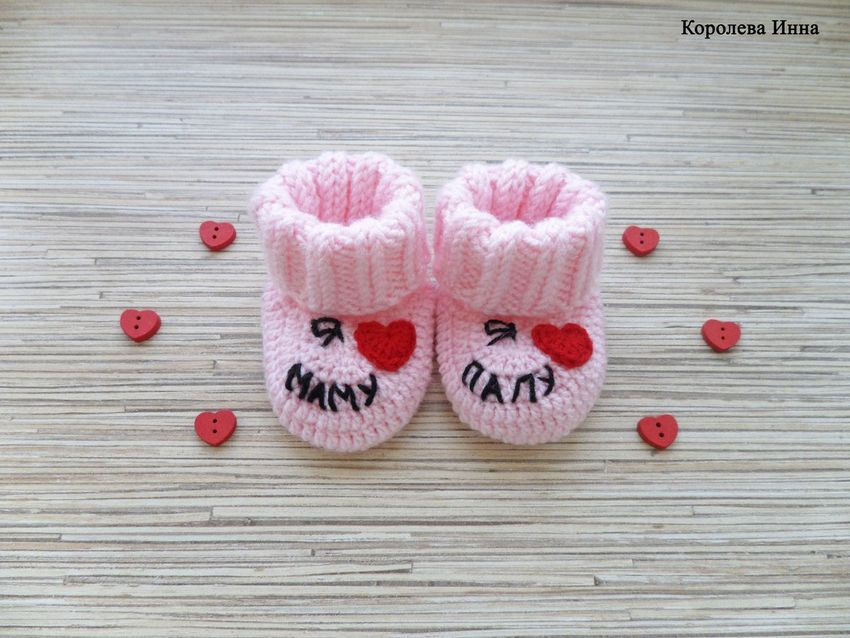
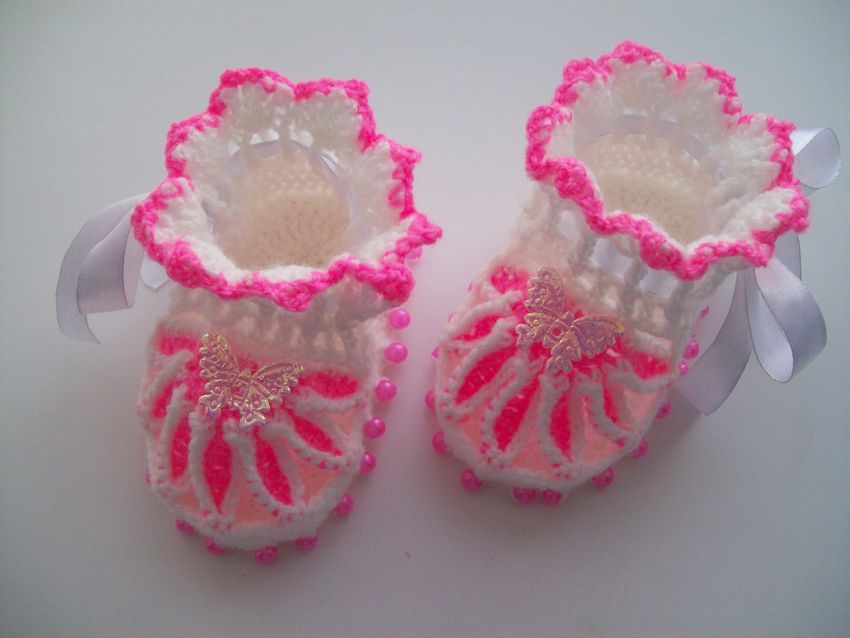
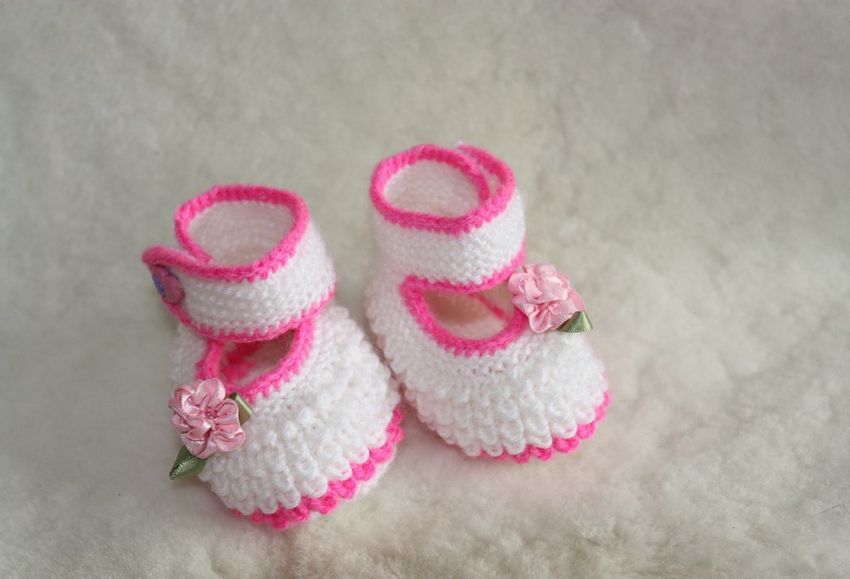
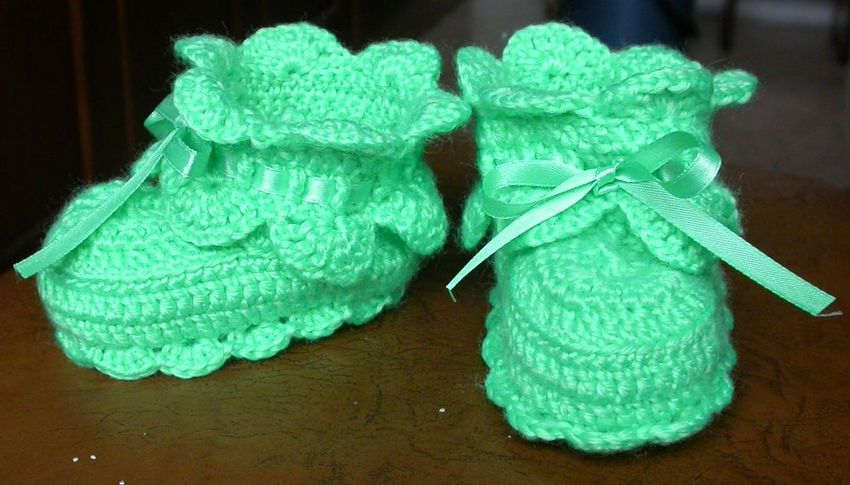
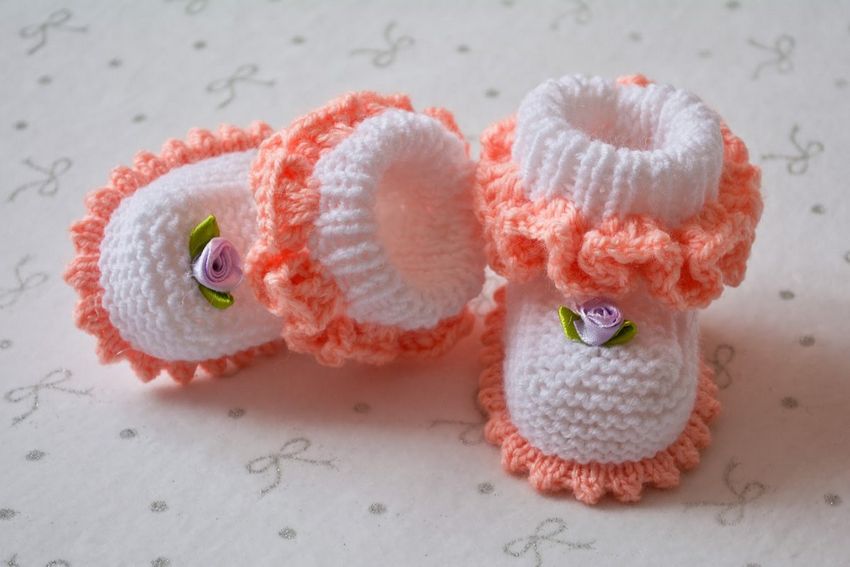
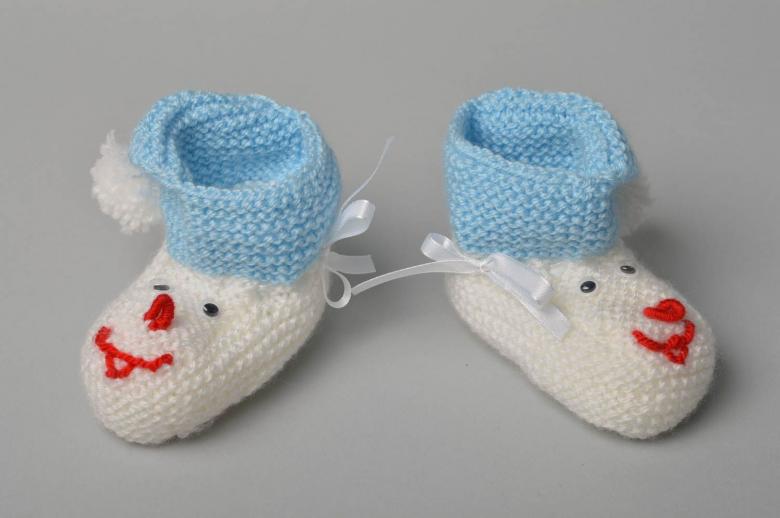
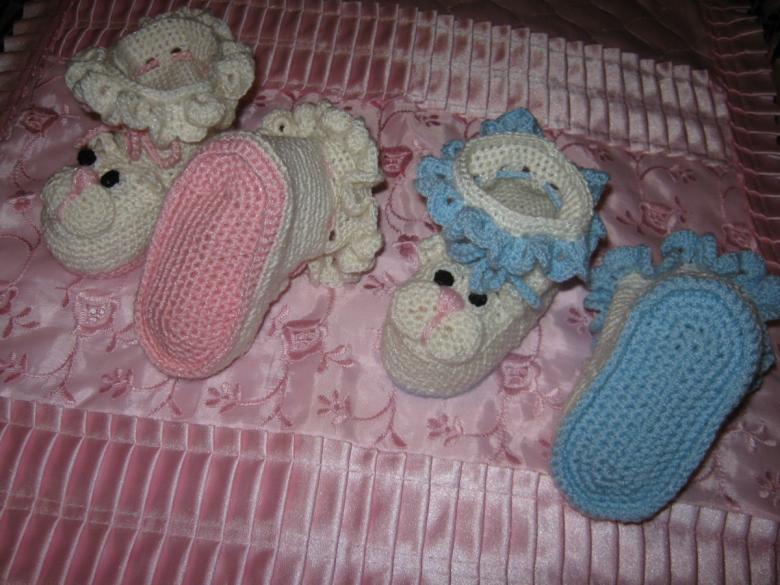
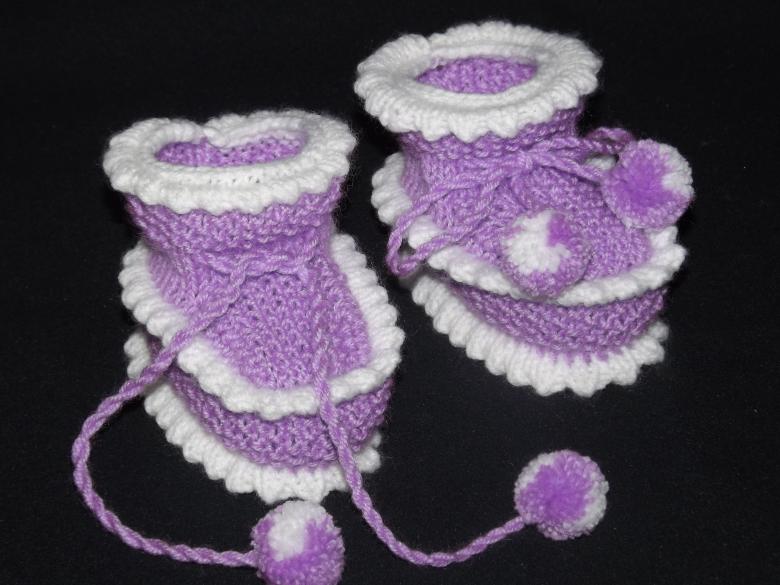
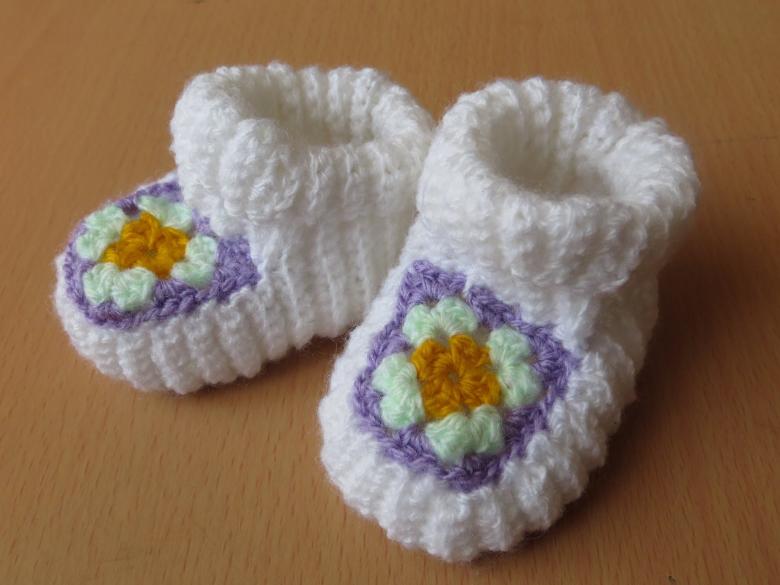
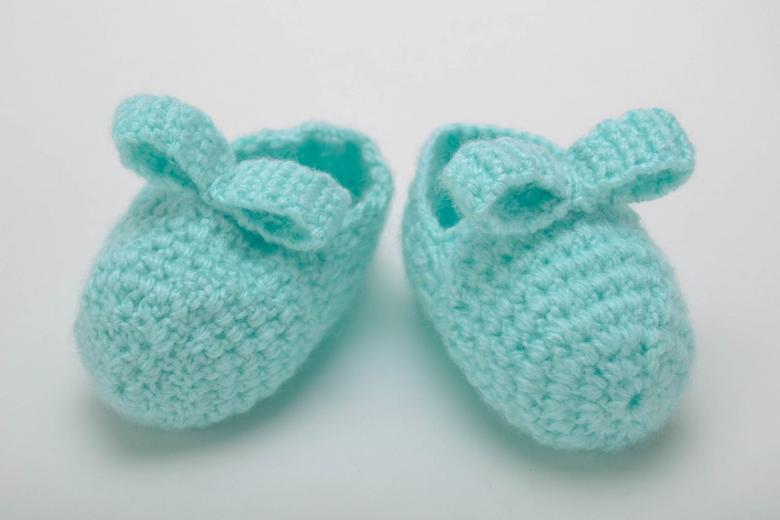
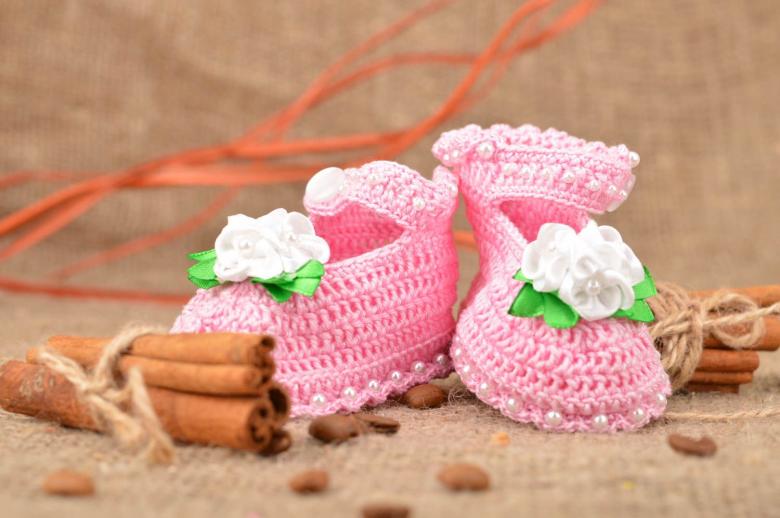
Decorate as you wish. You can glue beads or animal faces. If you want, you can knit a flower or a bow with the same threads that were left.

Also, you can raise the top a little or shape it differently, it all depends on your imagination.

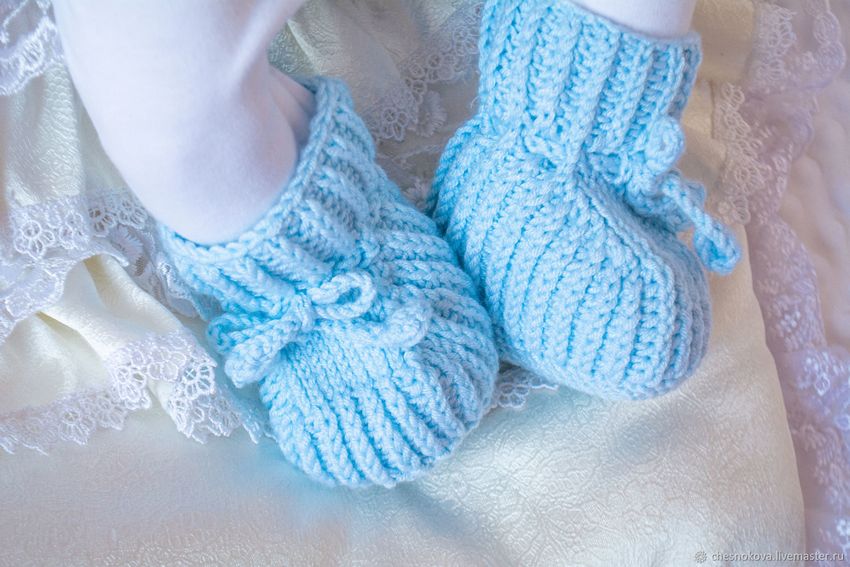
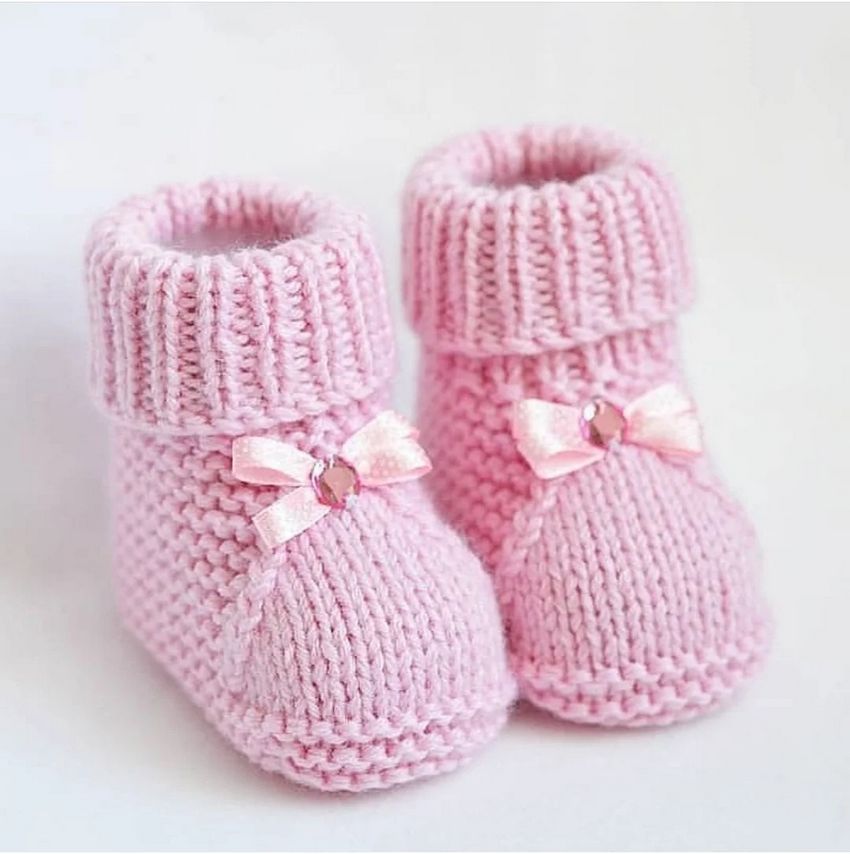
It is not so hard to knit baby bootees, the main thing is to decide on the color and how they should look in the end. Depending on the sex of the child, you can play with the color, the choice of yarn now abound. Choose the materials with which you will be comfortable to work.
Watch master classes on youtube, if you need to see how to make a particular action. If something does not turn out, do not get upset, find another model and start over, and you will succeed.
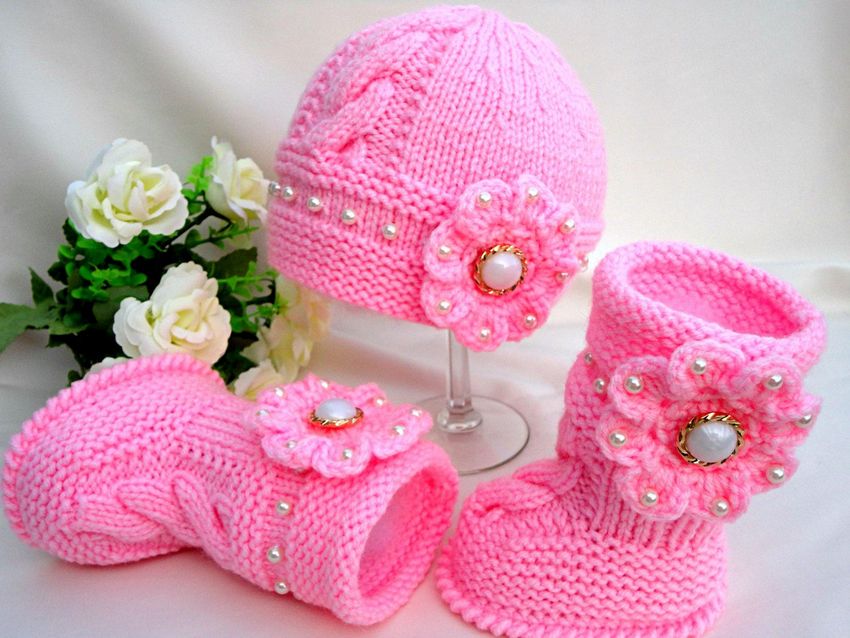
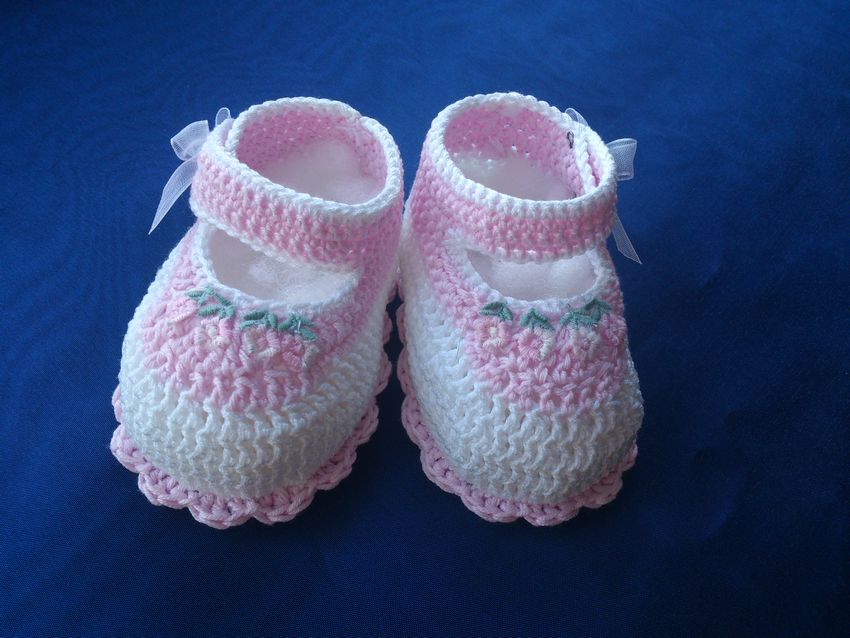
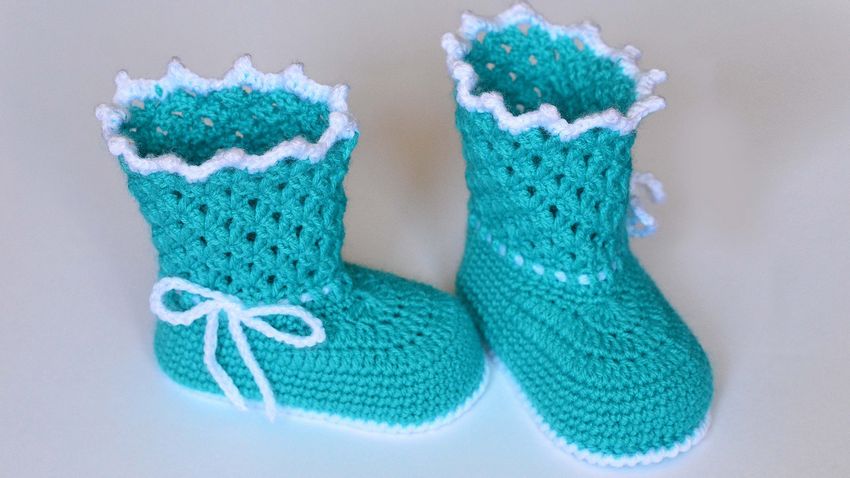
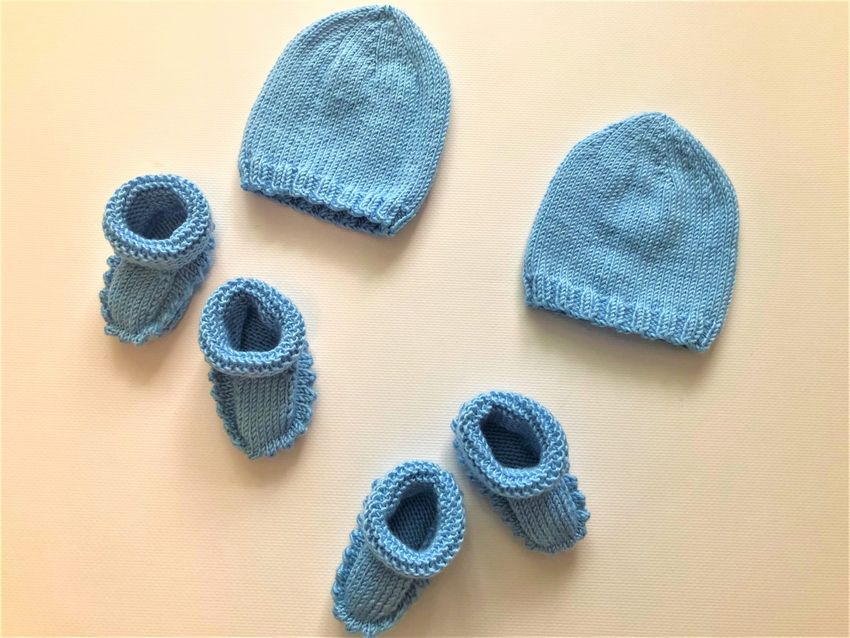
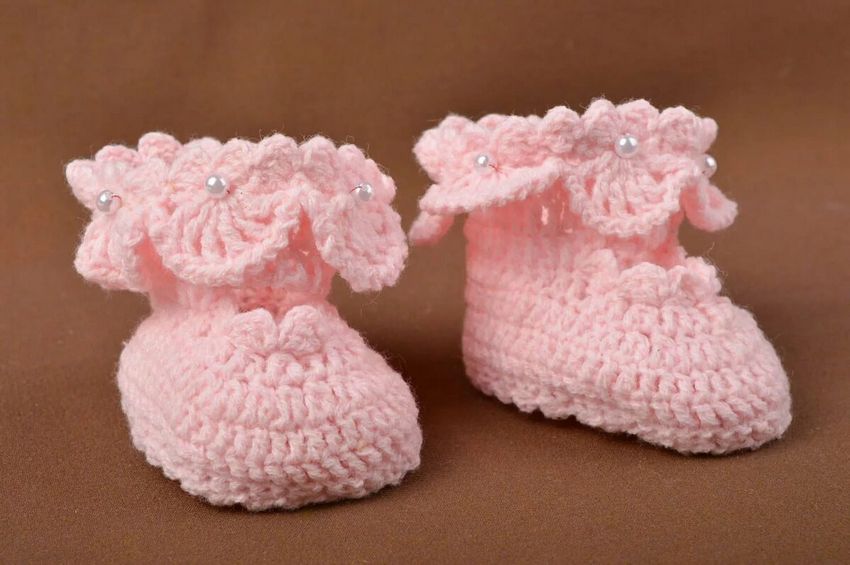
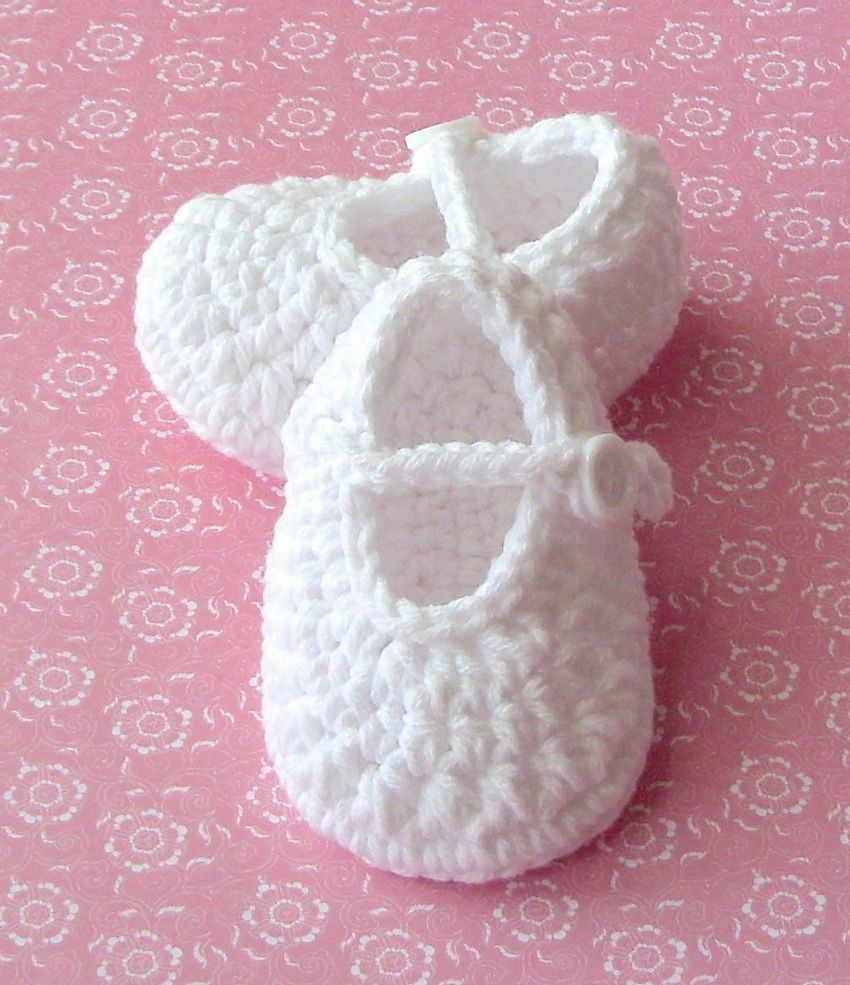
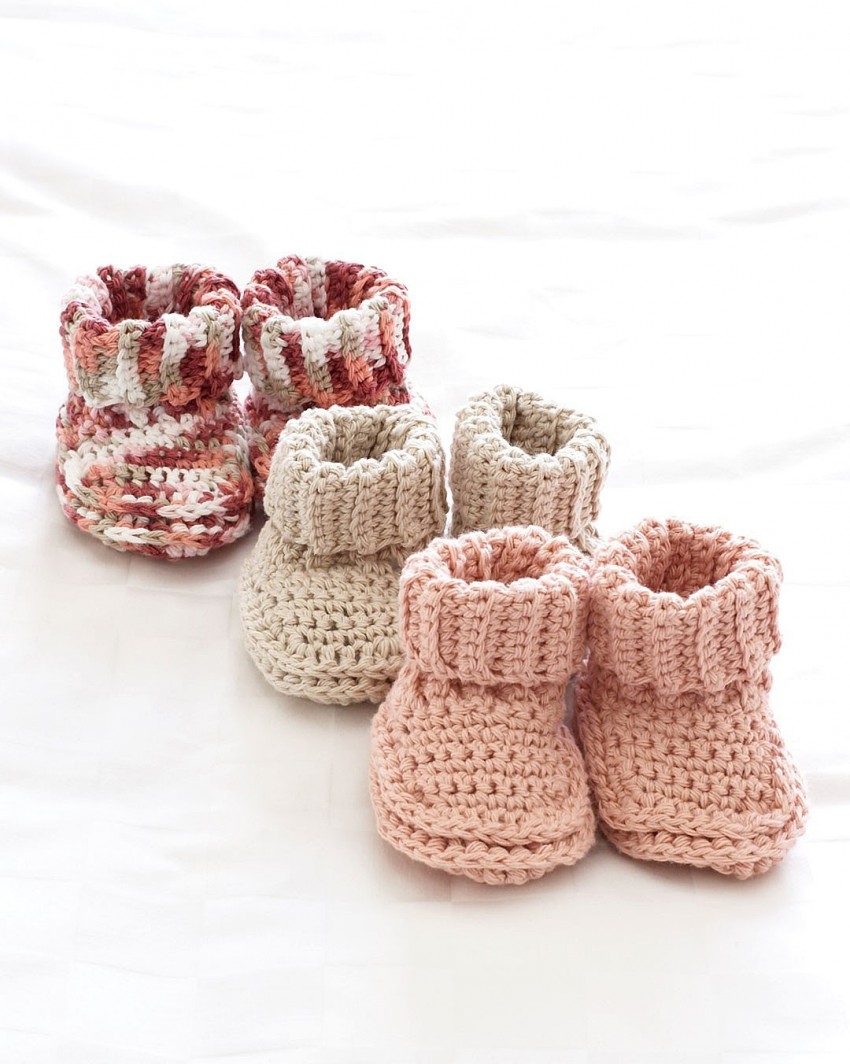
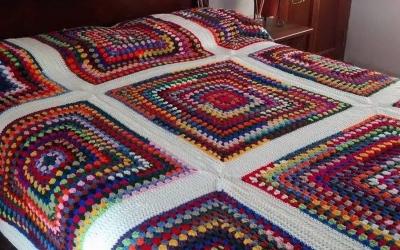
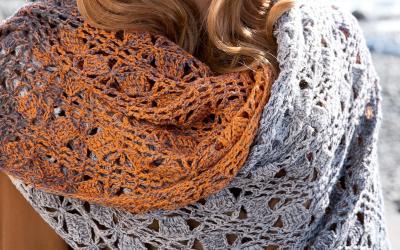
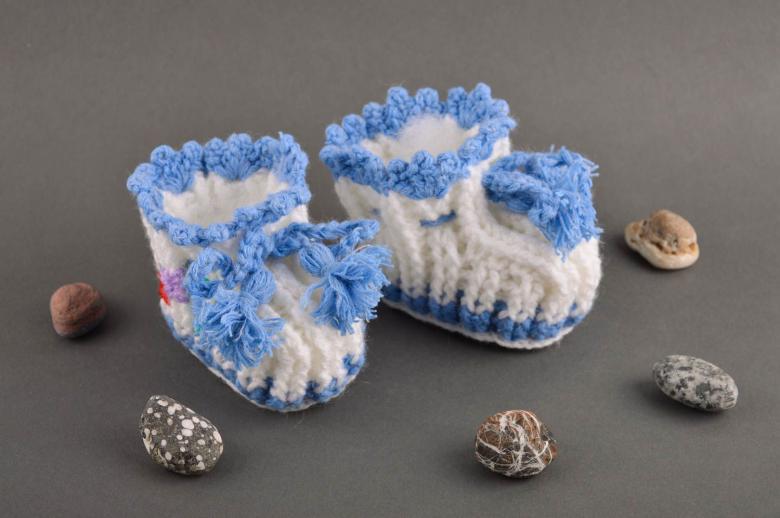
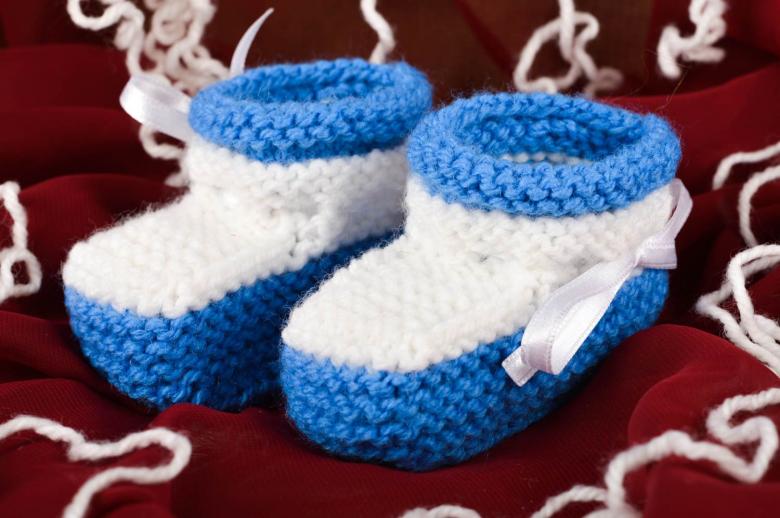
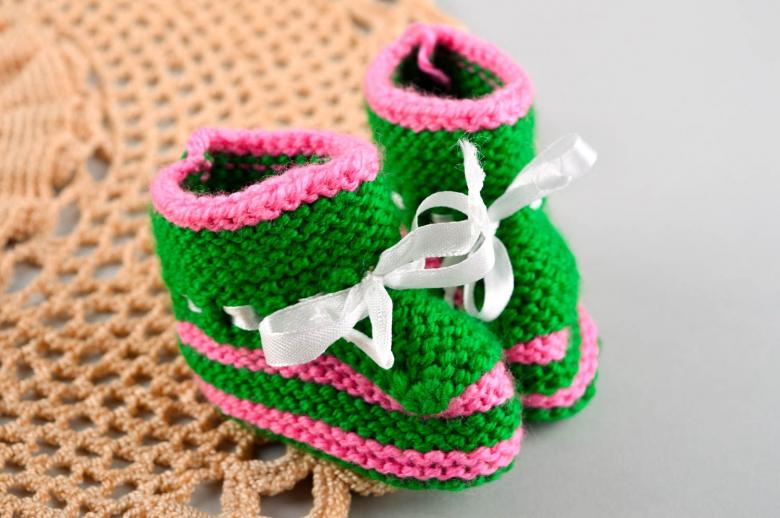
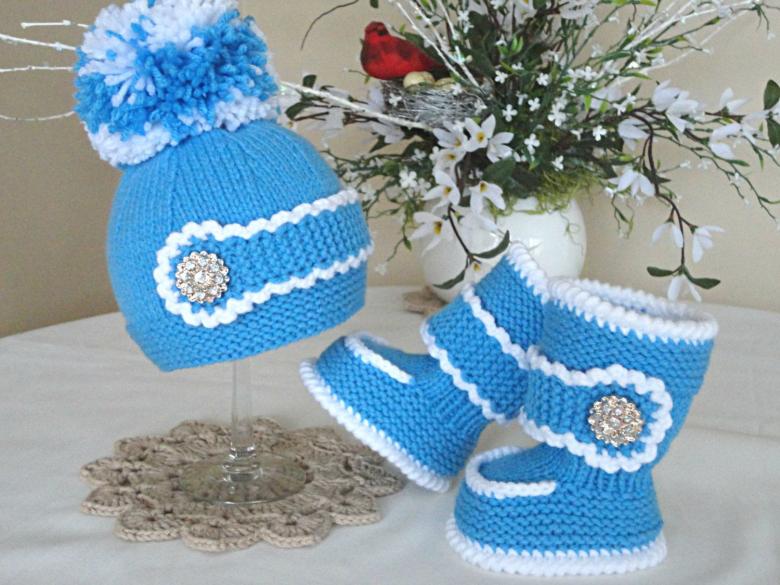
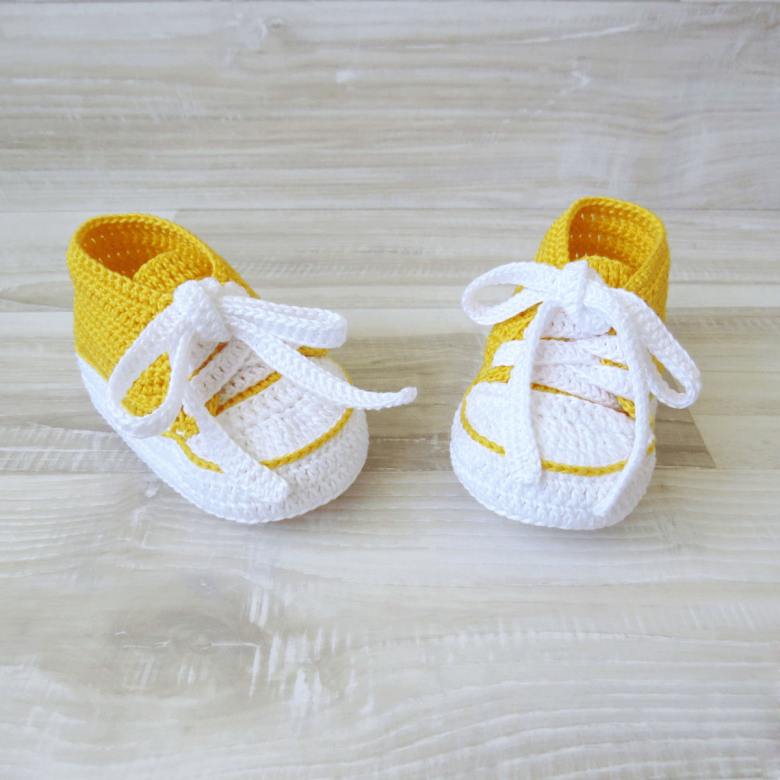
Photo ideas homemade knitted booties