Knitting a bini hat by spit and crochet: schemes, photo ideas and step-by-step instructions for beginners
Knitting headwear with knitting needles or crochet - room for imagination and skills of the master. Hats, hats, snoods - made by different techniques, from different types of yarn today a lot. Let's talk about creating a bini hat - one of the most trendy types of hats.
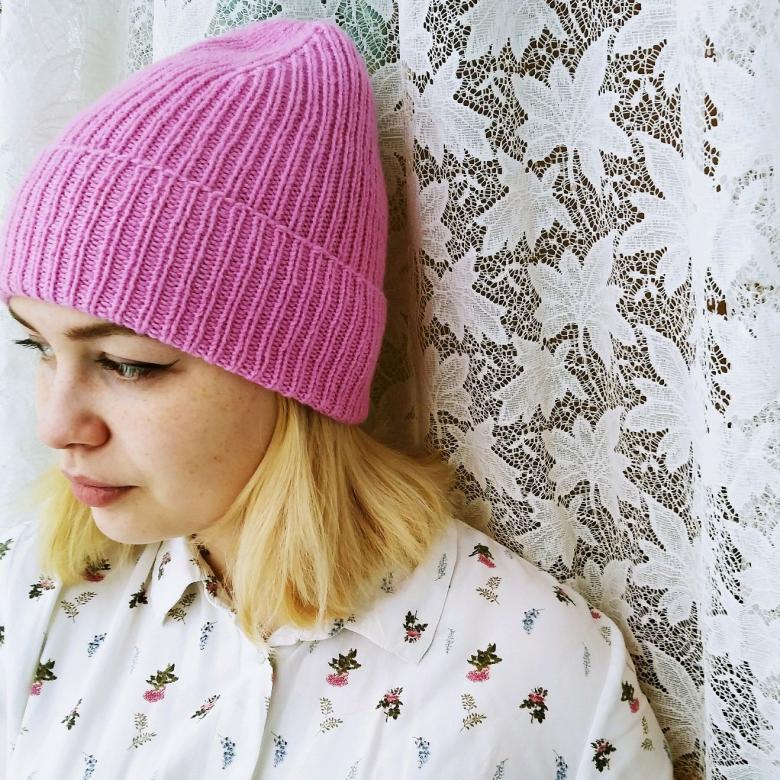
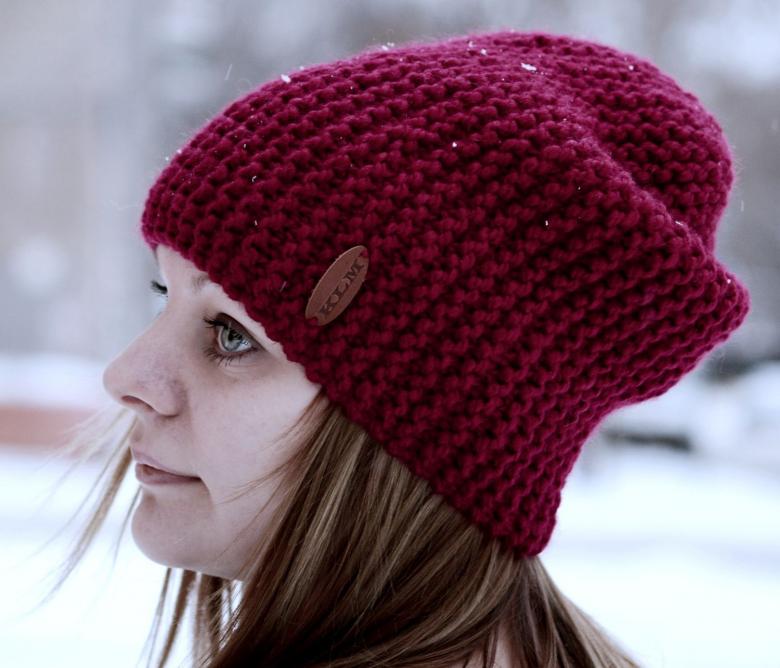
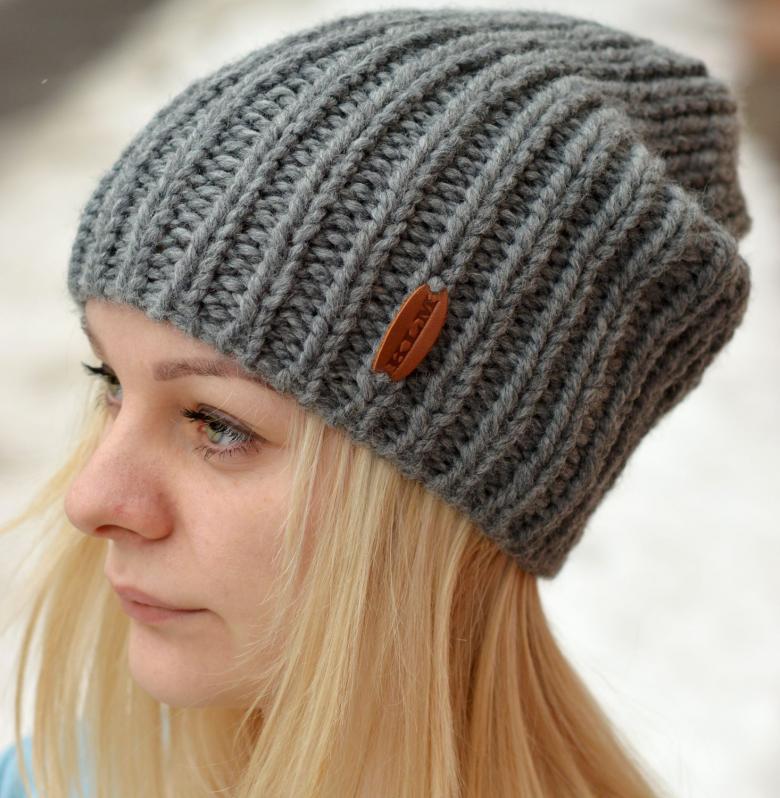
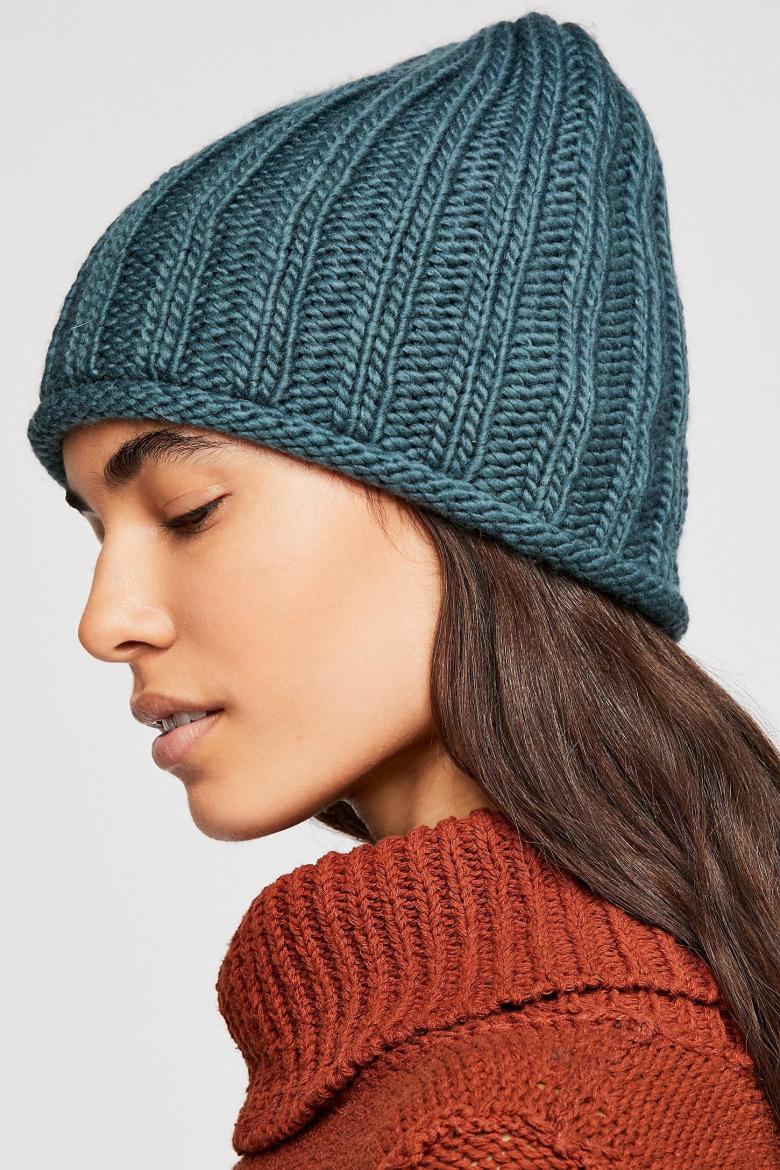
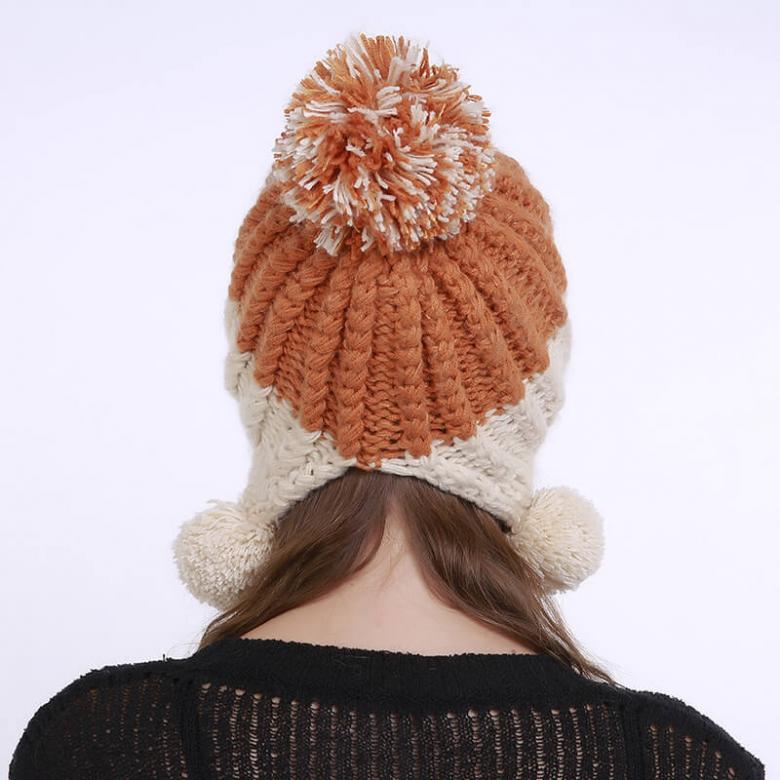
Bini - means a simple rounded shape, without frills, patterns, decor elements and other things. It used to be called a hat that fit tightly to the head, like a stocking hat.
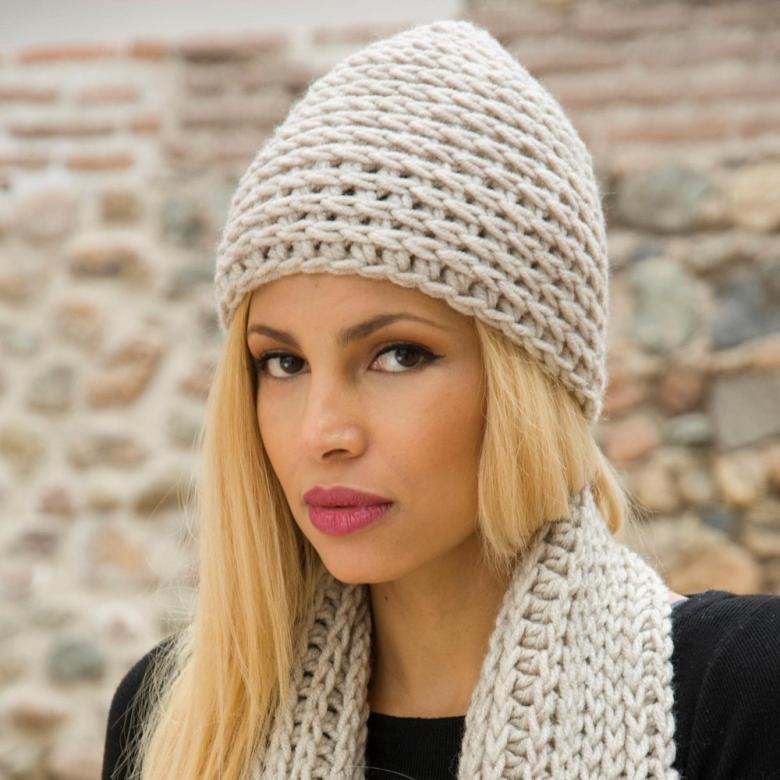
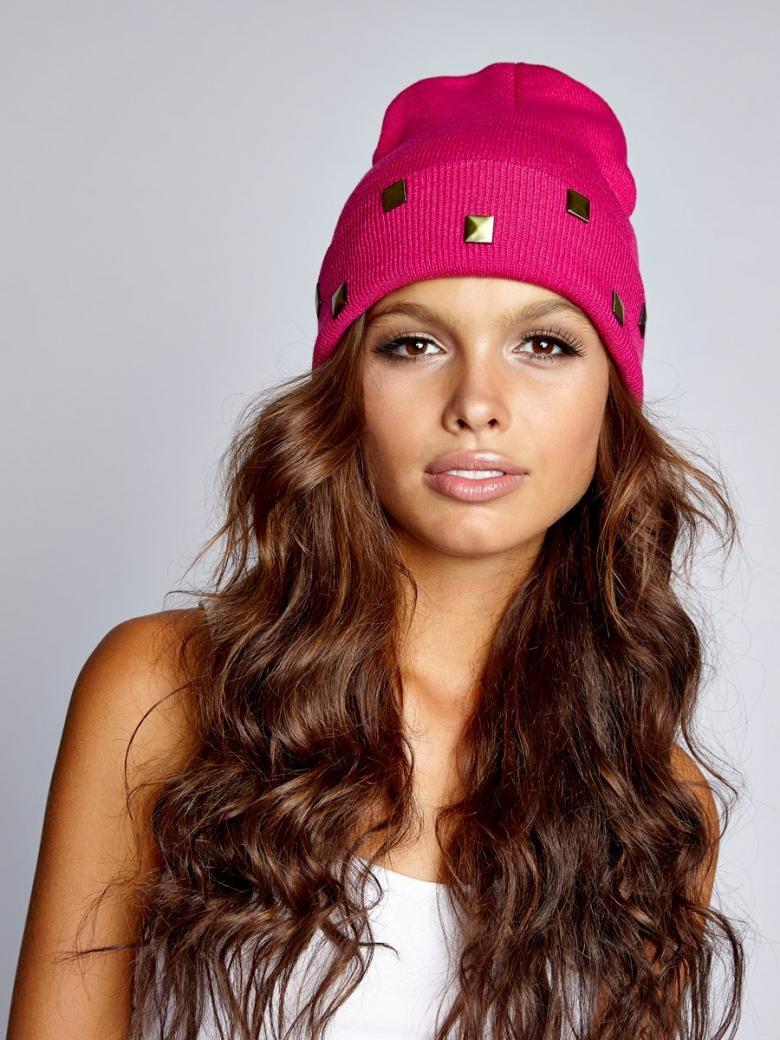
Today the look of a bini hat is a bit wider: they can be different lengths, have lapels and other decorative elements. This style is suitable for wearing in everyday life and will be a stylish accessory to any image.
Preparing to knit
Before proceeding to knitting, you need to decide on the type and color of yarn, knitting technique and the presence of additional details.
For a bini hat is advised to use a large knitting, yarn for the first (outer) layer should be thicker, for the second (inner) can be used thinner threads. What yarn to choose depends on the time of wear: for the off-season suit acrylic and fine wool, for winter - angora yarn and cashmere.

It is better to use circular needles, as the goal is to create a smooth solid fabric. Stocking needles are good only for knitting the yield.
Knitting hooks are recommended to choose the density of the yarn. For example, for acrylic yarns, a No. 5 hook is a good choice.
Techniques of knitting a bini by knitting needles
A classic bini hat by Scissorhands
Scheme of knitting by hand classic bini hat for women on the power to master even novice masters. It is performed with a straight stitch, forming four vertical wedges. The basis of the hat should be an even canvas, without elastic bands and patterns.
While knitting, you can adjust the width and length of the product, trying it on the head of the future owner. The amount of yarn, which will be needed for the product, depends on the size of knitting and yarn thickness. Detailed description of the scheme of knitting a hat bini spokes:
- Using circular needles to dial a sufficient number of loops (the number of which should be a multiple of 4) and close them.
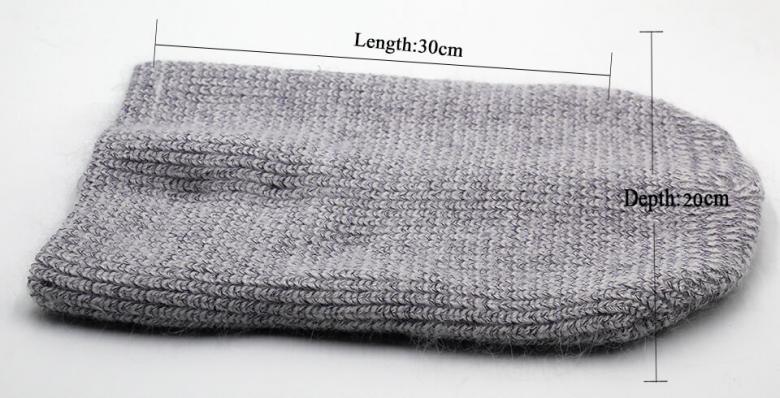
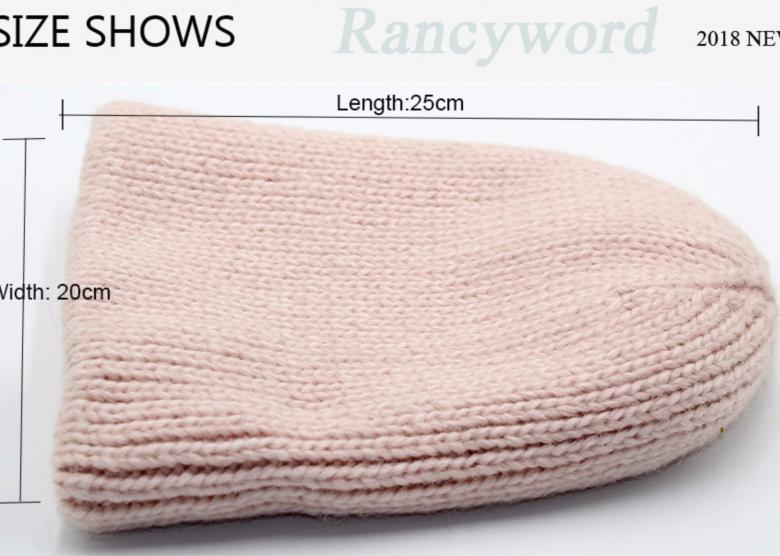
- With a straight stitch to connect the fabric height of about 20 cm. The height can be adjusted given the size of the head and the specifics of the yarn.
- The finished fabric with stocking needles should be divided into 4 parts.
- For closing the crown and loosening the loops 2 and 3 stitches on the needle are tied together, do the same with the last 2 stitches with a bend to the left. A knitting marker will help mark the needle from which you began to do the subtractions.
- When each wedge is 3 stitches, you can cut the thread, and pull the cloth on the crown. Convenient to use a needle or crochet hook for this purpose.

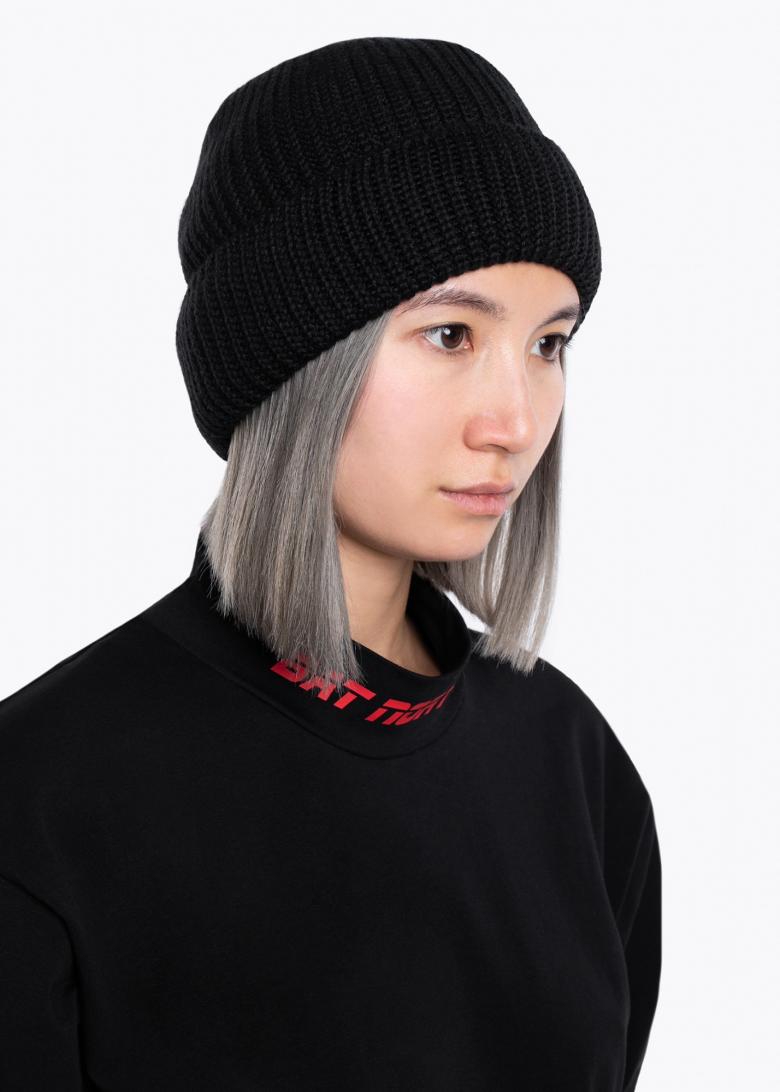
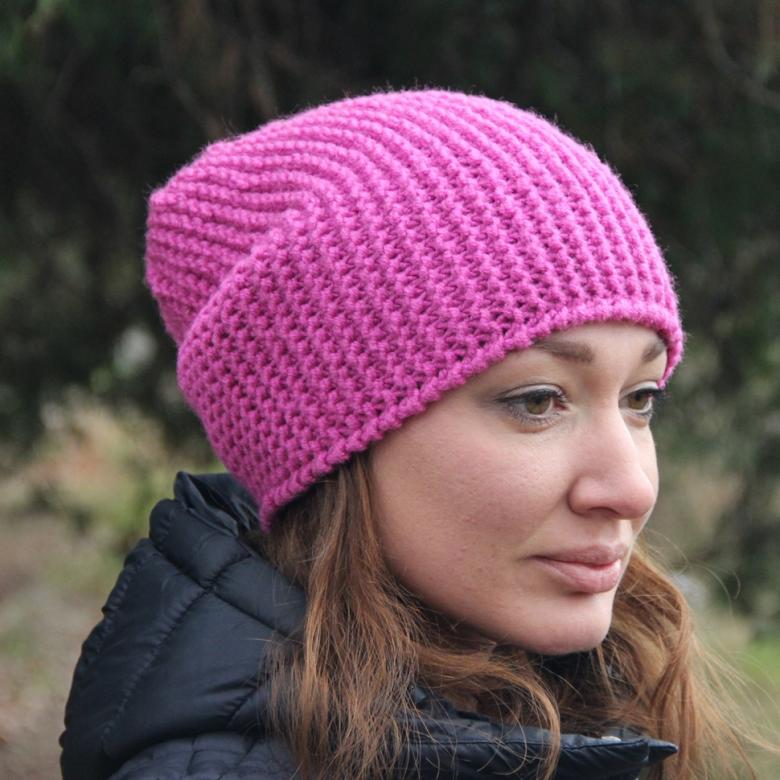
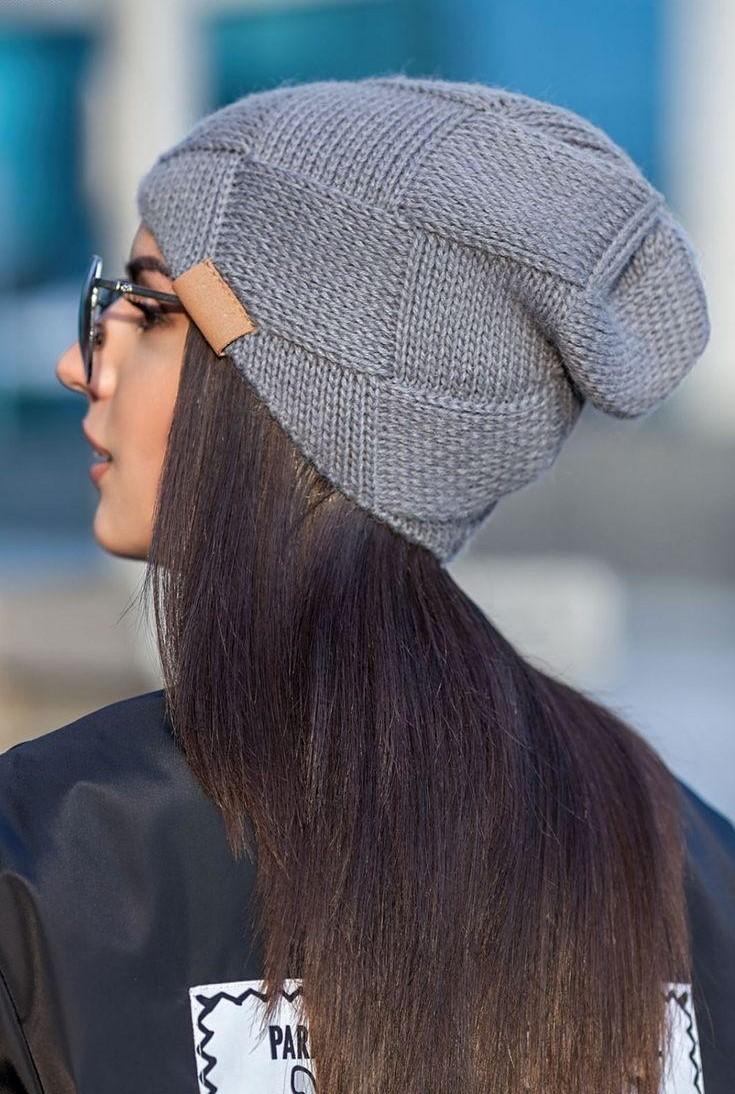
Cap bini with a lapel
A little complication of a classic version of a bini, we get a hat with lapels. A special texture can be achieved by using a semi-pattern in the basis of the fabric. To do this you need:
- With circular spokes to dial and close in a circle of loops
- Tie the necessary length of the lapel.
- Take a size larger needles and, in a semi-patent pattern, knit the main fabric of the product.
- Return to the smaller needles and knit another 5-6 cm in a regular rubber, after which you can begin the dabbing to the last 18 loops.
- Tighten and fix the top piece.
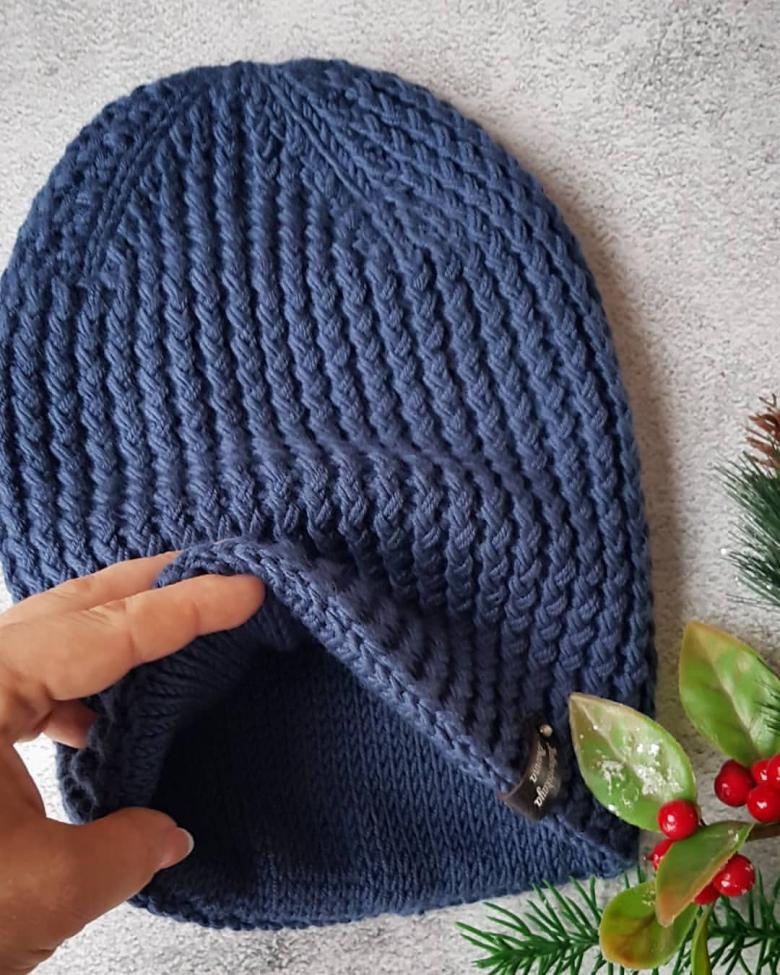
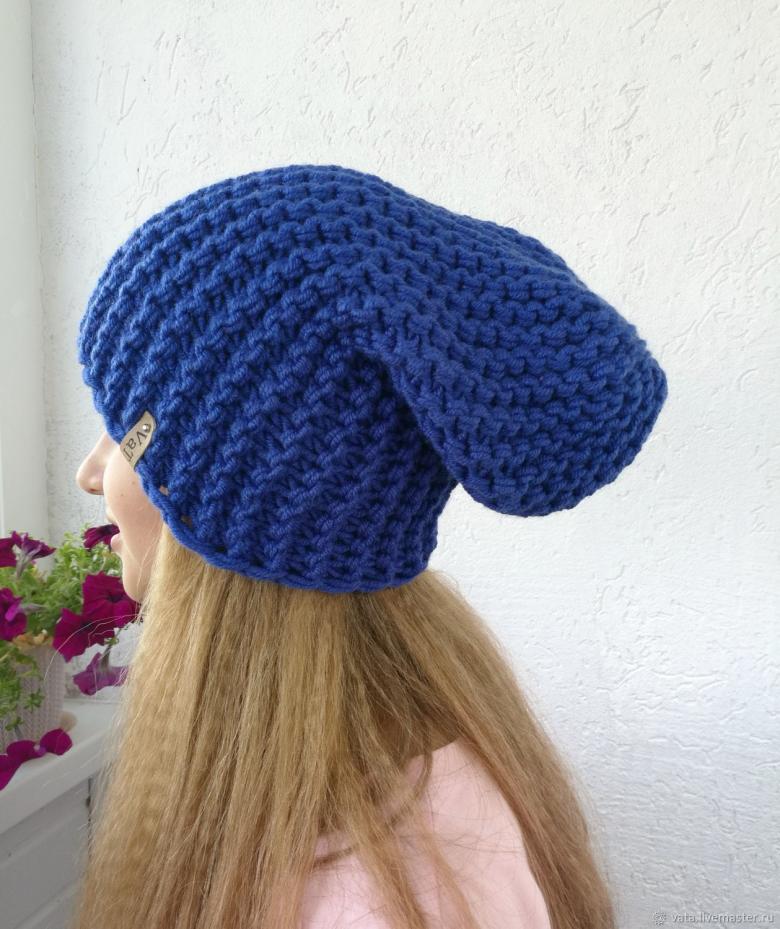
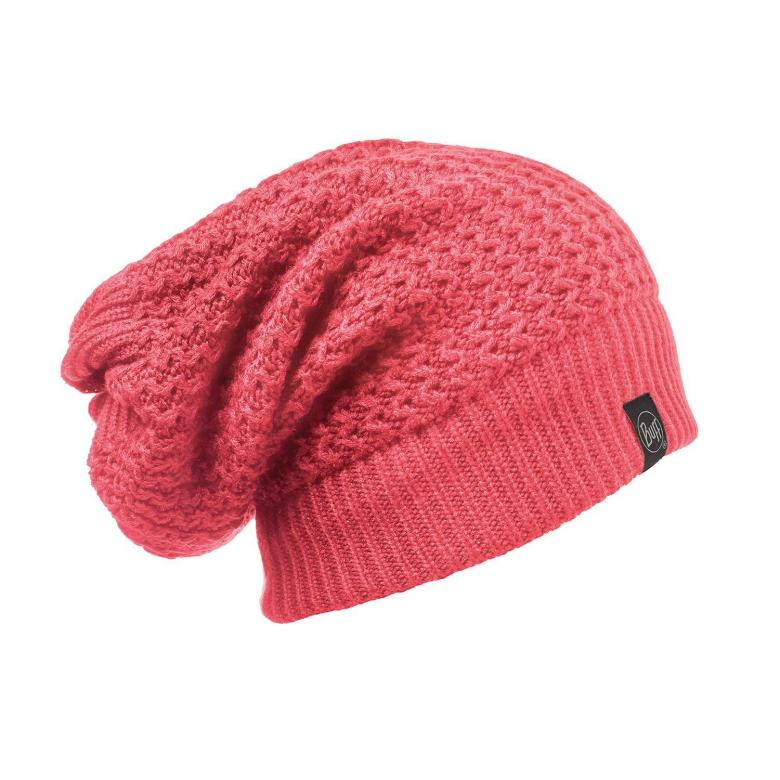
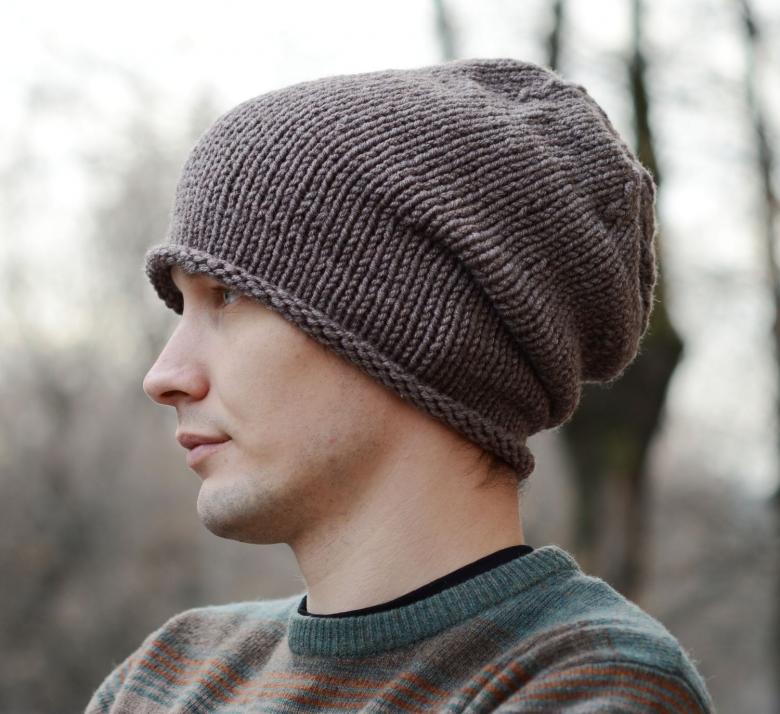
Bini with an extra long crown or bow hat
Knitting a bini hat with an elongated top today is considered the easiest way to make a fashion accessory from an everyday thing. Wearing such a headdress, it feels as if the hat is not fully worn on the head.
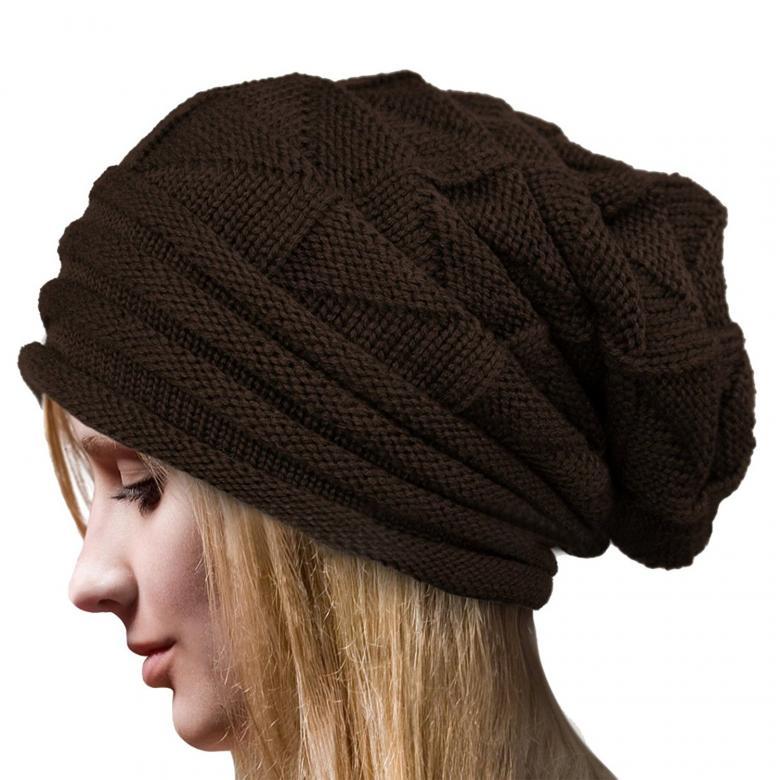
The emptiness on the crown gives a careless style to the image. Such products can be worn with a tilt to the side or gathered at the back of the head. The way of knitting a bini hat by spokes with an elongated crown differs only in the length of the main fabric of the product.
If you want more experimentation - you can knit the fabric without narrowing the wedges, and in the form of a flat tube. If desired, you can add a cuff or decorate the knitting with a light pattern.
A bini hat with shortened rows
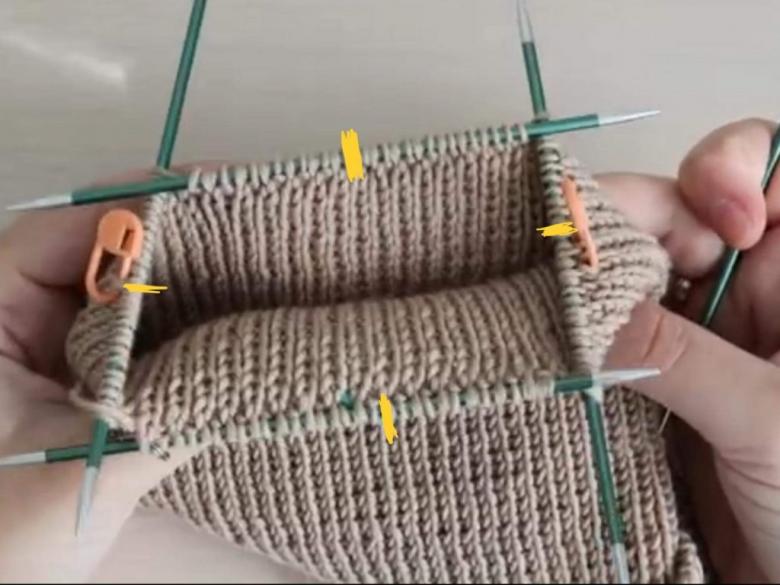
To knit the perfect crown for a bini hat, use cross-knitting with cropped rows. The basic principle of the method is not to finish the row, turn the piece and continue knitting in the opposite direction, then in the next row do the same stitches plus one more, and so on until all the stitches are finished on the needle.
It is important not to make a hole when turning the work, for this you need to wrap the thread around the next stitch before the turn. In this way perfect wedges are formed, which are sewn into the finished product. Description of the knitting technique:
- According to the desired size of the hat, count the number of loops of the wedge. Dial, for example, 70 loops.
- The first row we'll start with 65 consecutive stitches and put the working thread behind the 66th stitch.
- The second row and the subsequent rows of the seam are completely finished.
- For the third row, we do 66 left-handed stitches and loop 67 right-handed stitches.
- Repeat till the end of shortened row.
- Knit the required number of wedges and sew the hat.
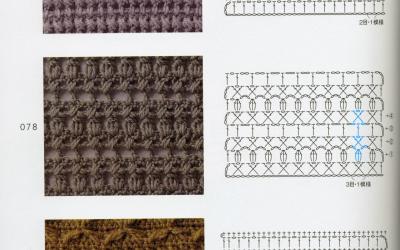
Crochet bini technique
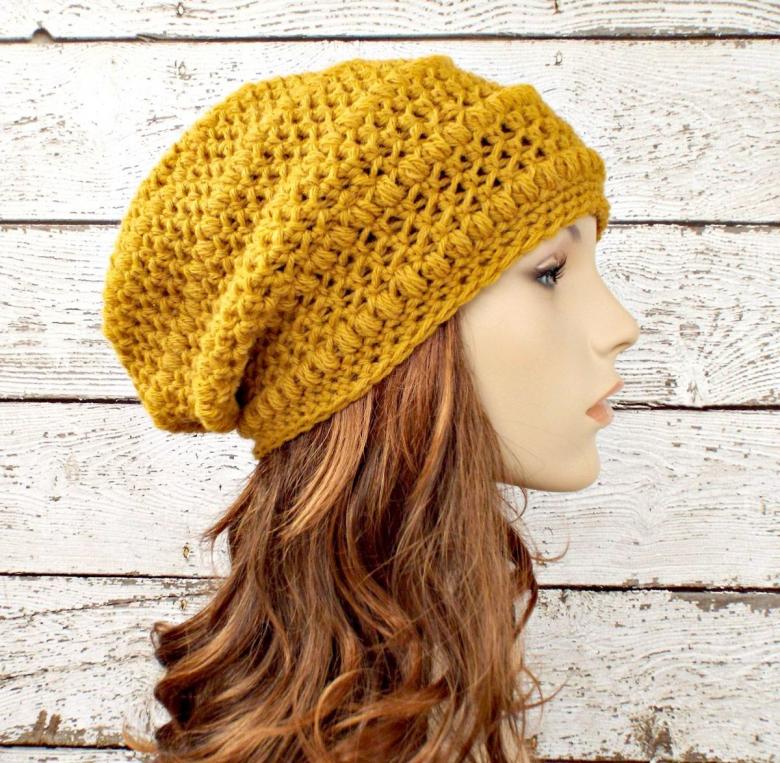
Classic bini crochet model
A bini hat is knitted in a circle, starting from the crown, in a pattern similar to a honeycomb. Begin knitting with 4, closed in a circle, air loops. They are tied in the middle of the circle. Each new row starts with 2 lifting stitches and ends with a connecting column.
This will allow for a smooth transition to a new row. You need to knit the pattern for about 11 rows - this will be the top of the hat. Pattern 11 rows knit as much as required by the length of the product.
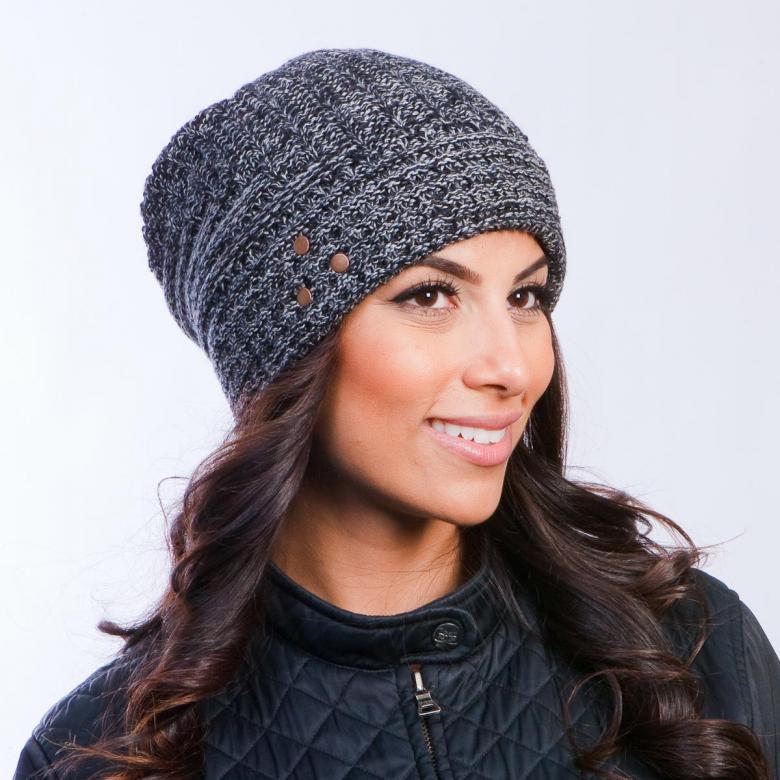
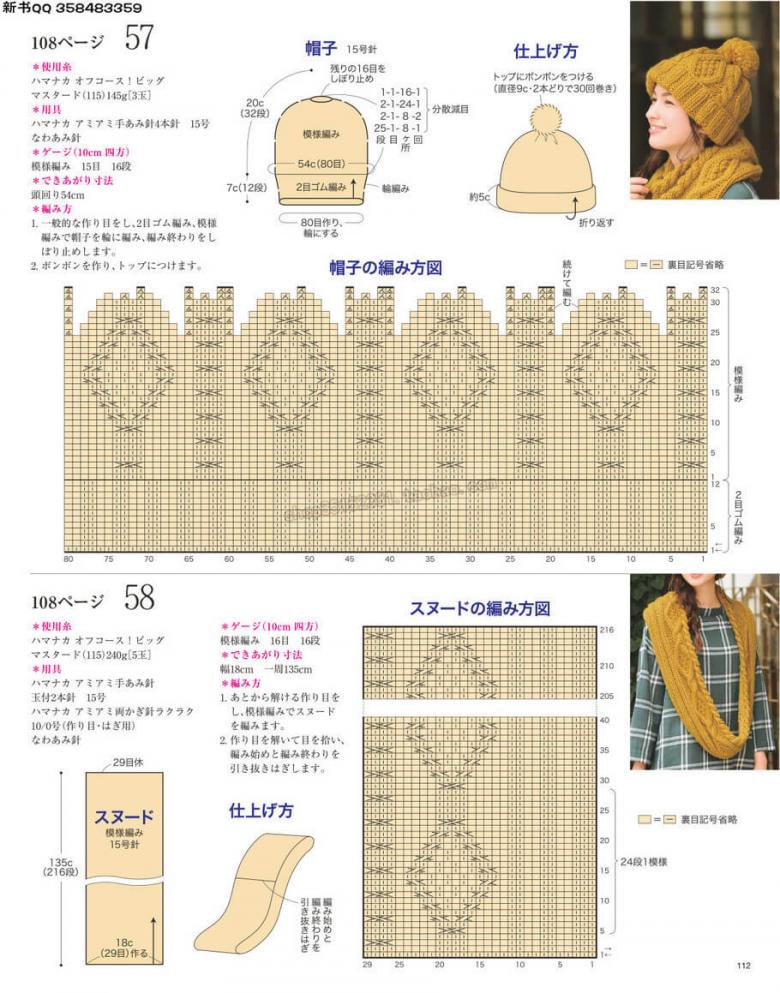
A bini hat with an elastic band pattern
Master class to create a bini hat with an elastic band pattern resembles the technique of knitting shortened rows with scissors:
- We start the work from a set of 45 air loops plus one lifting loop.
- Next, we knit 35 no-flush columns plus 1 semicolon.
- We also do all subsequent even-numbered rows.
- The third row consists of a lifting stitch and 37 stitches plus a semi-colon.
- We have a similar scheme for 14 rows, 15 and 16 rows completely and we have a ready-made wedge.
- Knit enough wedges and sew the product.
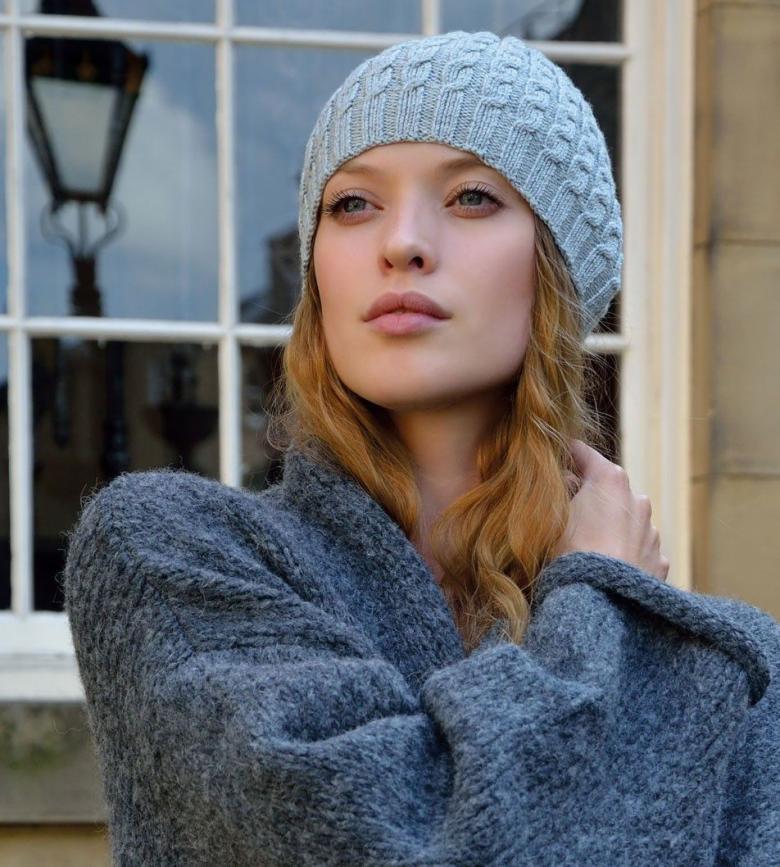
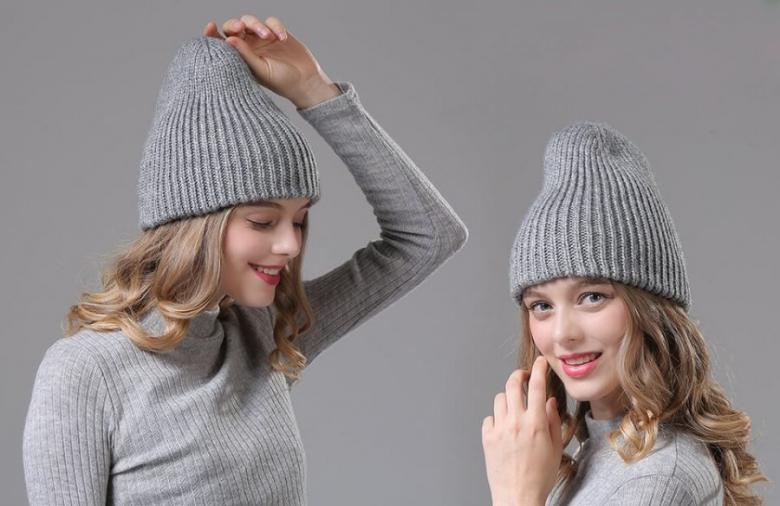
Once you understand the types of bini hats and techniques of their performance, you can not only knit their classic forms, but also boldly turn into reality any bold ideas. Starting from laconic monochrome hats for men and women, you can go to bright and daring youthful designs. After all, a bini hat has remained in the trend for several years due to its simplicity, comfort and style.
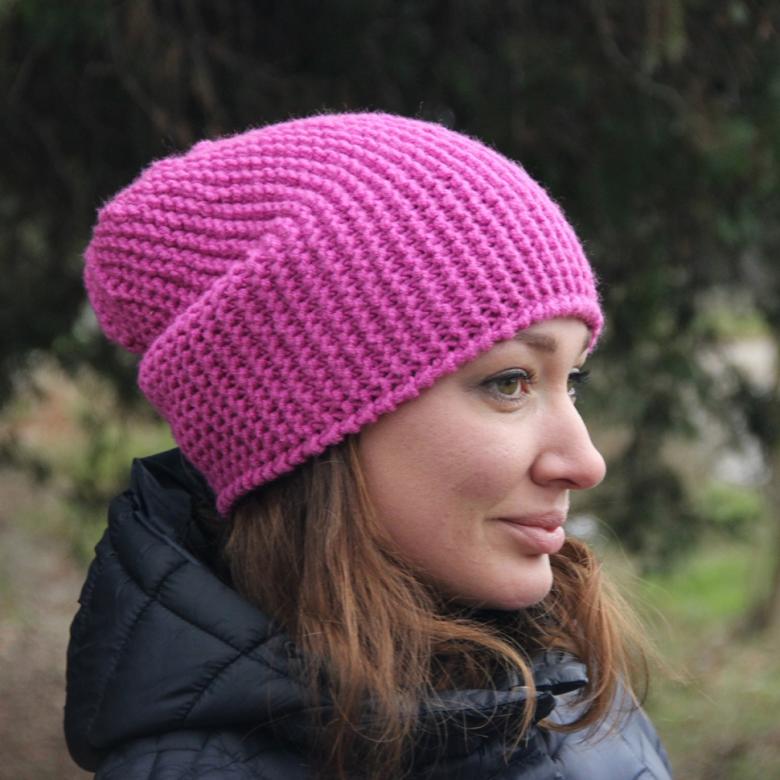
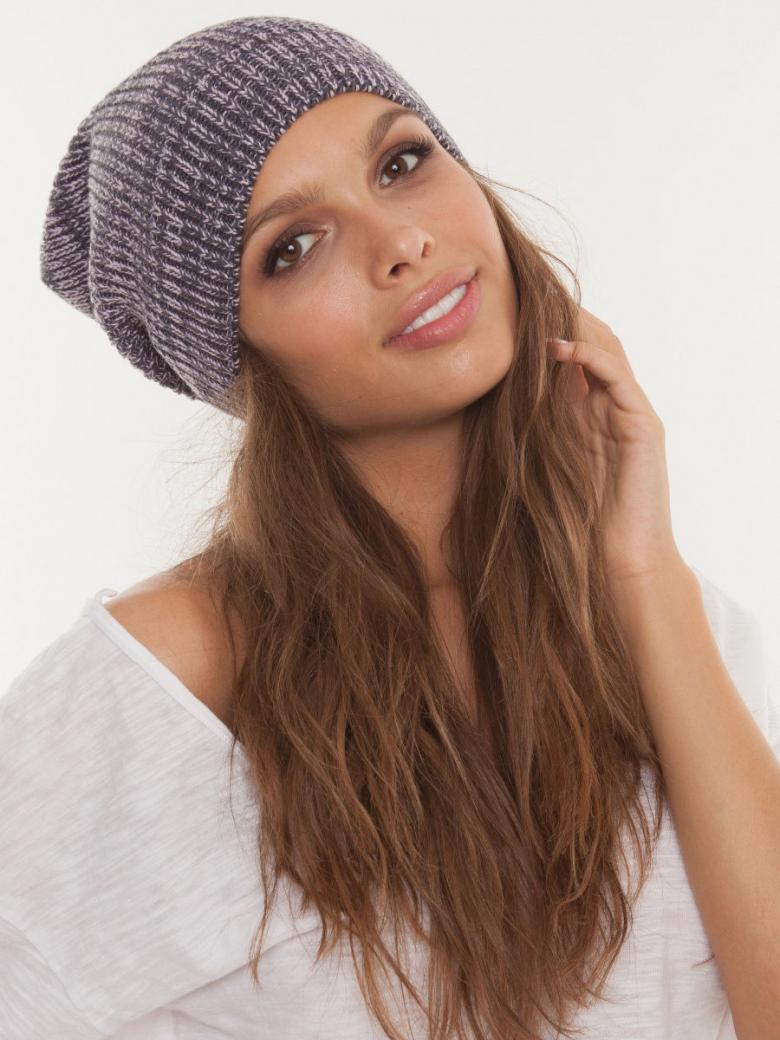
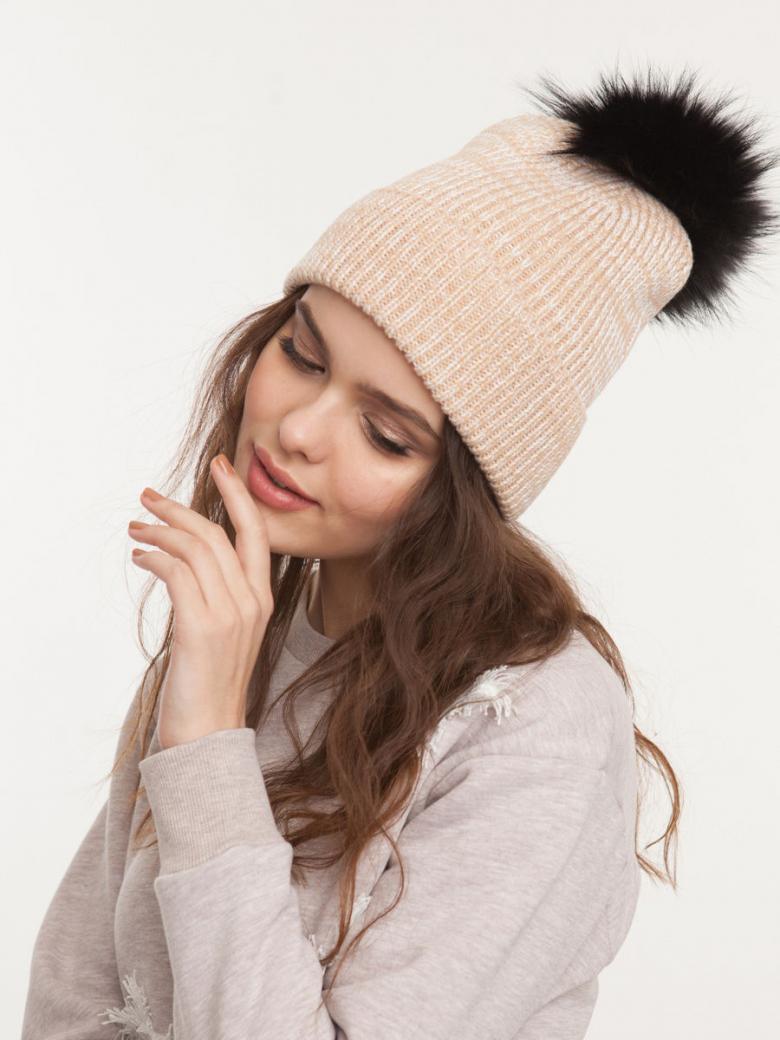
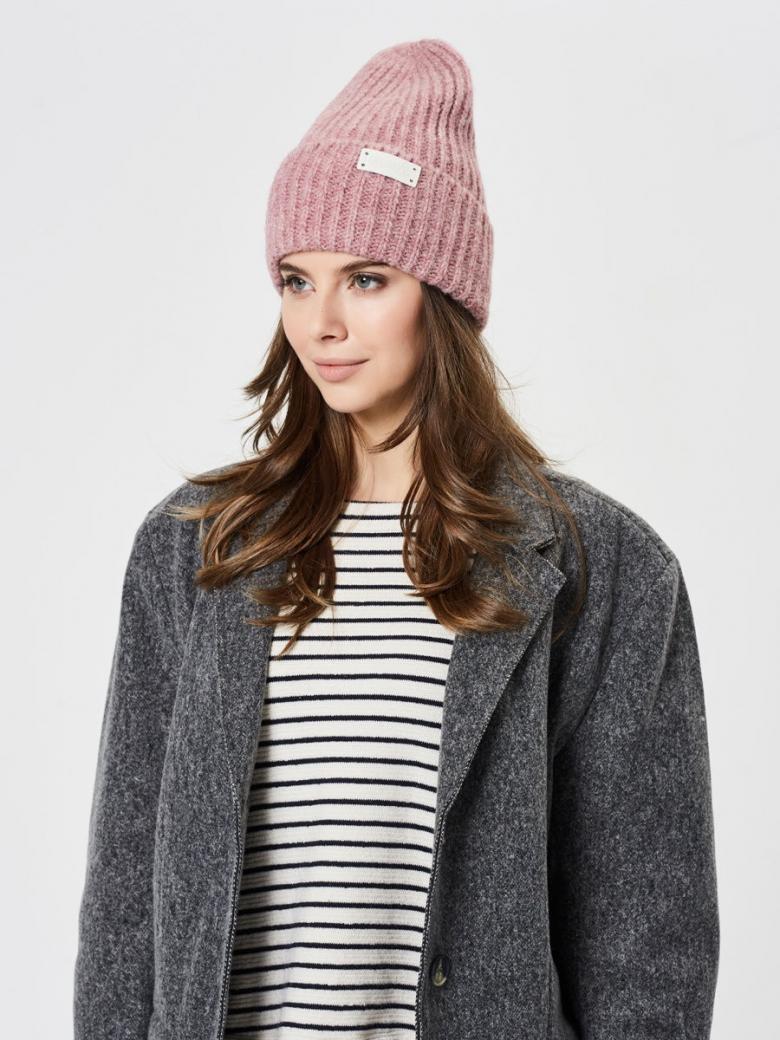
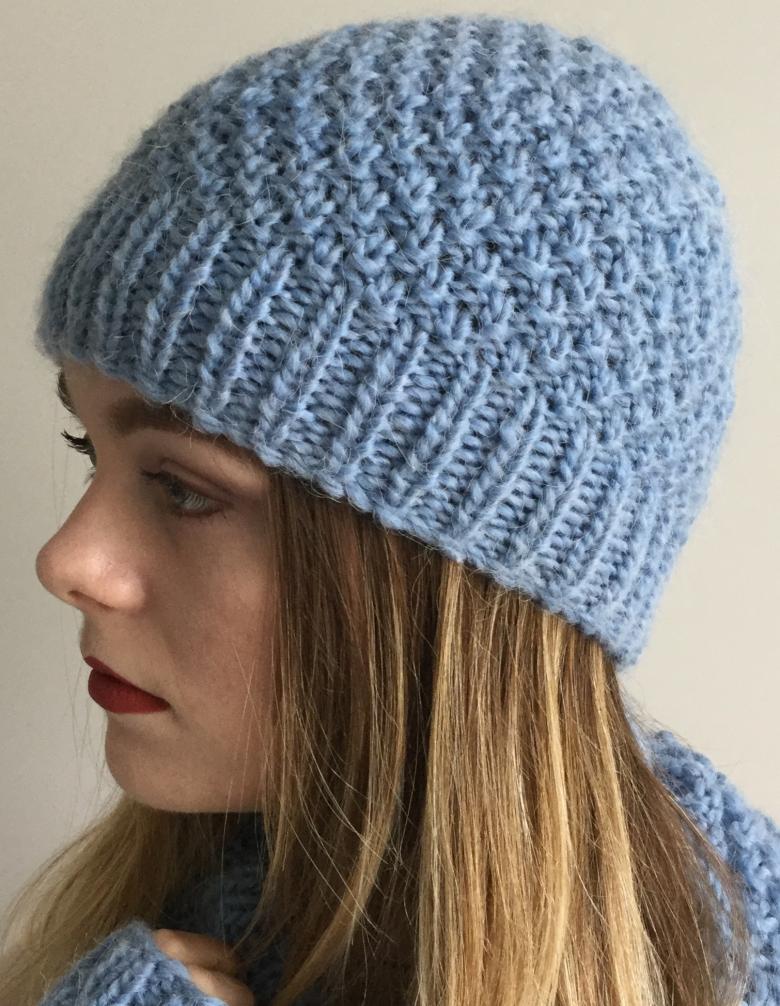
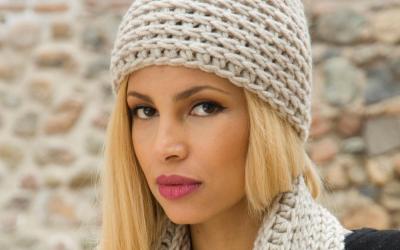
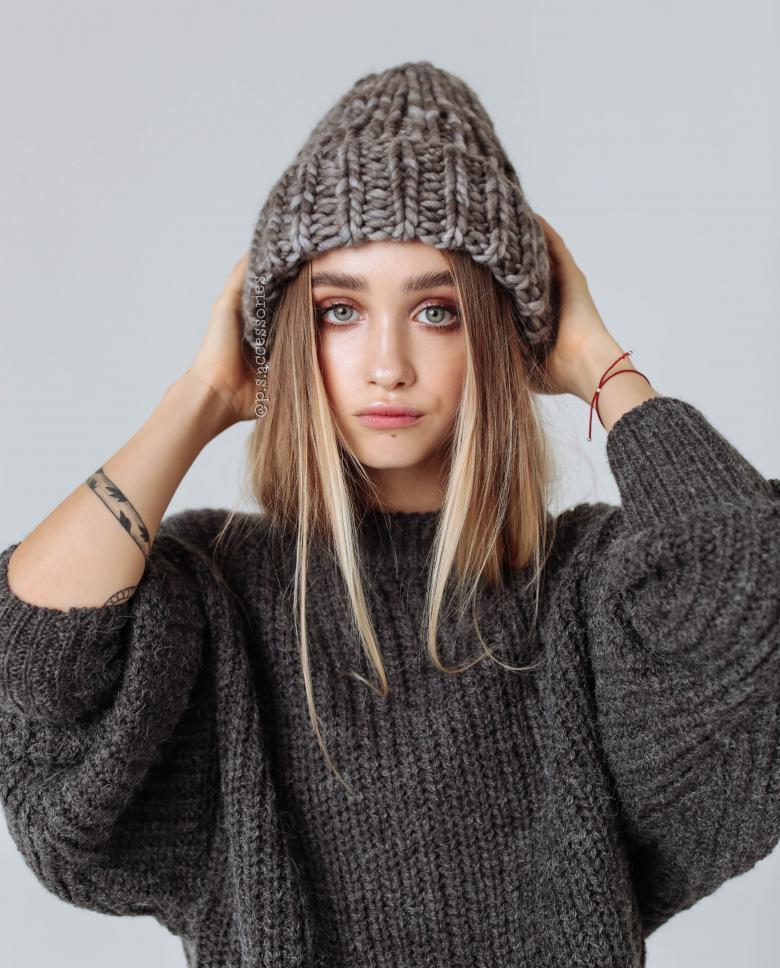
Photo examples for knitting a bini hat