Handmade Easter Egg - basic techniques for creativity and a selection of easy masterclasses
Making crafts is a very useful activity for children, especially with joint creative lessons with parents. Modeling, embroidery, cutting out figures for applications allows the development of fine motor skills of the fingers, train abstract thinking, logic, and memory.
Making original crafts in kindergarten, school, and creative groups is usually associated with certain dates, memorable events or holidays. Children on the assignment of teachers prepare souvenirs for Mother's Day, Cosmonautics, February 23rd or March 8th.

Easter is a great Orthodox holiday, which is invariably associated with Easter eggs. Some people decorate boiled chicken eggs, some decorate empty shells. But for younger children, it is better to start learning with simple, but interesting crafts.
Basic techniques for creativity
Create a beautiful, glossy decoration for the interior can be created with the help of a huge variety of techniques, each of which is fascinating in its own way:
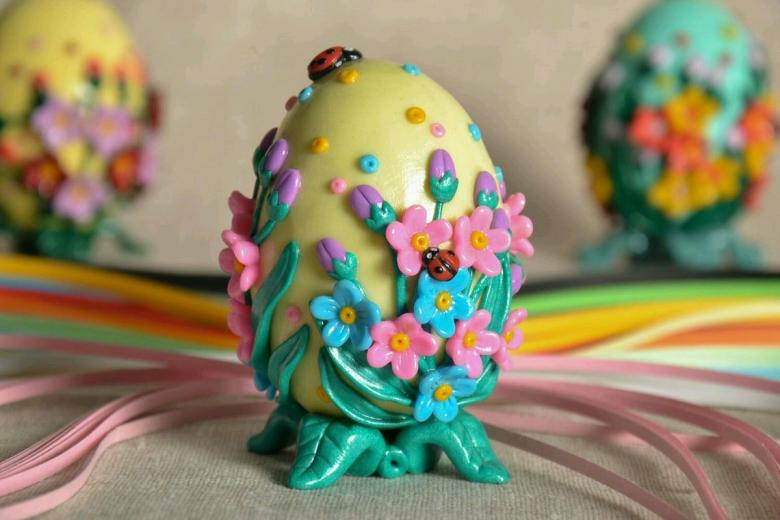
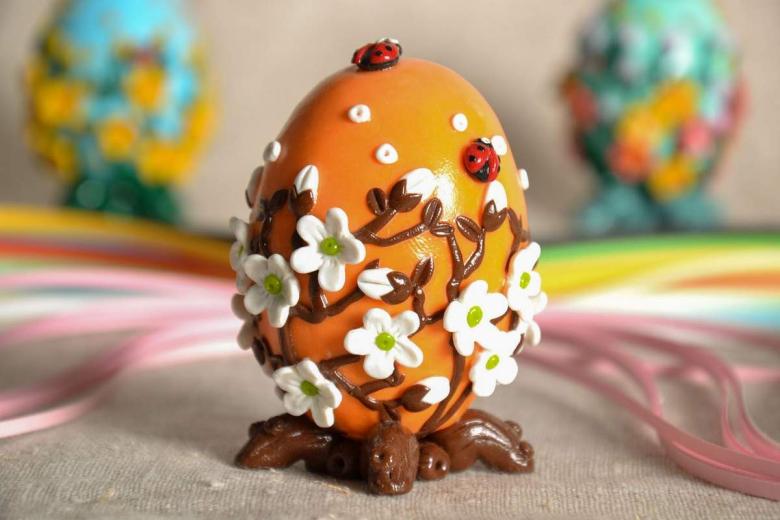
- Molding with plastic materials. Today such materials as salt dough, cold porcelain, polymer clay are popular. The unique elasticity of all these bases allows you to create not only the characteristic oval shape of the egg, but also to give the surface a kind of relief.
- The papier-mâché technology is very interesting not only for children, but also for their parents. Using paper, napkins, egg trays, toilet paper sleeves, and glue, you can create an incredibly stylish accessory. And decorating with acrylic paints or gouache will complete the created image. Such Easter eggs, created with their own hands, can be submitted to school for a talent contest.
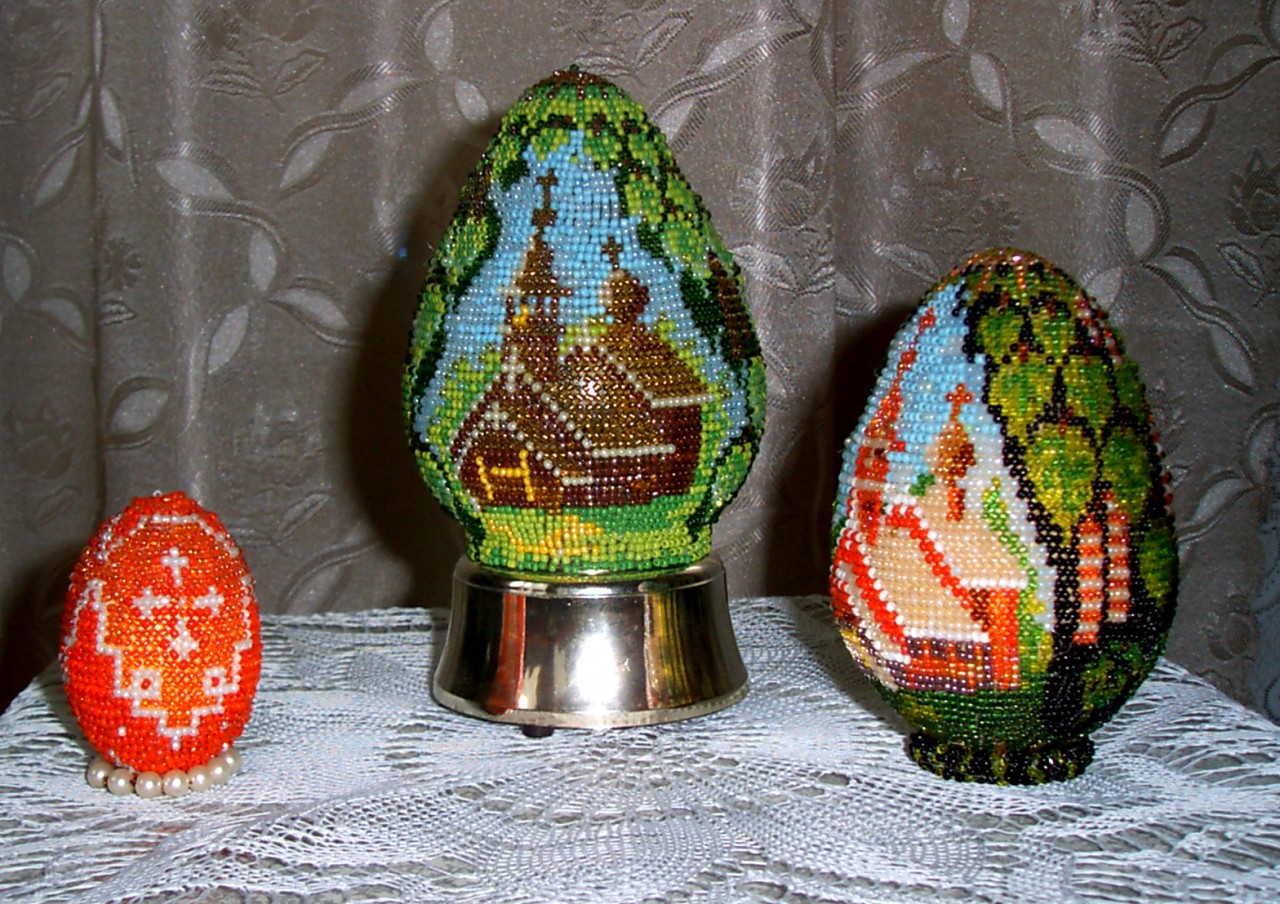
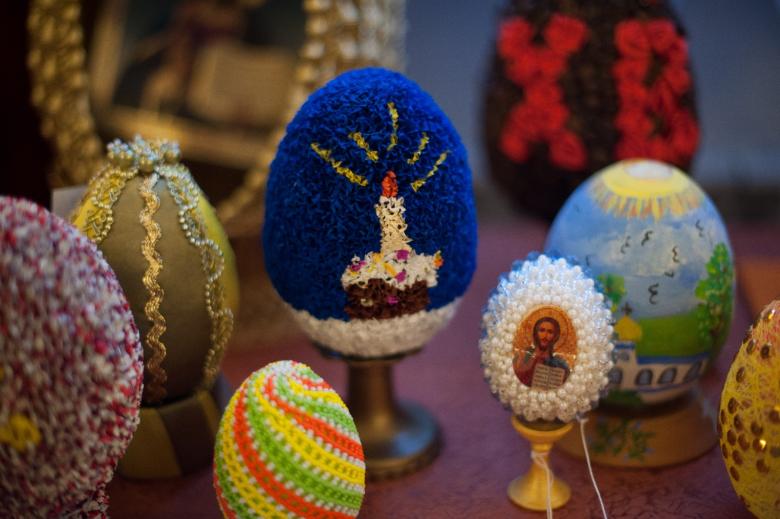
- Beadwork is used to decorate any hard base (wooden, clay, foam base).
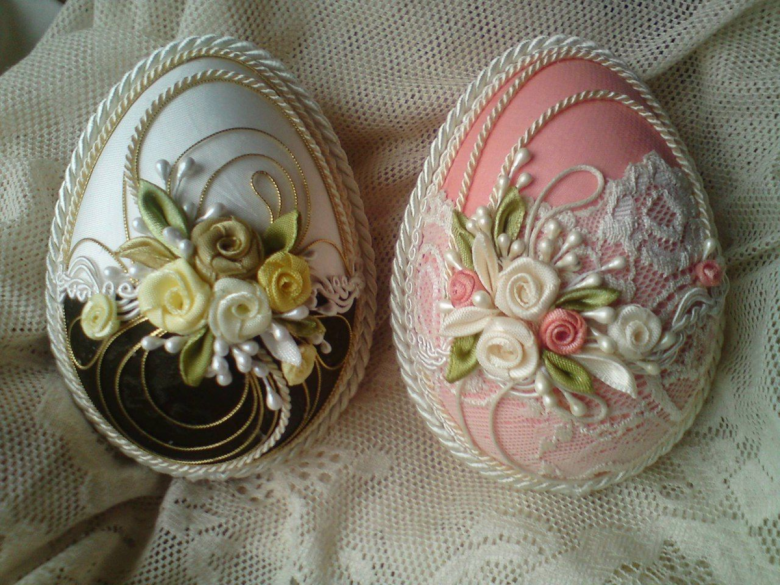
- Real needlewomen can knit or sew an Easter egg, decorating it with original embroidery.
- Origami figures are made of standard paper triangles.
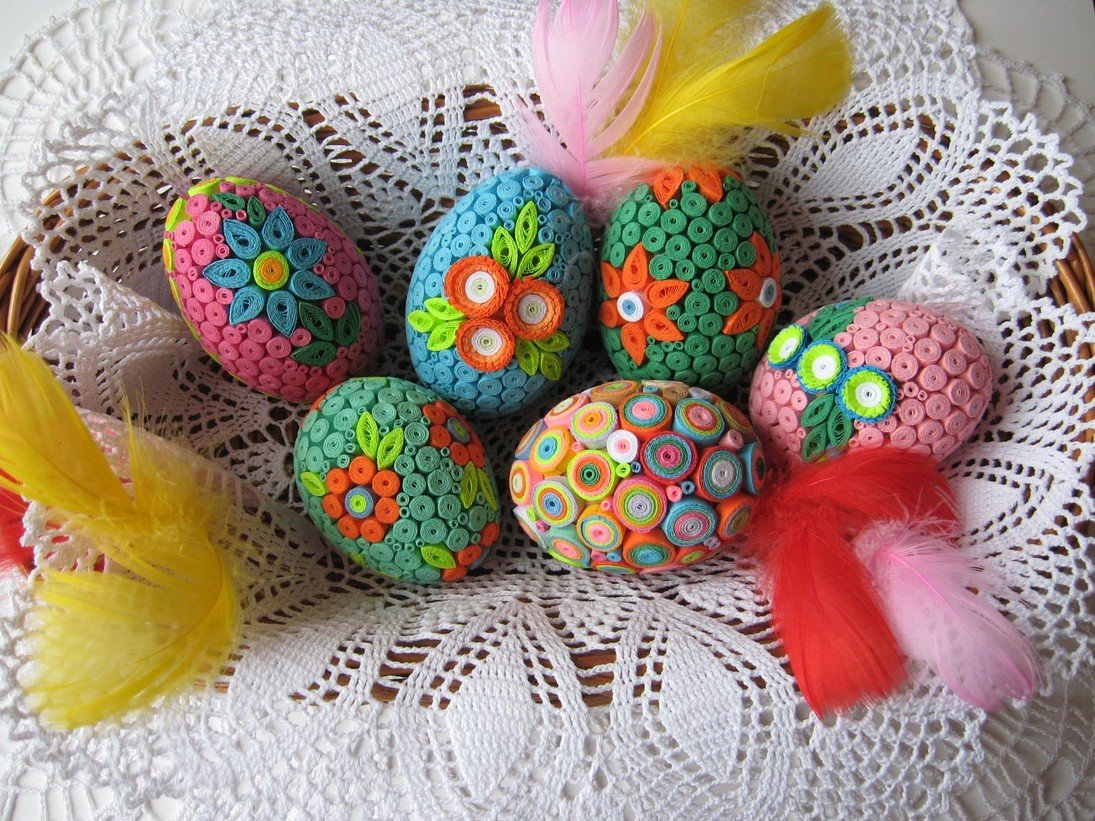
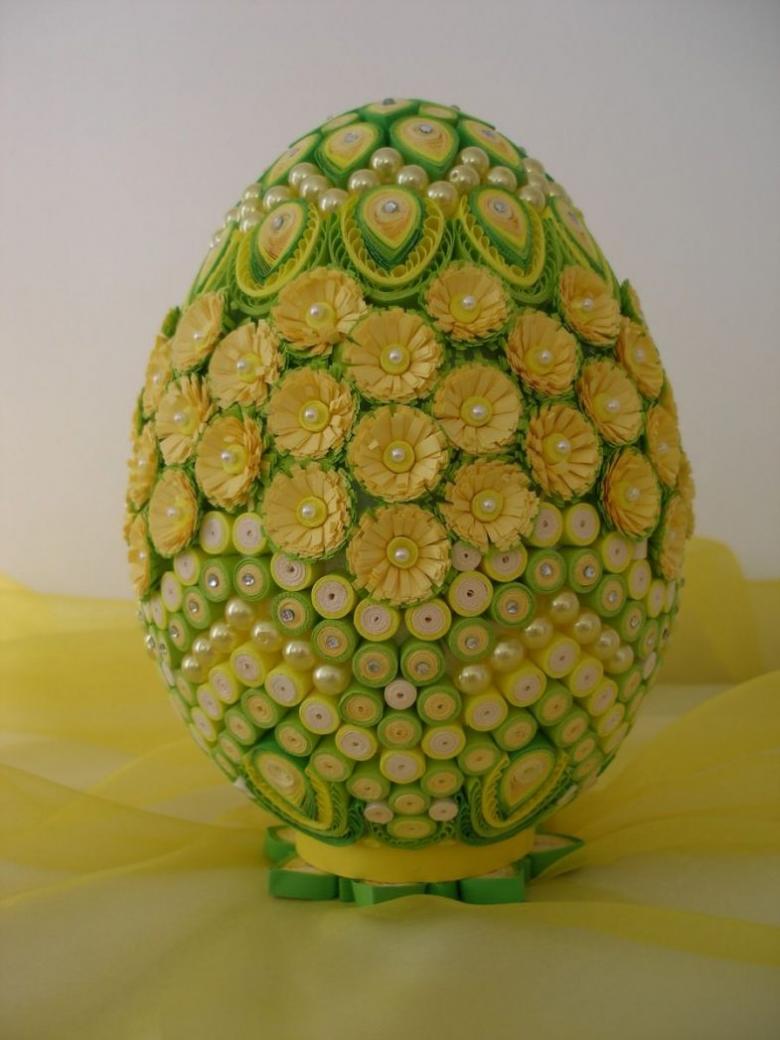
- In the work can be used lace fabric, rings of colored paper (quilling technology), satin ribbons.
There is an interesting but quite complicated technique for creating holiday eggs - carving on egg shells.

Master classes for making crafts
For any creative work, you will need an organized workplace and a suitable set of tools. Depending on the technique used, this could be a set of colorful strips of paper and a pencil and needle, a modeling kit and cutting board, glue, and different kinds of paper.

If necessary, you need to prepare step-by-step instructions for making original crafts.
Modeling an egg from cold porcelain
Cold porcelain is a unique plastic material, safe for children, allowing you to create the most relief crafts. How to make the material at home without cooking:
- In a separate container mix water 1 tablespoon and citric acid.
- Potato starch and glycerin are also poured in there.
- PVA glue is added to the container and the entire mass is thoroughly mixed.
- The mixture is placed in a microwave oven for 20 seconds (need 3 procedures).
The plastic mass is kneaded by hand, then smeared with petroleum jelly, wrapped in plastic wrap and sent to the refrigerator for 5 hours. Instructions on how to make a homemade porcelain Easter egg with your own hands:
- The ready mass is removed from the refrigerator, remove the film.
- Stir with your fingers and start sculpting the egg.
- It is better to make the Easter egg large enough to be able to make the desired relief on the surface.
- The egg is drawn with a needle or toothpick. It is better to fix the egg in place so as not to touch the work with fingers.
To dry the finished product use natural or artificial method. For the second heat the oven to 180 degrees, bake the accessory for 15-20 minutes. After removing the handcraft left outdoors for another 12 hours, and only then painted with acrylic paints in the desired colors.

The Easter egg papier-mâché
Another interesting technique for making crafts is the French technique of papier-mache. To work, prepare glue, mix it with a small amount of PVA glue, and tear the paper into small pieces.
As a base, you can use any object: from a Styrofoam egg to a balloon. Instructions on how to make an Easter egg using the papier-mâché technique:
- Clay is poured into a separate container.
- The surface of the balloon or other object of the base is covered with vegetable oil, so that later it was easier to remove the halves of the craft (the balloon can simply be pierced with a needle, and then remove the rubber cloth).
- Each piece is abundantly moistened with an adhesive solution, and then attached to the chosen base. To obtain a durable accessory, you will need to make at least 10 layers of paper and glue.

The handicraft is given time until the glue composition hardens completely. Then either pierce the ball with a needle, or carefully cut the product with a stationery knife, and then remove the halves of the future egg. The halves are glued together after removing the base, and covered with gouache in the chosen style.

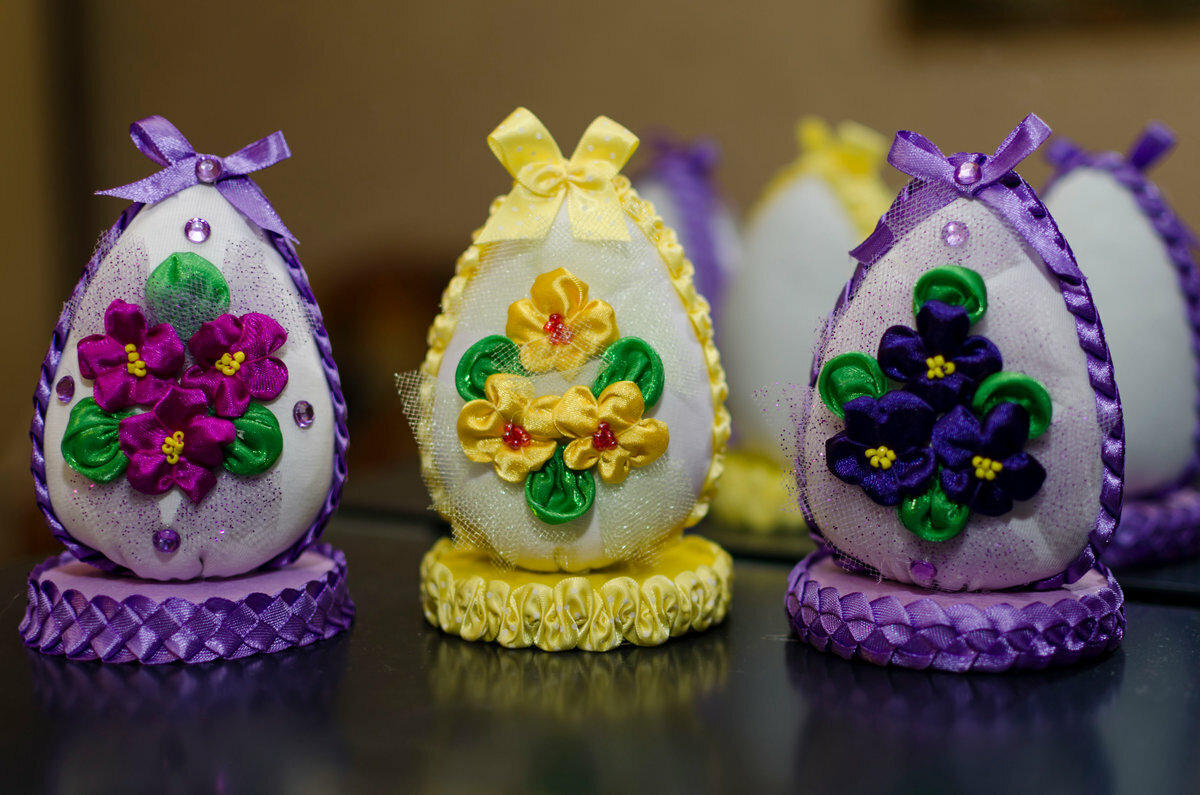
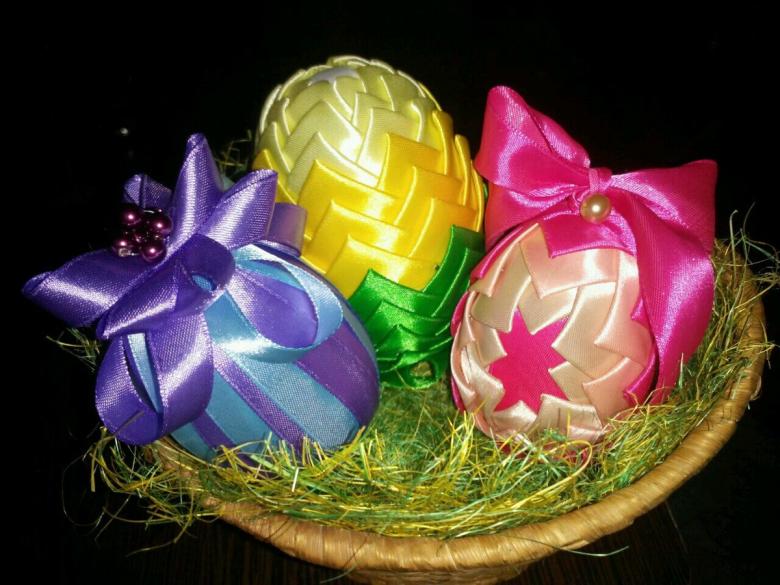
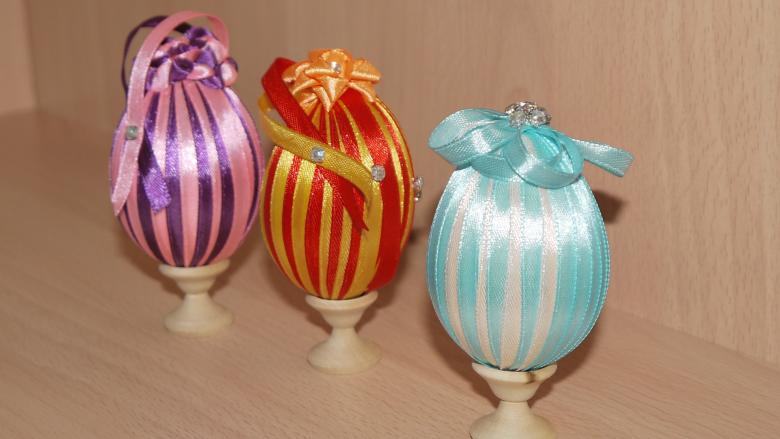
Satin ribbon crafts
Satin ribbons are a great material for making crafts. Also for work you will need a set of English pins (very small), scissors, a foam base of an oval shape. Instructions on how to make a craft in the form of an Easter egg with your own hands:
- First of all, the master must learn the technique of folding satin triangles of fabric. To do this, a strip of textile is spread out in front of you, and begin to fold in triangles along the long axis. The resulting final figure is fixed with an English pin.
- To create a stylish handicraft it is necessary to make several dozens of such figures, and all parts can have completely different colors.
- On the foam plastic, satin blanks are fastened with the same pins, forming consecutive rows of triangles.
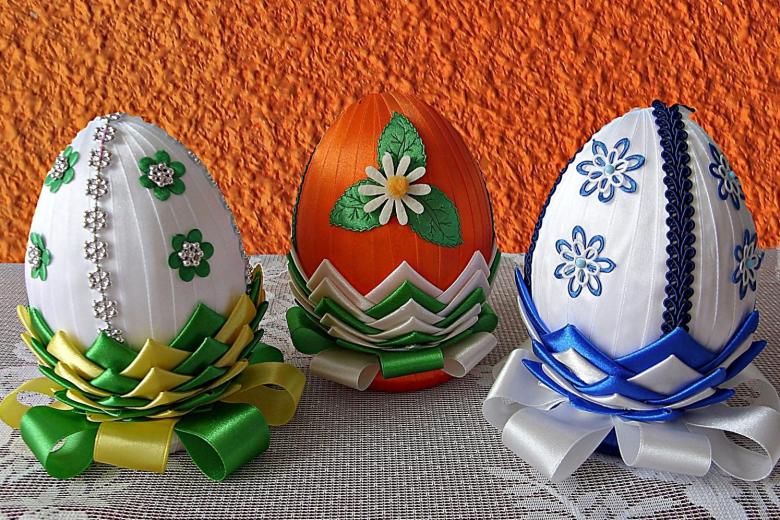
The master has the ability to choose his own pattern, create a beautiful gradient of hues (using the same type of colors or colors from different categories).
Paper egg for children
Working with paper is the easiest type of art, which allows creative classes with the youngest masters. As a rule, for beginners choose an Easter egg in the form of a flat craft. For work you will need colored paper, scissors, glue. Instructions on how to make an Easter egg with your own hands for kindergarten:
- On the back side of the paper draw the outline of an oval egg.
- According to the marked contour cut out the figure.
- From a sheet of paper of a different color cut out details for decoration.

To attach the smallest details to the main figure using glue. Thus, the master obtains an interesting application of colored paper. You can complement the festive image with paints or felt-tip pens.
Decoupage
Today the decoupage of the Easter egg is very popular. To work you will need an egg, a cup of sufficient size, pins, napkins with a beautiful pattern, scissors, glue, brushes. Instructions for making the original craft:
- A red-hot needle makes a puncture on one of the poles of the egg.
- From the selected napkin cut out an image.
- The outer surface of the shell is covered with glue, and then the image for the Easter egg is applied. Fingers smooth out the image, so that there is no rough folds.
- On top, cover the "sticker" with a second layer of PVA, let the composition dry.
The created image can be supplemented with beautiful beads, beads or rhinestones.

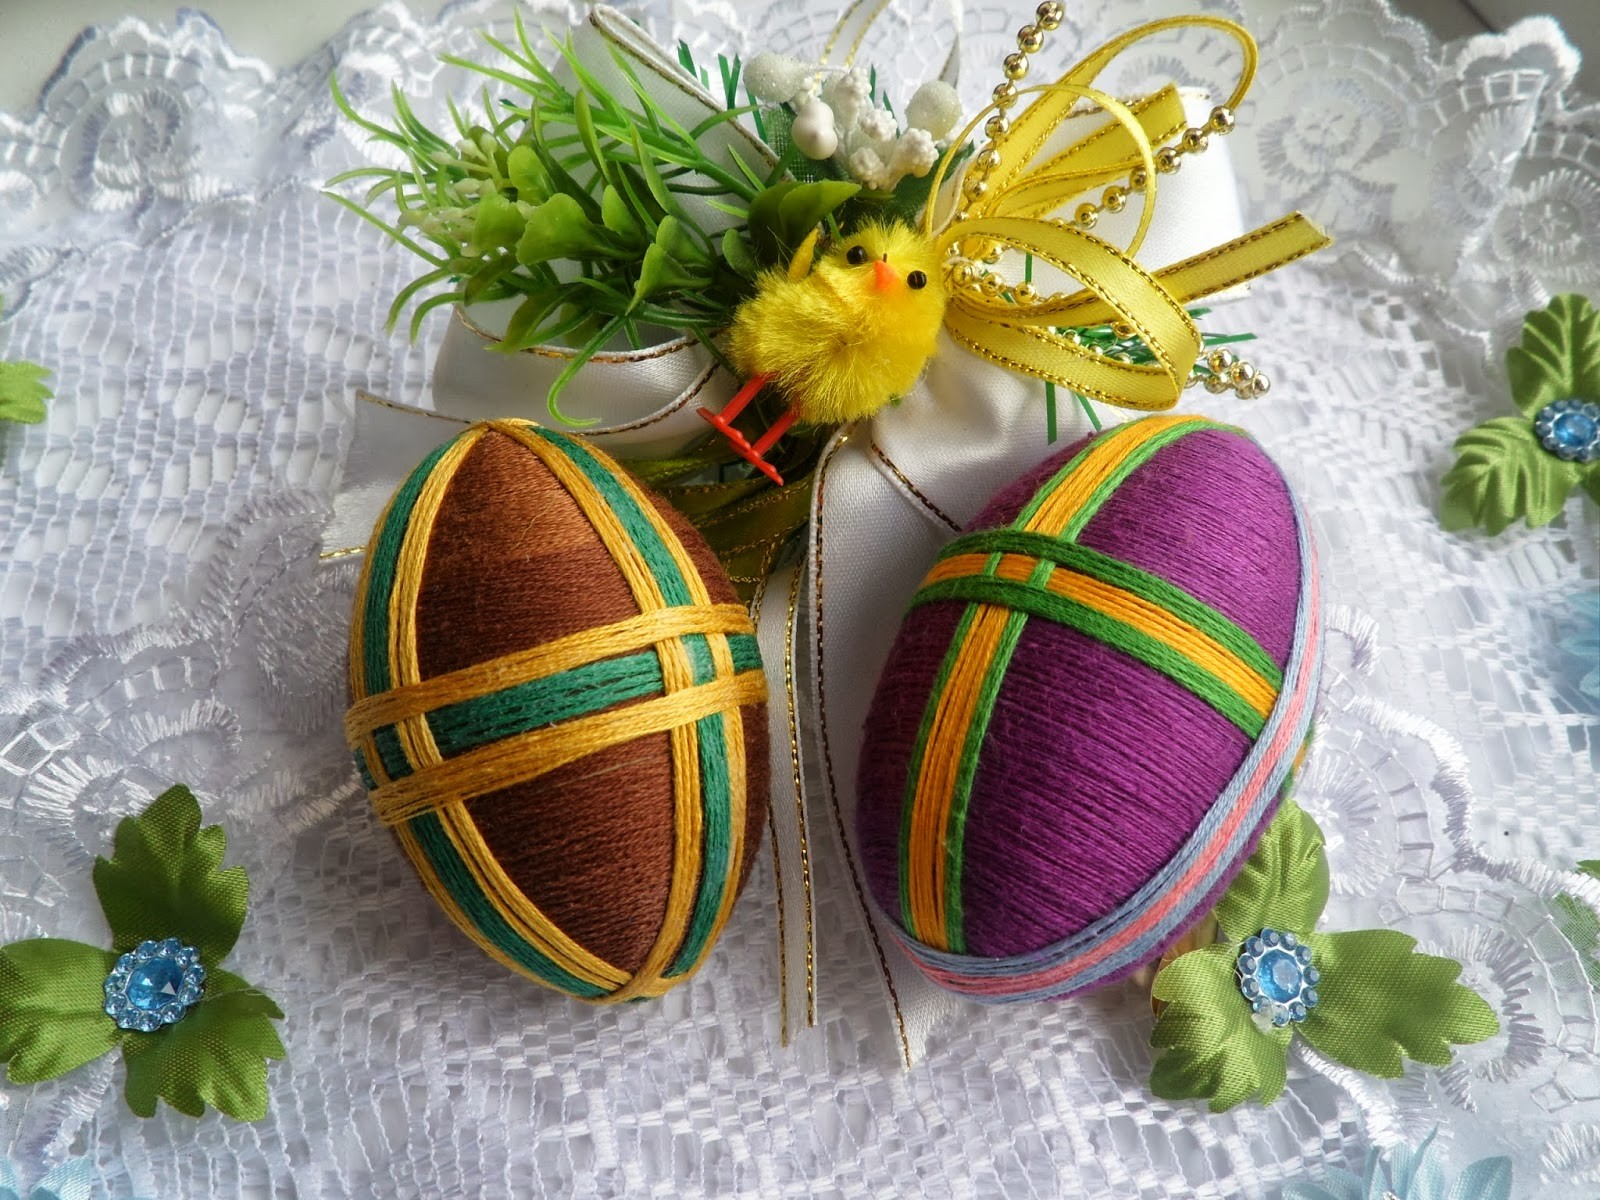
In the art there are a lot of interesting techniques, for example, very popular decorative schemes of Easter eggs with beads. Also from the rolled up paper ribbons are created stylish accessories that can advantageously decorate the interior. Most of the creative ideas do not require special skills and experience, you just need the skill and desire of the master.

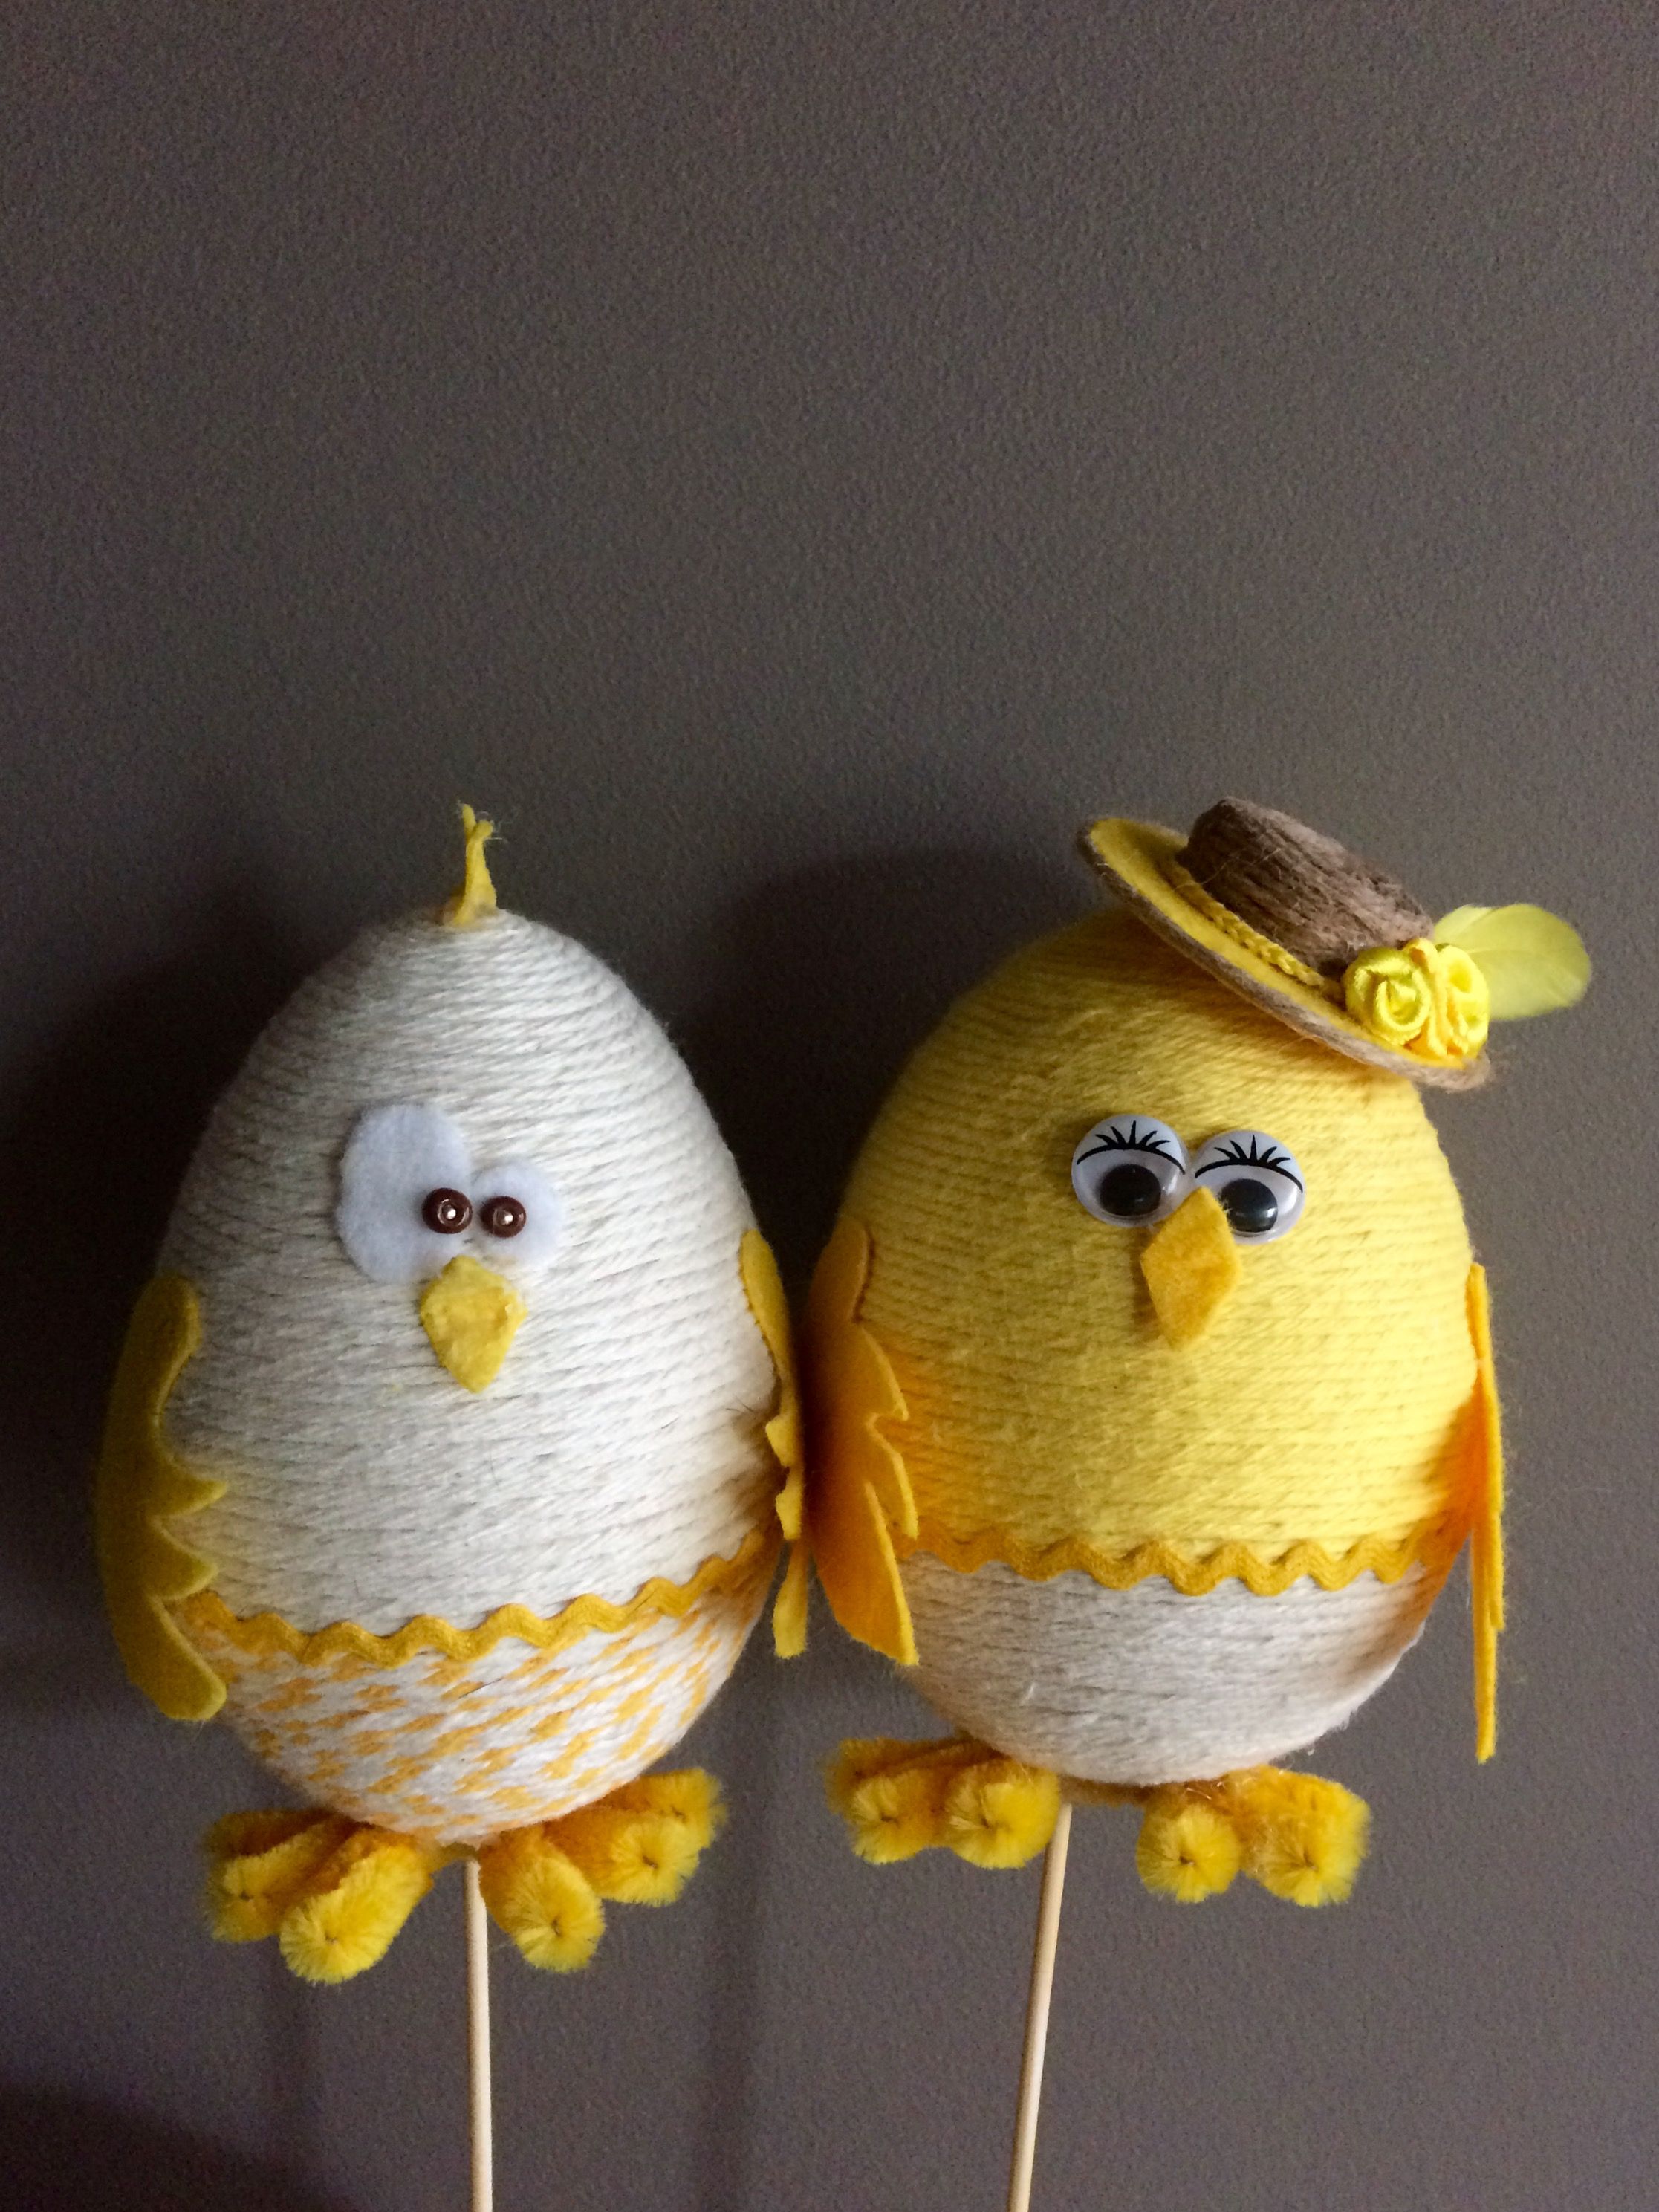
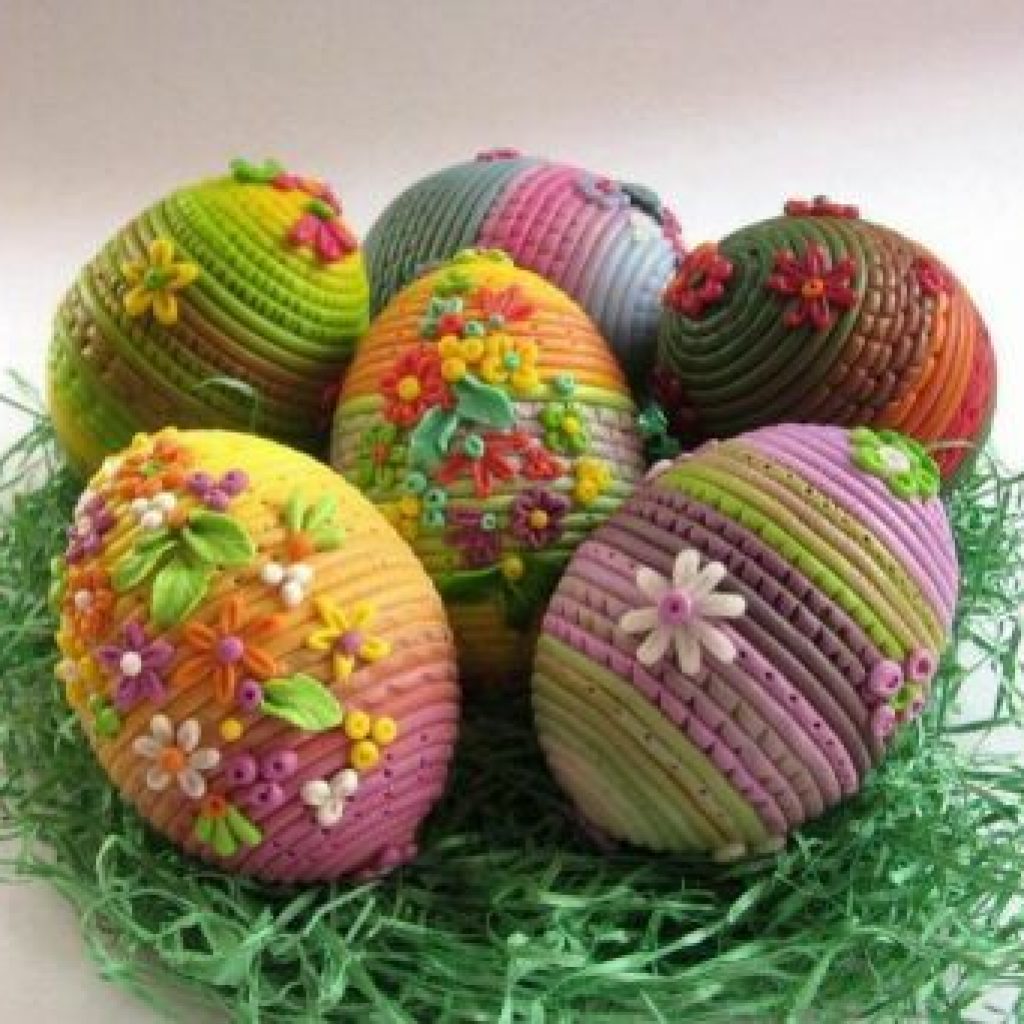
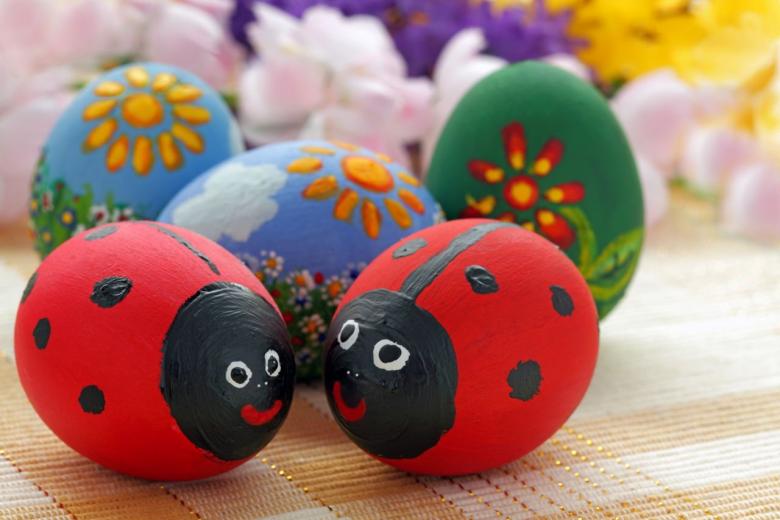
Photo ideas of homemade Easter eggs