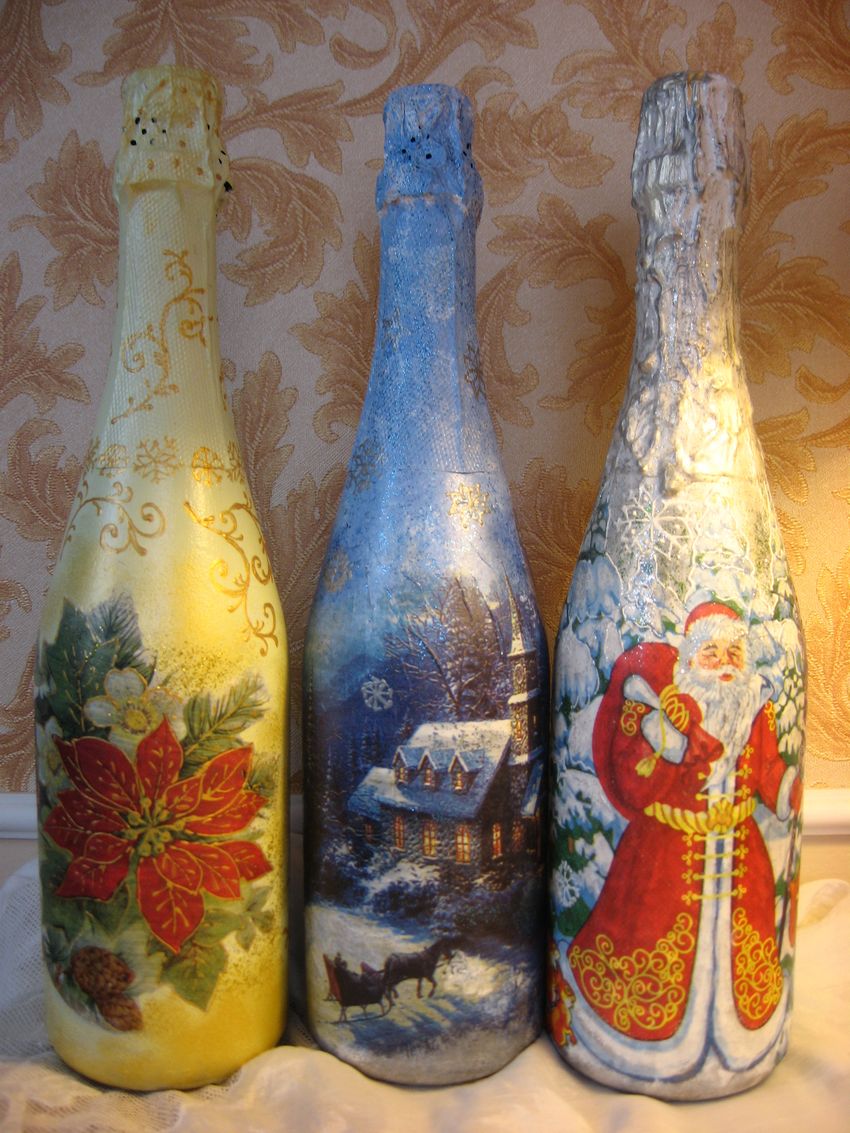
Decoupage of champagne bottles for New Year - interesting and beautiful ideas of bottle decoration (75 photos)
New Year is a favorite holiday of childhood. This holiday many people associate with snow, gifts and champagne. You can please your loved ones with an unusual gift, and you do not have to spend a lot of money on it. You can decorate your champagne bottle in the technique of decoupage, to give it a unique look, which will be appreciated.
Even a beginner can cope with this technique, and the result will be a unique gift. Decoupage of champagne bottle for the New Year is a separate art form, it is a technique of decorating with the application of images.
Decoupage technique for beginners
For the master class of decoupage of a champagne bottle you will need:
- Cloth to cover the working surface.
- A bottle of champagne.
- Alcohol or acetone to degrease the bottle.
- Wipes. If you can not find suitable napkins, you can simply print out a picture.
- Foam sponge.
- Acrylic paints of New Year's colors.
- Decoupage glue. (You can use PVA).
- Brushes.
- Finish varnish.
Preparing the bottle
First you should remove the labels from the bottle and degrease it with acetone or alcohol. It is better to choose a bottle without engravings, otherwise the tissues can stick unevenly and look skewed.
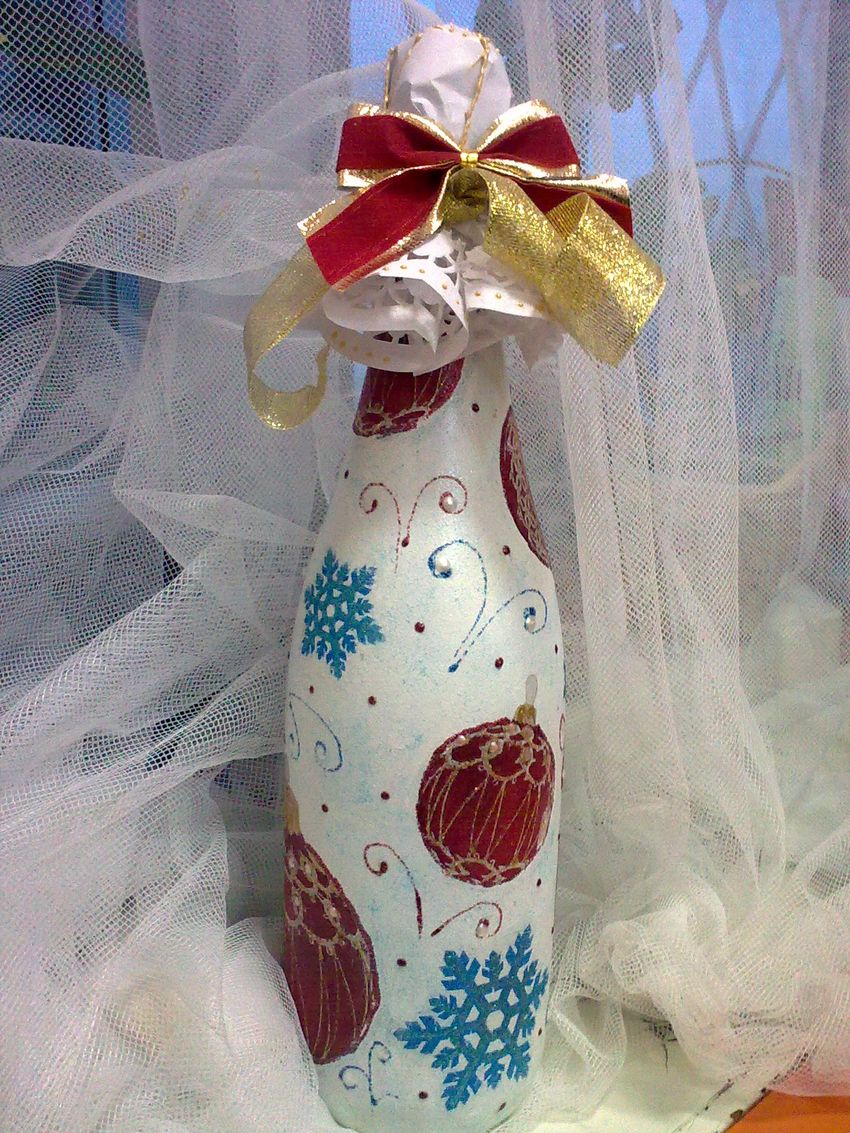
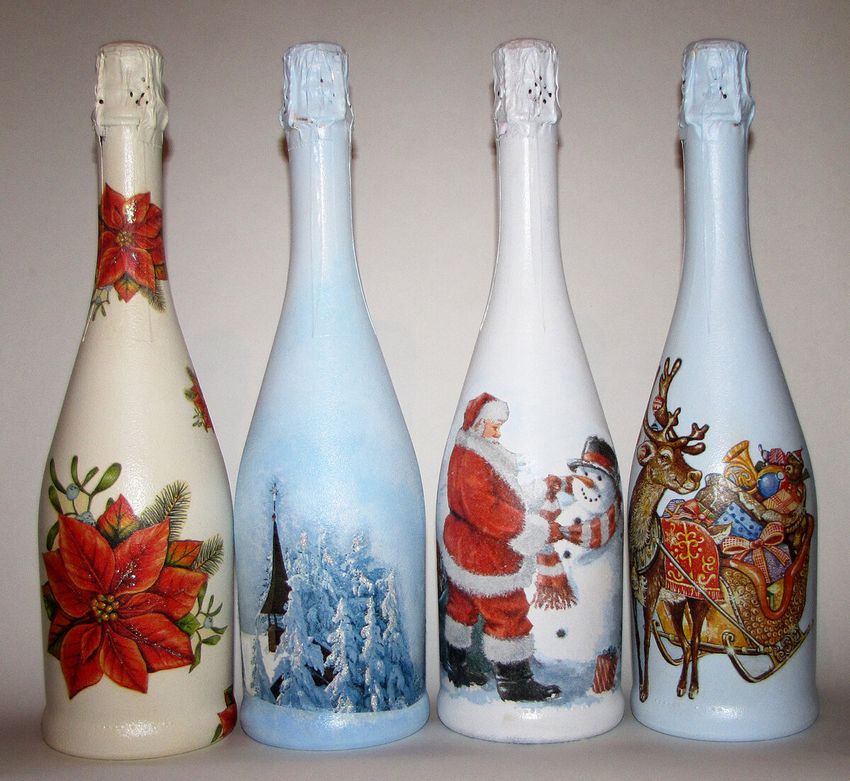
Background
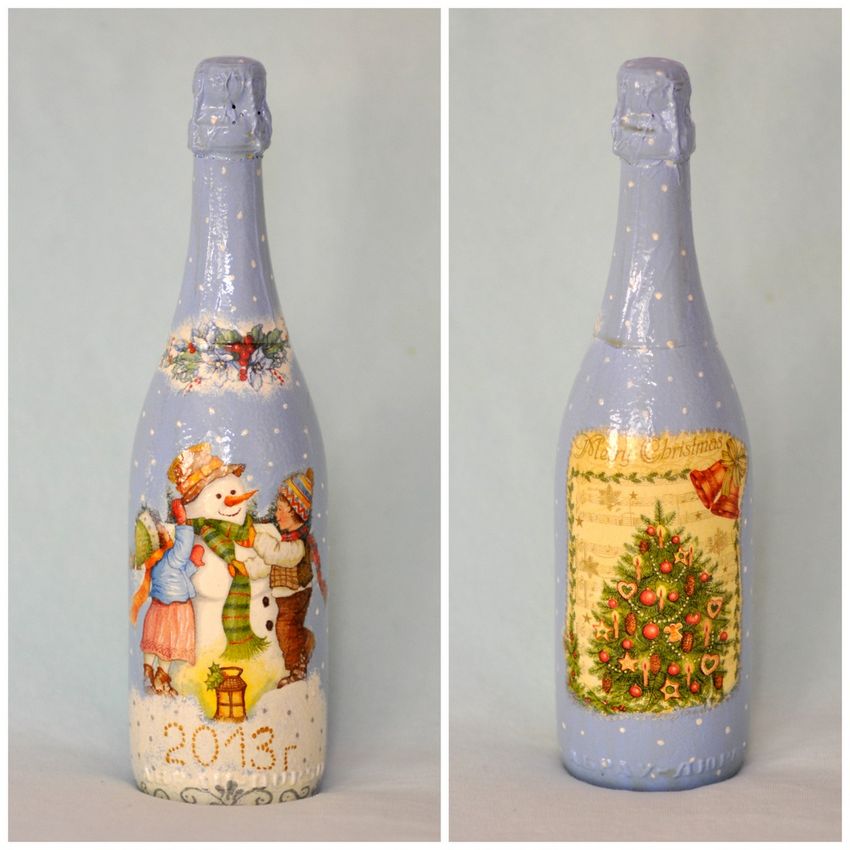
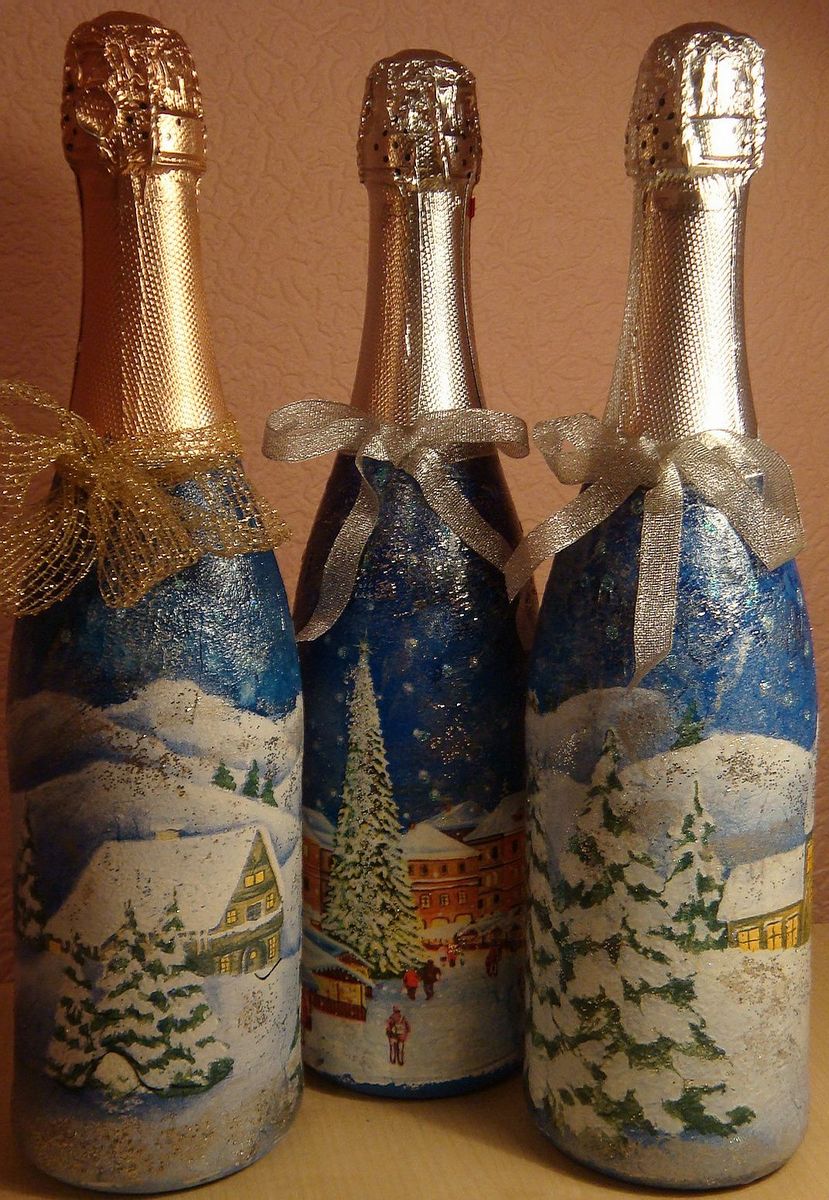
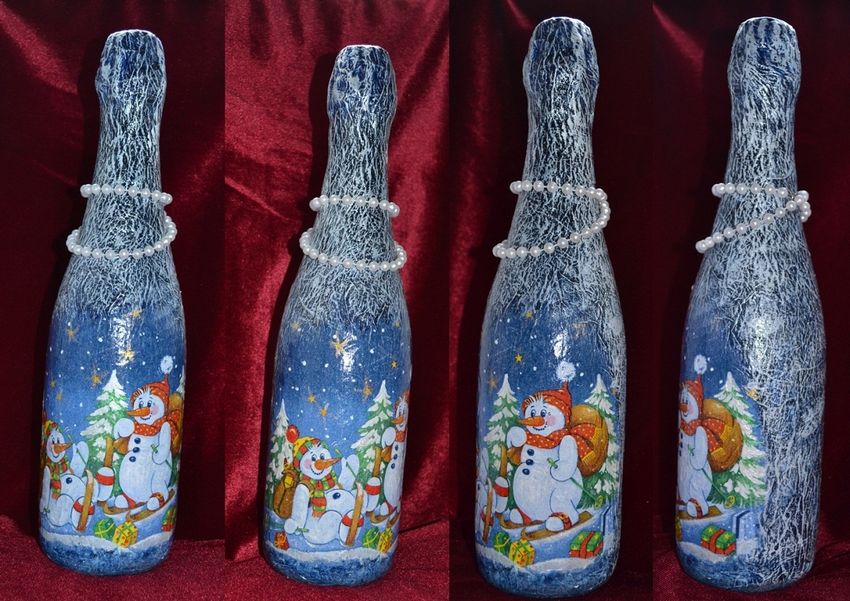
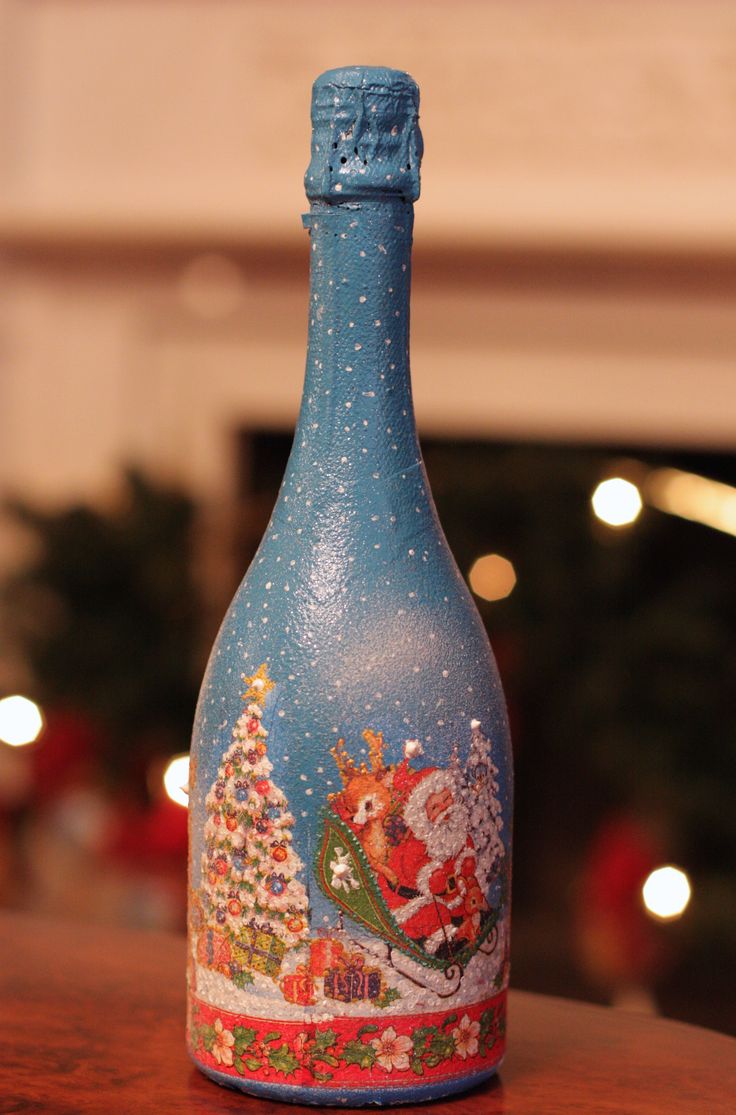
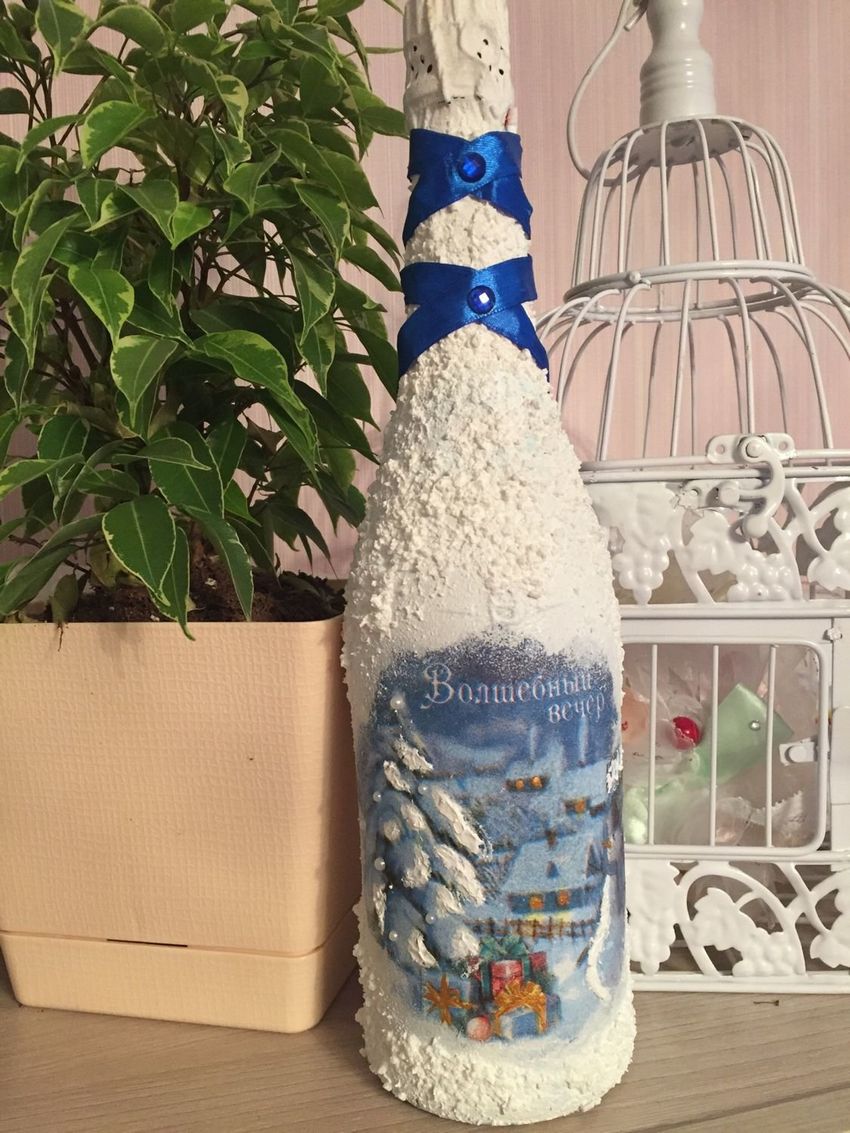
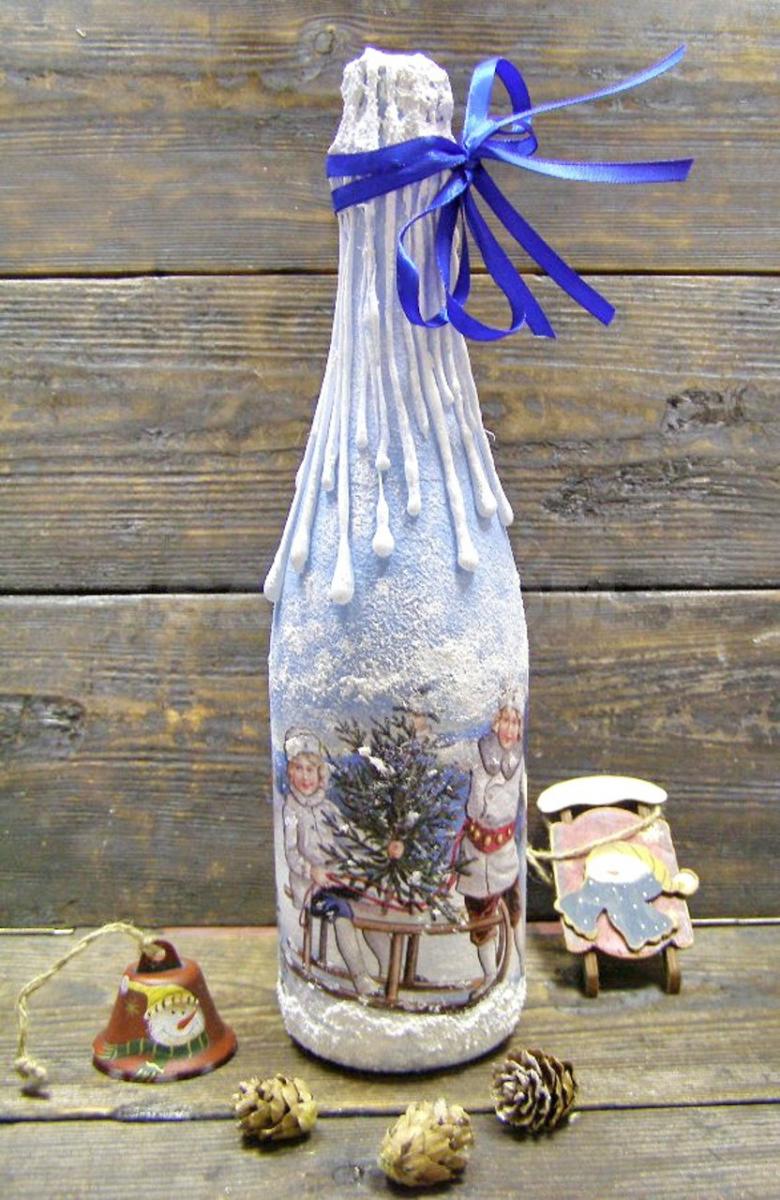
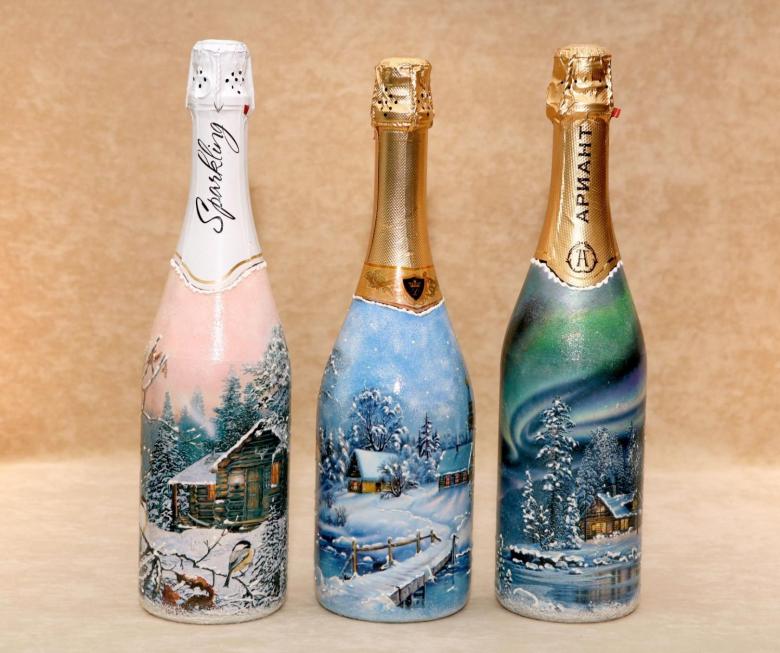
The color should be chosen based on the theme of the story. For the New Year, blue and white shades are suitable. The paint is applied with a sponge or foam pad in several layers on a dry surface. The work should be left to dry and the sponge should be washed immediately after use.
Decorating
For decoupage, it is better to buy a special glue, or dilute with PVA with water in a ratio of 1:1.
You need to take the napkin you like, carefully cut out the pattern, otherwise it can be torn, and separate unnecessary layers. With a brush, take the glue, put the napkin to the bottle and apply the glue, and gently smooth it out.
If you use a printed picture, you need to cover it with several layers of varnish and leave to dry. After that, you need to put the picture in water for a couple of minutes, blot it with a towel and roll the back of the picture with your fingers to thin it out. The picture is glued exactly the same way as the napkin.
Once the picture is glued, you can mask the edges with acrylic paint of the same shade as the background. The same paint can be used to mask any object on the napkin that does not fit the composition.
The last stage
With the help of a finishing (acrylic) varnish it is necessary to fix the result. The varnish is applied in several layers to the entire surface, after each layer the varnish must be allowed to dry.
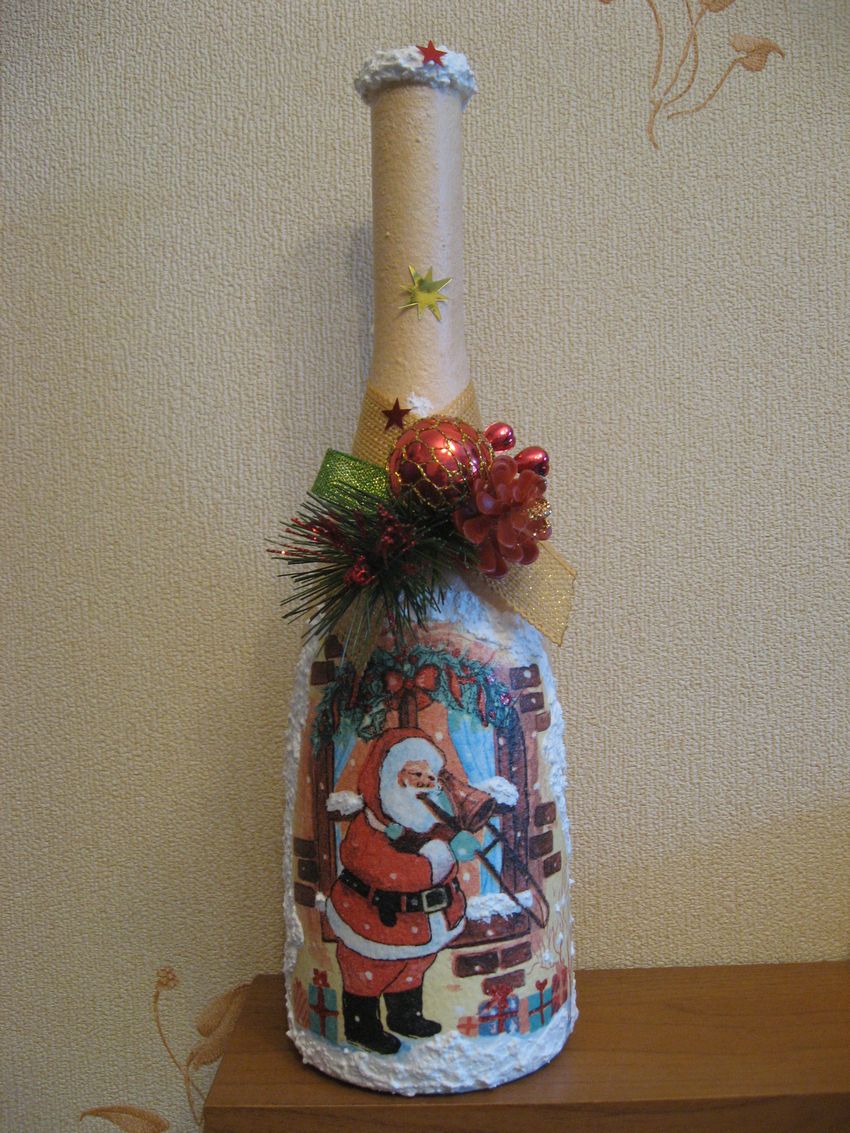
Additional decorative elements
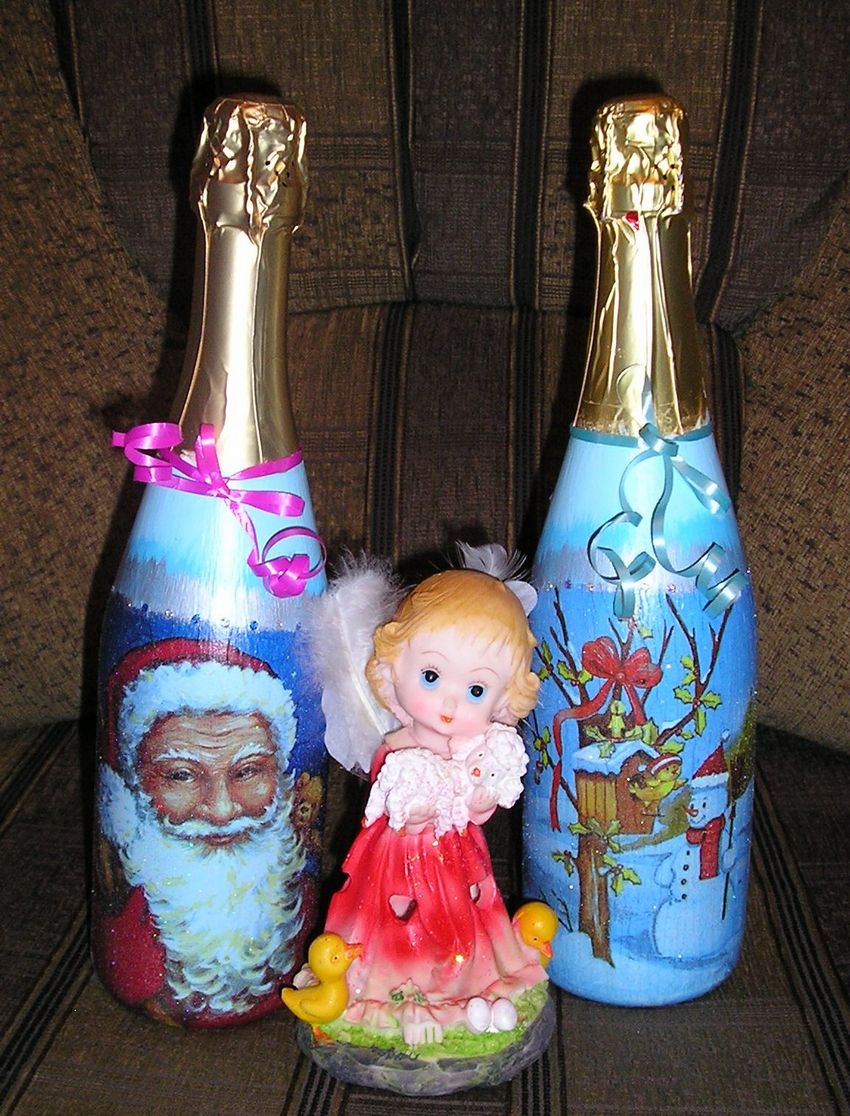
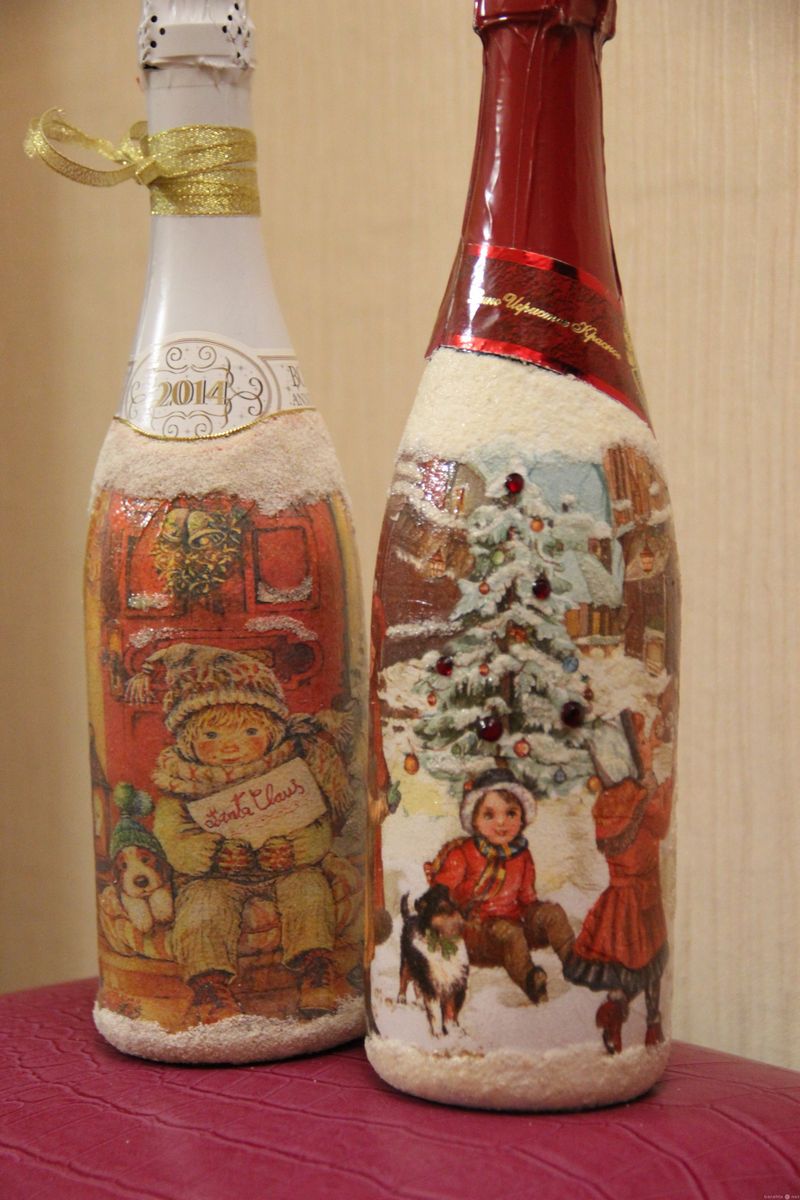
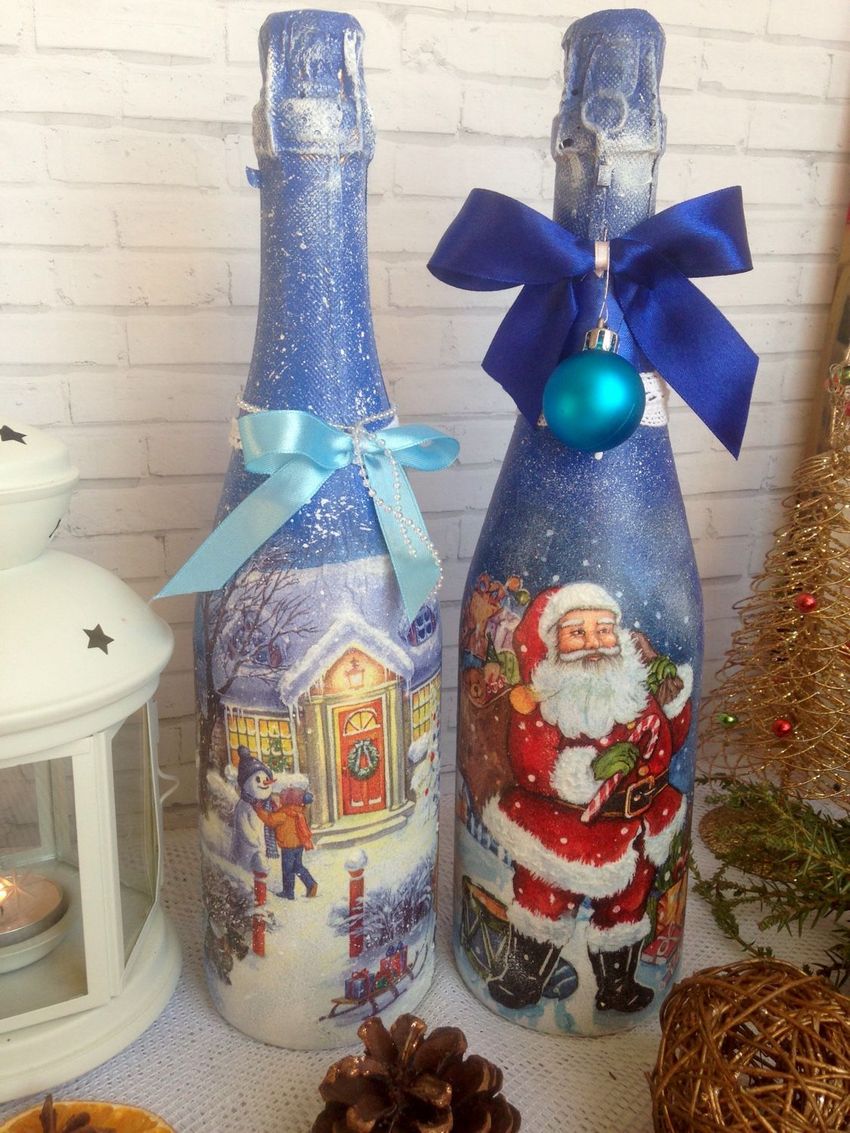
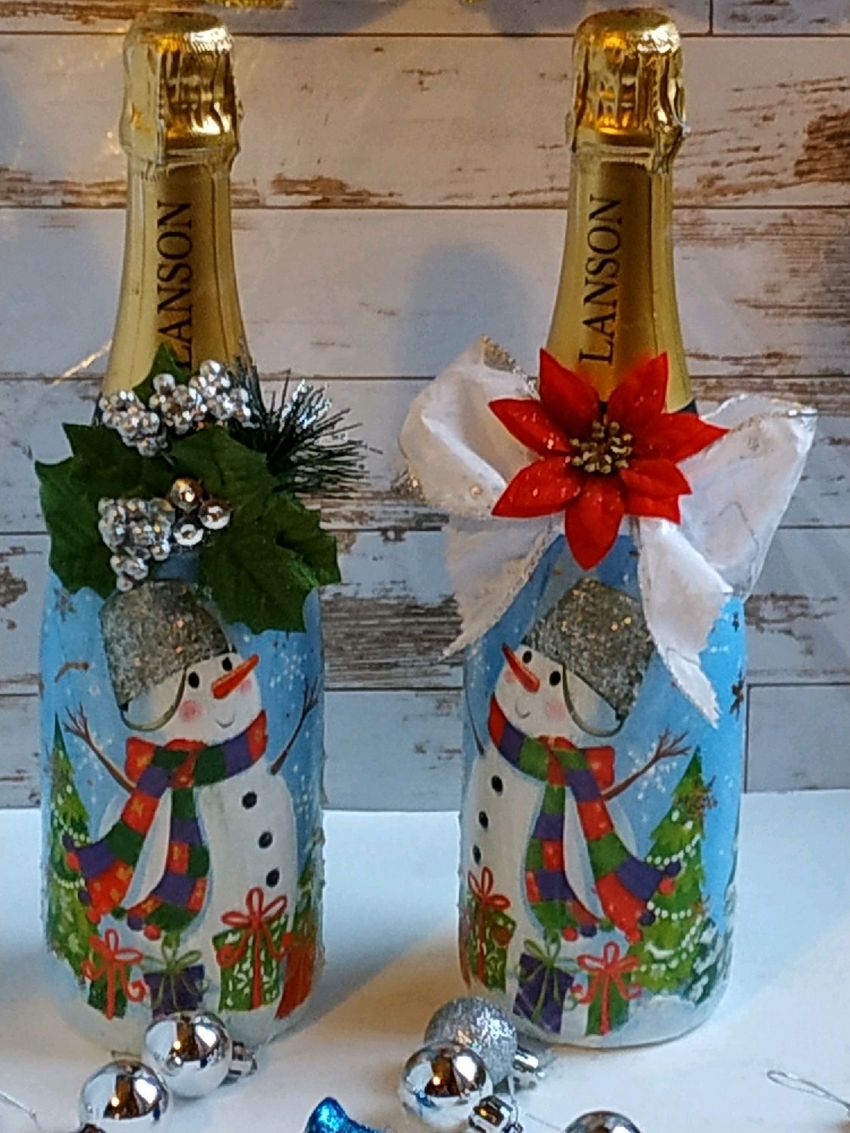
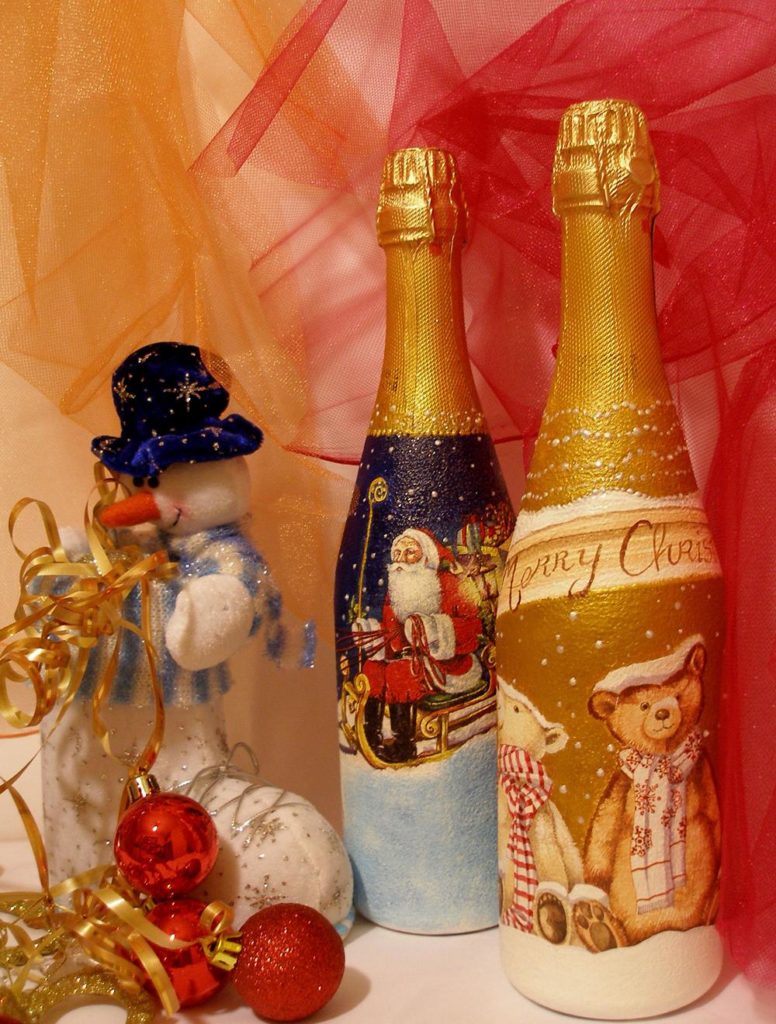
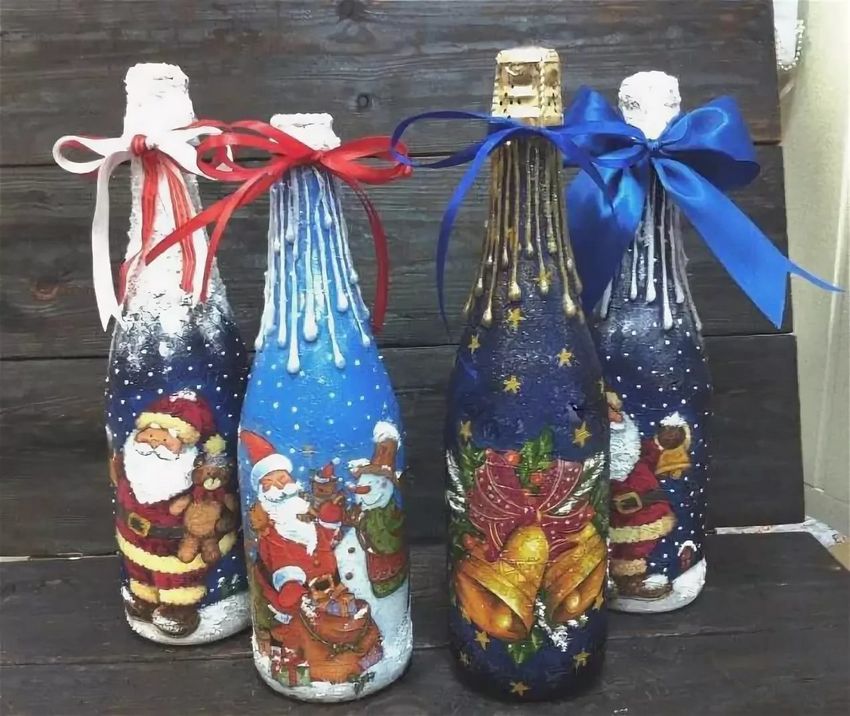
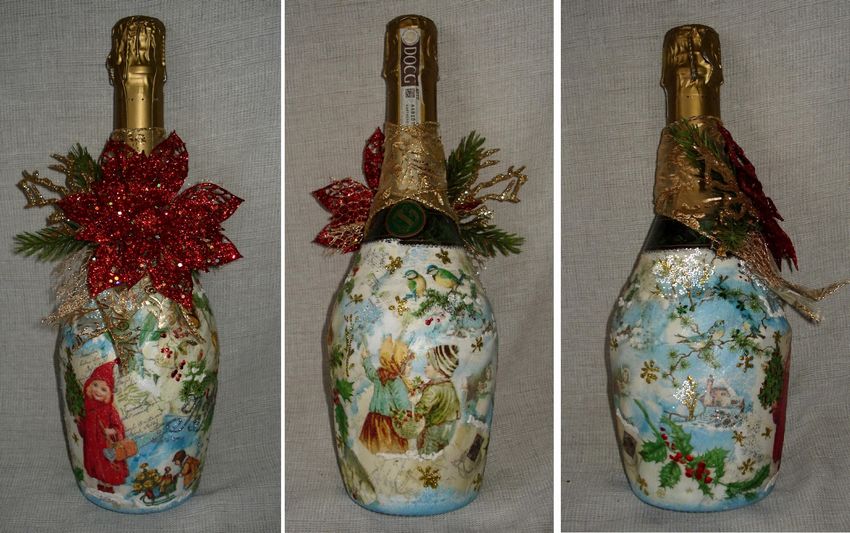
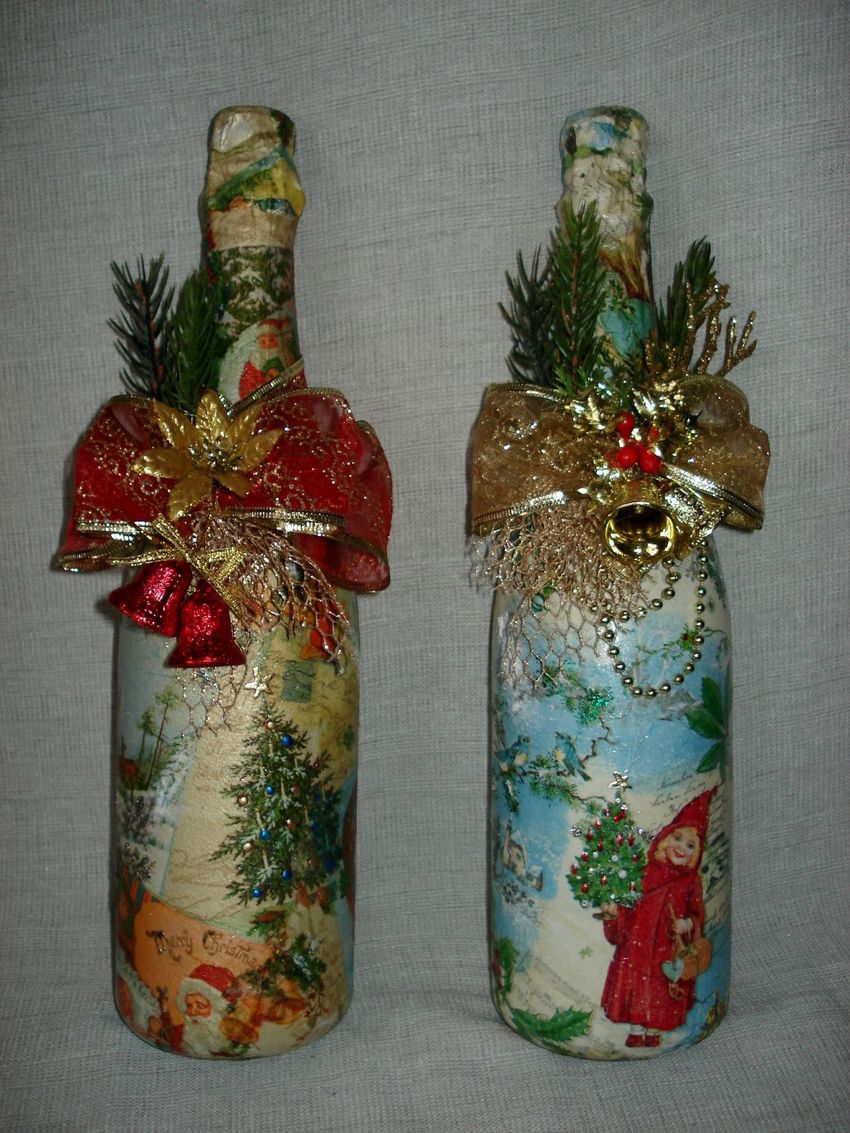
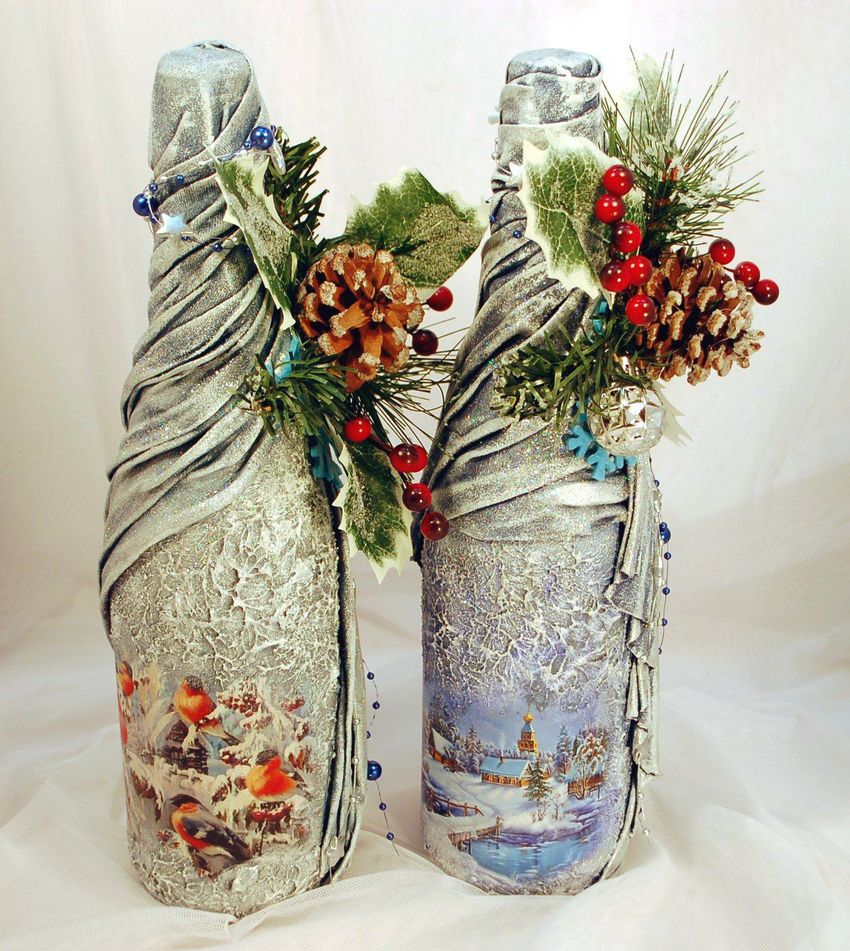
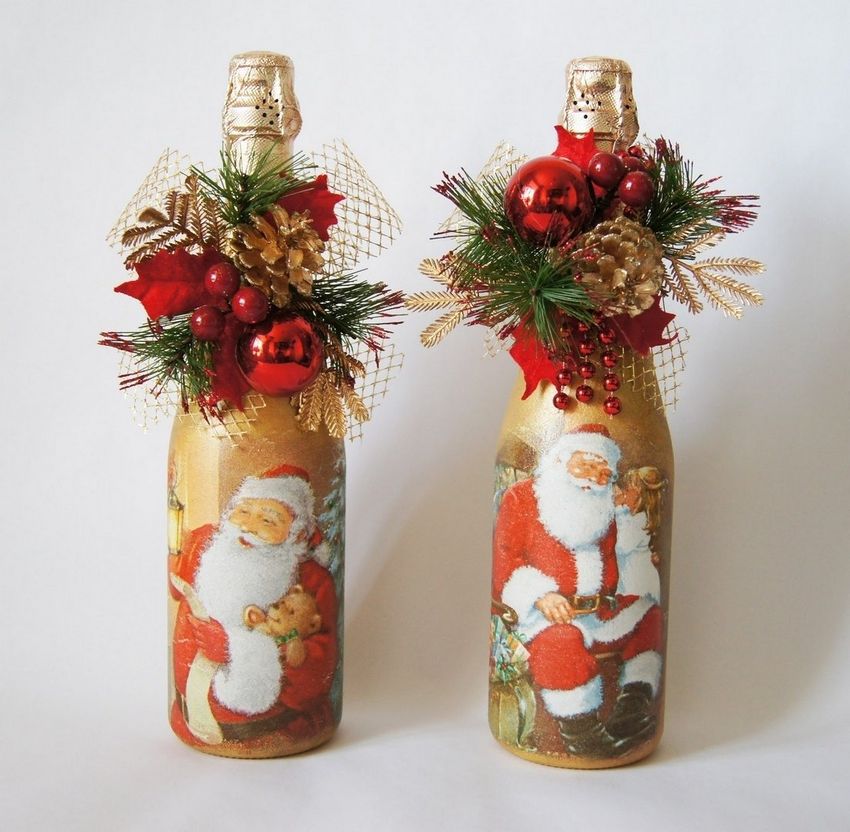
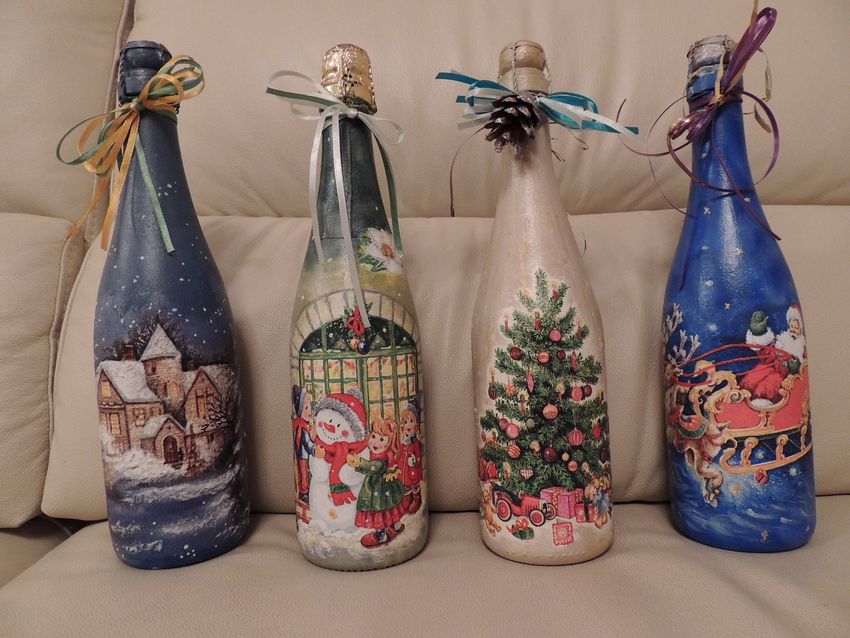
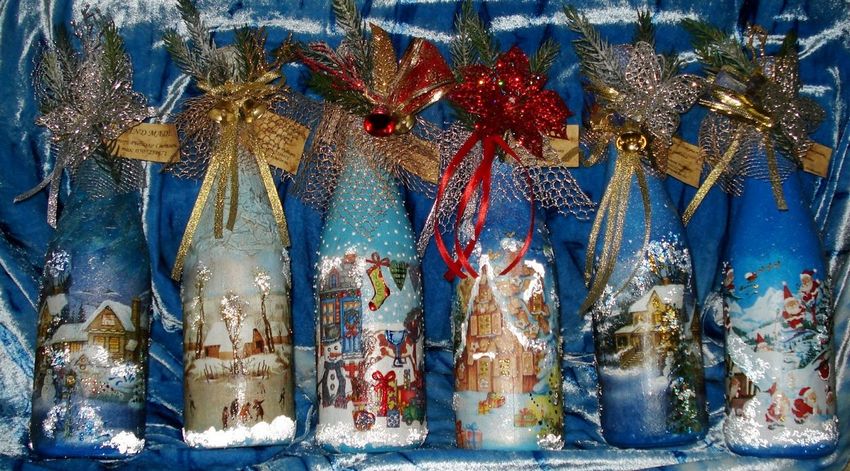
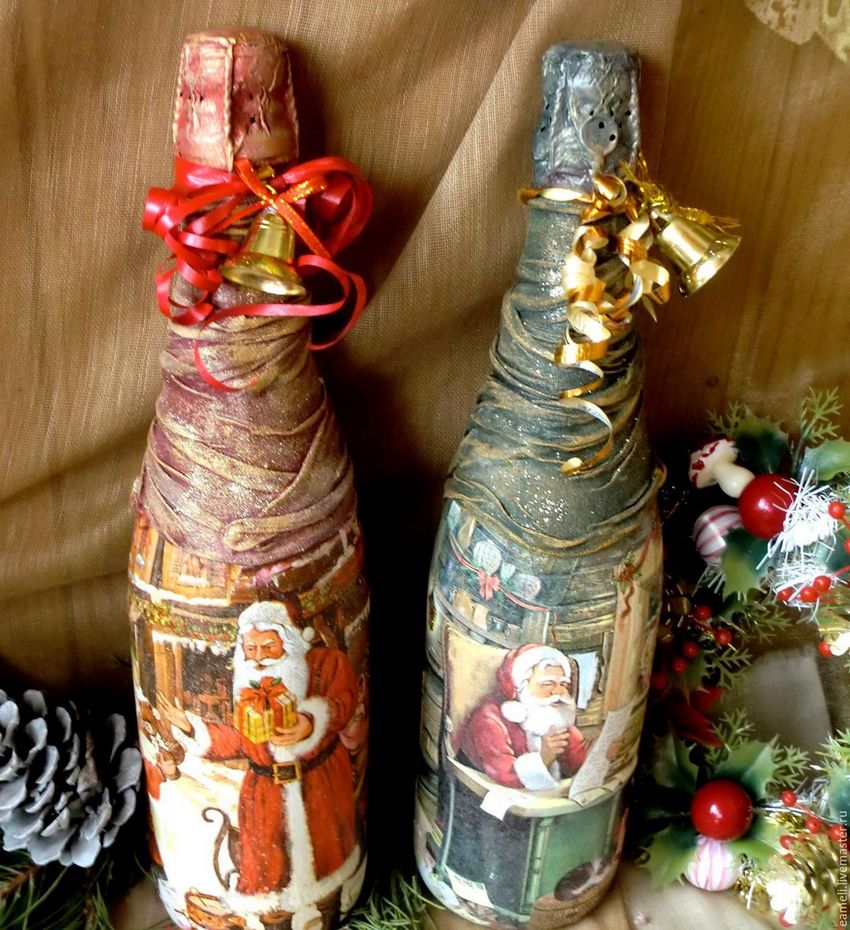
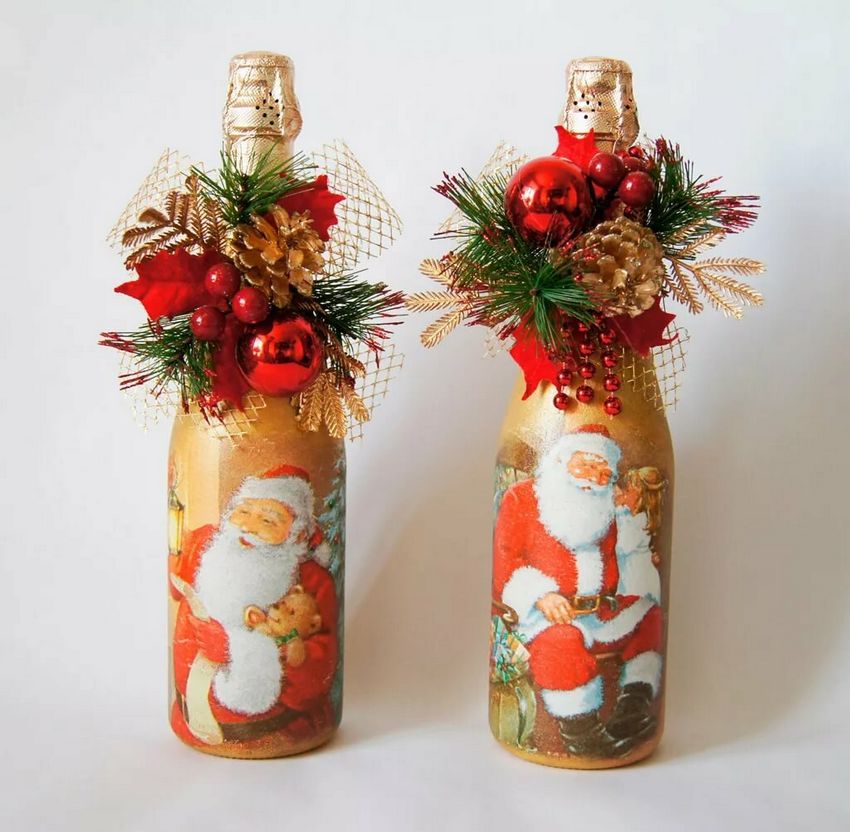
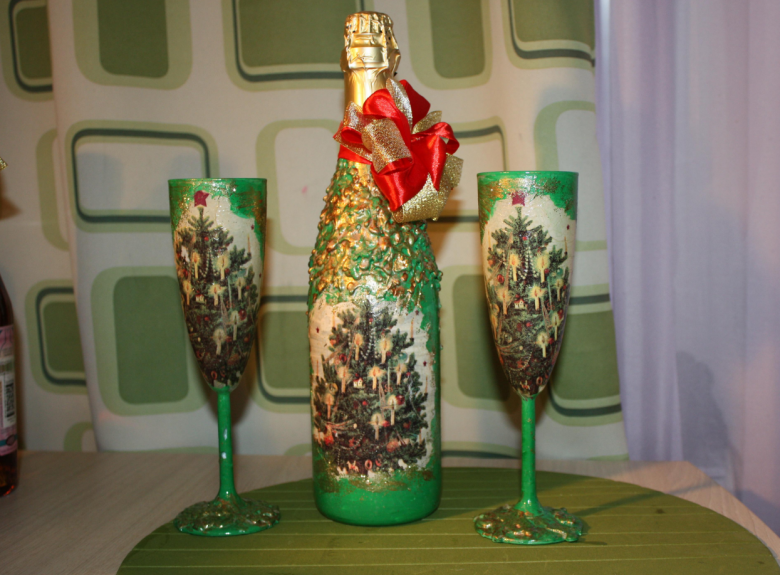
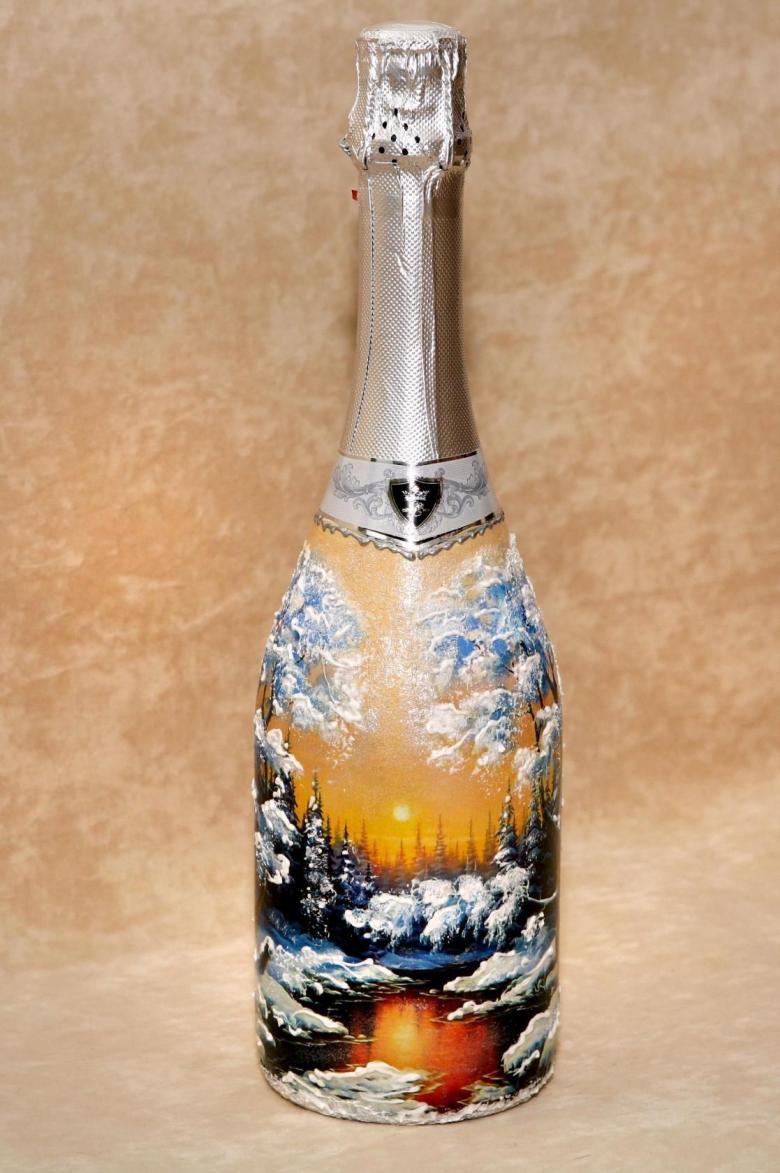
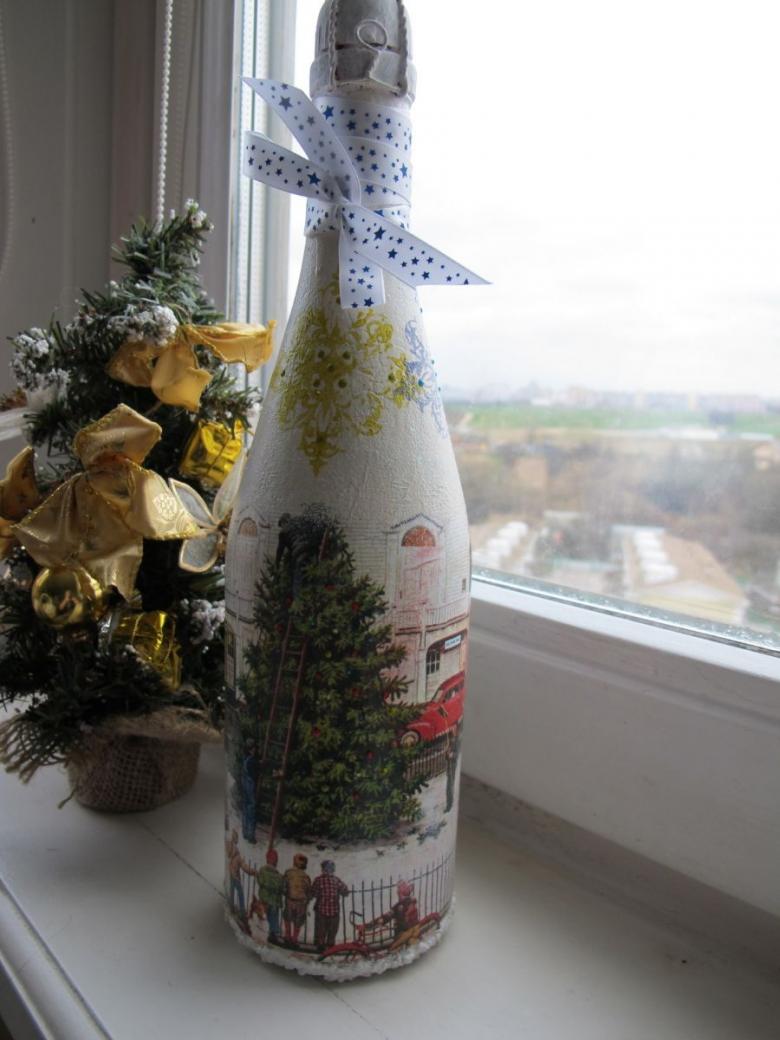
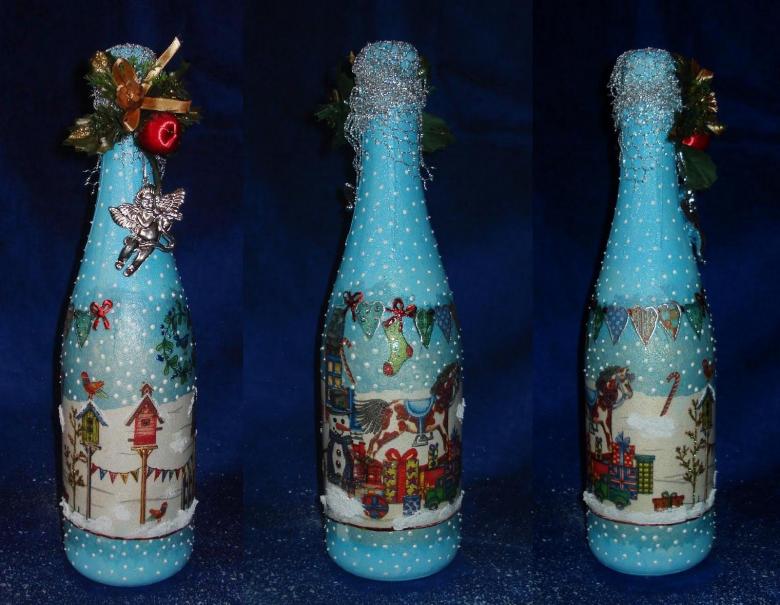
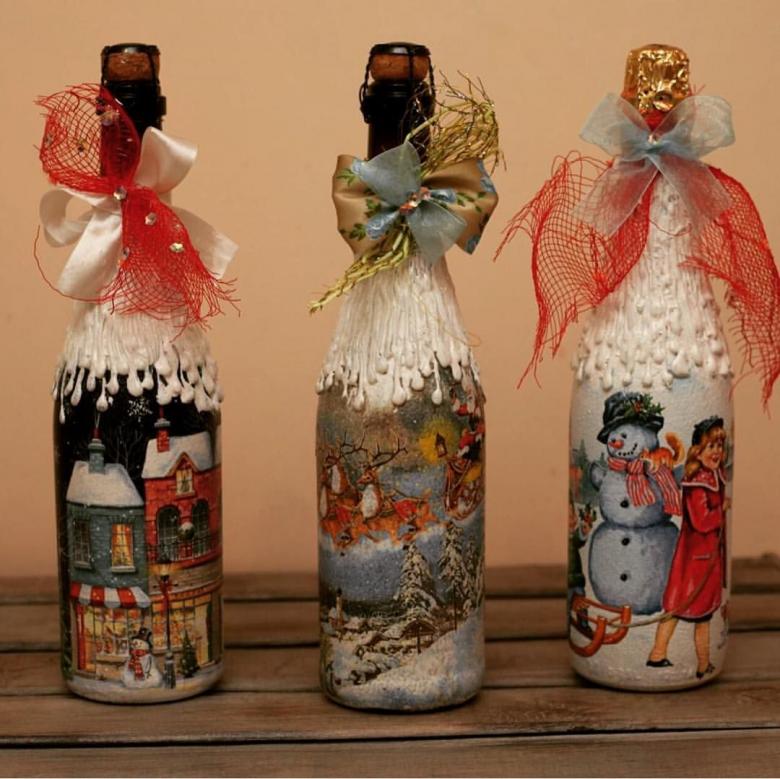
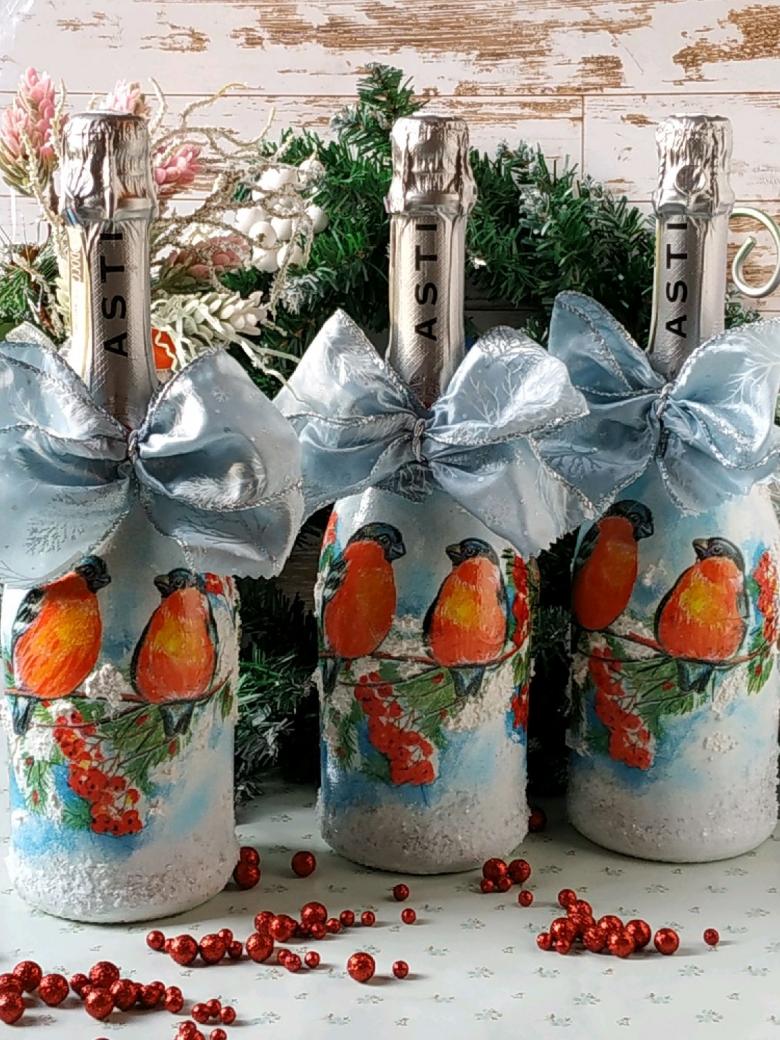
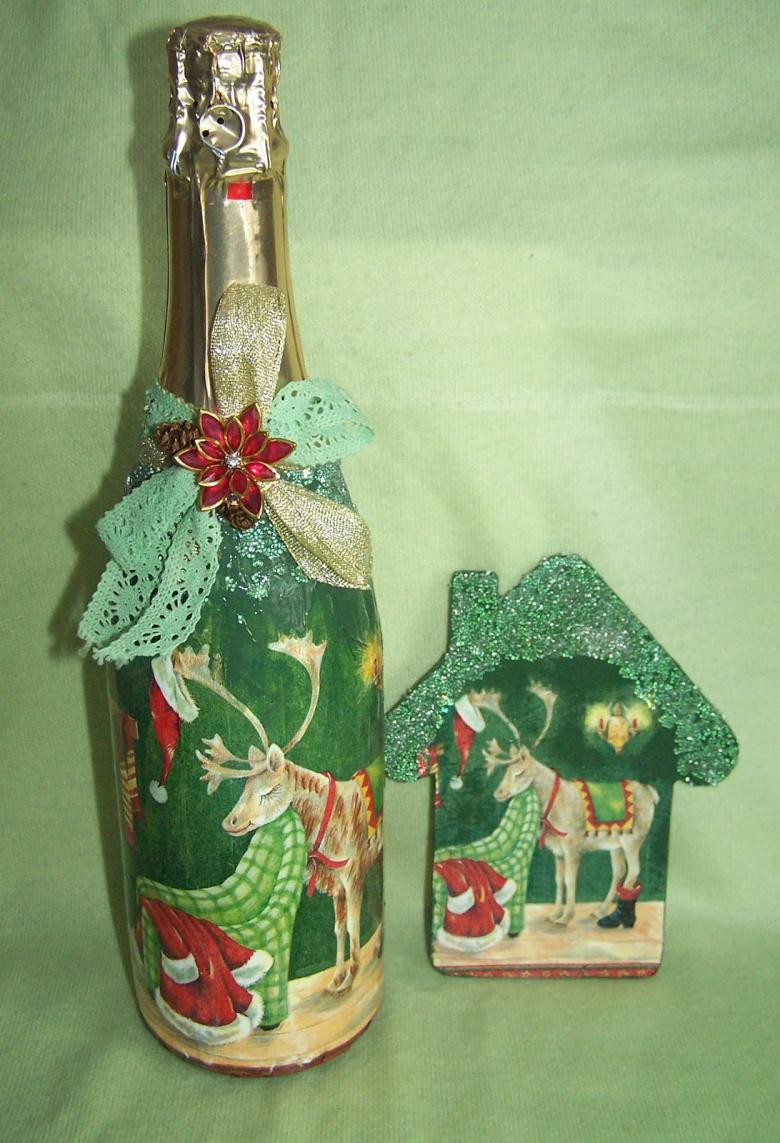
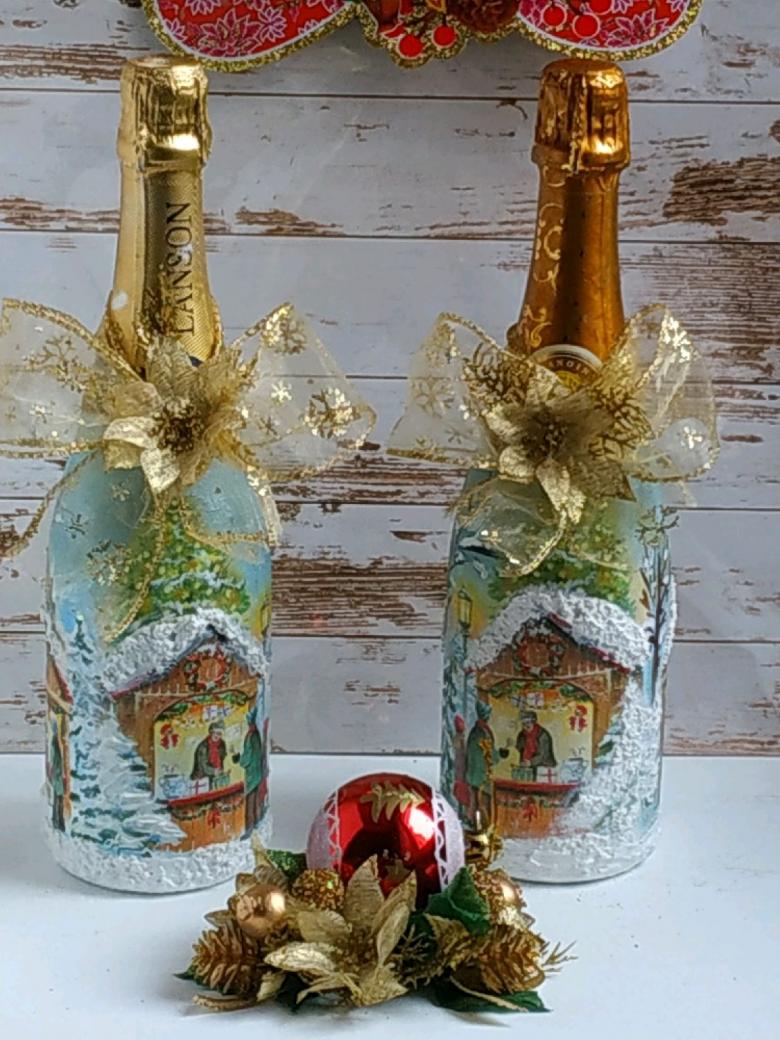
Bottles, decorated with just napkins, will look flat and without volume. To create volume, you can sprinkle the not yet dry paint with salt or sugar, creating a snow effect. On the Internet you can see many ideas how to make decoupage on champagne bottles and what to decorate the result. For example, you can decorate the neck with satin or paper ribbons, in the latter case it is better to twist the ribbons with scissors.
In the departments for needlework there are many suitable accessories: lace, sequins, ribbons, plastic figurines. They will be a good addition to the completed work and will give it a finished look.
Decoupage Master Class for New Year's Eve Bottle
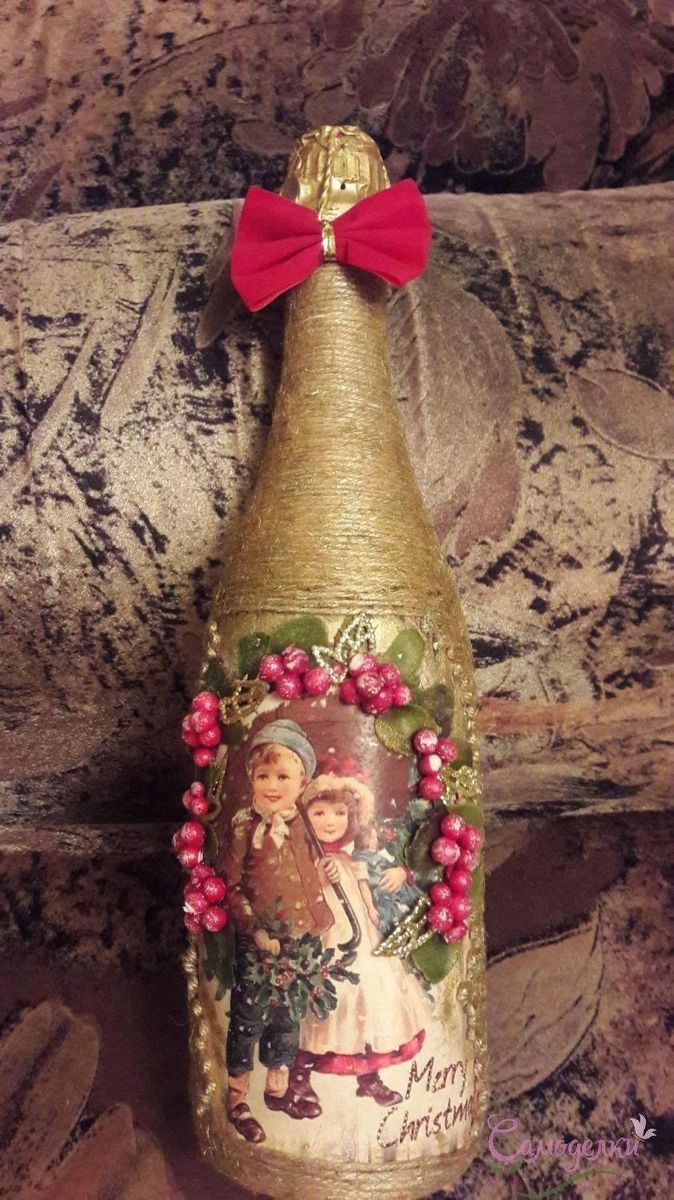
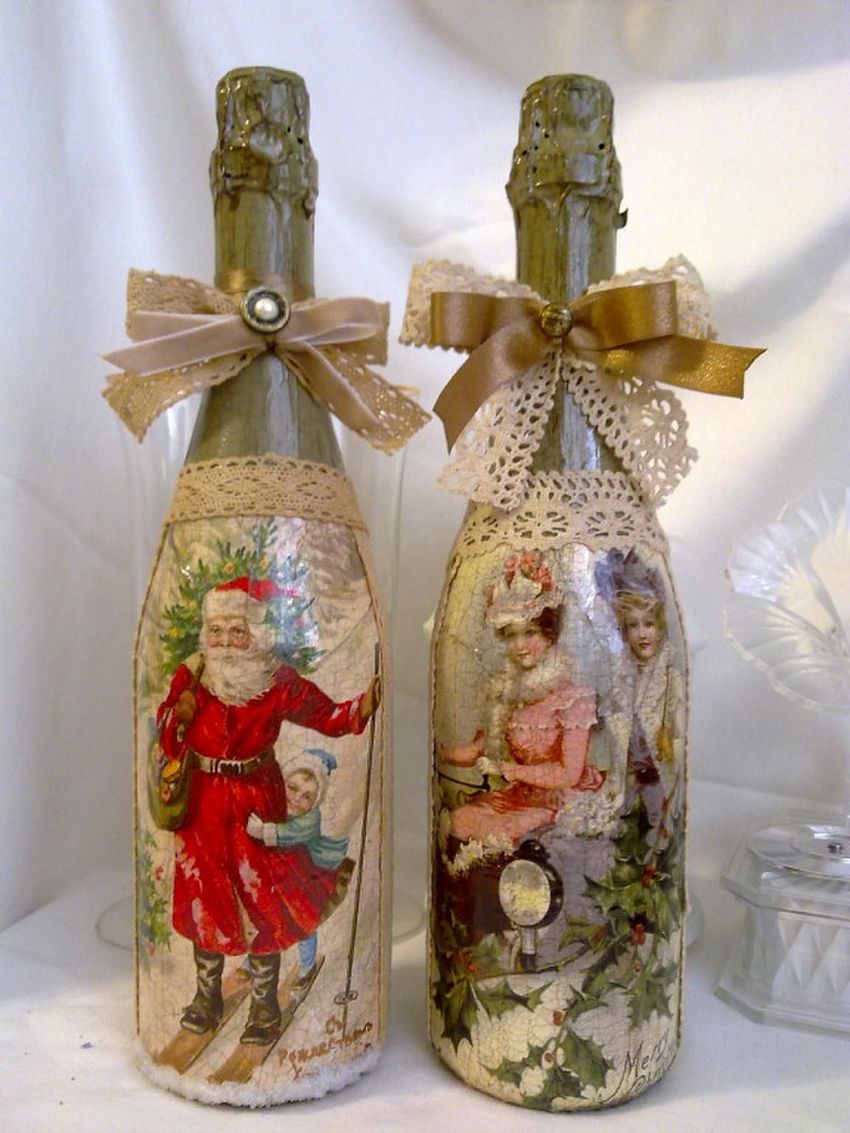
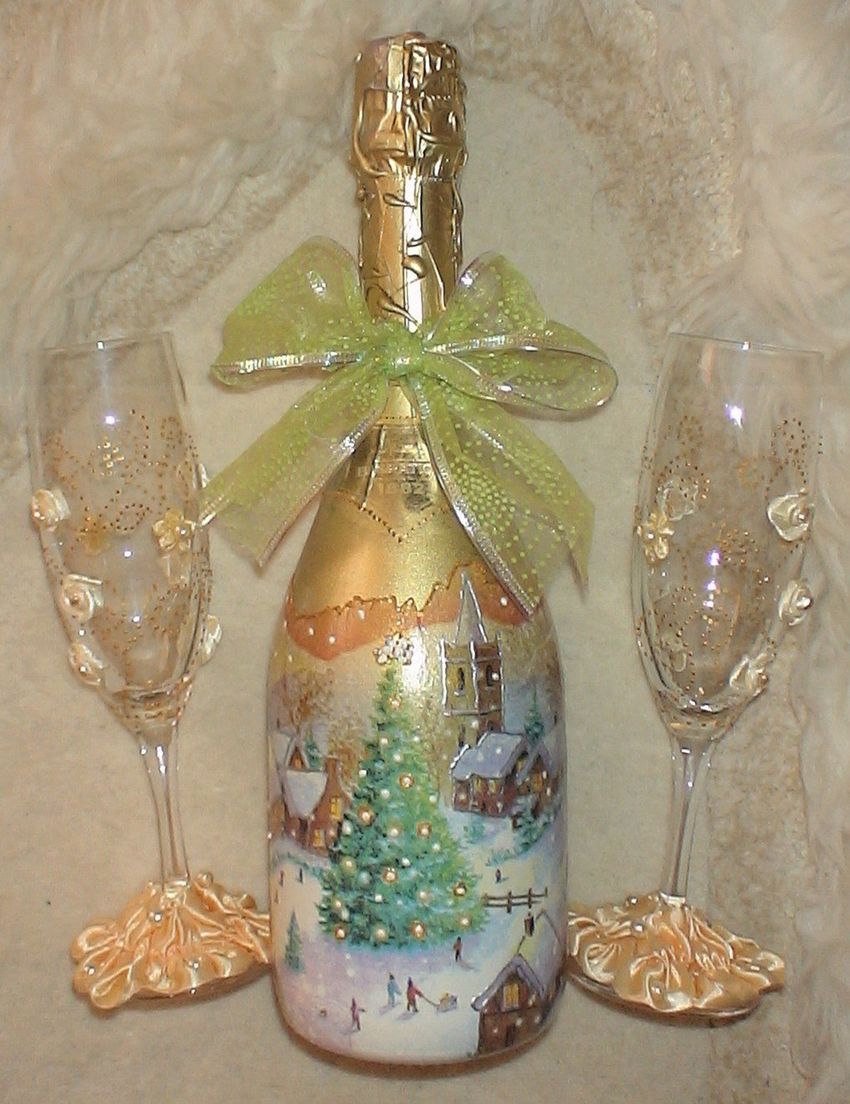
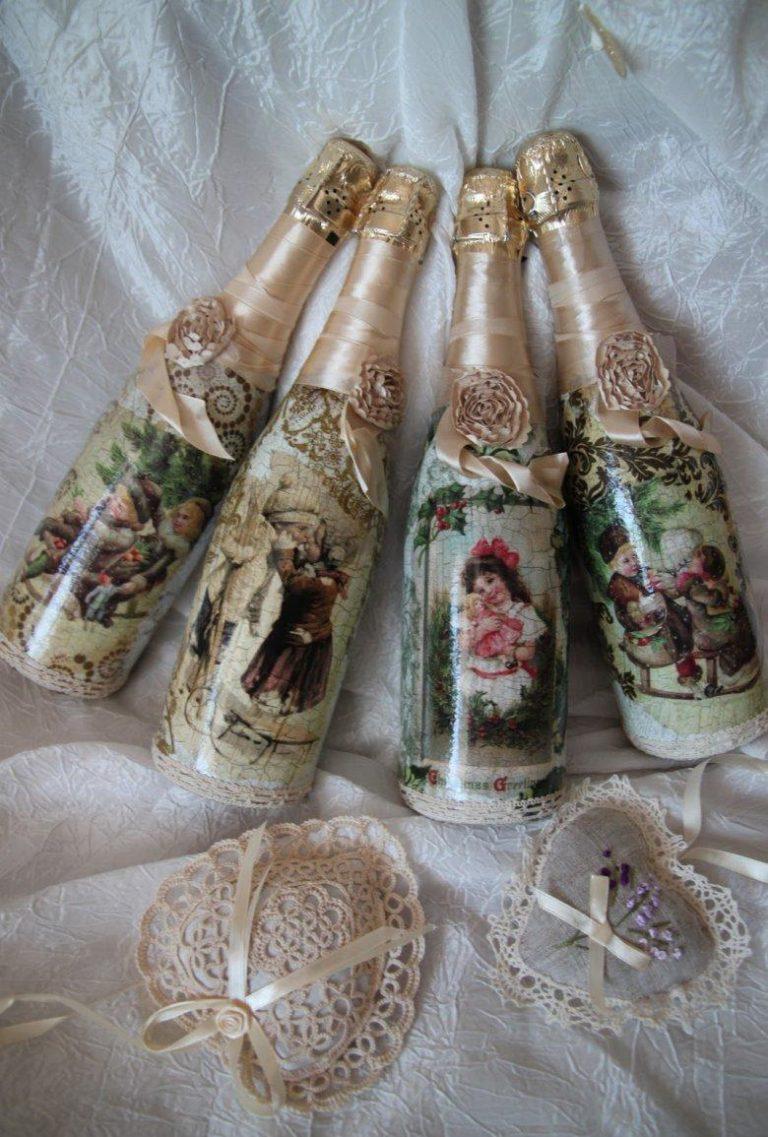
This option requires a little more inspiration and expense, but the result will be a beautiful work that will be appreciated not only on New Year's Eve, but also after, because the empty bottle can be put as a decoration or as a vase.
Preparing for the job
To make this work you will need:
- A champagne bottle.
- Napkin with New Year's motifs.
- Acrylic paints in different shades: black, white, blue, green, red, white silver.
- Crystal acrylic paste.
- Contours in different colors: gold, red glitter.
- White acrylic gesso.
- Finish varnish.
- Sandpaper.
- Paintbrush.
- Brushes.
- Dryer.
- Foam sponge.
First you need to get rid of the labels. To do this, you should drop the bottle into a container of non-hot water. After a certain time, the labels themselves will peel off. Remains of the glue can be washed off with cosmetic oil, then wash the bottle with soap.
Decoupage decoration
After the glass is well washed, the bottle should be degreased with medical alcohol. This step is very important so that later, the primer will adhere well to the glass surface.
The next step is to apply acrylic gesso to the entire surface of the bottle. Using a sponge, the acrylic is applied in several layers. After the first coating, you need to let it dry, then apply a second layer, and so on several times.
After the surface has dried, it is necessary to cut out a part of the napkin and separate from it all but the most colored layer. Tear off the napkin at the edges, as flat edges are harder to mask under the background.
Next, you need to put it face down on the file. Pour water on the napkin, smooth out the edges and straighten the folds. Then take the file with the napkin, turn it over, press it against the bottle and carefully remove it.
The napkin remaining on the bottle should be smoothed and dabbed with decoupage glue. It is better to do the work from the central part to the edges to remove the air bubbles. The work done should be dried.
Small creases left after drying can be removed with sandpaper. This should be done very carefully with fine grit sandpaper. Significant wrinkles are better removed at later stages with paint.
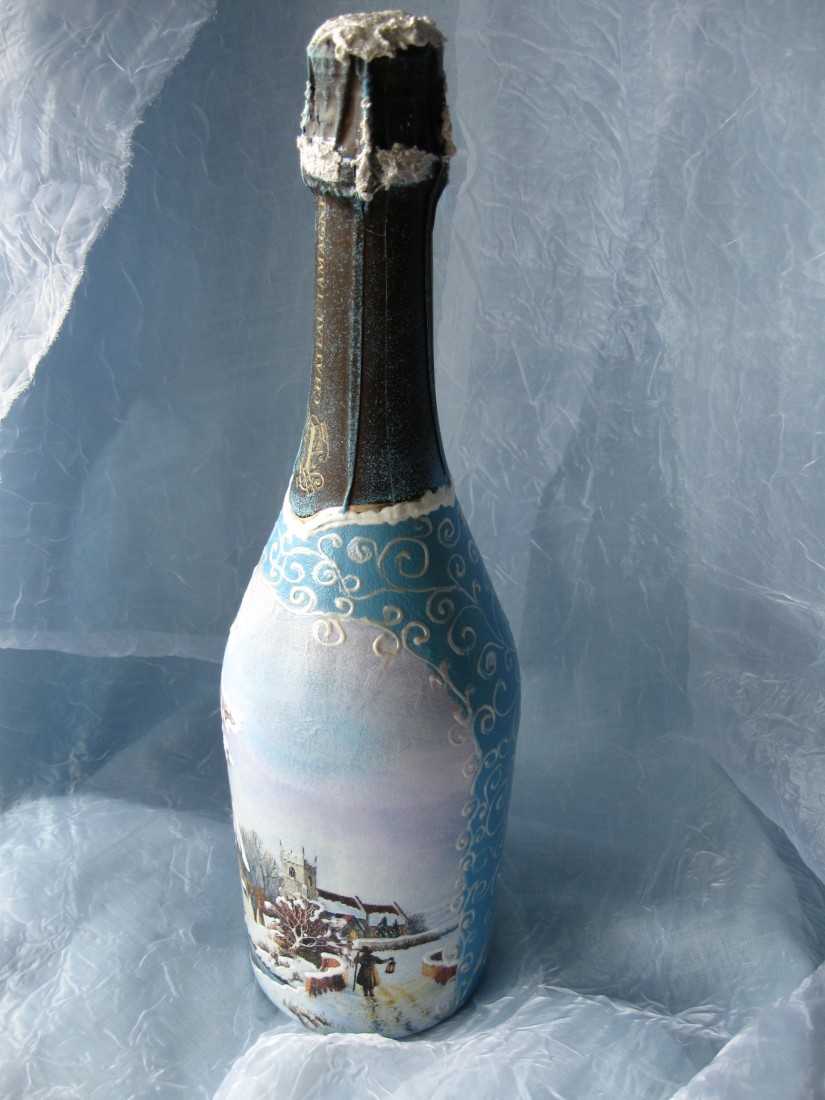
Next, it is necessary to cover the entire surface with a finishing varnish. Form the main background with acrylic paint.
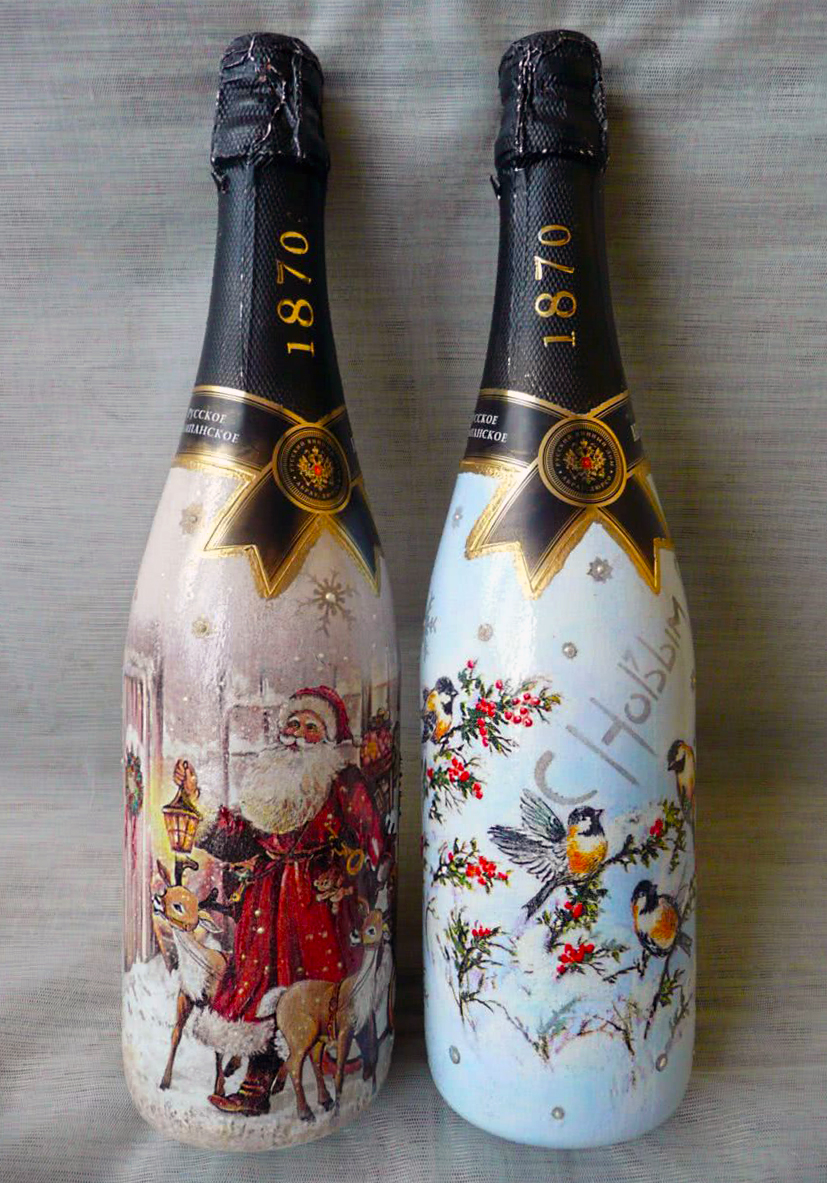
Now you need to add paints to the main background. Mix the acrylic paints until pale blue and apply them in places on the bottle with a sponge. There should be minimal paint on the sponge, sometimes it's a good idea to moisten the surface a little with a cloth for better application.
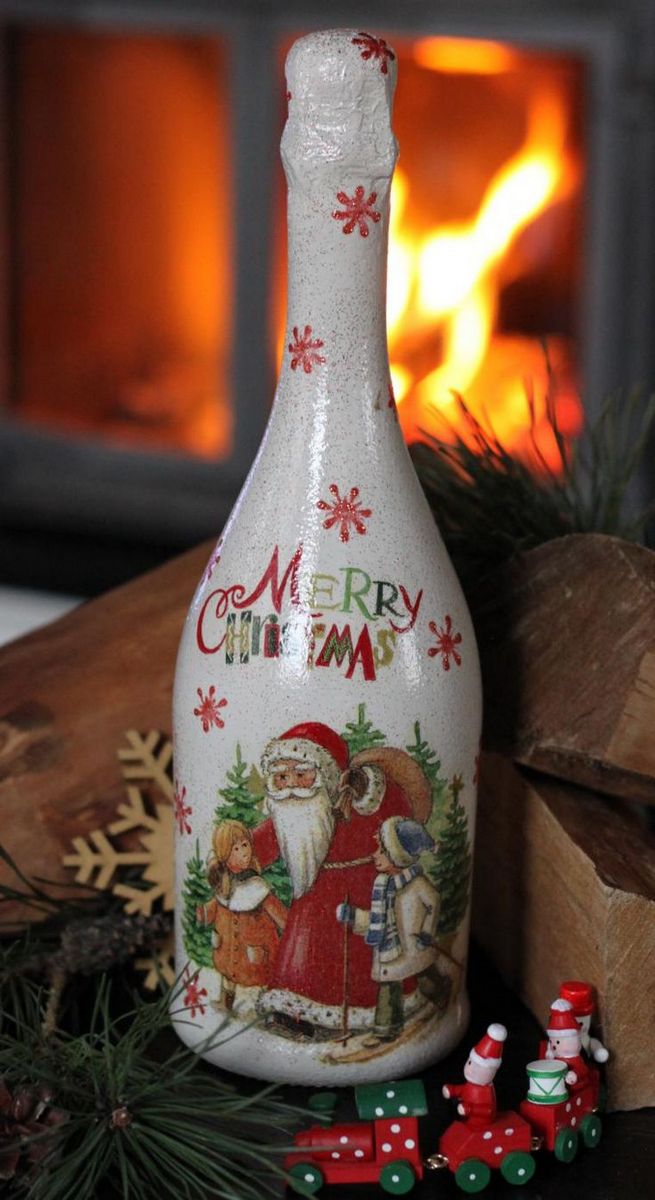
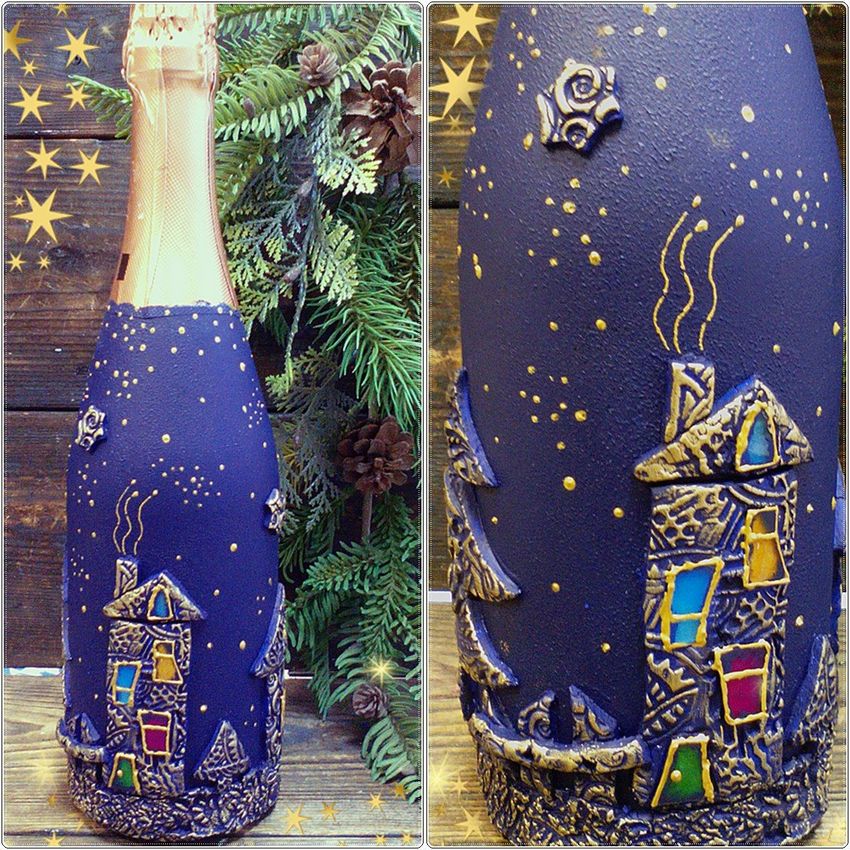
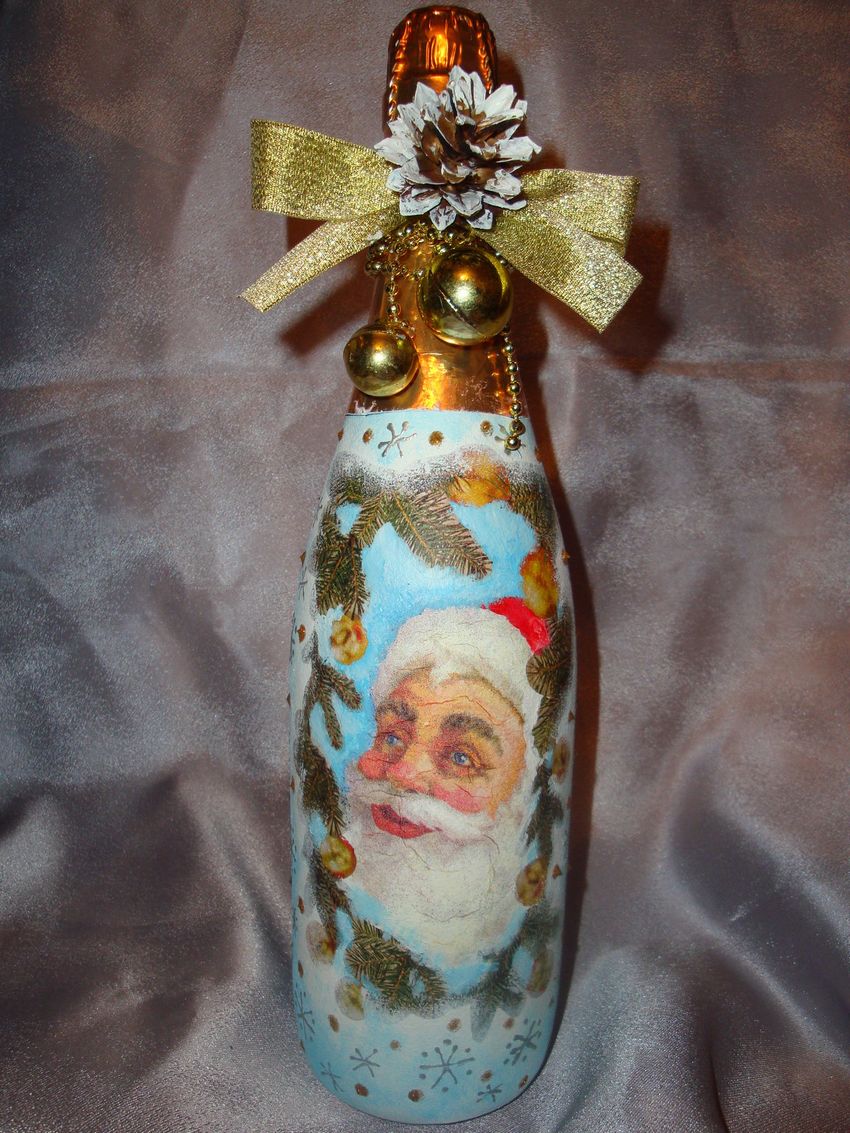
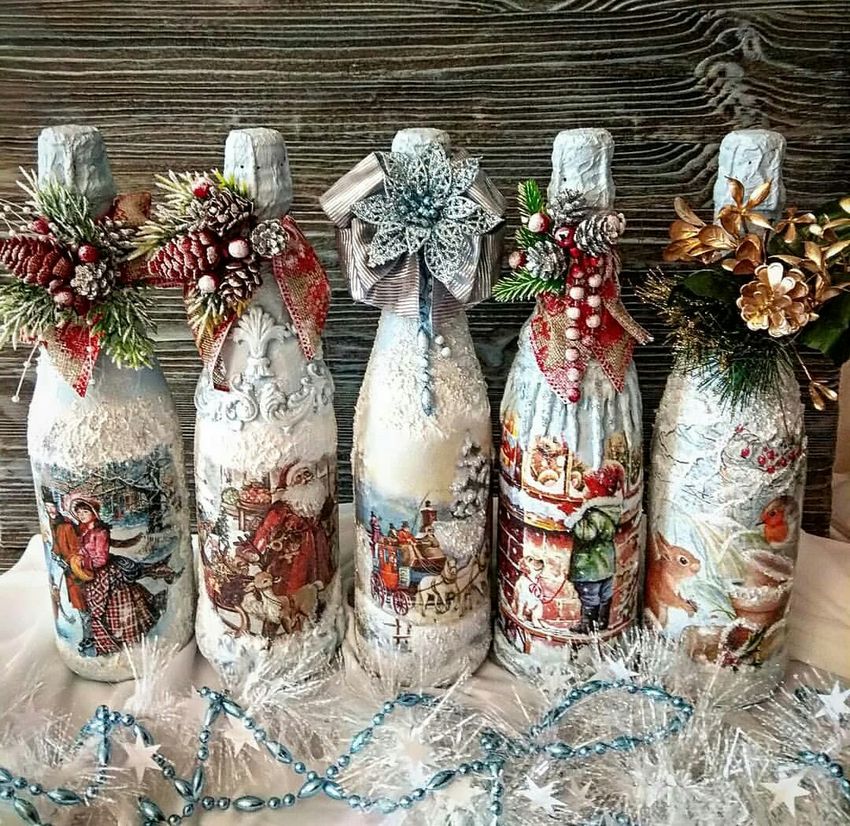
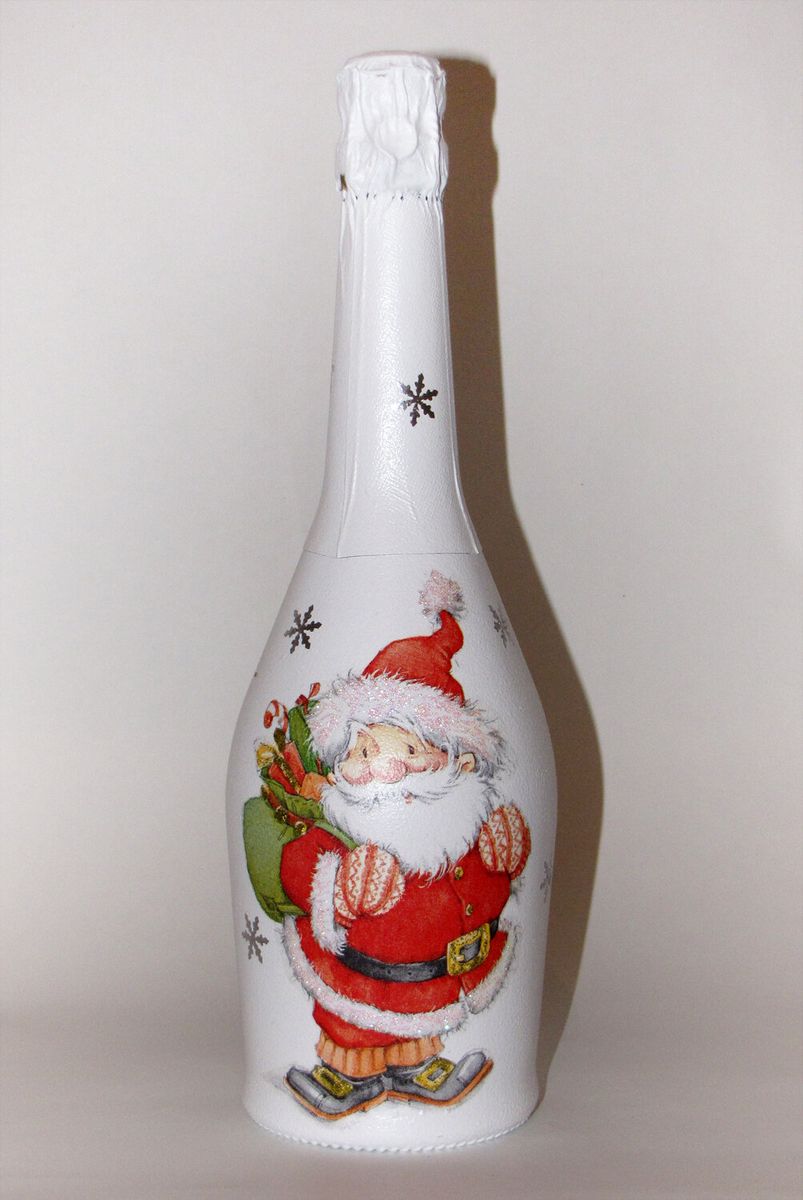
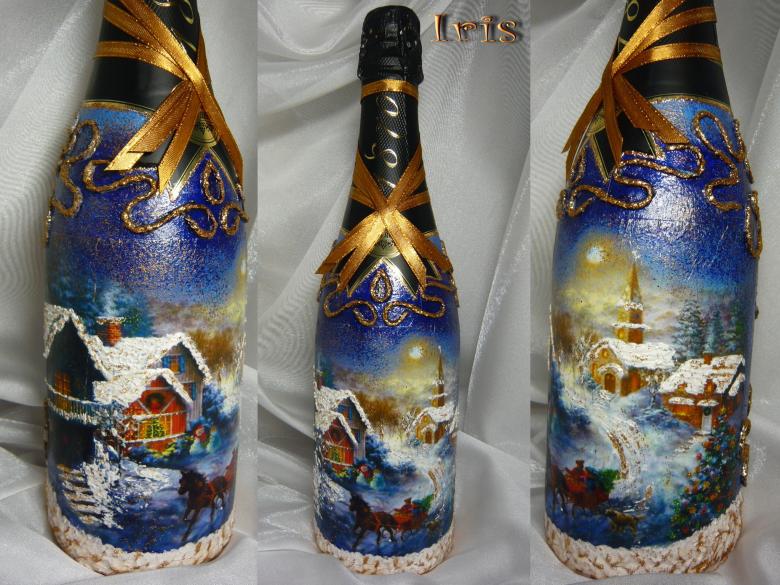
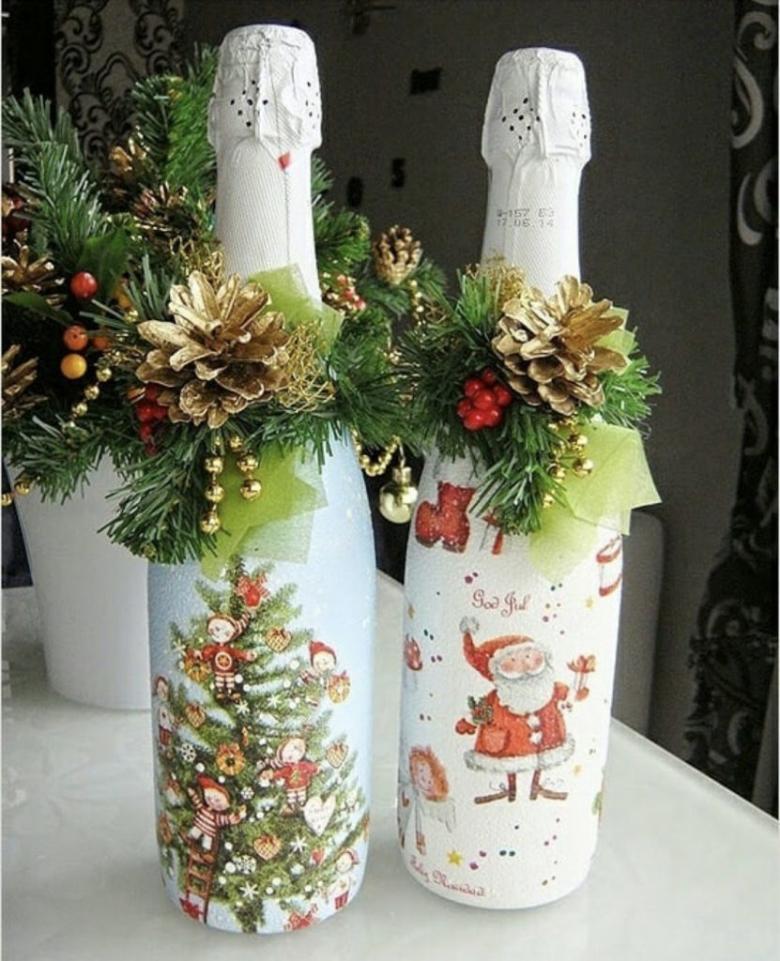
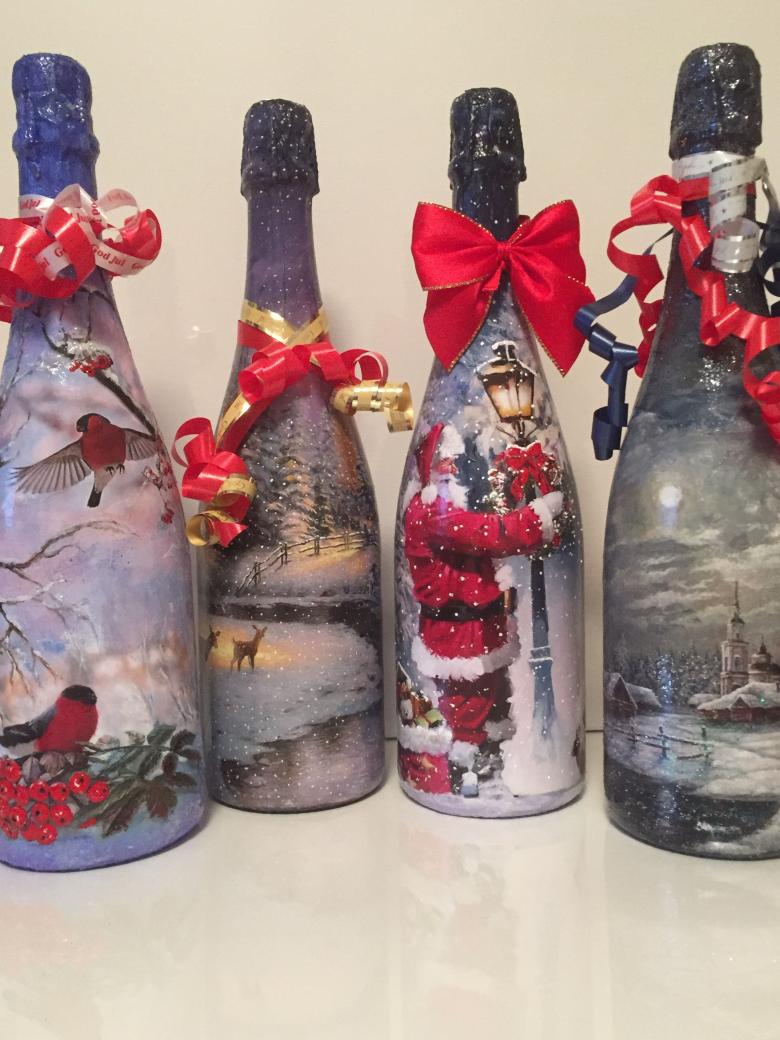
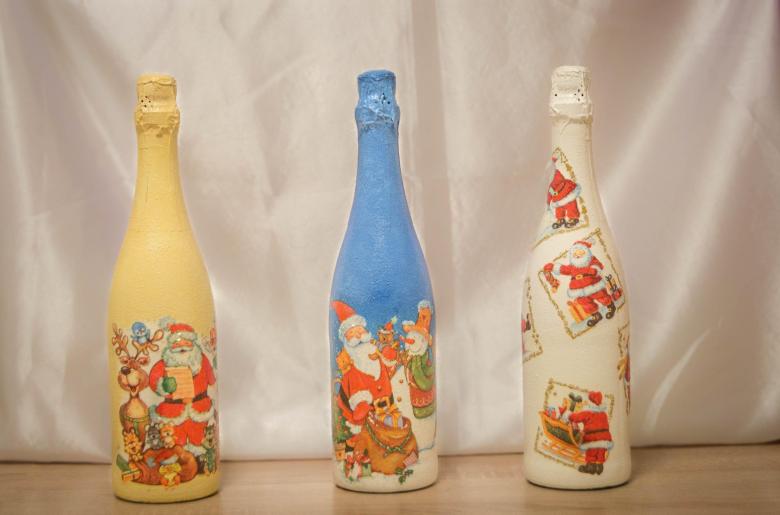
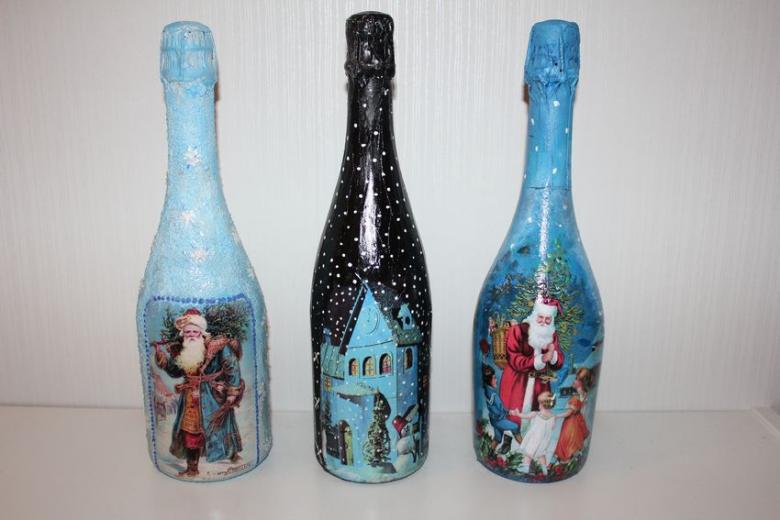
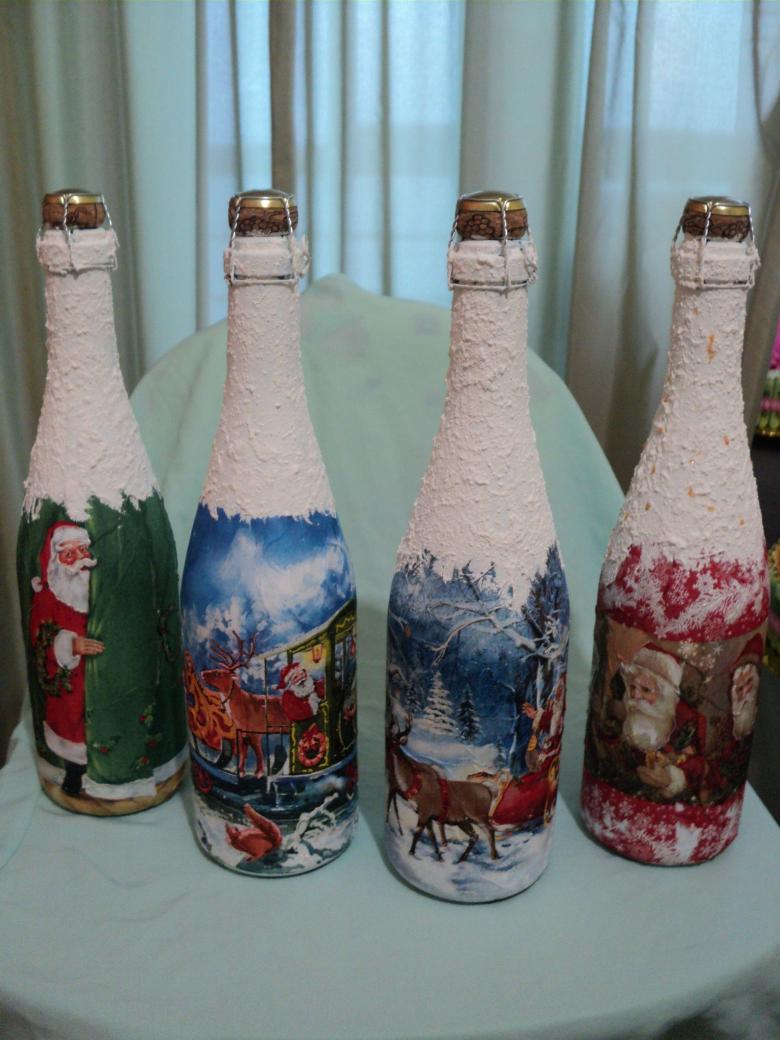
Next, you need to draw in the missing details. In this case, mix paint to match the tone and paint part of the Santa Claus garment with red acrylic paint. Draw the small folds on the coat with black, and use the remaining colors to transfer the images from the napkin.
Create shadows. For this pattern, mix the colors Chromium Oxide and Blue FC. Apply on a wet surface and blend to create an impression of a shadow.
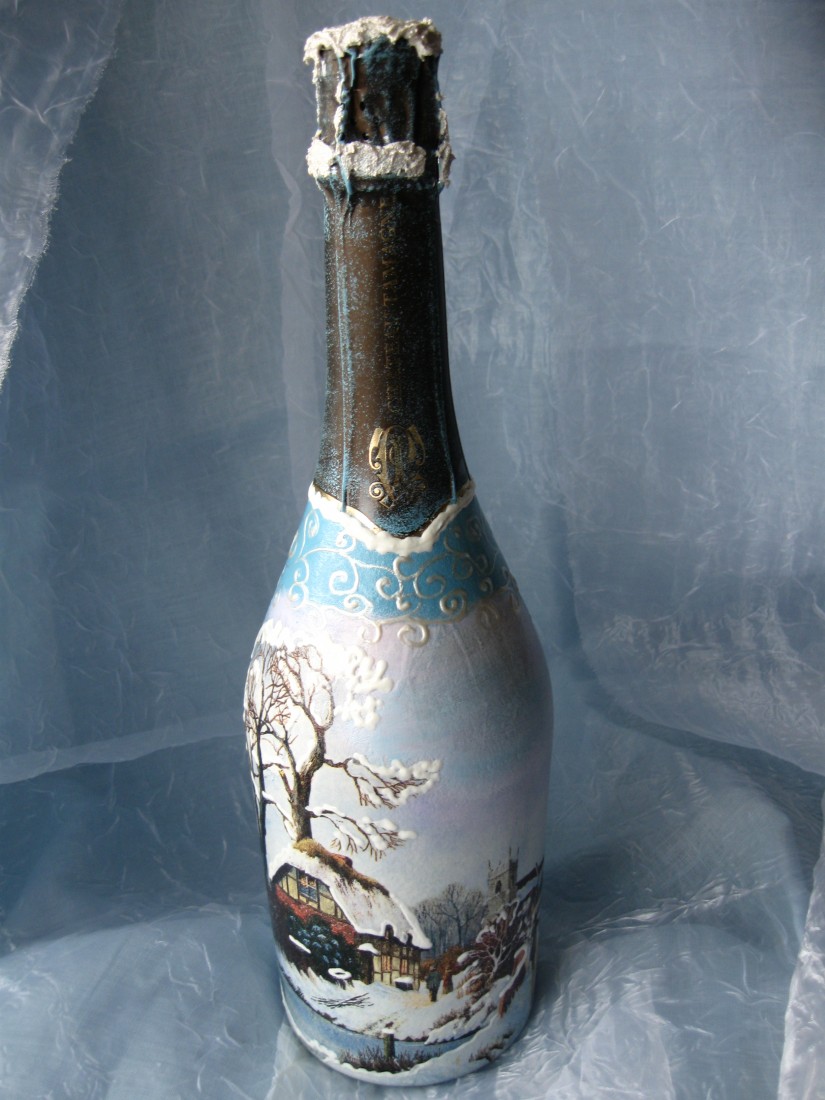
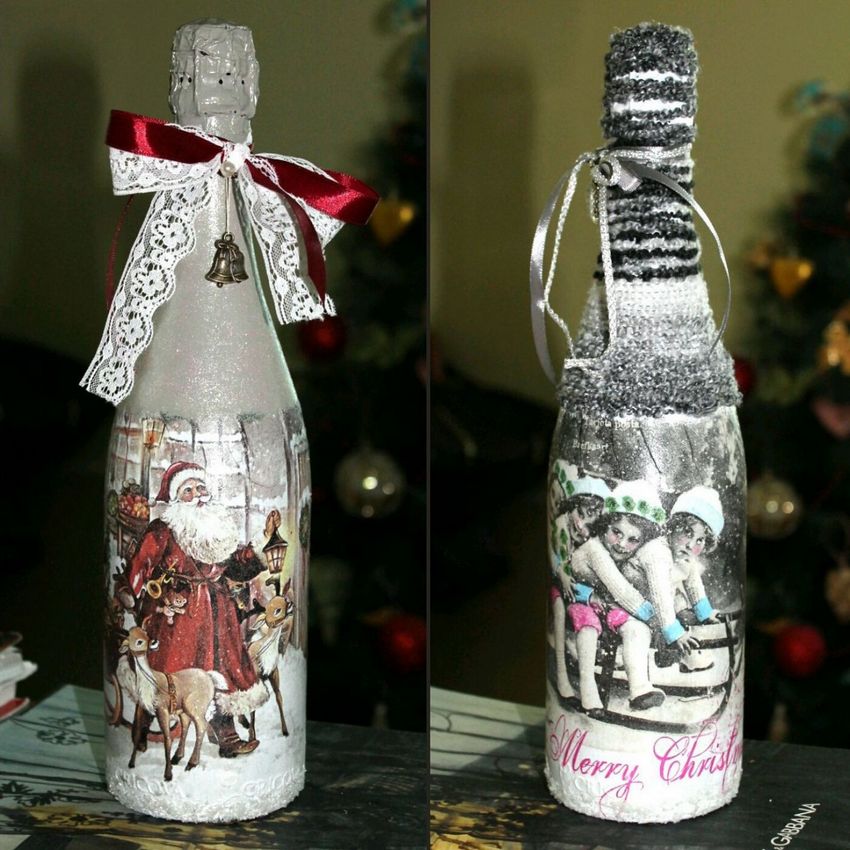
The top of the bottle can be tinted with red paint. In the final stages, coat the entire job with finishing varnish, preferably two coats and dry.
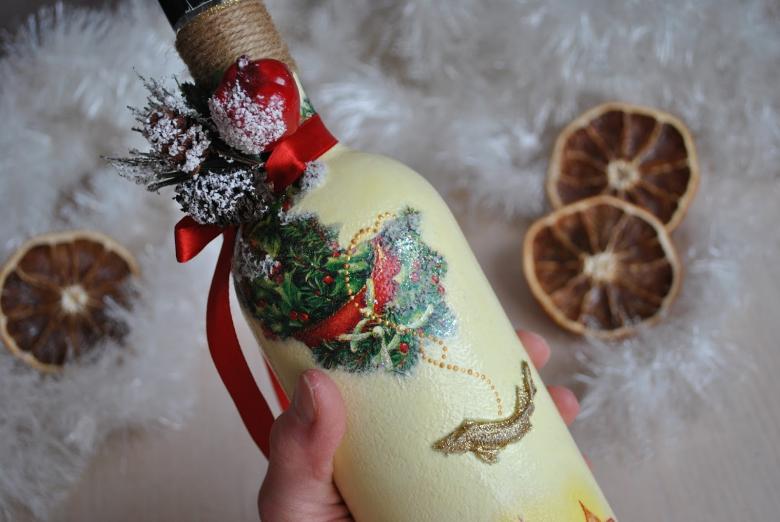
Glitter accent parts of the pattern and make an inscription. Dry the entire work.
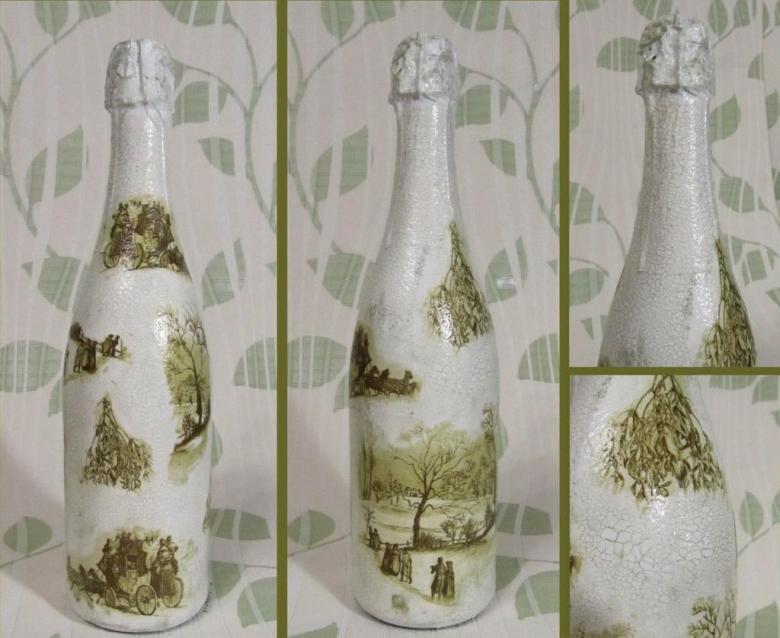
Apply crystal paste with a knife. It will help create volume and an ice-crust effect. Again dry the result.
Paint white silver to highlight the protruding parts and again leave to dry. The decoupage of the bottle is finished.
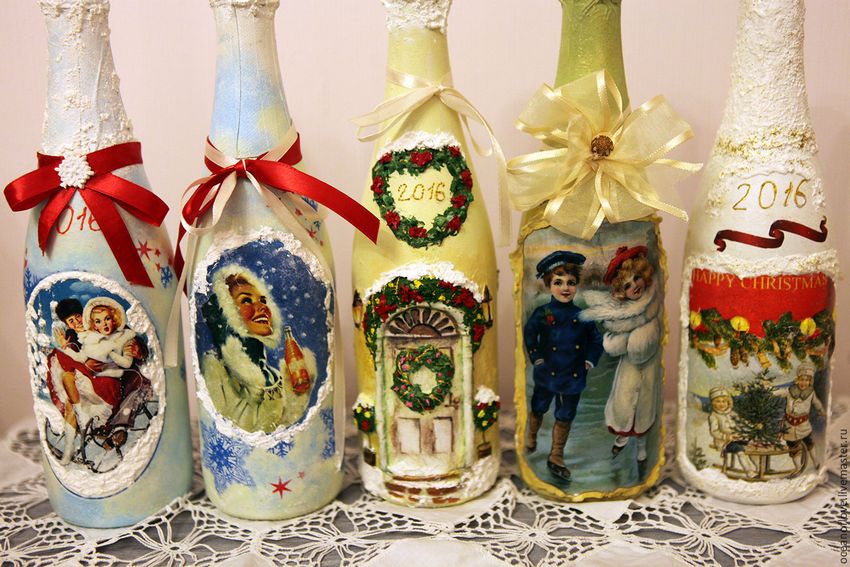
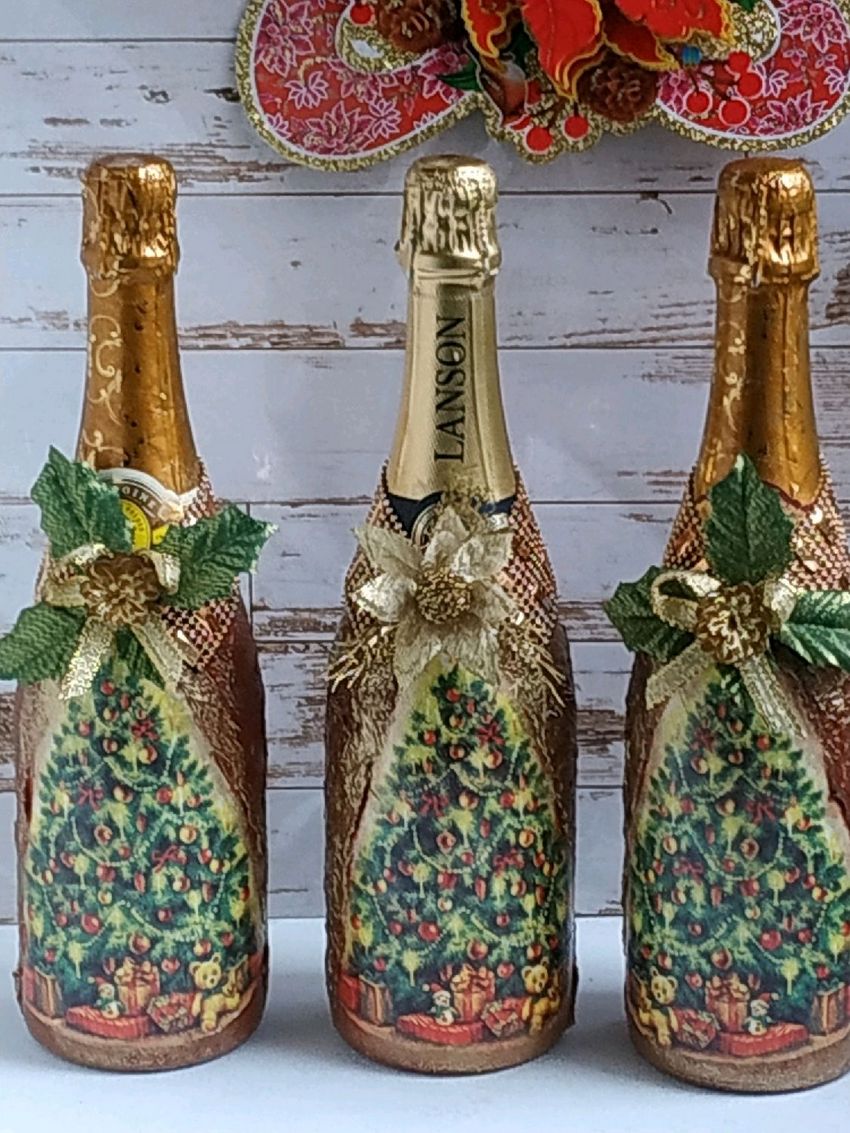
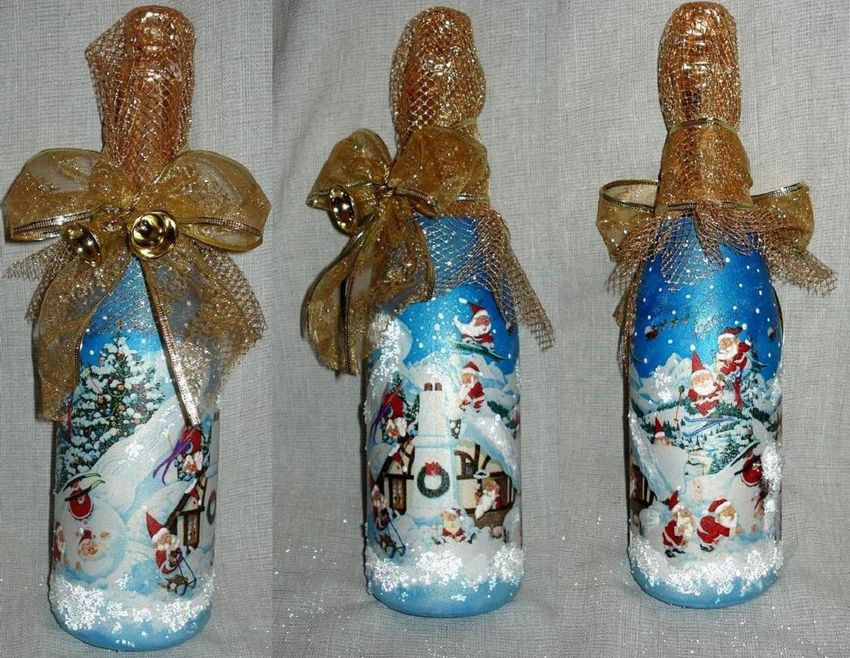
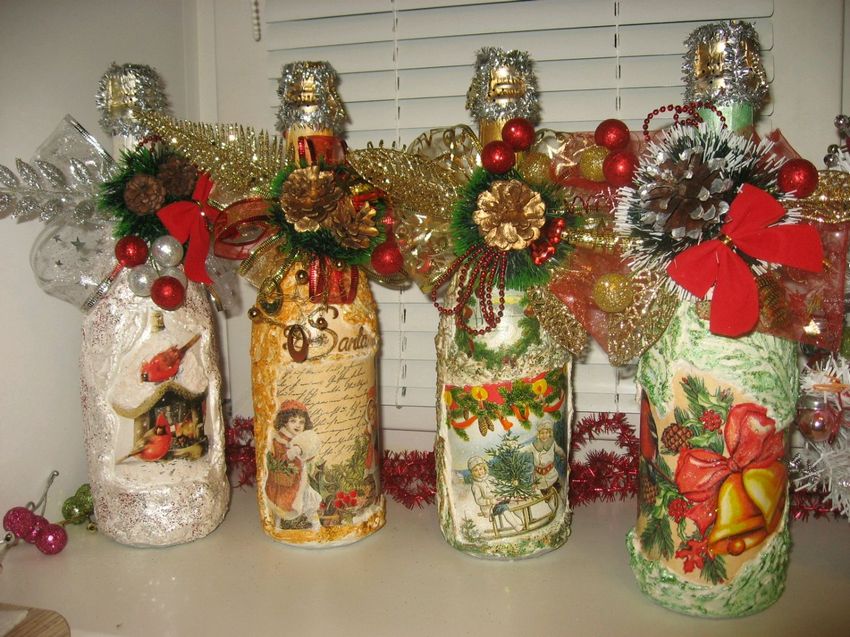
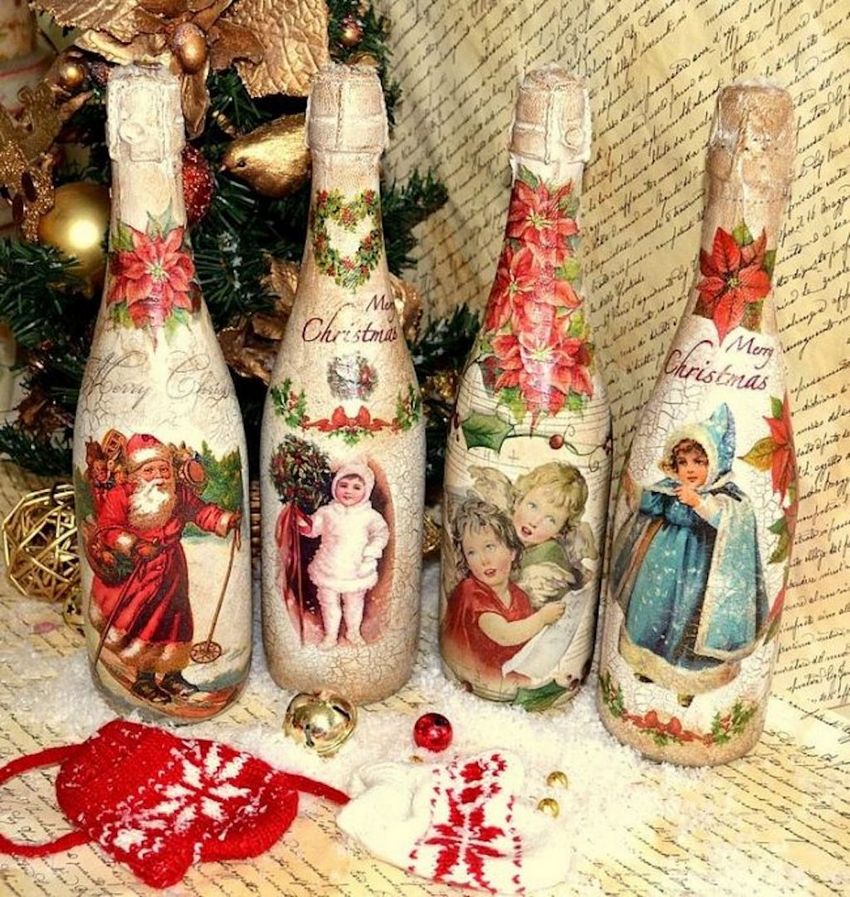
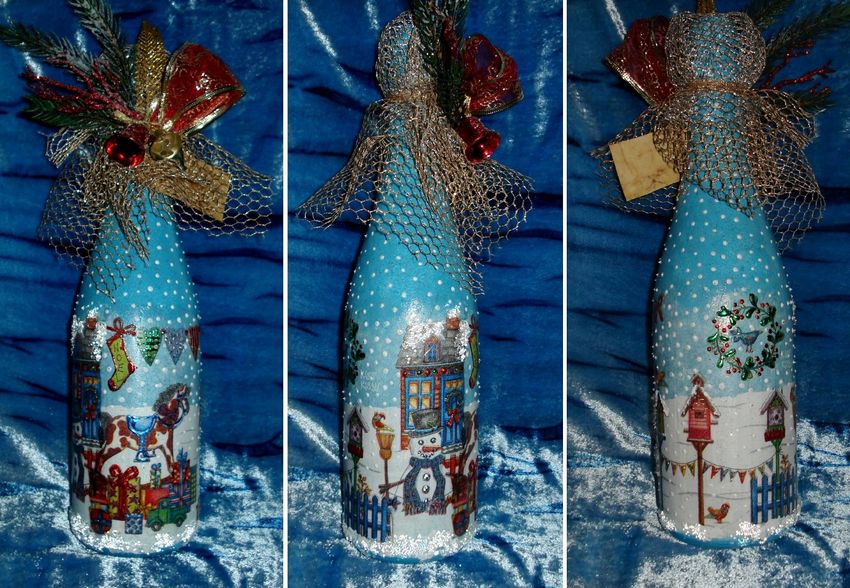
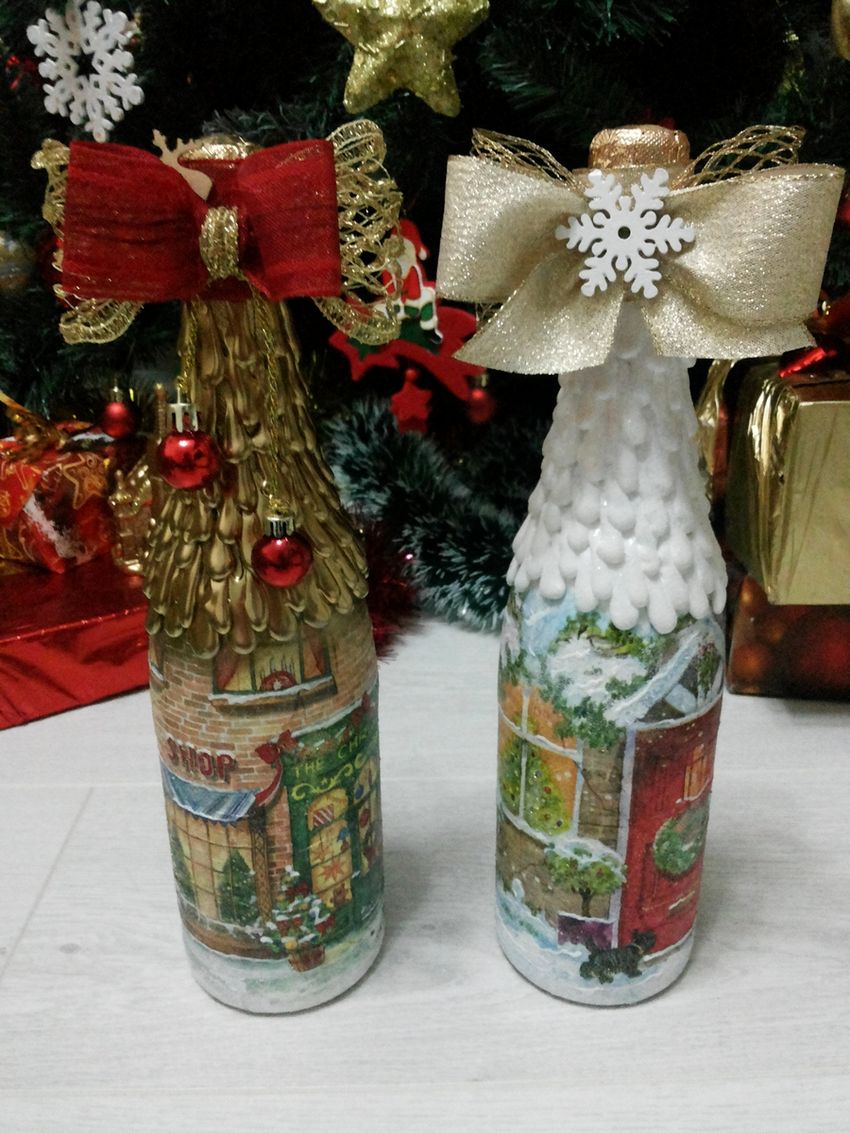
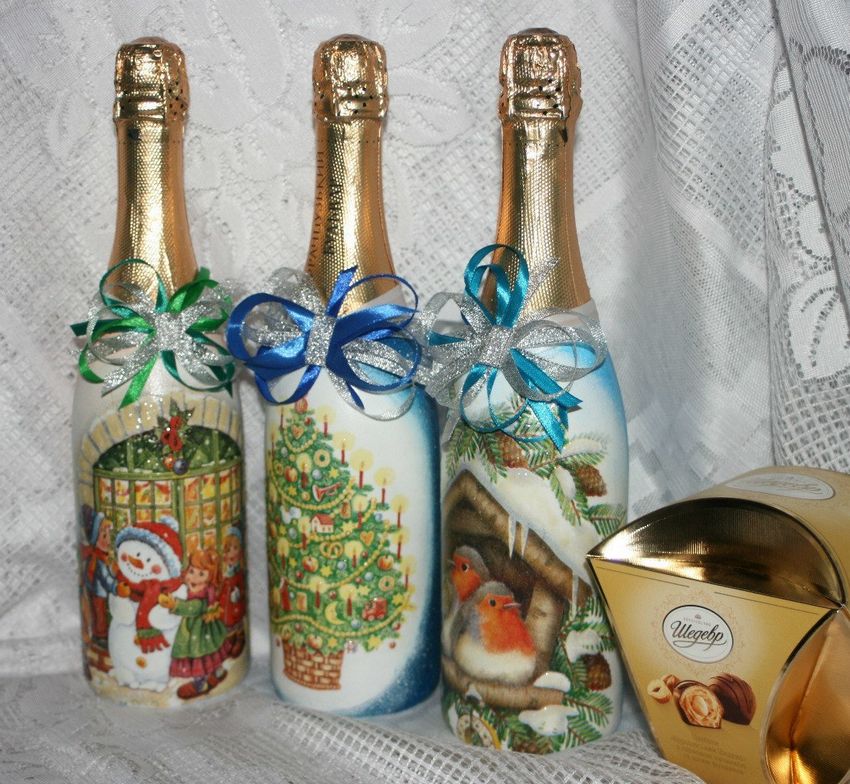
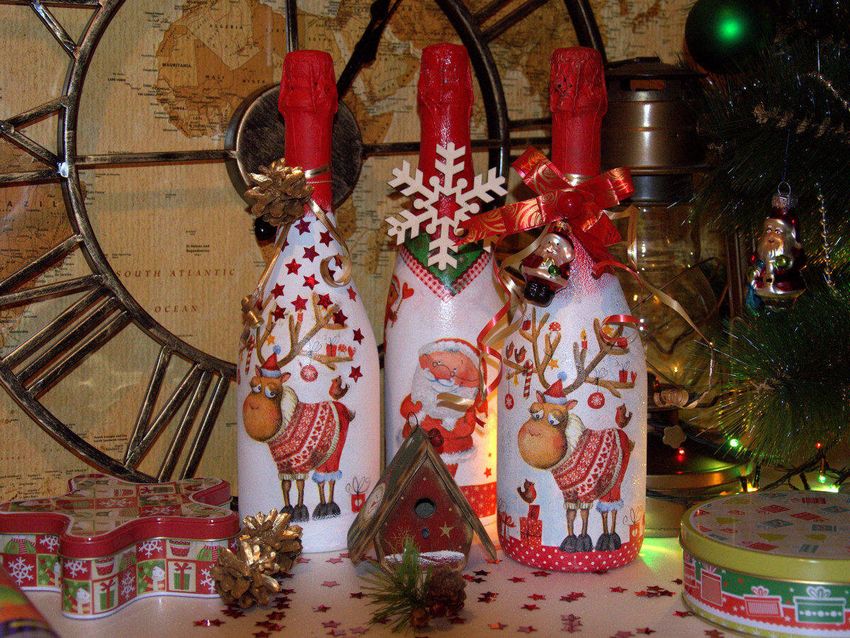
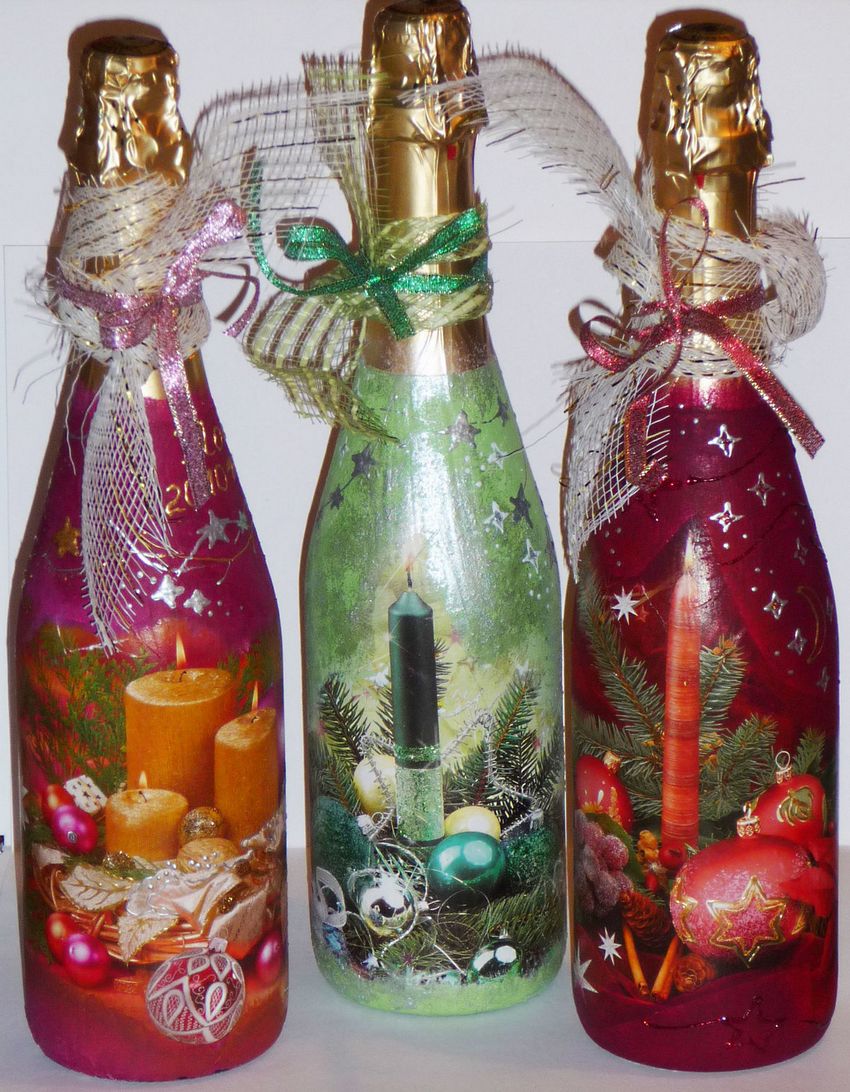
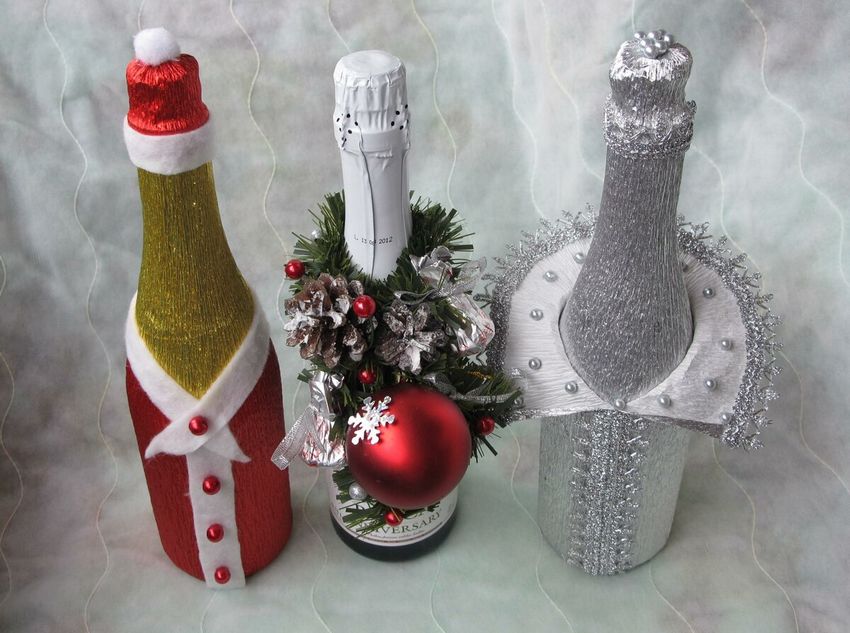
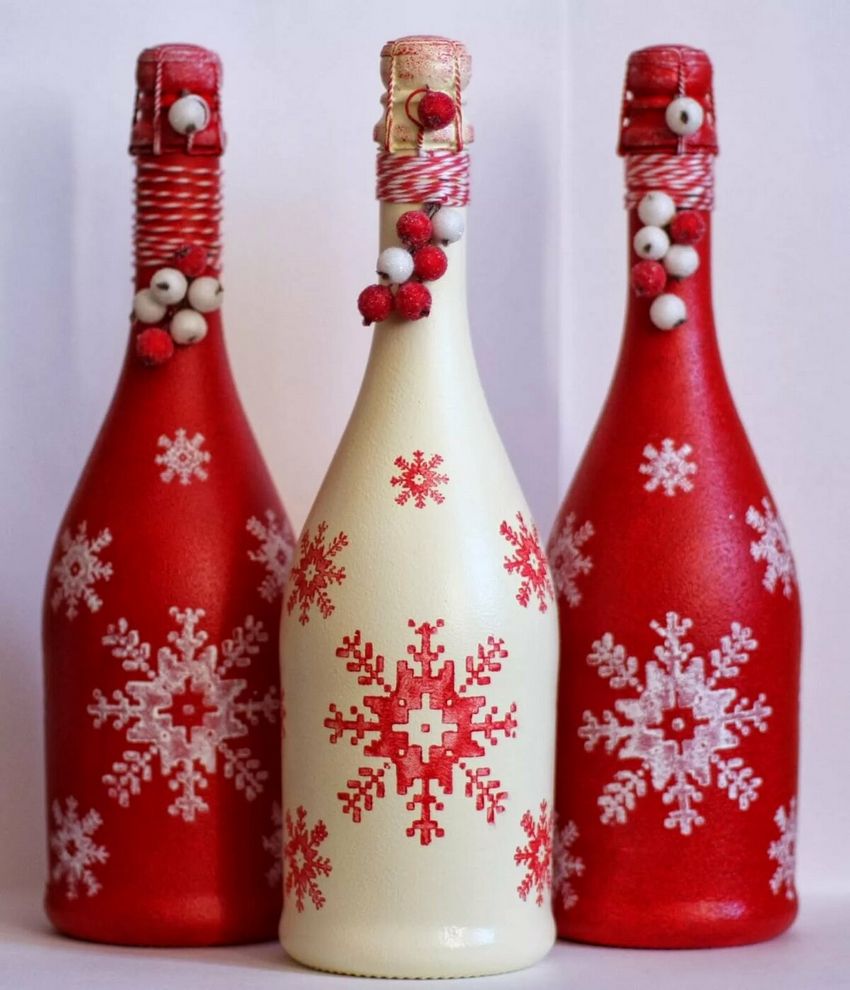
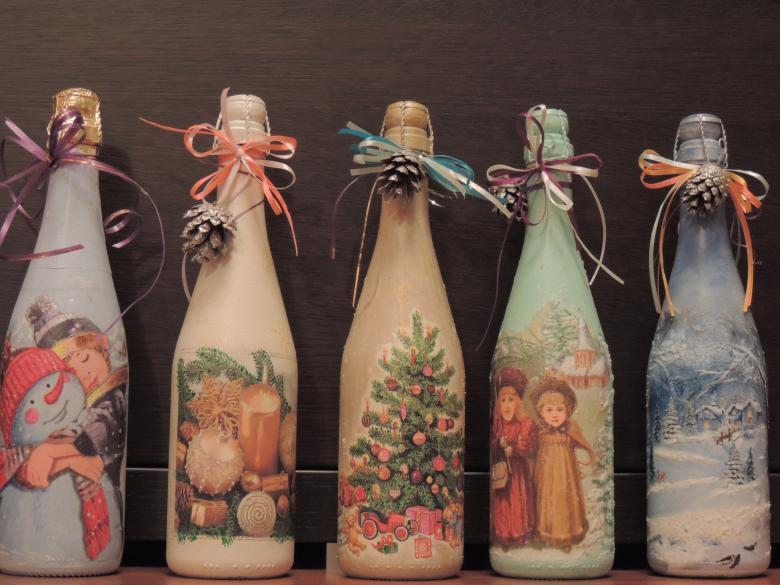
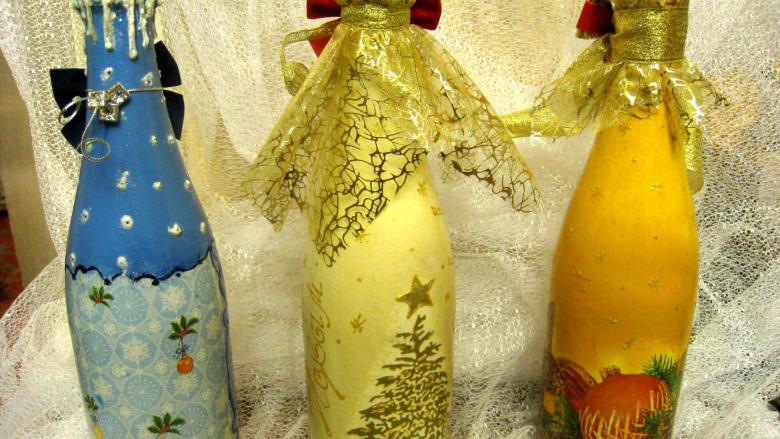
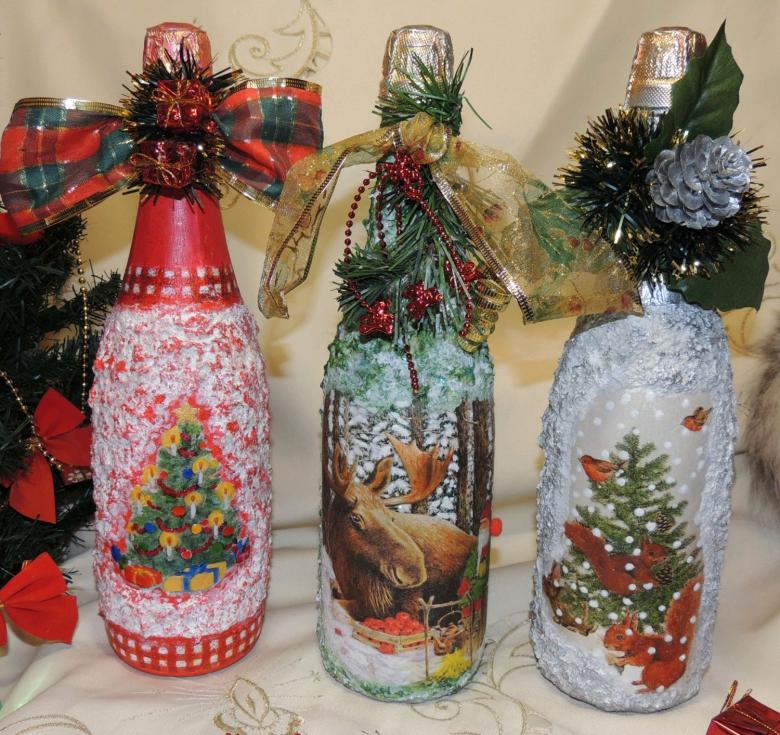
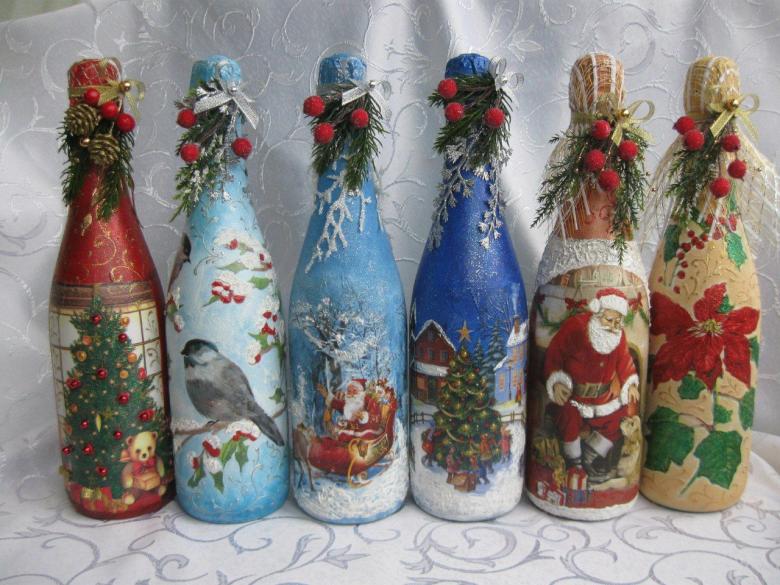
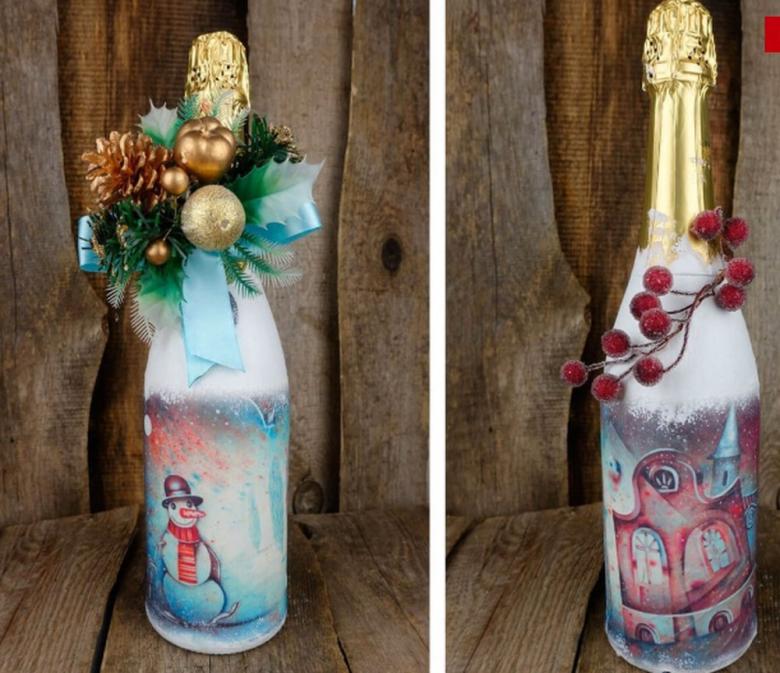
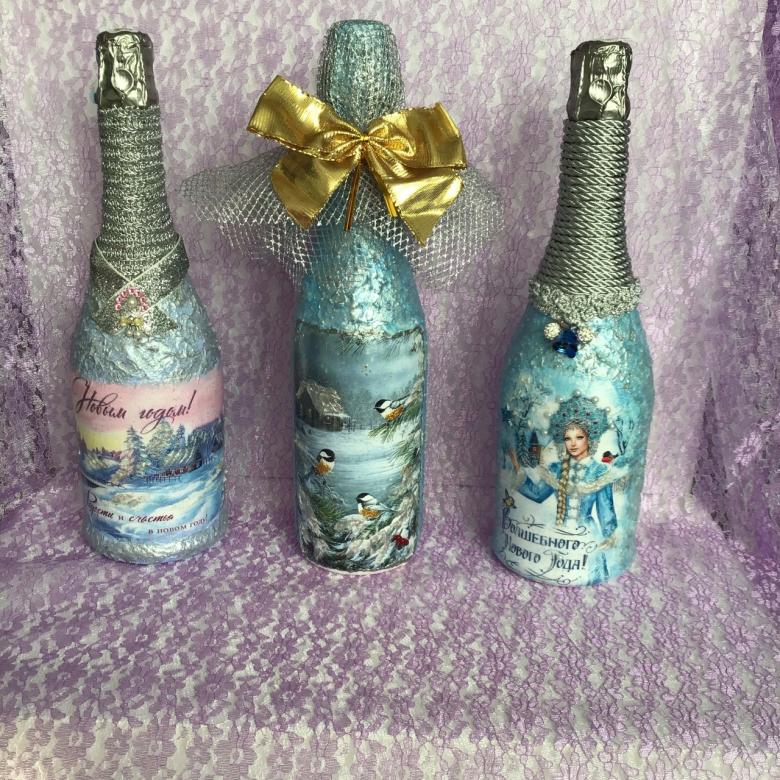
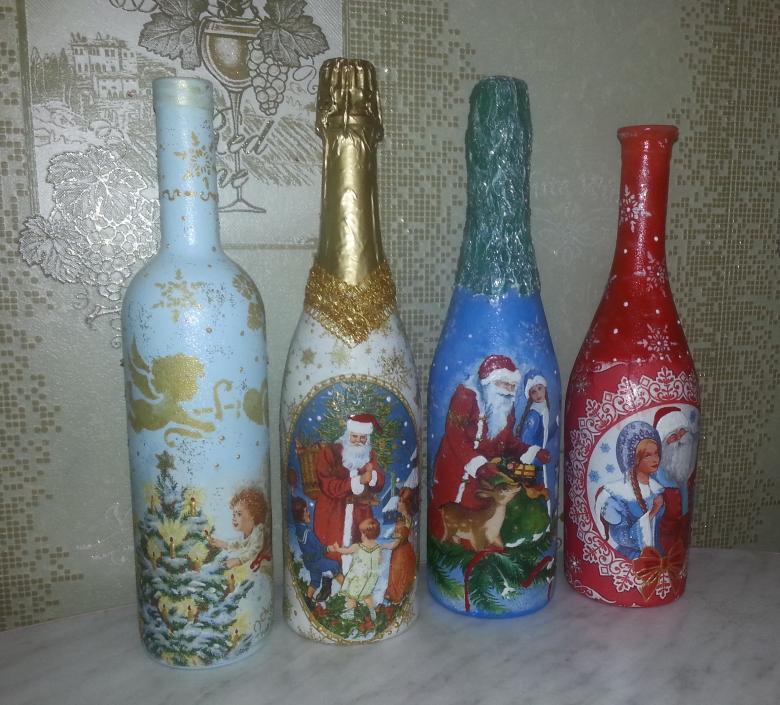
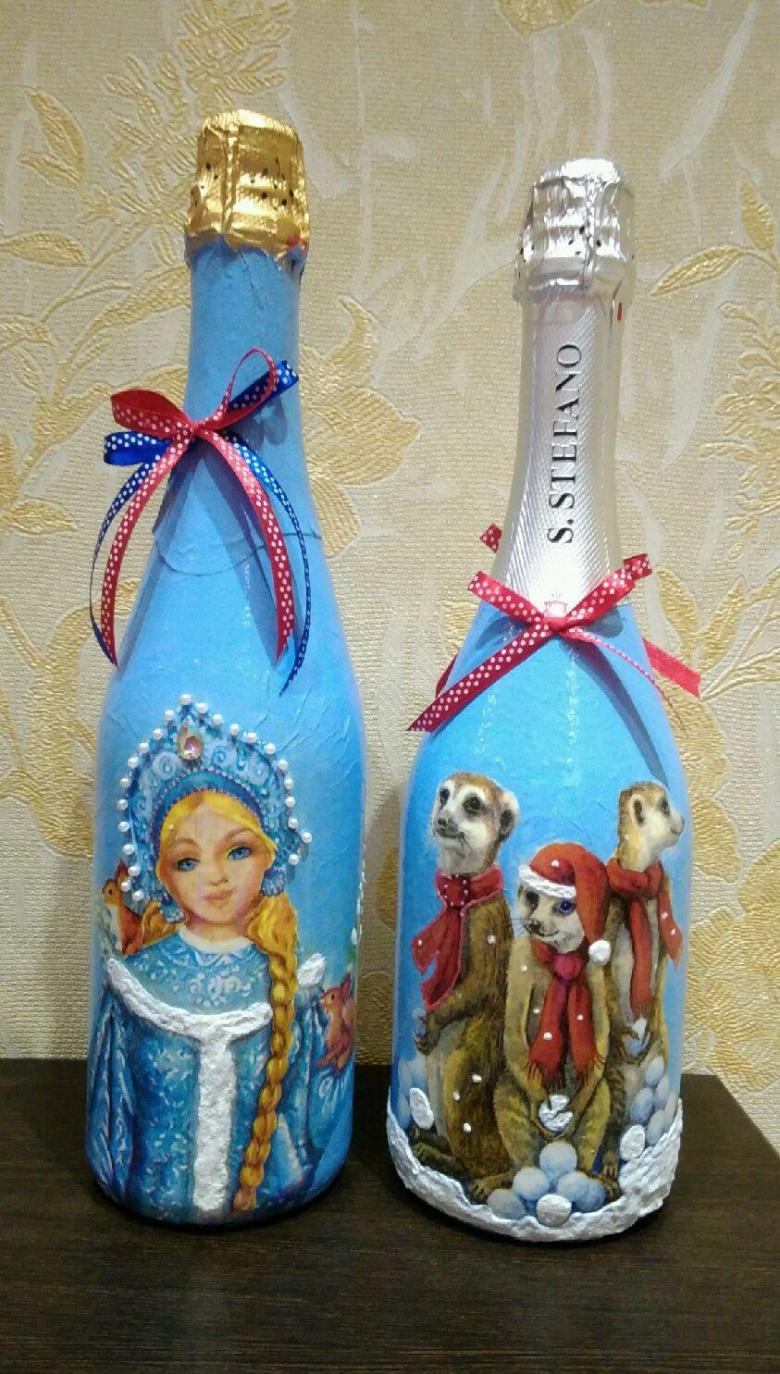
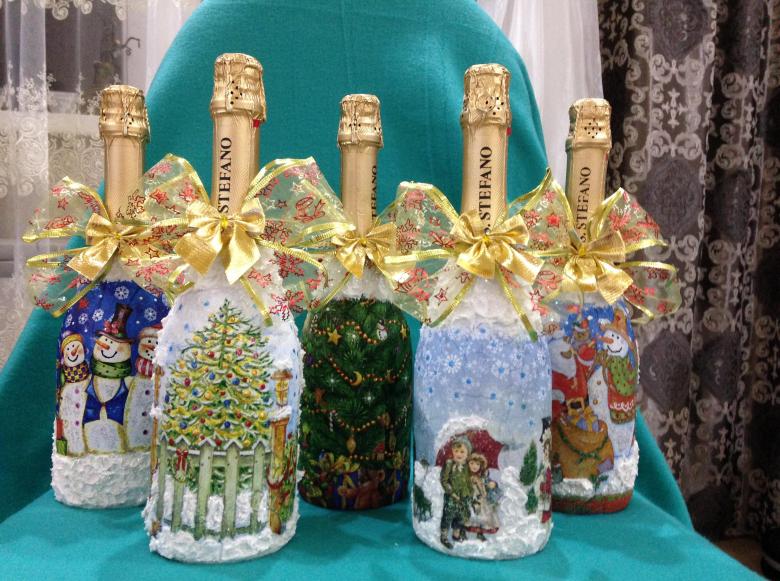
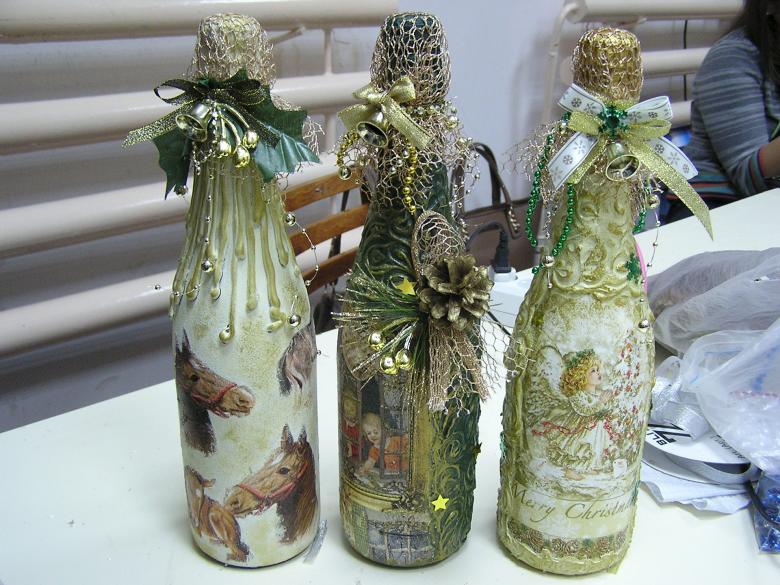
Ideas for decorating champagne bottles for the New Year