Decoupage of flower pots with your hands - 3 popular options
Any owner of an apartment wants the objects in his house to fit perfectly and create an attractive interior. For this purpose, various accessories are purchased, such as handkerchiefs, decorative napkins or household elements. Ideas for decoupage of flower pots with their own hands will bring a pleasant feeling of warm family hearth into the room.
How to make a decoupage of clay pots master class
Decoupage is a technique of decorating objects by fixing patterns or drawings on the surface of the object with the help of varnish.
Any surface such as ceramic, clay pot, cachet, or wood may be suitable for the work. When planning to work with the object, you need to respect the identity with the design and decor of the apartment, so that it, for example, does not stand out with bright and mottled colors on the background of smooth and languid shades.
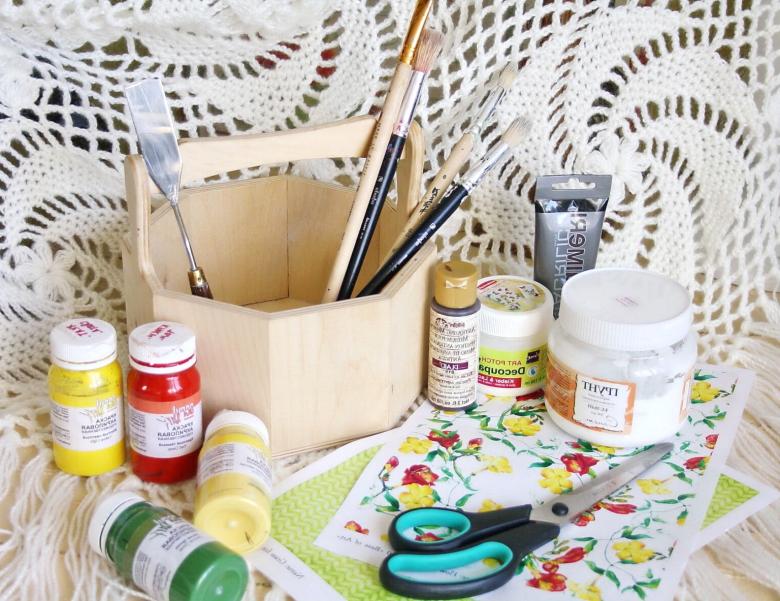
Materials and tools for decoupage
To decoupage clay pots, regardless of their use, whether it is a cavity for water or a place for flowers, it is necessary to have identical tools. These include:
- Decoupage glue or pencil glue. If these items are not available at home, they should be replaced with egg yolk, which has bonding properties after drying;
- Patterns and drawings, which will be the basis of the decor of the flower pot;
- Brushes of different diameters. The size of the tool used is chosen according to the size of the material to be fixed;
- Acrylic paints;
- Scissors;
- Sandpaper;
Read also how to make a coaster for hot food with your own hands.
Peculiarities of working with clay pots
Before you get to work, you should remember that the surface of the clay pot can be uneven. During the work, this will create difficulties up to tearing the pattern. To get out of this unpleasant situation, before decoupage you should go over the entire surface of the pot with sandpaper.
To make the appearance more attractive, after processing it is necessary to paint the area of the pot in a color that suits the interior. For this purpose, acrylic paint was best suited, as it will be a reliable basis for further work.
Secrets from experienced craftswomen
During the use of decoupage on the surfaces of flower pots and ceramic dishes, there were tips that will greatly facilitate the work of beginners and save them from failure:
1. To prevent the pattern or design attached to the pots from getting wrinkled or deformed, soak it in water and smooth it out with an iron before starting the procedure;
2. To simplify the process of transferring the pattern, you can use a paper file. To do this, you need to put it in a container so that it does not crumple, and pour water in it. After that you need to put a drawing on top of it with the right side down and start to work it with glue. Then the file with the pattern is transferred to the flowerpot and attached.
Despite the complexity presented, the procedure carried out will maintain the integrity of the attached pattern and rid the decoupage of crumpled areas;
3. To create a single unbreakable pattern should not only cut them out of the template, but also tear them out. This way the resulting edges will create the effect of having a single picture;
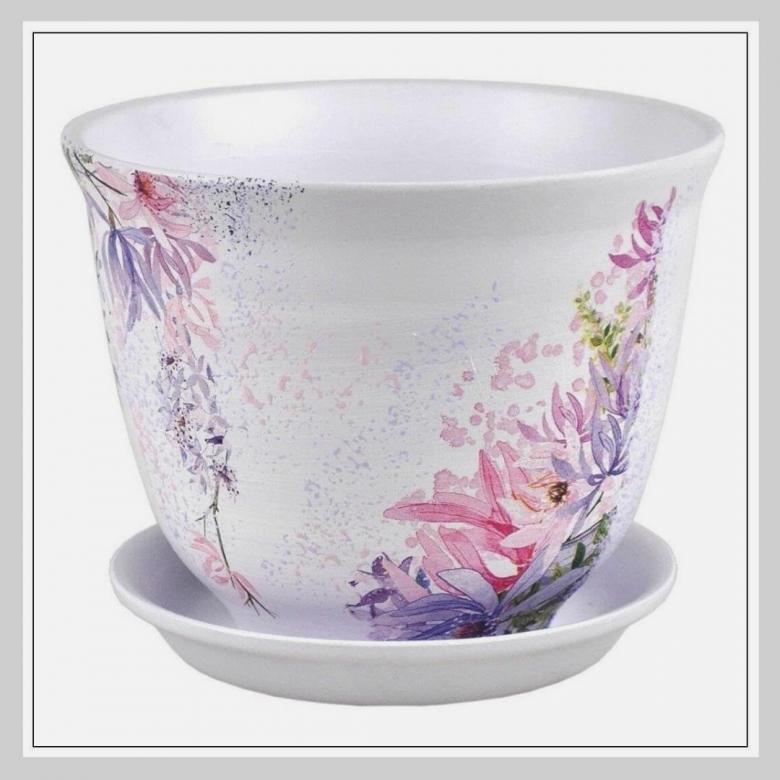
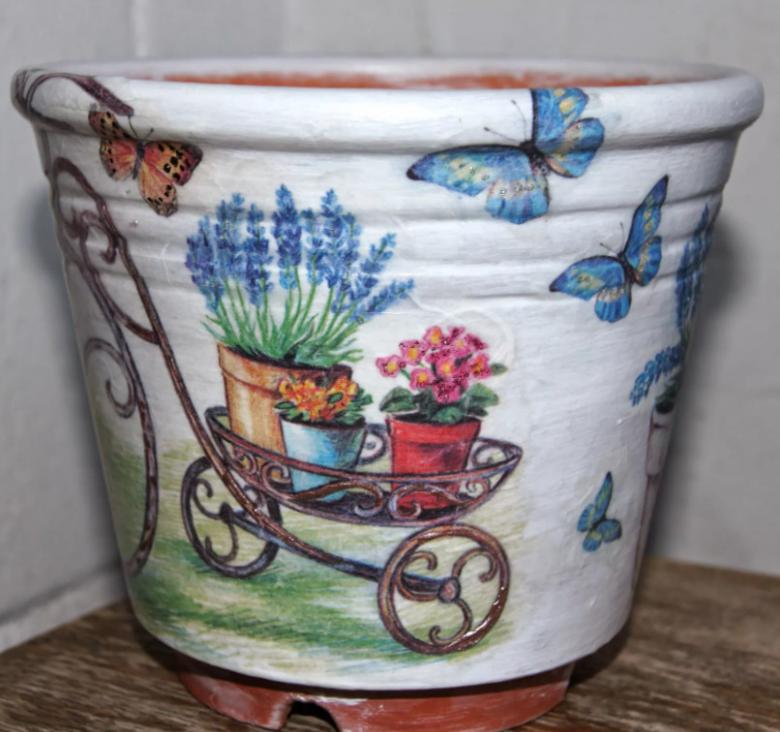
Decoupage of flower pots with your own hands
Decoupage is not only the use of printed or cut-out images. The method, like any other creative activity, allows you to work with different materials, such as napkins or eggshells. Depending on the items chosen, the result of the work will vary.
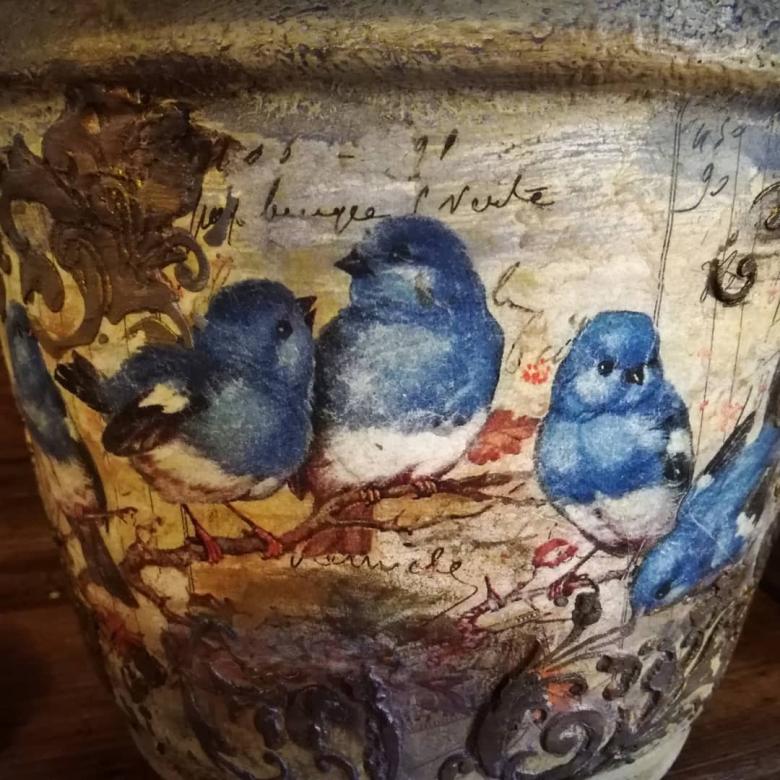
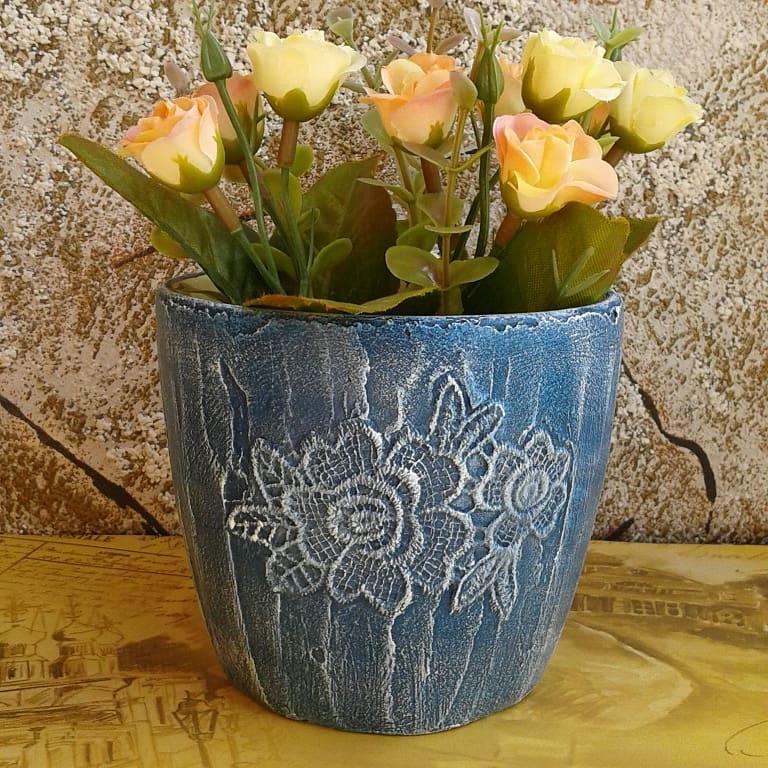
Tissue decoupage
Decoupage, which is based on the use of images from napkins, is remarkable for the possibility of creating a single concise picture.
- First of all, it is necessary to tear the images from the napkins. The pictures should be cut off carelessly. Thanks to the lines of curvature obtained as a result of decoupage, the pattern will be interconnected with other elements;
- If the work is done with a clay pot, it should be sanded and painted with acrylic paint in the desired color;
- Depending on the size of the images, you need to pick up a brush to work with. After that, each picture is placed on the plane to be fastened and covered with glue. It is important to straighten out any irregularities in the image immediately during the fixing process, as otherwise the bulges or irregularities will remain there forever.
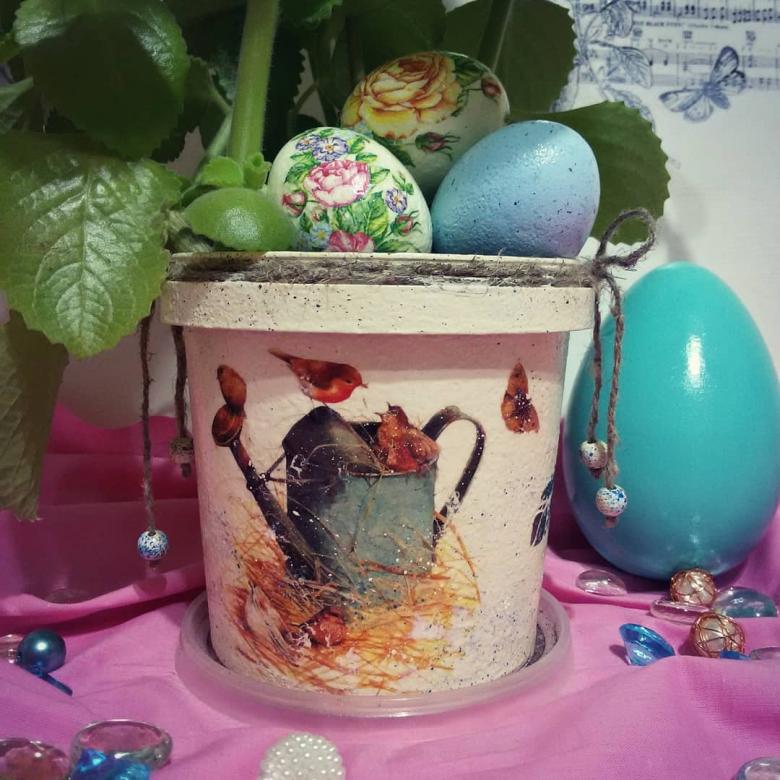
Eggshell
Decoupage using eggshells is considered an exotic procedure. The pattern obtained in the process will remind you of a medieval or Renaissance mosaic.
First of all it is necessary to prepare the working surface by sanding and painting. After that, you need to prepare the shell. To do this, you need to pierce the egg with a needle through and blow out the yolk and other contents. Then it is dried and painted in the desired color. Next, you need to wait for the paint to dry and break the shell into small pieces. After that, a small amount of glue is applied to the surface of the pot, and then the broken off piece of shell is placed in that area. For a strong connection, it is important to press it with a toothpick, as your finger can crush it into small particles that will ruin the appearance.

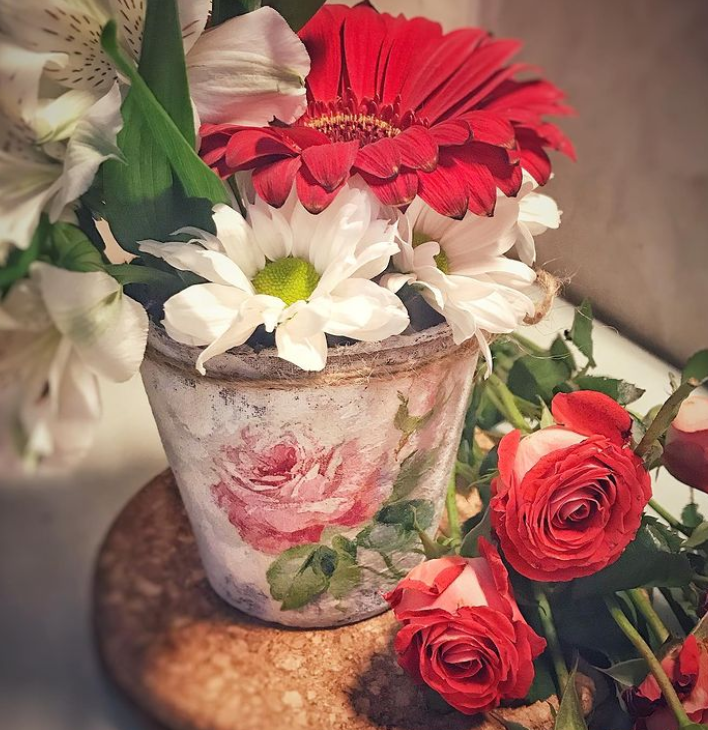
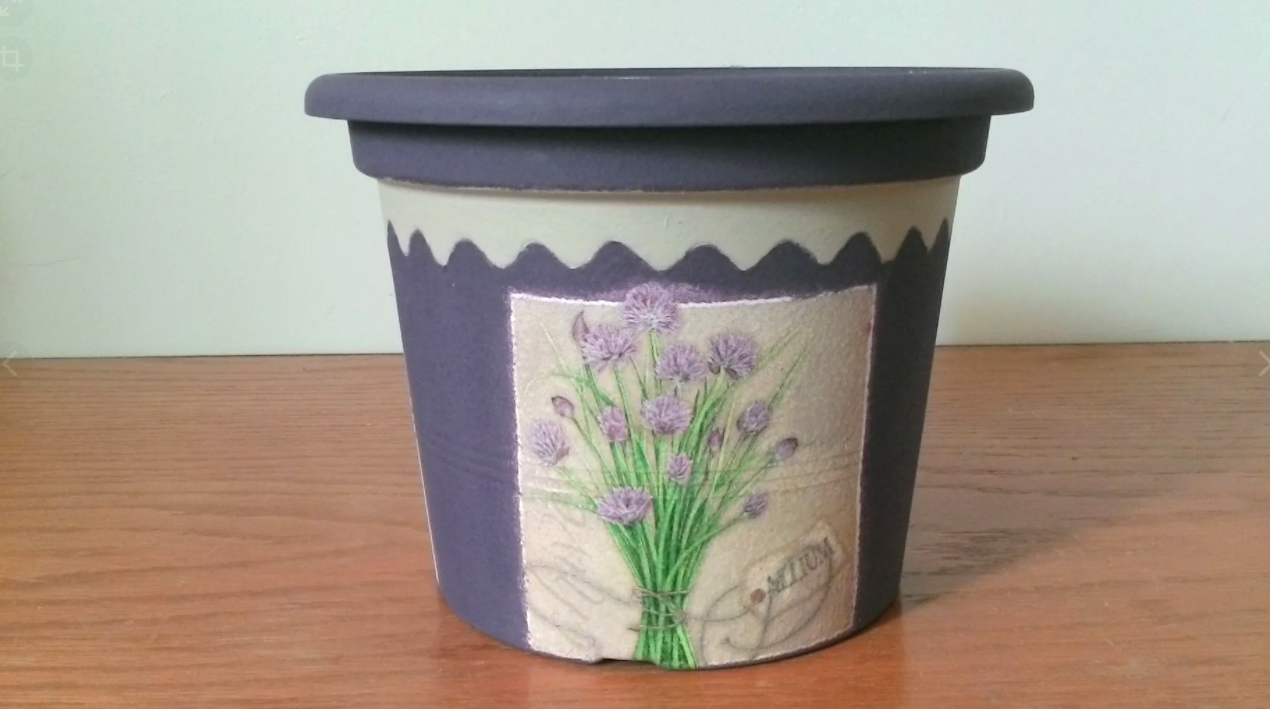
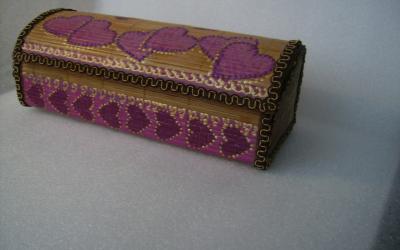
Decoupage of flower pots with fabric
Decoupage of flower pots with the help of fabric will suit quiet interiors, consisting of soft flowers. The work does not provide increased complexity, as a result you will get an authorial and unique element of the decor.
- When working with a pot made of clay, you should grind it. Paint it in the event that you decide to apply the fabric not on the entire area of the object;
- Next, the fabric of interest is cut out. It is desirable to think in advance about the balance of colors, otherwise there will be a visual imbalance, which will negatively affect the appearance of the interior. You should also remember to use an identical type of cut;
- To fix the fabric to the pot, first apply a small amount of glue to the work surface, then use your hands to glue a certain area of the fabric and press it down by hand. You should immediately remove any gaps, crevices or bulges, as this procedure will not be possible later on;
- It is important to apply an additional outer layer of glue at the end of the job for additional anchoring. It will successfully soak into the material and become one piece, connecting it to the pot.
The second layer of glue should be applied with a medium-sized brush to control the amount of bonding agent, as it can leave unpleasant streaks for the eye.

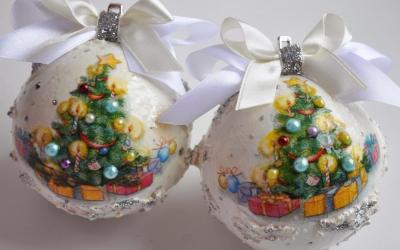
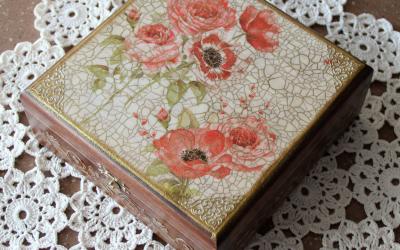
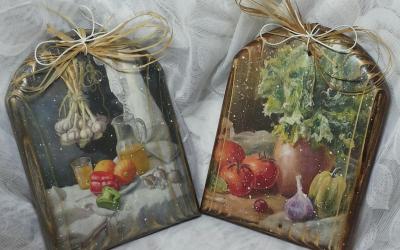
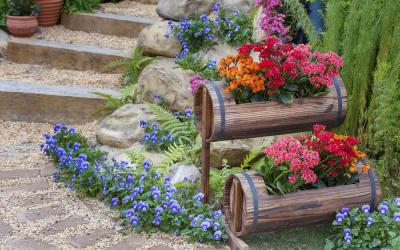
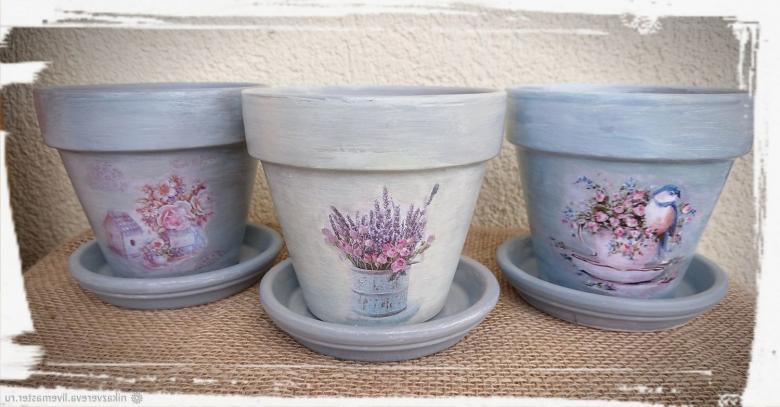
Photo ideas for decoupage of flower pots