Pictures for decoupage - original ideas for beginners and peculiarities of drawing
Regardless of the time, style and fashion, any fakes that are made with our own hands have always been appreciated and were in fashion. Today we will talk more about the technique of decorating in decoupage, which in recent years not only became appreciated, but also grew in its popularity.
Origins
The term decoupage itself came to us from France. If you translate it literally, the term which means cutting out and tearing off. The essence of decoupage technique is quite simple, so that even a child can easily cope with it.
The main task in creating things in the technique of decoupage is to find the right image, print it out on the printer and glue it on the selected thing. Particular attention is paid to the edge, wrap and frame when decorating the item, which as a result should hide the seams and irregularities of the glued image.
In other words, the borders of gluing will be invisible to the eye and will look like an element of the overall decor. As a result of proper decoration, you will get a stunning work, where the picture looks like a whole ornament and complements the overall entourage of the product.
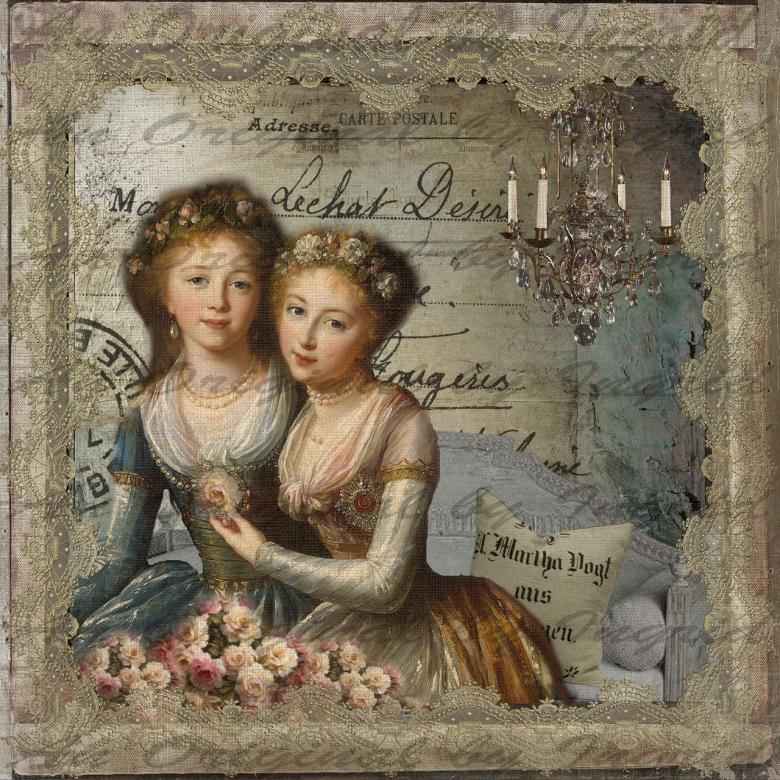
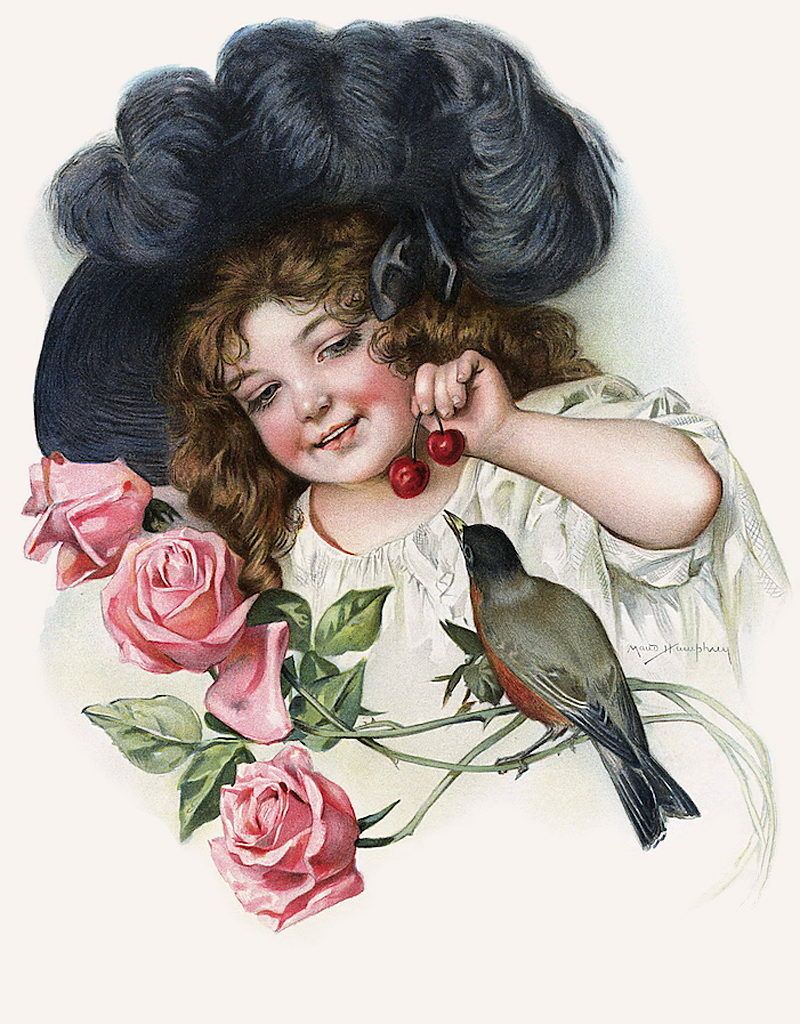
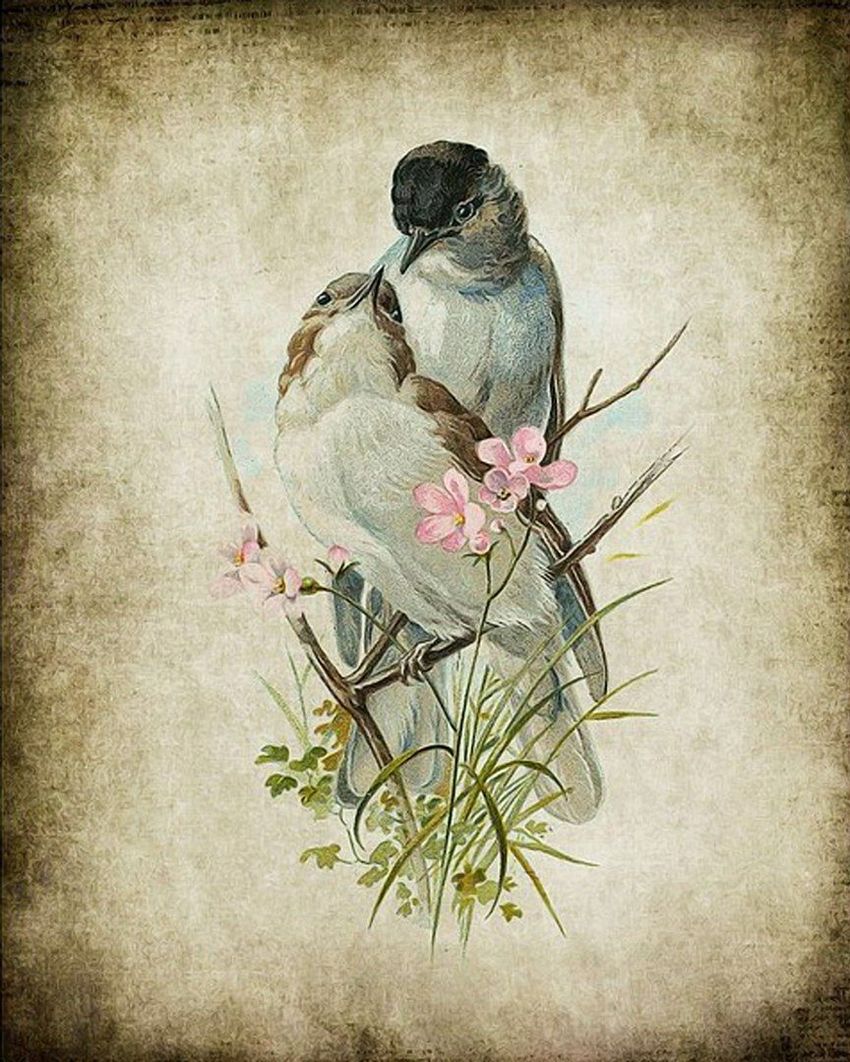
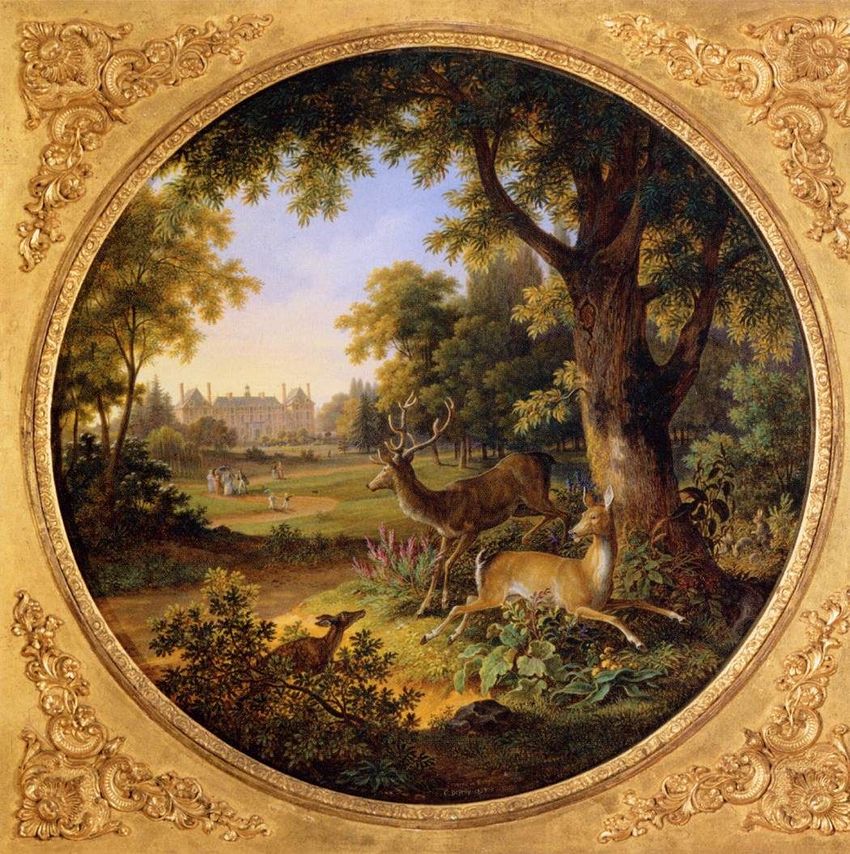
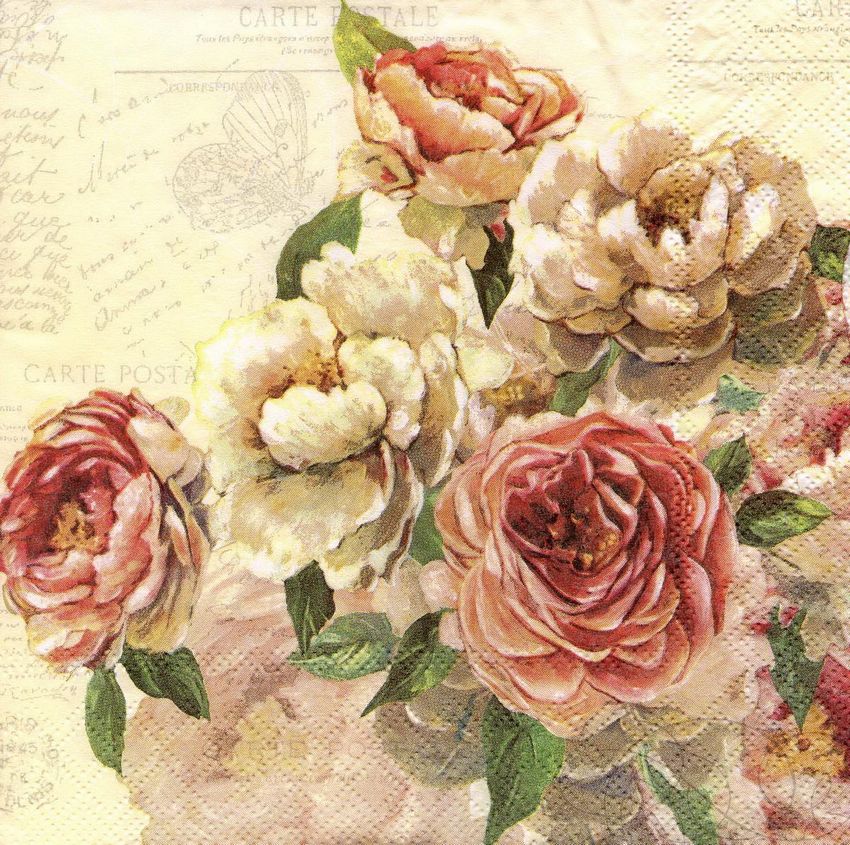
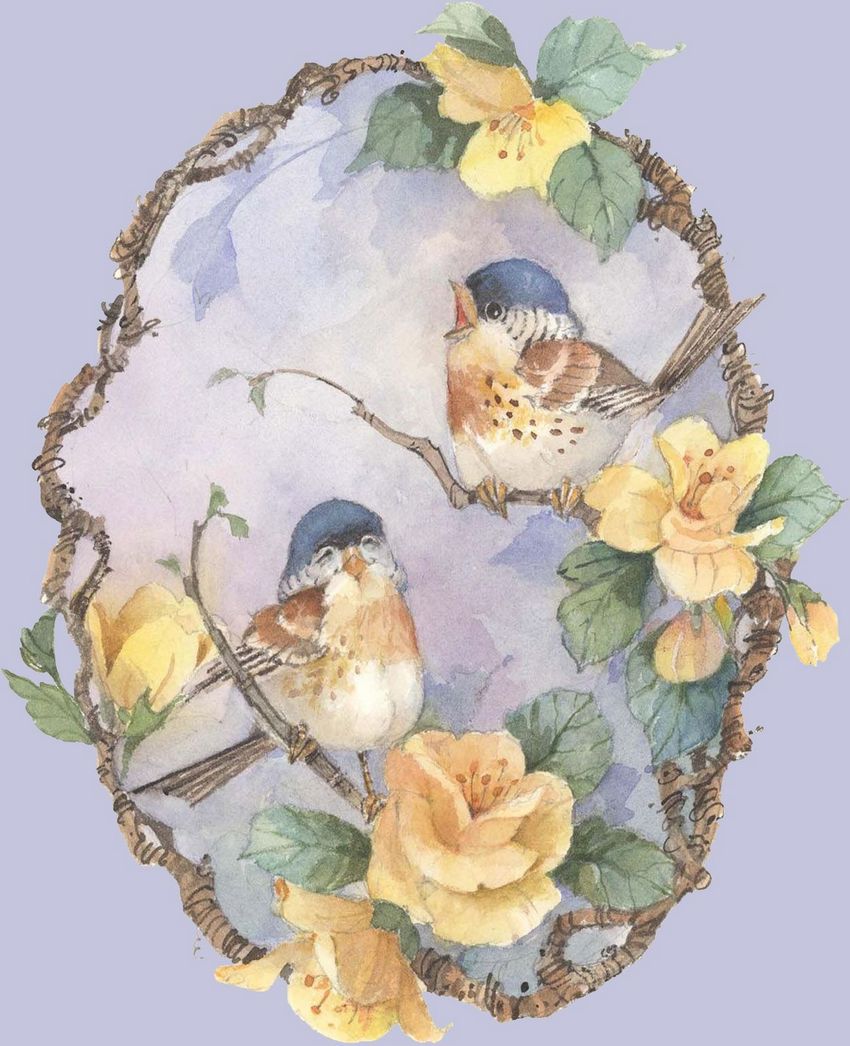
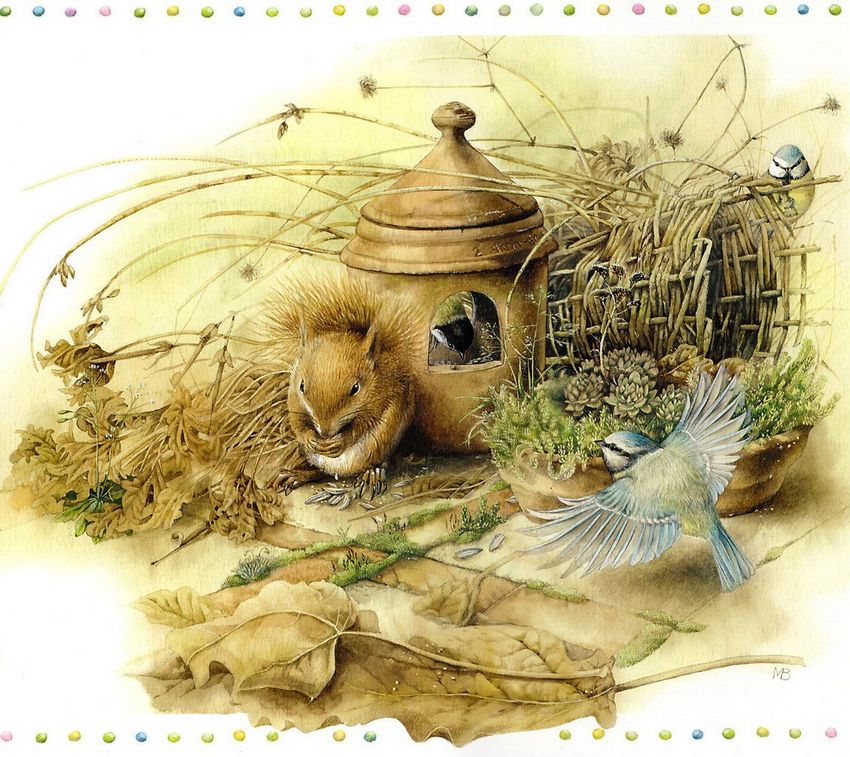
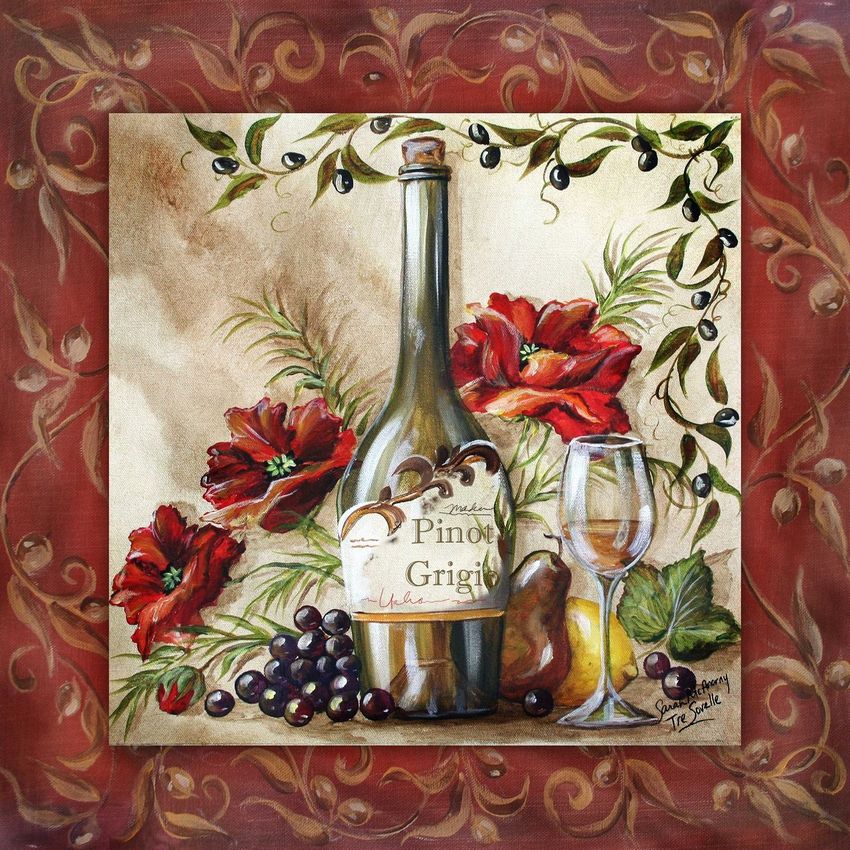
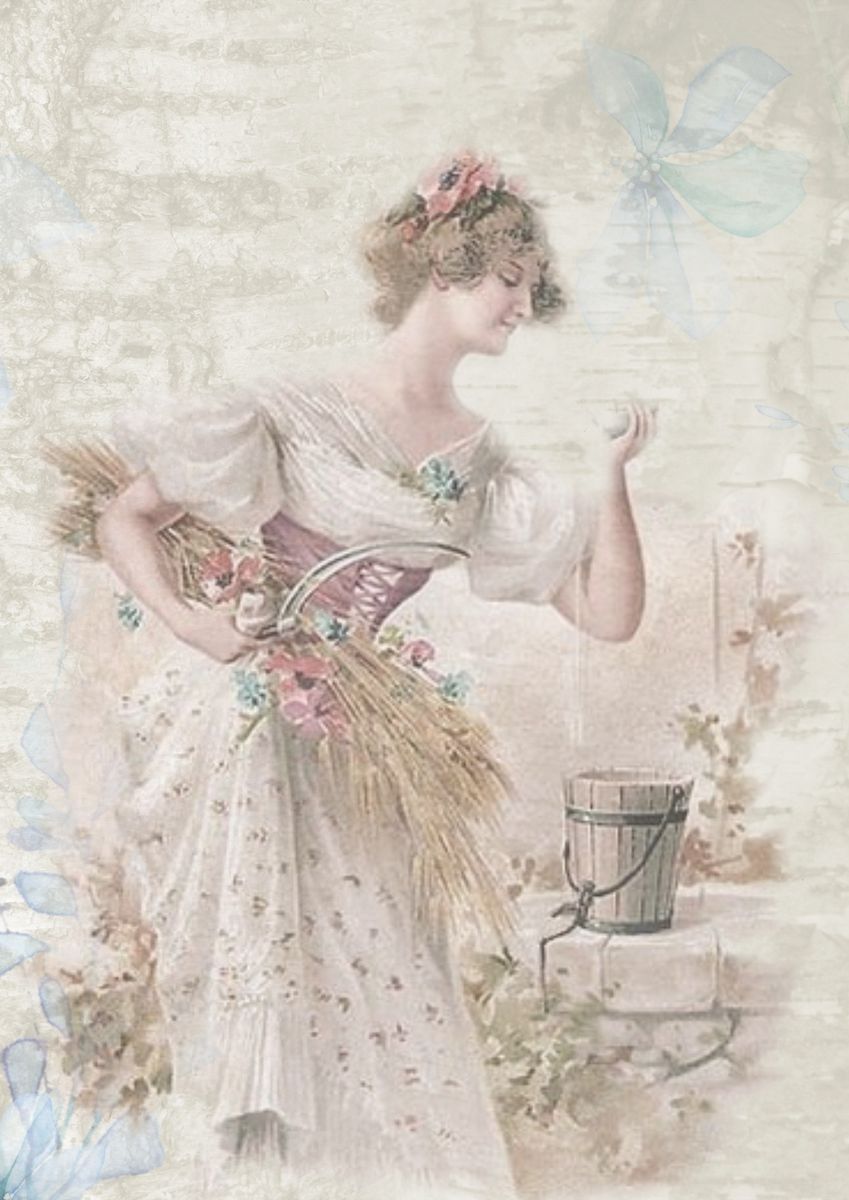
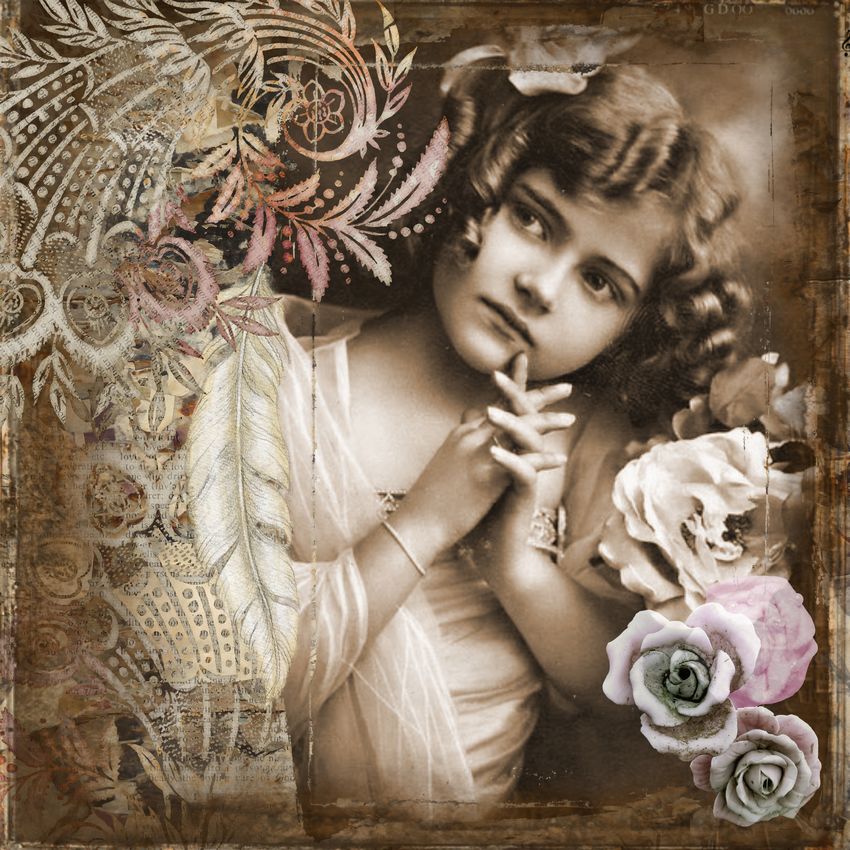
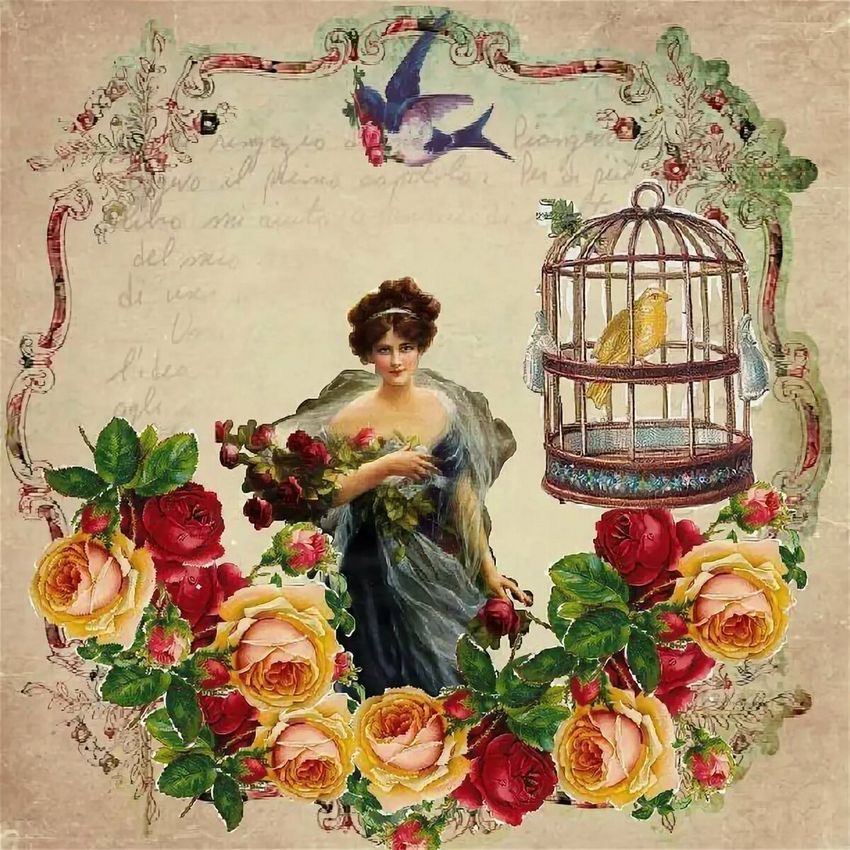
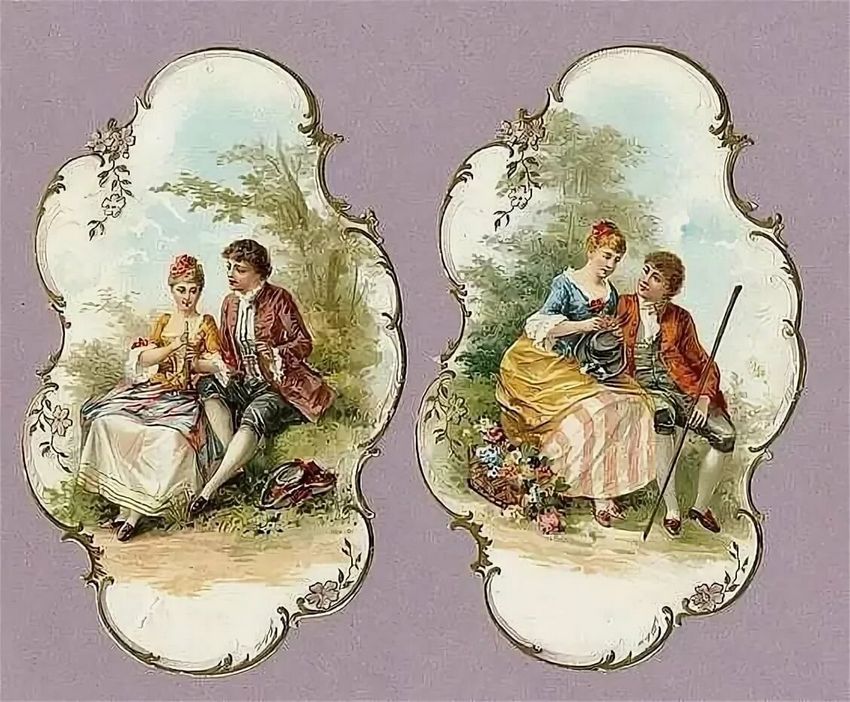
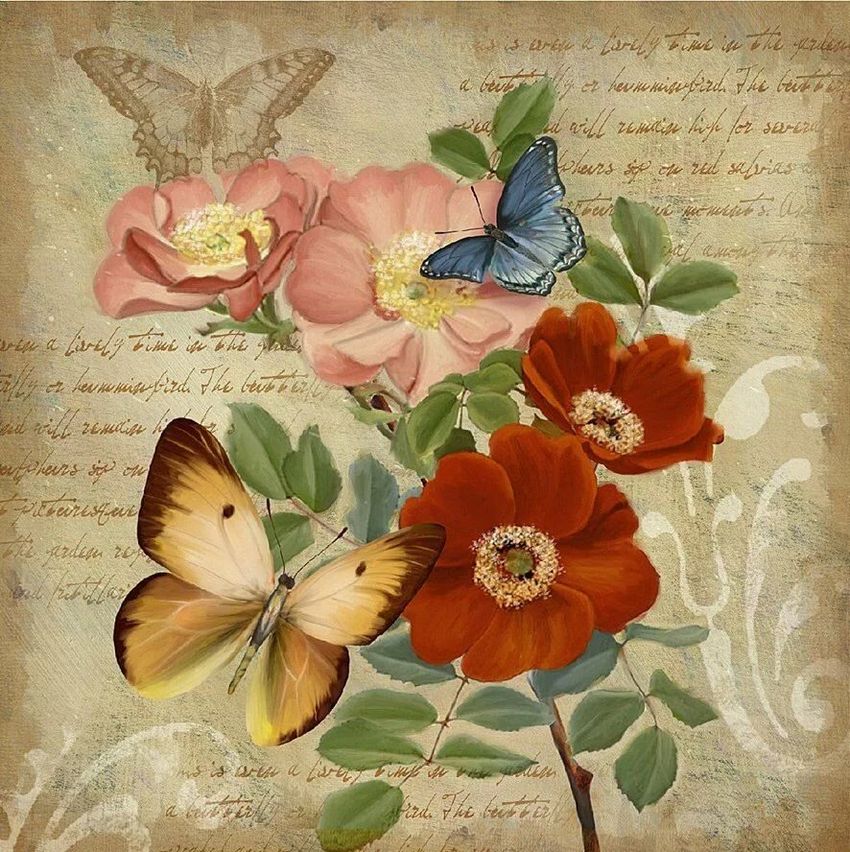
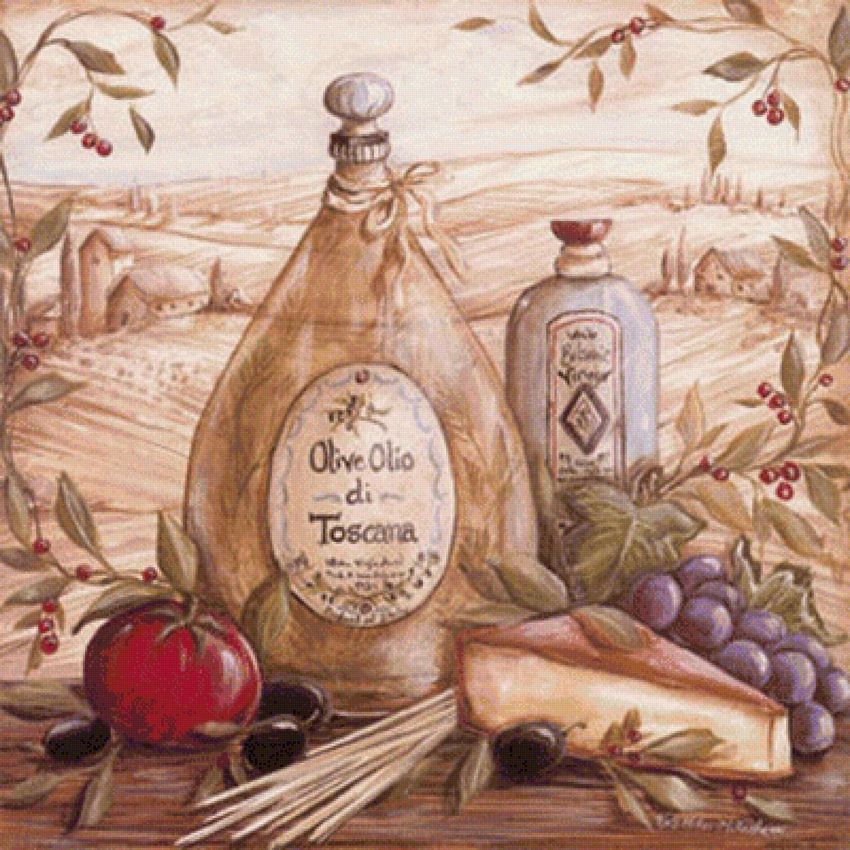
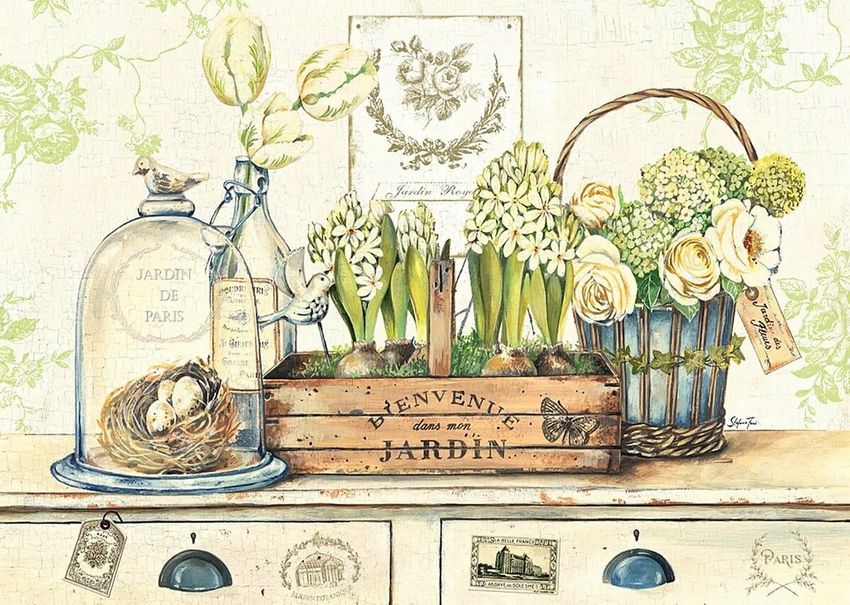
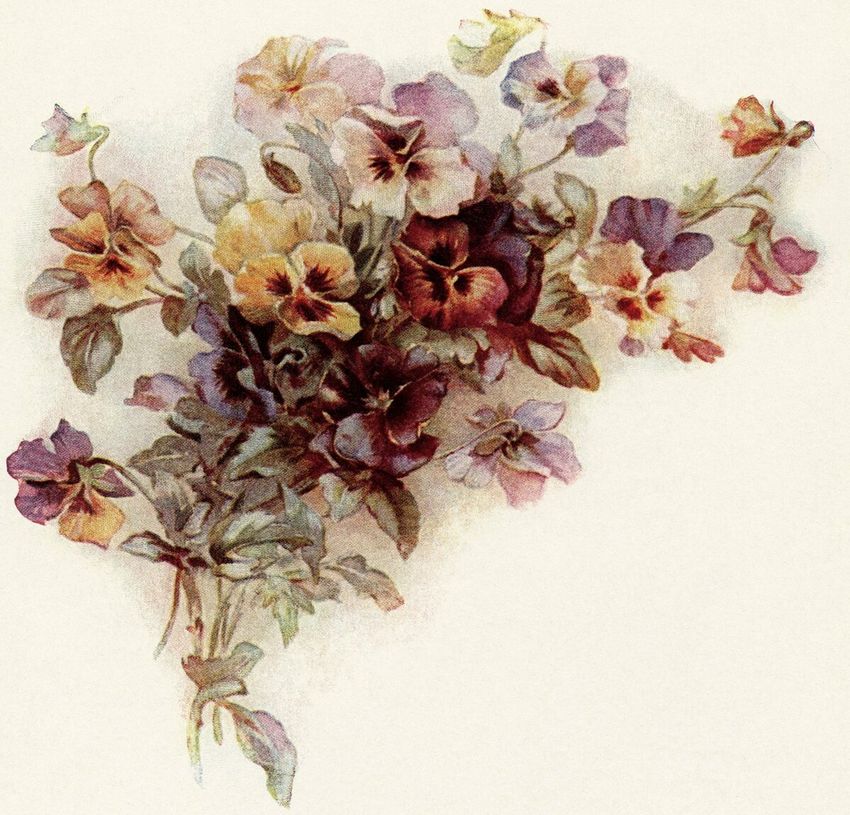
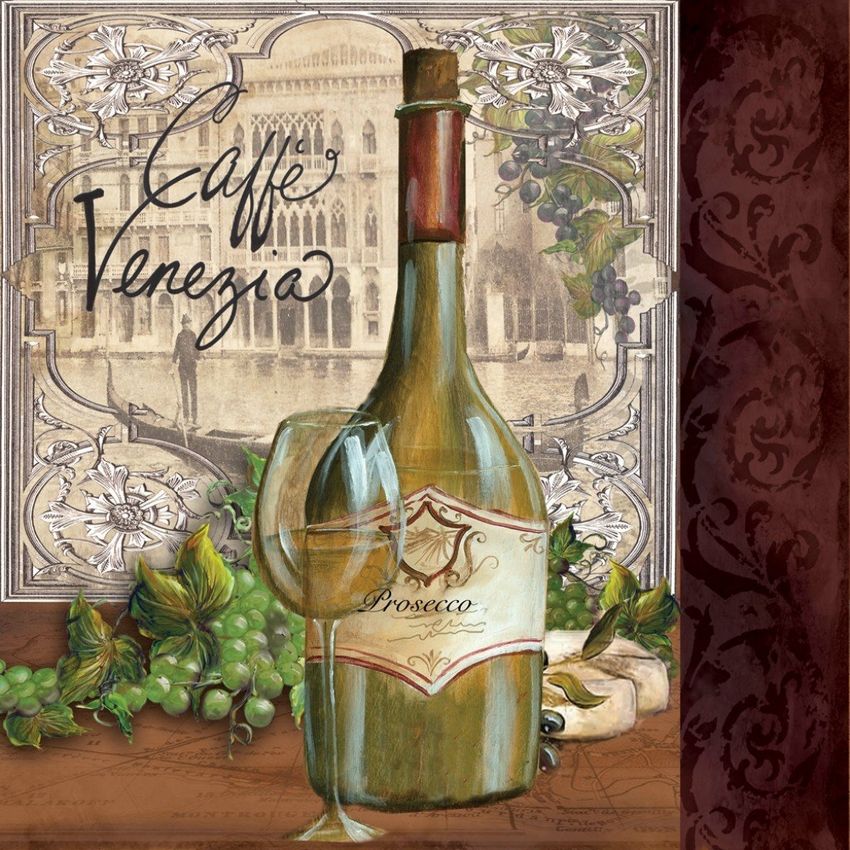
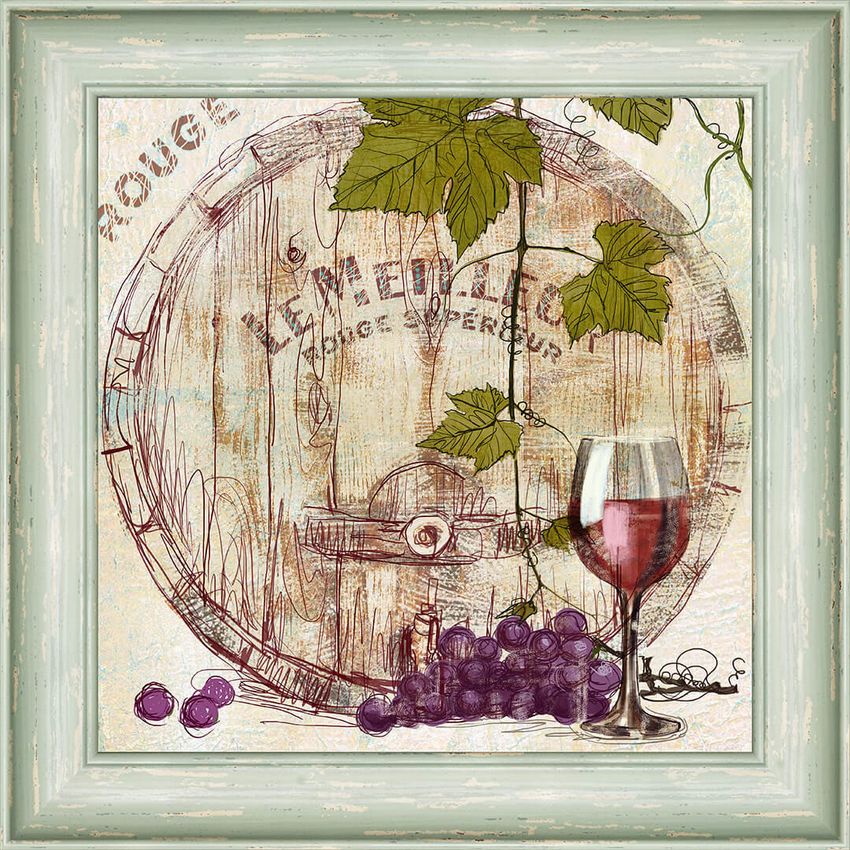
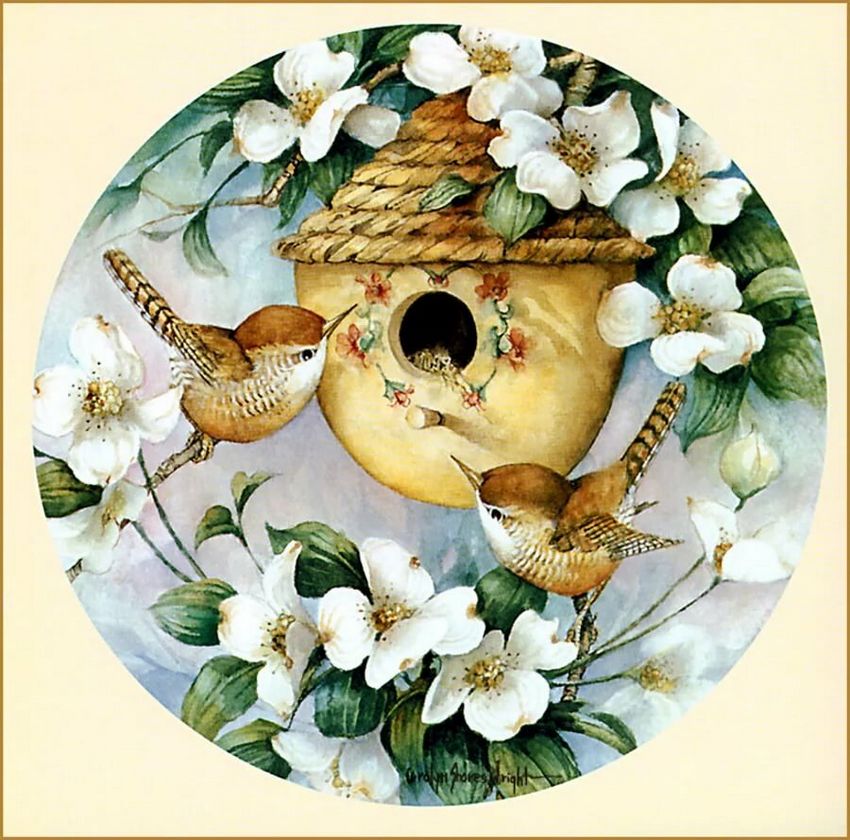
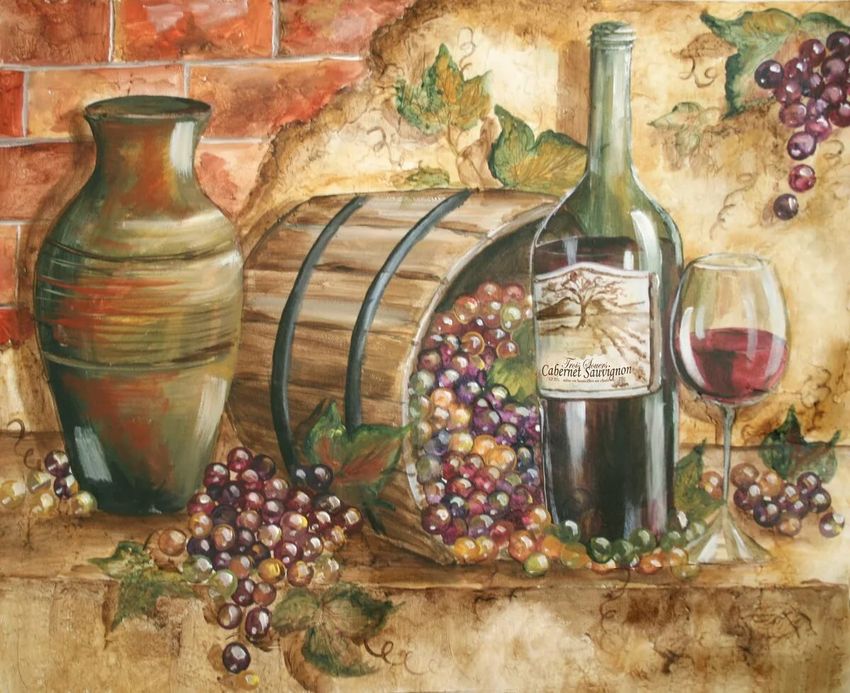
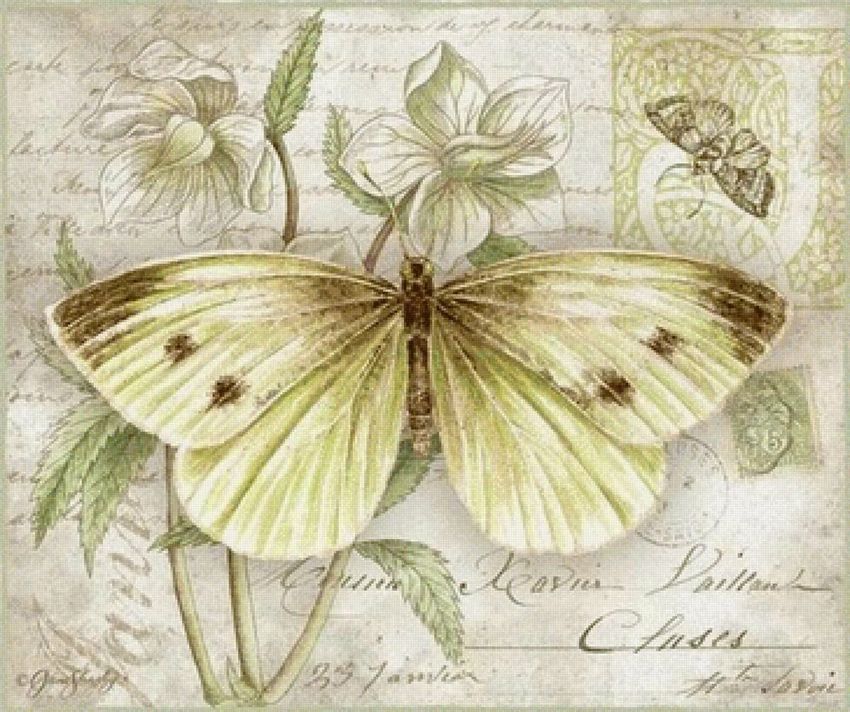
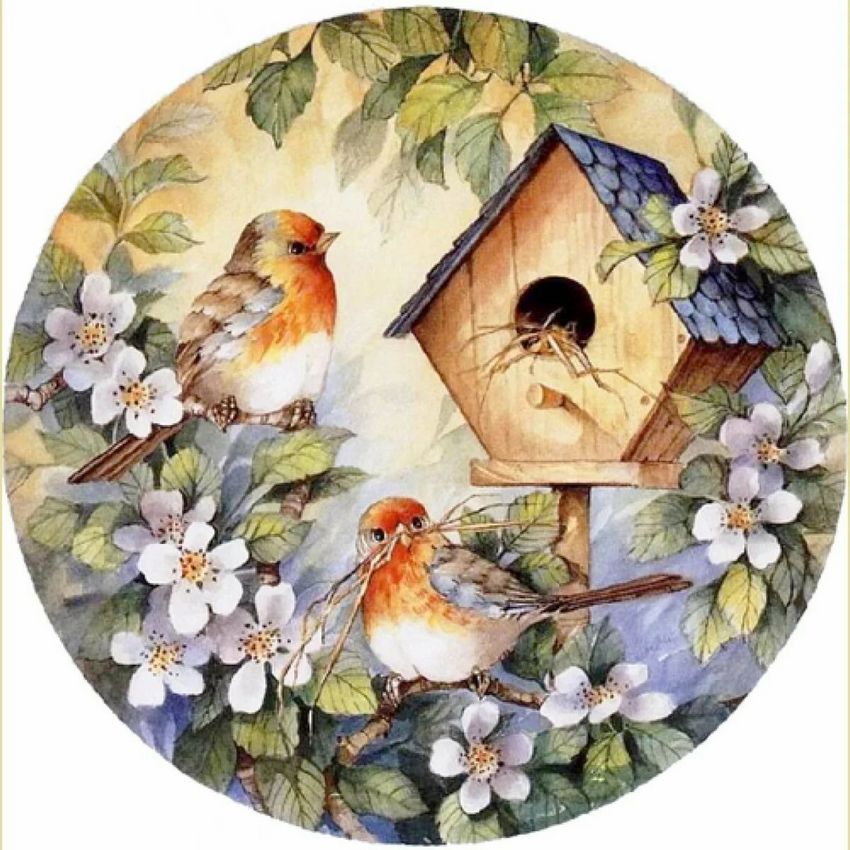
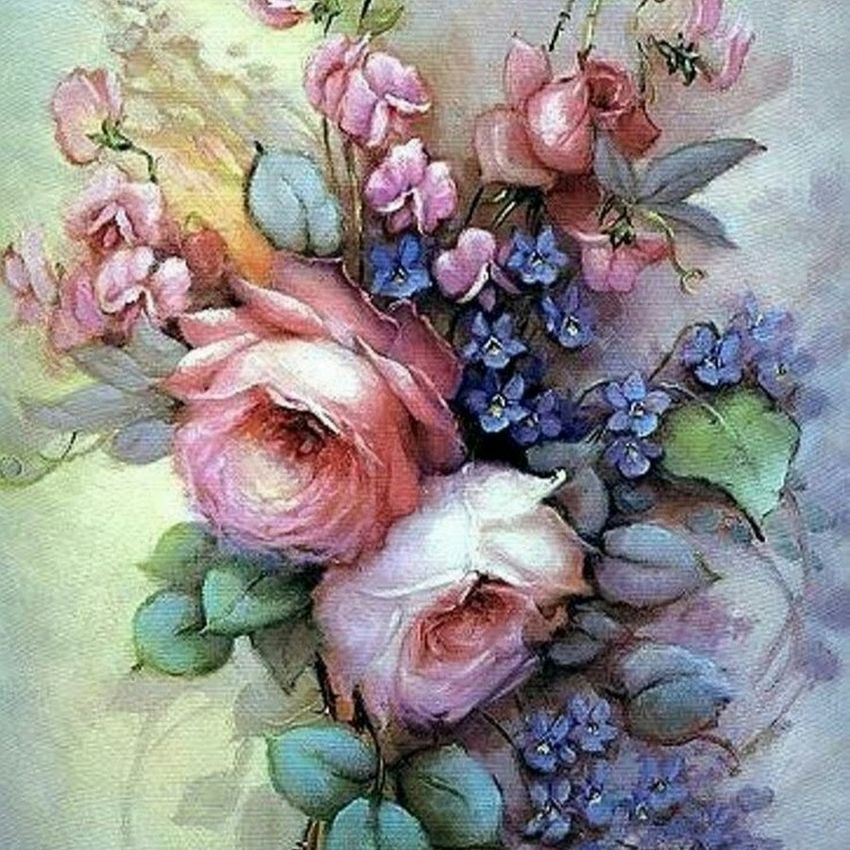
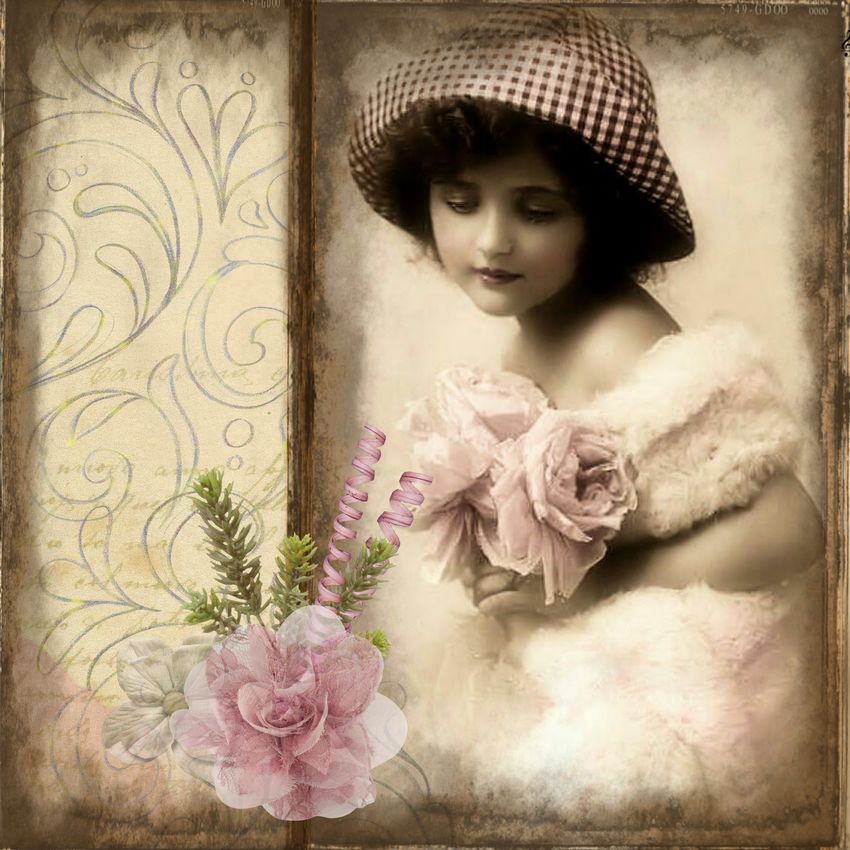
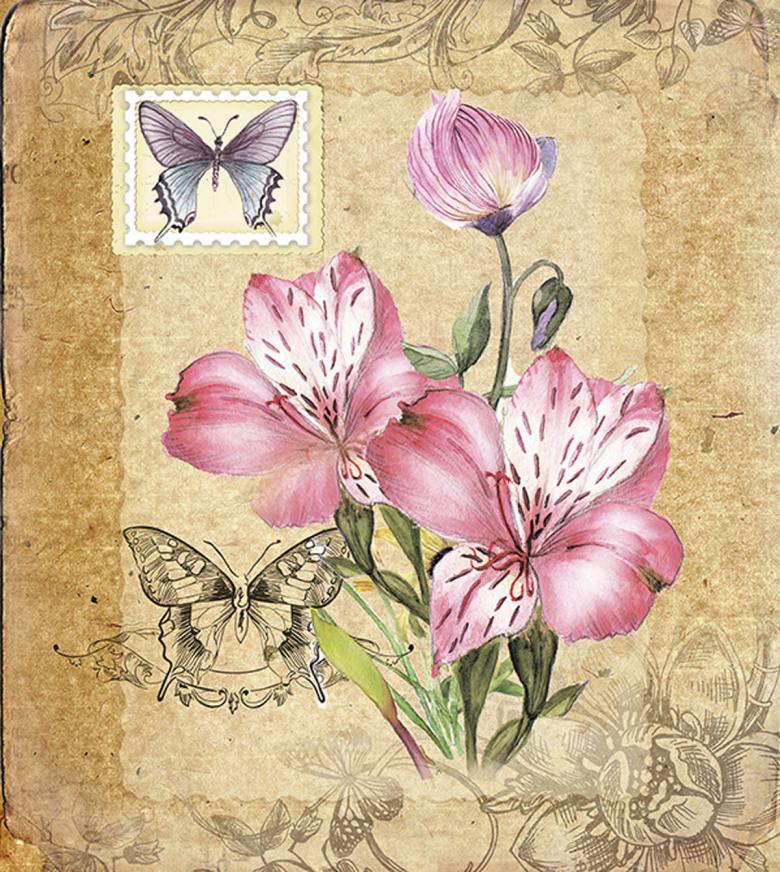
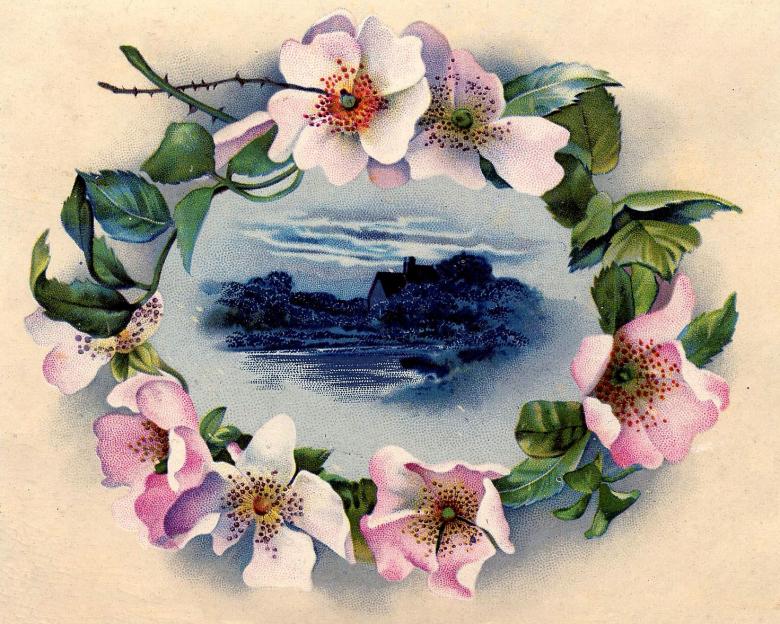
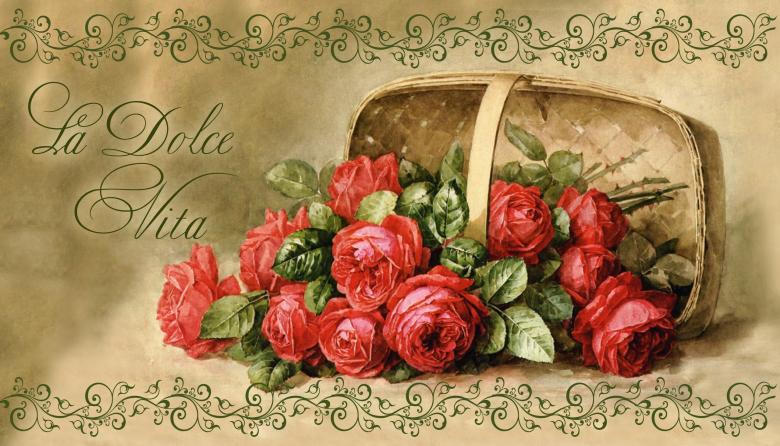
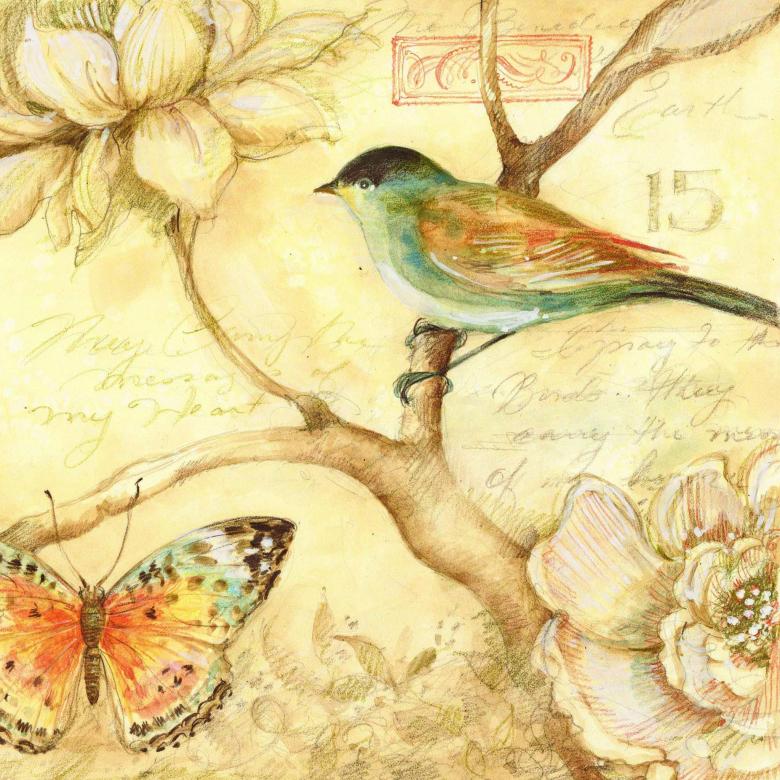
Pictures for decoupage for printing on the printer can be taken on the most different themes, however, the most popular is the style of black and white images, photo and retro style.
The main varieties and techniques of decoupage style
There are a total of 5 varieties in the technique, and now we will take a closer look at each of them, because they are all so different and with their help you can create stunning products and fakes.
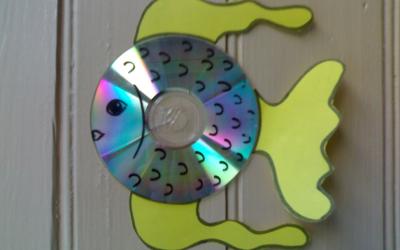
Reverse decoupage
Basically, this technique is mainly used on the surface of glass. A picture of decoupage is fixed to the glass surface from the back side and fixed so that the edges of the image were not visible.
In this technique you can decorate such interesting and original items as:
- Cups,
- Glasses,
- Plates,
- Mugs,
- and other items.
In addition to making the product, you can draw outlines or paint over the visible boundaries of the paper image. All this can then be covered with paint and varnish to hide the "roughness" of the product. Of course, if ideally you train your hand and choose the right material with a picture, then there should be no problems with decoration.
Artistic or smoky decoupage
This type of technique is different in that it almost completely imitates the professional painting of an artist. In order to achieve this effect, it is necessary to apply some tricks.
In this technique, you may need:
- Varnish,
- Paints,
- Brushes,
- Glue,
- Scissors,
- Pencils.
As you already understand, for the application of the product should be further worked on its imitation in the form of a drawing. To do this, you can initially apply a layer of mirror varnish, which will cover the original picture with a protective coating and allow further work with the surface without fear of spoiling it.
In some cases, you should apply varnish separately on the picture element. In this way you can create a layering effect, thus imitating a real picture with paint. Additionally, you should not forget about the unevenness of the paint, the shades, the depth of color and shade.
If you are a professional decoupage artist with a full hand, you will have no problem creating an original fake in a smoky design. For beginners, however, it is recommended to practice on small items, the pattern of which can be imperceptibly corrected.
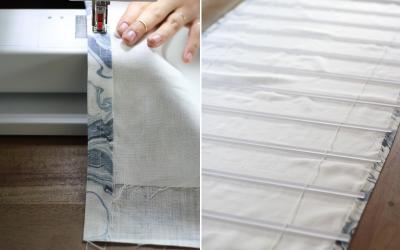
Decopach
Let's consider another interesting technique called decopach. The second name for this technique is patchwork.
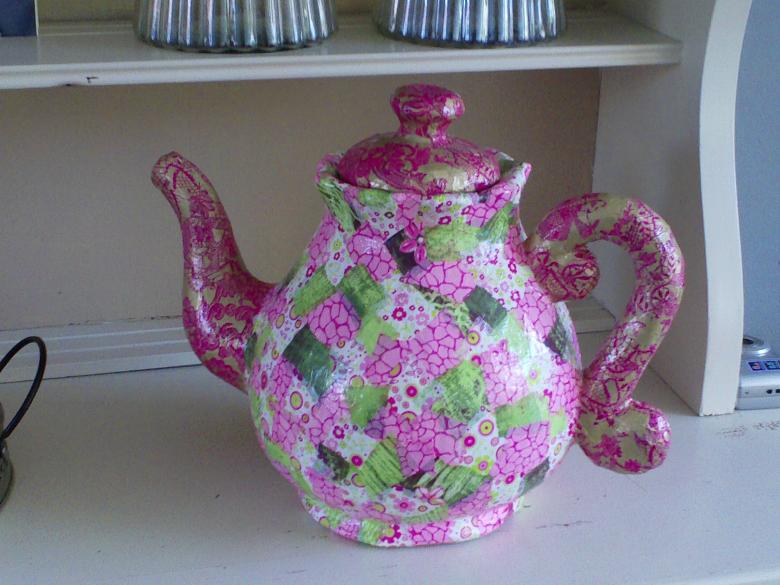
If you translate literally, this technique is done with ready-made scraps of fabric, which are applied by gluing on the back of the picture.
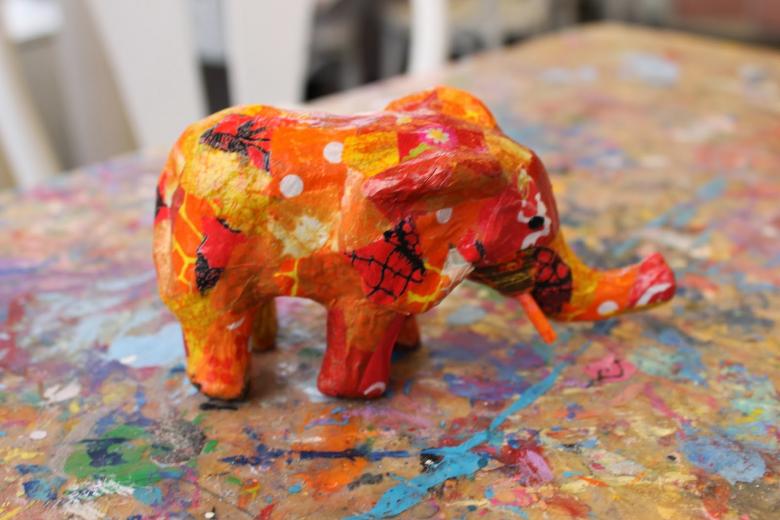
Usually in this technique can be found not a lot of works. Basically, this is due to the fact that the work itself takes a lot of time, and to redo bloopers and sins is quite time consuming. But, for all its complexity, this technique is attractive because it can decorate almost any thing in your home.
As a rule, a special kind of materials, terry cloths or patchwork materials made of fabric or fur, are used for the technique of decapach.
3D volume decoupage
This type of technique is quite interesting because it is based on an original and three-dimensional drawing. The effect can be easily achieved with the help of molding or other materials that are fixed on the structure of the product without much effort and have good enough durability.

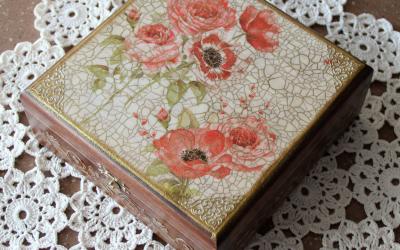
Classical decoupage
The classic technique of decoupage is accessible even to the smallest handicraftsmen. It is enough just to transfer the blank image to the finished surface, process it with paints, varnish or napkins, and then the finished product is imitated under the type of surface that we need by style.
What can be needed in the technique of decoupage:
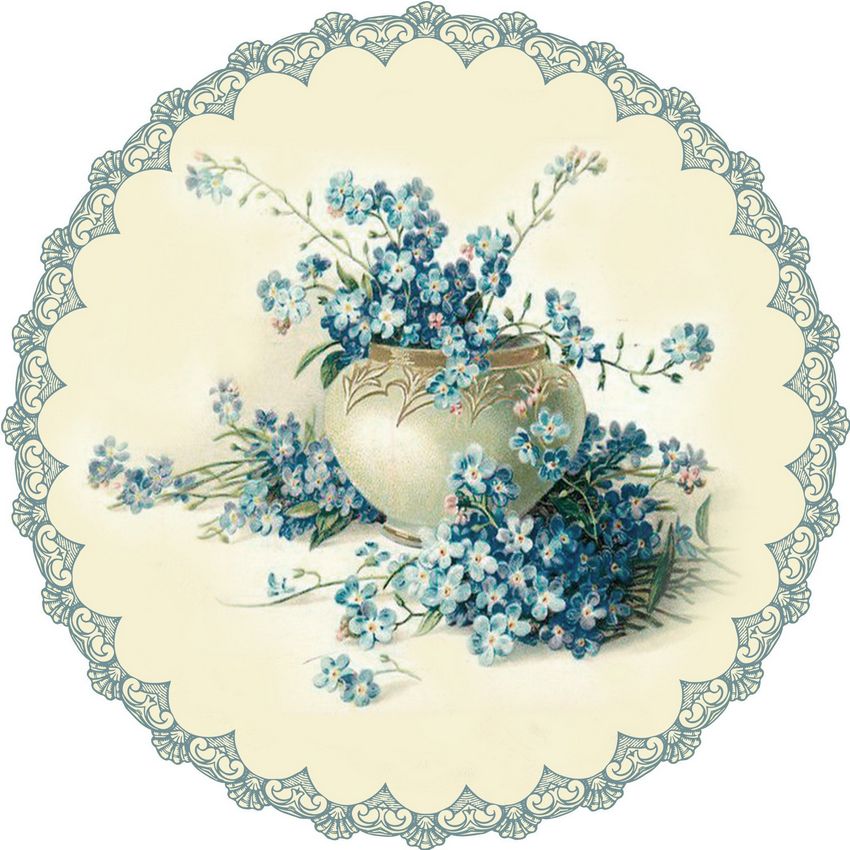
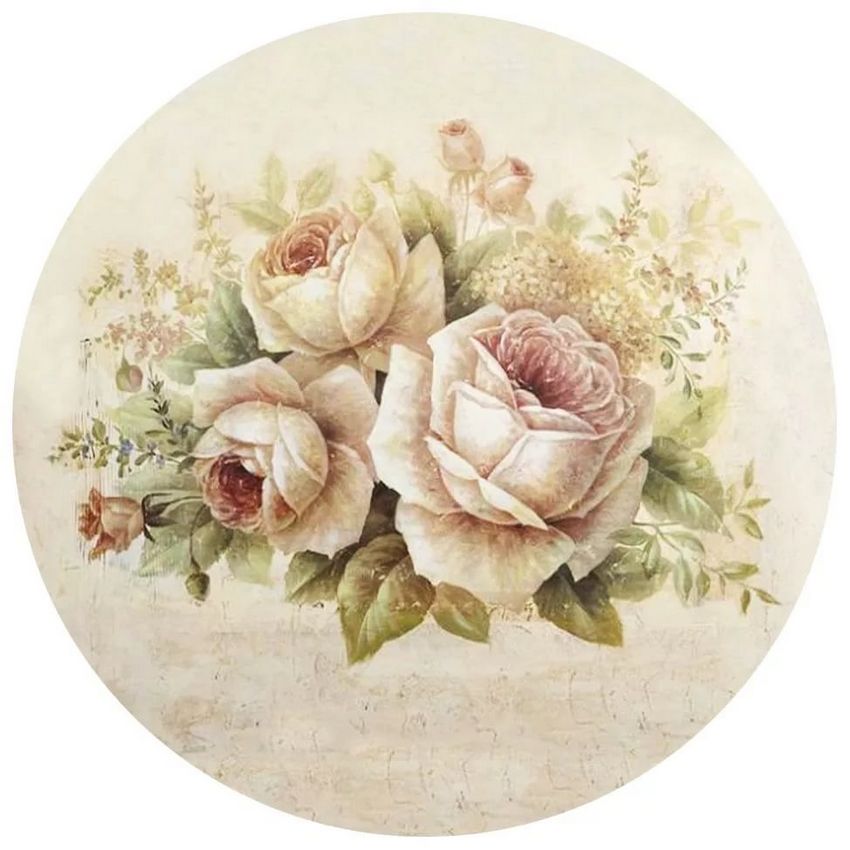
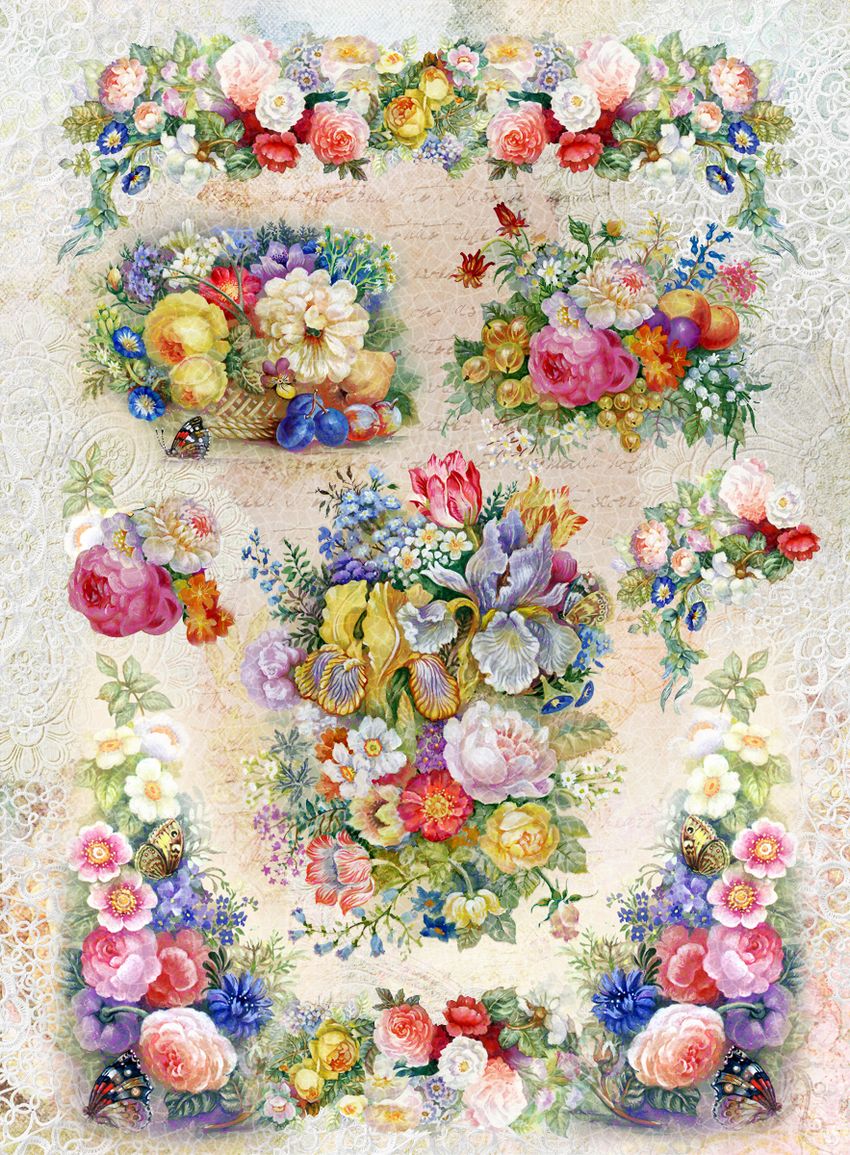
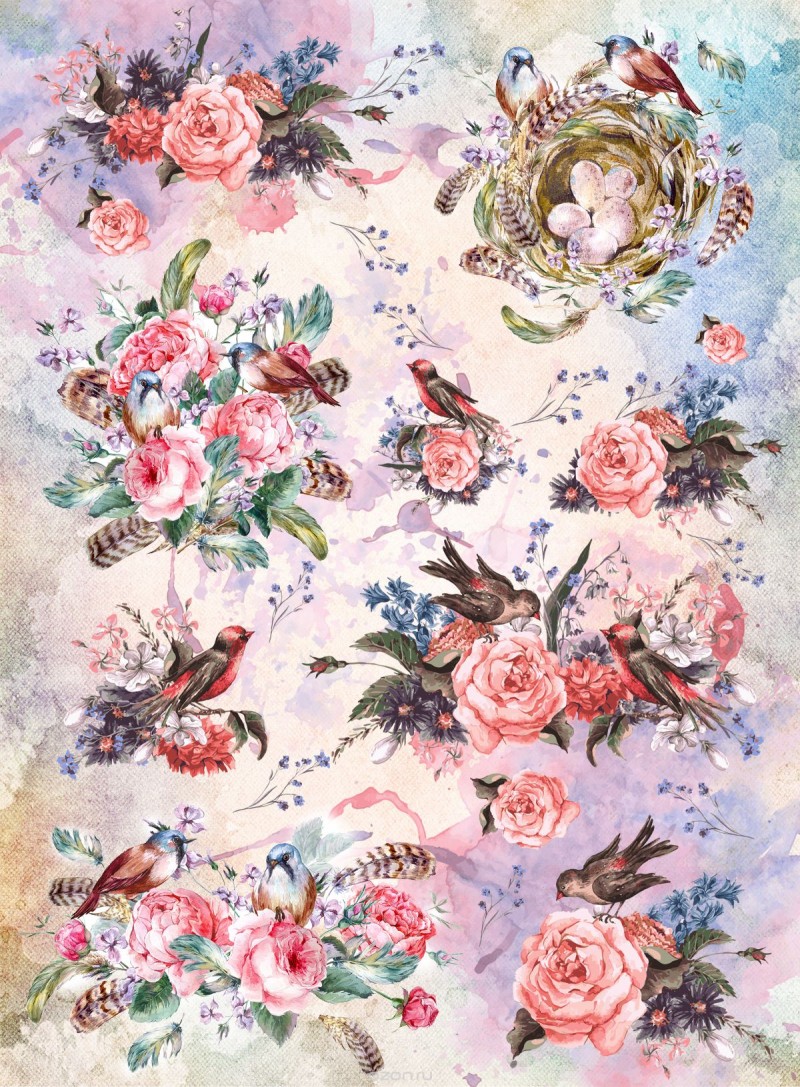
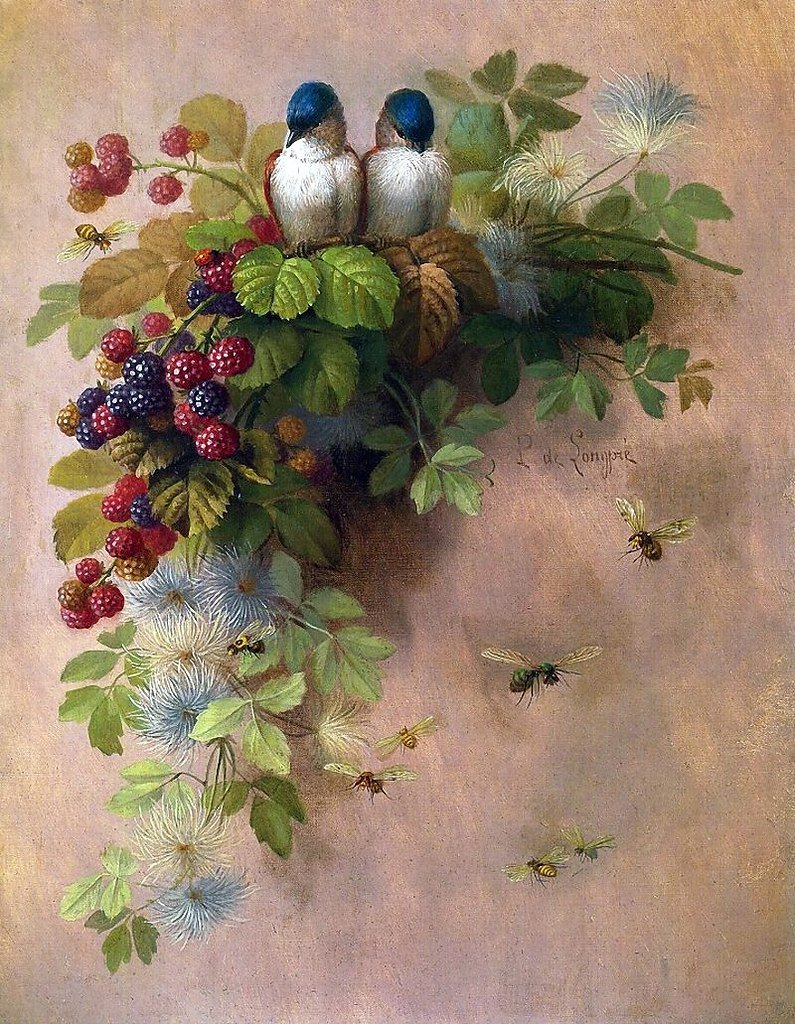
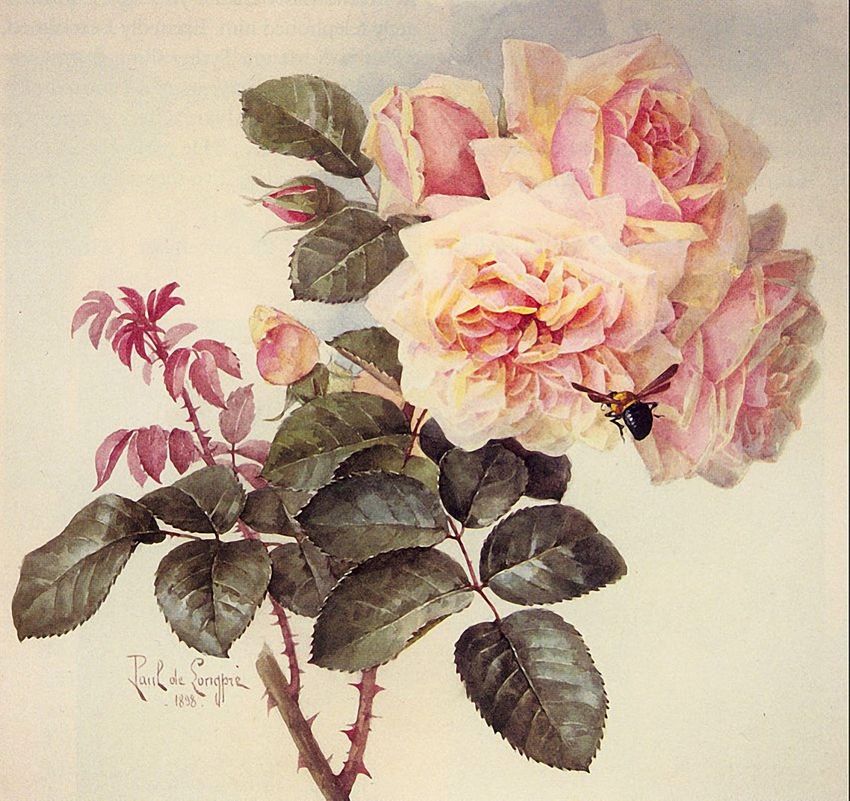
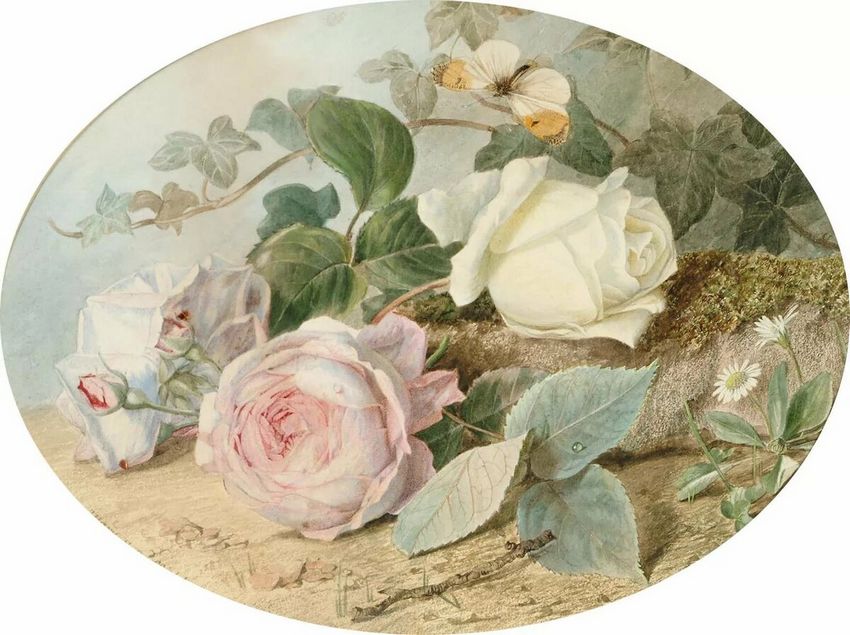
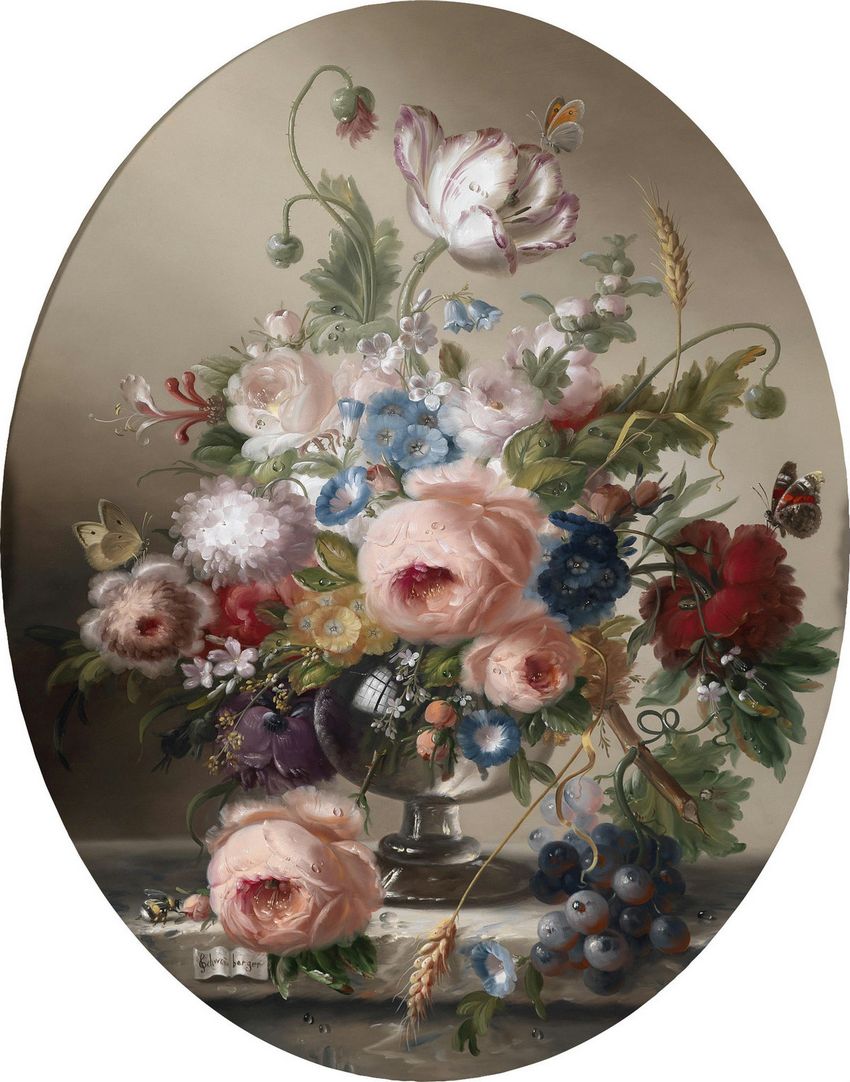
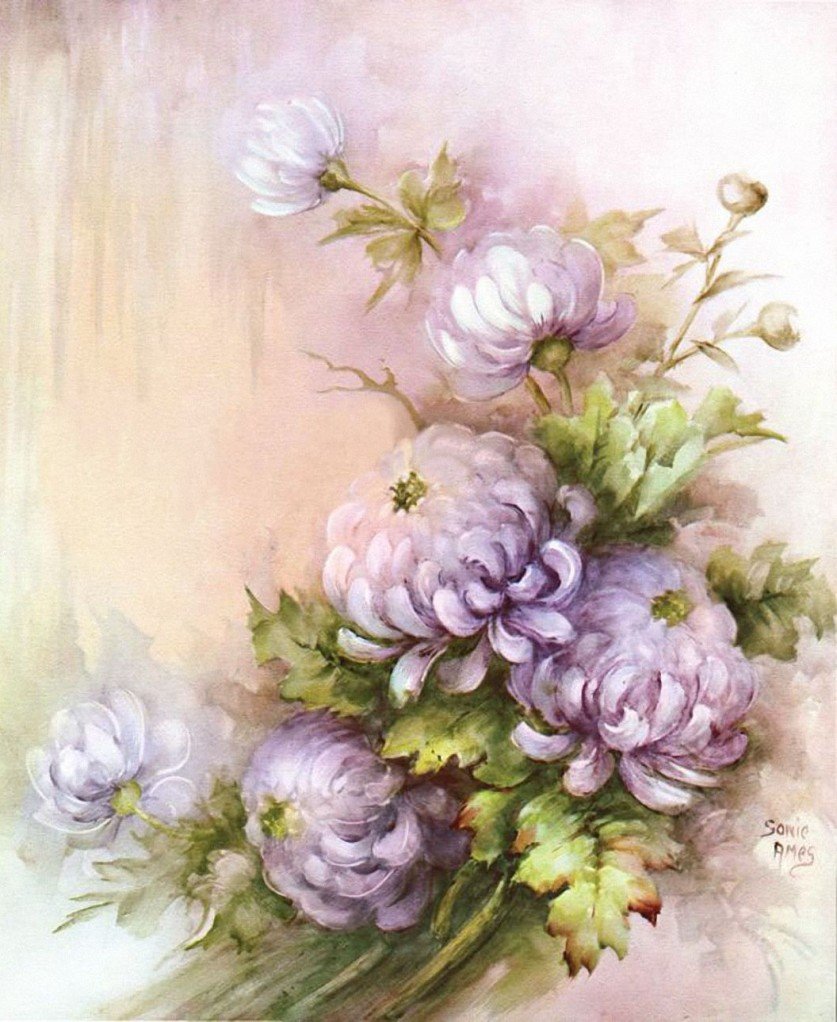
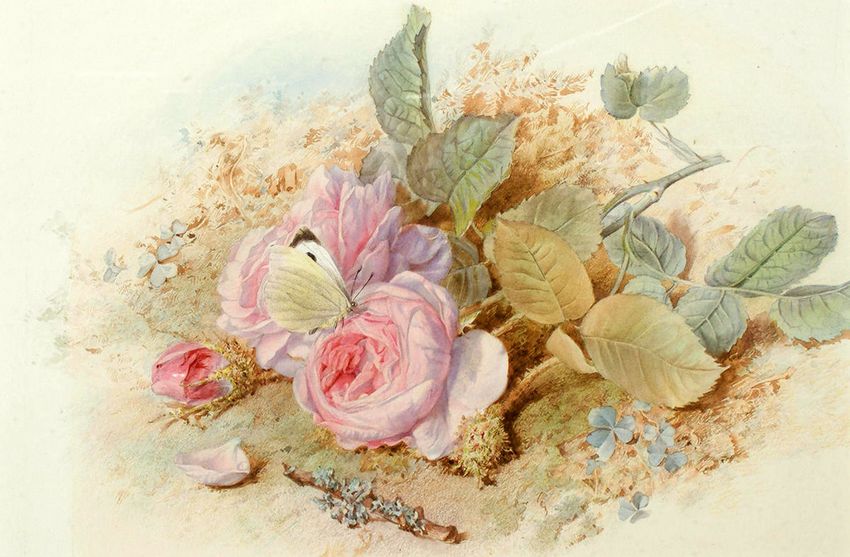
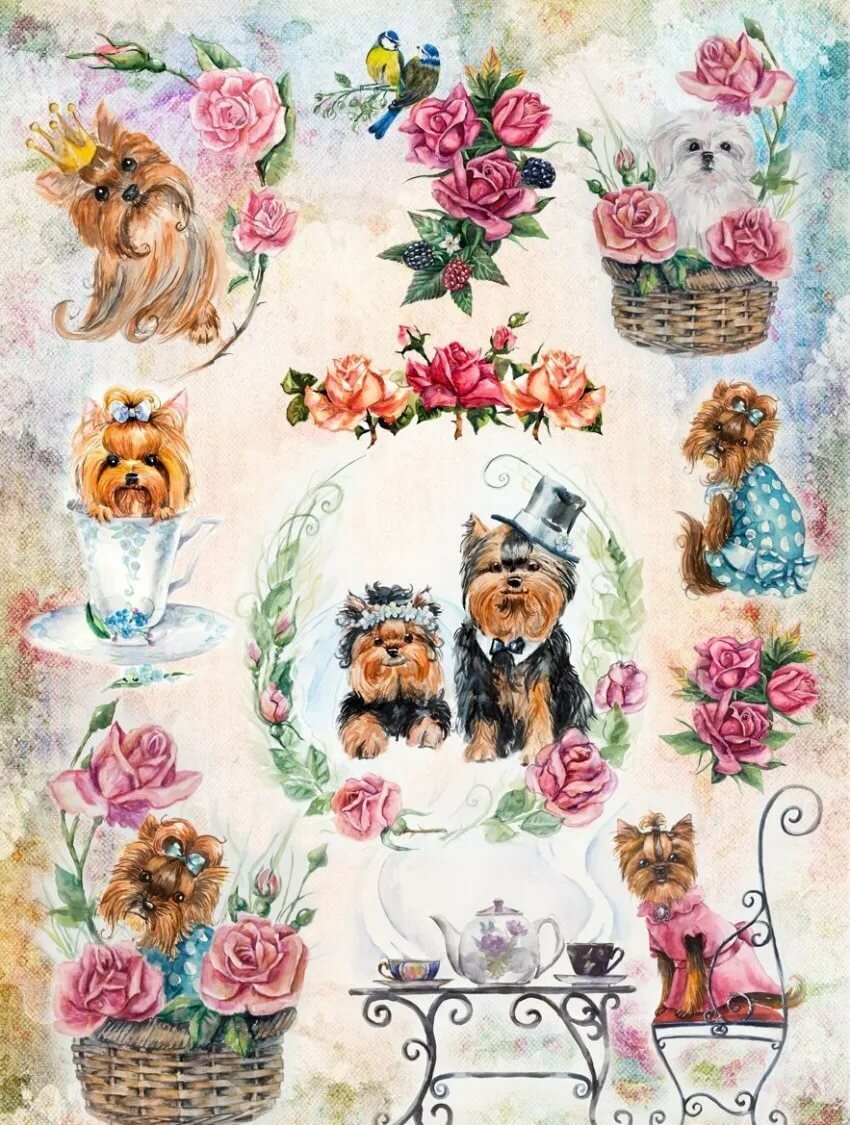
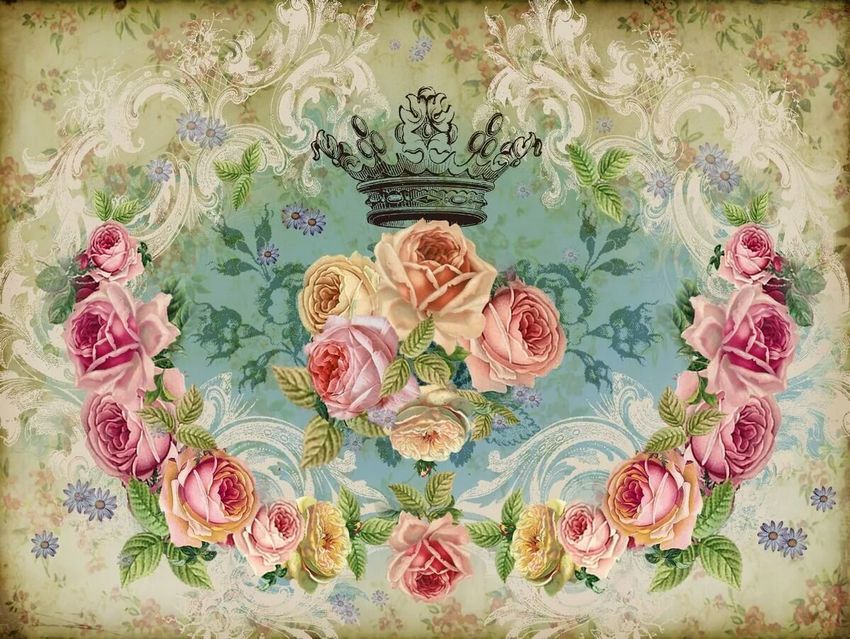
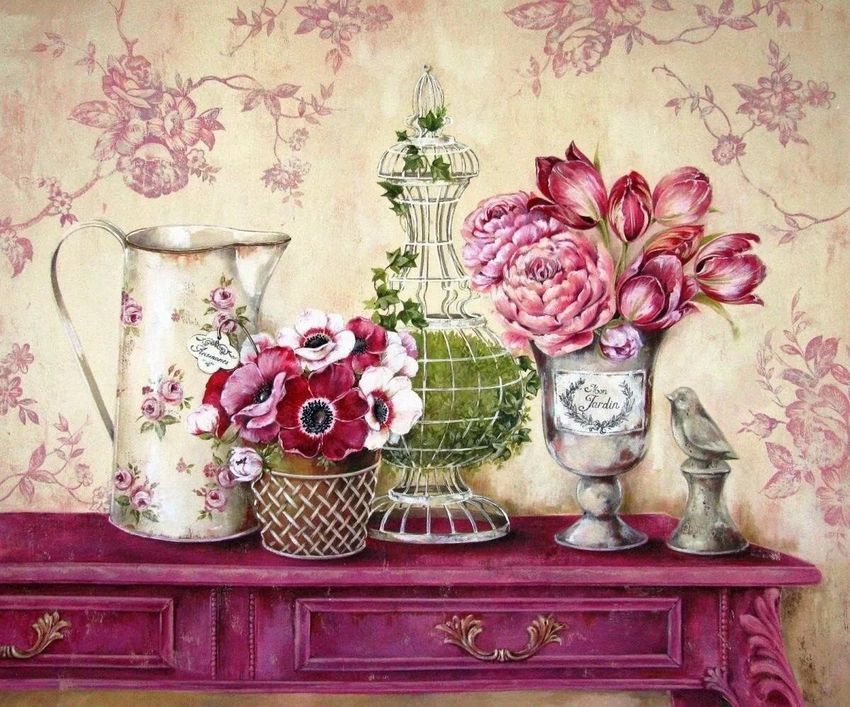
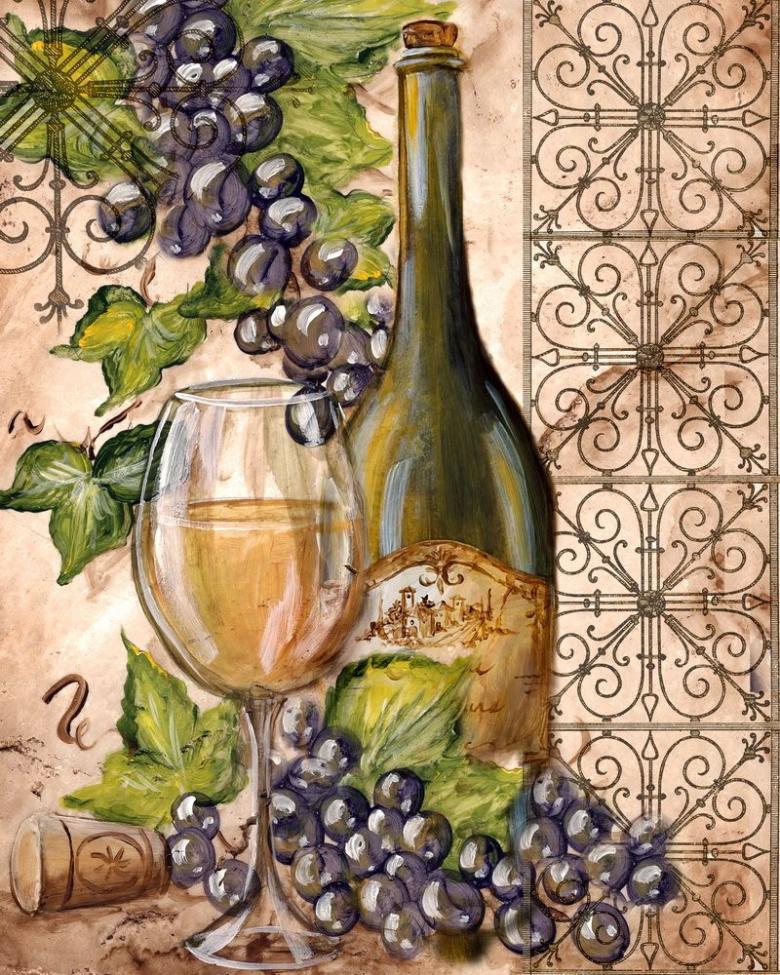
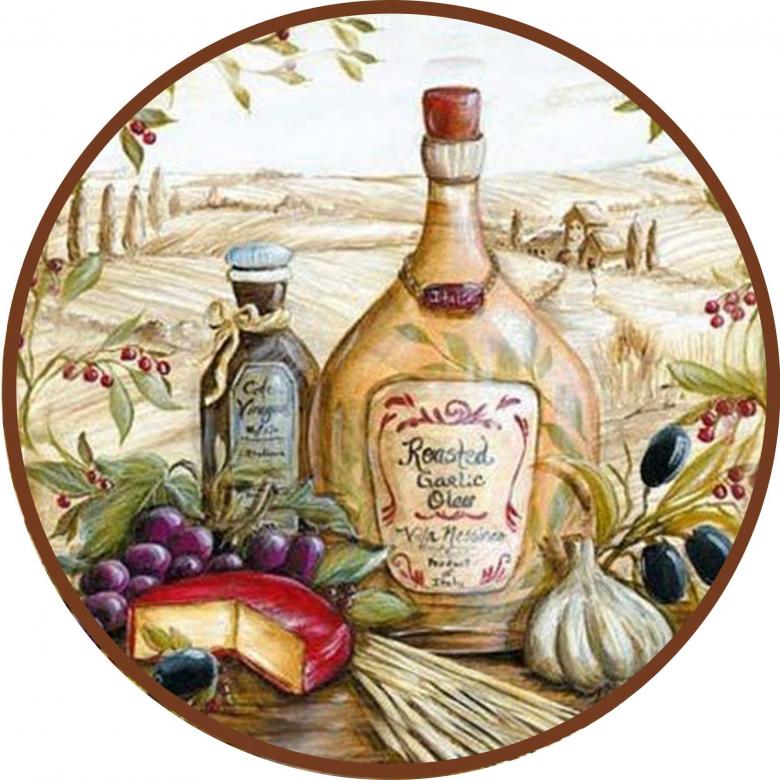
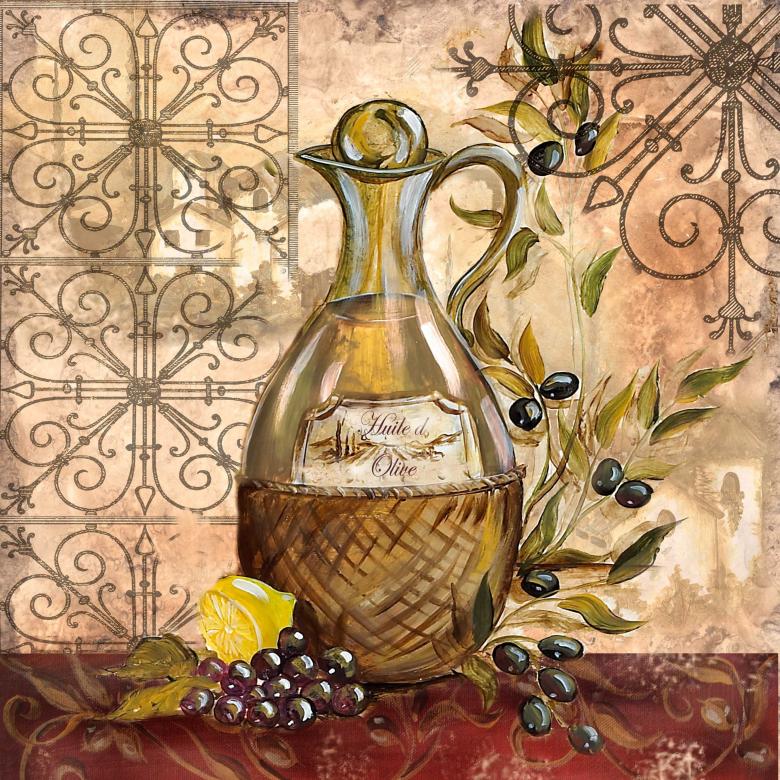
- Pictures of a variety of character, theme, shape, color and size.
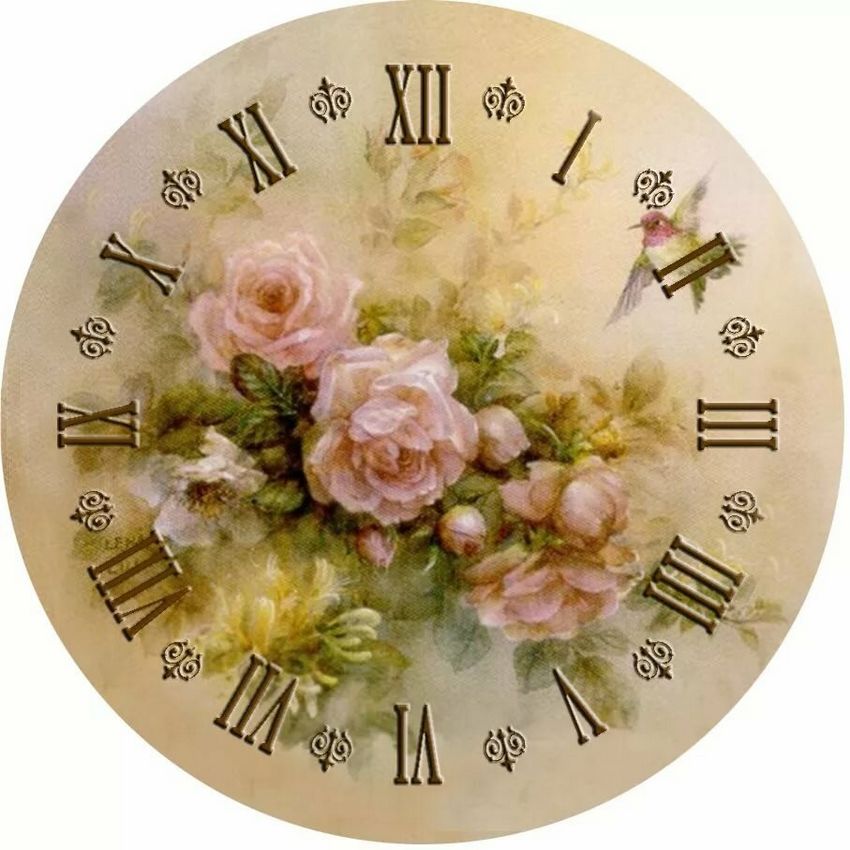
- Detailed images.
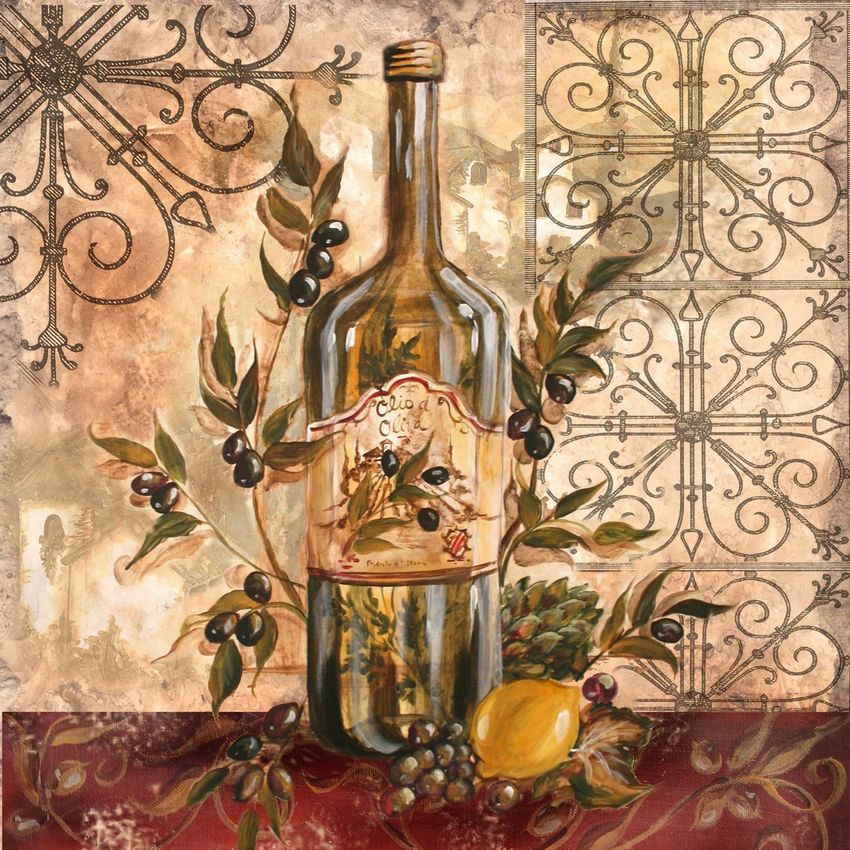
- Bottles, vases, cups and glasses with interesting shapes. The same goes for other items for decoupage.
- Synthetic brushes.
- Spatula.
- Sandpaper of different grains.
- Wool, sponges, napkins, rags.
- Wax.
- Varnish.
- Acrylic and other paints.
- Glue PVA.
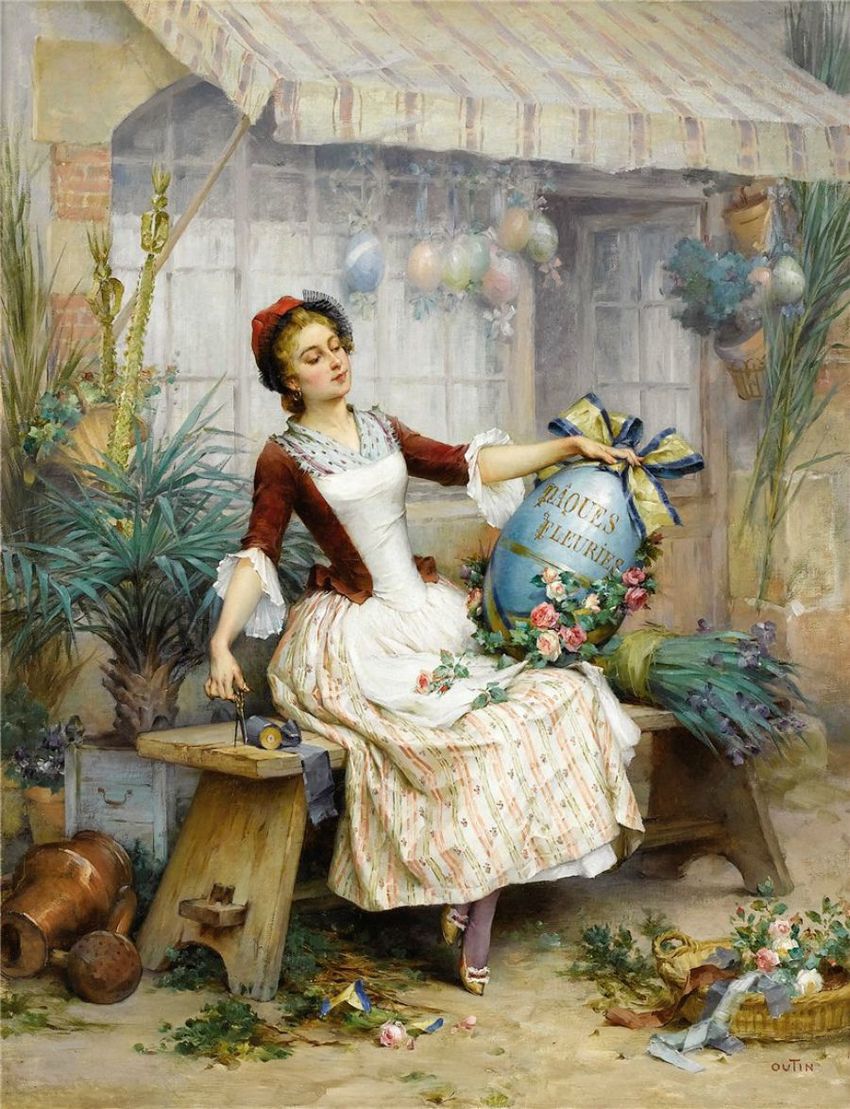
Easter themes and motifs
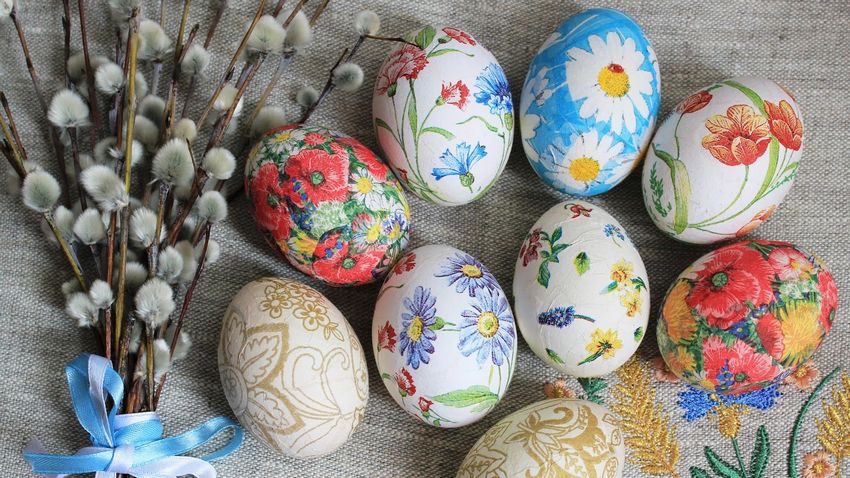
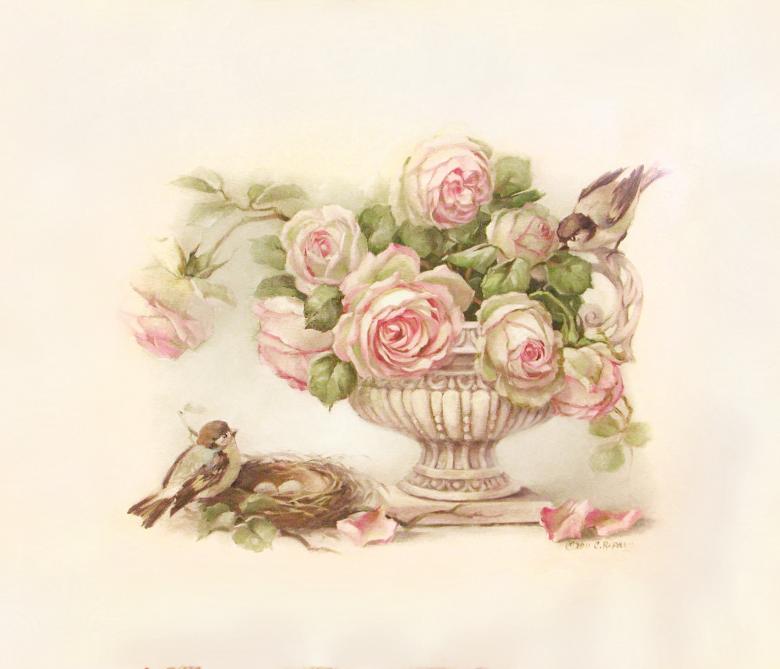
In anticipation of the holiday of Easter you always want to add the atmosphere of spring, brightness and emotion to a variety of fakes. Easter pictures for decoupage are quite diverse. You can choose themes with bunnies, eggs or make a bias towards church-religious themes.
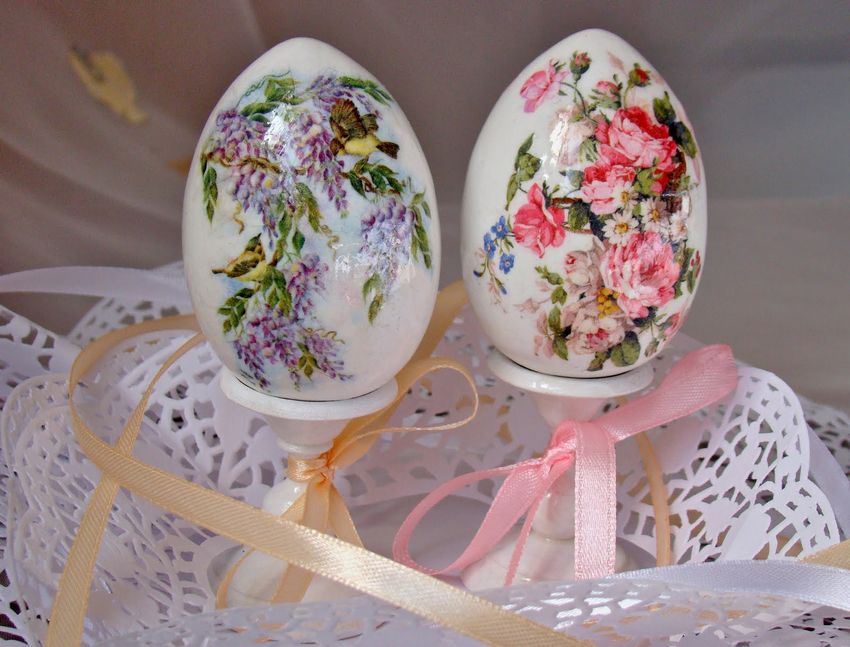
Speaking of the latter, prints and prints of different icons, images taken, themed inscriptions "Christ is Risen", "Holy Trinity", "Feast of Easter" and so on are excellent. As an original idea and a replacement for the usual painted eggs and Easter eggs with charms you can make decoupage boiled eggs. Despite the fact that the idea is very time-consuming, in appearance it is definitely worth the effort.
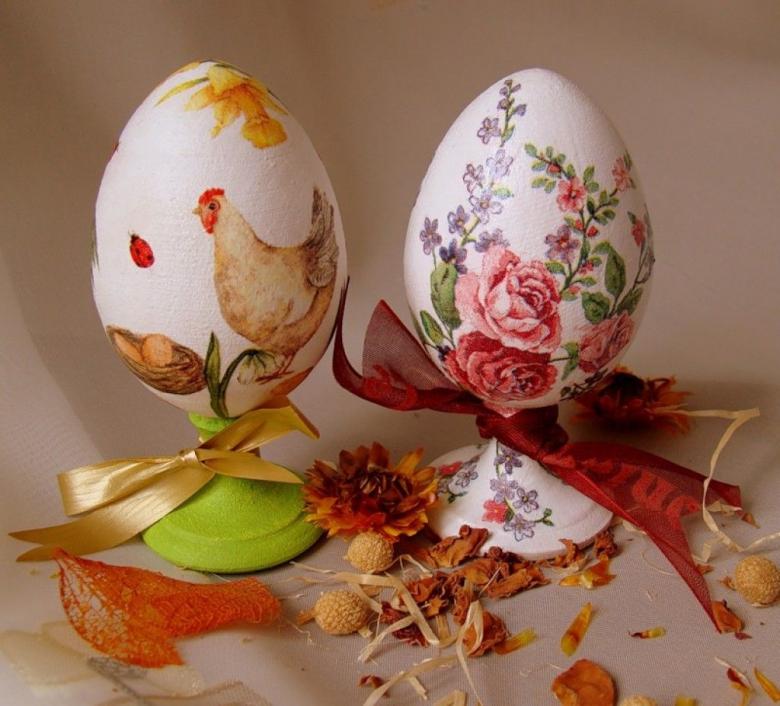
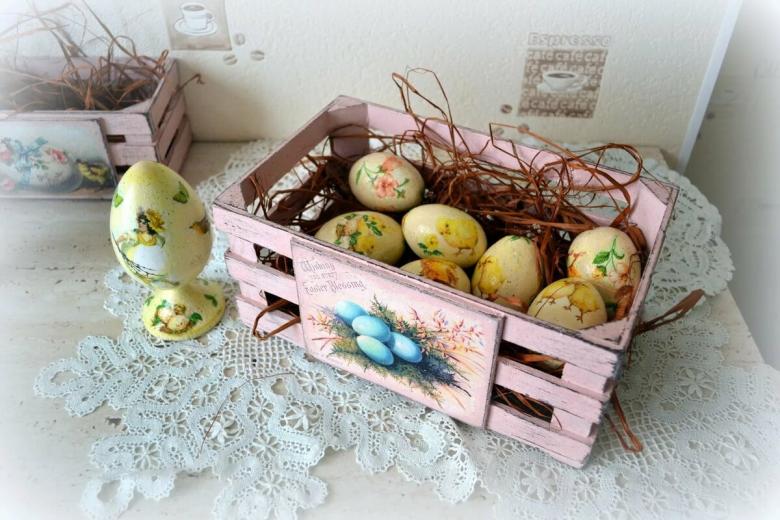
How to make Easter eggs for decoupage
You take ready-made pictures for decoupage to print and simply print them out on a laser printer. As a rule, a laser printer gives a good and water-resistant print. As a result of wrapping the egg in the pattern, we apply PVA glue and wait until the image on the egg is completely dry. This procedure usually takes anywhere from 5 minutes to a couple of hours. It all depends on the shape and quality of the glue.
To speed up the process, you can use a price or an ordinary desk lamp. All inaccuracies and surplus paper we mop up with a sandpaper and after that we treat the egg with varnish. If necessary, the procedure can be repeated in a couple of layers until it dries completely. After that, you should make the decoration with acrylic paints and make Easter patterns and writing. Once the egg is dry, it can be used for Easter paraphernalia.
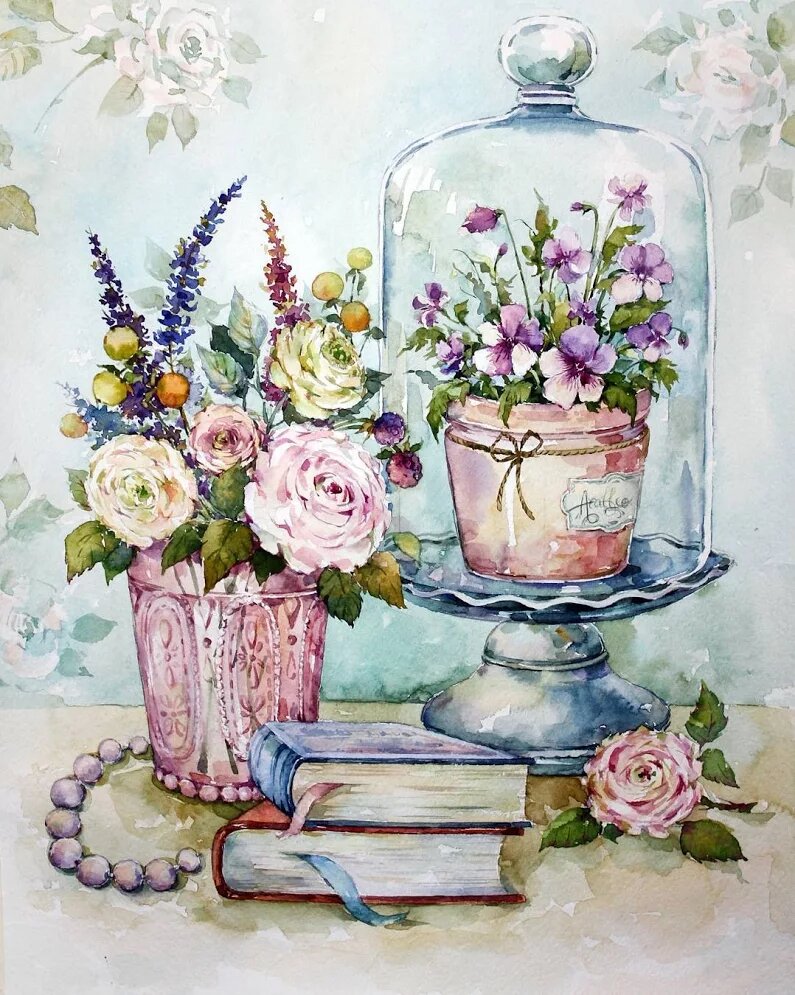
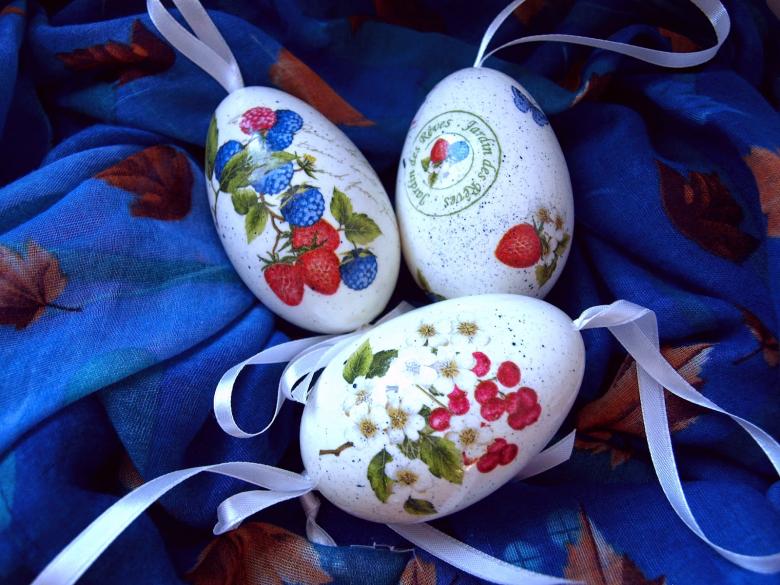
Photo selection of pictures for decoupage