How to make a machine with their own hands: a step by step guide for making from wood, paper, lego
Modern technology today provides children with a huge selection of toys that have a great, bright design and a variety of functions. But none of this retains a piece of a person's soul as a toy made with their own hands.
At all times, the favorite hobby of the boys was a weapon. And in this article, we will tell you how you can make toy weapons yourself from improvised materials.
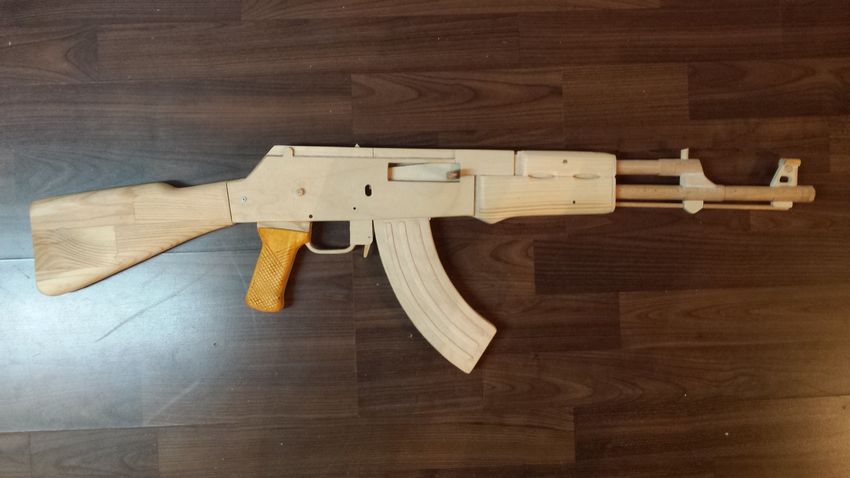
How to make a machine gun from wood
The work is carried out in three stages: preparatory - selection of material and tools, making a sketch of the toy); production of individual parts and assembly; the final - painting.
The preparatory stage
For the manufacture of parts we will need carpentry tools:
- ü circular saw (or wood hacksaw)
- Drill
- file
- Jigsaw
- planer
- Wood sharpener.

To connect and decorate the finished parts, you will need:
- ü sanding machine (or sandpaper: coarse and fine)
- ü PVA glue
- Furniture dowels
- Paint or varnish
For safety when working with sharp cutting tools, you need:
- ü protective mask
- A face mask
- gloves
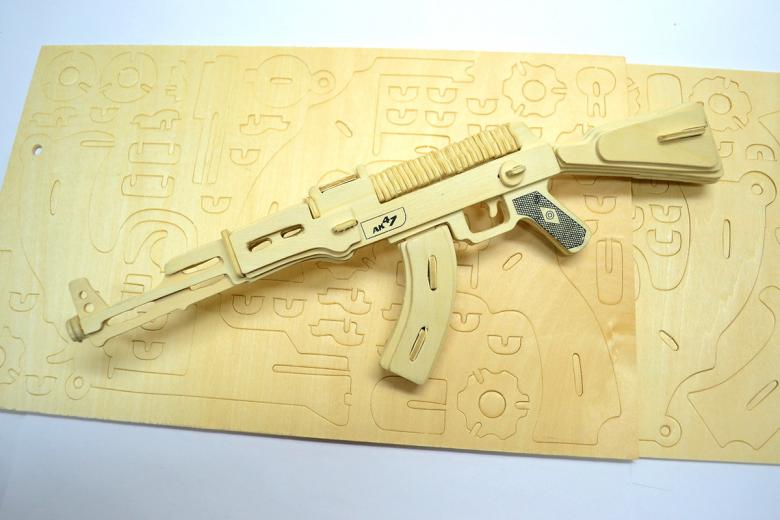
Making a sketch is an important part of making a toy. It can be prepared from a template from the Internet. Each element must be drawn so that later, when assembling the parts, all the joints fit together exactly.

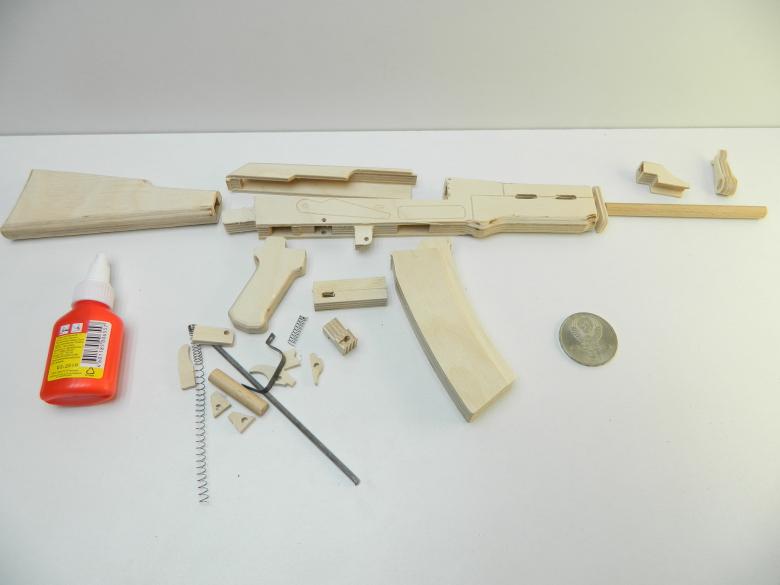
Making parts and assembling
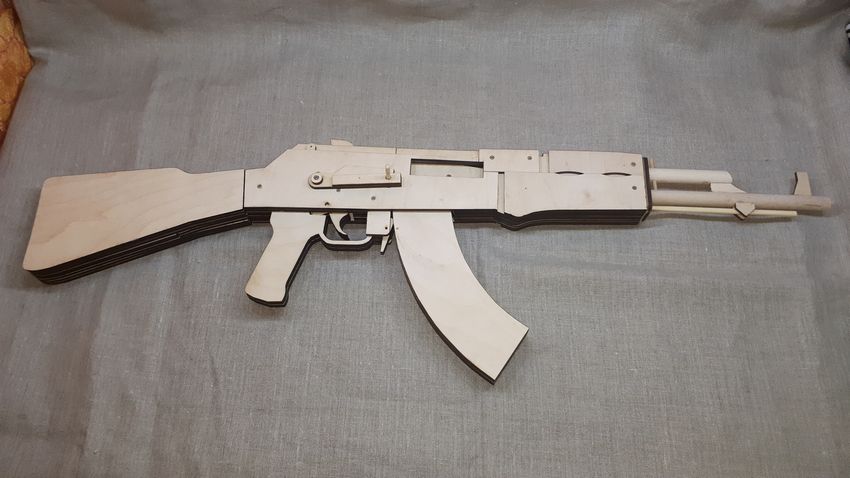
To cut the elements of the future weapon you will need hardwood, for example, coniferous or pine wood (width - 120-150 mm, thickness 30-40 mm). Not less than 15 % of the material should be left in reserve in case it is necessary to correct the shape of the product.
On a wooden bar or thick board with a marker and using the template as a stencil, draw the boundaries of each element. It is recommended to keep the template in front of you in order to check it while cutting out parts.

Then, start sawing out each line with a wood hacksaw. If there is a circular saw, the process will go much faster and the workpieces will turn out flat, the edges smooth.

Particular attention is paid to cutting out the curved lines of the product, this is the most difficult parts of the toy and, accordingly, more delicate work. Here you can use a jigsaw. The outline of the product is best processed with a sharpener.

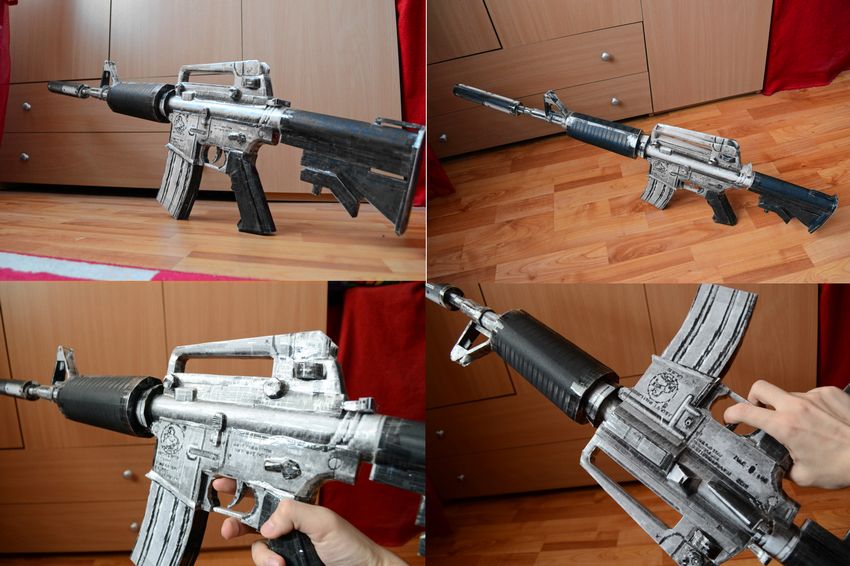
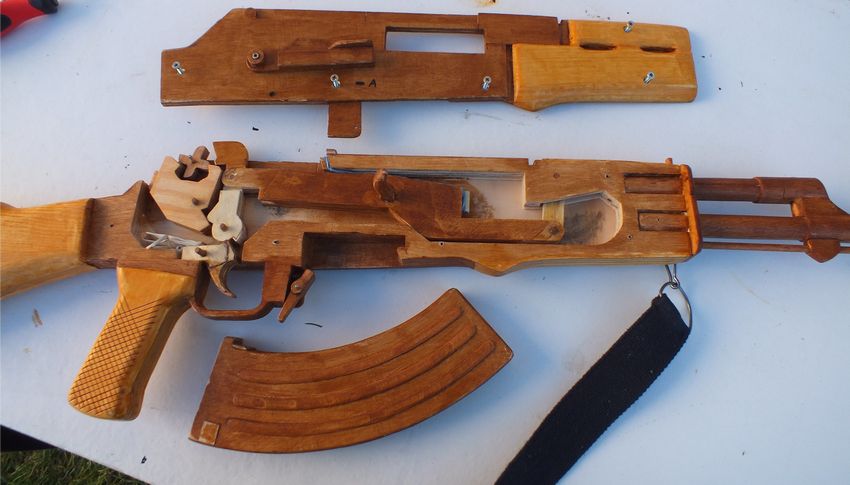
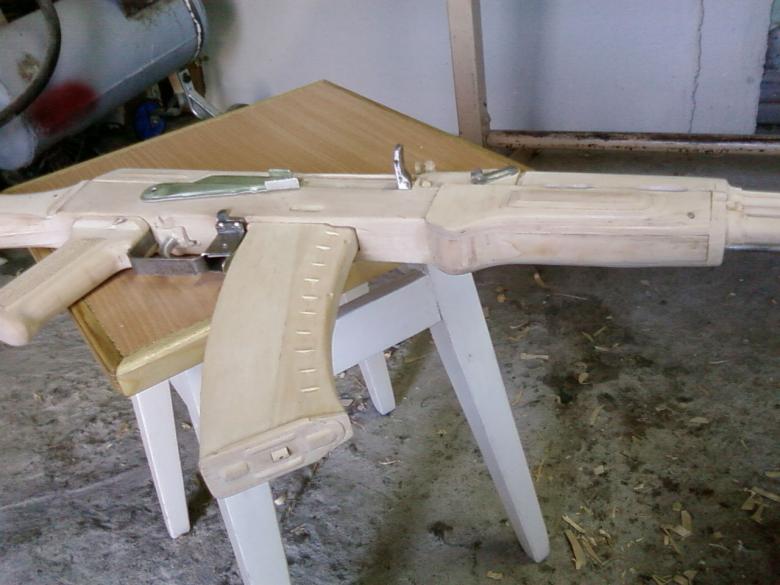
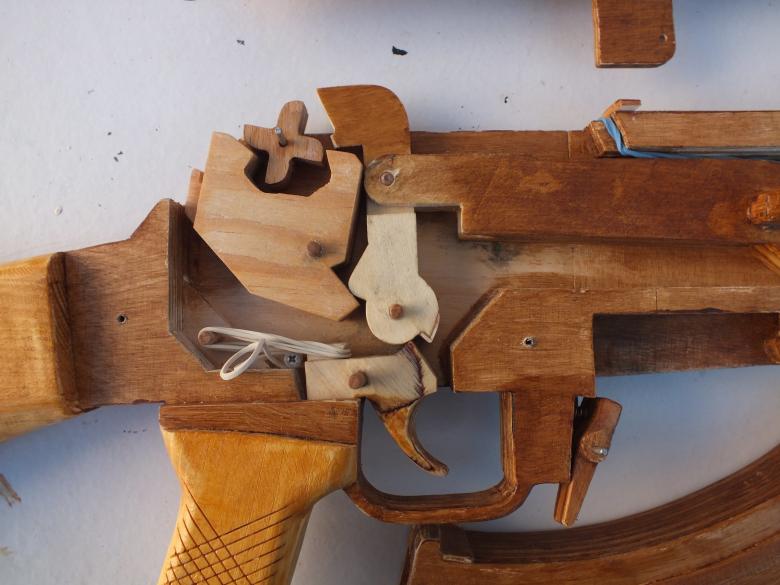
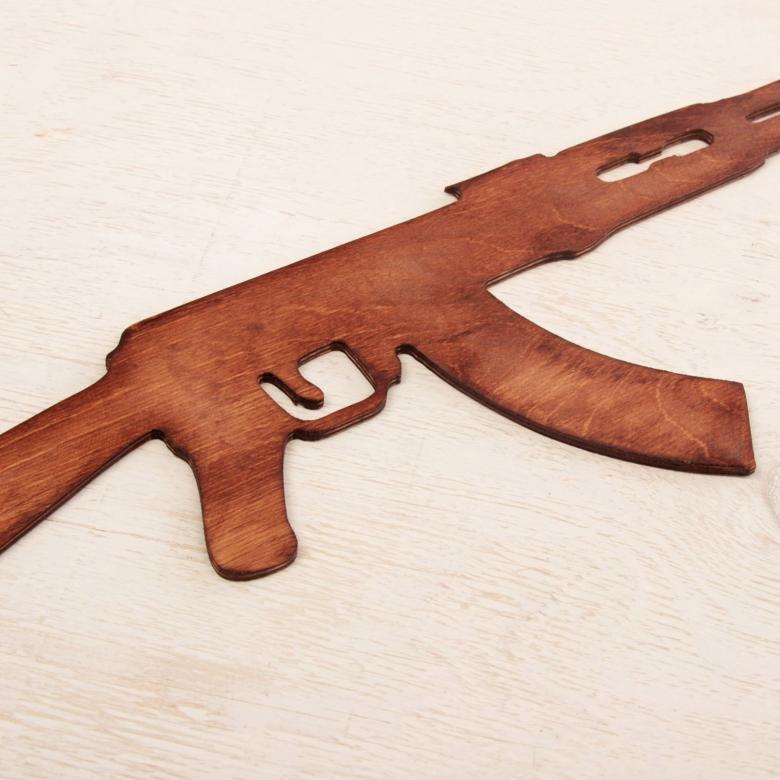
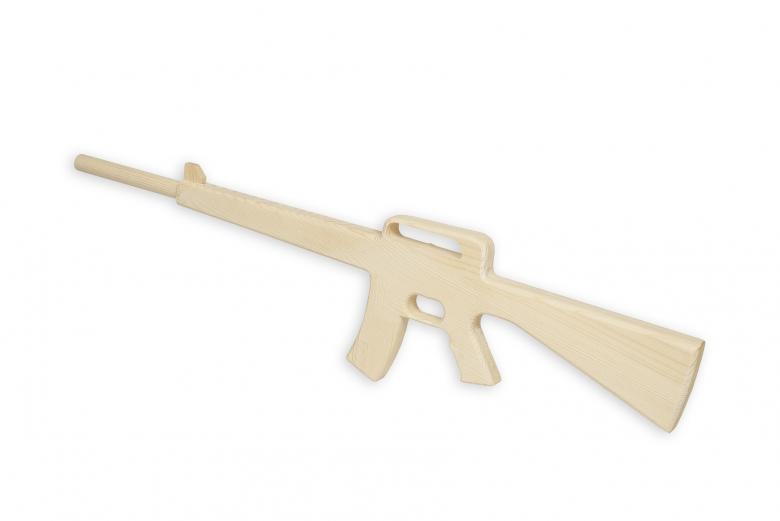
A billet of the body with the stock is obtained. It is one piece. The trigger part can be cut right away or a piece of strong aluminum wire can be used as a trigger.
The barrel of the toy and the "magazine" are cut separately, as they require additional machining. They should be slightly thinner than the body.
The "magazine" needs to be "tried on" several times and sharpened until it is perfectly compatible. The barrel, on the other hand, is better made from a thin cuttings, which can be found in a construction store. Also, saw a fly and put it on the barrel. When marking the barrel take into account the presence on its end of the flame-thrower and for its shaving it is better to use a planer. Give it a cylindrical shape.
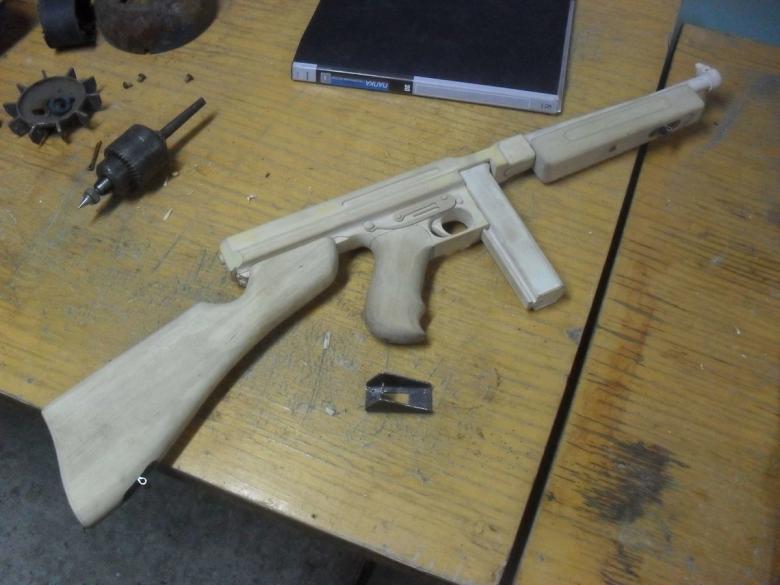
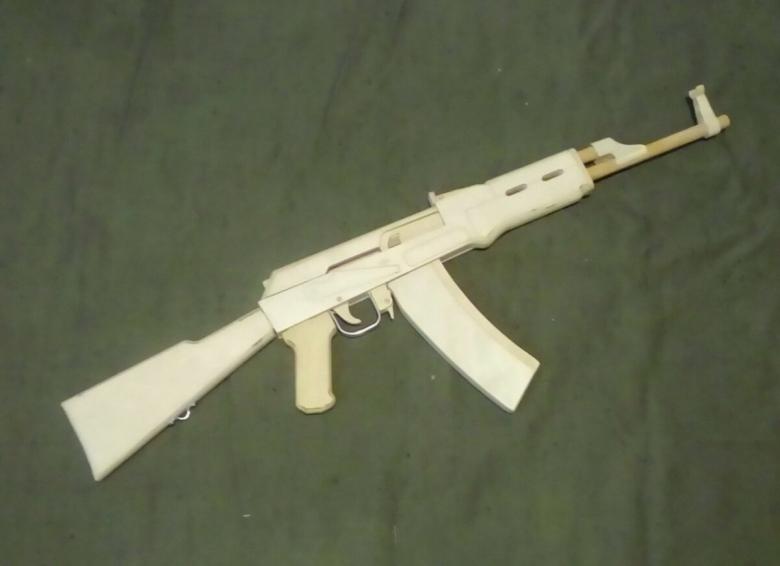
Once all the elements have been cut, proceed to their grinding. The processing is carried out in three stages: first each part is filed, over this treatment pass coarse sandpaper and finish the work with fine sandpaper to make the surface of the product smooth. The final touch is polishing the parts with a grinder.
Using a drill, all the necessary holes are drilled. To give it stability, it is desirable to use a special stand - a mount for the drill. Without its use, it will be very difficult to get perfect holes.

To fix the "magazine" drill holes in the workpiece itself and in the body of the machine, connect these parts with furniture dowels, abundantly lubricate with glue and tightly squeeze together to fix it.
Also, it is necessary to saw out the sides to hide the place of attachment of the "magazine". For these parts you will need thin plywood. Side walls are planted on the glue, fix them with clamps (special joinery fasteners) and leave to dry so that the glue will "take" well.

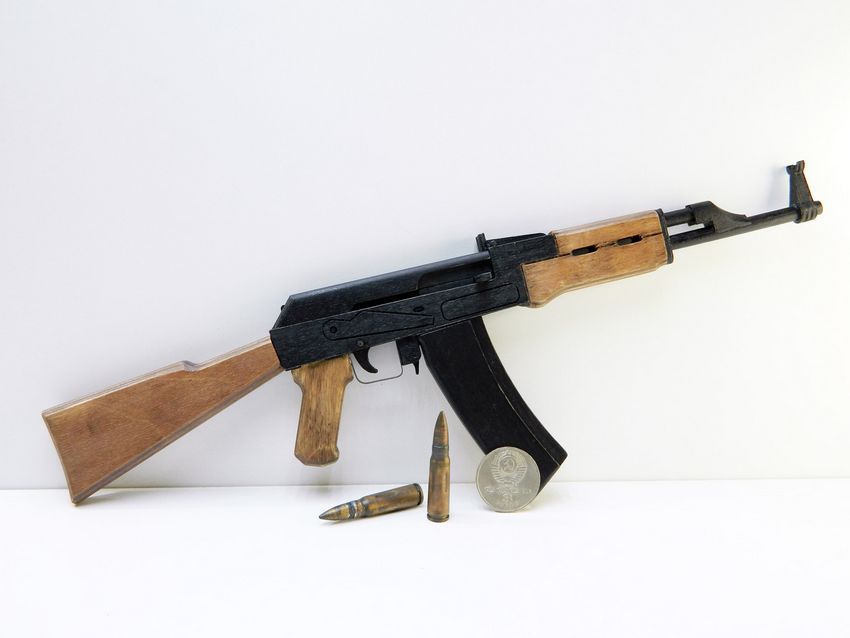
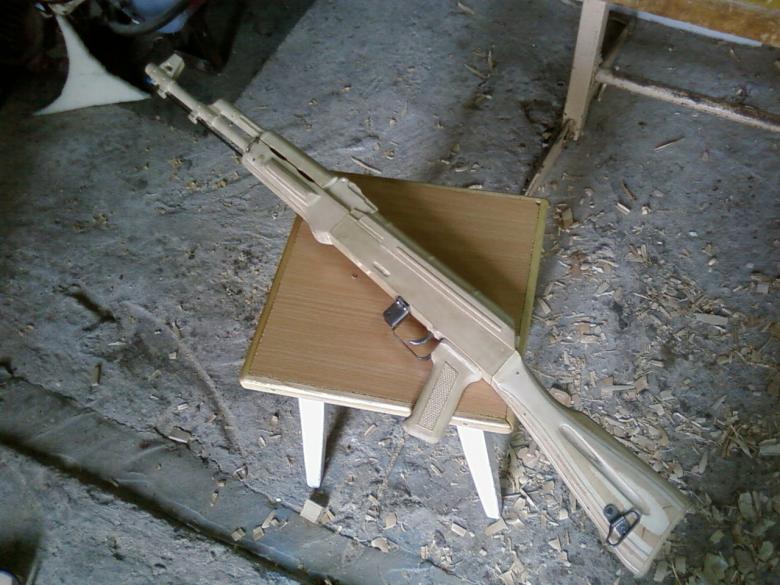
The final step. Painting
The final step is to paint the product. For this, a stain, wood varnish or water-based paint is suitable. It is safer for the child's health. It is preferable to treat first with a stain and then varnish on top. Allow to dry well.
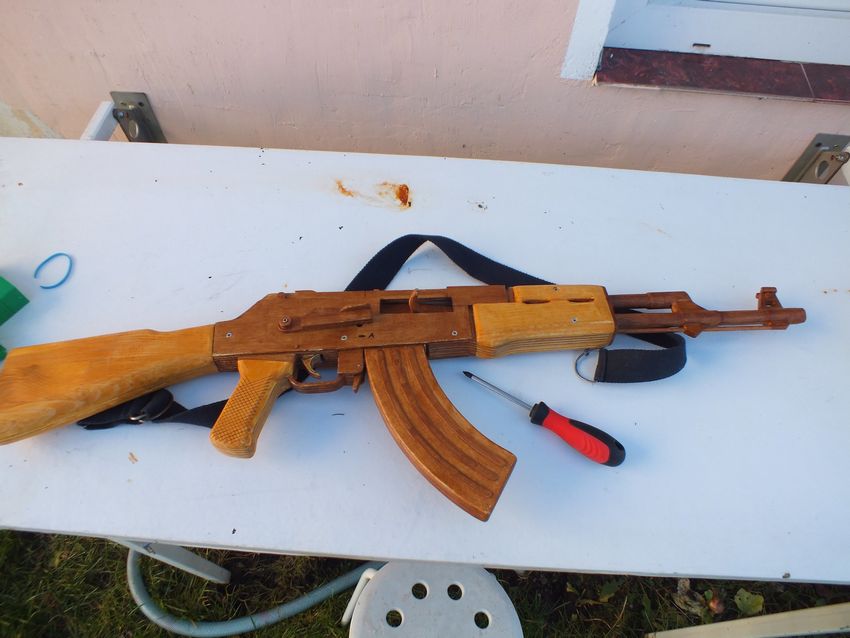
That's all, the toy is ready!
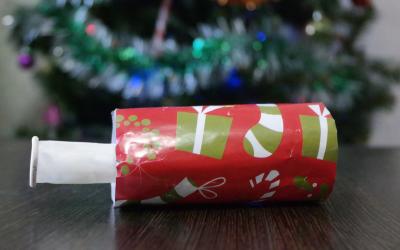
How to make a machine from paper
Preparing materials
Of course, the toy is much easier to make from paper than from wood. But here, too, there are secrets and nuances.

To begin with, prepare the necessary inventory:
- ü colored paper
- ü scissors
- ü glue
- ü tape

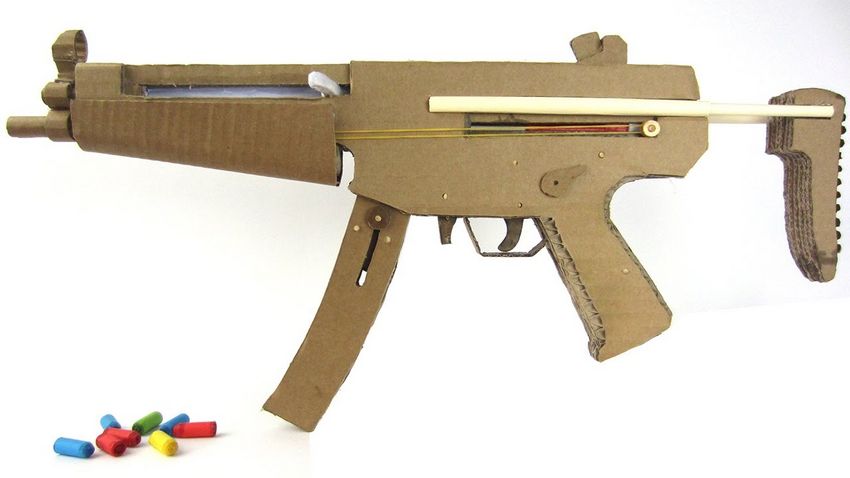
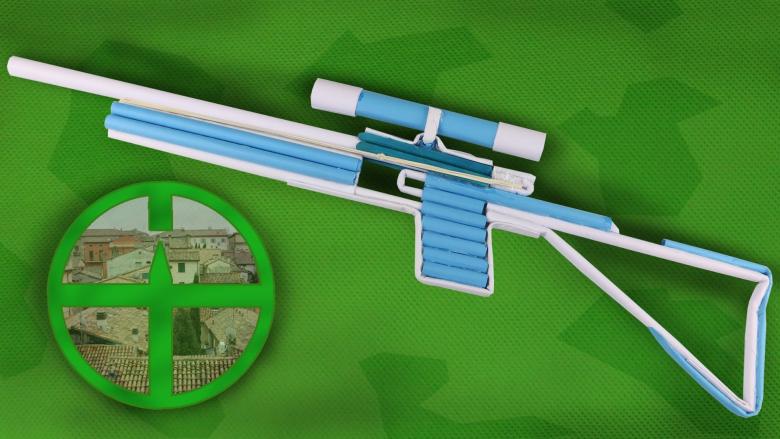
Cut five rectangular blanks of colored A4 in different colors measuring 21 * 21 cm and roll them into tubes, securing the ends with glue. Four of the finished tubes are fastened to each other with tape, and the fifth is cut off 5 cm. As a result, you get two long and one short blanks. Wrap them in a sheet of any color, connect the scotch not too tight. They should have mobility inside.

Part of the protruding sheet is cut off. It forms a rectangle and fasten with tape.
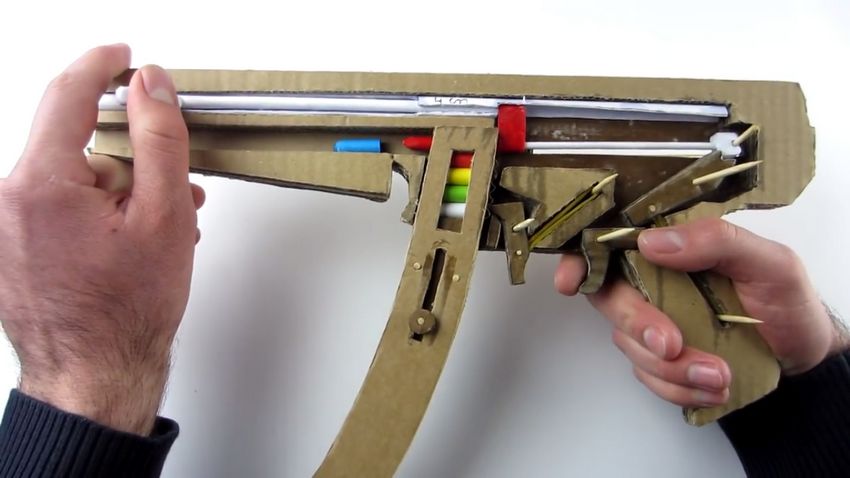
A small window is made in one of the tubes, the same is cut out in the rectangle. These holes must line up during assembly. On the side of the window to the tube, which is located in the center, adapt the lever.
From colored paper make five more tubes. They are connected with scotch tape to those inside.
For the handle toys, weapons also roll up the tube, fix it with tape.

Next, make a rectangular box with the open top and glue it to the bottom of the stock with glue.
Machine gun made of paper ready!

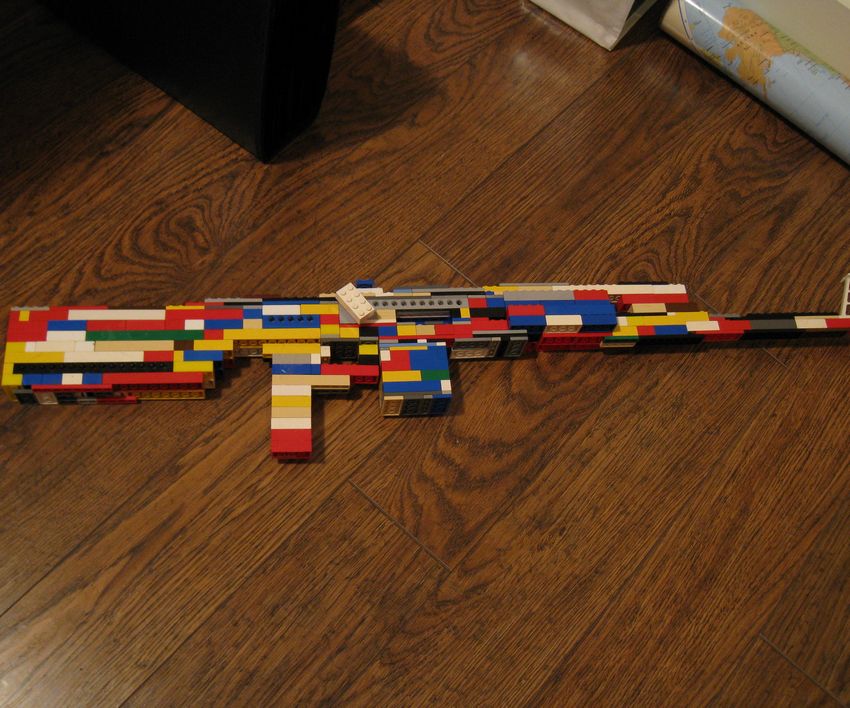
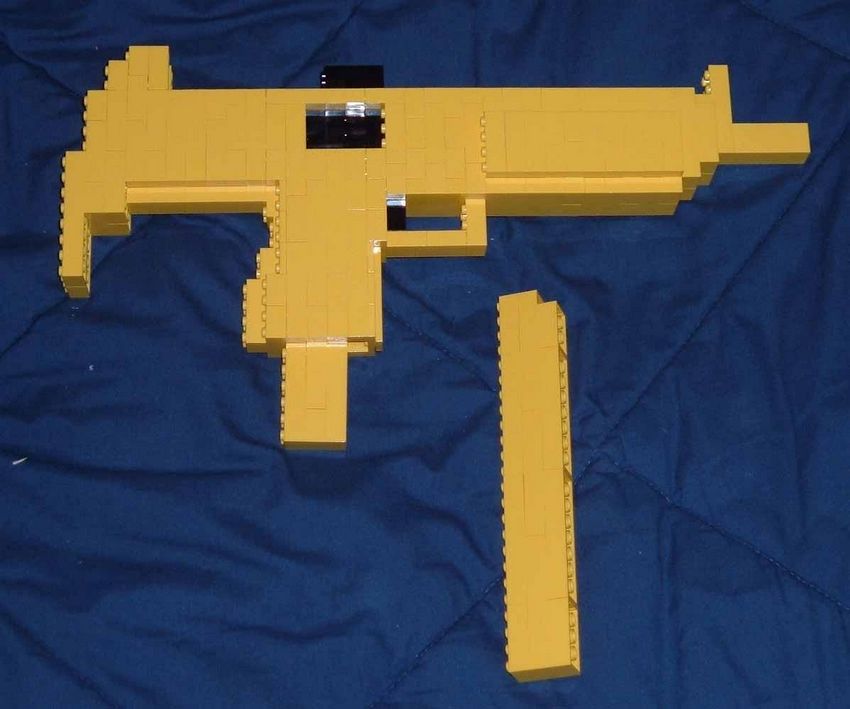
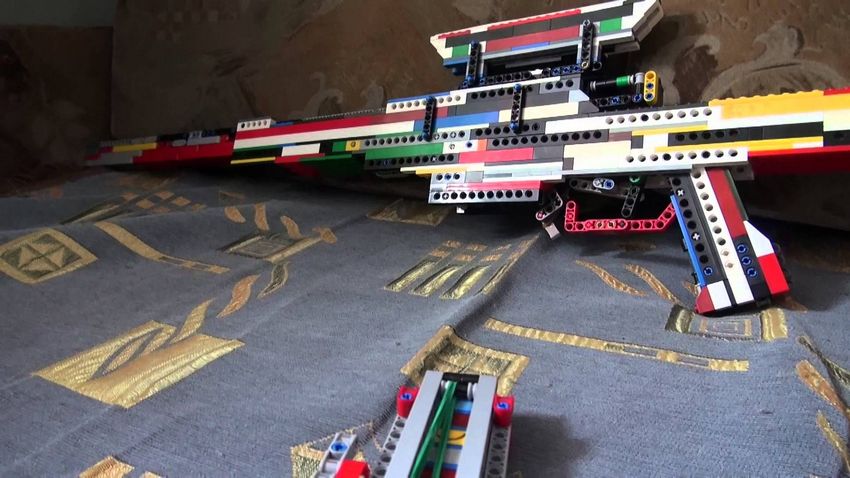
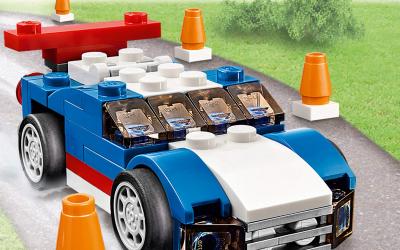
How to make a machine gun from Lego
For the product will need:
- 18 large parts;
- 12 medium-sized parts;
- 2 small parts;
- 8 medium-sized blocks, the color of which should be different from the previous parts.
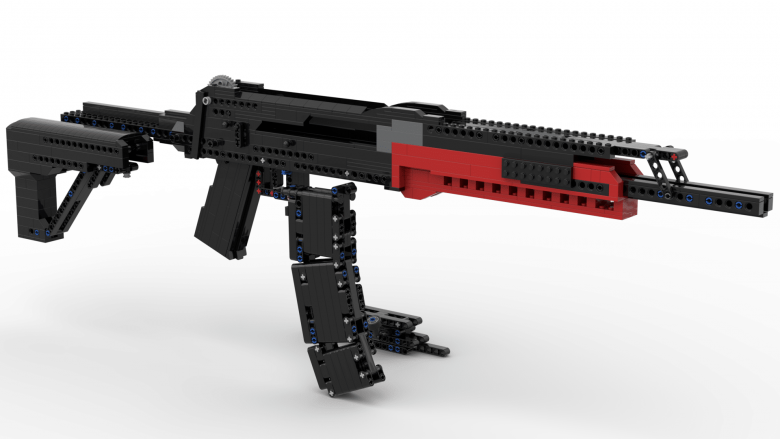
They take and join the 8 white pieces of medium size. To them add 2 medium and 1 large piece of blue color on top.
On top of blue parts attach 3 blocks (1 medium and 2 large) of the same color.

A large block is attached in the middle, 2 medium-sized pieces are added along the edges, and 1 small piece is added on the right side. It will protrude slightly.
One large piece is attached on the left, two large blocks and two middle blocks are added on top and bottom. The trunk is finished.
The assembly continues in the other direction

The 2 large and 1 medium blue parts are attached to the center part of the rifle. Finish the center part with 2 medium, 1 large and 1 small part on top.
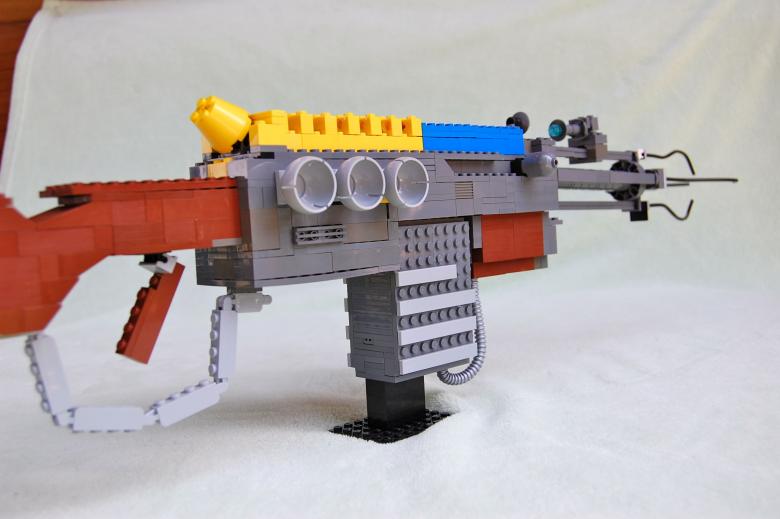
Next, assembling the buttstock. On the right side we attach 3 large blocks. From below, add 2 large and 1 medium piece to them. One more row down - 1 large and 1 small block.
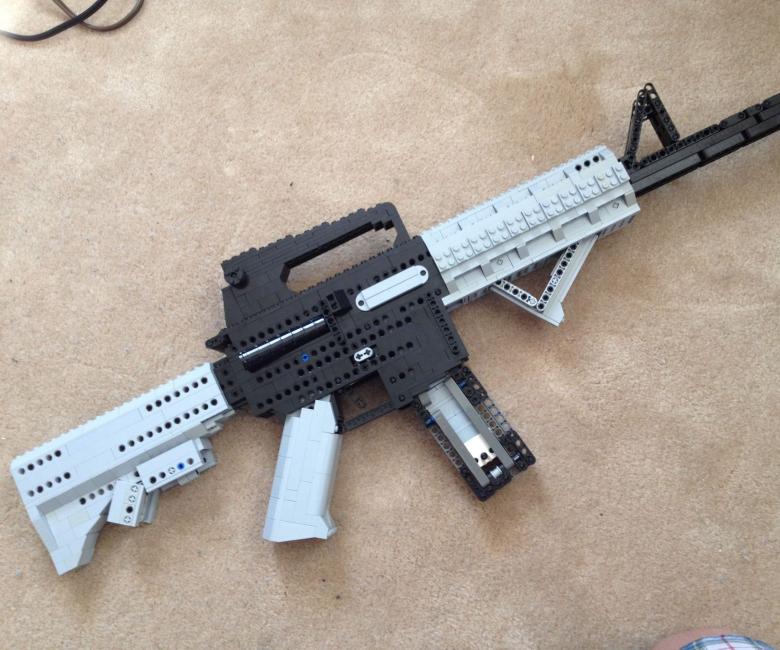
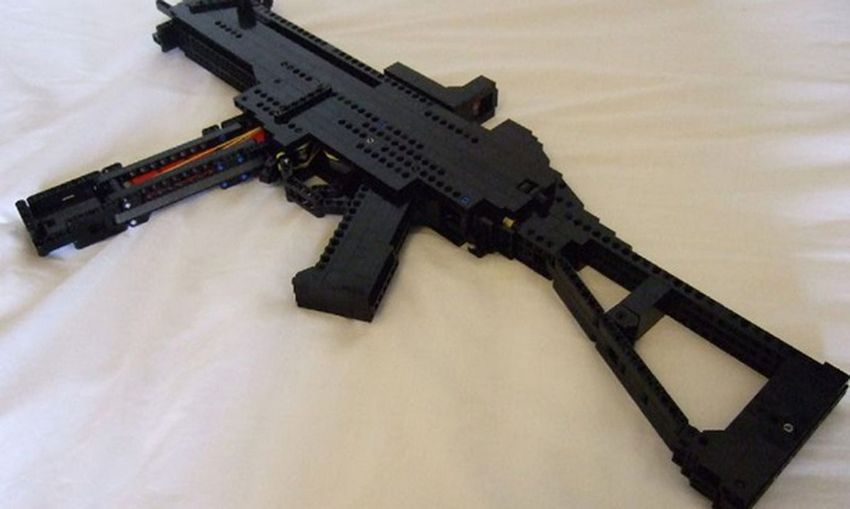
Weapons of "Lego" constructor ready!
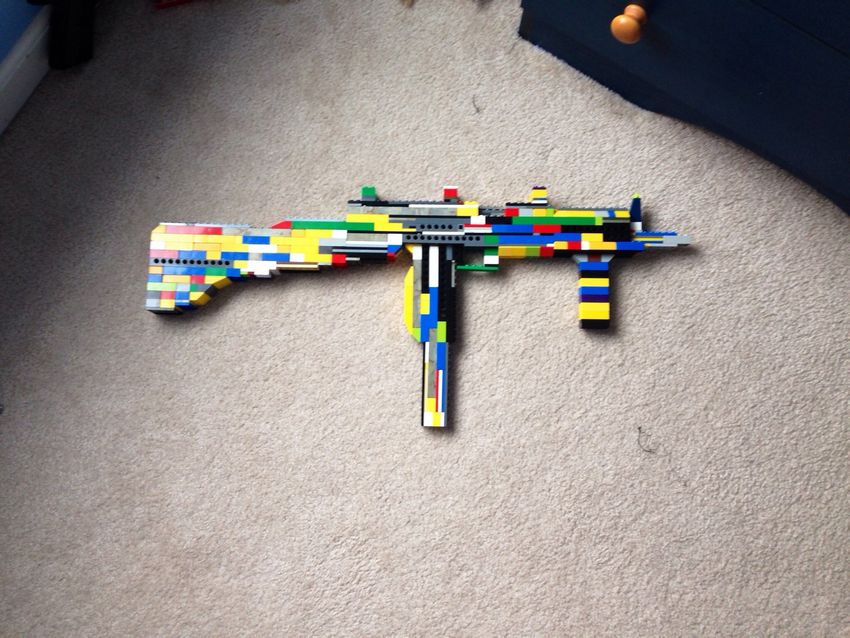
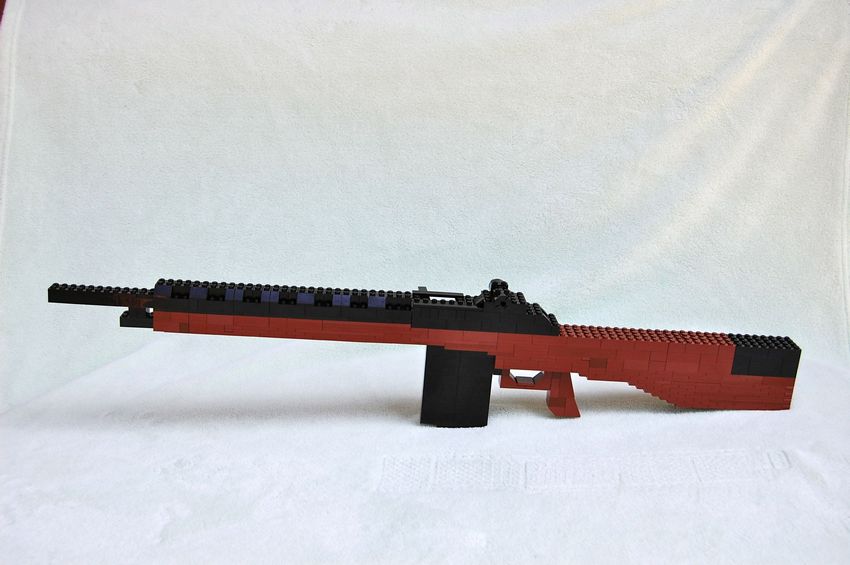
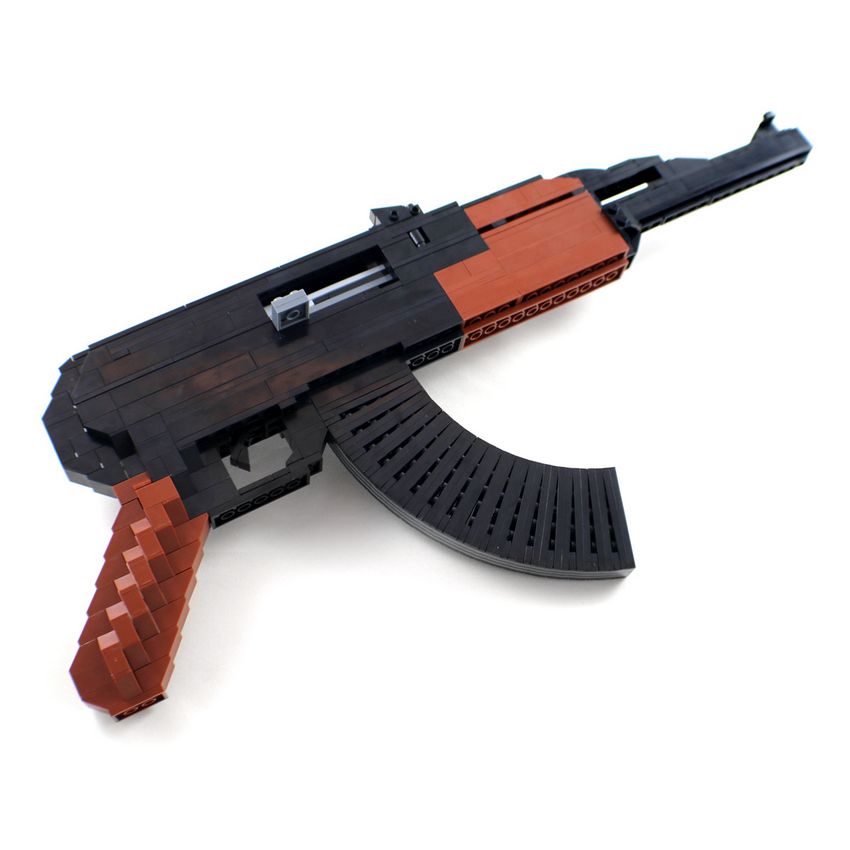
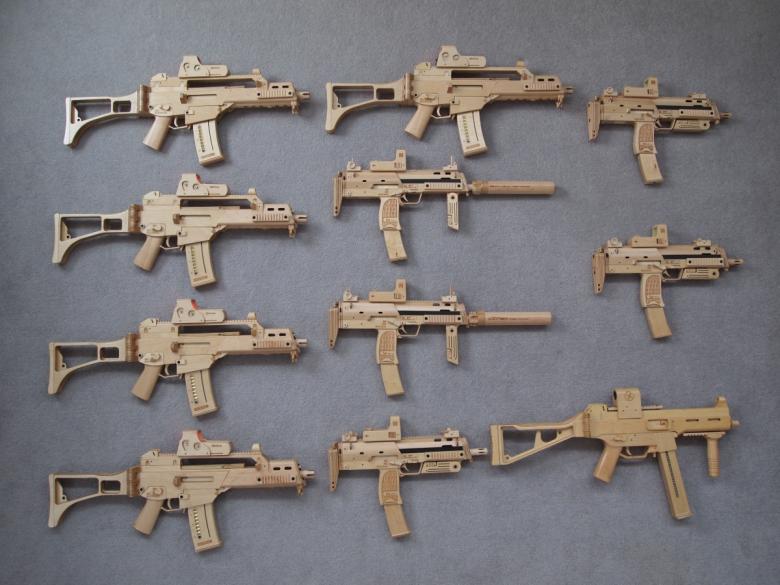
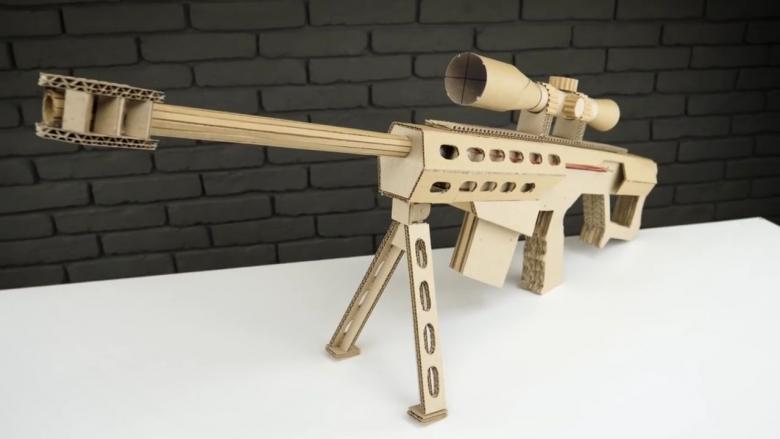
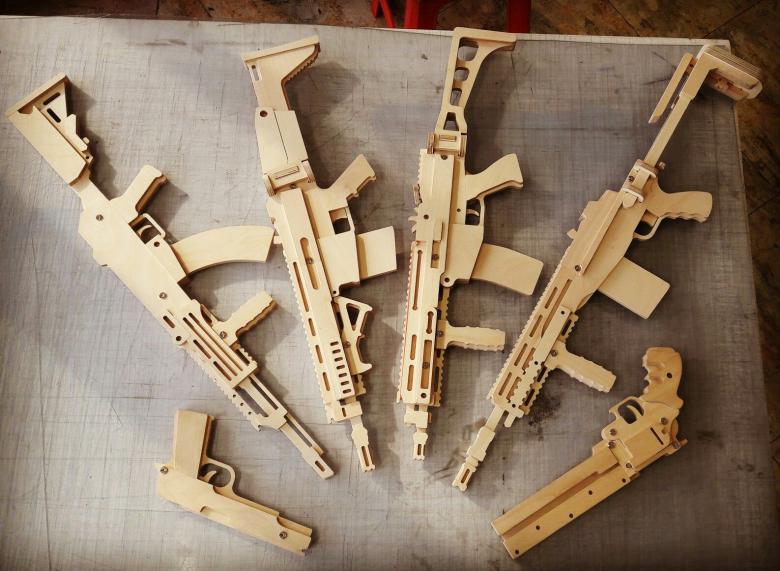
Photos of ideas for homemade guns