How to Draw a Tree in Pencil Step by Step: Instructions for Children and Beginners with Pictures for Sketching
Hearing the question, how to draw a tree step by step with a pencil easily and beautifully, the first minute you experience confusion, because the task seems not difficult. But it all depends on what we draw: a simple symbol of a tree or its image close to reality.
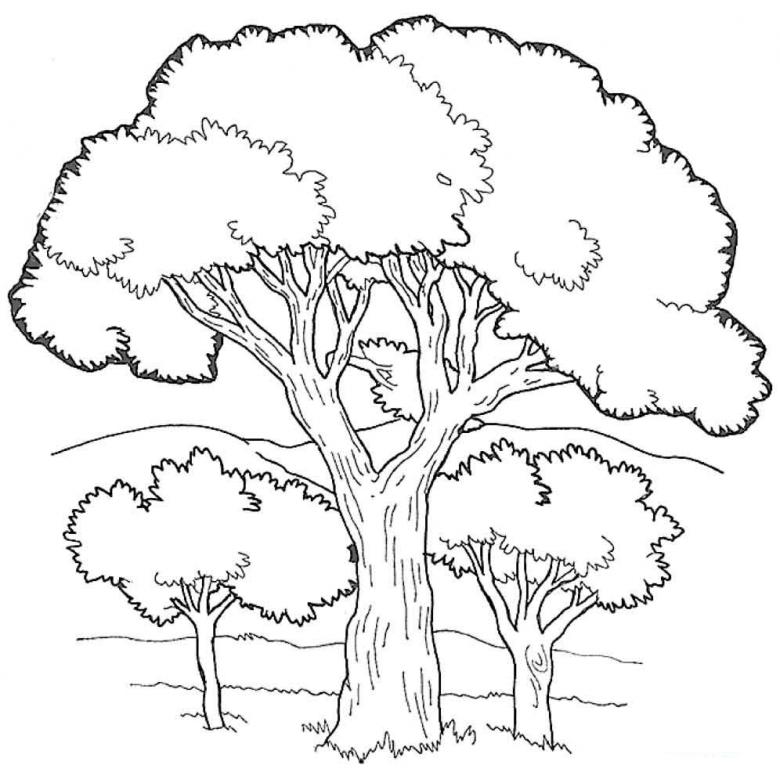
The young artist should look around and realize that no two trees are the same. They are all different. In addition, no tree has a perfect trunk and crown shape. The artist's task is to achieve a realistic and beautiful image of a tree.
Stages of drawing a tree for beginners
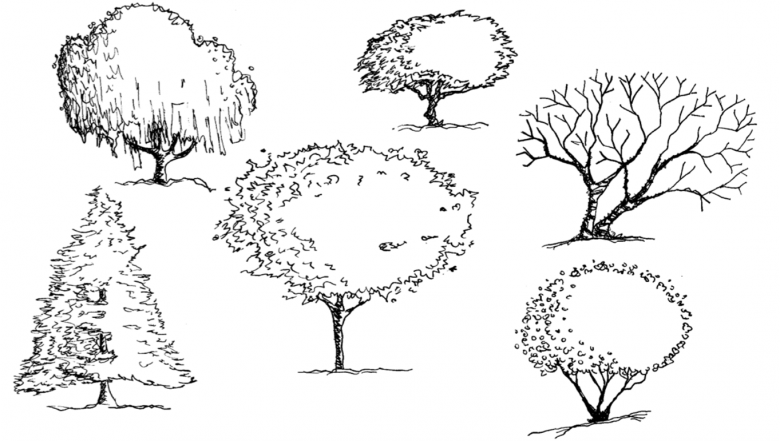
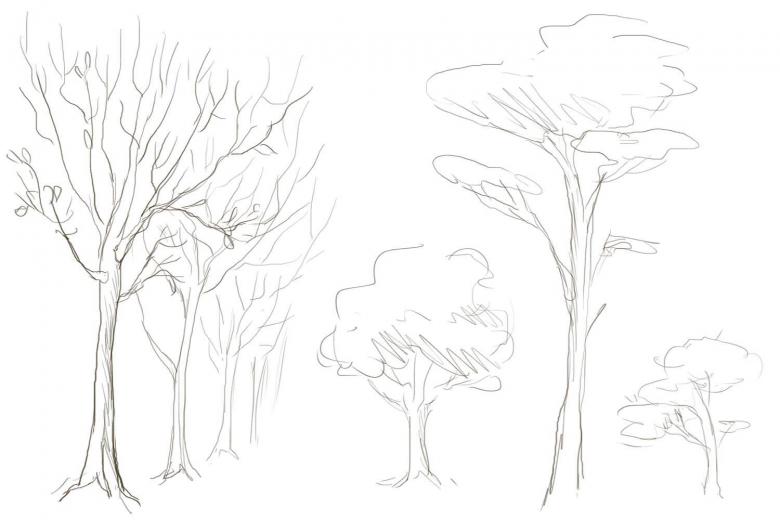
For novice young artists, before drawing a tree in pencil step by step, the tutor is suggested to decide on the shape of the tree to make a sketch of it on paper.
For the kid, parents need to tell about the structure of the tree. It is important to emphasize the simple details that will help the child. For example, that the branches are evenly arranged along the trunk, they stretch toward the sun. The bigger the branch, the fewer branches it has and no very small twigs.

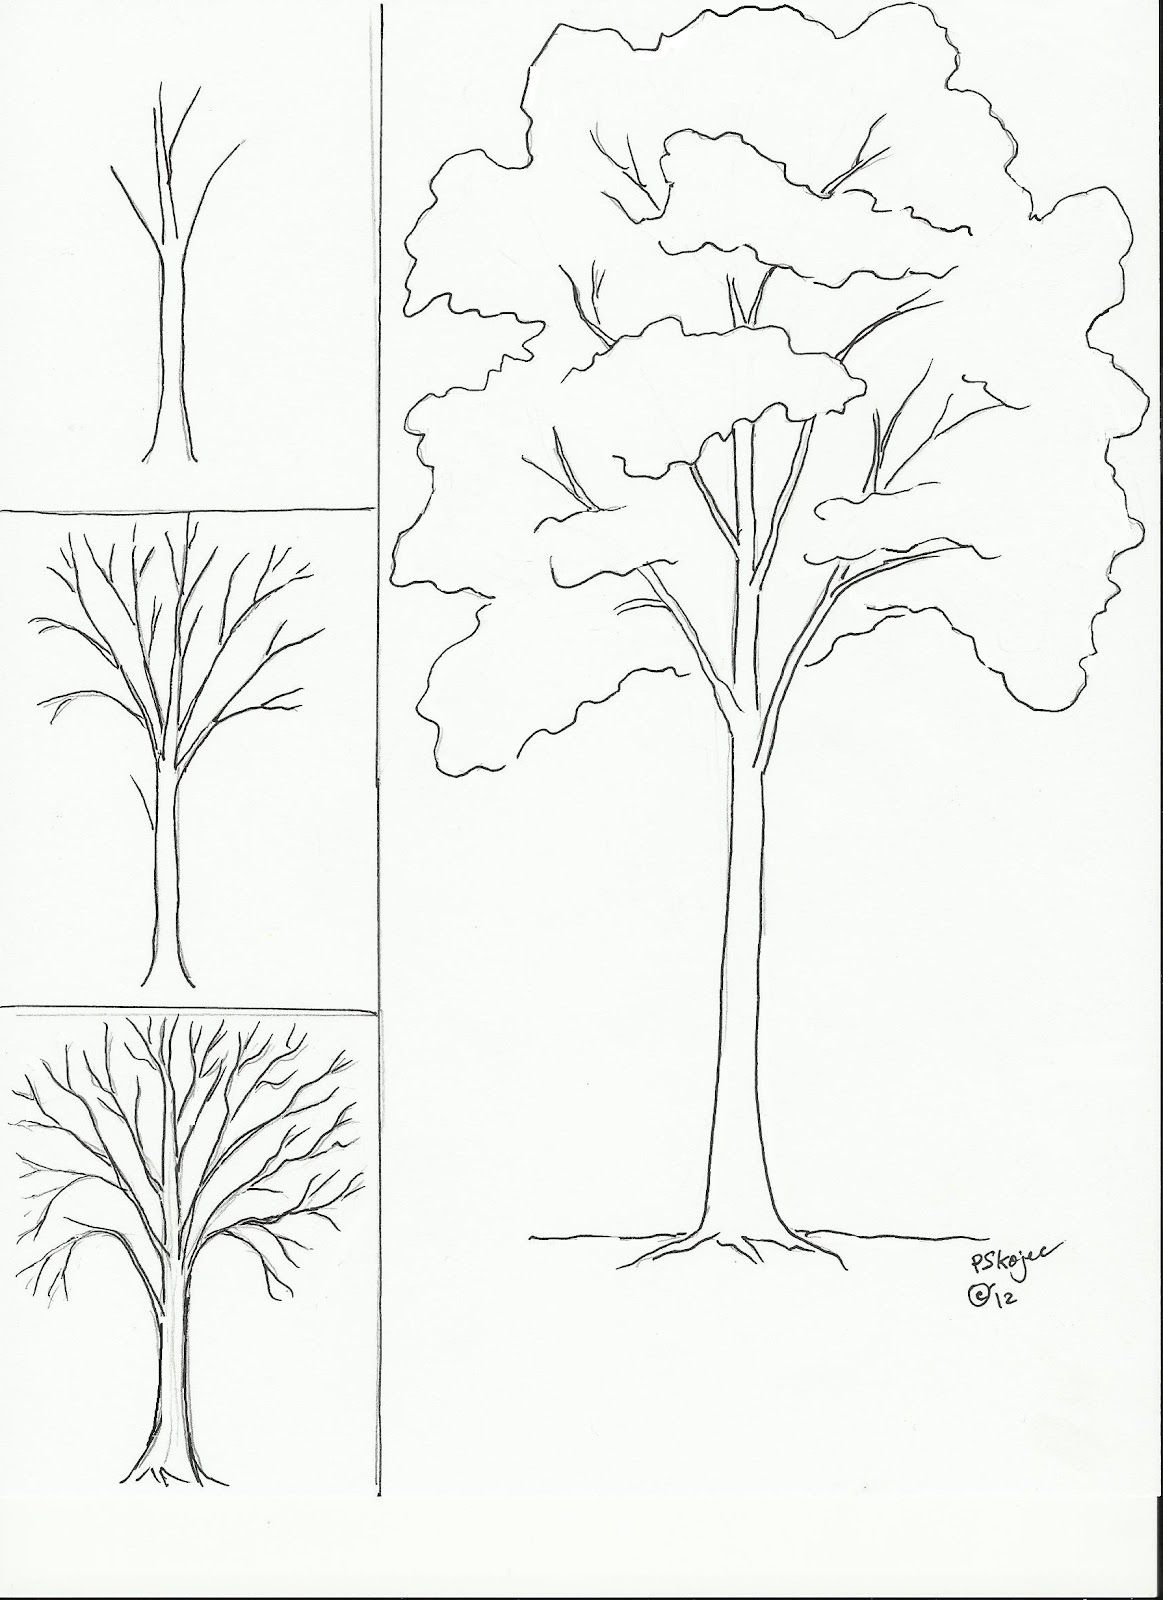
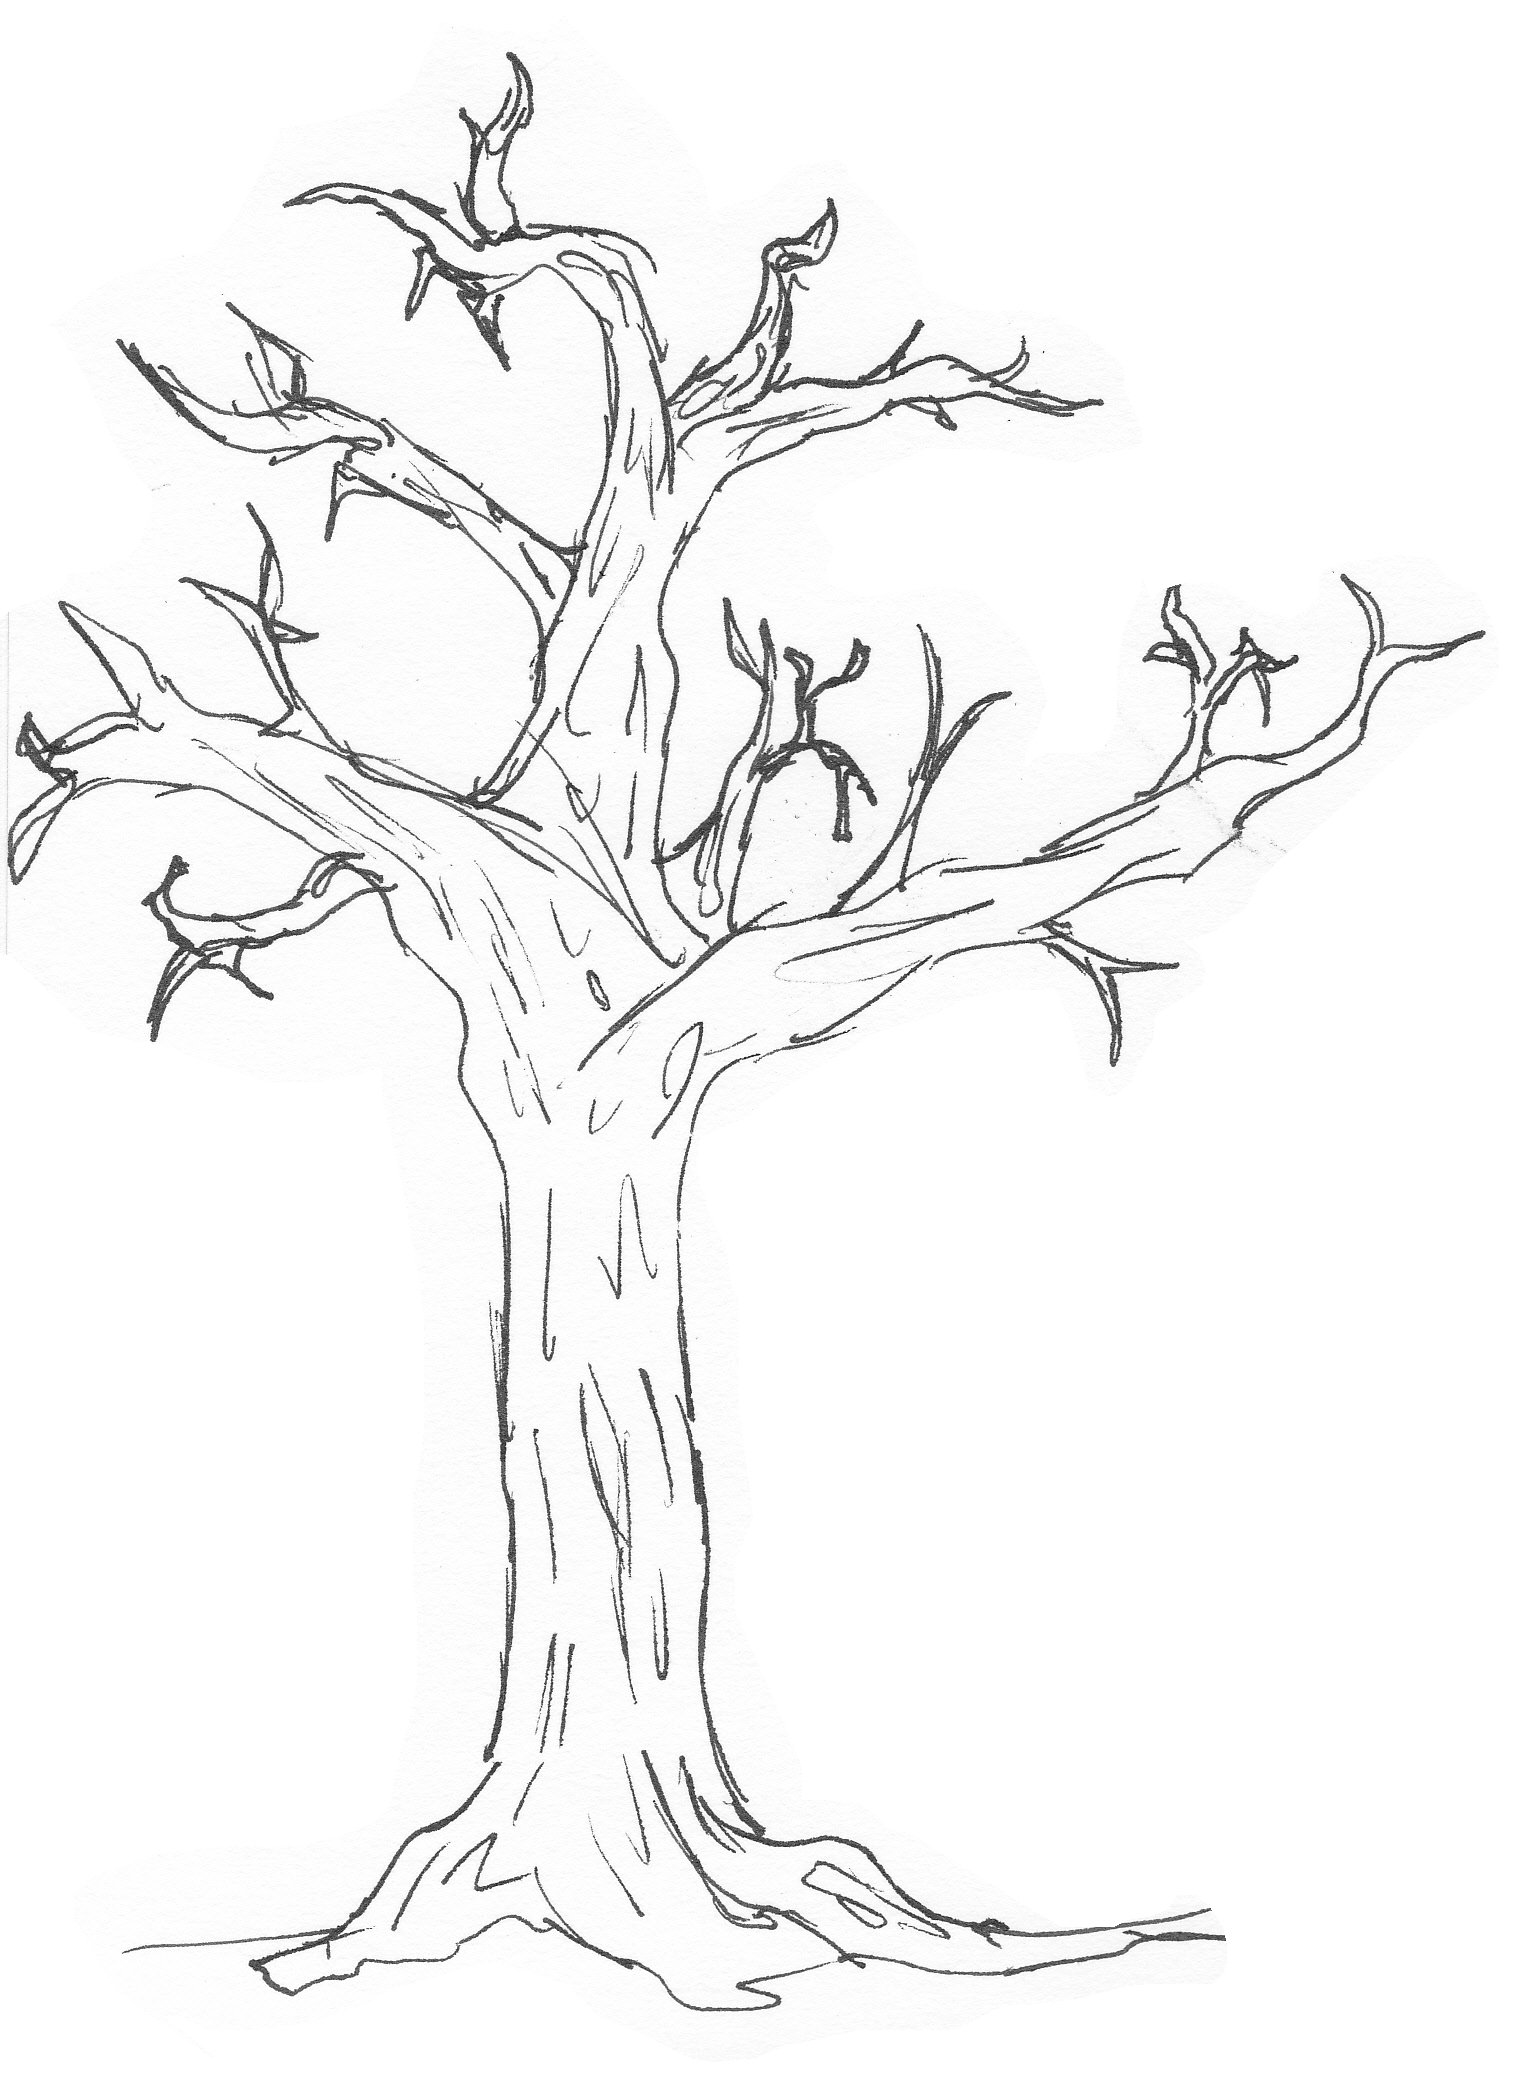
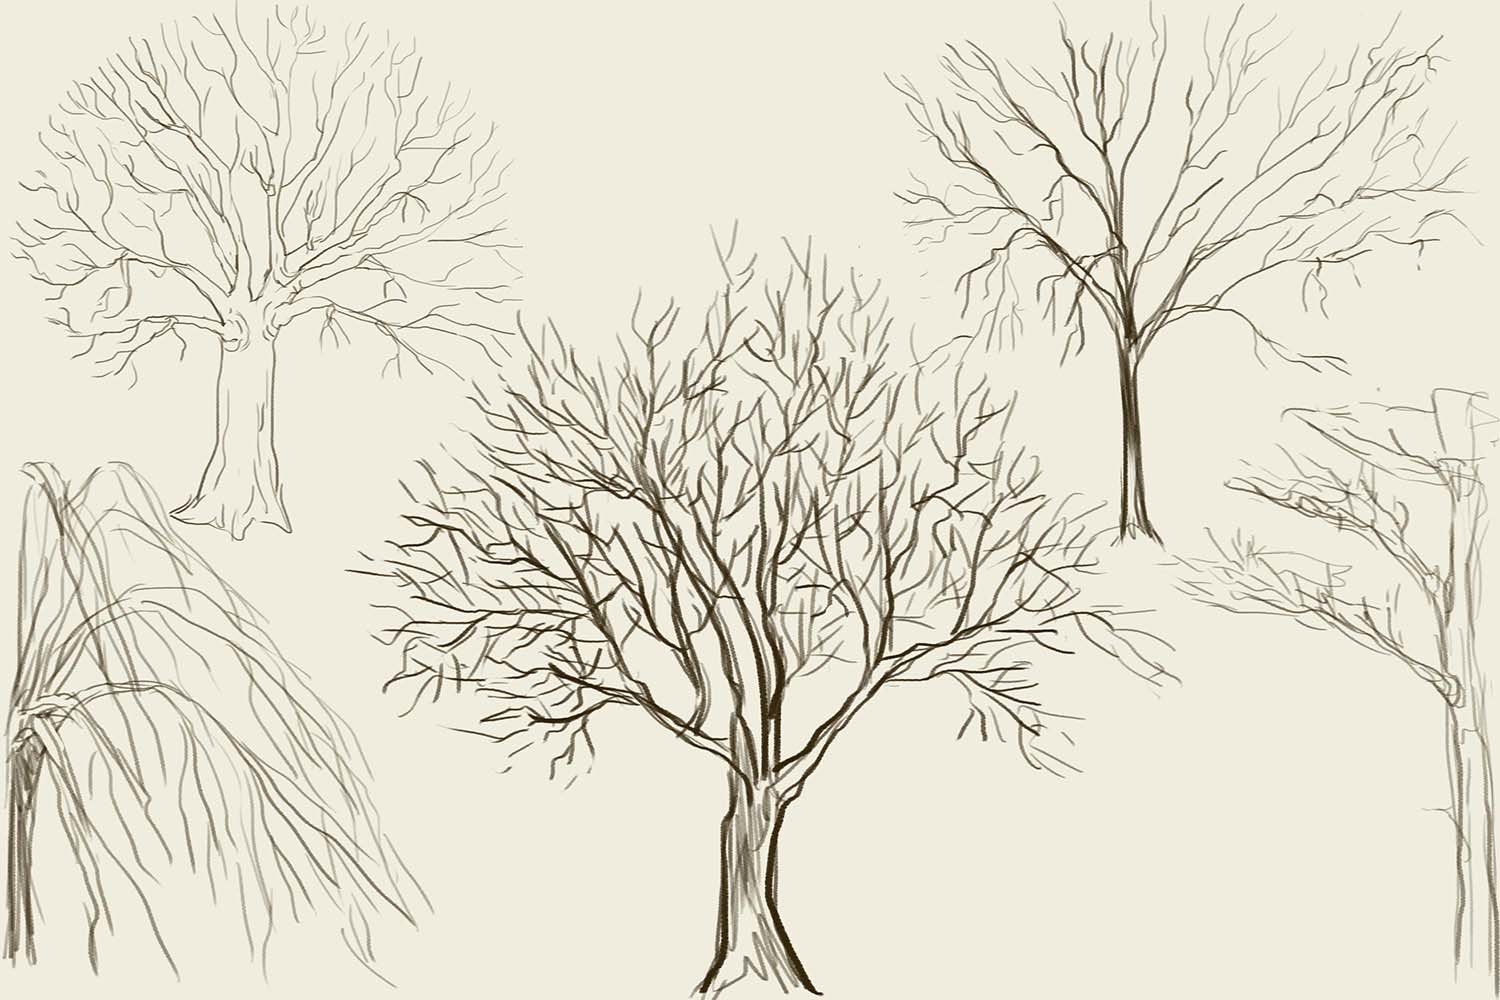
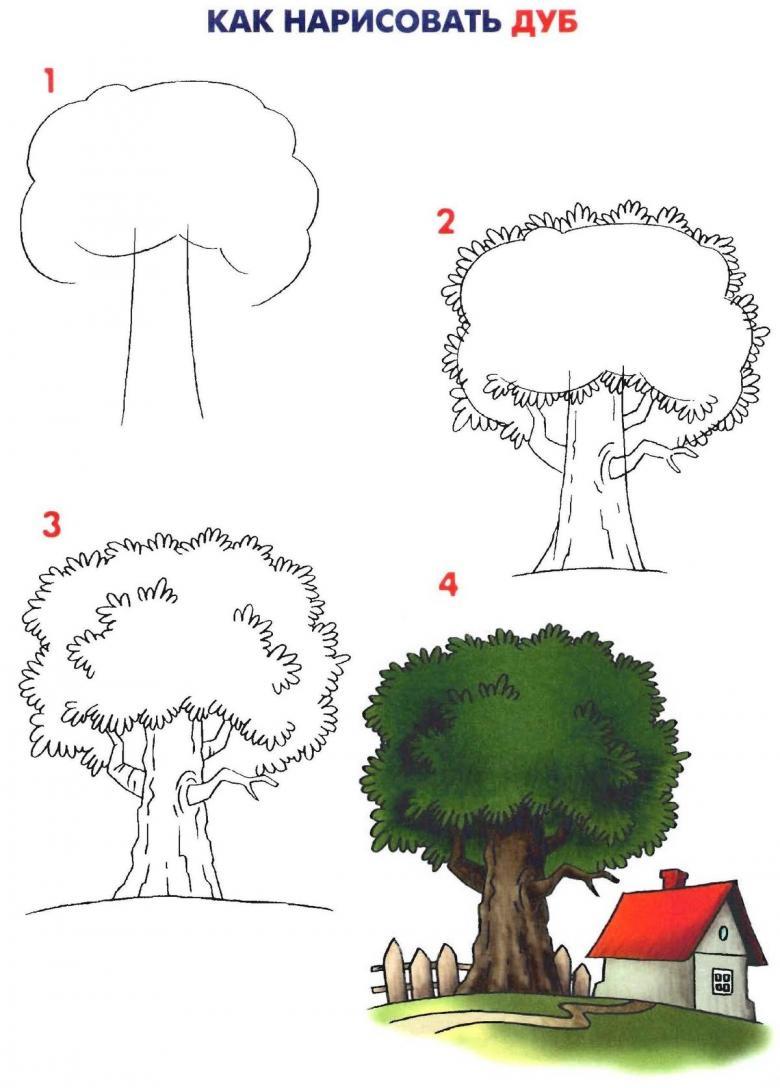
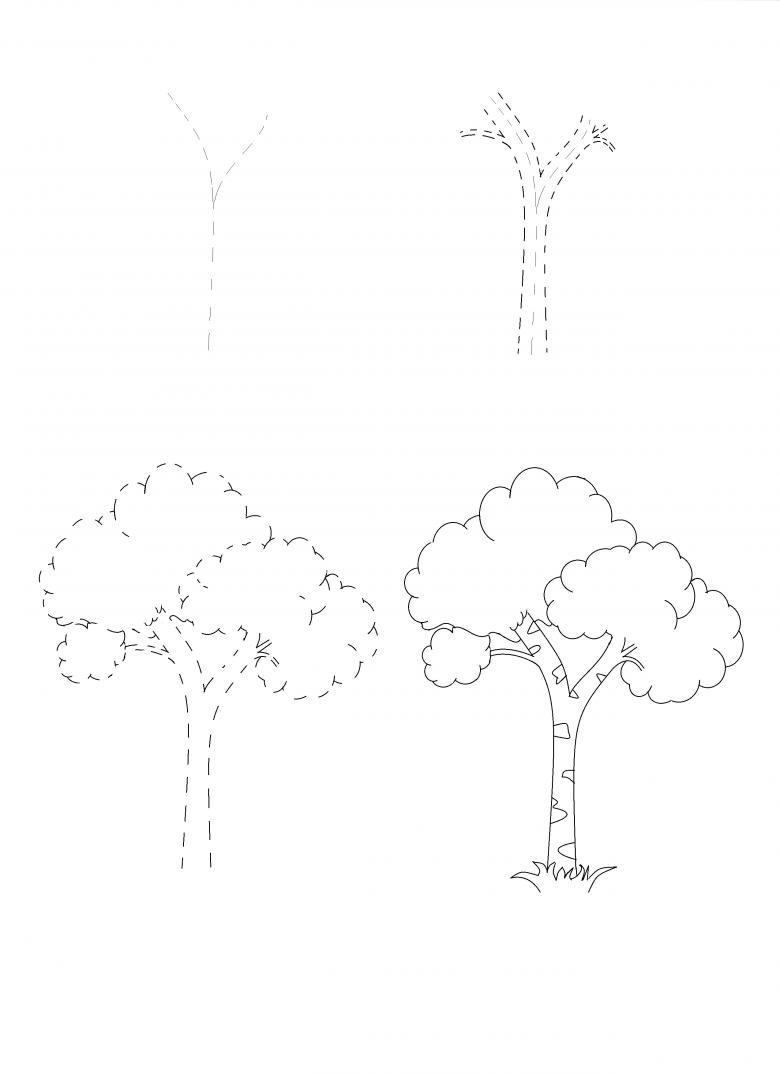
It will be easier for a young artist to draw a tree step by step:
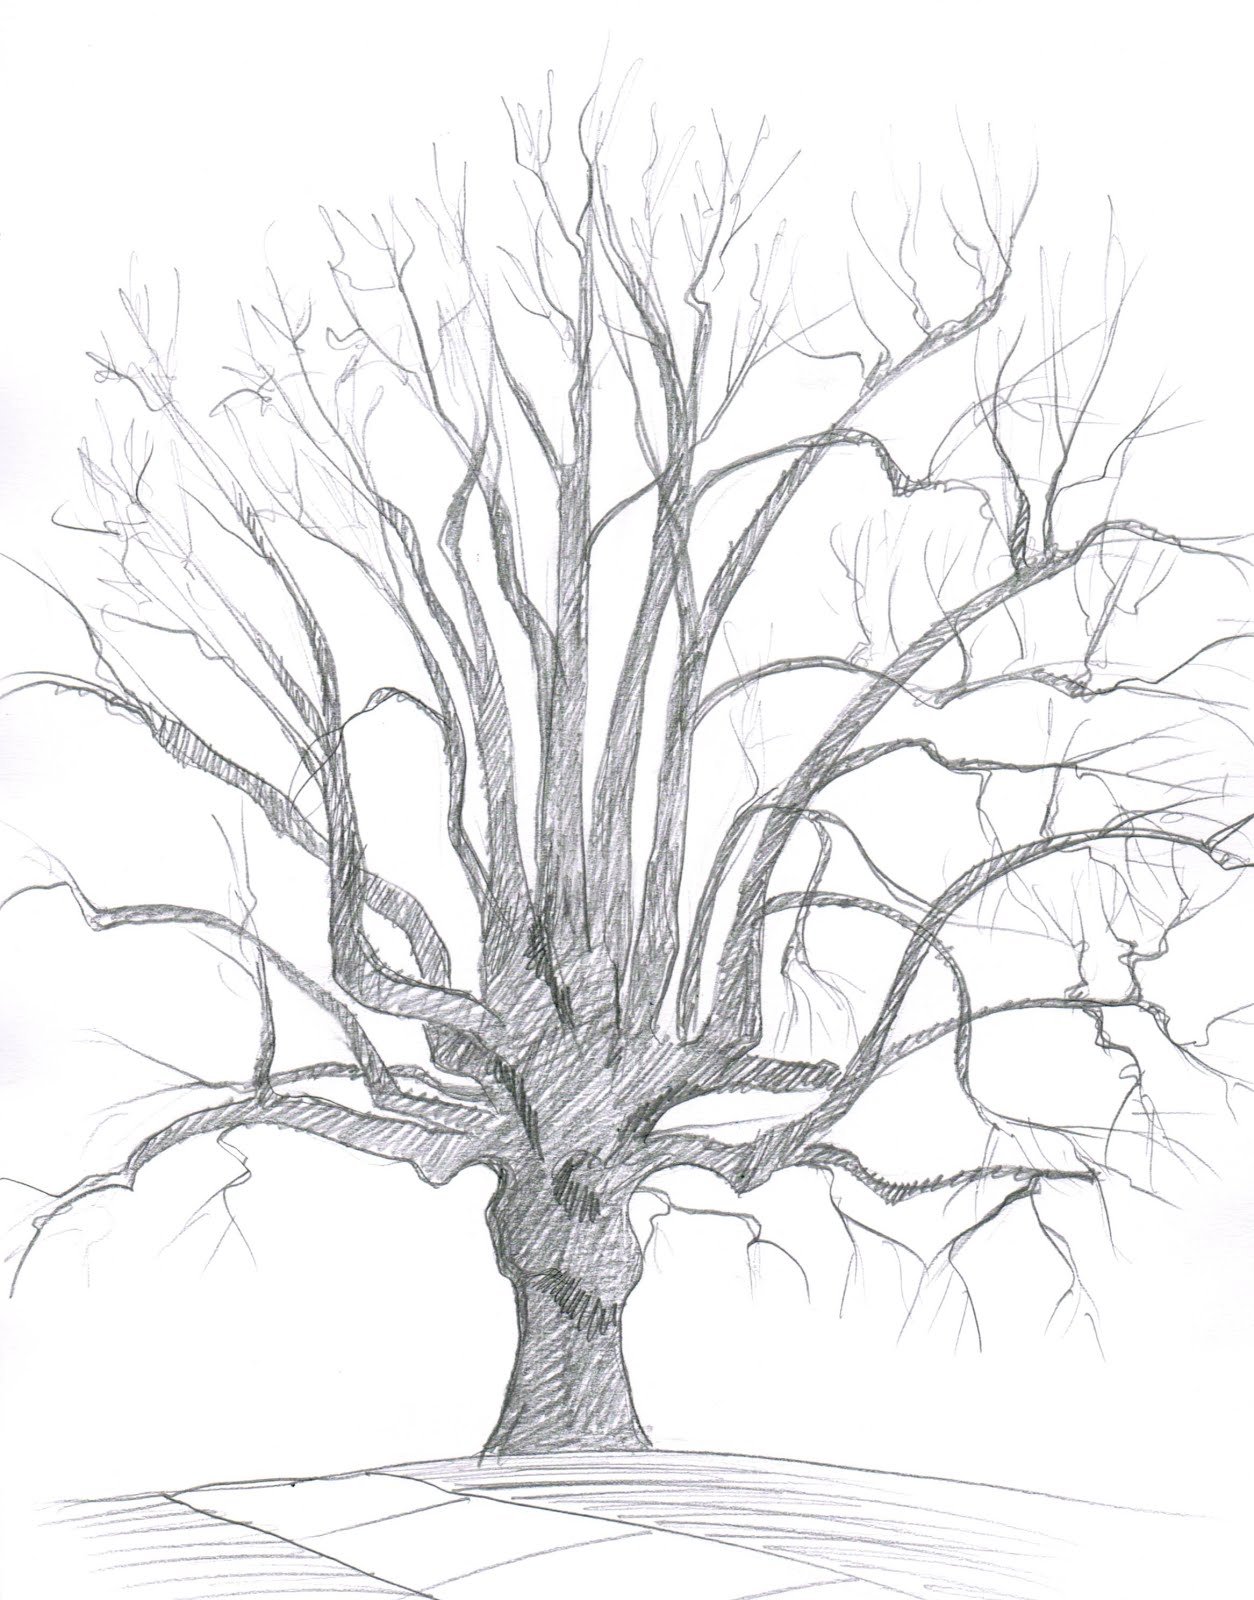
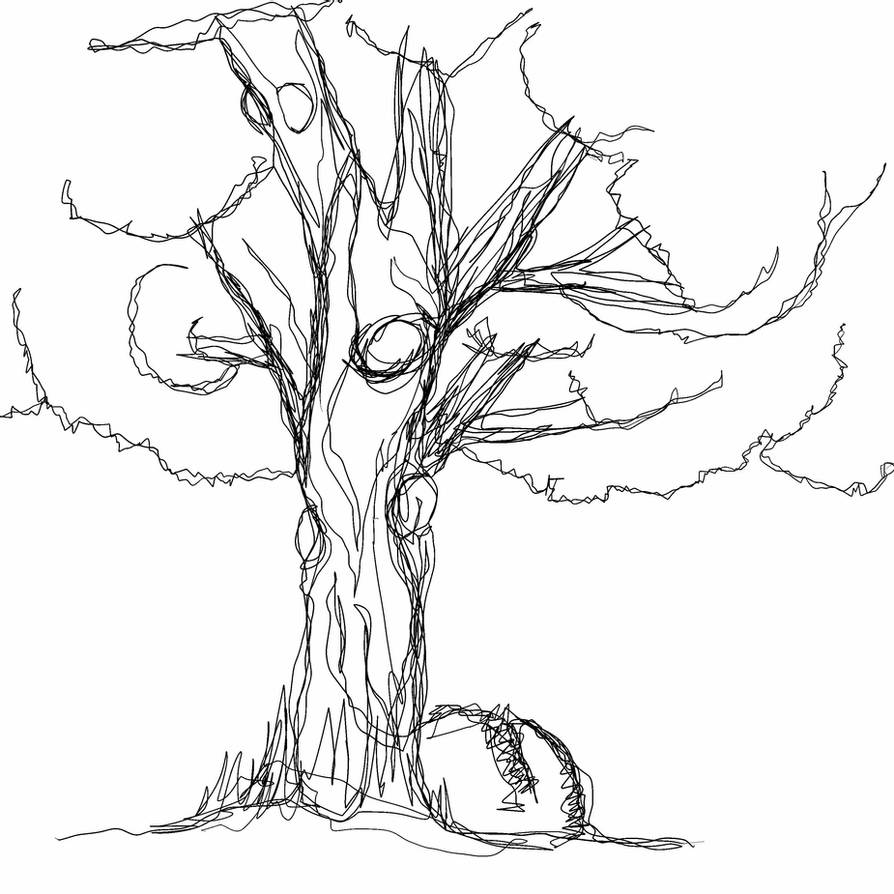
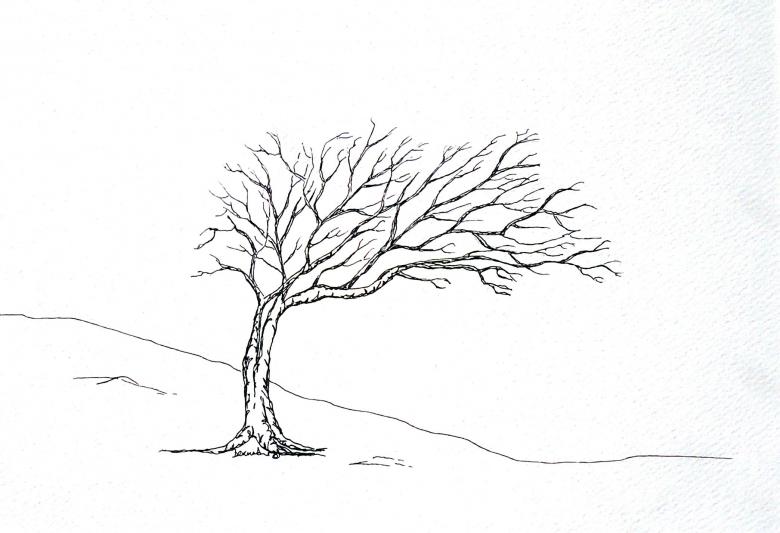
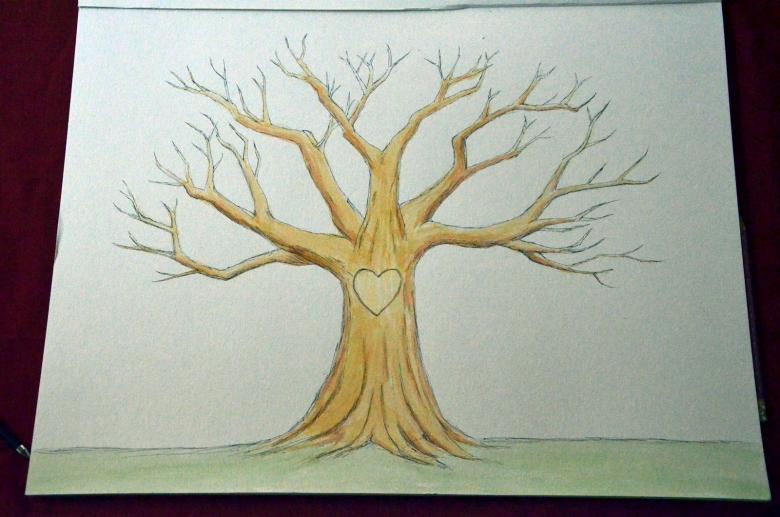
- On a sheet of paper, the first thing drawn is the trunk of the tree as its main component. At the bottom of its base is thick, and at the top there is a narrowing of the trunk.
- From the trunk branches branch off, pointing upward toward the sun. The longest ones will be at the bottom. Short branches form the top of the tree.
- The closer the branches are to the trunk, the less sprawling they are.
- From a large branch comes several small branches. This is how the crown is completed throughout the branching. Draw numerous branches of equal thickness.
If you stop at this step, the tree will be drawn in the cold deep autumn.

Winter Tree
After autumn comes winter. For beginners step by step progression, will help to understand how to draw a tree in winter with snow in pencil step by step.
- Small drifts are drawn on the branches and between them. There are also drifts on the ground under the tree.
- Under the tree the snow is completely drawn in blue pencil. On the branches, the blue is applied only to the bottom of the snow drift.
- Brown traced trunk. And along its edges, on the bends of the tree, dark brown shadows are applied to get a three-dimensional image. The transitions between the two shades of brown in the center of the trunk and its edges should be smooth.
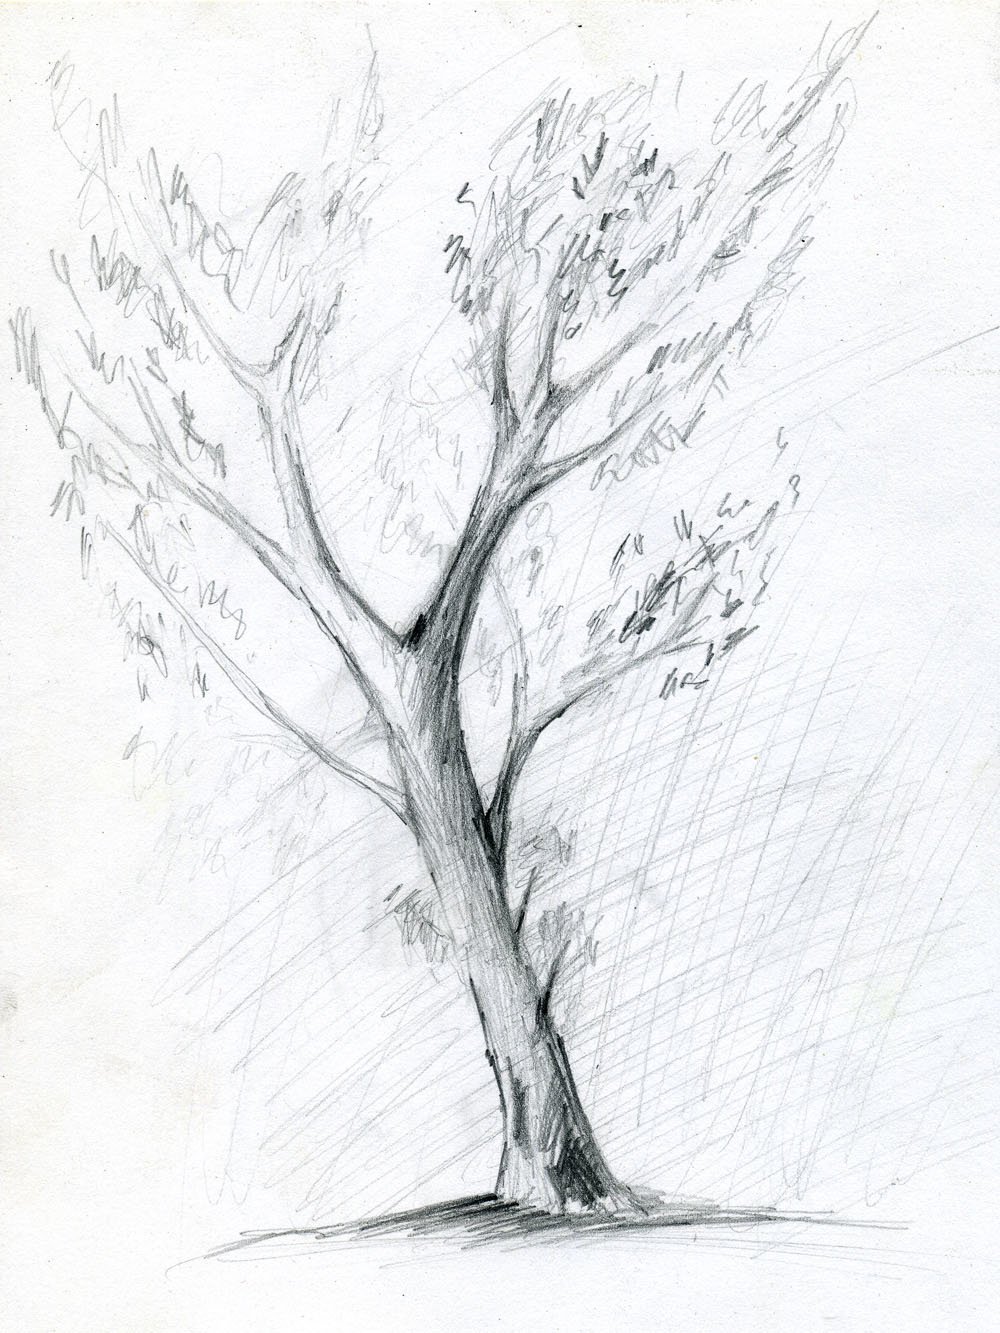
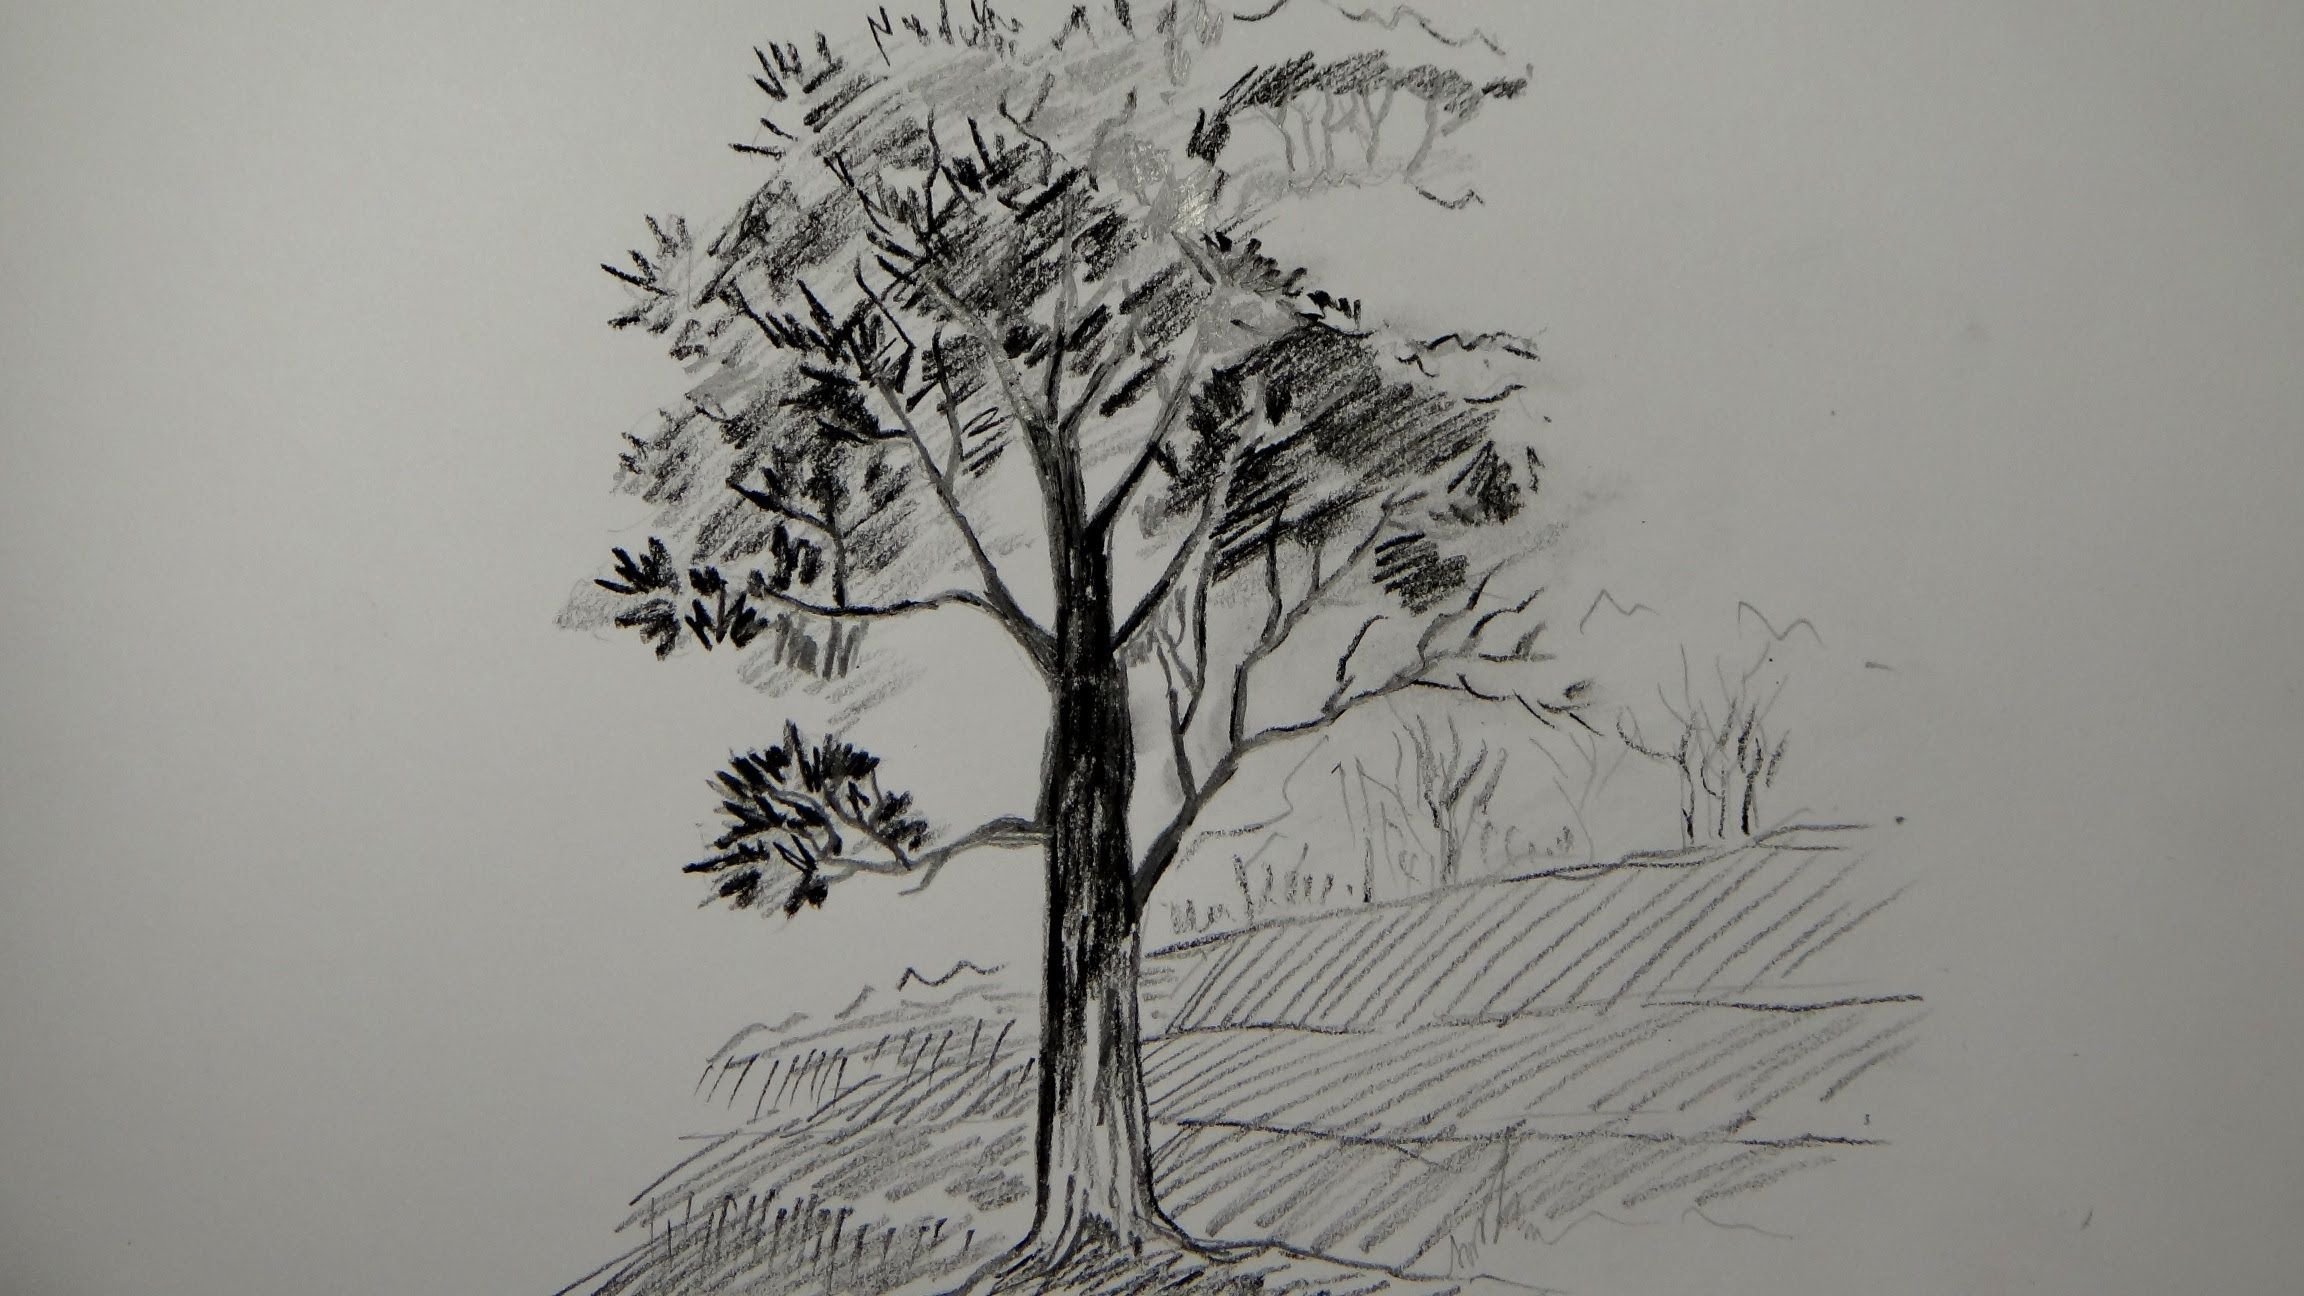
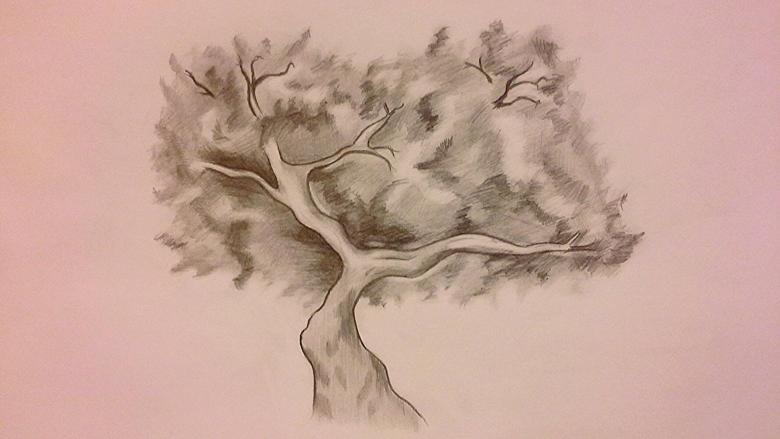
Tree in summer
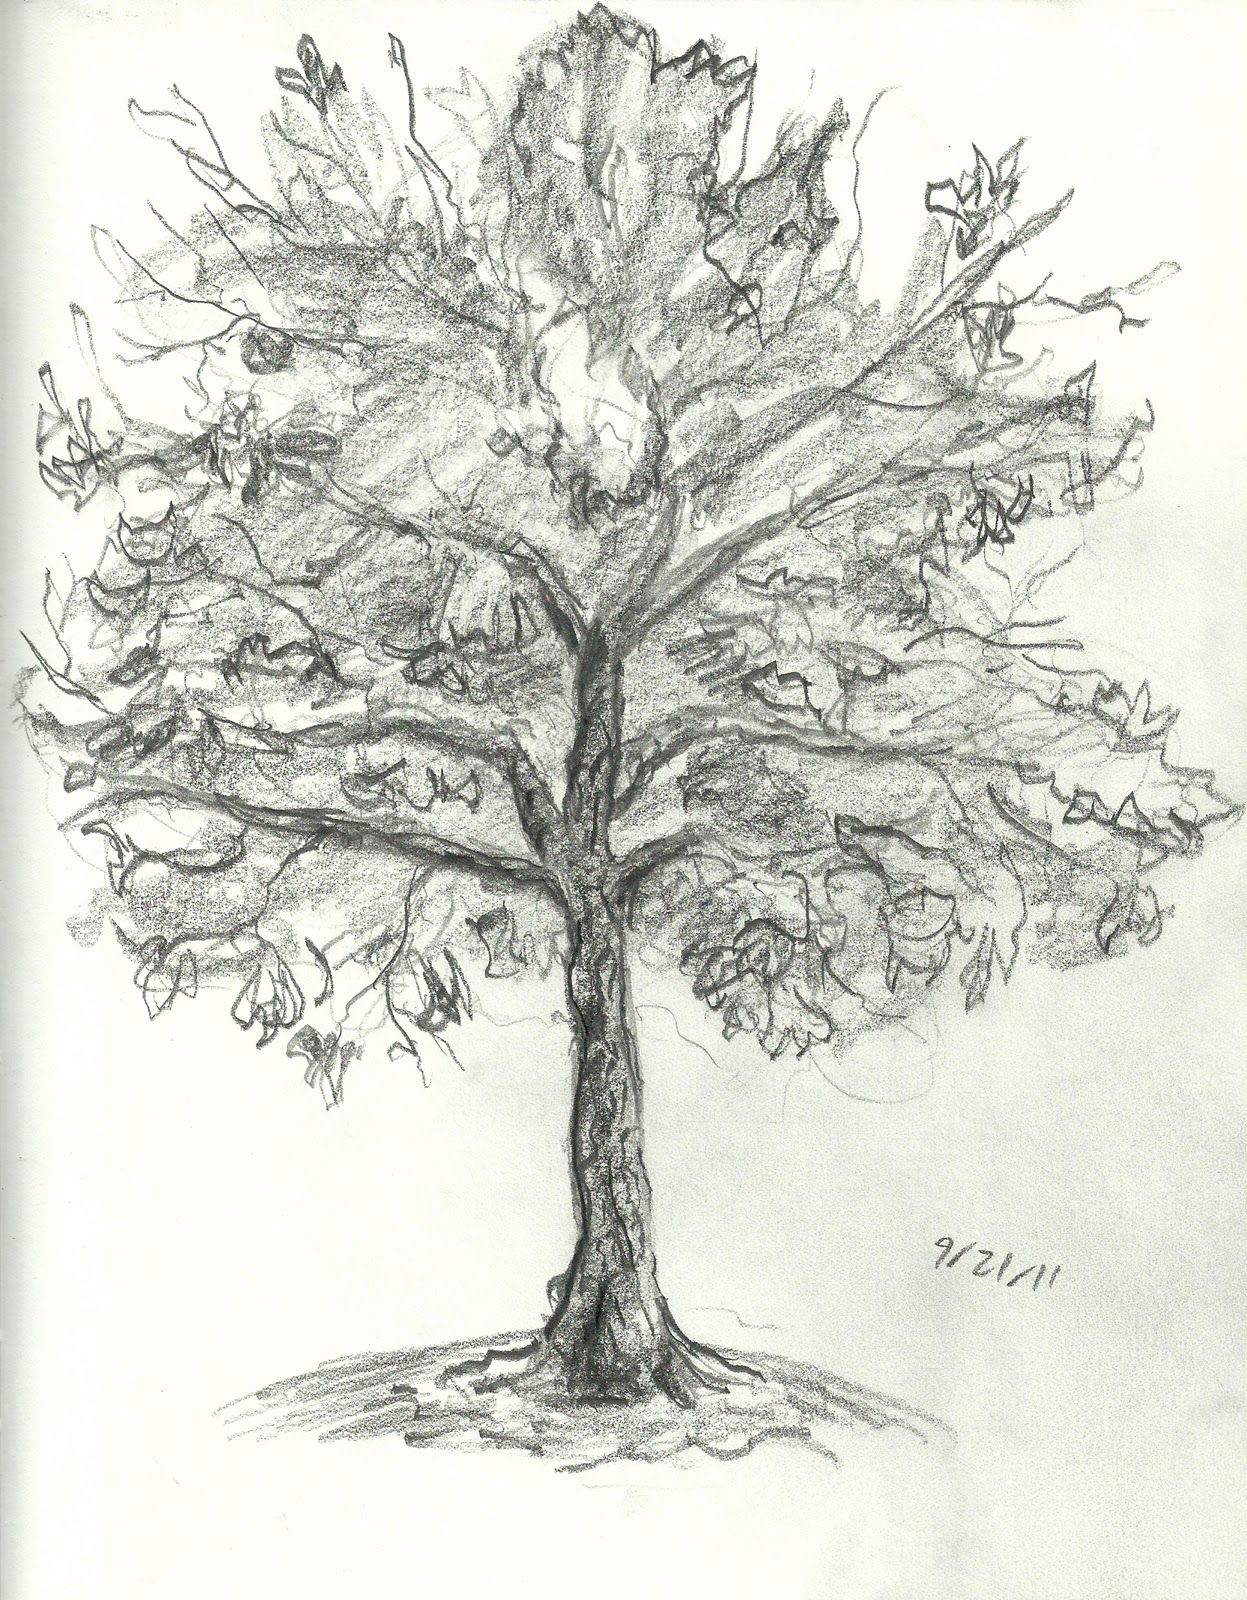
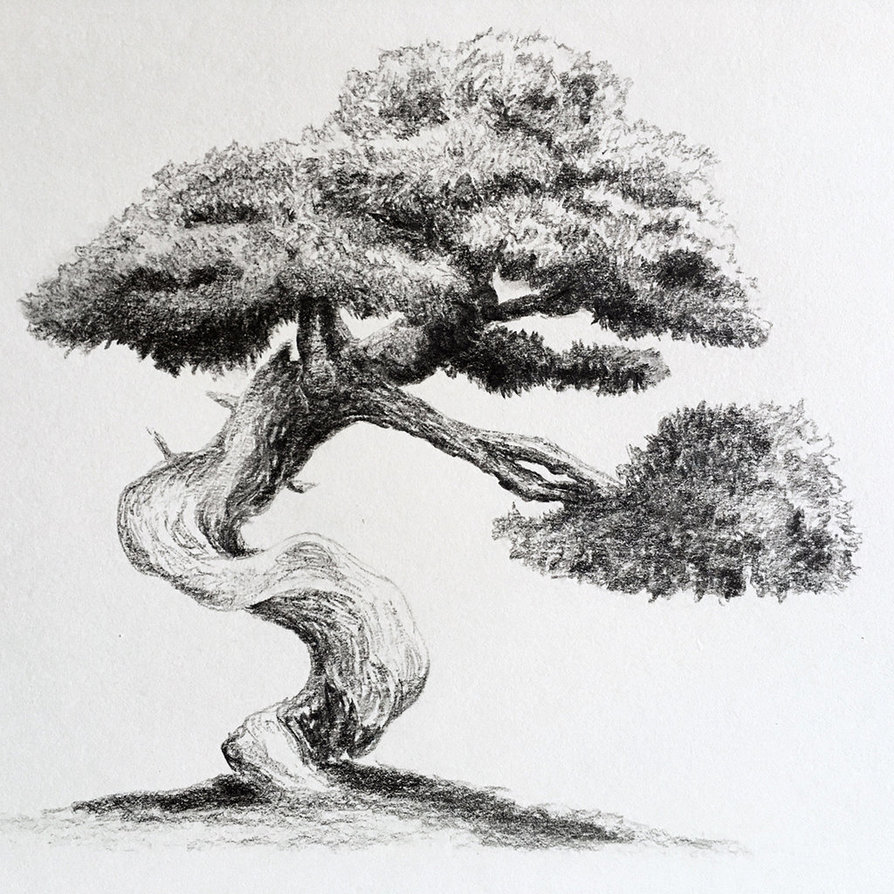
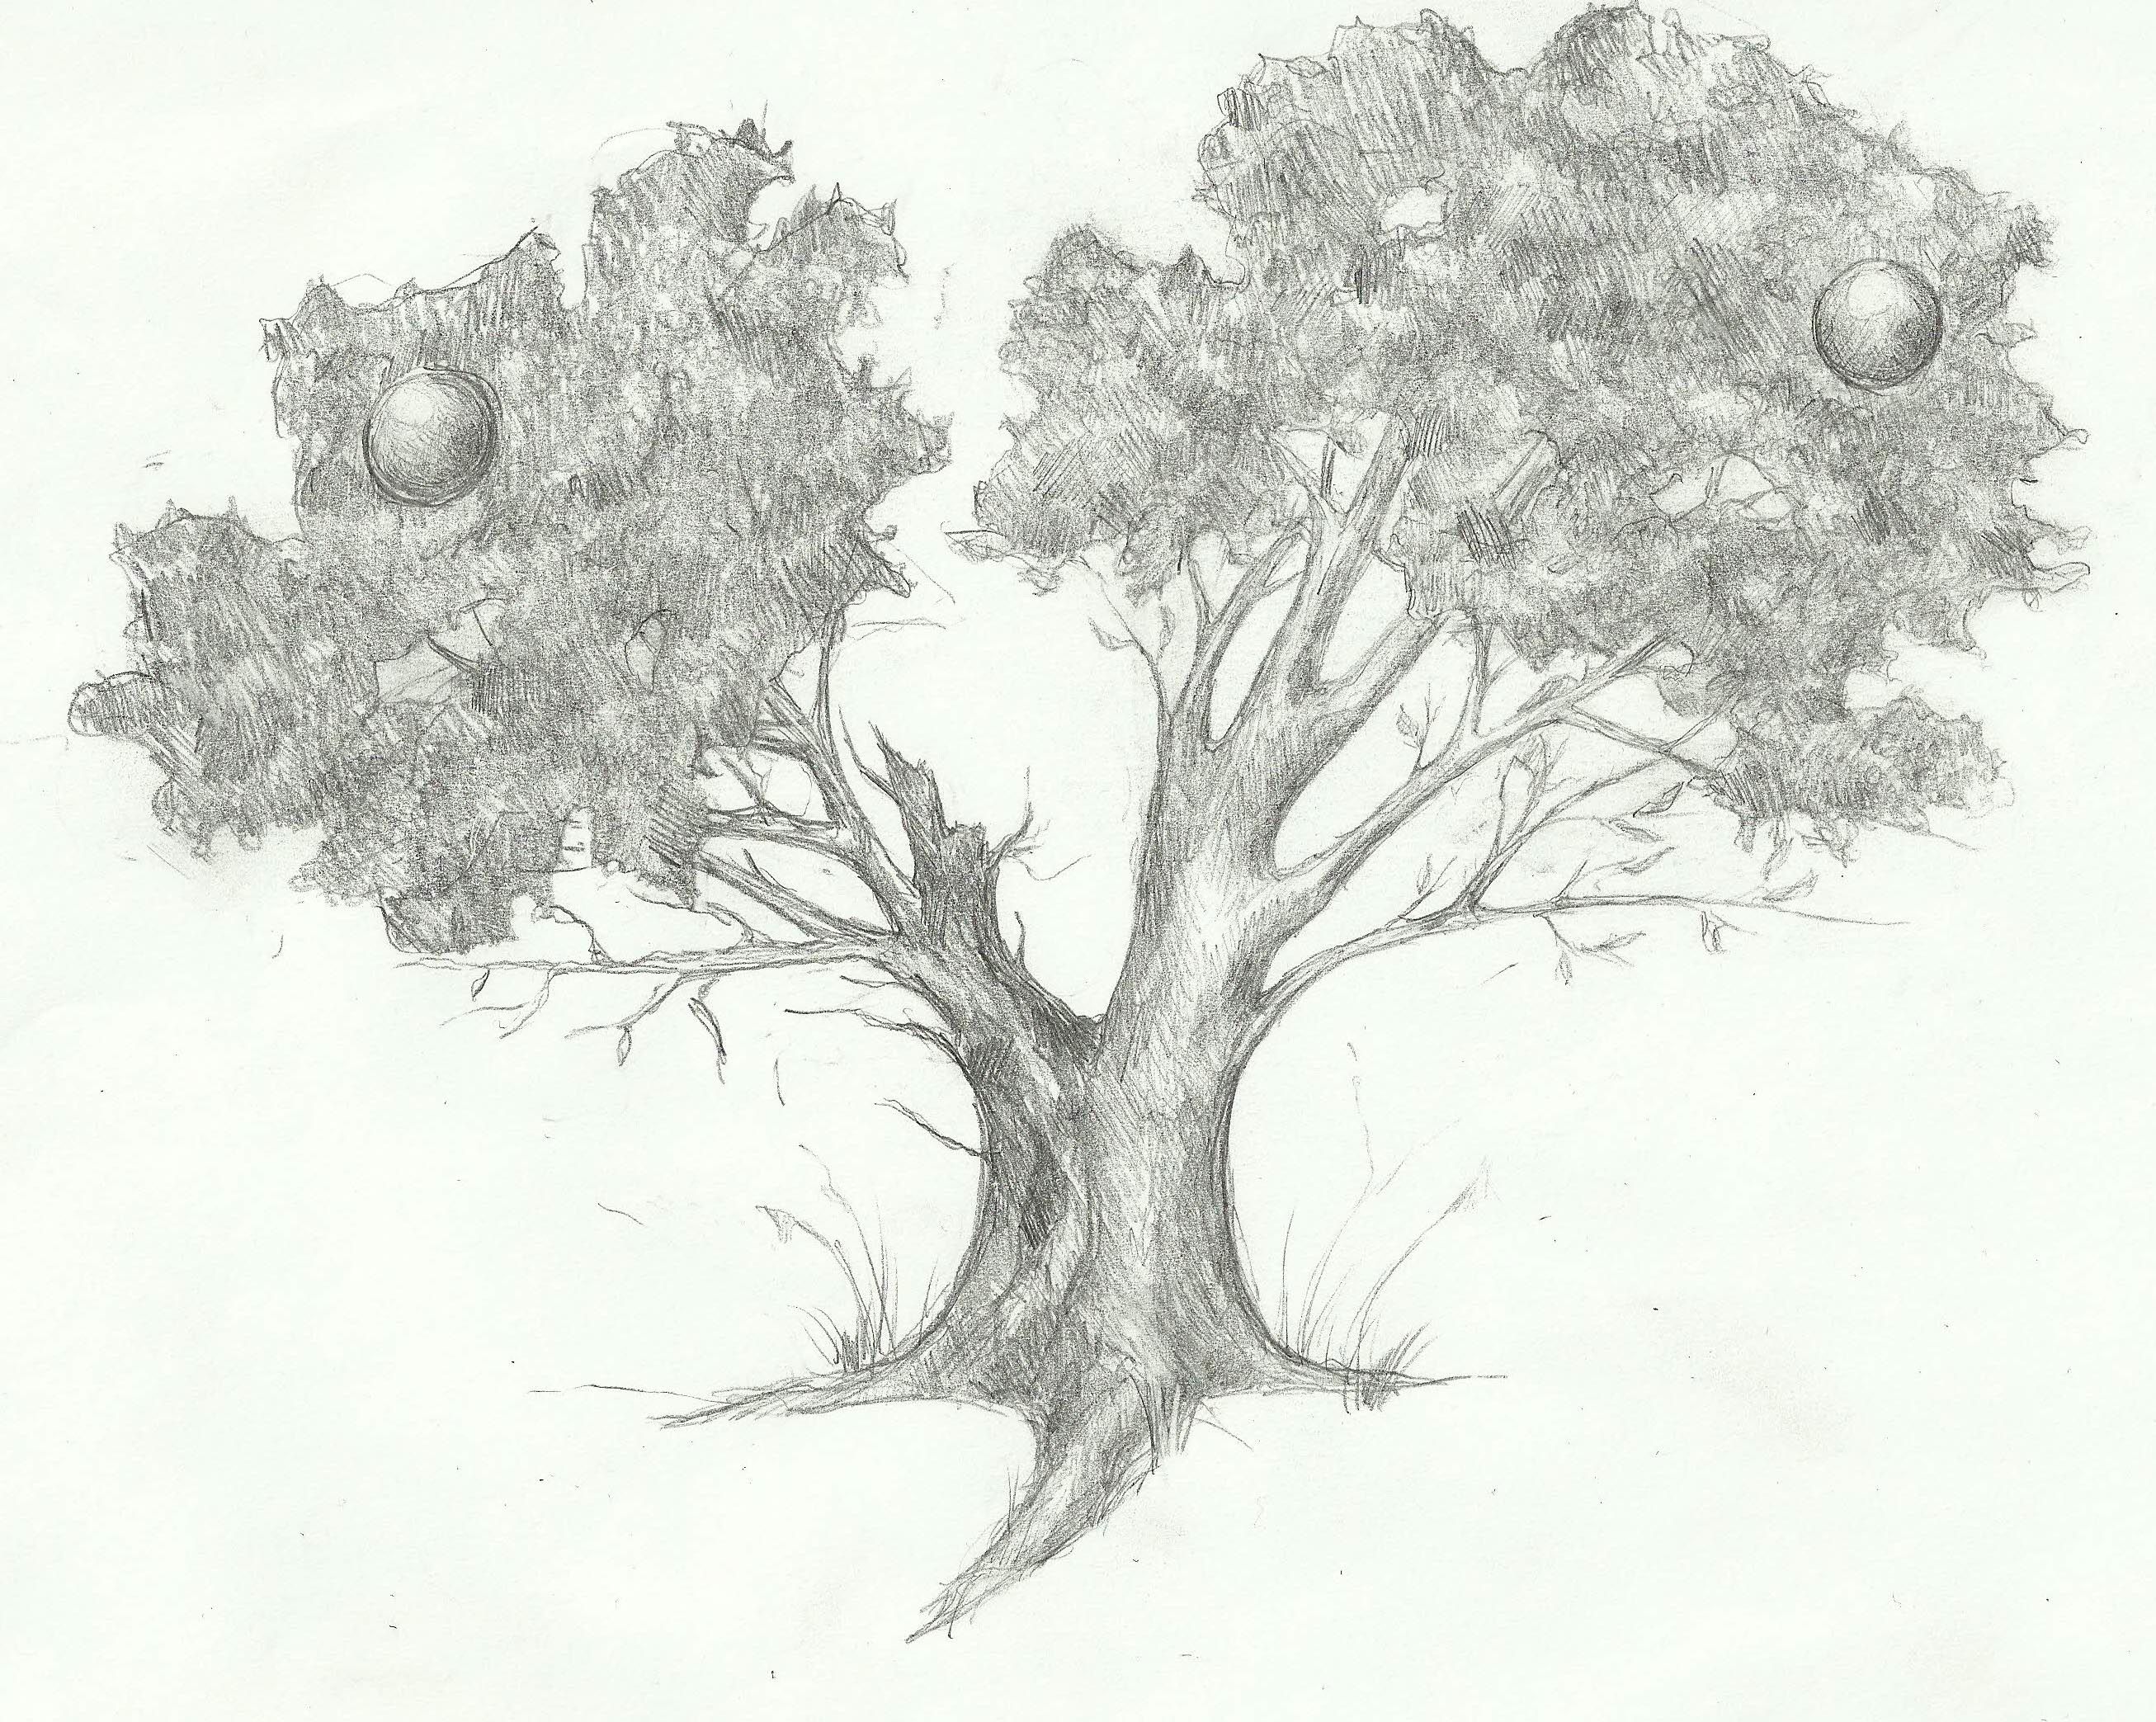
The tree has a lot of foliage in summer. The question arises as to how to draw tree leaves in pencil step by step, without having to draw each one individually.
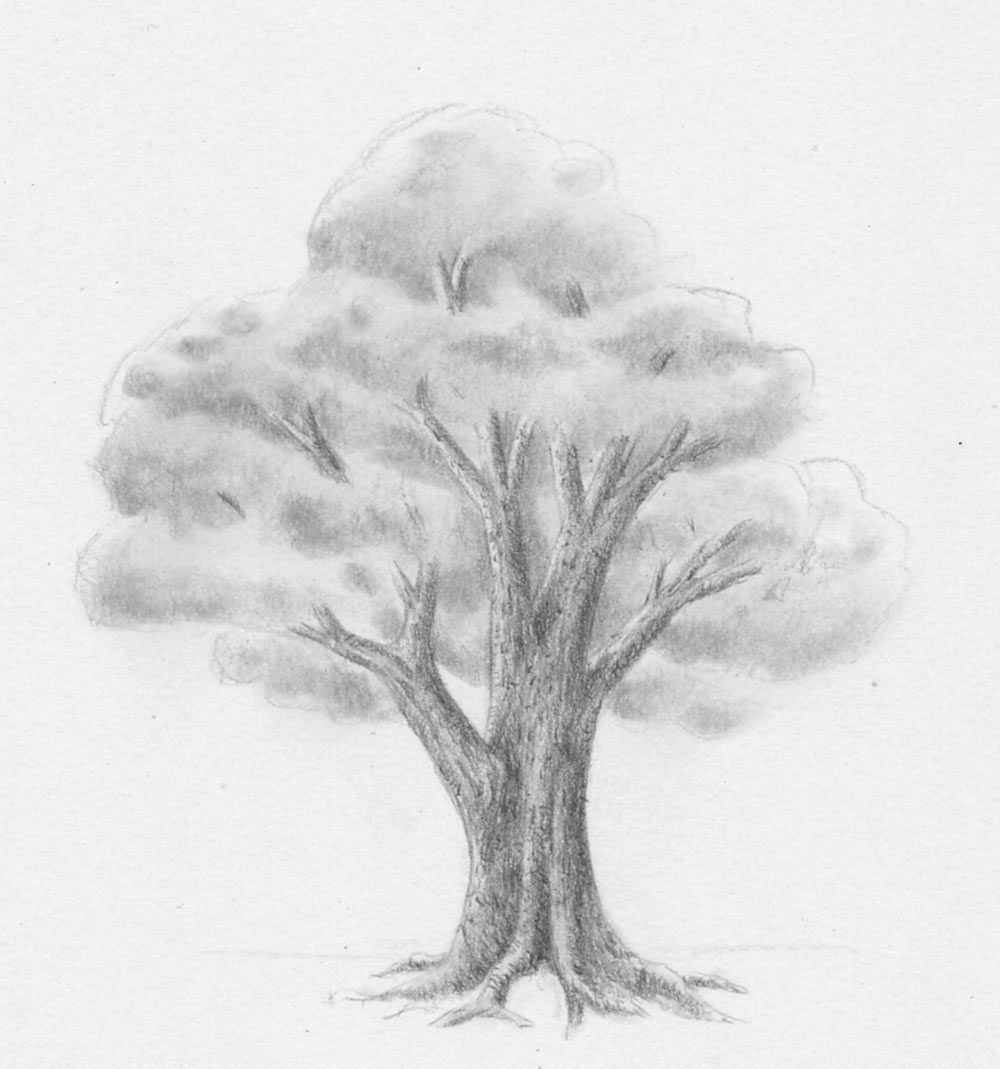
There are several techniques for depicting a thick and fluffy tree. The simplest option:
The areas around the branches are shaded with short, tight-fitting lines. Leaves can be left smeared, but individual leaves can be drawn on top.
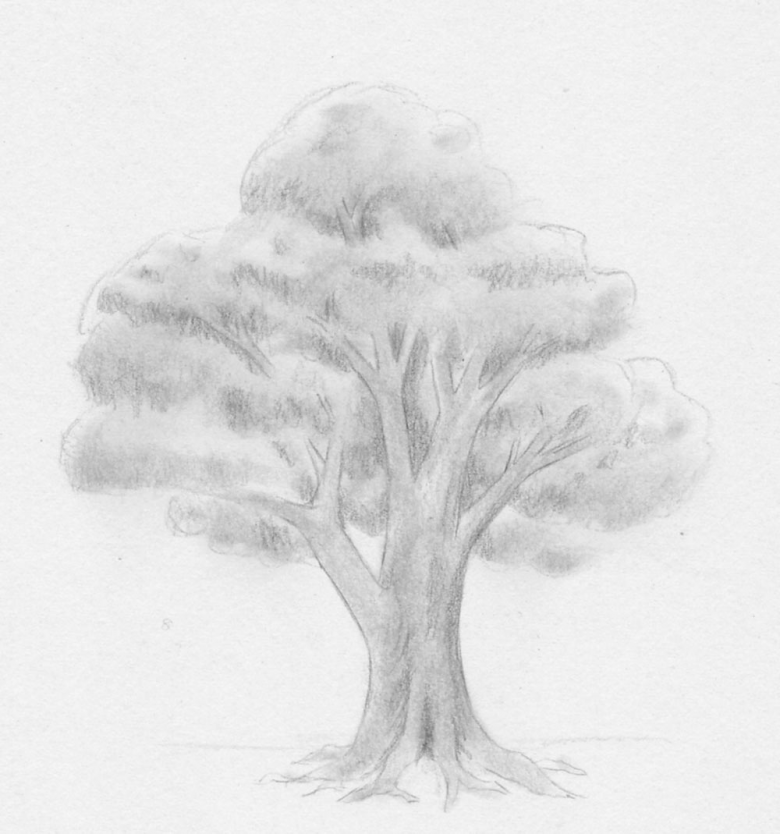
For beginners, observation will tell you how to draw a tree with leaves in pencil step by step at the bottom of it and at the top. Since the upper part of the crown is closer to the sun, it is always lighter.
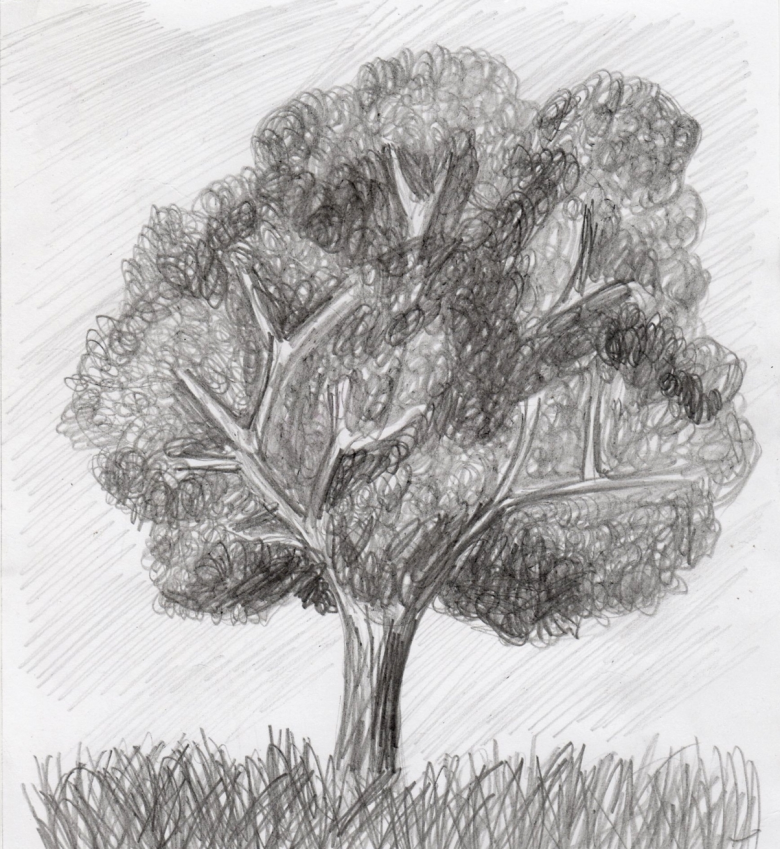
Contrasting strokes of the leaves will give the tree a dense, volume, liveliness. To imitate foliage, you need hard pencils for light shading, soft pencils for dark application.
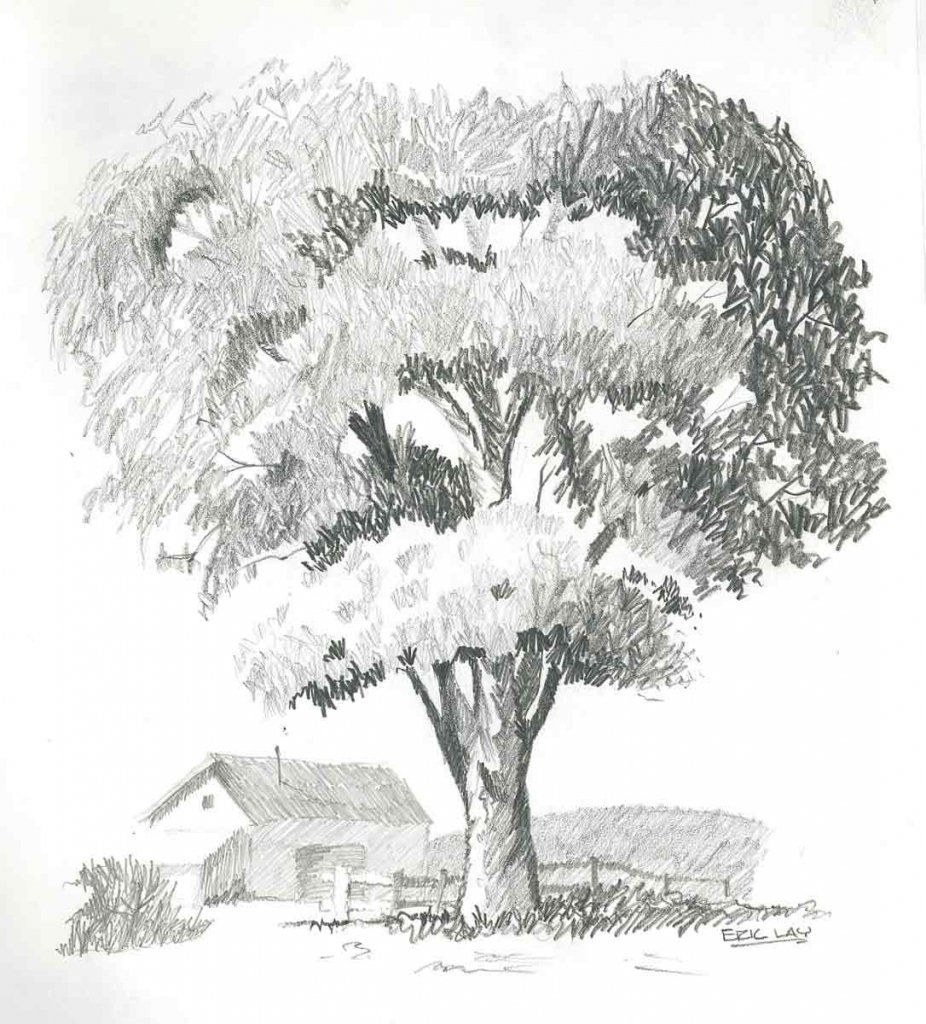
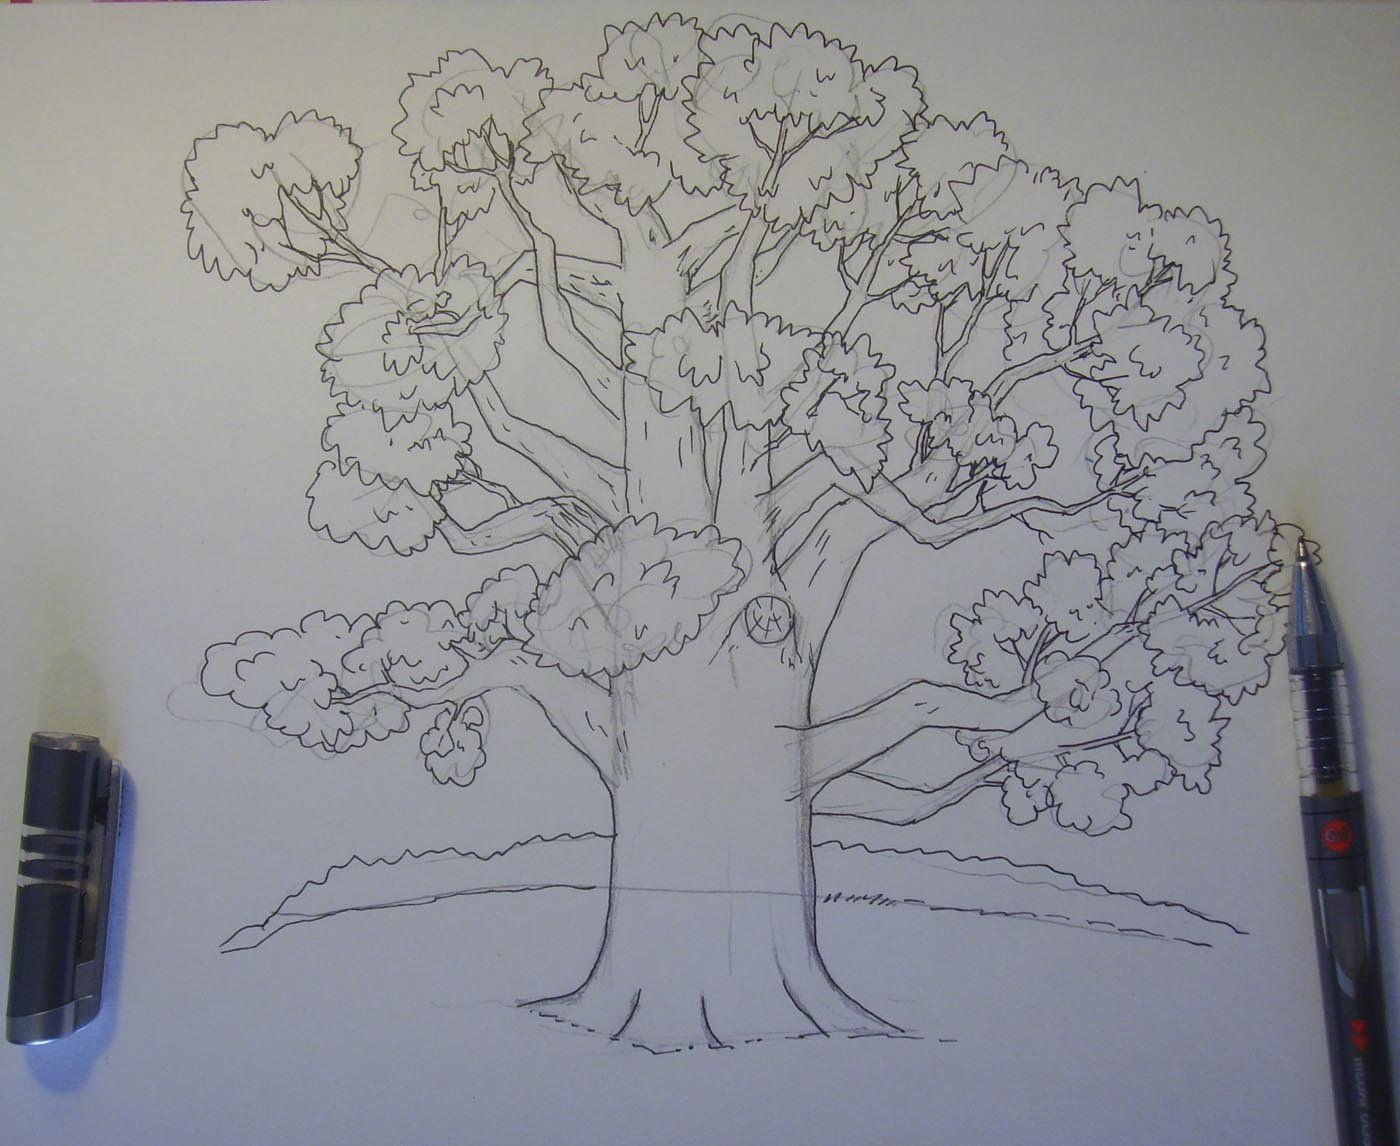
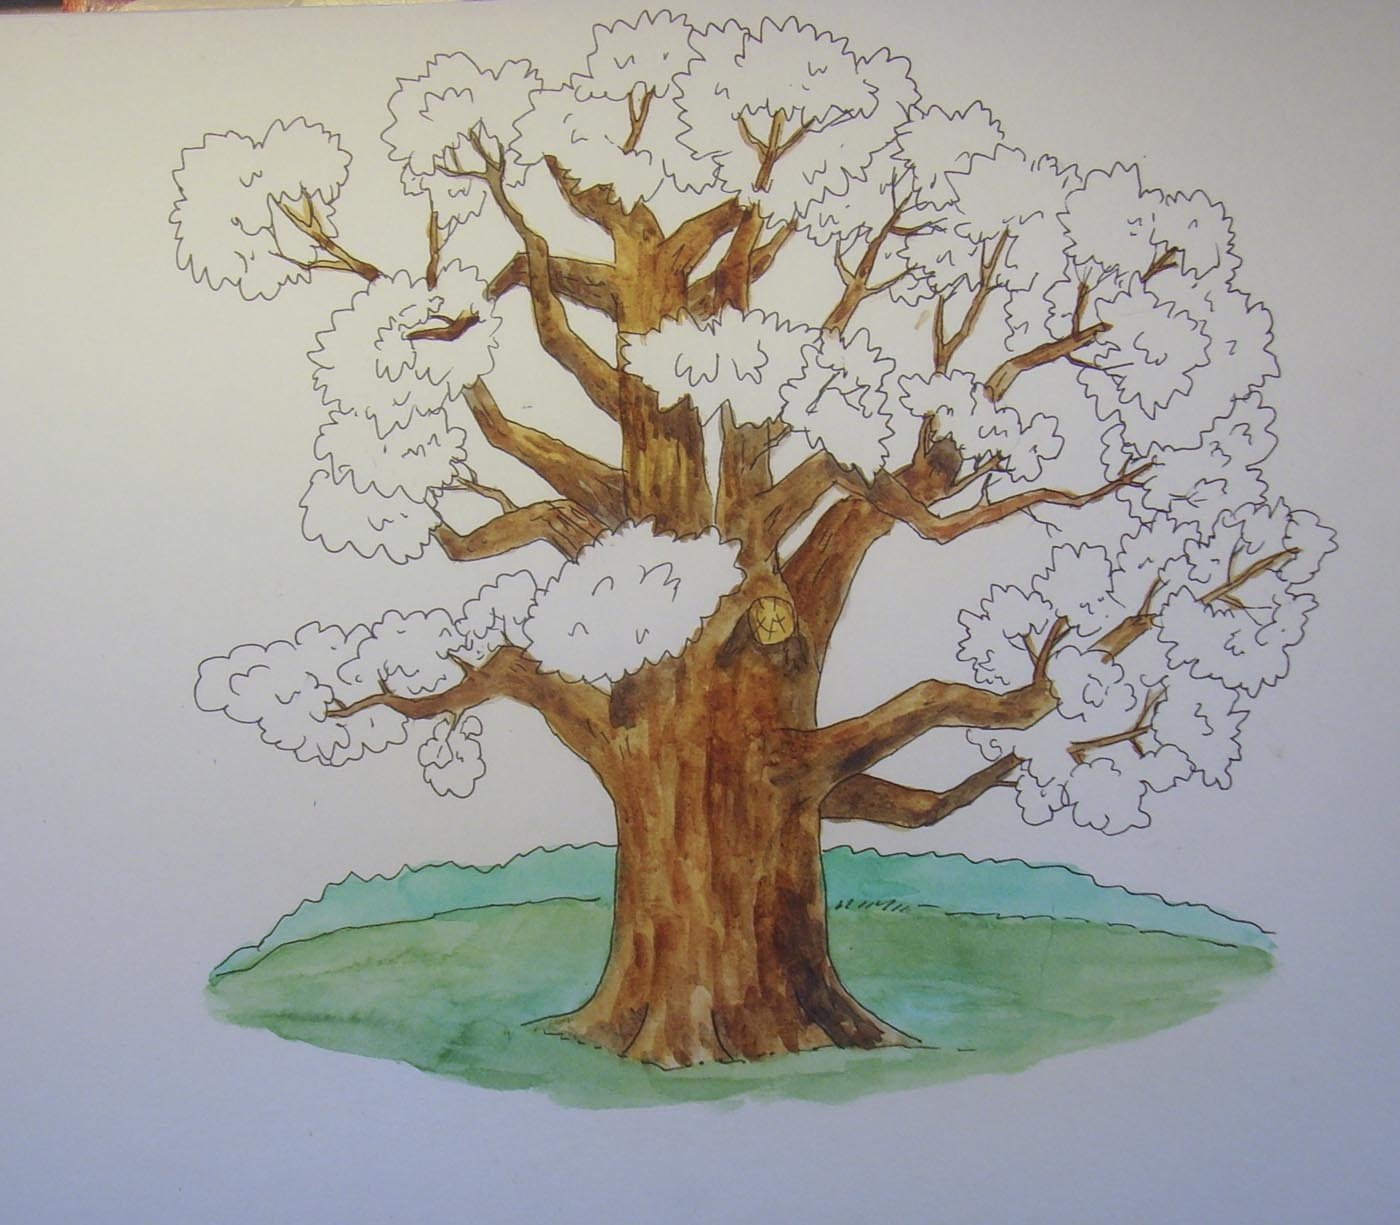
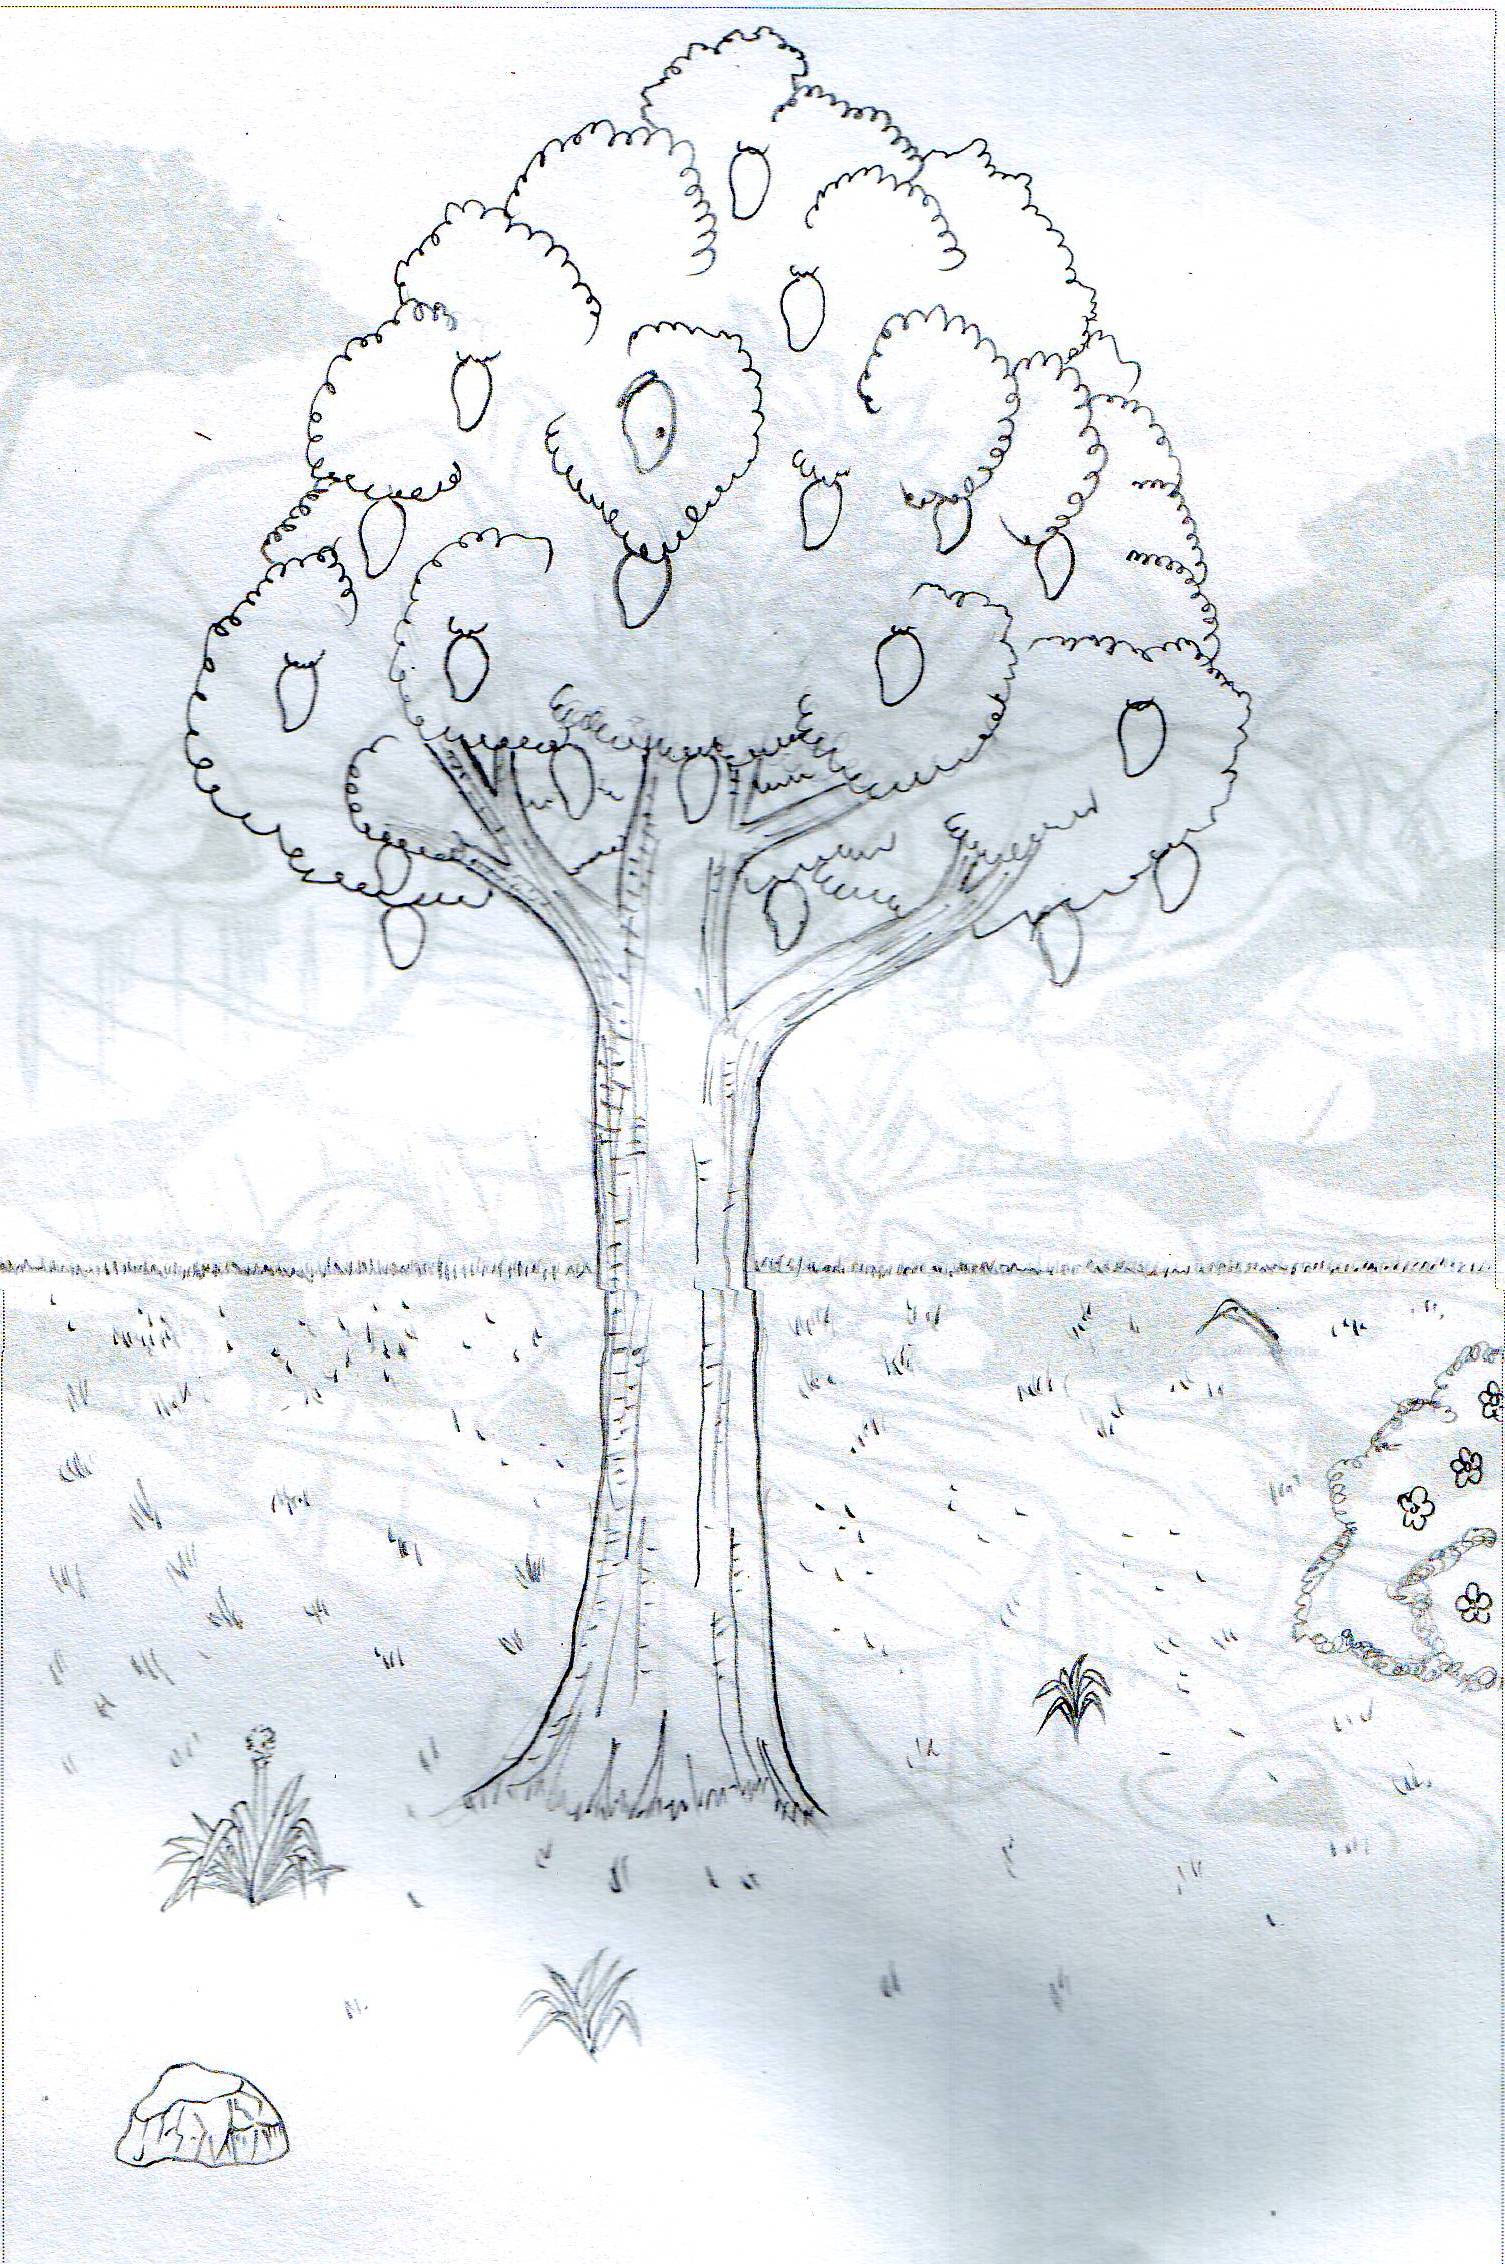
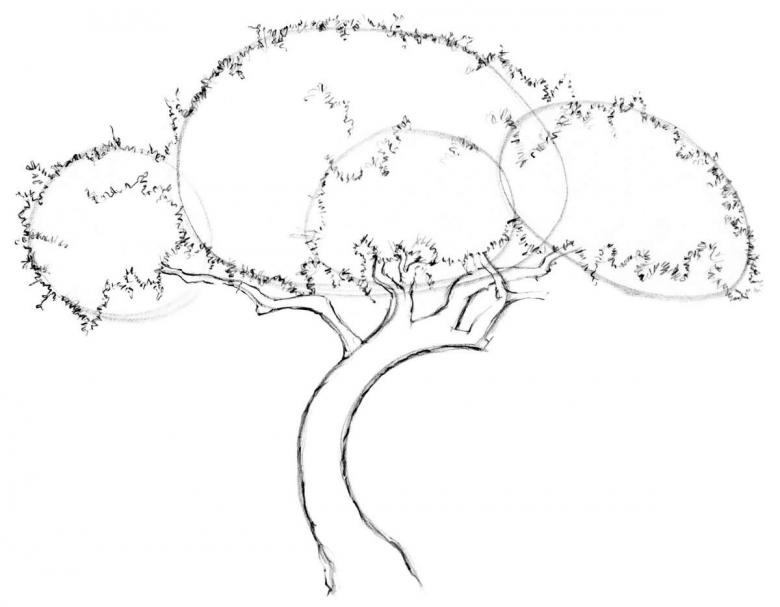
The second way to draw a summer tree begins with a circle marking the area of leaves.
Added two more circles with the effect of overlapping each other, create the effect of dense foliage. Small rows of doodles are applied in order to create the feeling of a surface of dense foliage. Large doodles are drawn at the edges of each circle, and small ones fill them in.
It is recommended to choose an odd number of circles, denoting the area of foliage. So the image of the tree will be more attractive.
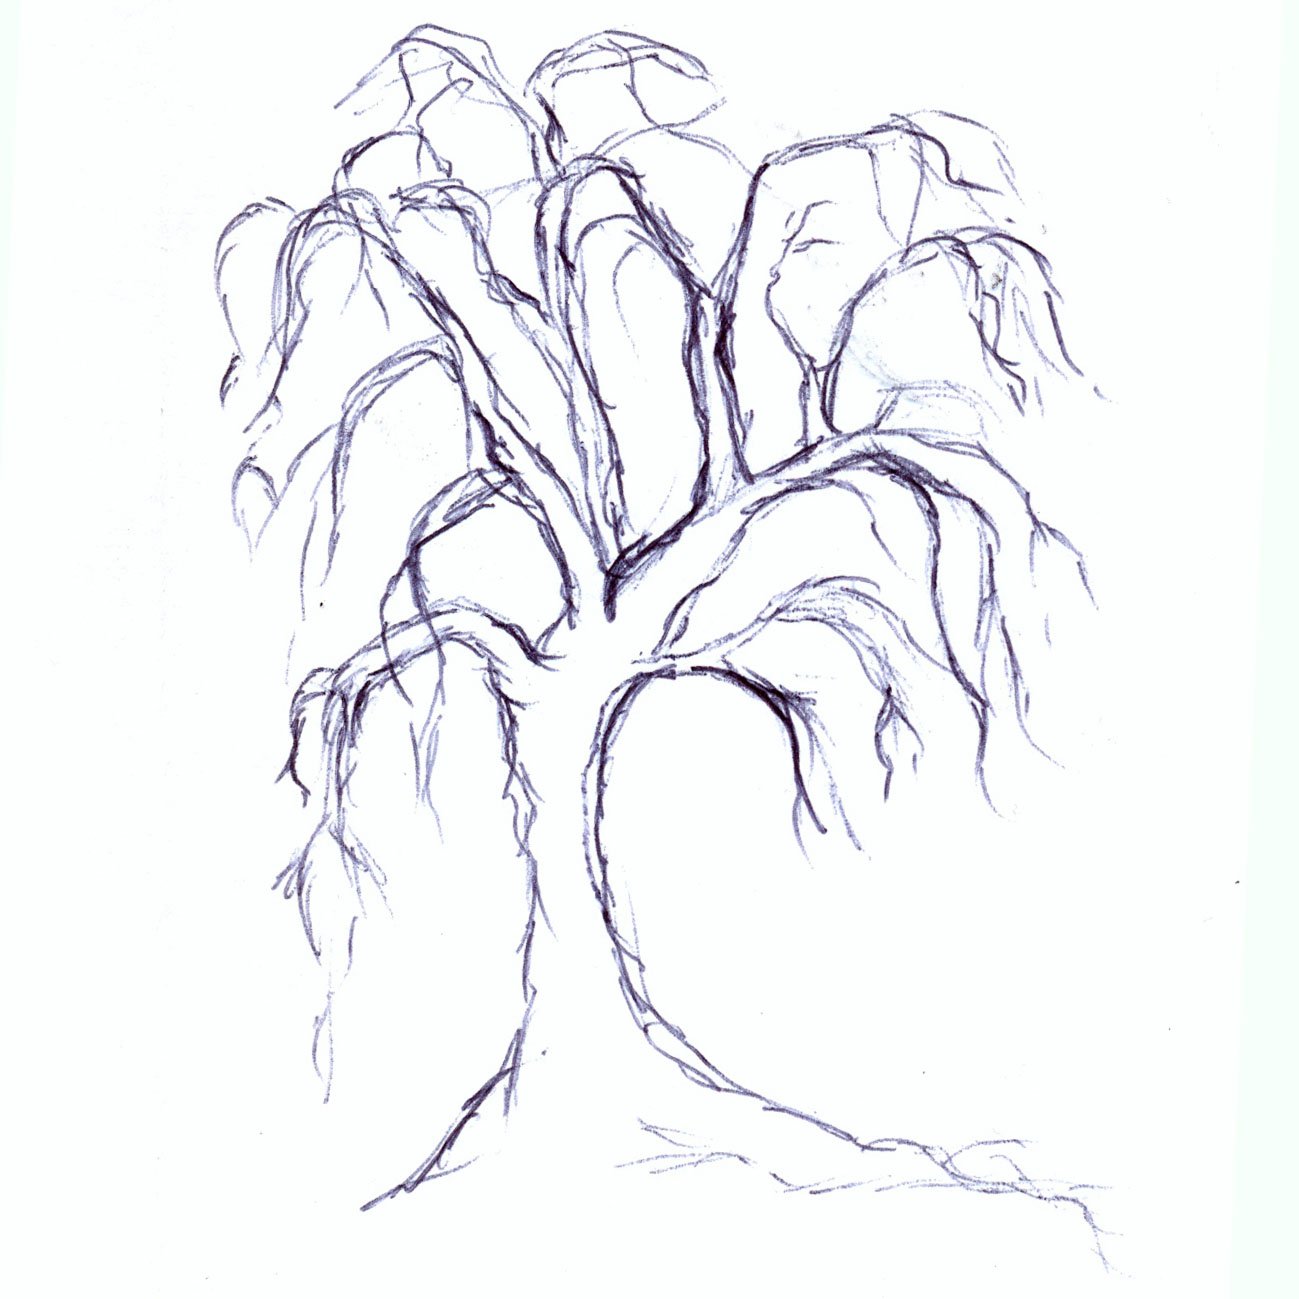
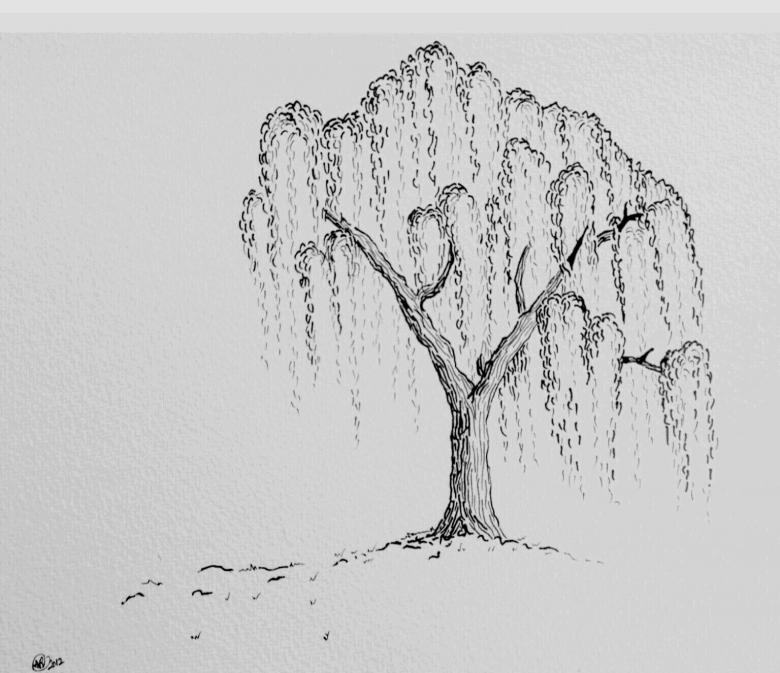
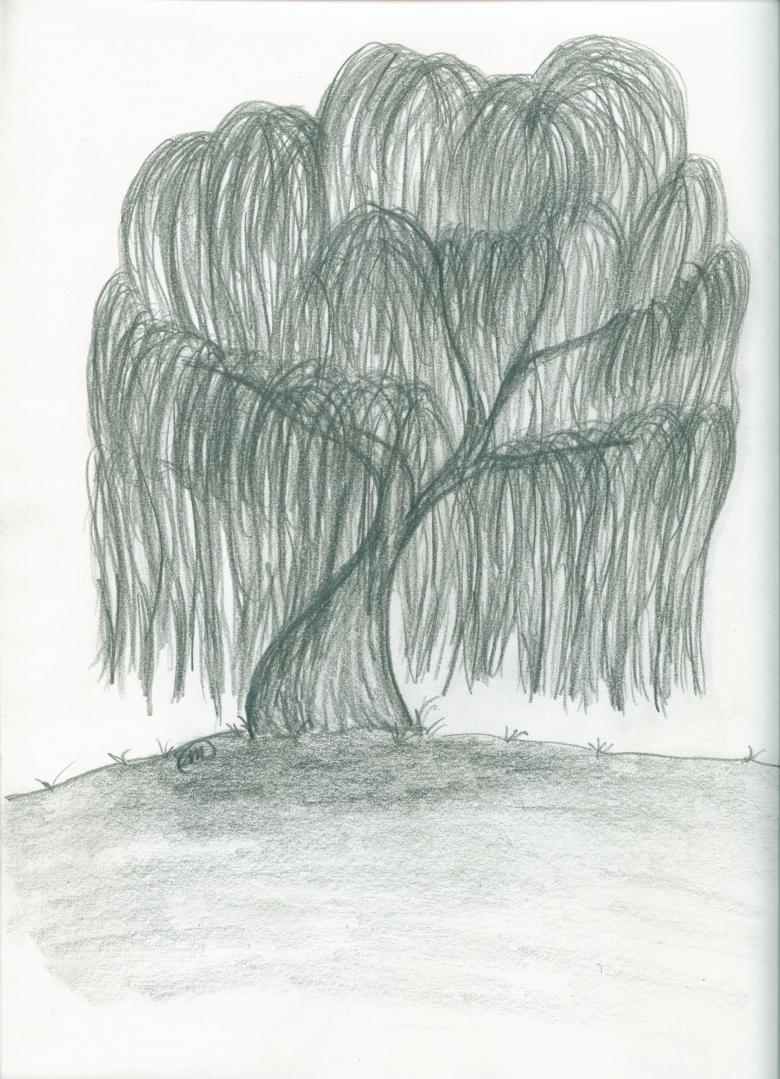
Nuances of drawing willow and birch
The image of the willow or birch on a piece of paper is different from the drawing of other deciduous trees. After all, in reality, their branches are lowered to the bottom, rather than stretching toward the sun.
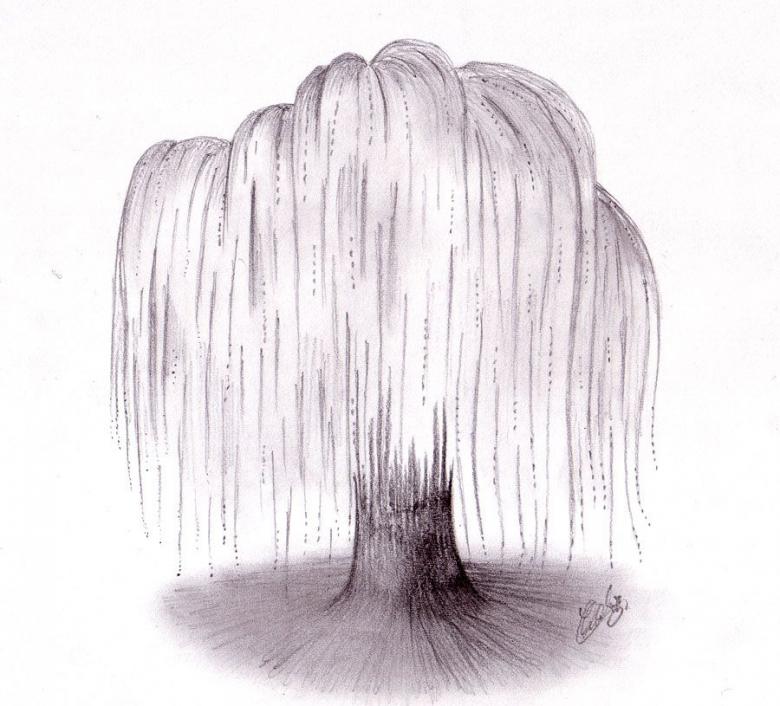
A separate lesson is prescribed for beginners, how to draw in pencil step by step a tree with the crown down to the bottom.
- You should always start with the base of the tree - its trunk. In willow and birch, it is always drawn with a slight slope to one side. In addition, it bifurcates at the top of the willow.
- Branches diverge from the trunk. Closer to the trunk they thicken, and the narrowed ends are omitted.
- All small twigs look down.
- Leaves are placed on the smaller branches.
Throughout the trunk of the birch are drawn black characteristic spots.
Step-by-step drawing of a spruce
Spruce is a favorite tree of children of all ages. Even kids want to learn how to draw it. Depending on the age for novice artists, there are options for how to draw a coniferous tree with a pencil step by step.
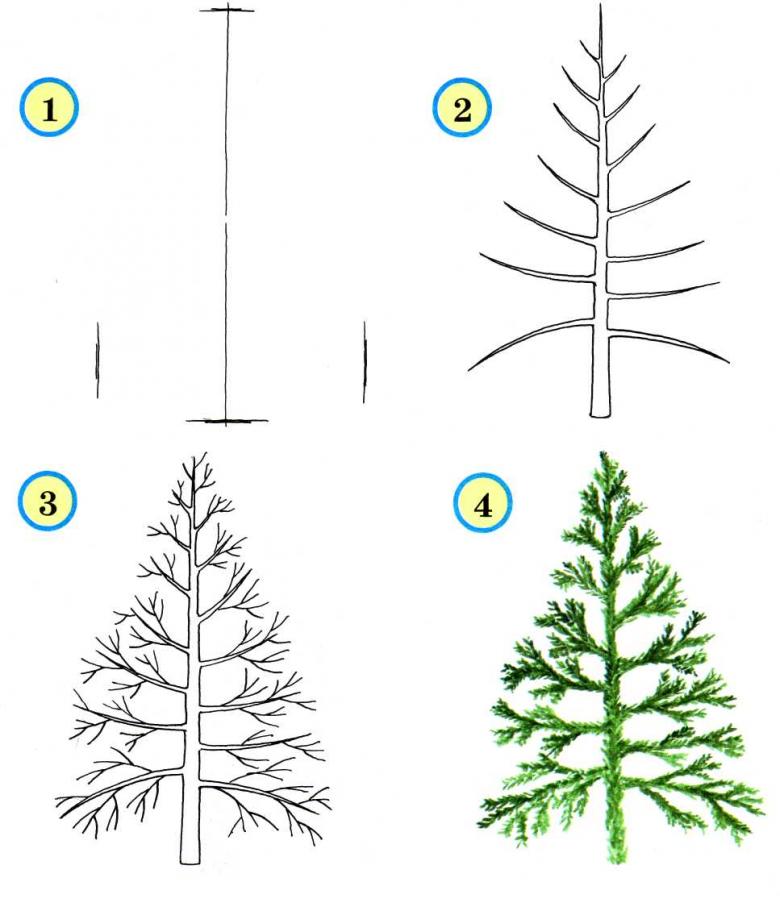
For toddlers, a spruce drawn from triangles is suggested. An older child will cope with a more complex image. In any case, the spruce is shaped like a large triangle.
- Like all trees, the trunk up narrowed and expands downward.
- The lowest branches of the spruce are drawn curved downwards. The middle is filled with branches perpendicular to the trunk. The smallest upper branches look up.
- The main branches are branched with small ones. Small needles cover both large and small branches.
The drawing of an evergreen tree is ready.
The basic principles of drawing a tree
The structure of a tree has its own characteristics, and their understanding is reflected in some of the principles of their drawing:
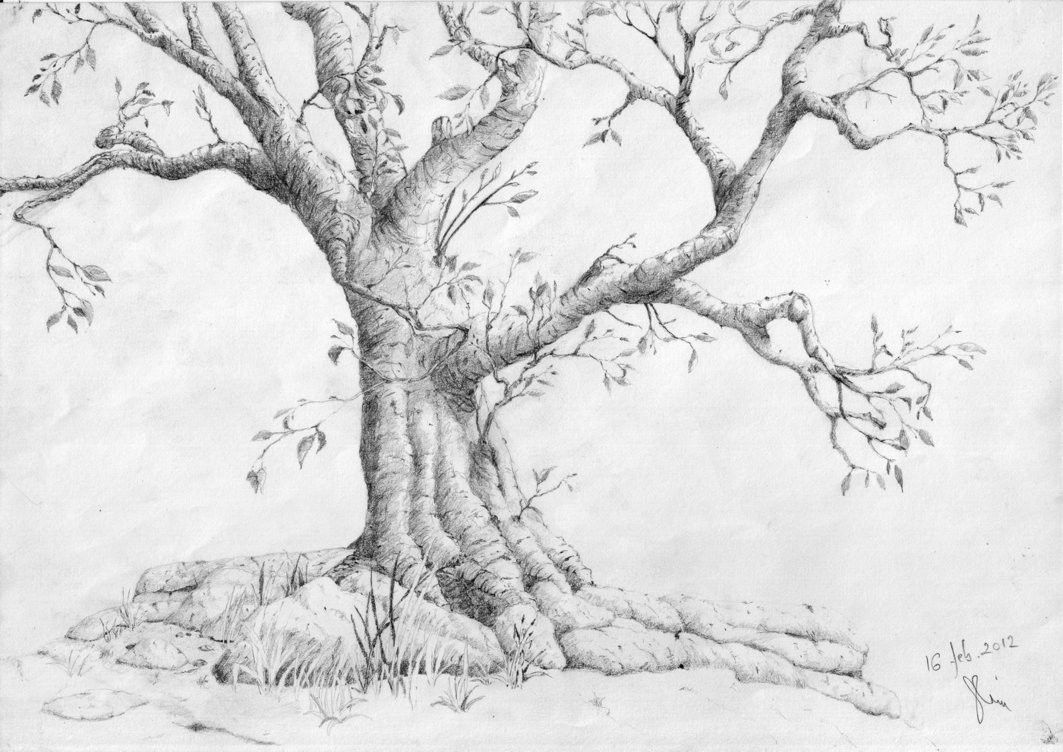
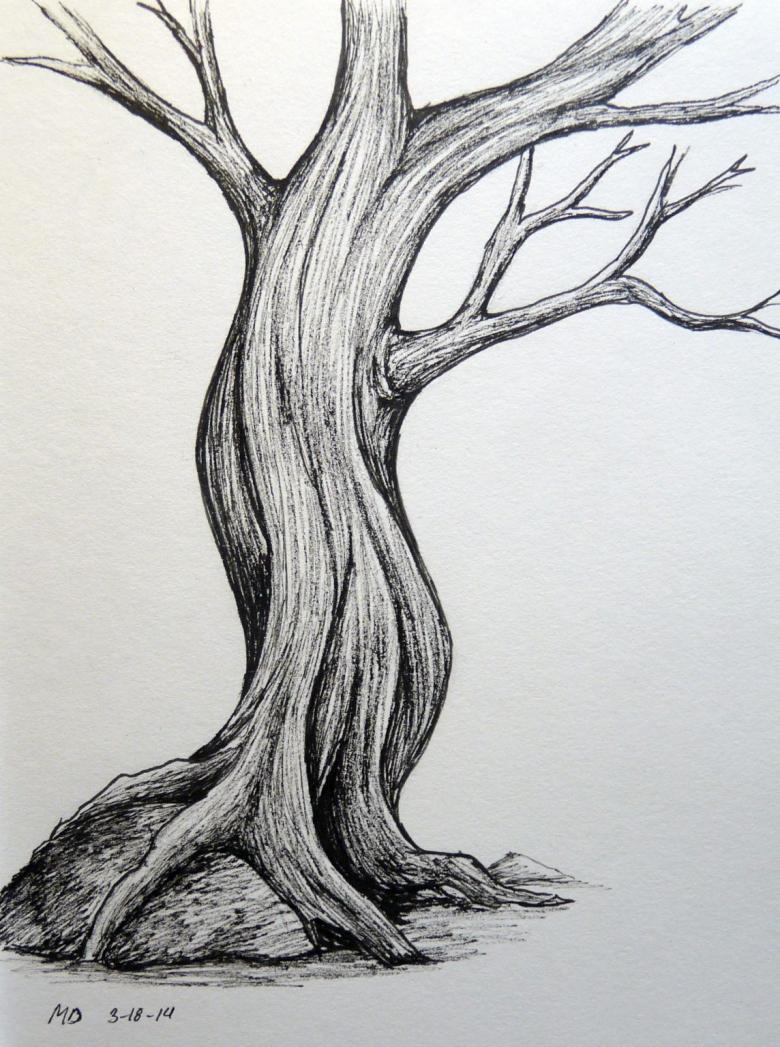
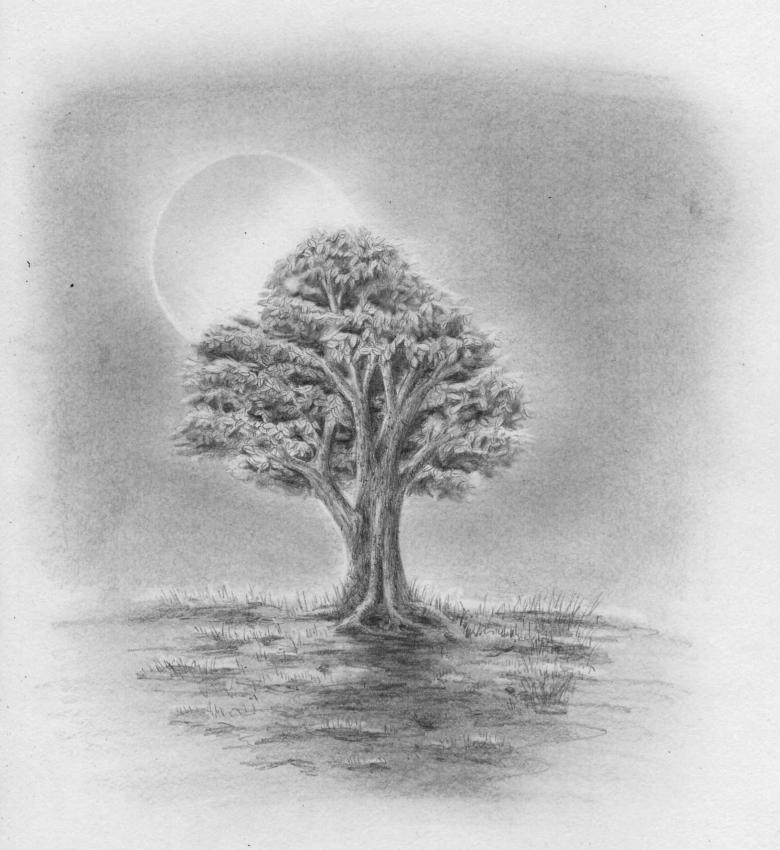
The trunk of a tree is associated with a cylinder. Therefore, the artist needs to convey the volumetric shape with uneven lighting. One option is to apply a shadow, when one side of the trunk is light, and the other is dark. Or the center of the cylinder is depicted as light and on the sides is a dark strip of shadow. The branches are shaded in the same way.
The surface of the trunk is covered with cracks. If you look closely, then each hillock will have a light side and a shadow. But the artist conveys the texture with uneven strokes of varying thickness. The bark in the shadow is drawn dark.
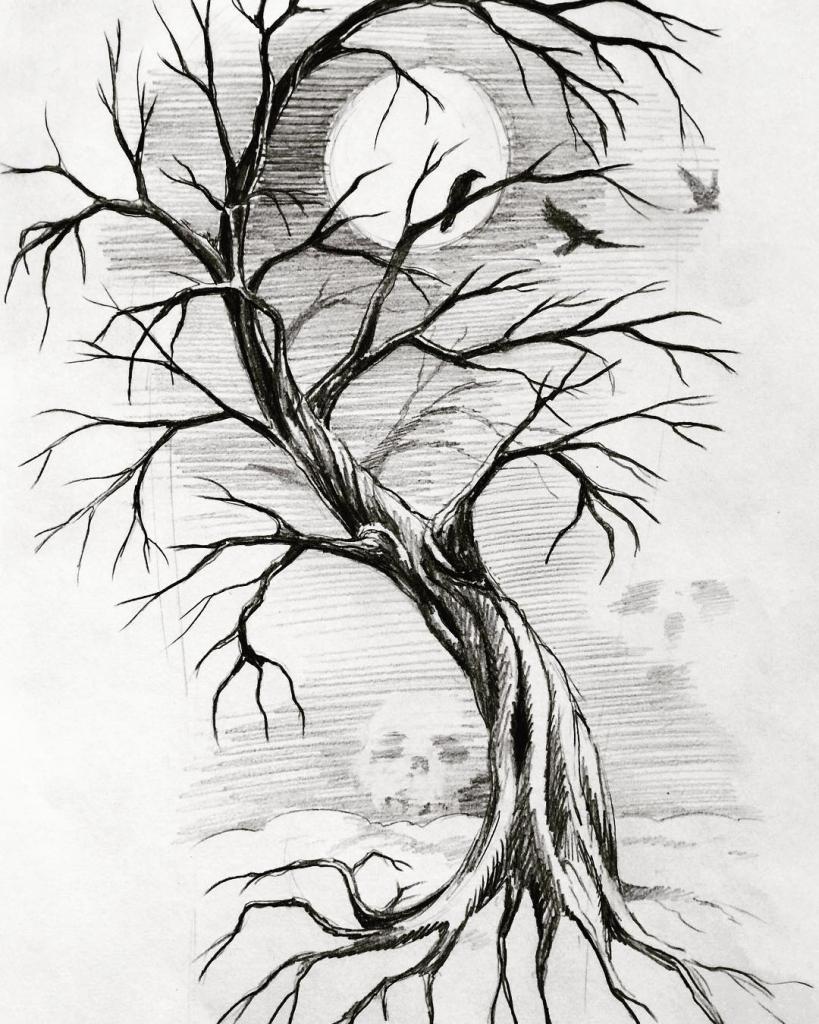
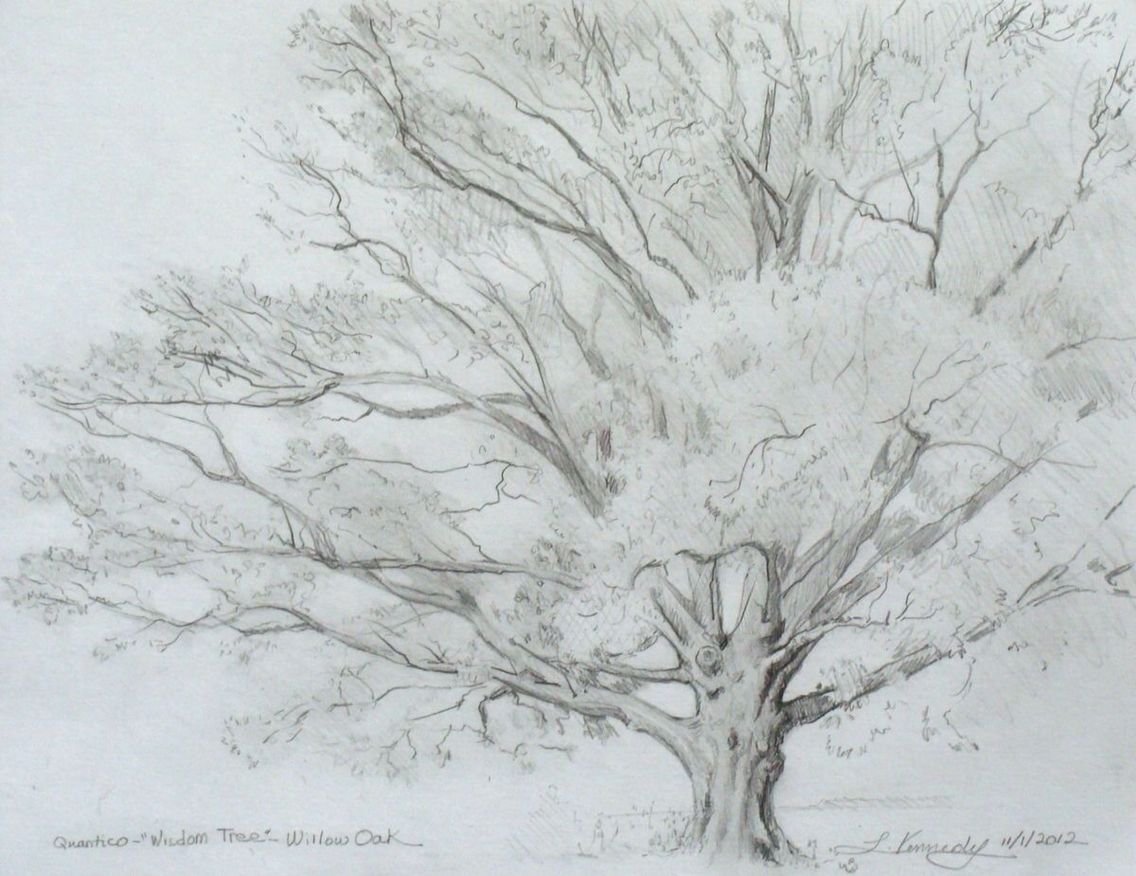
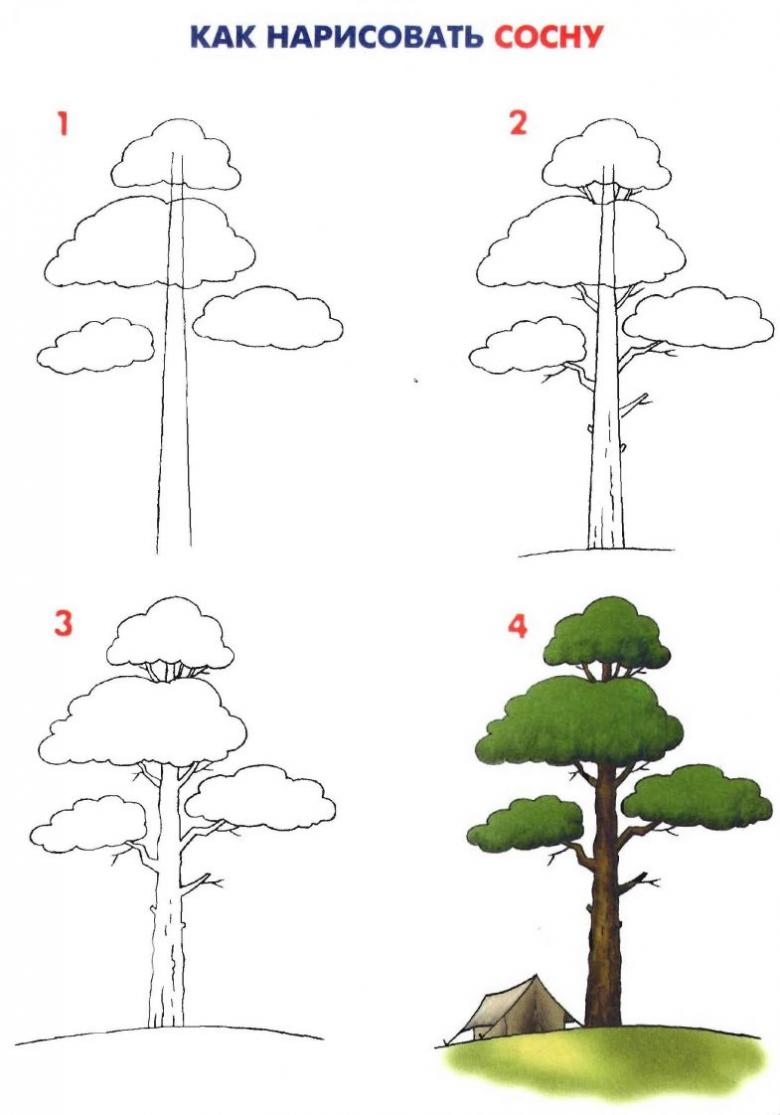
The curvature of the trunk and branches is different for each species of tree. The trunk is twisted and crooked - for oak, straight - for pine, has several tops and looks like a slingshot - for willow. In addition, the branches do not grow only to the right and left of the trunk, but surround it on all sides.
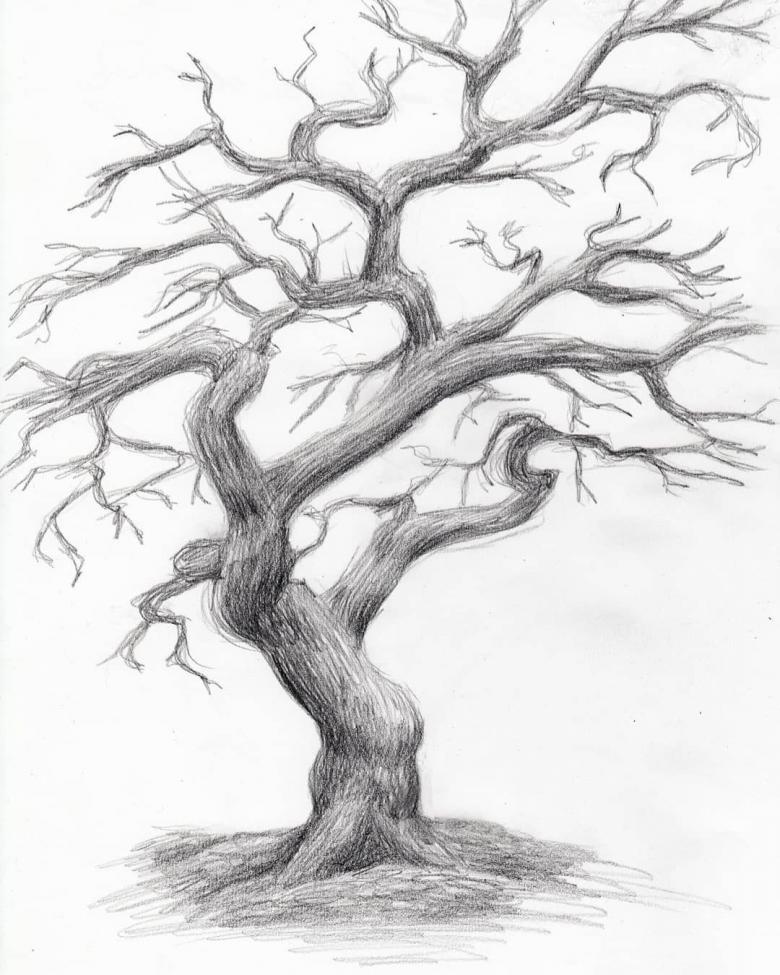
An observant artist will tell you that the trunk of a tree can hide behind dense, small branches and foliage, and become visible again. Since the crown is not monolithic, part of the tree or a piece of sky can be seen between islands of leaves and twigs.
For the drawing to be expressive, the artist needs to connect both theoretical knowledge and imagination.
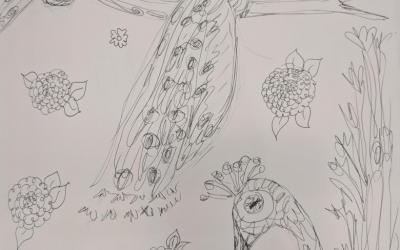
Pictures of trees for pencil sketching