How to make a snowman - the easiest and most unusual ideas to create crafts in the form of snowmen
Parents together with children can open a workshop of Santa Claus at home on New Year's Eve, using the proposed master classes on making funny and cute snowmen from improvised means. Such entertaining and developing leisure will become a basis for family creativity uniting all members of the family.

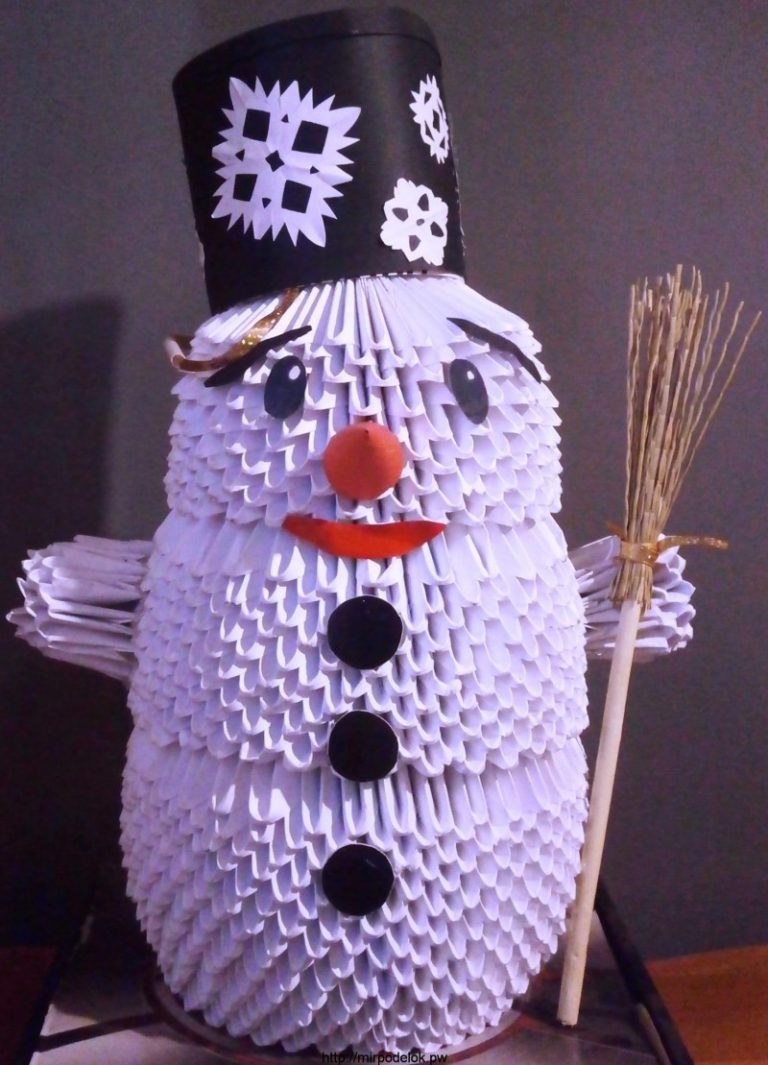
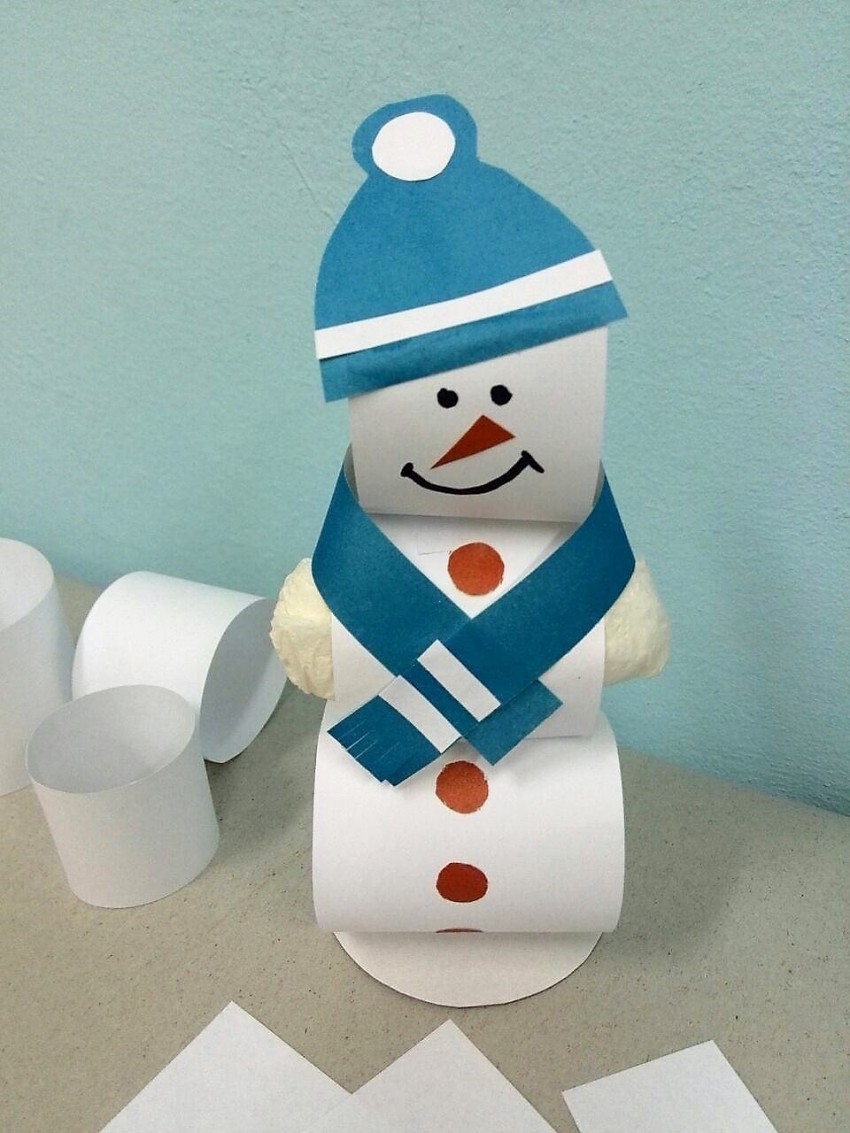
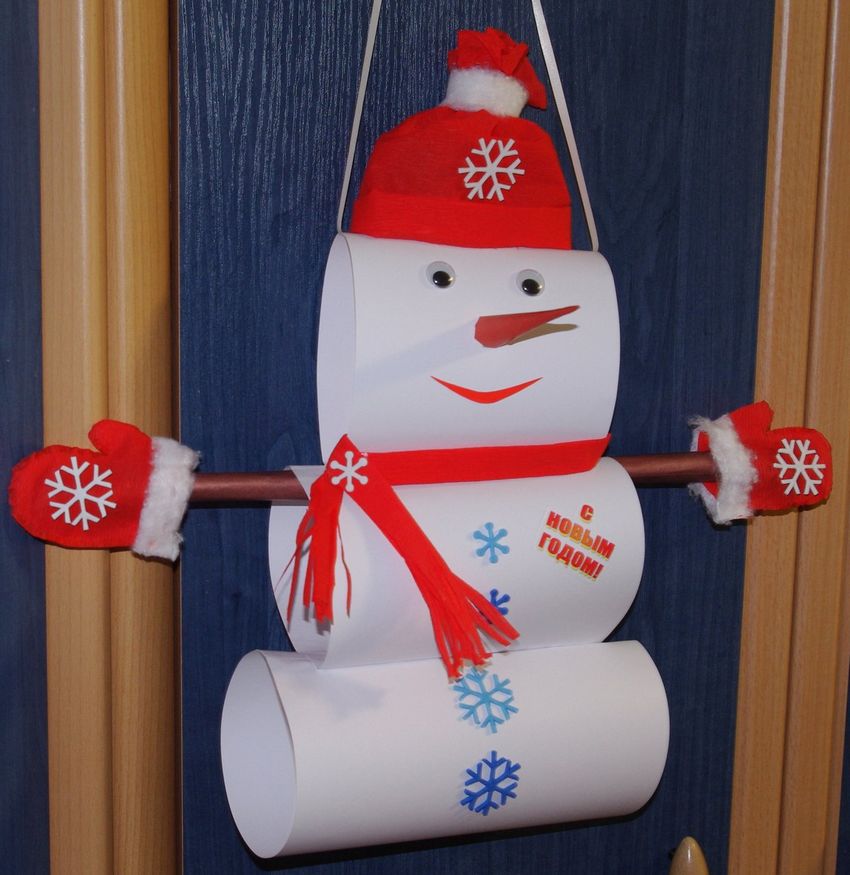
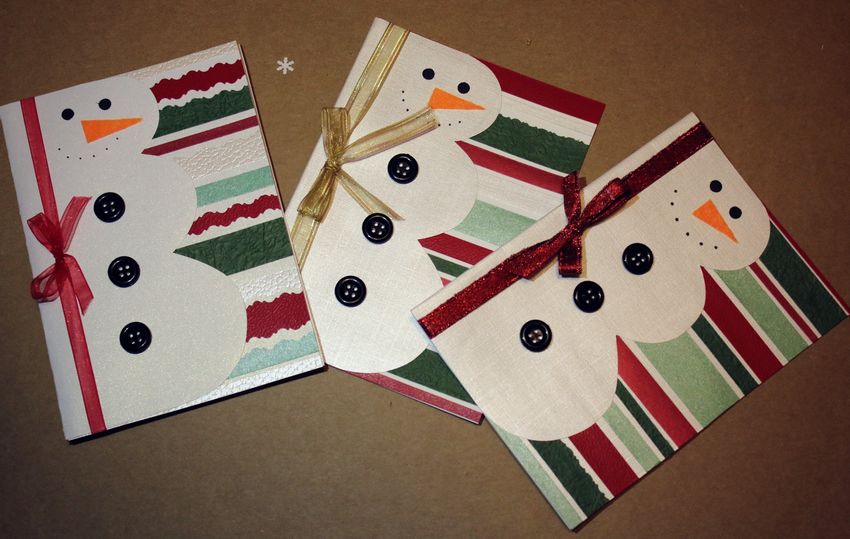
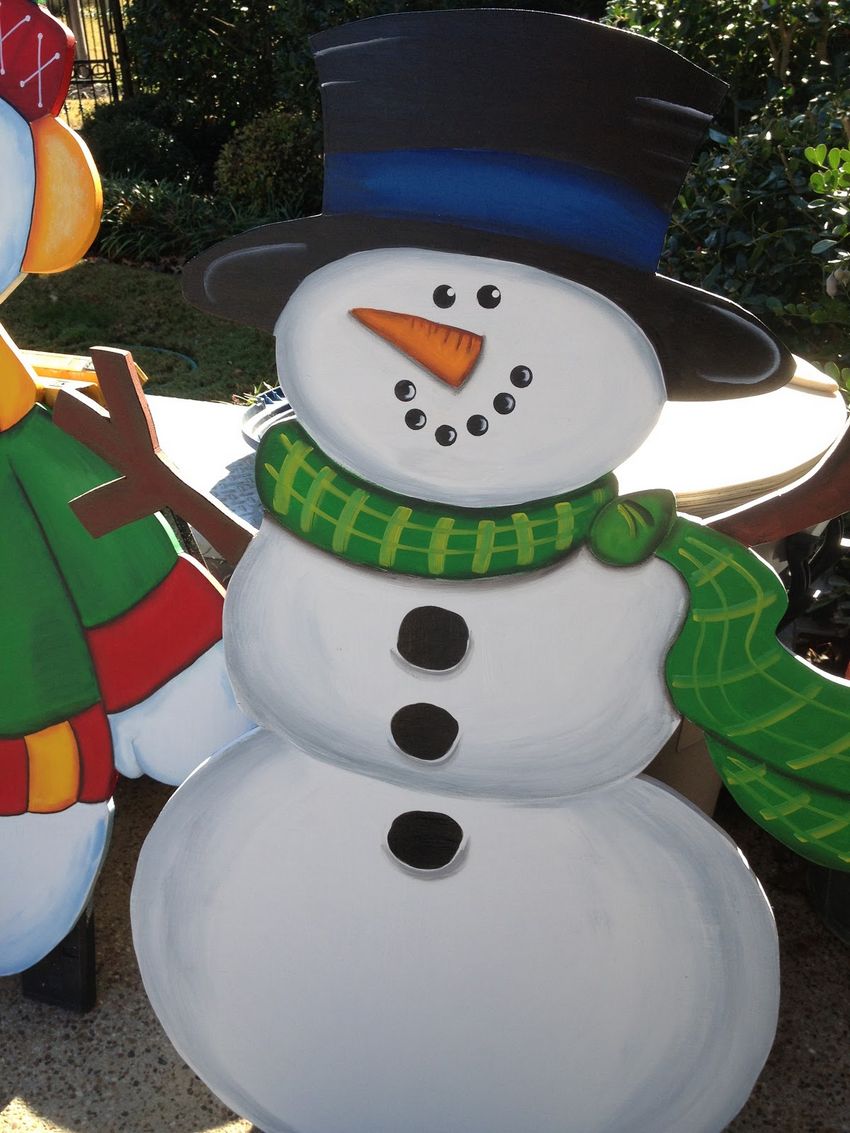
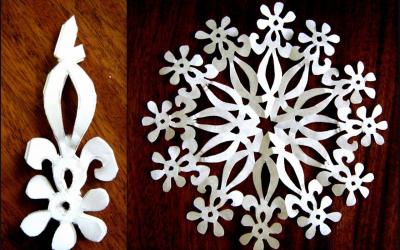
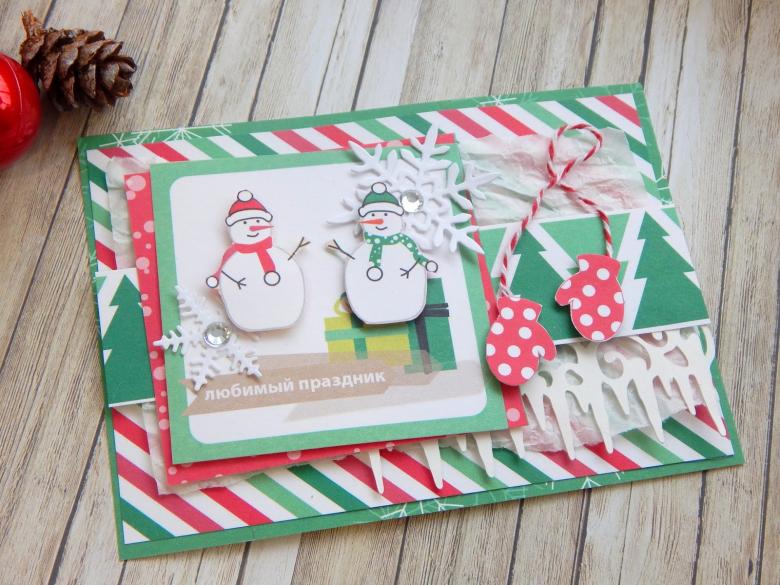
Postcard with a snowman
For the youngest children, we should tell you how to make a snowman from paper with their own hands. Such creativity will not only give your child fun, but also help your baby develop fine motor skills.
For the work you need to prepare:
- colored thick paper;
- white heavy paper
- sequins;
- dry twigs from a tree;
- toothpicks;
- small ready-made snowflakes;
- PVA glue;
- scissors.

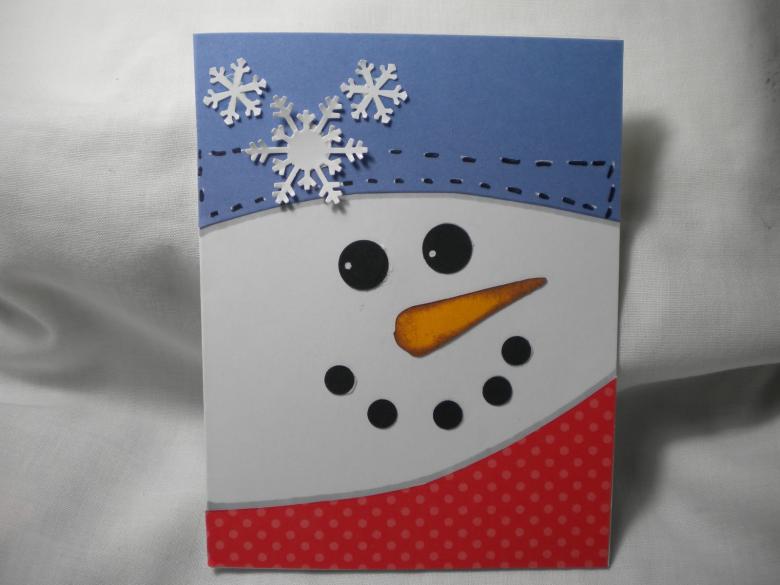
As a base for the card, use heavy colored cardboard blue or blue, on which the white snowman and openwork snowflakes will look spectacular.
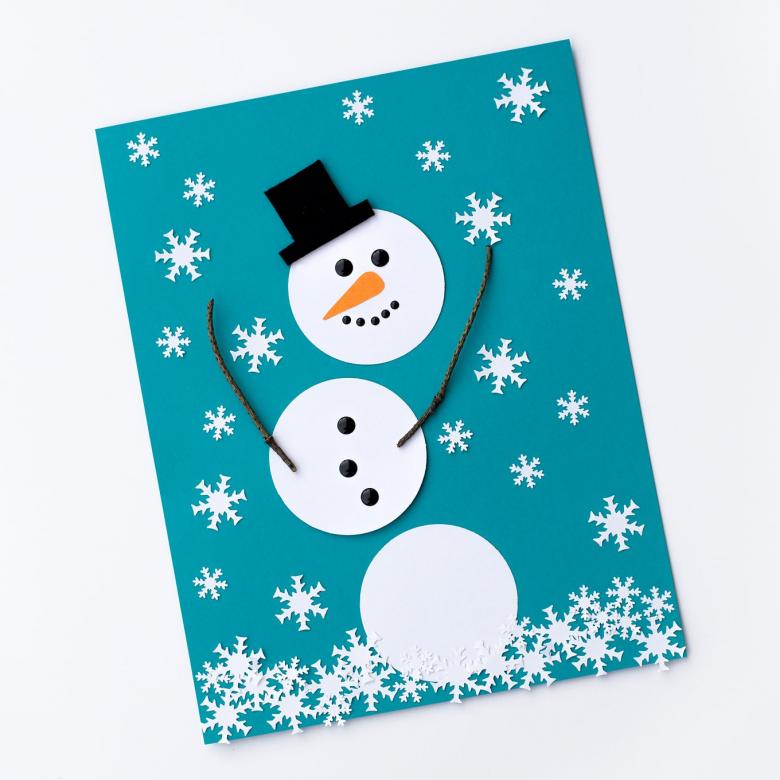
From white paper, cut out three circles of different sizes and lay them out in advance on a colored background as a sketch to see how to make a snowman from paper with your own hands in such a way that the card will turn out cheerful and lively.
You should also cut out a truncated triangle from silver paper, which will be a bucket, small circles for eyes and a long triangle in the form of a carrot for a nose.
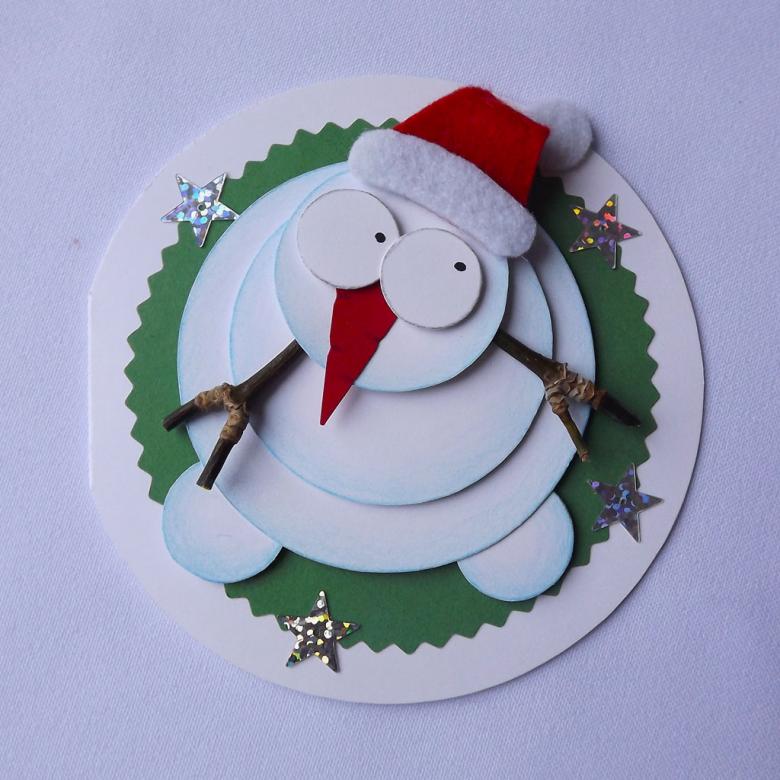
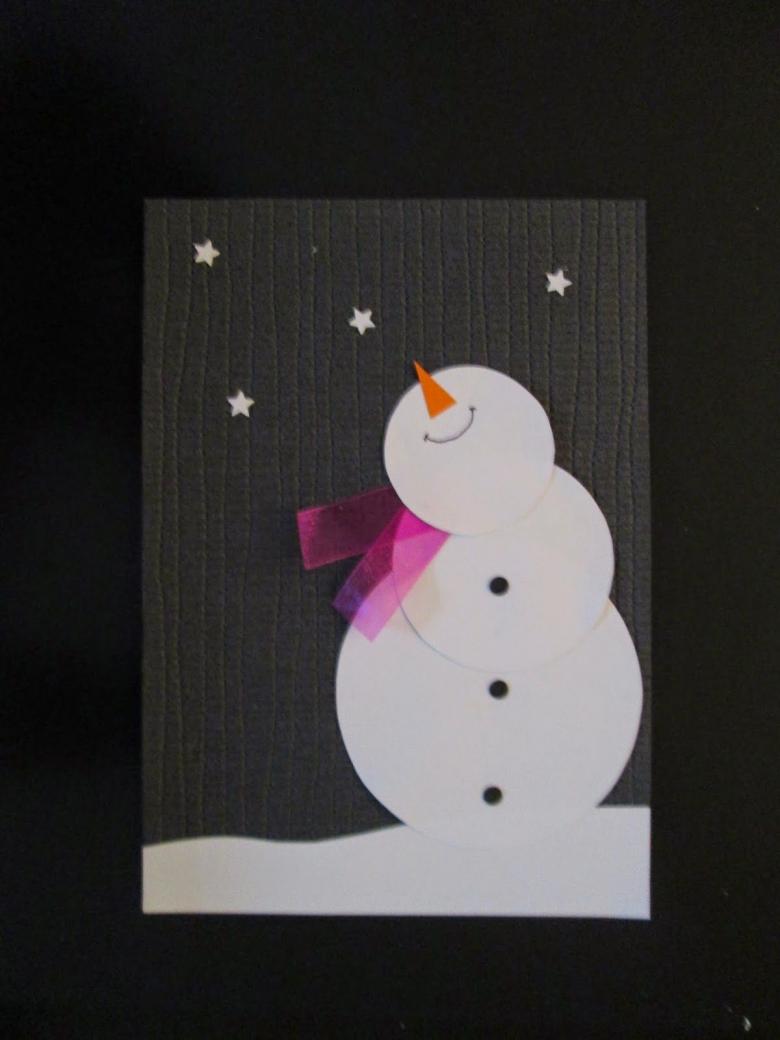
First, you need to create a fun composition so that it is clear how to glue the snowman parts. It is not necessary to put them close to each other. You can place the white circles far enough apart to get the effect of a cheerful and moving snowman.Once the story concept is chosen, you can glue the appliqué with PVA glue.
To make the picture three-dimensional, you can assemble a small stylized broom from small dried twigs and toothpicks and glue it to one of the snowman's hands, which are made from dried tree twigs.
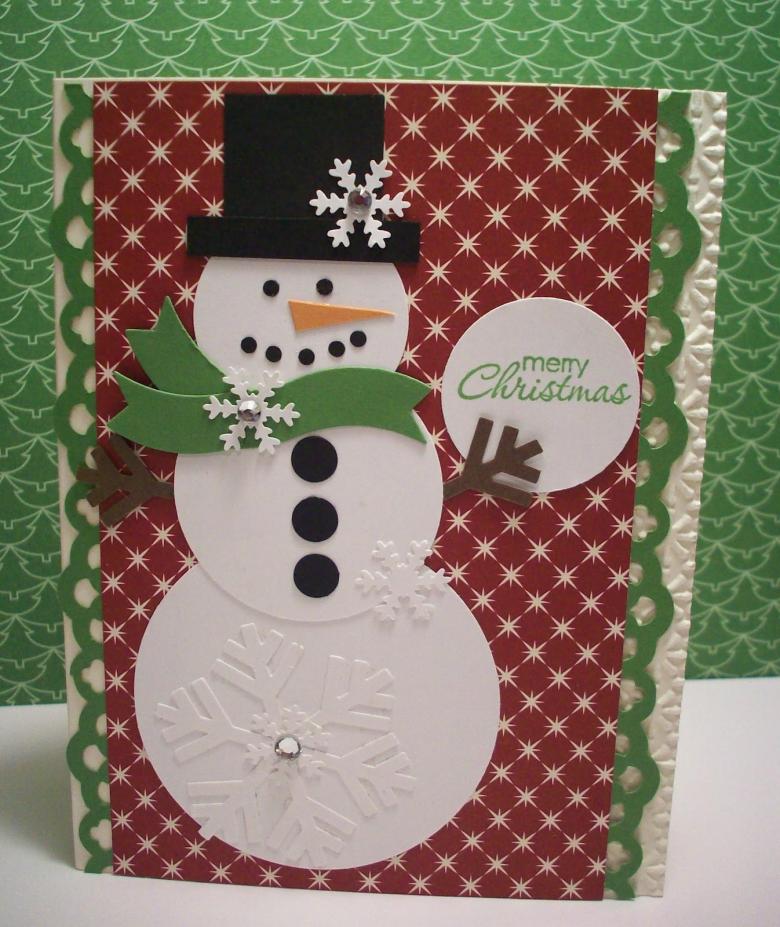
Decorate the finished card with sequins and small snowflakes, which are glued with Moment glue. Here's how to make a snowman out of paper with your own hands can literally in half an hour.
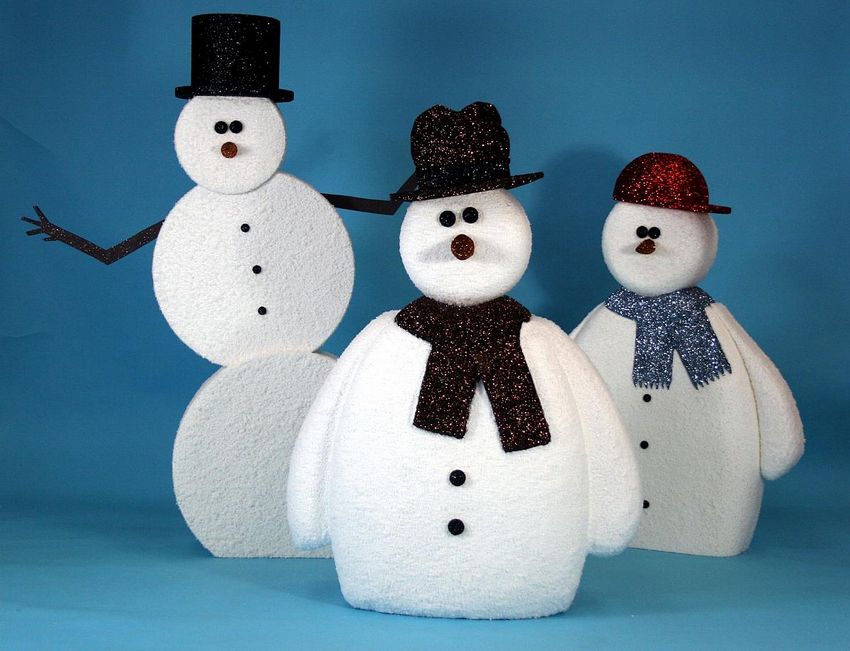
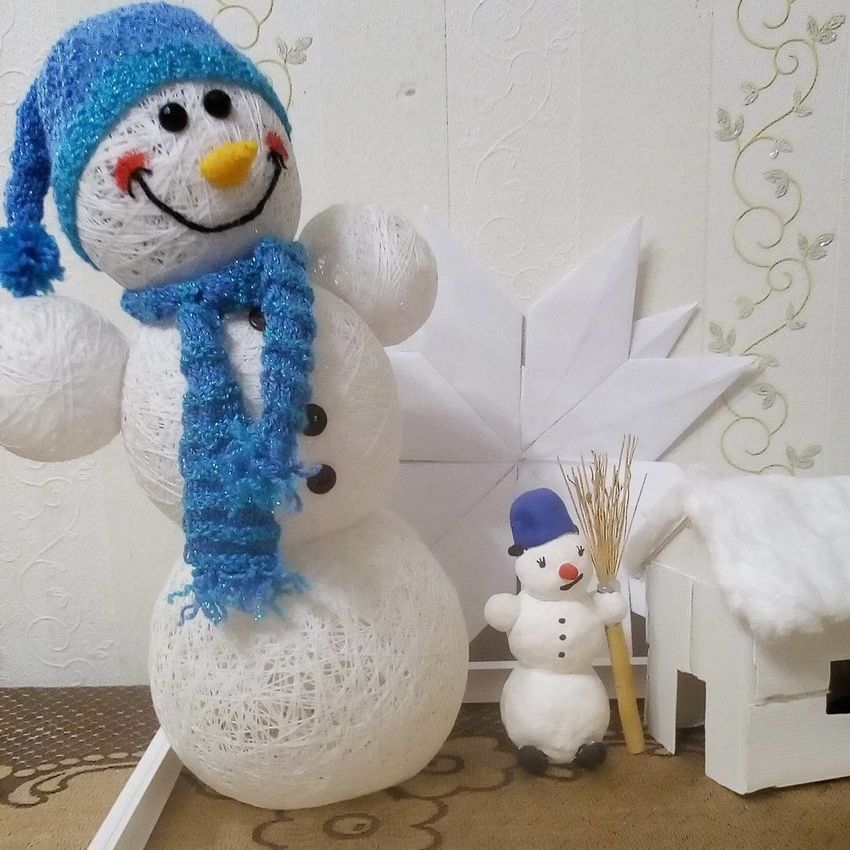
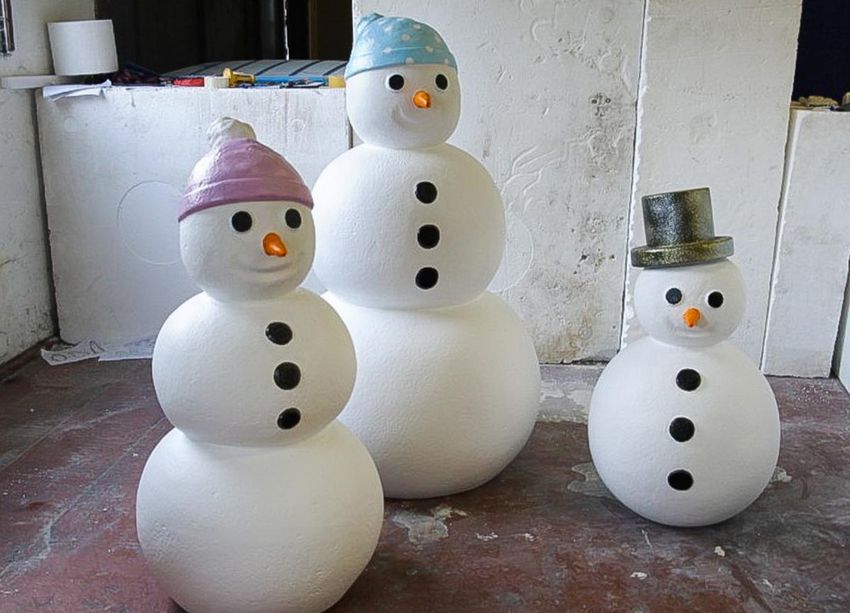
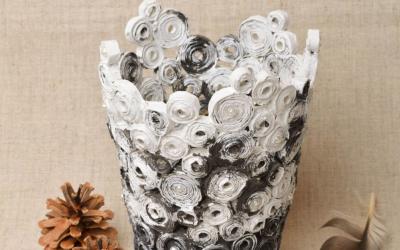
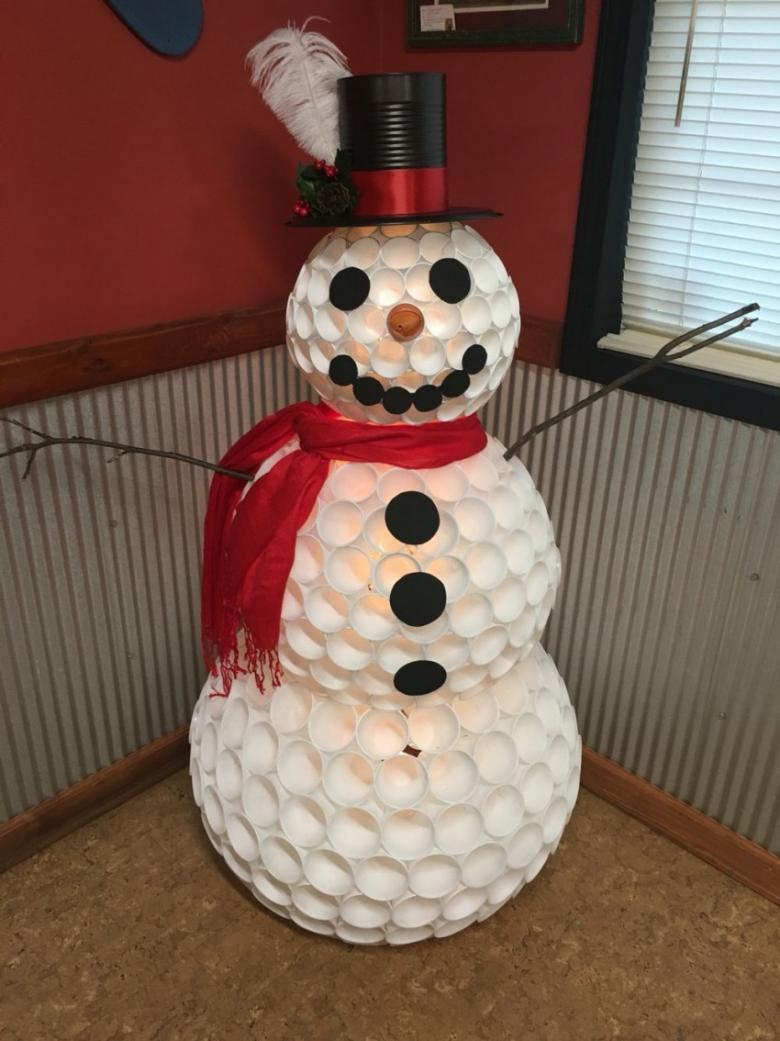
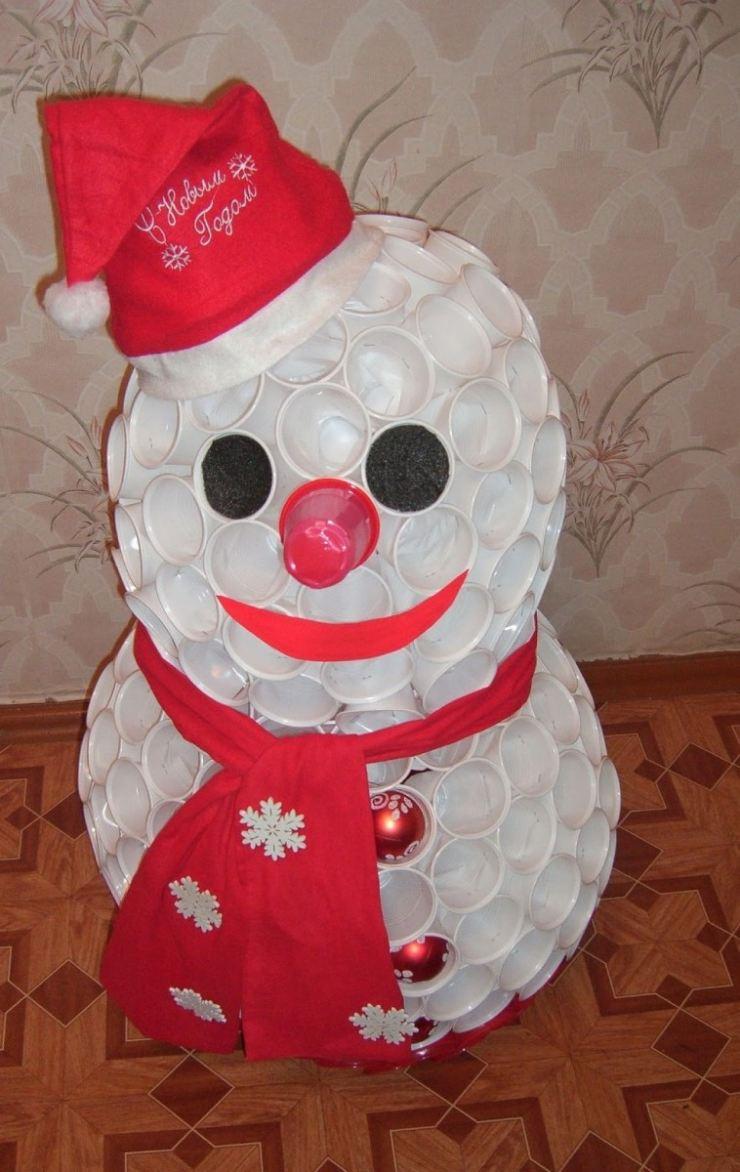
The snowman from disposable cups
A simple option, how to make a volumetric snowman of large size, which can be put not only on the street, but also indoors. For the work will be required:
- Disposable cups of 100 ml - 164 pcs. and 50 ml 100 pcs;
- stapler and staples;
- glue gun;
- colored paper;
- scissors;
- a plastic bucket of suitable size;
- old scarf;
- large decorative buttons;
- dry twigs;
- scotch;
- mittens.
Tip! When buying plastic cups, you should pay attention to the thickness of the rim. If it is too thick, the cups will be inconvenient to staple.

Step by step instructions:
- Making a snowman begins with the torso. To do this, a circle is laid out of 17 large cups on the floor. After that, all the cups with the help of a stapler are stapled together in the area of the rim. The tops of the cups should look inward around the circle.
- On the resulting hoop of plastic cups is placed the second layer and also fastened. In doing so, the second and subsequent layers are placed in the gap between the stapled cups.
- According to this principle, half of the snowman is collected. To make the part turned out to be round, in each layer to reduce the number of cups used.
- Having assembled one volumetric half of the ball, it is necessary to collect in the same way the second hemisphere.
- At the last stage of the manufacture of the body should be left in the middle of a hole in which to insert the second ball - the head, collected from plastic cups of smaller size.
- On a similar principle, but the head is going to be collected from 50 ml cups.
- In it, too, you need to leave a hole on one side, in which you can stick a stick with a suitable diameter as a frame, and then thread it into the hole in the body. So the head of the snowman will be stronger to hold.
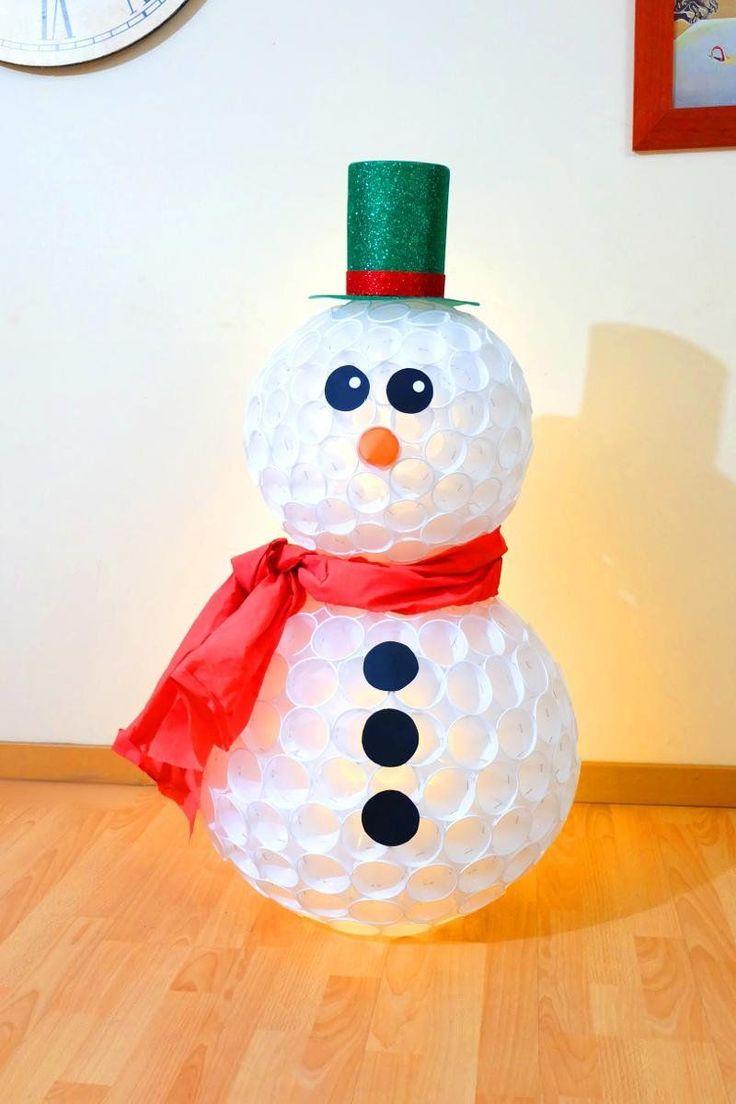
When the blank will be assembled, you can start decorating the snowman, using a variety of auxiliary materials. For the head, you can choose a suitable size and color plastic bucket.Instead of hands, you can attach dry branches of suitable length to the body. Old mittens are put on them.
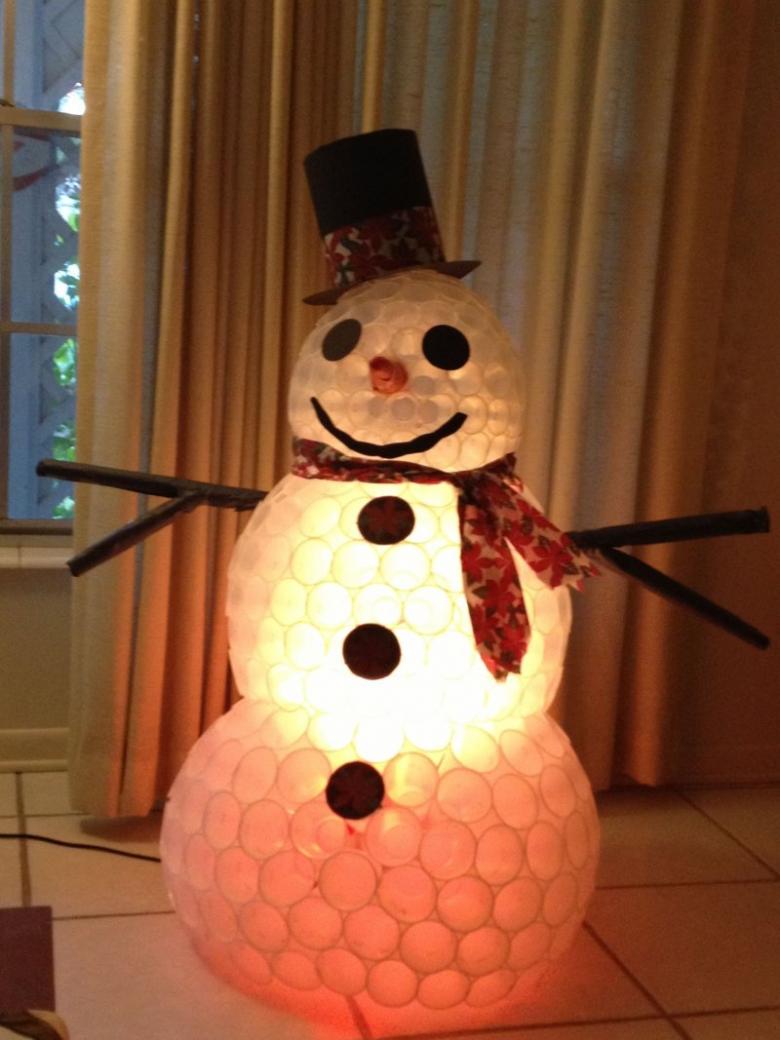
You can use colored paper and a glue gun to decorate the face of the snowman. The eyes are cut out of black material of any type, which is then glued on the head. The carrot can be made from colored paper, bending it into a cone.

On the torso you can glue large buttons and pockets of paper or takni. If you do not have at hand a classic broom, it can also be made from improvised materials, tying together a broom from dry thin twigs and attaching it to the handle of an old mop or broom.
Such a snowman will be a great decoration for a child's room. If you wish, you can put it outside, where it will stand until spring.

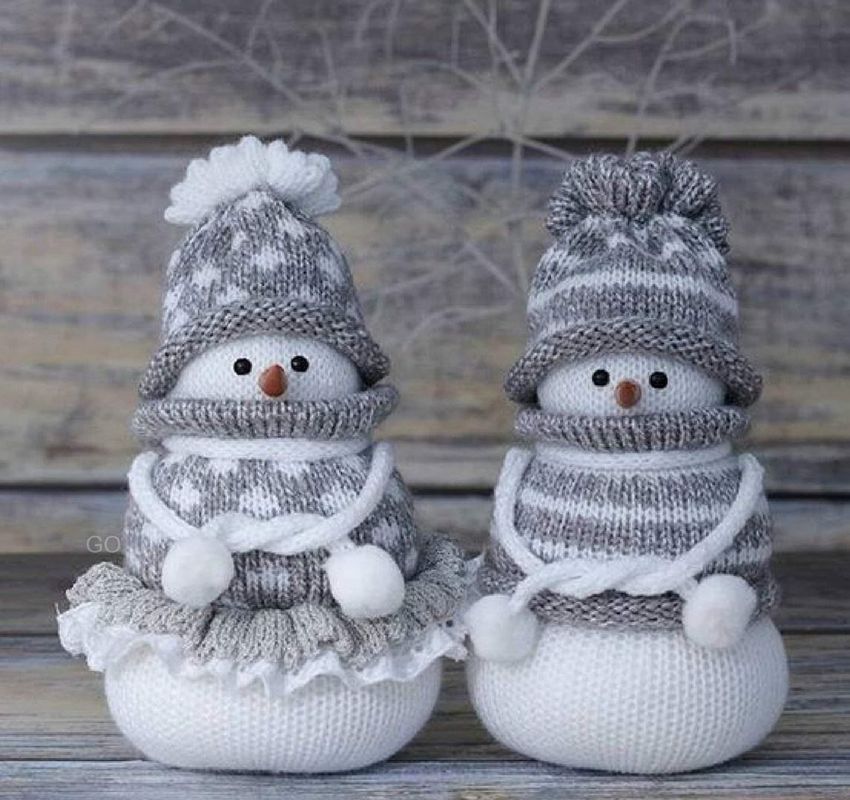
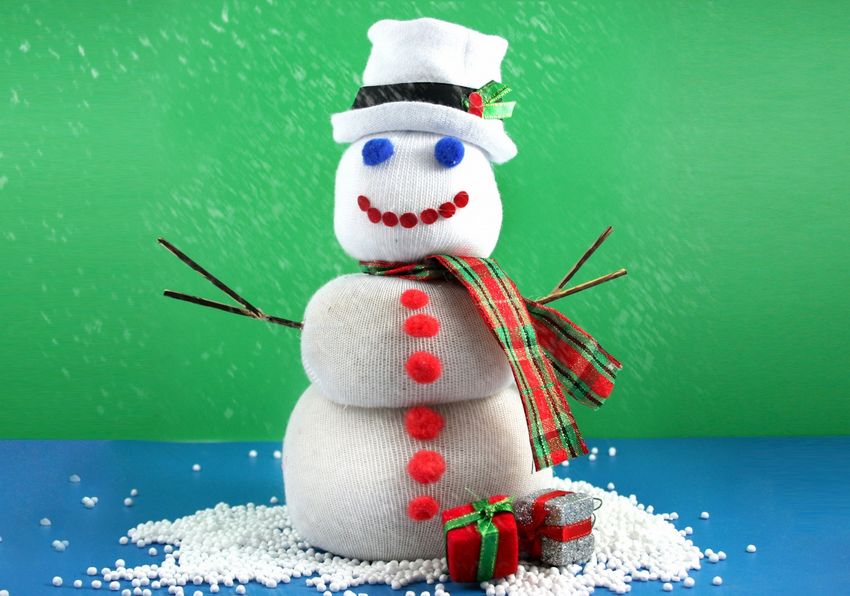
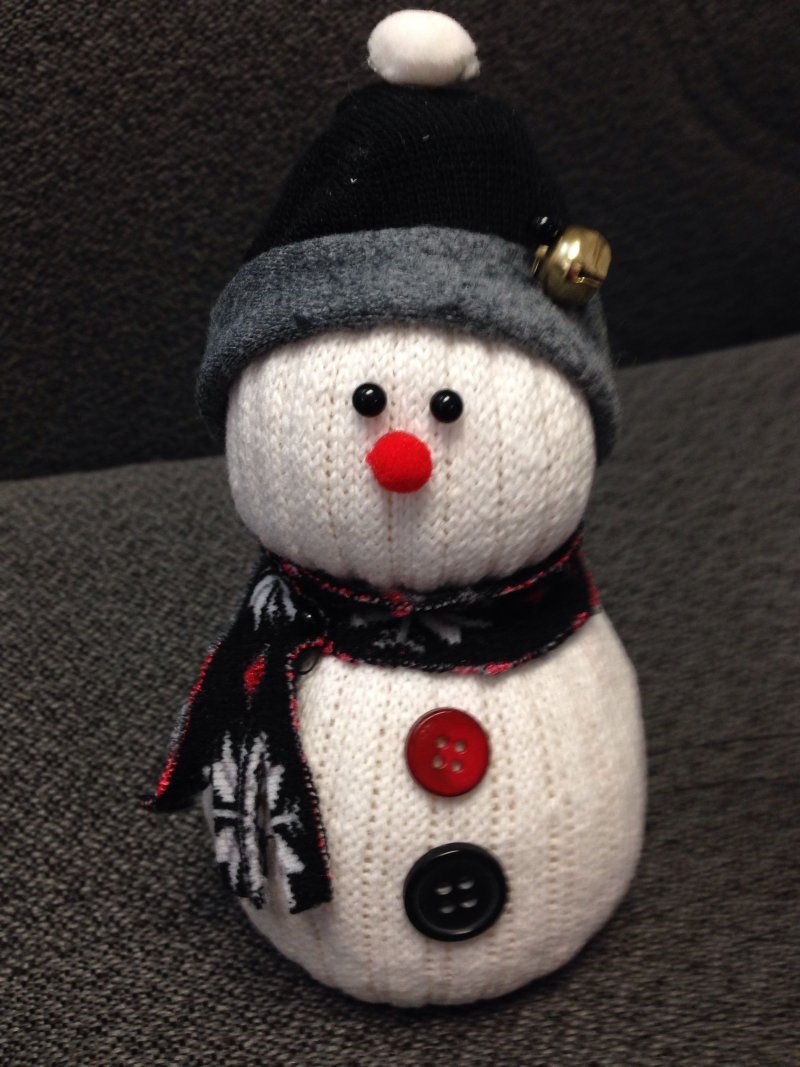
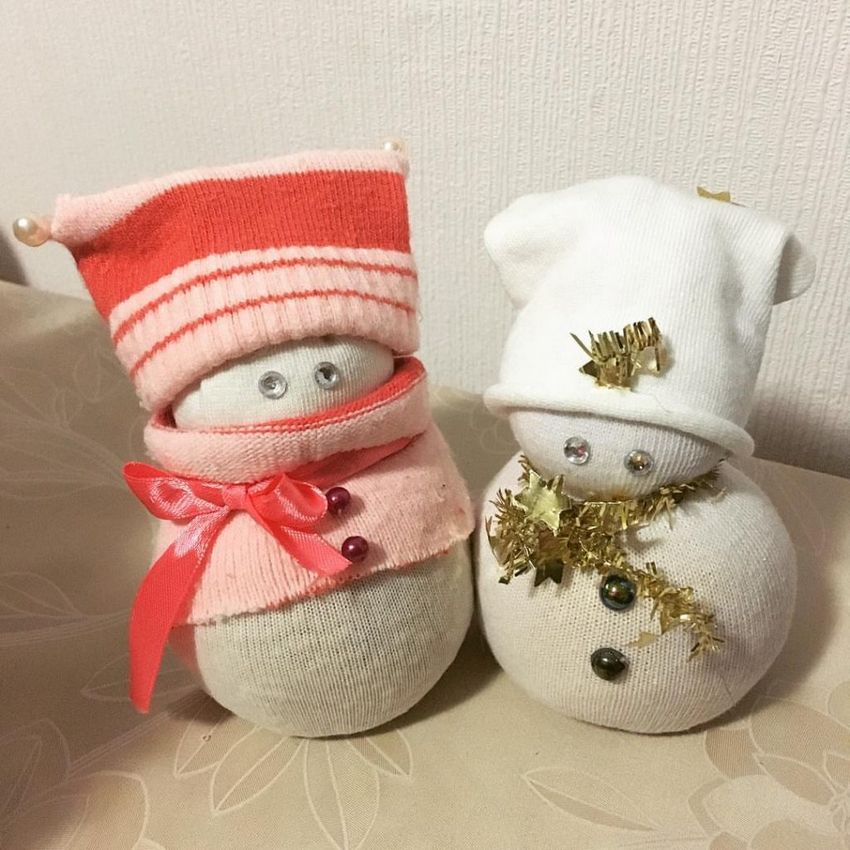
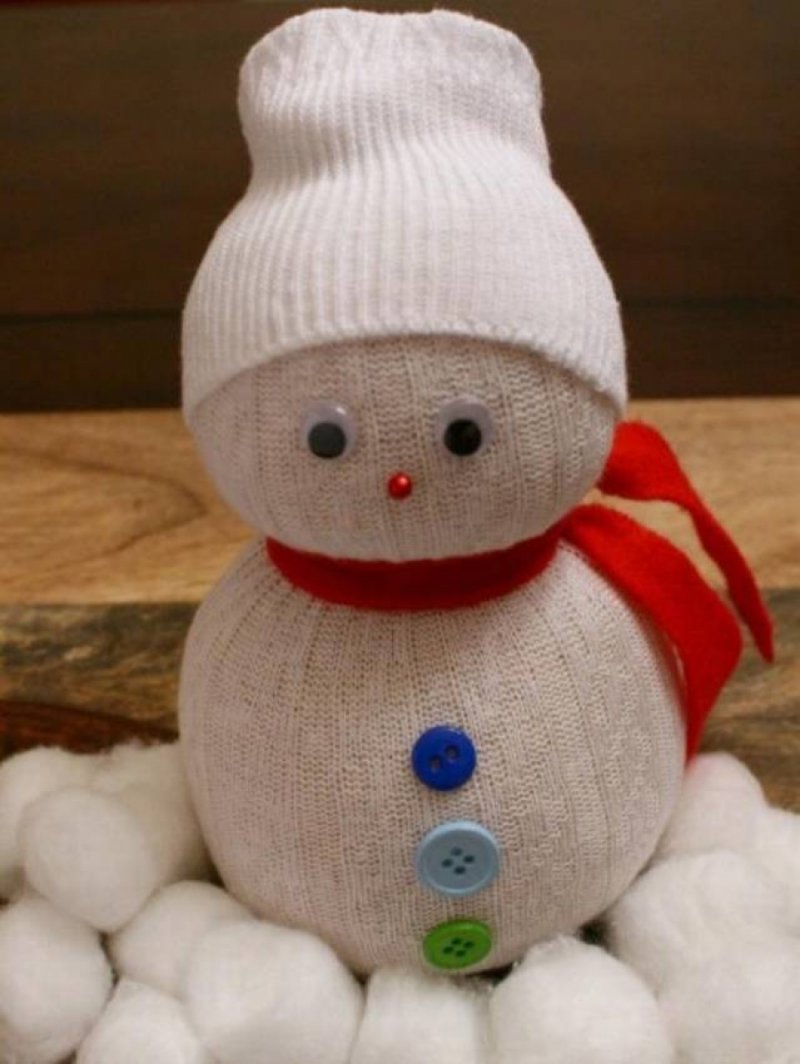
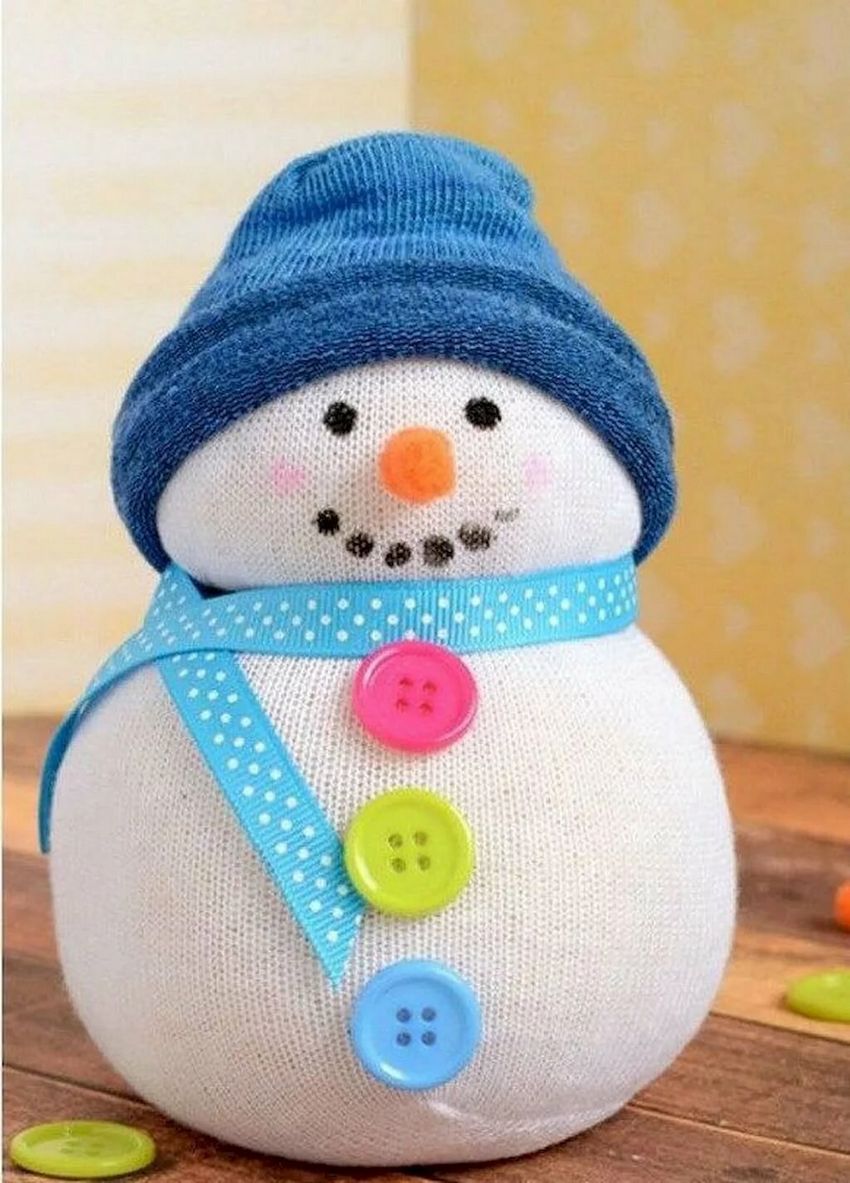
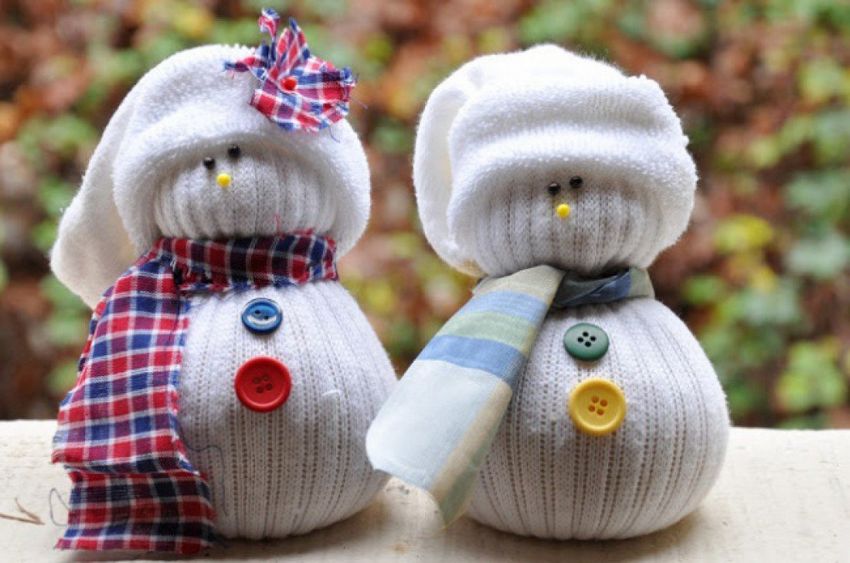
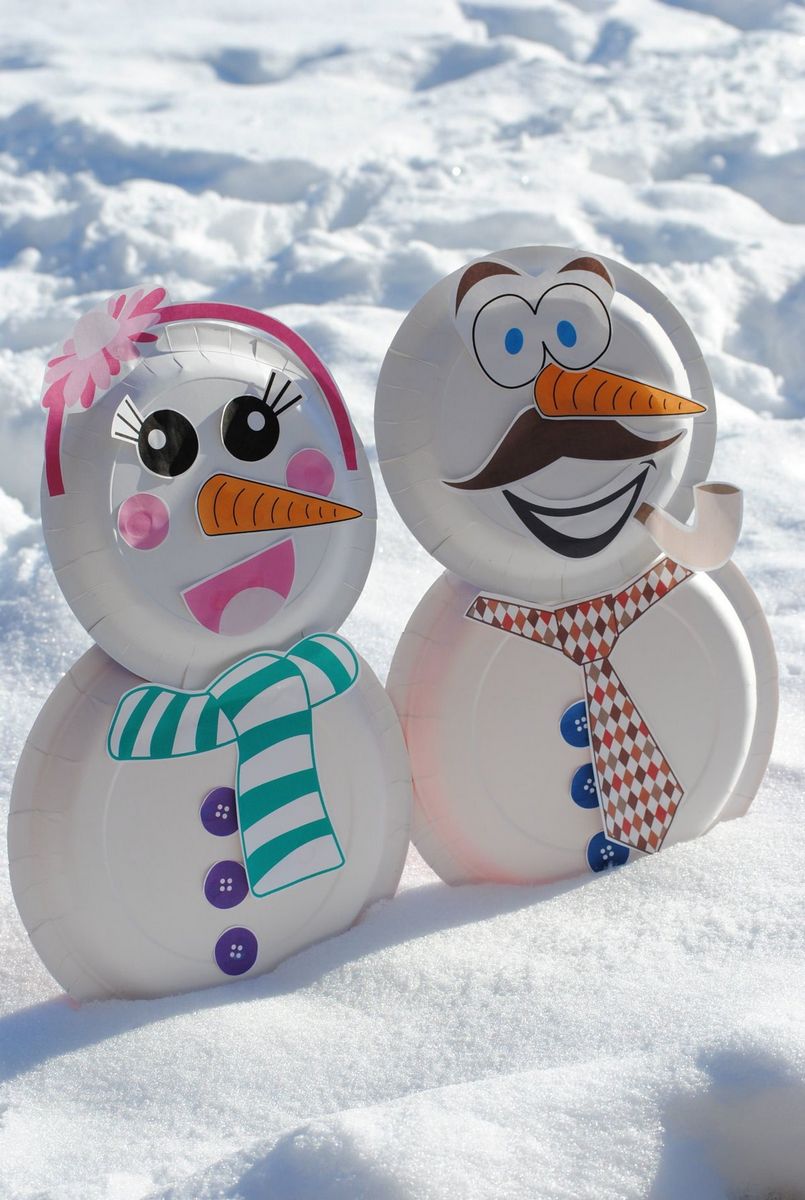
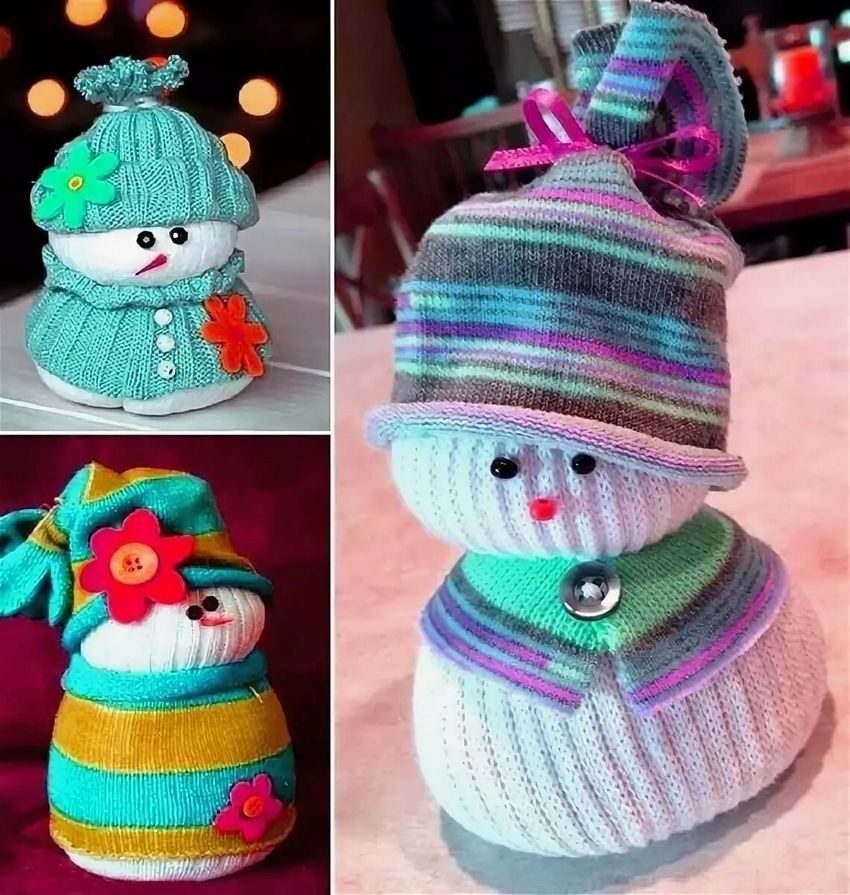
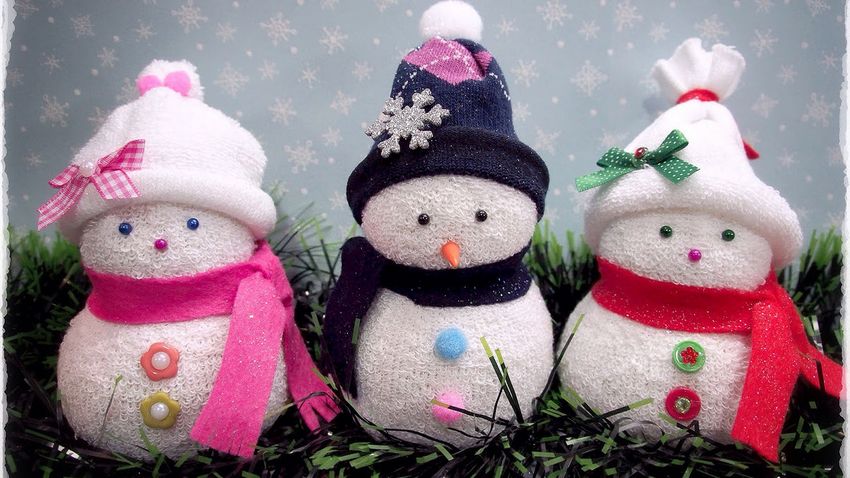
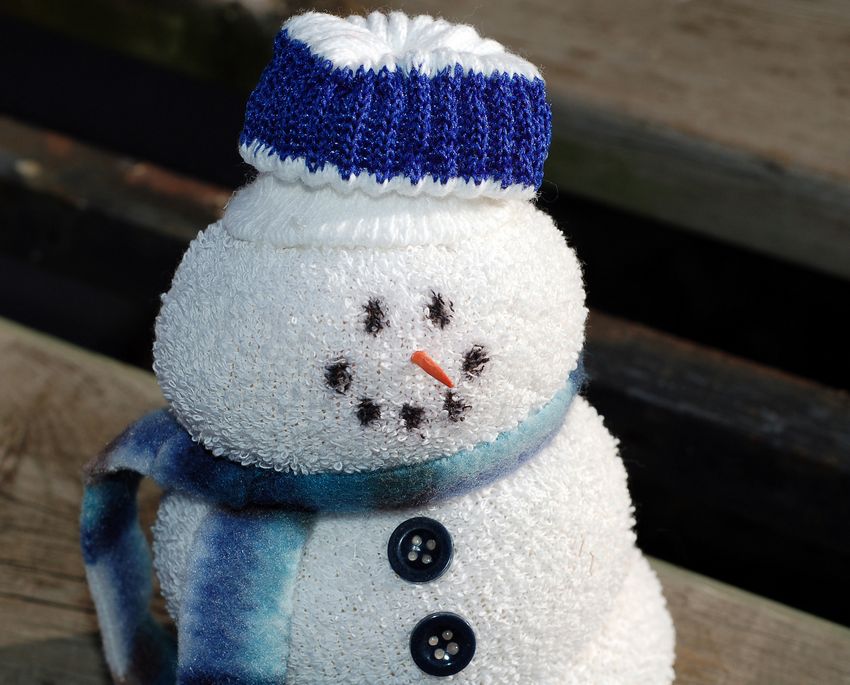
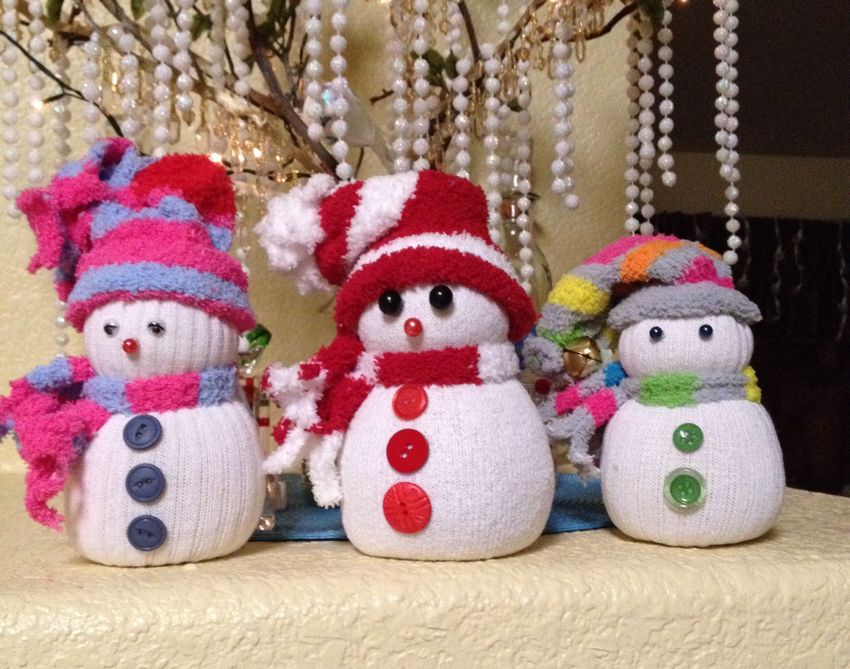
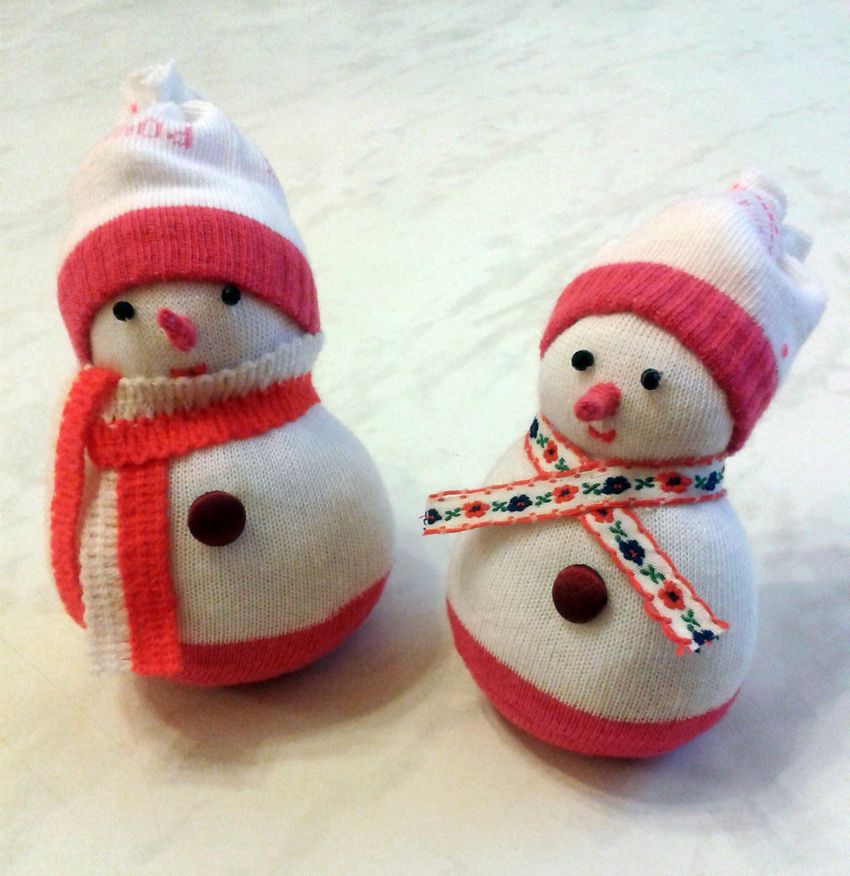
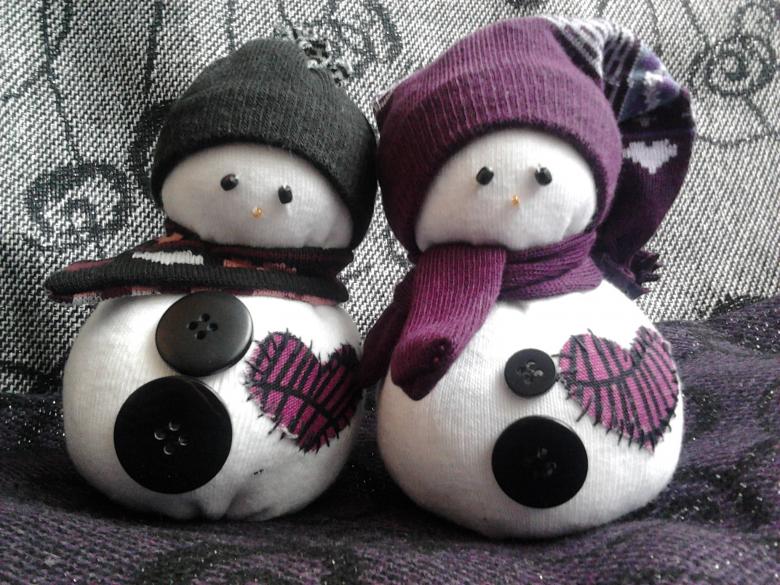
The snowman from a sock
Another easy way to make a cute snowman, which will help to create a festive atmosphere in the house and will be a spectacular craft for kindergarten or school. Even a child can make such a snowman, because you do not need to use a needle and thread to assemble the figure.

For work you will need:
- white fluffy sock;
- thick severe thread of white color;
- colored paper;
- colored buttons;
- Buckwheat, rice, or peas to fill the figures;
- scissors;
- glue gun;
- black beads;
- polymer clay or orange paper;
- pieces of fabric for the scarf.
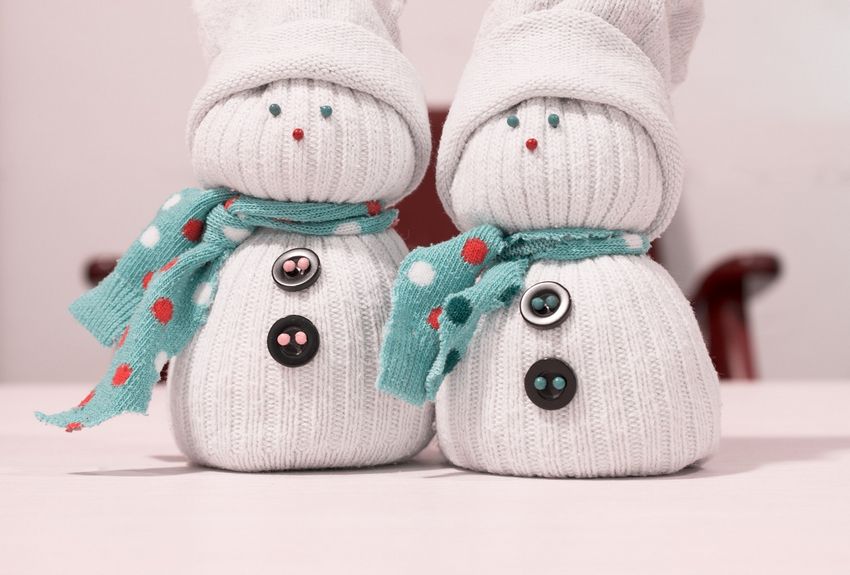
The step-by-step production will tell you how to make a three-dimensional snowman from an ordinary sock:
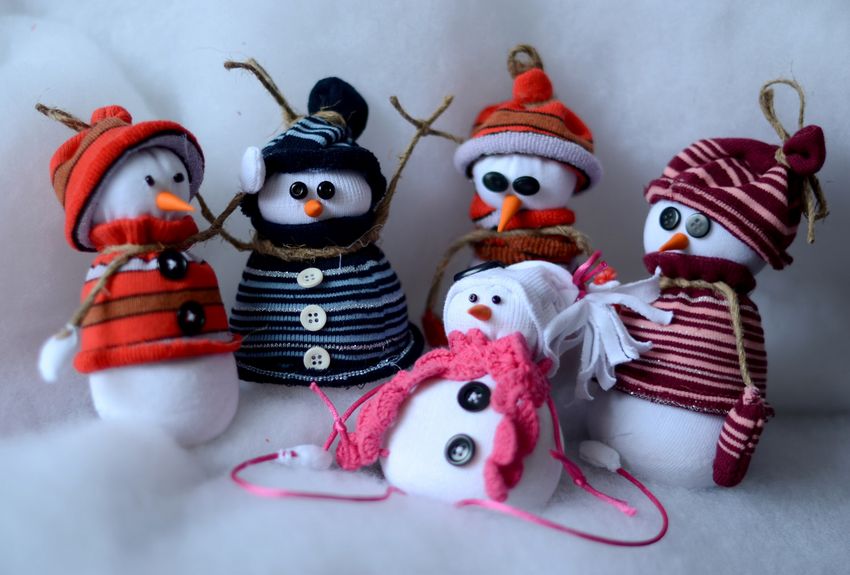
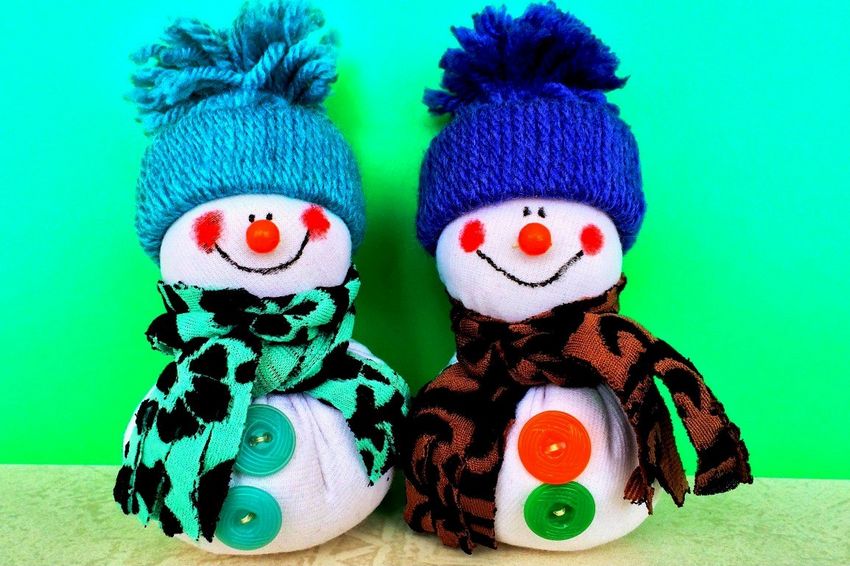
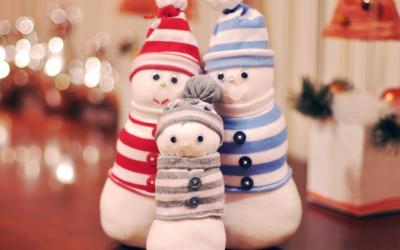
Such a snowman will take very little time. You can make a whole family of snowmen at once, giving the children a sock and picking up the right amount of all the other parts. Adults can show kids how to perform all the steps of making a figure of their own. Such simple operations can be quickly mastered even by the youngest members of the family:
- The white sock should be cut in two pieces in the heel area.
- Turn the top of the sock and the heel inside out and tie with a stiff white thread in a bundle.
- Turn the piece back to the front side.
- Pour dry groats into the bag, filling it to the level of the elastic band.
- Make a snowman silhouette from the bag, making a small bridge in the area of the future head.
- Using thread, knot the top of the sock under the elastic band.
- With white thread to make a bridge in the neck area so as to form the head.
- From the remainder of the sock to make a hat and put it on the head of the snowman.
- Make a scarf from the remnants of a suitable coloured fabric and tie it around the neck.
- Start forming the face of the snowman by gluing bead eyes with a glue gun.
- Glue some colorful flat buttons on the chest of the snowman.
- Polymer clay to make a small carrot and glue it under the eyes.
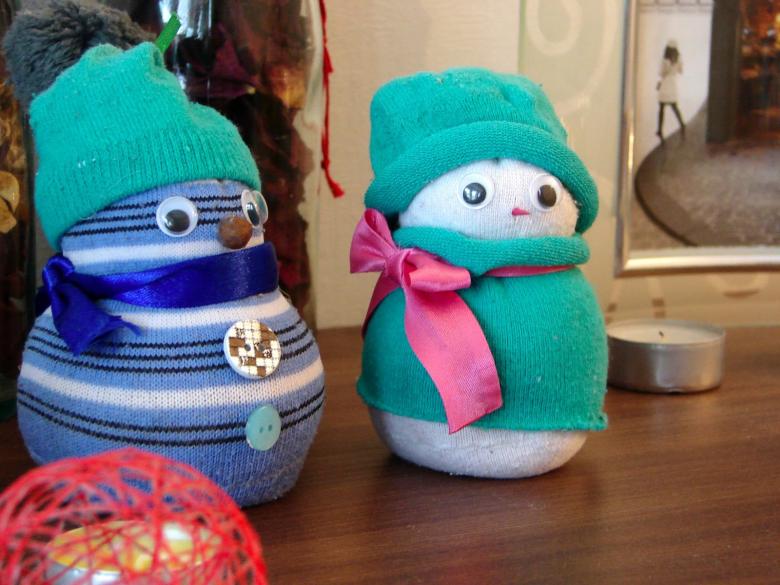
All done, the snowman is ready. If you do this work as a family, you can make a whole family of fun snowmen for home, school and kindergarten.

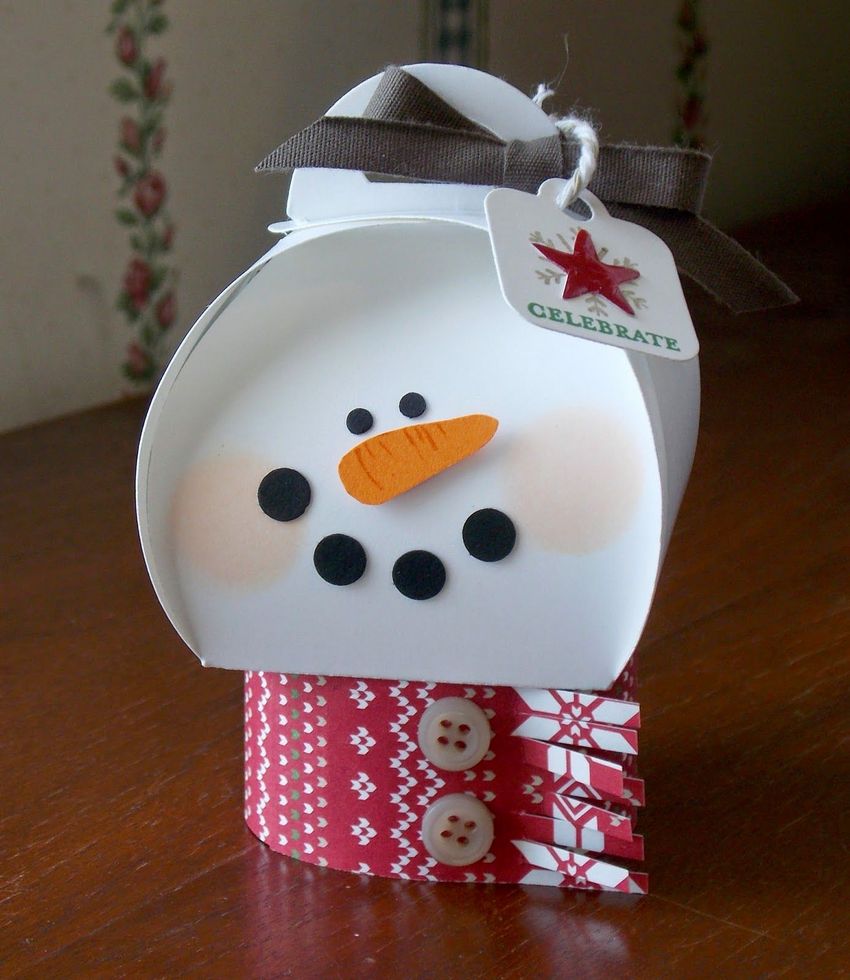
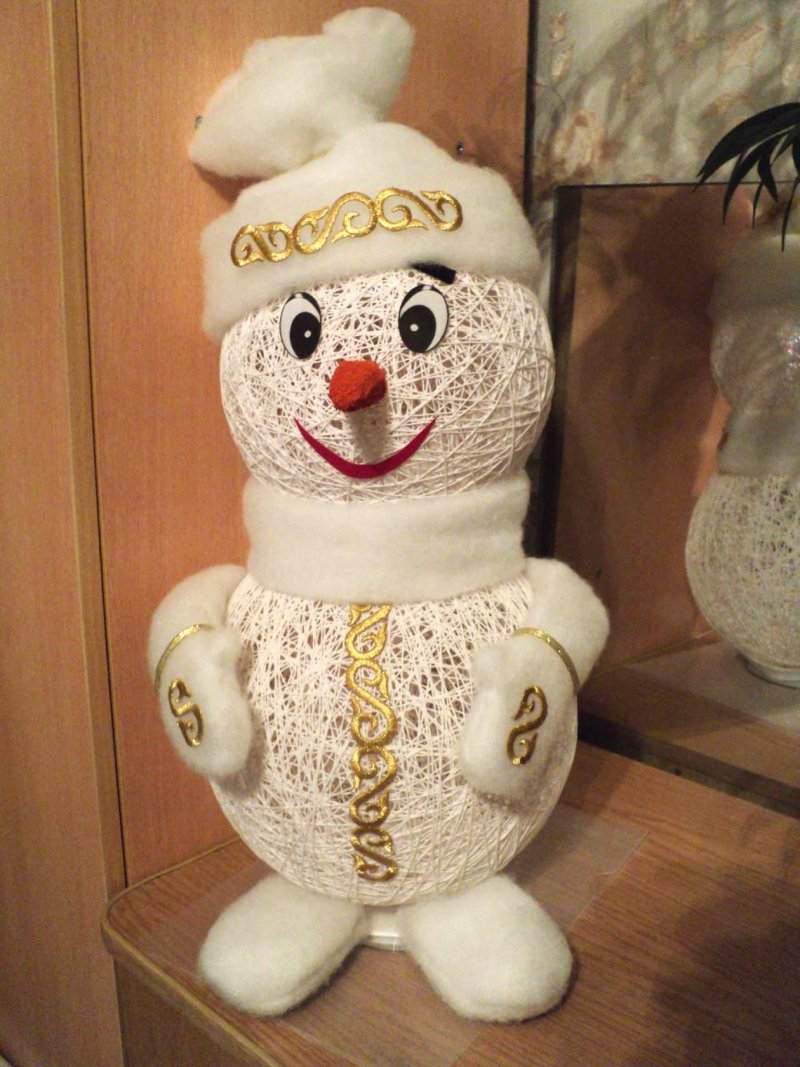
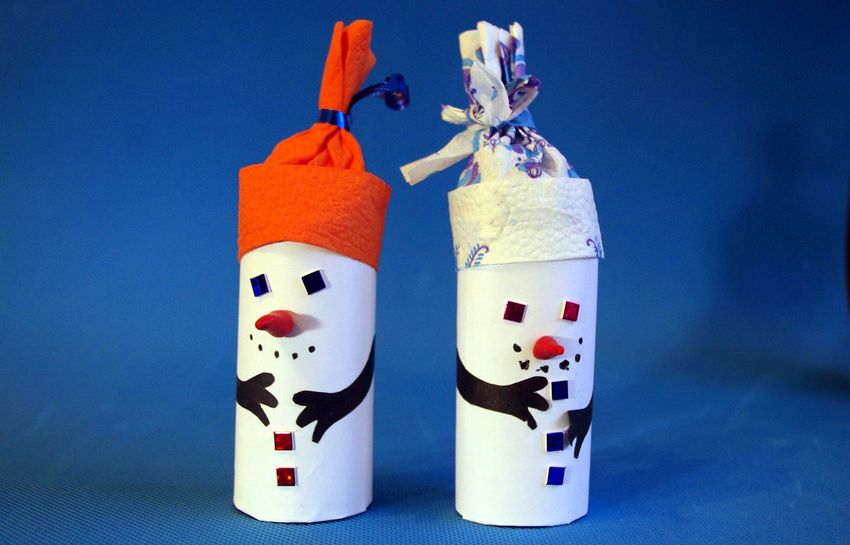
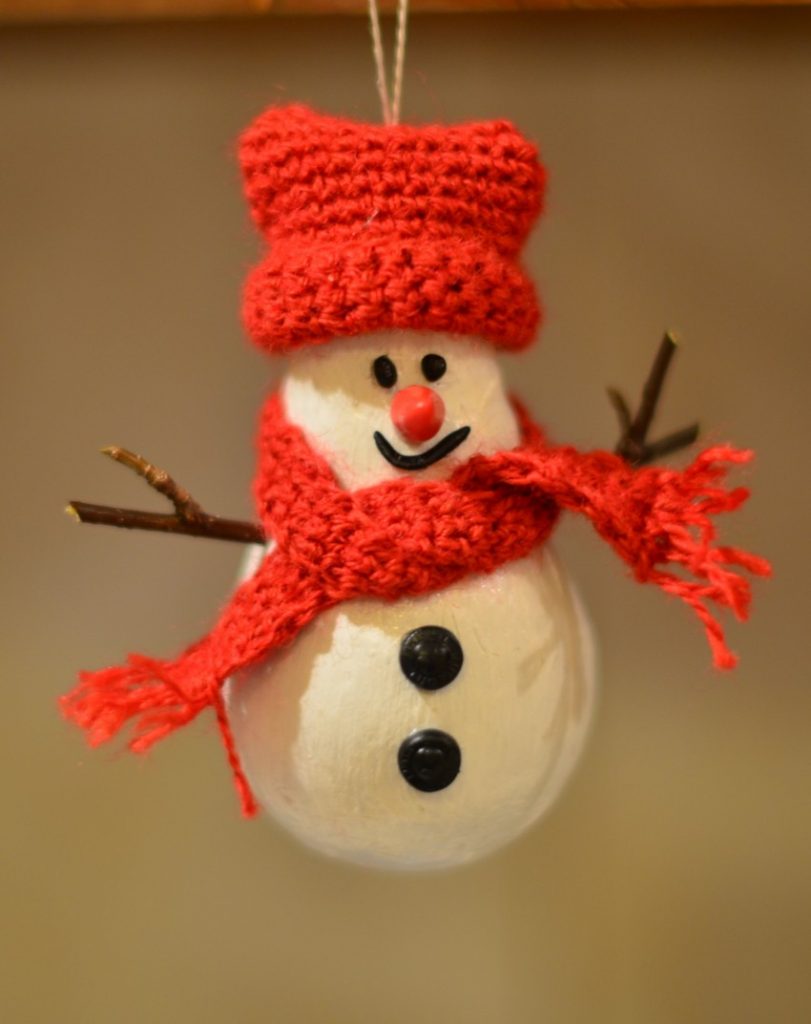
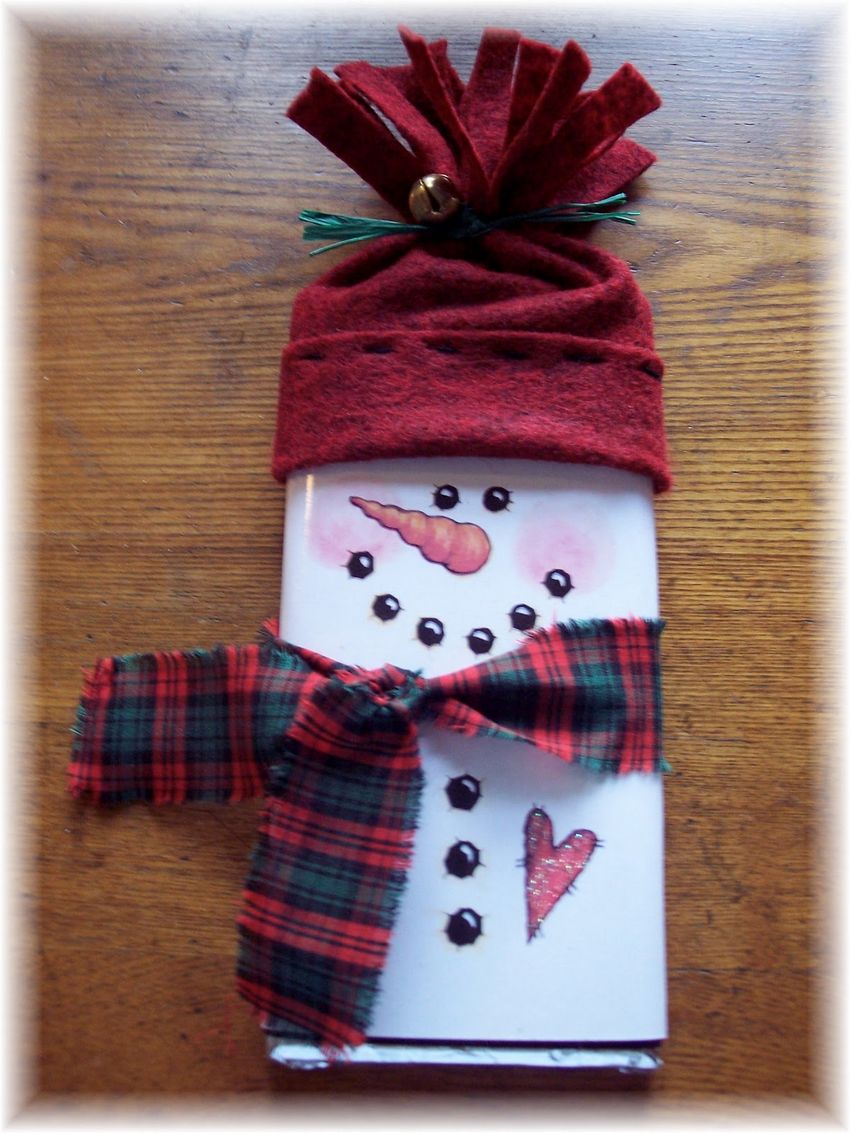
The snowman-candy box
An excellent option would be a handcraft in the form of an original New Year's package in the form of a snowman, which can be presented to your family and friends, put under the Christmas tree or used in a New Year's installation created on the windowsill, on the table or on the dresser.

To work you will need:
- A small shaped glass jar with a twistable metal lid.
- A small ball of styrofoam with a diameter equal to the diameter of the jar.
- Chocolate candy in a bright foil wrapper.
- orange polymer clay ;
- glue gun;
- white Christmas tree tinsel;
- small black pompoms - 7-9 pcs;
- colored cord;
- green and red pieces of felt;
- absorbent cotton;
- sequins;
- PVA glue;
- brush;
- box cutter.

Step-by-step making of a gift snowman:
- Cut off a little of the bottom of the Styrofoam ball to create a flat base.
- Using a glue gun, glue the prepared foam ball to the metal lid.
- While the snowman's head is drying, carefully clean the glass jar of labels and dry it.
- Dried ball glued to the metal lid, cover it with PVA glue with a brush and sprinkle glitter. After placing the workpiece to dry in the air.
- Shape the orange polymer clay into a carrot of a suitable size.
- Glue small soft pompoms to the location of the eyes on the dried ball of foam. Use the remaining pompoms to mark the snowman's mouth.
- Glue a polymer carrot between the eyes and mouth.
- In a dried jar put a layer of absorbent cotton at the bottom.
- Place candy in the jar.
- From red felt, cut two circles slightly larger in diameter than the round chocolates in the box and glue them together with a glue gun.
- From two round candies in a red wrapper, glue a cylinder that is glued to a round base made of red felt. While the stylized hat dries, make headphones.
- Cut a narrow strip of green felt and glue its ends to the round candy in the green wrapper.
- First glue the earmuffs to the head of the snowman, and then glue the red hat on top.
- Screw the prepared head to the jar, then tie the jar with white Christmas tinsel

With these simple master classes, you can make different snowmen in one day from improvised materials, involving the children themselves in the process. Such original New Year figurines will be a spectacular decoration and a good topic for organizing useful leisure time for children and adults on the eve of the New Year holidays.
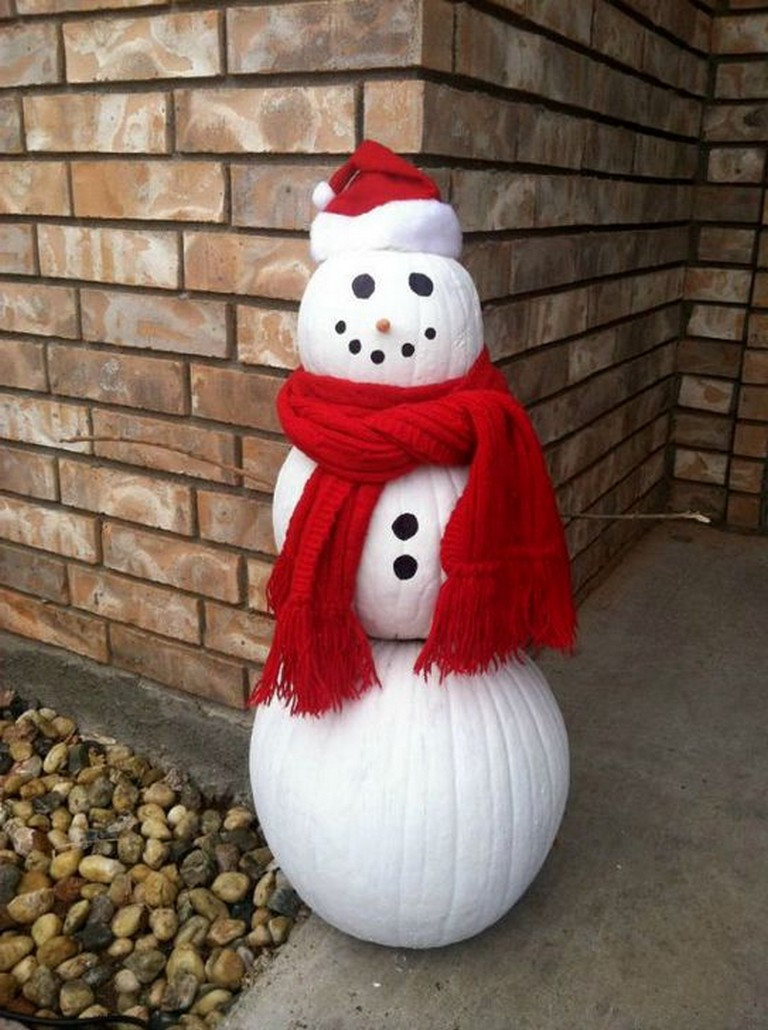
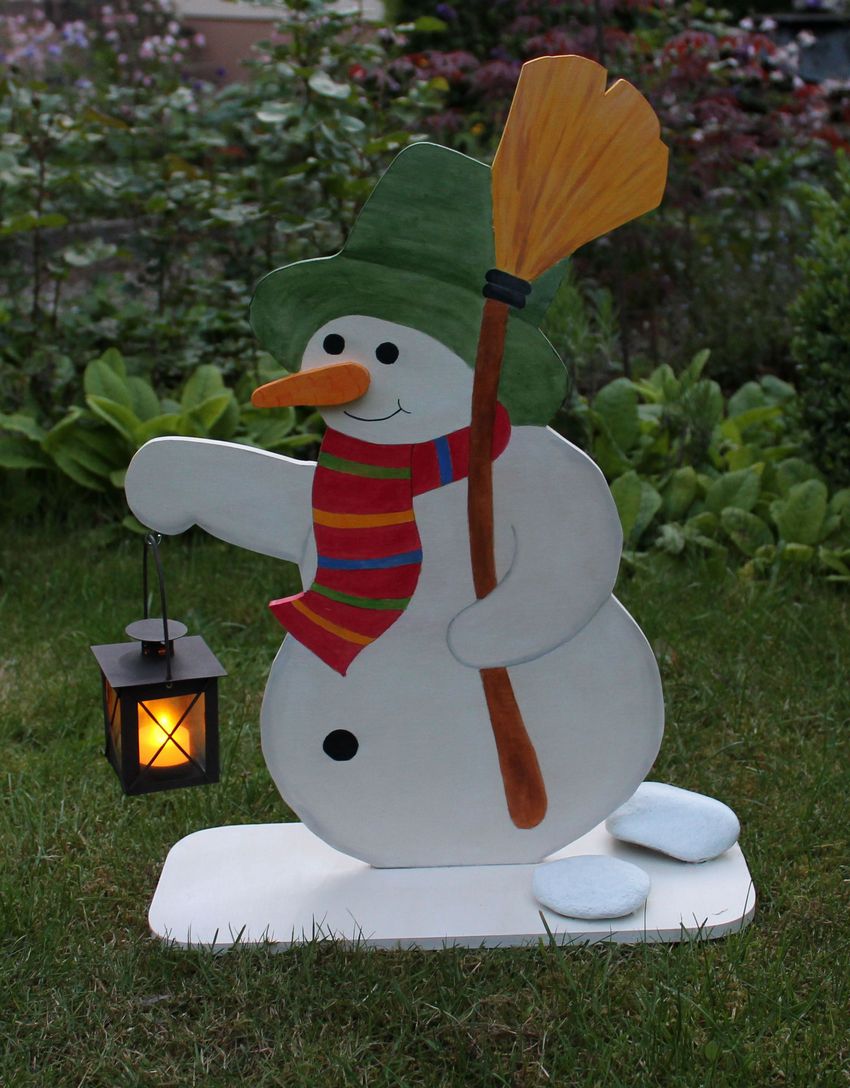
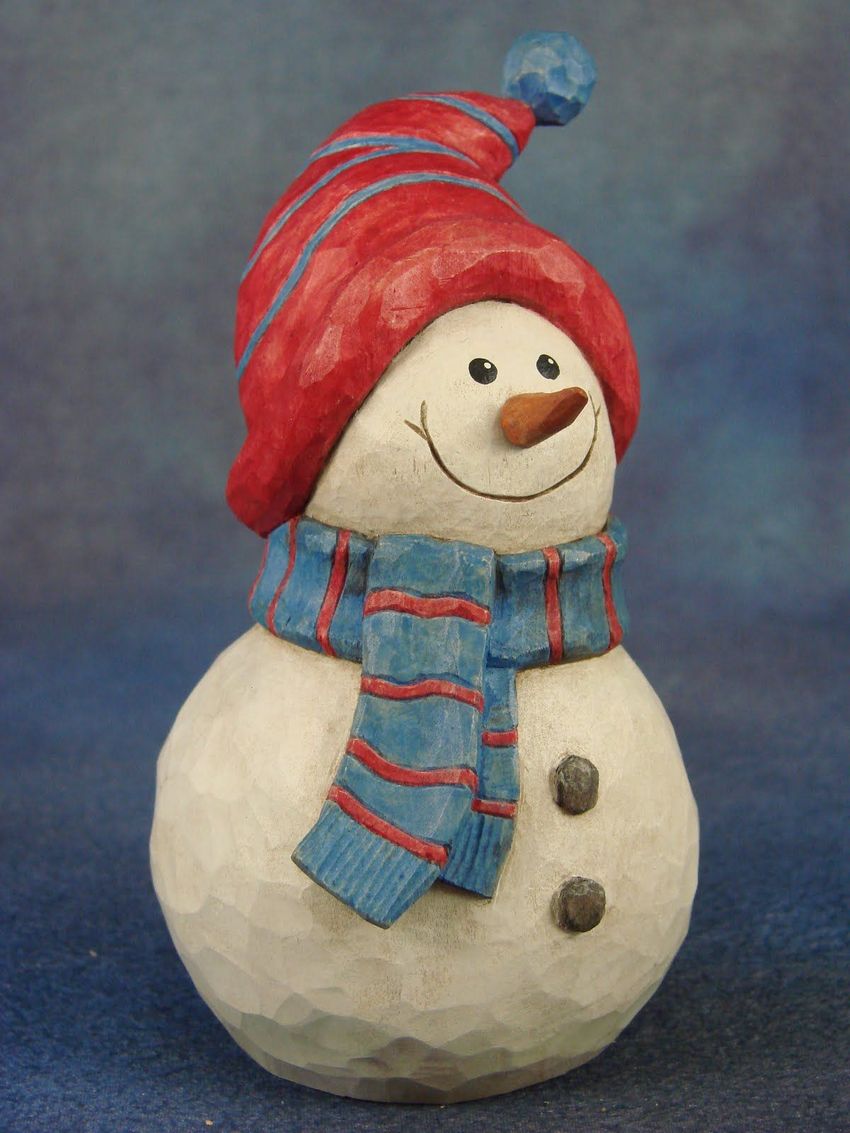
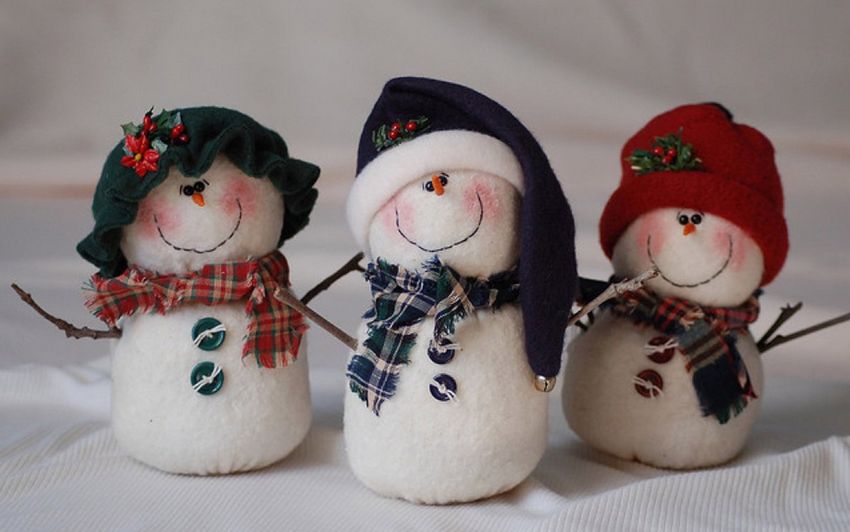
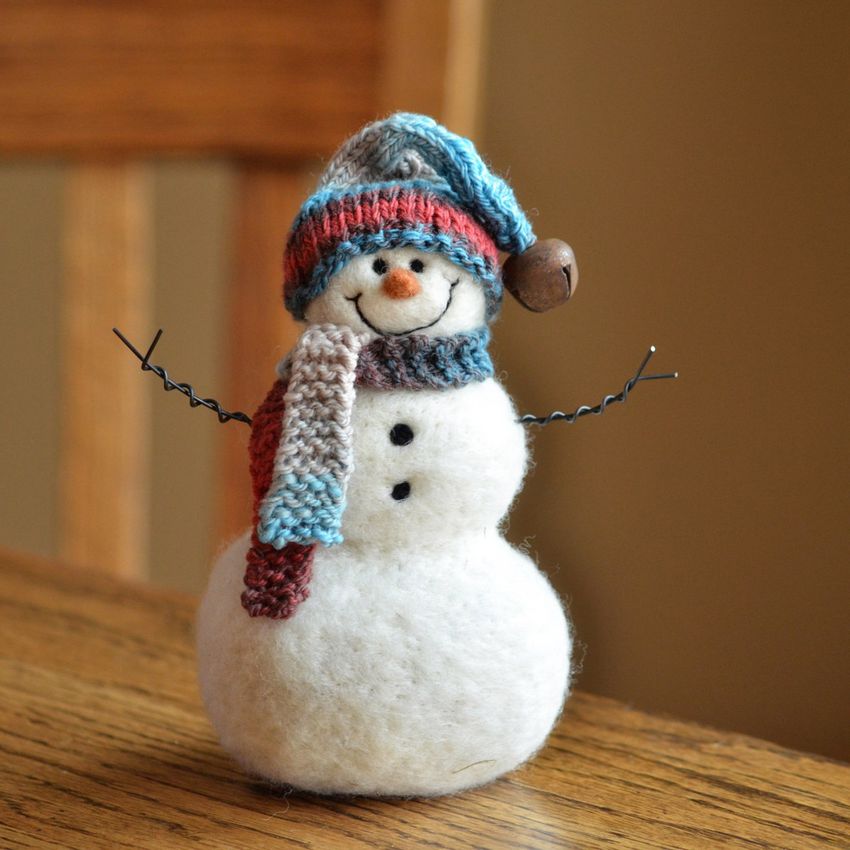
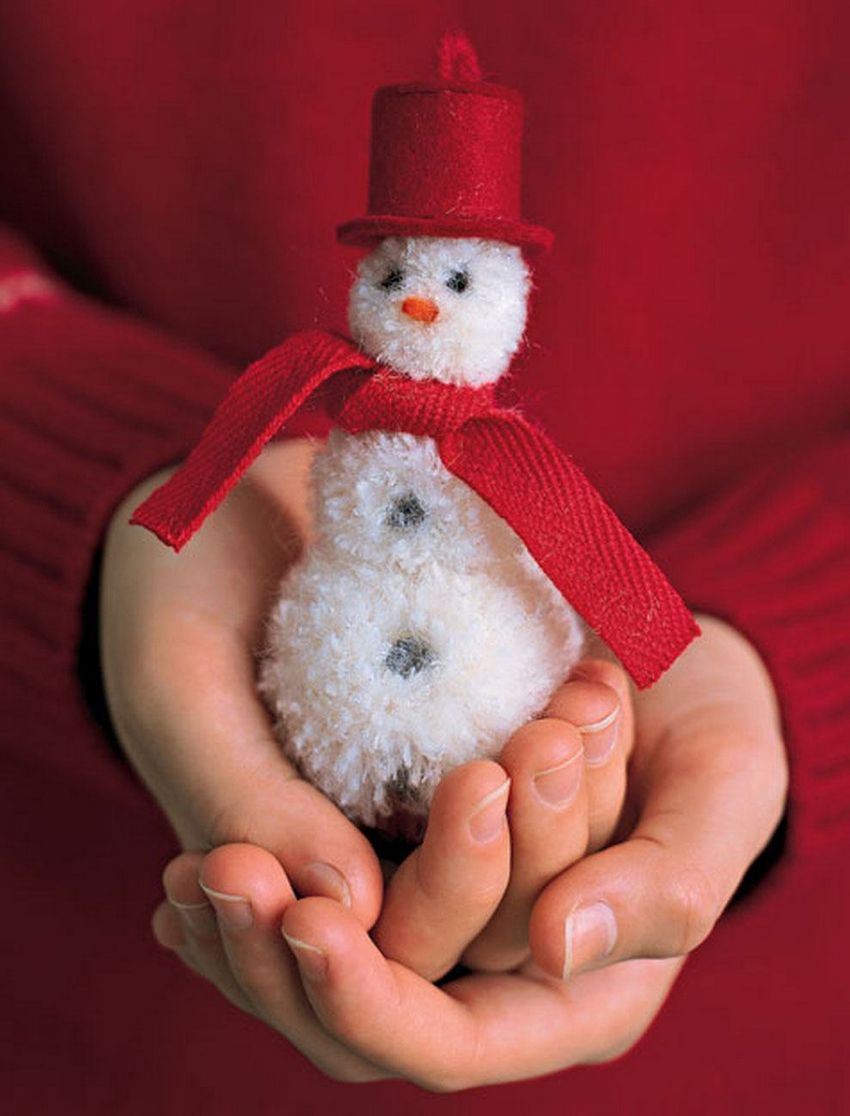
Photo ideas of homemade snowman