How to sew a doll: detailed step by step description of sewing a doll for beginners
Needlework has tightly entered the life of almost everyone. Almost every day open needlework courses, where needlewomen can gain experience. Doll, sewn with their own hands, perfect as a gift or interior decoration.
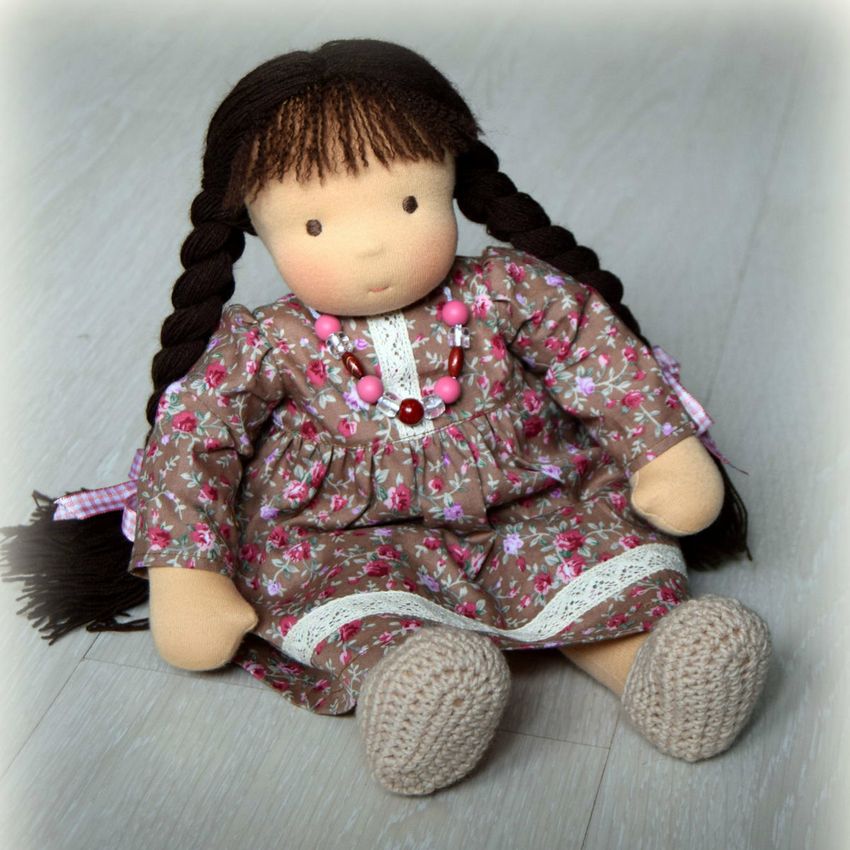
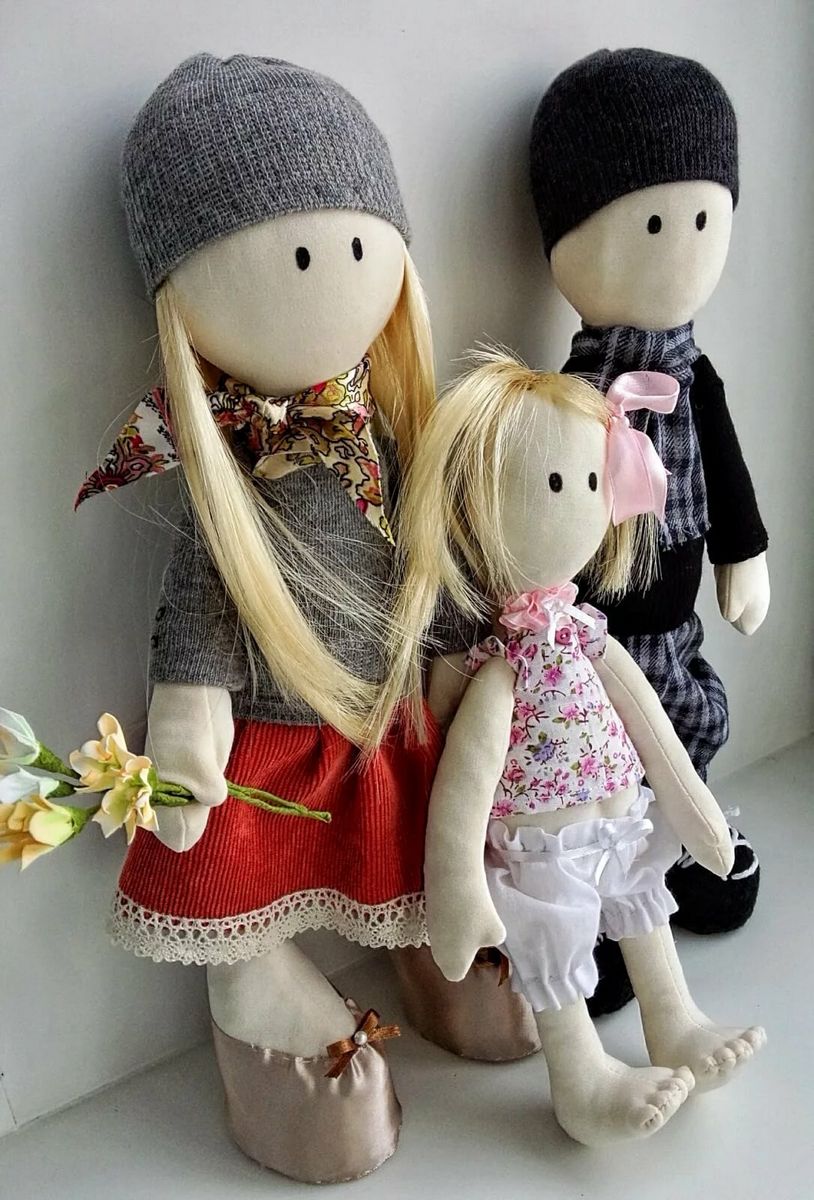
How to sew a fabric doll with your own hands
Dolls are sold in any toy store. Especially popular are handmade dolls. You can make such dolls from various improvised materials, and from special kits. With these dolls can both play, and decorate the interior. Many people even collect them.
For work excellent suit: kapron, knitwear, felt, felt.

Patterns of patterns. Step by step master class
Variants of the patterns can be downloaded to your computer so that they are not lost, and you can also resize them, for example, in the editor paint. If there is no printer handy and there is no possibility to print the template, you can attach a sheet of paper to the monitor and a pen to trace the contours, and then cut them out.

The finished pattern should be imposed on the material and make notes, taking into account the allowances for seams. Everything should be carefully cut out and stitched, so that the seams were even on the front side. On all parts you need to leave a small hole, so you can turn them out later.
Turned parts filled with filler. All holes are sewn with a blind stitch. On the leg sole to mark the middle and adjust the seams on the shin. The bottom of the sole is pinned to the shin with pins. Careful stitching is needed. Now you need to turn out and stuff with filler.
Next is the "head. To make it, you need a ball of Styrofoam (available in various sizes in craft stores), and a piece of filler with a rectangular shape. It is necessary to wrap the ball with synthetic material.
Now you need to insert the ball into the detail of the head, and then sew from the top. Further, the filler is rolled on a skewer, dabbed with glue, tucked the shape of the body and the filler is inserted. On both sides you need to make marks, where the handles will be sewn. To connect the parts to the body, you need small buttons. Now all that's left is to sew the dress, glue the hair and draw a face.
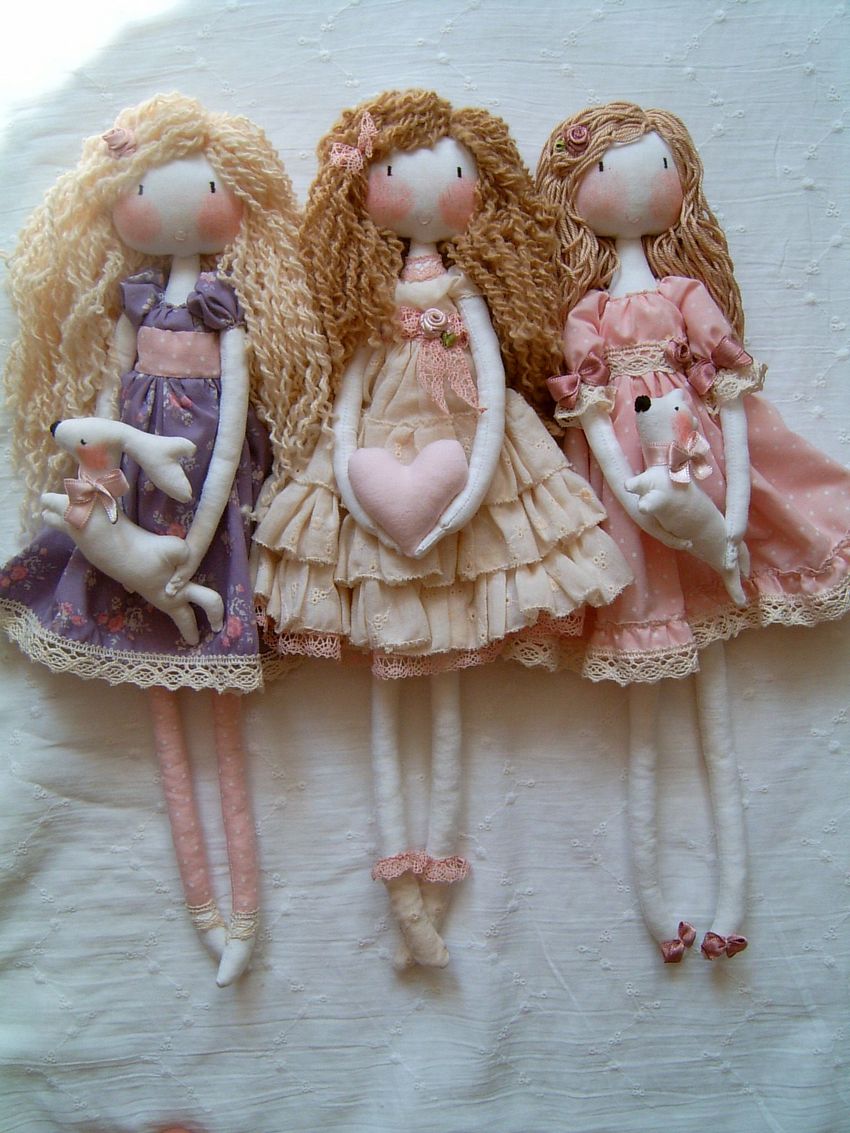
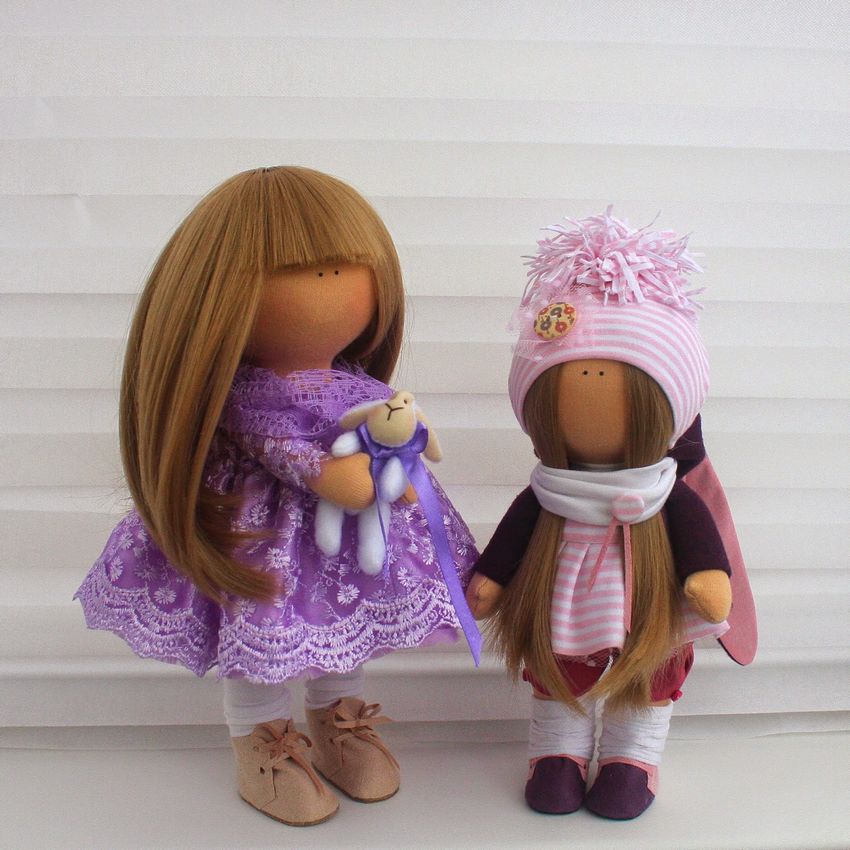
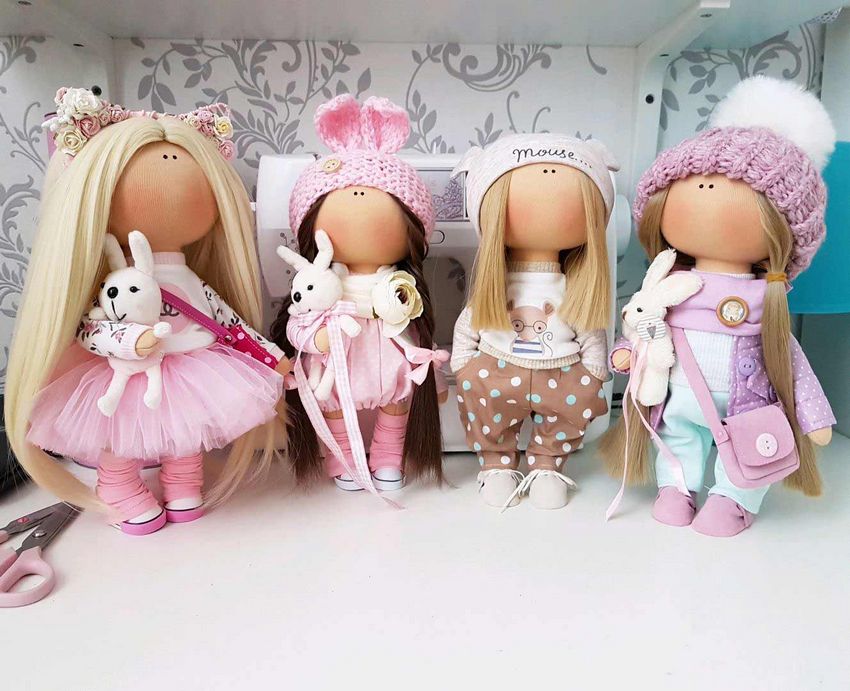
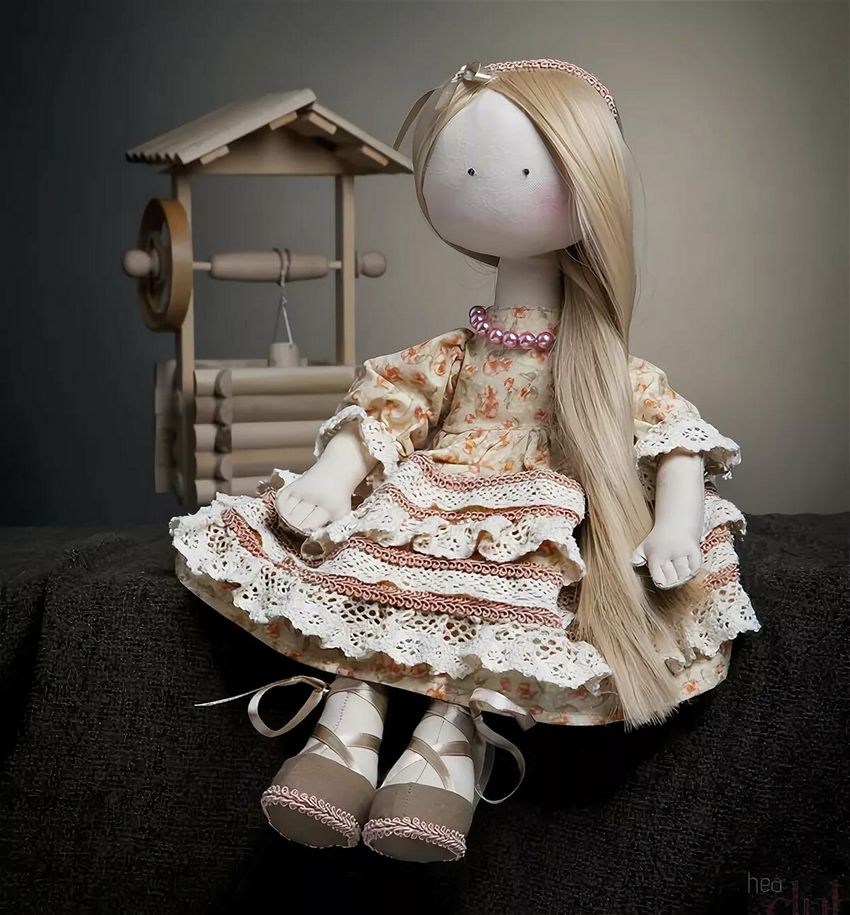
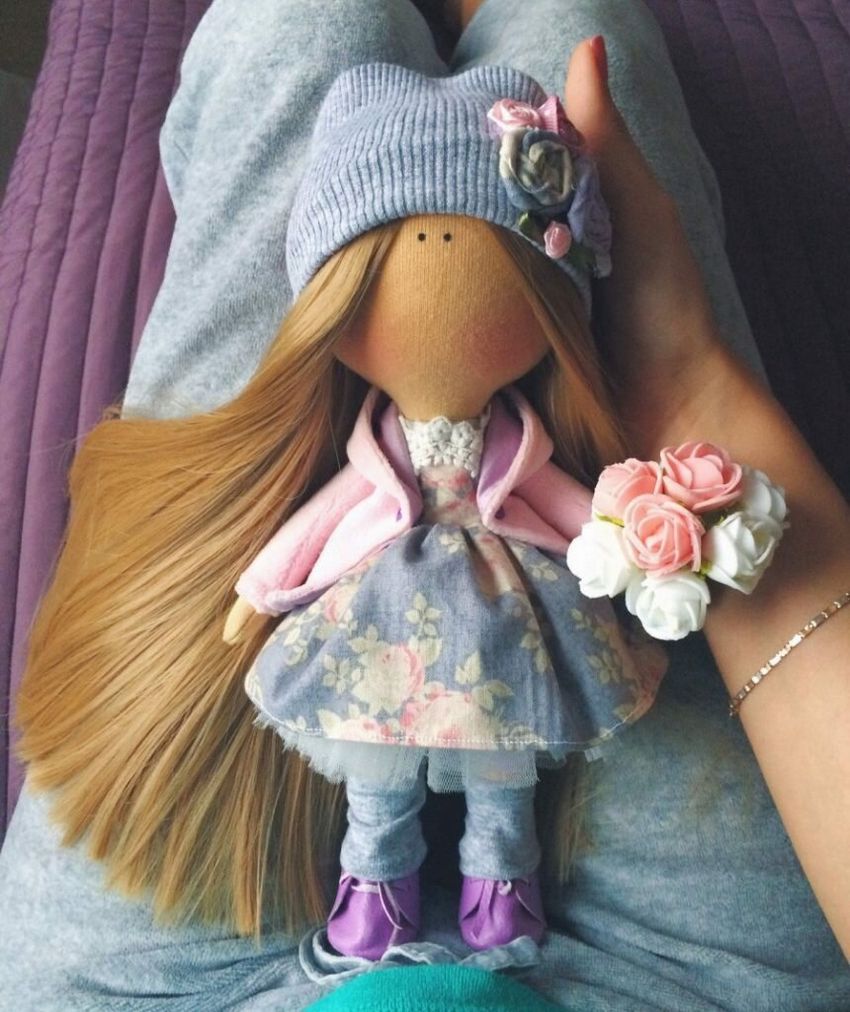
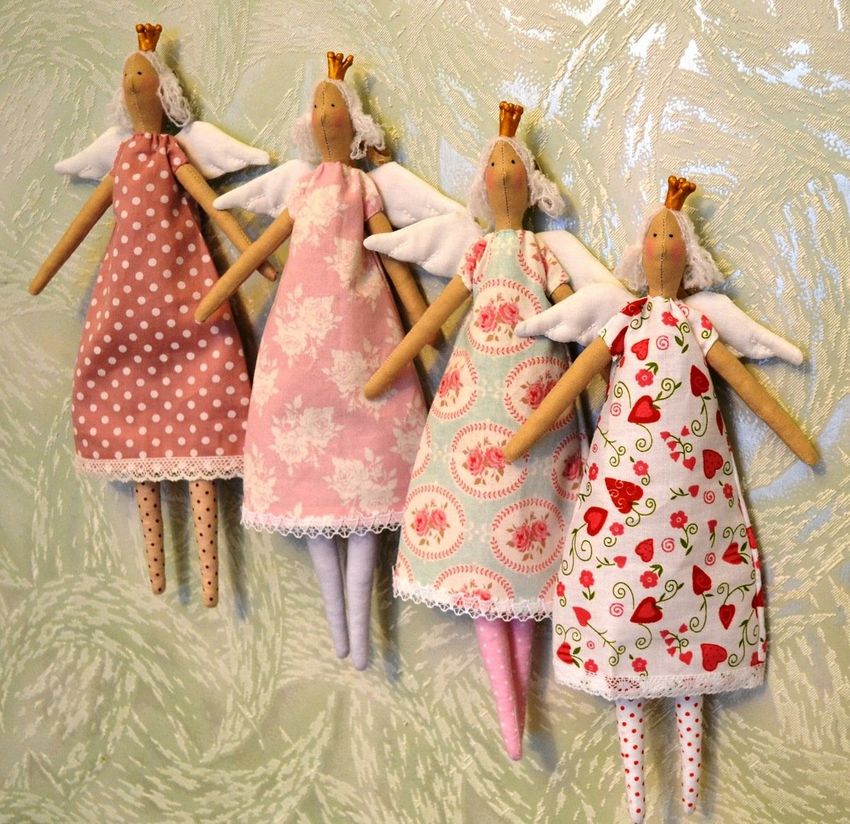
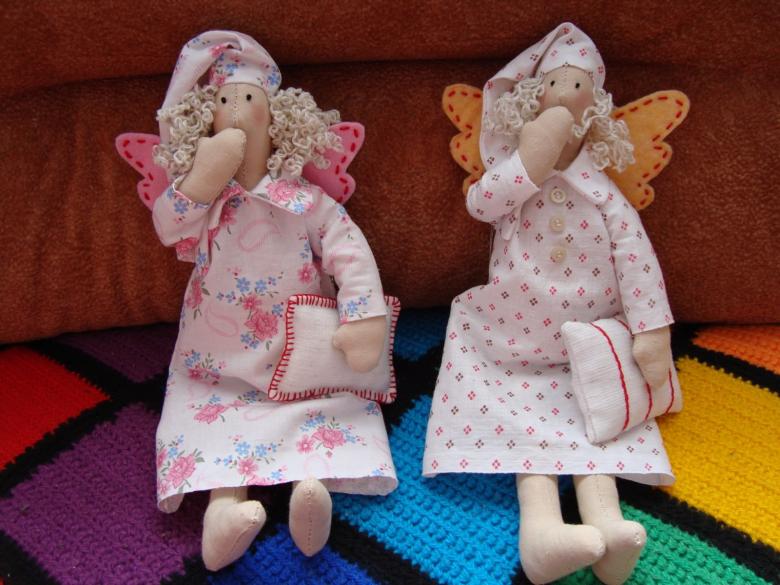
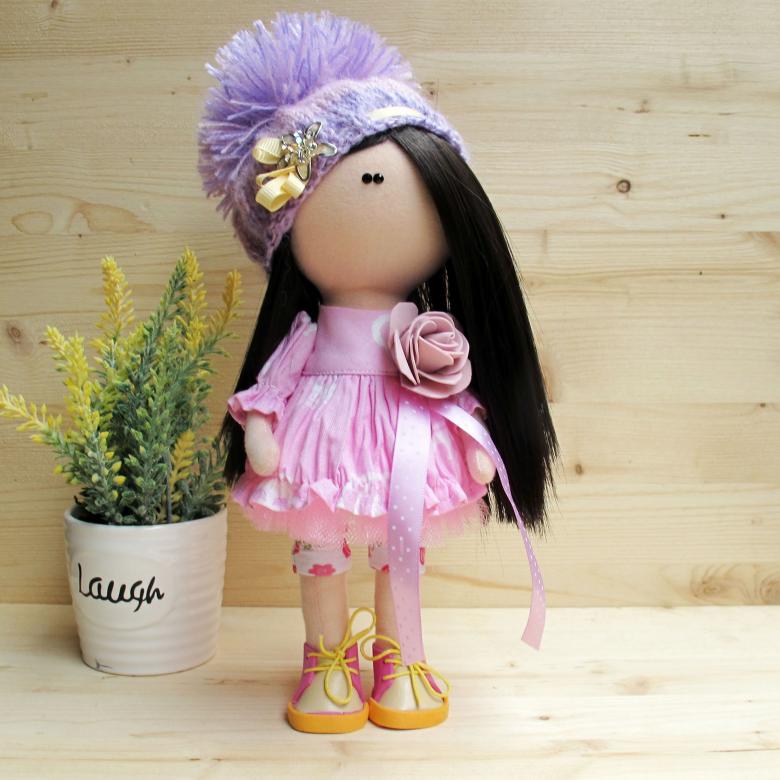
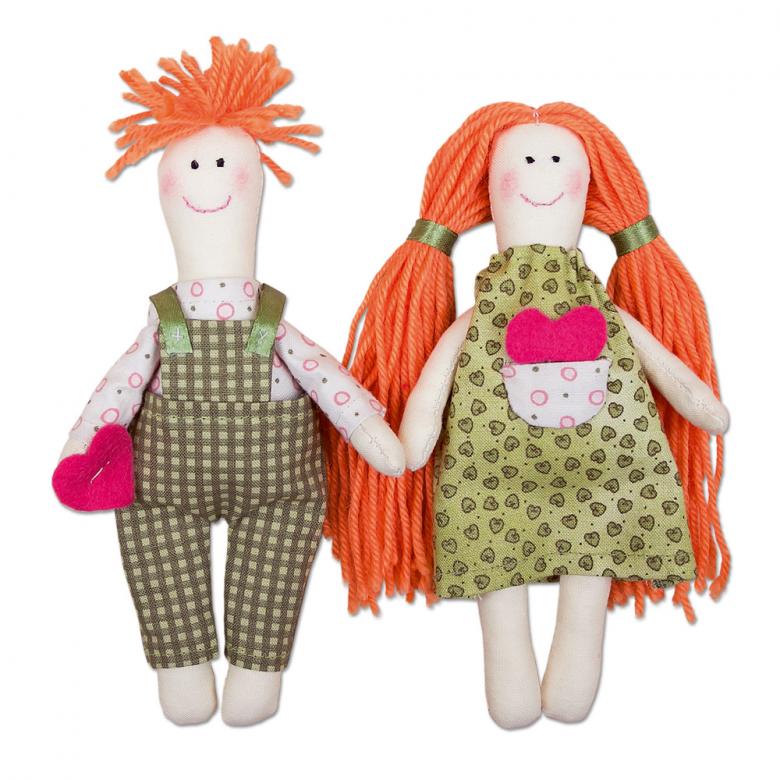
Tilda doll
This is a very famous and popular rag doll, which is asked by girls as a gift. It costs a lot of money. Why buy when you can make it yourself?
The general principle of preparing the elements is described above. Next, according to Tilde, to the sewn part of the foot you need to pin the sole and stuff it with padding, cotton or foam, then stitch and turn out the face. Similarly, sew the second foot.
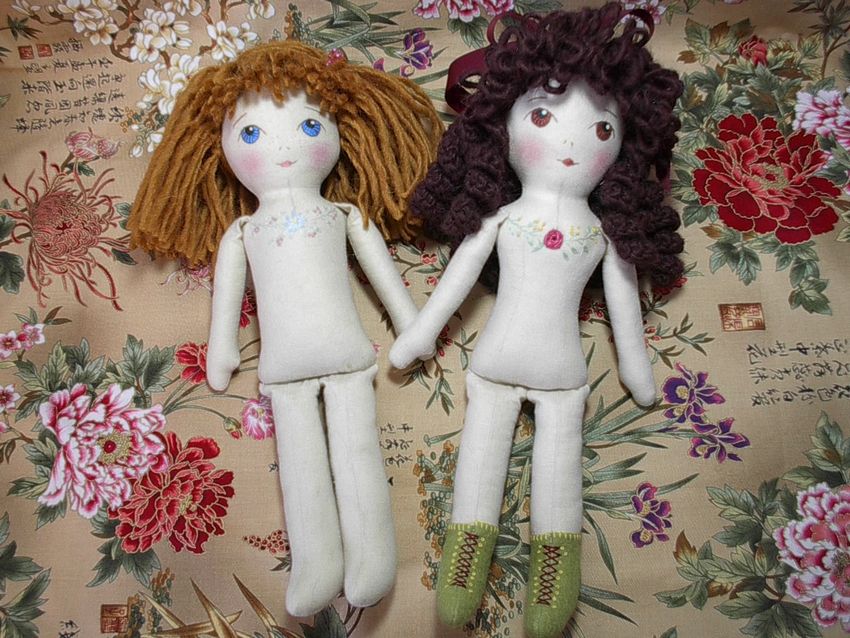
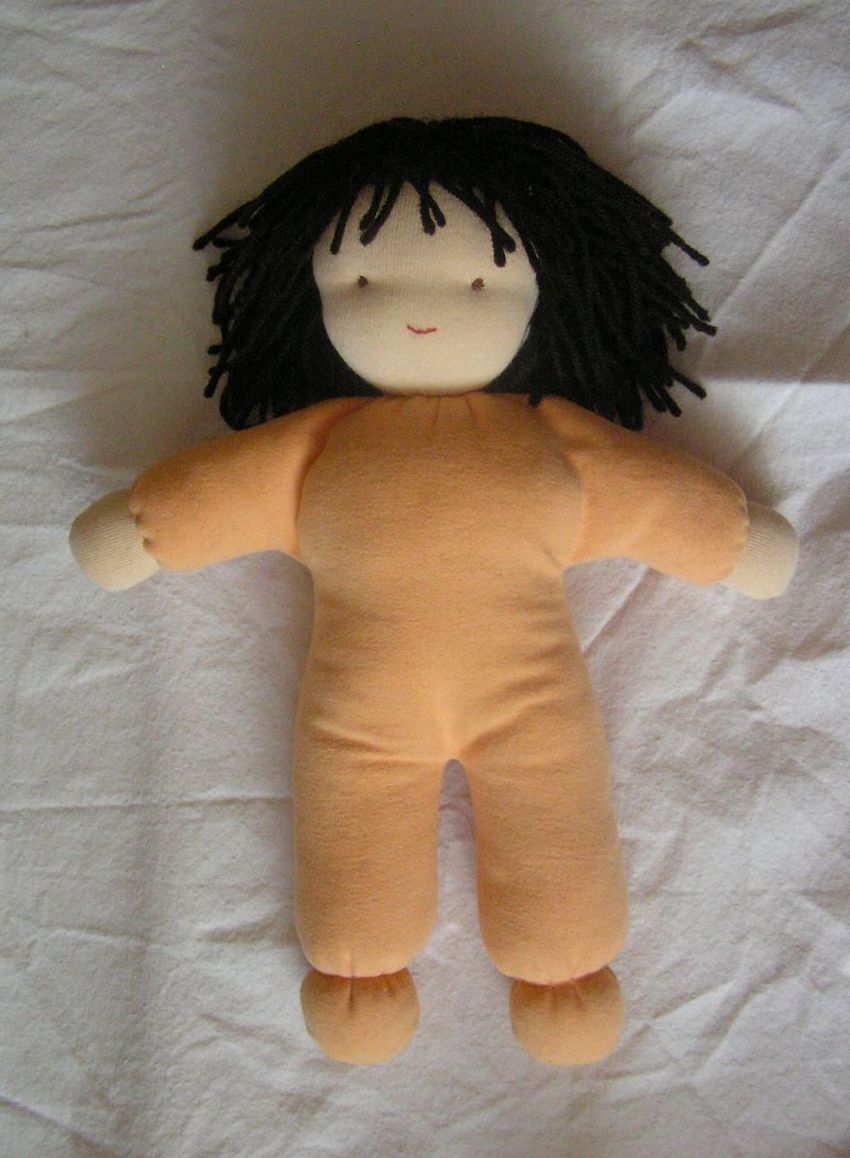
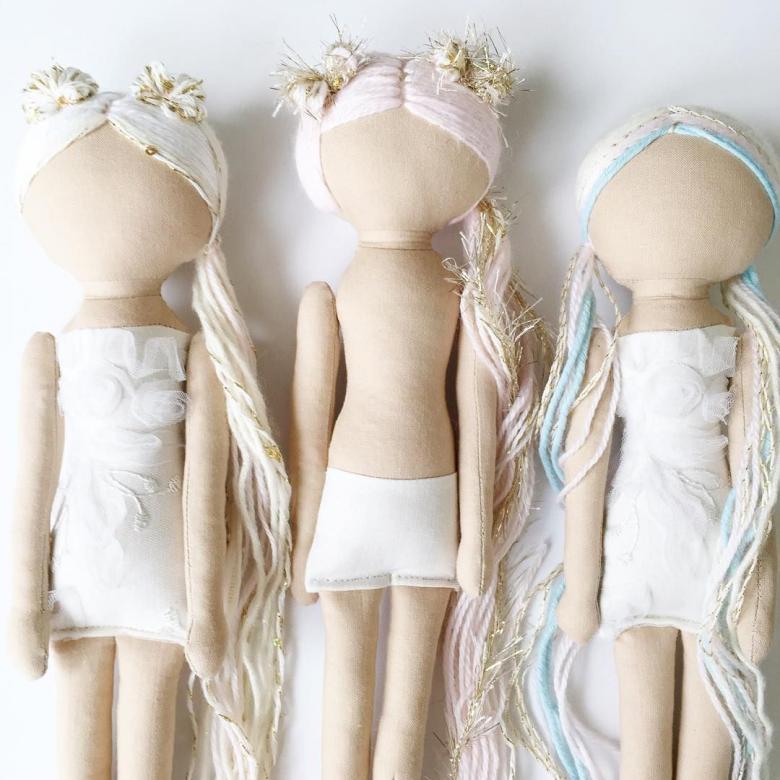
Sewing the head
Purchase a foam template in advance, which is sold in craft stores at an inexpensive price. You need to wrap the blank with foam rubber, then apply the material, connect it to the torso and sew on.
Here, too, in order for the body to hold its shape, you need to screw cotton or foam rubber on a toothpick smeared with glue. Now the resulting structure is inserted into the material to form the lower parts of the doll.
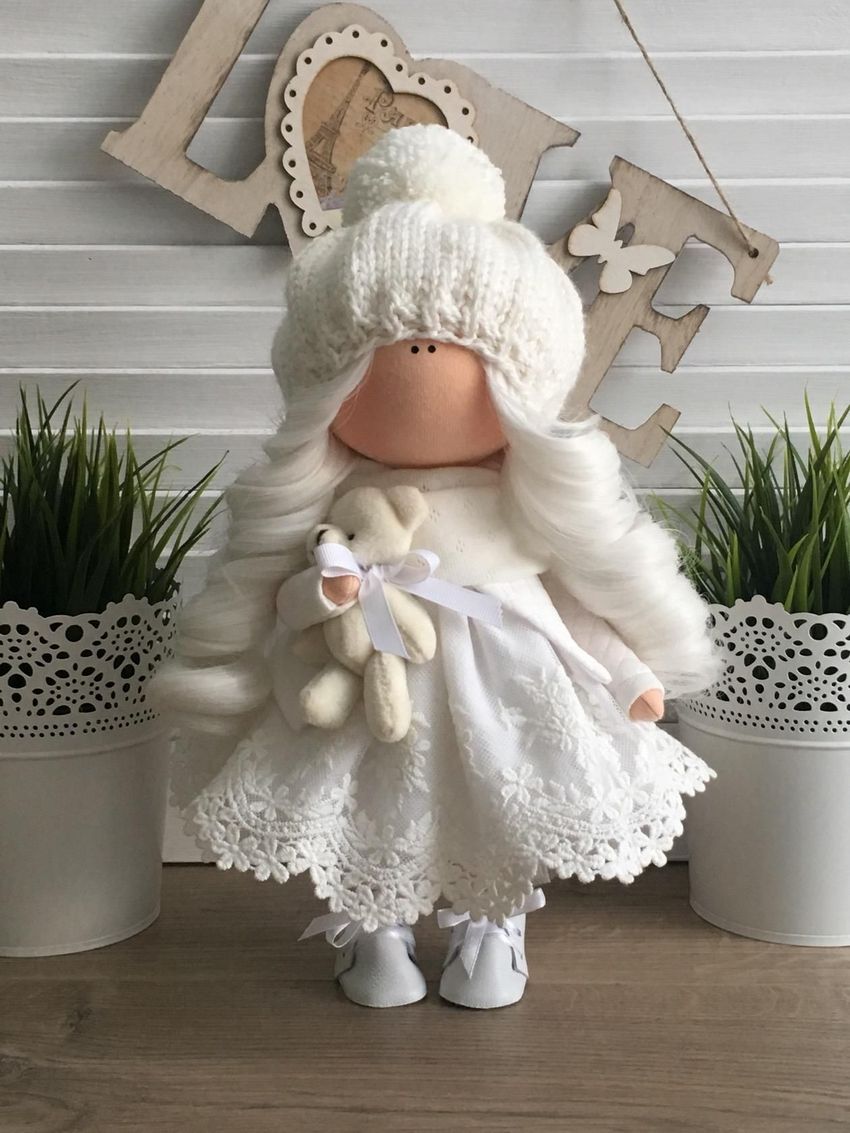
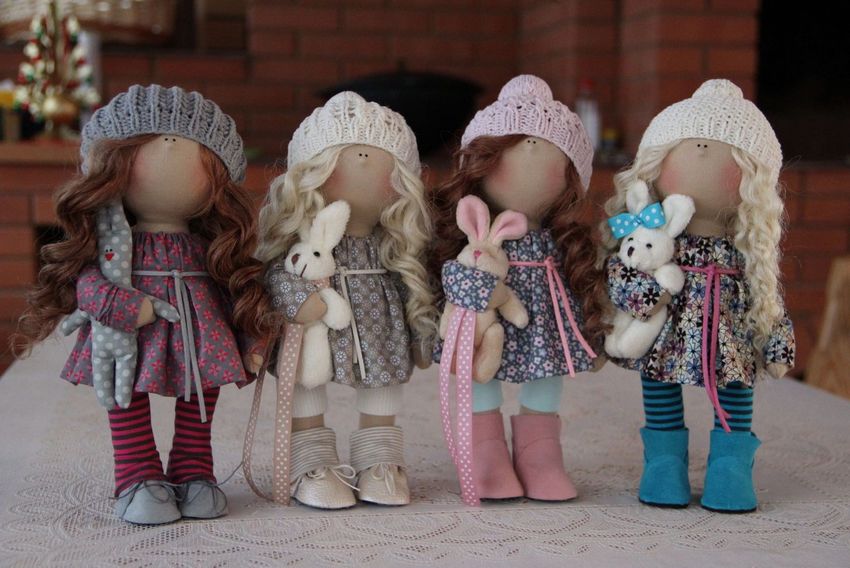
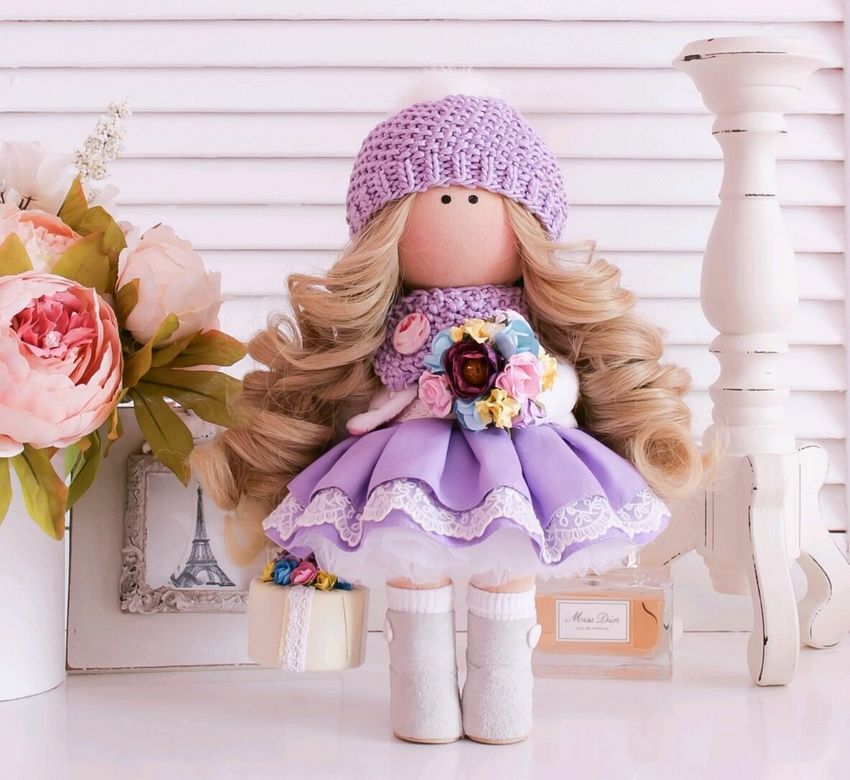
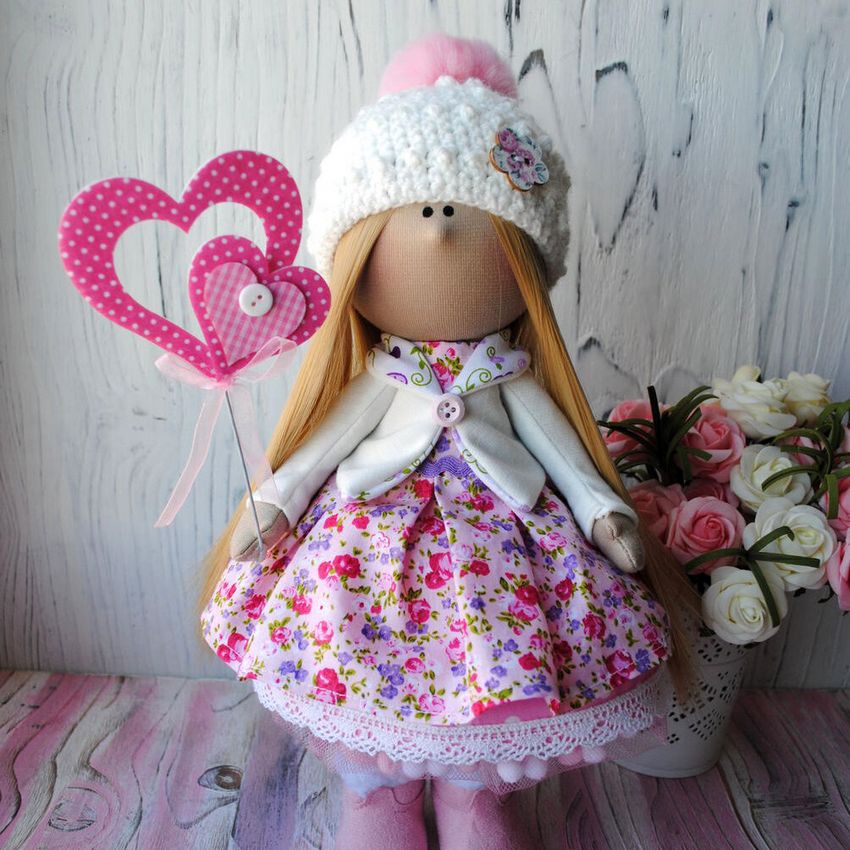
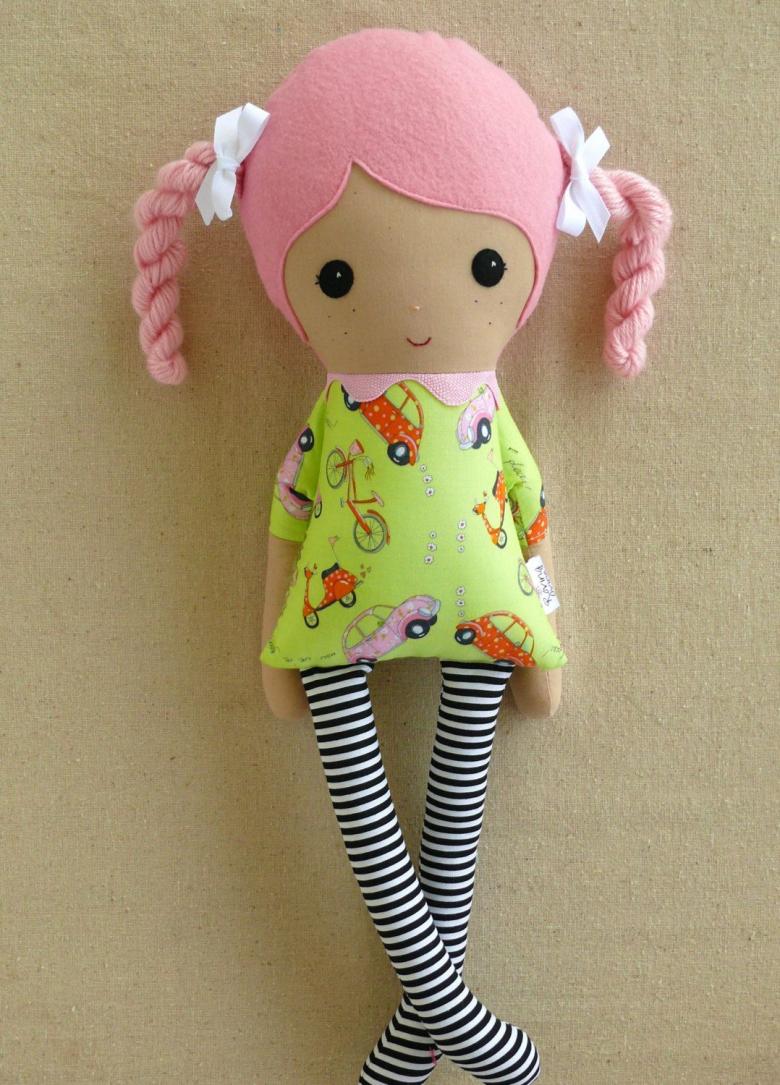
Next, the arms and legs are sewn on. That's all! The 25 cm long doll is ready. Now it remains to draw the eyes, nose, mouth and add hair from yarn or wool. The eyes should be outlined with gouache or black ink. To avoid taking risks, it is desirable to paint the face first pencil, and then trace. The cheeks can be painted with face blush. Now all that's left is to make a beautiful dress.
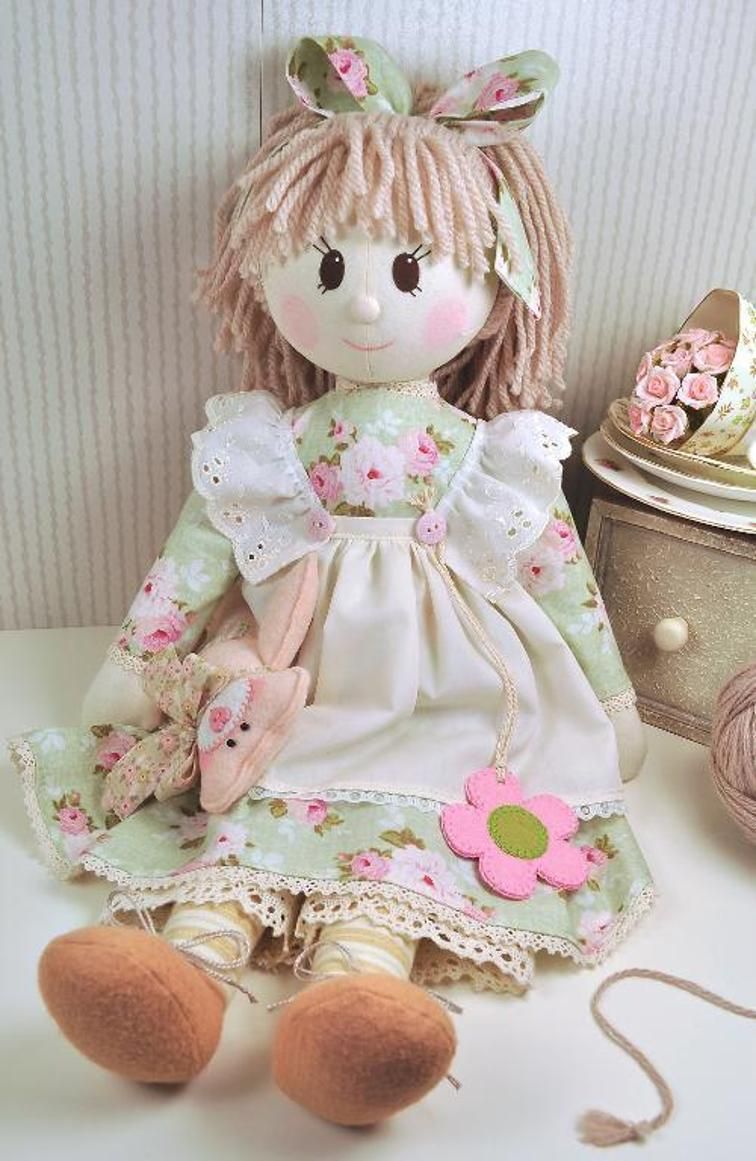
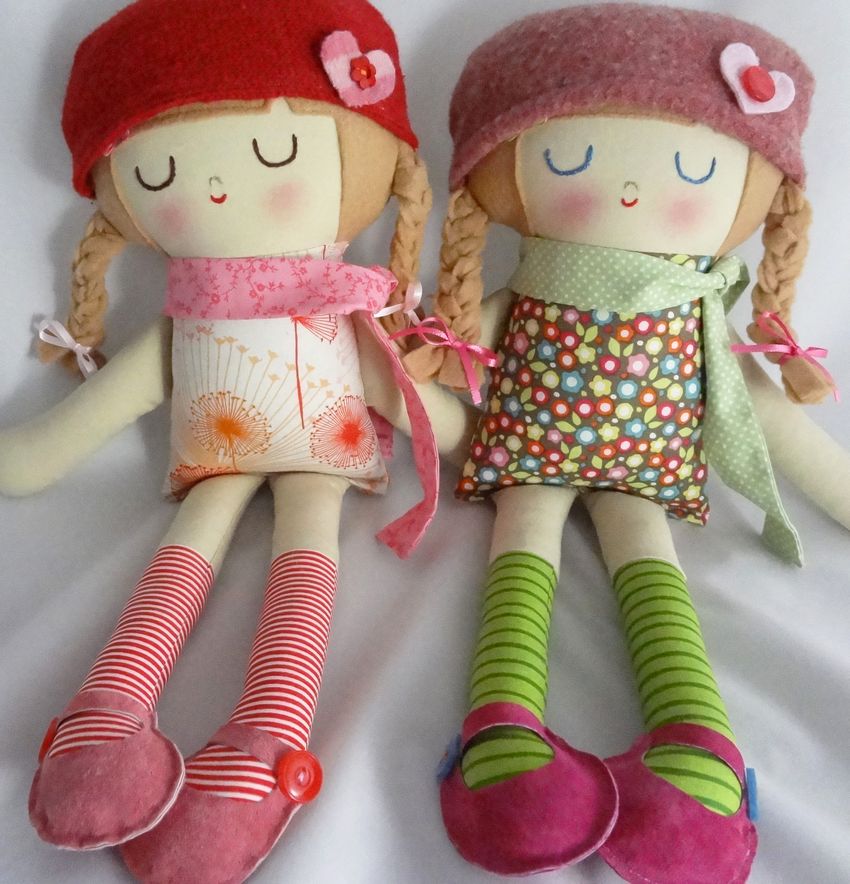
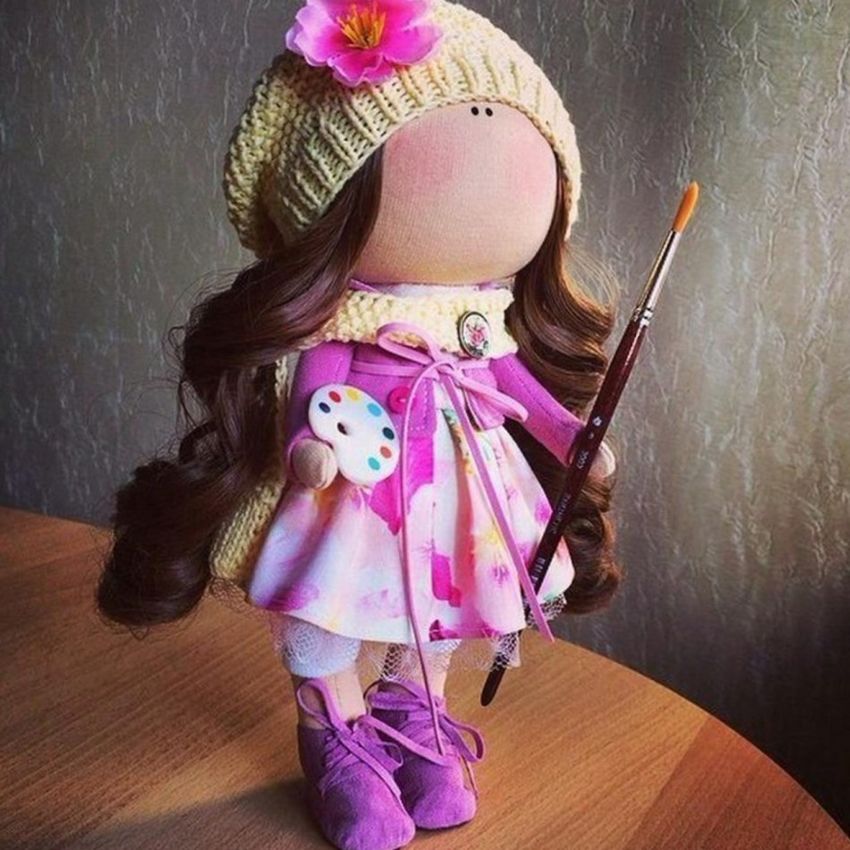
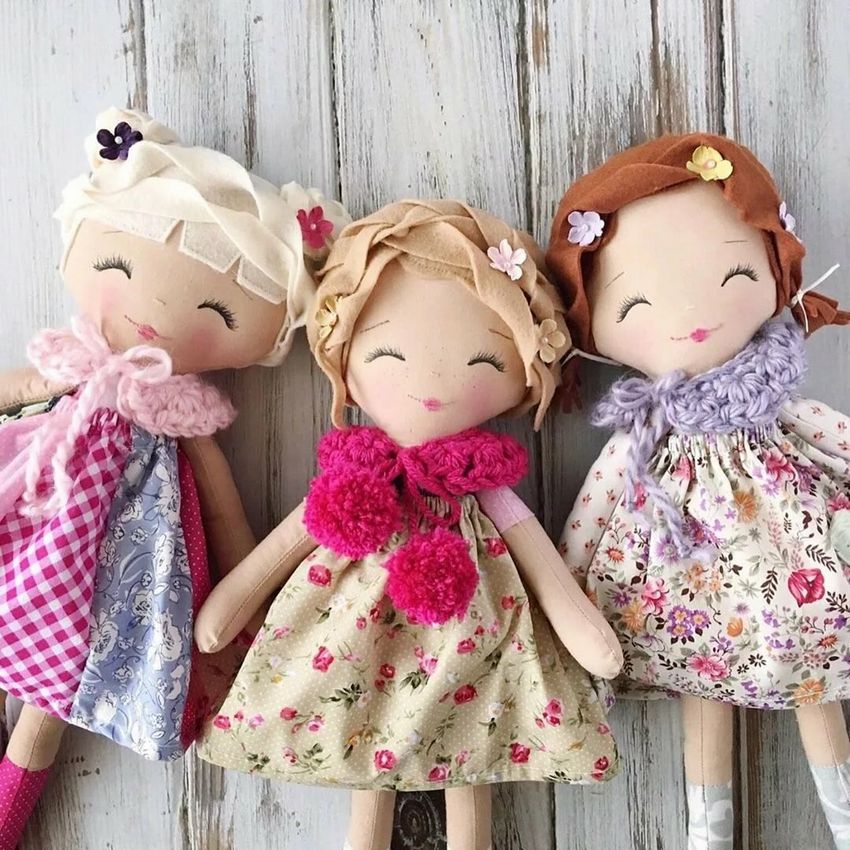
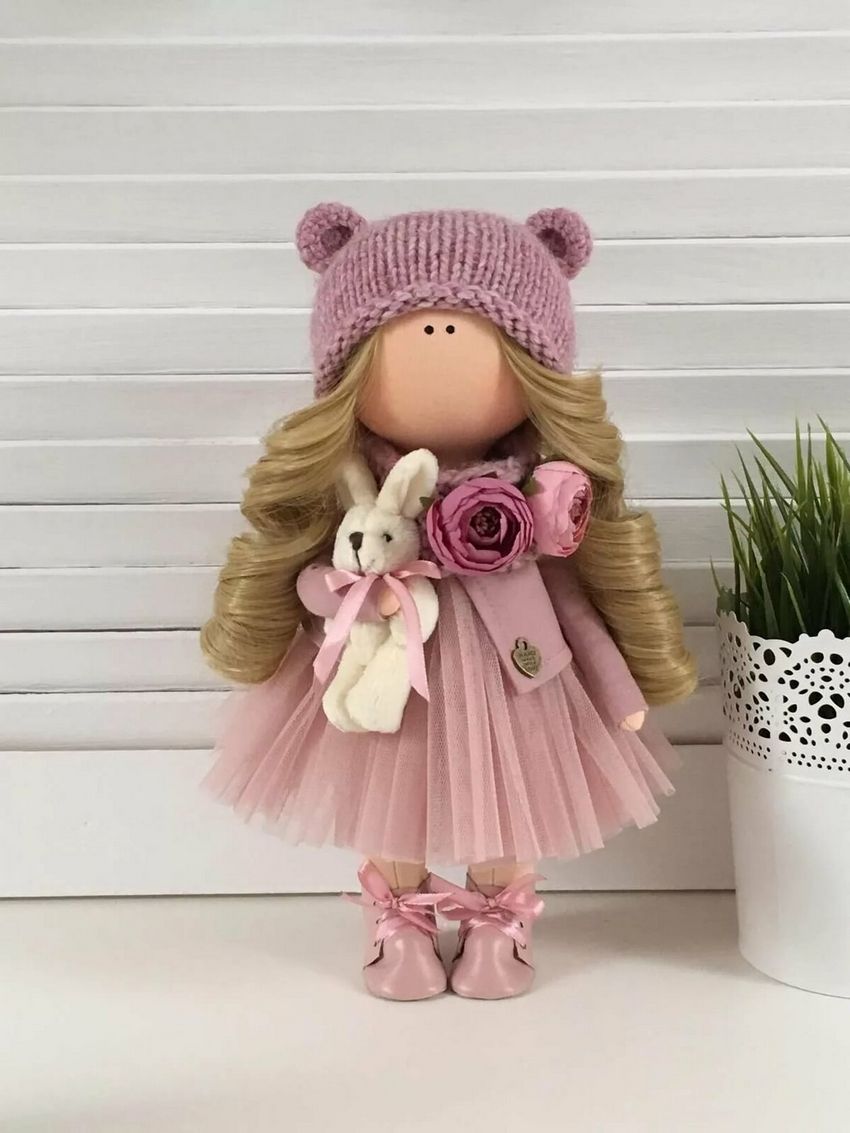
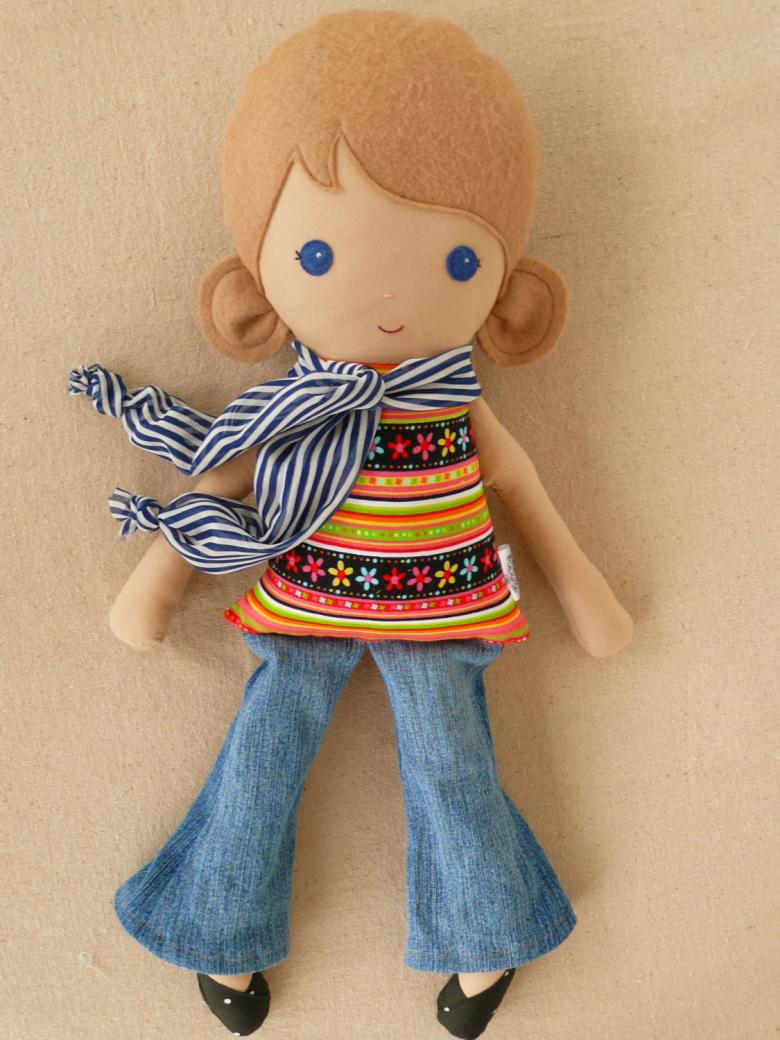
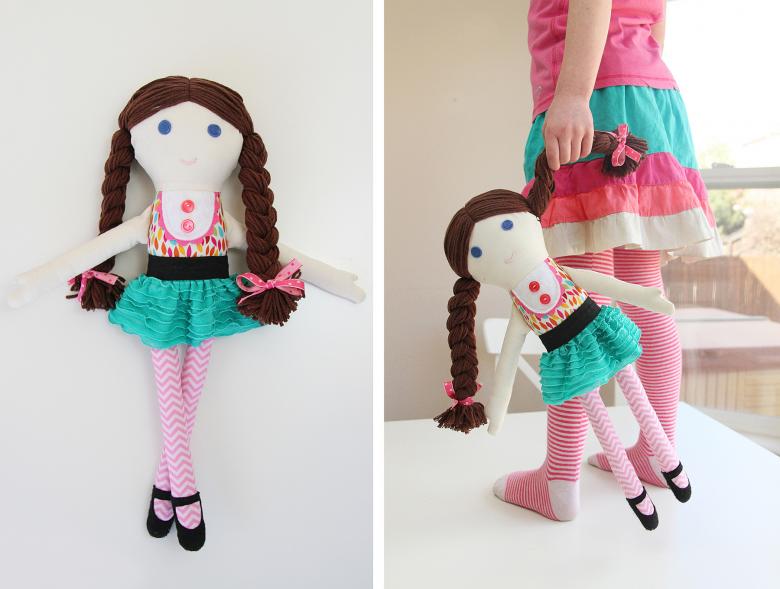
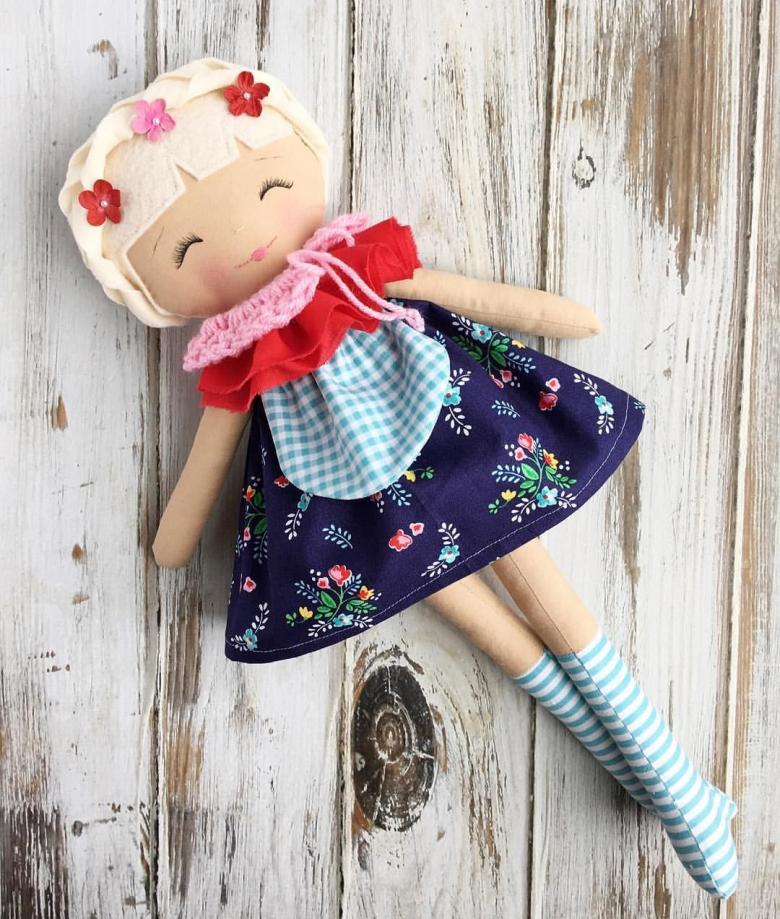
How to make a dress for a doll
The style and design of the outfit should be chosen based on the capabilities of sewing training and taste. For beginners, the best fit: a separate blouse and skirt. You need to measure the waist and the length of the upper part of the doll from the waist to the neck.

For example, we got these dimensions: the waist of 22 cm and length of 8 cm. Also need to consider allowances for seams for the waist 0.5 cm and for length 2 cm. So the fabric is cut to size 22,5 x 10 cm and stitched on both sides along the length. Next, you need to put on the torso and stitch, not forgetting the darts.
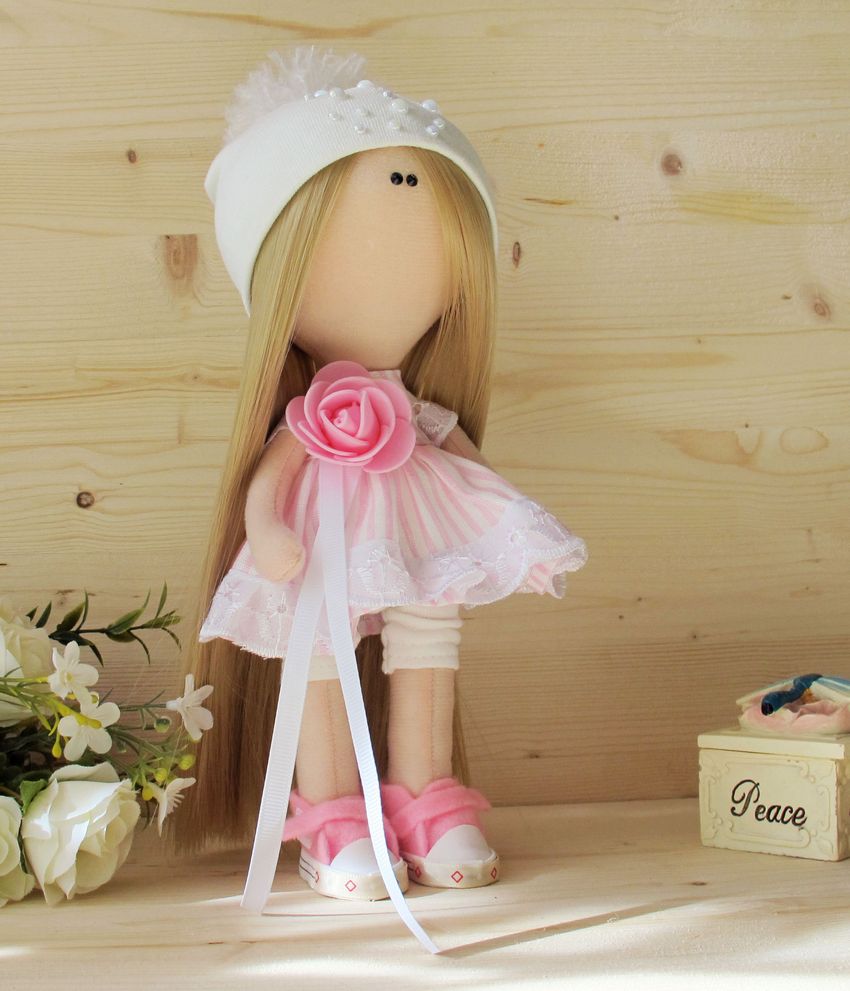
To sew a skirt, you need to measure the length of the skirt from the waist. You need to cut a rectangle of material, taking into account the width and length of the skirt, leaving 2 cm for an allowance. Now you need to hem the edges and sew on the doll. To make the skirt was puffed, you can add a podyubnik of tulle.

You can even please a child and make a dress for your favorite doll. It is worthwhile to write in a search engine: "how to make clothes for Monster High dolls with their own hands" and you can see a lot of options.
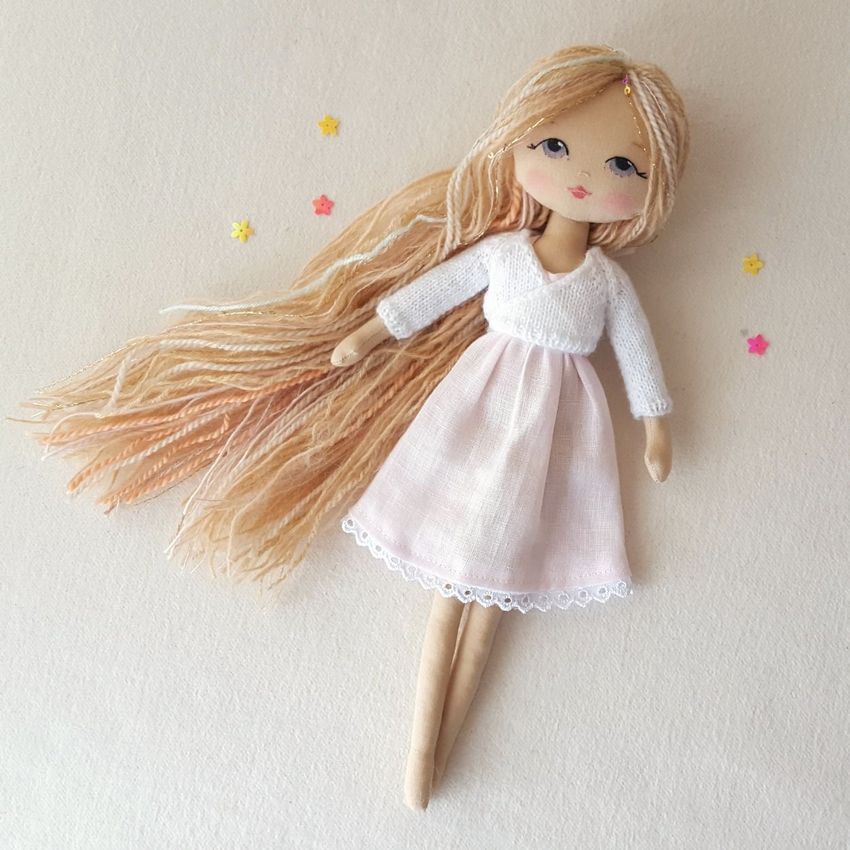
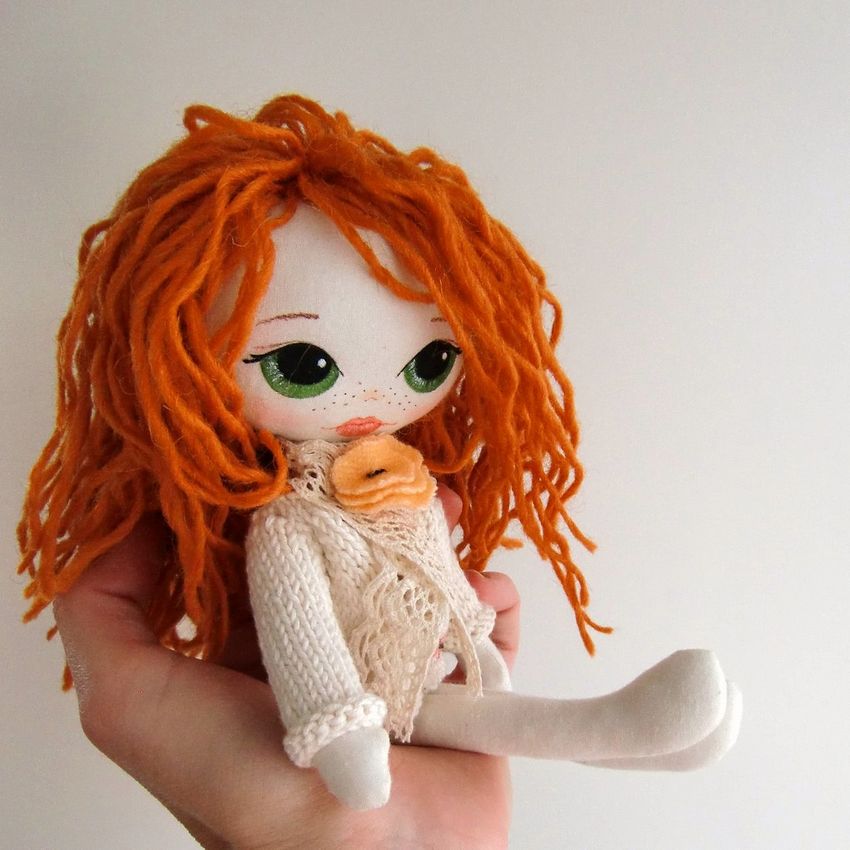
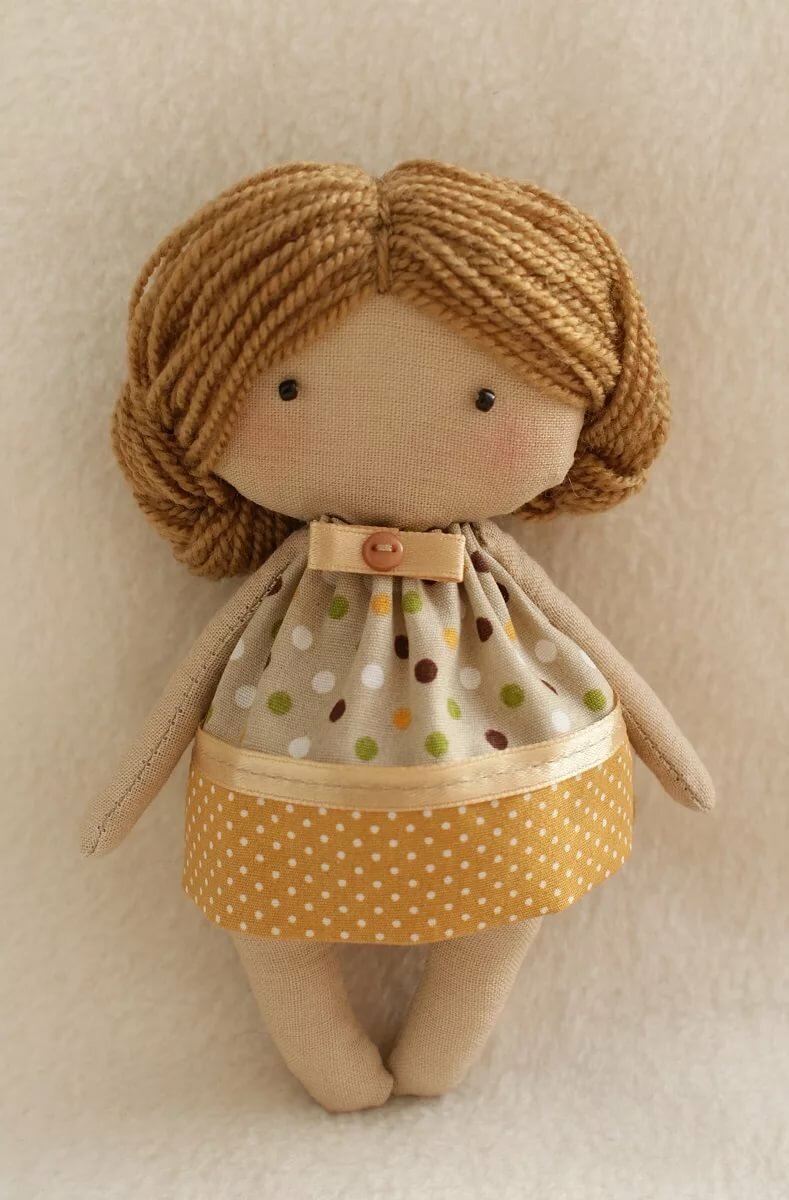
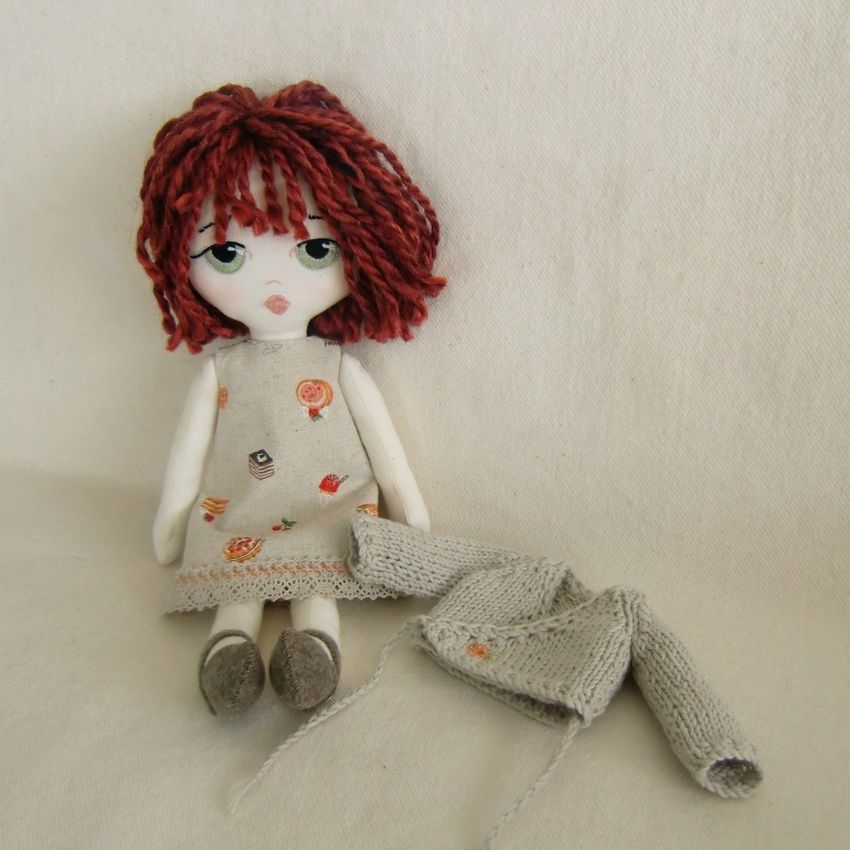
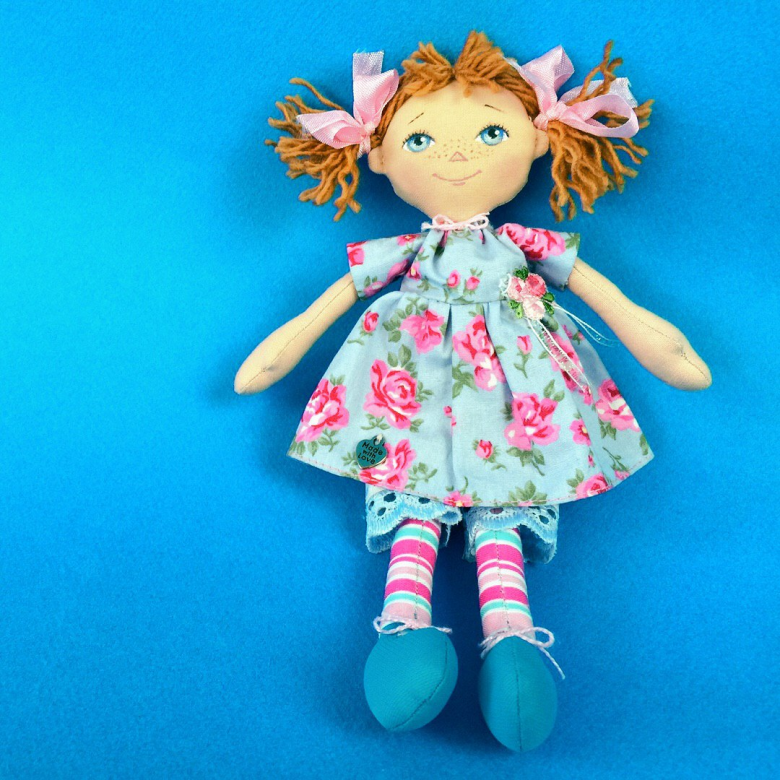
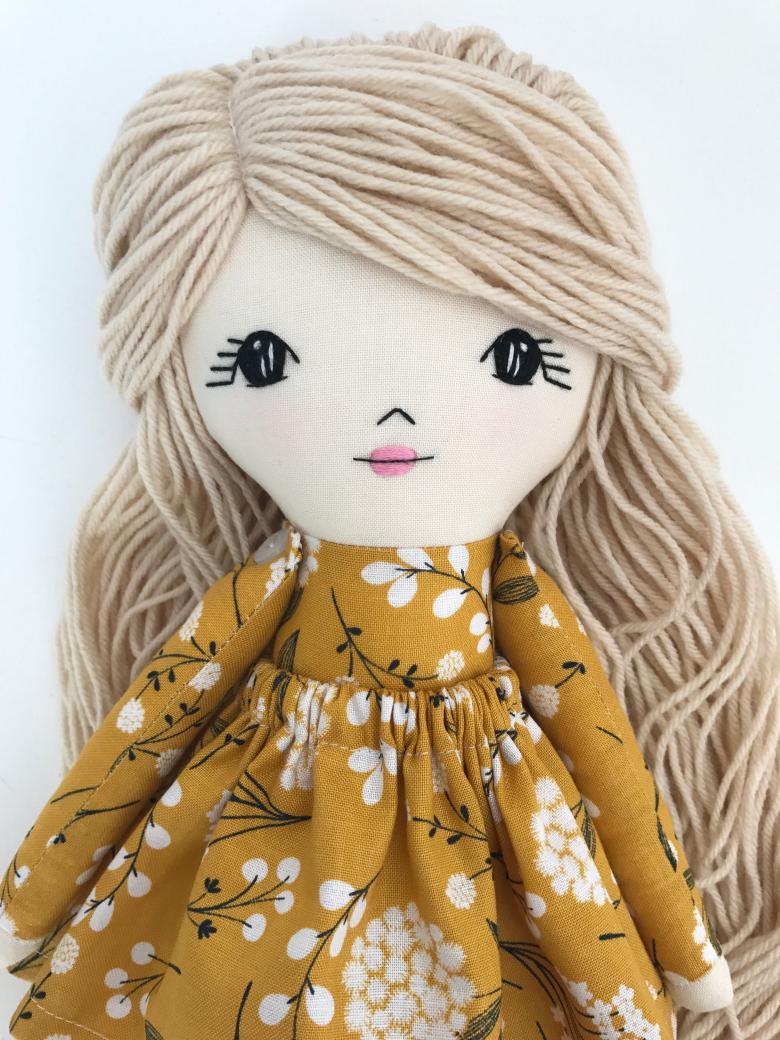
Hair
Well, what a doll without a hairstyle? Hair can be made also from fabric. To do this, you can use tresses, that is, artificial or natural hair, which are used in beauty salons to add volume to the hair. The easiest way is to glue them on. In the middle of the head a marking is made in a circle. Glue is smeared along this line.
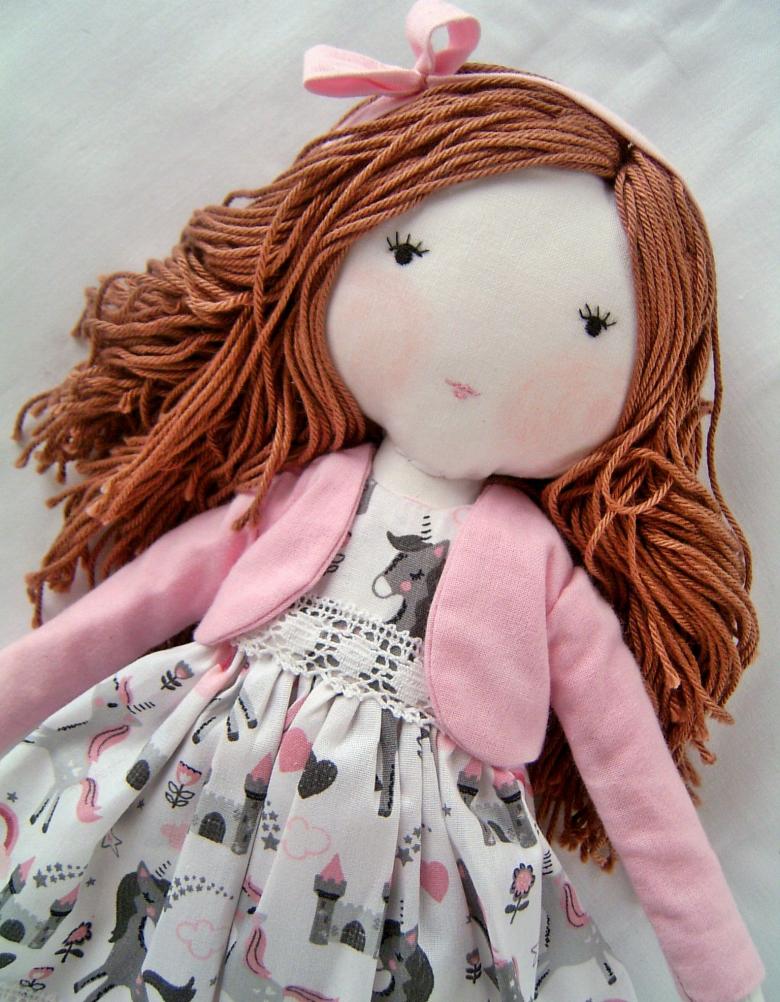
Tip: To get even strands, you need to fix the tresses with pins to the glue layer. As the glue dries, remove the pins.

If the hair will be sewn on, you need to sew in a spiral.
How to make a pattern drawing
You need to print the original size scheme and cut out the parts.
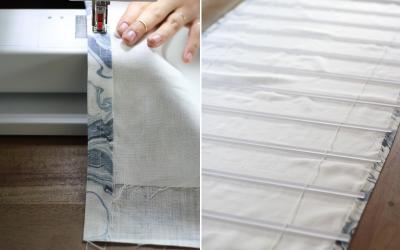
You need to attach the resulting stencil to the fabric, securing it with pins.
To work the seams, you need to trace with chalk or pen the stencil, stepping back from the edge by 2 cm.
That's all! Now the details for sewing are ready.
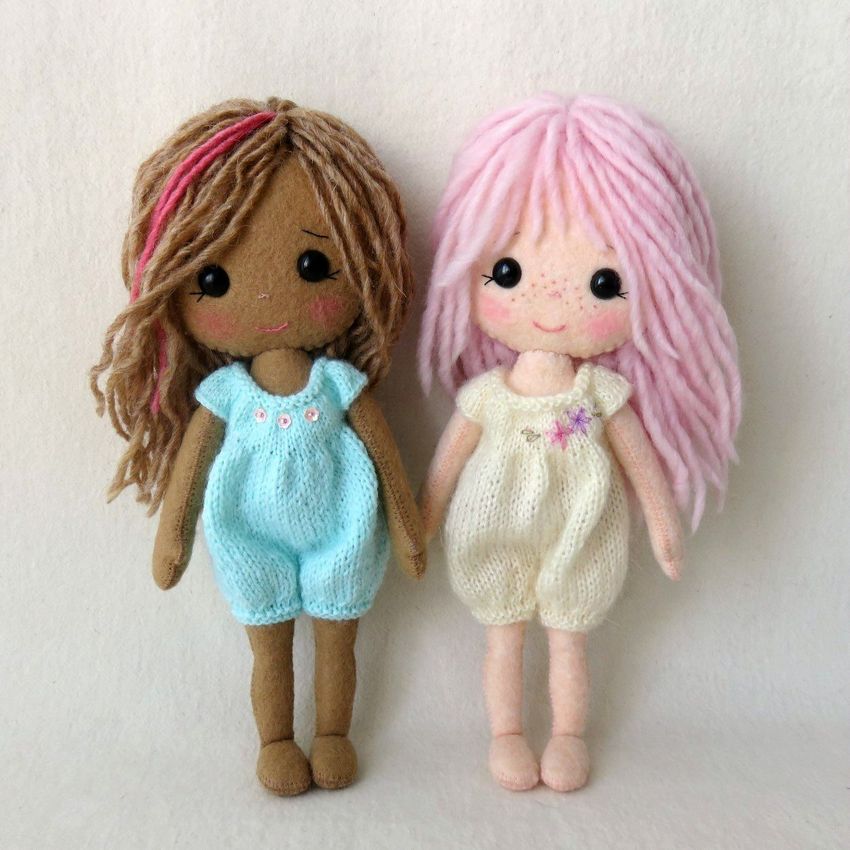
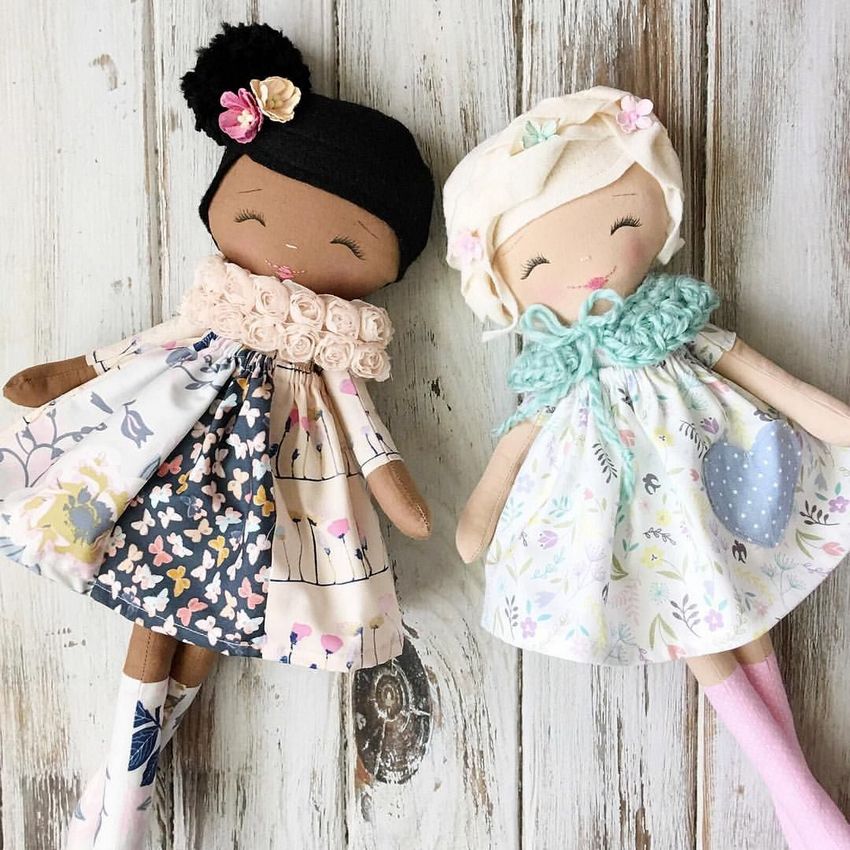
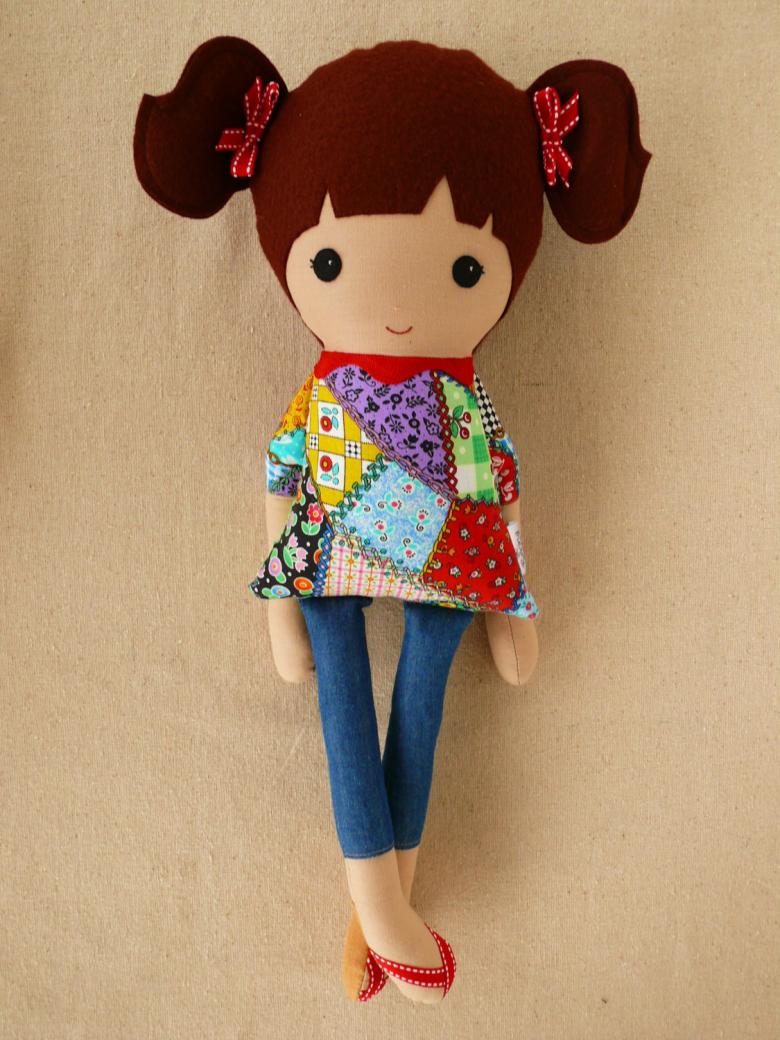
Dolls made of felt
These dolls are very soft and environmentally friendly. You can safely give them to children and do not worry that the child may be allergic. Such material is very easy to work with, plus it does not lose its shape and does not crumple. Even if it is strongly pressed, it returns to its original position.

Felt is very easy to use. Even if the right side is mixed up with the wrong side, there is no need to re-stitch, because the felt is the same on both sides. The material does not form lint. Felt dolls are very loved by children of different ages.
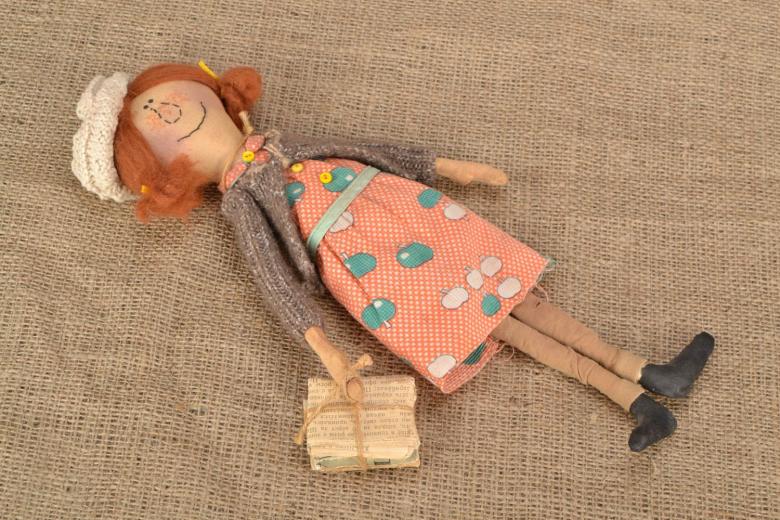
Folk doll
Zakrutka doll is an indigenous Russian tradition of making national doll figures. In Russia, this doll was the most common children's toy.
To make it, you will need not many things:
- you need a fabric square of 20 by 20 cm.
- You need to fold the edges on all sides.
- put foam rubber or absorbent cotton for stuffing.
- roll up into a roll.
- In the middle of the roll pull a thick thread. Exactly the same need to make a higher to get the head.
- Another 10 cm by 10 cm cloth is needed.
- The twisted roll is placed in the middle of the fabric, cotton is added and covered with the material, and then twisted with string. You should get the body with the head.
- Then you need to straighten the ends of the upper part and wrap it with thread so that you have palms.
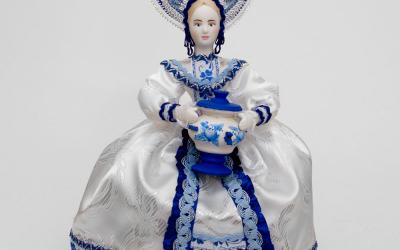
According to tradition, the face of the doll was not painted. The winding was considered as a kind of talisman. You can sew an outfit, following your imagination. If you pull the flap over the waist - you get a skirt. For such a doll is characterized by an apron. You can decorate a plain white fabric with ornaments in the form of cross embroidery. On the head you need to sew a handkerchief.

Creating such a doll is a great excuse to get together with the whole family to make a craft, which will distract children from cartoons, and adults from everyday problems. In addition, needlework is a great stress reliever and helps to unload thoughts.
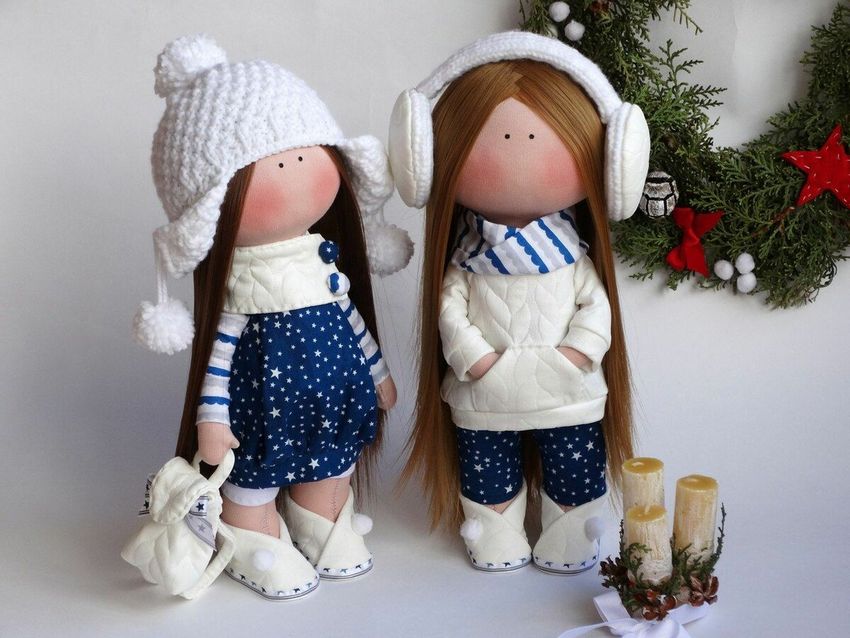
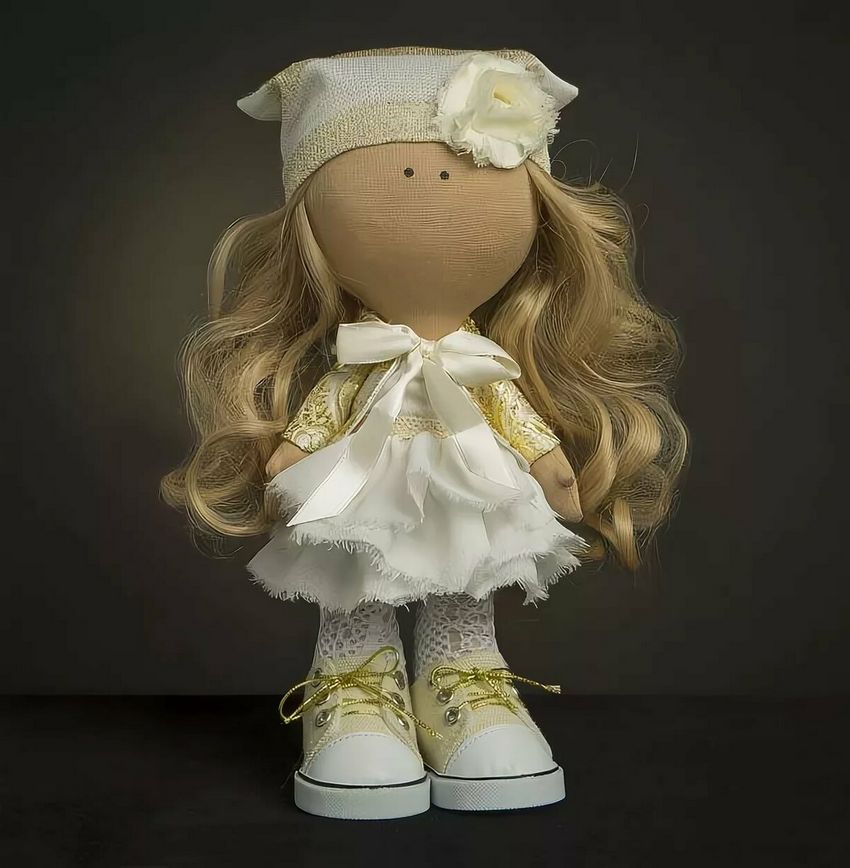
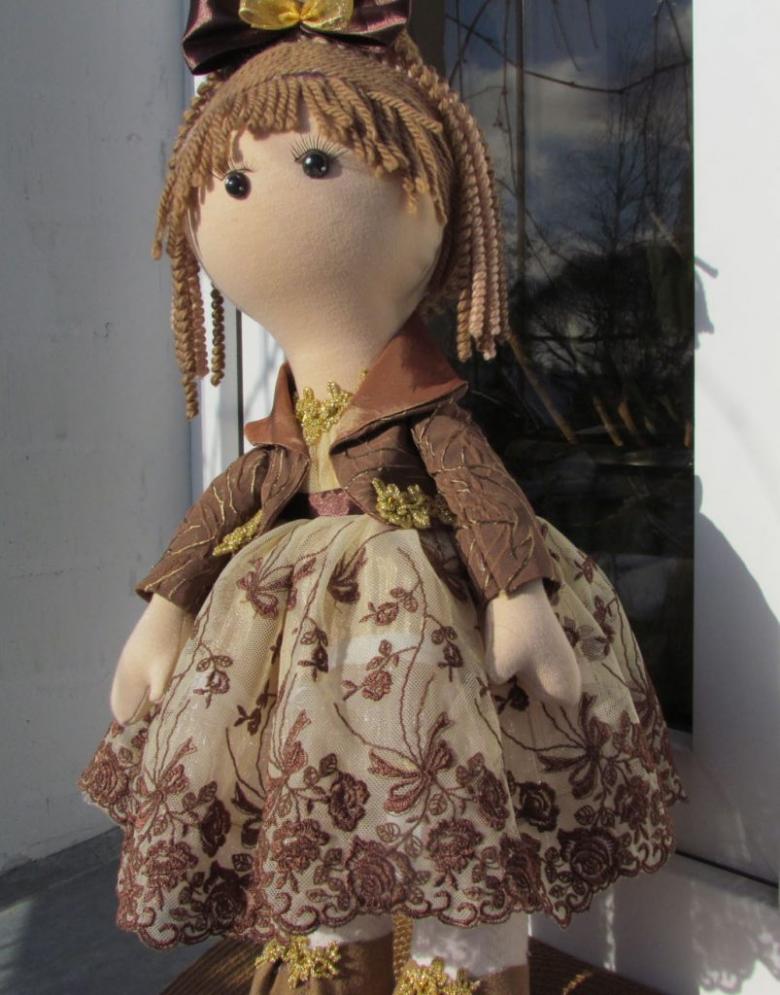
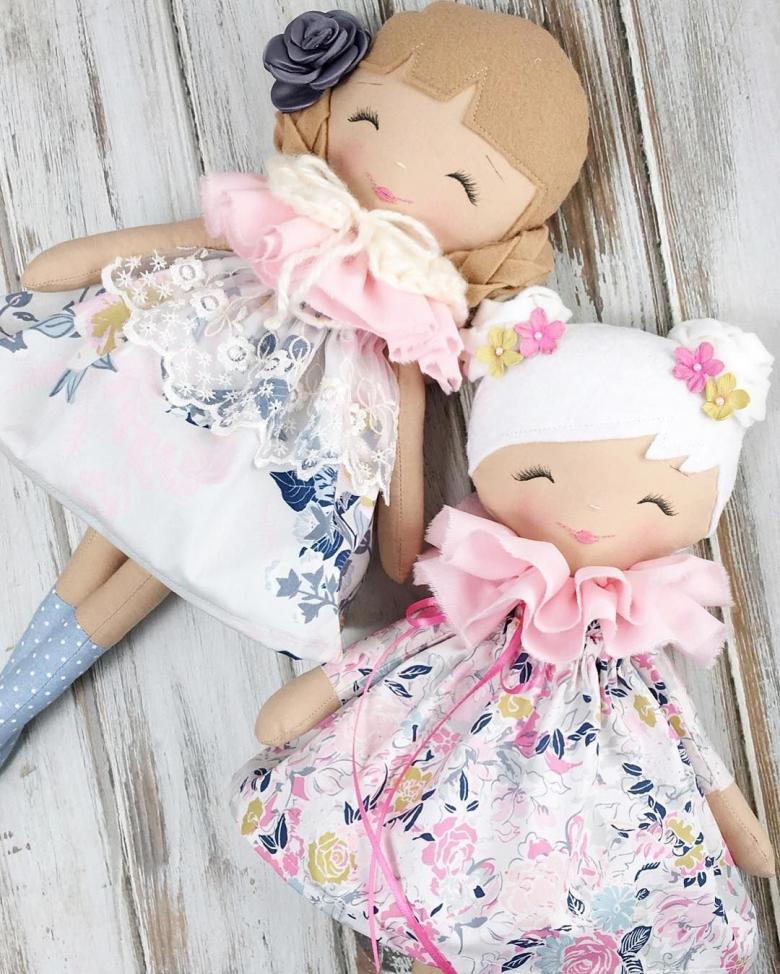
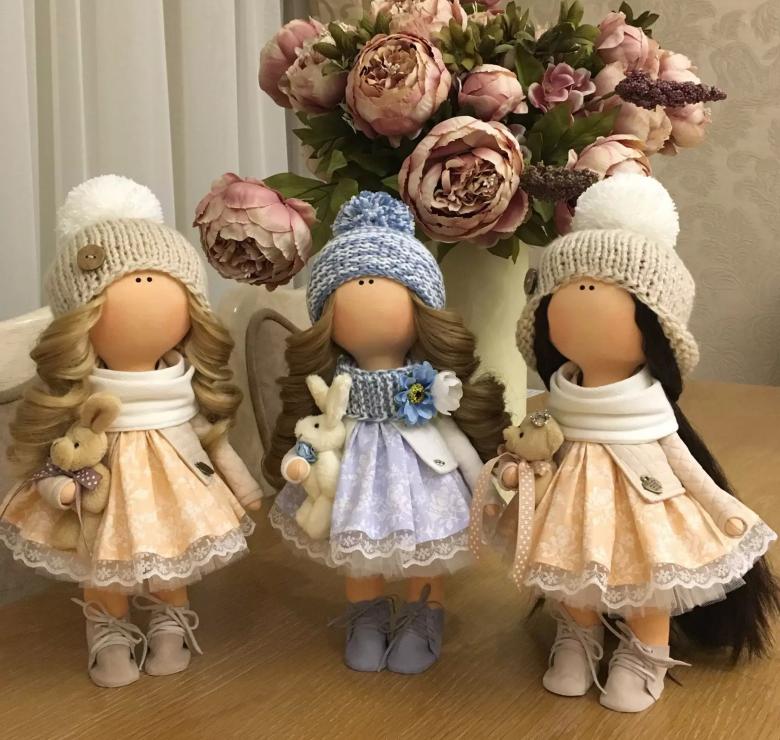
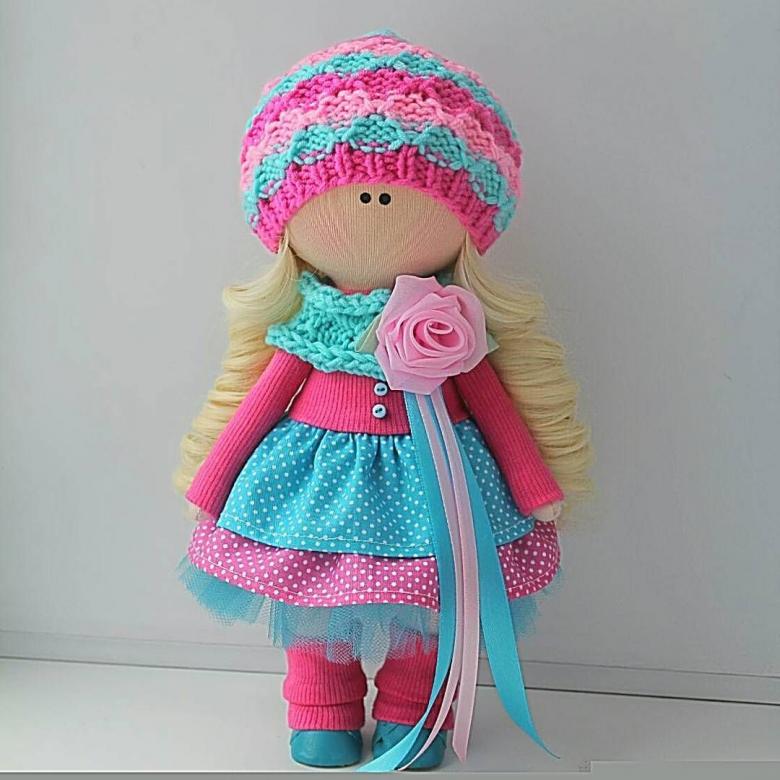
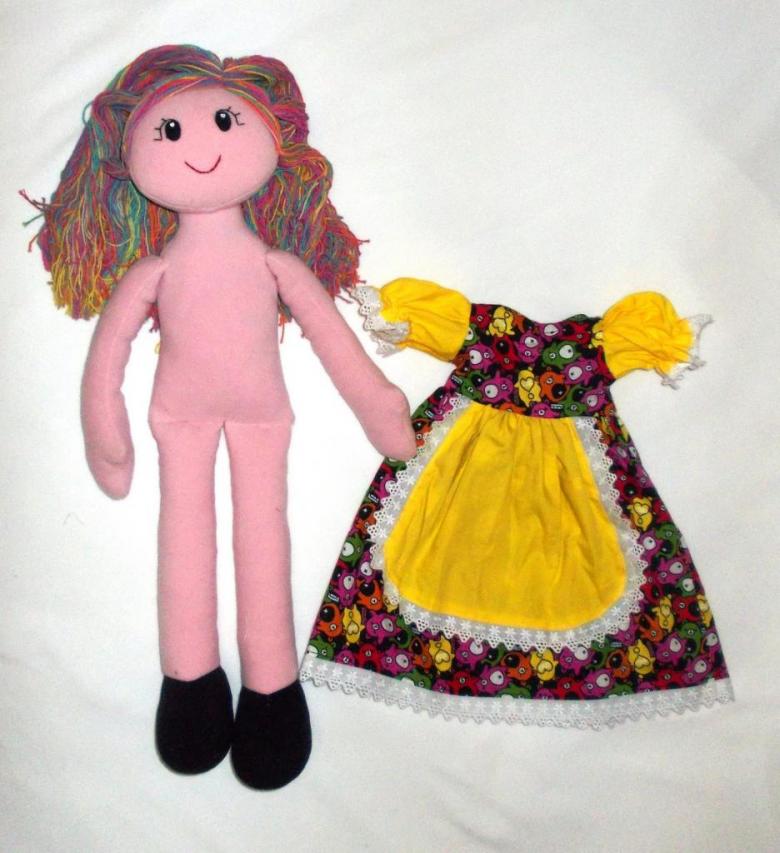
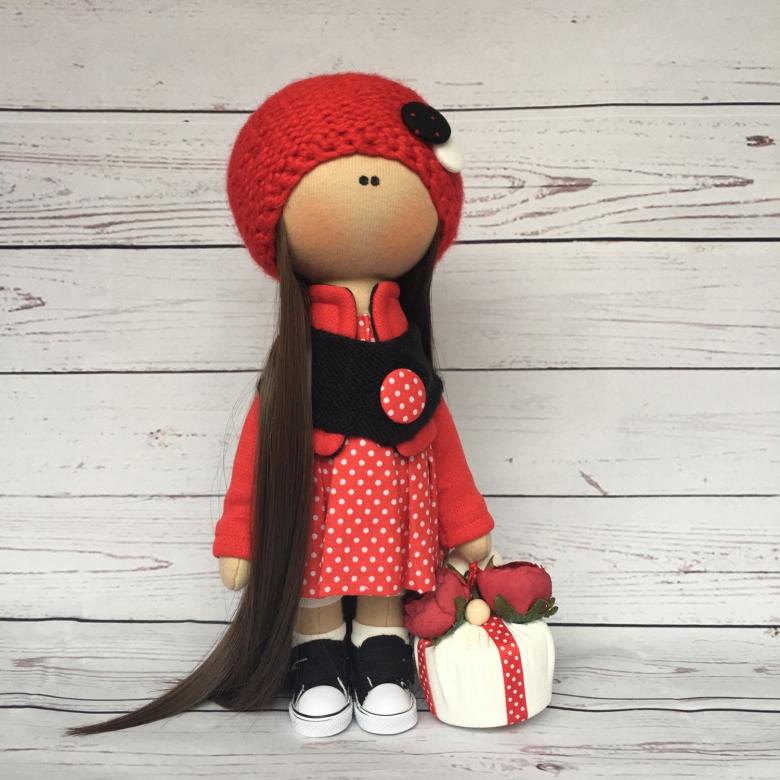
Photo ideas for sewing beautiful dolls