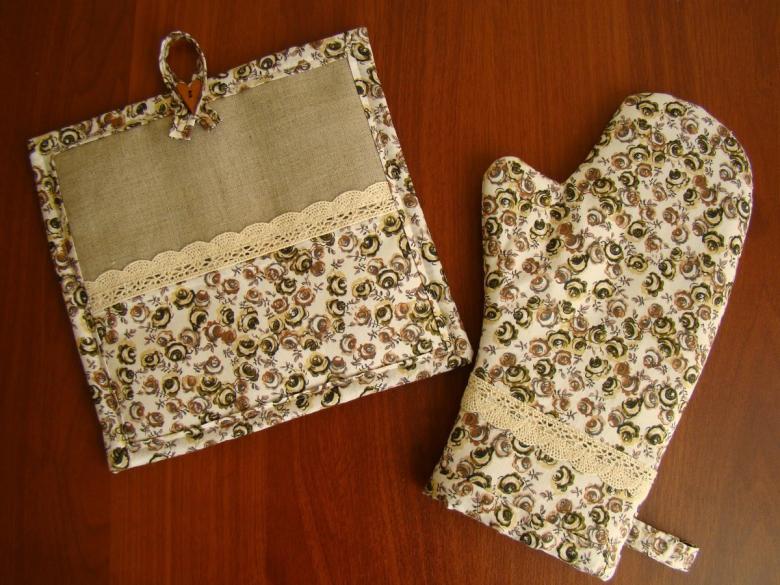
How to sew beautiful gloves for the kitchen with your own hands - patterns, ideas for beginners and skilled crafters
Stores for the home offer a huge range of various textile items for the kitchen: towels, aprons, gloves, napkins, seat cushions. All these little things are practical, decorate the interior, can give coziness and charm even to an impersonal room.

Not to say that ready-made items are very expensive, but why not save money on something that you can make with your own hands and without any additional costs? It is best to start sewing experiments with elementary things.

For example, to begin by studying how to sew oven mitts for the kitchen, and then proceed to the realization. The simplest in shape - round or square - do not require any special sewing skills, or even the presence of a sewing machine!
Where to start
Before you start work, you need to understand why you need a tack. If it will perform only a decorative function, the composition of the fabric does not matter. For a thing used for its direct purpose, you should choose only natural fabrics.
Help: you can use old clothes, including denim, unwanted sheets, towels. They will serve as free expendable material and get a "second life".
Then you need to choose a filler. It is necessary for the product to reliably protect your hands from burns. Suitable materials for laying inside are:
- batting;
- felt;
- felt;
- terry cloth or "waffle" towel.
If it is necessary for the finished tack to hold its shape well, then you will additionally need adhesive fleece.
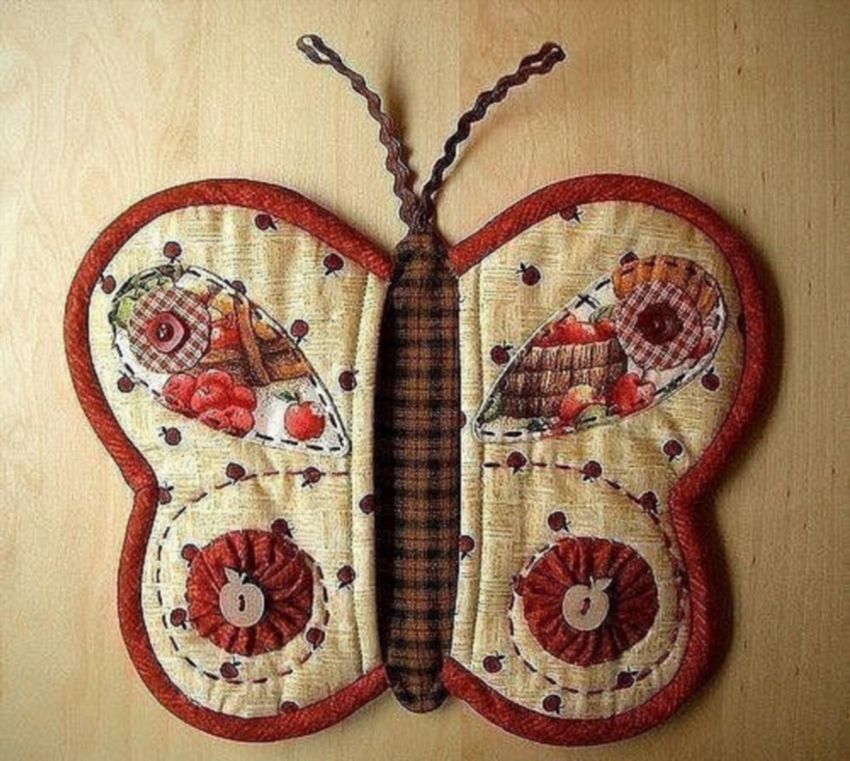
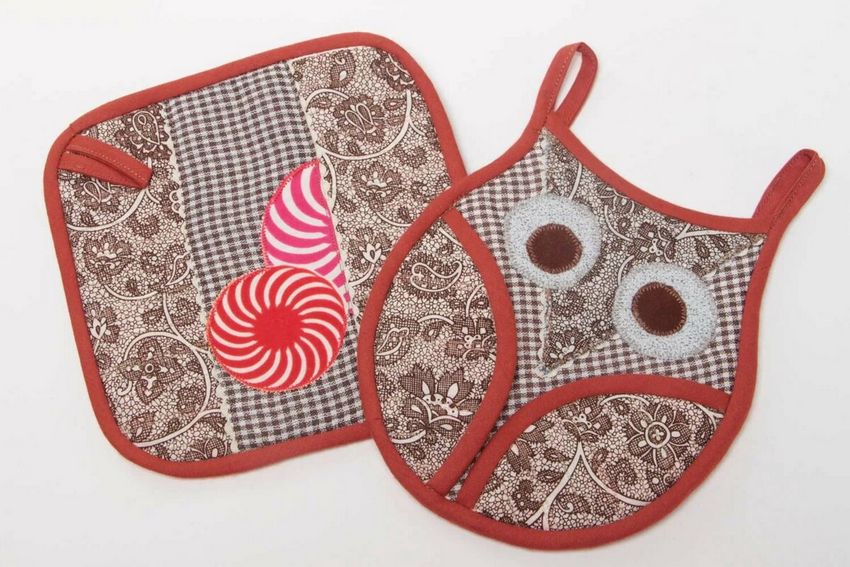
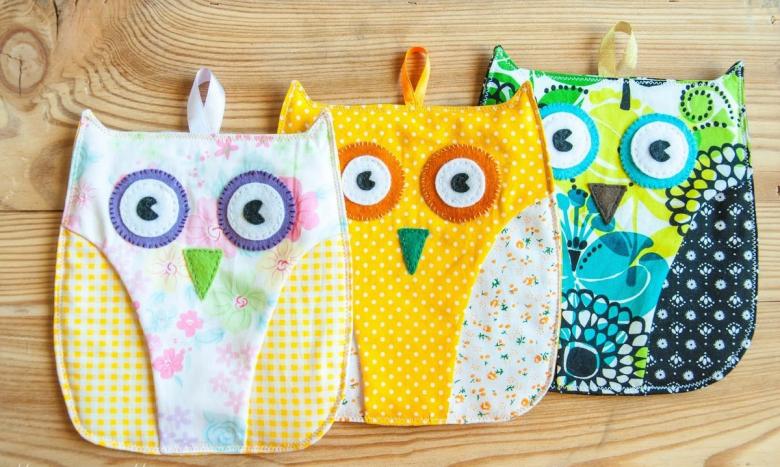
You should also think about the decorations and the loop-holder at the stage of the idea. By the way, you can involve children in the implementation of your ideas, they will come up with something unexpected and original. For example, make an oven mitt that resembles their favorite T-shirt or toy. However, for the first experience, it is better to choose a simple shape.
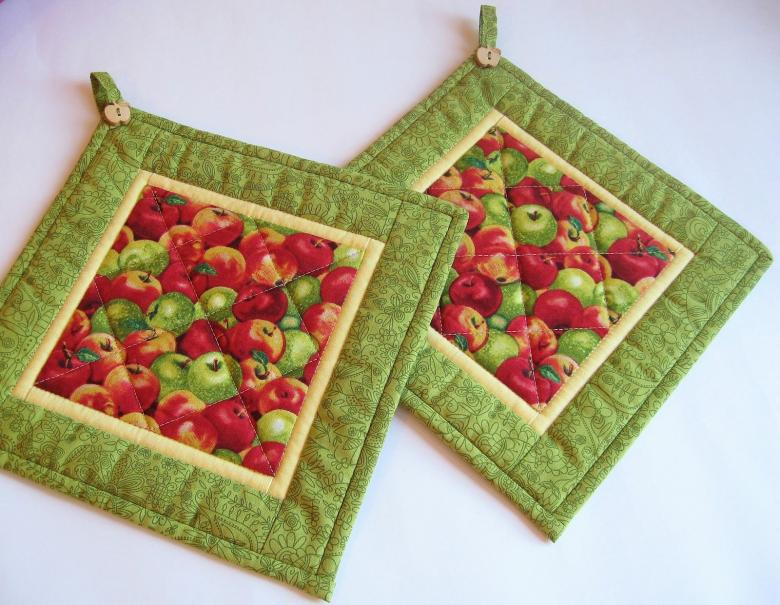
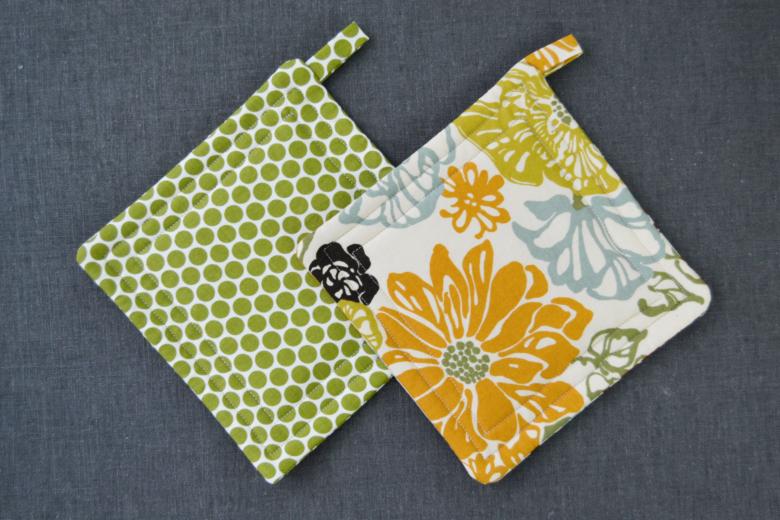
The simplest oven mitt is square. At first you can try to sew it. The standard size is 20x20 cm, but each hostess chooses the optimal parameters for herself.
The classic square tack
For such a product you need to prepare: 2 pieces of the main fabric, material for laying inside, braid, scissors, threads and needles.

How to sew a square oven mitt:
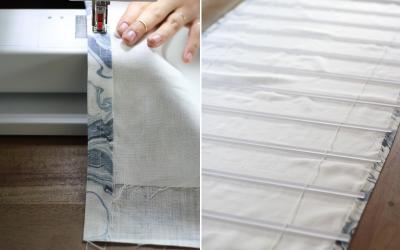
- Wash and iron the main fabric of your choice;
- Make a paper template to decide on the size and to avoid faults when cutting the product;
- attach the template to the fabric and trace it, adding 1 cm on each side for allowances;
- cut two squares from the main fabric;
- transfer the templates to the laying material, folded in half;
- cut out a square without allowances;
- fold the squares of the main fabric facing each other, put the insulation on top;
- Sew the three sides either with a machine or by hand with a stitch "over the needle" or chain stitch;
- Turn the product, iron, fold in the free seams, insert the loop of braid into the corner, sew everything together.

Beginner needlewomen are afraid that when you turn the product corners lose their shape or deform lined batting. Another way is suitable for them: repeat the first six steps from the previous description.

The seventh step is as follows: on the wrong side of the first main square put the insulation, on top cover the second main square with the front side up. Stitch all sides, stepping back from the edge of 0.7-1 cm. To decorate the cuts, you will need an oblique selvedge.
To make a braid on a suitable or contrasting fabric on the diagonal draw a line at a distance of 5-6 cm, cut it, fold in half, smooth. The resulting tape can trim the edge of any product. It is better to start with the corner, where there will be a loop. It is formed at the final stage of finishing from the "tail" of the sash.
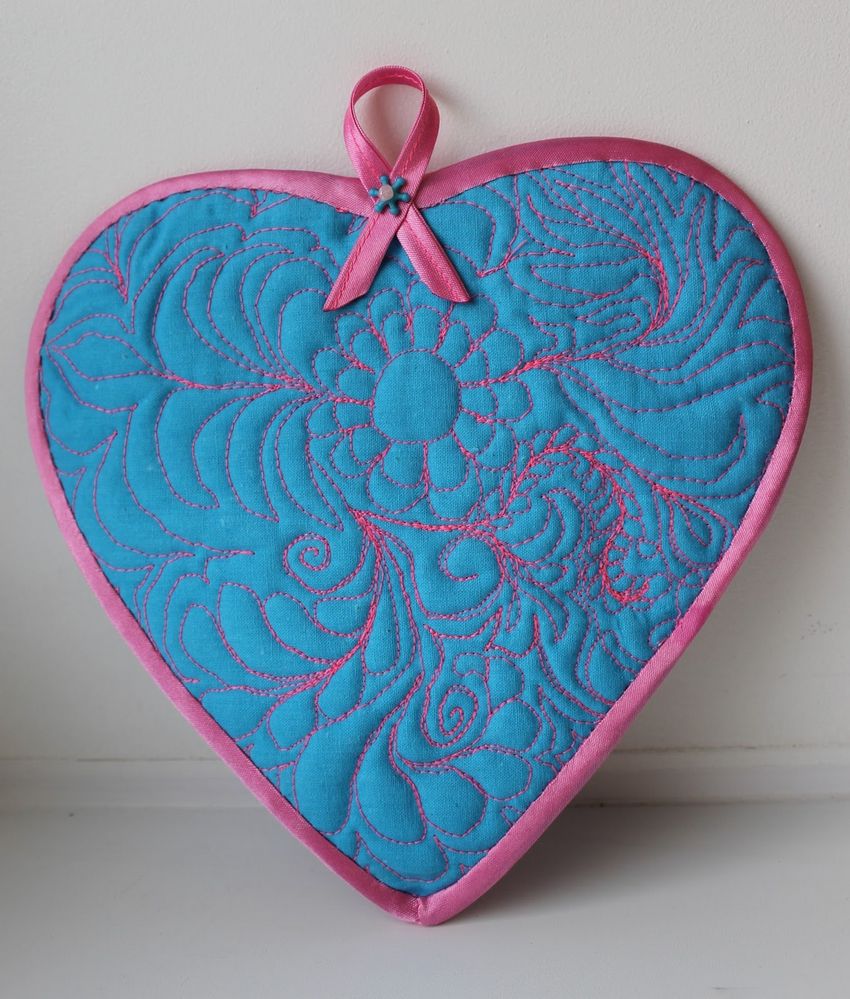
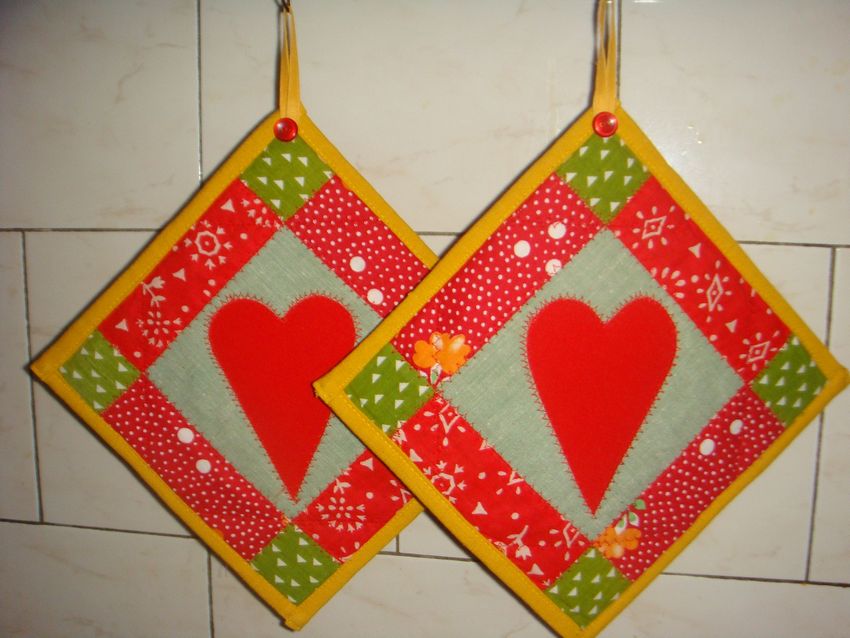
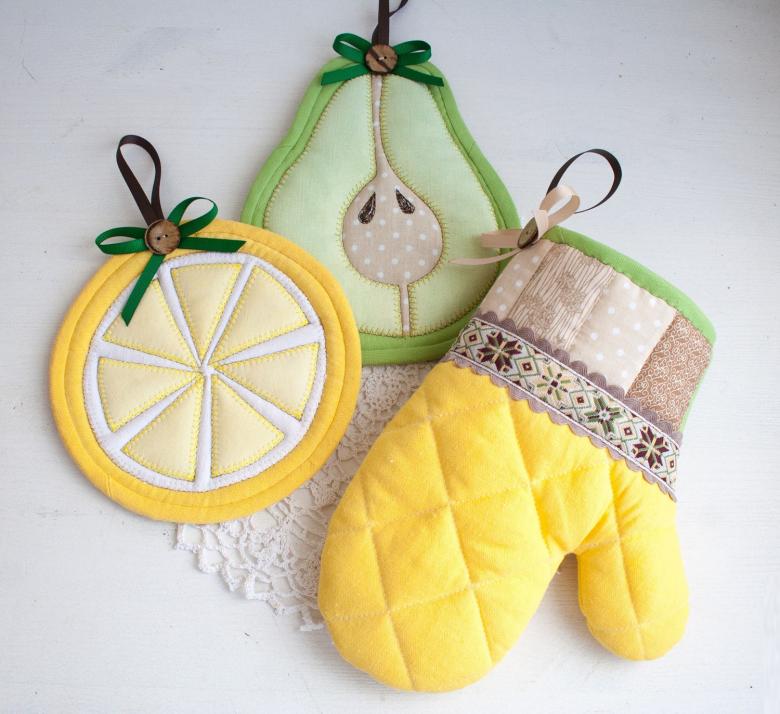
If you wish, you can quilt the tack, sew a braid around the perimeter, sew an applique on it or decorate it in some other way. It is important to remember only one thing: rhinestones, beads, synthetic lace are not suitable for decorating kitchen accessories, which will be in contact with hot objects.

Tip: If you don't have a coaster, you can use an oven mitt to replace it.
Other classic options for oven mitts
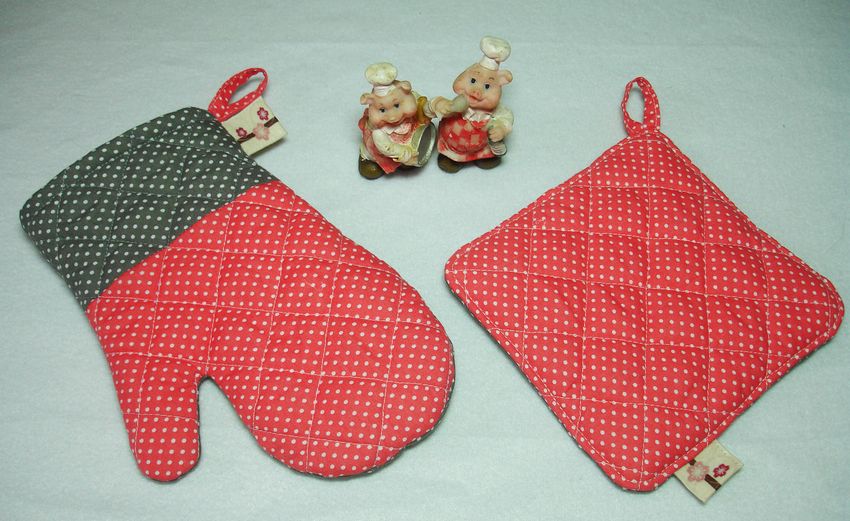
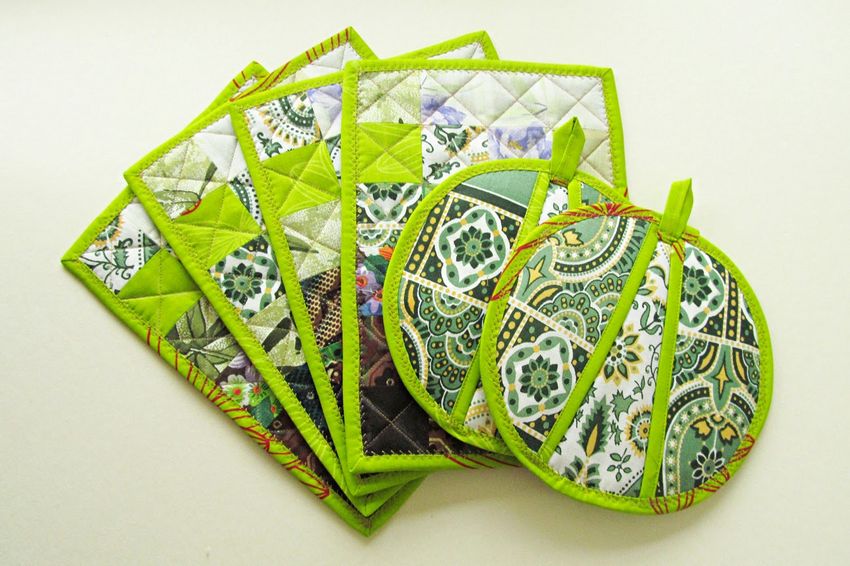
Among the many forms are considered classic square, round and mitten-shaped gloves.

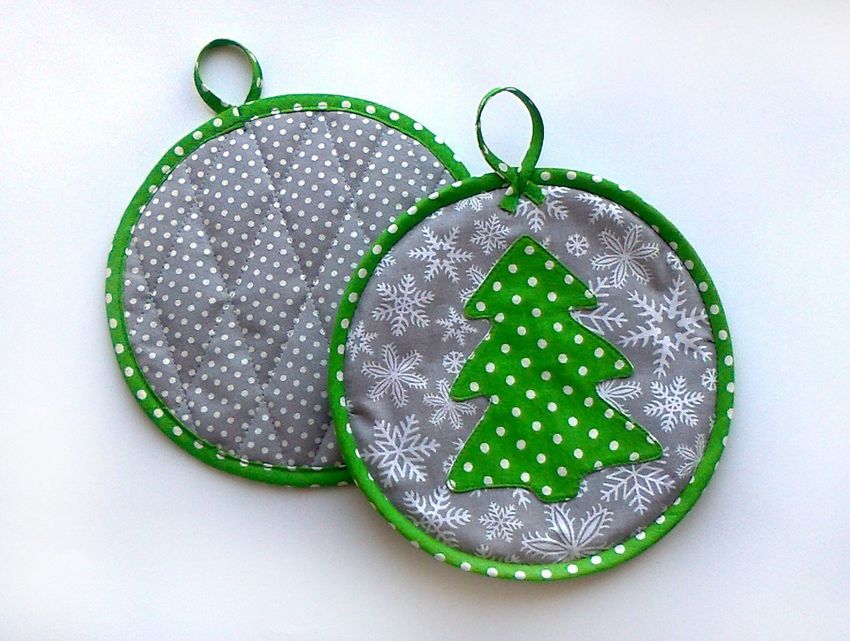
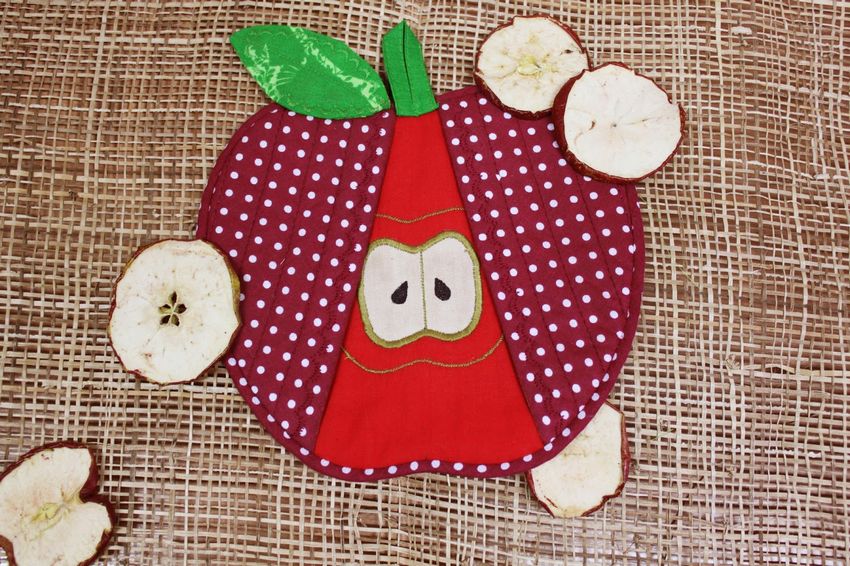
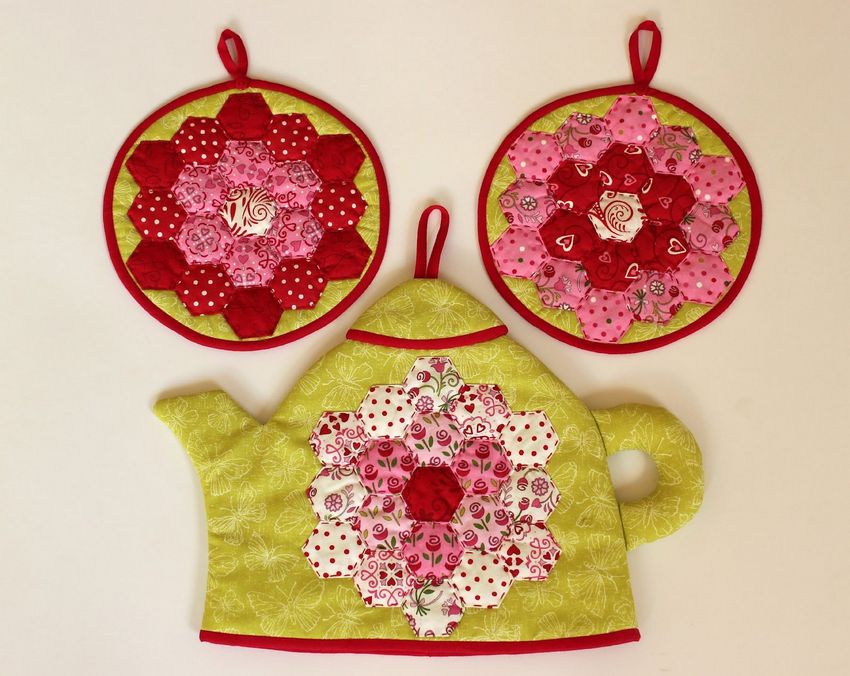
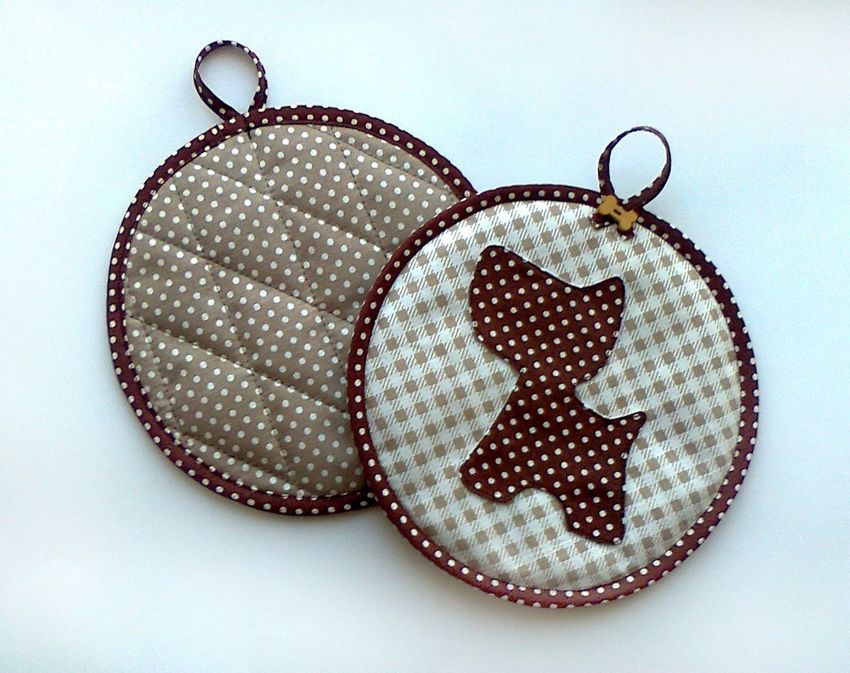
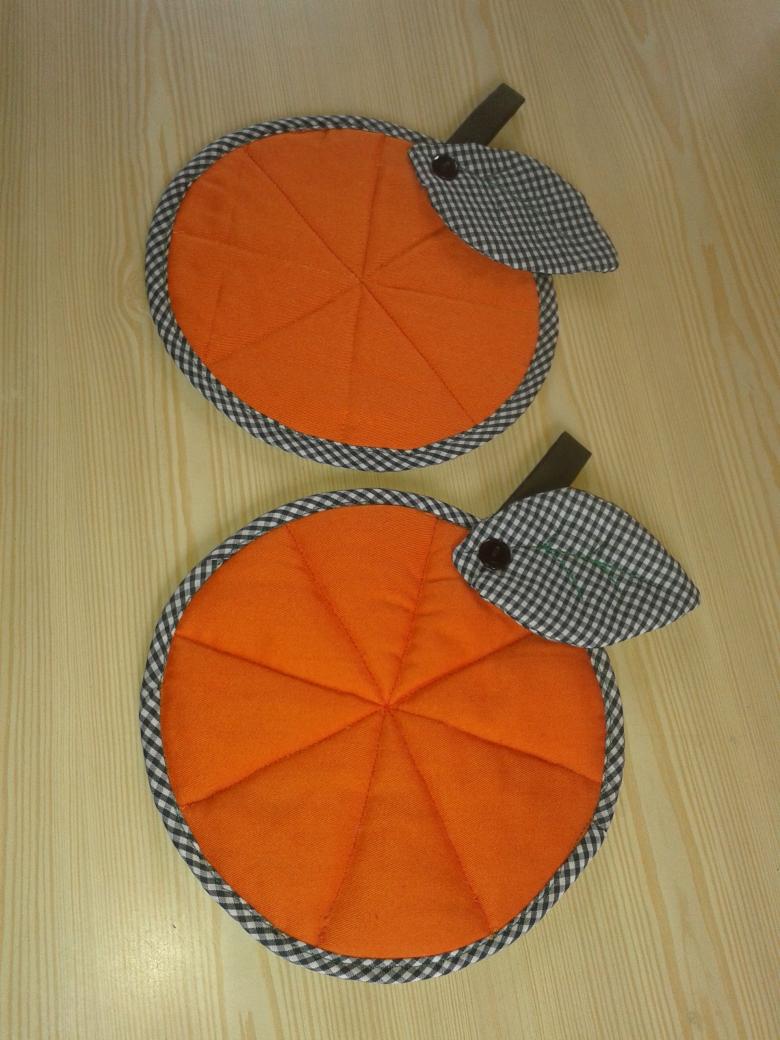
Round
These are made similarly to the square ones. If you want, you can make a whole set of the same tack in different sizes. For example, in order to remove the hot lid from the pot with a metal handle, a small diameter tack will do, and in order to get the pan from the oven, it is better to take that tack, which is larger.
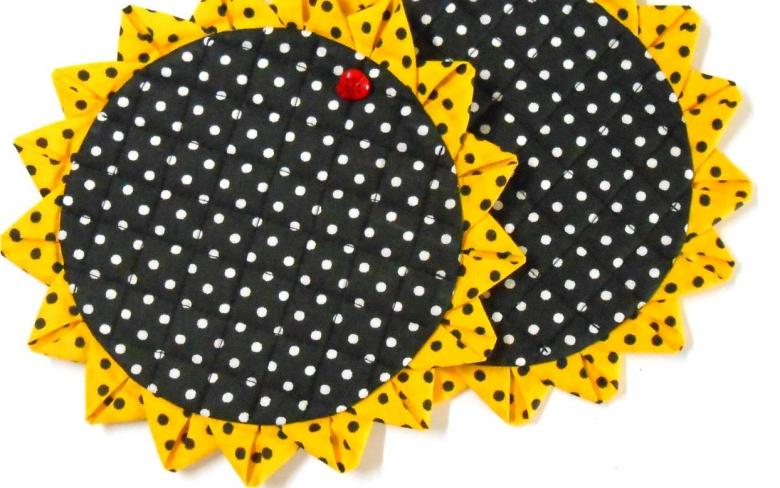
Important: There's a pattern for the pattern in every home - a regular second-course plate has the perfect diameter to make a template for a small oven mitt.
Mittens .
It is good in that it protects not only the back of the palm, but also the outside. With the help of the mitt it is convenient to take the tray out of the oven, it is indispensable when working near the wood-burning kebab oven.
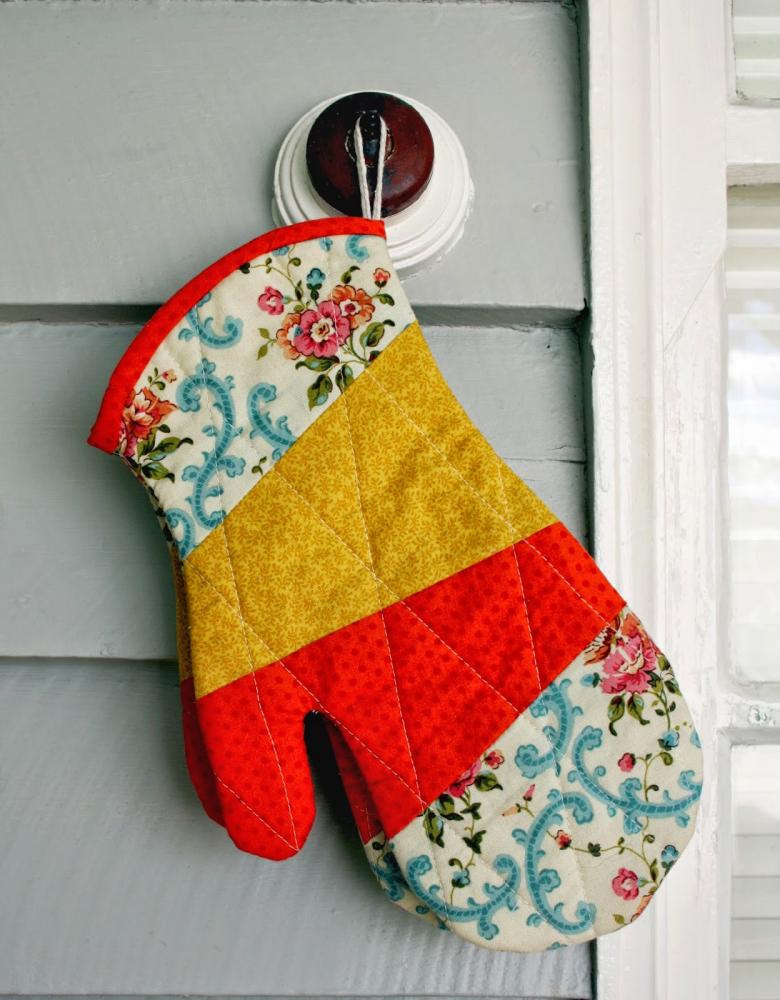
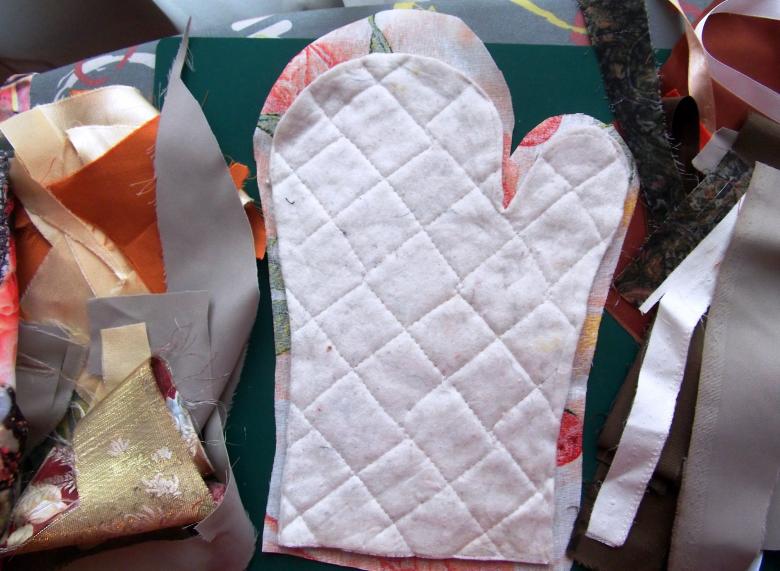
To make an oven mitt, you will need a pattern. It can be found on the Internet or you can make your own. To do this, put your hand to a sheet of paper, go around it, duplicate the line obtained at a distance of 3 cm.
Important: for a comfortable wearing, the bottom of the product should have the same width as the middle part.
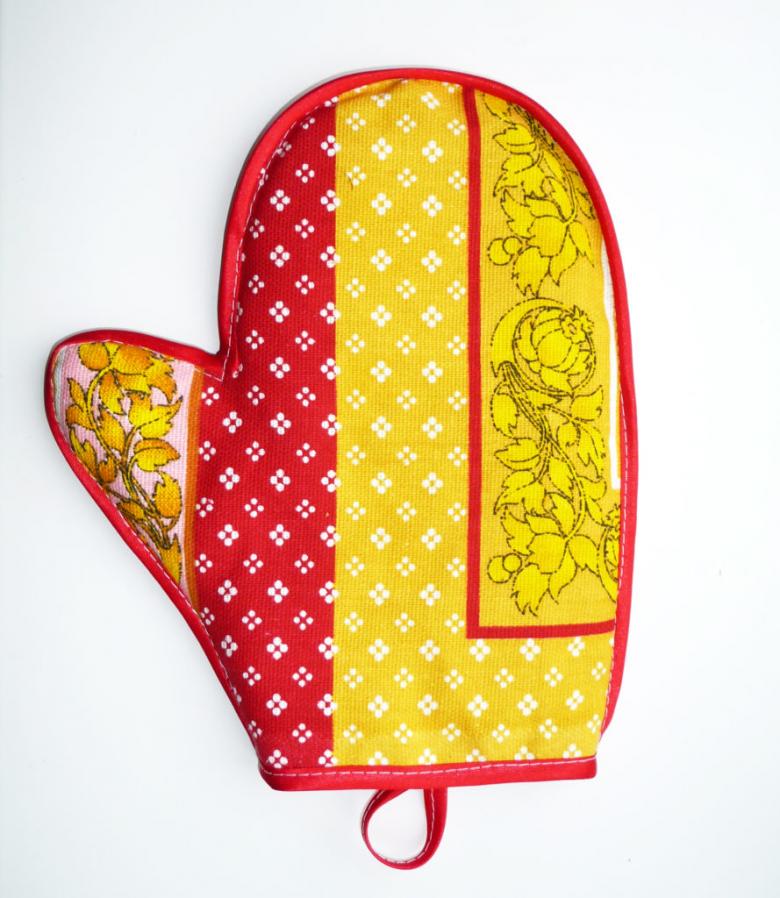
After the pattern is ready, it should be transferred to the fabric. In contrast to the square mitt, the mitten has 2 parts cut from the main fabric, 2 - from the fabric for the inner trim and 2 - from the insulation.
Technology:
- fold like a pie: the main part for the inner trim face down, the insulation, the main part face up;
- Sew around the perimeter, stitch sideways, along or diagonally to prevent the mitten from loosing its shape while in use;
- make a second piece of the same kind;
- fold both pieces, sew, leaving the bottom open;
- Turn it out, trim the edge with braid or ribbon, attach a loop for hanging.
Modern variants of gloves
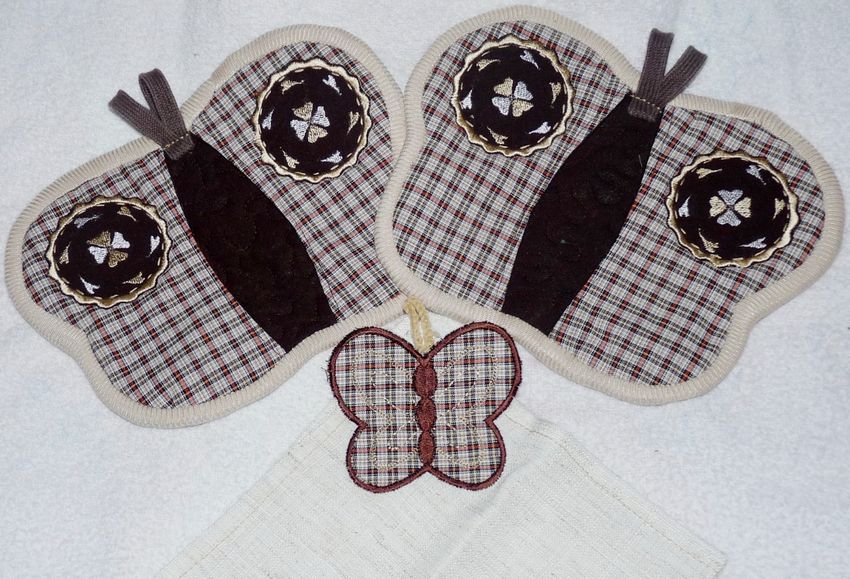
Not so long ago, silicone gloves in the form of a duck's beak, a dog's mouth, a frog's muzzle appeared on sale. They consist of two halves: one for the thumb and the other for the other four fingers. With the help of such a tack, it is convenient to remove the forms for baking from the hot stove.

Is it possible to sew a similar one? Of course! The main difference of this tack from the others - three parts: one large and two smaller. You can sew an oval or rectangular oven mitt as a practice pattern.
Manufacturing technology:
- On a sheet of paper, draw a rectangle 25x20 cm;
- transfer it to the main fabric folded in half, cut it out to make two parts;
- make parts from the padding material according to this template;
- fold so that the filler is between the wrong sides of the base, sew;
- repeat steps 1-3, but cut each piece into two equal parts;
- from the resulting halves to sew two blanks, perform finishing of the outer slices with a braid or stitching;
- impose on a large blank two small trimmed slices to each other to form facing each other pockets-valves;
- Sew around the perimeter, decorate the seams, sew the loop.
Now you can roll up the tack to check the convenience.
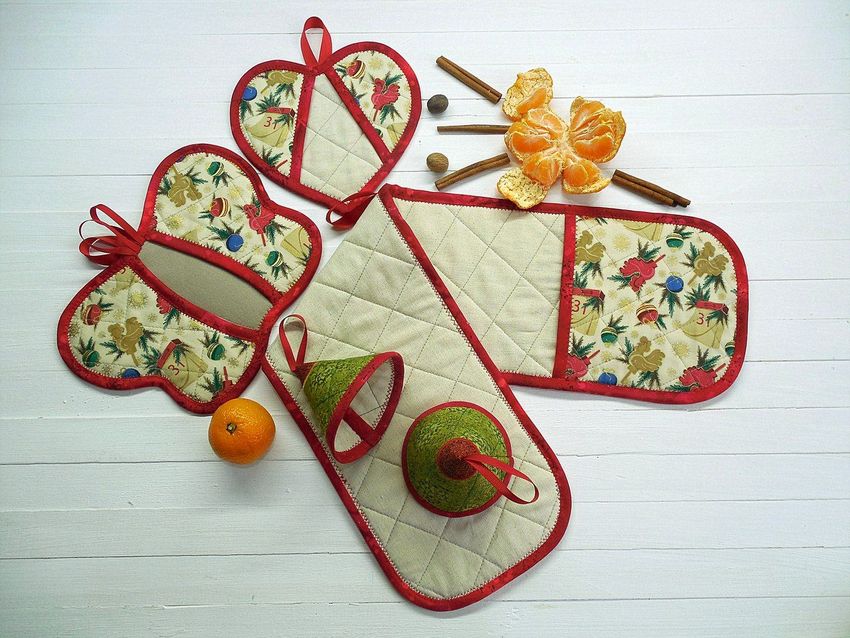
Tip: tack with valves can be used as a pocket for cutlery used for table service.
Based on this pattern, you can sew an oven mitt that can be used to conveniently pick up a pot or a ceramic pot. It looks like a scarf with pockets on the edges. The length of the largest piece is calculated based on the size of the largest pot used. You need to measure the diameter and add 20 cm. The width is 20 cm. For the two small parts, cut rectangles 15x20 cm.
What to do if there is not enough fabric
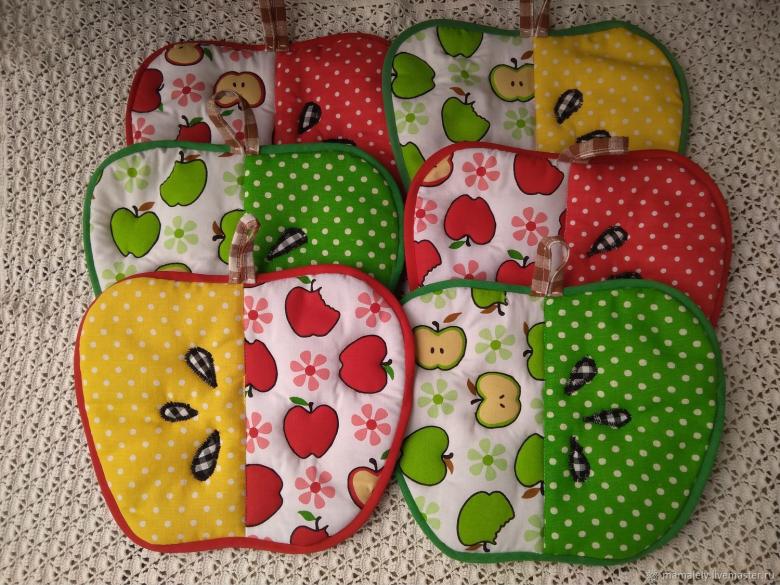
This problem often arises when unwanted things are used as material for tacking. Sometimes it is impossible to cut the necessary number of identical parts from them. There can be several solutions:
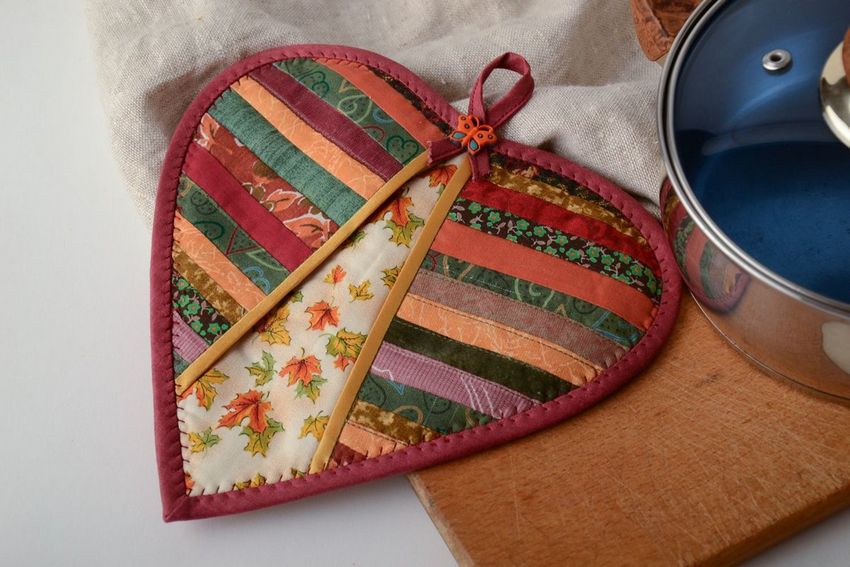
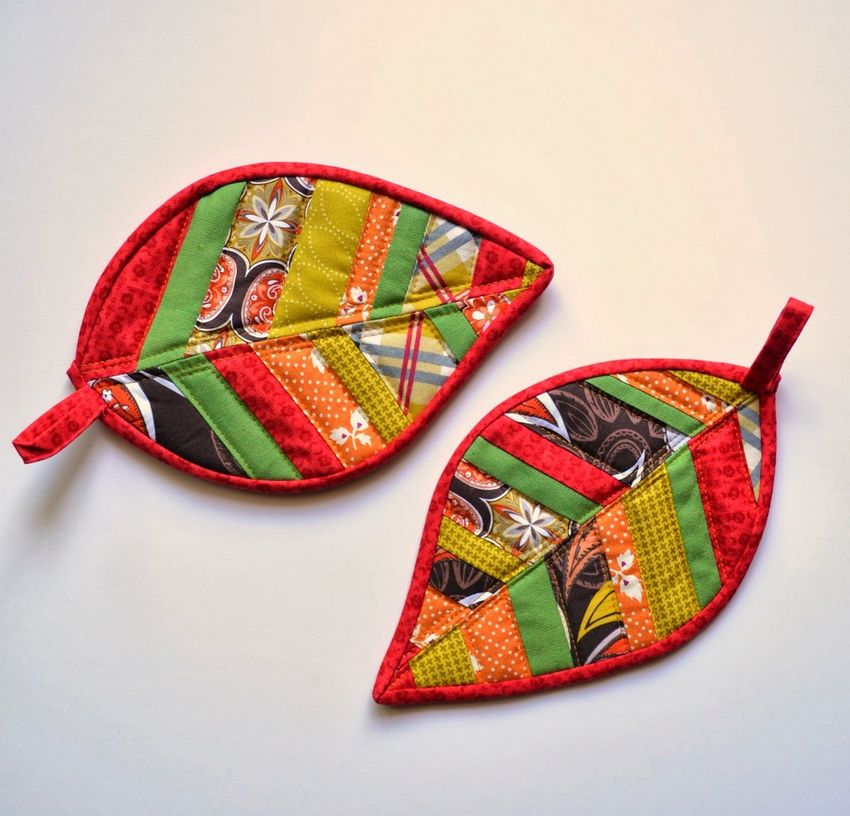
- Cut each piece from a different fabric;
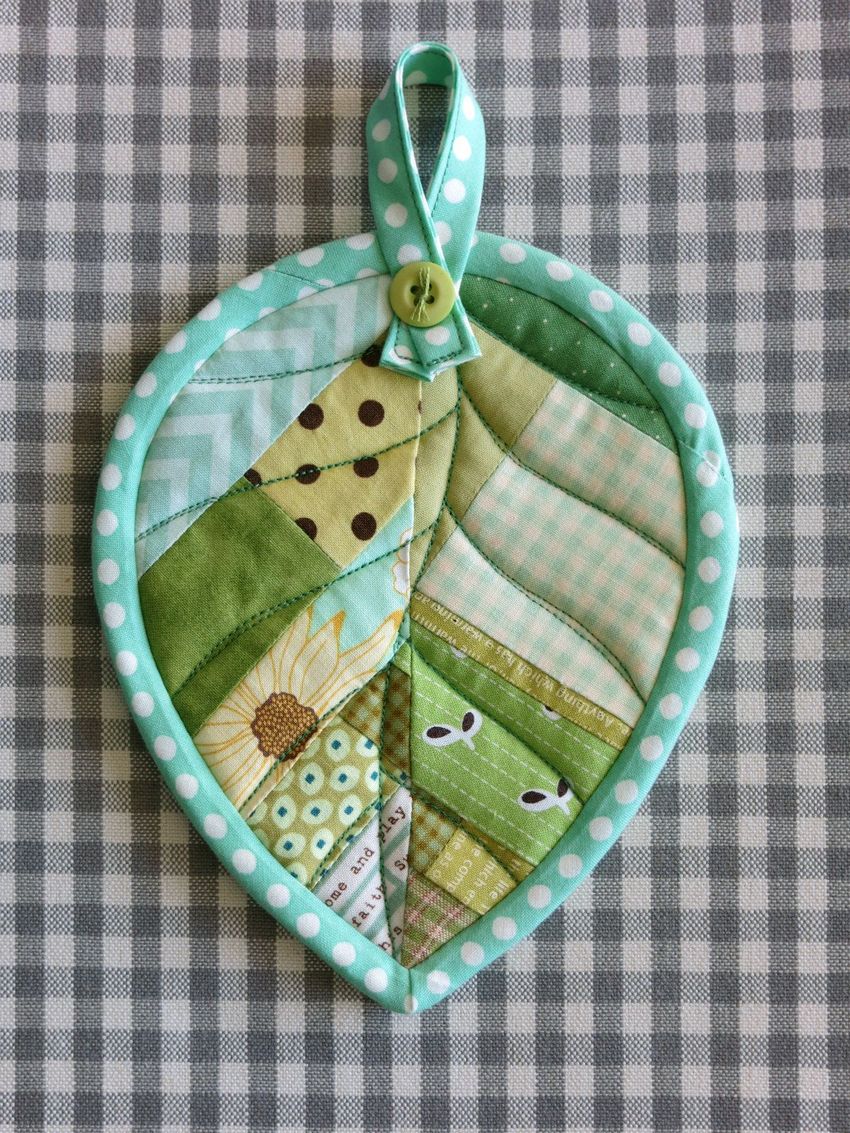
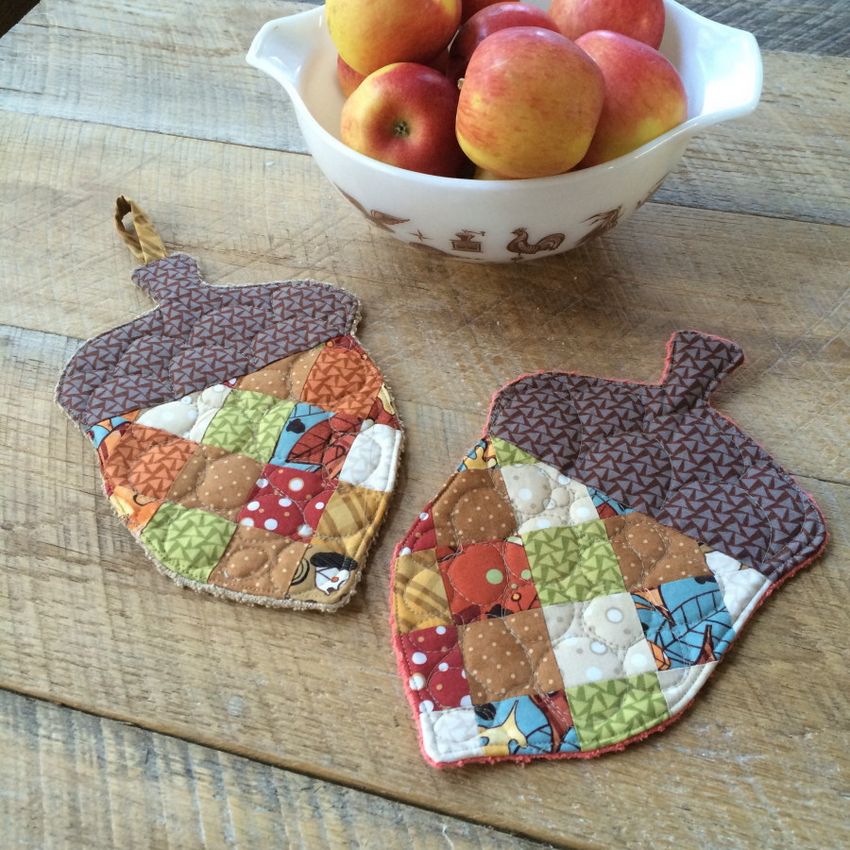
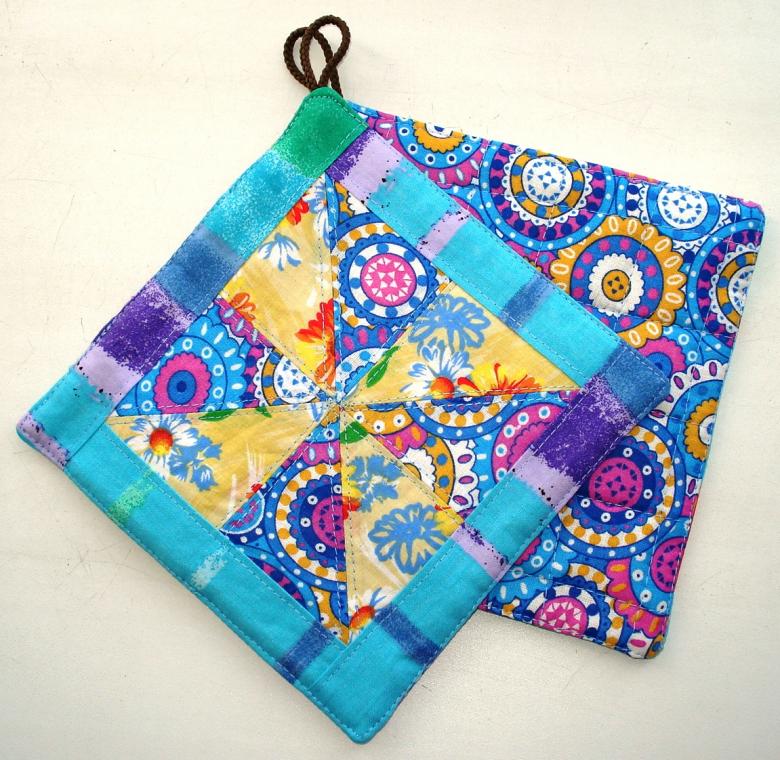
- first "assemble" each part from several rectangles, squares, triangles, iron, and then proceed to sew the finished product.

Options for using a tack for the kitchen
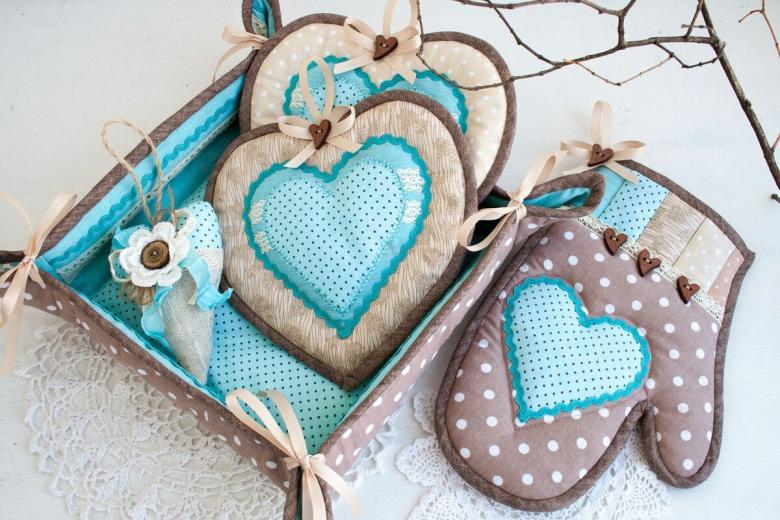
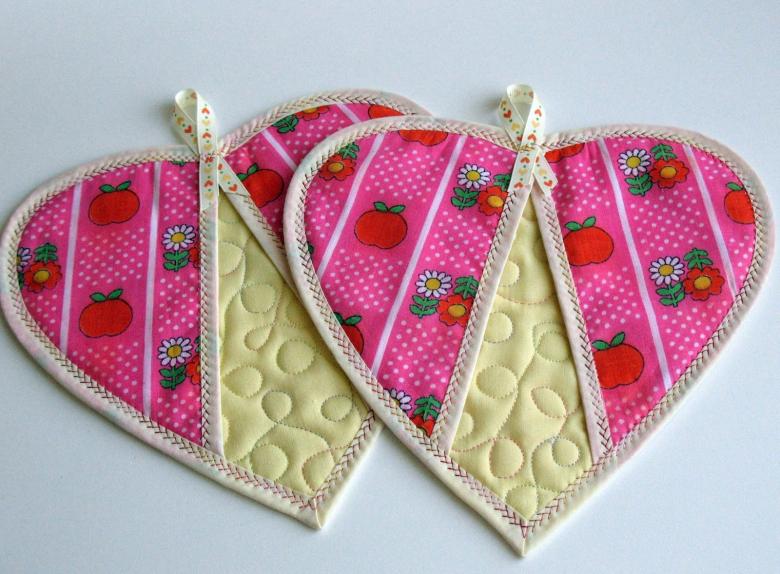
The main and main purpose is to protect the hands during cooking. But its possibilities are wider: home decor, the implementation of creative ideas, teaching sewing skills to young children, a gift.
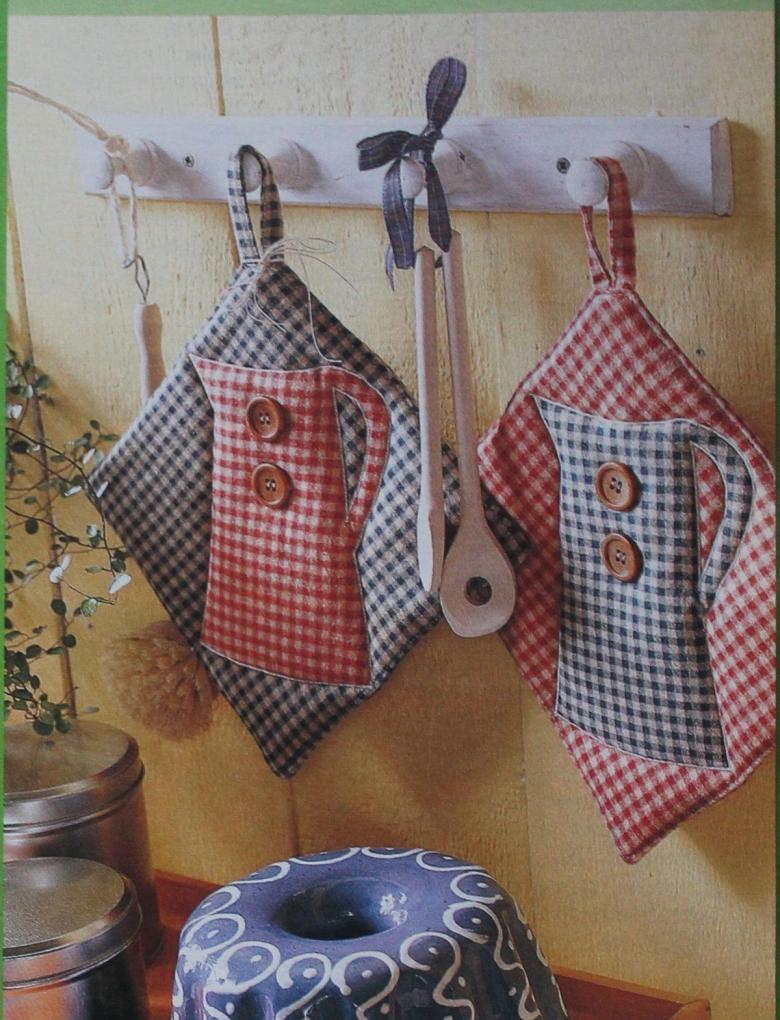
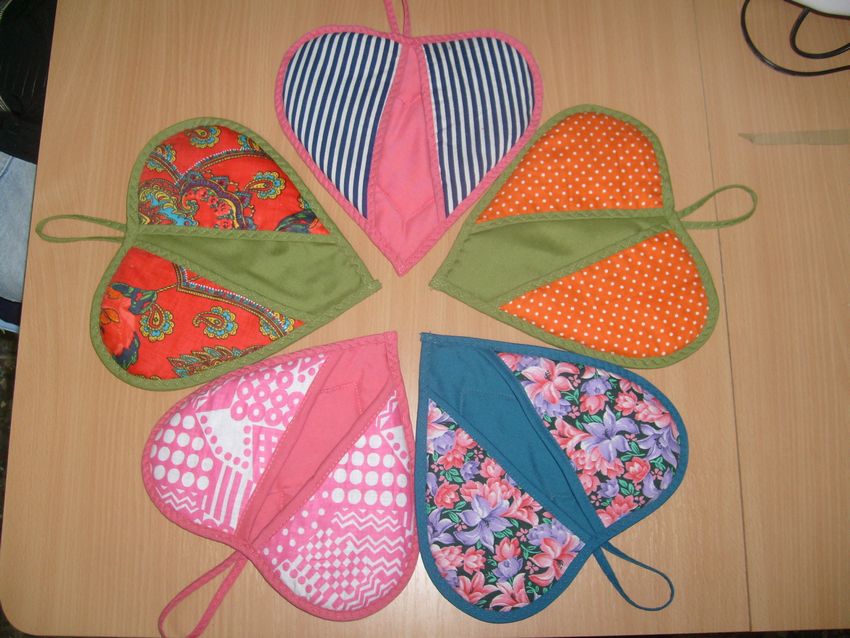
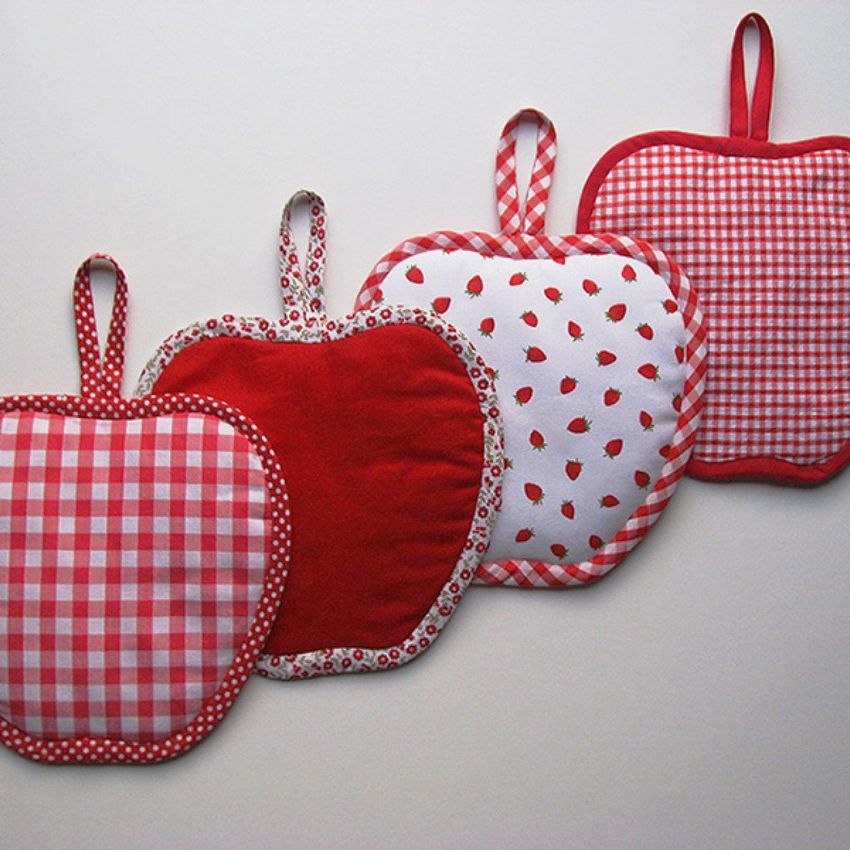
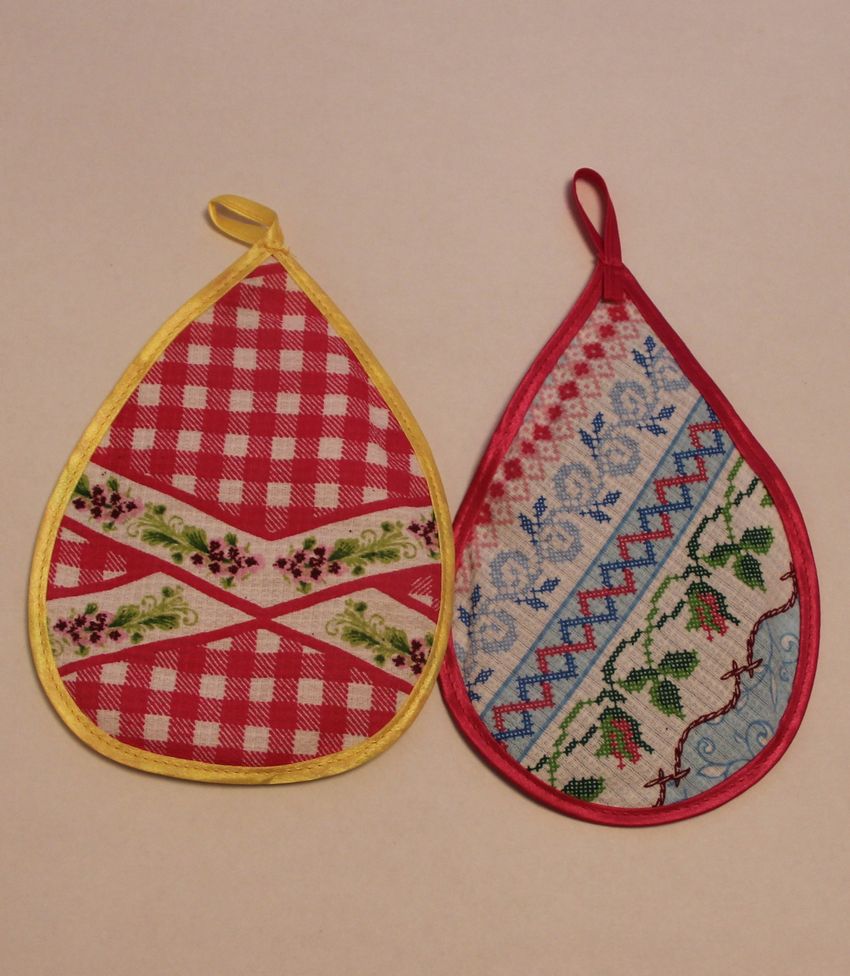
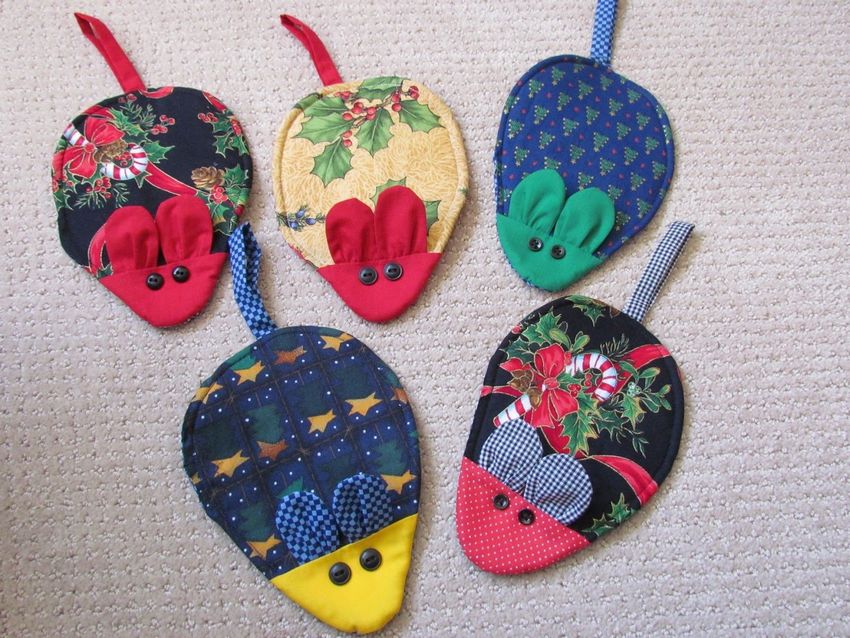
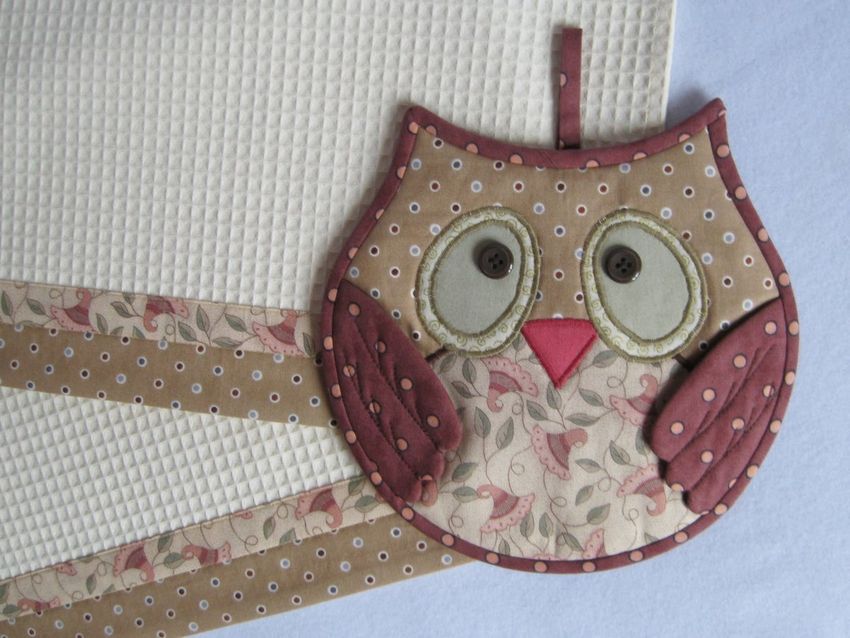
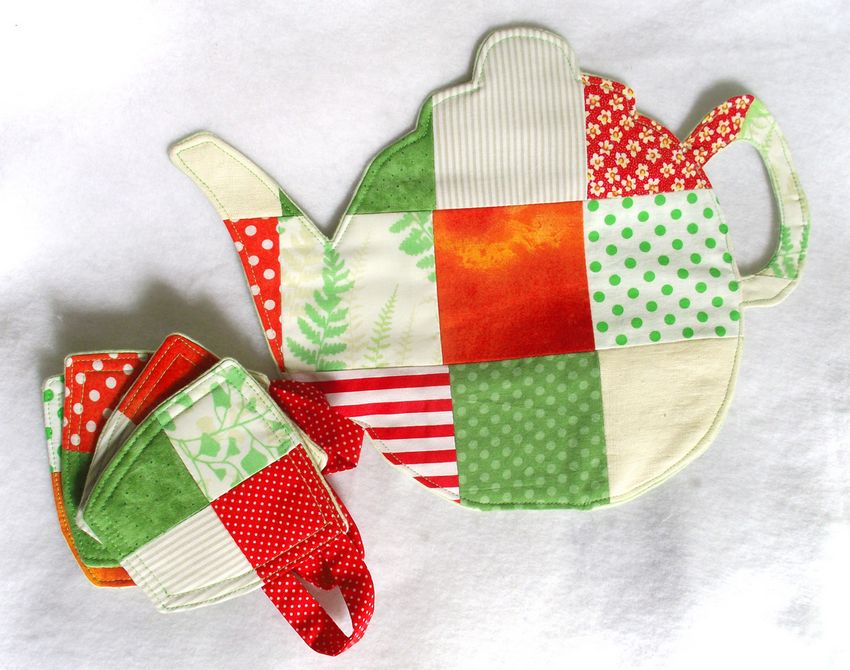
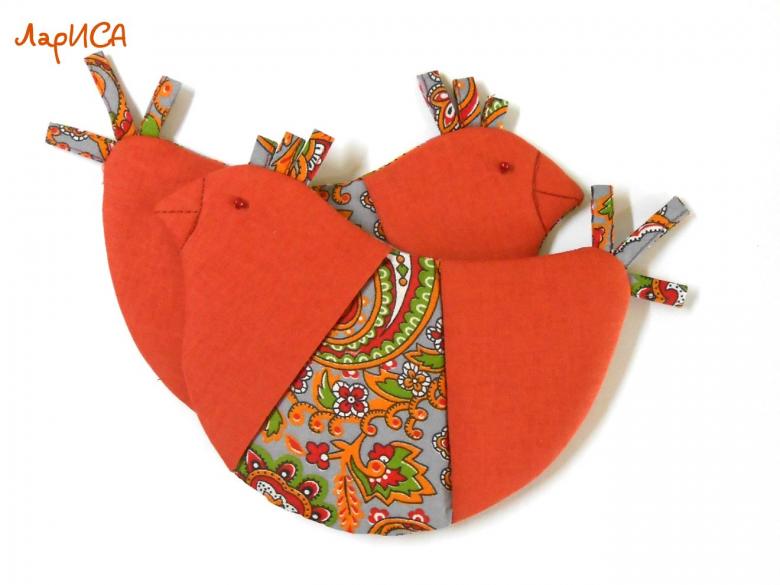
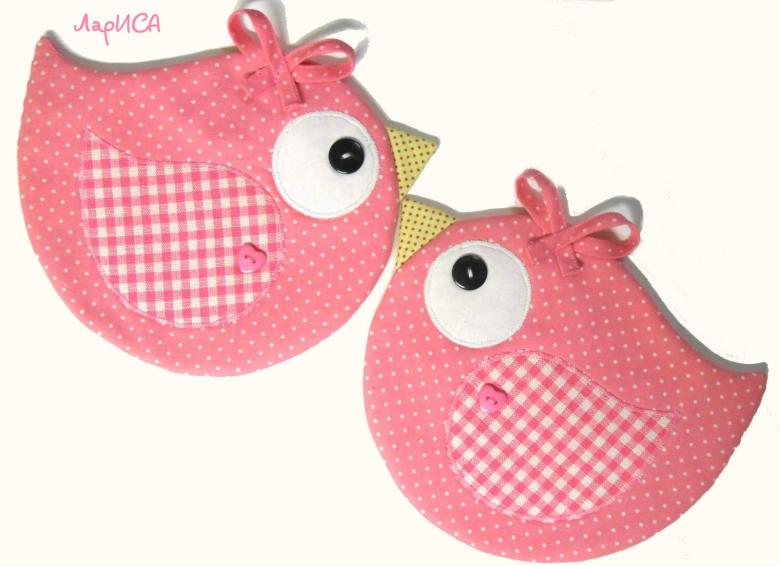
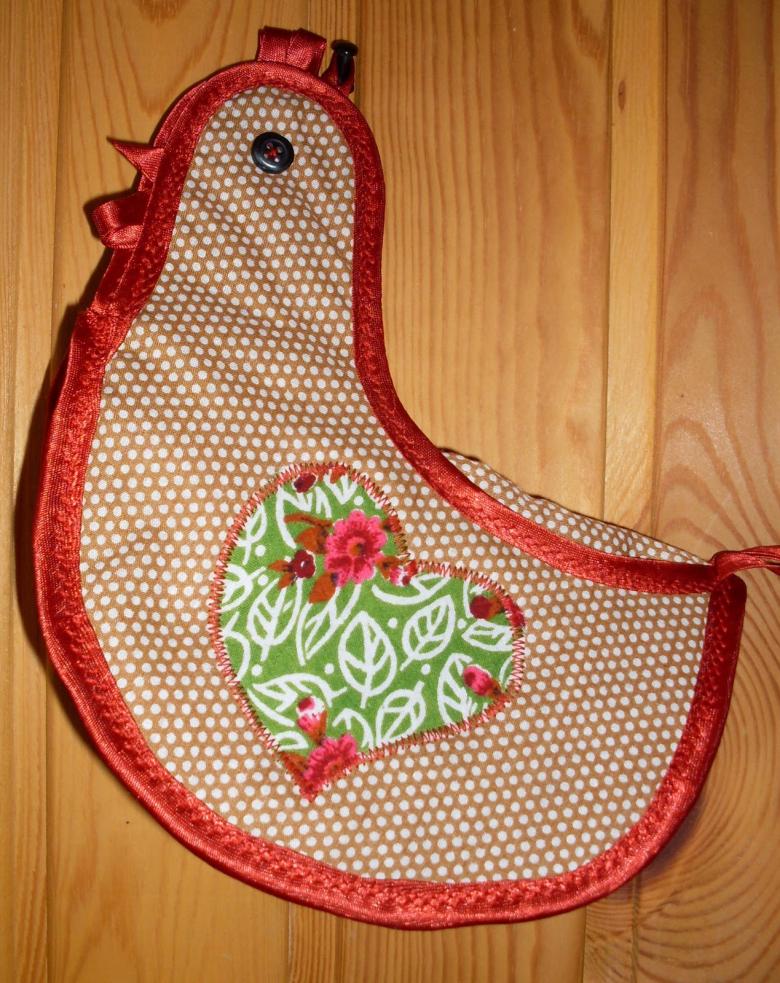
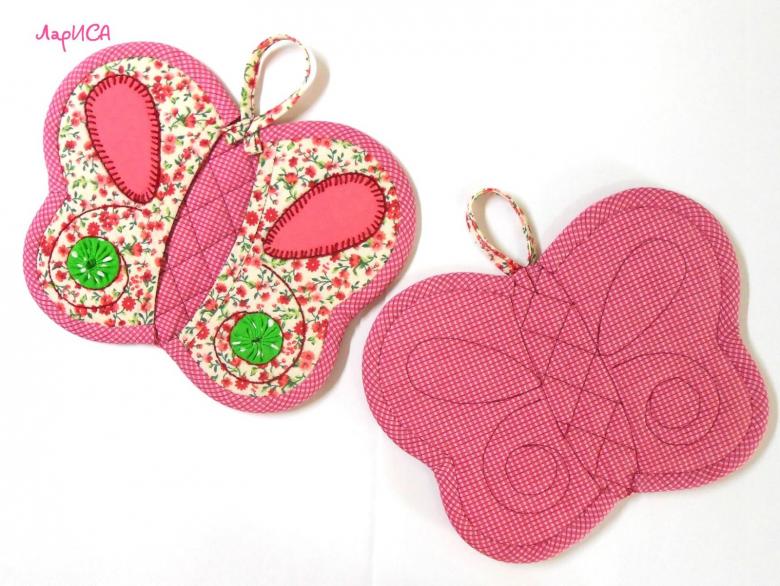
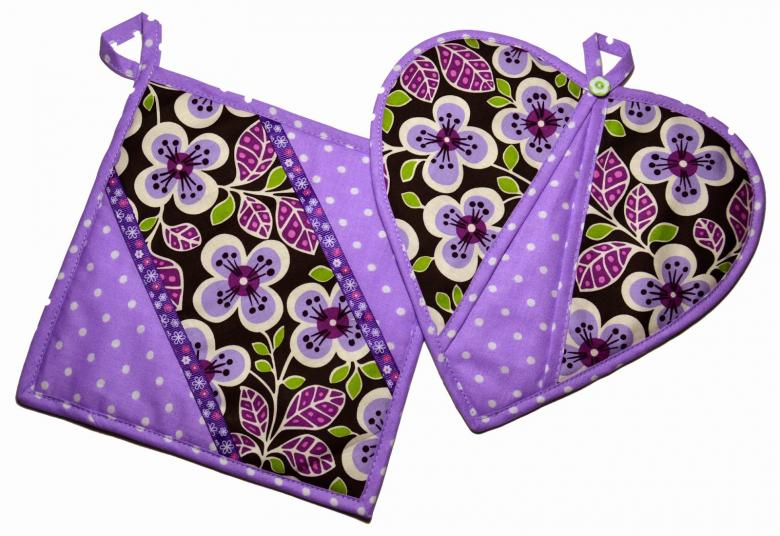
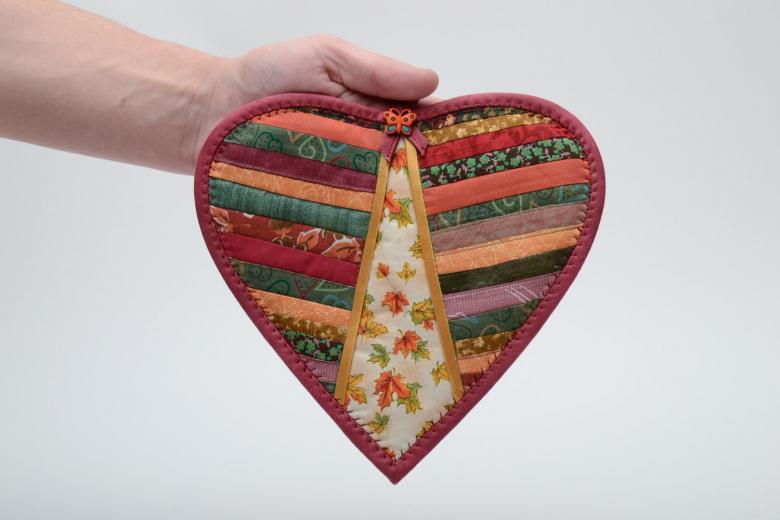
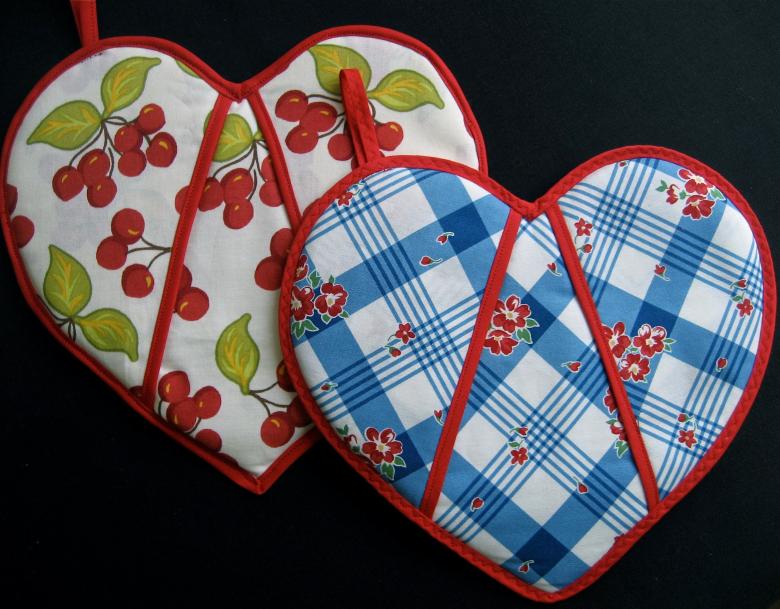
Gloves, made in patchwork technique - a great souvenir that is not ashamed to give to colleagues, friends and relatives on any holiday. New Year's tack can be sewn from fabric with a themed print or in the form of a Christmas tree, a snowman, a symbol of the year.
Making gloves with our own hands is a creative process that brings fun and, importantly, can distract us and our children from endless sitting in front of gadgets. Perhaps the first self-made oven mitt will be a step to diversify or at all change the interior of the kitchen.
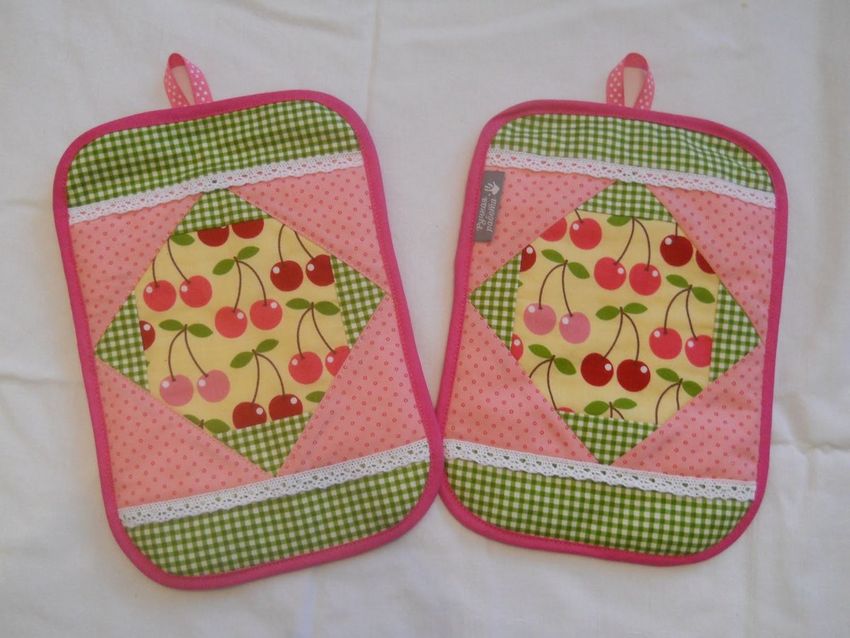
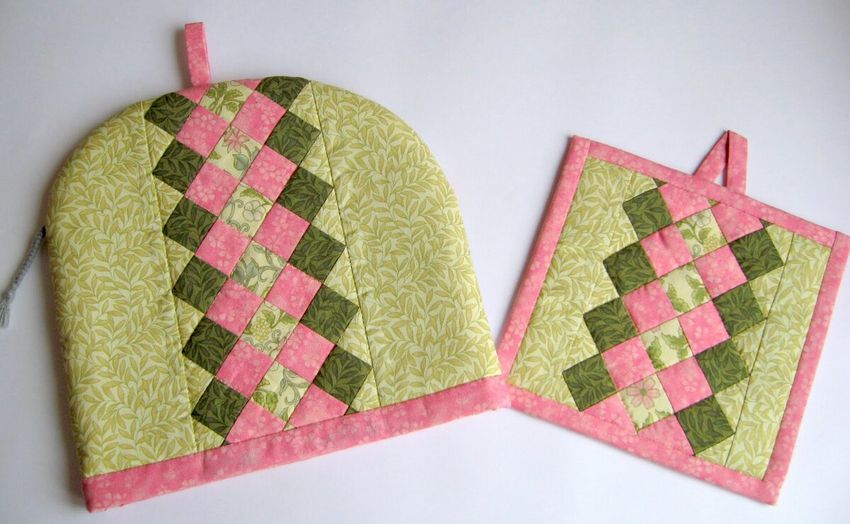
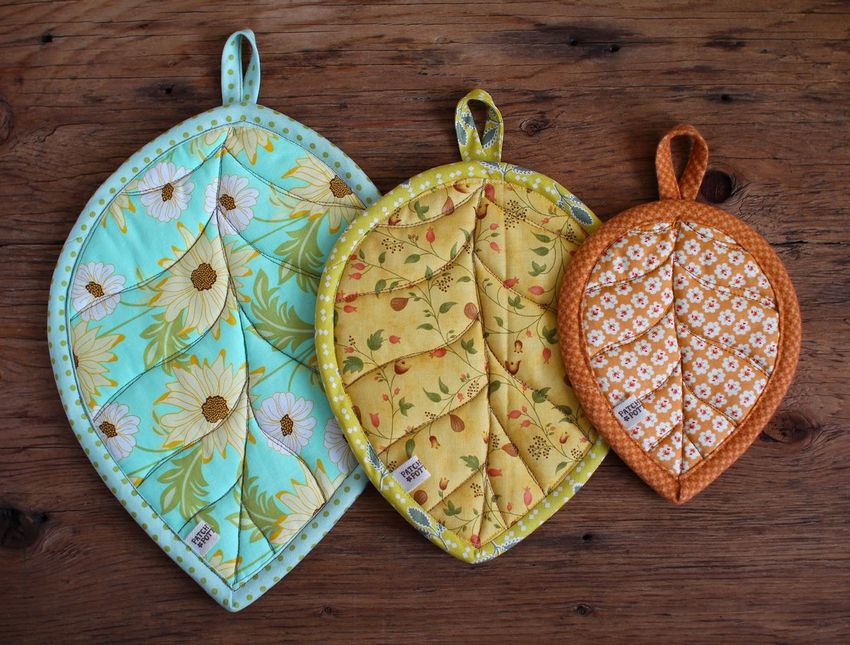
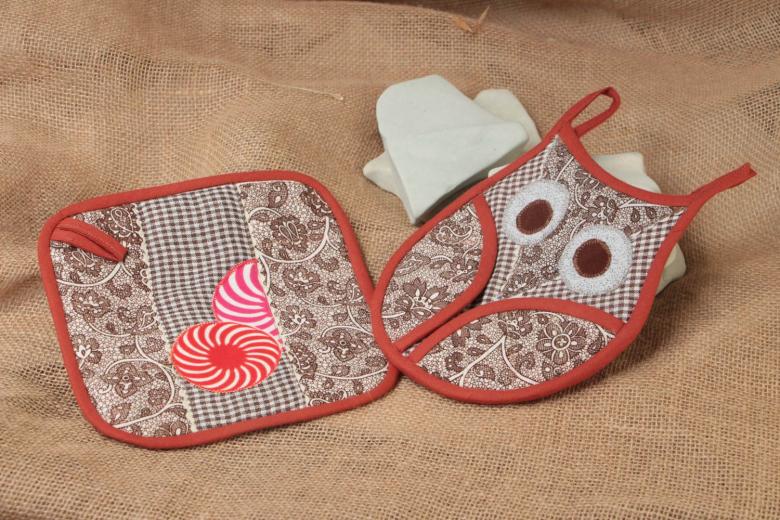
Photo ideas of homemade kitchen mittens