How to make a doll with your own hands - instructions for beginners and advice on choice of materials
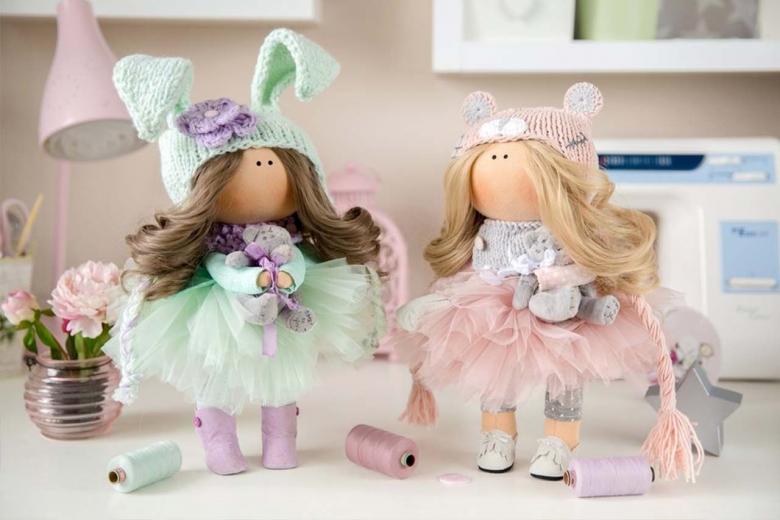
Handmade work is valued for its exclusivity, uniqueness and has the ability to carry a piece of soul of the master, who made it. Therefore, this type of creativity is becoming more and more popular. Dolls in a doll's house, and even furnished, every child who receives such an invaluable gift will be delighted. What a child! Tilde interior dolls also make grown-up, respectable ladies squeal with delight.
So, as you have already guessed, this article is just on the subject of making the above-described objects. The dolls, which can be made by an ordinary person without any complicated materials and devices, there are a great many.
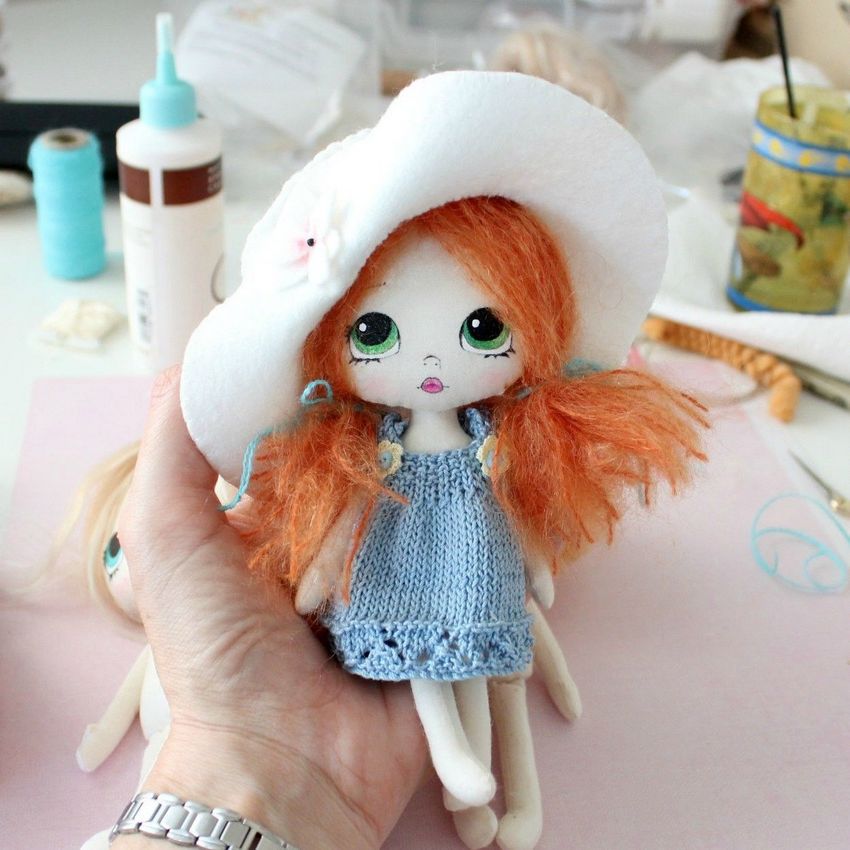
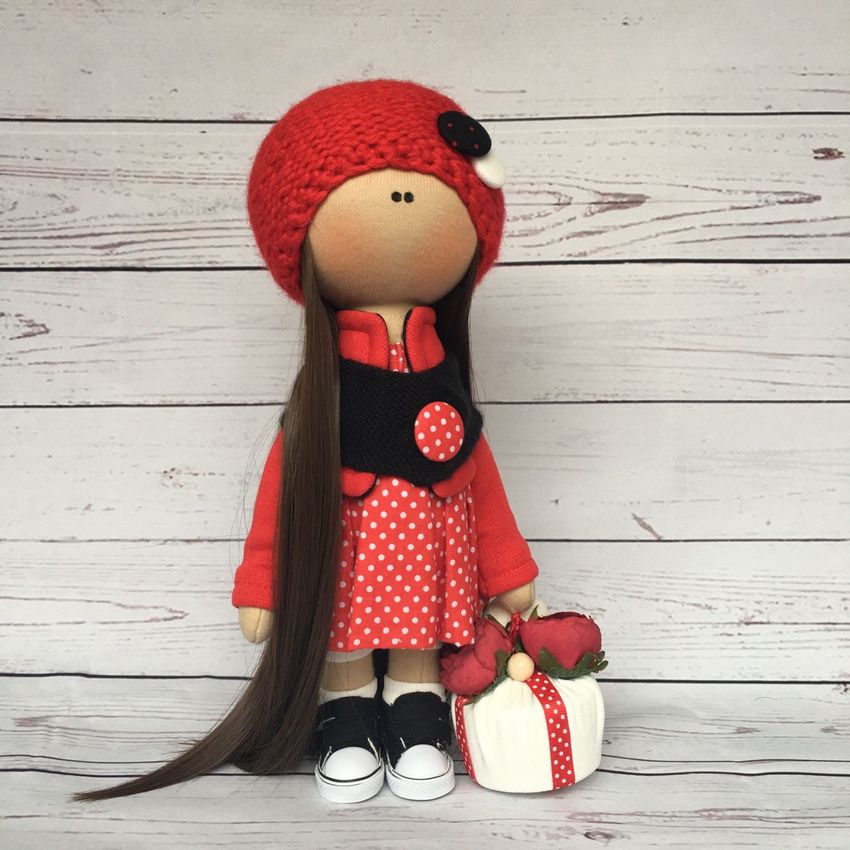
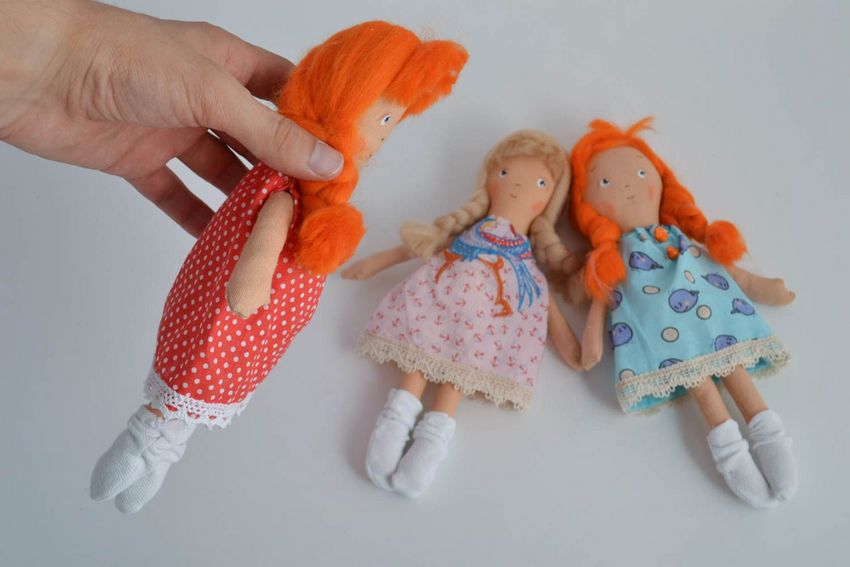
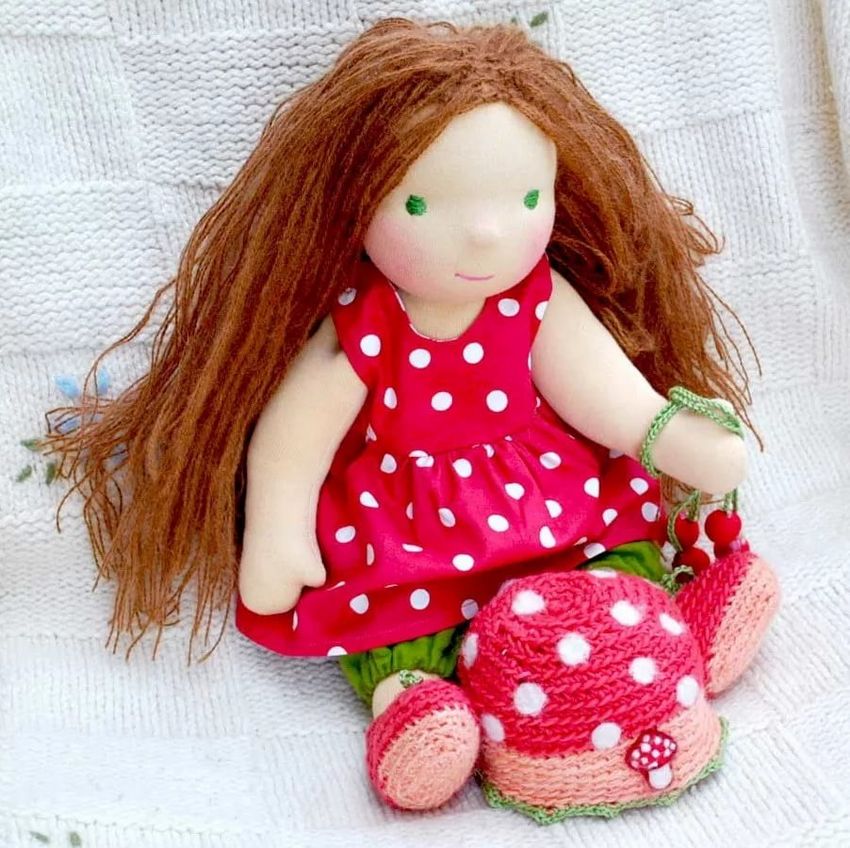
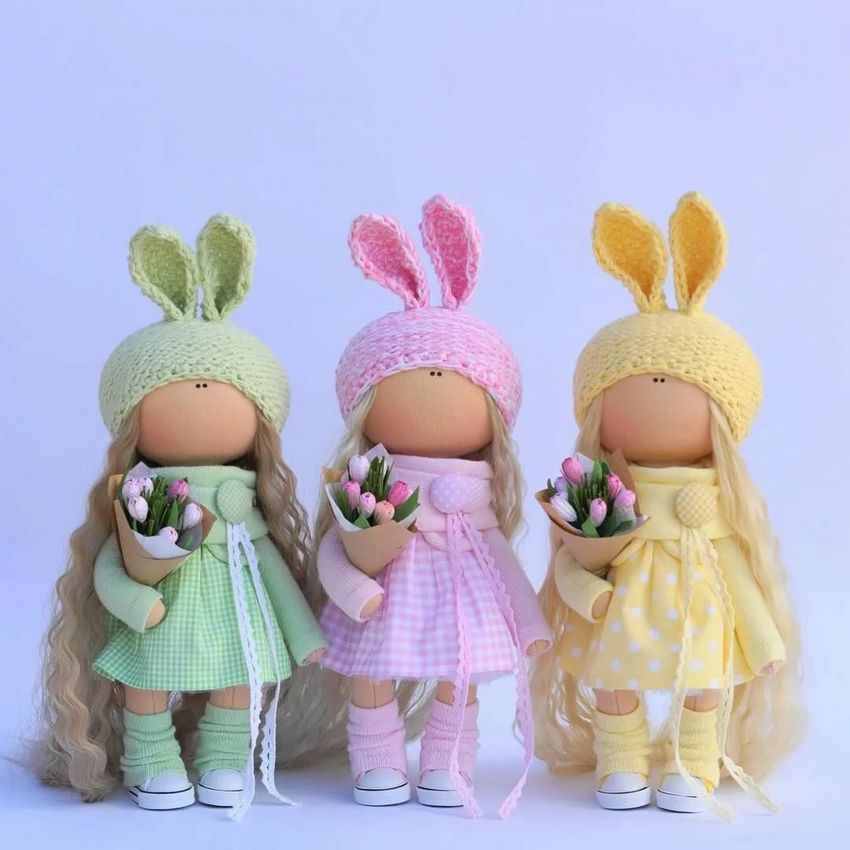
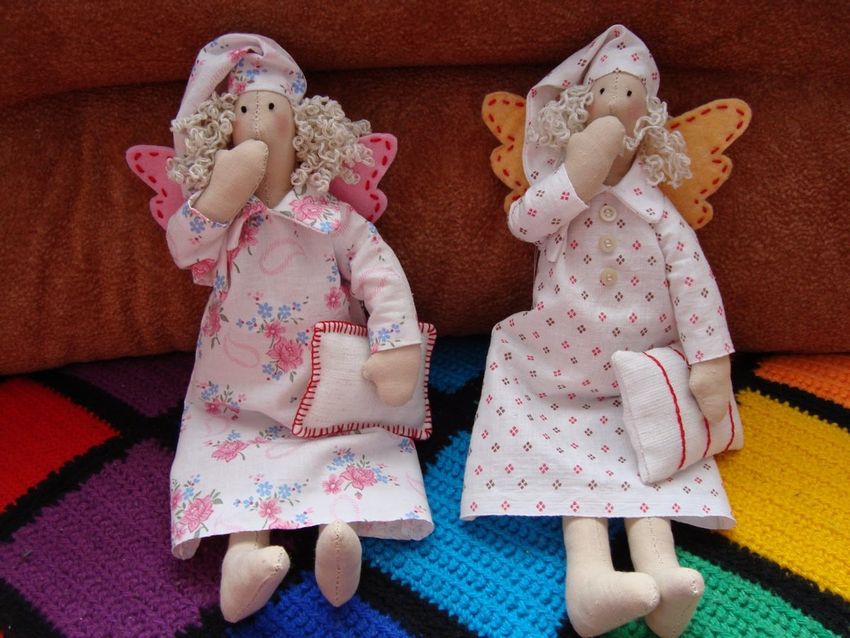
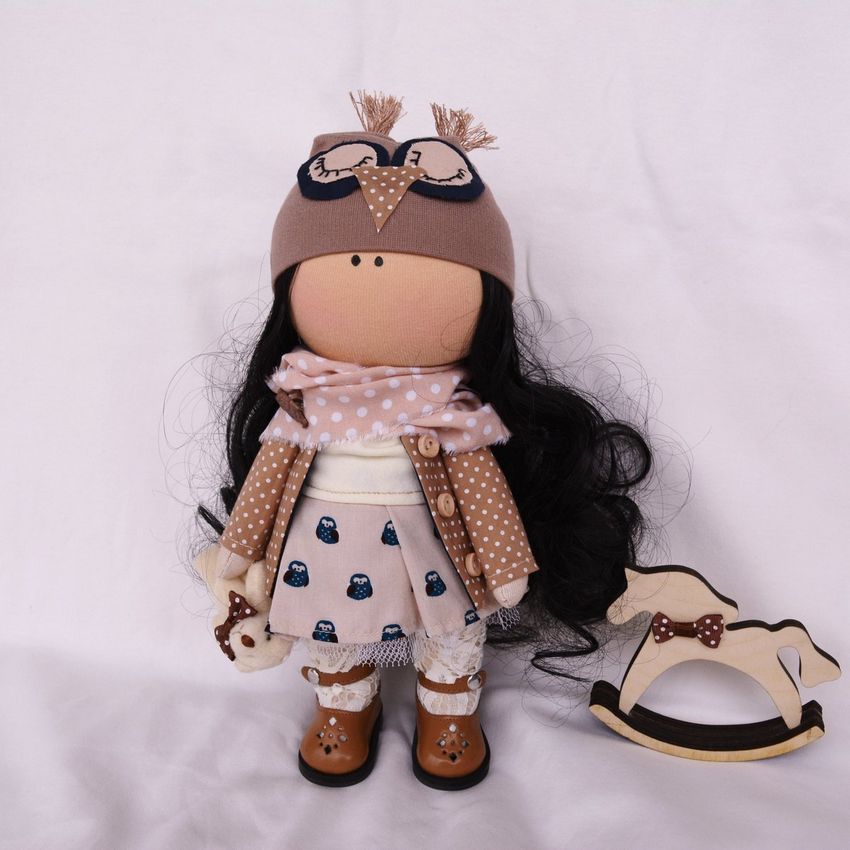
These are all well-known Hilda dolls, and Waldorf, and loft, interior dolls with beady eyes, located close to each other. Do not be surprised, but you can even make your own some kind of baby bong doll.
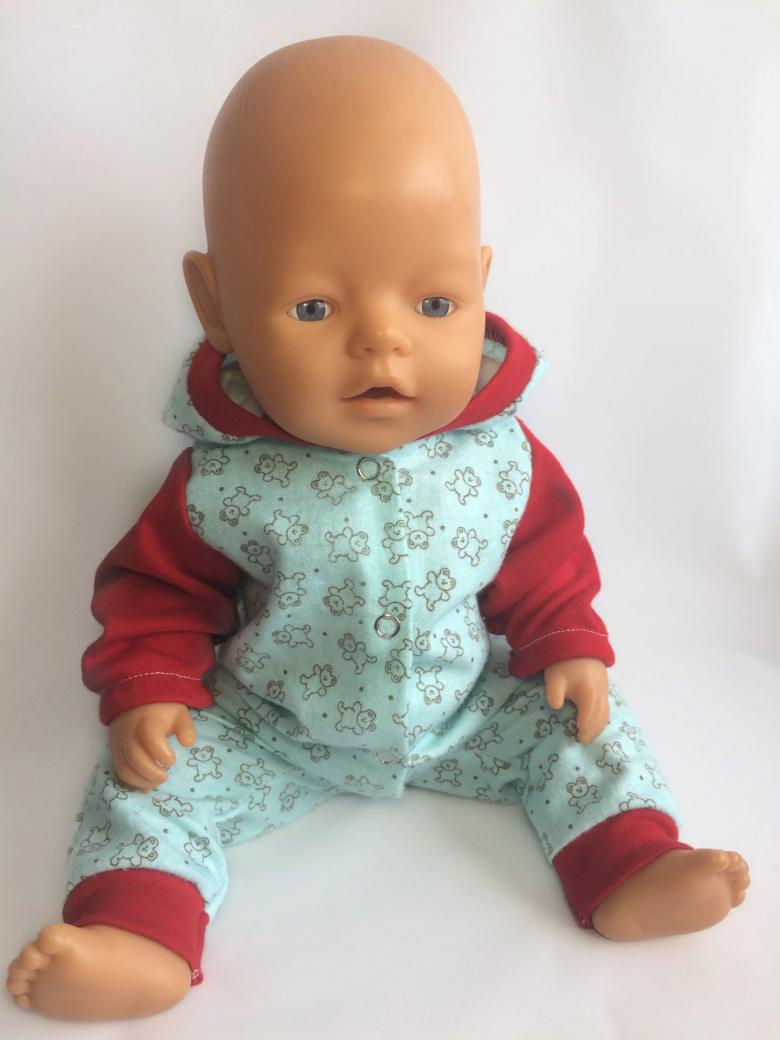
Baby bon doll
For those who do not know what it is, we must clarify that we are talking about a doll version of the baby, which can sleep (in the prone position dolls eyes close, and in a vertical position-open), cry, drink, eat, do the little and big thing.
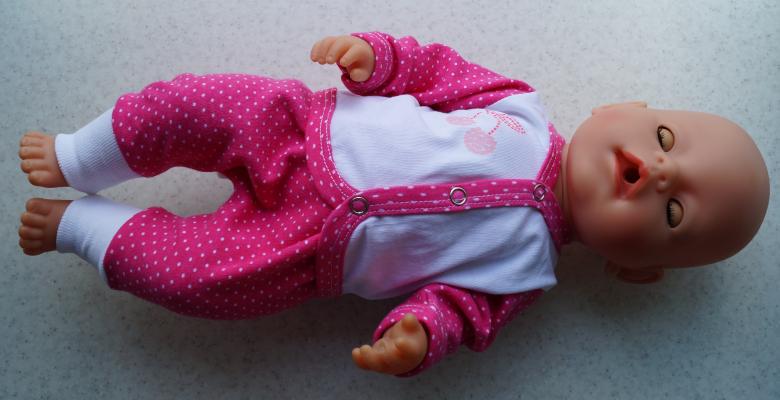
He can also be bathed. How to make a doll baby bon your own hands - you ask. Is it possible? If there is a blank of the usual baby doll, then yes, it is possible. This will be some kind of primitive version of an interactive doll, but still he is able to fulfill a burning desire, mainly, of course, little girls who dream to nurse, water and feed as if a real baby, and you will save money in the family budget.
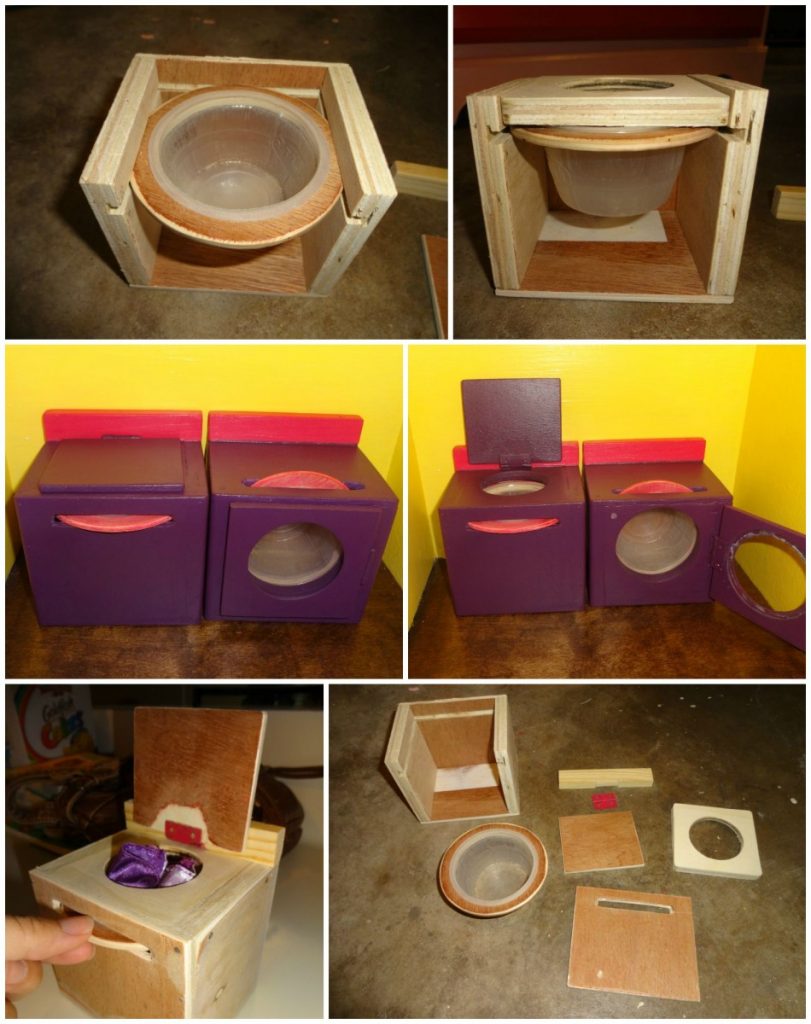
Turn an ordinary baby boy into a baby bong
To transform an ordinary baby boy into a simplified model of a baby bon, you'll need duct tape, a juice tube, scissors, and PVA glue
- Take the puppet apart.
- Make holes in the mouth and in the bottom of the doll, in the area of the intended anal opening.
- The diameter of the hole in the juice tube is adjusted to the diameter of the mouth and the bottom of the puppet by pulling together both ends of the tube and securing them with tape in the desired position
- We place the tube inside the toy so that through it, as through a kind of digestive system (roughly speaking, from the mouth to the anus hole) it was possible to implement the toy's feeding process. Fix the tube on the inlet and outlet sides of the moulage food with PVA glue.
The interactive baby boy is ready. Only when feeding, you have to hold it so that the process of digestion does not immediately turn into the process of urination and defecation. Cover the bottom hole with your finger and quickly put the toy on the improvised potty.
How to make a doll with your own hands at home
Handmade dolls are very easy to make, for the manufacture of some of these dolls do not have to sew, the elements are fixed to each other by tying with thread.
Let's take a closer look at the process of making some of these dolls.
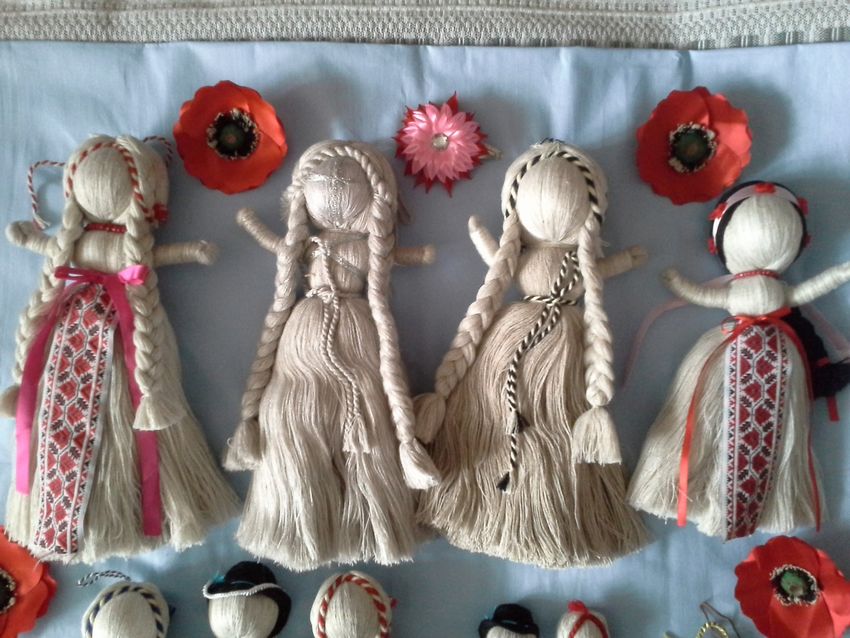
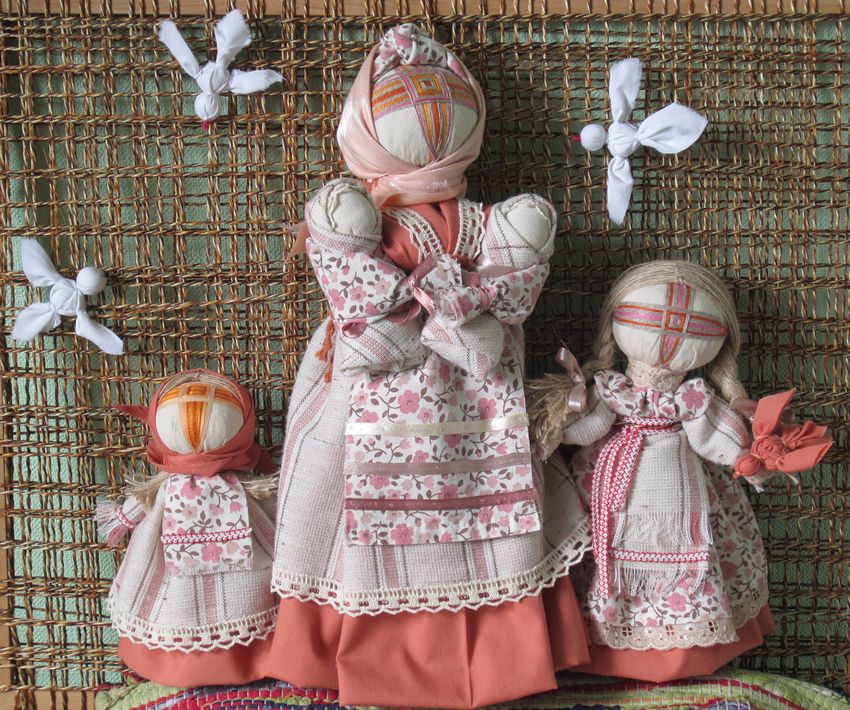
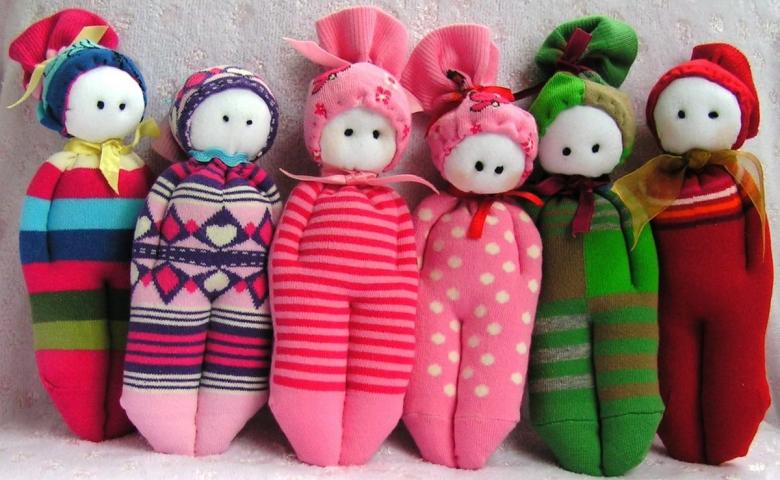
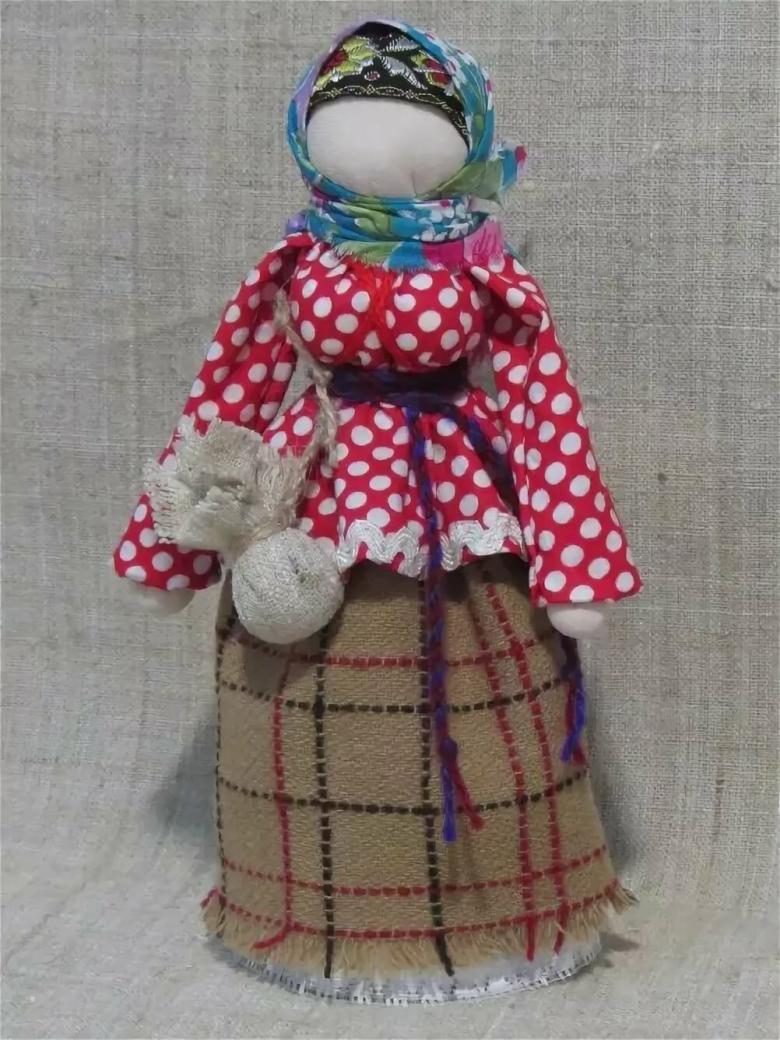
Making a "Twist" doll with your own hands
As simple as possible to make. The creative process of making this toy does not require a needle, which certainly allows you to work on the product together with the youngest child.

It is useful for a child to participate in the process
The process of creating a "twist" doll is a very useful activity for the development of the baby, because it develops motor skills, helps to activate the child's thinking processes. And most importantly, as a result the little man gets creative experience and, in fact, an interesting object to play with.
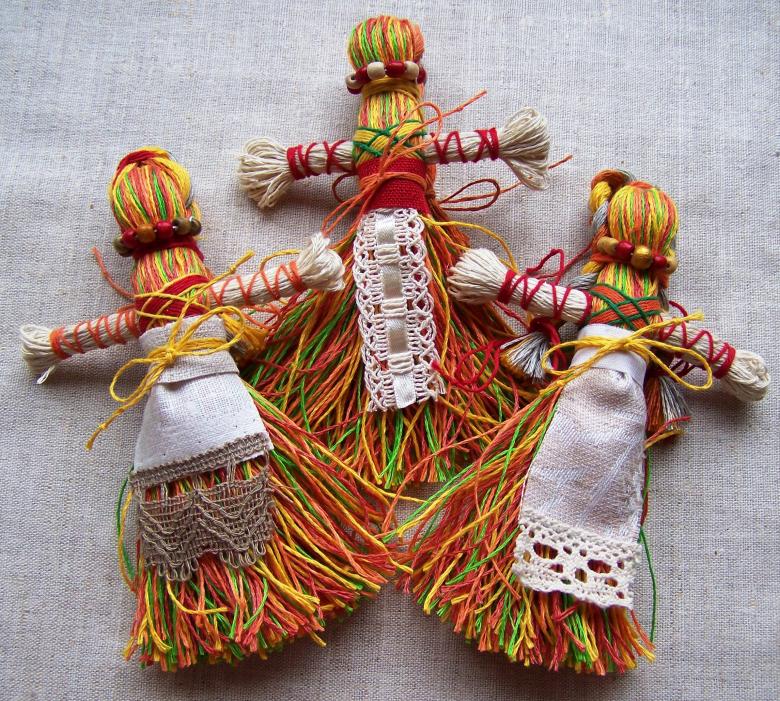
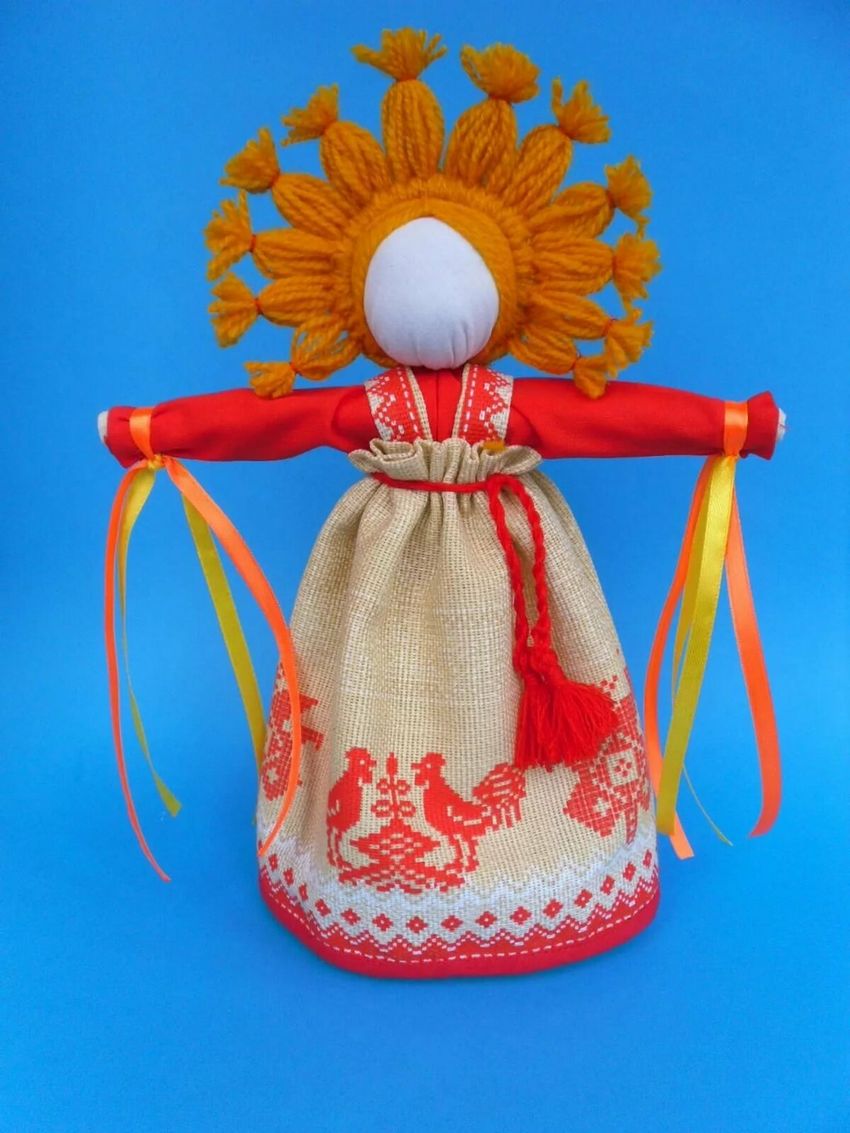
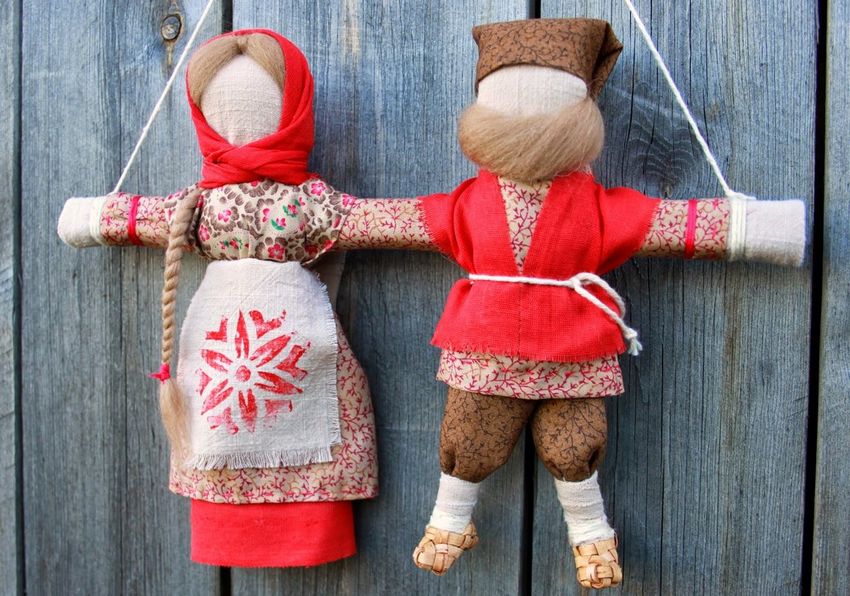
Twisting dolls will acquaint your child with Russian folk traditions, costumes, epic. In ancient times, folk consciousness in the dolls, handmade, put the function of protection against evil spirits, so they are called amulets.
Starting the creative process
So, let's move from theory to practice.
To make it, we need to have the following list of materials:
- Two squares of white fabric, 25 cm by 25 cm
- String
- cotton
- A 20 by 20 cm square of fabric with a brighter, can be multicolored or with patterns
- satin ribbon
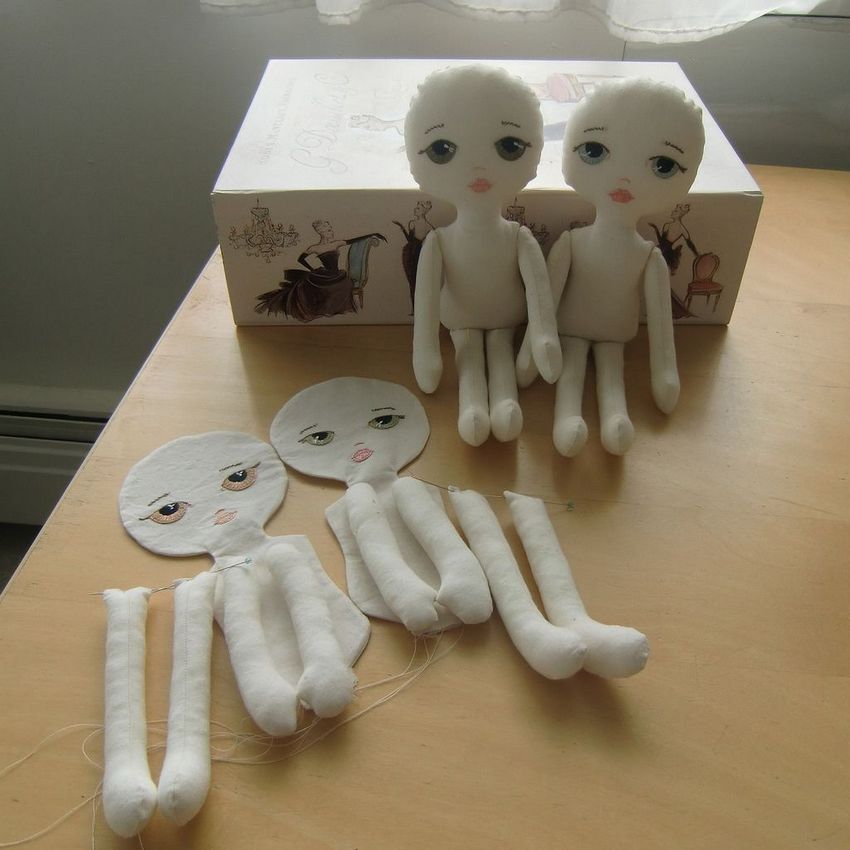
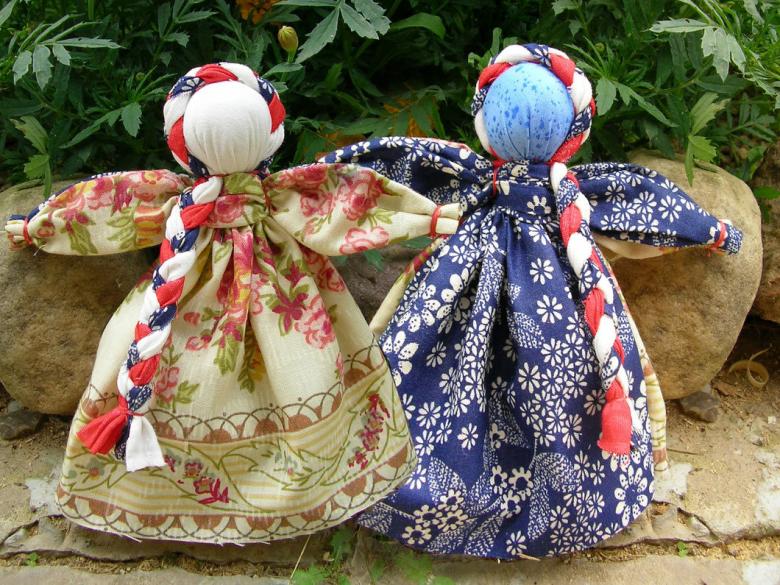
- You need to take the white fabric and bend about 2 cm at the top and right, in order to give stability. Along the line below we put a strip of absorbent cotton and twist it tightly. We got the body of the future doll.
- Next, we should determine the location of the neck and waist. Tighten them with thread. It is better to take a white thread.
- Now involve the second white square. In its central part to put a cotton ball. Around the absorbent cotton put the torso, so that it was located near the corner. Now you need to fold and tie the fabric so that the doll's head was formed, in the place of the face, try to remove the folds.
- Bend inward the corners of the fabric to form the arms of the amulet. The fabric, which will be left to go on the winding of the doll's waist.
- It is only a small thing, it remains to create a doll outfit. Cut out a circle of multicolored fabric about 18 centimeters in diameter, in the center of the circle make a hole with a size that will allow to pass the doll's head, and on the sides cut holes for hands. Put it on the doll, tying it with a satin ribbon belt. Do not forget about the headdress in the form of a triangular cloth shawl.
The toy is ready.
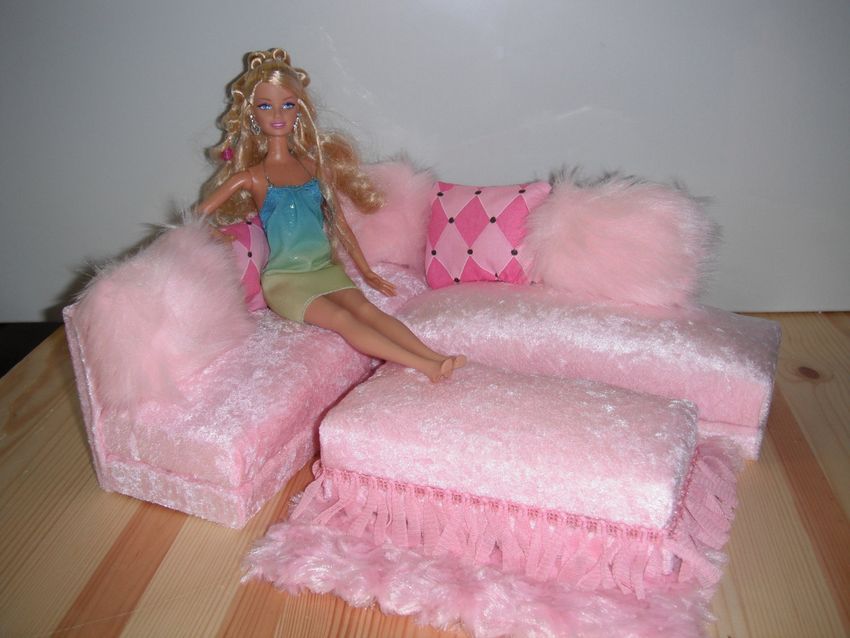
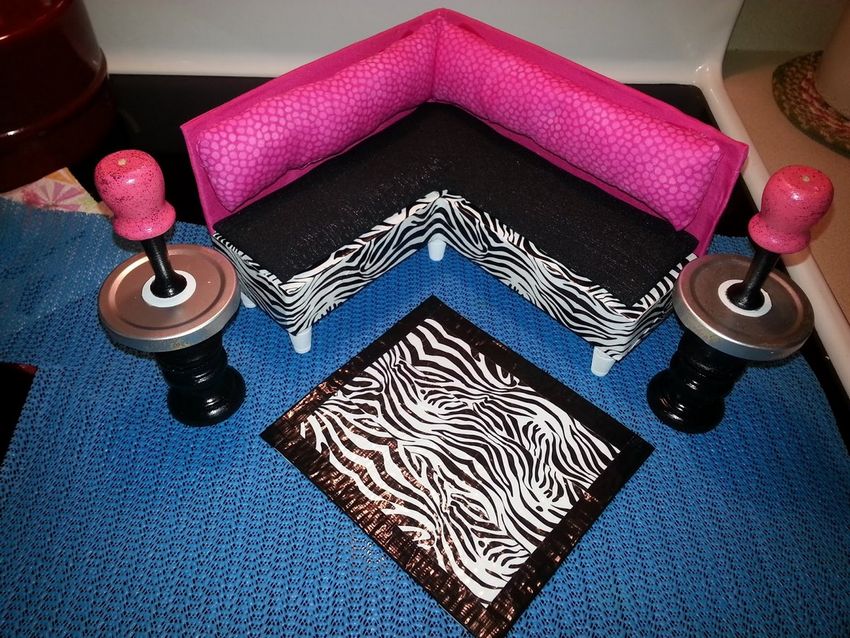
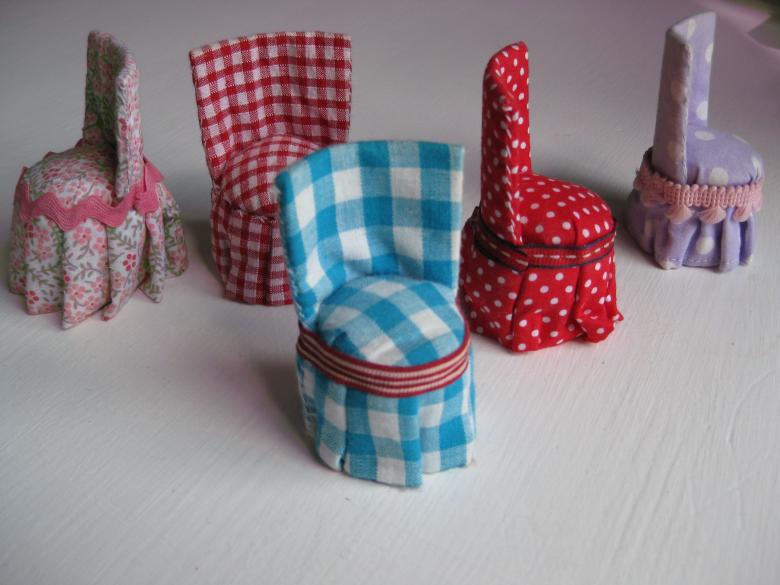
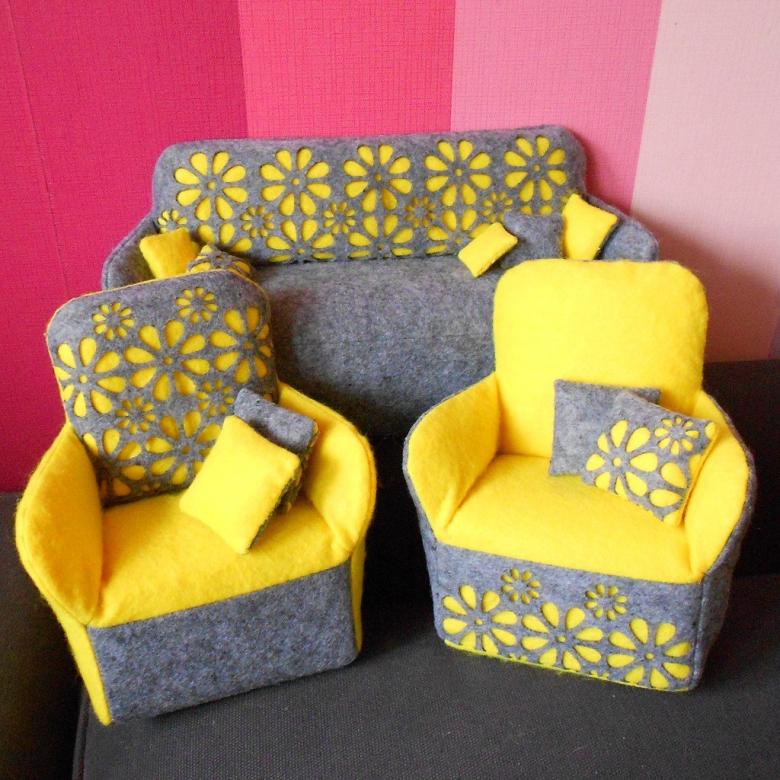
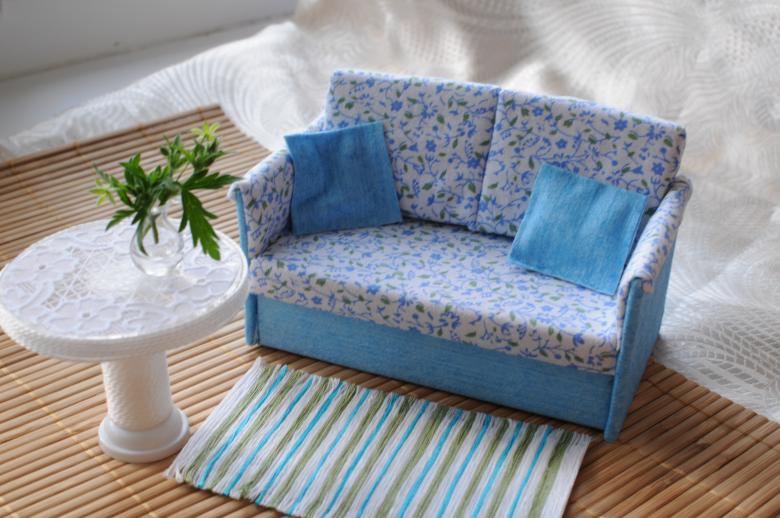
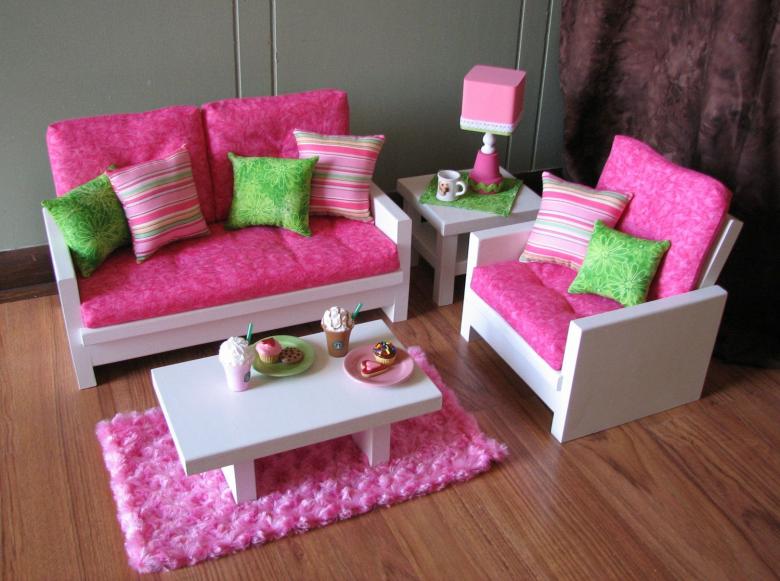
How to make furniture for dolls with their own hands
Children always want their game to be as close to the real life of adults, and if you gave your girl doll, then do not doubt, the child will want to see his ward in a suitable environment, and it is for the game will need a doll's house, and in it, of course, as in the present, need to place furniture.
Making a doll's dresser with a mirror
We offer you a master class on making a doll's furniture set of cardboard boxes. We will make a chest of drawers with a mirror
Necessary materials:
A small box of cardboard (it can be some kind of packaging, for example from under the soap); stationery knife or scissors; measuring ruler and pen; packaging foil; glue; paper for pasting the finished product.
You should first decide on the height of the future product, it should correspond to the size of your doll. If the doll is about the height of Barbie, then you should stop at eight centimeters, no more.
To imitate the mirror cut out a blank oval shape, so that it coincided with the width of the width of the chest of drawers, and the height was about 16 cm, smear it with glue and connect to the chest of drawers. It is good to decorate the upper edges of the mirror with patterns or artificial small flowers. You can leave it just with a flat round edge. Now you have a dresser with a mirror. Carefully paste it with paper and draw the drawers, doors.
Now make a mirror like a real one. To do this, cut out an oval from the size of the workpiece, it may be a little less than the workpiece, but not more. Put some glue on the foil and fix it on the place where the mirror should be. The final step is to glue the handles on the doors and drawers of the dresser. The item of doll furniture is ready for use!
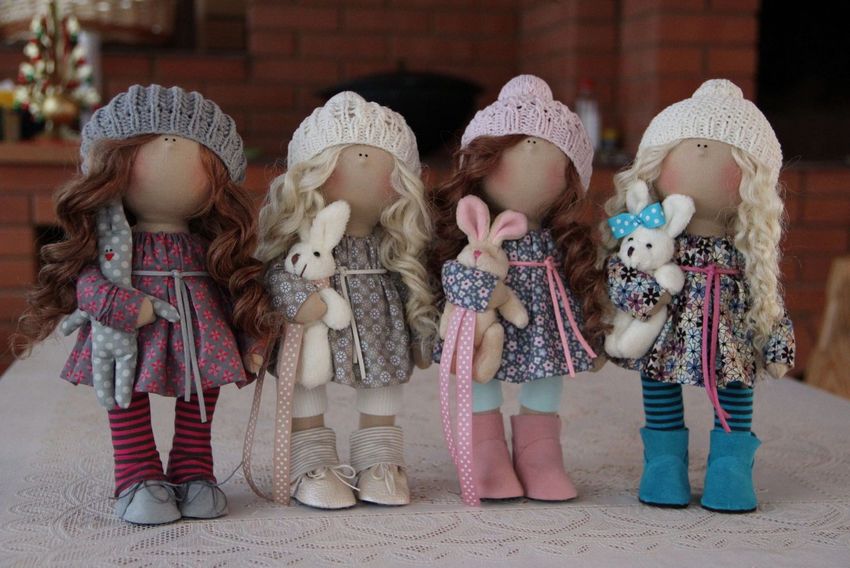
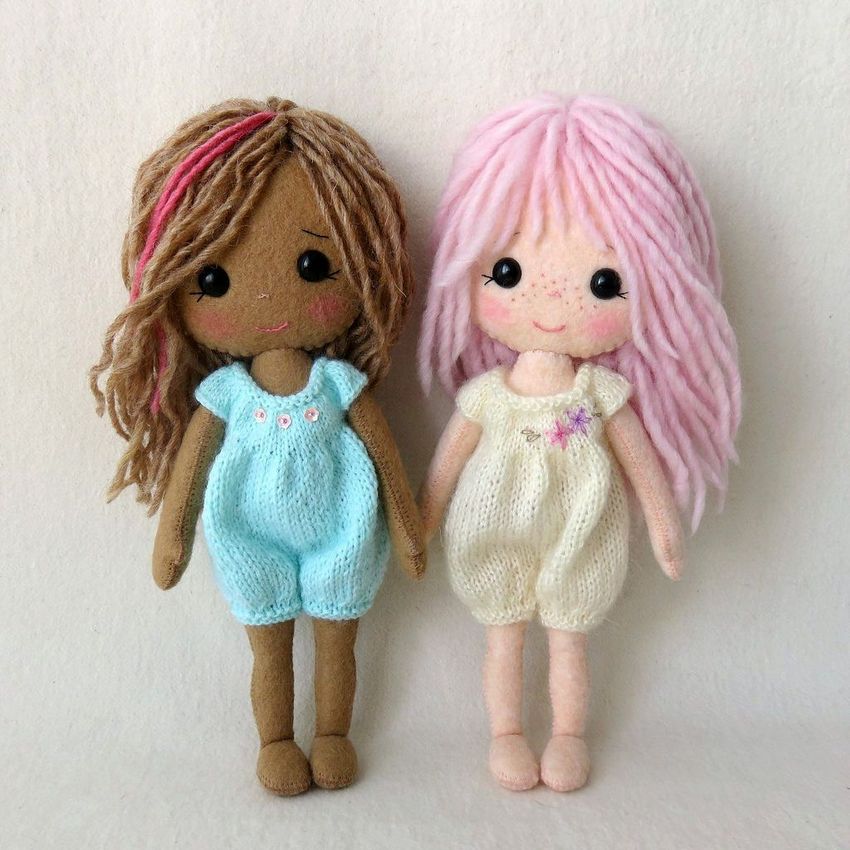
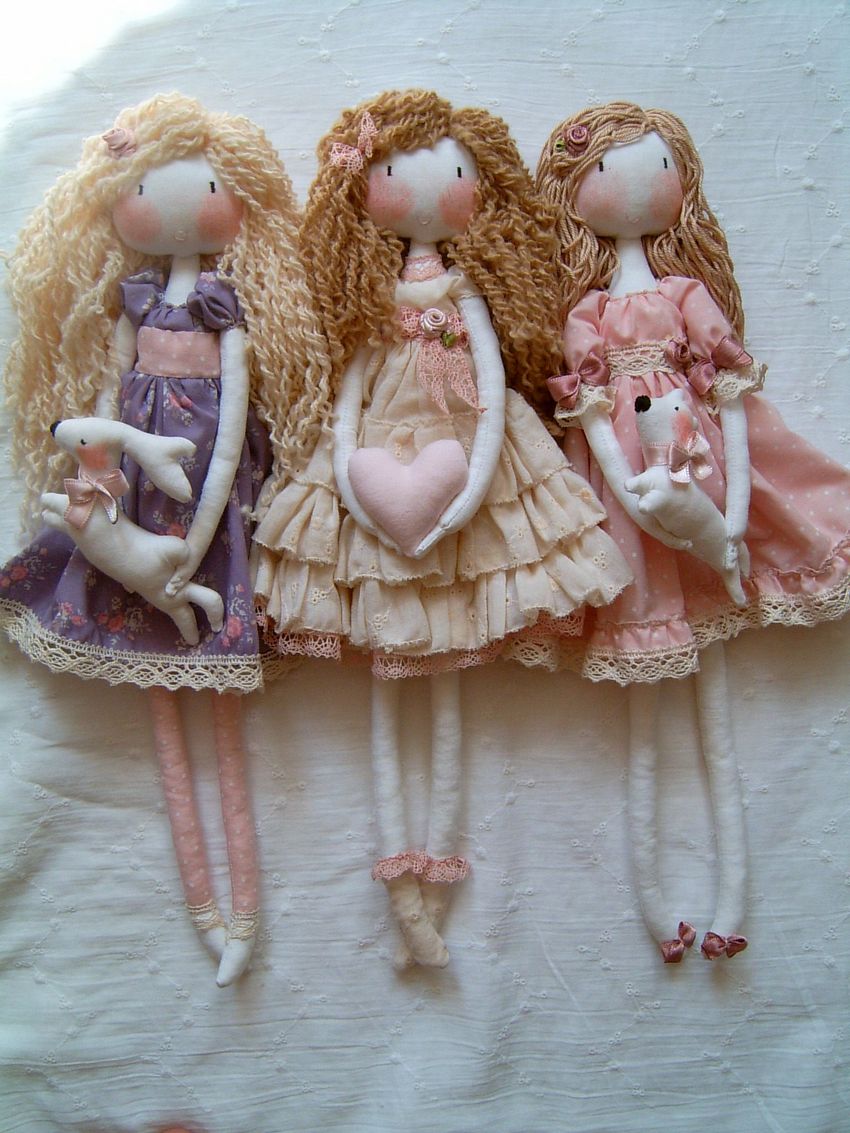
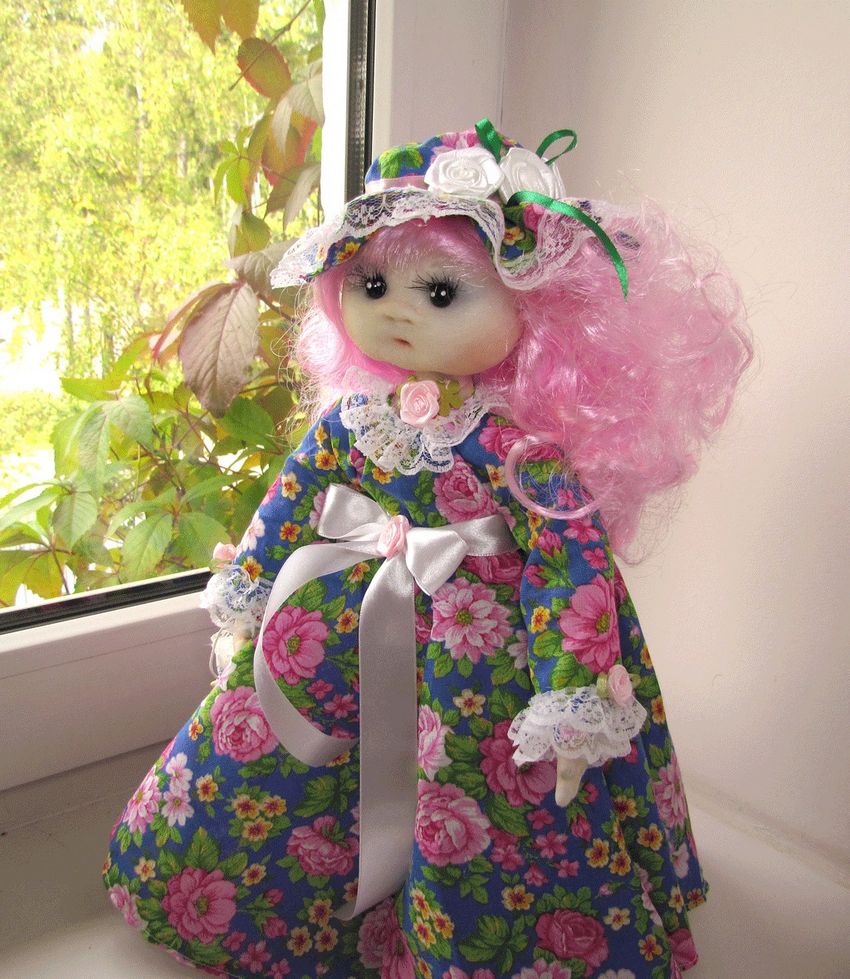
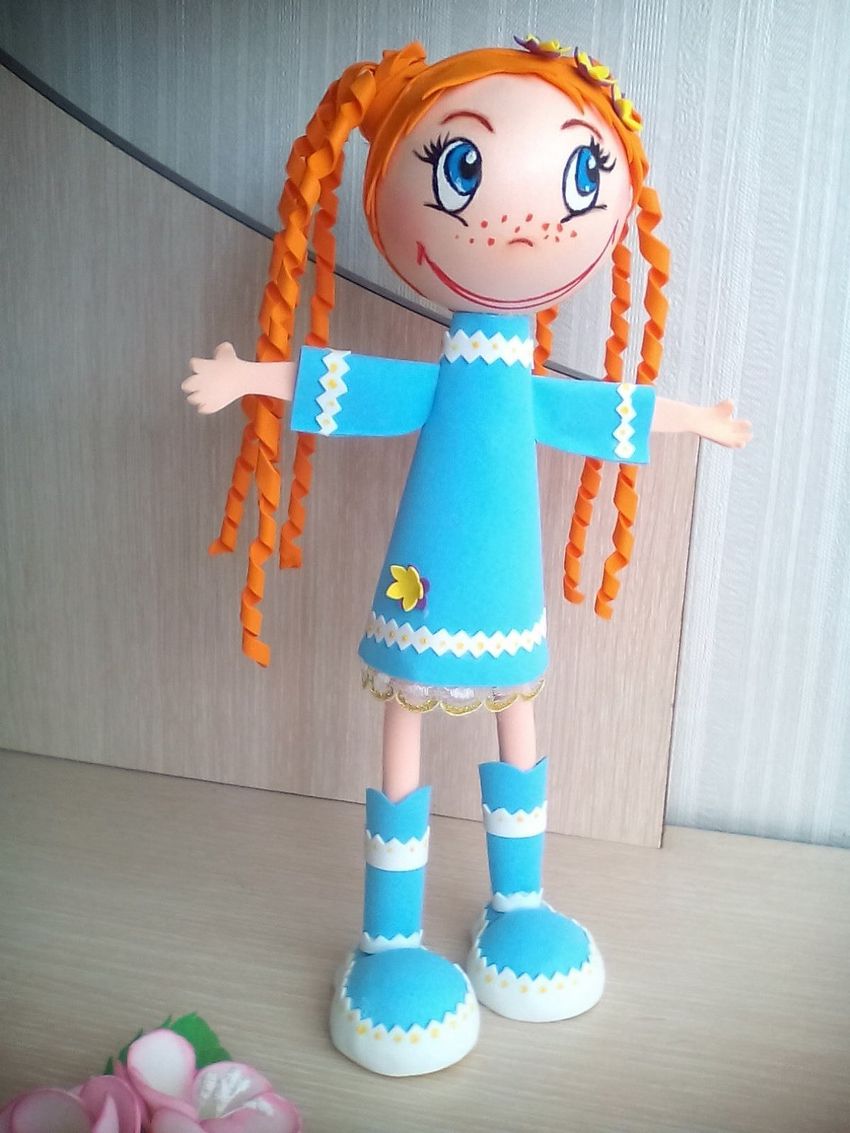
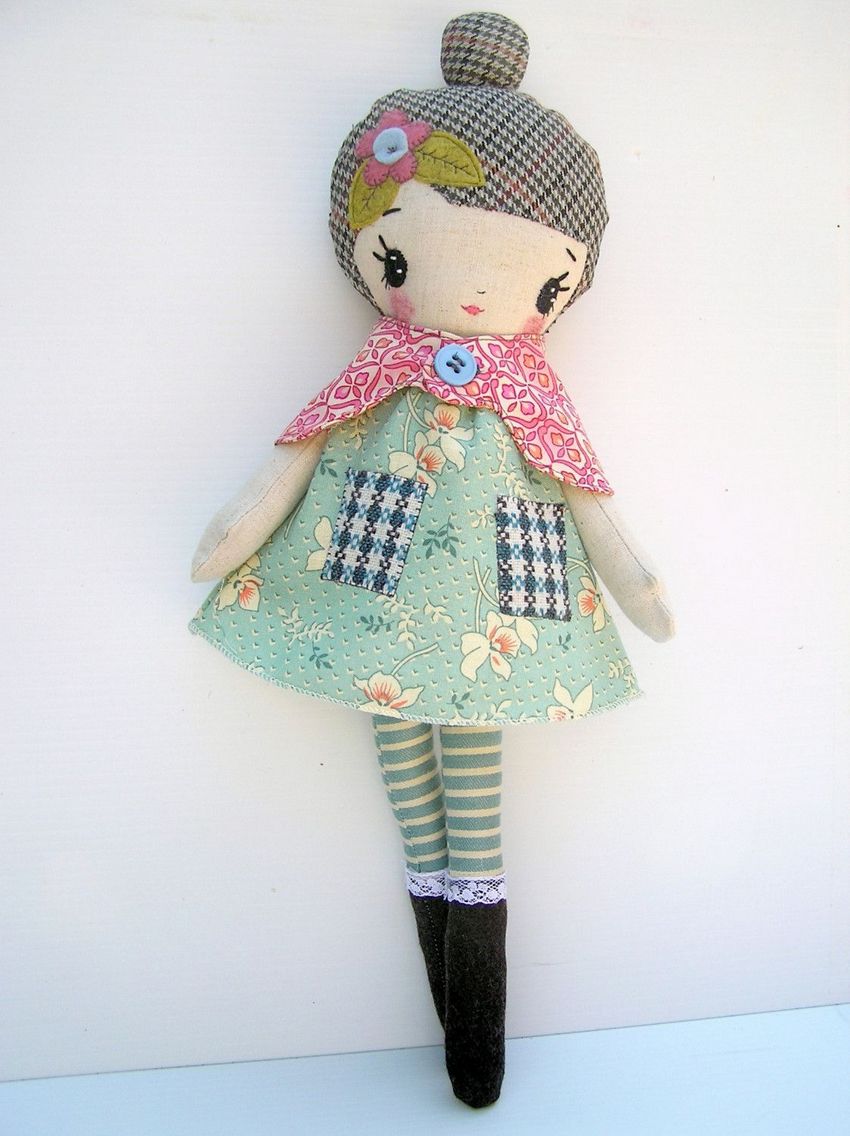
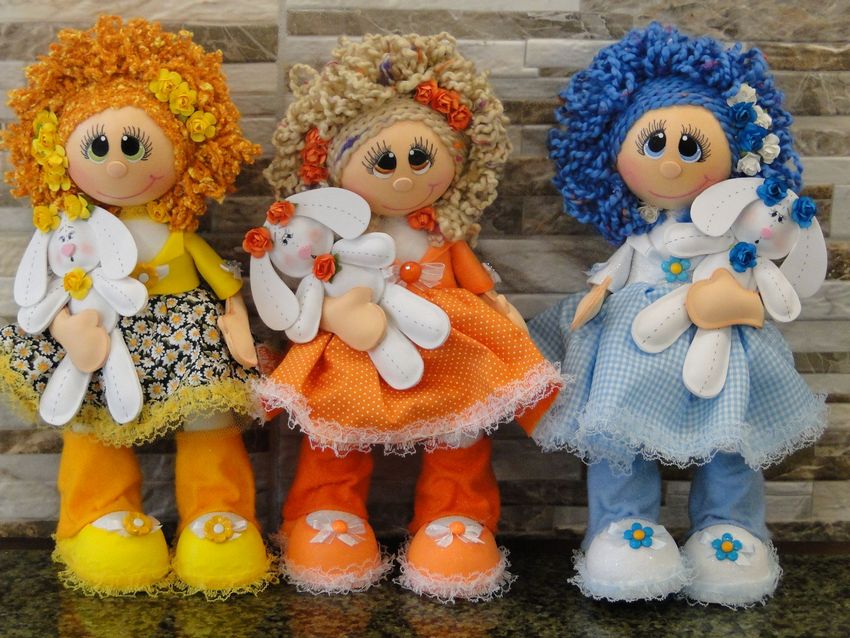
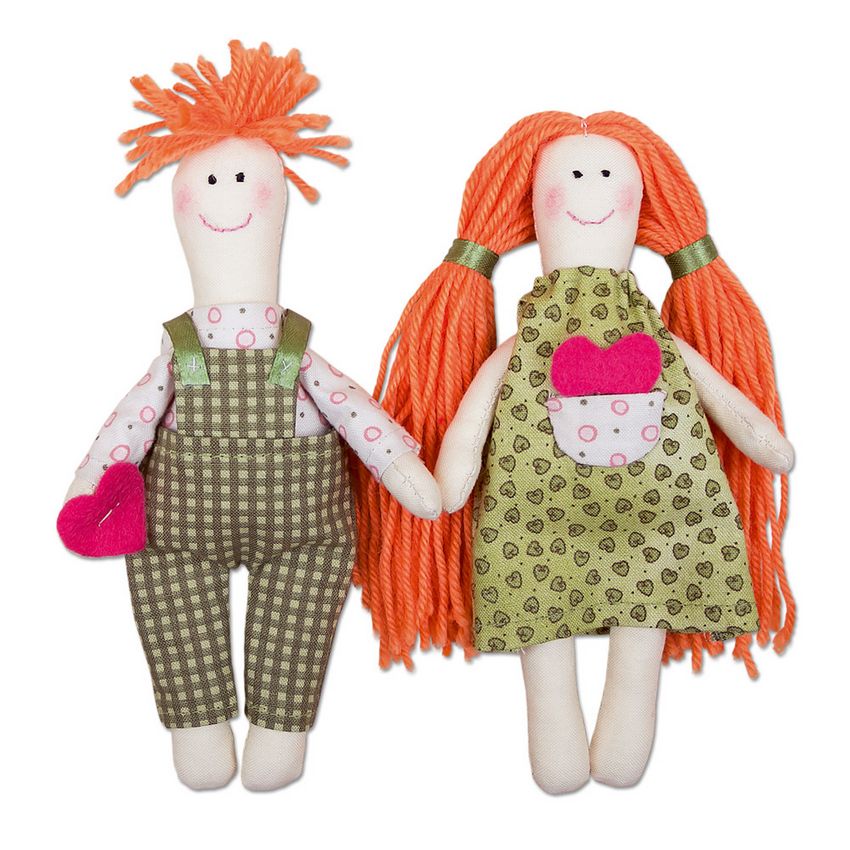
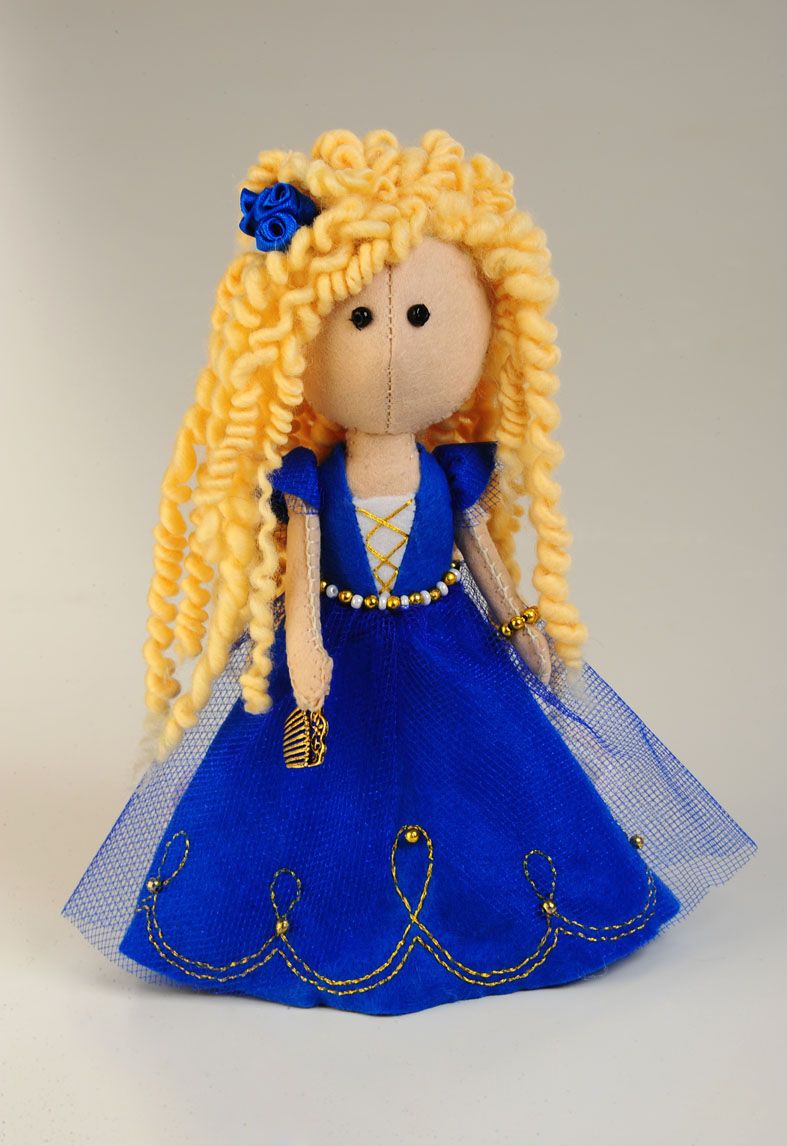
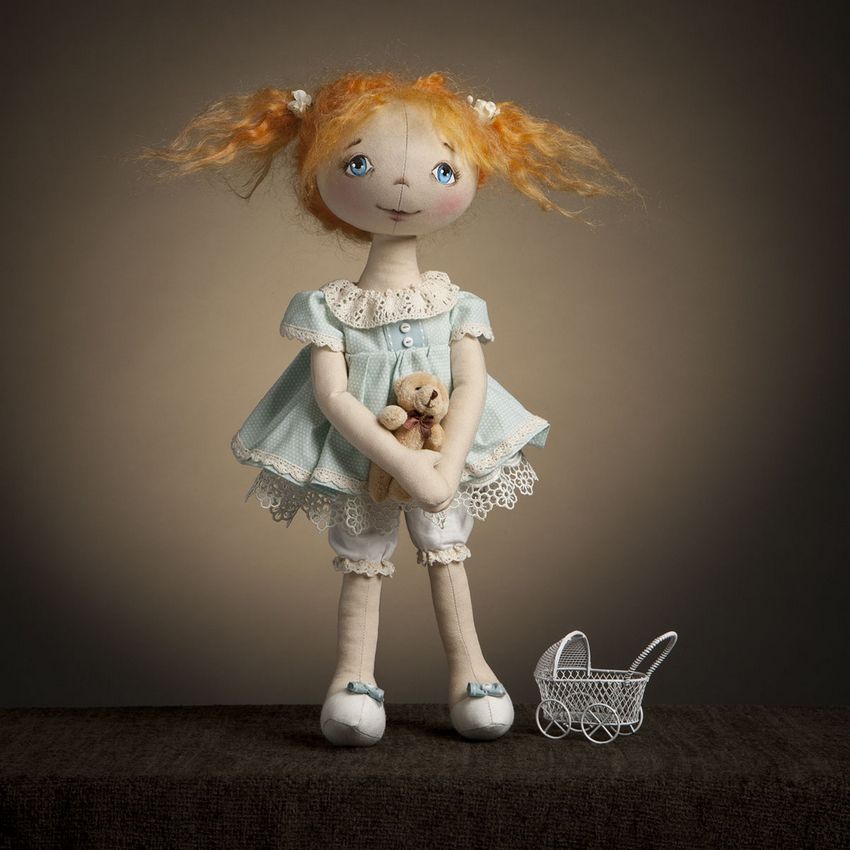
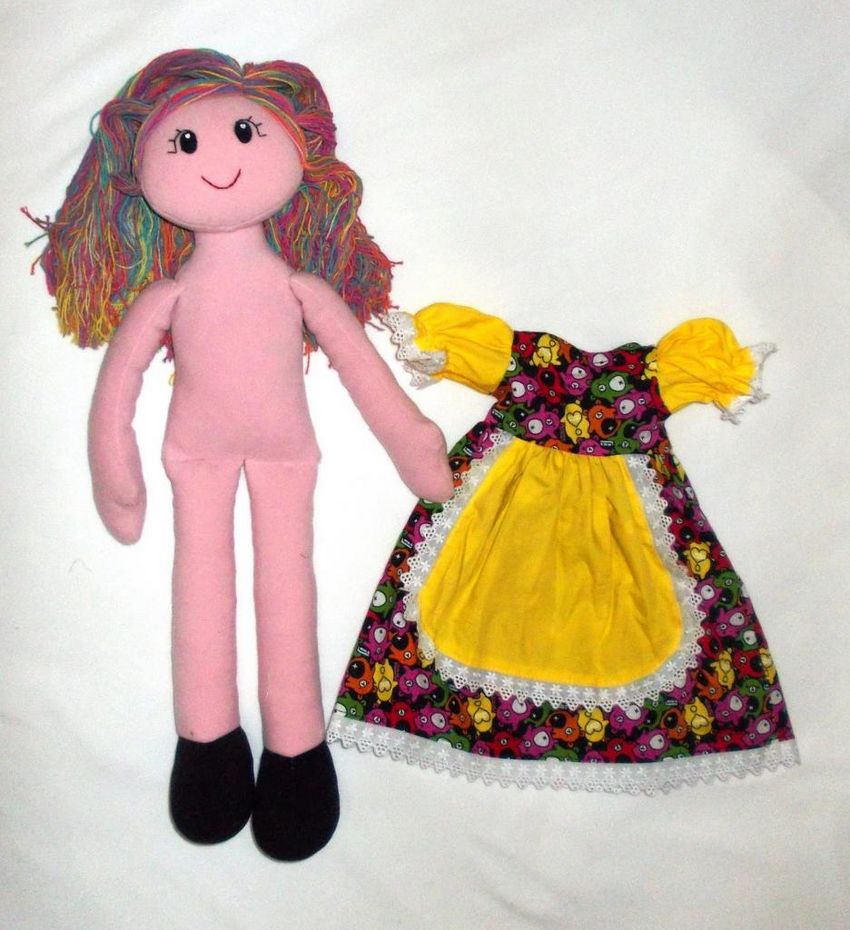
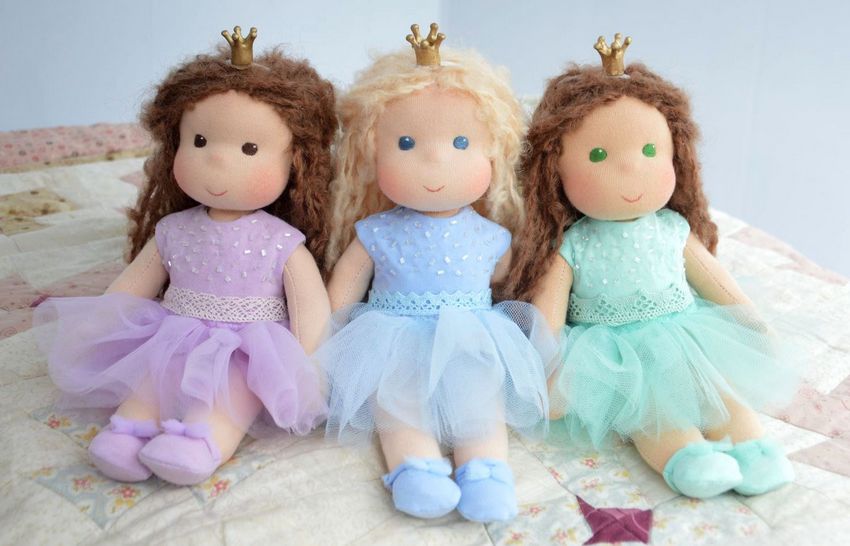
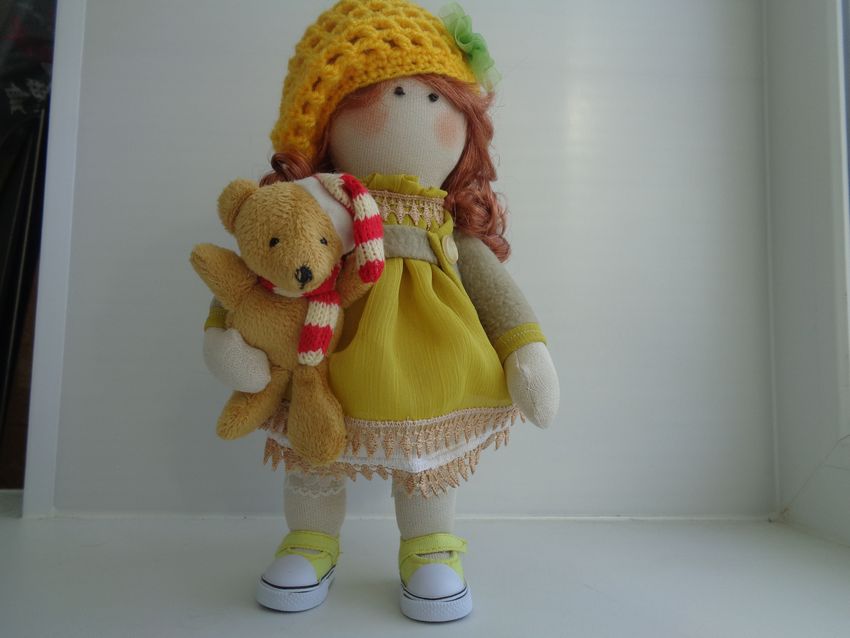
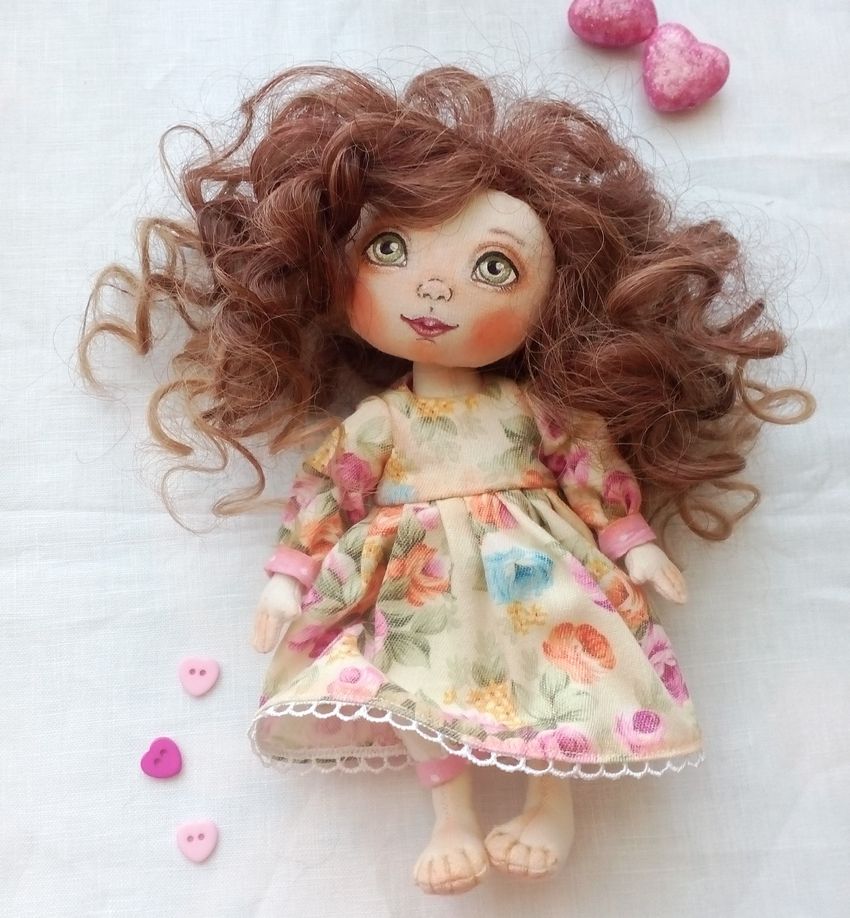
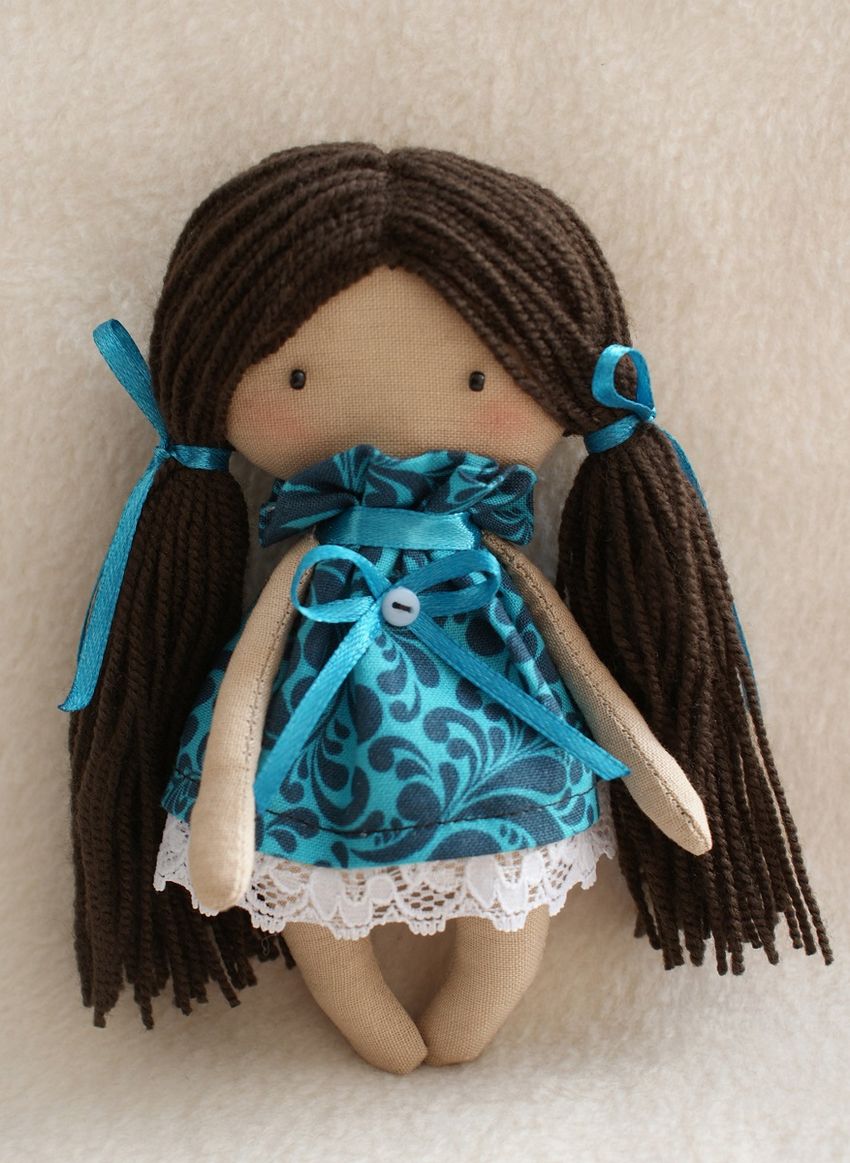
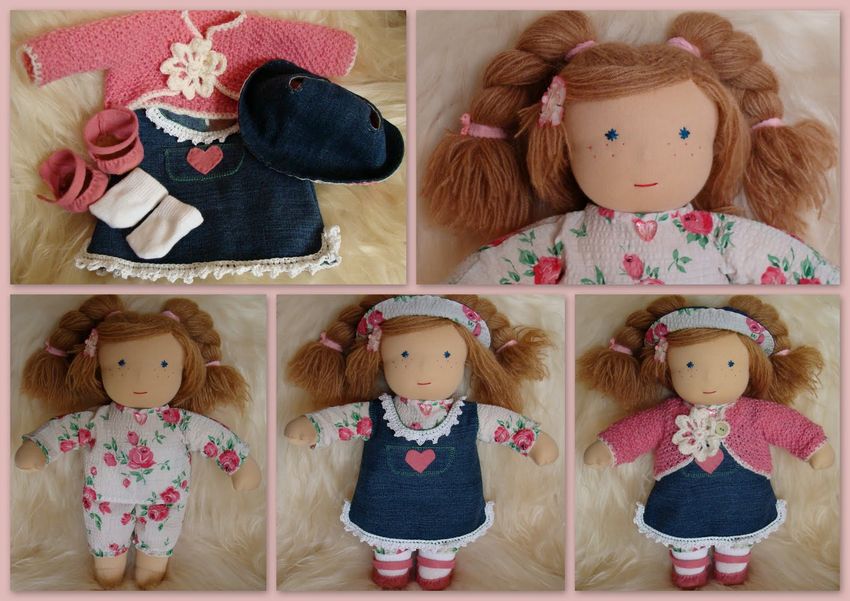
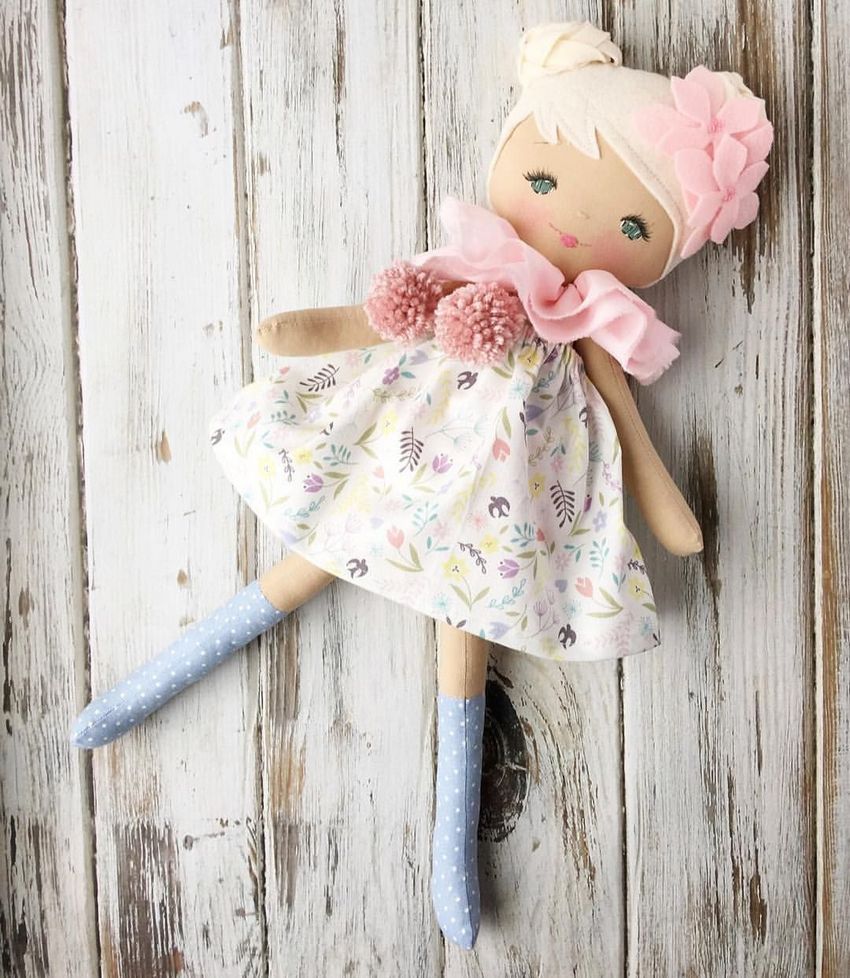
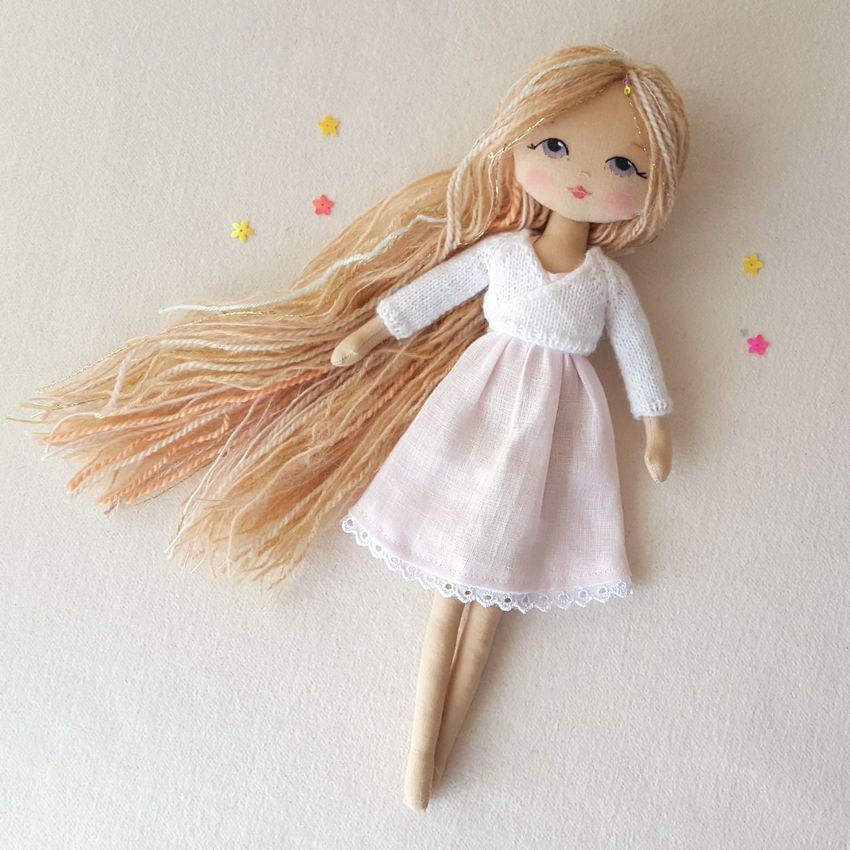
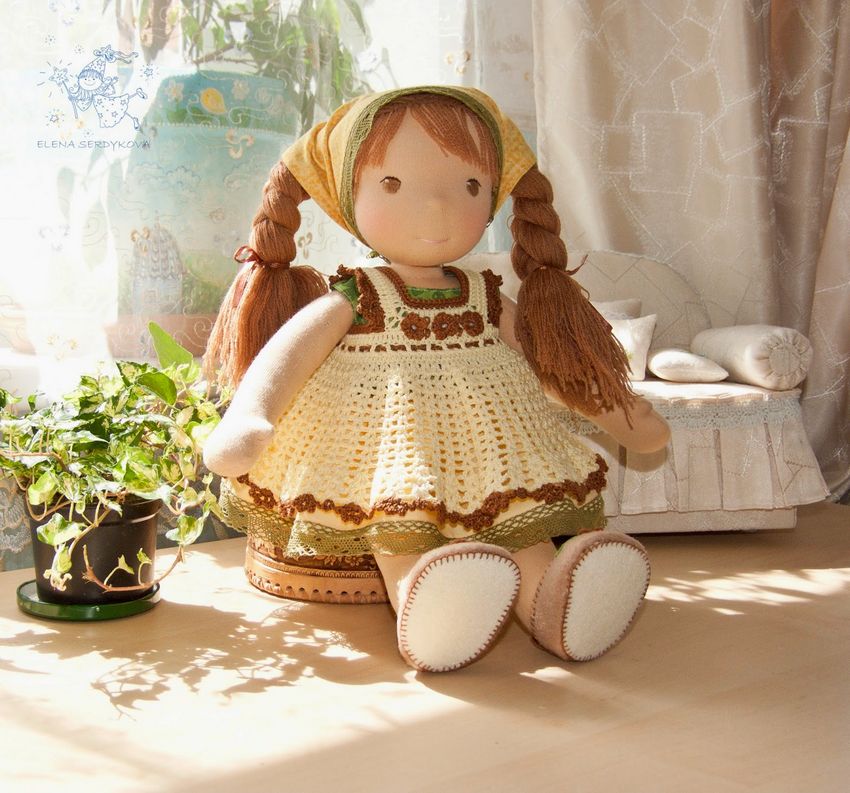
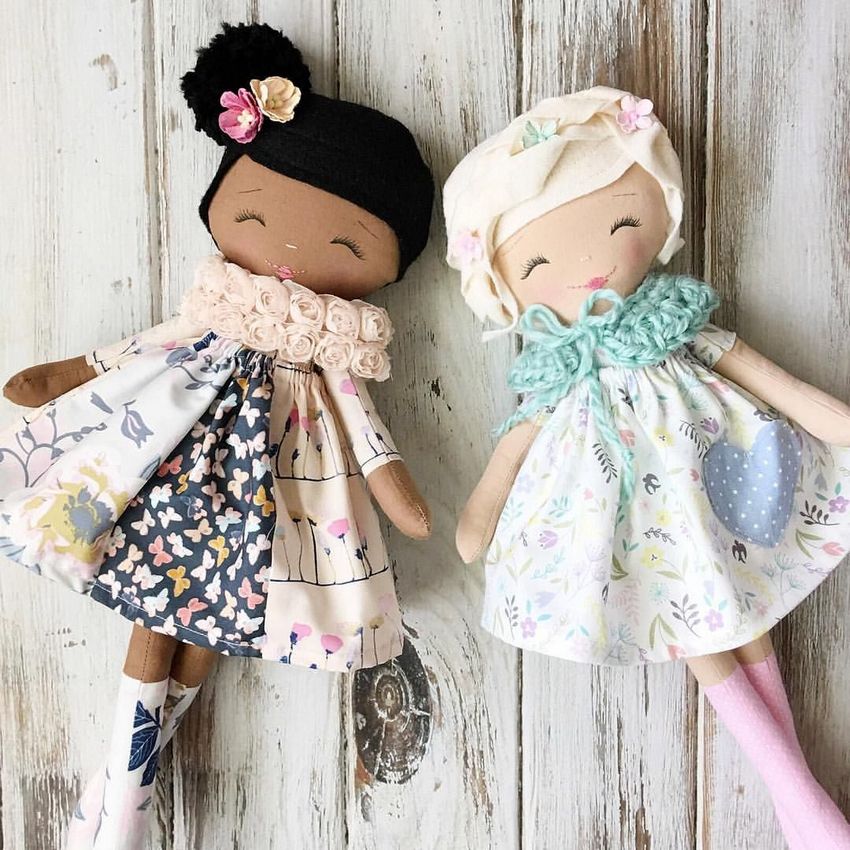
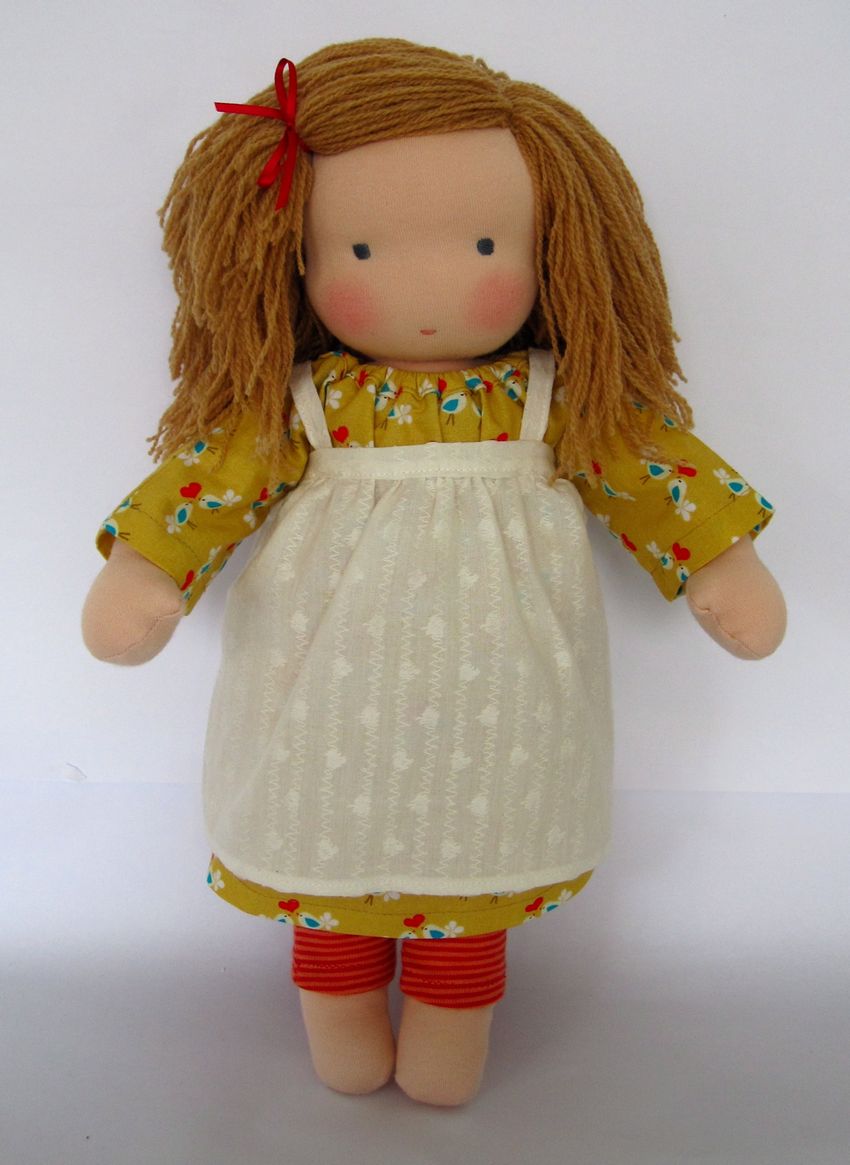
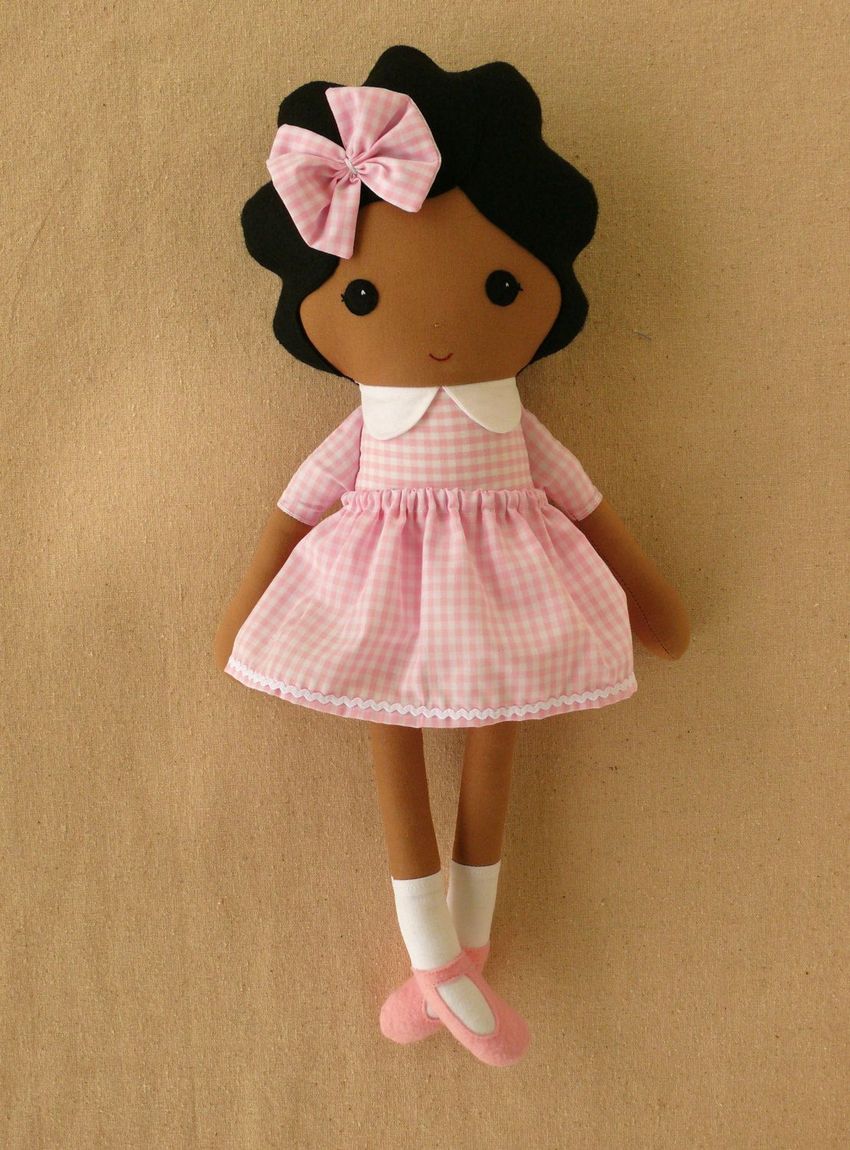
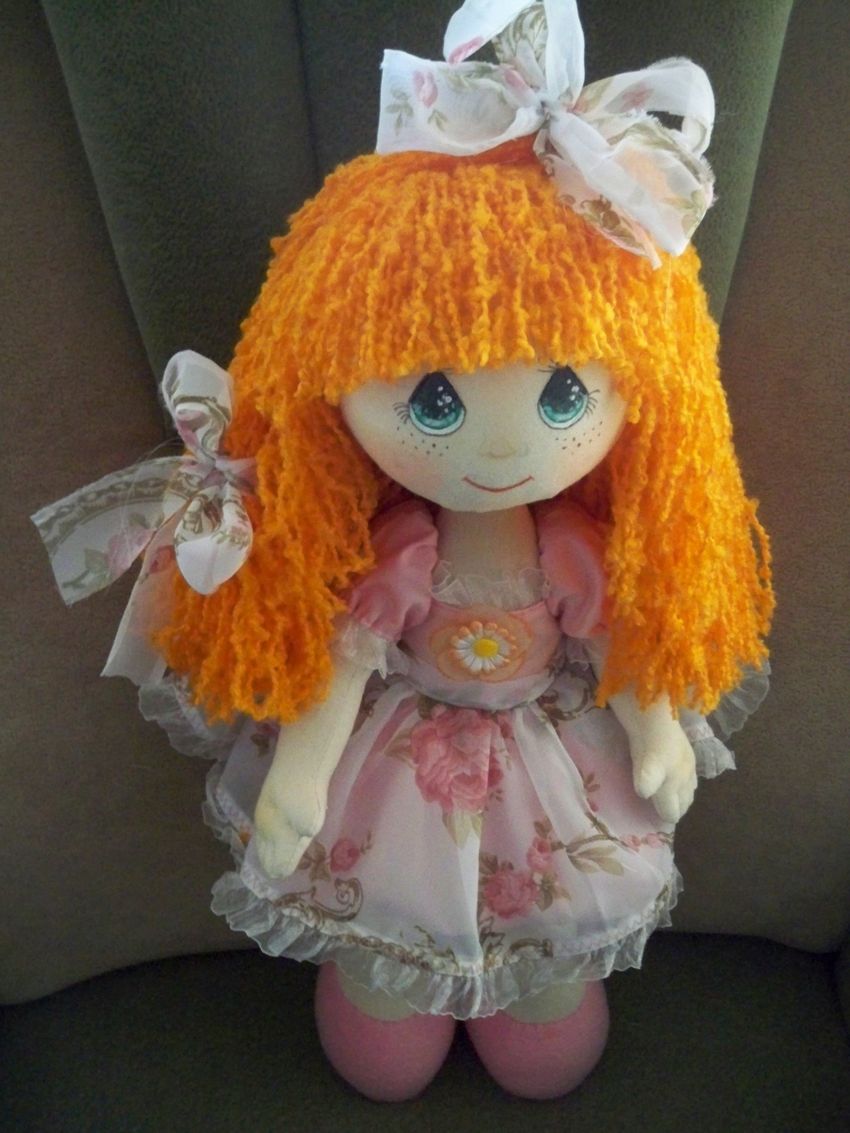
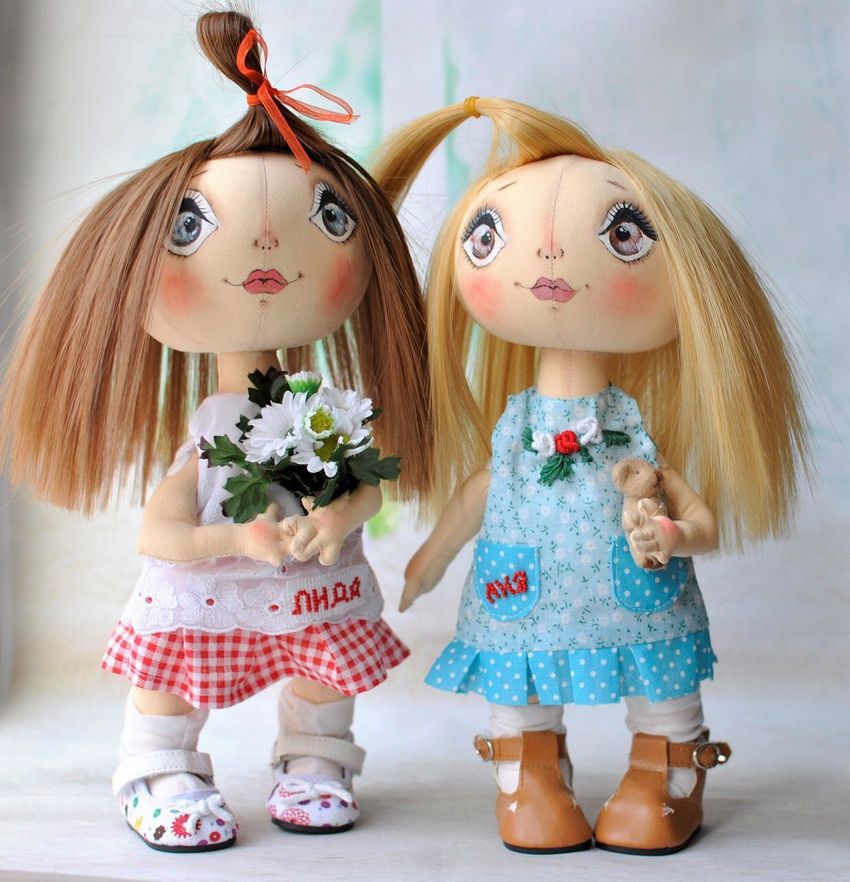
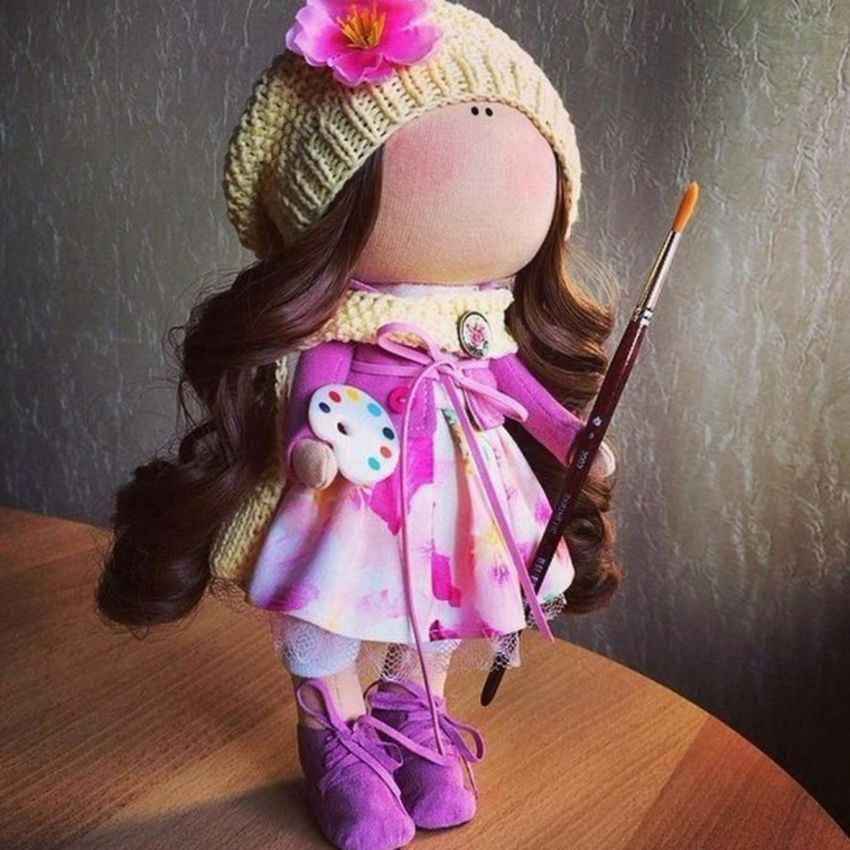
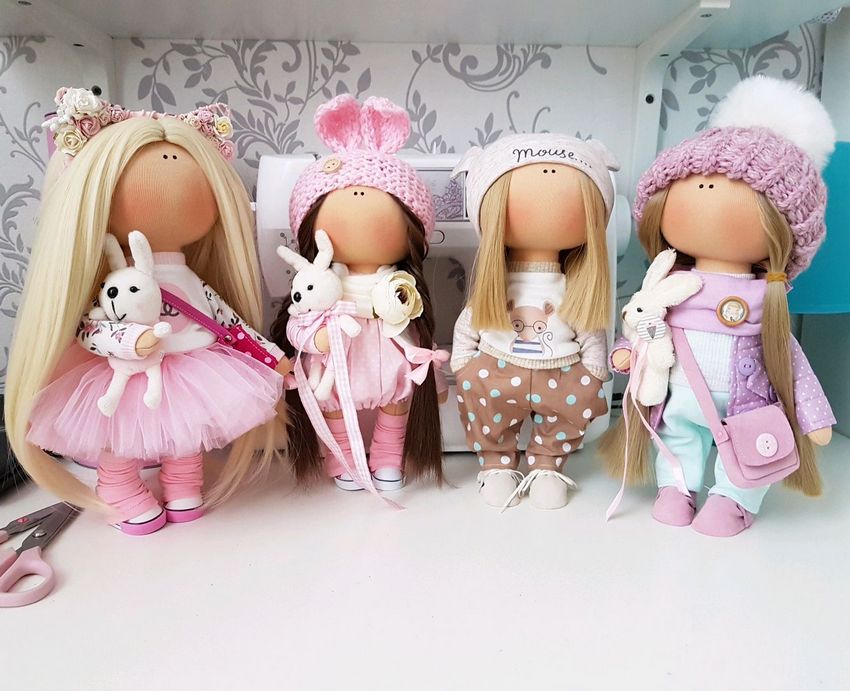
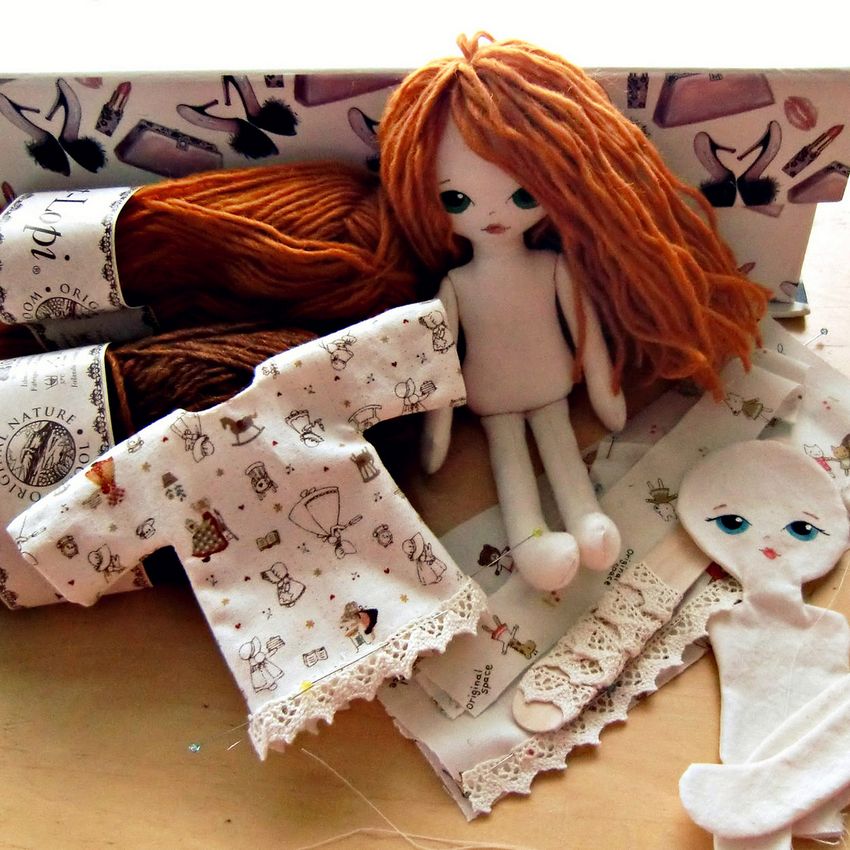
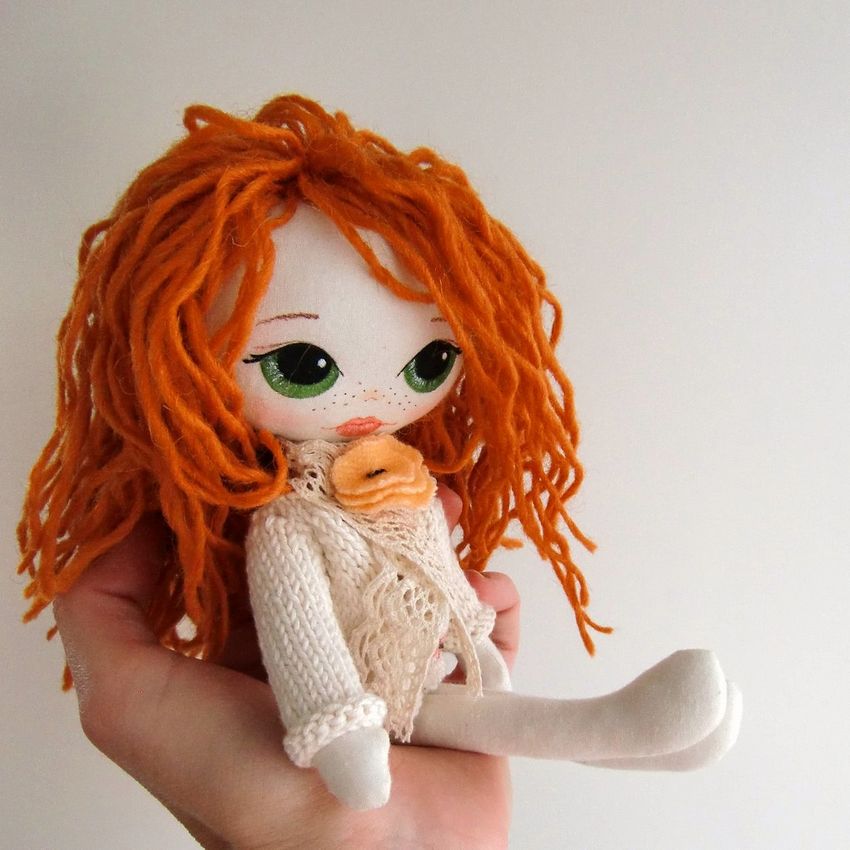
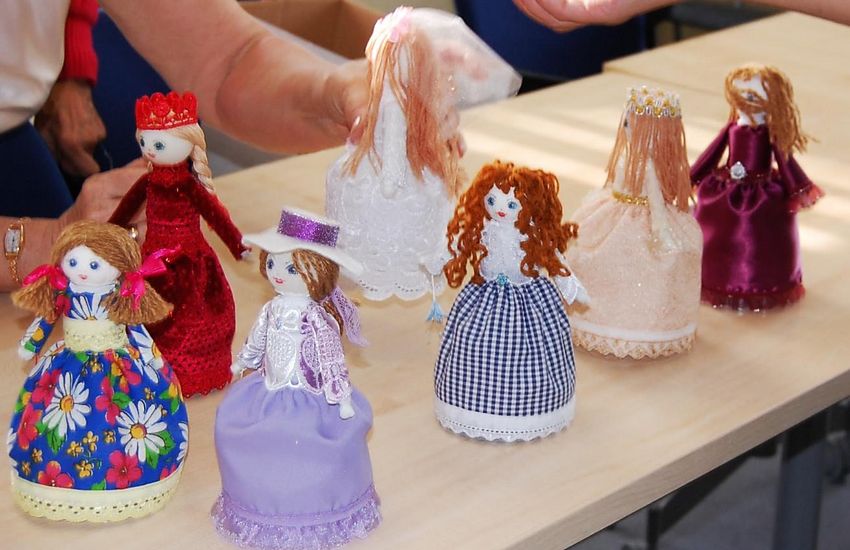
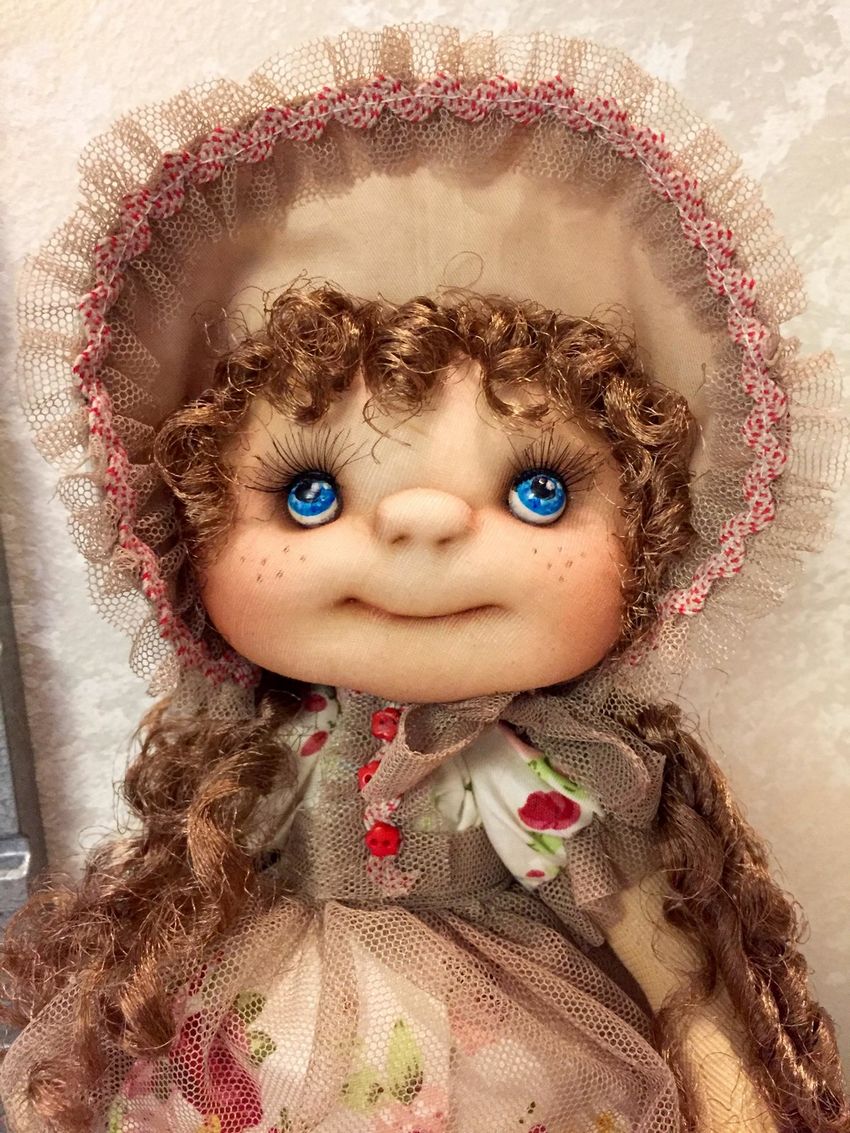
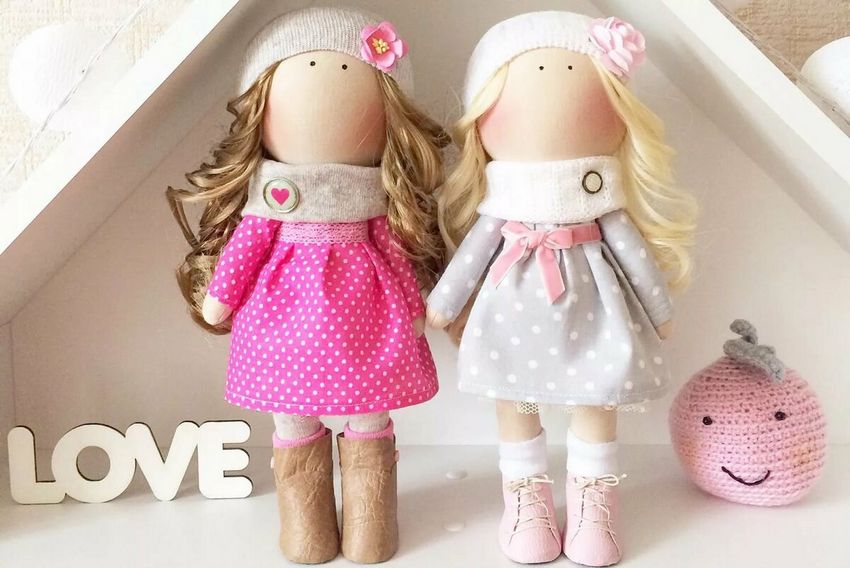
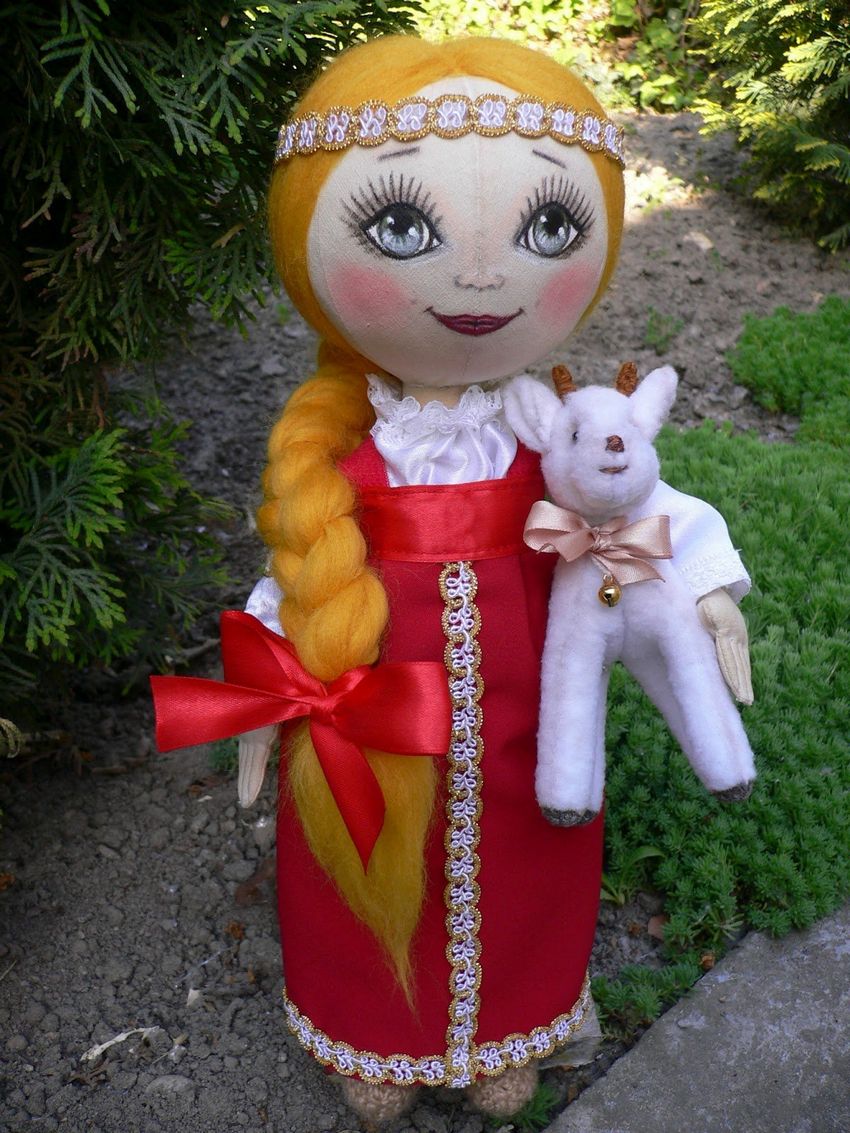
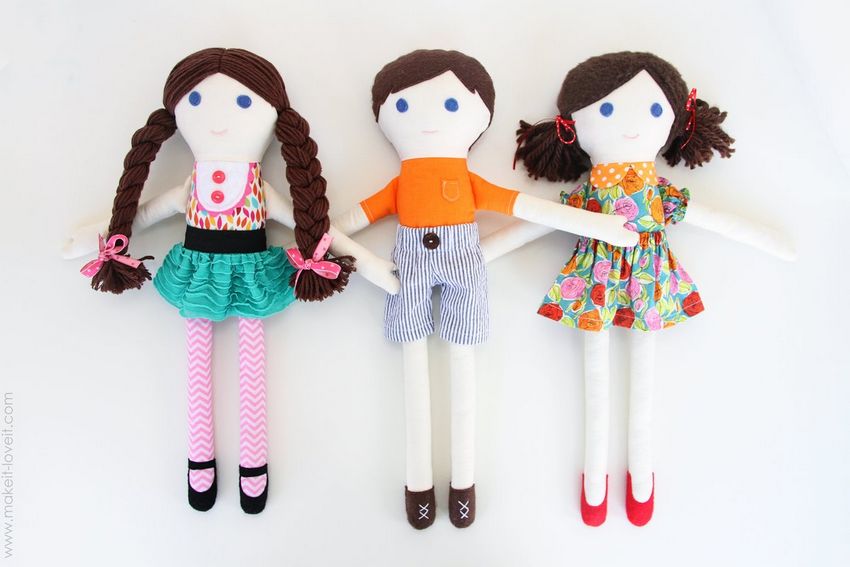
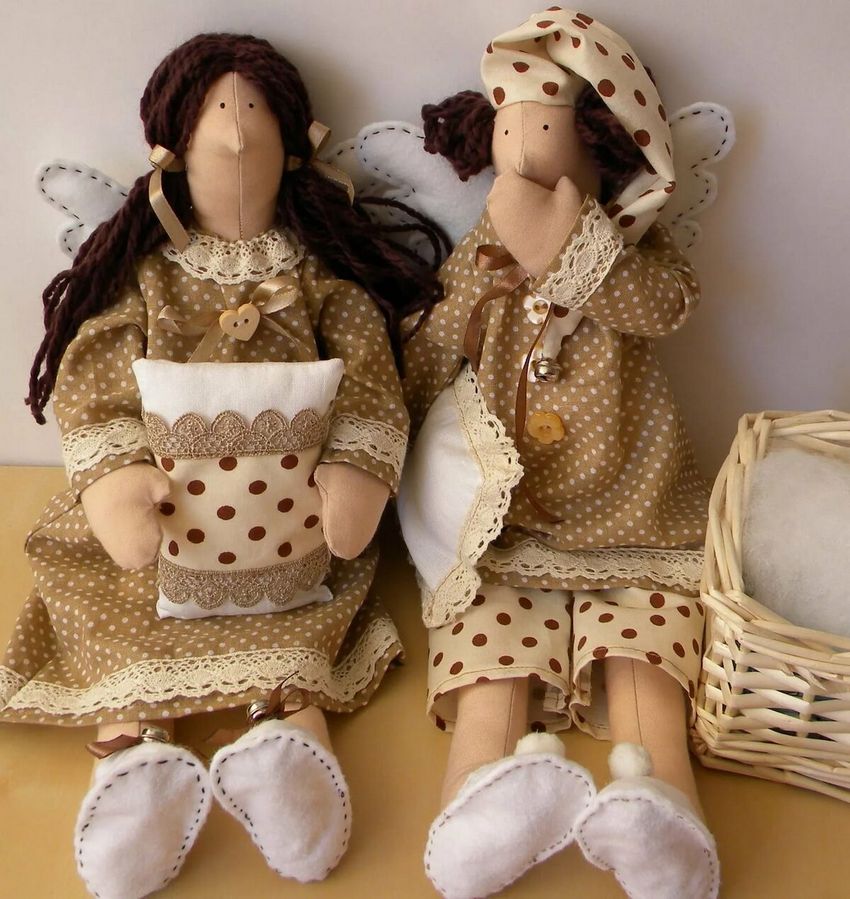
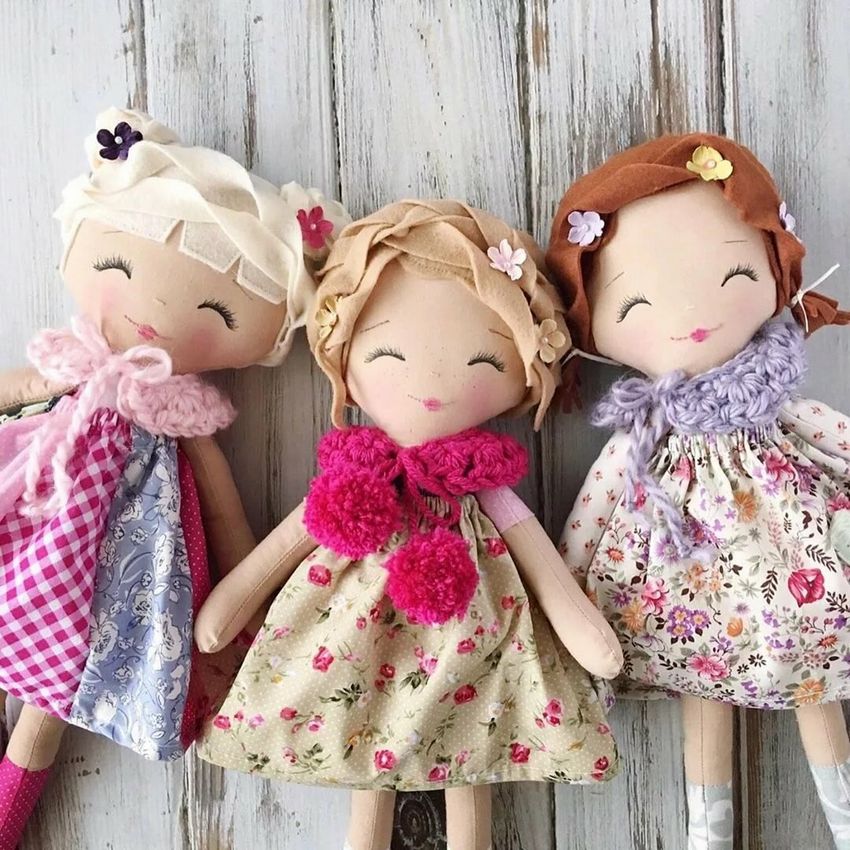
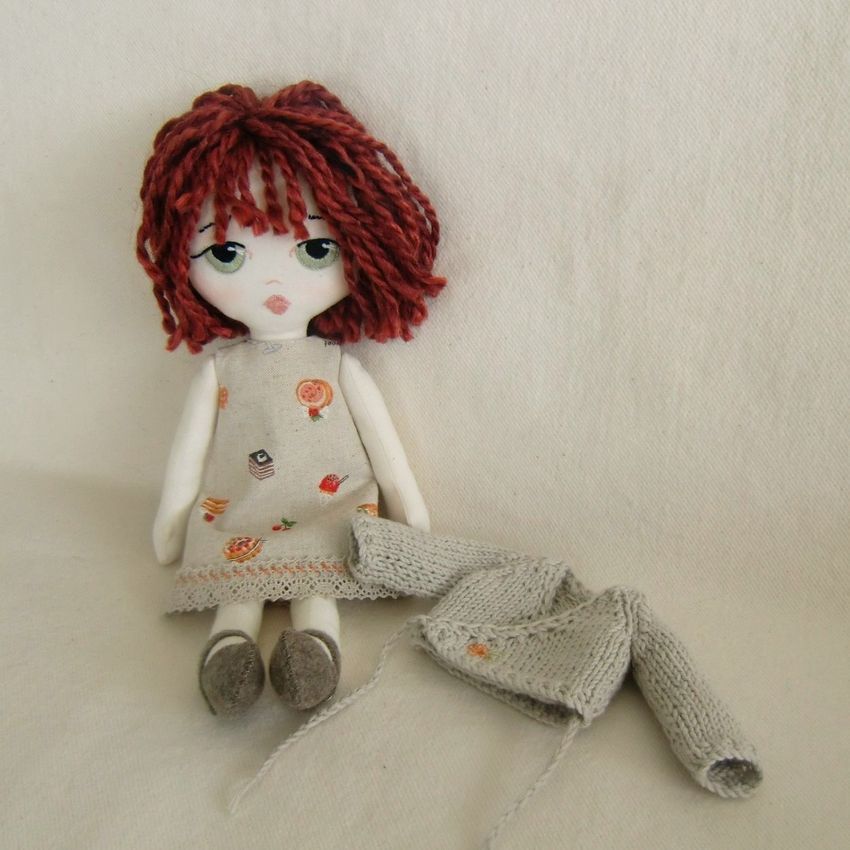
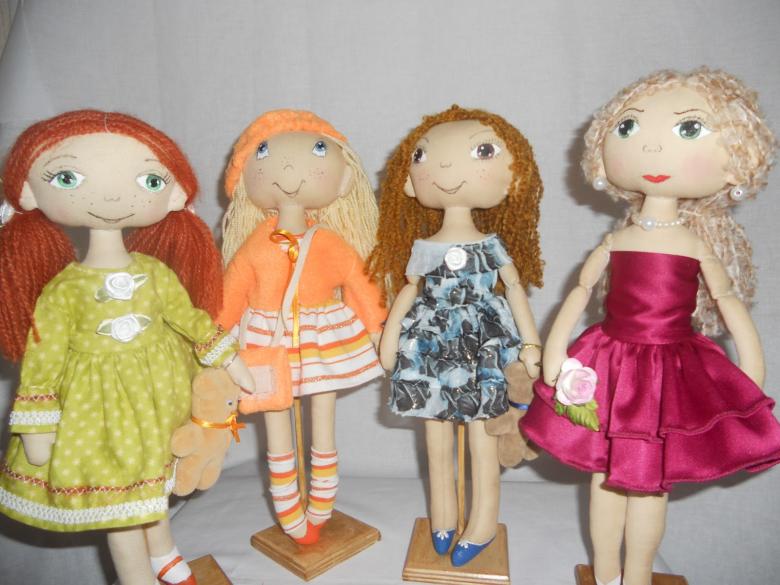
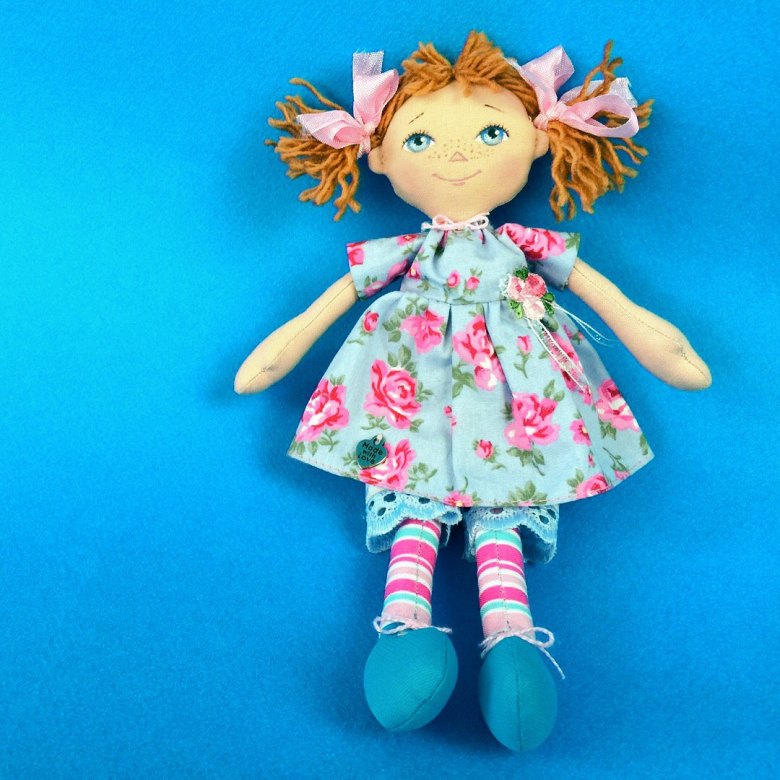
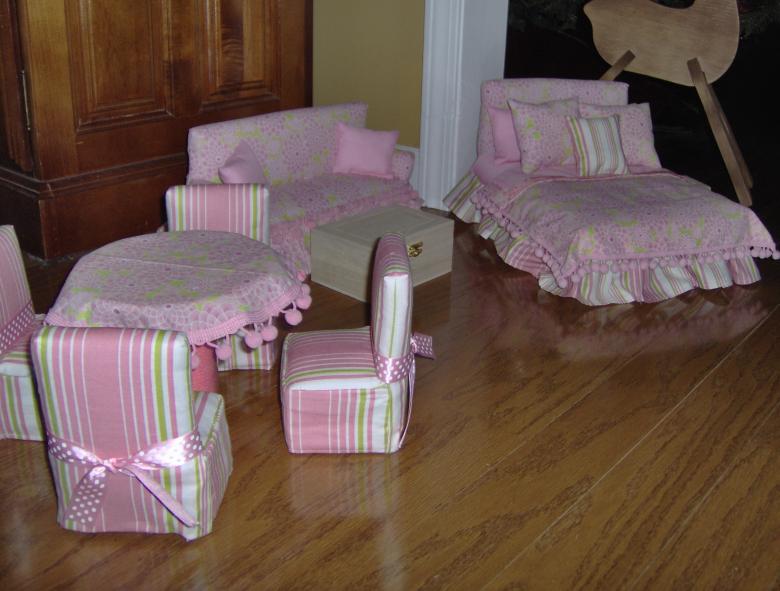
Photo examples of homemade dolls