How to knit a sweater by knitting - the basic steps of knitting, basic measurements and features of the assembly
Hand-knitted things are always popular. After all, it is an opportunity to create an exclusive thing at an affordable price. For those who just started the way of needlework, it will be easier and more interesting to start with knitting a sweater. On the Internet you can find many different models and ways to knit a sweater. Consider in this article the main steps of the work to create a basic element of any closet
How to knit a sweater?
Sweater is an integral part of the closet. It is necessary both for women, and men, and children. With what to begin to carry out his creative work?
Before you start creating a masterpiece, you need to figure out exactly what you want to knit. It will be a sweater with a blind collar or a small round, loose or tight, with a beautiful pattern or tied with a simple rubber band. In any case, it is worth deciding on the size and materials. The following is a detailed look at how to knit a sweater by knitting a sweater for beginners.
Hand knitting
Hand knitting is the most budget-friendly option for creating things. But, if you make something grandiose and large, it will take a lot of time. For beginners, it can be a test of strength. A lot of questions will arise in the head: is everything right, will it fit properly? This article discusses in detail how to avoid all these questions and create with peace of mind.
Choosing a yarn
First of all, let's start with the yarn. For a winter sweater is suitable yarn made of natural wool, the addition of acrylic up to 50% does not spoil the quality of the finished product. On the contrary, it makes the yarn softer and less prickly. For lightweight spring options, cotton or knit yarn is fine. For beginners, it is better to choose thick yarn. This will significantly reduce the time of work, and the result will be seen much faster.

Choose a knitting tool
You can knit a sweater on a knitting machine, as well as with knitting needles. Let's consider working with knitting needles. For knitting such a large-scale product as a sweater, long straight knitting needles are more suitable, and for knitting the neck you will need circular needles smaller by one size. The size of knitting needles depends on the thickness of the yarn.
The pattern .
Before you start work, you need to correctly calculate the size of the product. To do this, take measurements:
- chest volume
- waist size
- hip size
- neck circumference
- Sleeve length.
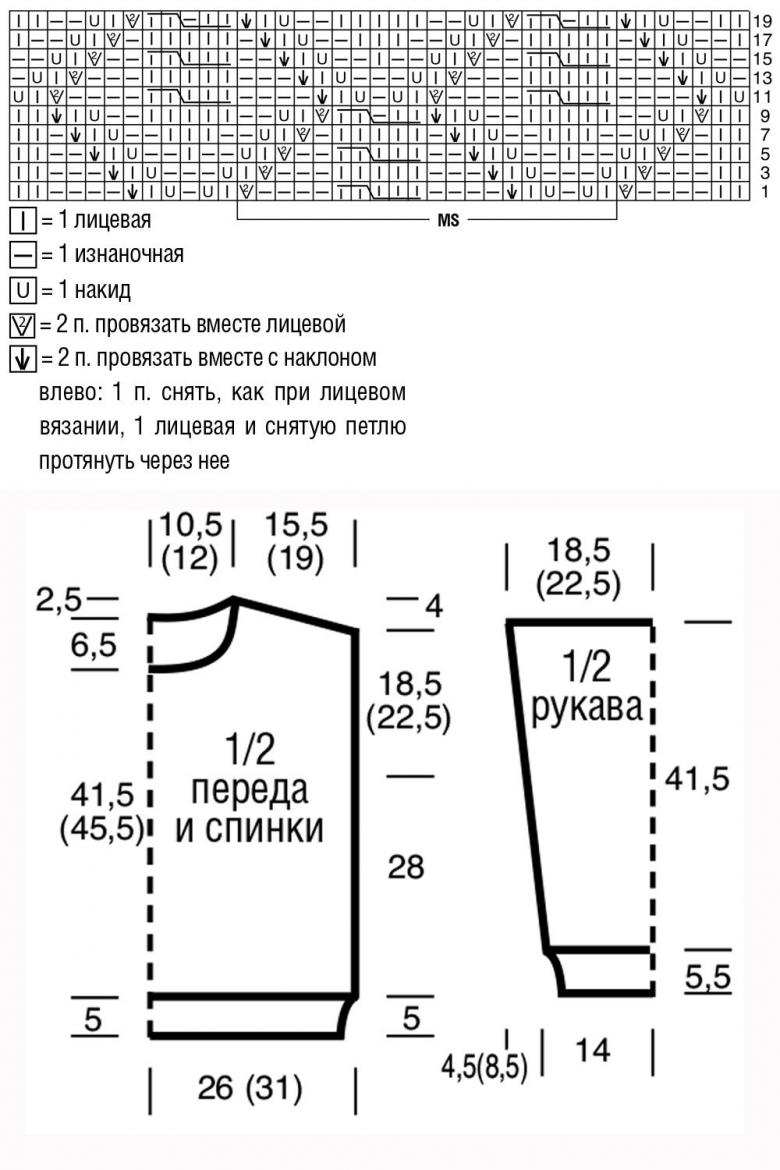
Decide on the length of the sweater. When everything is ready, draw the pattern on paper in full size. This will help you to make the correct notches for the sleeves and neckline while knitting.

How do I calculate the knitting density correctly?
You will find 20 loops and 10 rows of serpentine. If the yarn and knitting needles fit together, the fabric will be even. Measure the length and height of the sample in centimeters. The number of loops typed divided by the length (k1), and the number of rows by the height (k2), measured in centimeters.

Getting the loops
When all the measures are known and the density of knitting is calculated, you can proceed directly to work. There are two options for knitting a sweater classic and from the neck.
The classic option involves the creation of individual parts. With this method, it is better to start with the front and back. Nabbed on straight needles in an amount calculated: half the circumference of the hips multiplied by k1. Where k1 coefficient of knitting density in length, it is considered above.
When knitting the way from the neck, the loops are recruited on the basis of the measure of the neck, and also the length of this measure in centimeters multiplied by k1. Knit all together: two sleeves, front and back. Evenly add stitches. It turns raglan.

The main parts
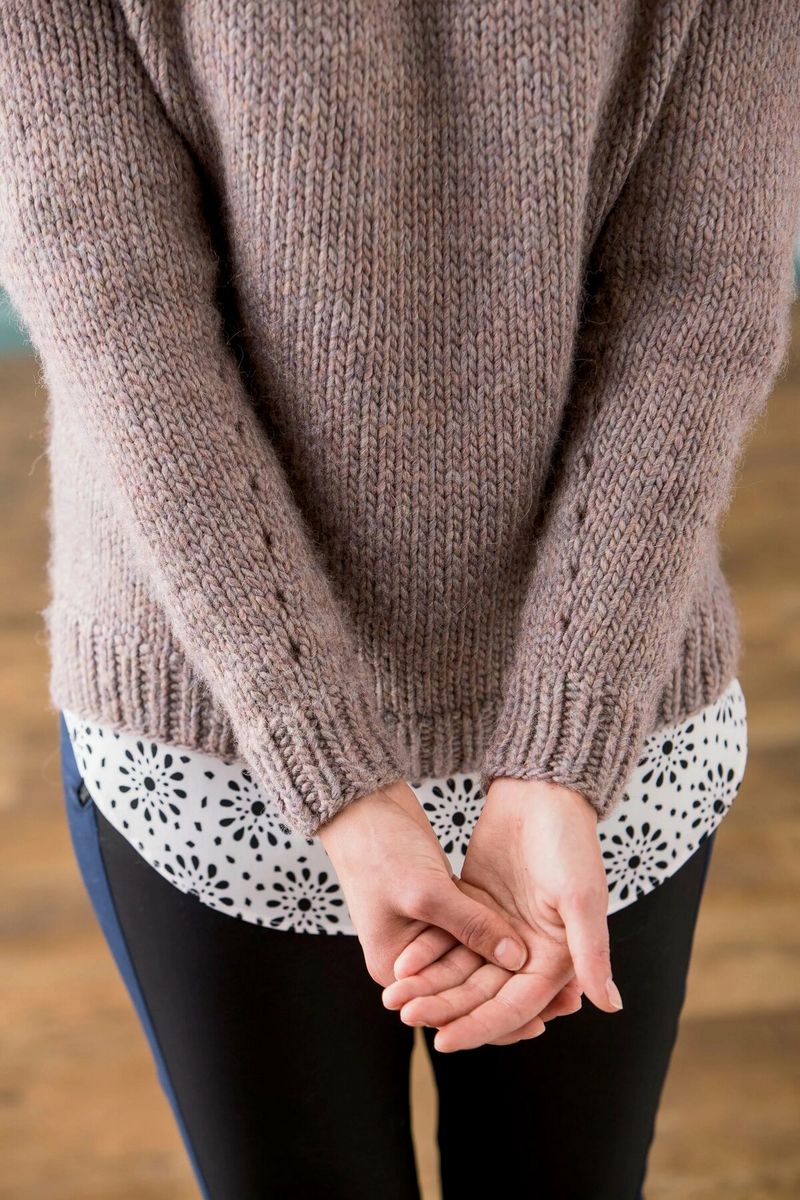
The main parts of the sweater begins with an elastic band. It is 5 to 10 cm in height. For a free cut after the rubber band after every 10 stitches are added one stitch.
If you need a fitted model in five rows after the elastic, first add one stitch on both sides in ten to fifteen rows, and then also add evenly.

Then you sew the grommets for the sleeves. For the classic sleeve algorithm for closing the loops as follows: In the first row, three stitches are closed on both sides. The next two rows - two. Next through the row close one more loop four times on both sides. Then knit 16 - 20 cm for the front and 18-24 cm for the back.
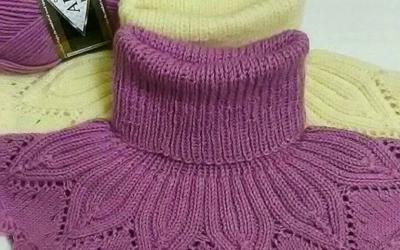
The next task is to knit the neck. The higher the collar of the sweater, the higher the neckline. Consider how to beautifully knit a round neck in a sweater by knitting. Each shoulder is finished separately.
On the side of the neck close three loops in the first row, in the second three. Knit the shoulder according to the pattern to the length of the product. Shoulder stitch is closed obliquely. For which the remaining stitches are divided in half. On the side of the sleeve first close the first half of the loops, after a row - the second.
Similarly knit back, only the neckline do centimeters higher. Make a beautiful neckline can be done in different ways. Here are two of them:
1. After assembling the product, on circular needles typed, leaving the edge of the wrong side. Knit 2-3 inches of straight or elastic. Then slip a row on the wrong side, and 2-3 cm more with a straight face. Close the loops, sew the edge to the wrong side.
2. Everything is done in the same way. But instead of the back row, knit as follows: alternate two stitches, a knit together and a cast-off. The next row is to be done in the left side of the stitch.
3.4 Sleeve.
In order to correctly and beautifully knit a sleeve, again you need to decide on the model. All of them differ only in the method of closing the loops.

Simple sleeve knit, starting with an elastic band. Gradually adding loops from the edges, about every 6-10 rows. Close the sleeve simply in a straight line. The sleeve will kind of hang off the shoulder.
2. Classic method. 5-6 cm before finishing on the sides of the sleeve gradually close the stitches. First 4 stitches, in the next row - 3 stitches, then the stitches are closed through the row by one stitch 6 times, in the next rows: 2 times 2 stitches, once for 3, once for 4. The remaining stitches are simply closed. The sleeve should match the pattern. In this way the sleeve fits neatly on the shoulder.
Assembling the sweater
When all the parts are ready they need to be washed and steamed. After proceeding to the assembly. Sew the shoulders. Then the sleeves are sewn in, so that they lie flat, you need to distribute them with English pins. After everything is sewn together, you knit the neck.

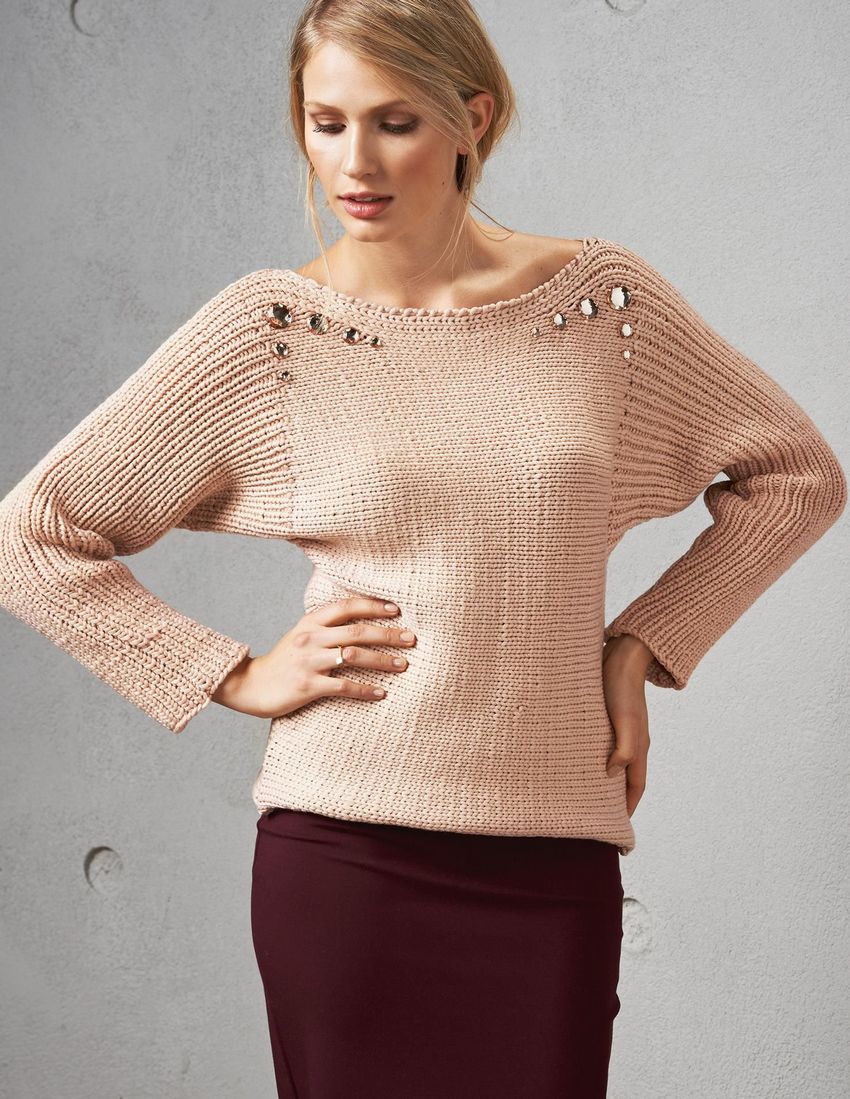
Hidden by hooking protruding threads. All your sweater is ready. You can decorate the finished sweater with embroidery or ribbons, sew on the edge of lace. All this will add chic and style to the finished product. And most importantly - it will be an exclusive masterpiece.
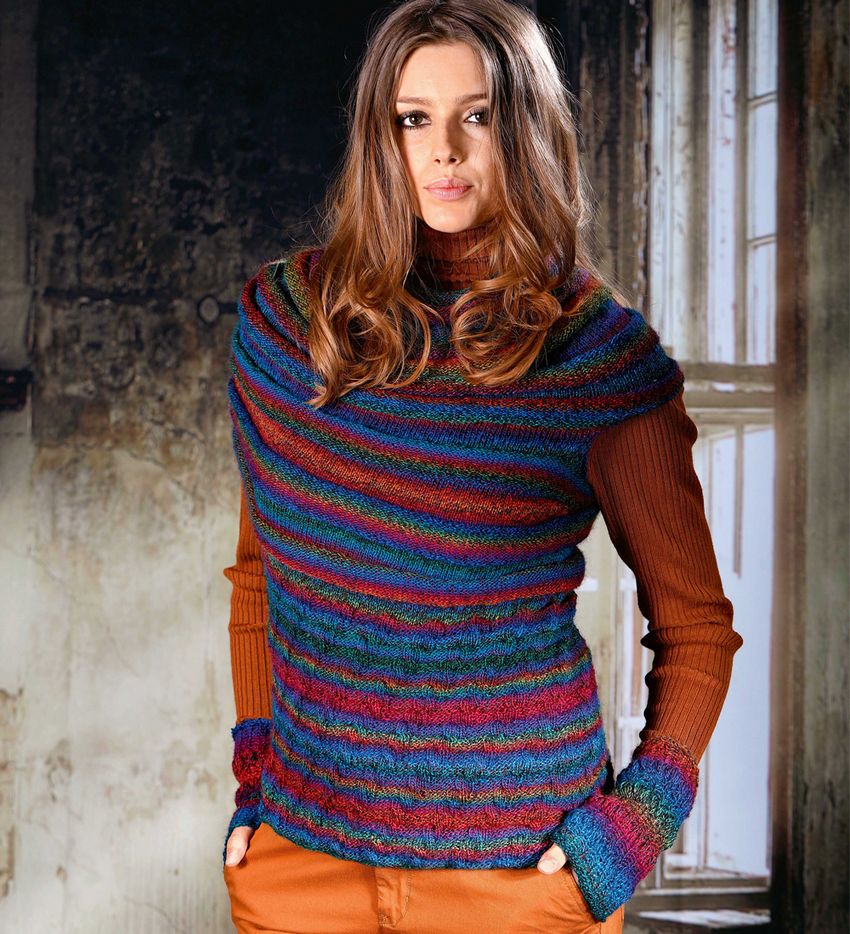
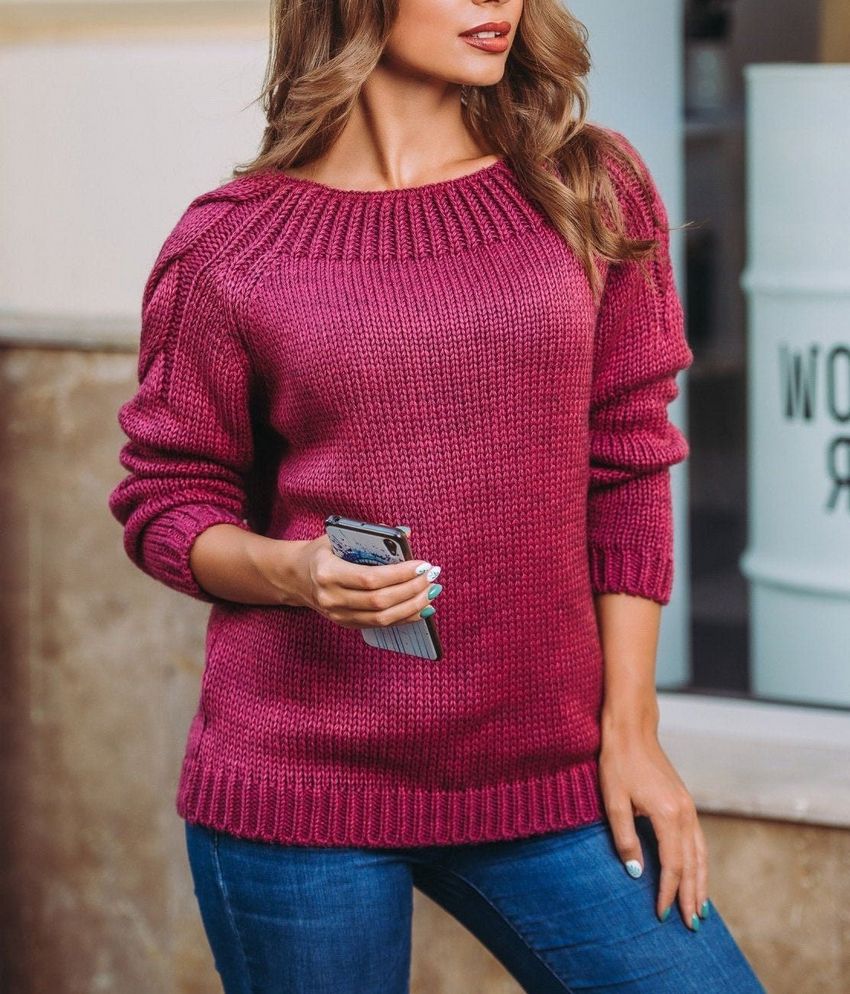
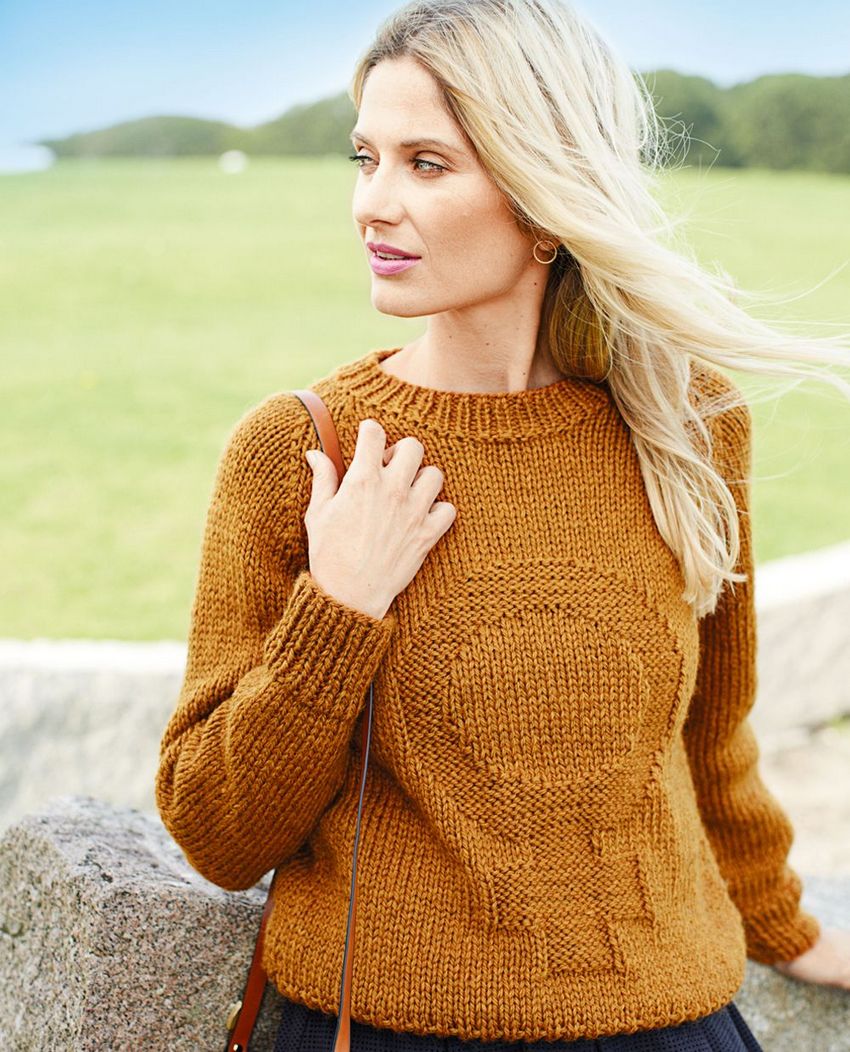
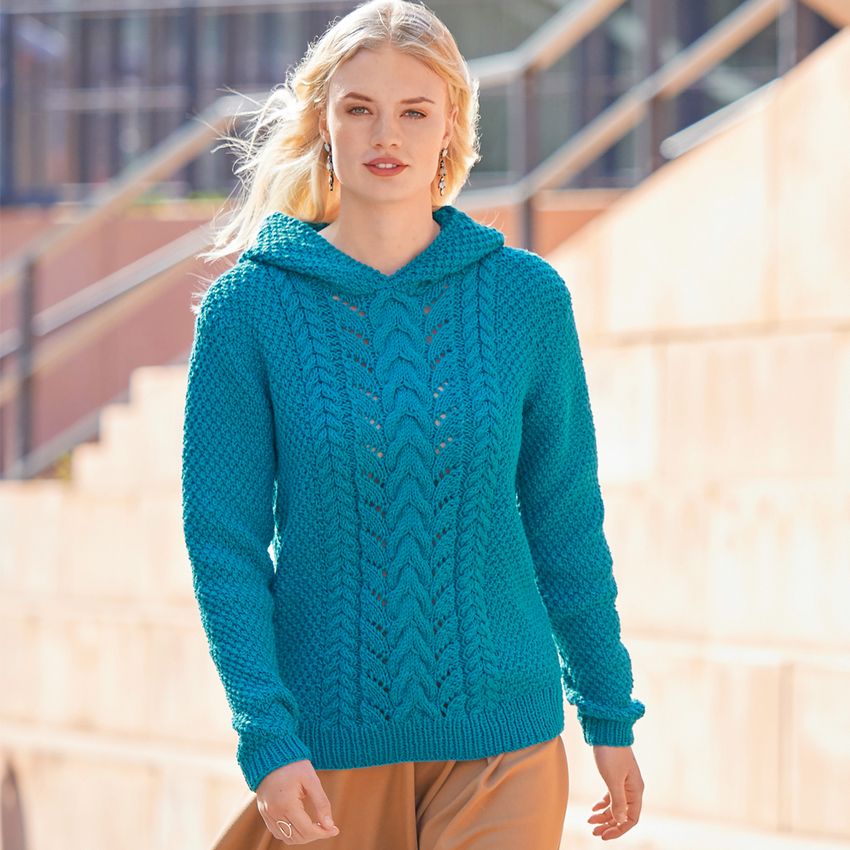
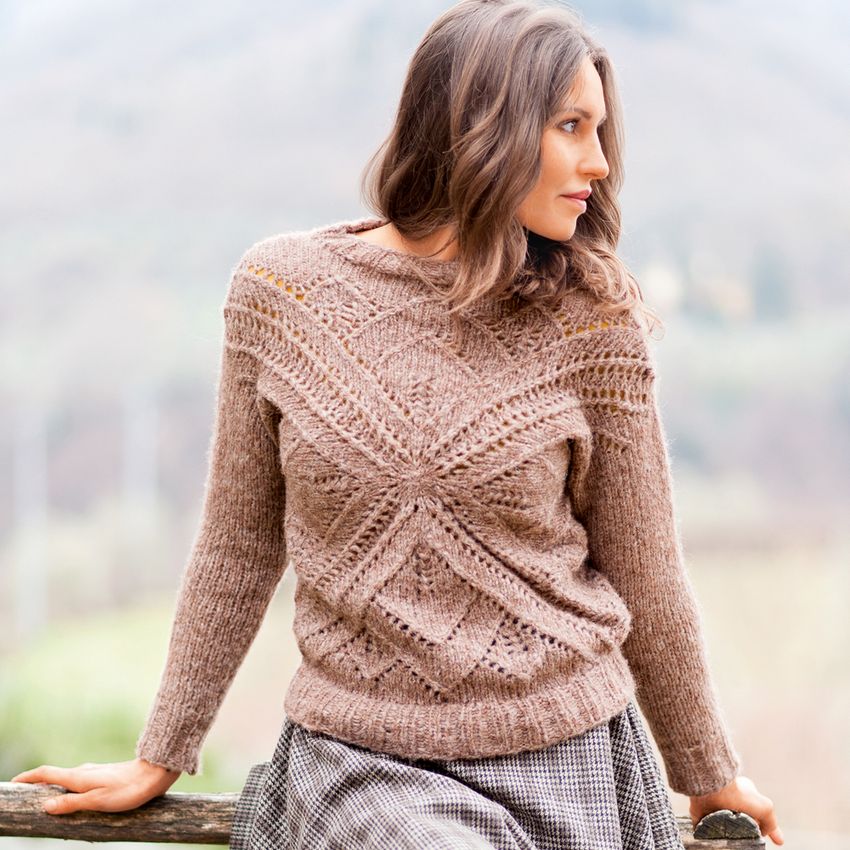
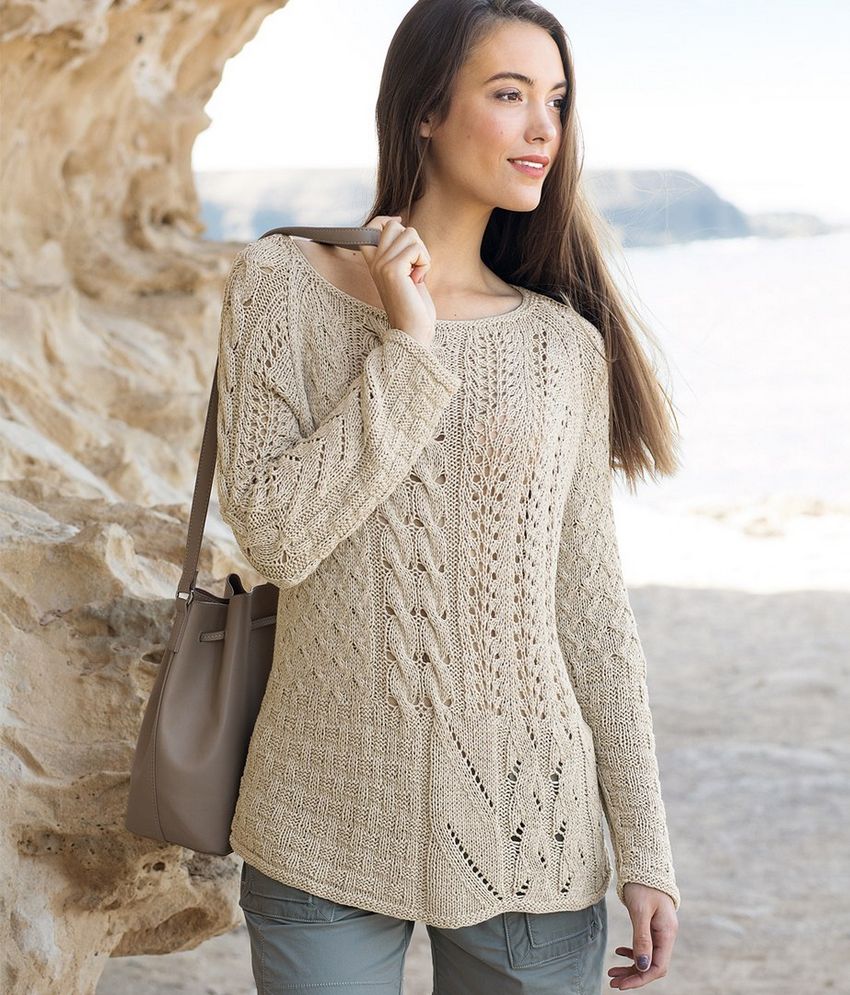
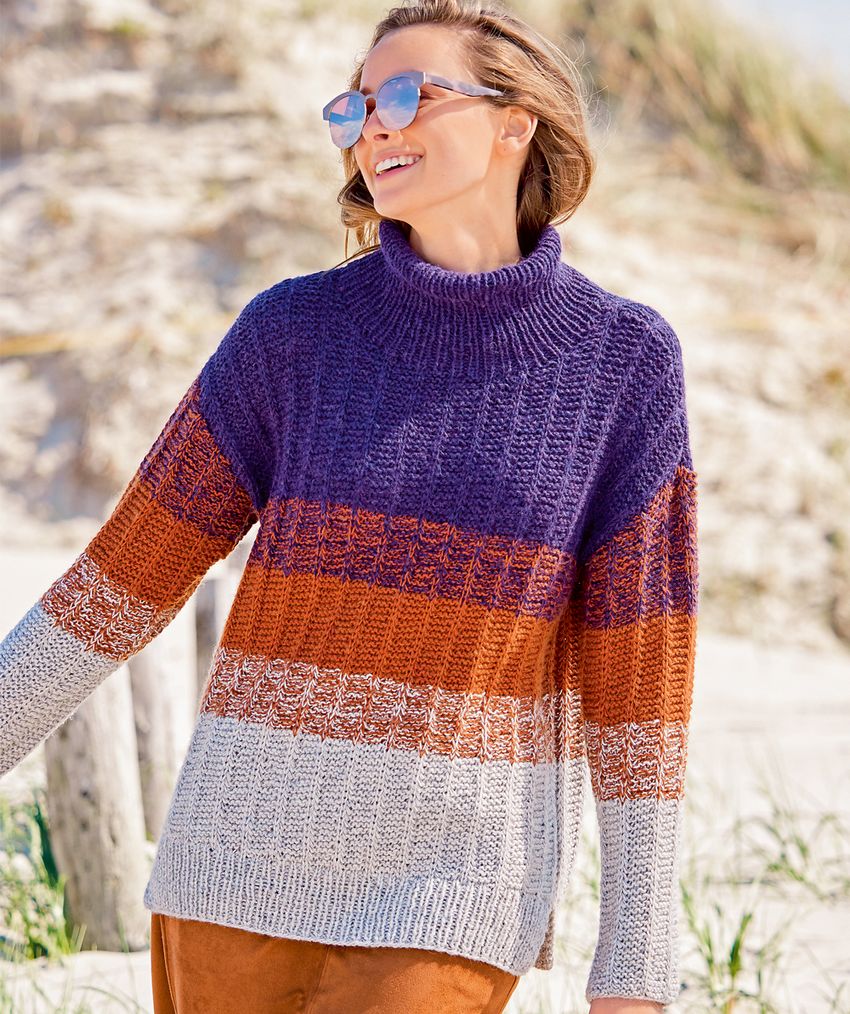
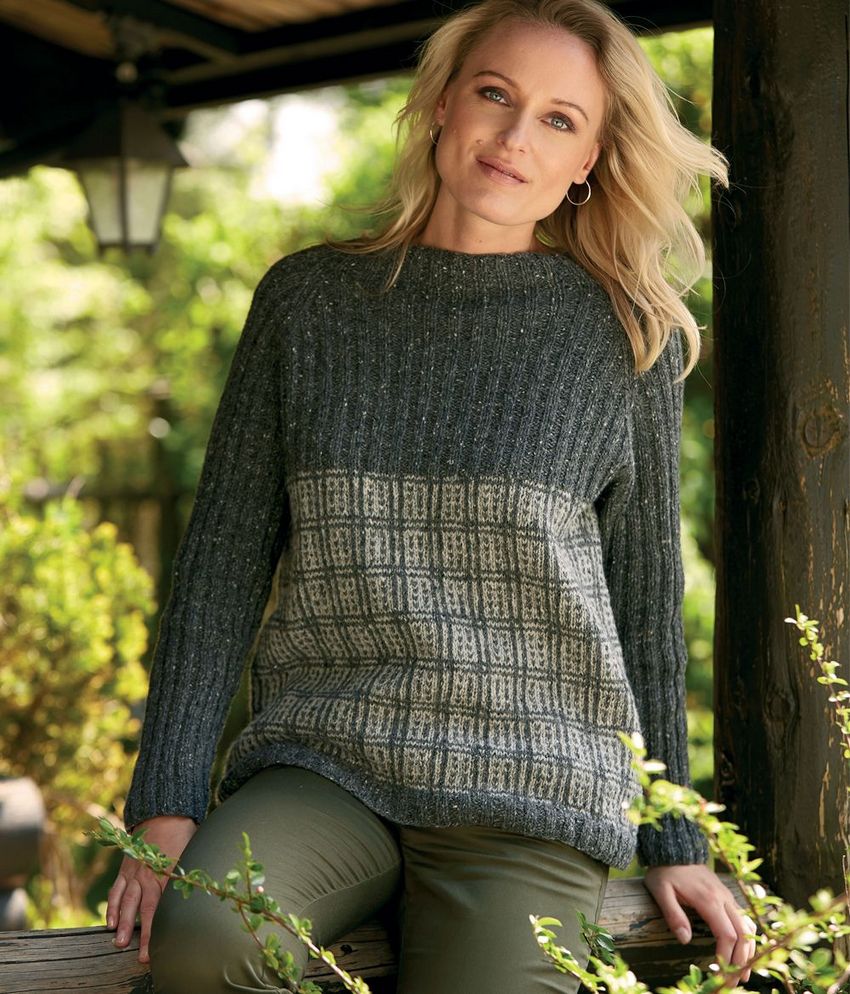
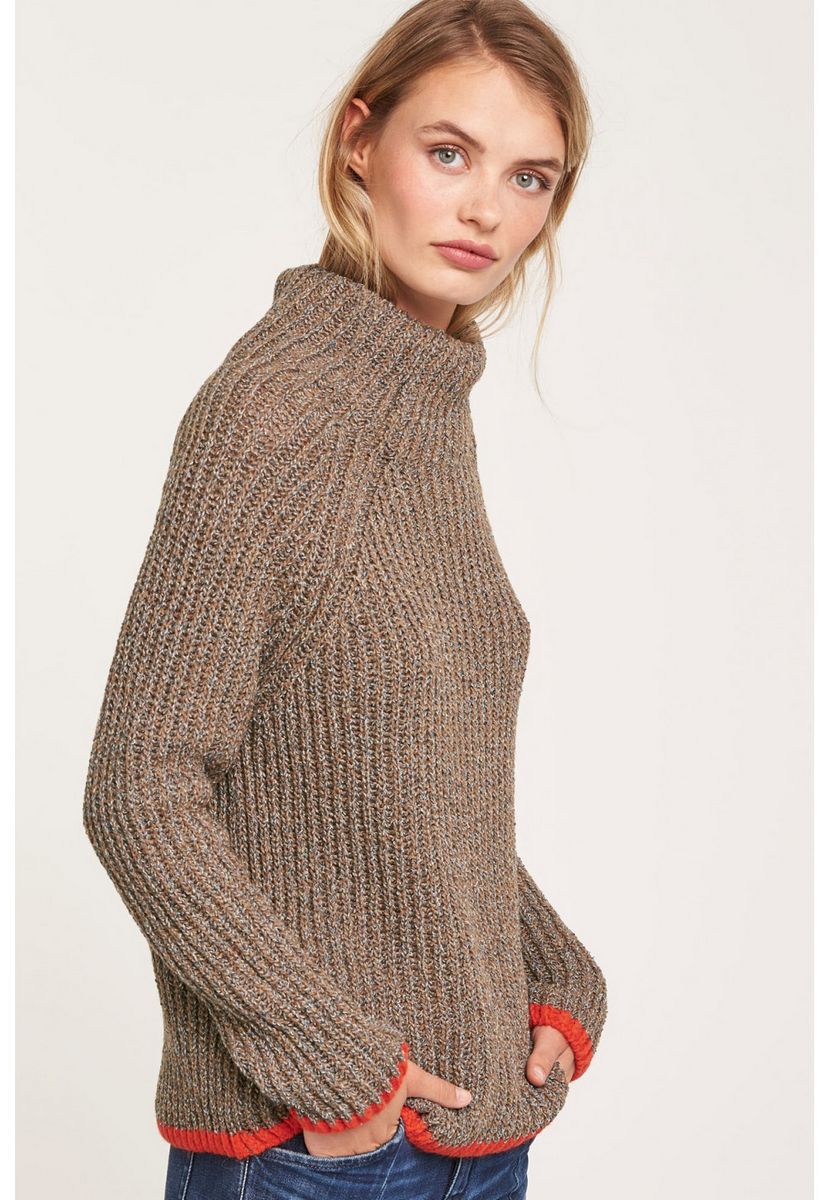
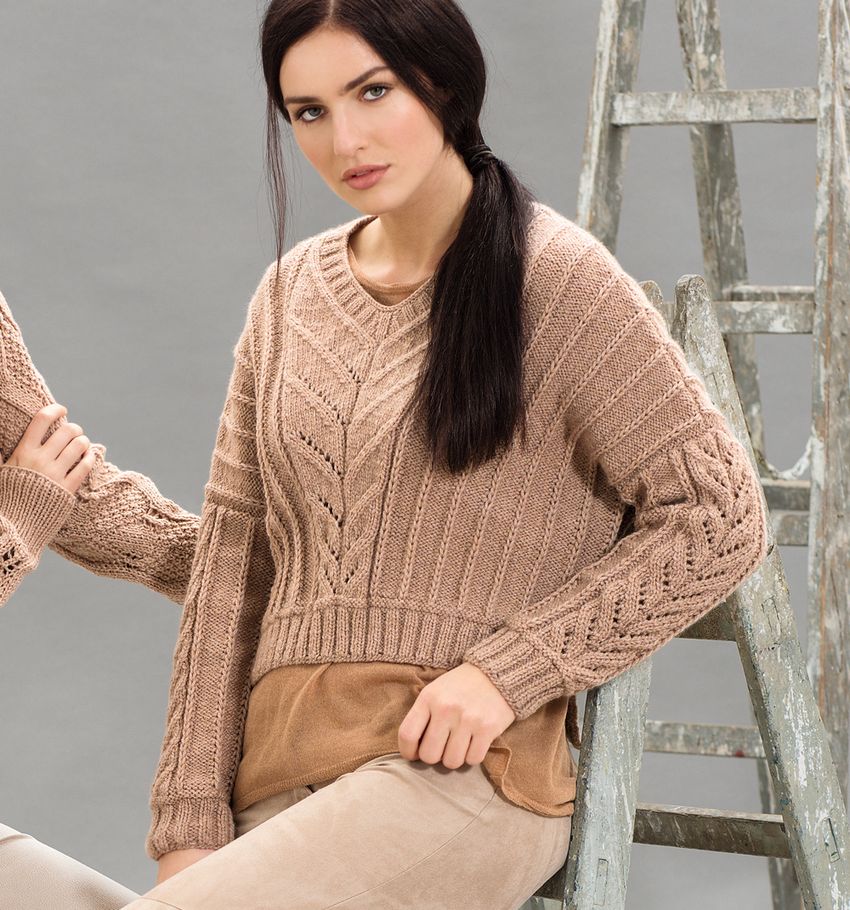
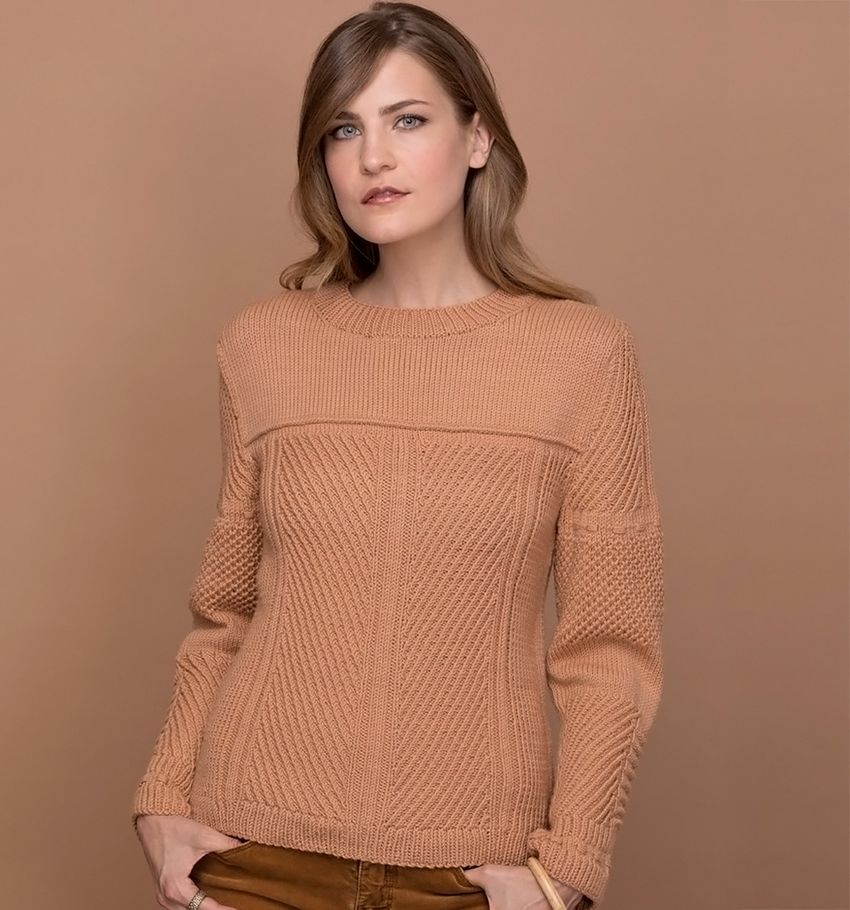
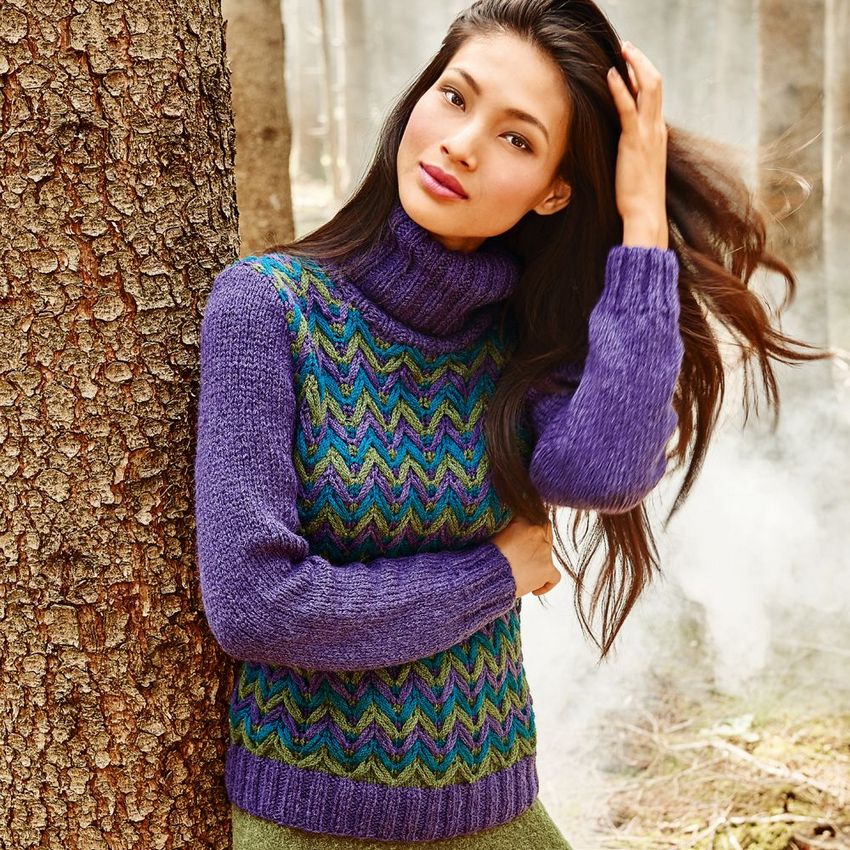
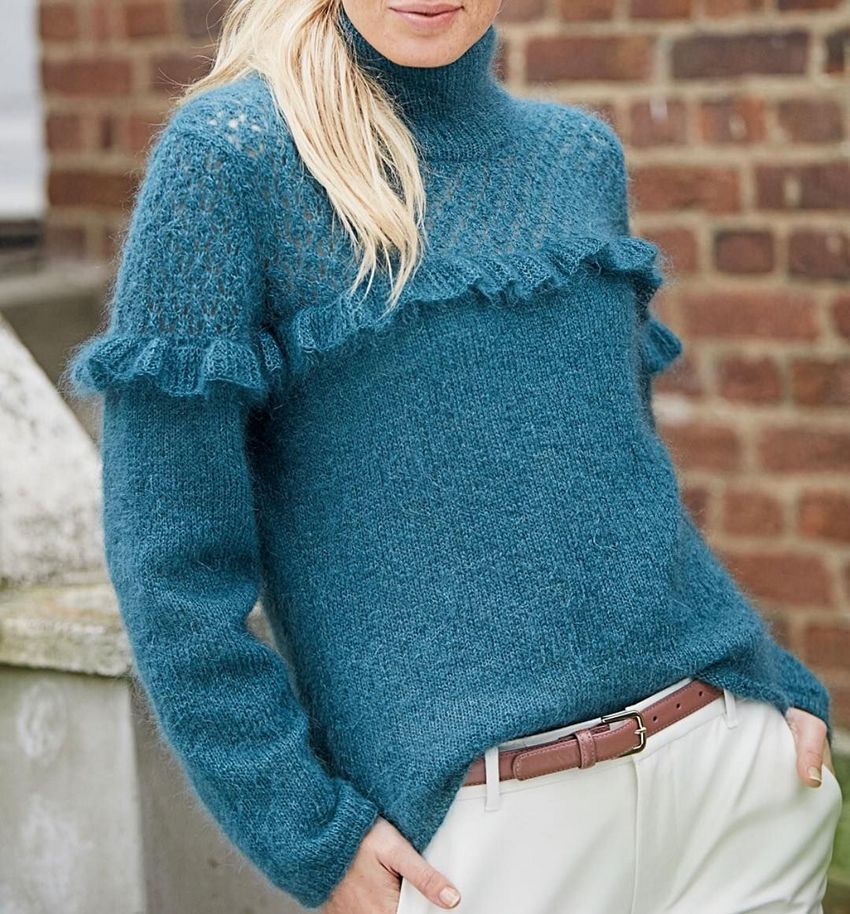
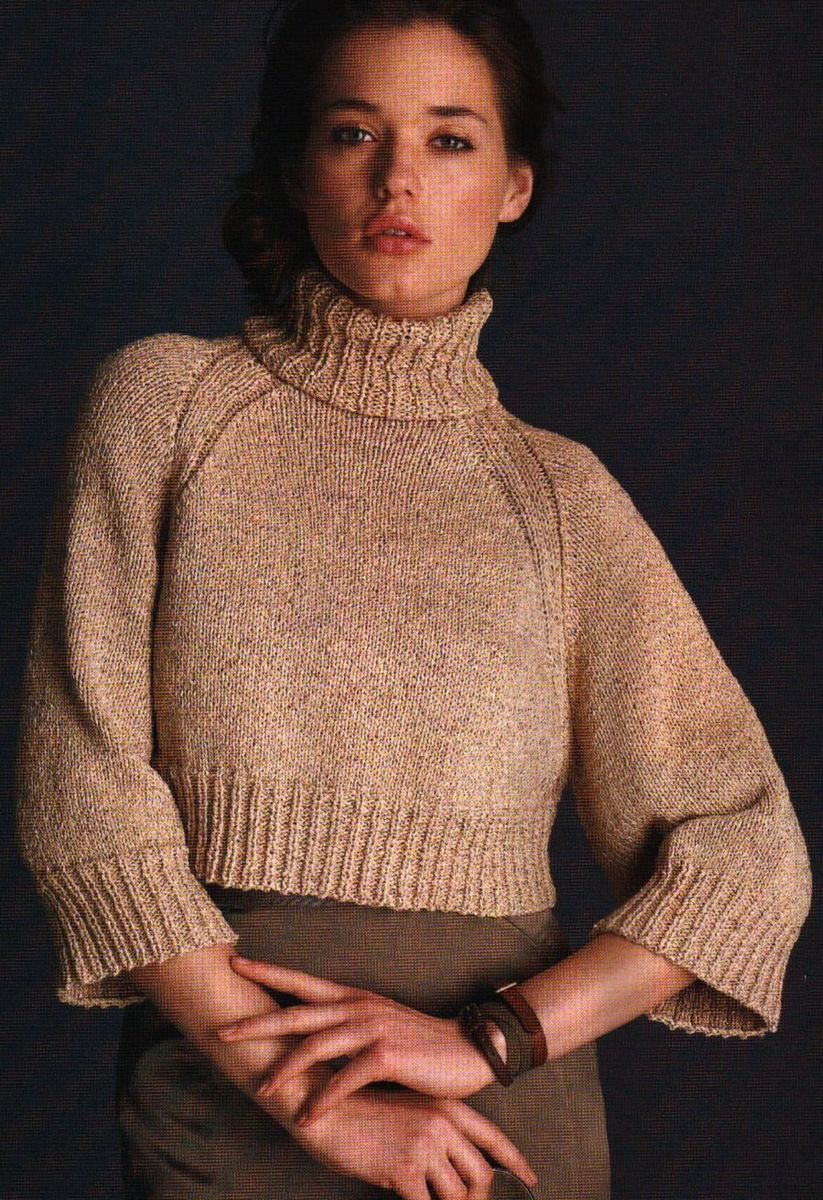
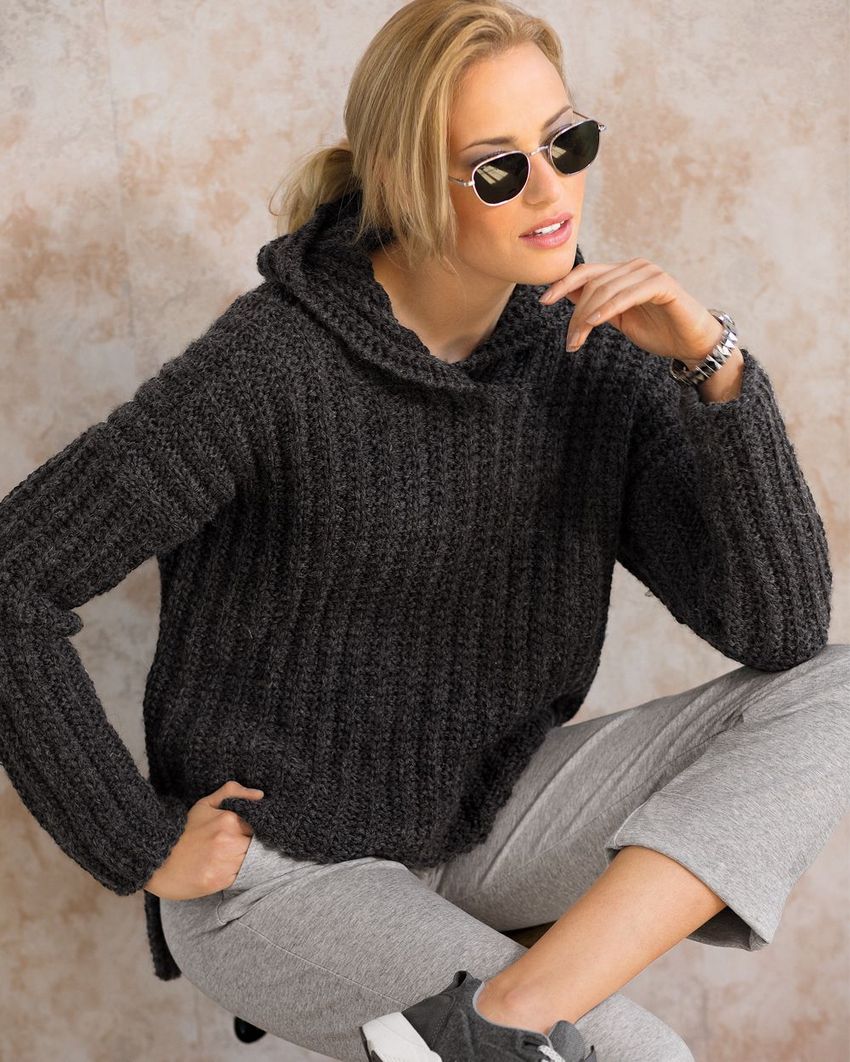
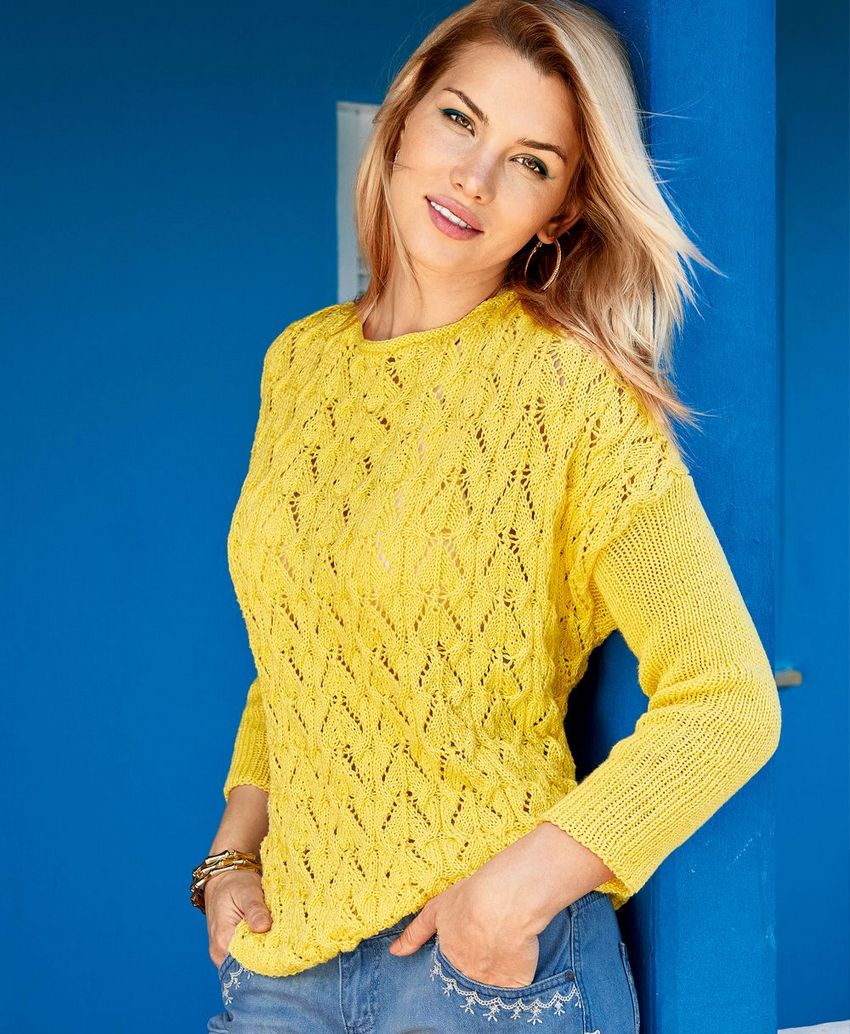
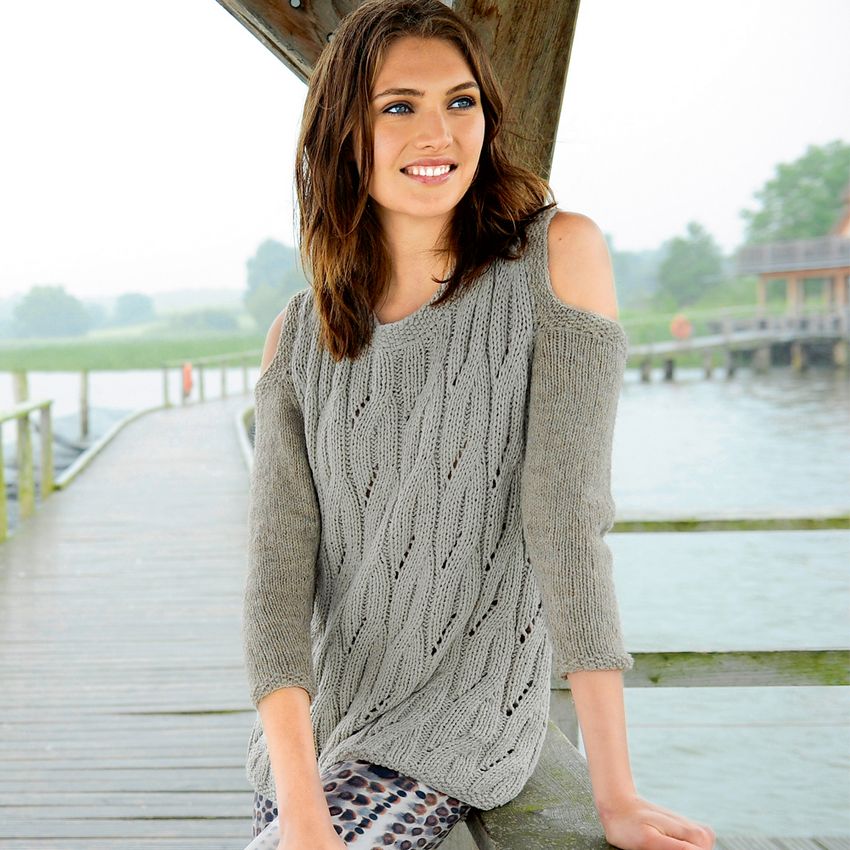
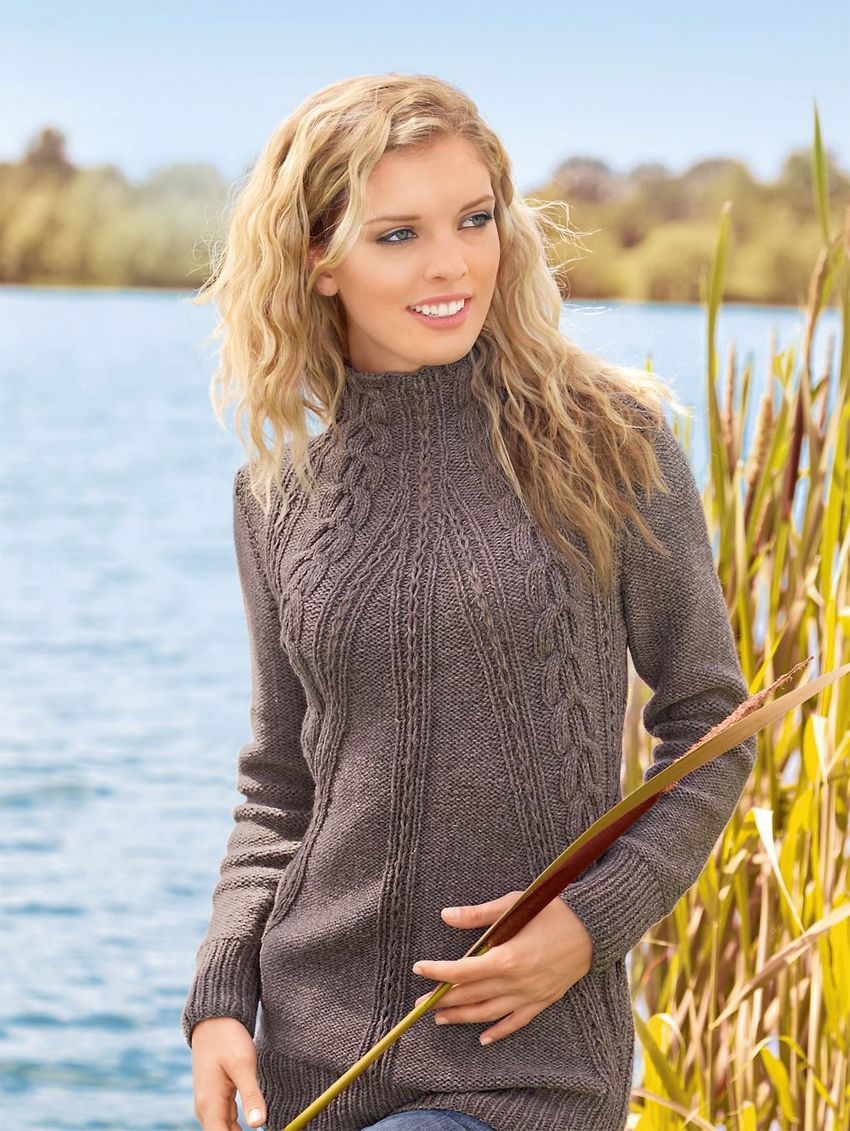
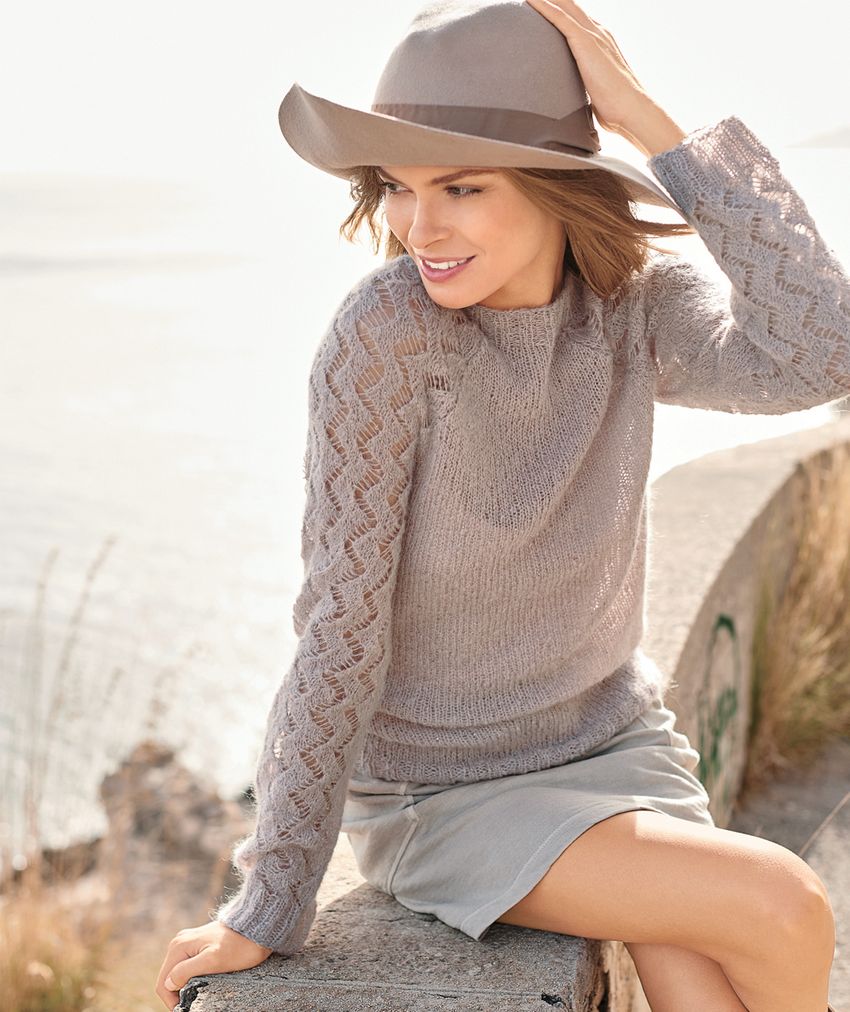
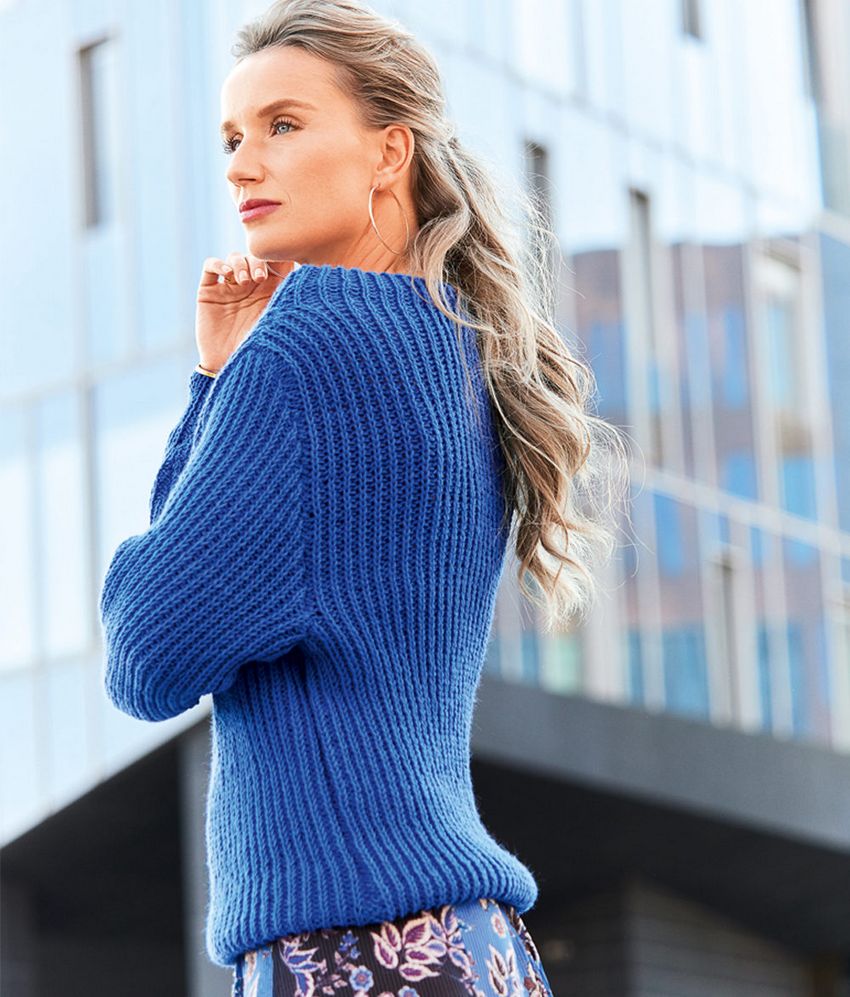
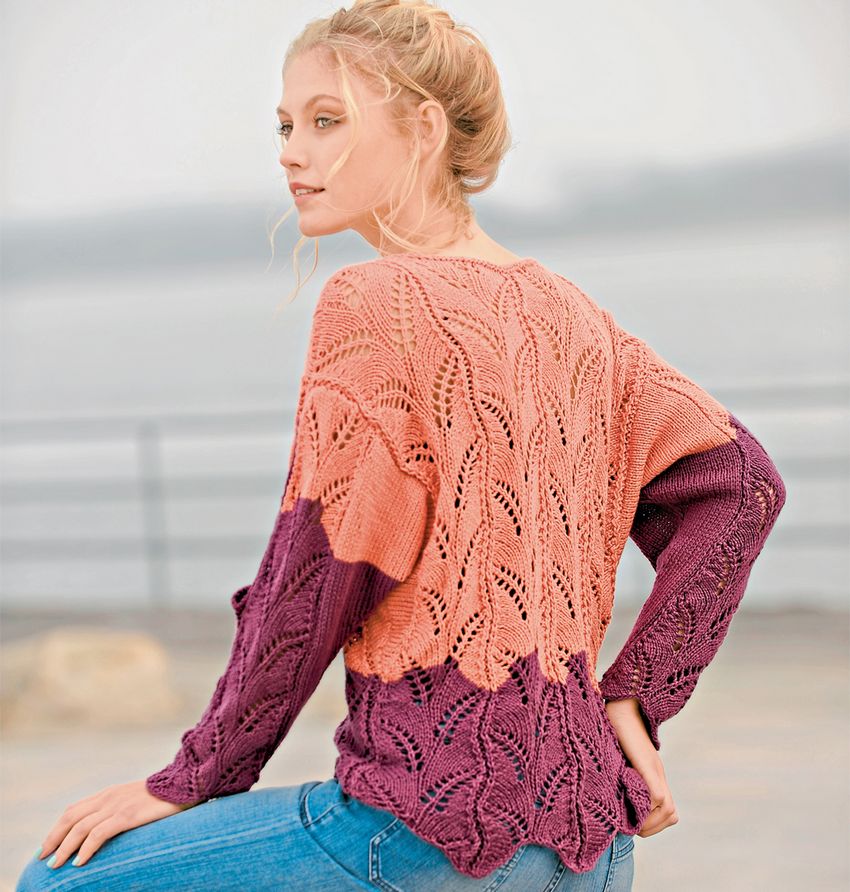
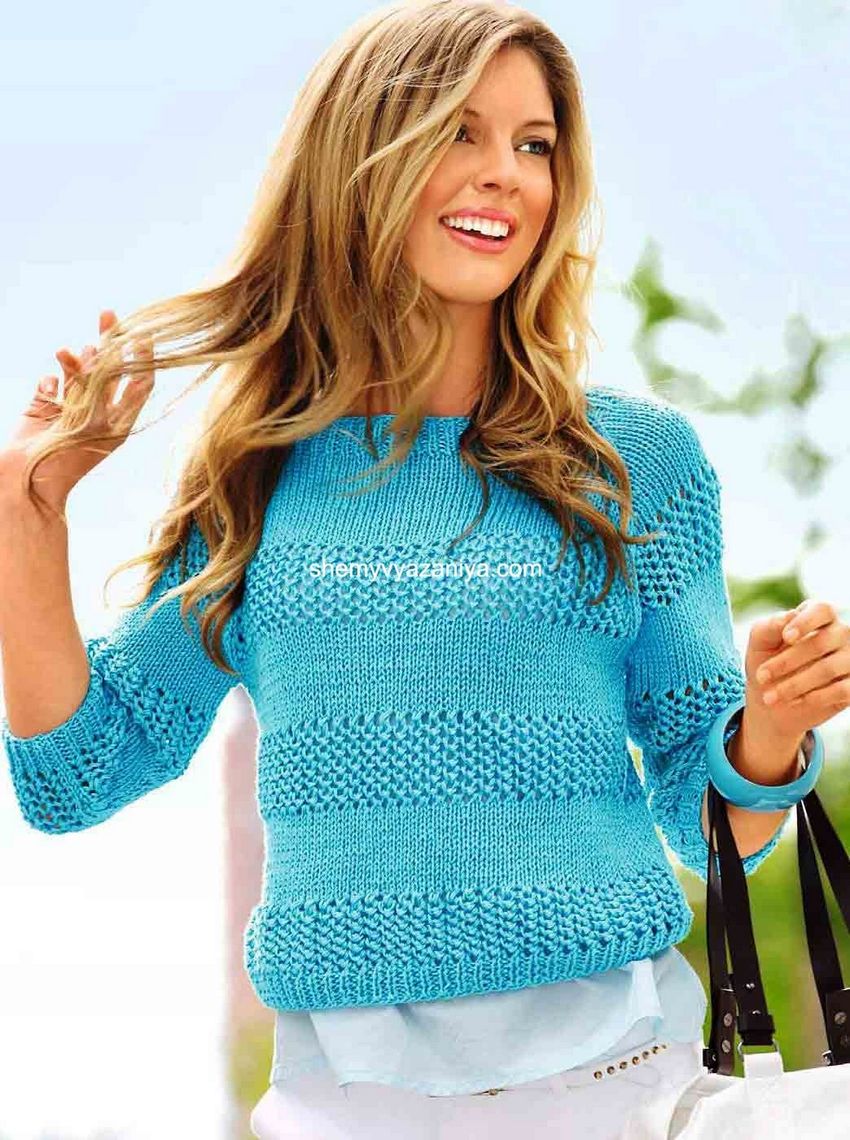
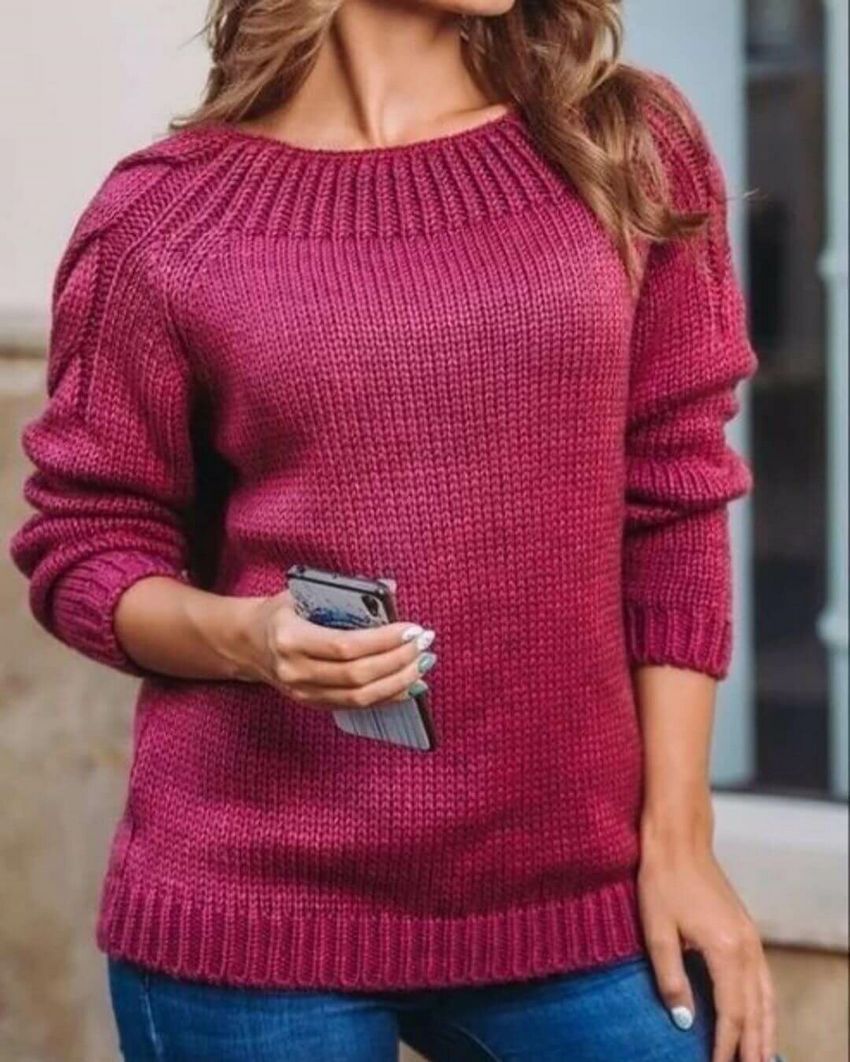
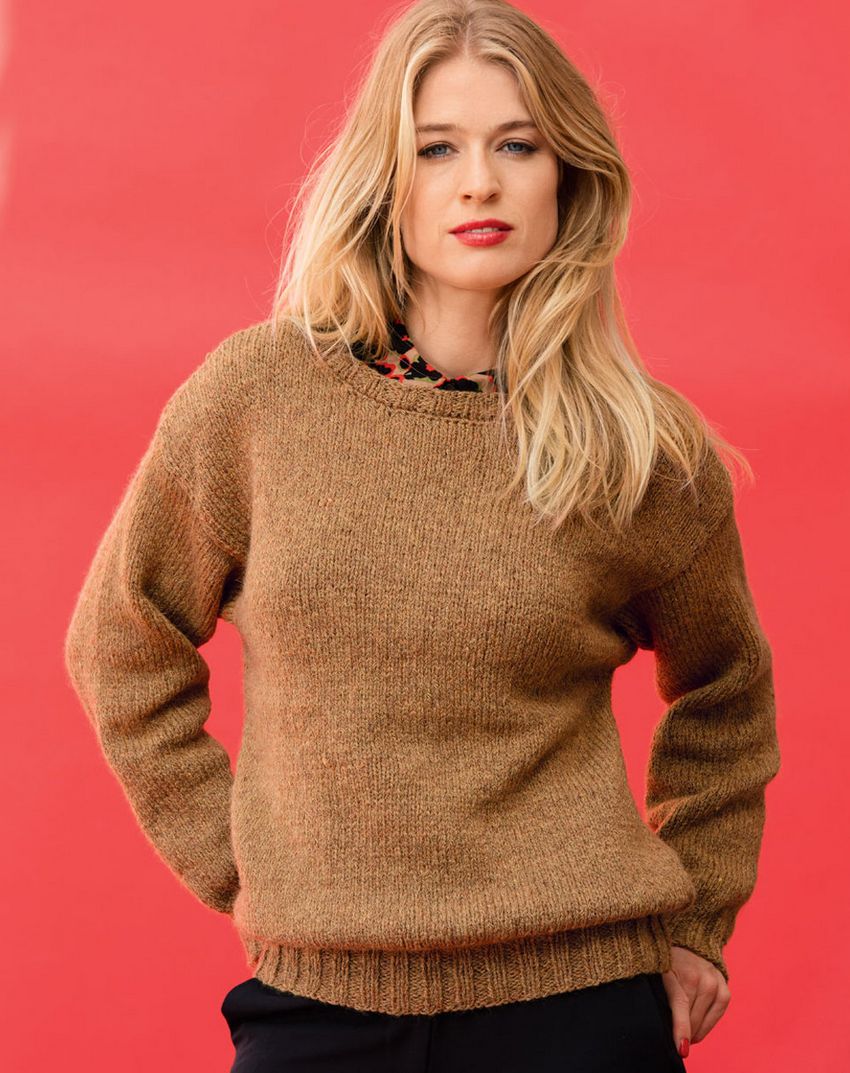
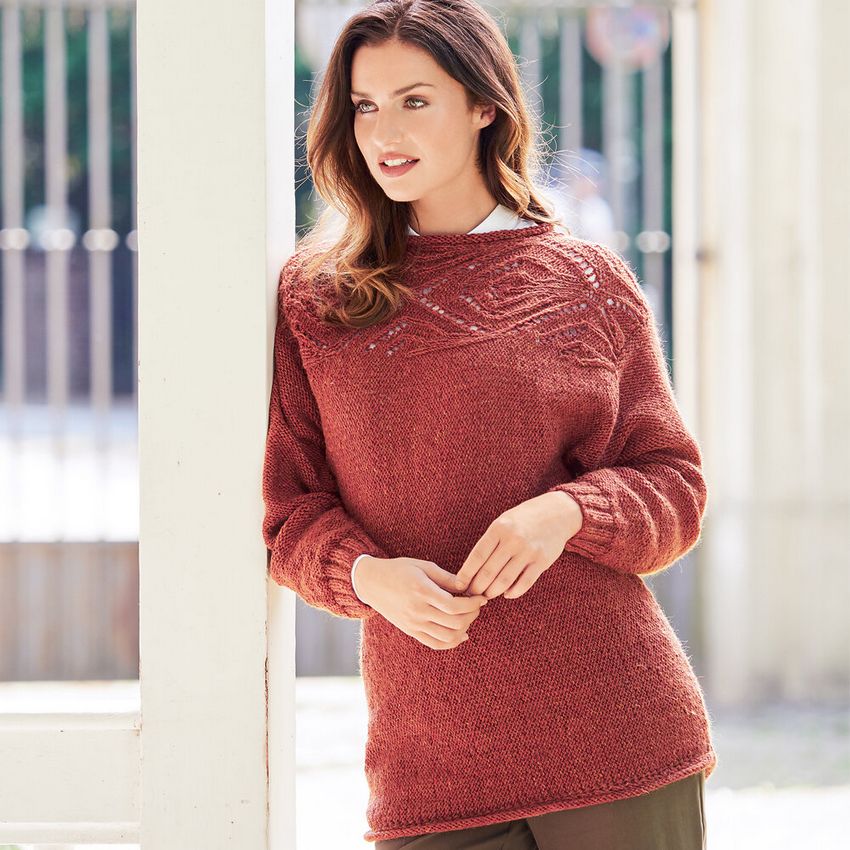
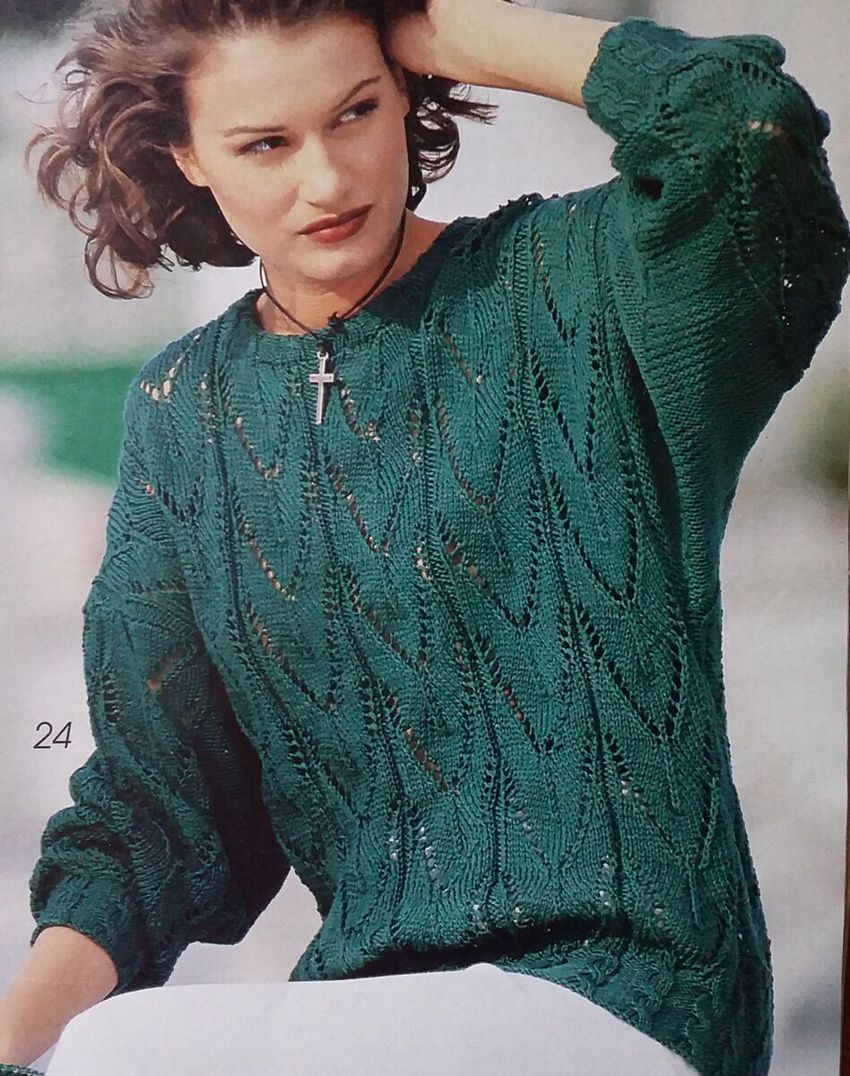
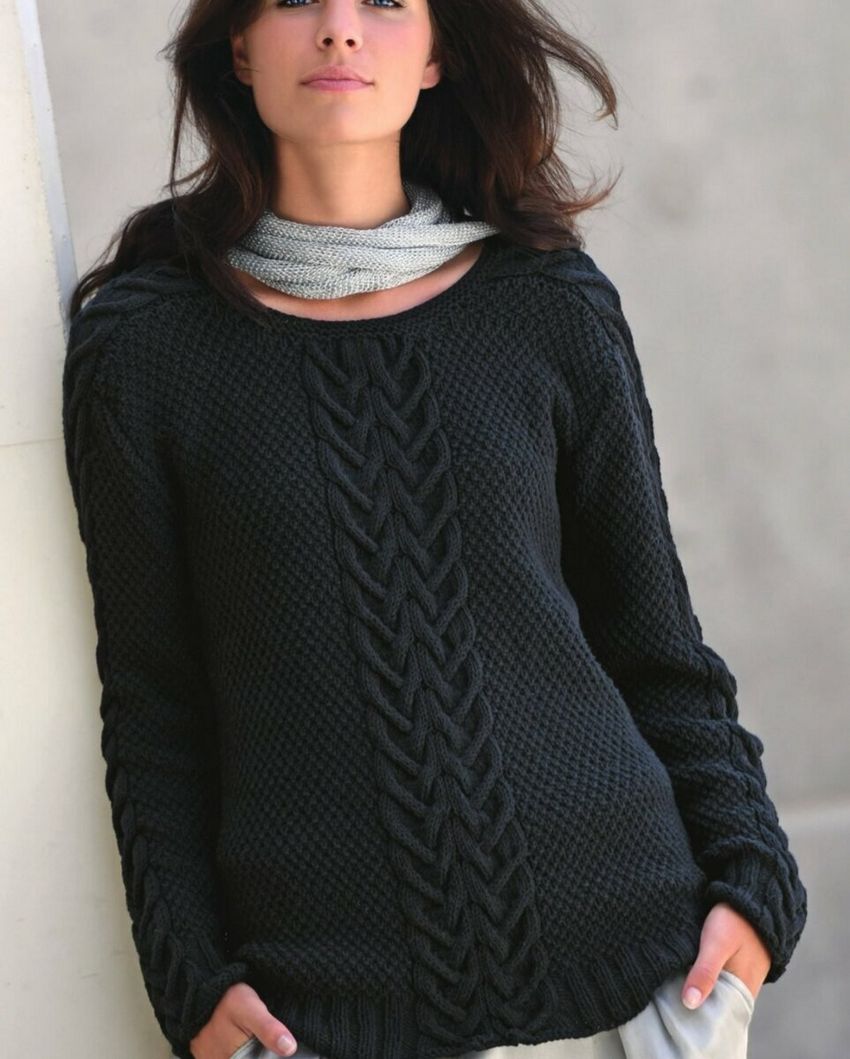
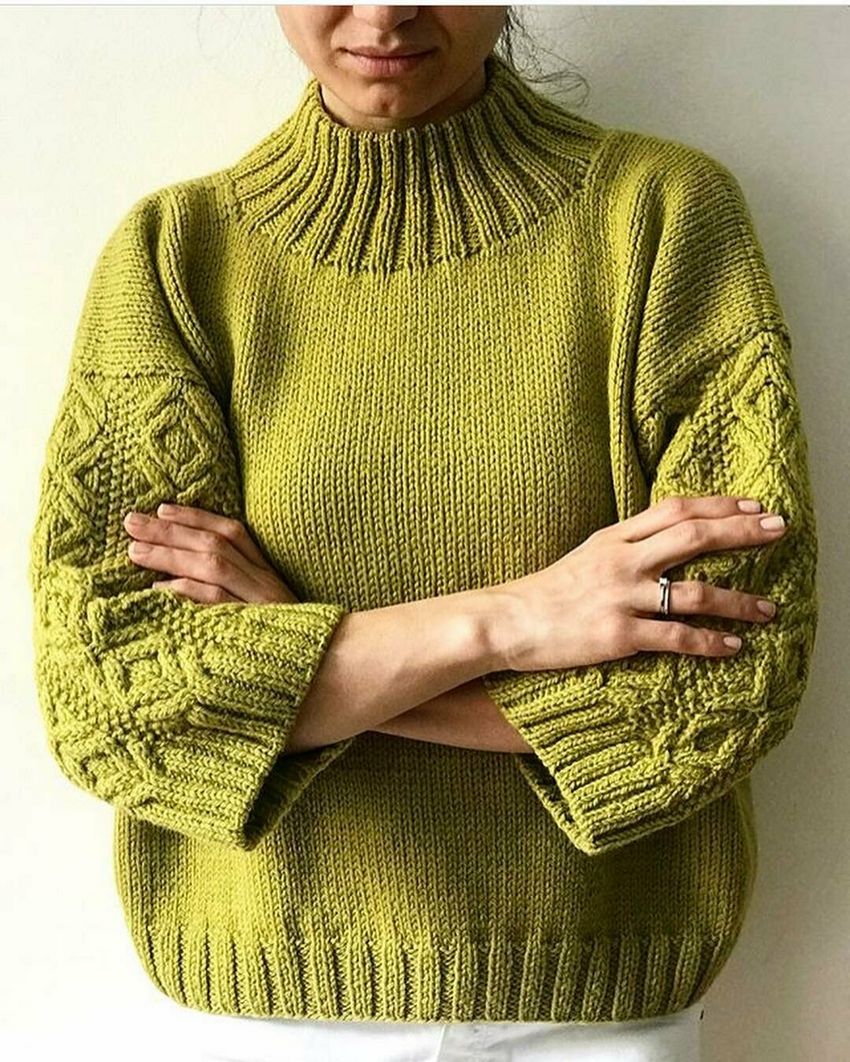
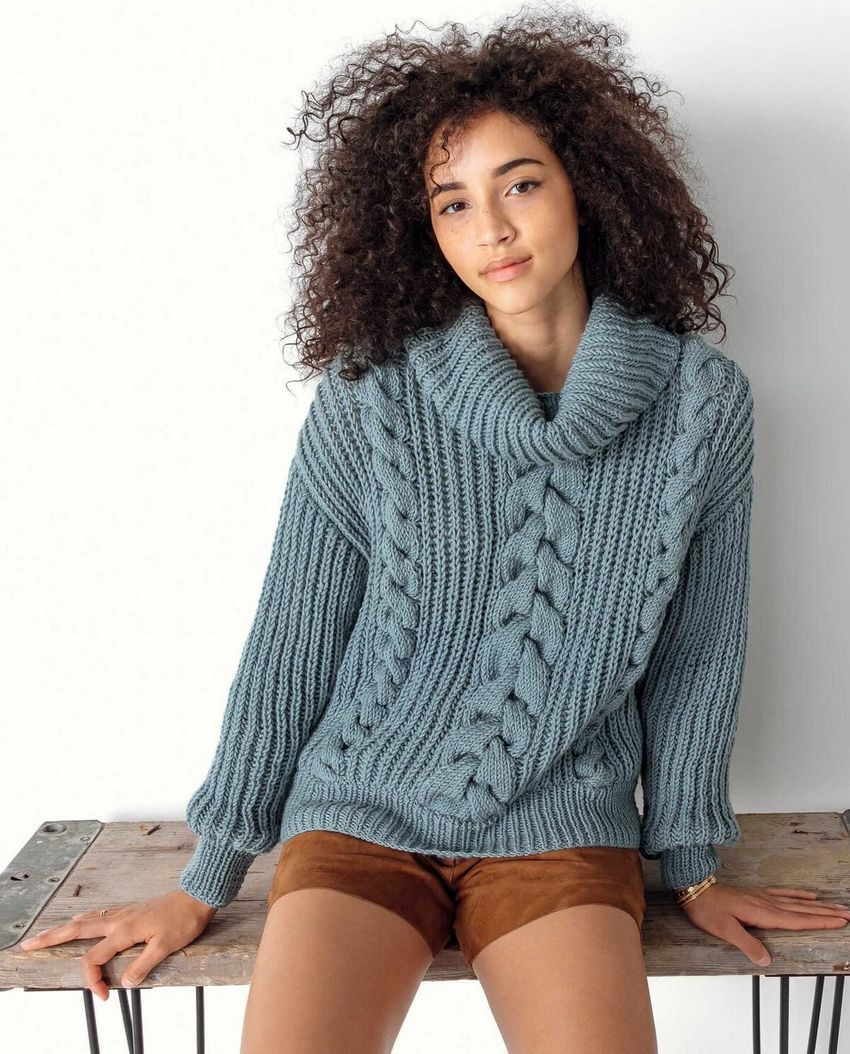
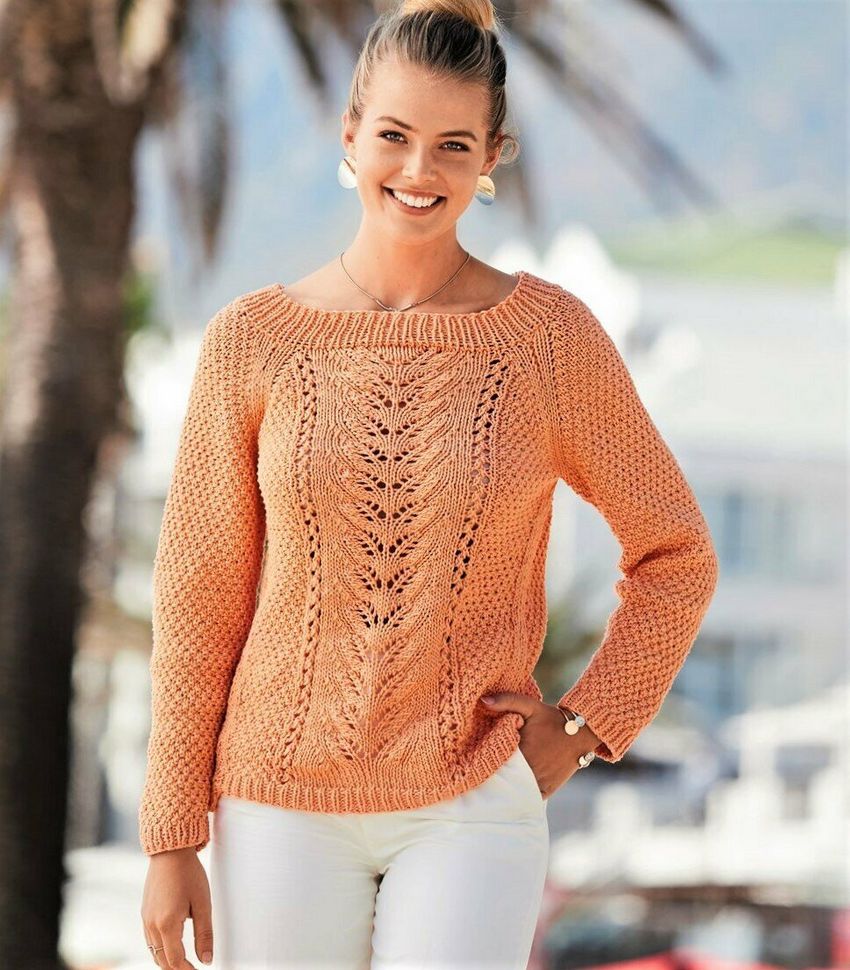
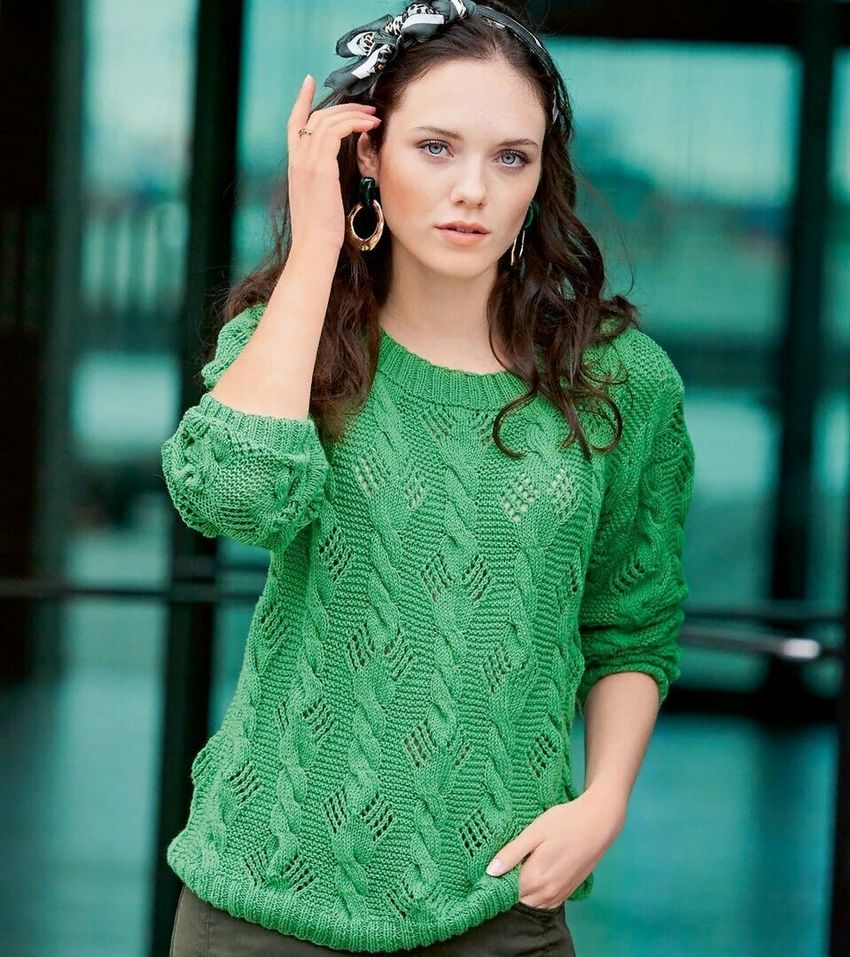
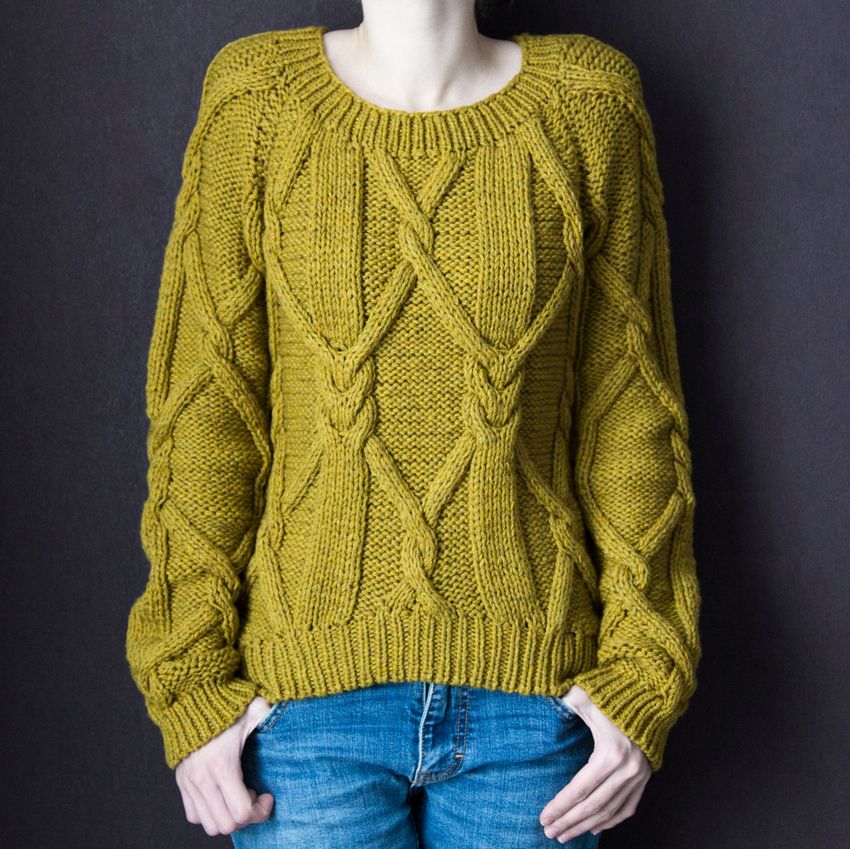
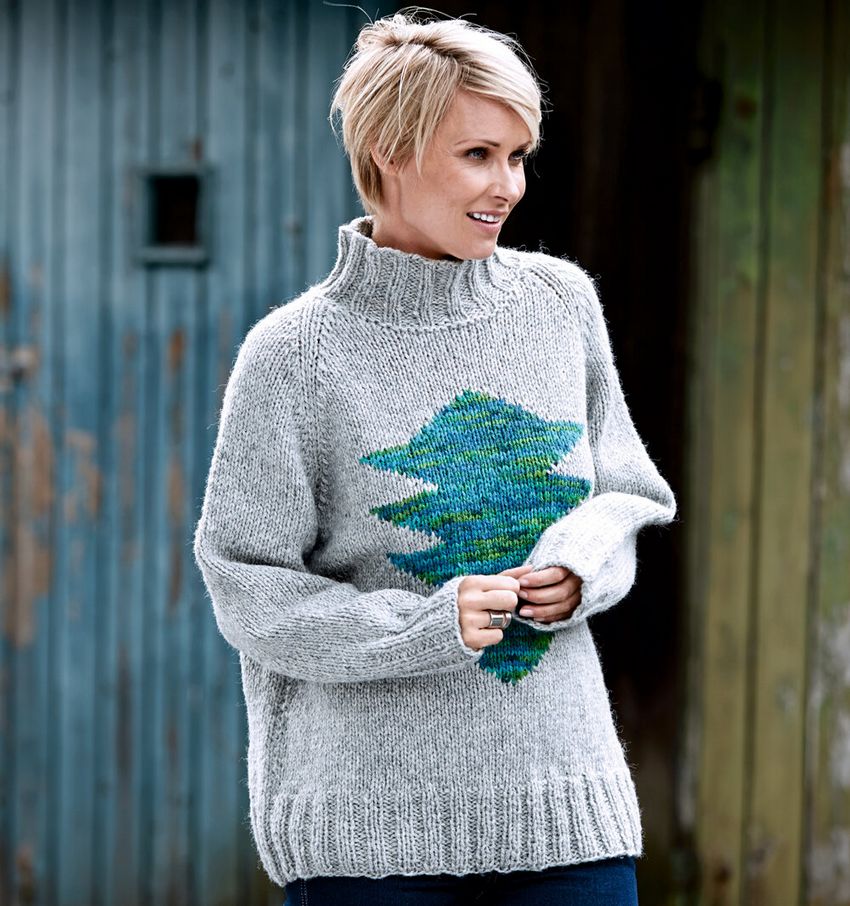
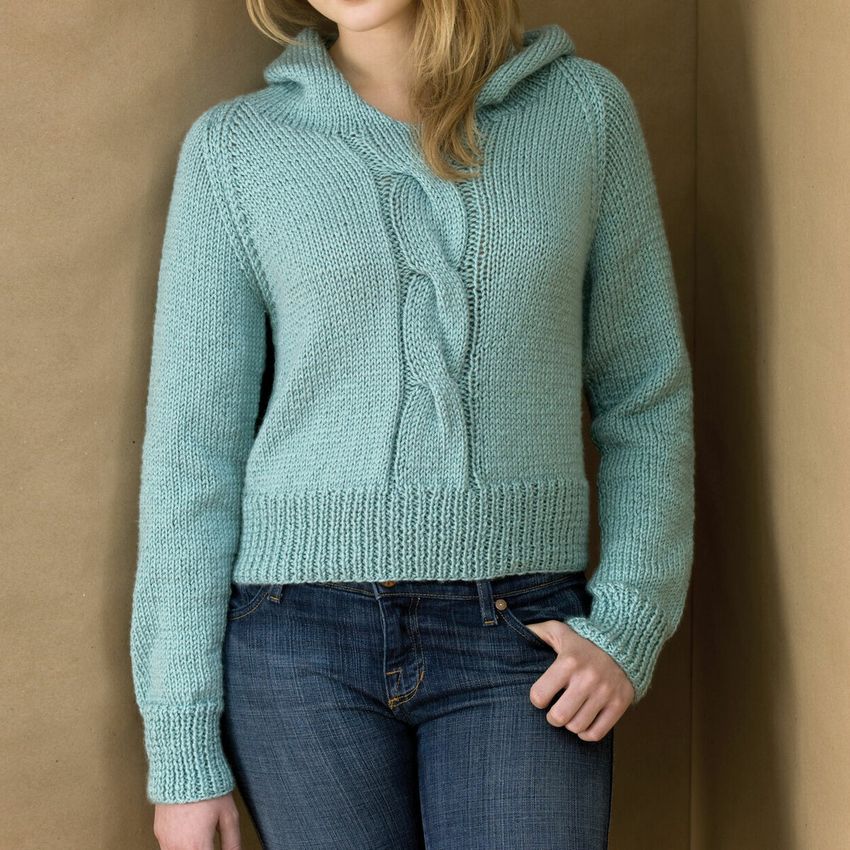
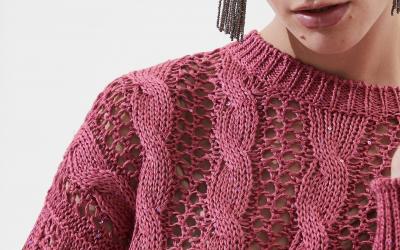
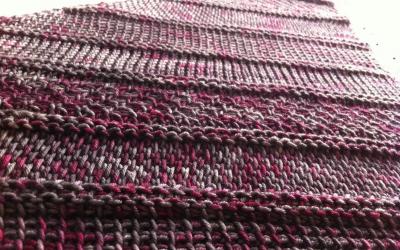
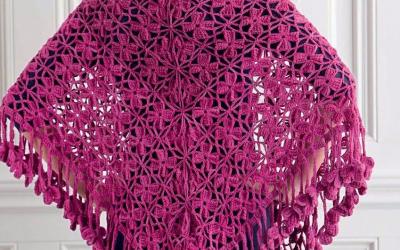
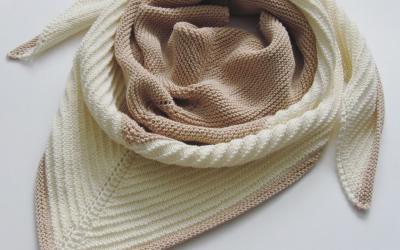
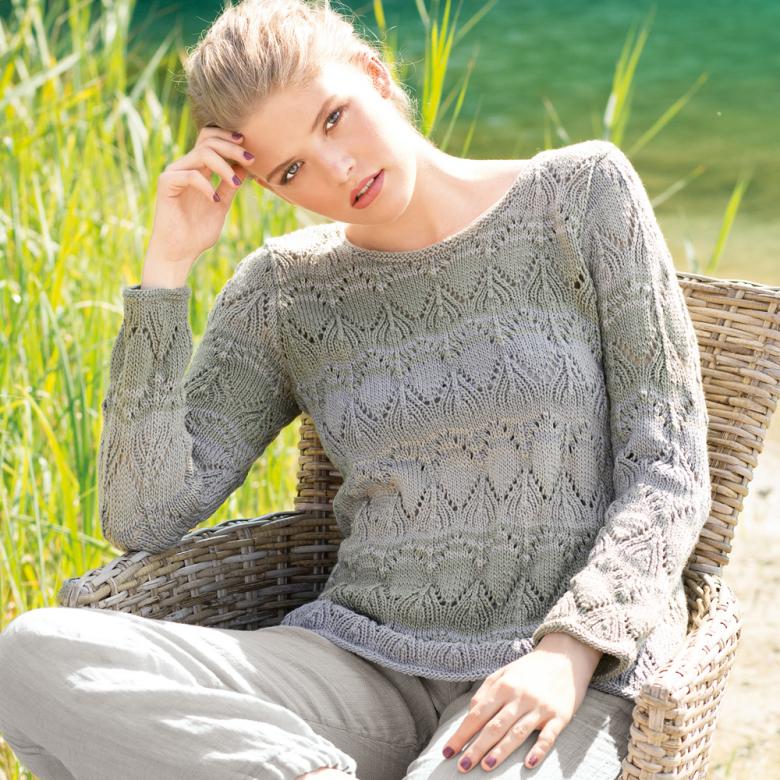
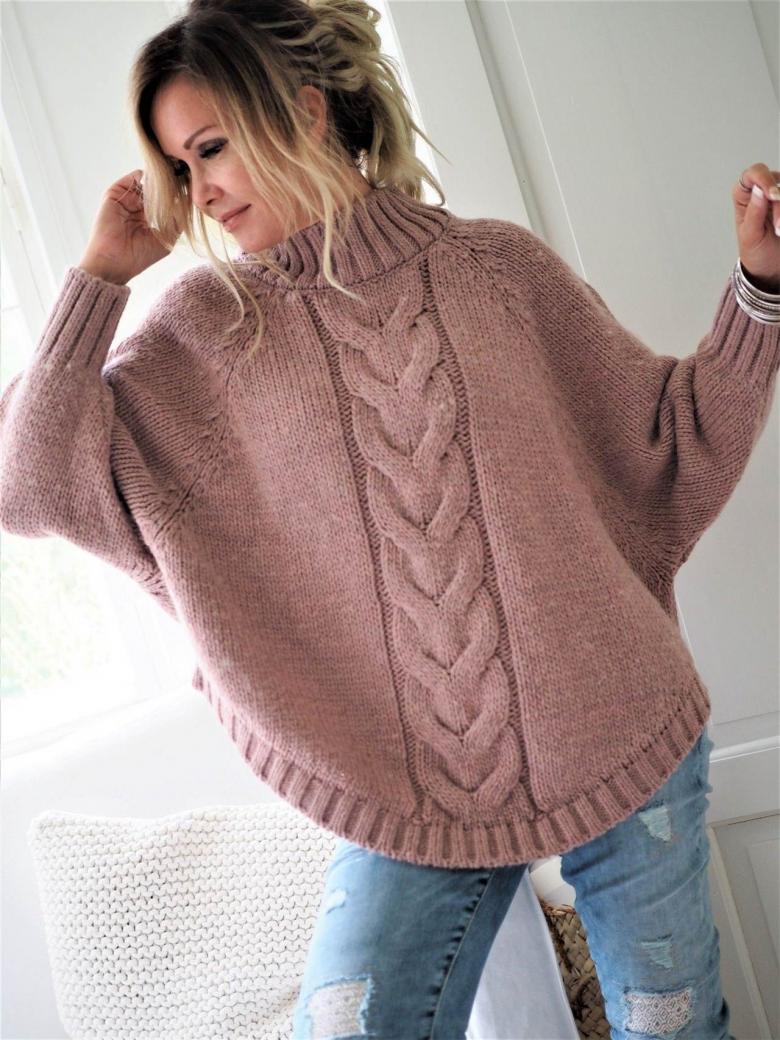
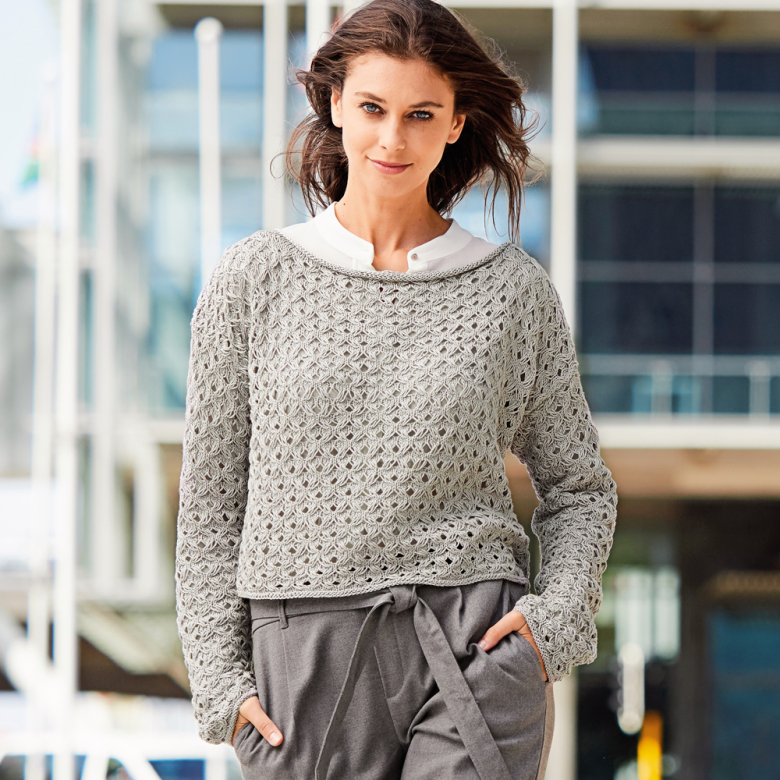
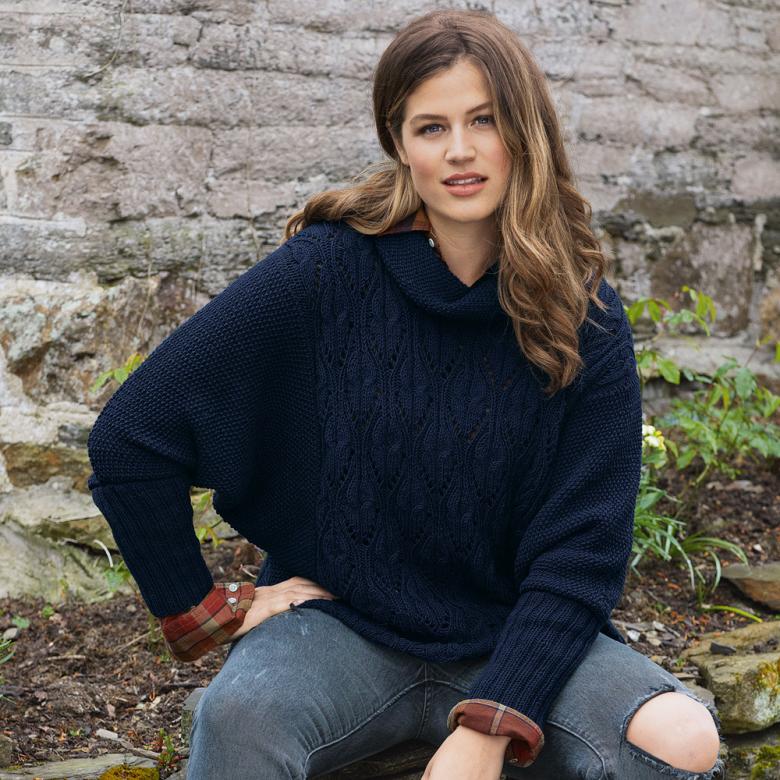
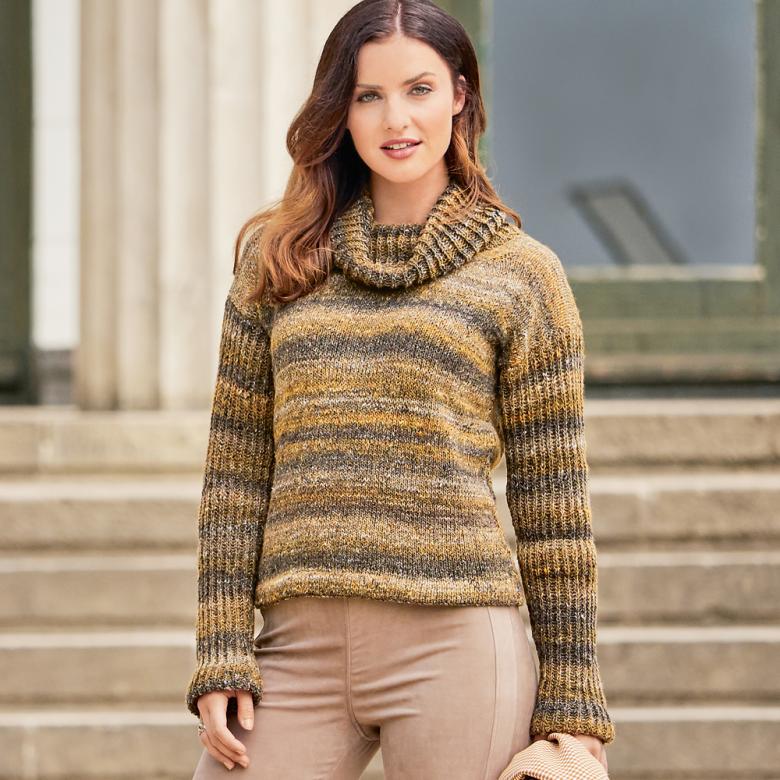
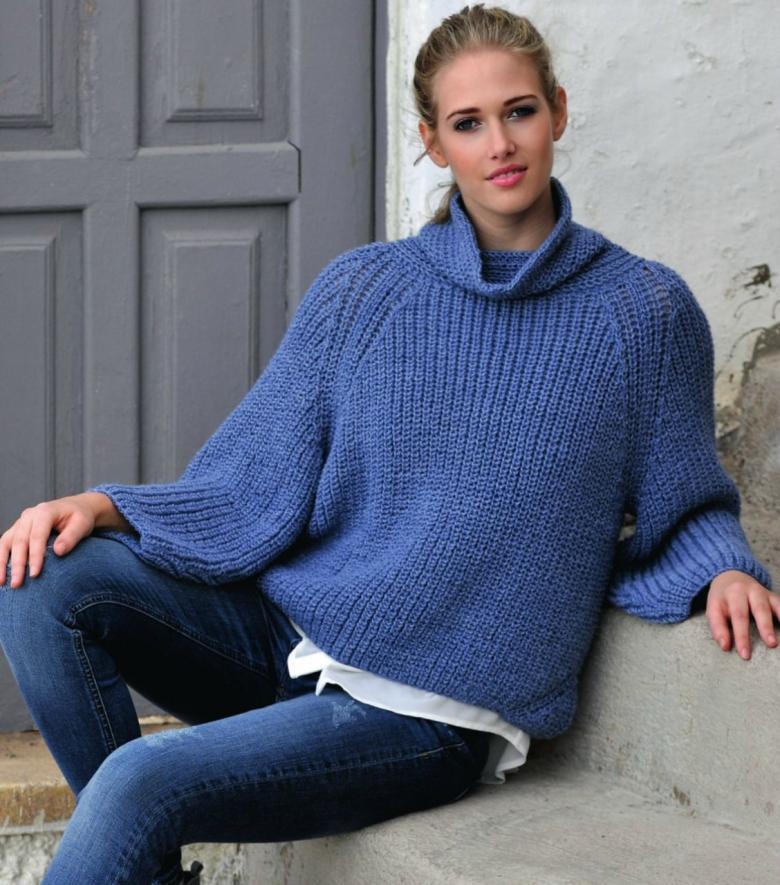
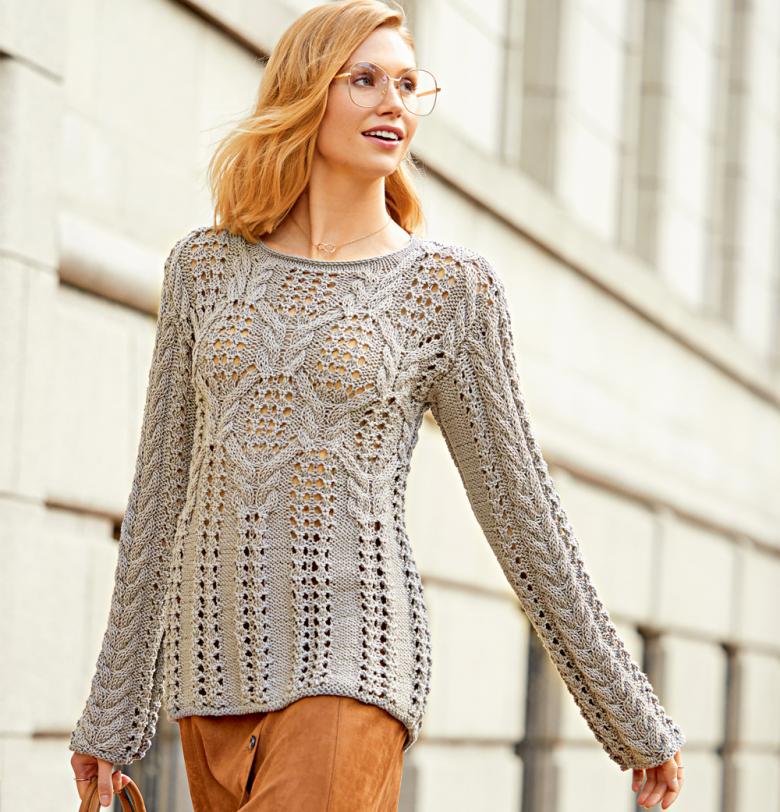
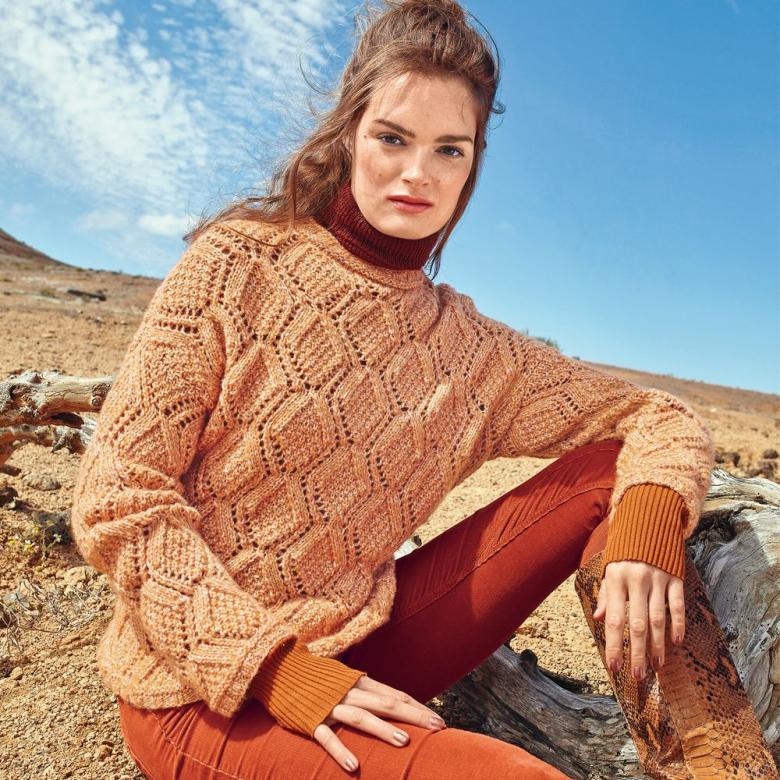
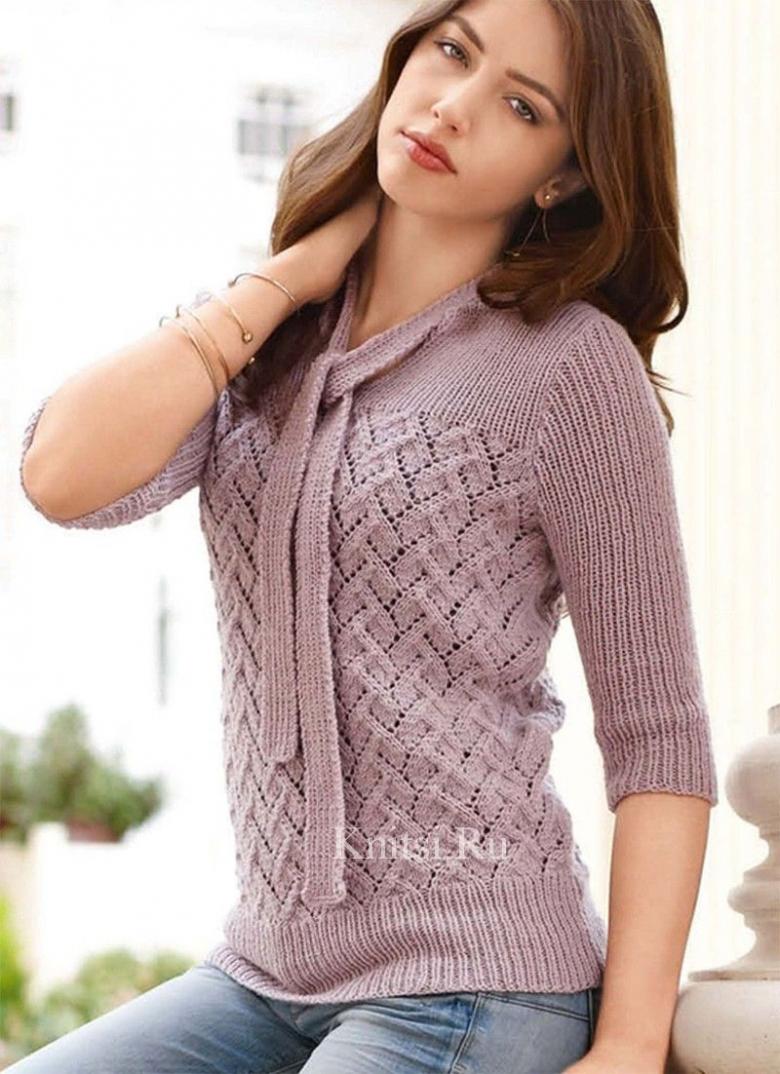
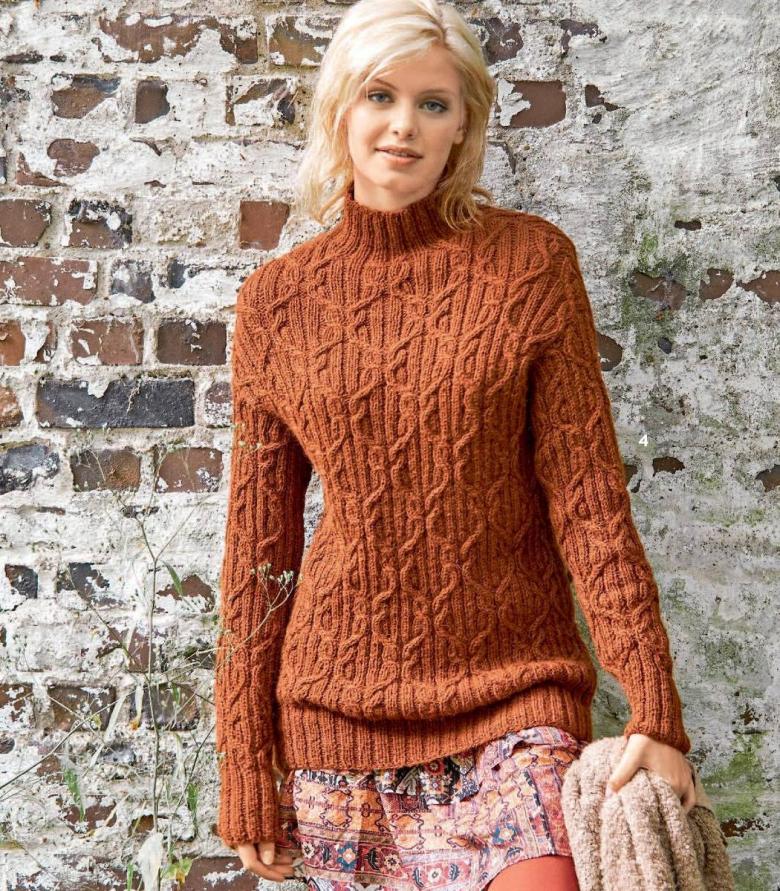
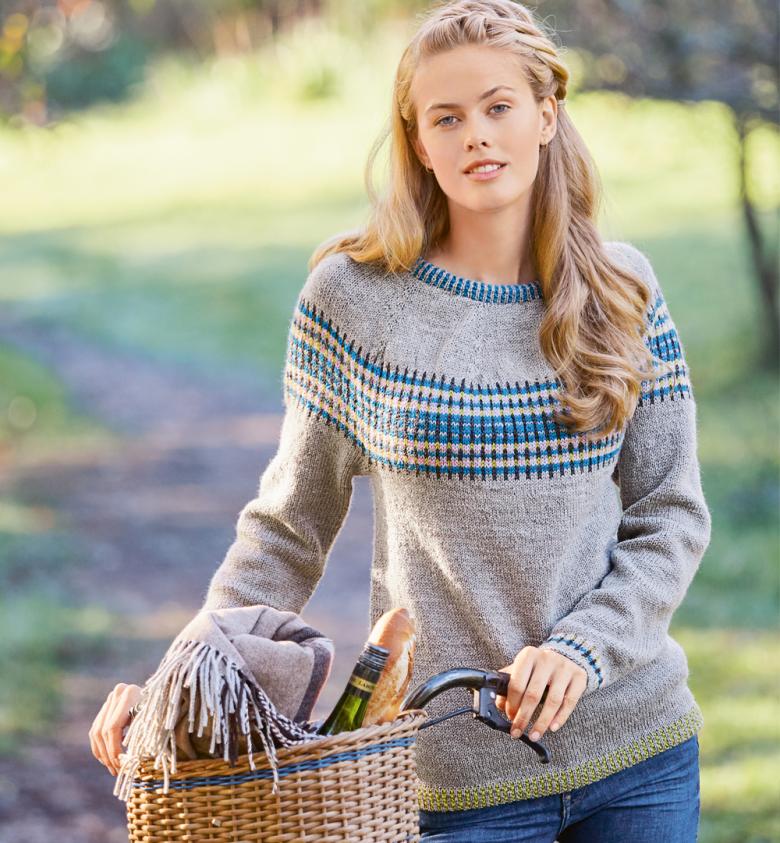
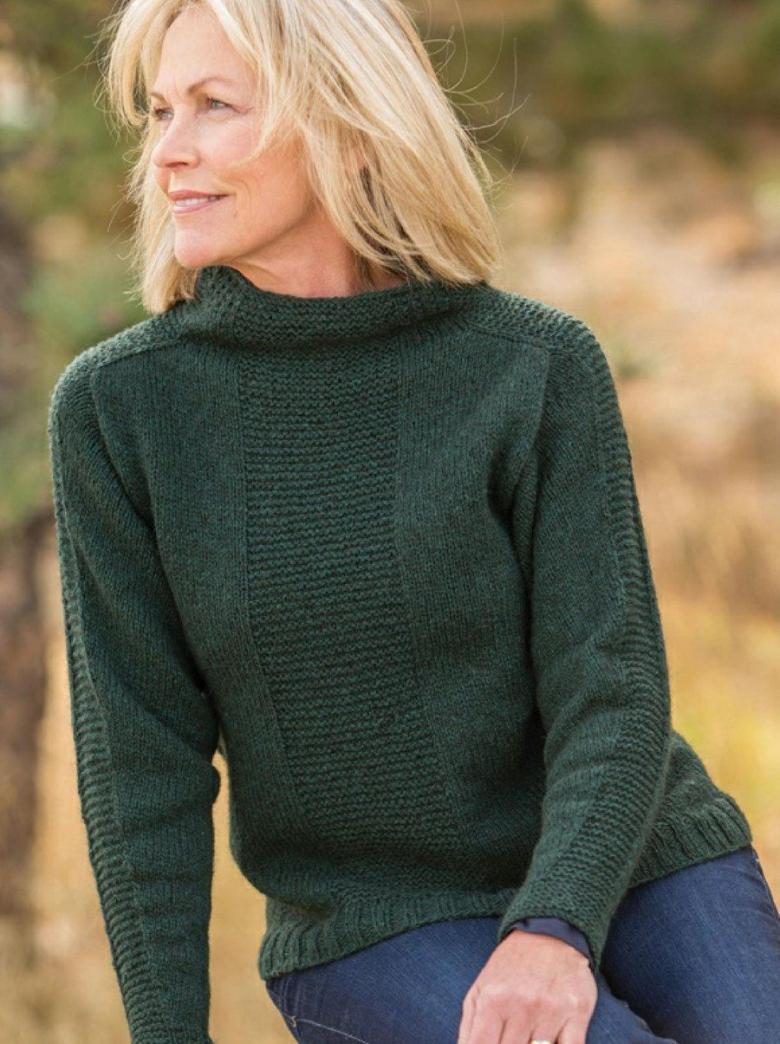
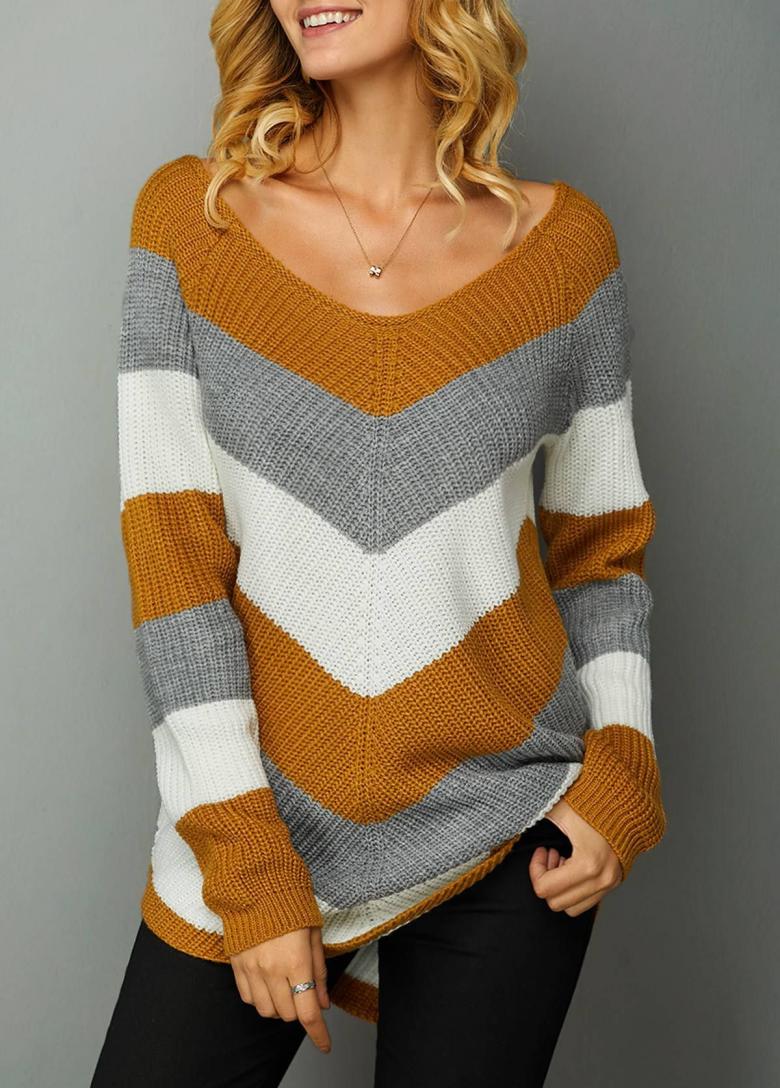
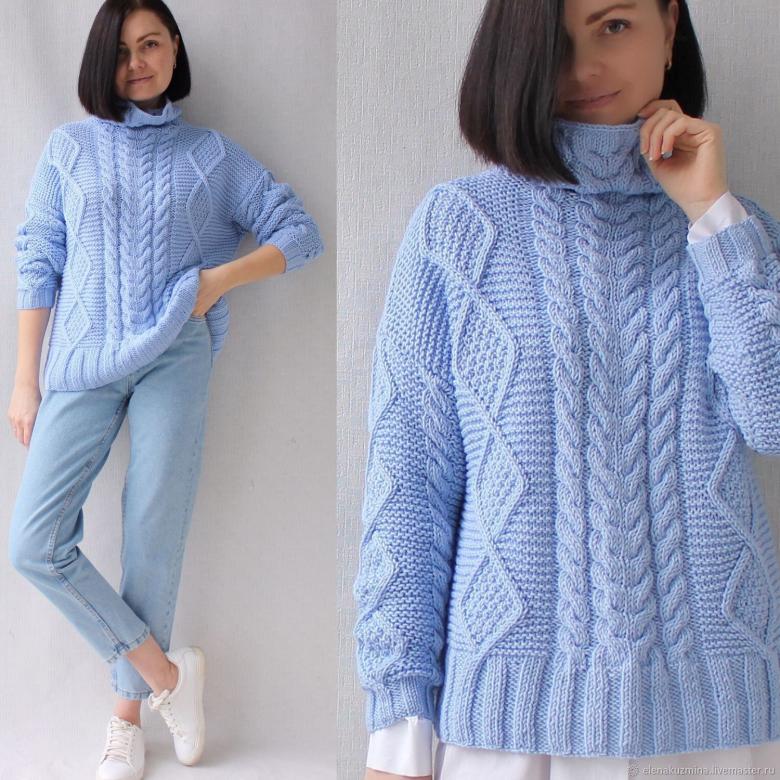
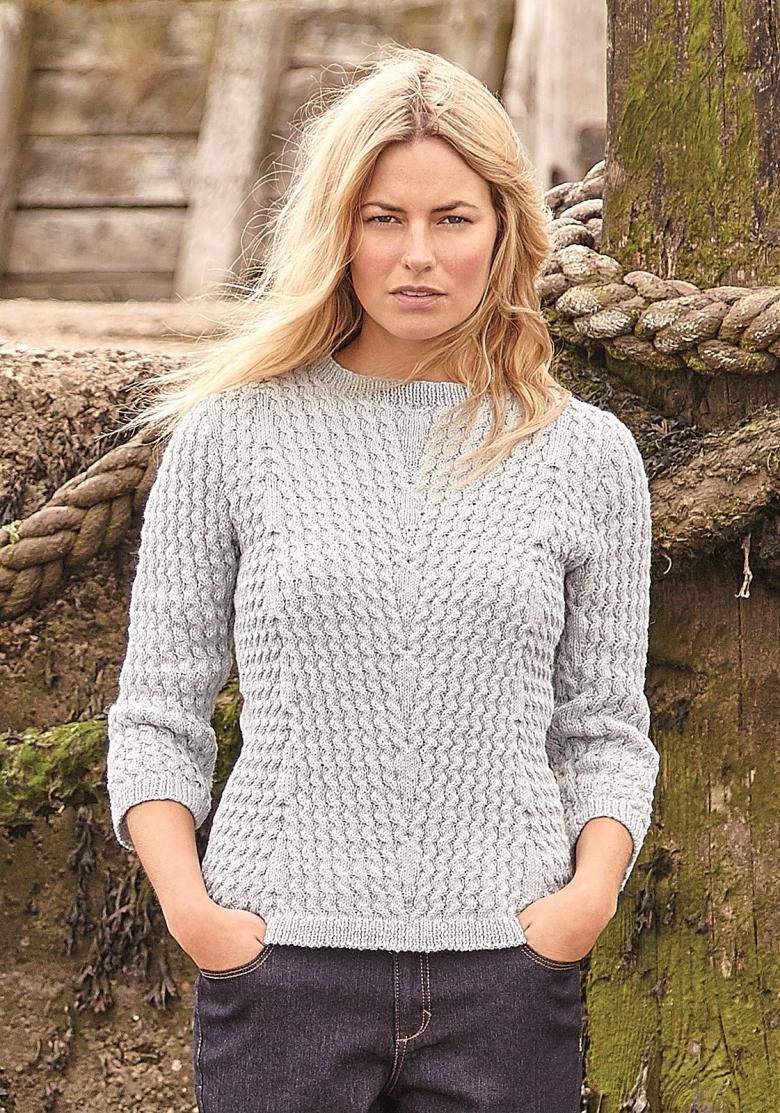
Photo examples of homemade knitted sweaters