How to knit a sleeve by spitters correctly: preparation of yarn and tools, the choice of scheme for knitting and a step by step master class
Creating a knitted thing you have to make a lot of effort to work out the details, the layout of parts of the product and sharpening the skills of cutting and sewing. After all, it is impossible to knit a beautiful sleeve and the main part without the right pattern.
It's rare to have trouble knitting the front or back of a tunic or sweater, but knitting the sleeve needs special attention. Let's understand their types, the technique of constructing the pattern and the steps of creating the product itself.
Types of sleeves
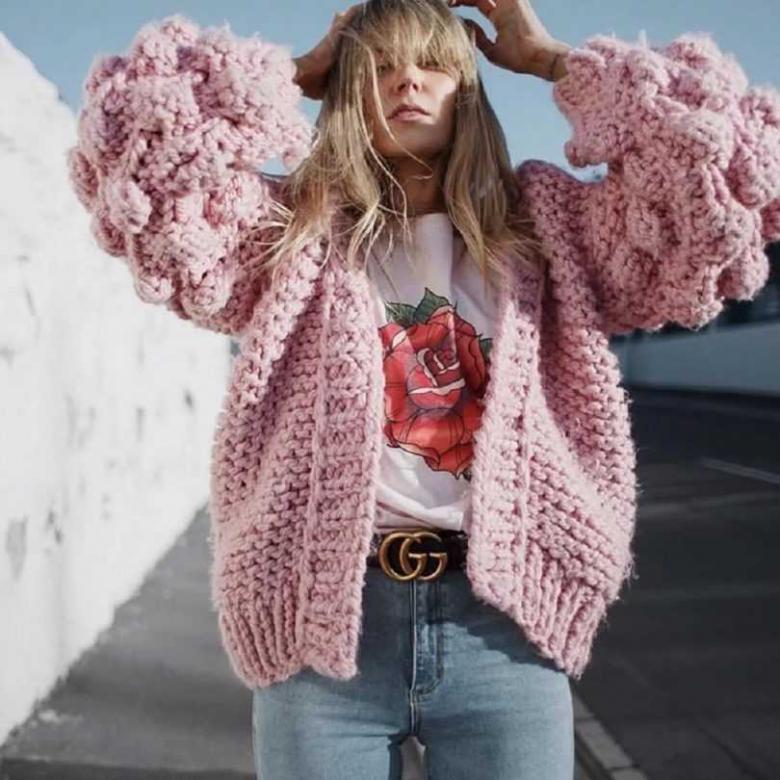
To choose the shape of the future sleeve is not difficult, there are many options different in cut: wide, tapered, pinched, with flounces, a lantern and so on. You can knit them in a simple one-piece method or use complex templates.
Let's see what kind of sleeves in terms of methods of execution:
- Classic sleeve.
- No ovate line
- Shallow armhole
- With raglan
- Bat
- Lantern
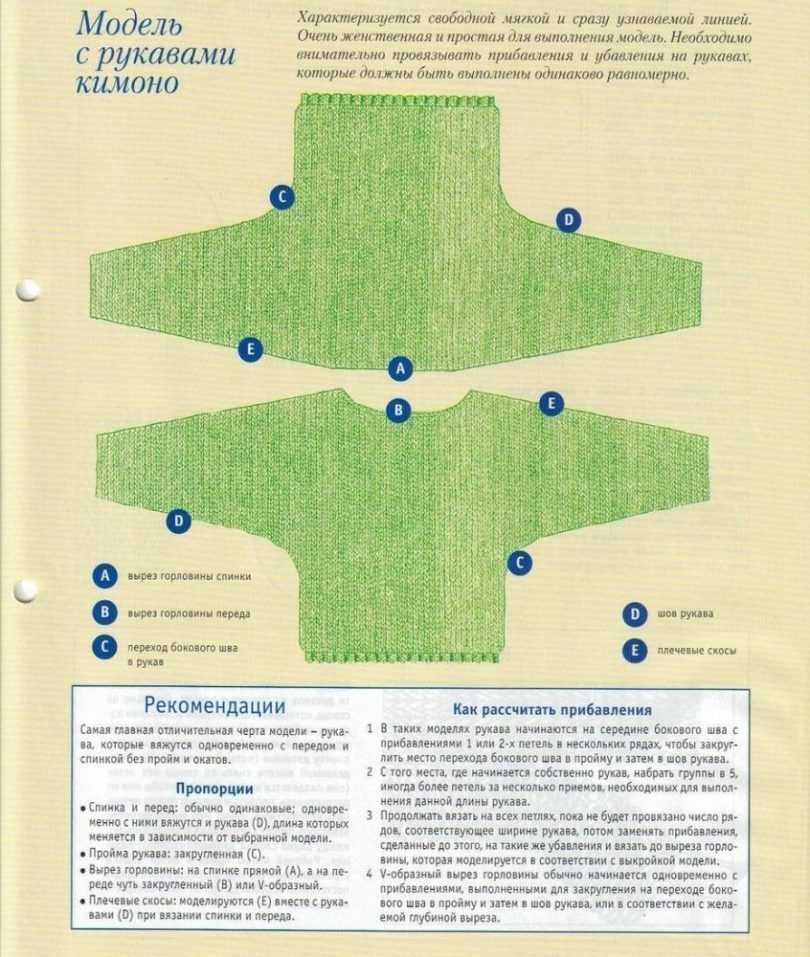
- Kimono
Methods of knitting sleeves are similar in many ways, but for each option there are nuances that will determine the final look of the product as a whole.
Tools and materials
Of course, you will need yarn for knitting. If you are just gaining experience, it is better to take acrylic or yarns of mixed types. It is more difficult to use cotton or mohair in knitting.
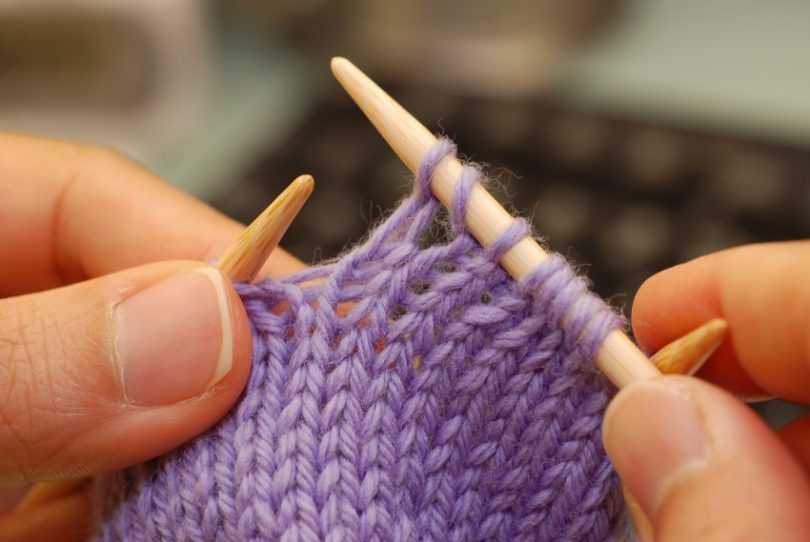
You will need different kinds of needles: from simple wooden and plastic needles to the versions on fishing line. The main thing is to correctly match the size of the needle to the thickness of the yarn. The golden rule of thumb is that the width of the folded yarn is greater than or equal to the width of the knitting needles.
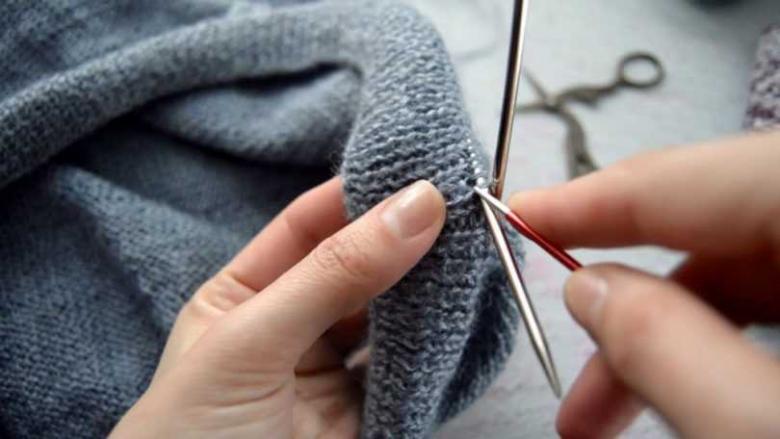
You will also need knitting needles with rounded ends, which will help in knitting complex patterns. Plastic tips will add convenience, thanks to which the loops will not slip and will not be lost during breaks in the work.
A knitting needle is needed to sew all the pieces together. Its rounded nose will not damage the yarn and will not leave holes on the product.
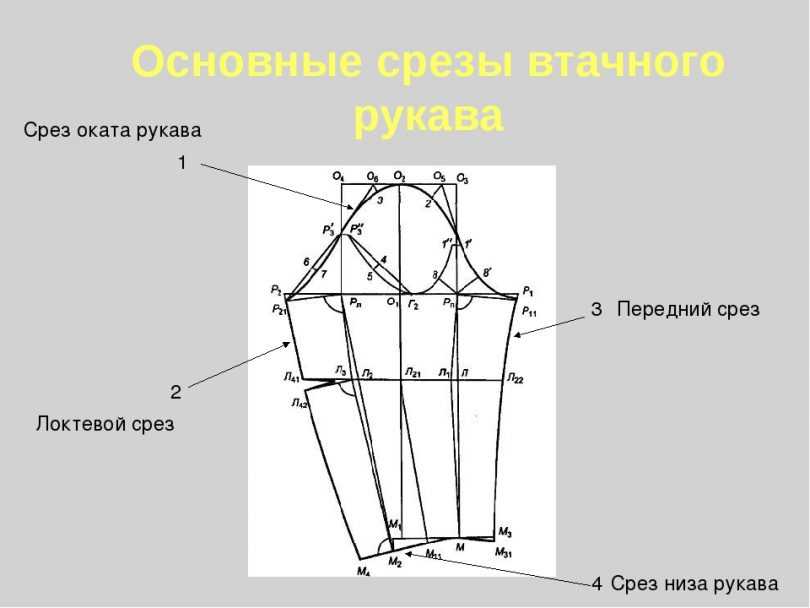
Scheme of knitting a sleeve
Everything that is common in different styles can be combined into a list of actions that will demonstrate how to knit sleeves by needlepoint for beginners and teach the main principles of creating sleeves of all shapes:
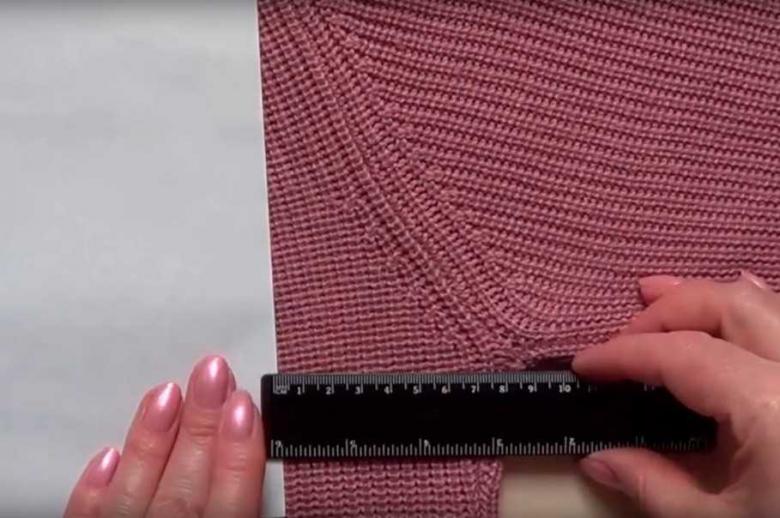
- First of all, calculate the number of loops, knit a few trial samples with different thicknesses of knitting needles, determine the optimal density of knitting. Write down all the numbers you get, so you don't have to calculate everything again.
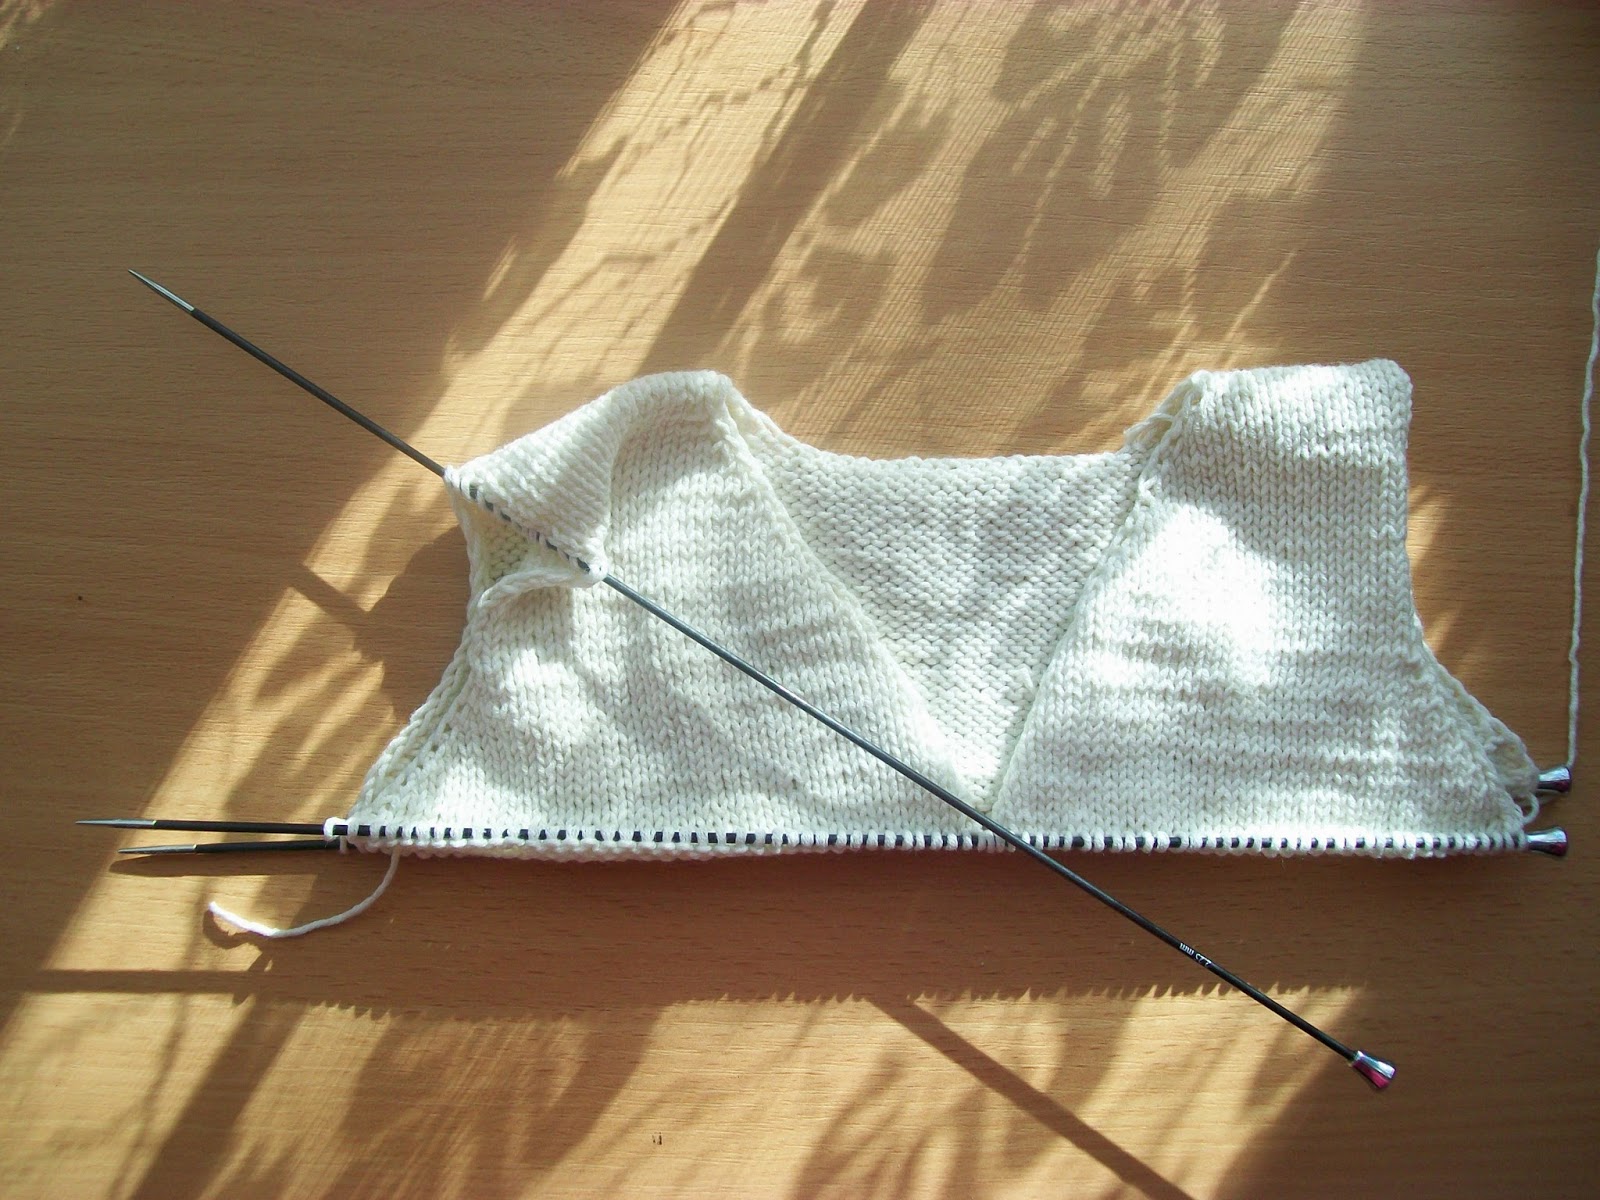
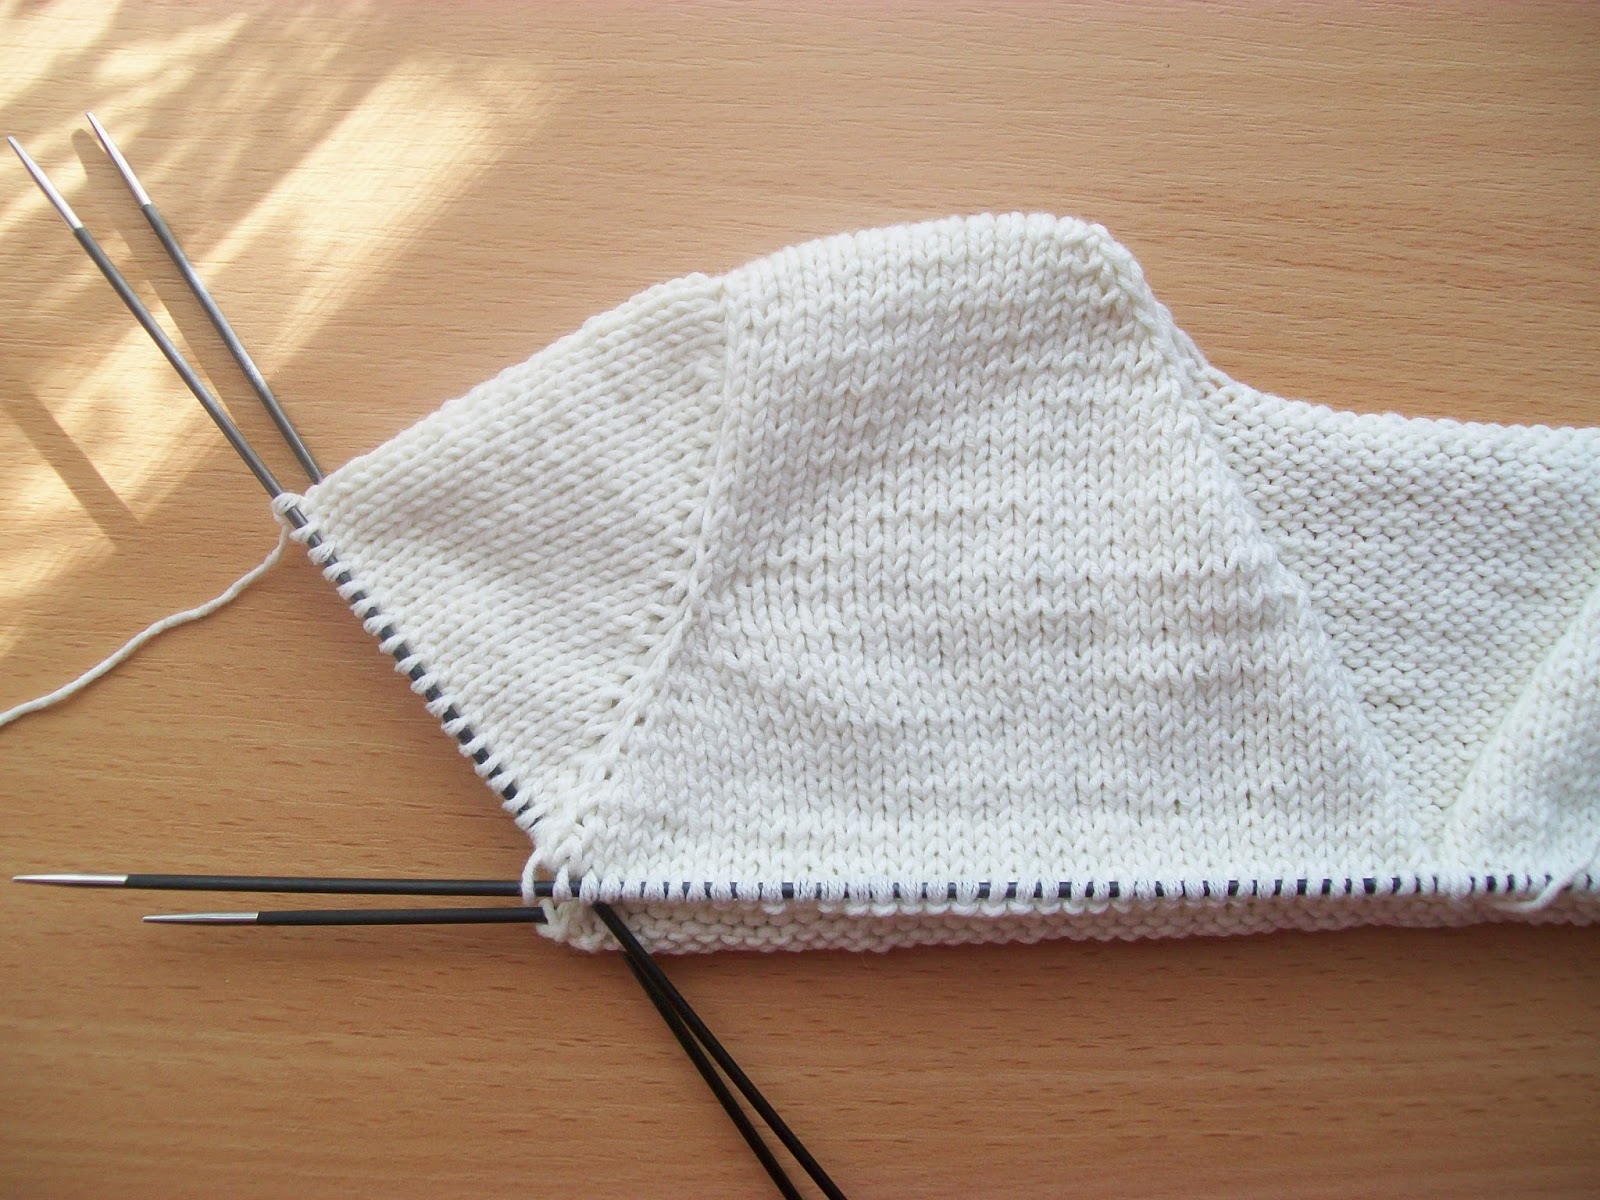
- Knit the back and the shelf first in the piece. When the armhole is ready, you can start knitting the sleeve.
- To keep the same knitting density, knit both sleeves at the same time. To do this, use long needles and two skeins of yarn.
- Forming a neat seam when assembling the product, keep in mind that the additions for the bevel must be made after the first and last sleeve stitches.
- When calculating the scheme of the slack, it is customary to take as a basis half of the sleeve, the other half knit in a mirror manner.
- From the total number of loops, subtract the links for the neckline and shoulders.
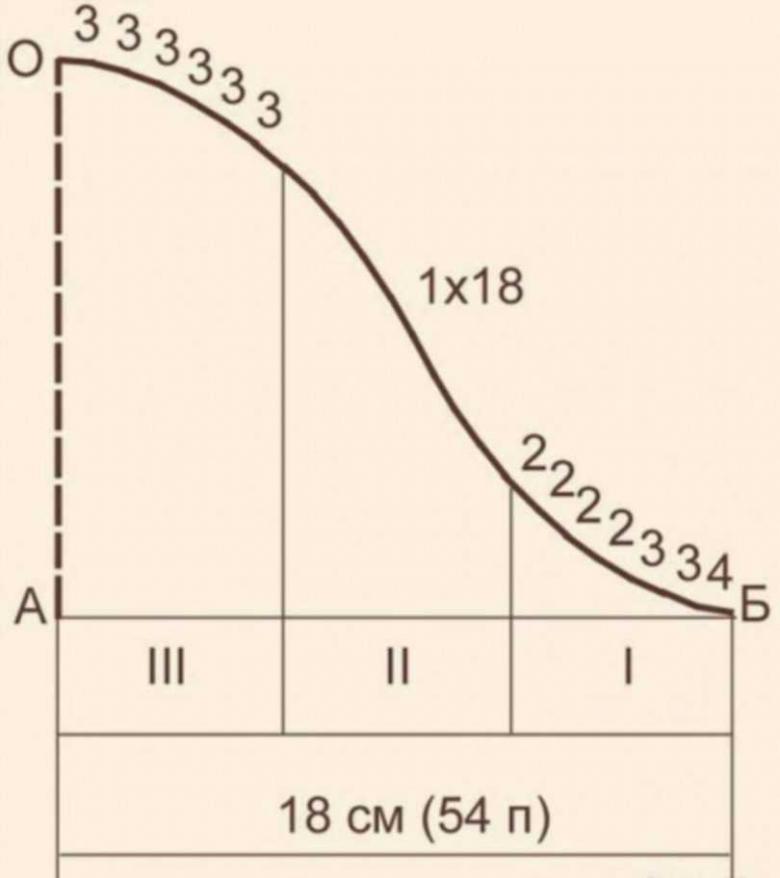
- Always do the subtractions starting with the first row of 3 links. Then take two stitches every other row. Slacken the stitches gradually until you get the number of stitches indicated in the calculations.
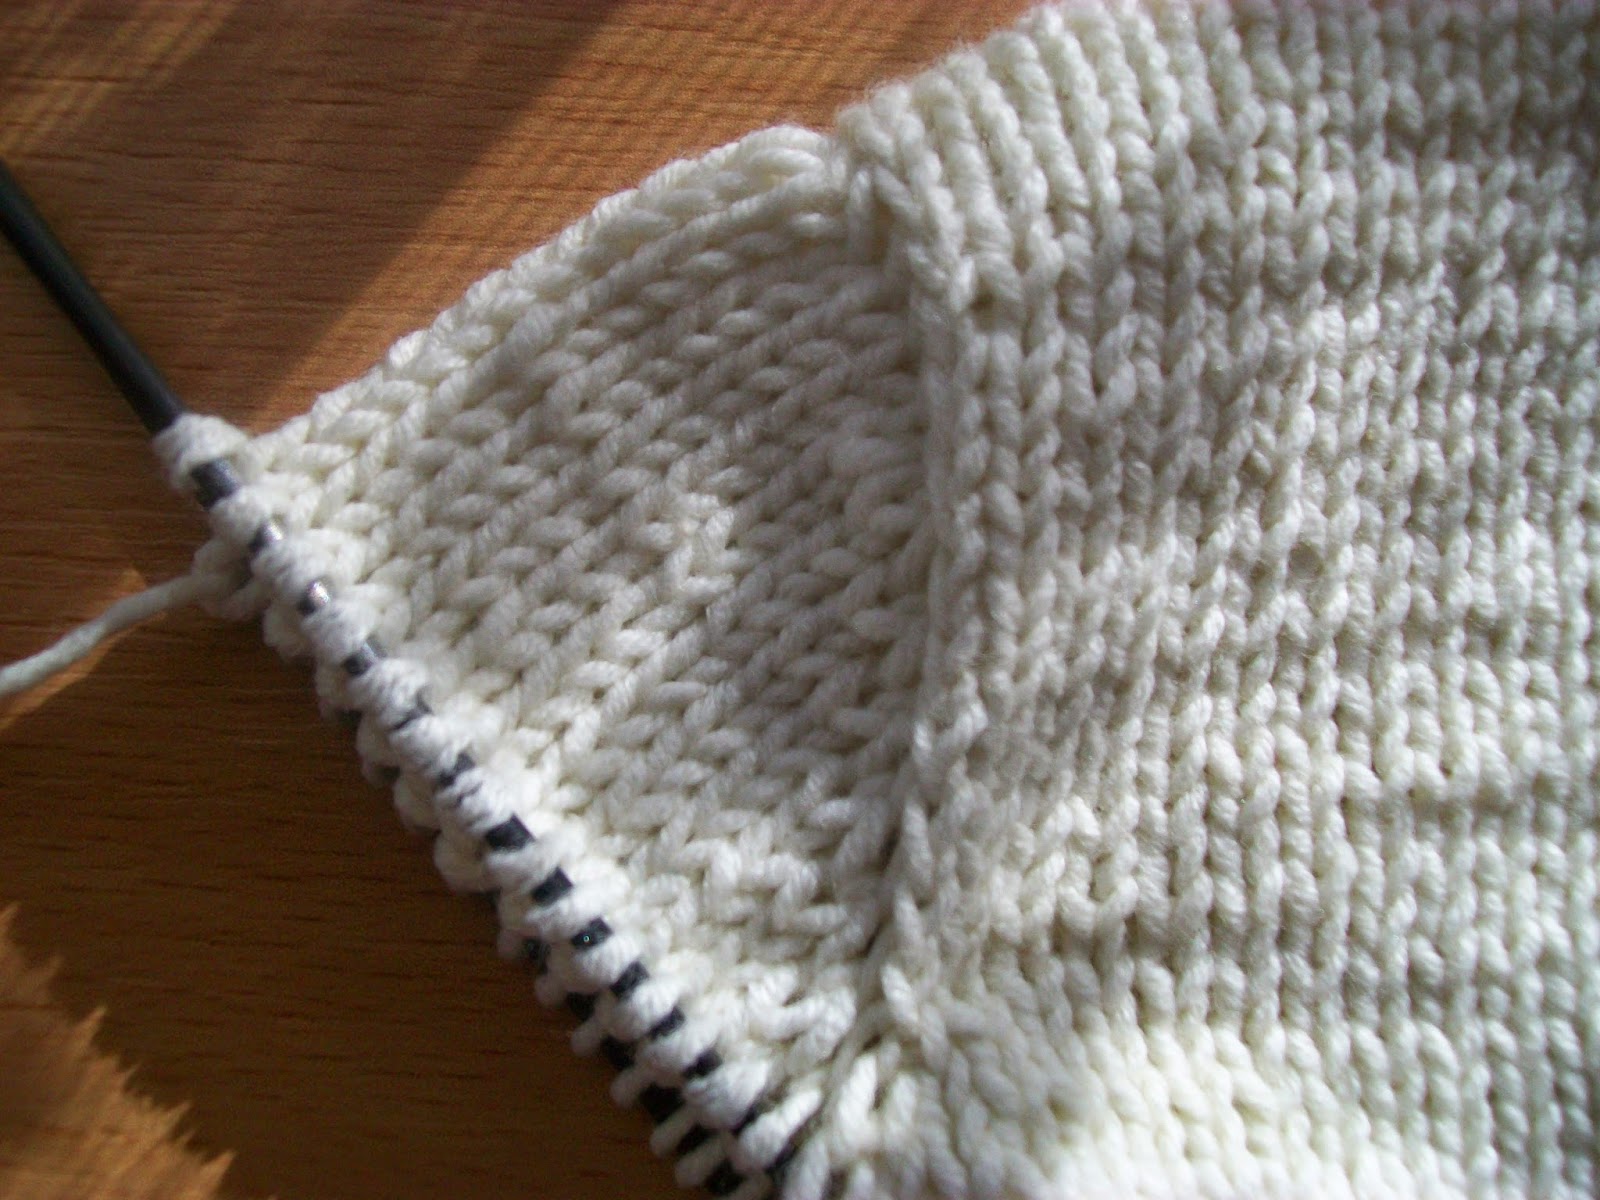
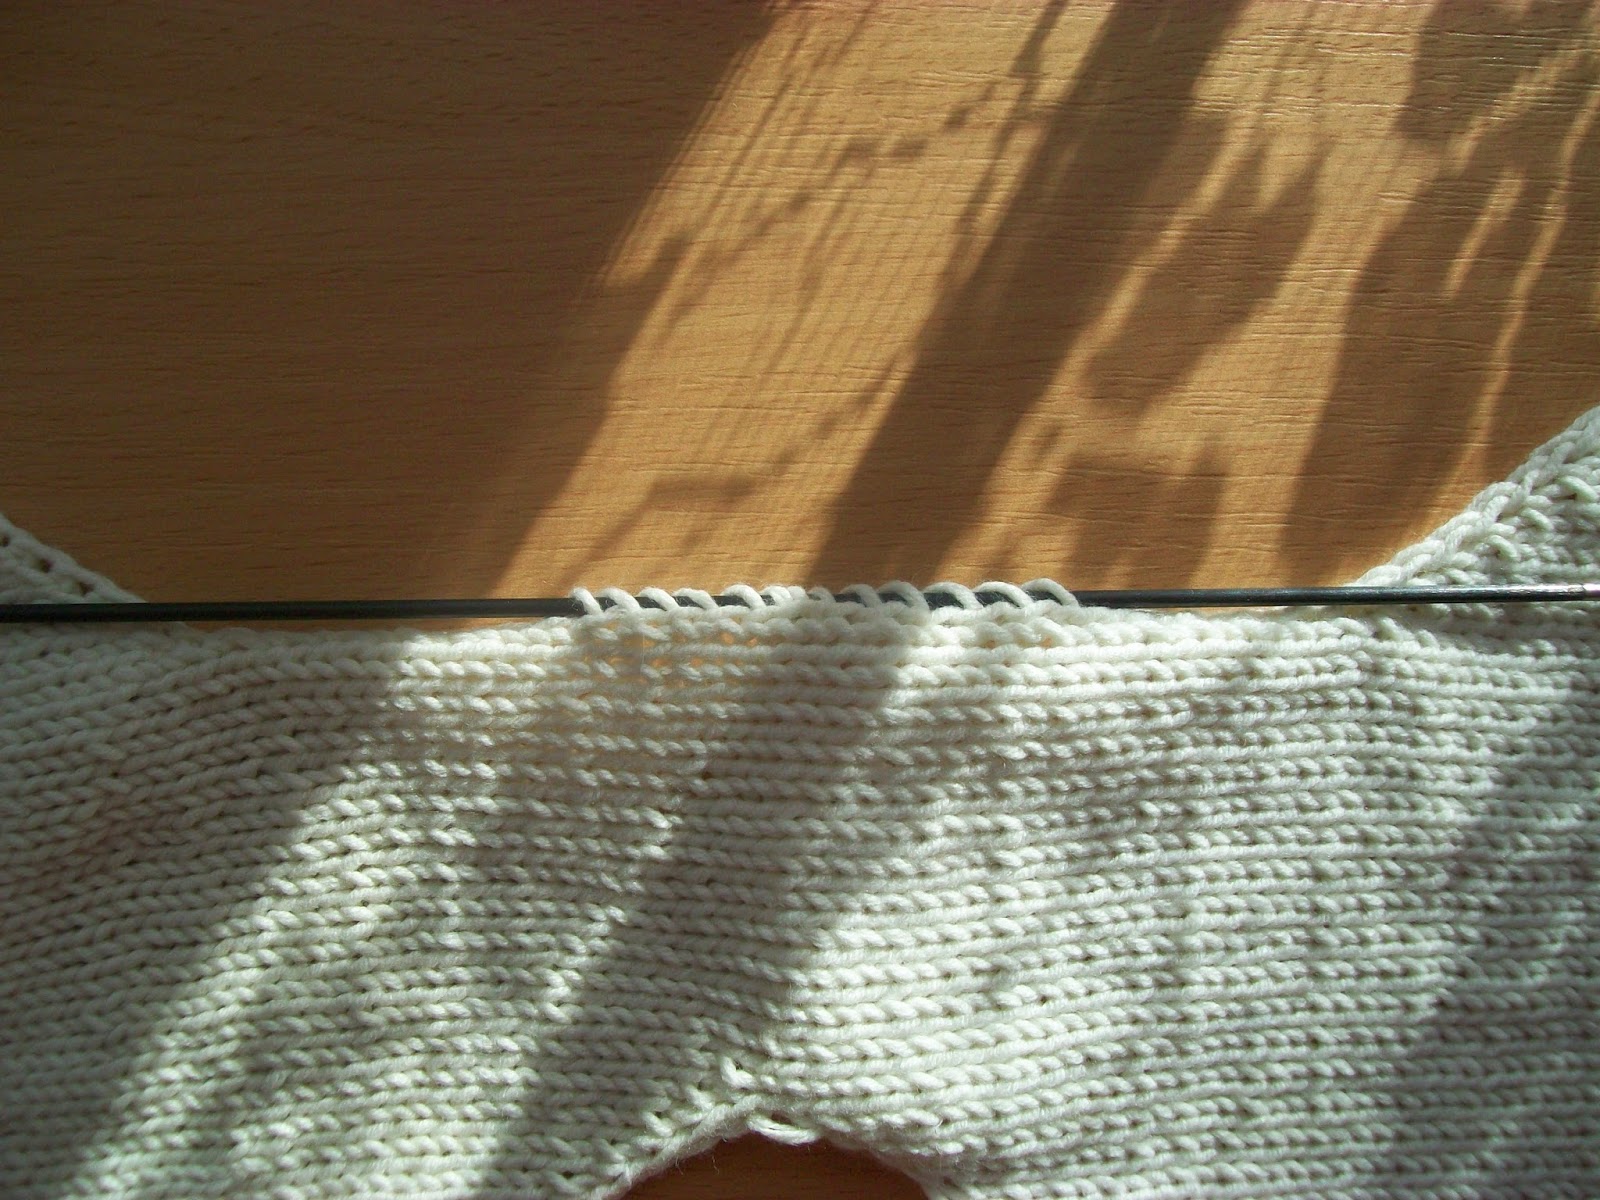
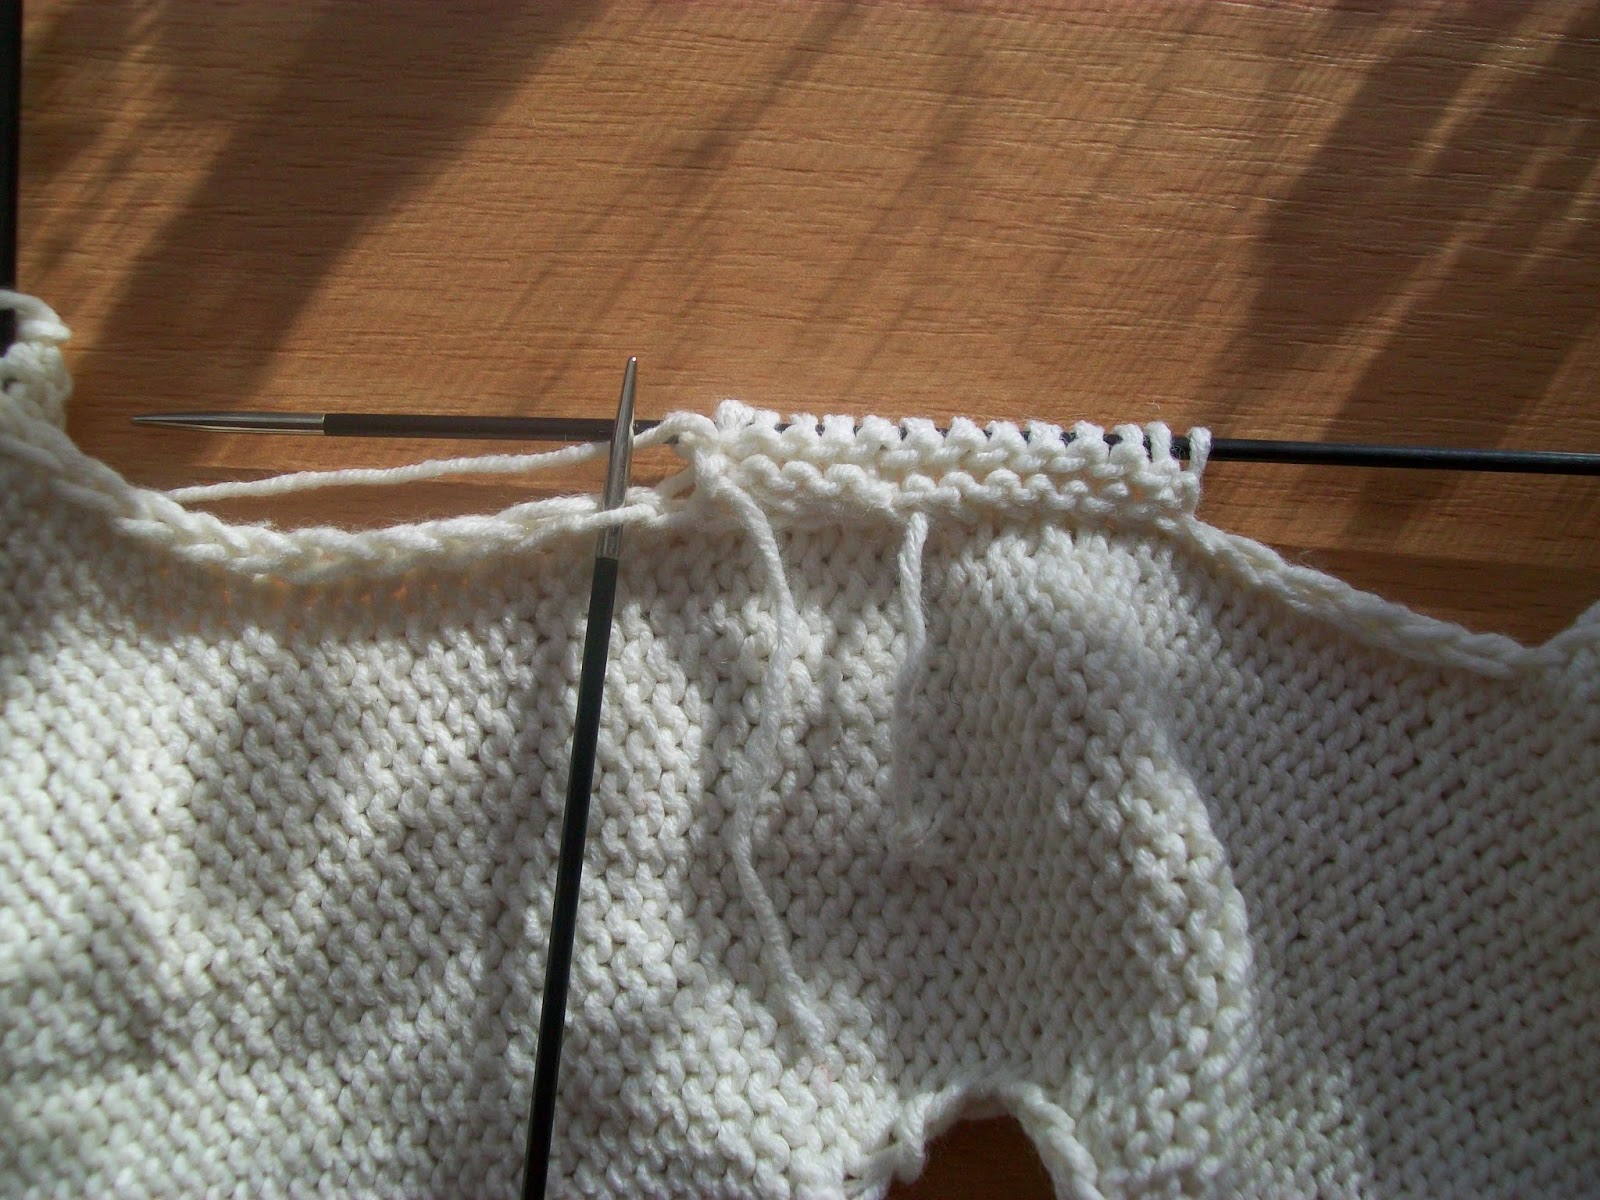
Knitting the armhole
When clarifying the picture with knitting the sleeves, don't forget to pay attention to how they will be joined to the base of the product. To do this, figure out how to properly knit the armhole for the sleeves.
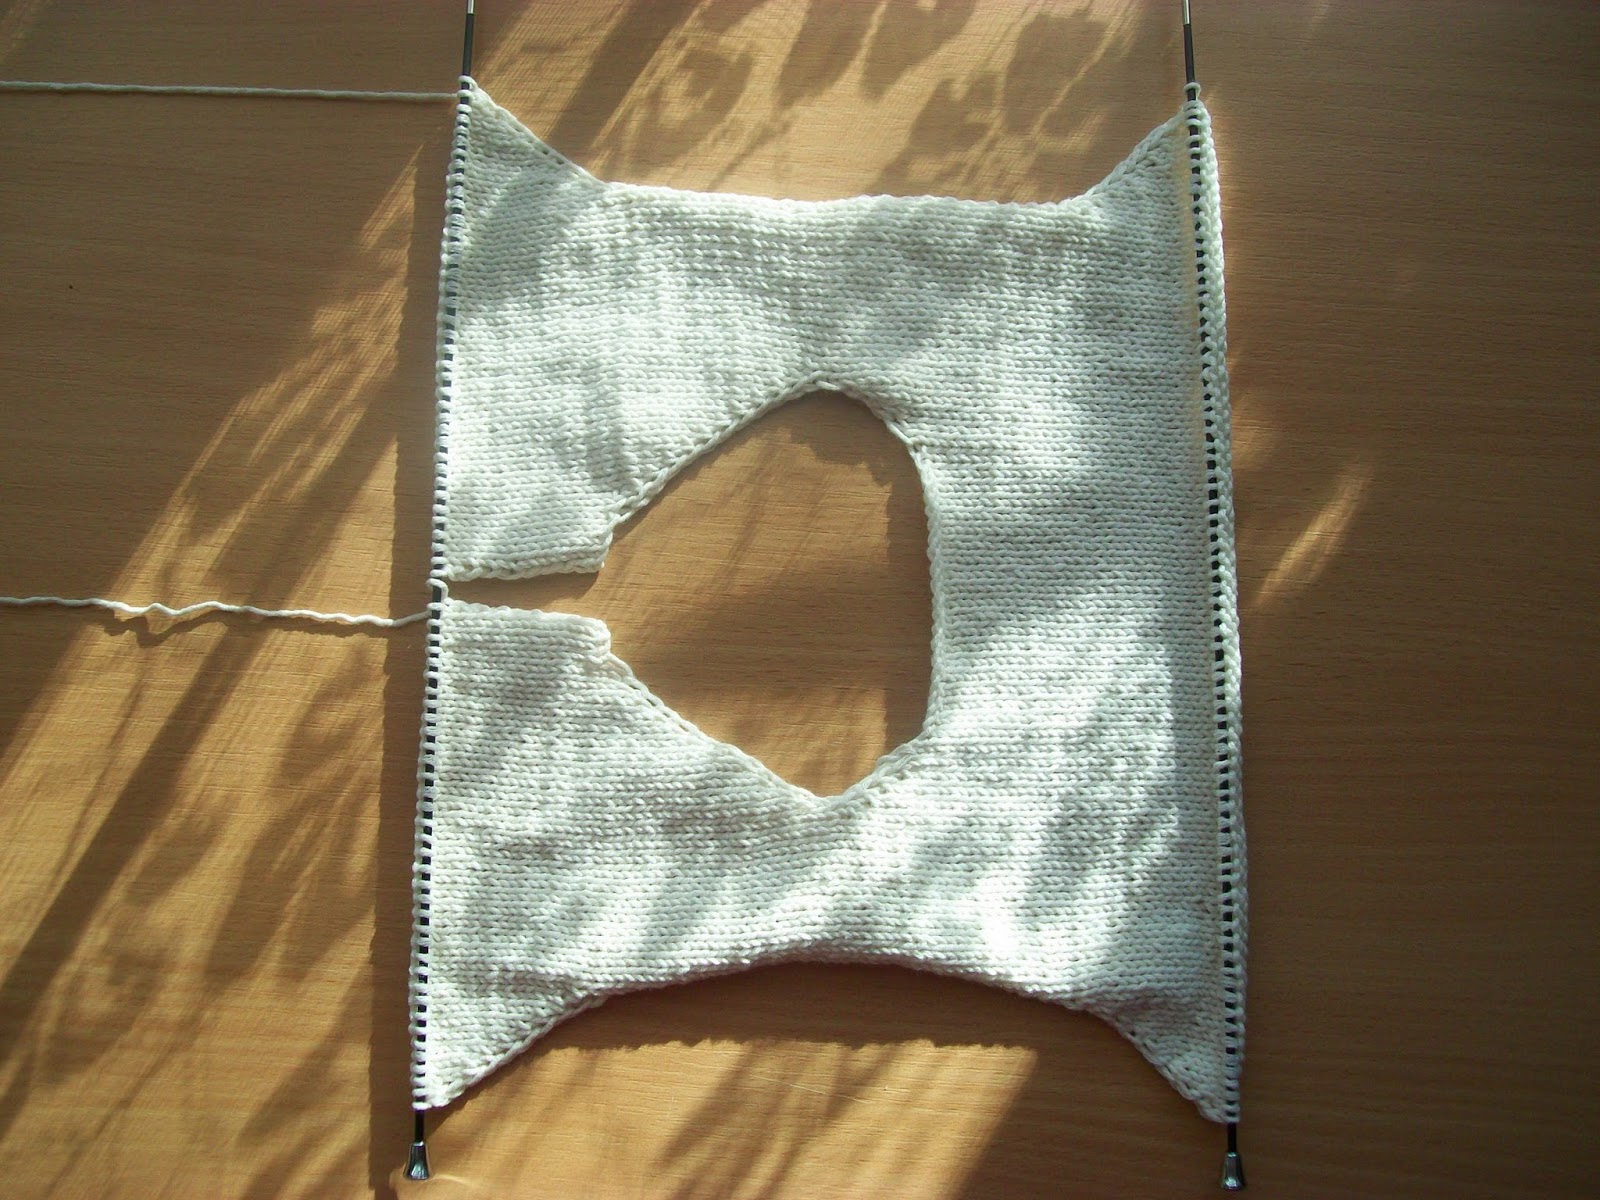
The function of the armhole is to repeat the anatomy of the body, it makes the knitted product convenient and comfortable to wear. Knit armholes for all styles of clothing, even products without sleeves can have an armhole. Scheme for knitting an armhole is simple - you need to remove a few loops on both sides and knit the product up to the neck.
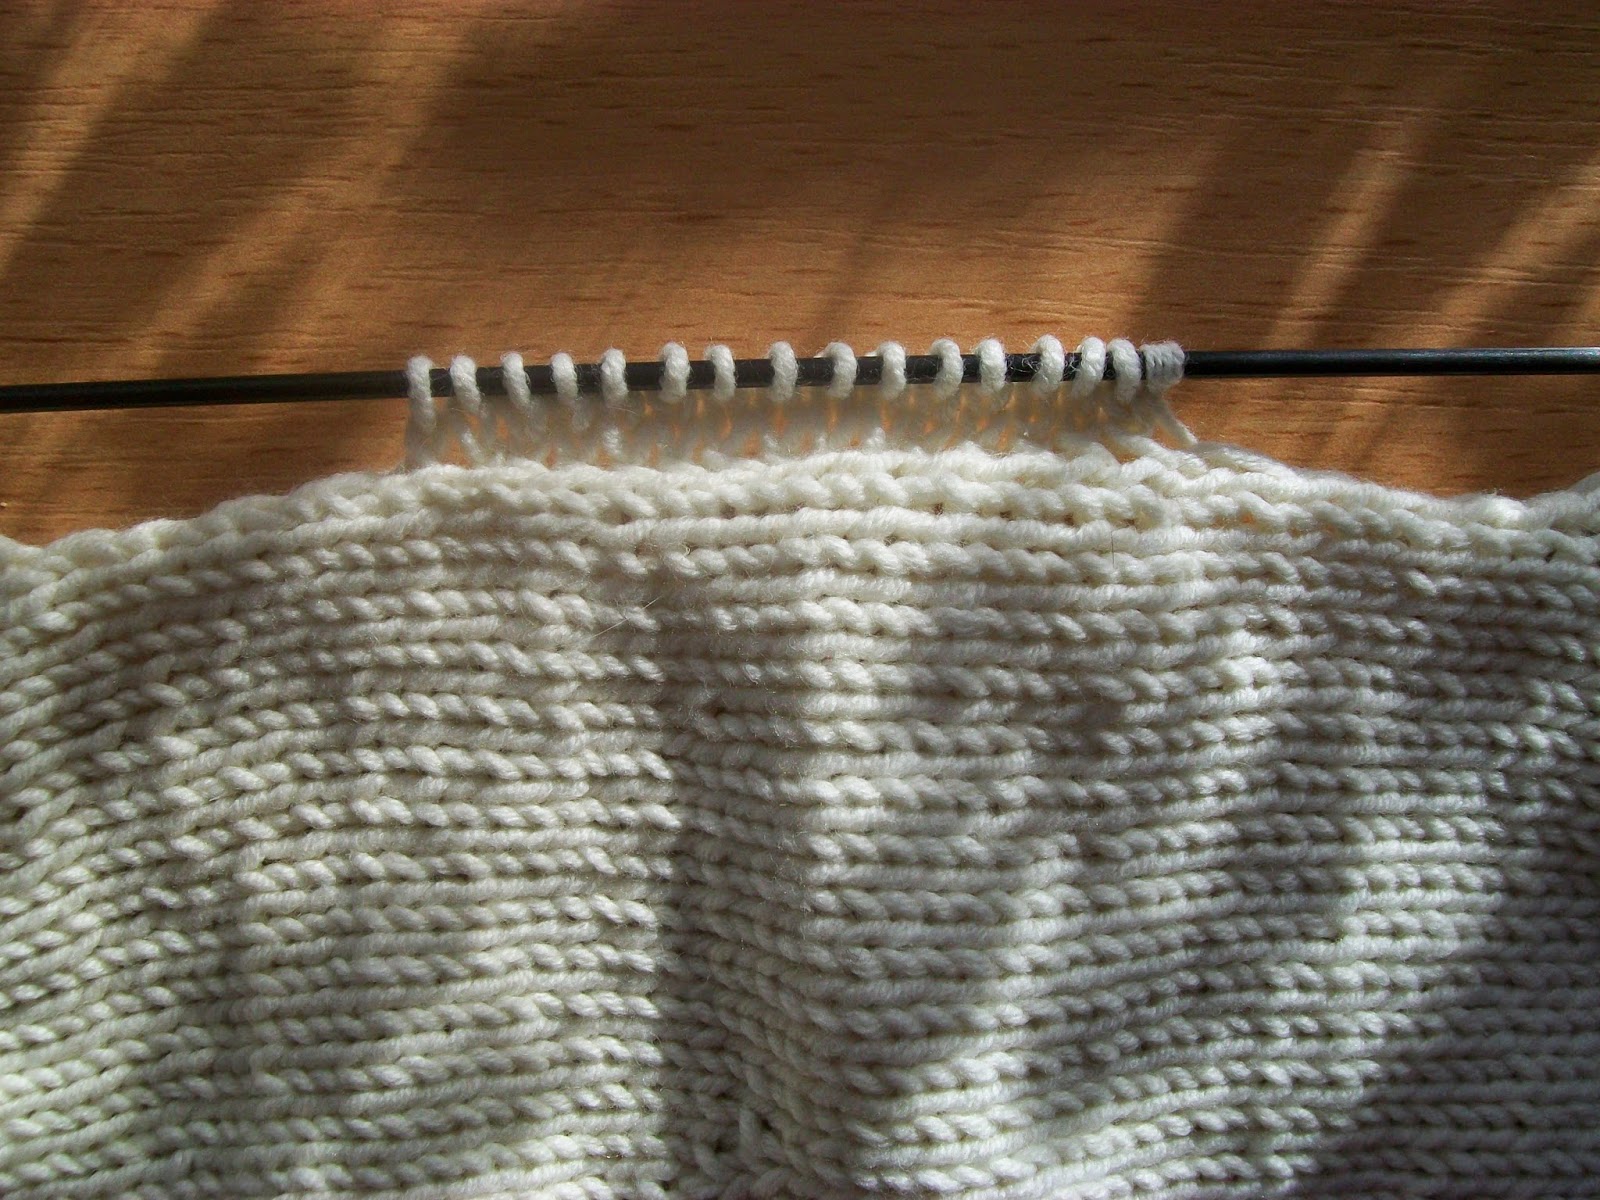
When you make an armhole, the cut on one side is done in the front row and on the other side - in the wrong row. You can add any number of loops, but it is important to do it in stages: first add 7 loops, then 5, 3, 2 and 1.
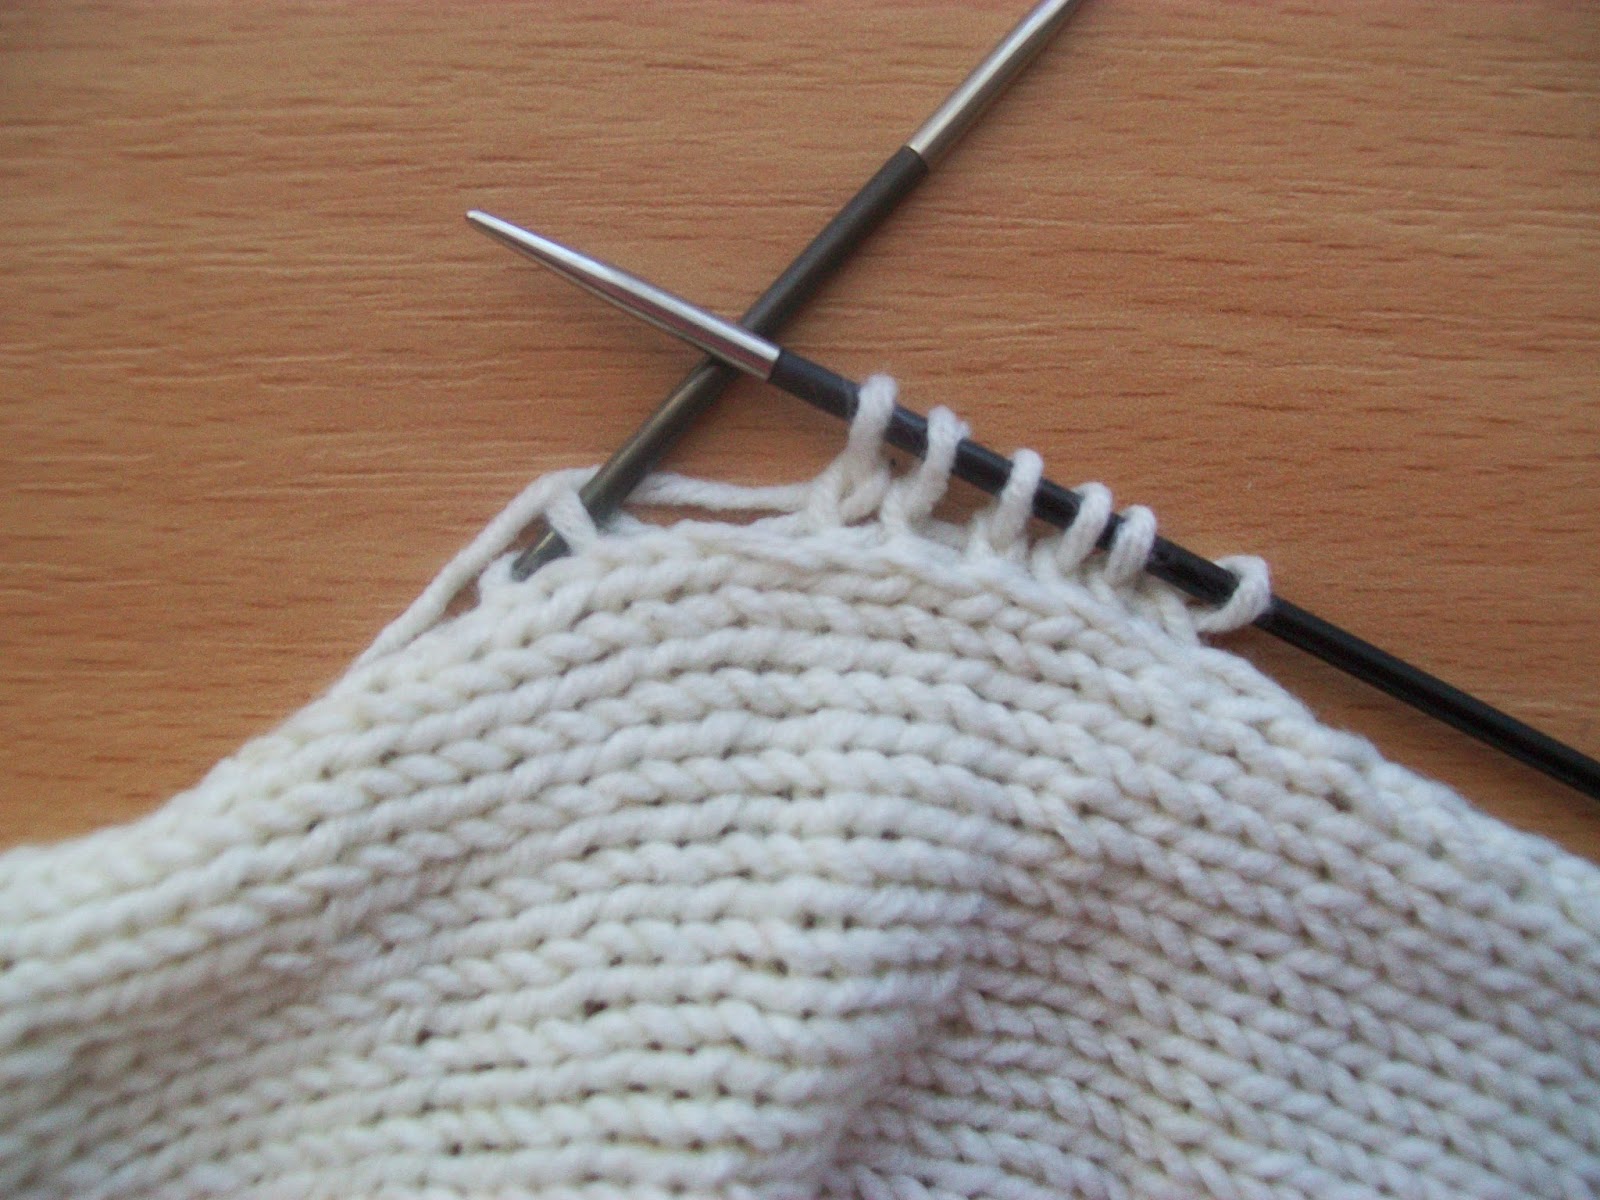
Try to do the armhole in the classic way:
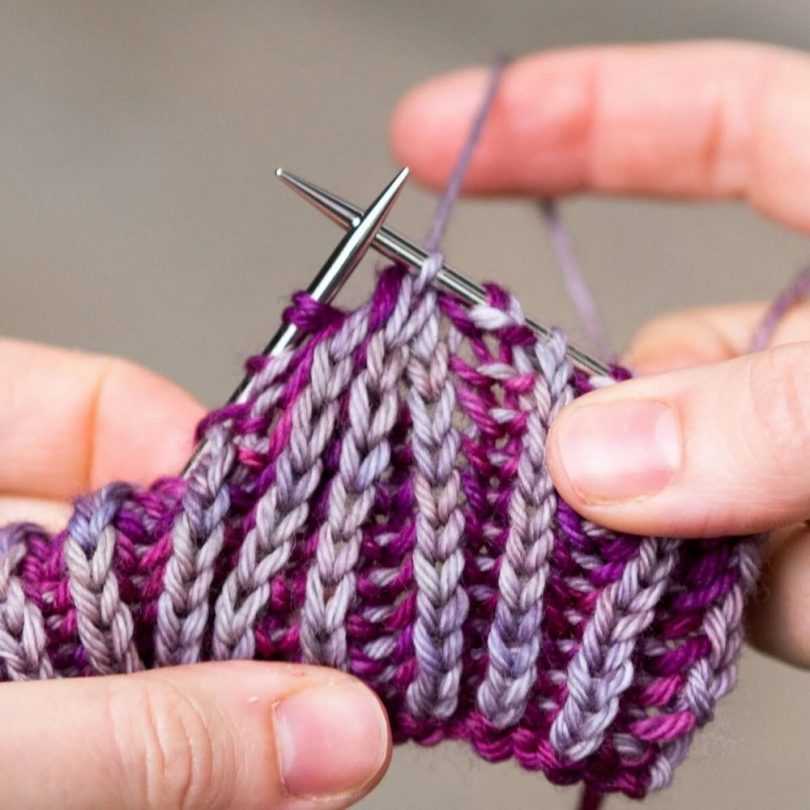
- First, let's remove 5 loops of the front row. To do this, take off the first stitch and knit the right one, then make a stretch and so on with all 5 stitches. The whole row should be done according to the drawing scheme.
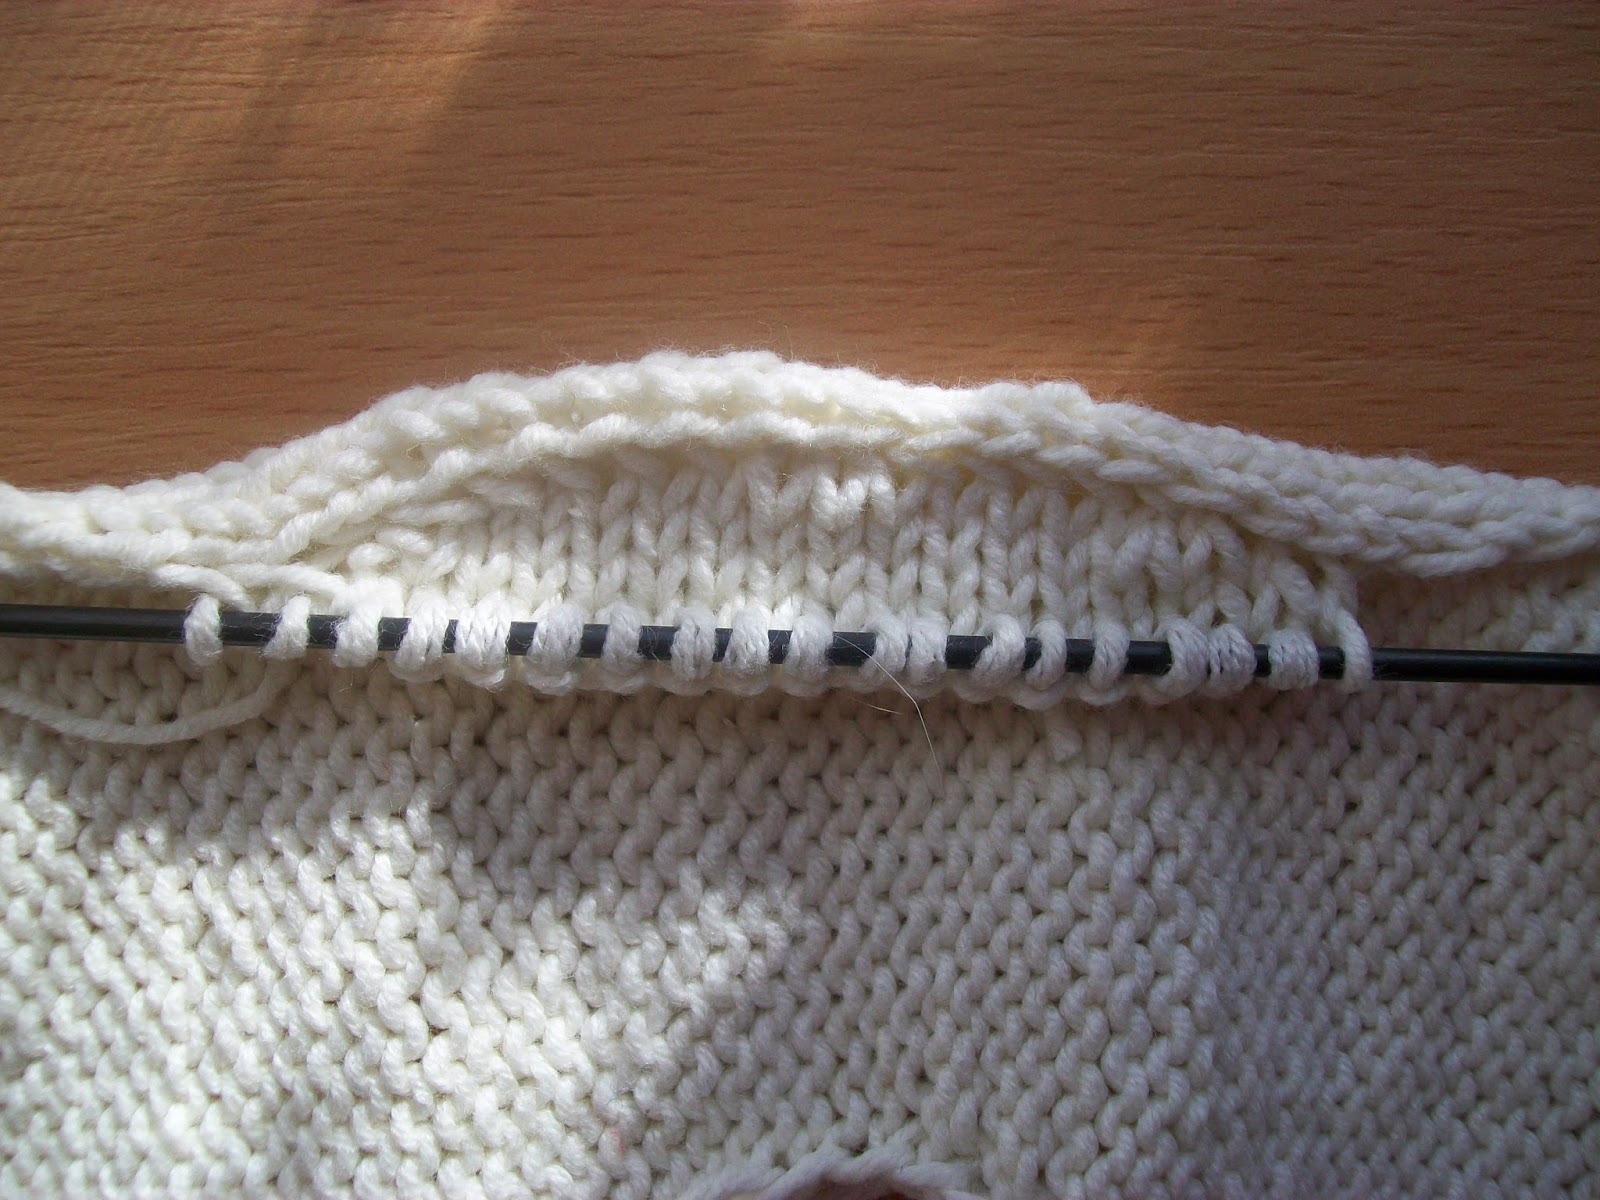
- Deduct 5 stitches of the back row. Similarly to the first row, but knitting the back stitches instead of the right ones. Finish this row according to the pattern, leaving the last stitch.
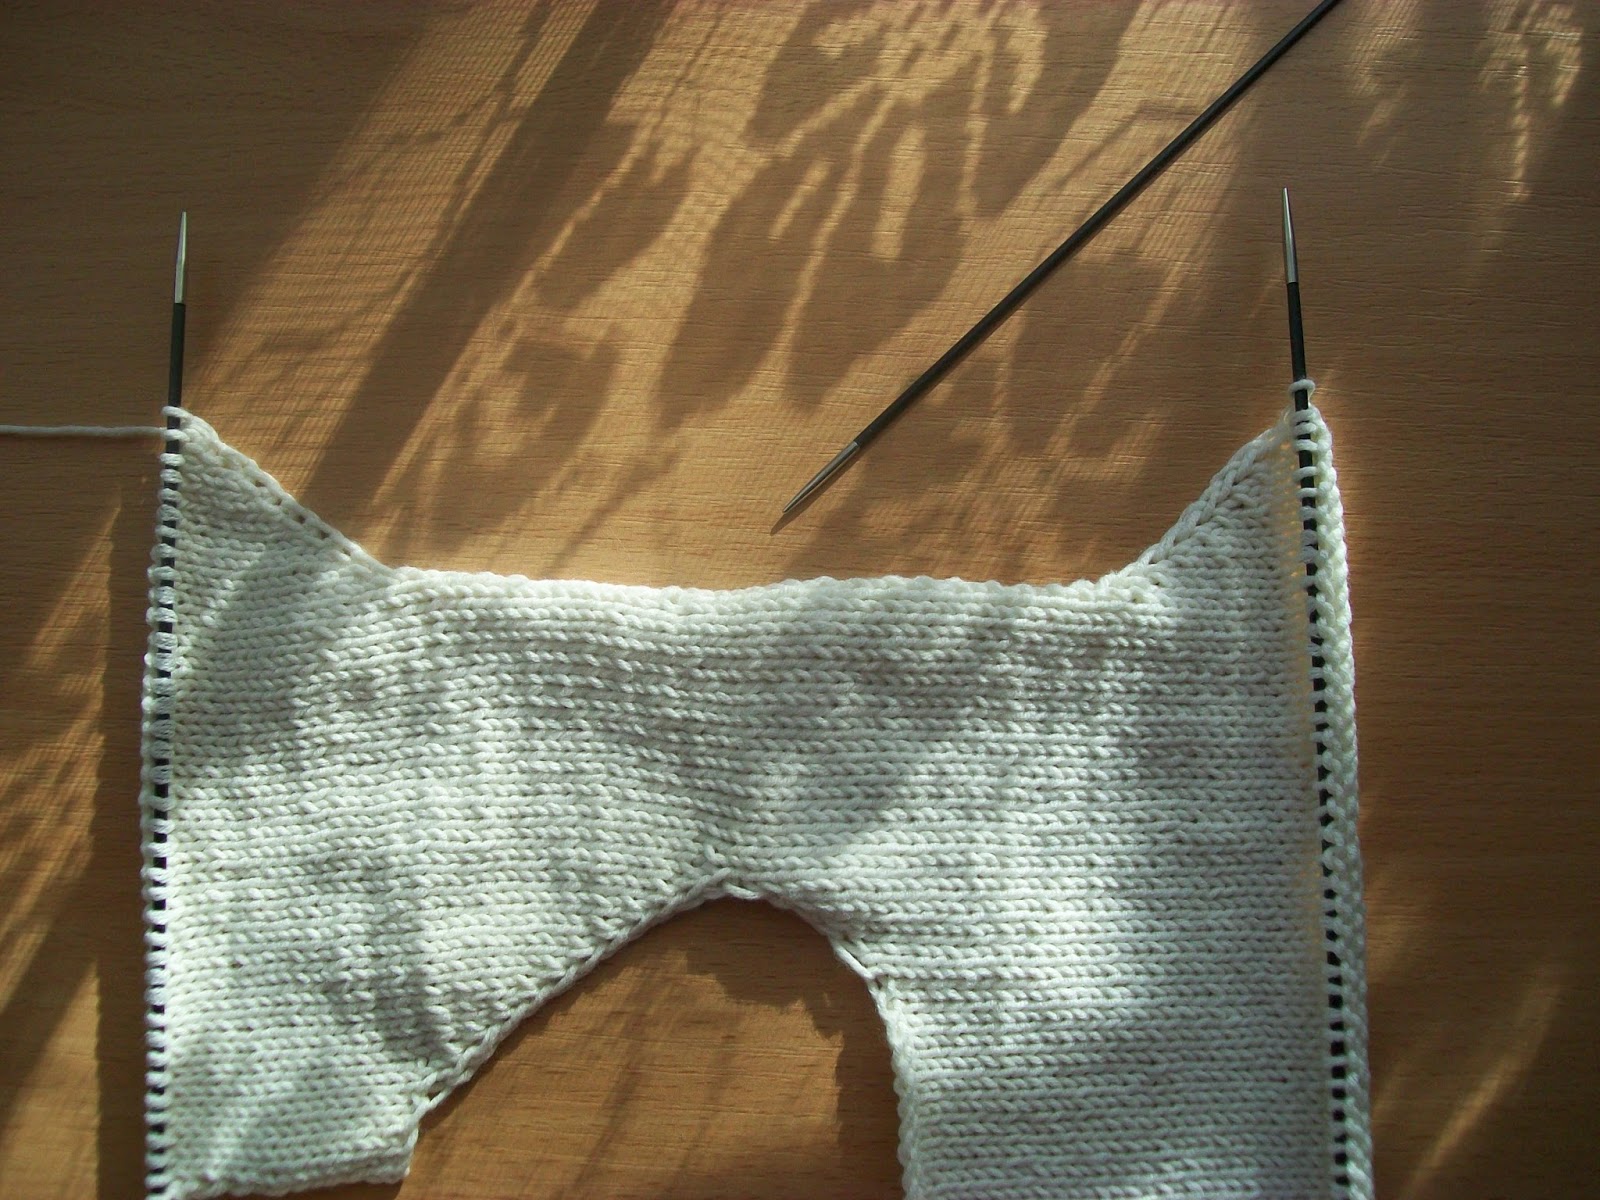
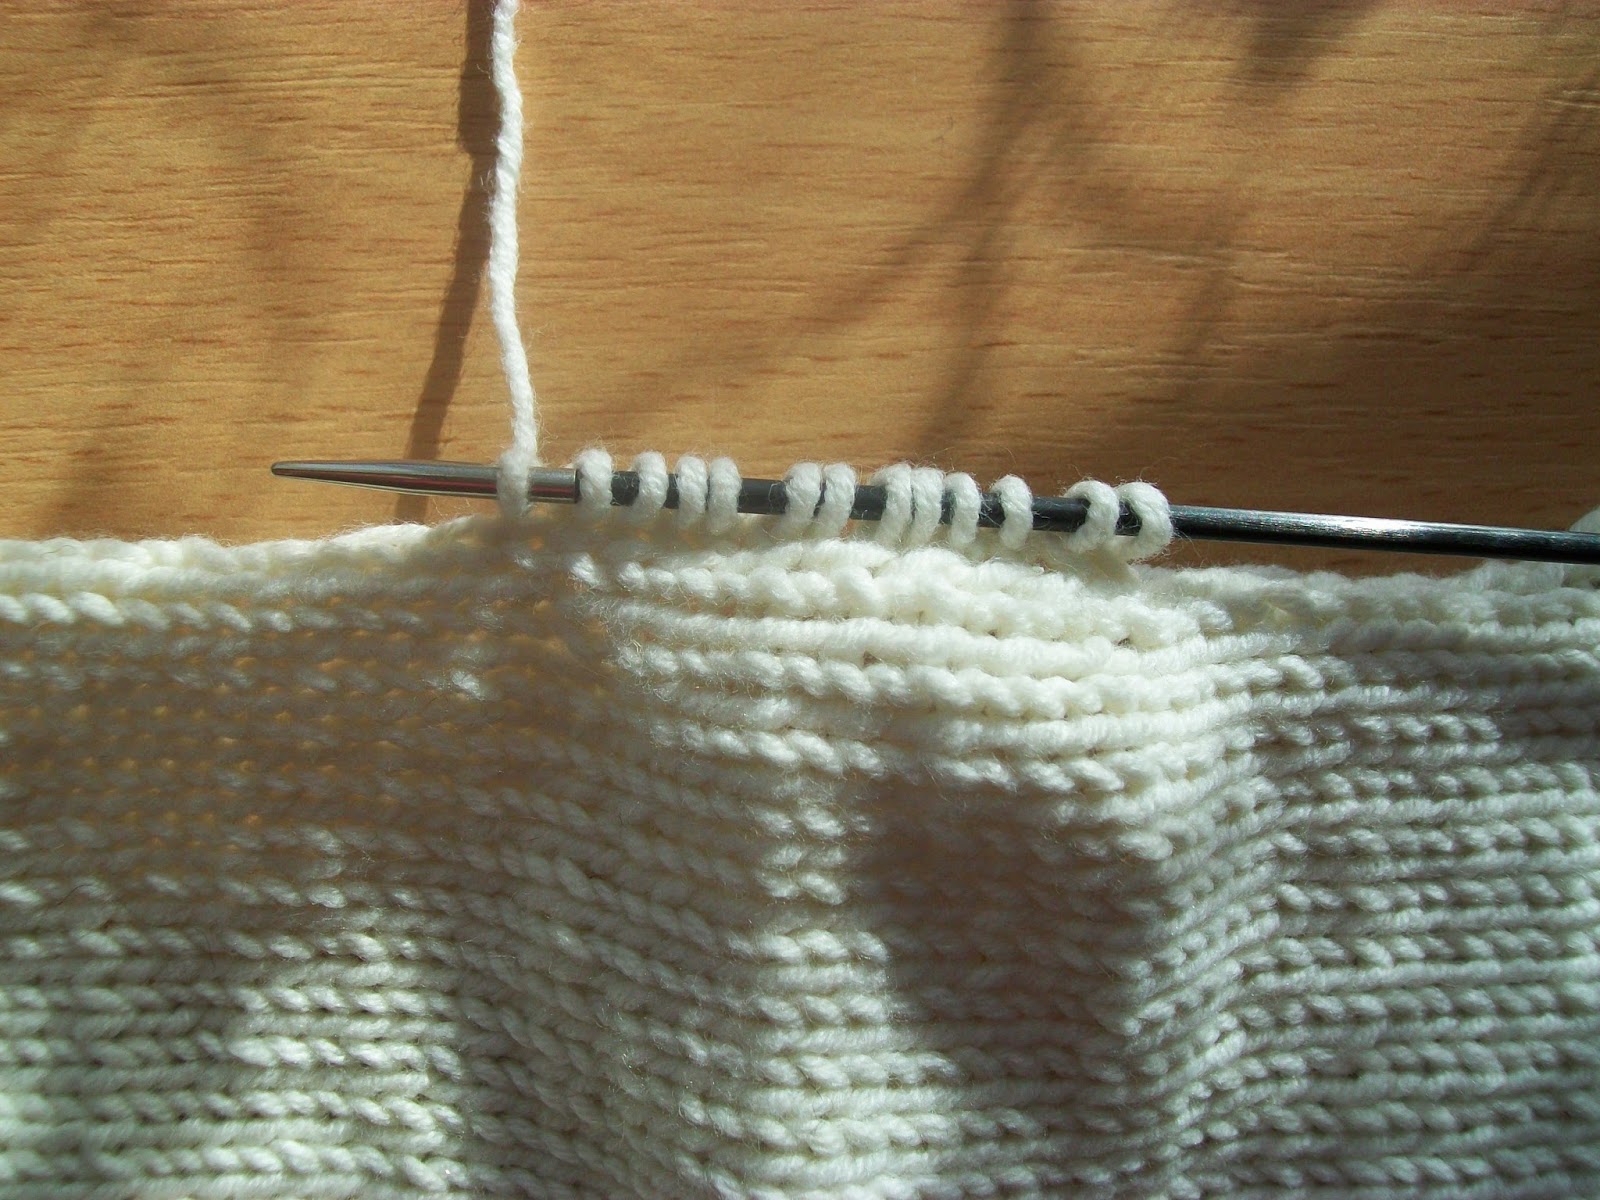
- We turn the fabric and in the opposite direction, we add 3 stitches, and we tie the row to the last stitch.
- Turn the product on the wrong side, remove 3 stitches, and then repeat the row to the last stitch.
- Deduct two stitches in the next two rows in the same way.
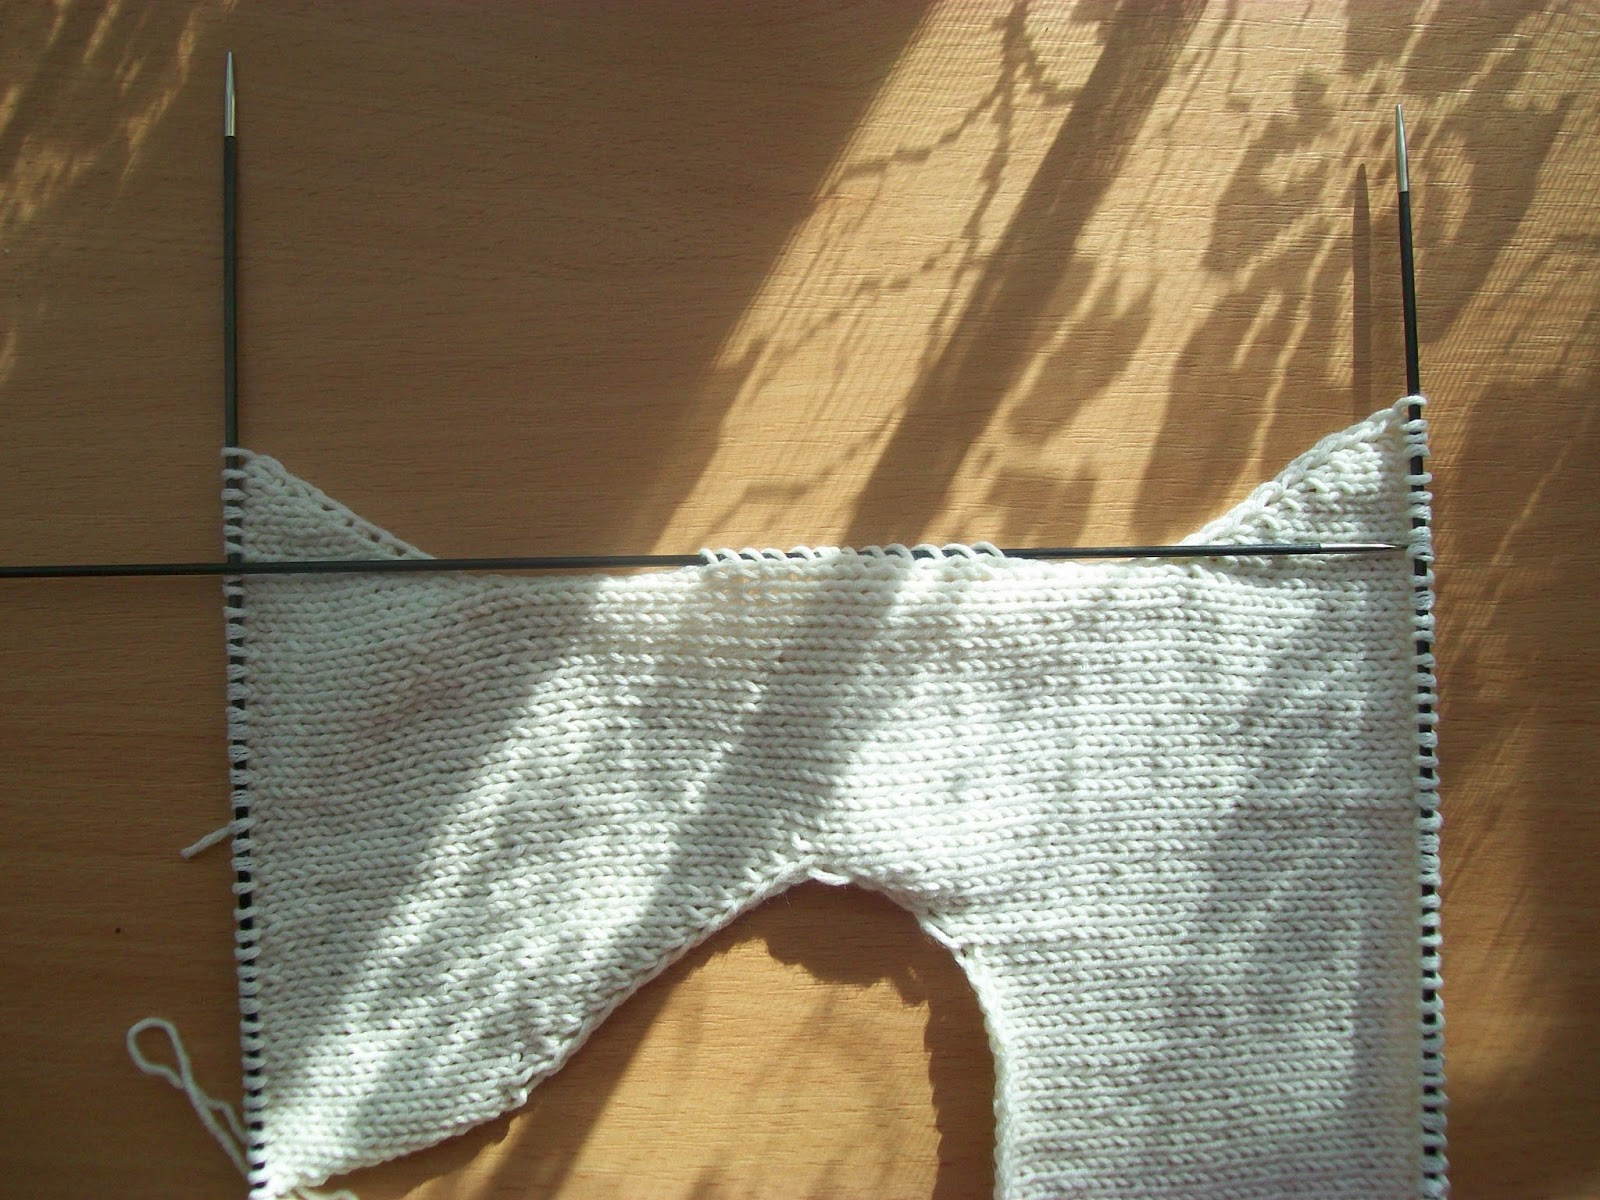
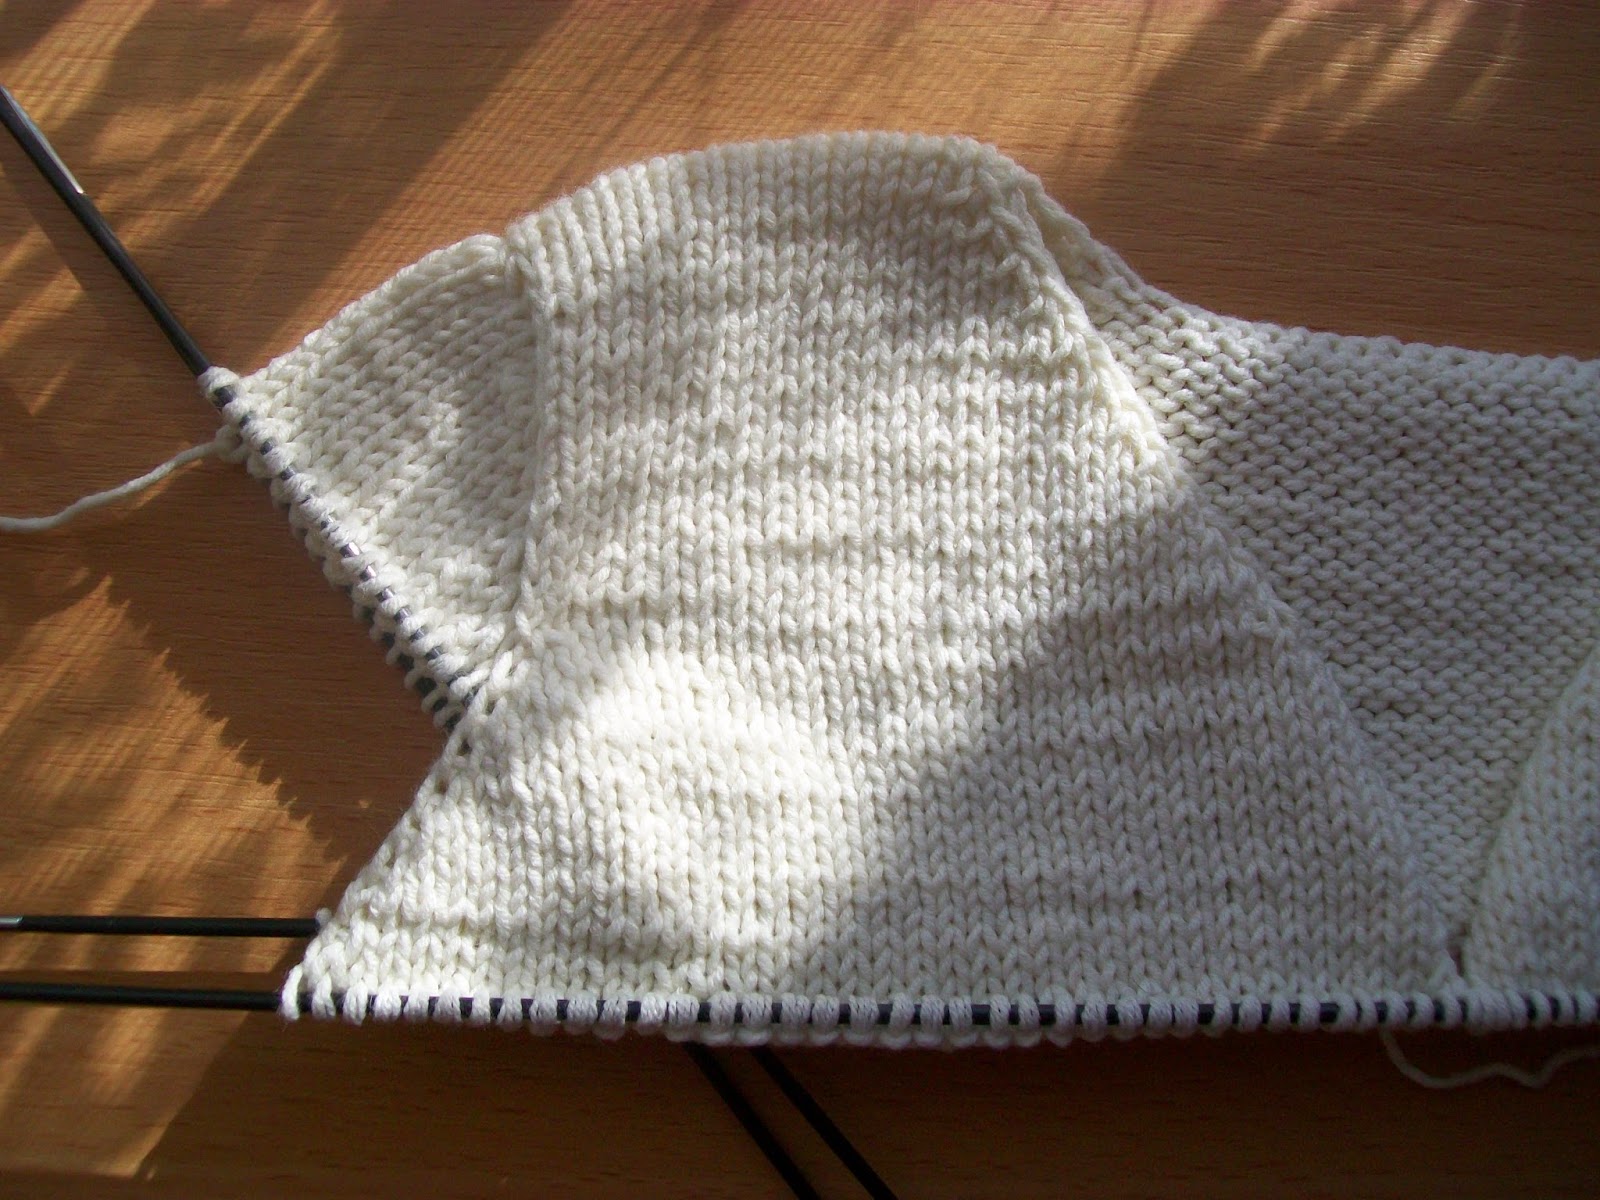
- Next time we add two stitches on each side and knit them with a straight stitch.
- Continue with straight stitches up to the neckline.

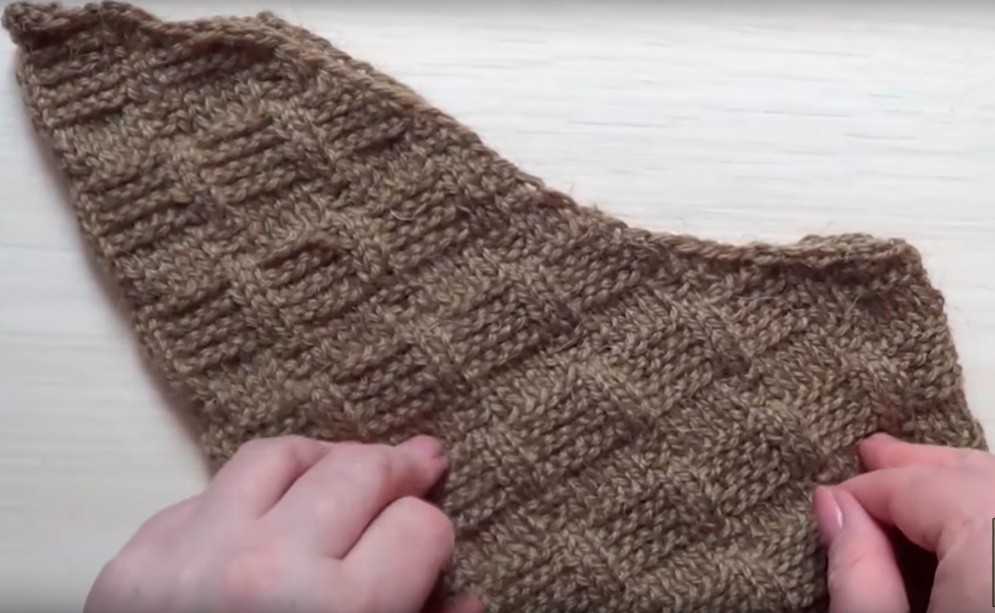
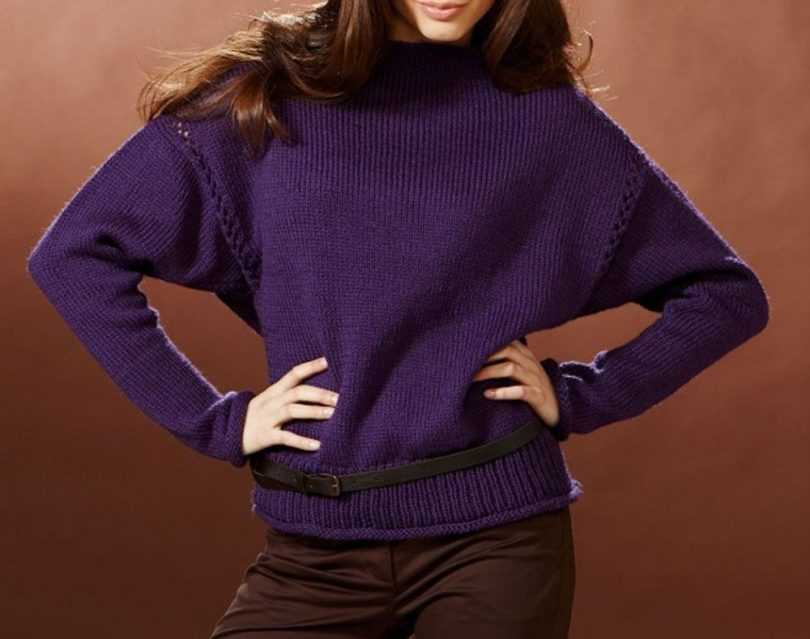
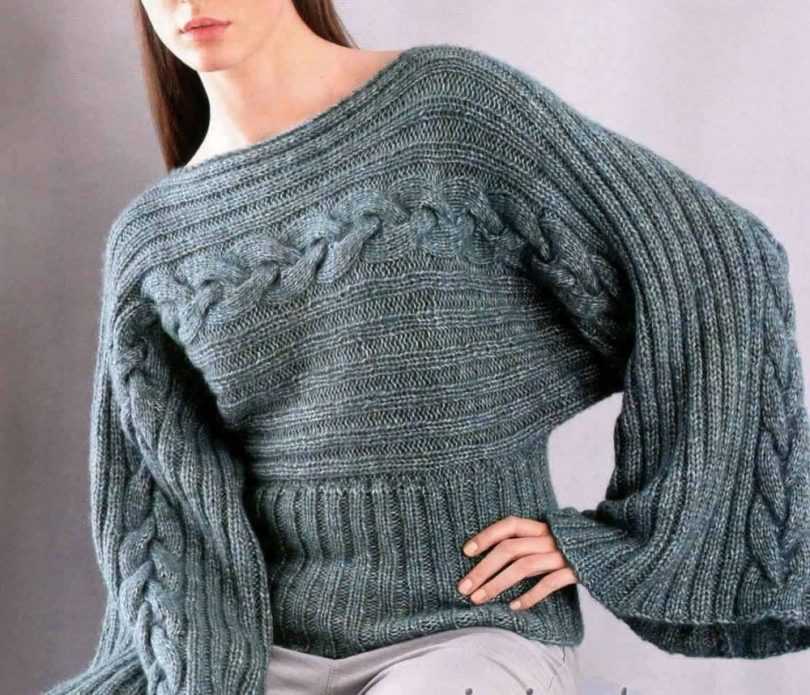
Welted sleeve
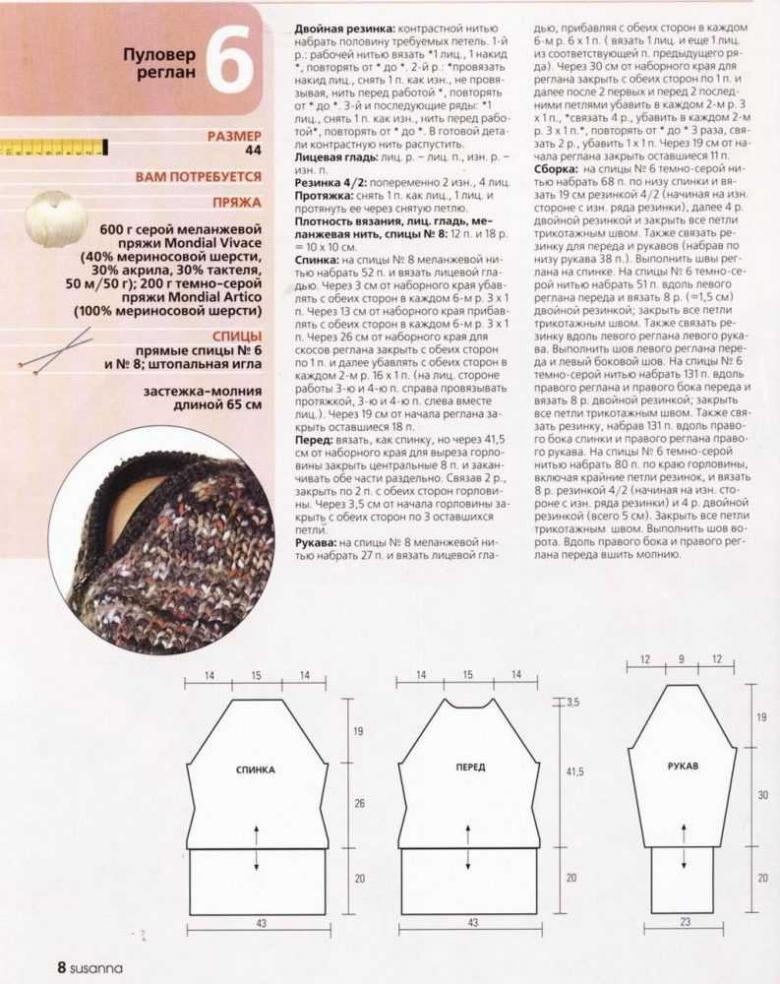
The most commonly used method of knitting sleeves is a welted sleeve. This model is easy to perform and can be made in a variety of forms: wide, tapered, in the form of pipes, lanterns, with a cuff, with lapels and other details. Consider step by step how to knit a sleeve by knitting from below:
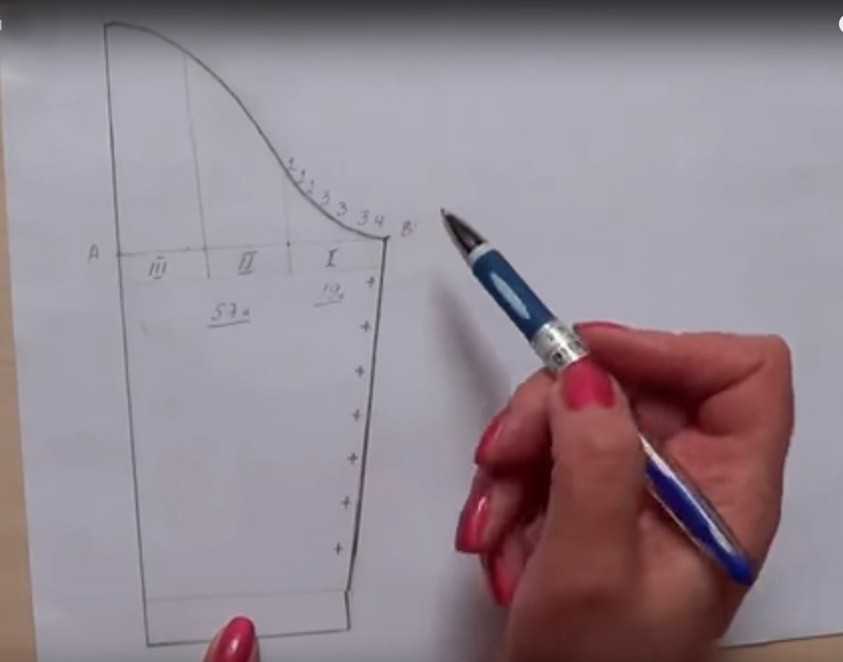
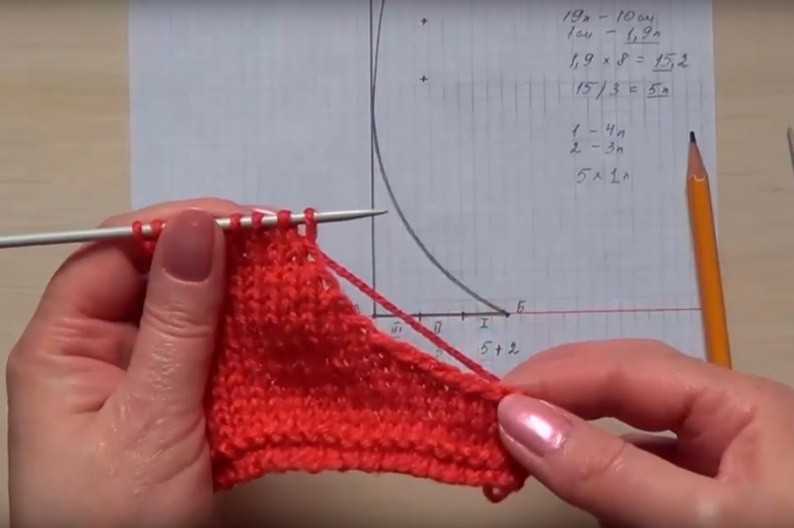
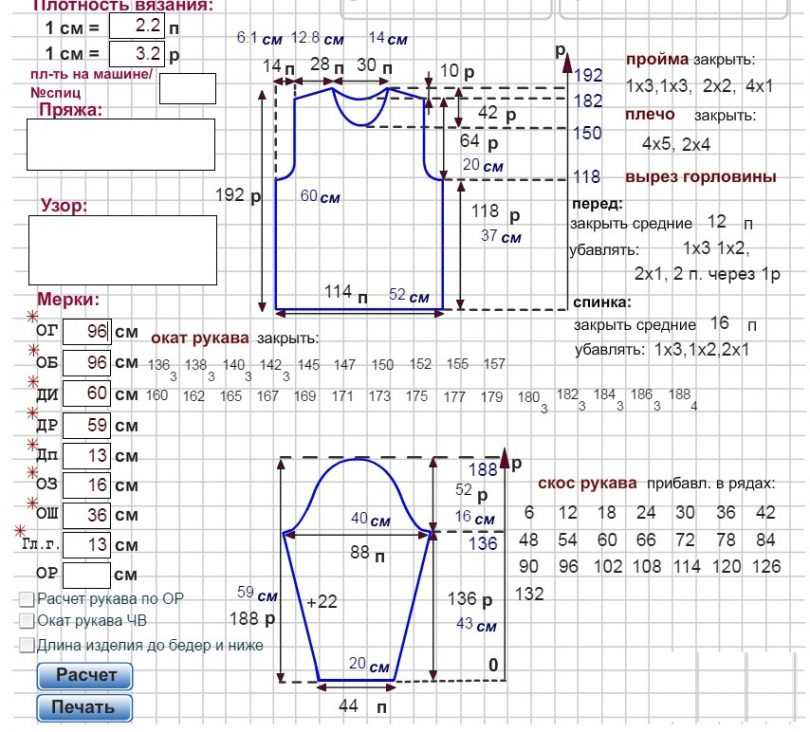
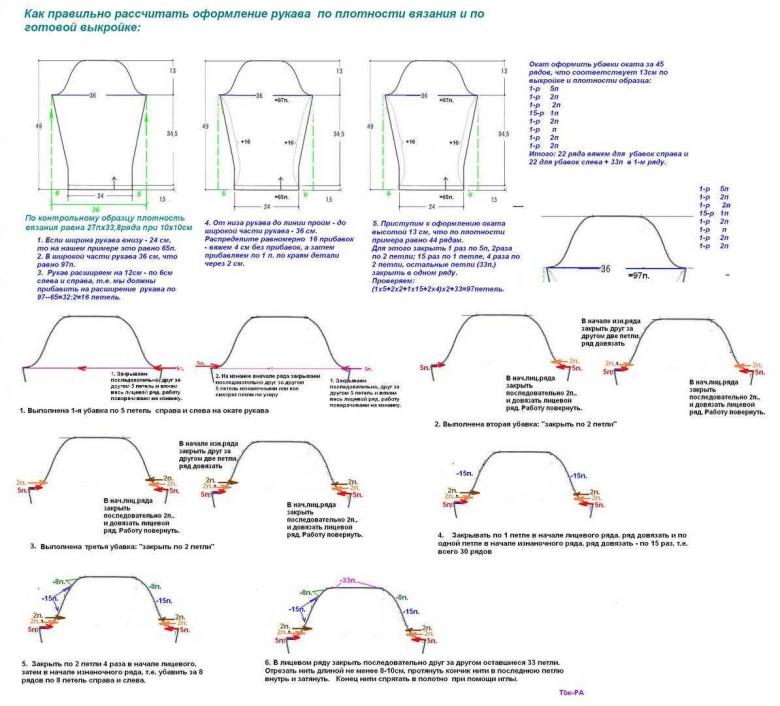
- First of all, you need to calculate the size of the sleeve to the beginning of the ocale. How many links should be added and at what point. Always calculate by the size of half of the sleeve.
- Calculate how many loops are needed at the bottom, at the narrow part of the sleeve and how many loops are needed at the widest part of the sleeve, before the start of the rim. For example: 30 stitches in the narrow part, 54 stitches in the wide part.
- Subtract: 54-30=24 stitches.
- Divide the length of the sleeve (to the beginning of the bounce) by the difference of the loops between the narrow and wide part. For example, if the length of the sleeve to the bounce 34 cm, we get 34/24=1.4
- Determine how many stitches fit in 1.4 cm. For example, 3 stitches in 1.4 cm is equal to 6 rows.
- Knit the sleeve from the bottom up, expanding the fabric with one stitch in each 6 rows.
- Don't forget to use markers in the rows where there was an increase in the loops.
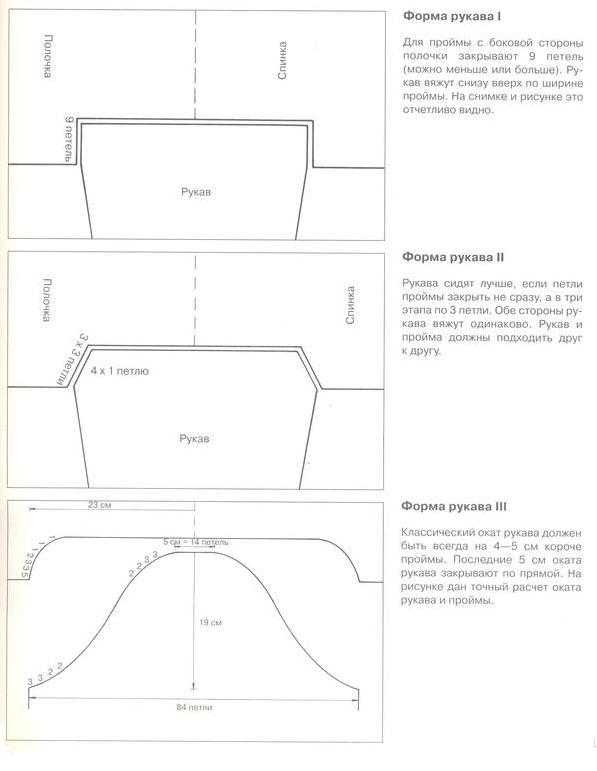
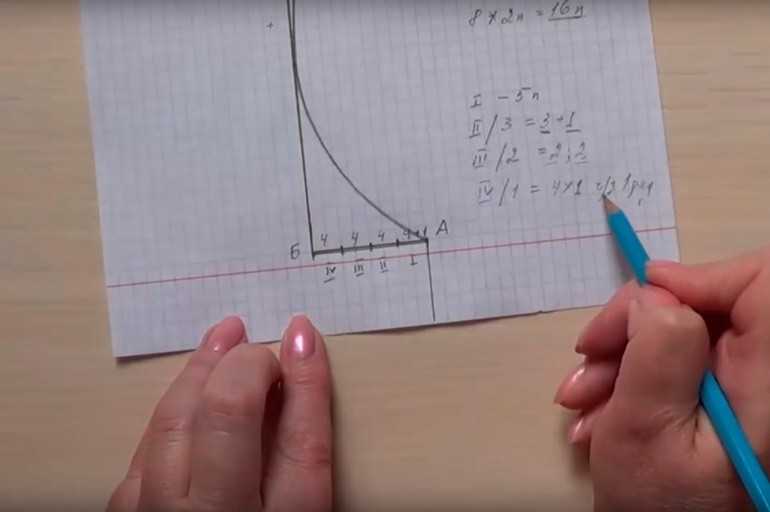
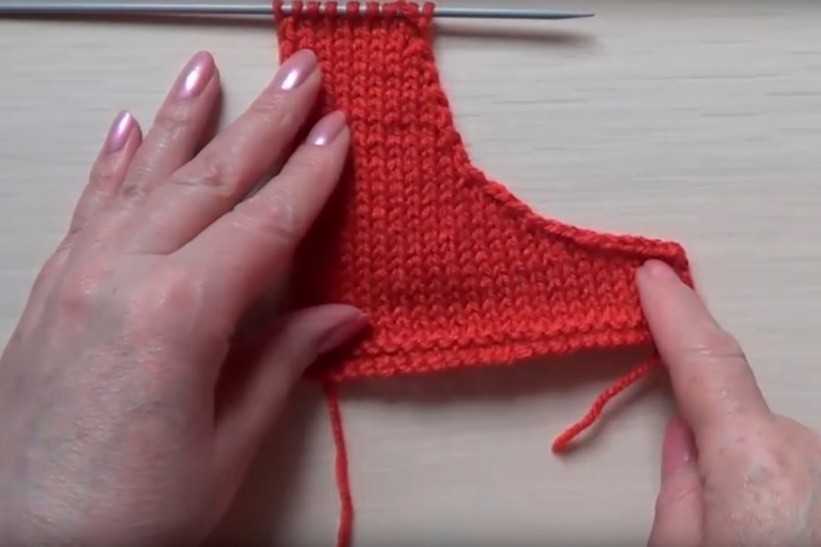
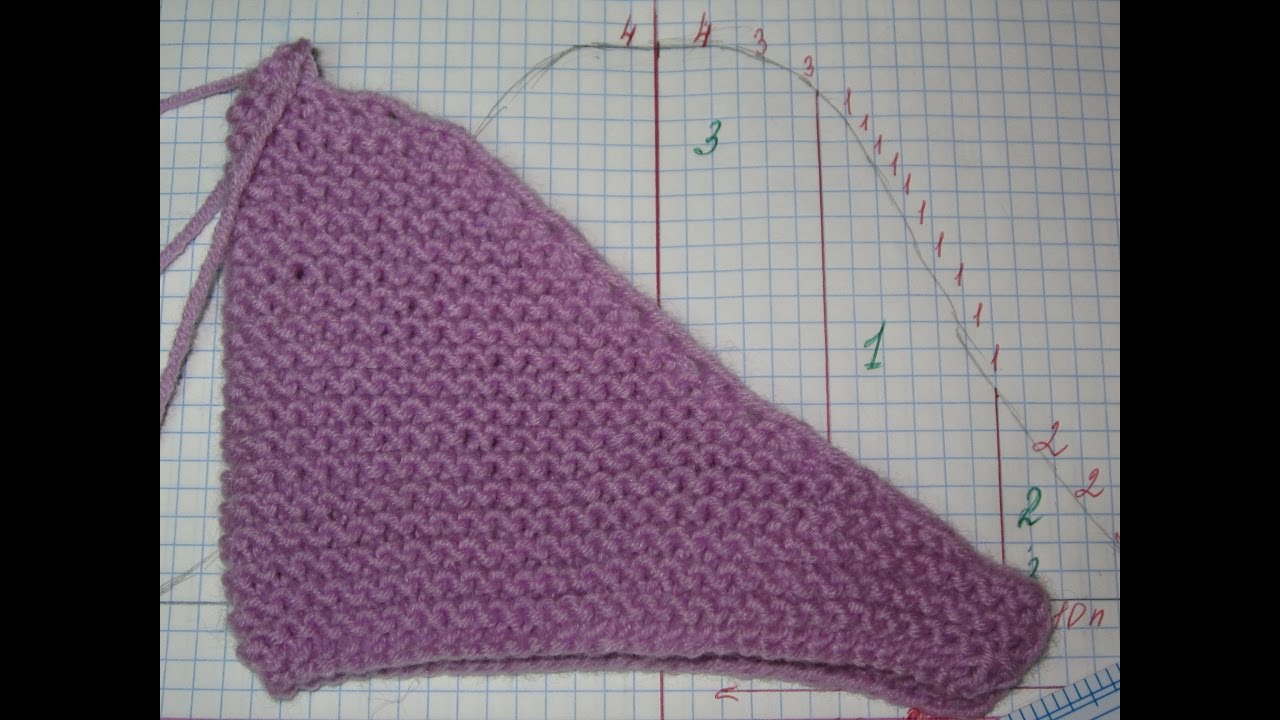
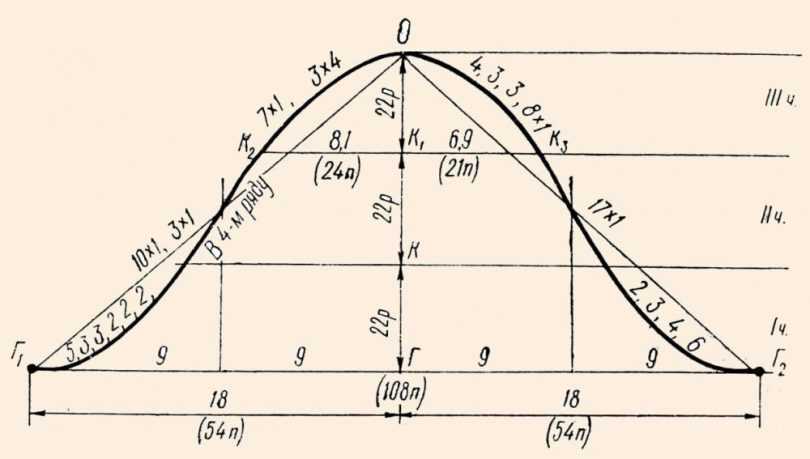
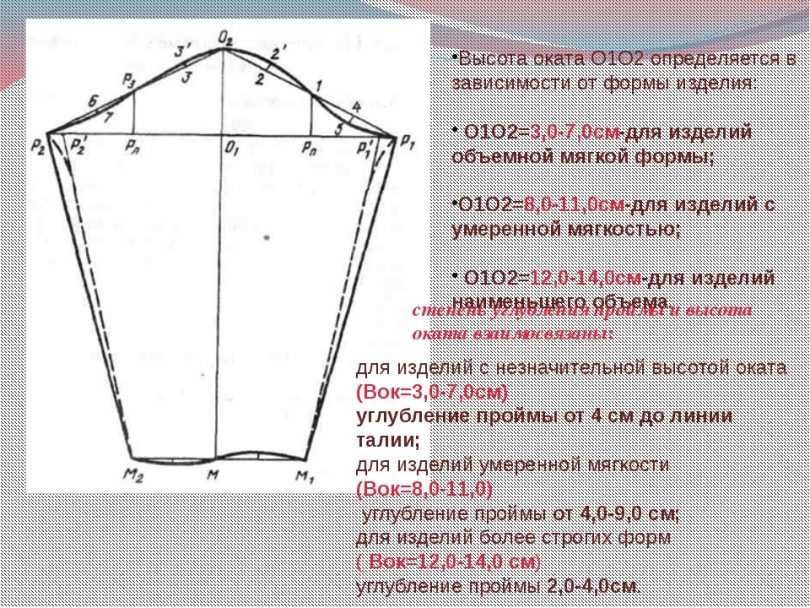
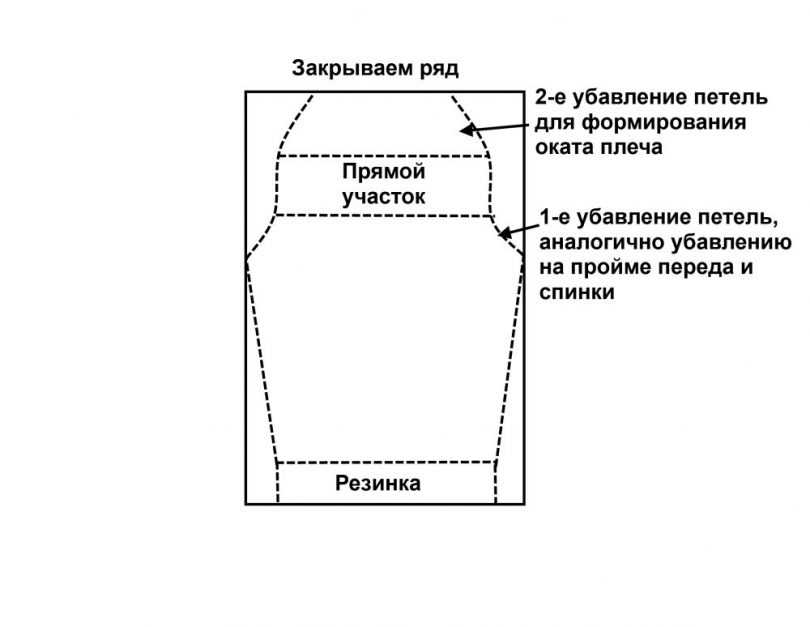
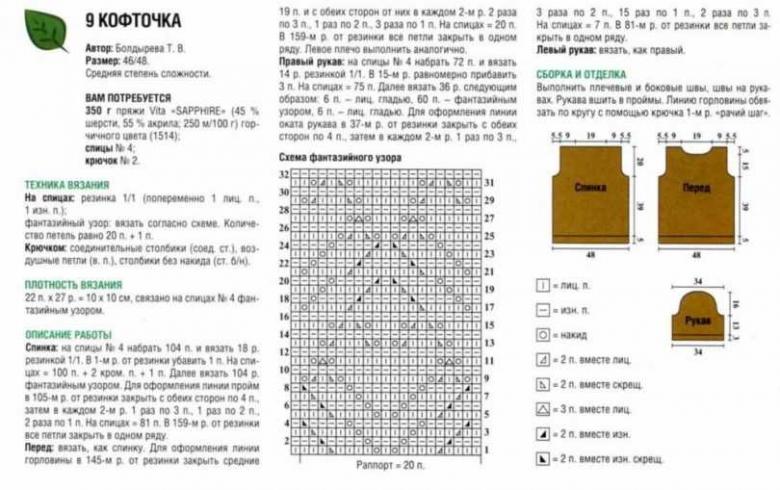
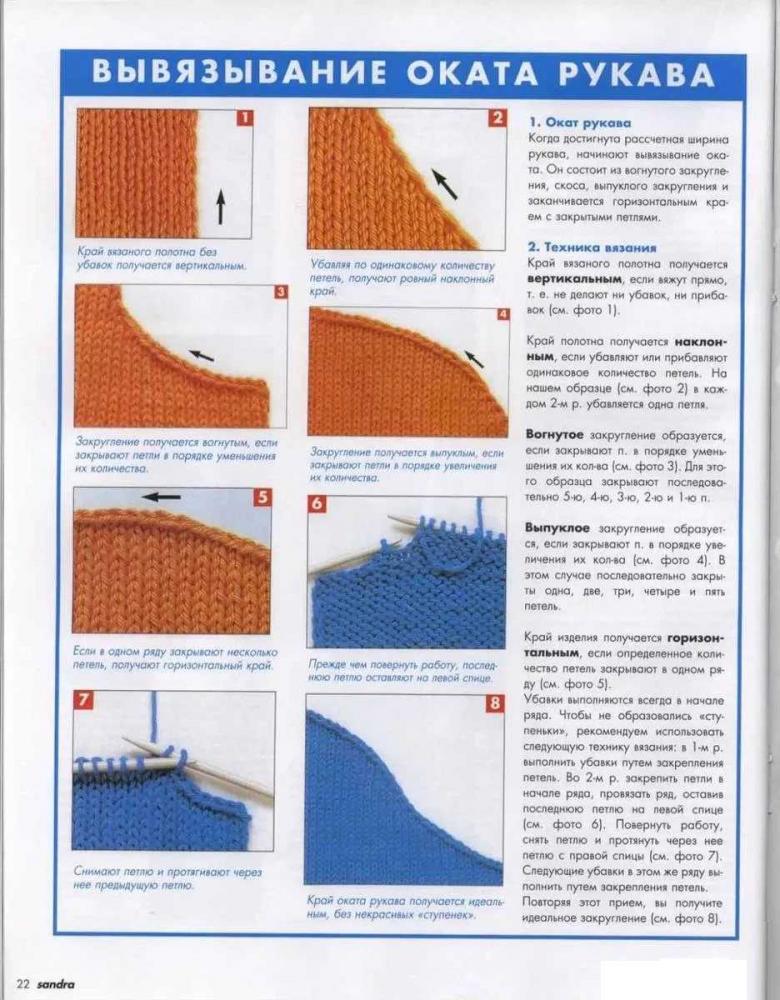
How to knit the roll of the sleeve
When you have finished knitting the sleeve fabric to the wide part, you need to move on to the formation of the rim. Use the same method of adding and subtracting loops, but take into account the shape of the ovate. In the upward direction, you need to knit a concave rounding and a bevel, then the rimming flows into a convex rounding, and finally closes with loops along the horizontal edge.
To make sure that the raglan fits perfectly in the armhole, remember to stick to the size of the pattern and the same density of knitting throughout the product.
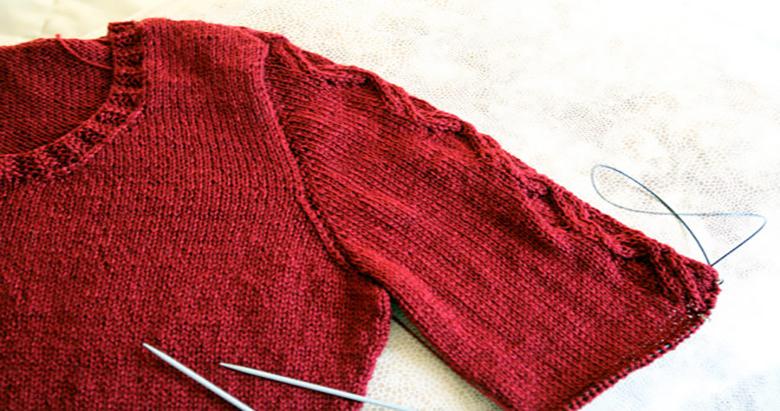
Knit raglan
Now that the basics of knitting are clear, let's understand the nuances that make sleeves of different styles not similar to each other. Consider step by step how to knit a raglan sleeve by scissors from the bottom up:
- We make calculations of the number of loops of the bottom of the sleeve, the wide part and its length.
- Calculate the number and pitch of extra loops.
- Knit the sleeve from the bottom to the wide part, similar to the method of a welt sleeve.
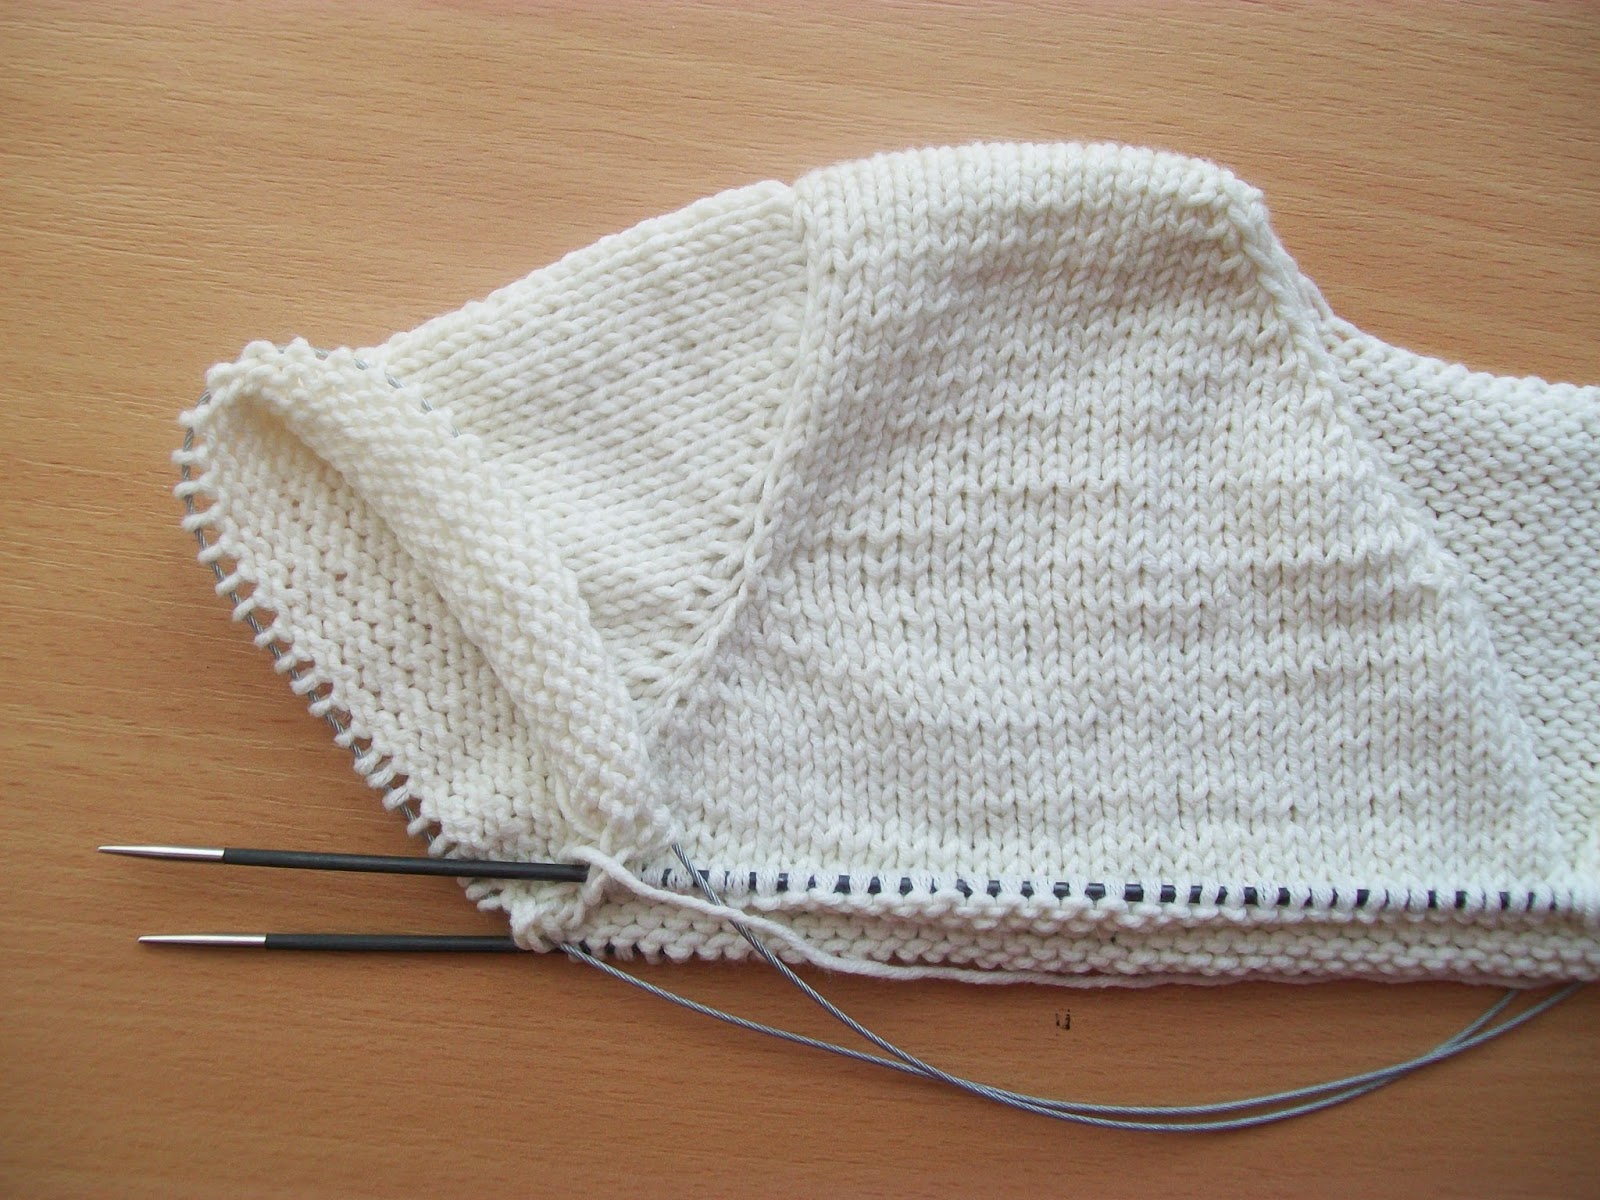
- Tie the first sleeve into the main product. To do this, use the yarn that was used to knit the main piece! At first it will be awkward to knit the sleeve with the main garment thread, but once you finish the sleeve circle and get rid of the extra spokes, the knitting process will be easier.
- We knit a row of the main part of the product to the place of the second sleeve.
- Similarly, place the second sleeve on the item and knit the sleeve row with the main item thread.
- Slit the row of the second part of the main product to the place of the first sleeve, leaving the loops for the raglan line.
- Determine how wide the raglan line will be: you can knit 2 stitches, 4, or even 1 stitch.
- If you decide to knit the raglan line in 2 loops, then, cutting a row on the "body" of the product, leave the last 4 stitches. 2 stitches are removed by sewing them together behind the back of the loops. Then we'll slit the last 2 stitches left - it will be the raglan line.
- The next 2 stitches (already on the sleeve) are tied together, but we bring the thread through the front side of the loops.
- Then we start the row for the sleeve. The last 2 stitches together with the thread behind the back. Then two stitches on the front - the raglan line, and 2 stitches together by the thread on the front wall.
- Thus, we remove the loops after 1 row and knit the raglan line to the height of the collar.
Knitting a lantern sleeve
Consider the scheme of another interesting style of sleeve. In order to understand how to knit sleeve lantern sleeves, it is enough to understand its main distinguishing detail - a dense elastic band cuff. The rest of the sleeve is knitted in the same way as the classic type of sleeve - adding and subtracting the required number of loops.
It is important to note that the widest part of the sleeve must have at least three times as many loops as the narrowest part. The cuff and the large increase in the number of loops allows the sleeve to hold the shape of a lantern.
After gaining experience in knitting, it is clear that the methods of knitting sleeves are similar and only personal preference limits you in the choice of sleeve shape. You can knit products according to a strict scheme, or you can add your own elements at any time and get an exclusive thing. Knit a lot, in different ways and with pleasure.

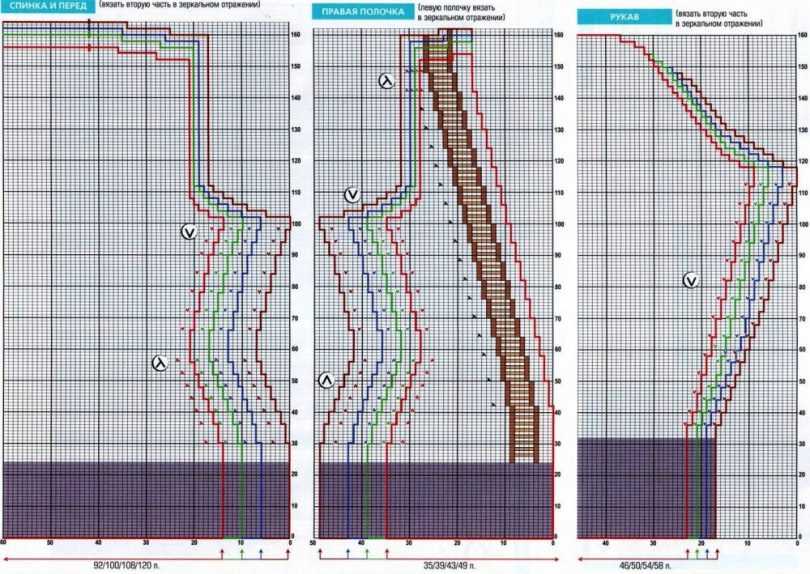
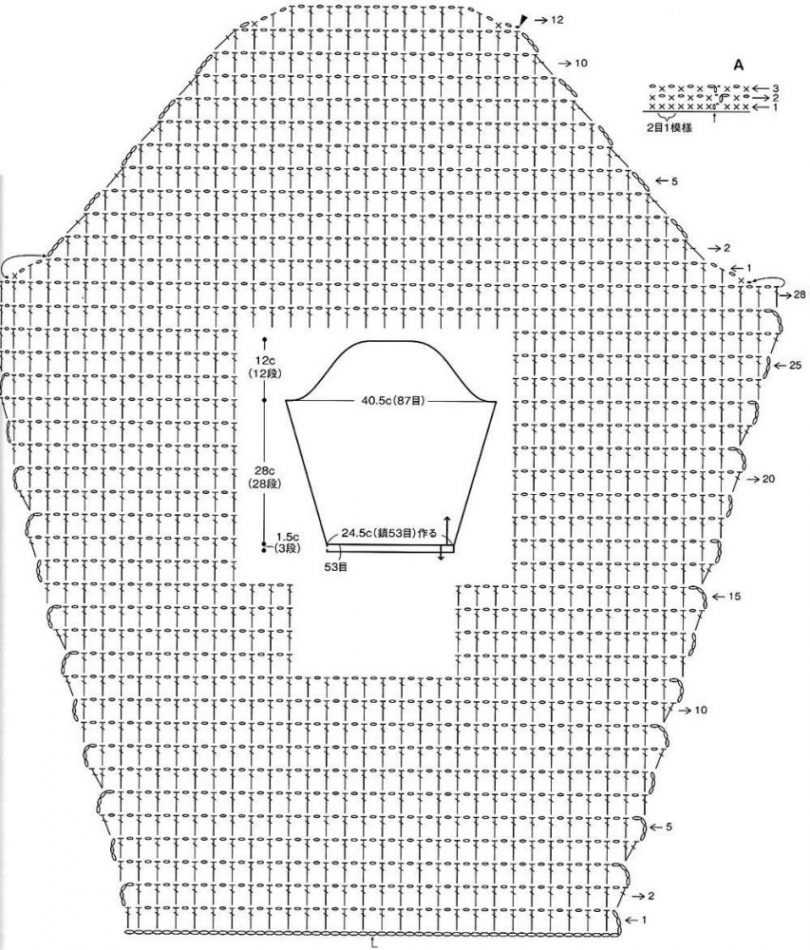
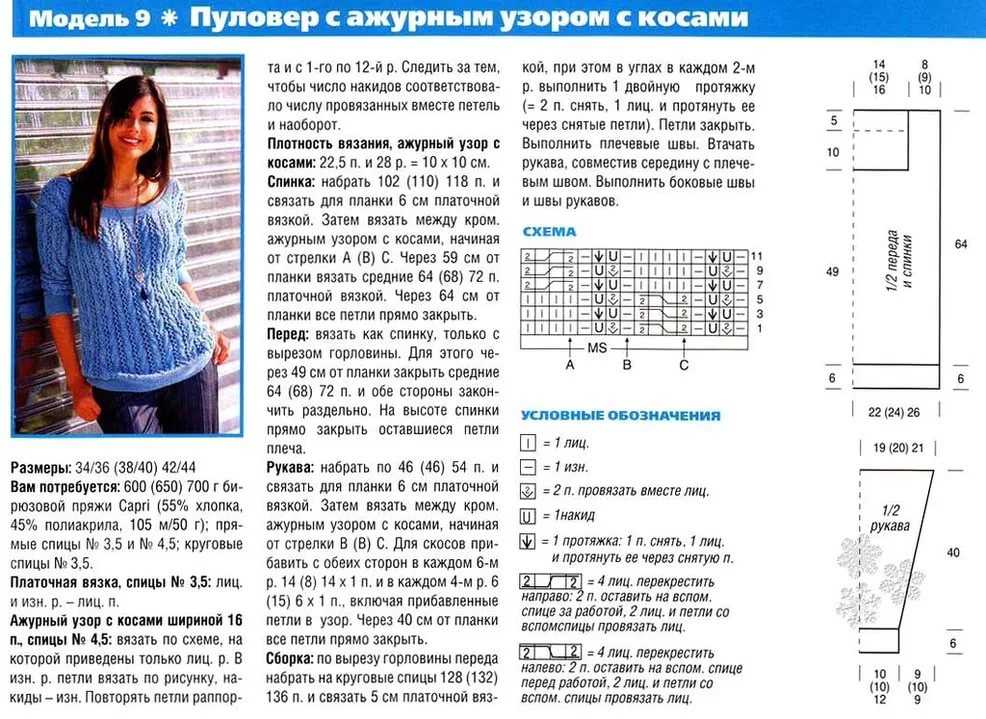
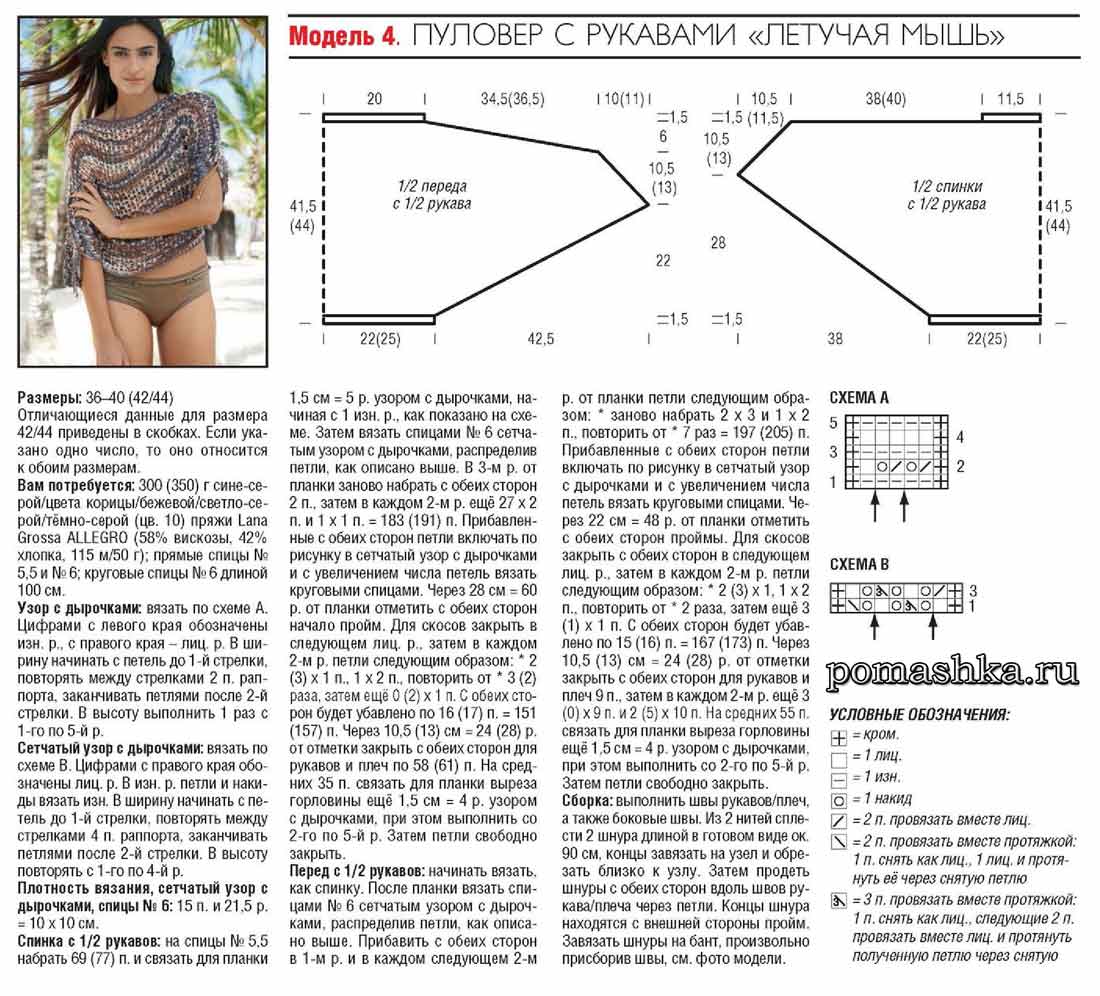
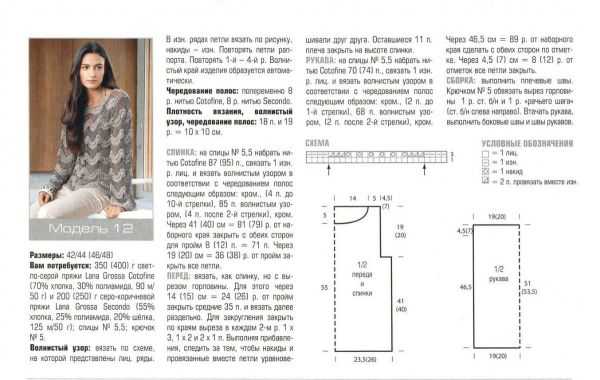
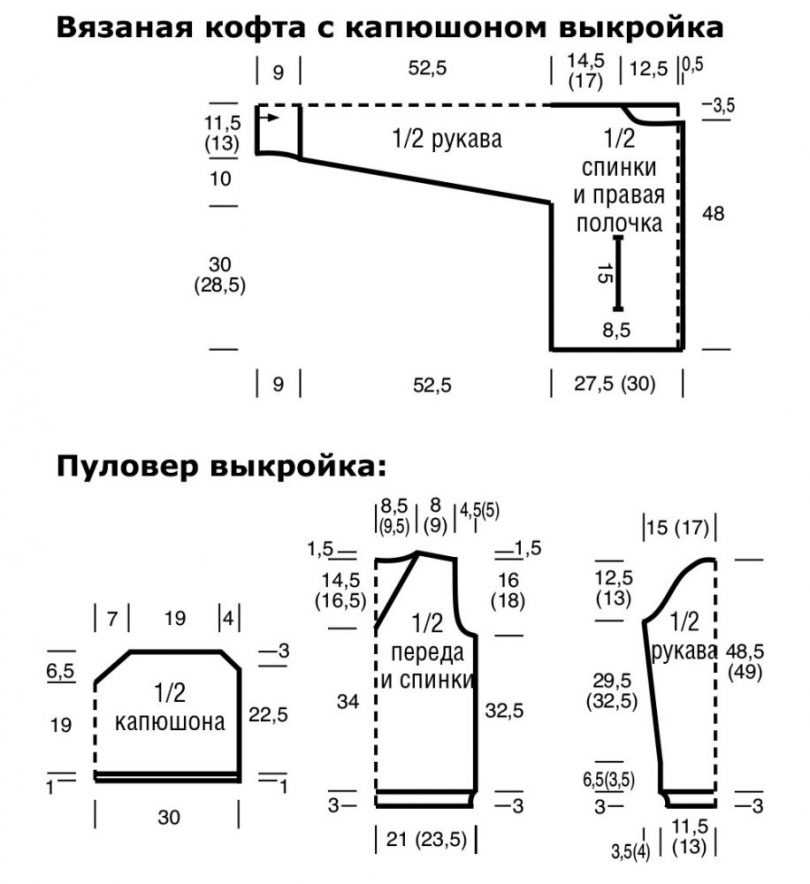
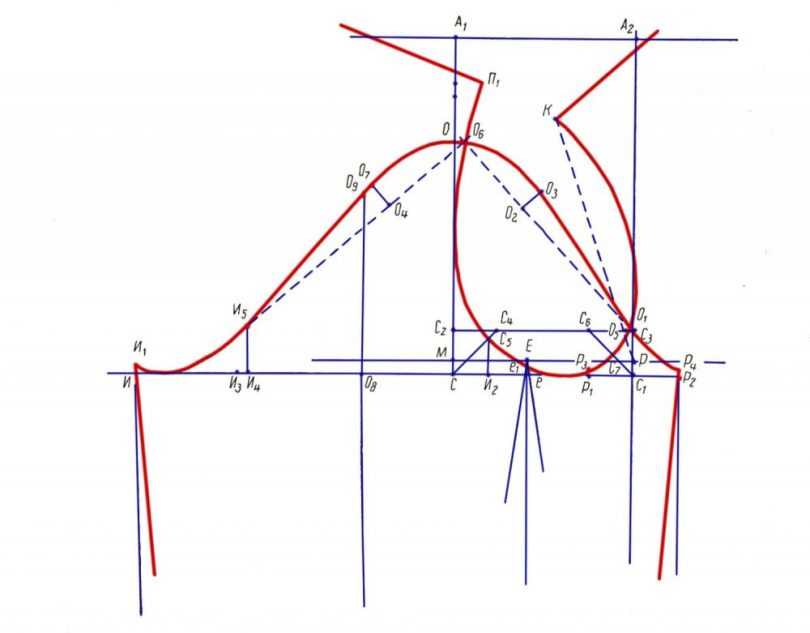
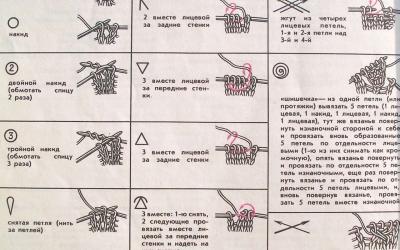
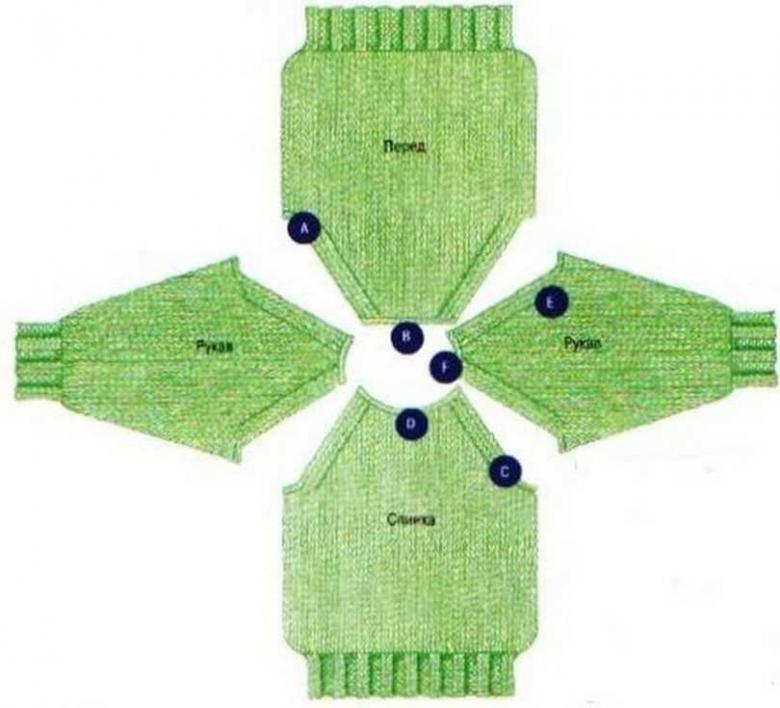
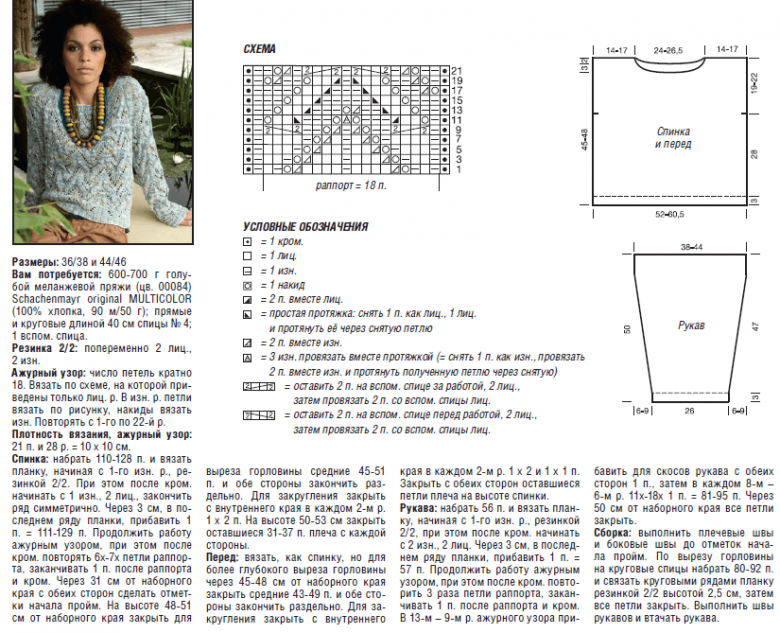
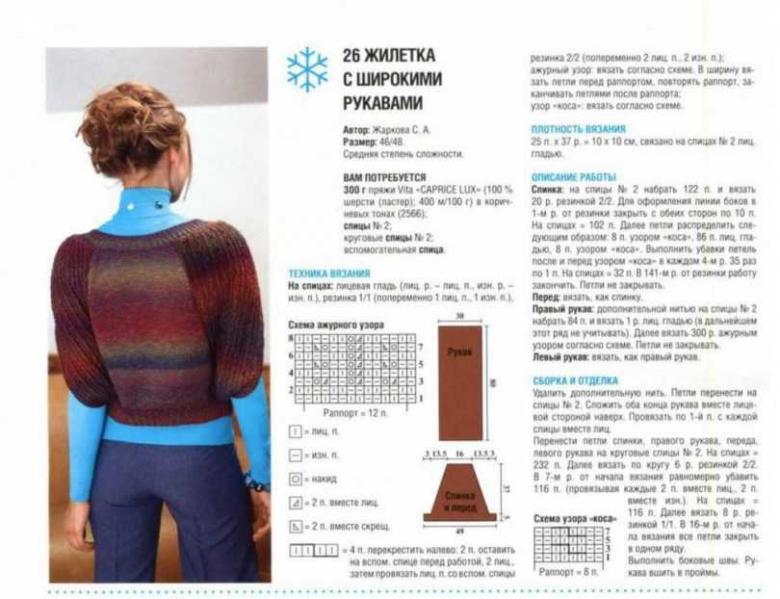
Schemes for knitting a sleeve