Owl craft: making a product from natural and improvised materials
Want to make an unusual but very simple decoration for the house? Try to make an owl, this product will not only be an interesting decoration for the house, but can also be useful as a craft in kindergarten.
Since time immemorial, owls have played a significant role in culture and human life - they are attributed the property to protect, transfer experience, protect against evil. The owl is also one of the symbols of wisdom, and there is a belief that it will warn people against unnecessary spending and waste.

The image of this bird is quite simple - an oval body resembling the number eight, two round eyes and a sharp beak. Such a handicraft is not difficult to make from available materials.
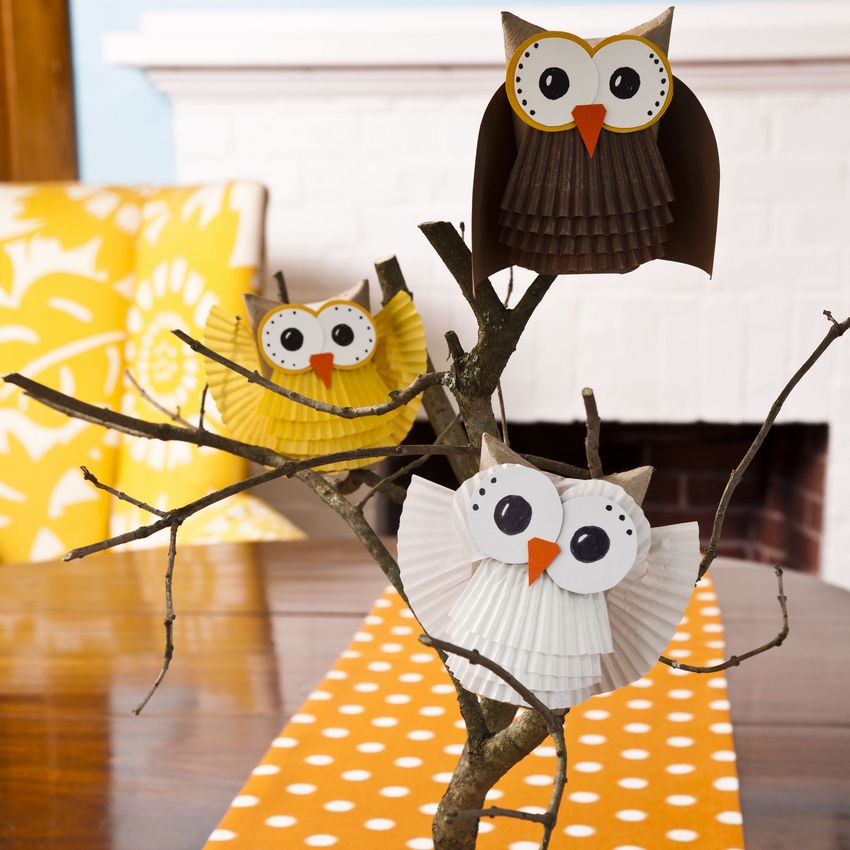
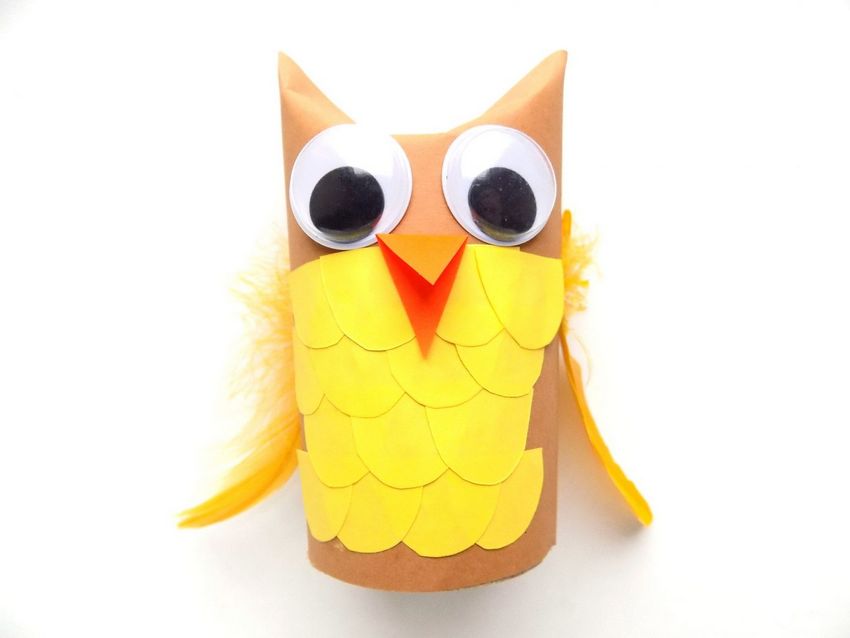
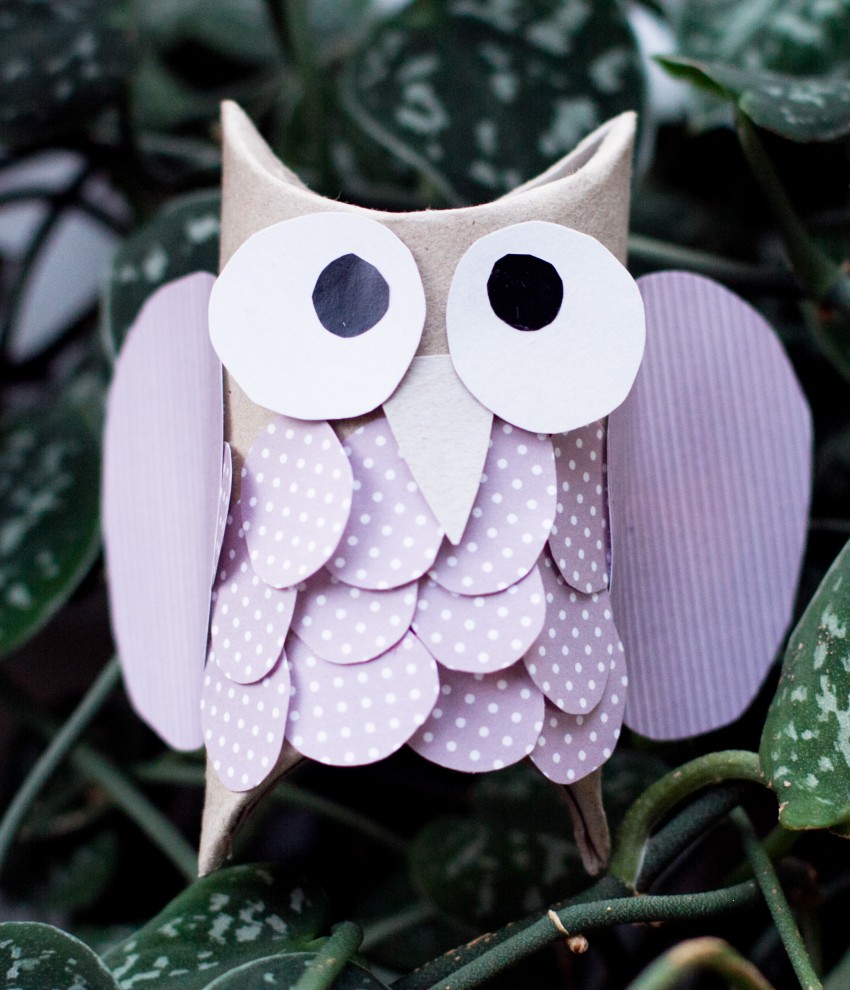
Make an owl out of a tube of toilet paper.
The owl will look unusual and attractive. This is a simple handicraft, which will stand out from other products with this material. The secret is that in this home decoration the top (the head and ears of the owl) will be hidden from sight, and will be distinguished by its brevity and neat appearance.
For this craft you will need:
- Cardboard sleeve
- Black and white paper (for eyes)
- Orange and brown paper
- Glue, scissors, ruler and pencil.

Before you begin, the source material should be prepared. Choose one side of the sleeve and squeeze first one part of the corner, then symmetrically the other. These actions will be quite enough to see the first results of the work and how the product will look like.
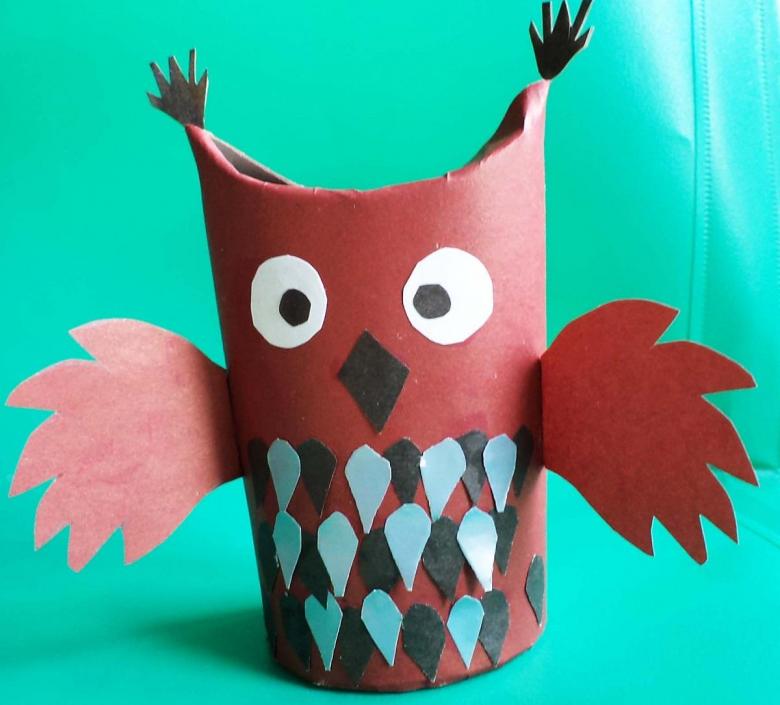
The sleeve is now prepared for further action. Here you can let your imagination run wild and wrap the "body" of the owl with colored paper, glue paper or natural purchased feathers, and make distinctive patterns with pencils or markers on the bush.
Let's choose option number one and prepare everything for our future handicraft.
Stages of work:
- Measure the length and width of the sleeve base. You can do this on the paper itself.
Paper brown shade will repeat all the curves of the frame, leave an extra edge of paper to spare.

- Double fold and use scissors to cut out 2 owl wings.
- Cut a circle out of orange paper - it will serve as a bright belly.
- The next step - the eyes.
- Prepared from triangles - beak and claws.
When all the components of your handicraft are ready, you can proceed to assembly.
Assembly:
- Dab brown paper with glue and wrap the sleeve, fold the top.
- Glue the orange circle to the middle of the piece.
- Just above the eyes and a sharp beak.
- Glue the wings and bend them slightly forward.
- The final touch - the paws.
Owl with his own hands ready!

Applique of the Owl using absorbent cotton disks.
Children's craft Owl from cotton disks is a beautiful applique, which the child can make independently or together with adults.

Necessary materials:
- Cardboard of any color
- cotton disks
- glue
- brush
- stencil
- paints, felt-tip pens
- pencil
- scissors
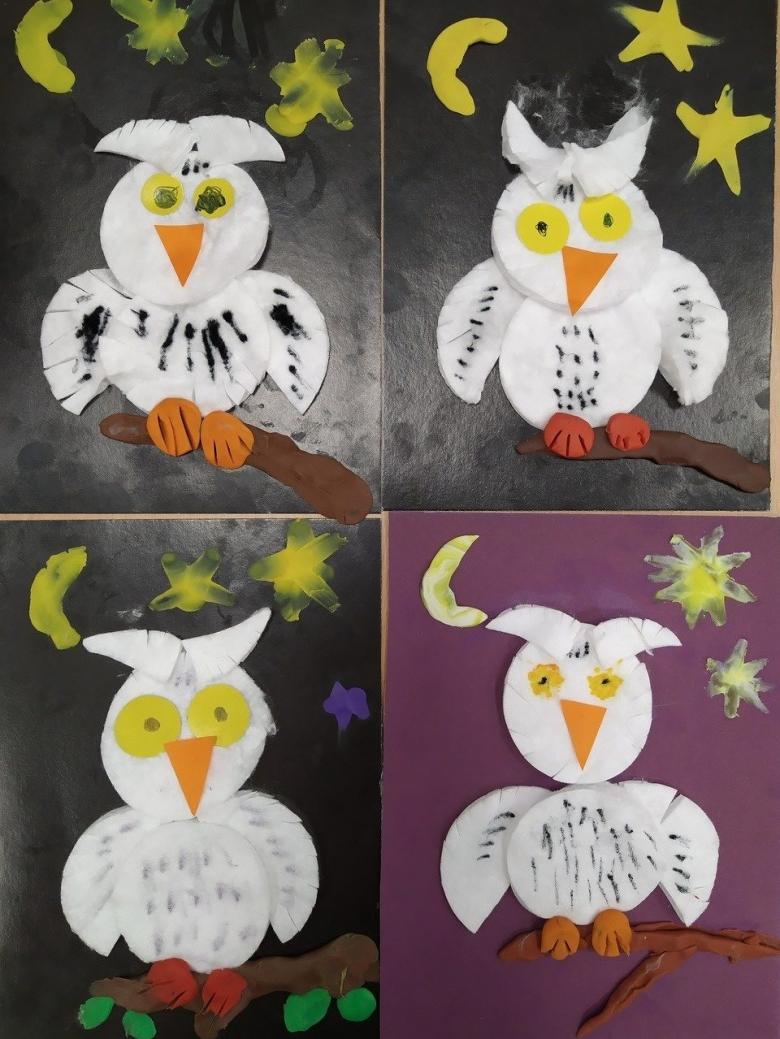
Work Stages:
- At the first stage of creation find or draw a template of an owl and use it as a stencil, outline it on cardboard of any color.
- Glue the bottom of the owl and glue several cotton disks, layering them one on top of the other.
- Use the discs cut in two and attach them in place of the wings, as well as the side parts for the craft.
- In the very center, glue the second row of prepared discs, so that they partially overlap the previous rows.
- Decorate the breast in the same way as the wings - with halves of discs, cut and attached with glue.
- Beak (from ¼ of a cotton circle)
- To decorate the head of the owl, divide the disks into thin fibers and fix with glue. Ordinary absorbent cotton will also serve as a good alternative to cotton disks.
- Paint the eyes in the desired color, attach them.
- Take gouache or felt-tip pens and apply feather strokes all over the body of the owl.
If desired, you can "plant" the owl on the painted tree. It all depends on your imagination!
Applique of an Owl from absorbent cotton disks is ready!
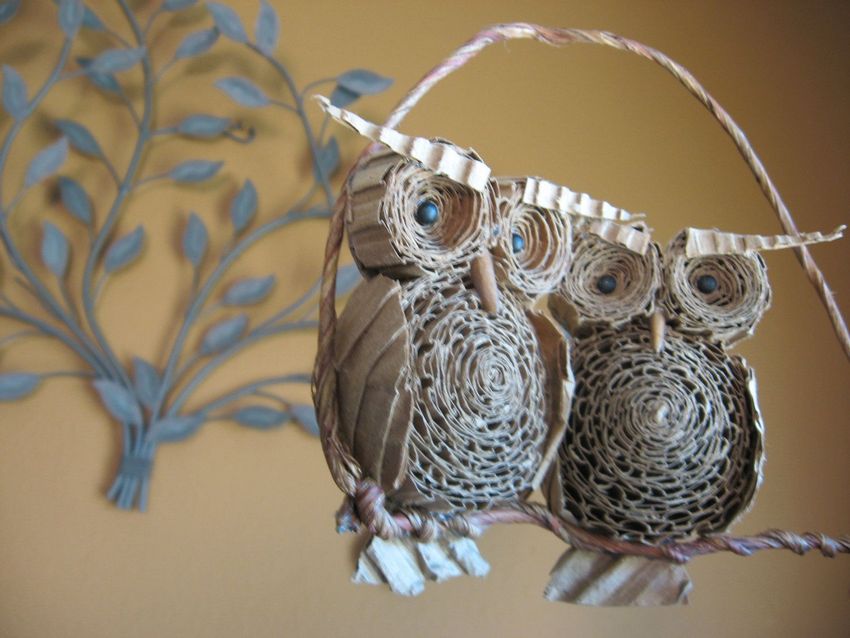
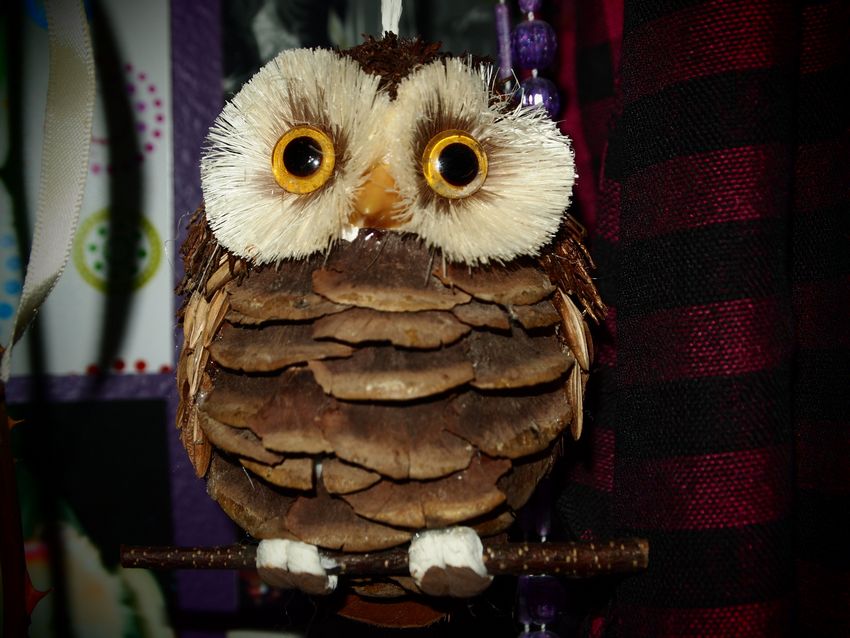
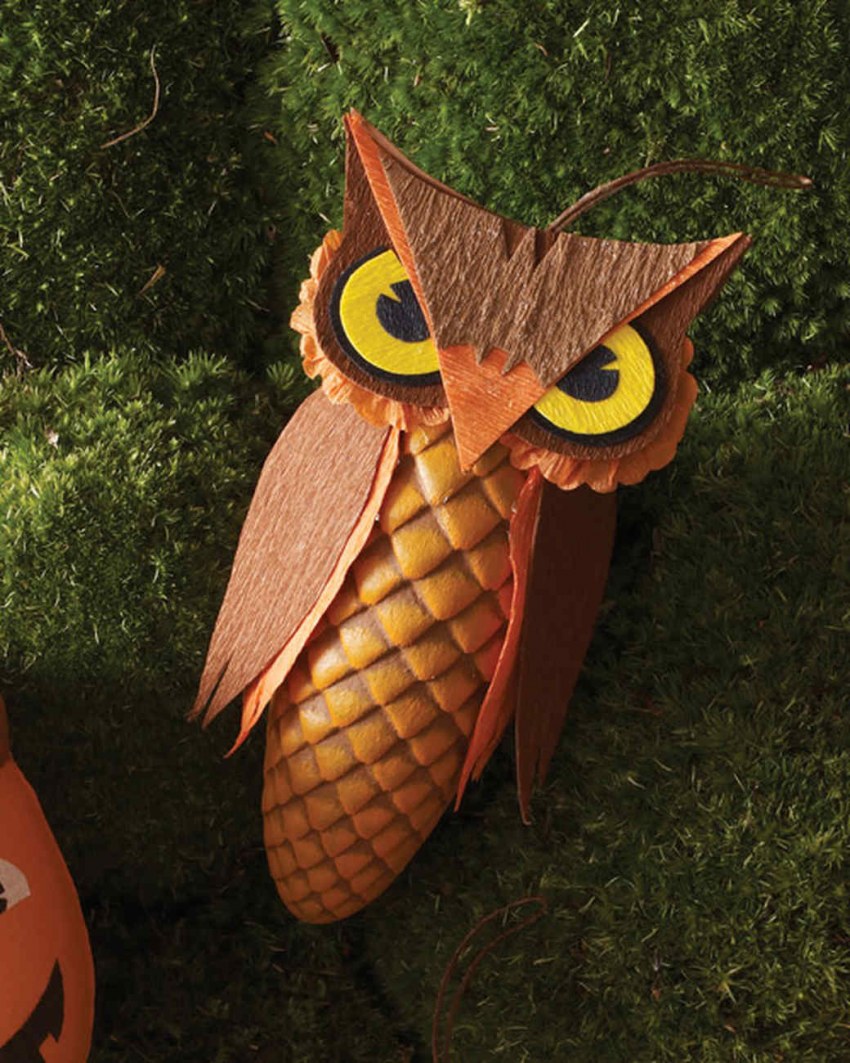
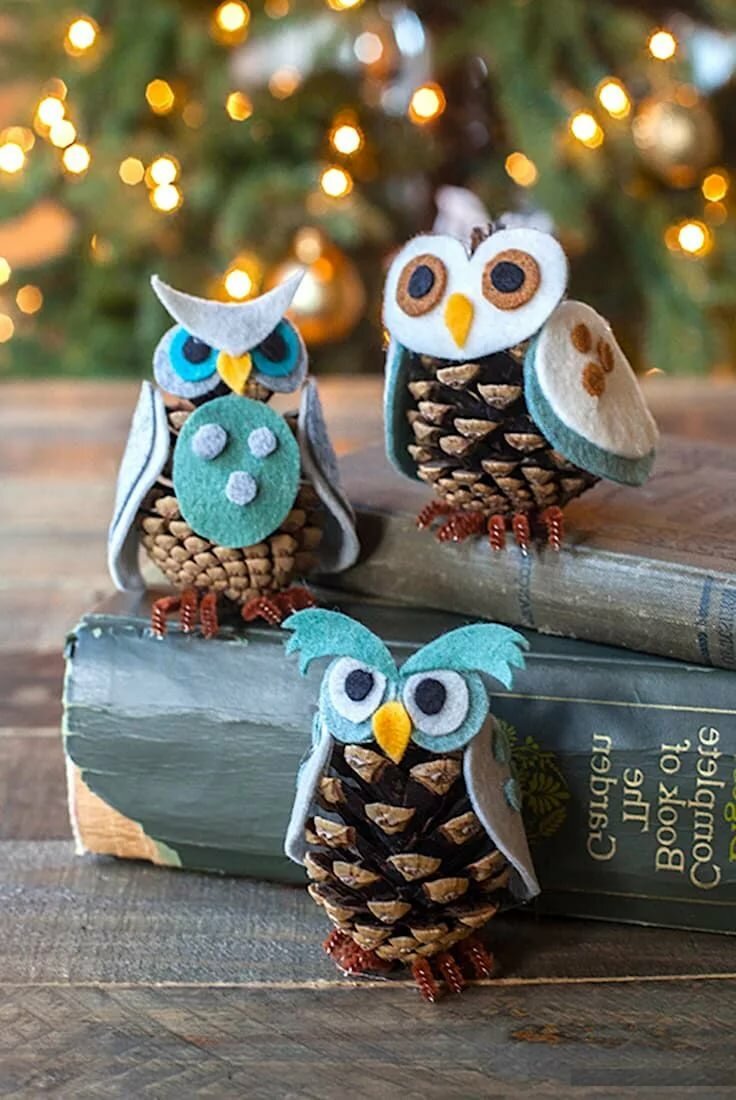
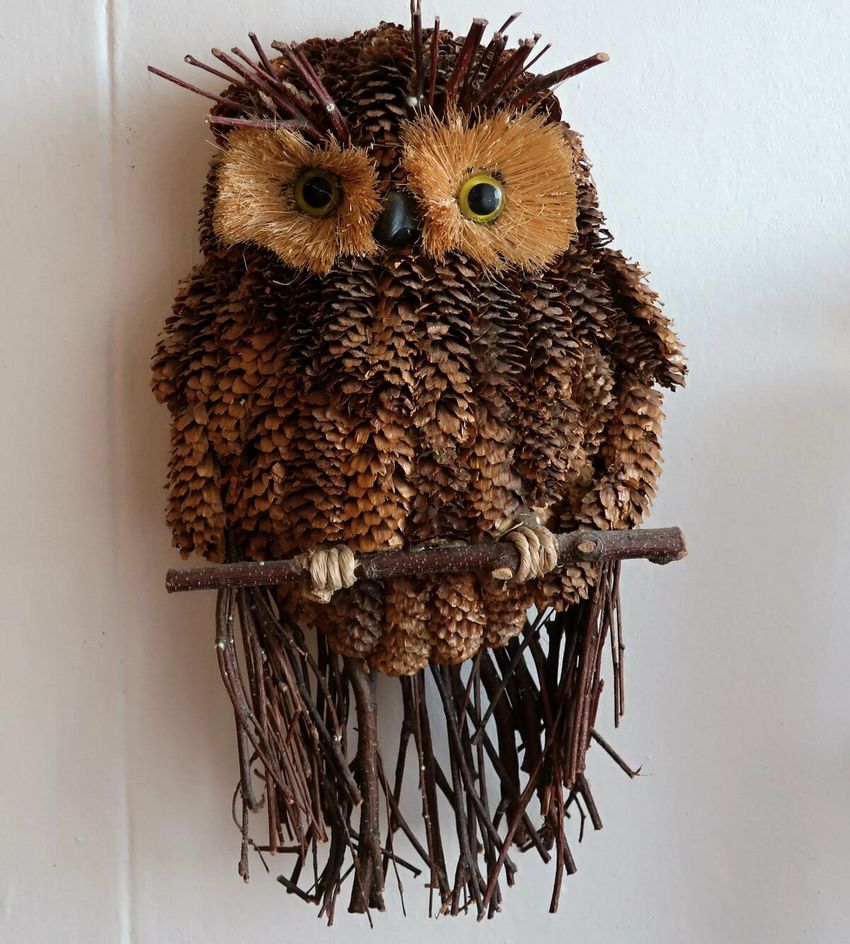
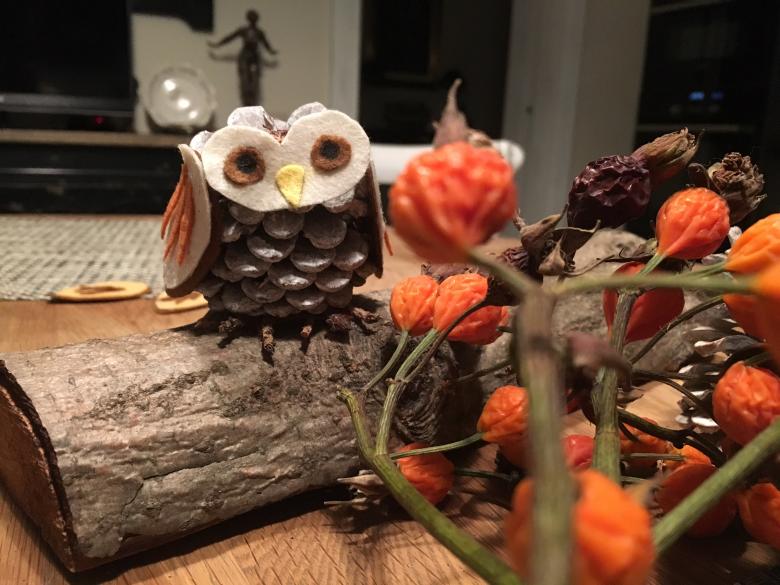
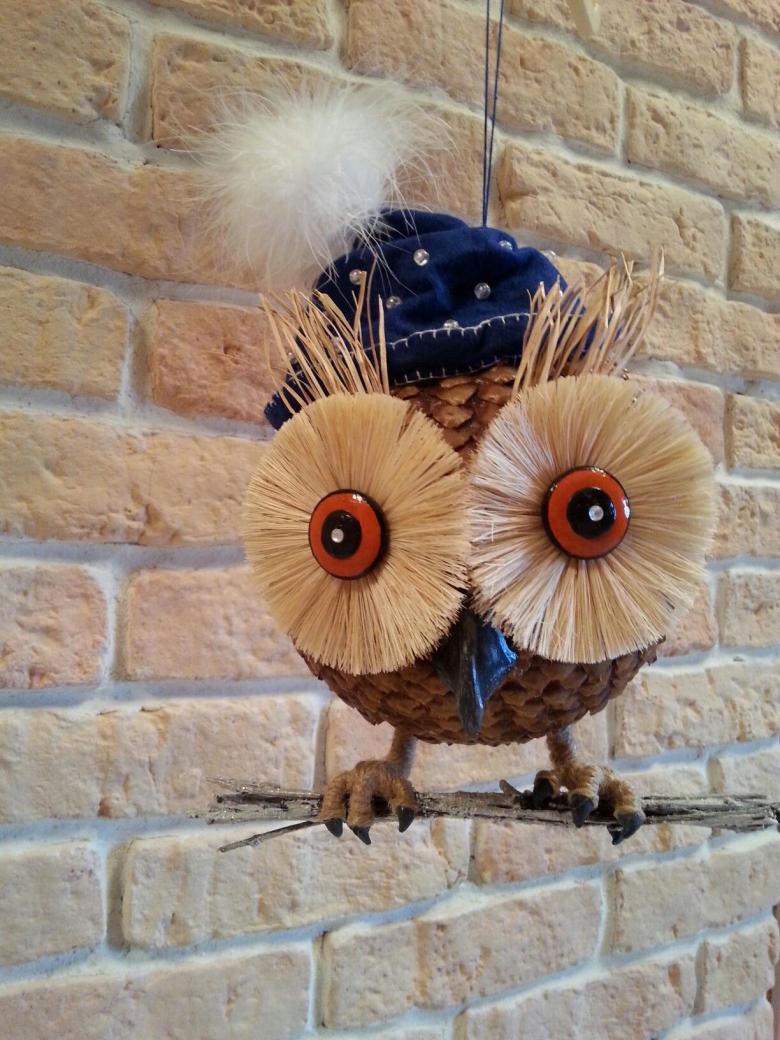
Owl out of cones
Handicrafts of owl out of cones is a successful version of the product of the materials available to everyone. The owl will look bright and natural, because spruce "feathers" do not just resemble the feathers of an owl.
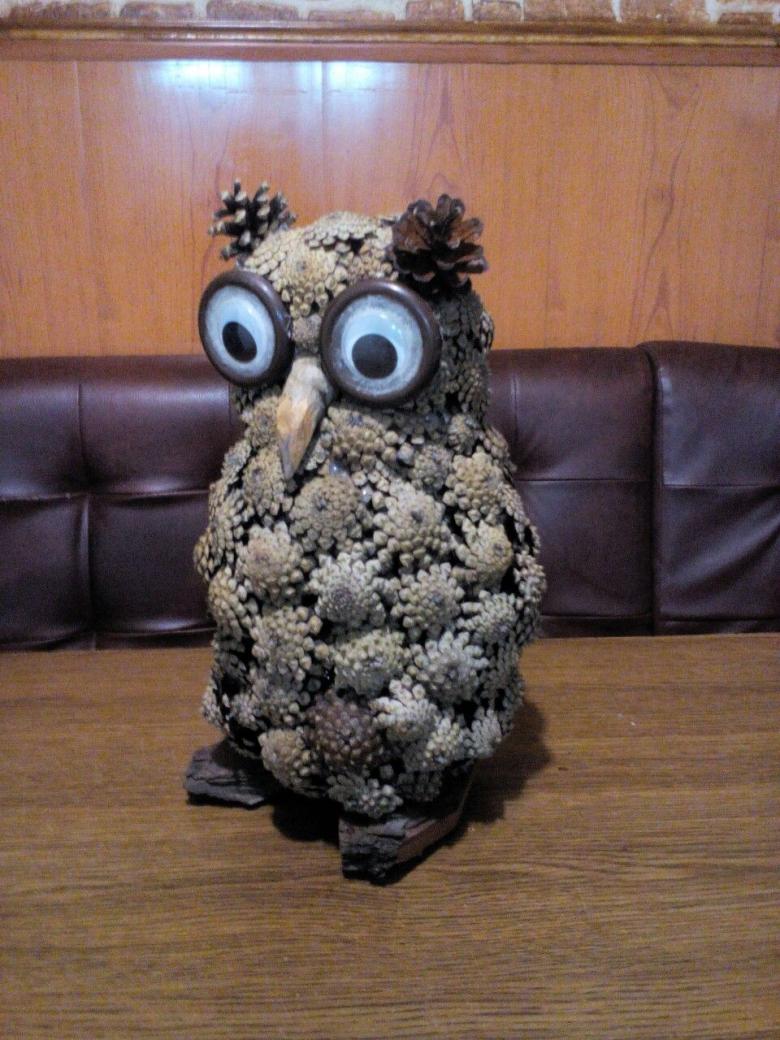
Necessary materials:
- Pine cones, a couple of spruce cones, one acorn, and a couple of acorn caps
- Glue gun, or just super glue.
- A small yogurt cup
- Painted eyes or bead eyes.
Work Steps:
- Plastic cup is glued cones with super glue, (regular glue will not work, as you need to fix the "plumage" of the bird)
- Beginning with the bottom row and go up higher.
- Pick cones by size and fix them so as to hide the base.
- When the torso is complete, glue a large flared cone instead of the head. To make the product look more like an owl, small cones can be attached to the head. Pine cones are attached to the sides.
- Acorn and hats - nose and eyes respectively. In the eyes can be attached beads or moving eyes. If necessary accessories are not available, use paint, colored paper or cardboard.
Handicrafts owl out of cones ready!

If desired, this autumn bird can be decorated with bright leaves or twigs.
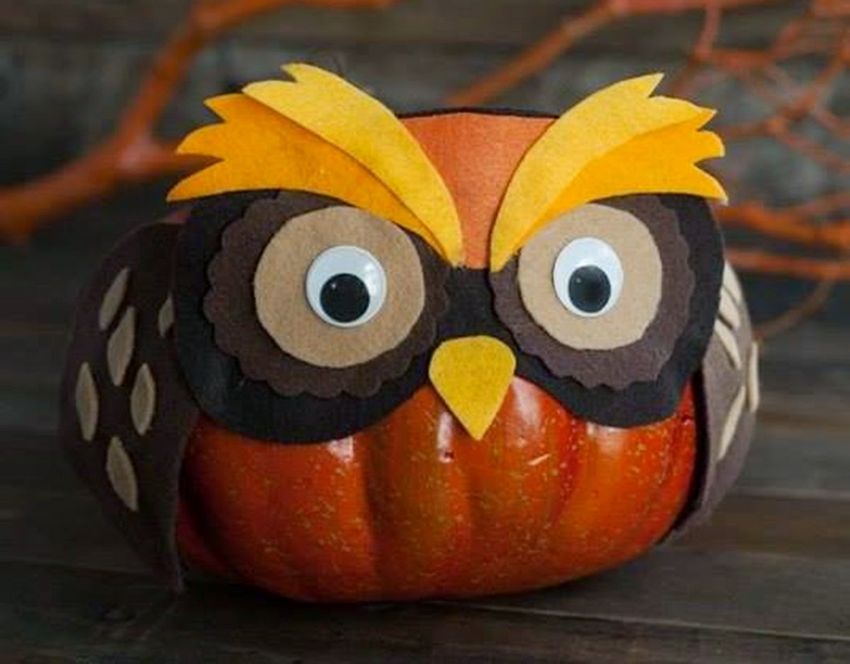
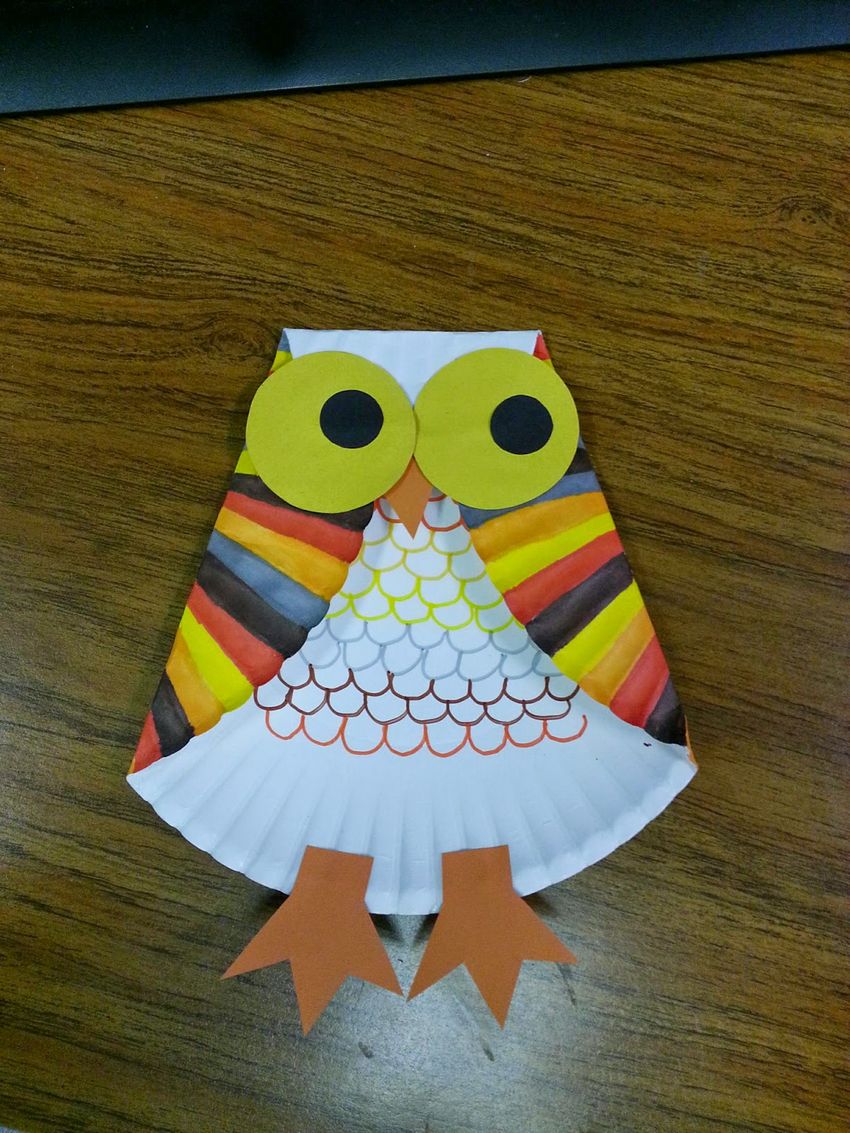
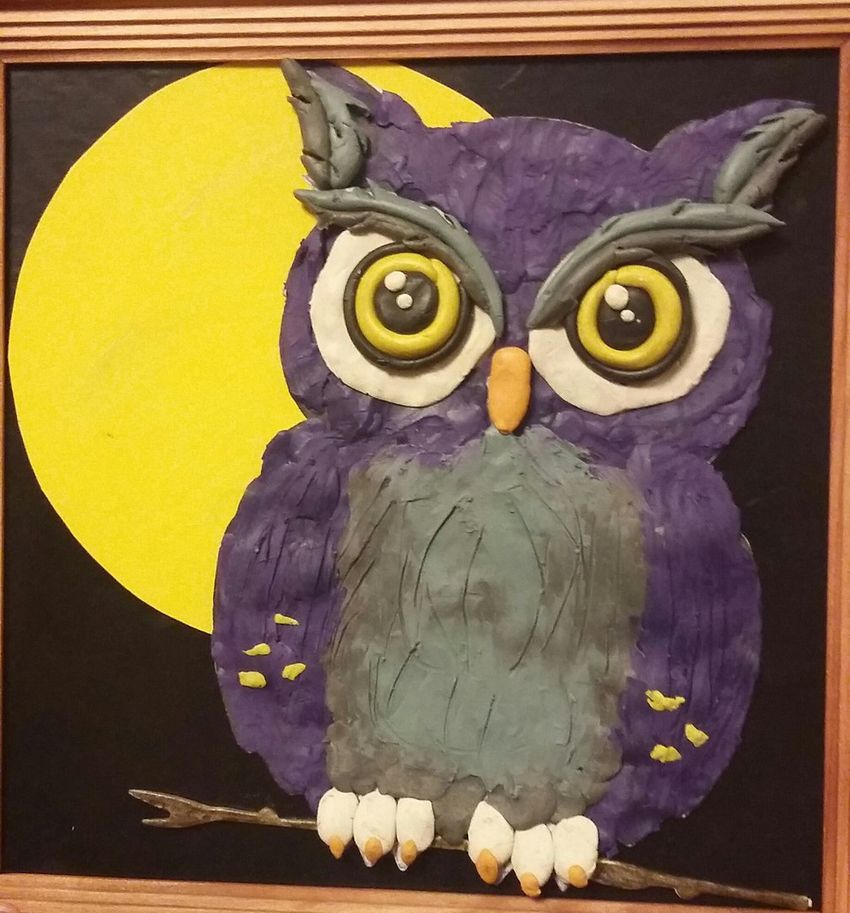
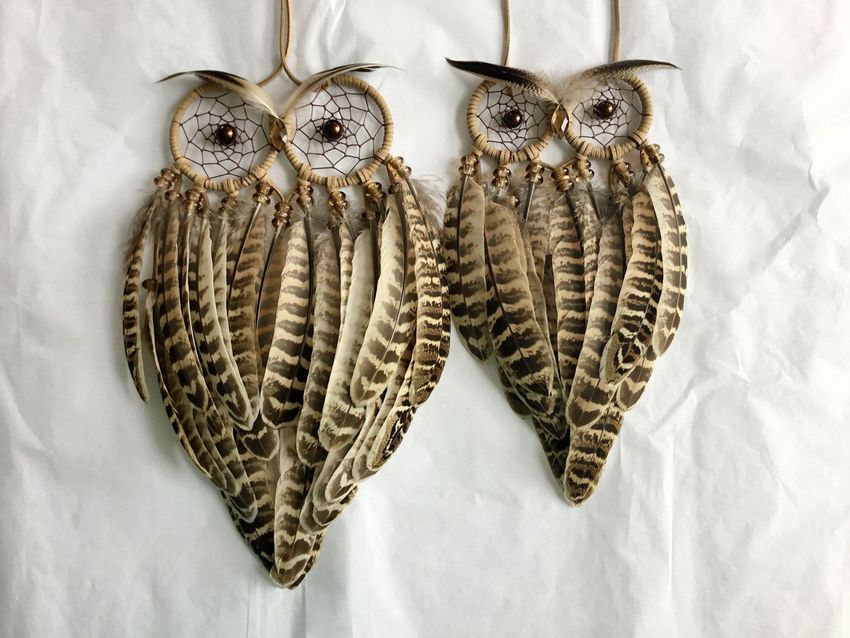
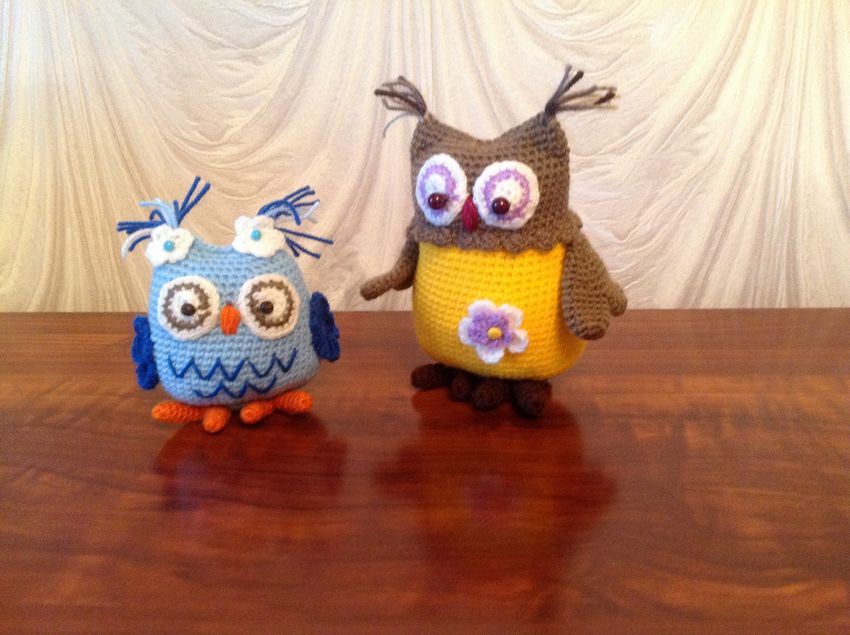
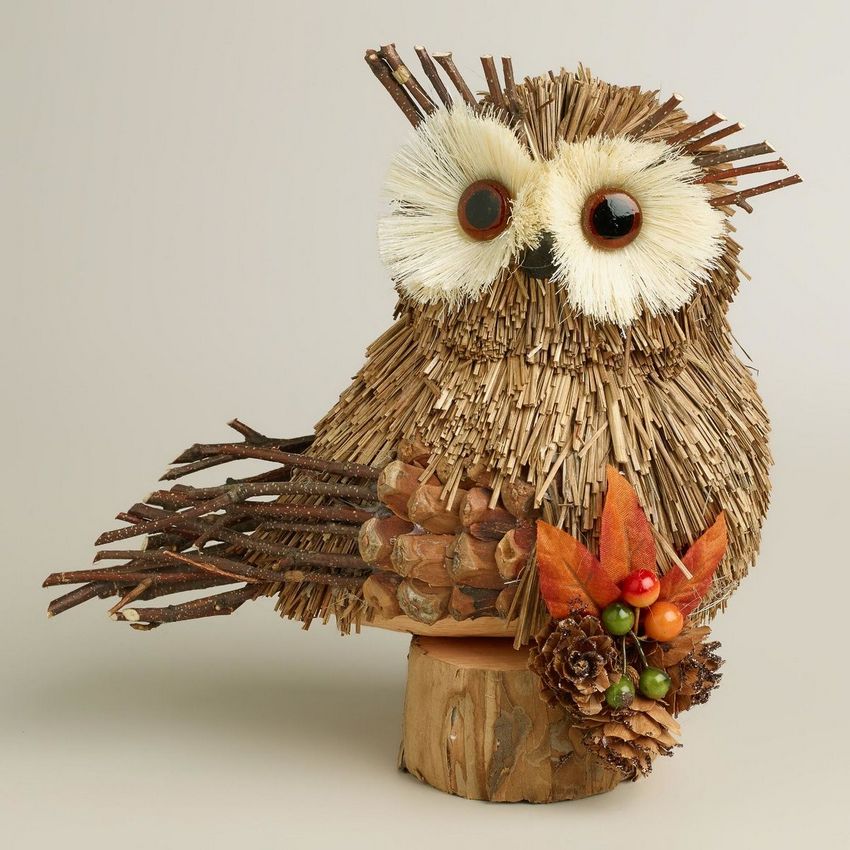
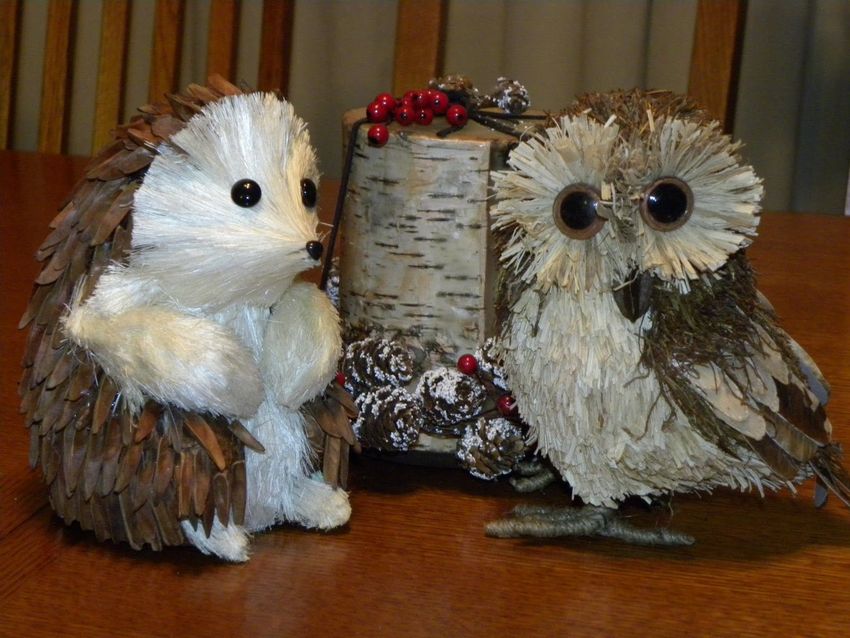
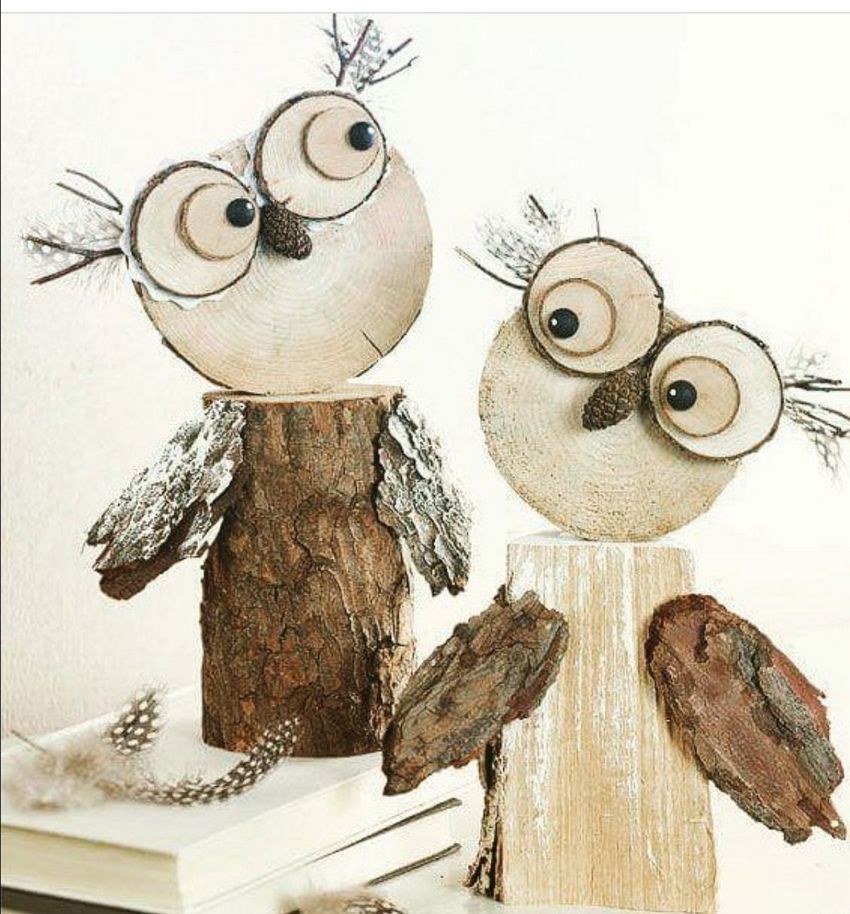
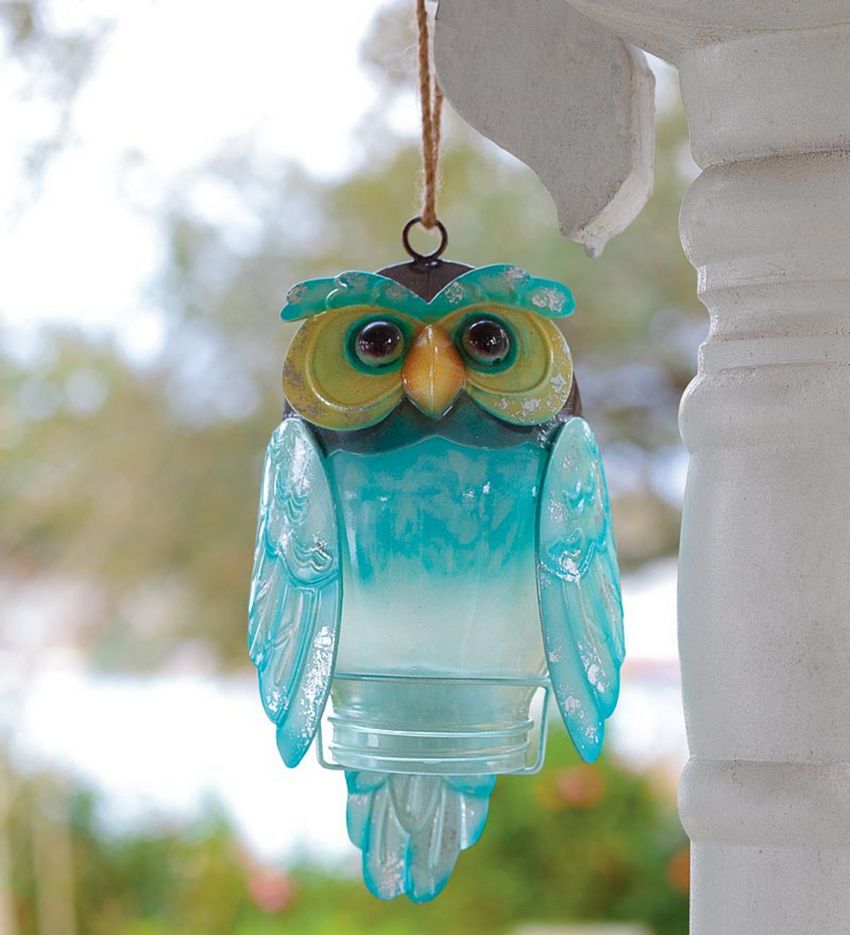
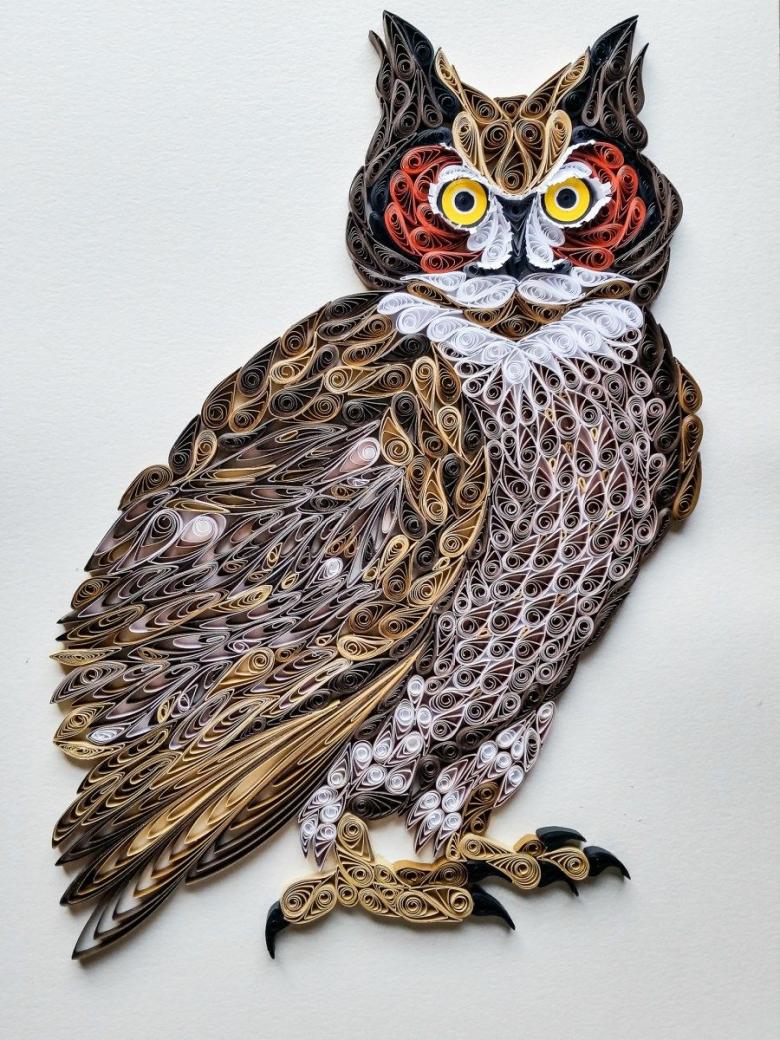
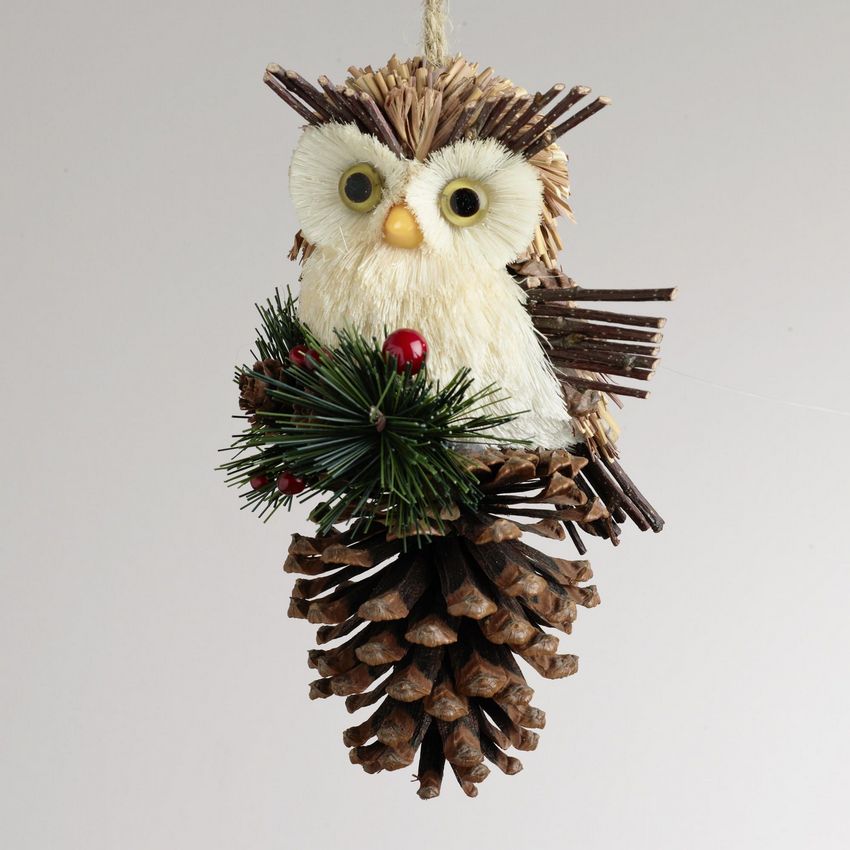
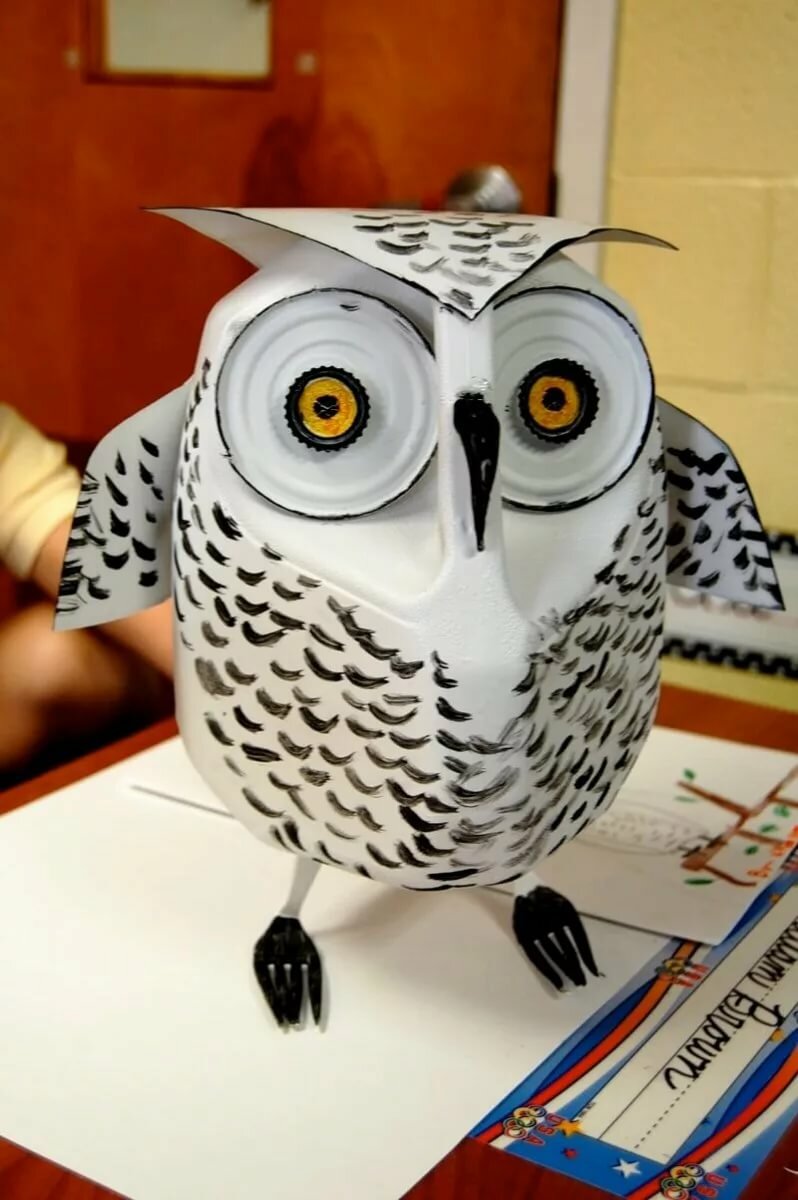
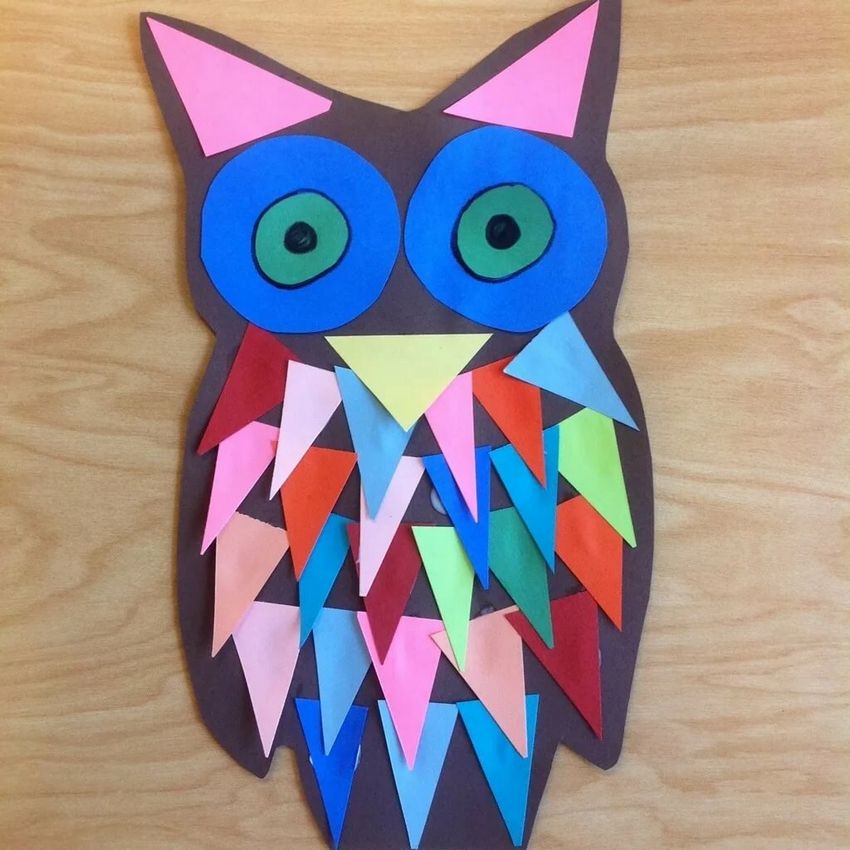
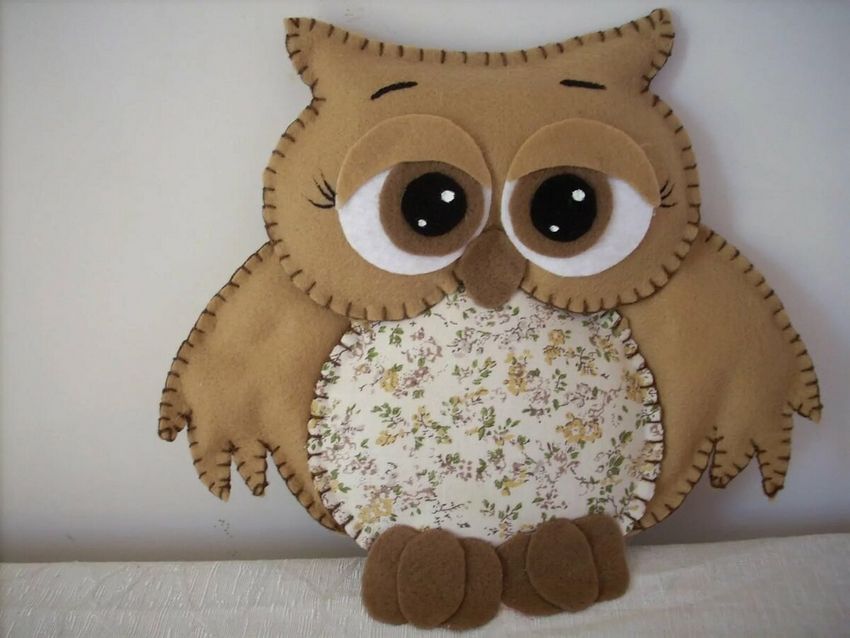
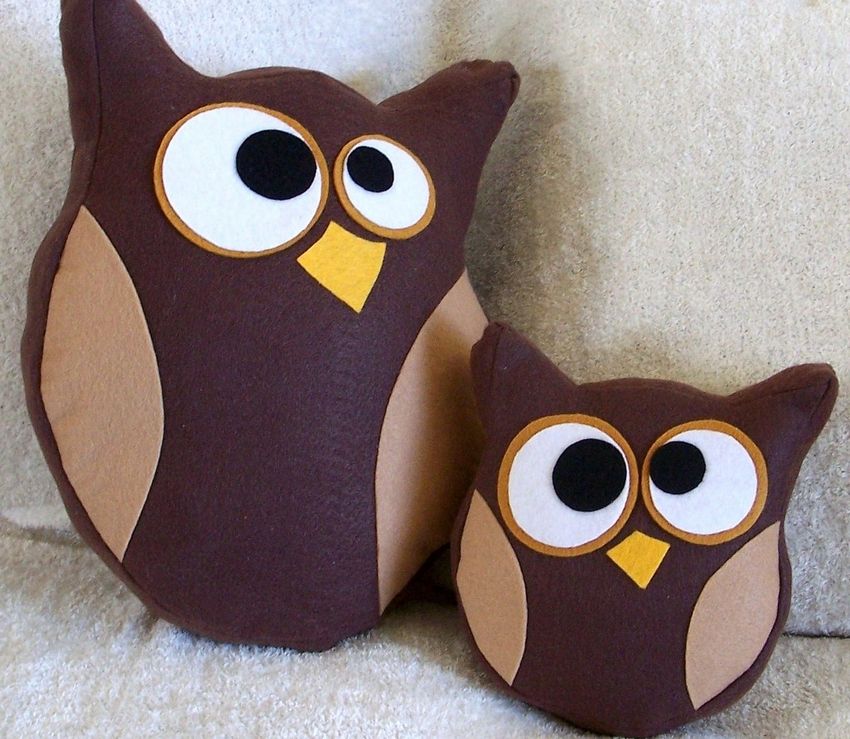
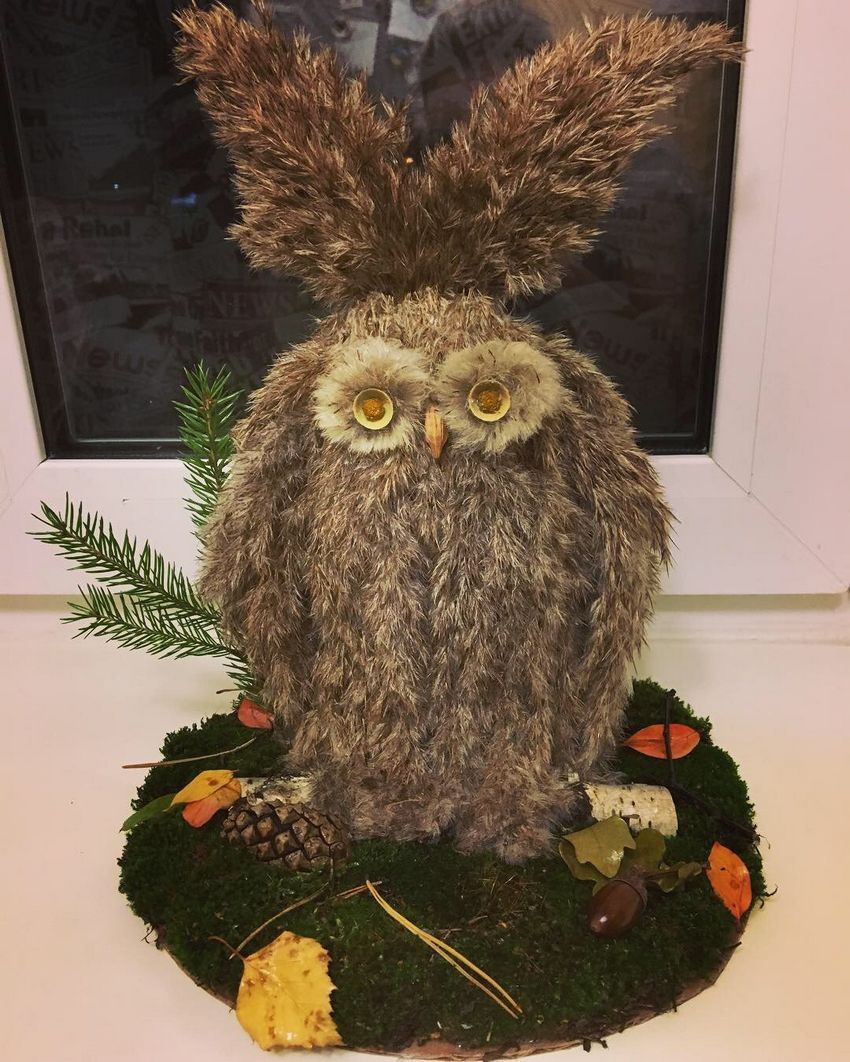
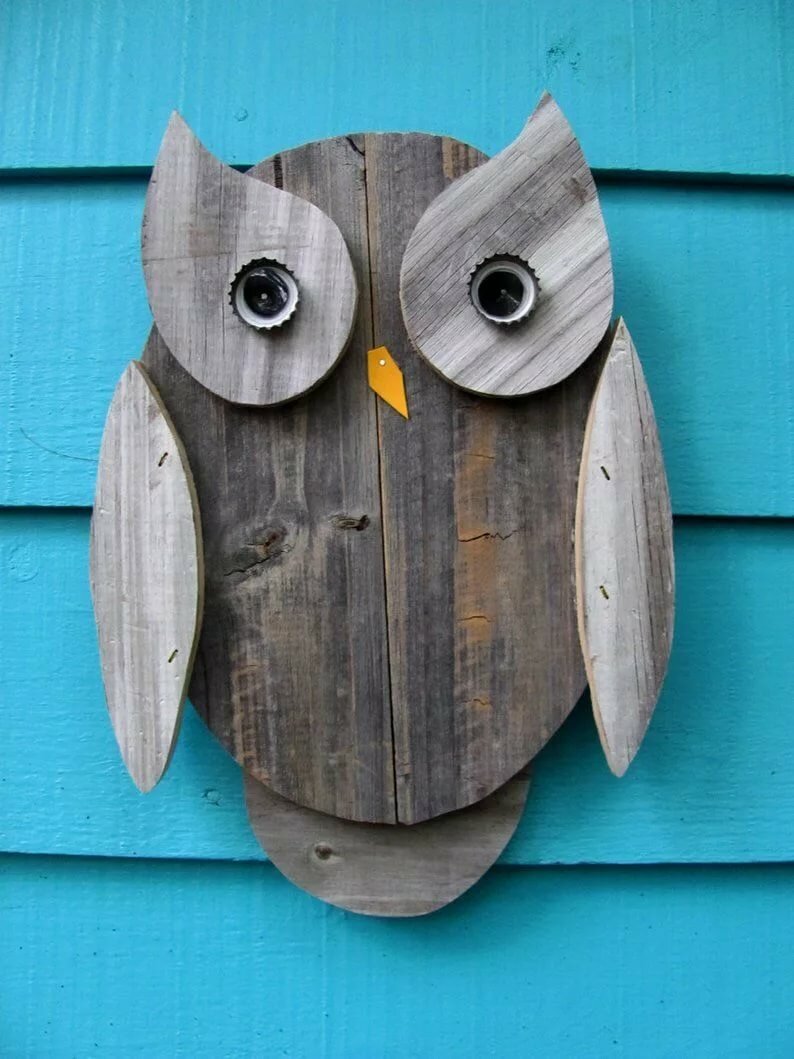
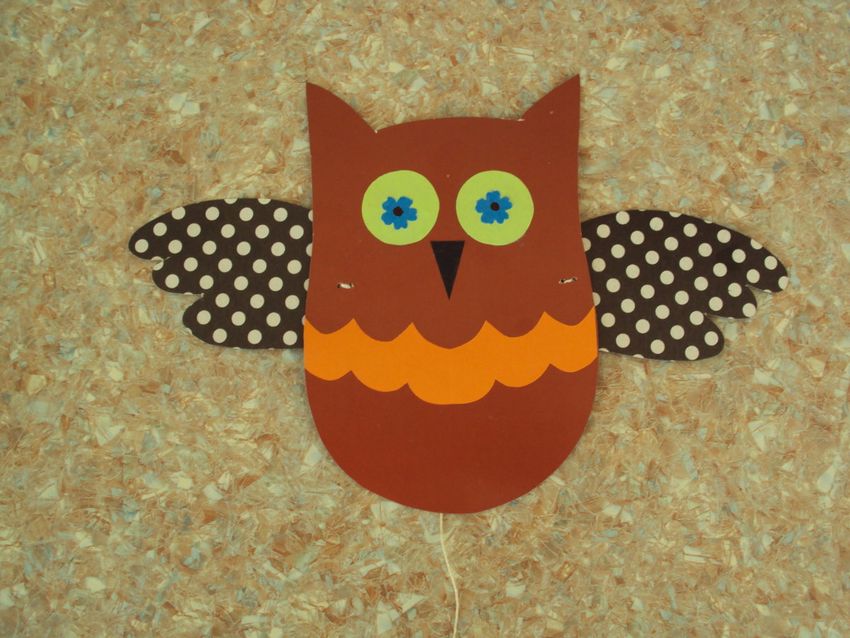
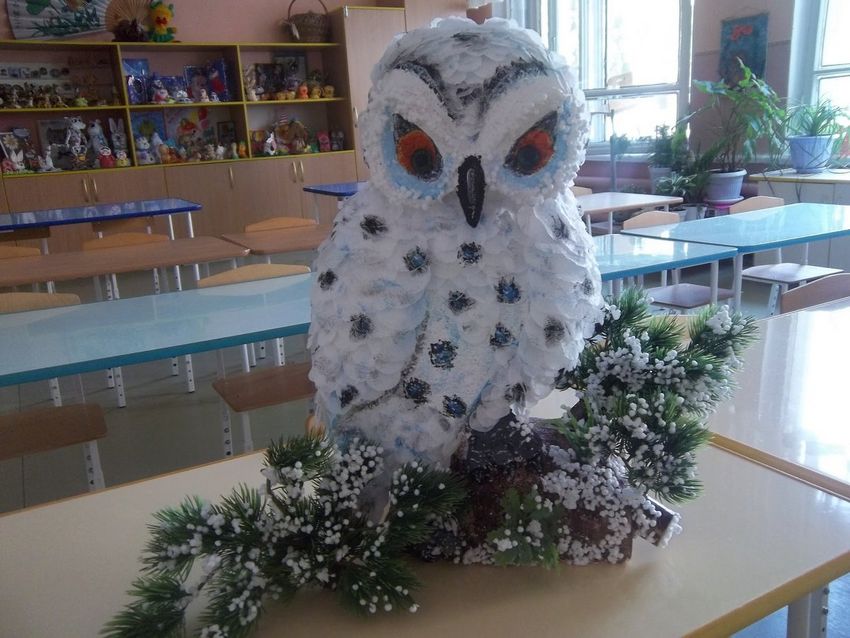
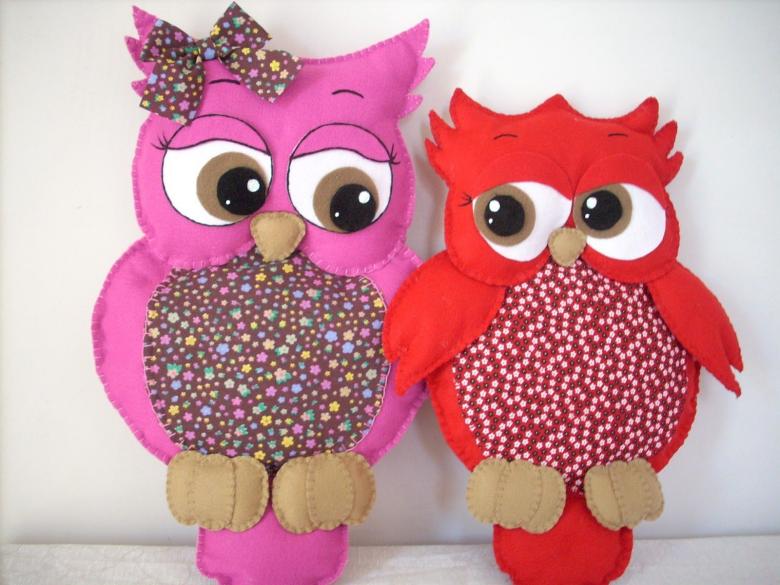
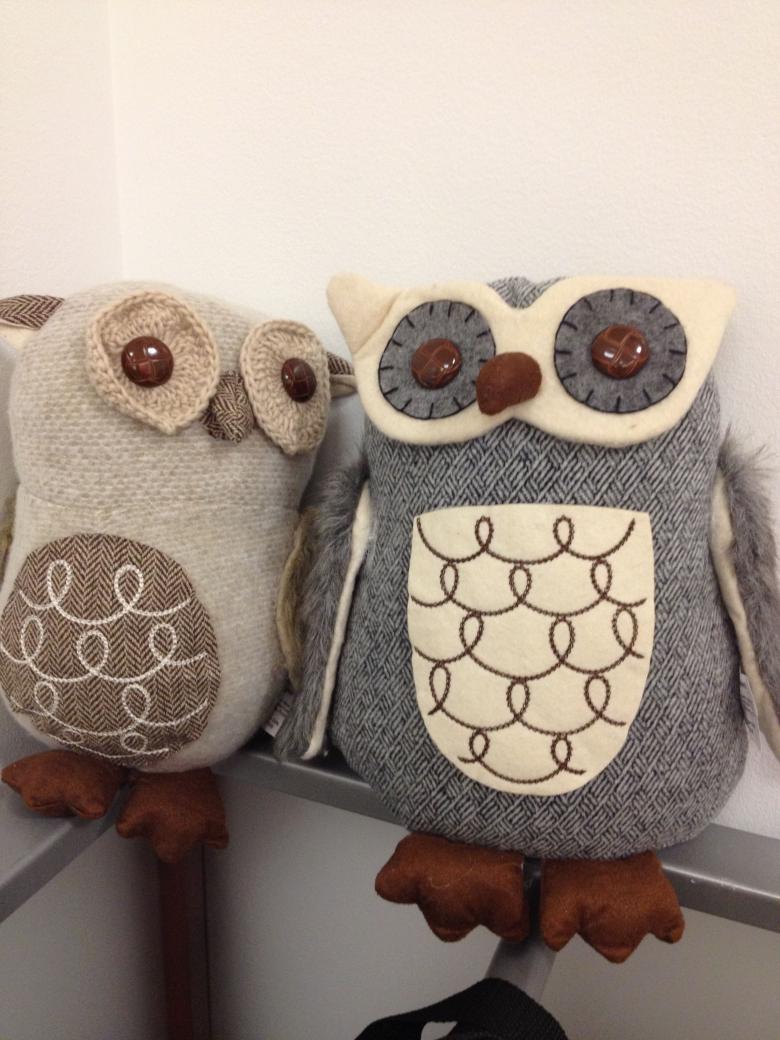
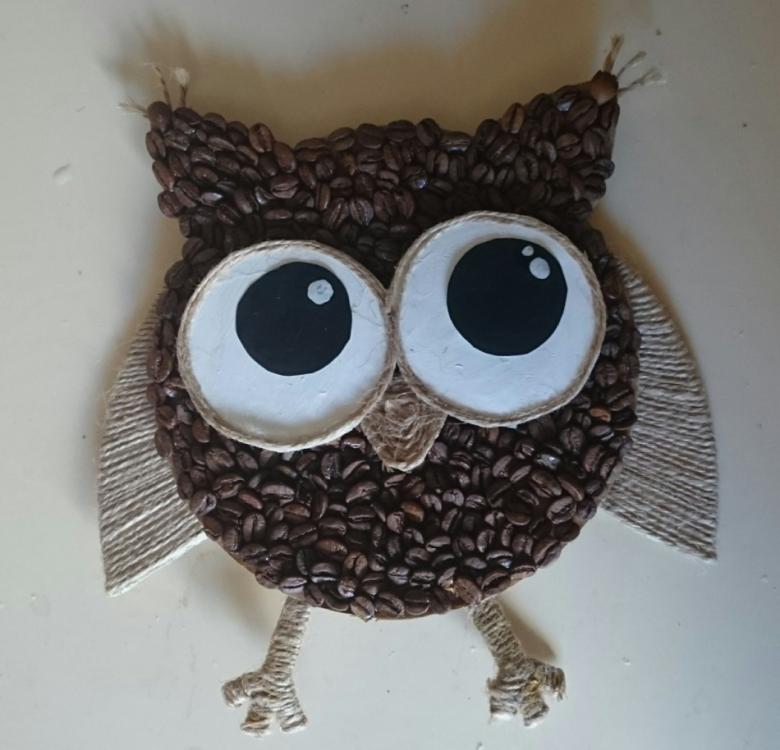
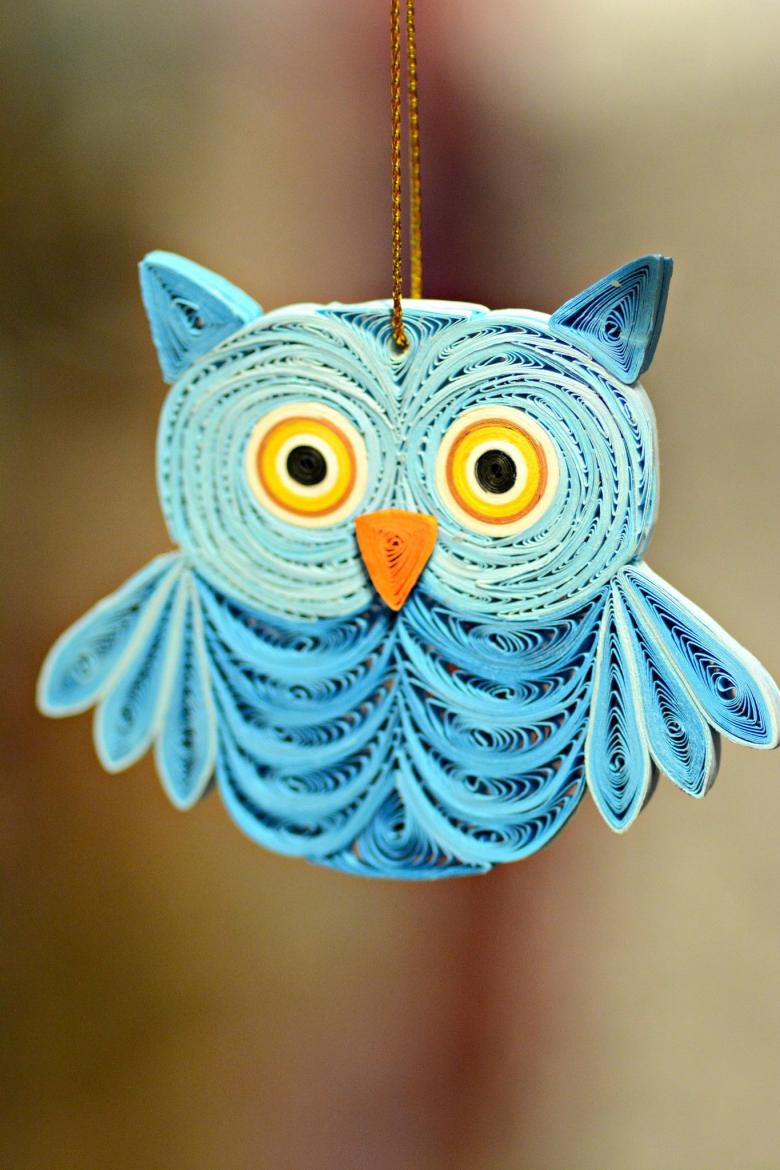
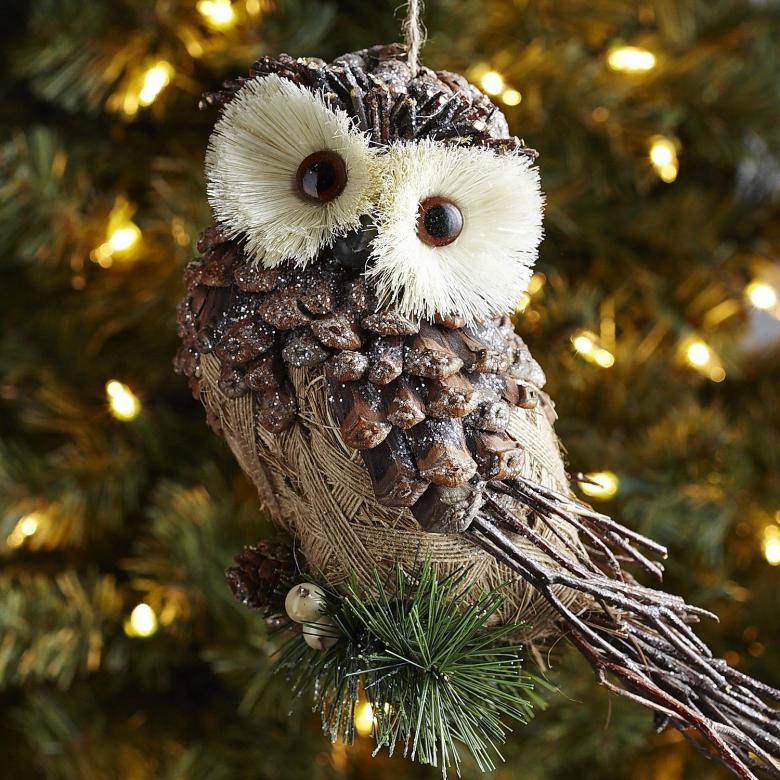
Photo ideas of crafts in the form of an owl