How to make an owl out of beads - step by step master classes for beginners with photo examples
Handmade beaded owls are fantastic for key rings and decorating items. Today we will tell you about beaded owl creation.
Beading Techniques
To understand what techniques to use to create owls, briefly about each of them.

Flat Parallel.
One of the simplest techniques. The finished product consists of parallel rows. On the selected material, sequentially type all the beads at once. Then the next layer. The finished product has a flat shape with a small free space.

Needlepoint
String a certain amount on the fishing line and return through the second bead.
Volumetric parallel
This type is similar to the flat parallel weaving, the only difference is that the rows are not located in the same plane, and will be placed under each other. Used for volumetric shapes. Most often braided on both sides of a single piece of wire. For complex products, use a larger number of segments.
Brick stitch
The finished fabric looks like brickwork. Similar to masonry, the beads have an offset of half their length, in relation to the previous. Weaving is very dense and has no gaps.

On the thread dial the first two, go back and thread through them again to form a loop, add one piece at a time, until the product will be the desired length. Next, start again with two beads, and go in the opposite direction, with a loop through each thread between the elements.
Hand weaving
The elements are under each other, but tightly fitting, with no gaps.
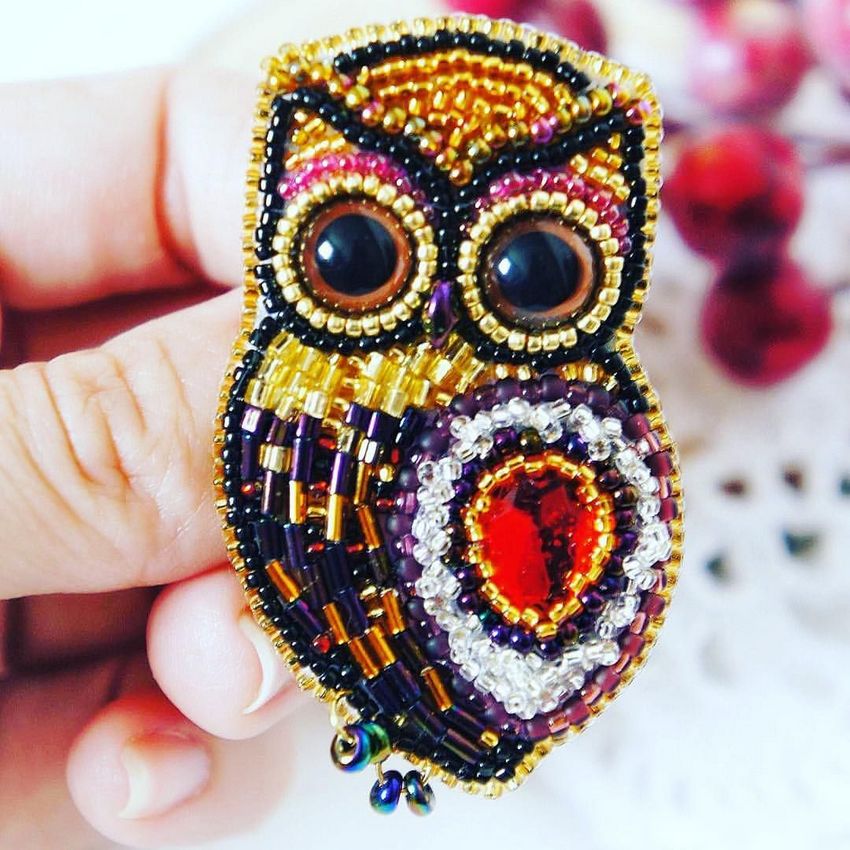
Flat owl figures
The easiest way to weave an owl out of beads is to weave a flat figure.
Take the biggest size of the material, then the figure will be larger and it will be easier to work.
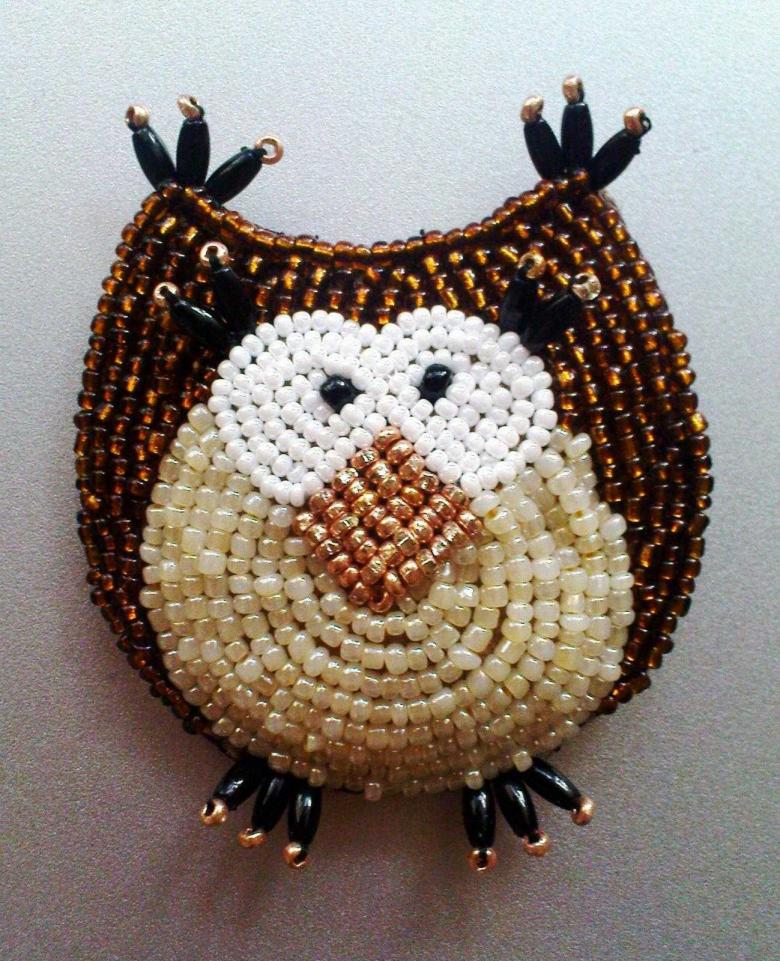
A small owl
You will need:
Beads:
- orange - 3 pcs.
- black - 2 pcs.
- milk- 12 pcs.
- Brown- 24 pcs.
Instead of brown, you can take any other color.
String or wire - 2 meters.
For the figures we use a flat parallel weaving, according to the scheme:
For convenience, just numbering rows.
- 4 brown.
- Each bead in one: brown, black, mol.
- Each bead in one: brown, mol., orange, mol., cor.
- One brown, two mol.
The head is.
- On one end of the fishing line thread 4 brown beads, make a wing, and return.
- The second wing do the same. Wings are located opposite 4 rows of twisting.
Next body according to the scheme:
- One brown, three mol.
- One brown, three mol.
- Each bead by one: brown, orange, moloki, orange, kor.
- Fix the ends of the fishing line to prevent loosening, cut off the excess.
Useful: lay everything in accordance with the scheme on the table before starting, so it will be more convenient.
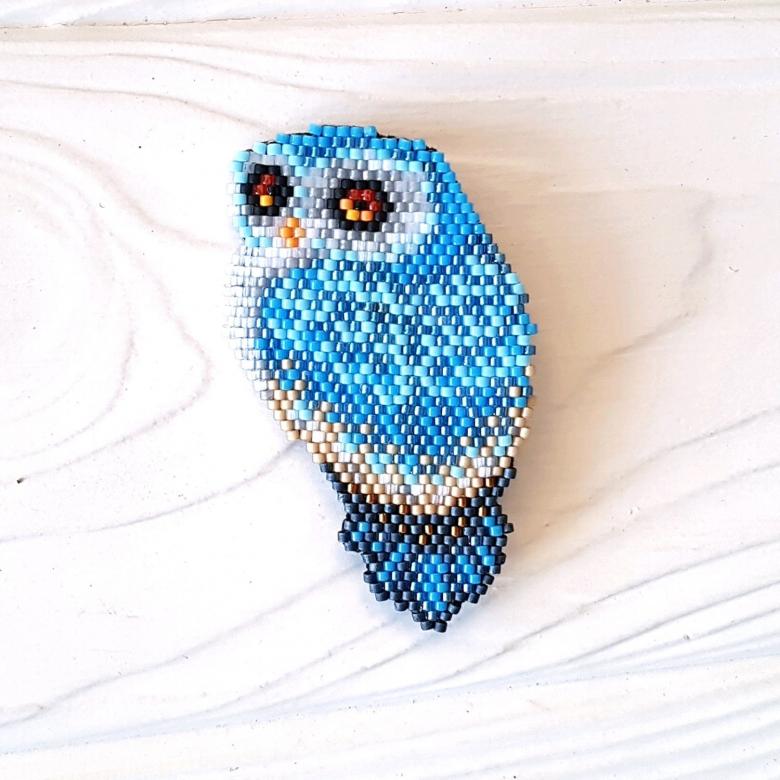
Another option a little more complicated.
Flat owl with a mottled tail
Brick stitch technique is used for the body, the tail in hand weaving technique.
You will need:
Beads .
- 131 pieces of milk;
- 72 pieces of brown;
- 36 pcs. gold;
Approximate Quantity. Take material with reserve.
Choose Czech or Japanese, they are all in a pack of the same size.
- String or thread - 2-3 meters;
- needle;
- beads for the tail - 4-5 pcs;
- pearls - 1-3 pcs.
- In the technique of "brick stitch" work according to the scheme, starting from the row where the feet.
- The first row of 2 brown, 1 milky, 2 brown.
- Turn and weave the second row of 6 milky beads.
- Next weave on the scheme presented, where up to the tenth row add 1 bead on both sides, and then subtract to the body of the owl had a rounded shape. From row 14 weave the head and ears in a different color. At the end fix the thread and cut off the excess.
- Now the tail. From paws, weave two layers of five pieces, and then add shaped and pearl beads. Fix each individually.
Handicraft is ready.
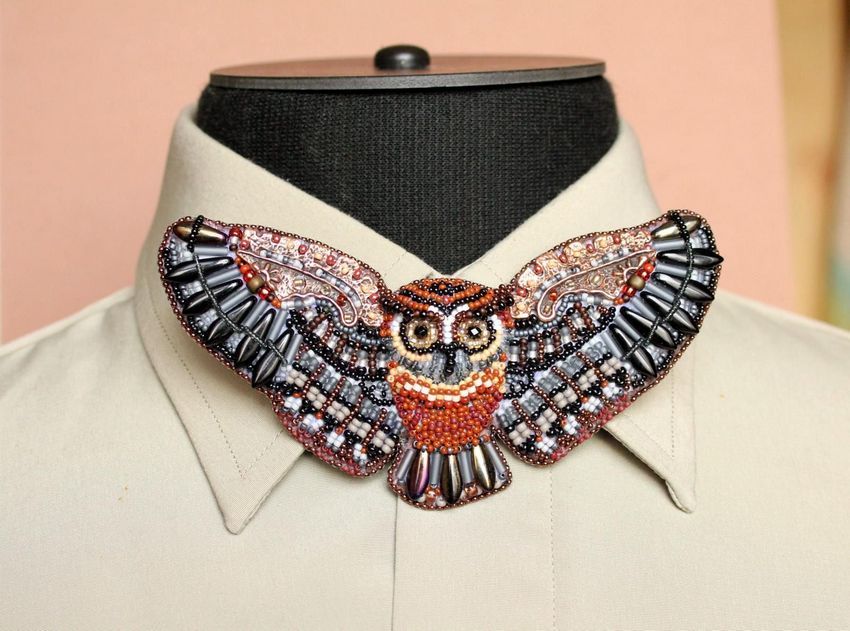
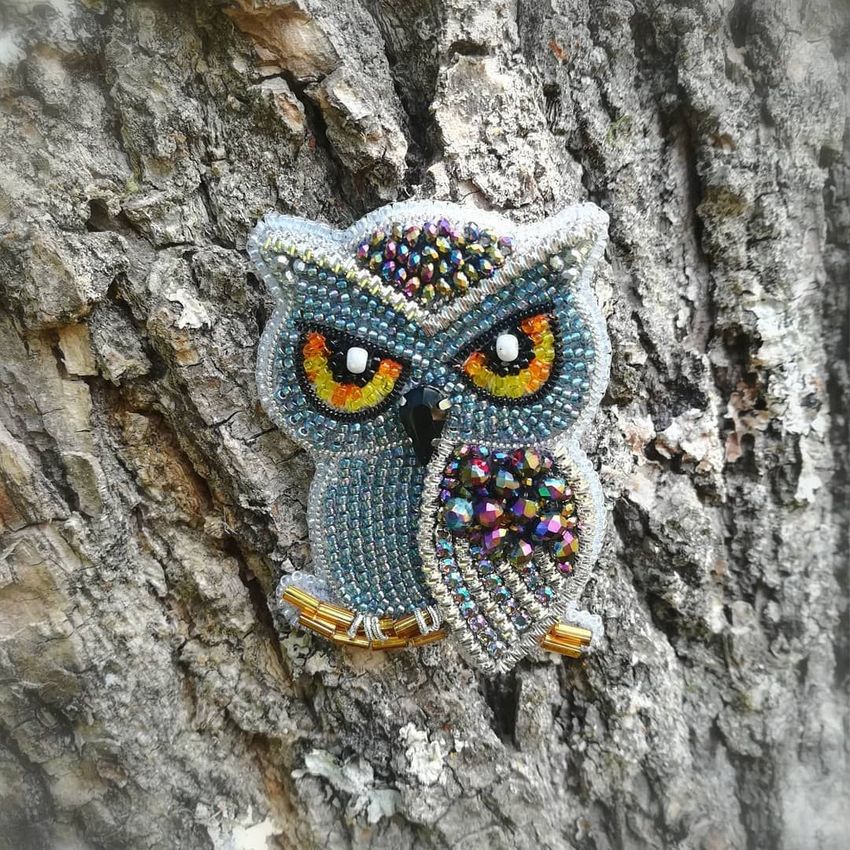
Three-dimensional beaded owl
Toy masters in the technique of "volume plaiting".
For the figures need:
- wire;
- fishing line (about a meter);
- Czech beads 10: black, white, yellow and gray-basic for the body (hereafter: gray.).
The body can be made in other colors.
Work on the scheme, in which the upper tier will be the front and the bottom-back of the figure. This is how we will describe it.

Head and torso.
- We need 170 cm of thin wire, and in the middle place eleven gray beads. Without touching the last, through the penultimate end of the wire, go back. With the second end of the wire do the same thing.
So, ears ready.

Shape a hollow head, put 7 beads of basic color.
- On the second row, begin to assemble the eyes: 1 gray, 2 white, 2 gray, 2 white, 1 gray.
The back of the head consists of 8 gray.
- The third row: 1 gray, 1 white, 2 yellow, 1 white, 1 gray, 1 white, 2 yellow, 1 white, 1 gray.
Back of neck: 11 grays.
- Fourth row of 1 of each color: gray, white, yellow, black, yellow, white, yellow, black, yellow, white, gray.
At the back of the head of the 12 primary color.
- The fifth row: 1 gray, 1 white, 2 yellow, 1 white, 1 gray, 1 white, 2 yellow, 1 white, 1 gray.
Attach additional wire (15 cm) for the beak. Pull it through the three central beads.
At the back of the head decrease by one.
- The sixth row:1 gray, 2 white, 3 gray, 2 white, 1 gray.
There are 9 grays on the back.
All subsequent ones will be the primary color.
- Seventh row: 8 beads each.
- From the eighth row to the eleventh add one bead each.
On the eighth row from the back of the additional wire (60 cm) for the wings. Punch through the whole line.
On the twelfth we put 14 pieces and again fix a wire (60 cm) for the wings. Thread through all fourteen.

Reduce one on each row.
- On the fourteenth we take a piece of wire (30 cm) for the tail. Lead in eight in the middle.
- On the fifteenth, pull through the last additional wire (30 cm) for the legs, hook only on the central bead.
Additional wires are pulled through the back wall, except for the beak.
Feet .
We need one end of basic wire and one end of additional wire for each foot. They are the same, so the scheme will be the same. We are using "three-dimensional weaving" technique.

All in base color.
The first row of 5 beads, on each row decrease by one, a total of 3 rows. At the end of putting 2 beads.
The basis is there, now claws (needle weaving).
- String 2 gray and 1 yellow. Go back through the gray beads.
- From the same wire make two more claws in the same technique.
- Fix the claws by passing the working wire through the last row of the paw base.
- Bend two ends of wire parallel to three claws and braid the fourth.
- Braid the claws the same way, but each bead is fixed separately, creating its own column.
Secure the wire.
Wings, beak and tail in the technique of "parallel weaving".
Wings
Wings braid in turn, as well as the legs. While working, watch the wire, do not pull on the wire designed for the second wing.
- First row: 6 gray.
On each row will be separate feather.
Its weave on the far end of the wire from the head, so that the feather is looking down.
- Scheme of a feather (needlework): 1 gray, 1 yellow, 1 gray, 1 white, 1 gray. Return through all the beads except the last.
- Second row: 7 gray + feather.
- All subsequent rows weave the same, but with the deduction of one bead.
- On the seventh row weave not one feather, but three.
- Complete the wing.
Beak
- First row: 2 black.
- Second row: 1 black.
- Fix and cut off the excess.
Tail .
- First row: 7 gray.
- Do six rows with an addition of one bead each.
- Alternate colors in the tail as desired.
- Secure the wire and cut it off.
You can fill the body with stuffing, so the figure will hold its shape. Smooth all parts and admire.

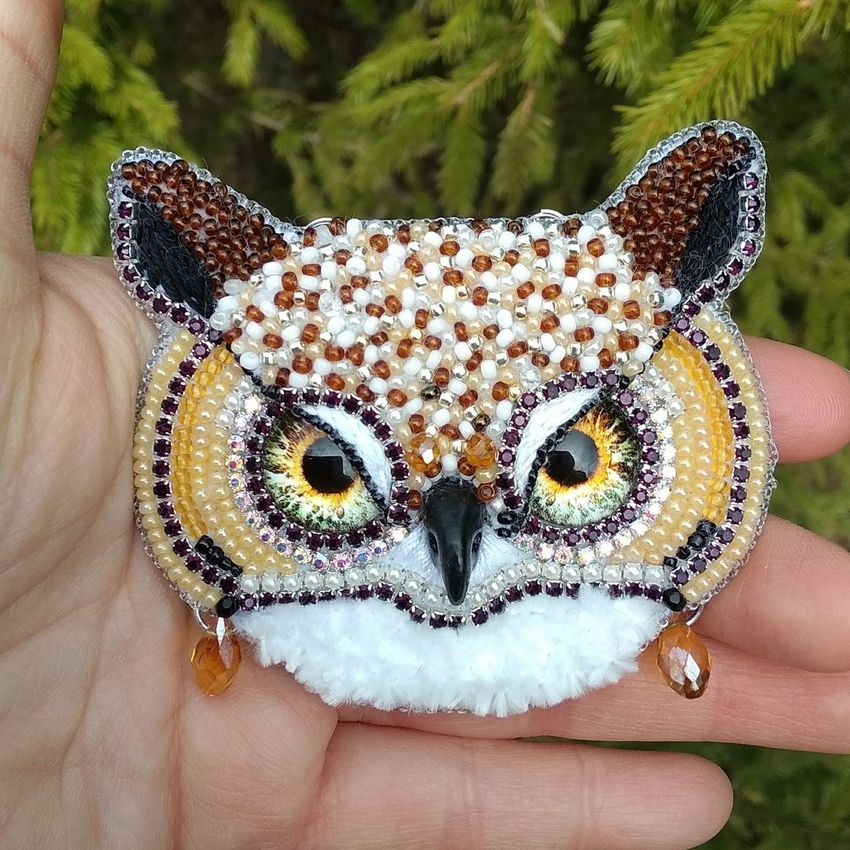
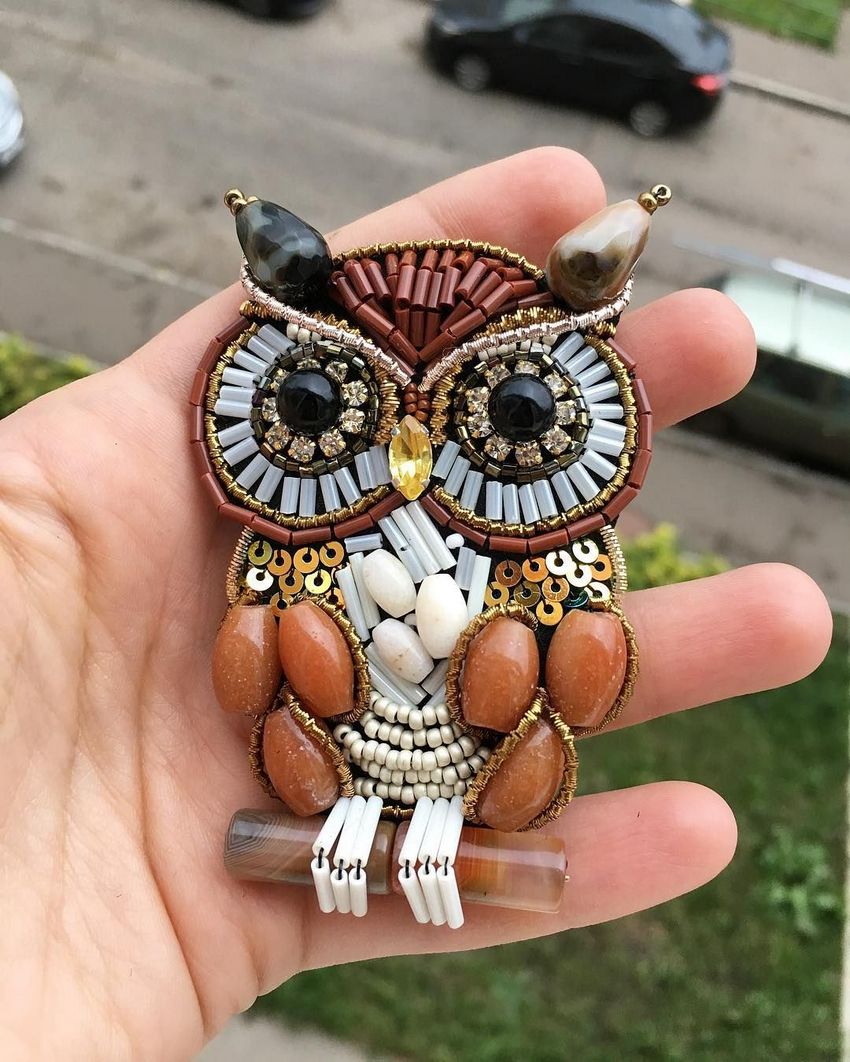
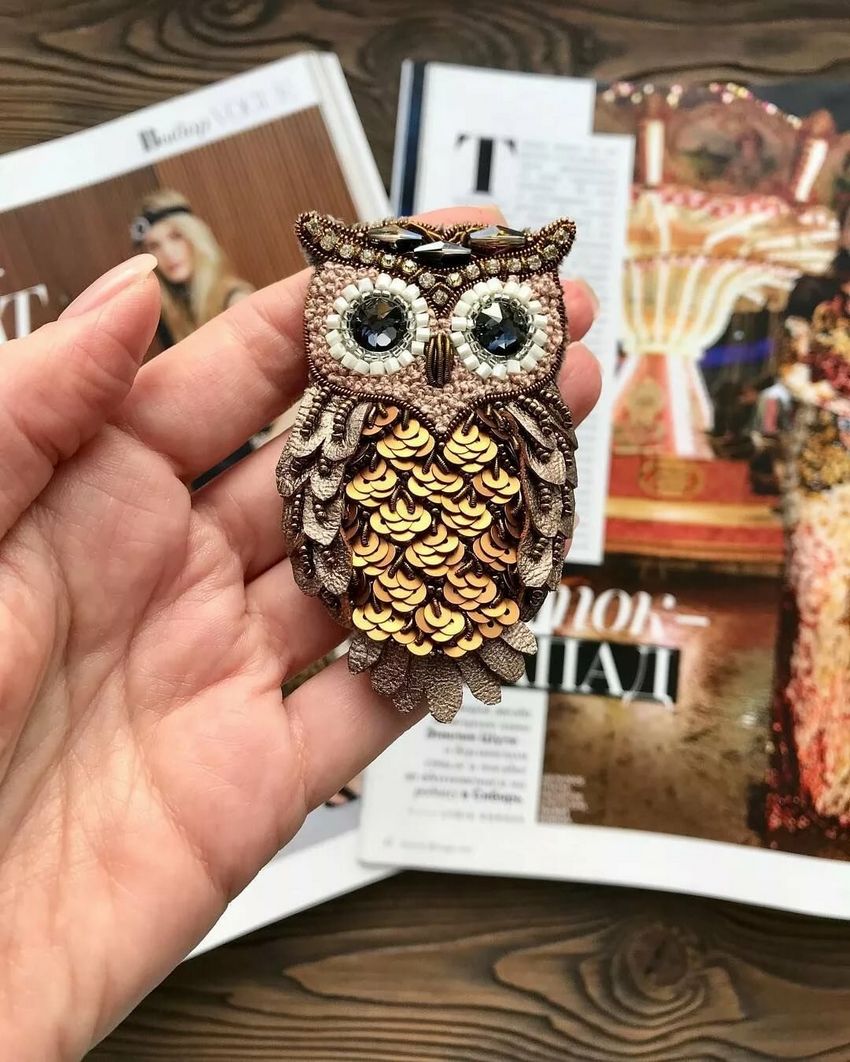
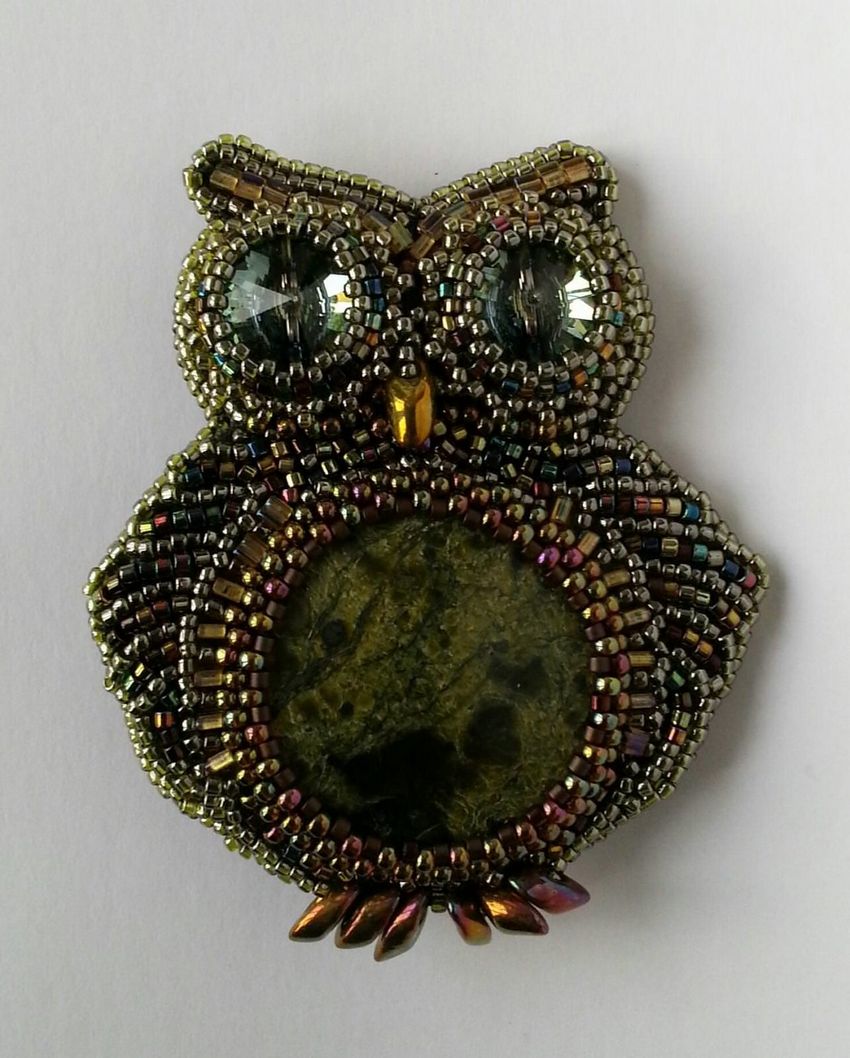
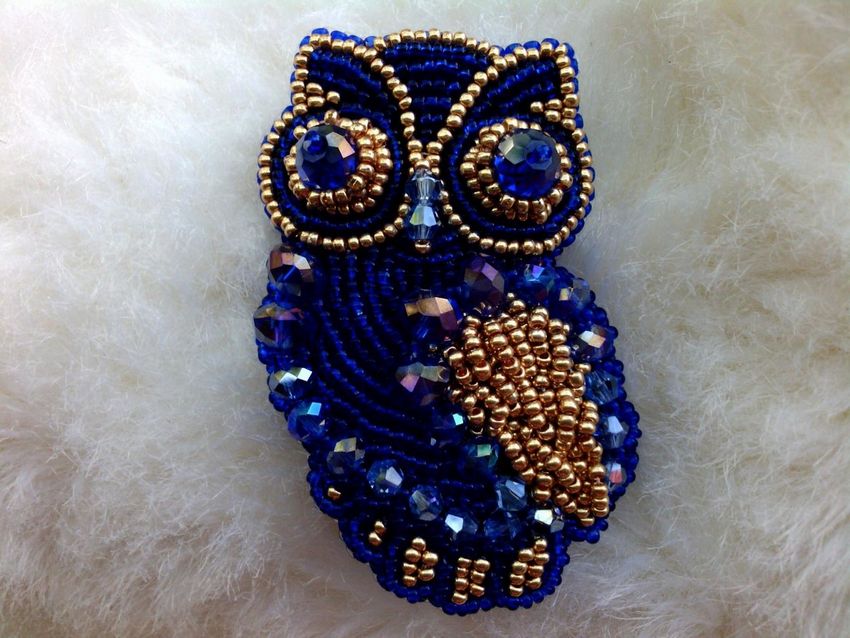
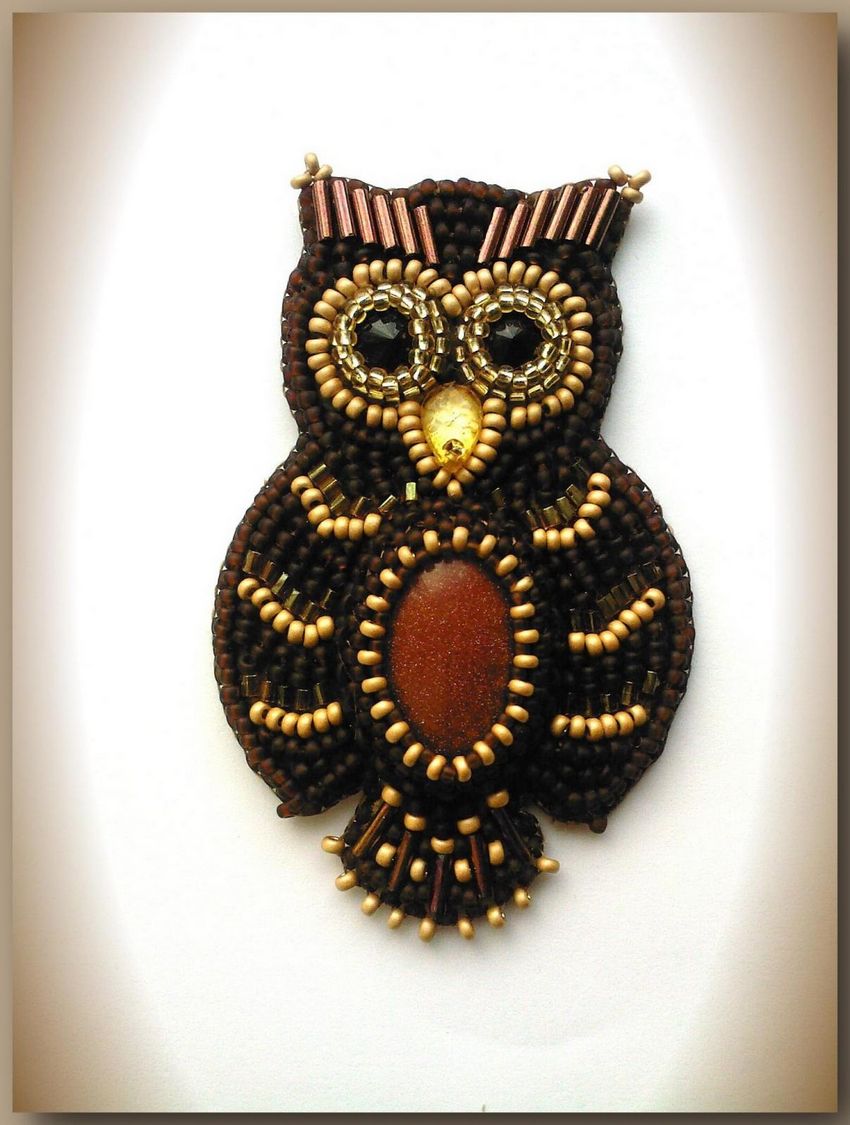
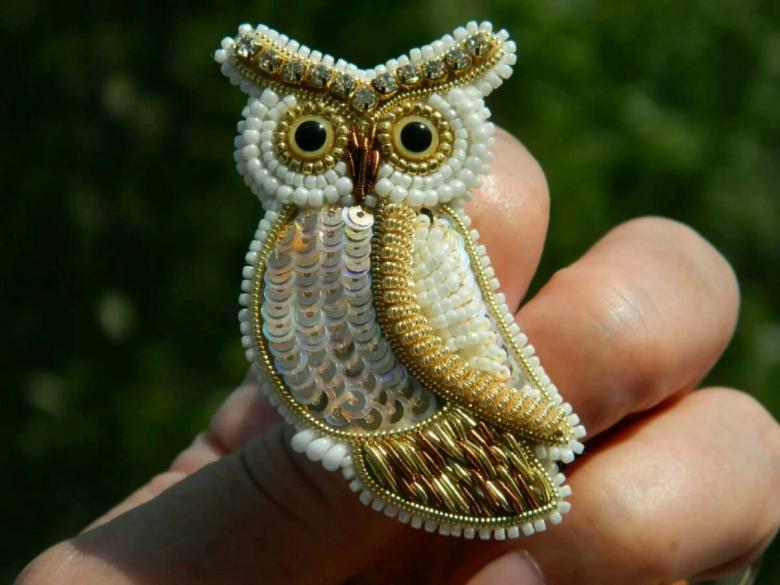
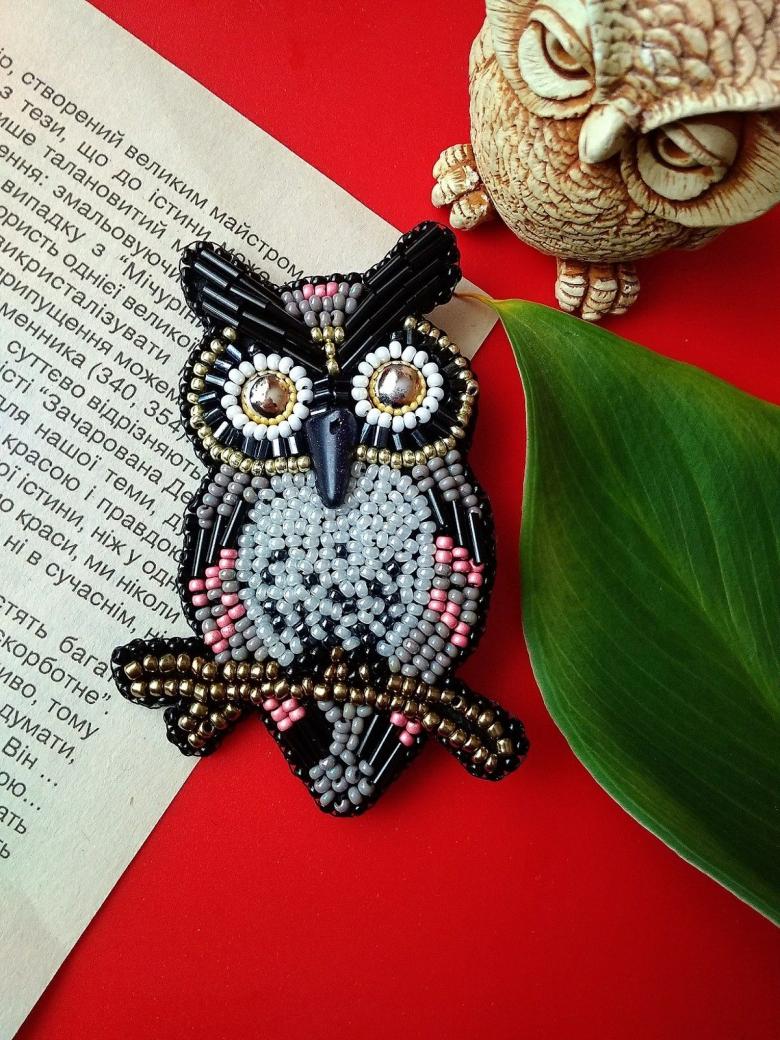
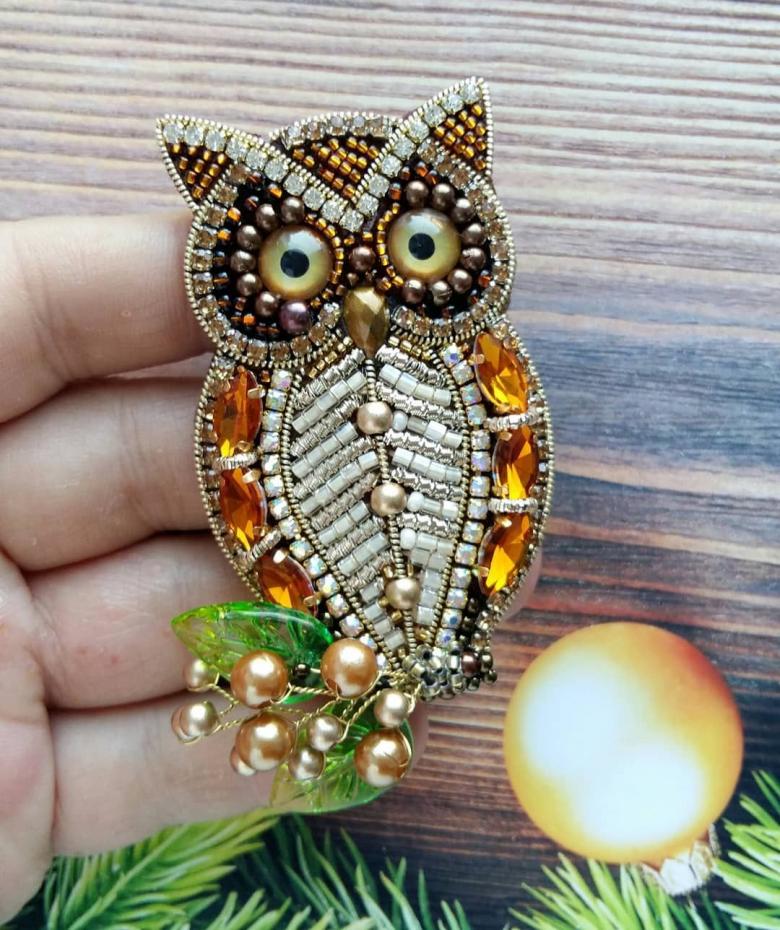
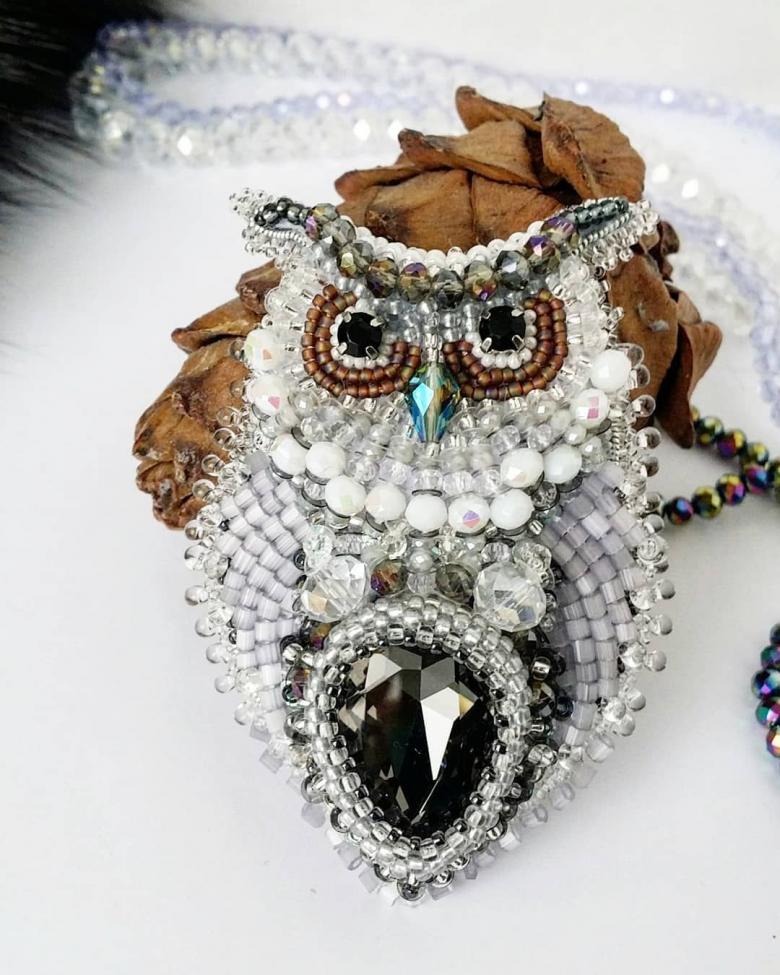
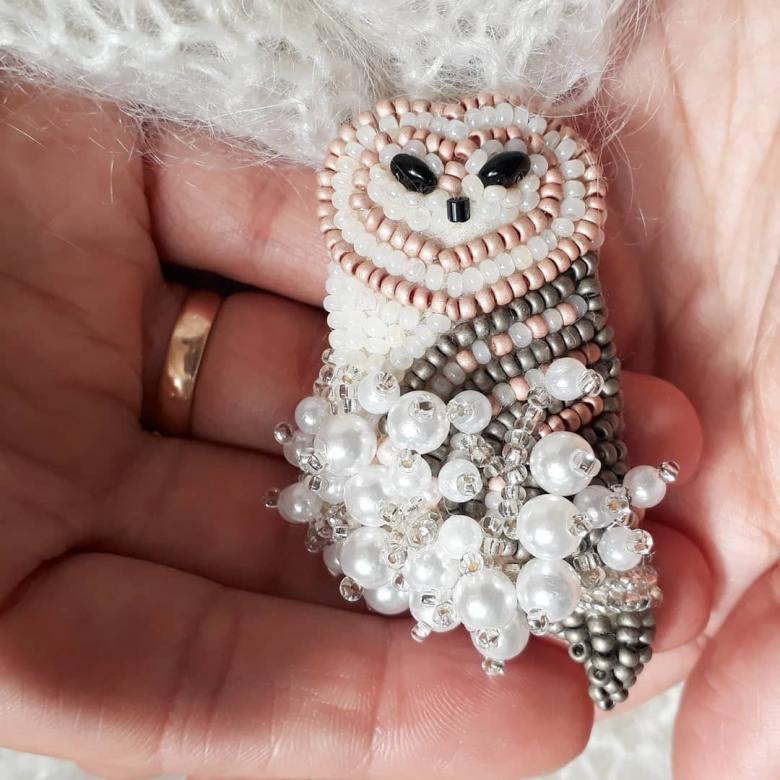
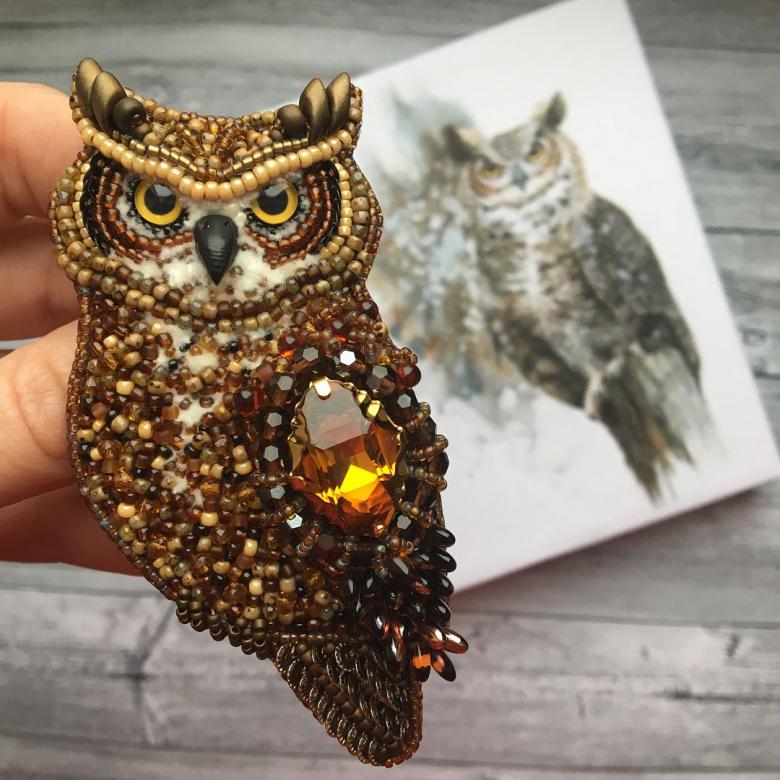
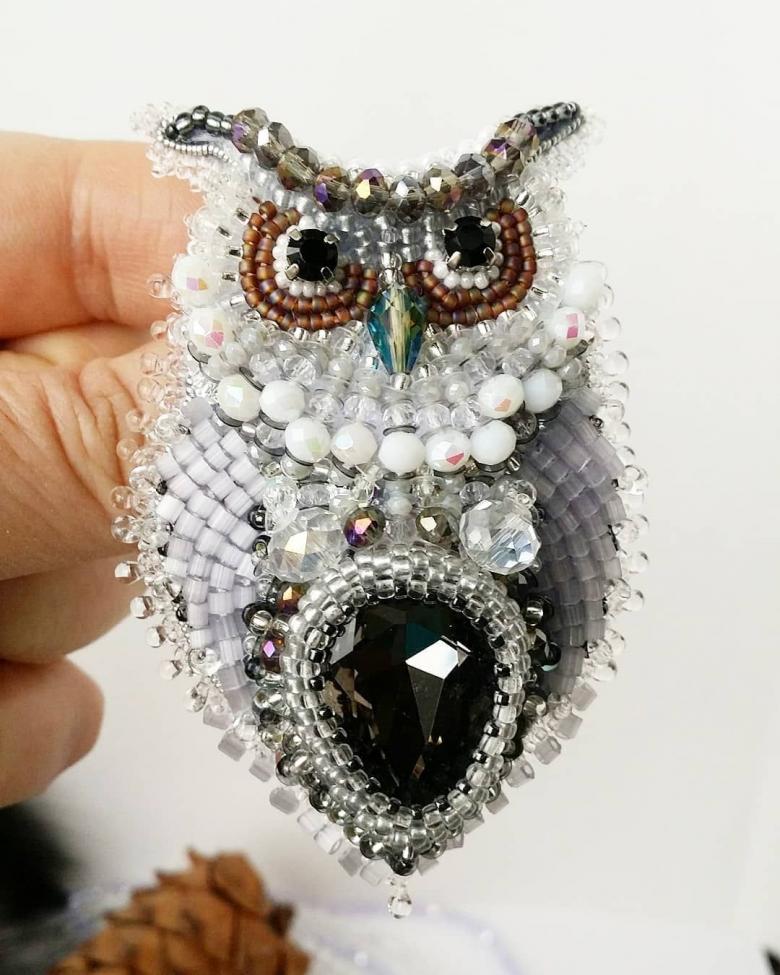
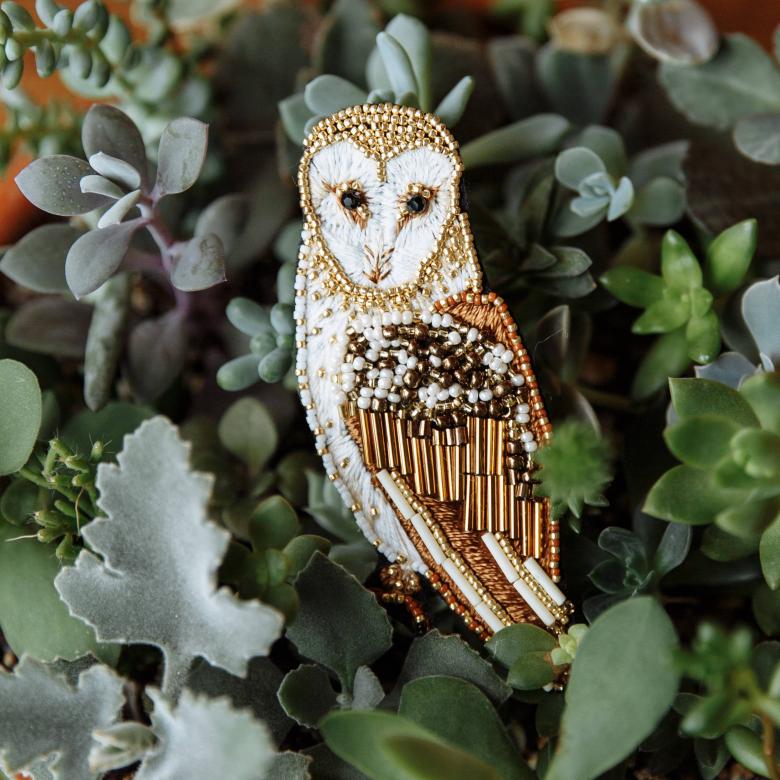
Polar beaded owl brooch.
If you prefer embroidery, the beaded owl brooch is for you.
You will need:
- glue moment (you can use any other glue for leather);
- Czech beads (#10 and 6 pearl);
- Toho beads (pearl, #11);
- toho beads (silver, #15);
- double beads in black and blue;
- genuine leather;
- fleece;
- accessories;
- magatama (pearl);
- 2 pieces. (for the eyes);
- dross black and blue;
- cardboard;
- monofilament;
- needle.

Description:
- We start with the eyes. Rivola has no hole for fixing, so we will braid it.
- We take 30 beads toho pearl #11 and make a ring, on top of it another row.
- Next two rows of silver toho beads #15.
- Insert the rivets and turn on the flip side, where toho silver beads #15 do two more rows.
- We fasten the obtained made to the base of the fleece.
- Double beads in black and blue make a beak.
- Using Matagama beads to form eyebrows.
- Trim the outside of the eyes with Czech beads #10.
- On the basis of the outline of the future owl.
- Stitch around the outline of the bead on p. 10
- The pattern of the tummy can form your own, the main thing that it resembles plumage. You can just alternate light and dark beads (beads #6 and drops).
- Carefully cut along the edges of the embroidery, 1 mm from the edge, if you do not want to cut the product.
- Cut a piece of cardboard, repeating the shape of the workpiece, but 3-4 mm. less in size and glue to the back of the base, so the owl will hold its shape.
- Make two holes in the piece of leather and fix the accessories. Using glue, glue the skin to the fleece. After it dries, cut off unnecessary pieces along the edge of the base.
- Stitch around the outline of small pearl beads, inserting paws of black and blue, and wings of pearl 3 beads per piece. Hide all the threads inside the brooch.
Everything is easy if you stick to the pattern and description. Choose only quality beads, if you save money, the pattern and amount will not match. Improvise, for your own unique owl character. Create masterpieces and delight yourself and others.
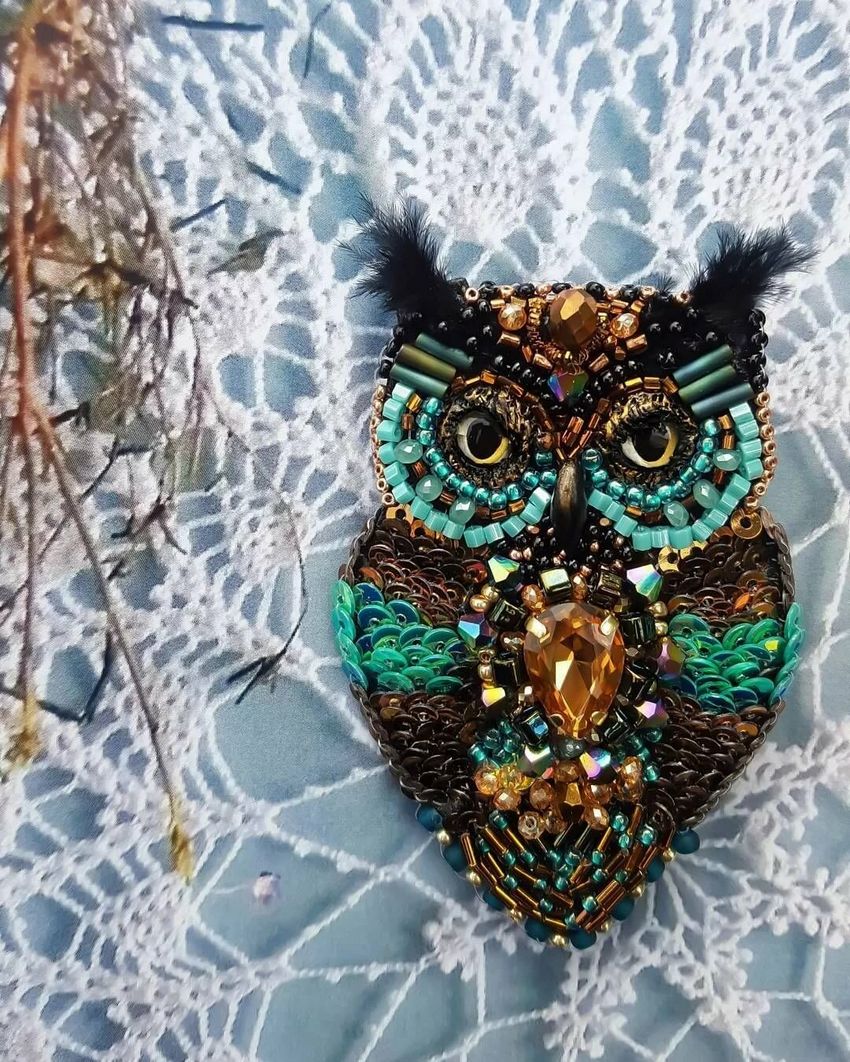
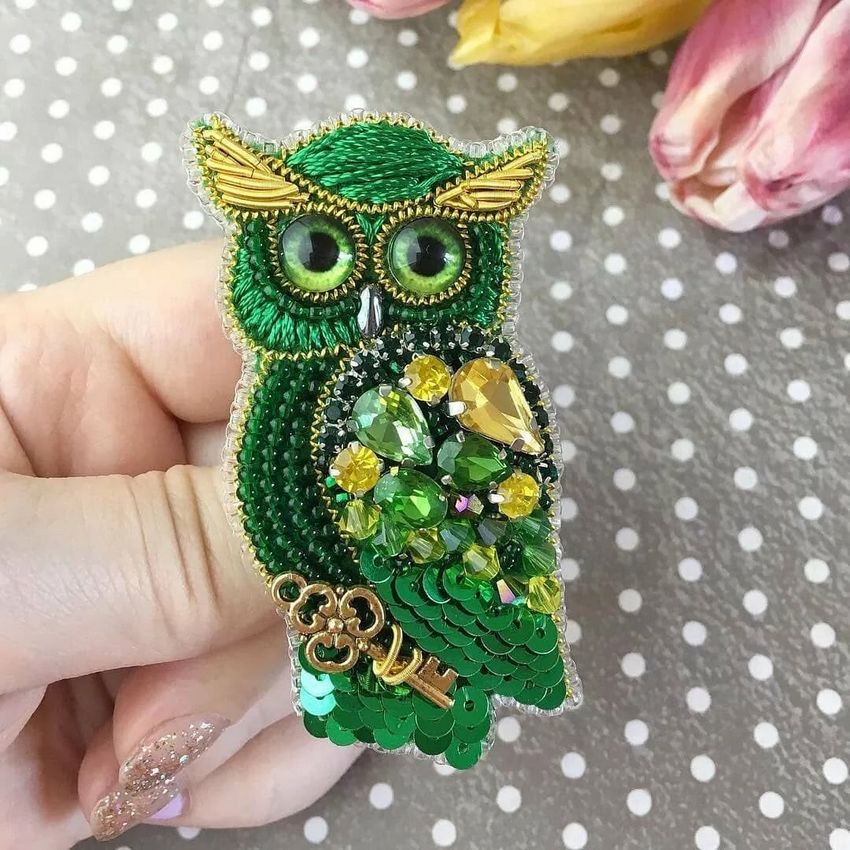
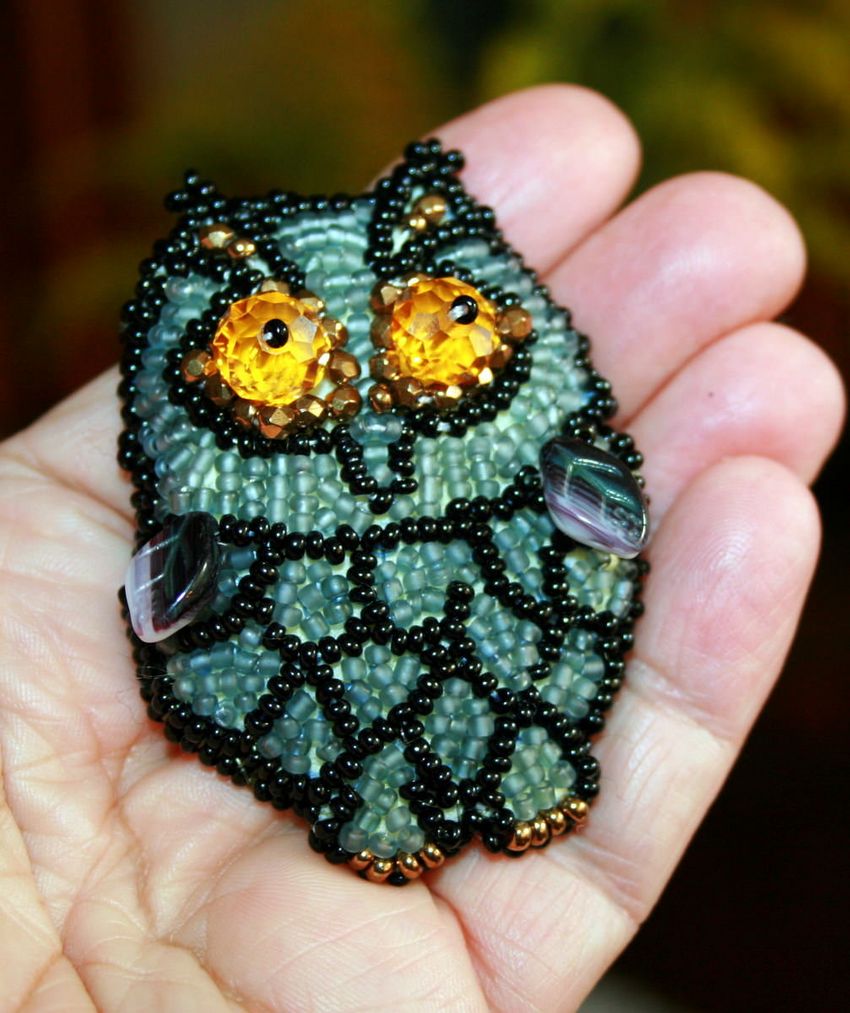
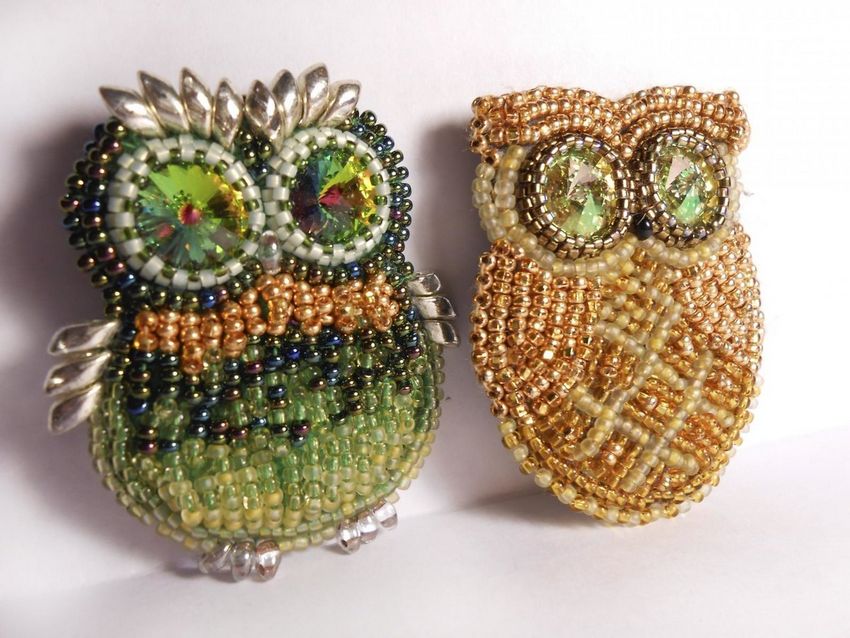
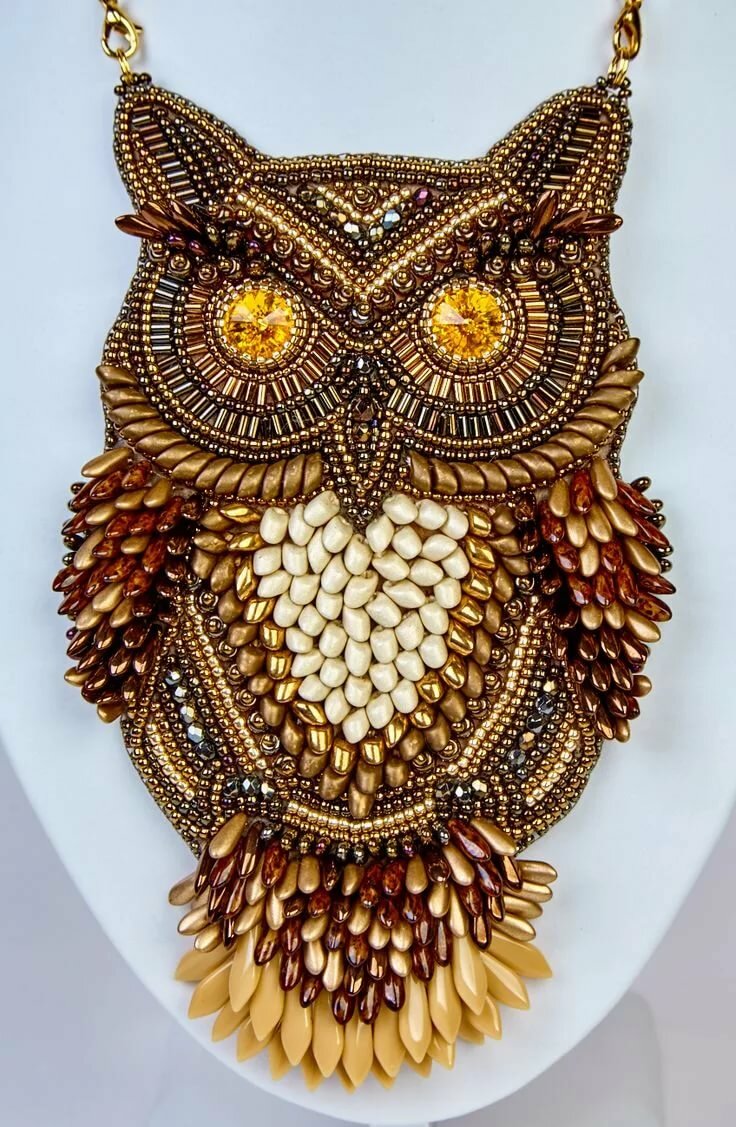
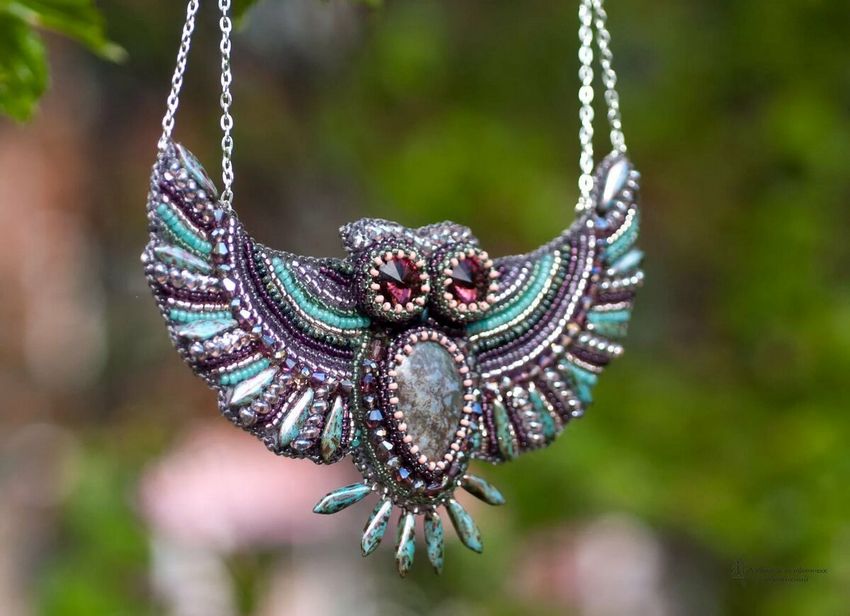
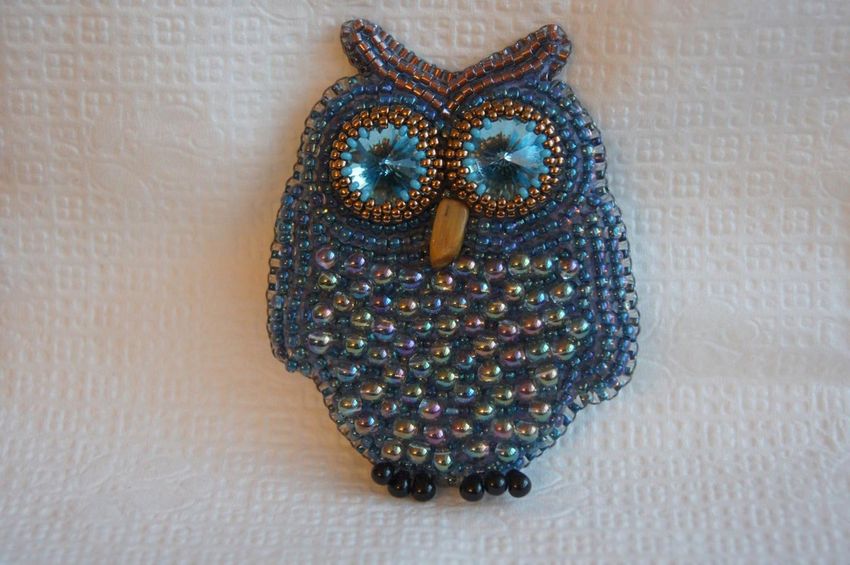
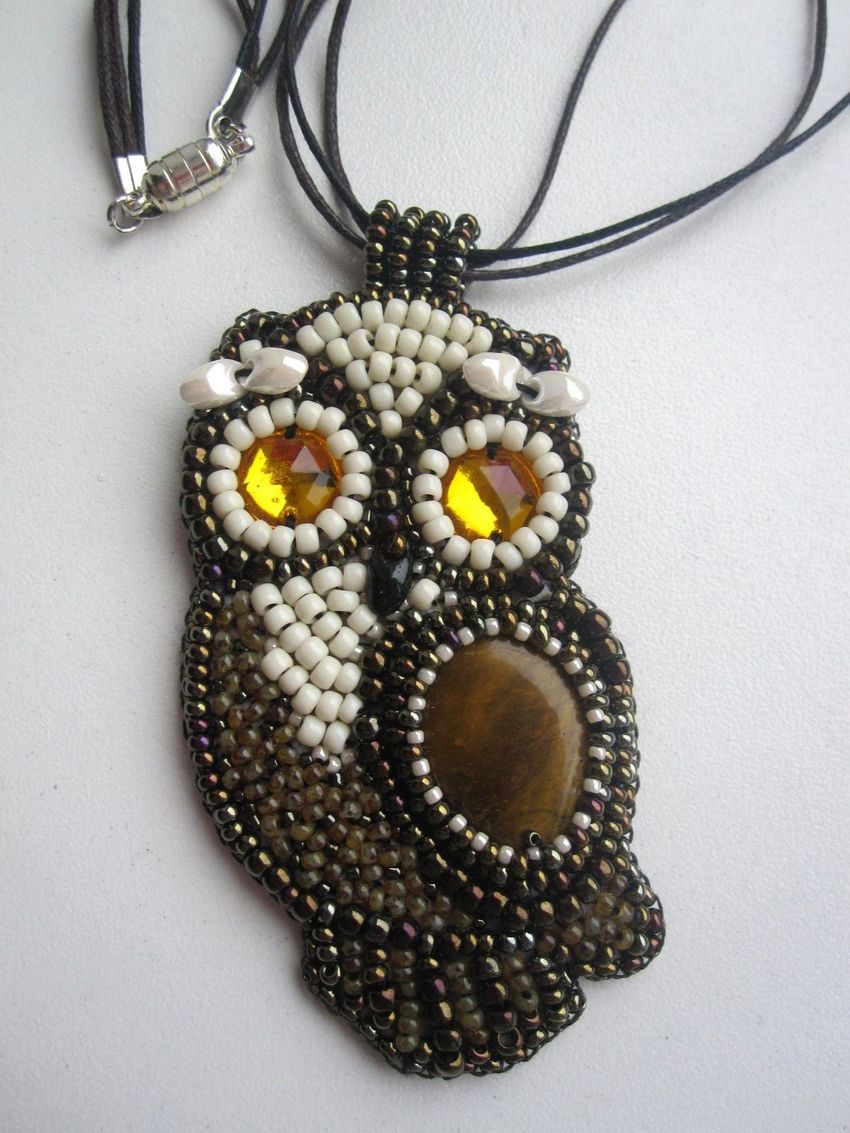
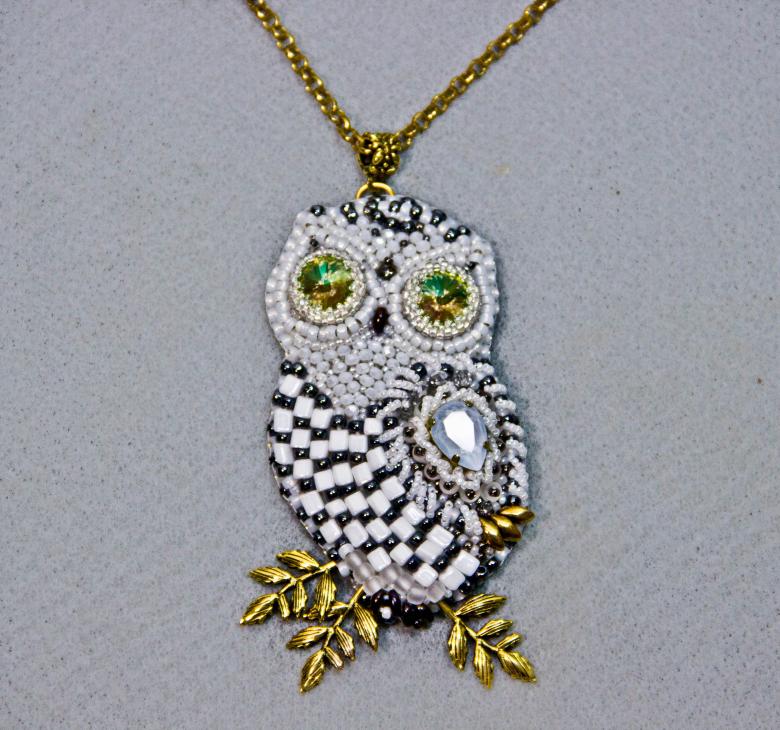
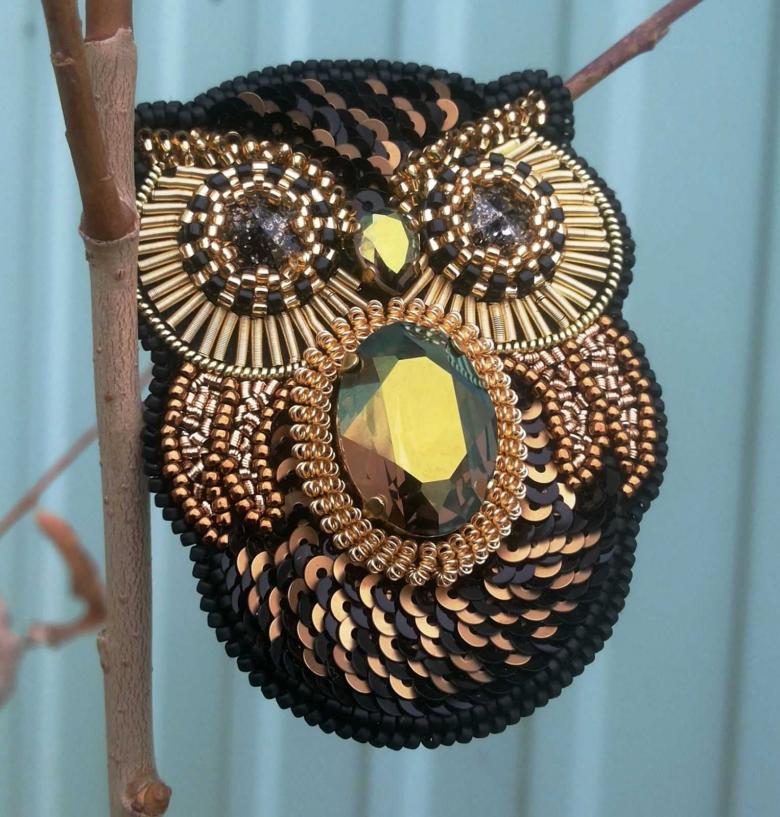
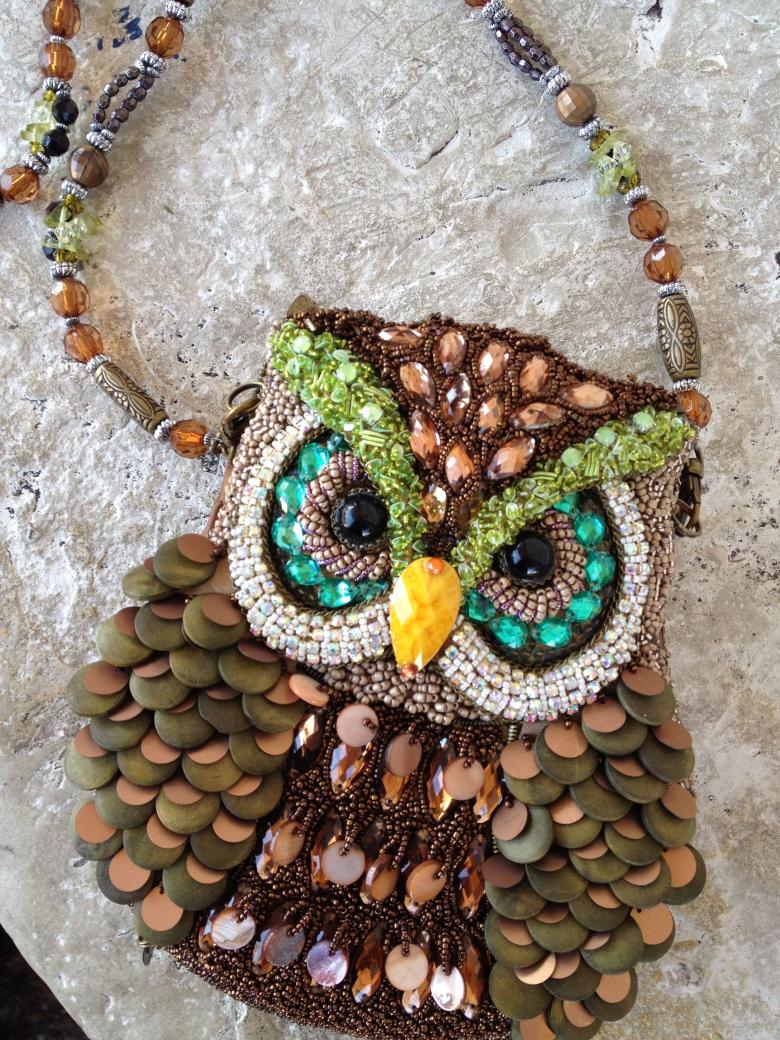
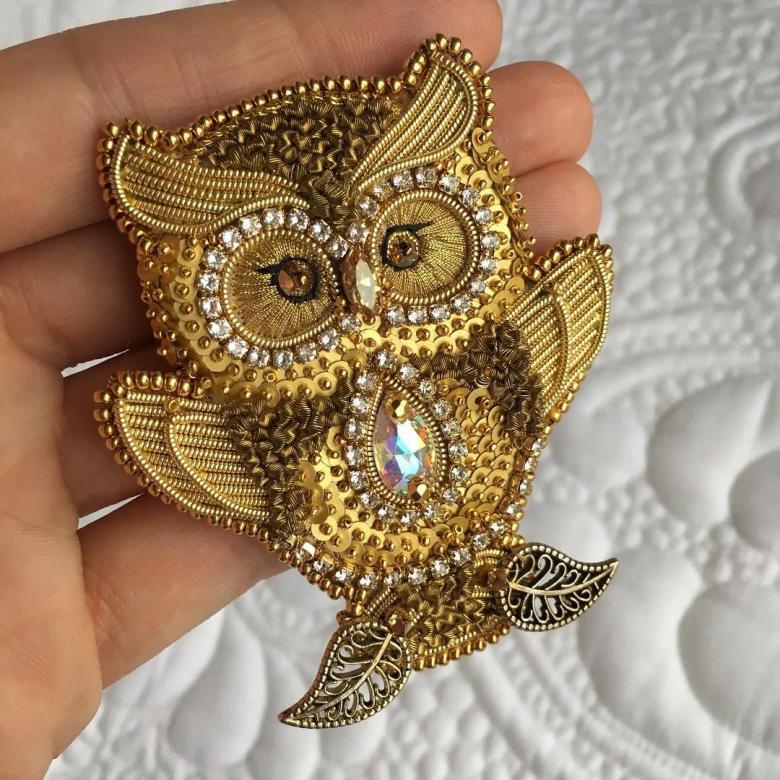
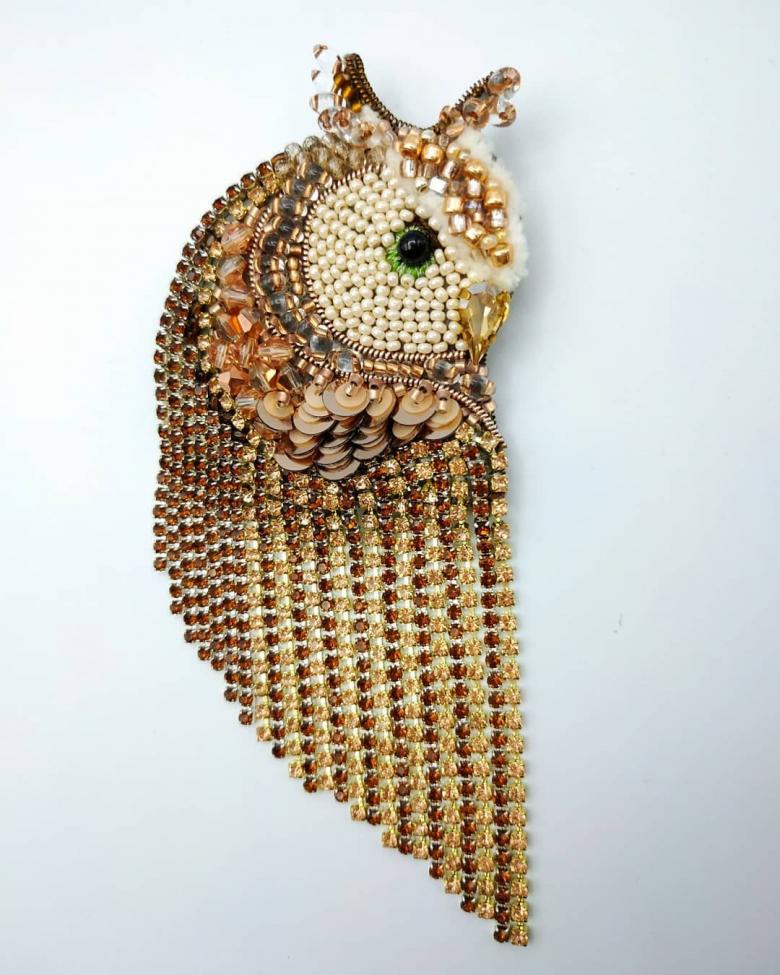
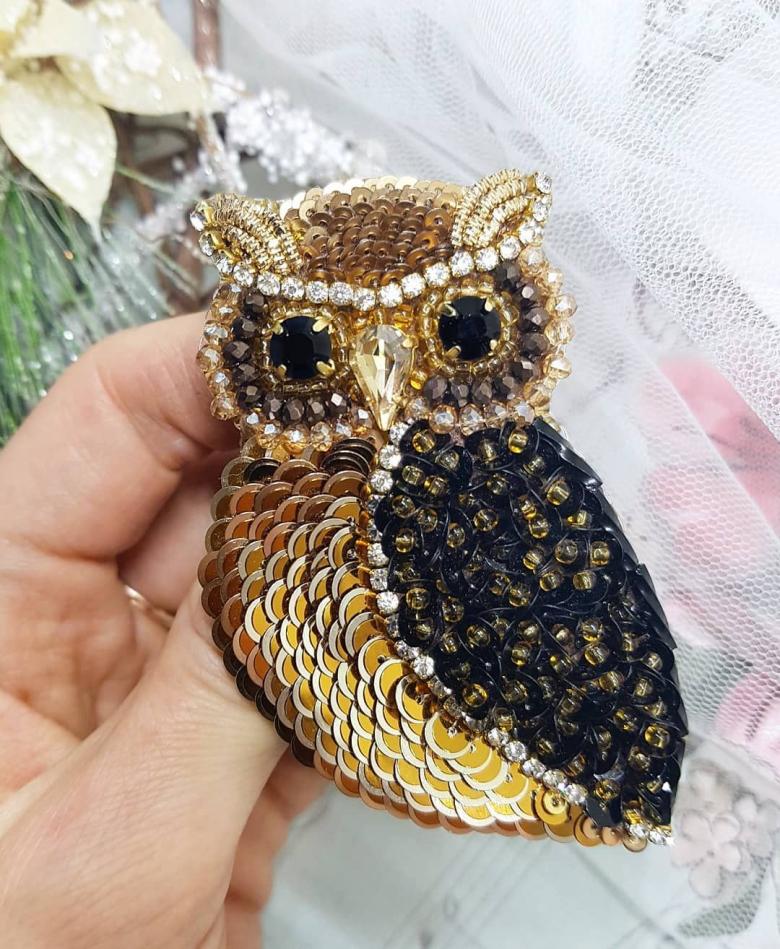
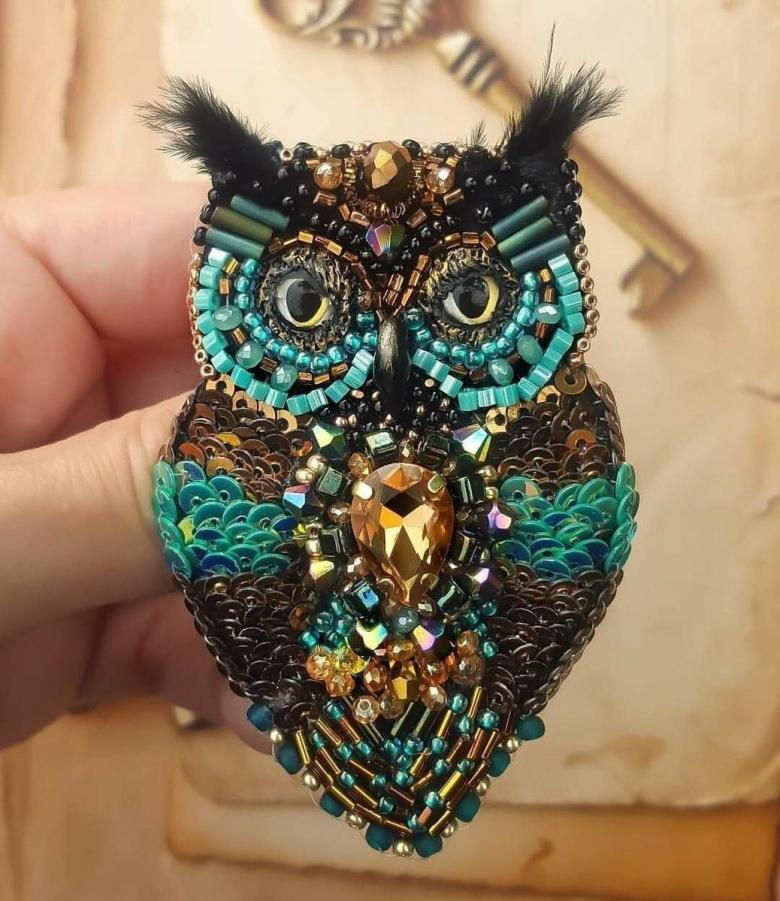
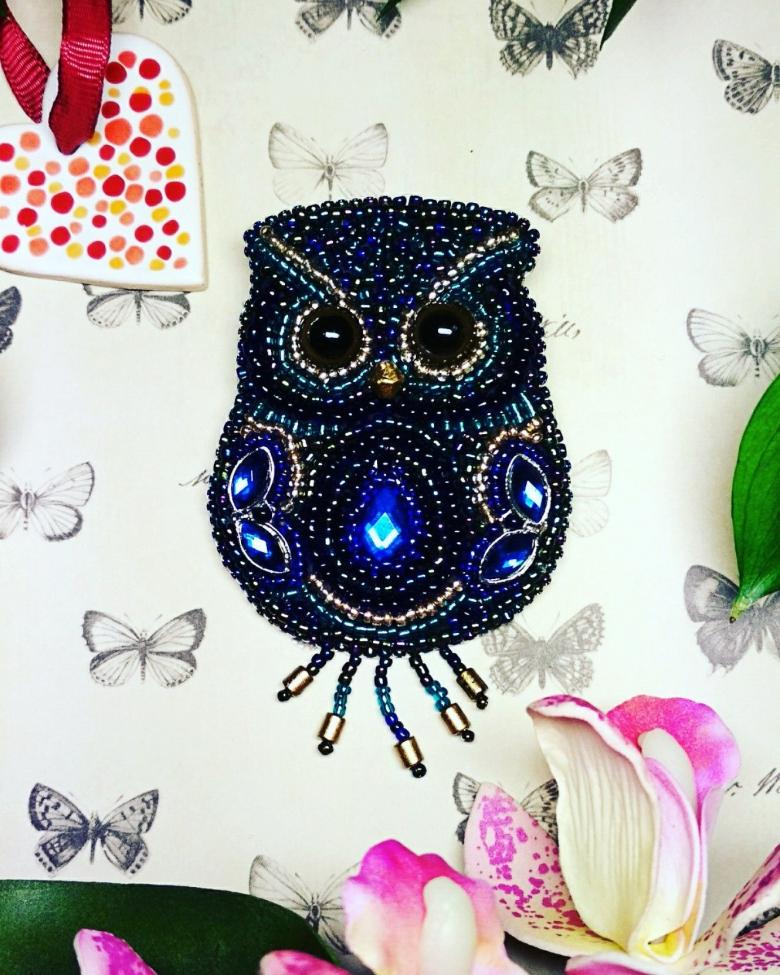
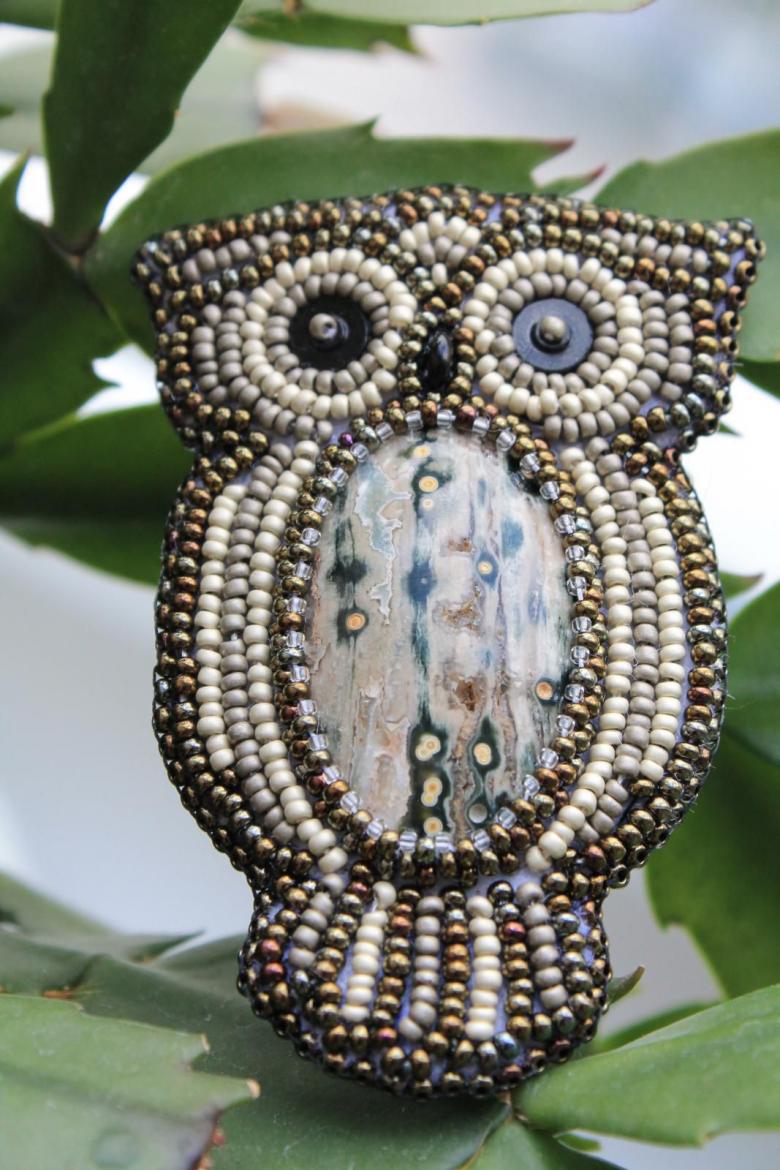
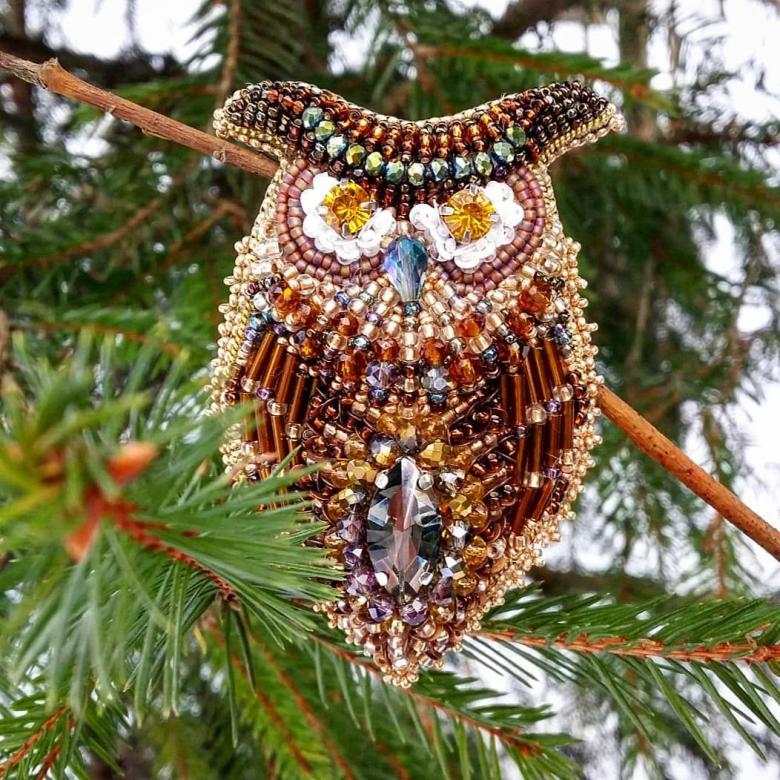
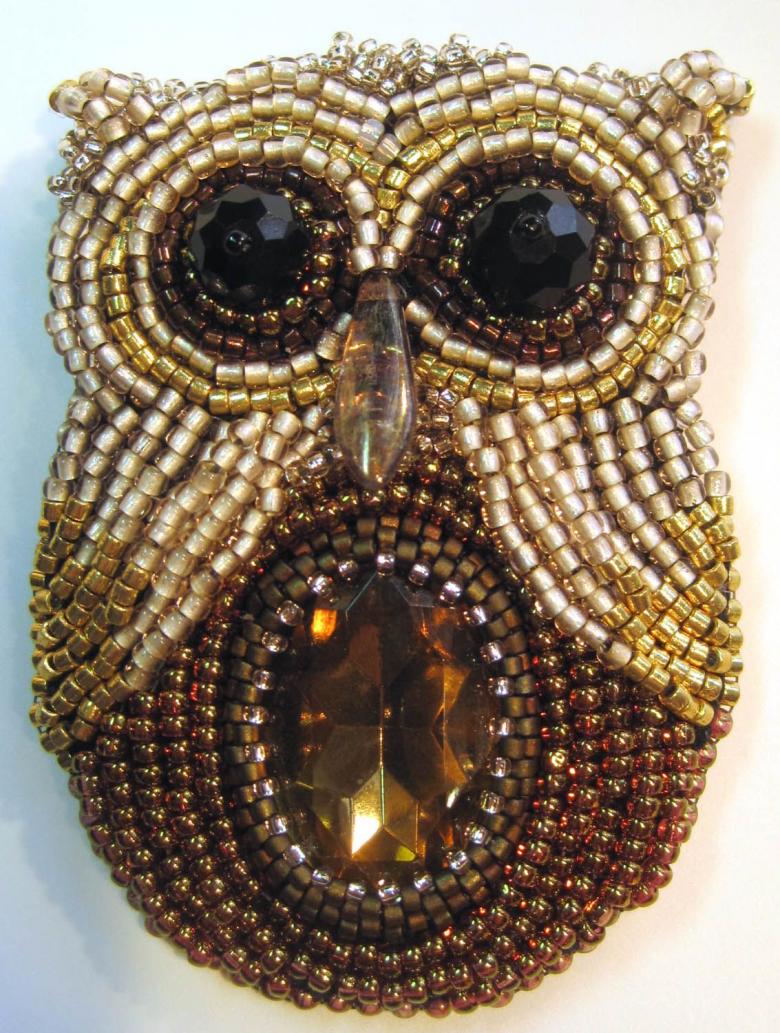
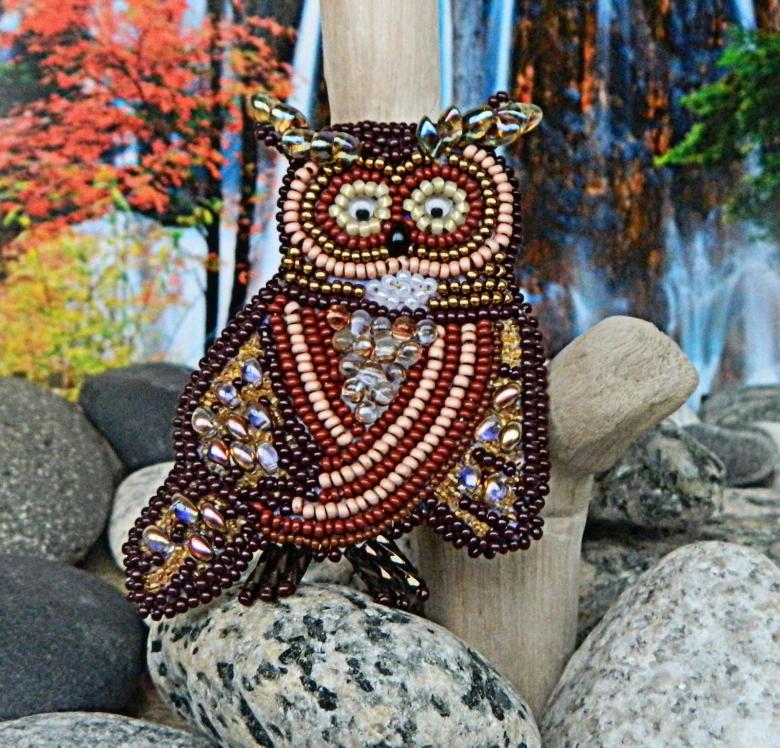
Photo examples of homemade beaded owls