Newspaper tube crafts for beginners - a detailed description of how to make your own hands
Newspaper weaving is an amazing technique. This type of art originates from weaving. This is a very exciting activity belongs to the category of soothing, because it involves fine motor skills of the hands.

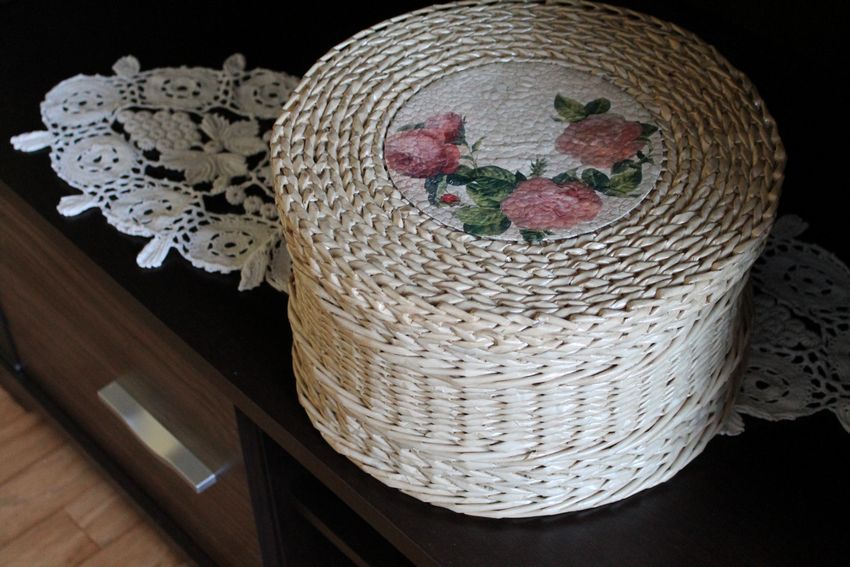
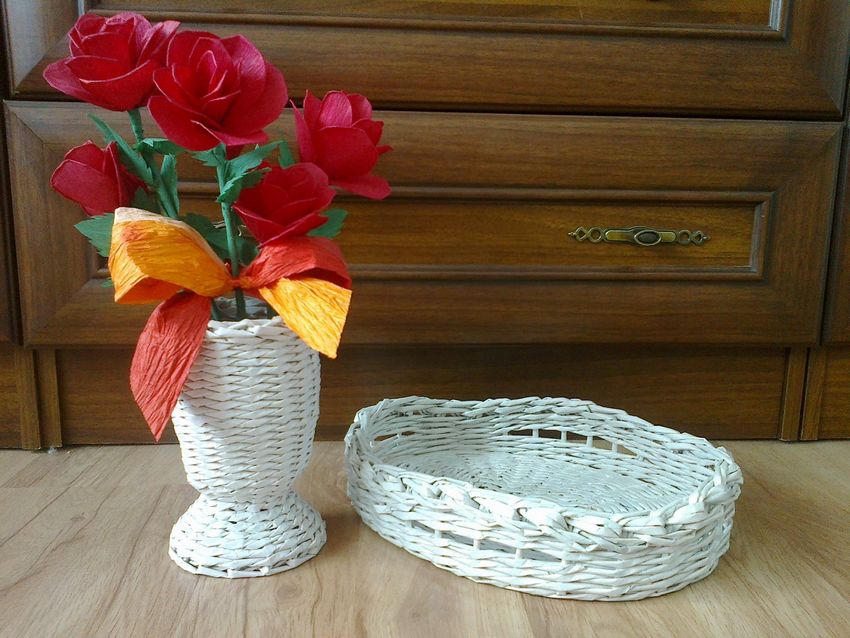
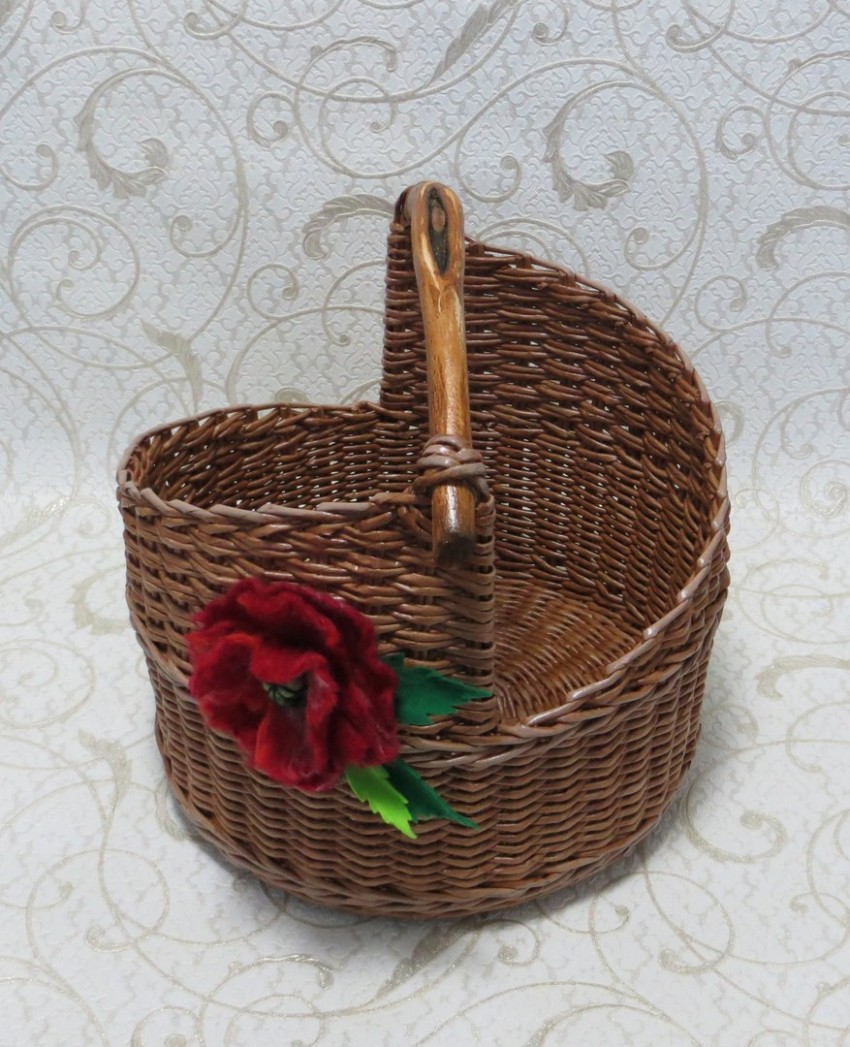
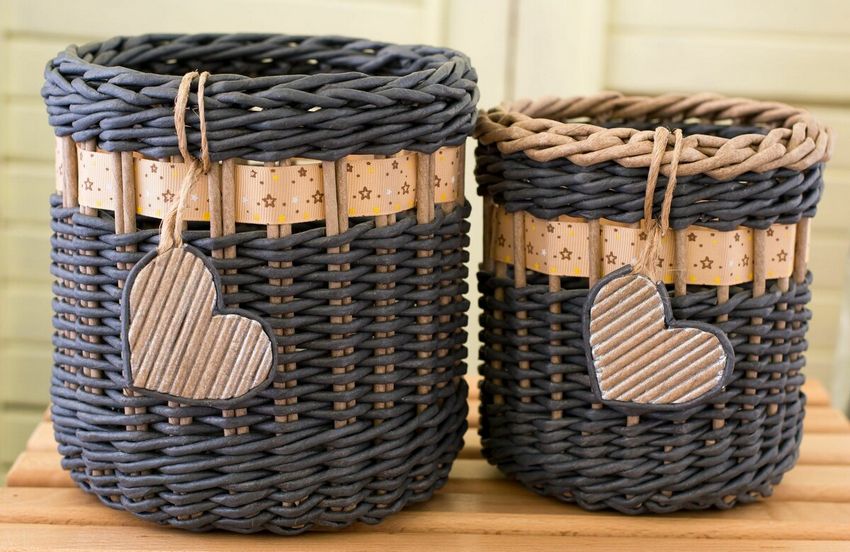
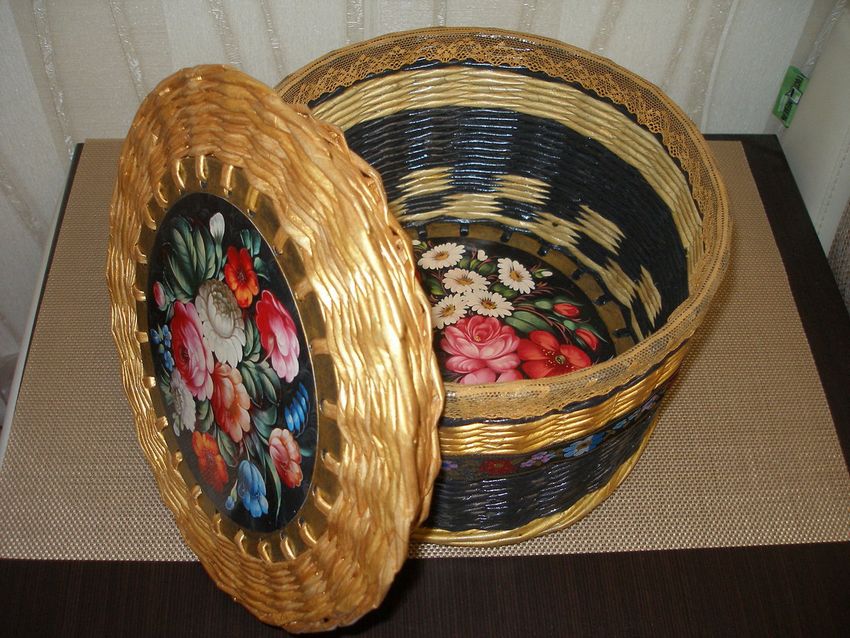
Products made of newspaper tubes by your own hands will be an original gift. Wicker boxes and boxes will help with the organization of space on a shelf or in a closet, additionally decorate the interior. The hobby involves the use of old newspapers, magazines, drafts - requires minimal material costs.

Making a paper vine
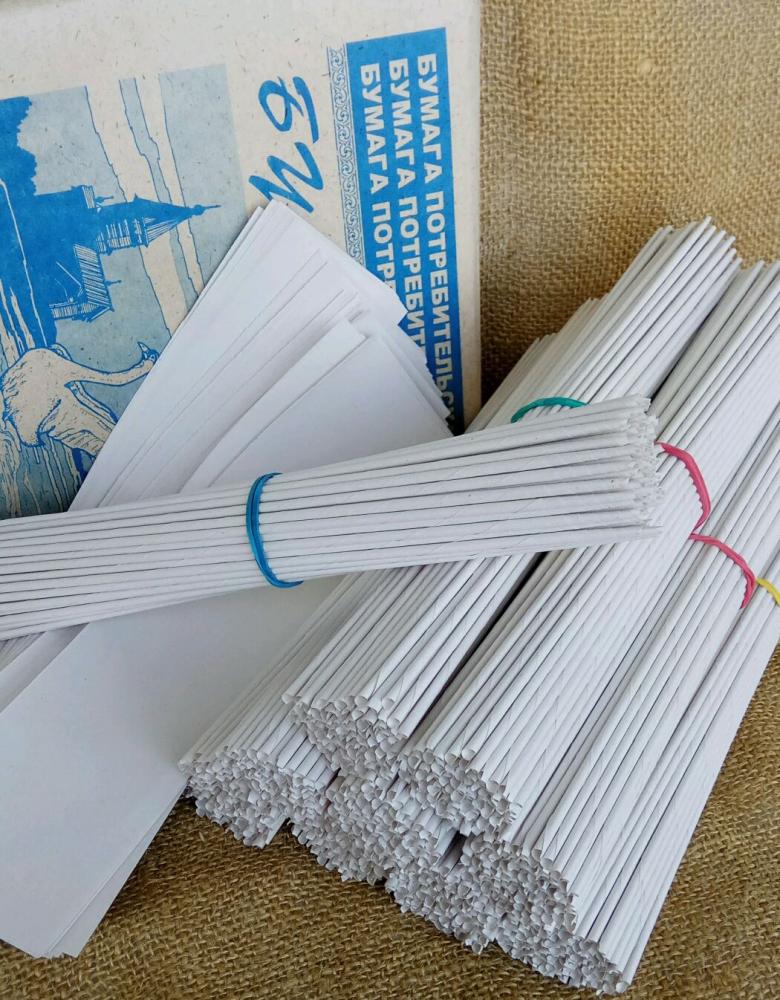
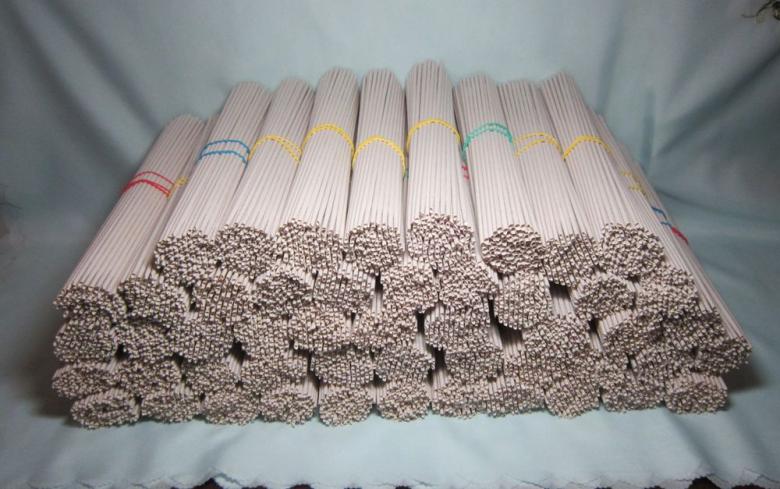
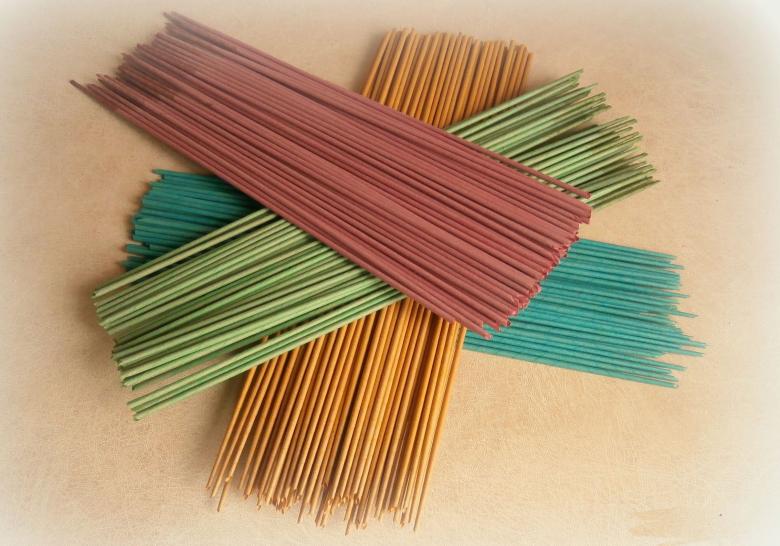
Before starting work, you should stock up on the starting material - newspaper tubes. The beauty of future products will largely depend on the ability to twist them. For the work you will need:
- scissors;
- PVA glue;
- ruler;
- a simple pencil;
- knitting needle with a diameter of 1-1.5 mm or a wooden skewer;
- paper.

Before you cut the paper into strips, determine the direction of the fibers. To do this, tear off the strip along and across the sheet. In one direction the strip will come off well, evenly; in the other - worse, the place of disruption will be frayed, uneven. The first option suits us fine.
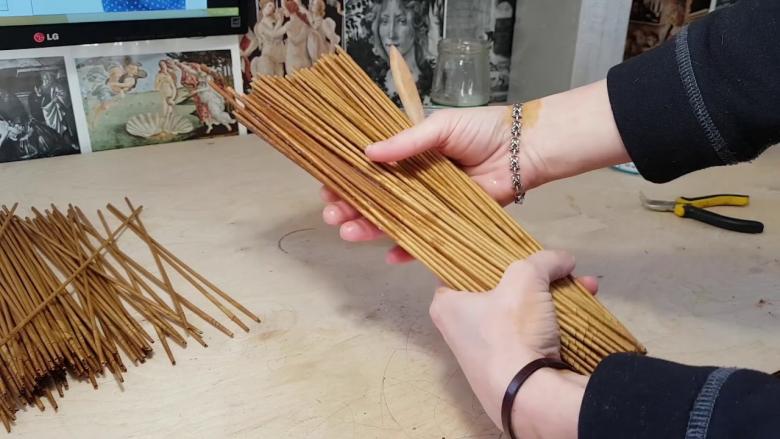
Everyone chooses the width of used paper strips "by himself". Tubes from too narrow strips will be too thin, they will be easily crumpled and broken. From wide strips the vine will not bend well, it will be difficult to work with it.The golden mean is the width of the strip from 5 to 10 cm. It is better for beginners not to cut strips longer than 42 cm.
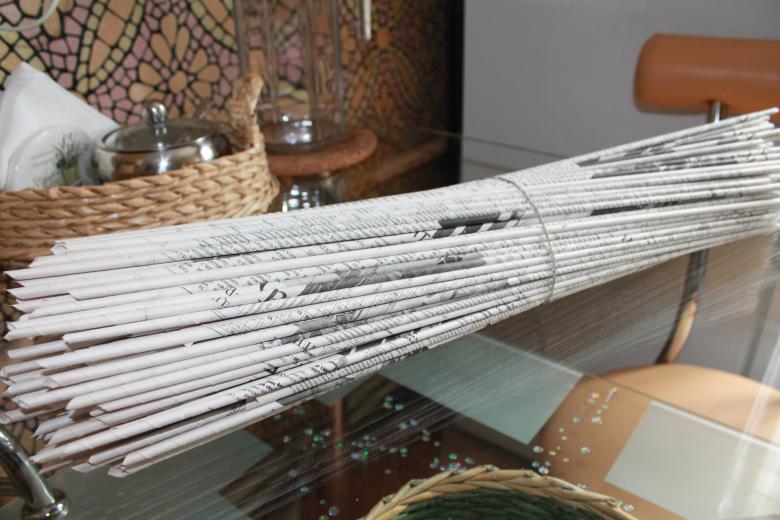
For weaving, you can use any paper, which can easily be twisted into a tube. Suitable as blank sheets, and printed. There is no lead in the printing ink for a long time already, so you do not have to worry about your health. It will be easier for beginners to work with newsprint, because office paper is too thick for curling.
You can twist the tubes with a needle or a wooden skewer. Every craftsman chooses the way of twisting: by hanging or by rolling on the table. The angle between the needle and the ribbon should be no more than 45 degrees. The corner of the paper is curled in a spiral, layer by layer rolled into a bundle. When curling the paper tape you should twist the needle with one hand, and with the other hand you should adjust the tension force and the angle of inclination. 1 cm before the fold, secure the edge with a drop of glue.
In the process, the rods will need to be extended. For convenience, the ends of the tubes should be of different diameters to put one on top of the other. In the thicker cut drop glue and insert the thinner edge of the next tube. Before working, moisten the paper vine. For this purpose 30-60 minutes before weaving it is sprayed with water from a sprayer. This will give the twigs elasticity and flexibility.
Dyeing
There are two main ways of dyeing: dyeing the finished product and each paper twig separately. The choice is up to the craftsman, depending on the color of paper, its structure, and his own preferences. For staining suit:
- wood stain;
- shade varnish;
- Tint, diluted with primer or water;
- Any paint on paper (acrylic, gouache);
- food colorings.

Finished product after painting over varnish. This will give it strength and resistance to wet cleaning.
Magazine rack (newsstand)
You will need 300 or more tubes to weave a newsstand, depending on the number of cells in it. The vine is prepared in advance, for this you will also need time. The work consists of several stages:
- Making the bottom. It should be rectangular and it is better to make it from cardboard. To do this, cut out two thick rectangles according to the width of the documents that will need to be stored.
- Base tubes glued between the two cardboard bottoms. It is better to place them 2-2.5 cm from each other. The rays of the resulting "rectangular sun" are braided with a pair of tubes. They gradually build up, planting new ones on the edge of the old ones. The edge of the pre-glued with glue.
- After passing one such row horizontally, the rays rise up. Further work is carried out in the vertical direction.
- First you get a sort of rectangular box, then the back wall grows, and the remaining edges are cut or fixed with a bend.
- The edges of the walls are decorated with cord or braid woven separately.
- Newsstands can be varied with fittings, openwork weaving, volumetric bending of the edge.

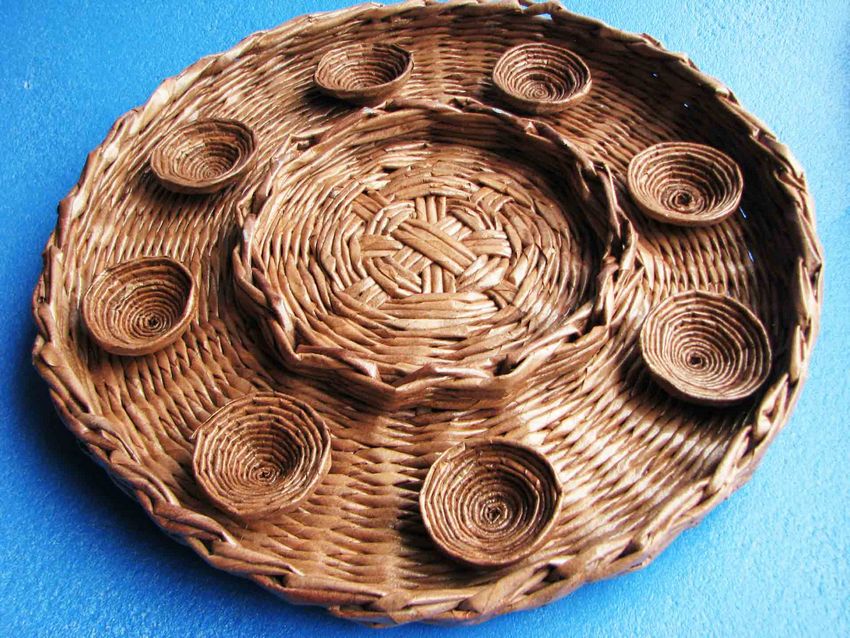
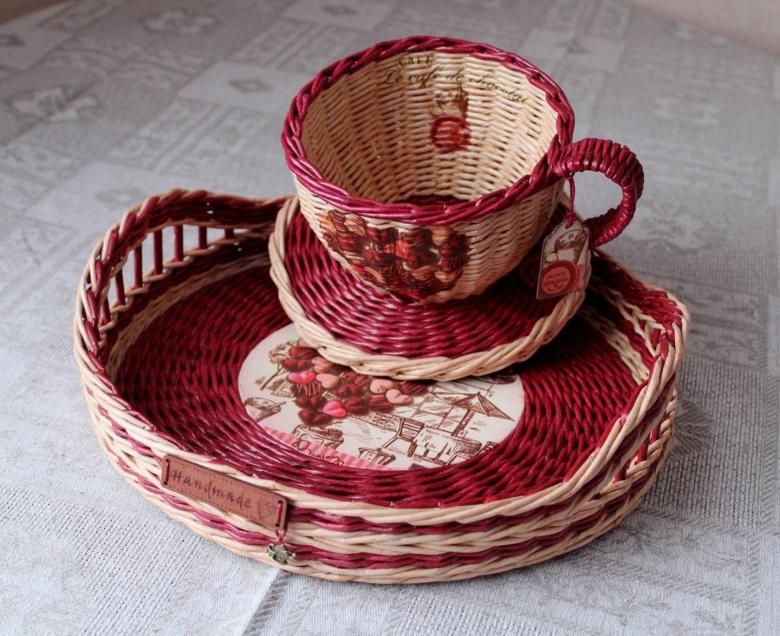
Tray for tableware
Those interested in crafts from newspaper tubes for beginners can safely take up weaving a coaster for dishes. With such a work can handle even a child.

An additional advantage of this craft is the small number of twigs (up to 50 pieces). The product will serve as an original souvenir and a very valuable device in the kitchen. Weaving consists of the following:
- To begin with take 12 tubes. Arrange them 6*6 (crosswise), these will be the racks.
- From the base of the intersection begin to braid these 12 rods in a circle. Rows will go in a spiral, gradually increasing the radius.
- As the circle of the stand increases, the struts will separate. At the end of the row tubes will braid one base tube each.
- When the required diameter is reached, the stands are cut off, and the edge of the tubes of the rows are hidden by pre-marking the cut with glue.
- The finished stand can be painted. If you plan to use a hot plate, it is better not to varnish it.
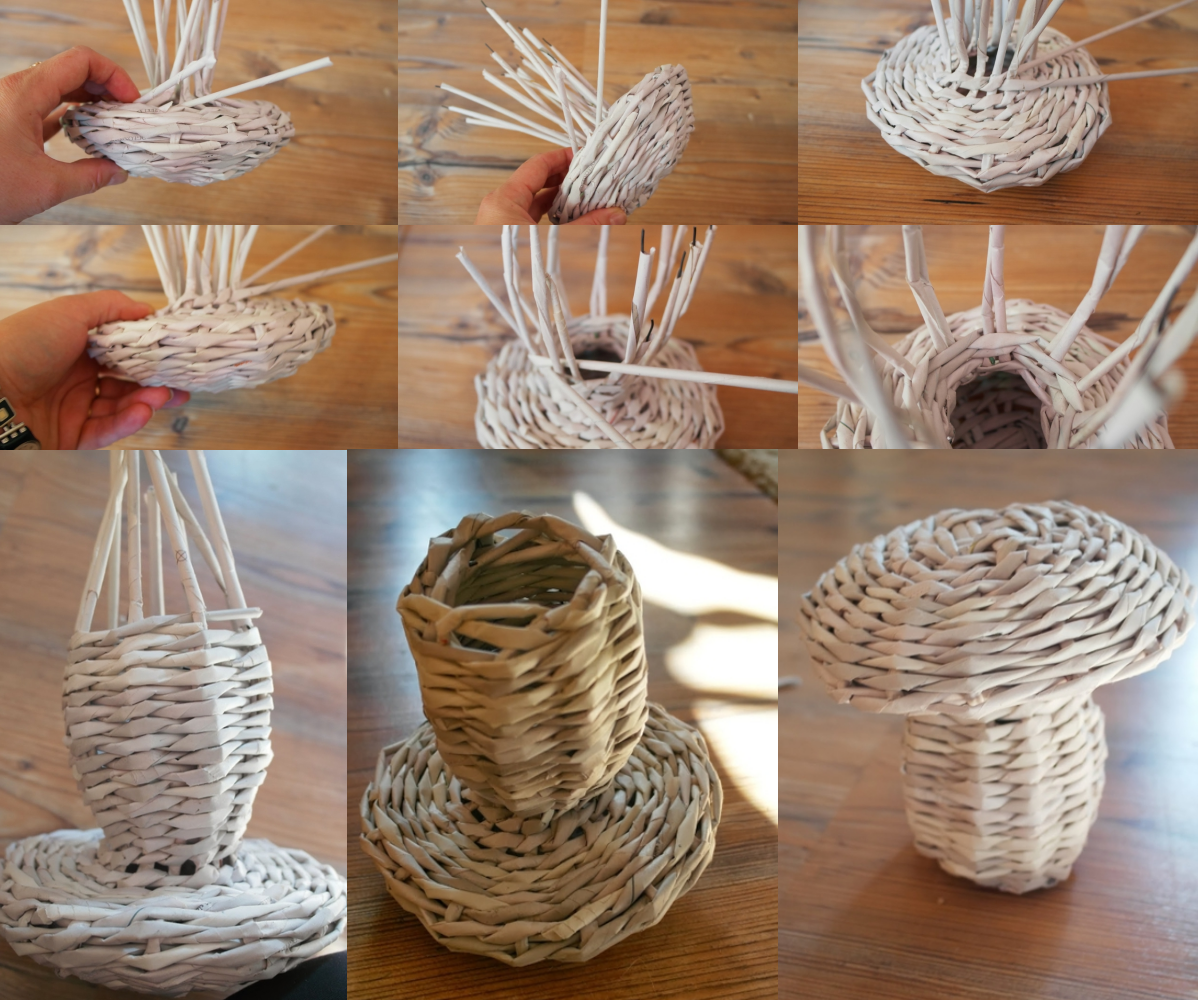
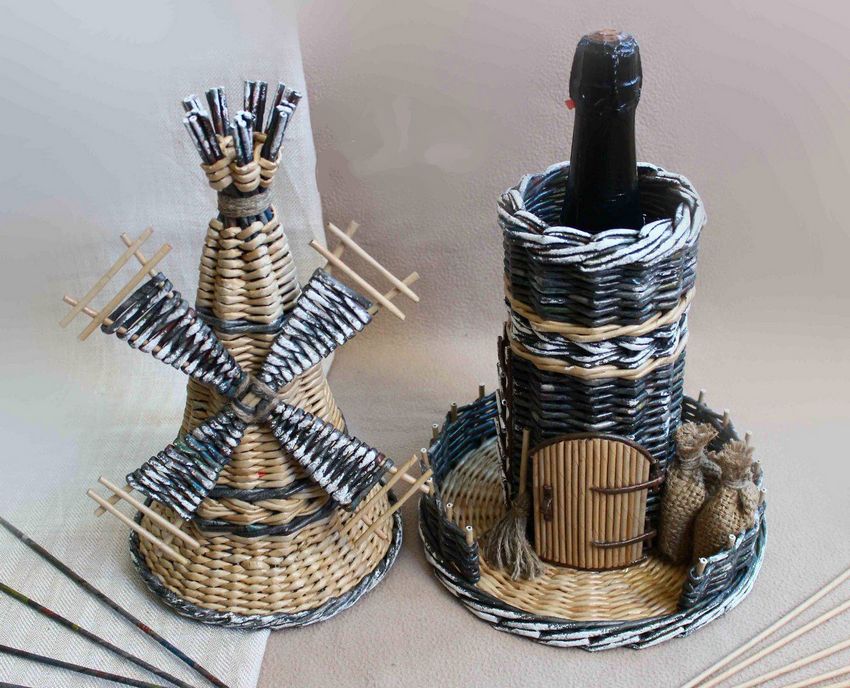
Christmas tree
Thematic Christmas decorations for any room is a Christmas tree. It can also be made of paper vines. Previously should prepare 100-150 tubes and shapes. For this sheet of thick paper is twisted and fastened with a cone. Scheme of weaving is as follows:
- Three rods are folded with a snowflake. On top of the intersection put cardboard cone. Under the base is a "sun" of the 6 rays.
- Taking an additional tube, put it on top of the two neighboring rays. The right of them cover more of the tube, pressed it to the cone-base.
- Further work is done in a spiral. Alternately, the lower bar is placed on top of the newly laid ray and press it to the base.
- When the first row is finished, the tail from the first extra tube will be left untouched. It will be glued or cut off at the very end.
- Each new row is moved to the center of the previous one, the work is tapered. For 1-2 cm to the end of the cone the shape should be taken out, because the weave sits on it very tightly. To do this, the binding of the beams from the bottom of the Christmas tree should be cut and glued inside.

The finished Christmas tree is painted in a variety of colors. The classic green for a modern Christmas tree is no longer so relevant: it can be entirely brown or purple.
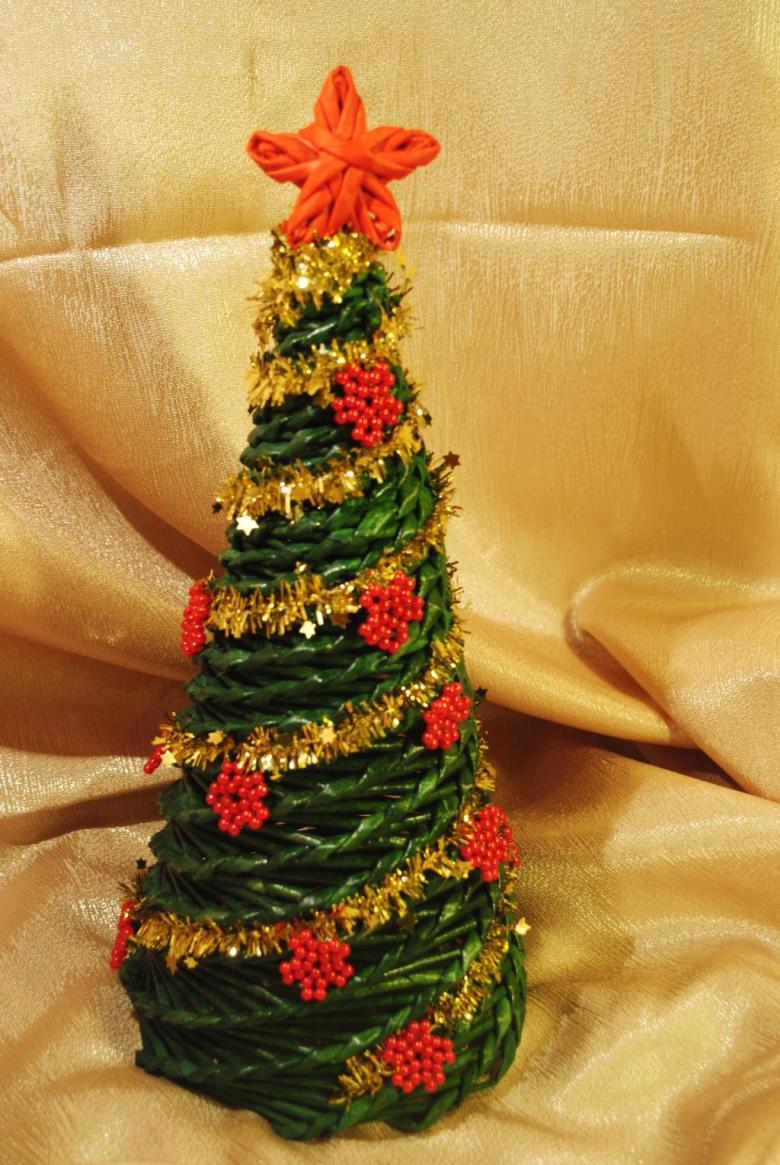
Miniature toys, small candies are easily attached to the spiral turns with thread or glue. Such a Christmas tree can stand on the legs in boots or be "planted" in a pot. On top often wear a red hat with a bob or bell.

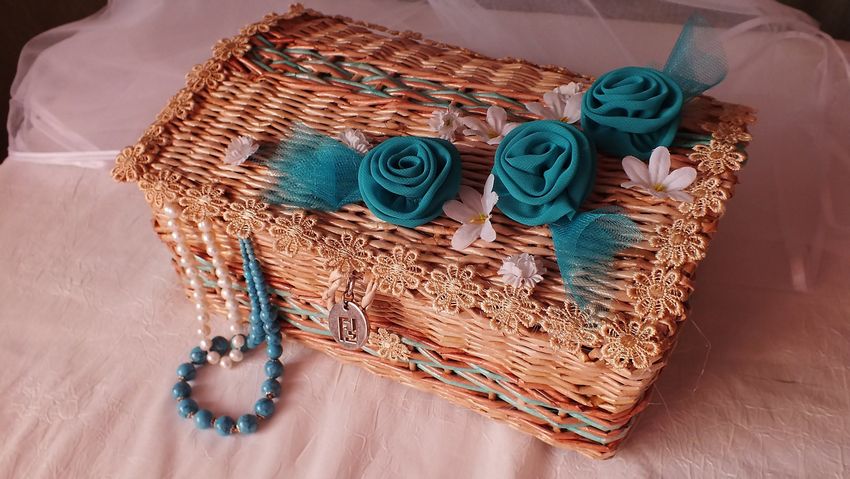
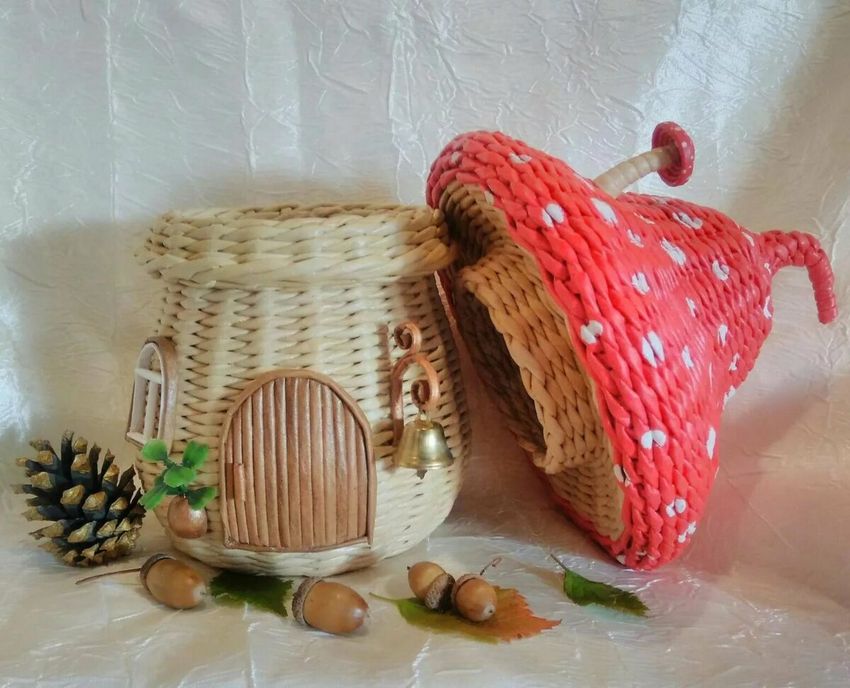
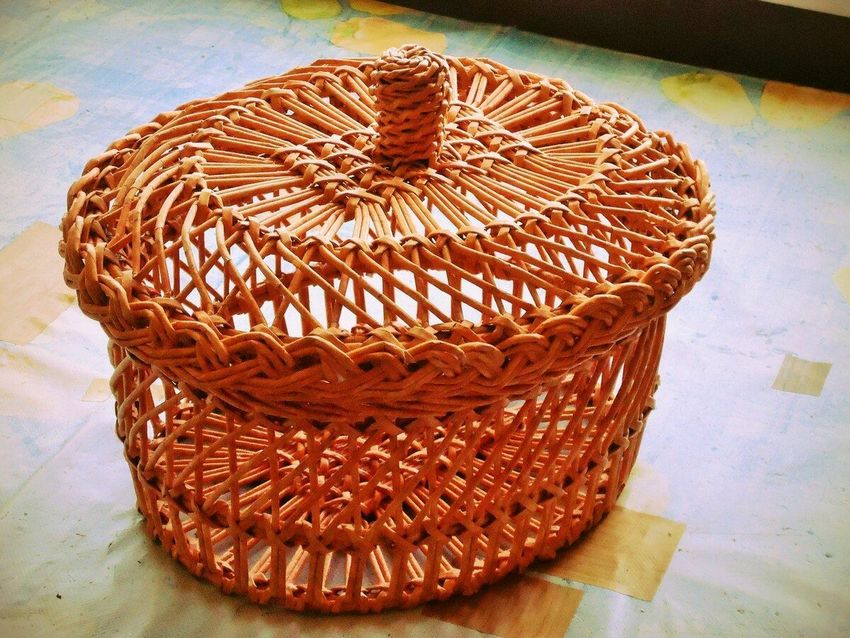
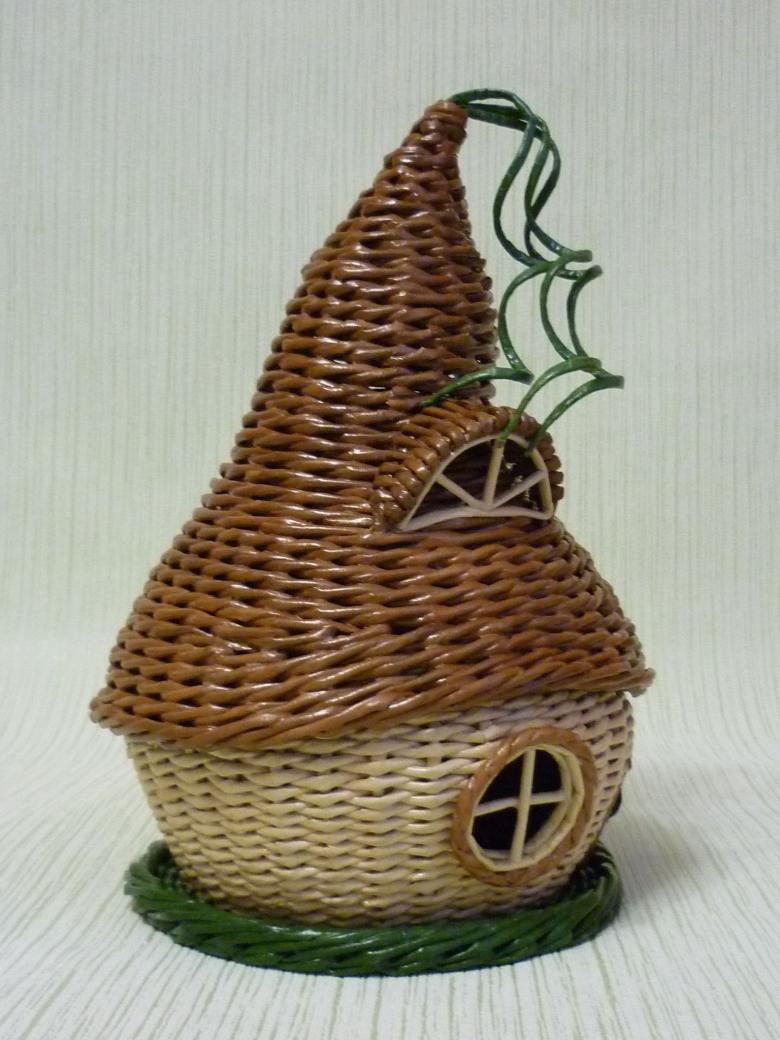
Box-house
Needlewomen who have already mastered the basics of weaving, can try to make unusual crafts from newspaper tubes. Such can be considered a work "house". It can be made in one piece, as a decorative detail of the interior, or you can weave the roof separately to make a casket.

For such a hut the size of a half-liter jar will need at least 250 twigs of newspaper. The sequence of work is as follows:
- The bottom of the "house" is formed from a flat circle. For him we put the "sun" - a cross of 12 paper twigs. Then we braid the rays in a circle with working tubes. Lengthening / extending the usual putting the next tube on the previous one.
- Passing in a spiral of 6 rows, rods-beams let go, braided each separately. This increases the diameter of the circle. When you reach the required size, the twigs are cut, the edges are hidden and glued.
- The walls of the house will "grow" not from the very edge of the base, but shifted slightly to the center. To do this, through the base of a particular weave row vertically through the new props for the walls. The distance between them should be about 2 cm.
- Rounding the racks, weave the walls of the house with working tubes. We need to decide: will the walls be straight or at an angle. In the center you can install a bowl / jar of desired diameter, so that the work is a little outward, became more rounded. After passing the desired height , the base can be removed, then the diameter of the house will decrease, it becomes more "skinny".
- When the desired height is reached, the base rods bend or cut. We got the bottom hollow part of the casket.
- For the lid / roof need to take 6 newspaper twigs - this is the base. Between them are twisted into a tight bundle and make a loop, fix it with a rubber band. This loop will be on the roof of the hut. Twigs of the knot bred into a sun and work tube weave in a circle between these rays. Such weaving gives a cone, the diameter of which is gradually growing.
- The work ends at the stage where the cover will be well seated on the walls of the original house. Working rods need to be carefully bent and glued.
It takes time and diligence to practice your paper tube weaving skills. It is better to start with simple products; once you have mastered the basics, move on to more complex ones. The pleasure derived from the creative process is more than worth the time spent.
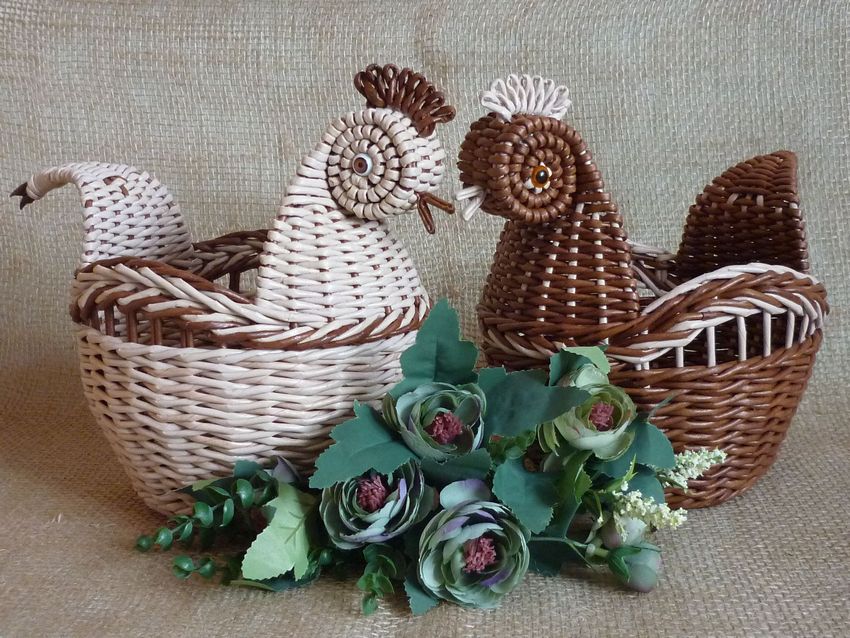
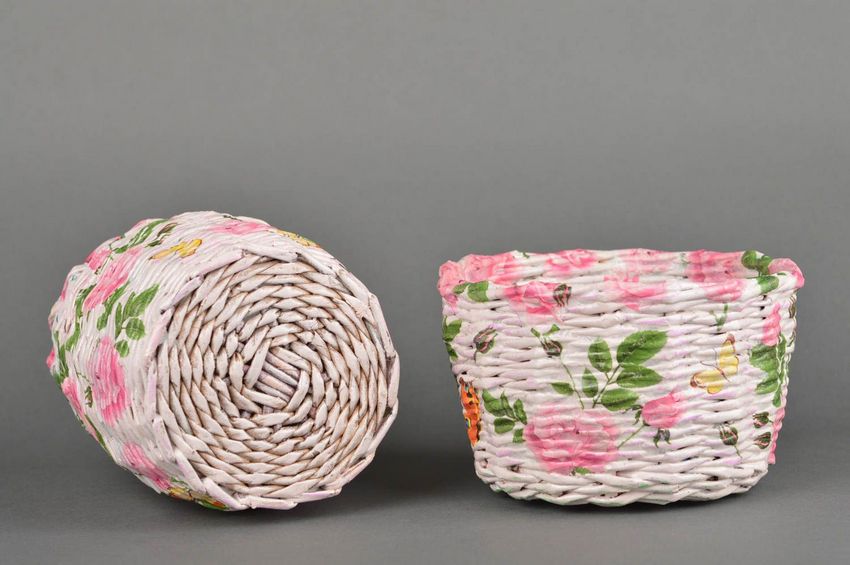
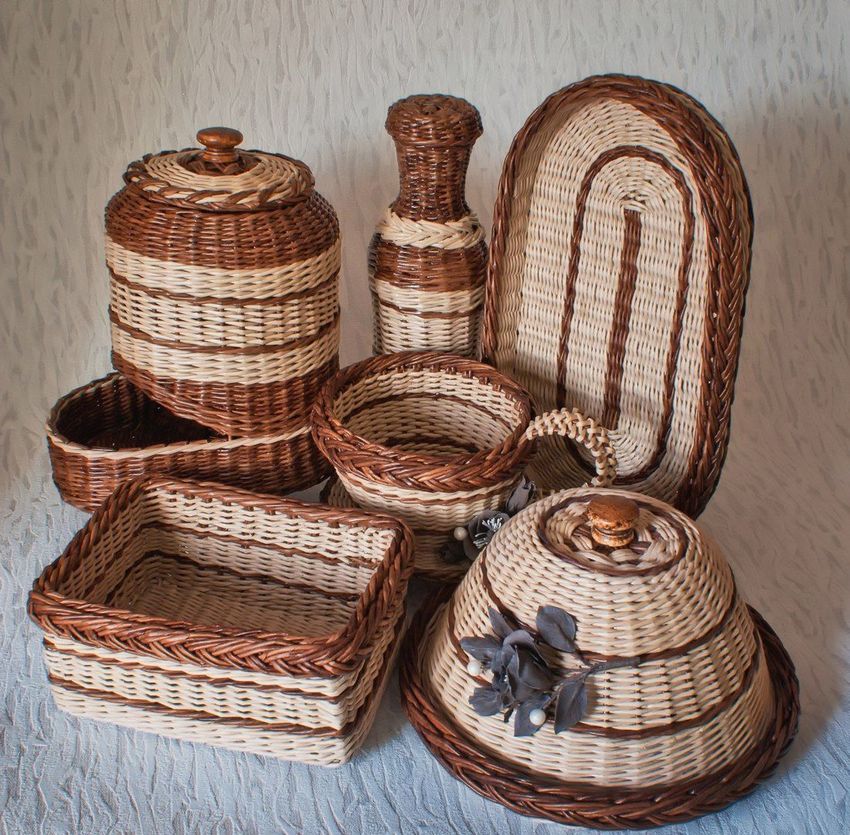
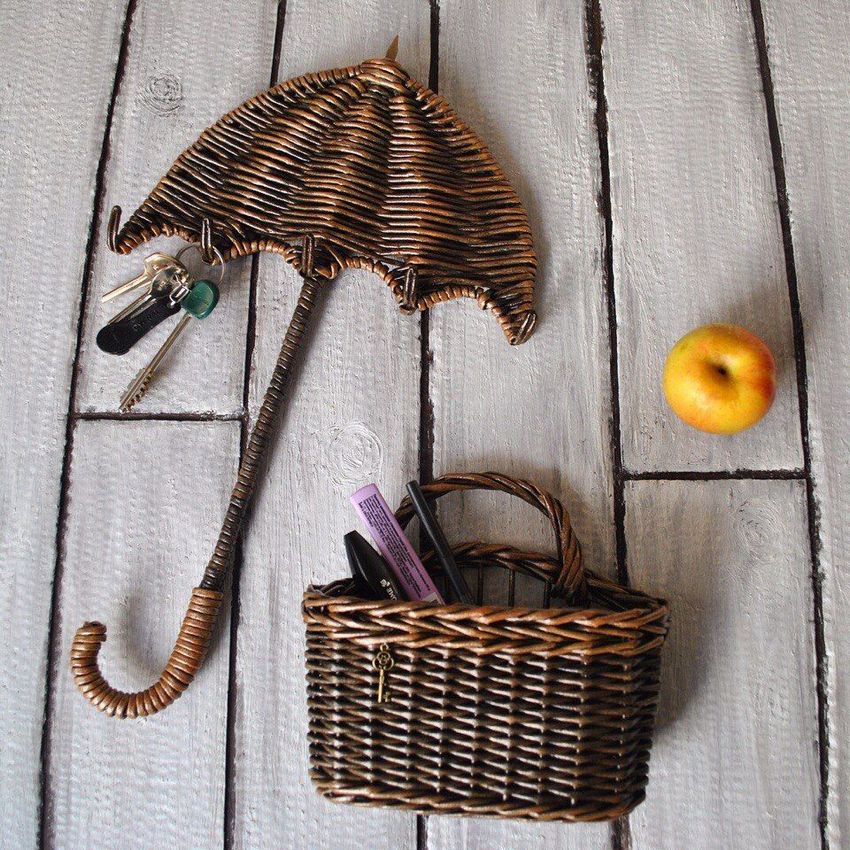
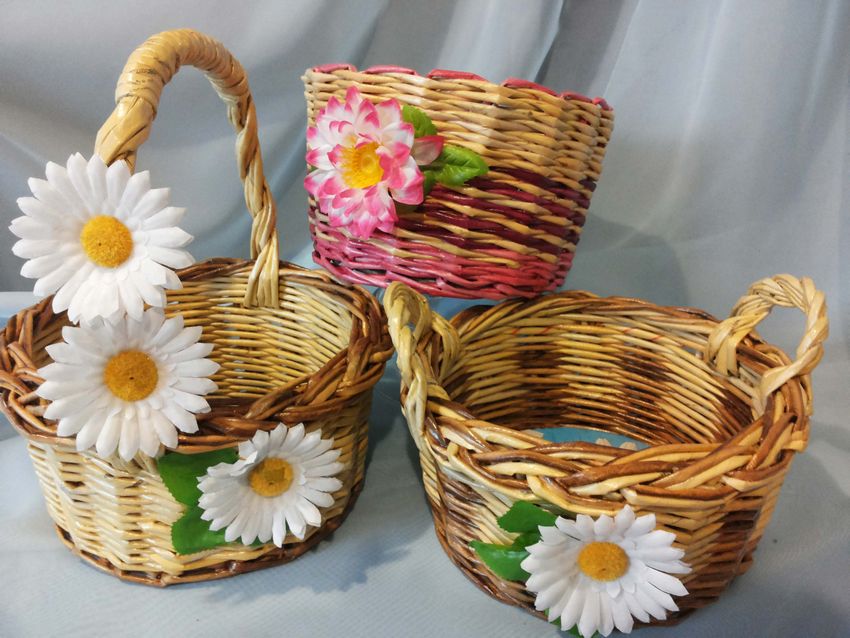
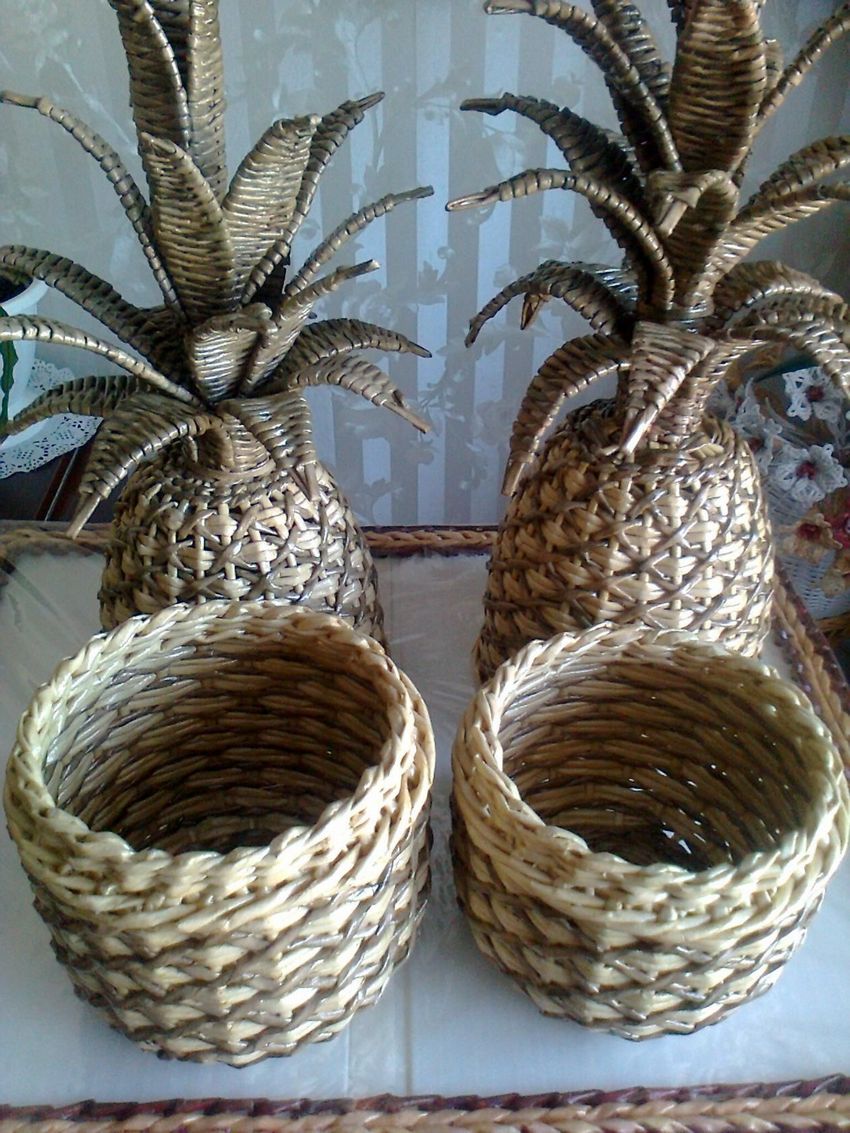
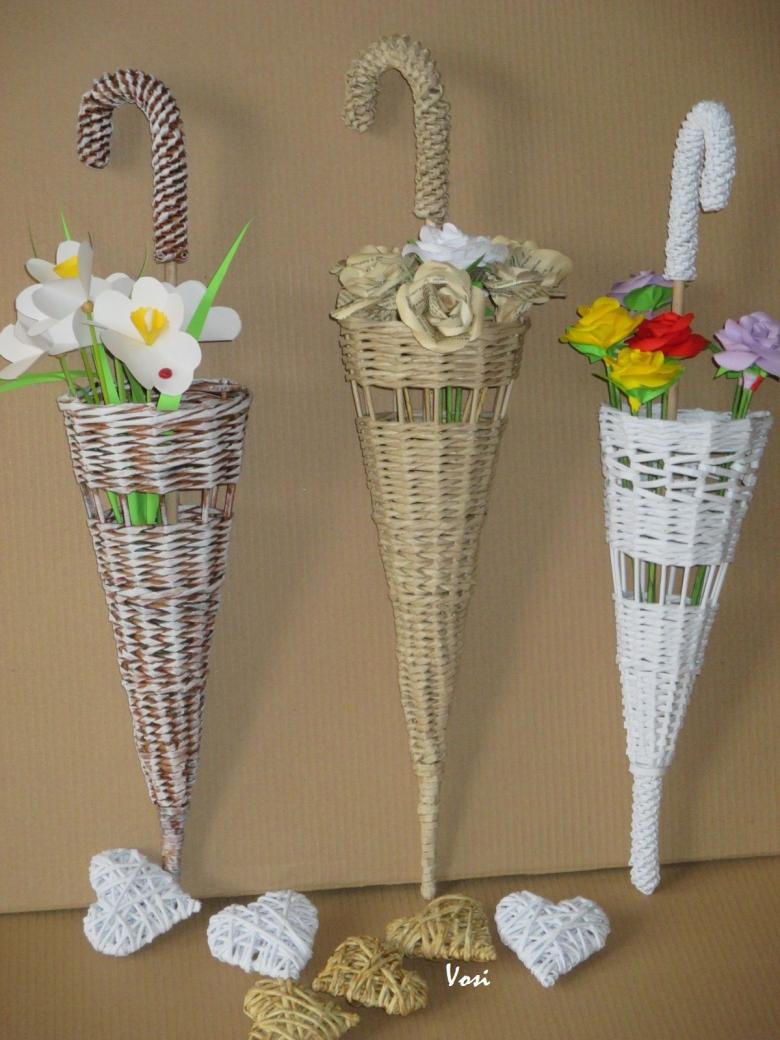
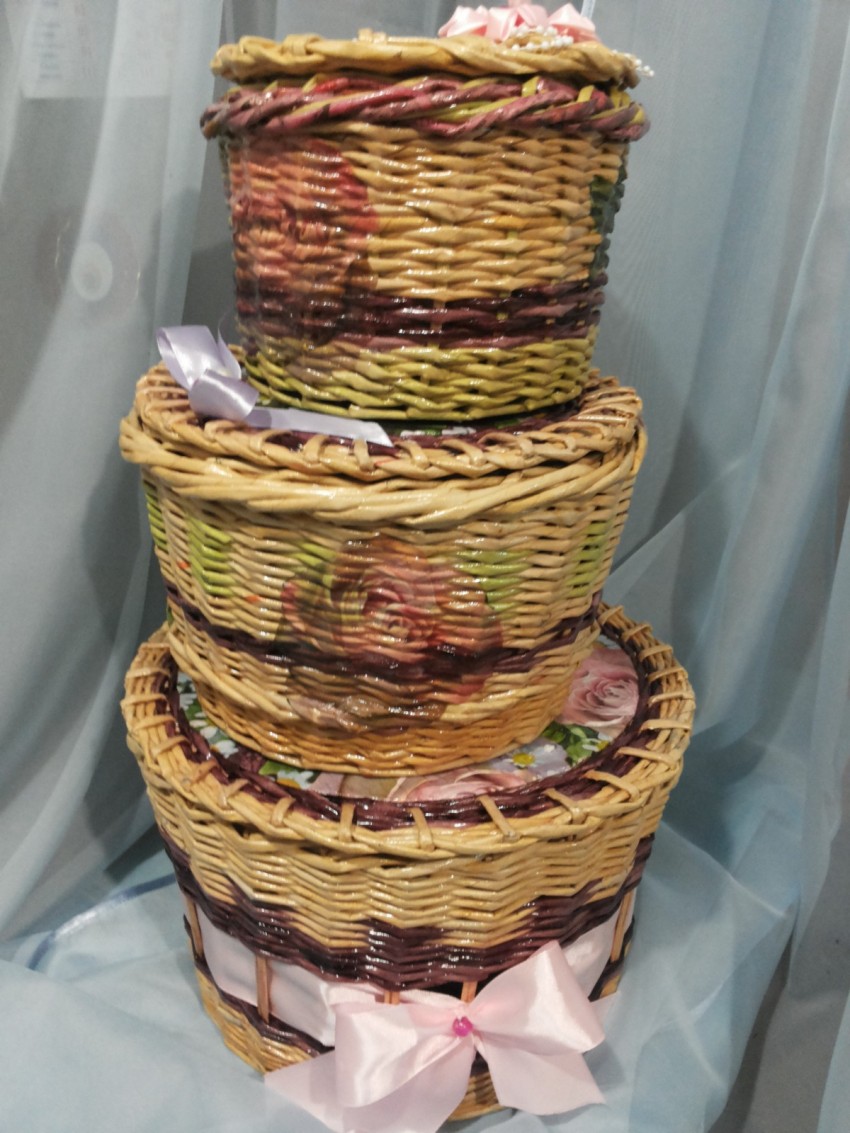
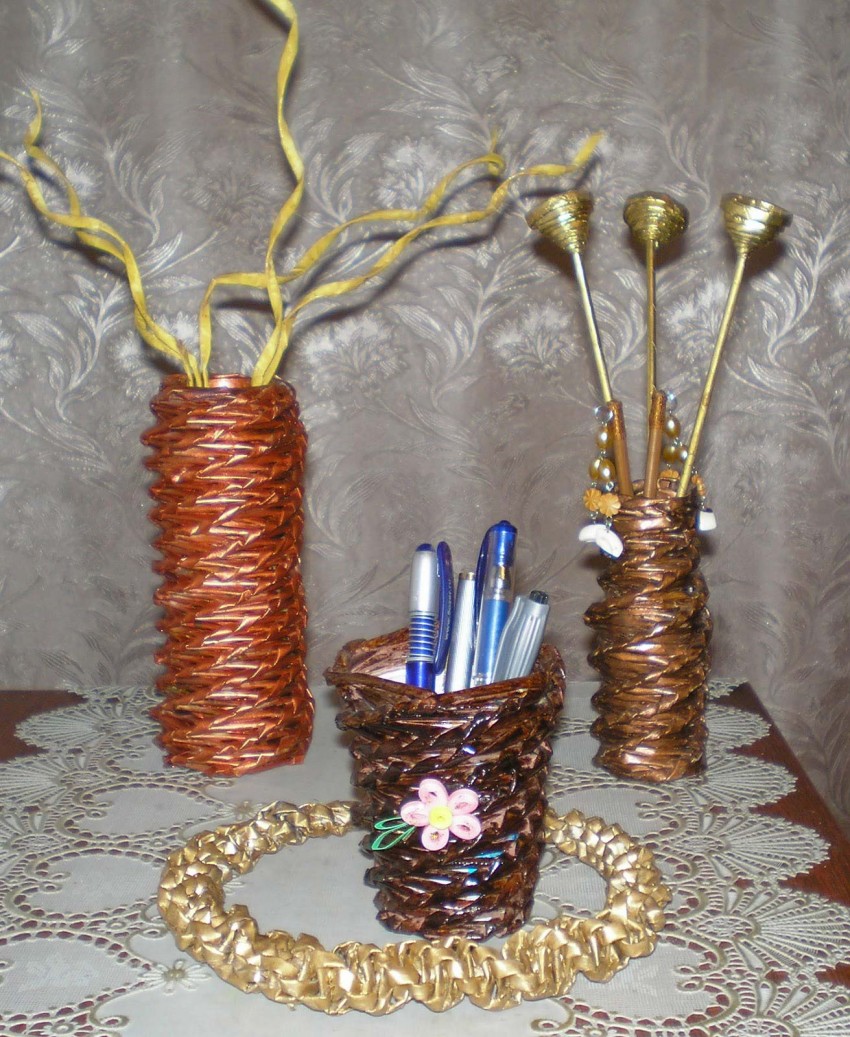
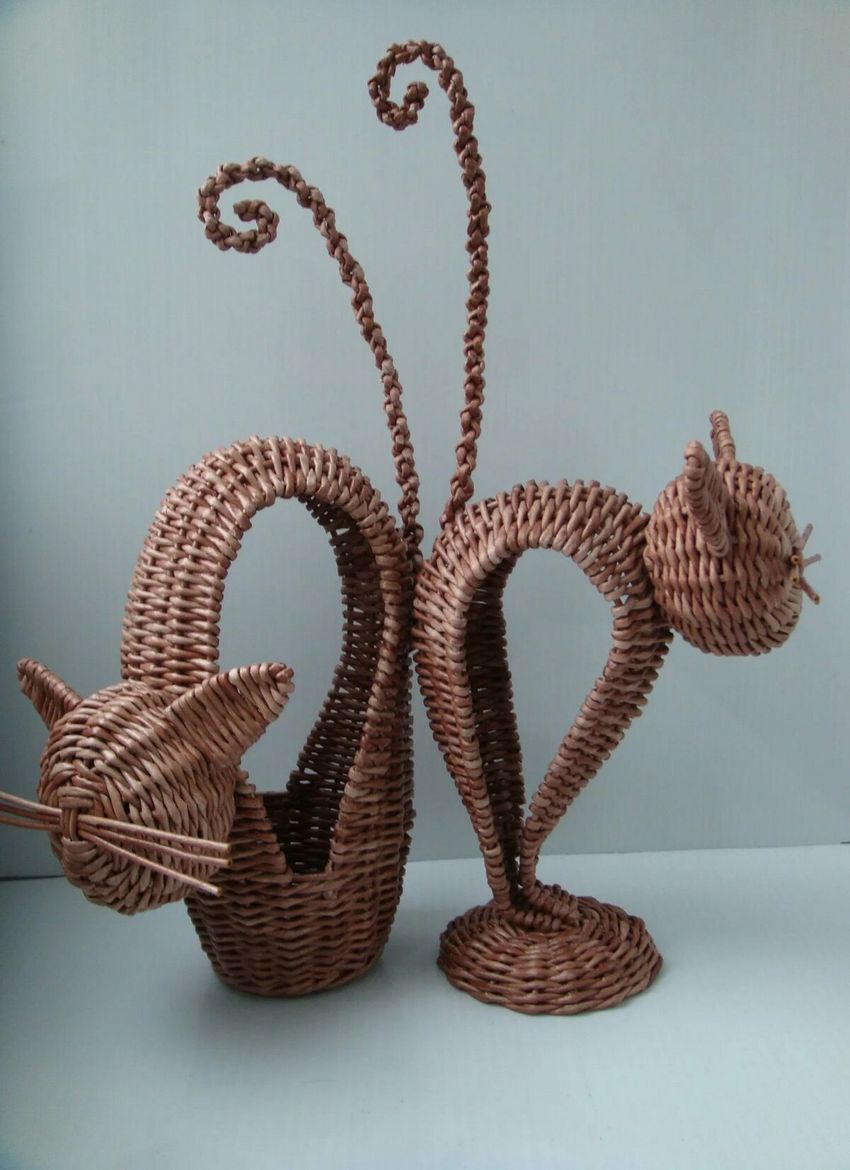
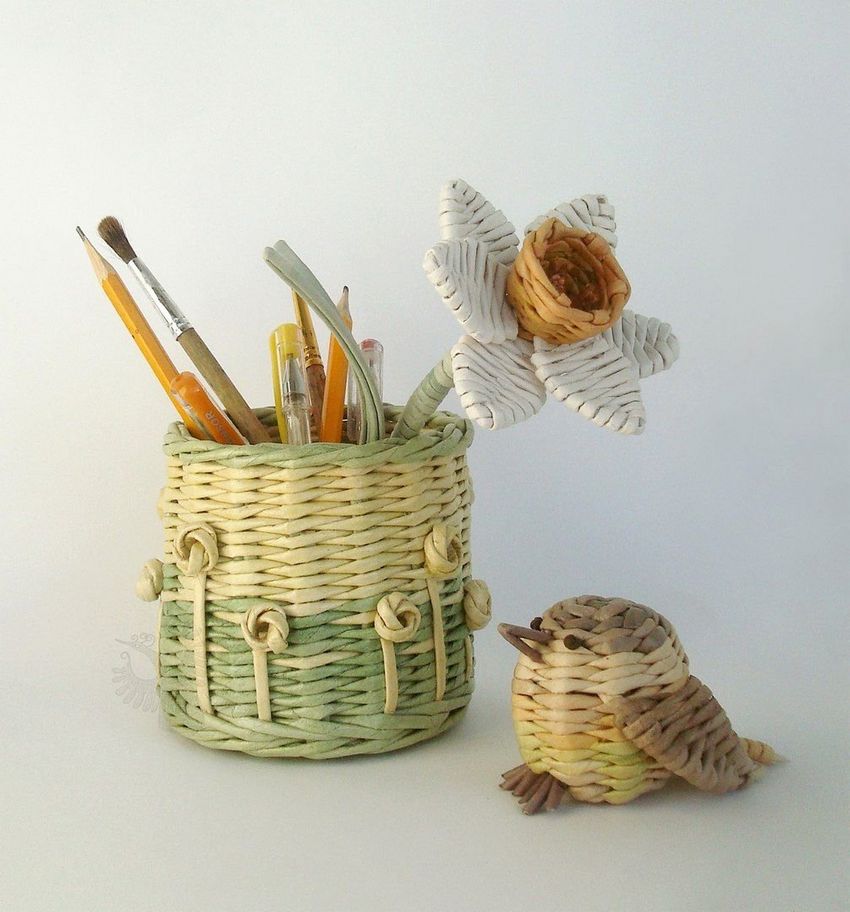
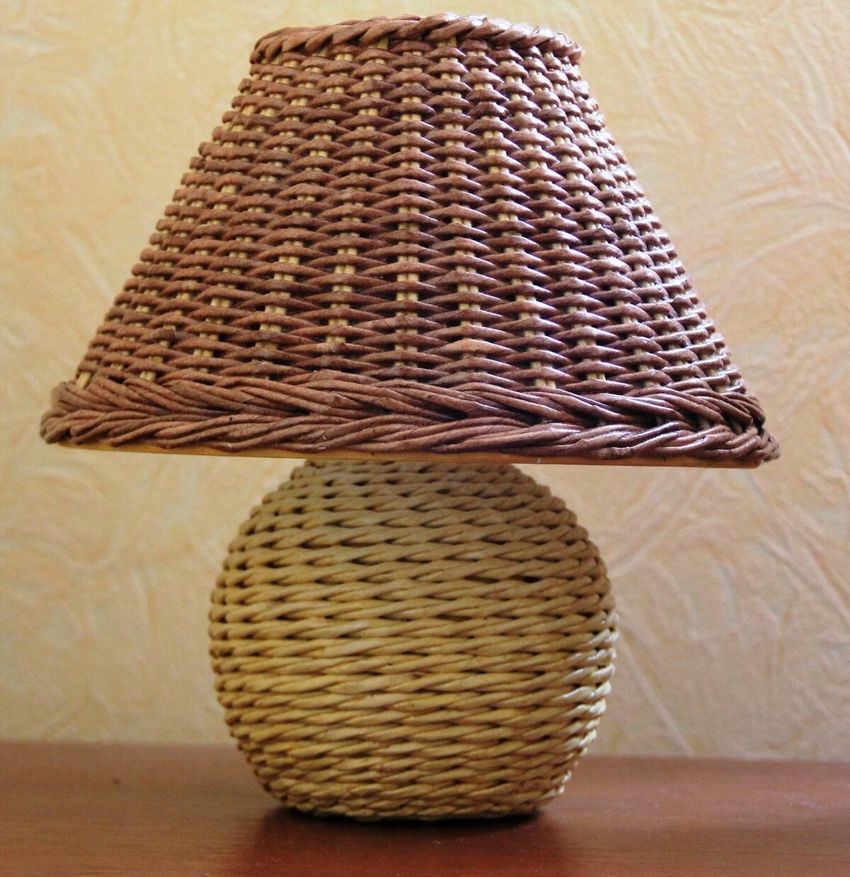
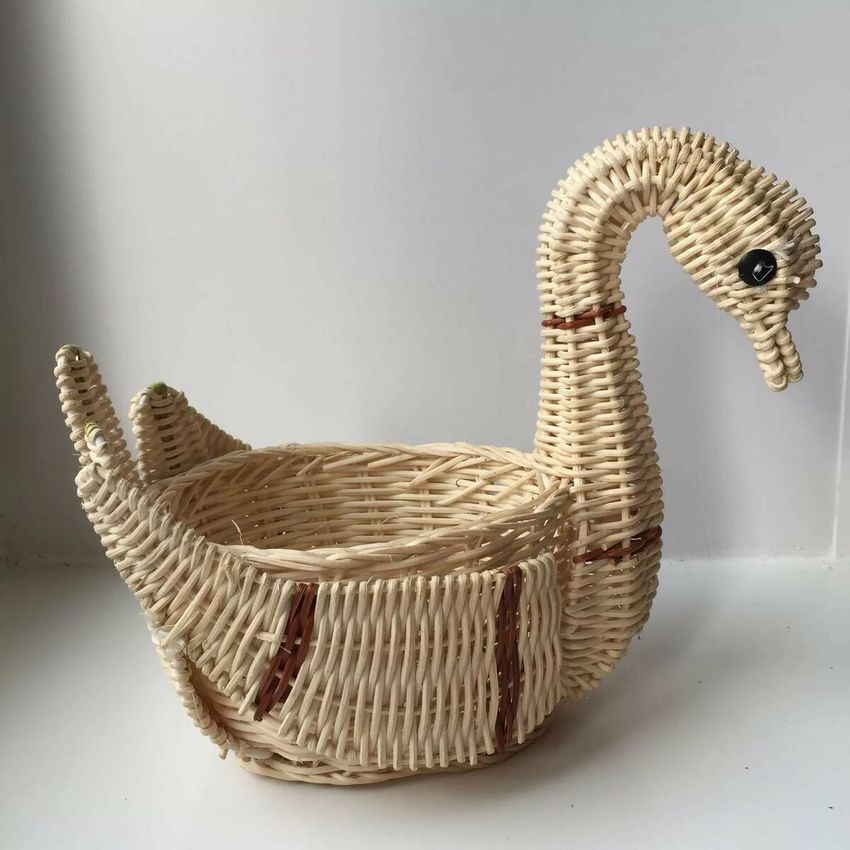
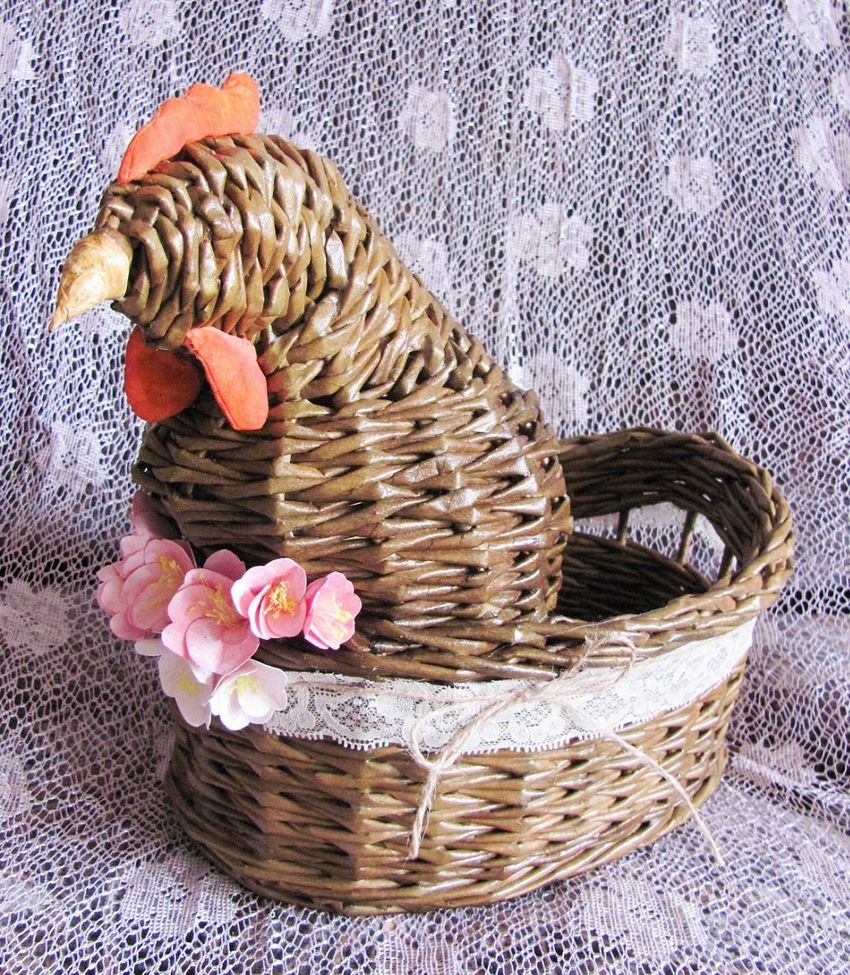
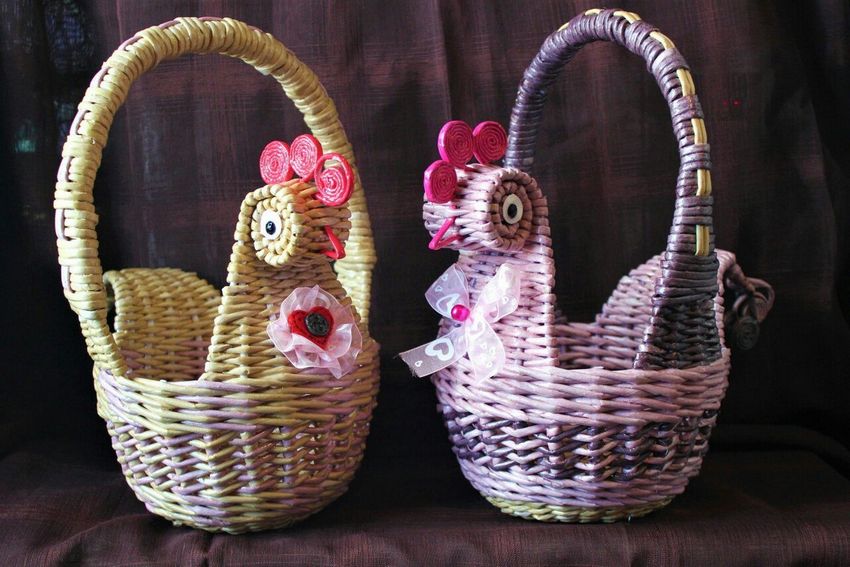
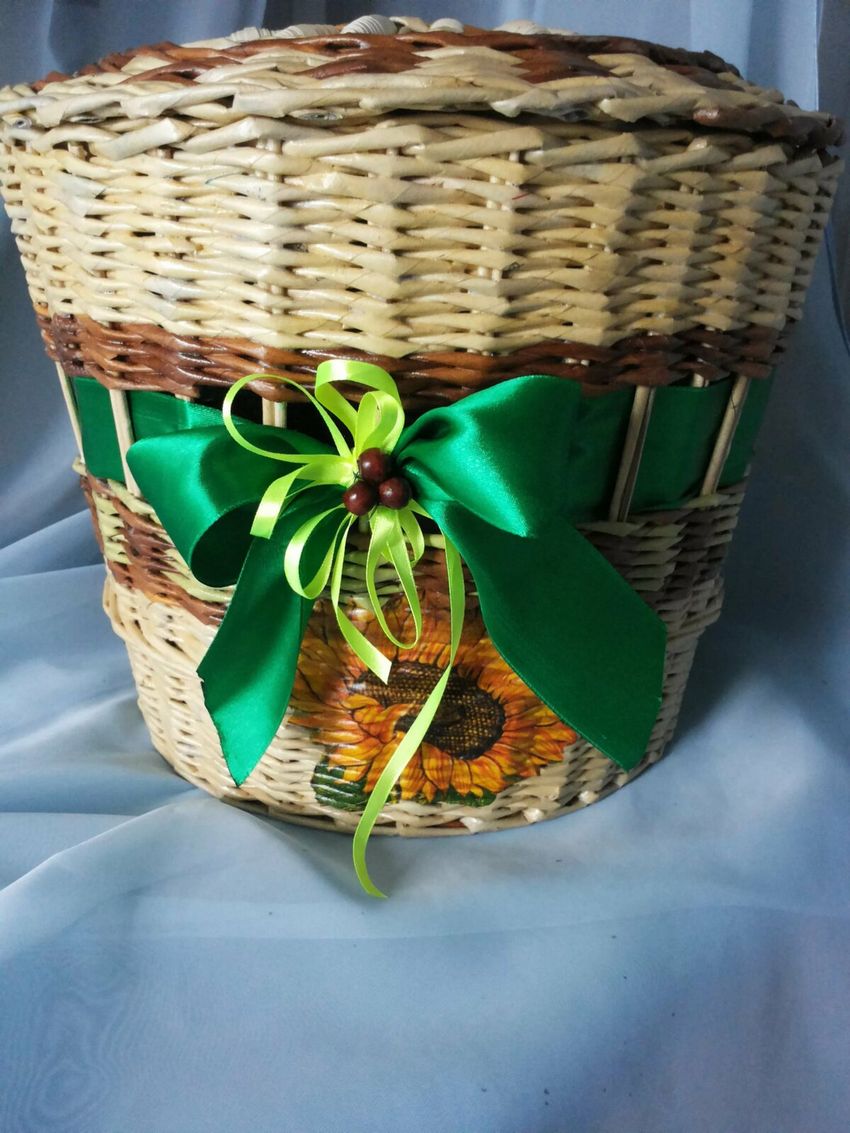
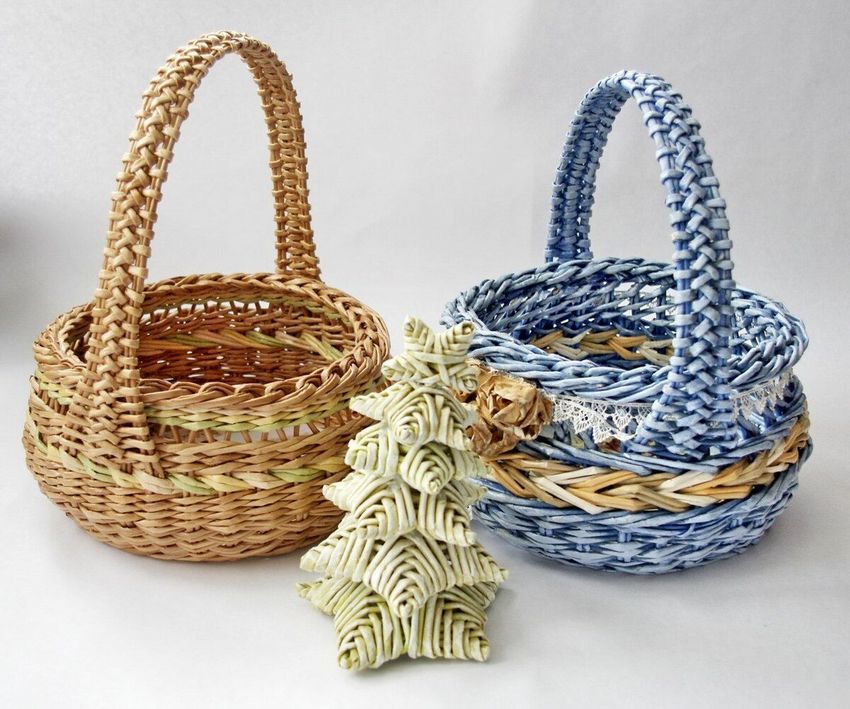
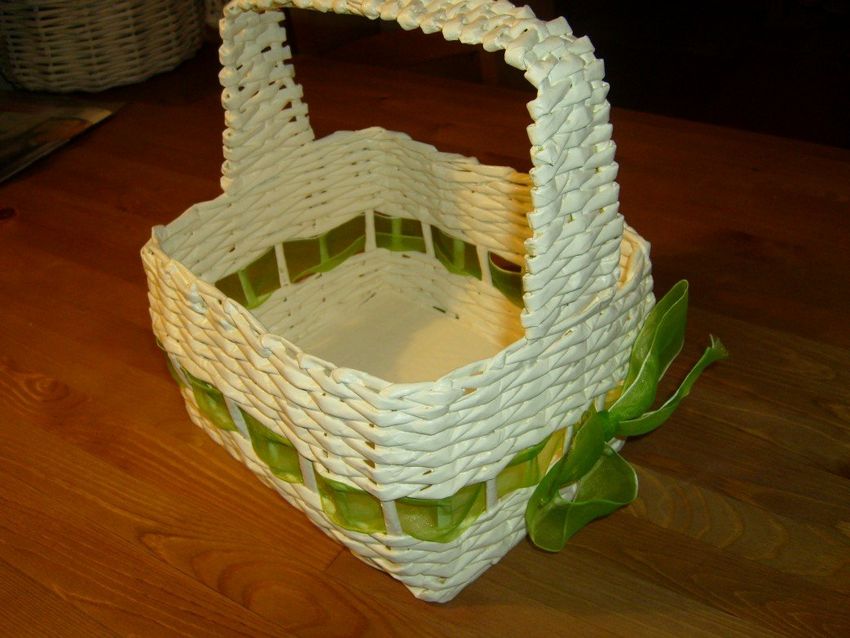
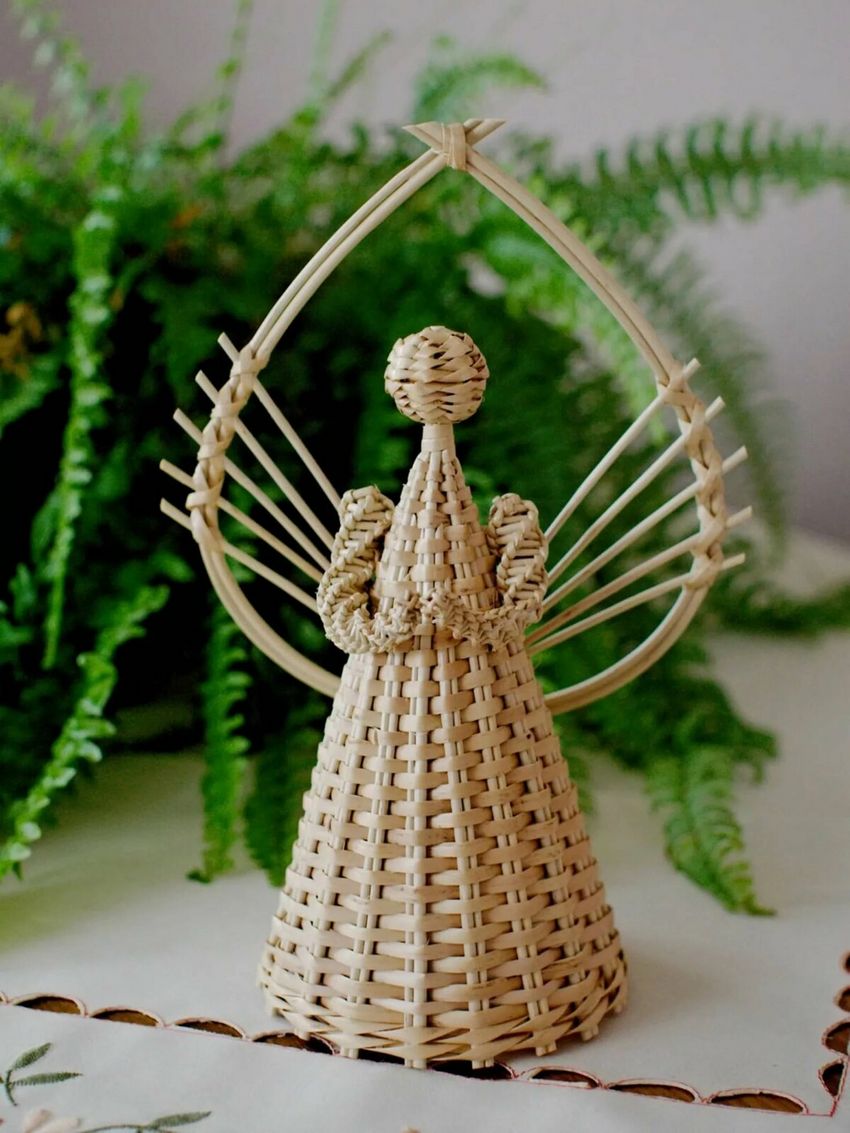
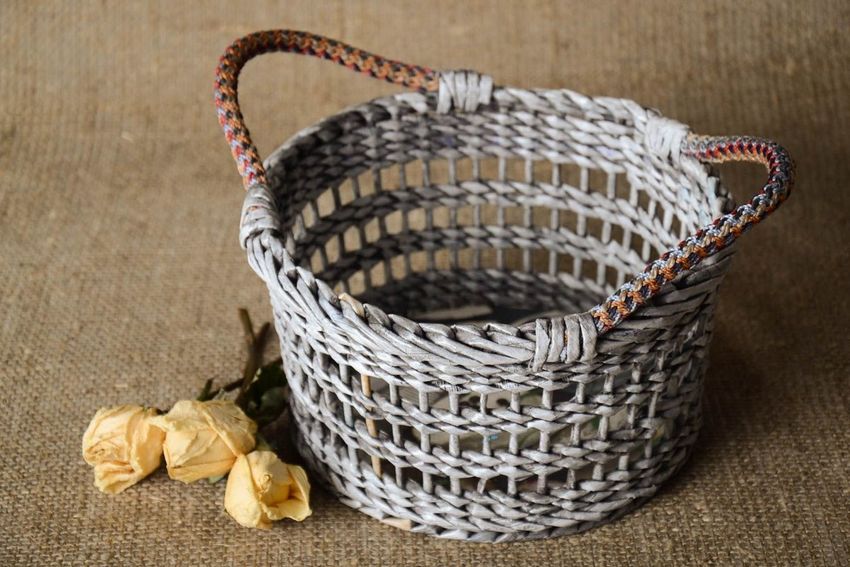
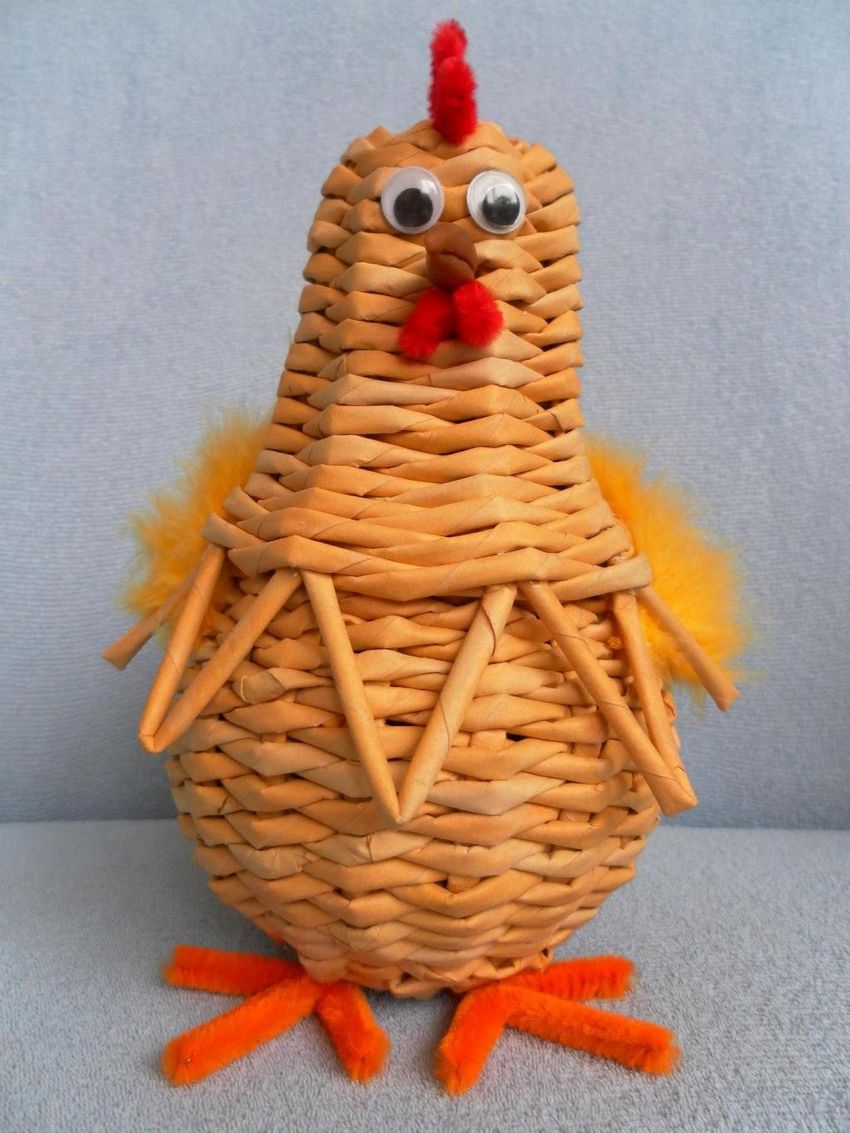
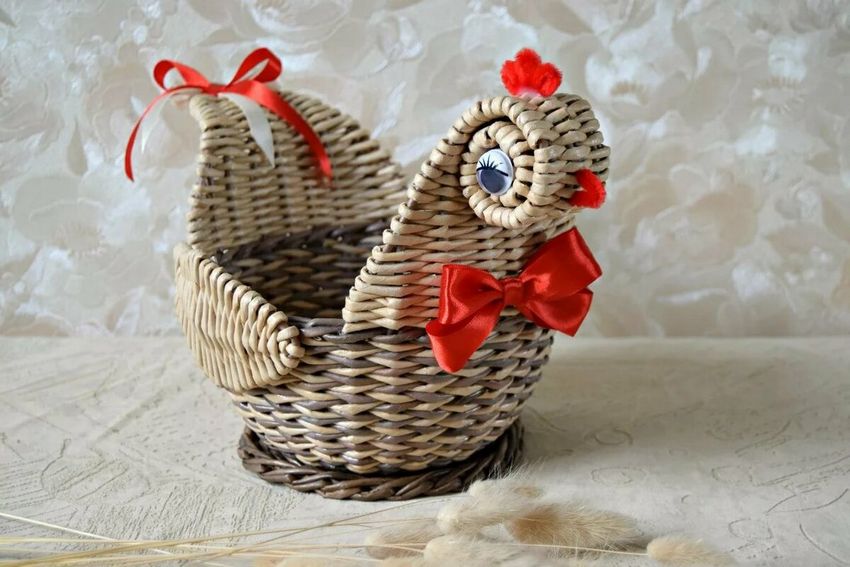
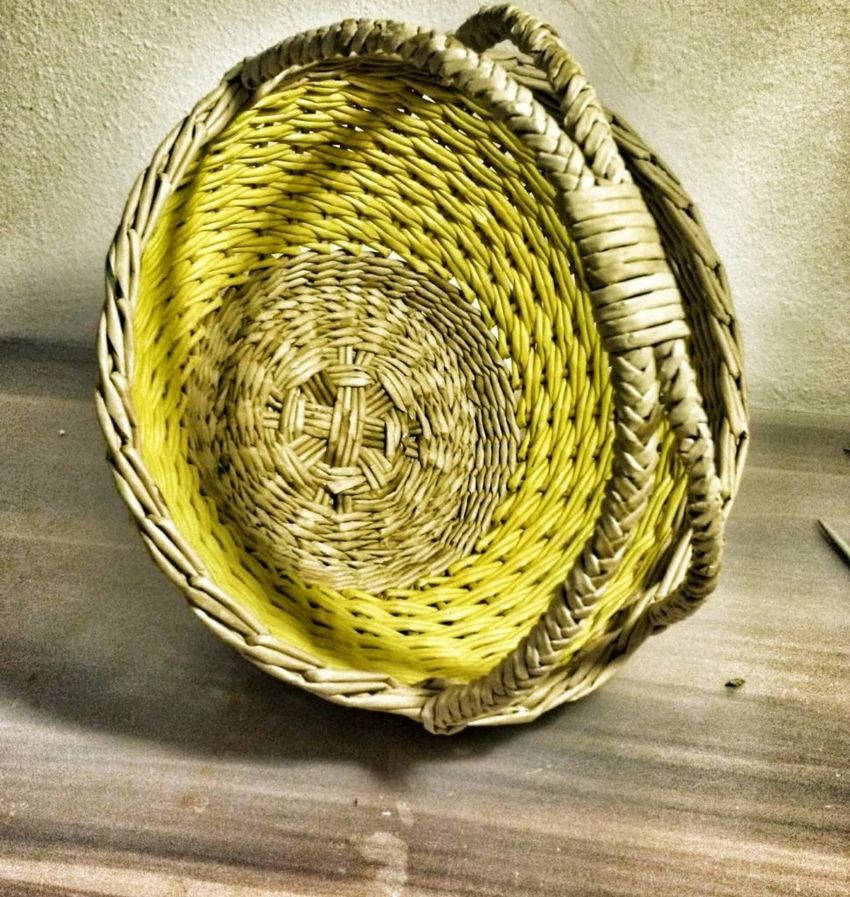
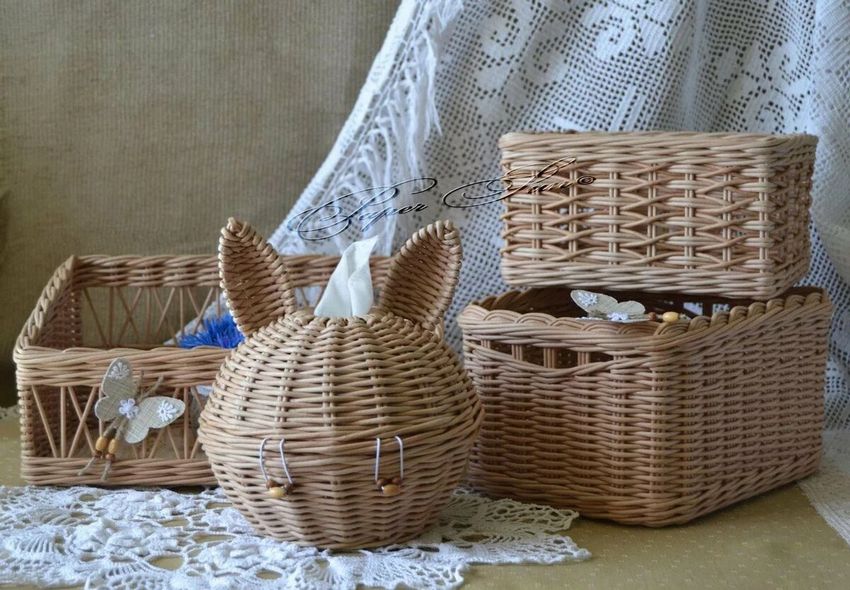
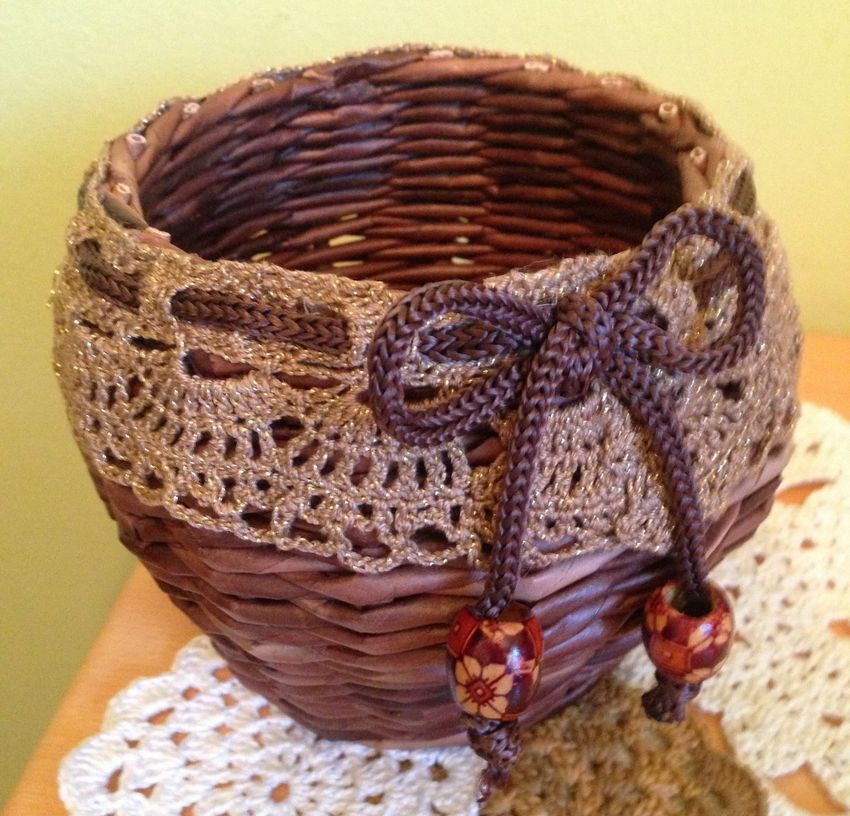
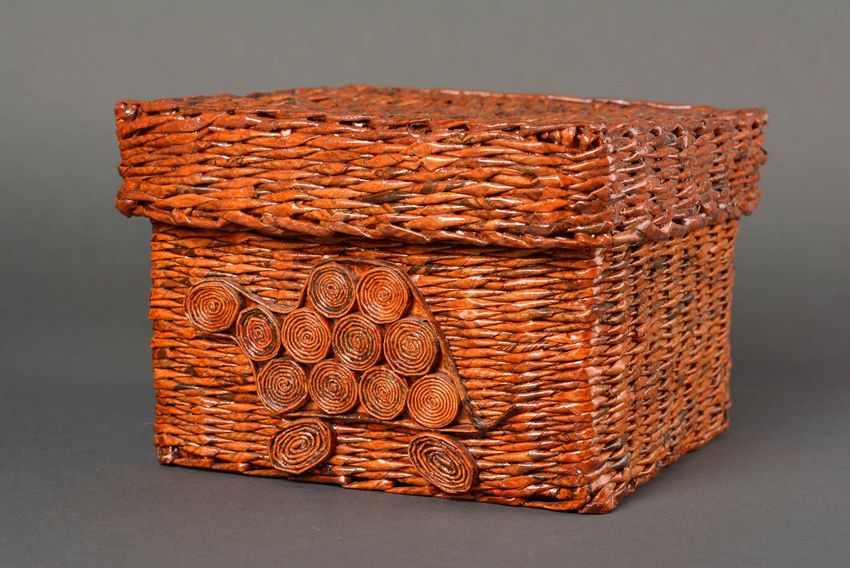
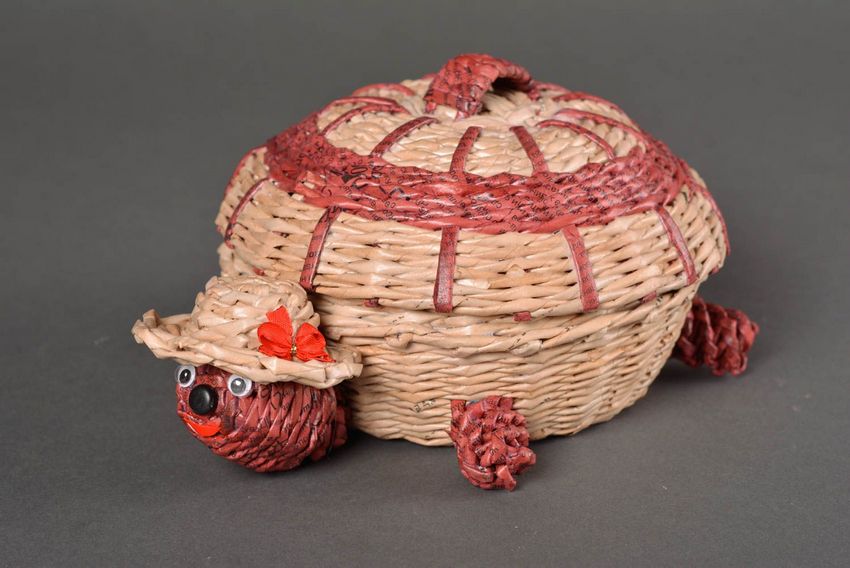
Photo ideas of crafts from newspaper tubes