How to make an origami box - diagrams, photo ideas and steps to create
Making handicrafts with their own hands is always interesting and exciting. This is a universal option for those who want to bring a little creativity into their lives, paint the house with bright colors or come up with a good gift for friends and family.
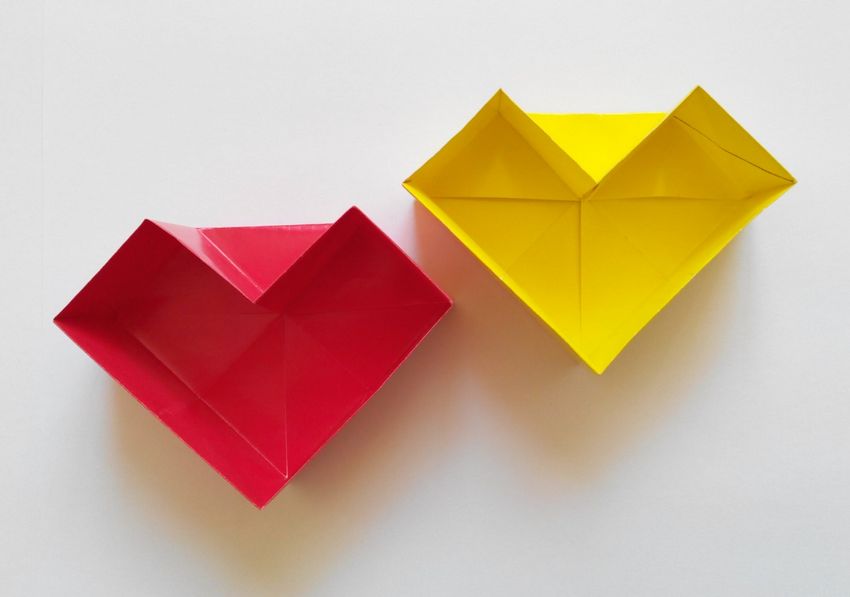
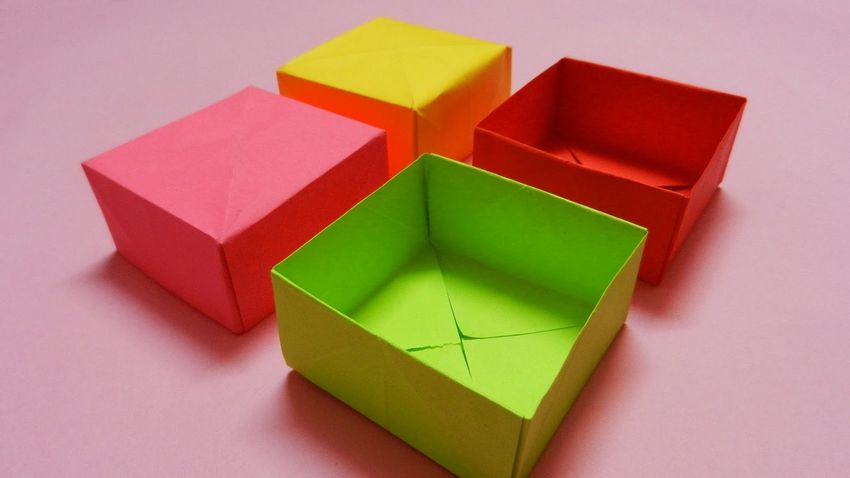
A paper craft as a storage box
When the question arises - where to store things, for example, different little things - jewelry, trinkets, or something of large dimensions - objects or clothes that are not used so often, the first thing that comes to mind - boxes or boxes.
Boxes from appliances or shoes do not look attractive, and boxes are often very expensive and you can not always find the desired box from the range of stores.
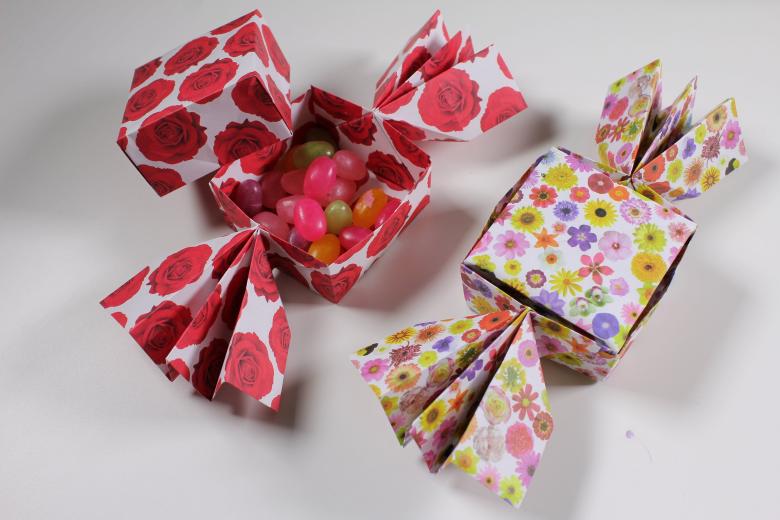
As an alternative, you can easily make a paper origami box yourself, it can serve for storage and beautiful decoration of space, as well as for the packaging of various surprises and gifts.
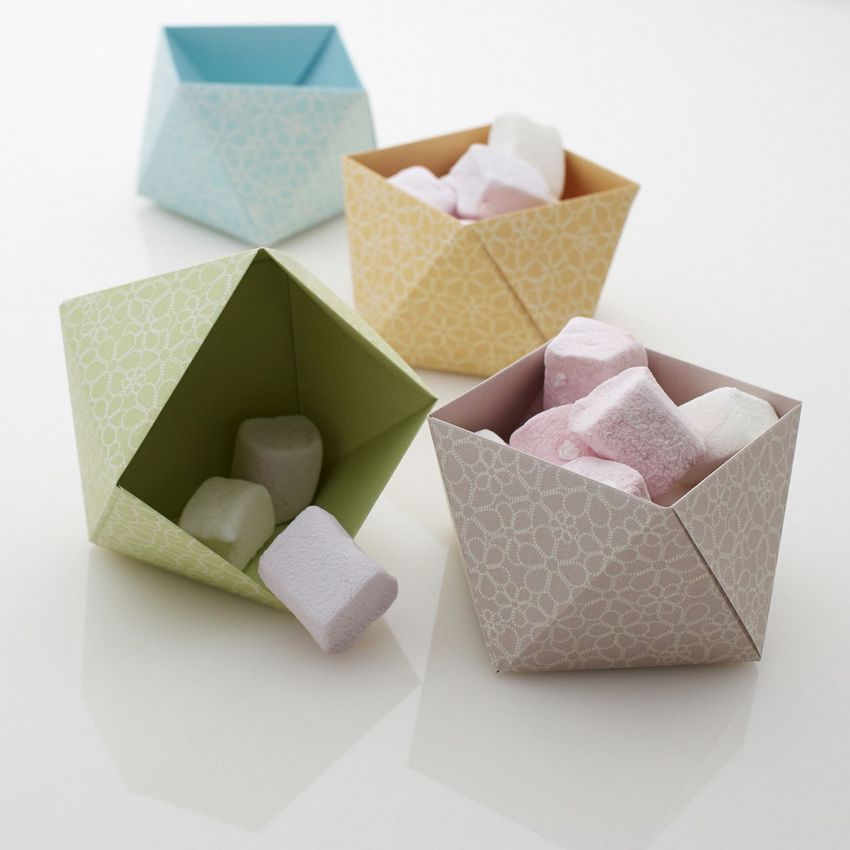
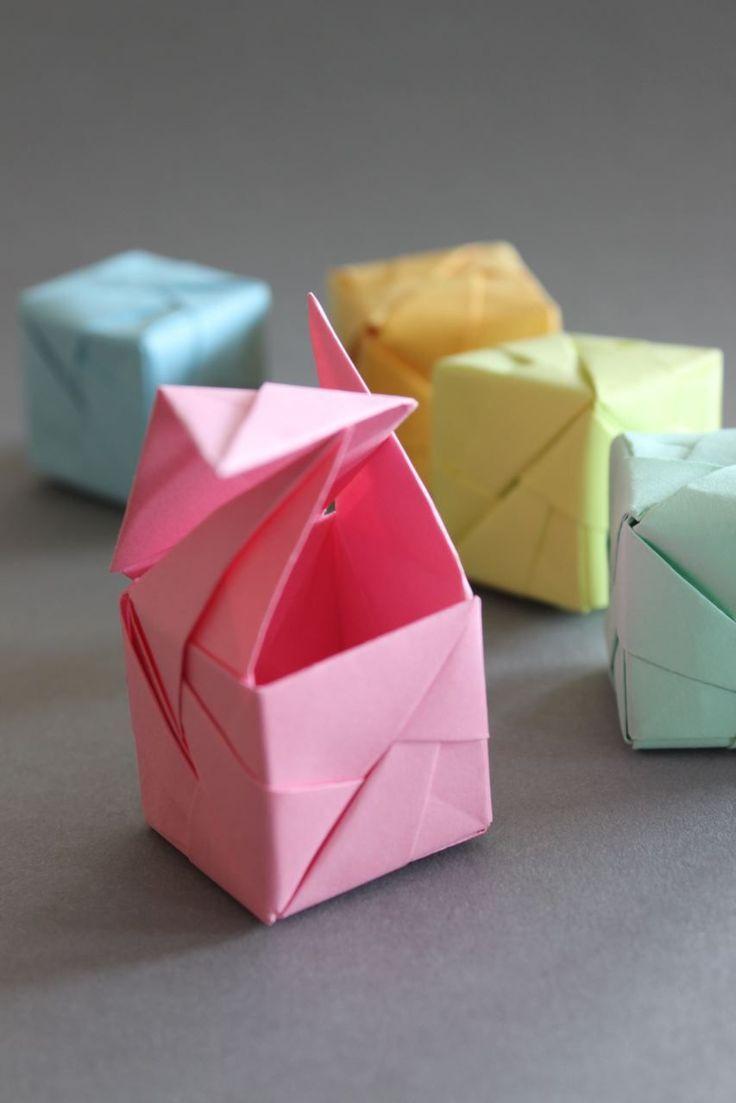
She is easy to make from dense beautiful cardboard and use as a great place for storage or packaging handmade. It can be large or miniature, depending on what you plan to store.

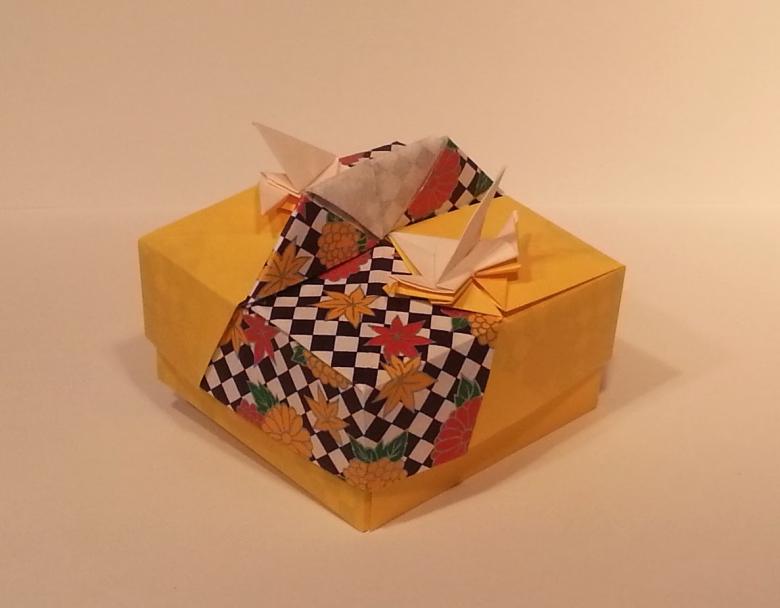
You can always paint and decorate a self-made "box" according to your taste. For decorating everything is suitable - self-adhesive films, if the paper is white, feathers, paints, beads, colored cardboard, sequins and so on.
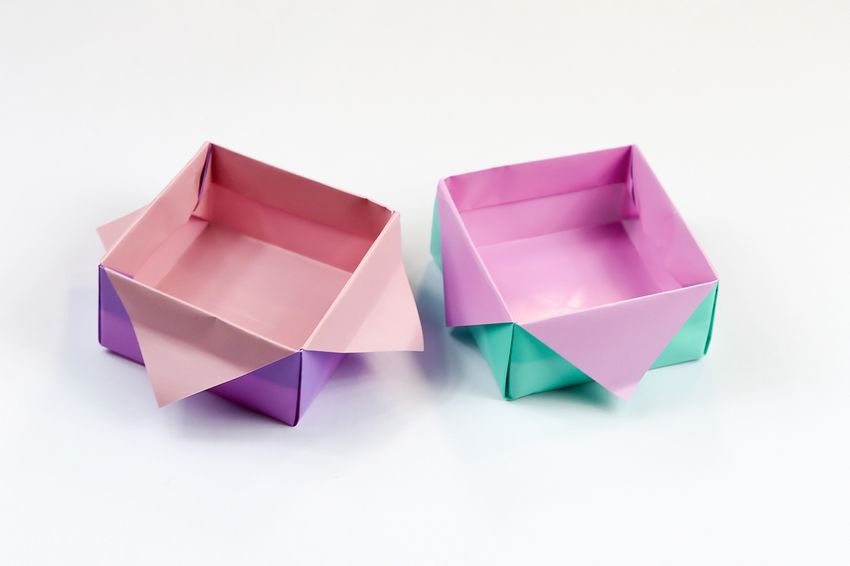
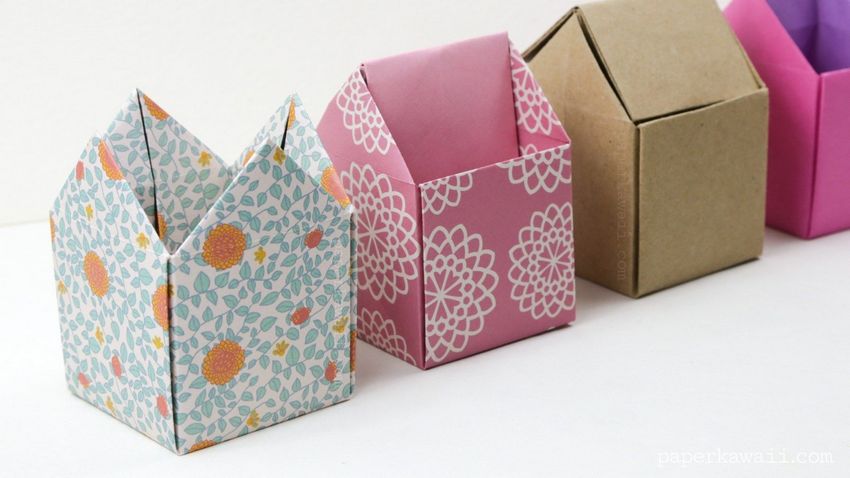
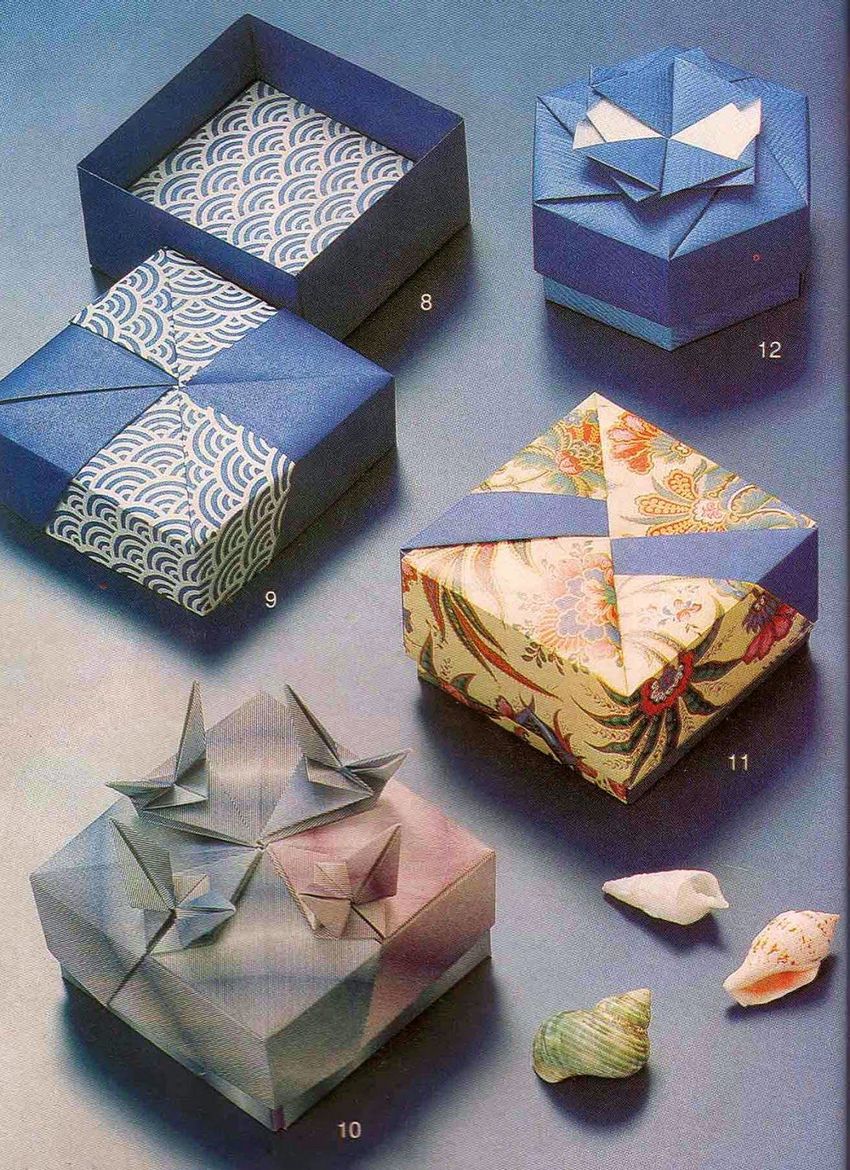
The paper box is easy to make yourself
How to make a beautiful and convenient cardboard "box" with their own hands? In the arsenal should only have a little time, a couple of tools and materials that are sure to be found in everyone's home. After making the base for the paper box, you can use your imagination and turn it into a work of art.

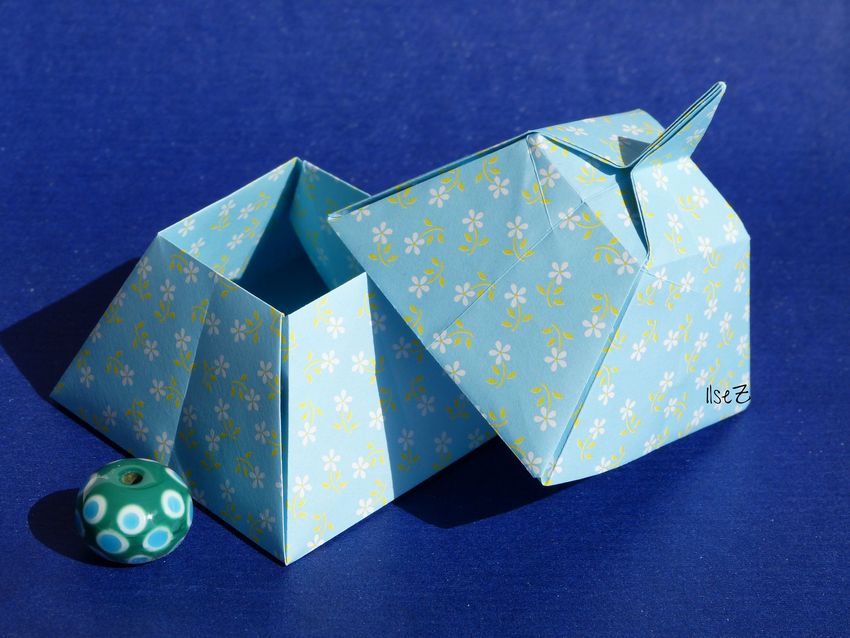
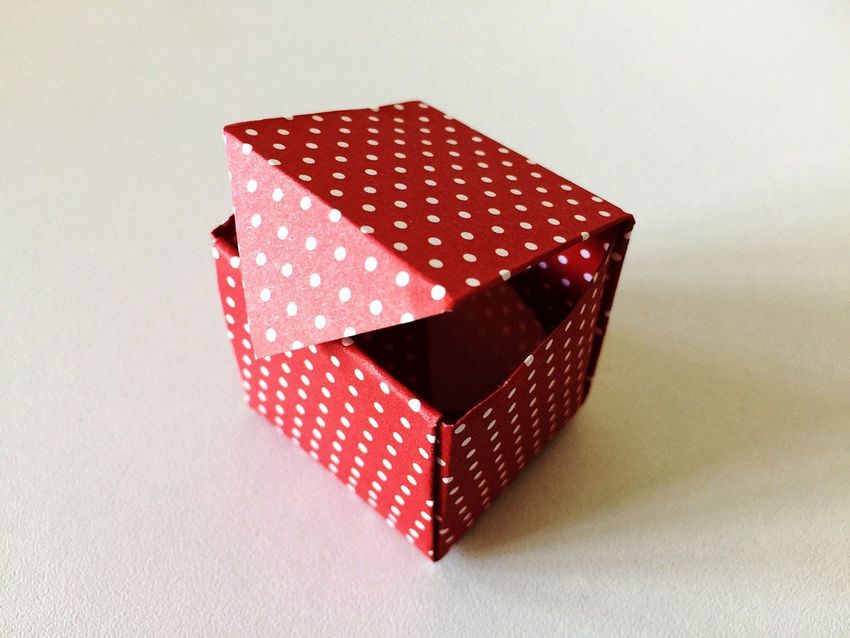
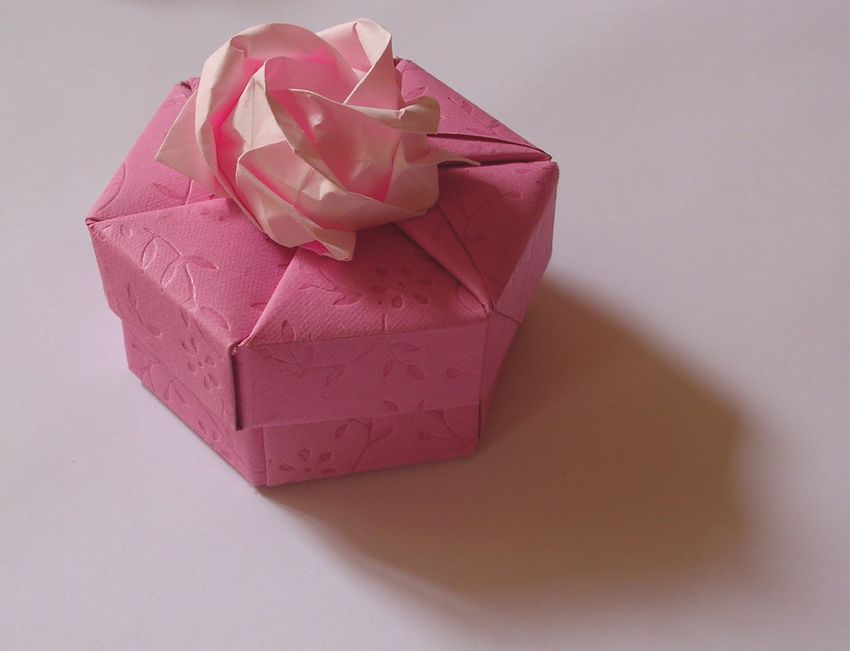
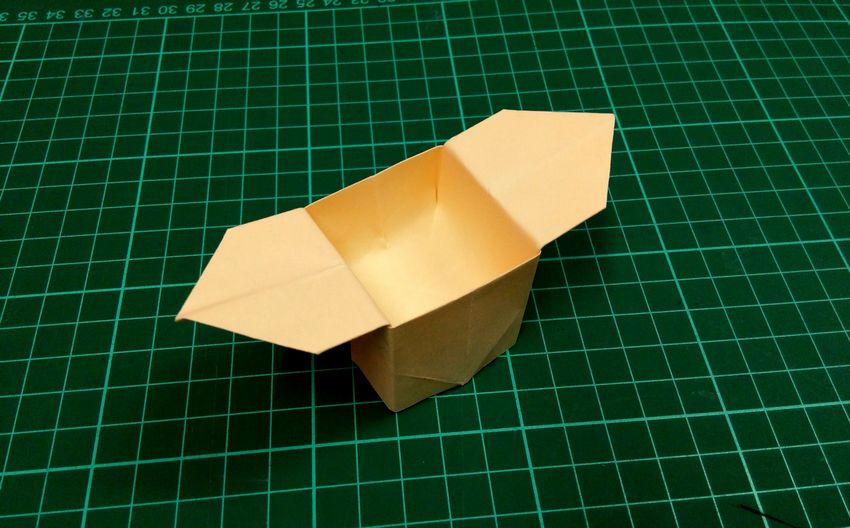
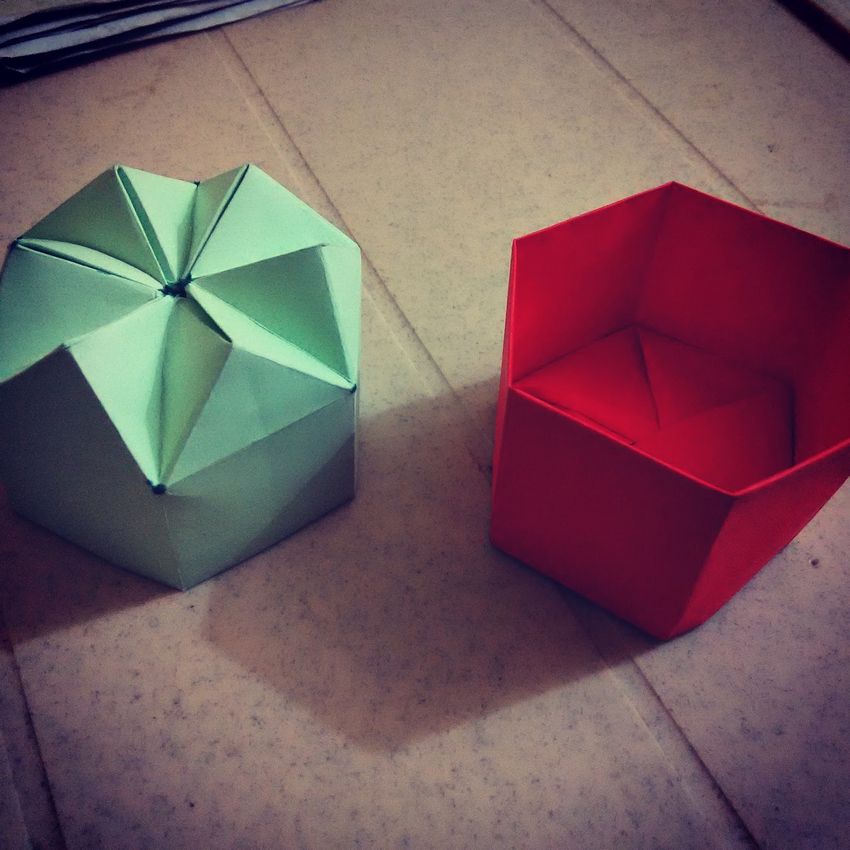
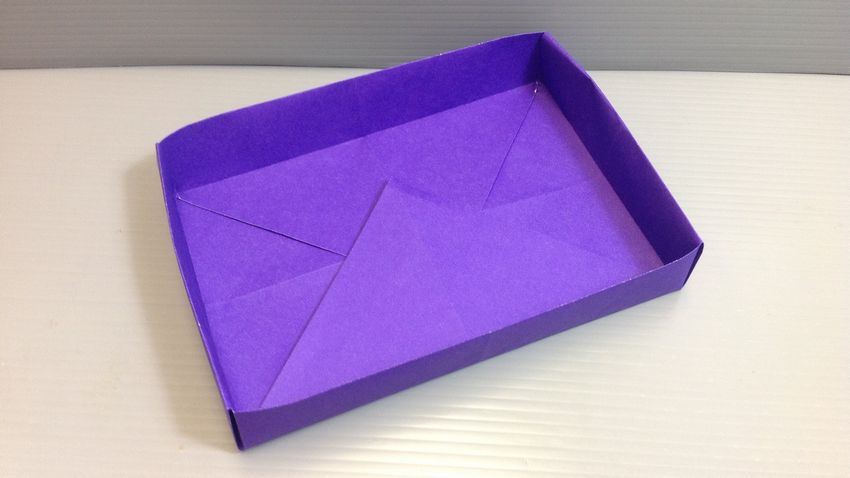
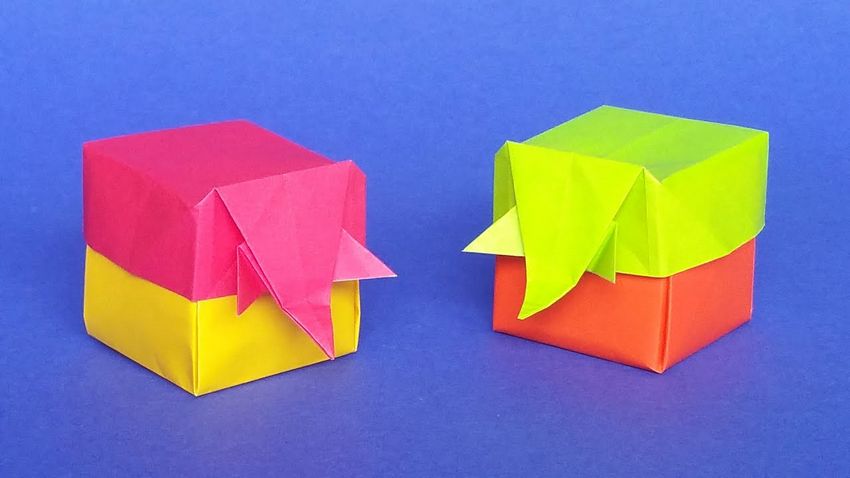
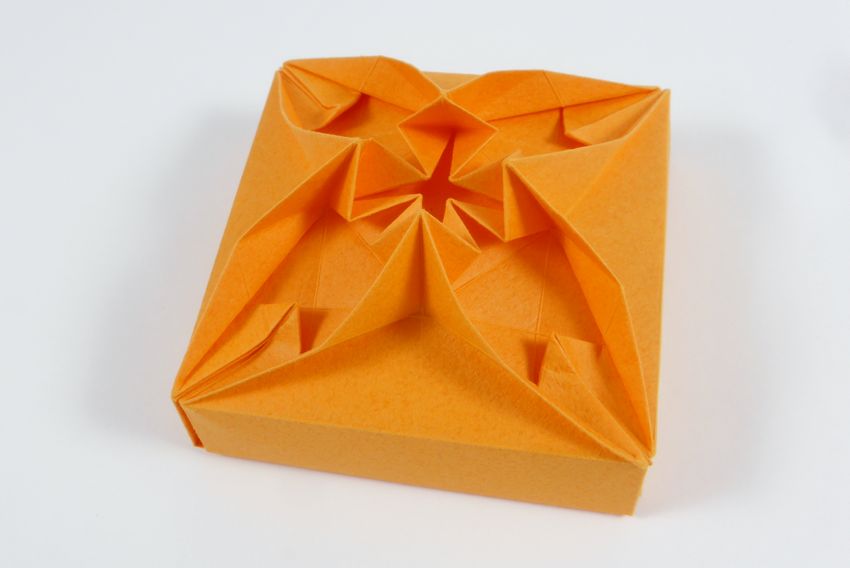
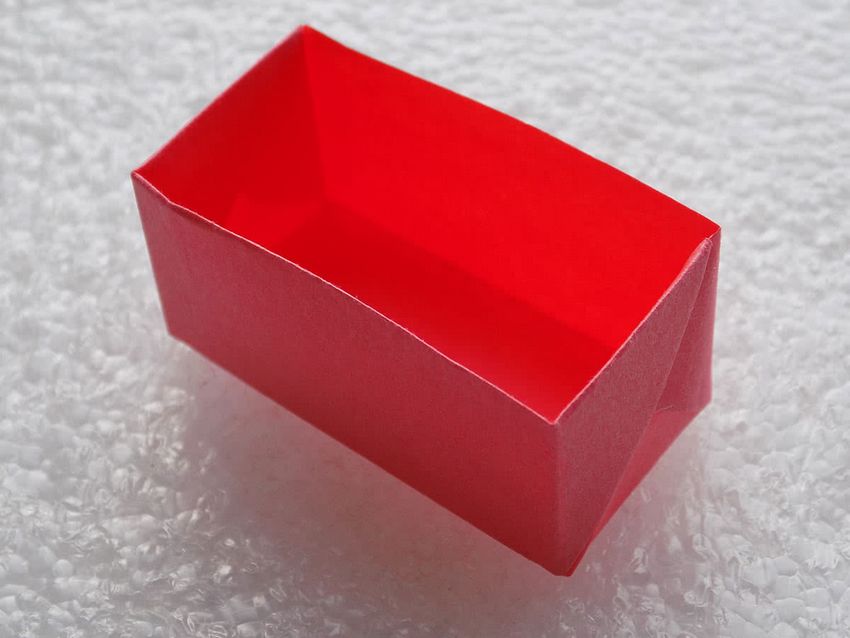
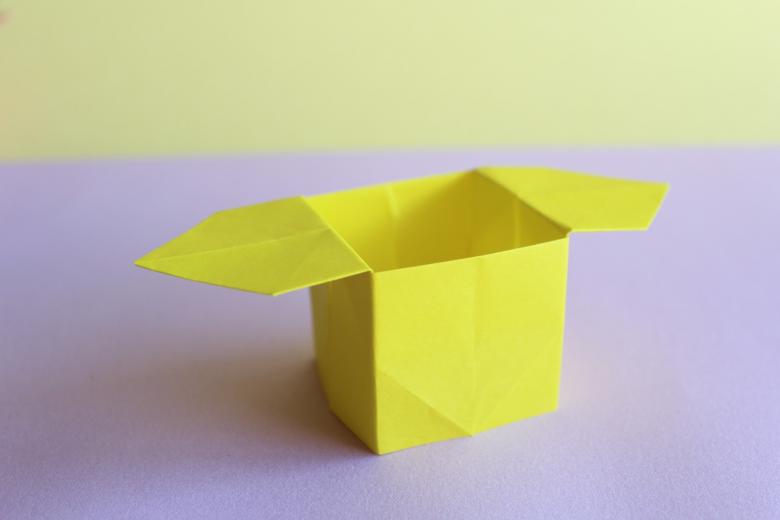
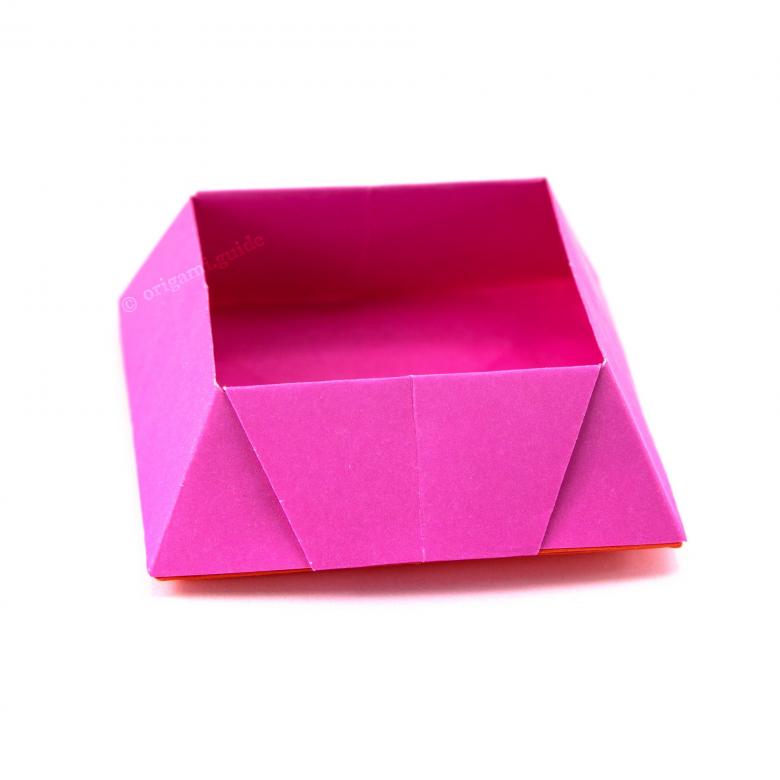
Box with a lid
This is the easiest scheme box origami, will take no more than an hour or two and will enjoy a long time.
Scheme of a box
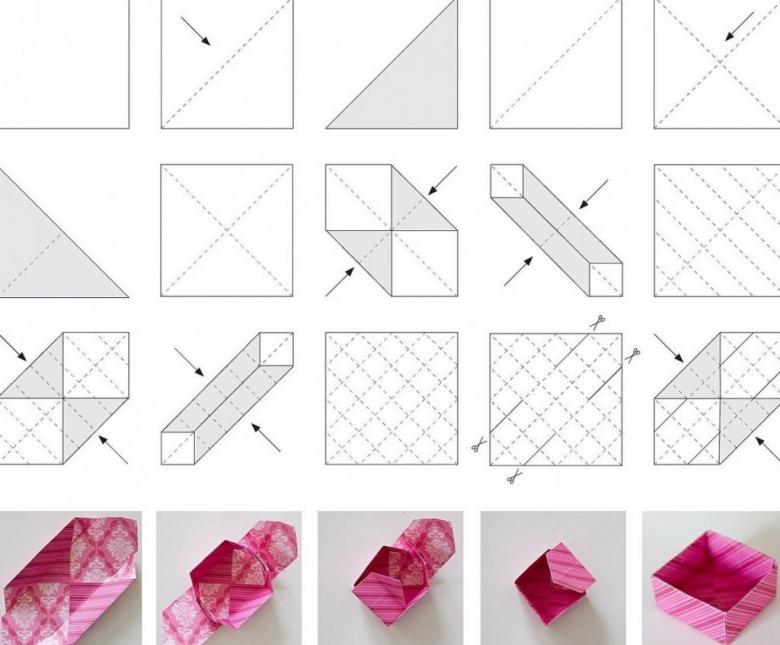
This is an uncomplicated instruction on how to make an origami paper box. The paragraphs show how to make this wonderful "box" for storage of different things, or for that frequent case when the gift is ready, but you do not need a beautiful box.
It takes little time and requires simple materials.
What you will need:
- Carving mat
- Scissors
- A simple pencil for marking
- Ruler
- Heavyweight scrapbooking paper
- Pencil glue or PVA glue
Cut out the shape
To make an origami box, you will need two sheets of heavy but well-bent paper. Most often the sheets are rectangular. Pre-cut 2 squares, one must be reduced by 1.2 centimeters.
And if you use scrapbooking material, usually its size is 30 by 30 cm, then the second sheet should be 28.8 cm. The large sheet - the basis of this product, a smaller sheet - the cover.Using a ruler to measure the sheet of paper, pencil to make marks and cut off the excess.
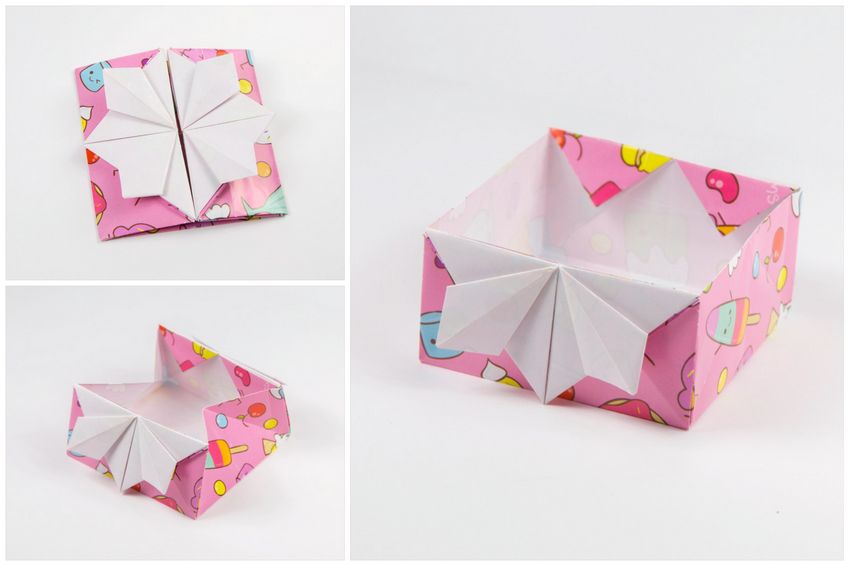
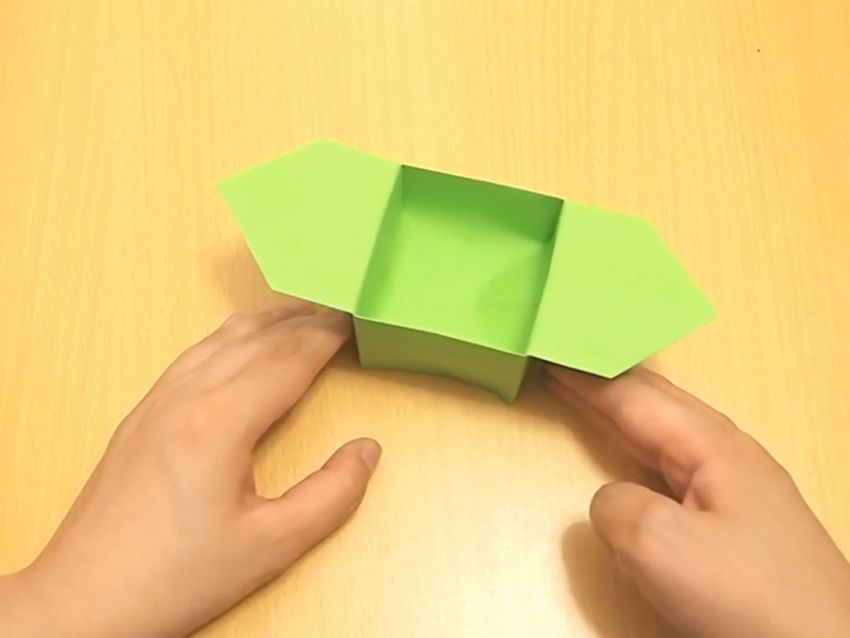
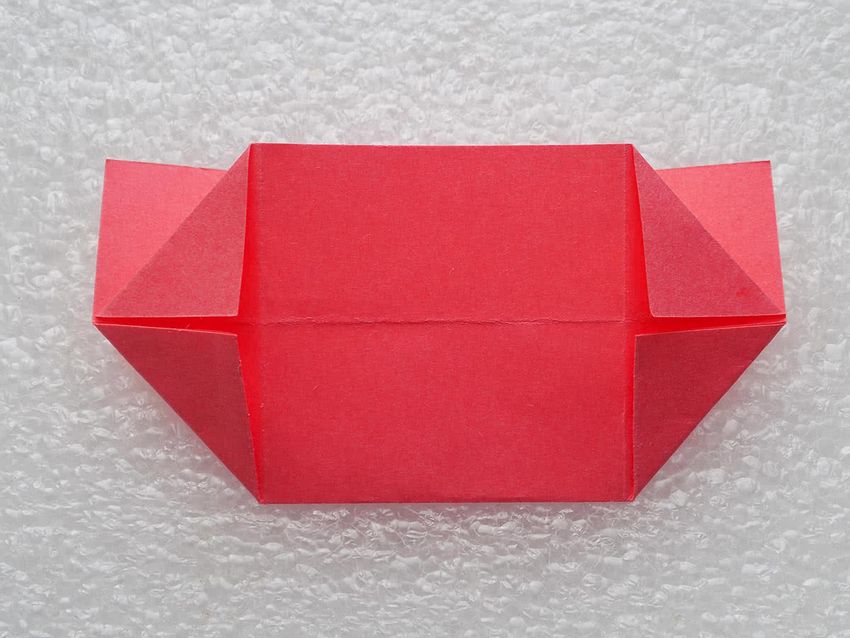
Make the folds.
A large sheet to put the front side and in front of you and fold in half. Then turn it over and put it visually at right angles, make a similar fold. The folds should form right angles at the intersection and form a cross.
Fold the edges of the paper to each other, you get a triangle. Open, expand it by 90 degrees and repeat the same triangle.
Bend the corners.
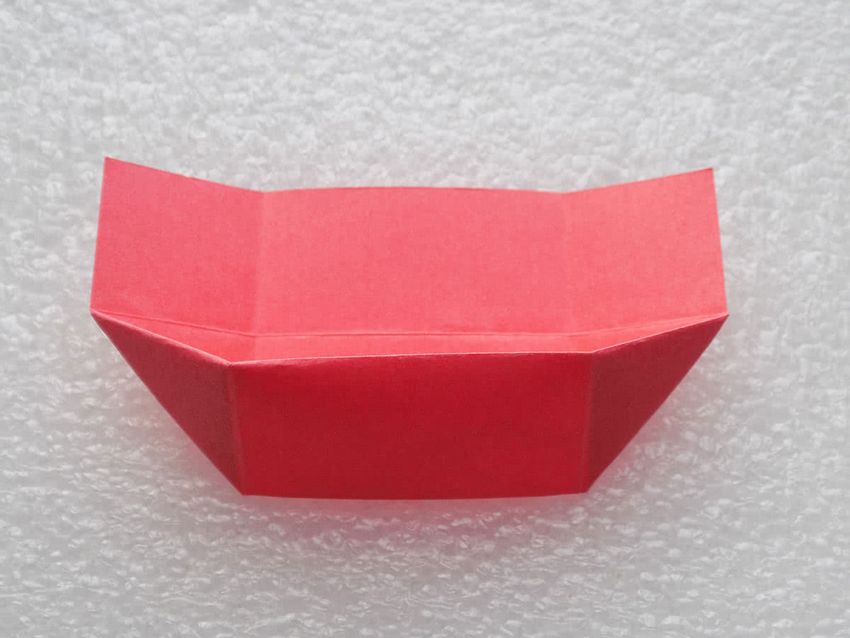
Bend all the corners in the center of the square. The resulting square put the front side facing you and fold the bottom edge of the center. Repeat this maneuver for the other side. As a result, folded origami should have a rectangular shape. This is the basis for the future of origami paper box.
Form the lid.
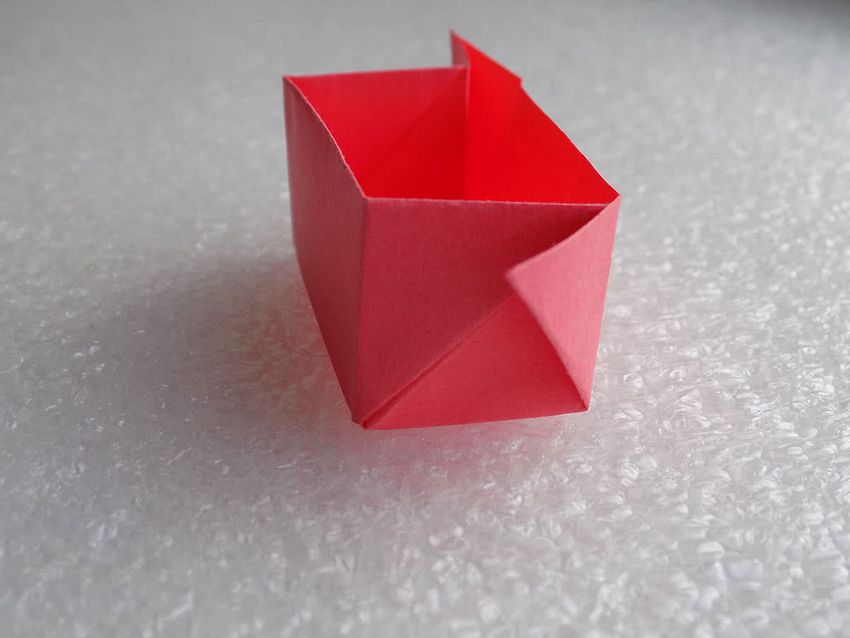
Formed triangles, turn flat and unfold the front side. Mark the top flap and start to bend it inside the lid, planned in advance the folds. This part will need PVA glue, parts of the lid may not fit together. You need to apply some glue to bend parts, fix and leave until completely dry.
After, turn the handicraft 180 degrees and do the same with the other side of the box.
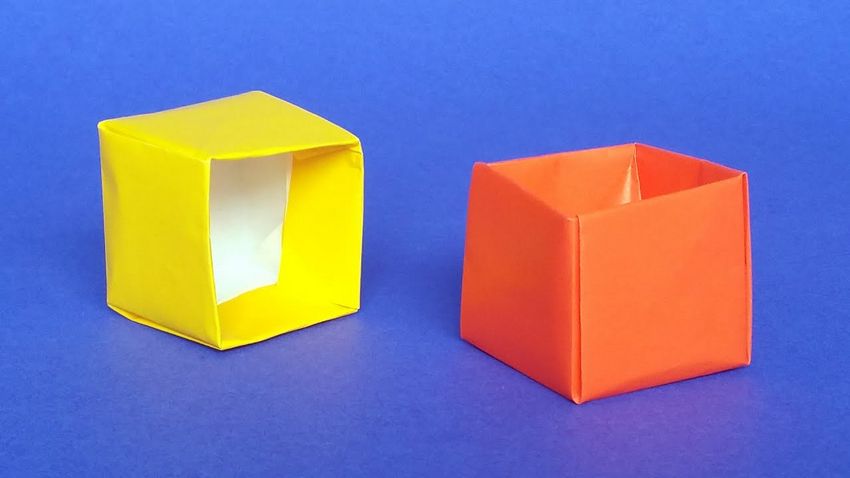
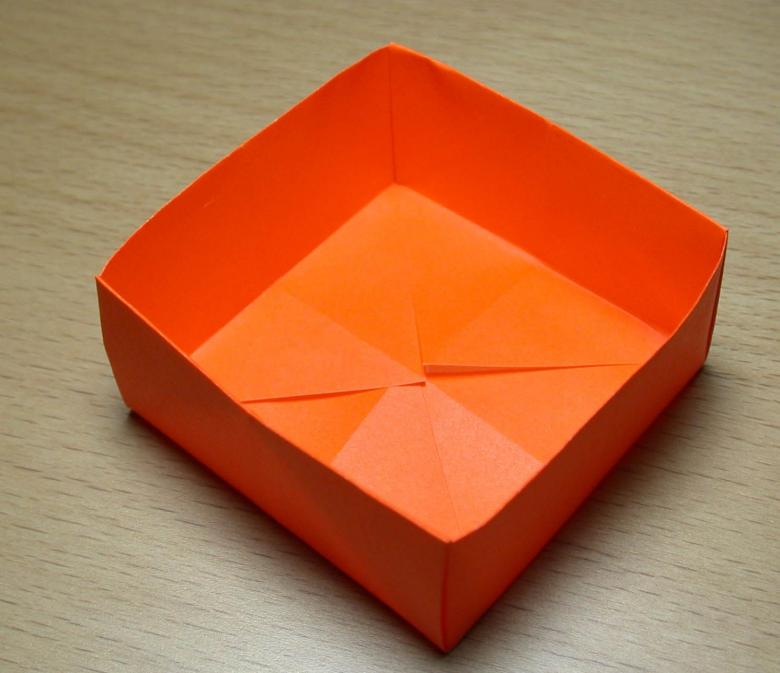
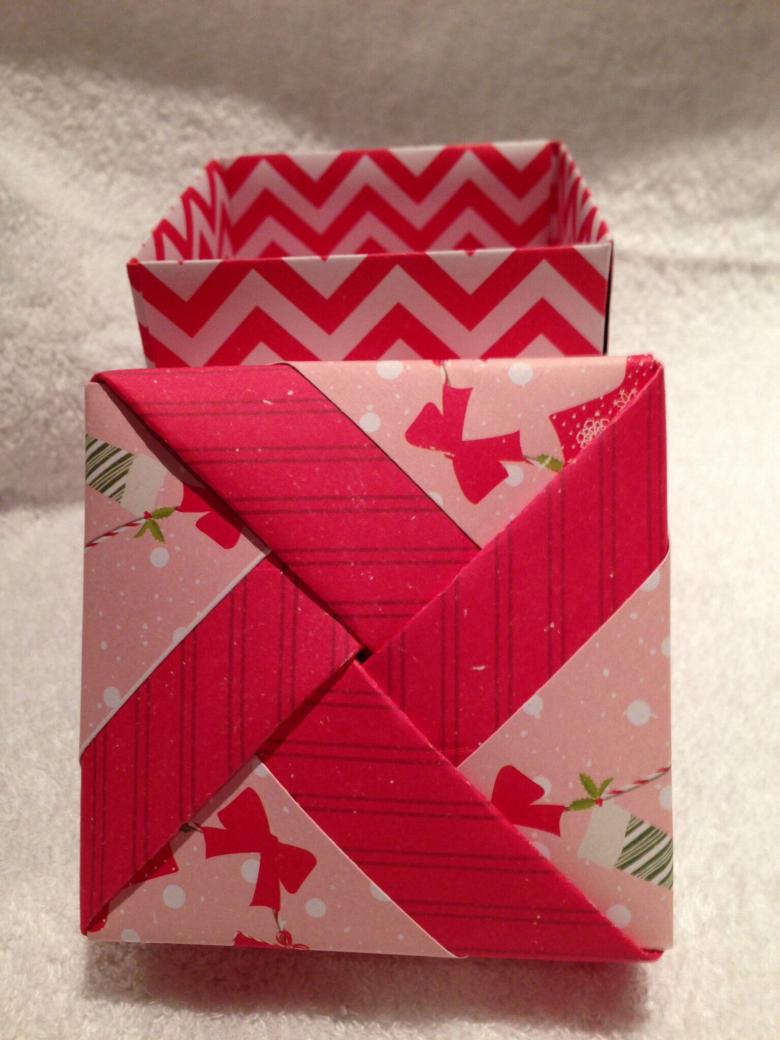
The two parts are almost ready, so you can see the box for a gift or storage of various things. There are a couple of finishing touches left.
Wipe out the bottom.
The last step is to make the bottom and staple all the pieces together. To do this, repeat steps two through five, using the smaller sheet of paper. This is an inserted bottom and it, because of the smaller size, will easily fit into the base.
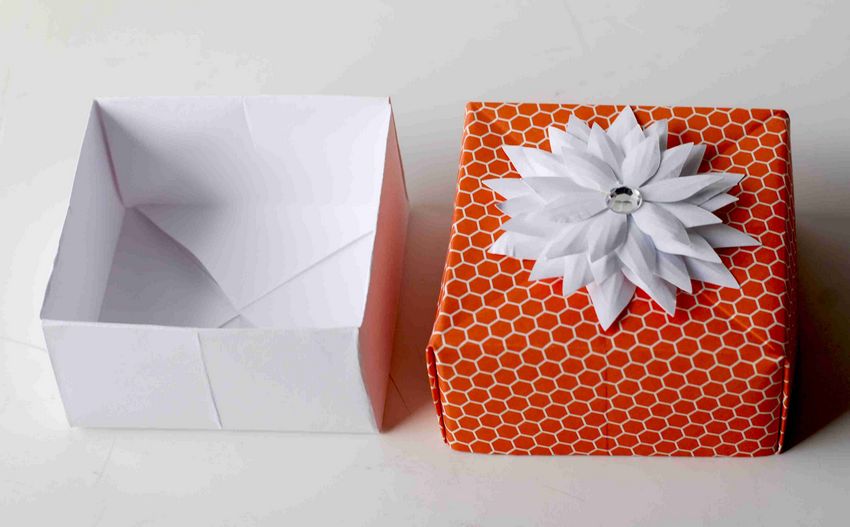
Beautiful origami paper box for a gift, a concise decoration of the space or just for storage - ready. For a small paper "box" you can use paper size 20 by 20 centimeters, the average need for 25 to 25.
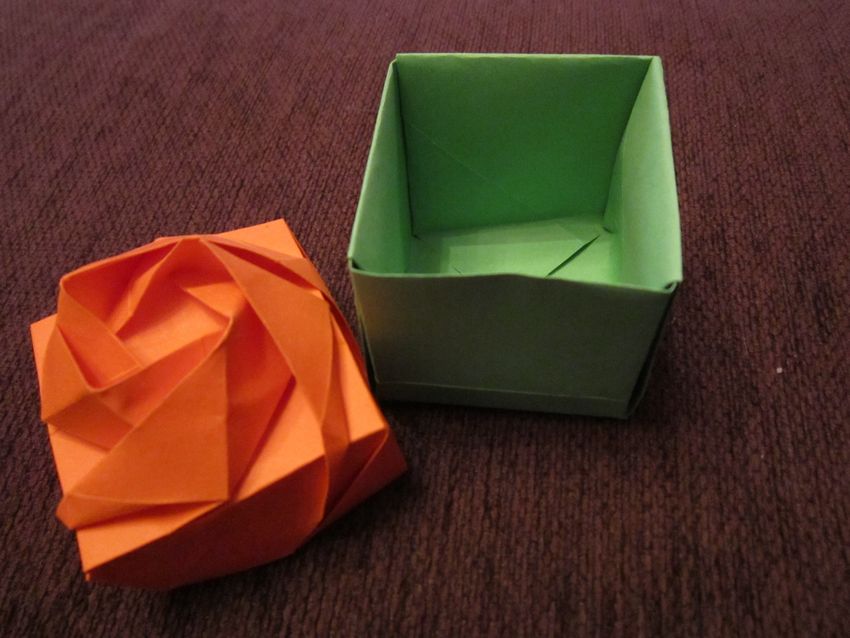
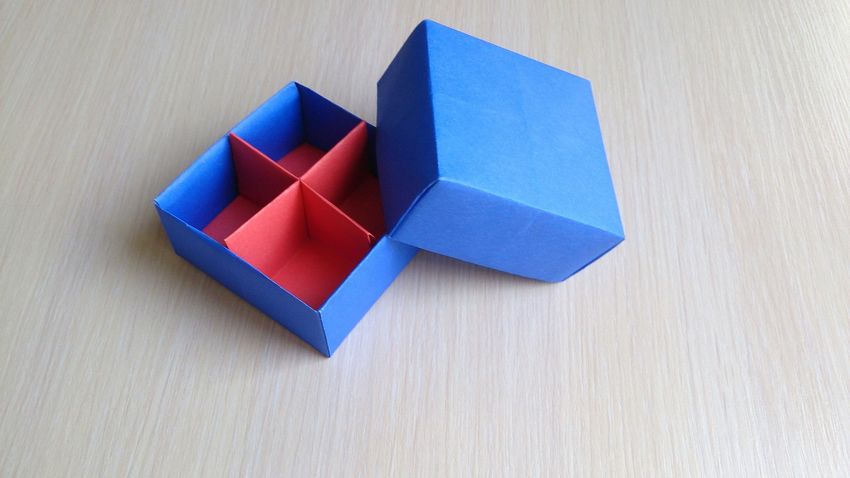
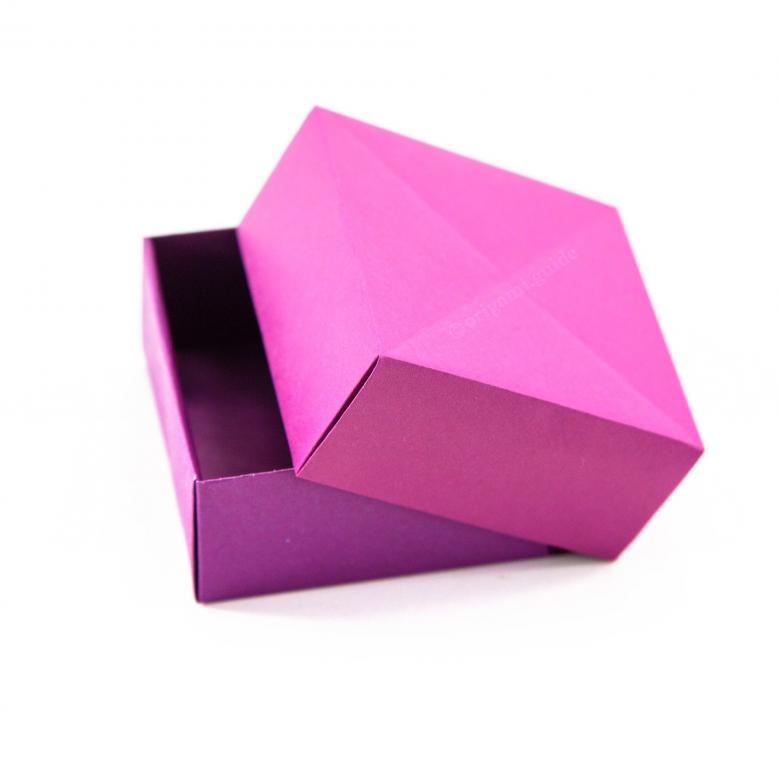
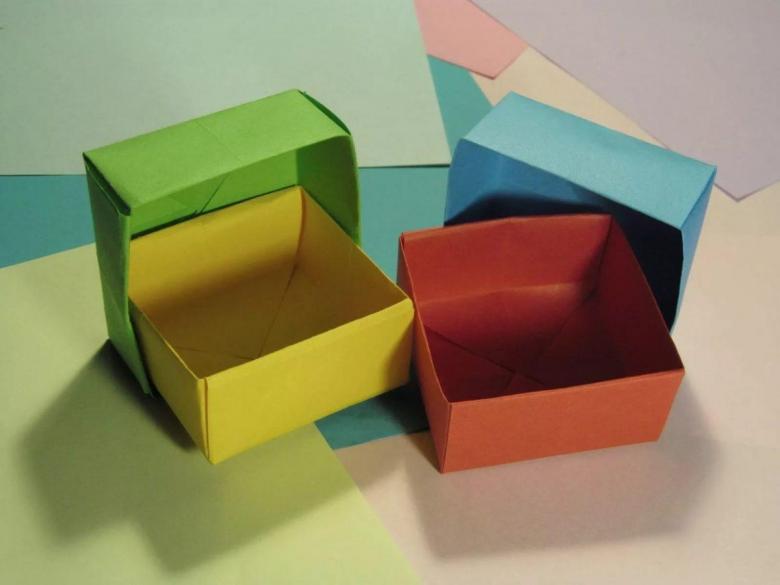
Box of cardboard with a lid
This is one of the easiest schemes for a box of origami with colored cardboard.
For this craft you will need:
- Colored heavy cardboard or very thick paper.
- A ruler for markings
- A simple pencil
- Scissors for cutting
- Glue pencil or PVA
The first thing to do - to prepare the basis for the box. To do this, you need to trace the scheme of this paper craft. Normal pencil to mark the lines and make cuts with scissors.
According to a simple scheme glue it with pencil glue or PVA. When the product dries, you can decorate it with scraps of colored fabric, cords, beads, stickers, in general, whatever your imagination dares.
Cut the paper
Put one sheet of material in front of you with the front side. Most often the colored cardboard is rectangular in shape, and you need a square for the craft. Using a pencil, an ordinary ruler and scissors, make a square, then fold it in half.
Mark the folds.
After forming the marked folds with a pencil, return the sheet to its original position. Repeat the fold, but on the other side. We get a square again. Turn it face down, angle down, so it looked like a rhombus.
Bend the corners.
Mark the opposite corners and wrap them in the middle, so that the ends are touching, but not overlapping. Turn the shape of 90 degrees and bend the opposite corners of each other again. Bend and glue the top corner of the figure, which will be the lid. Turn the almost finished box face down and do the same maneuver.
An excellent and simple gift is ready. If the cardboard or other material is colored, you can leave the craft with a single color. Or, using a different color cardboard, you can glue geometric designs or smooth lines to lay out the pattern. If the cardboard is not glossy, you can paint a craft in bright colors.
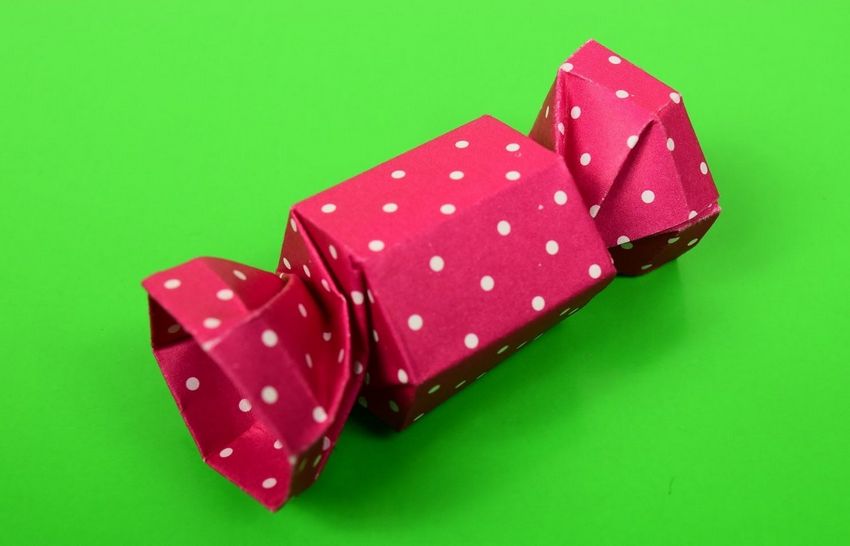
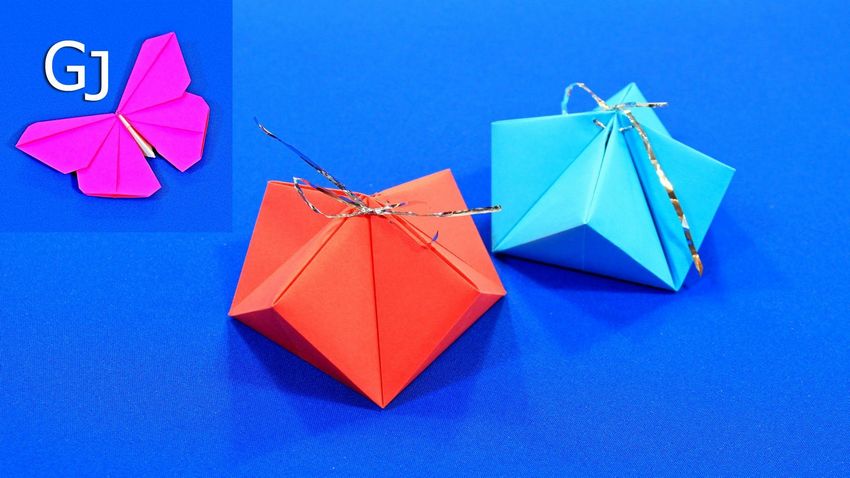
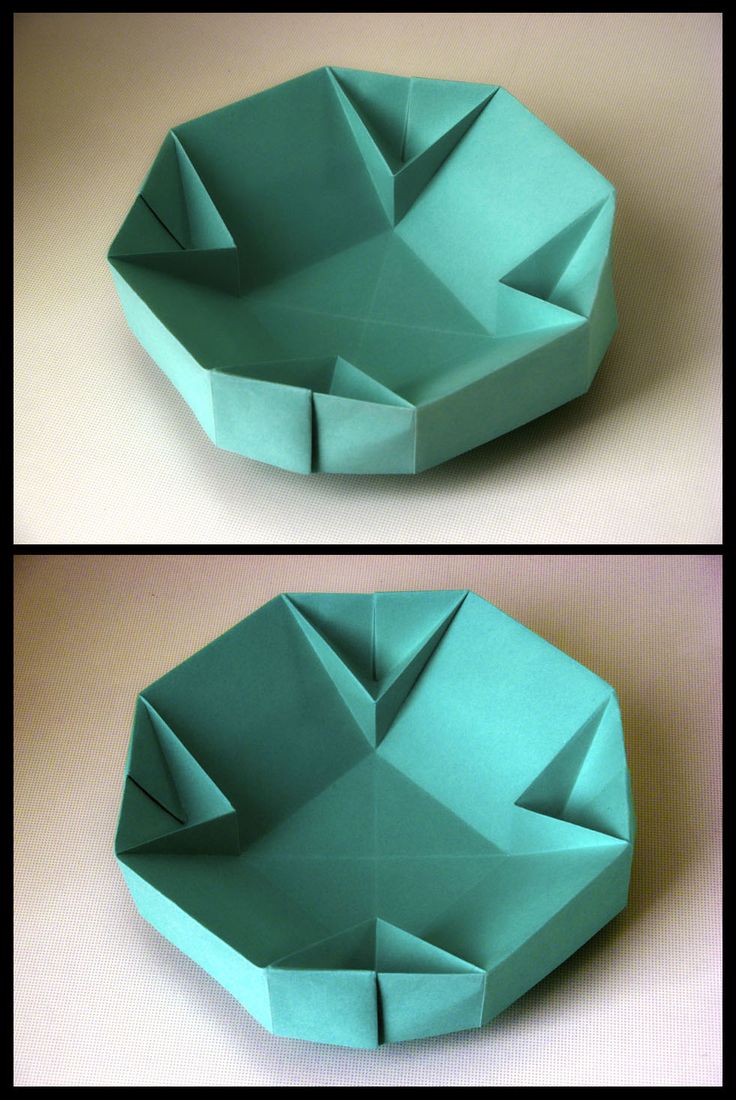
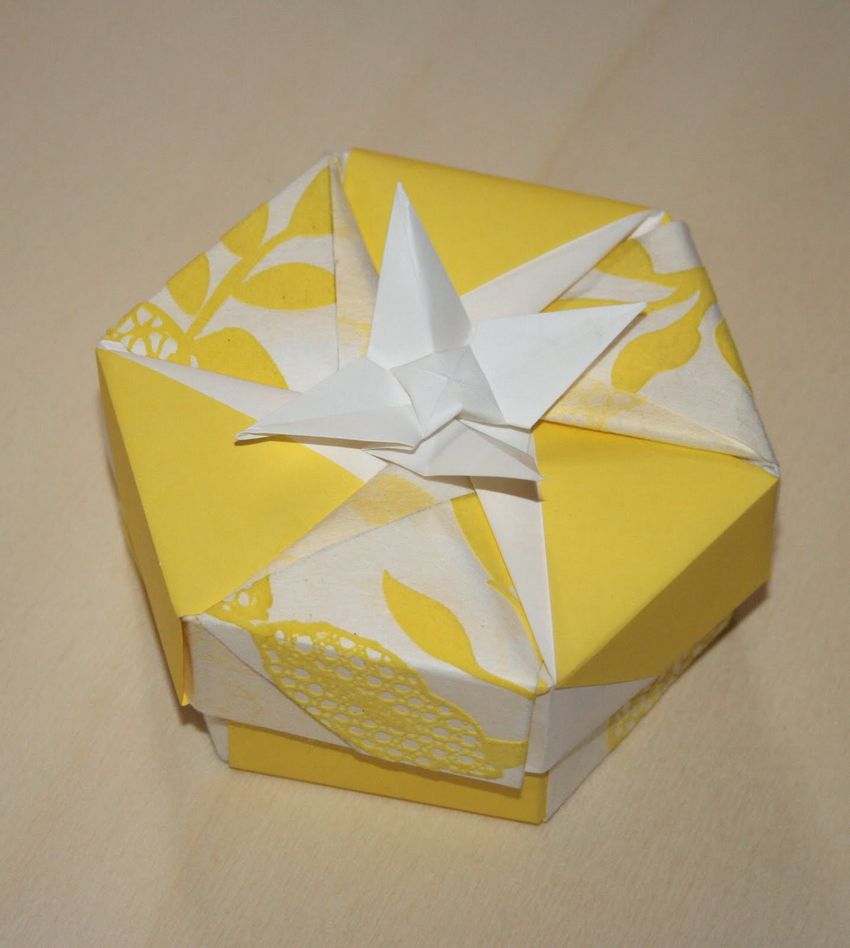
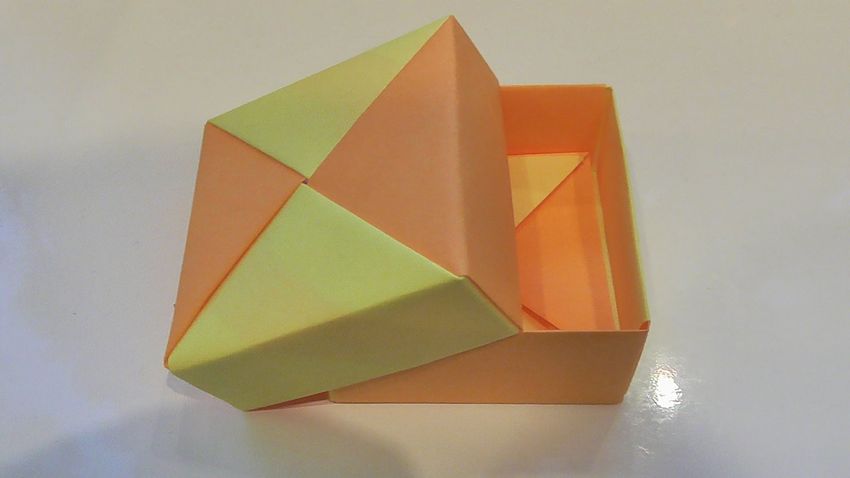
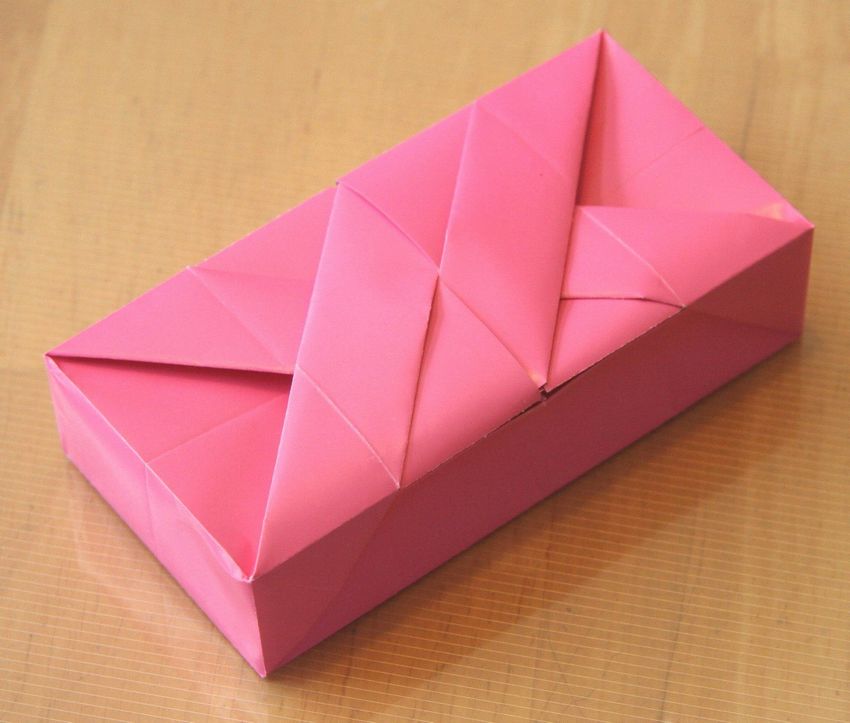
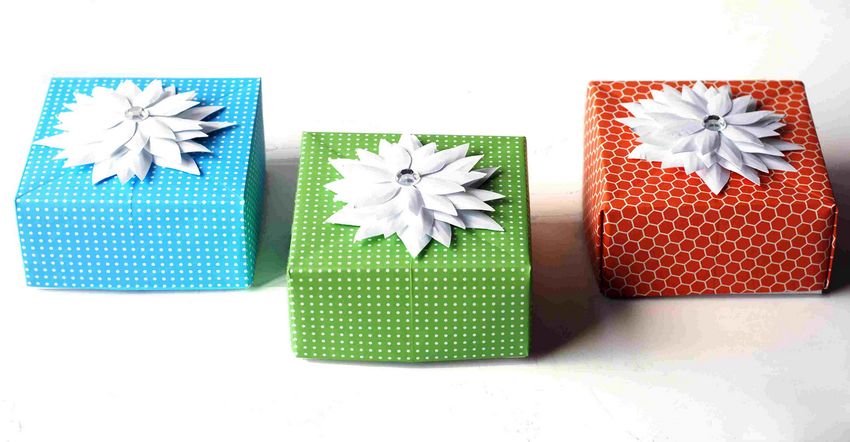
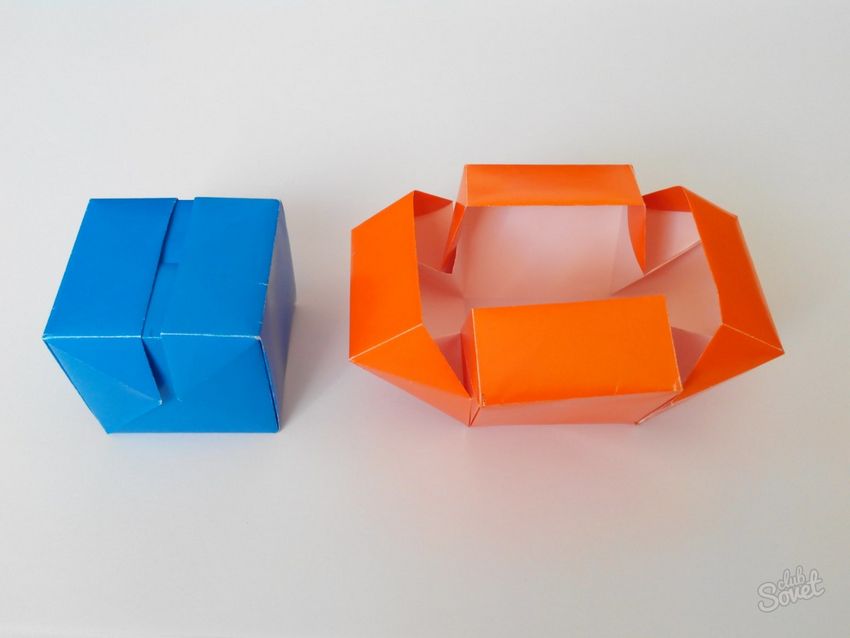
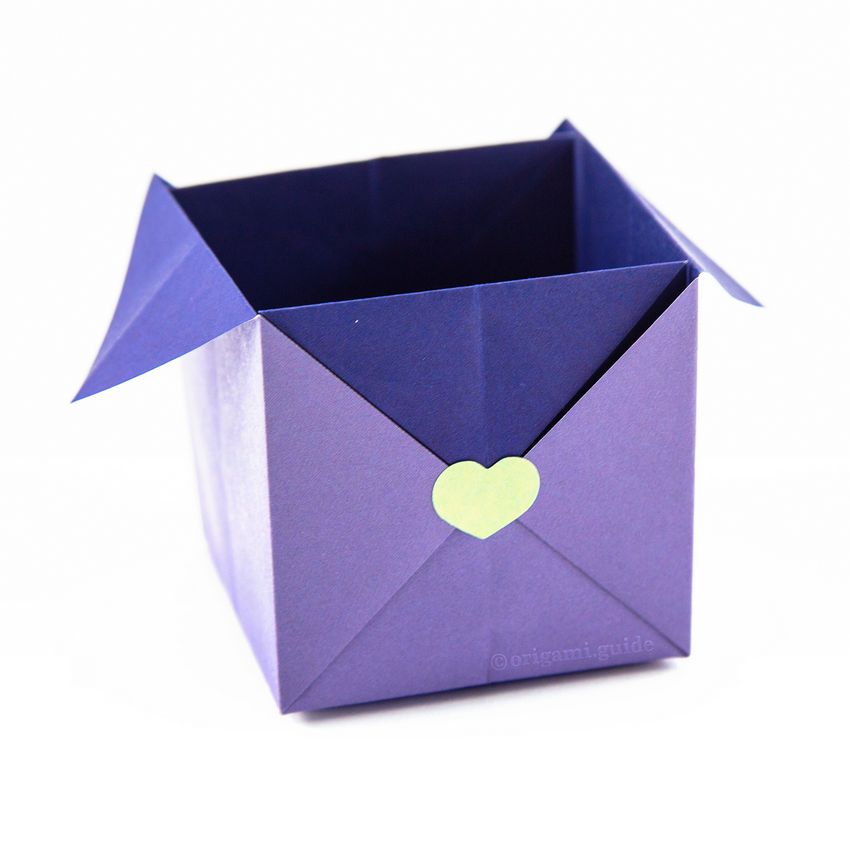
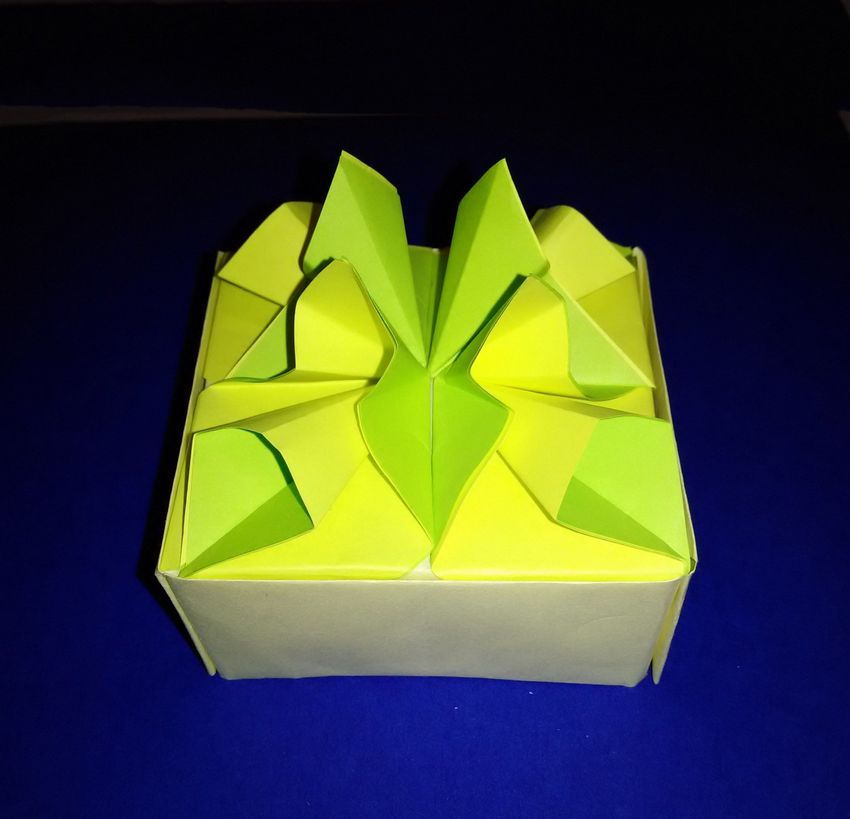
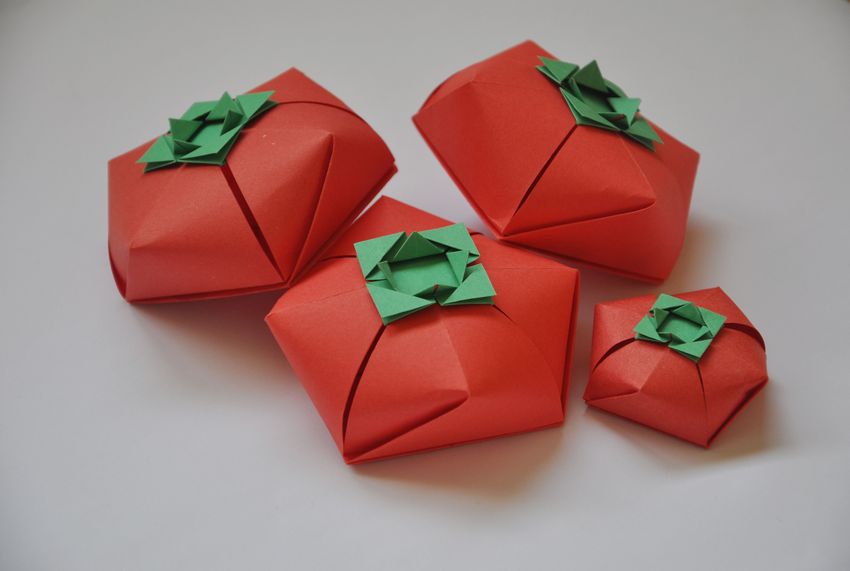
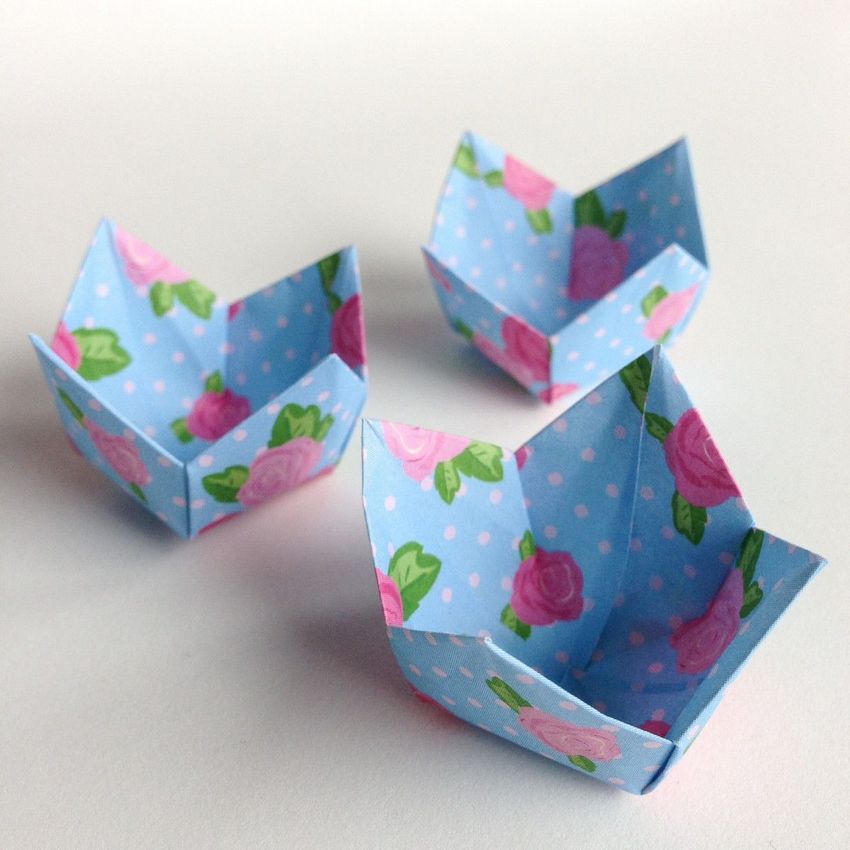
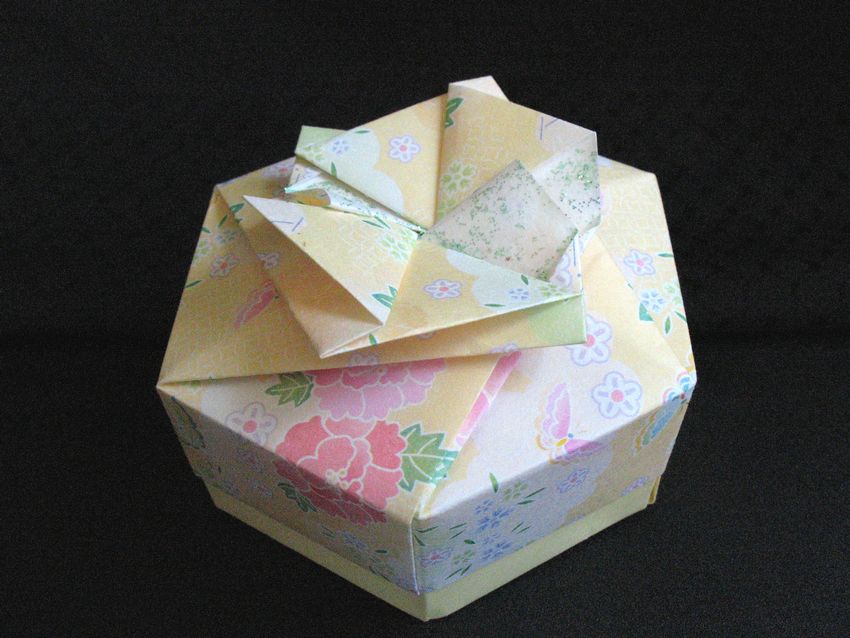
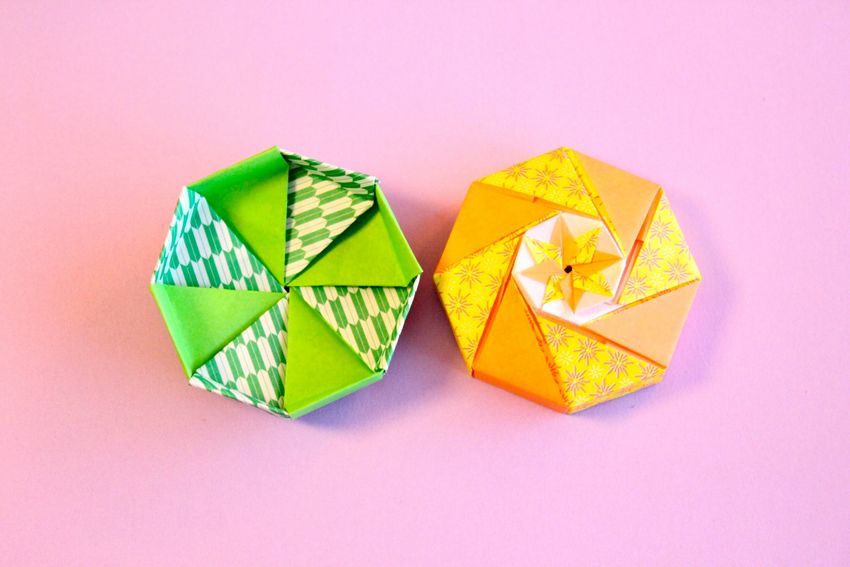
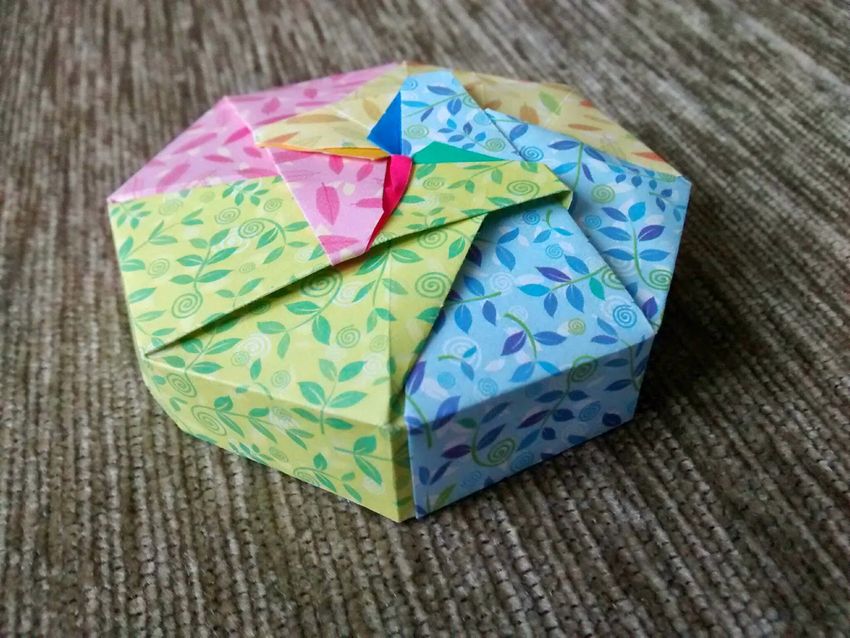
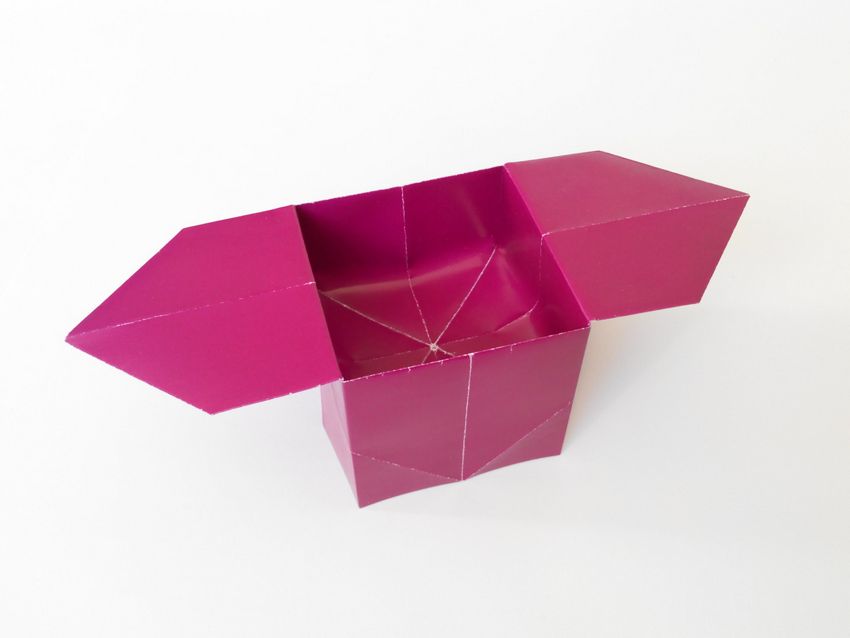
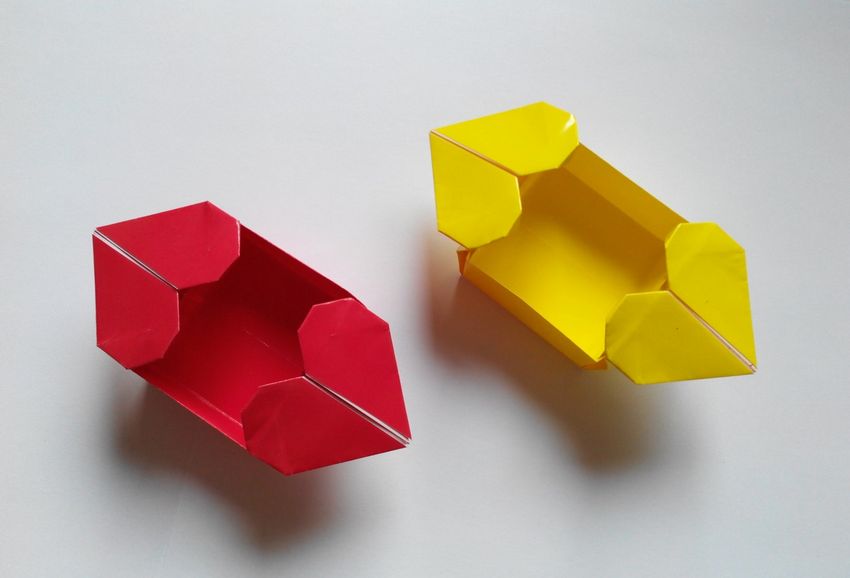
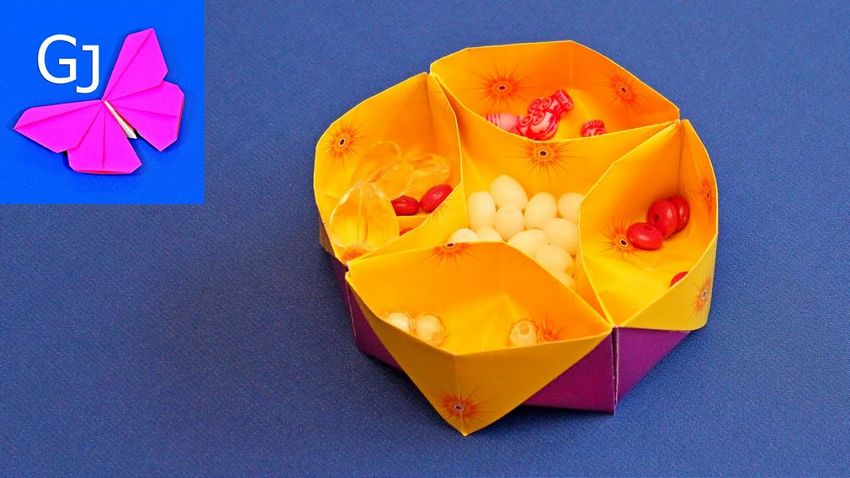
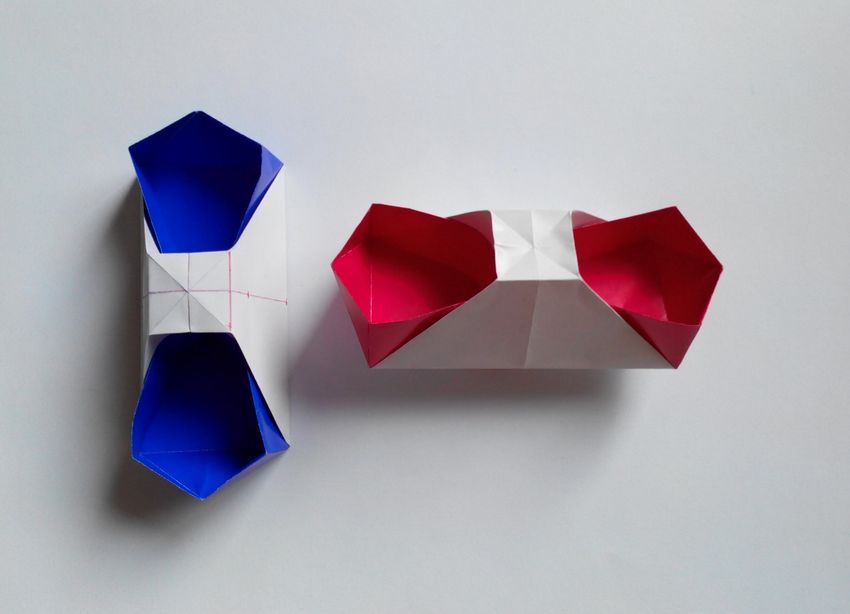
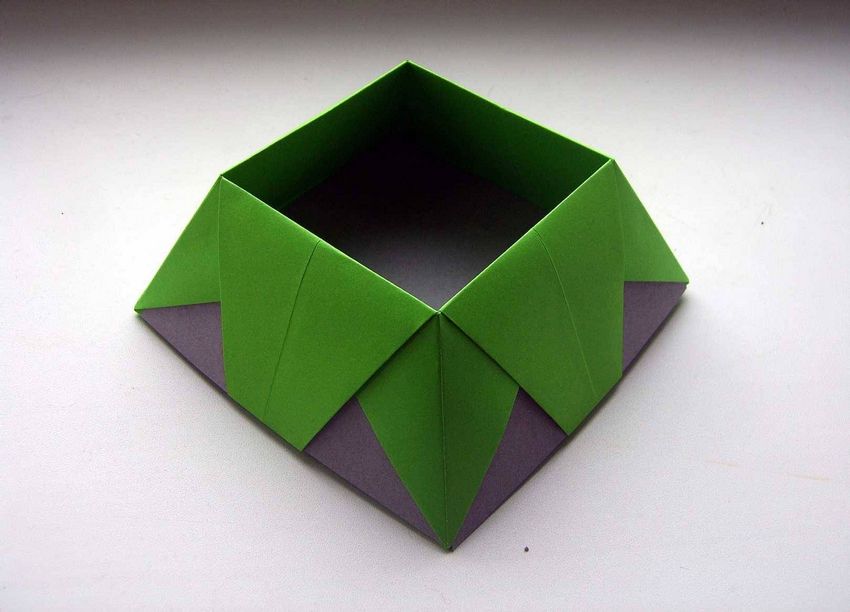
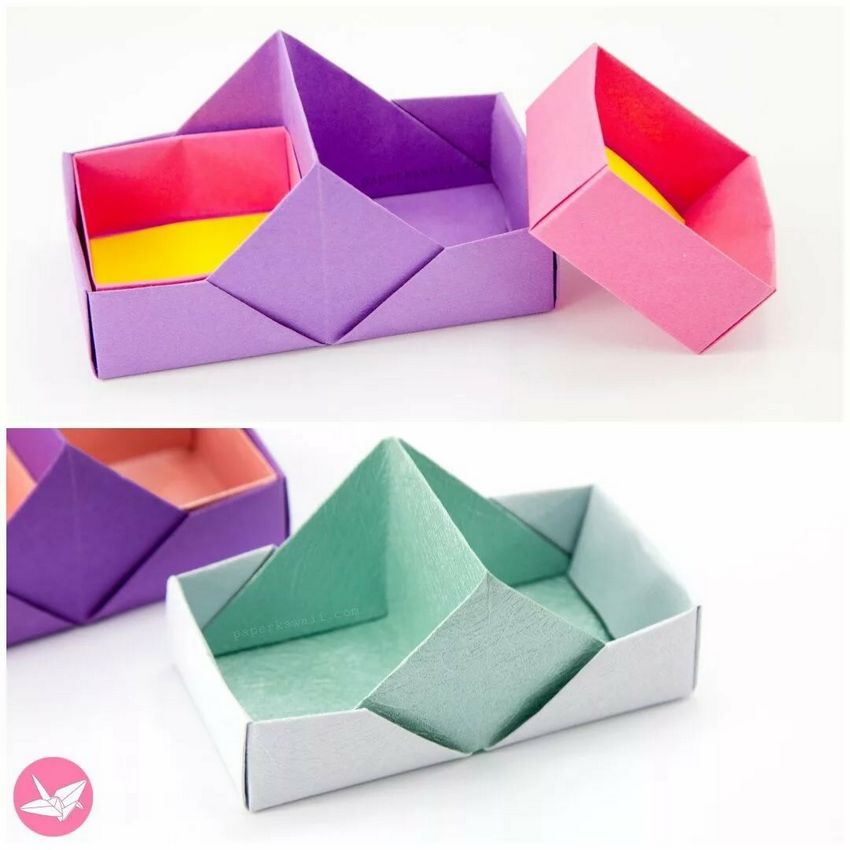
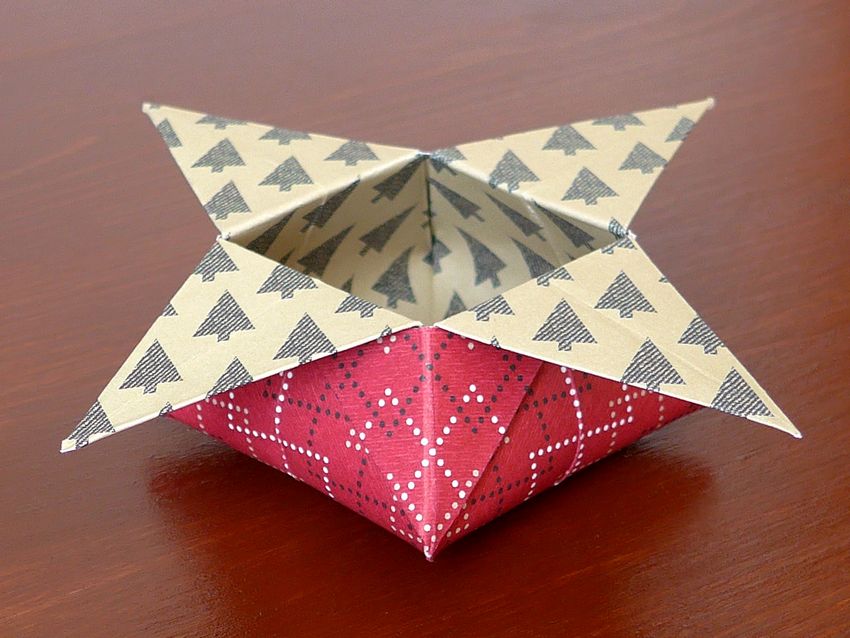
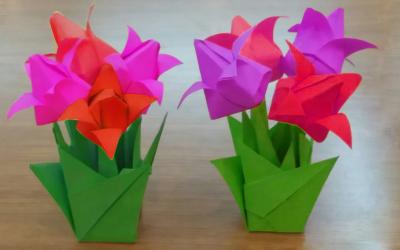
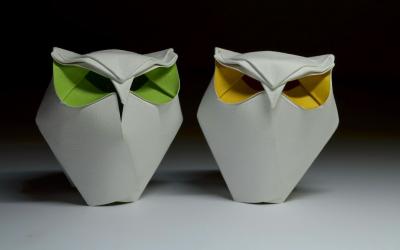
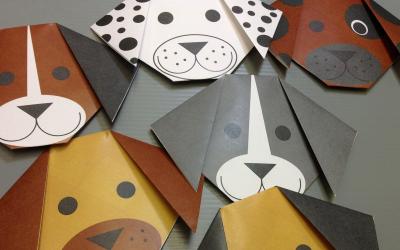
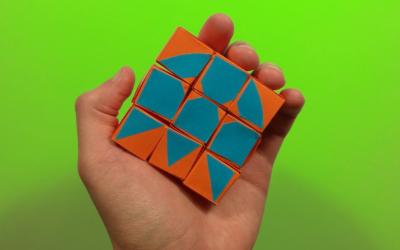
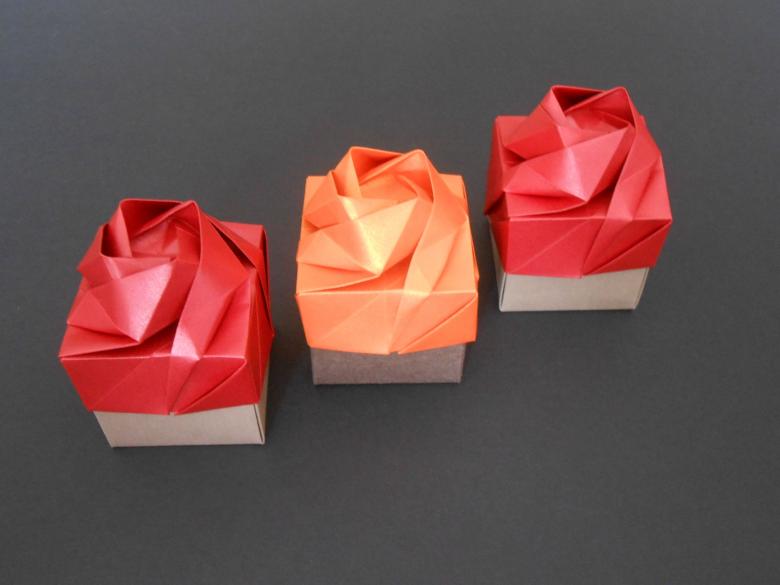
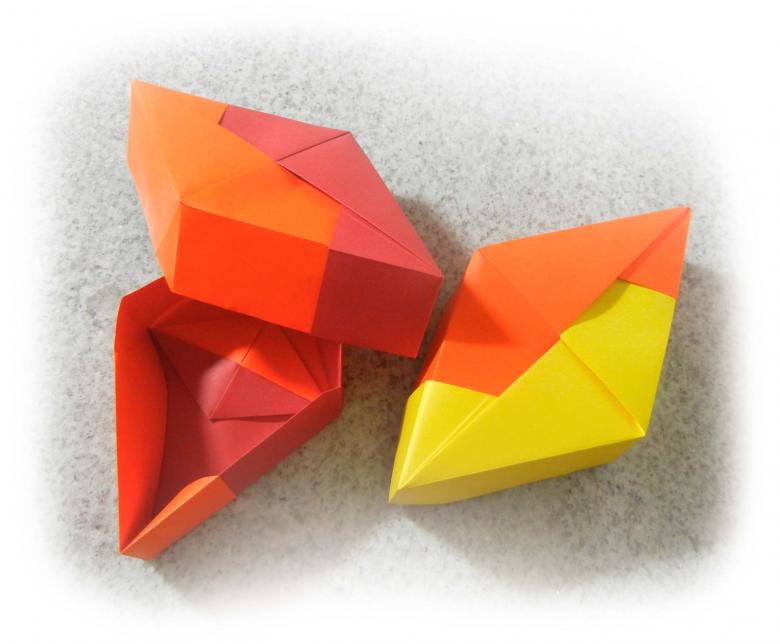
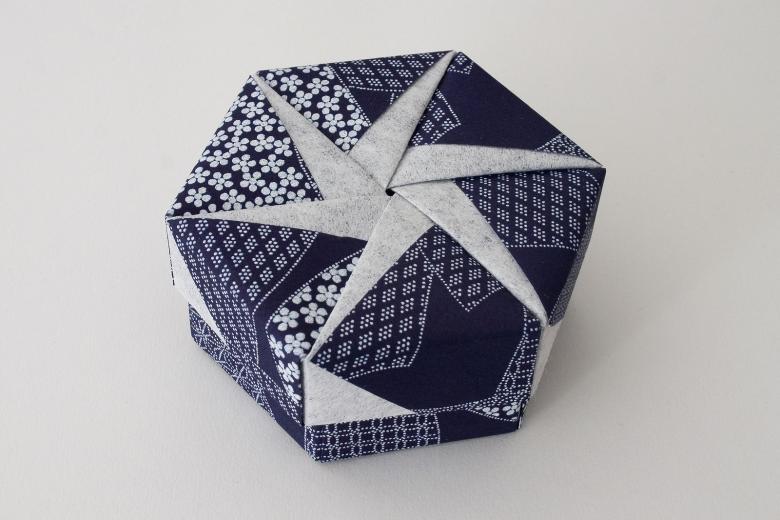
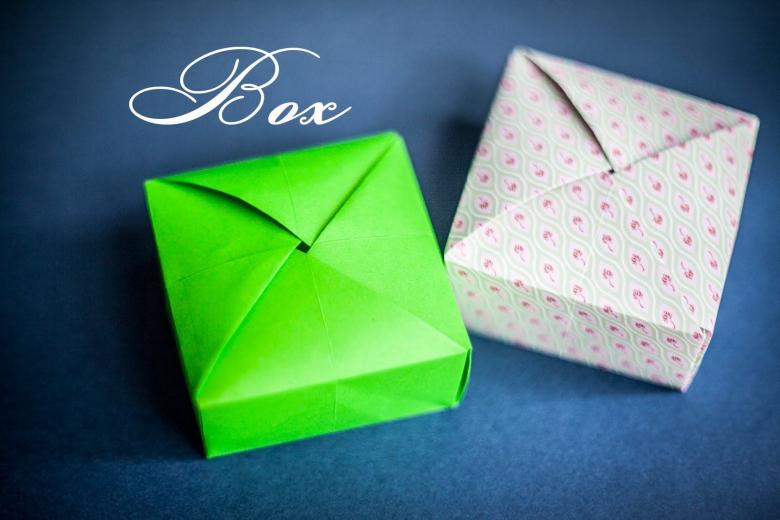
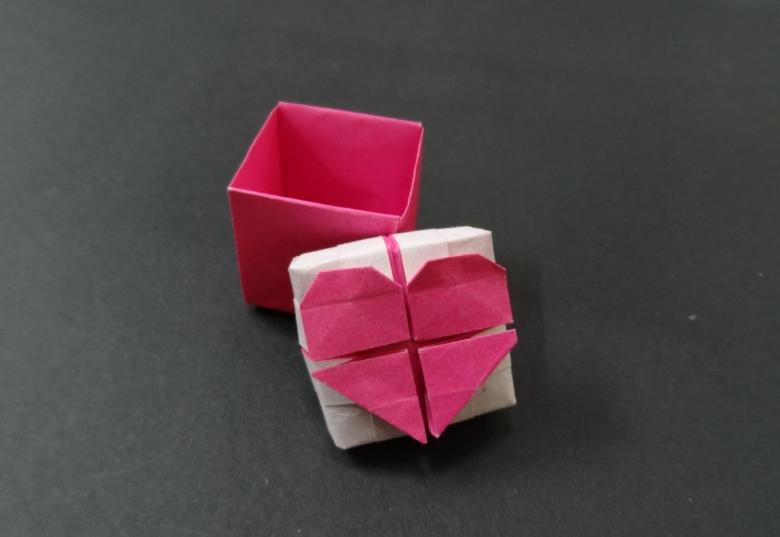
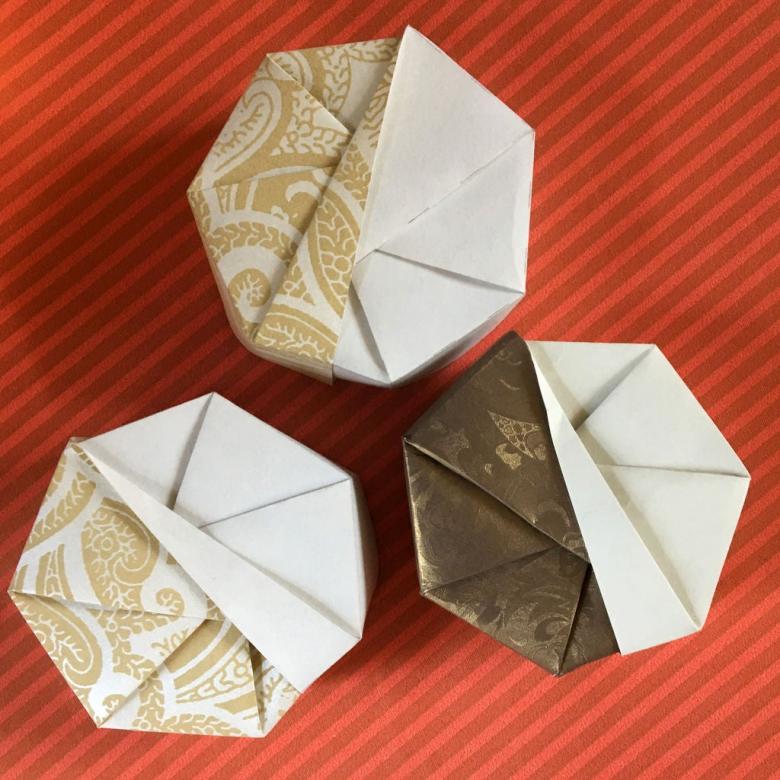
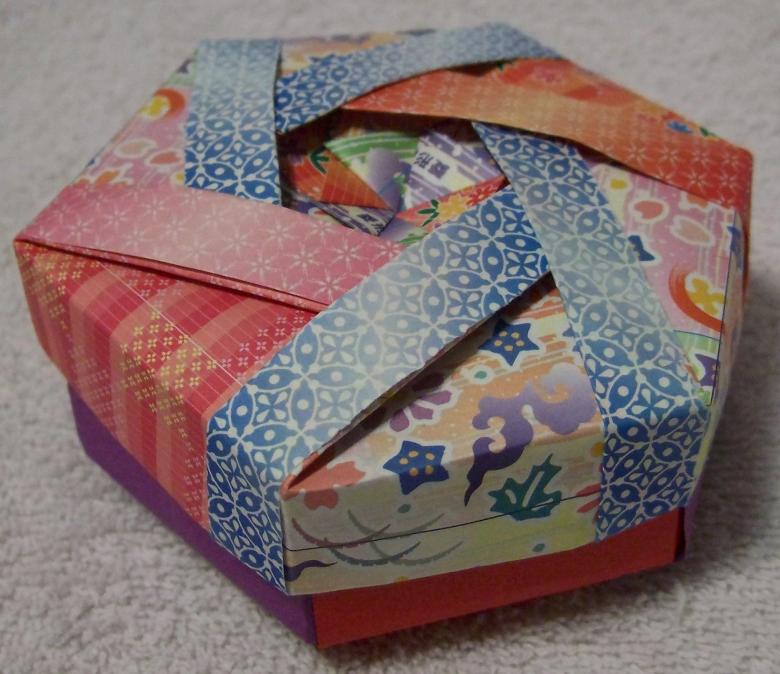
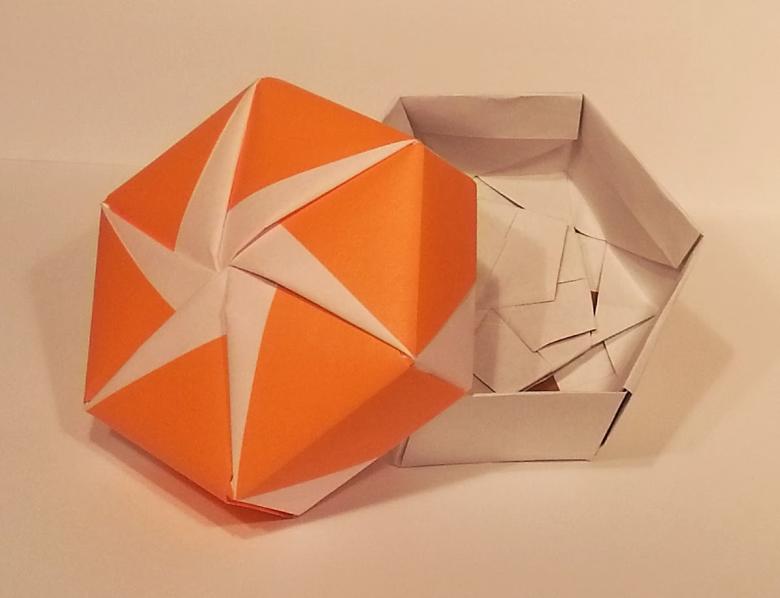
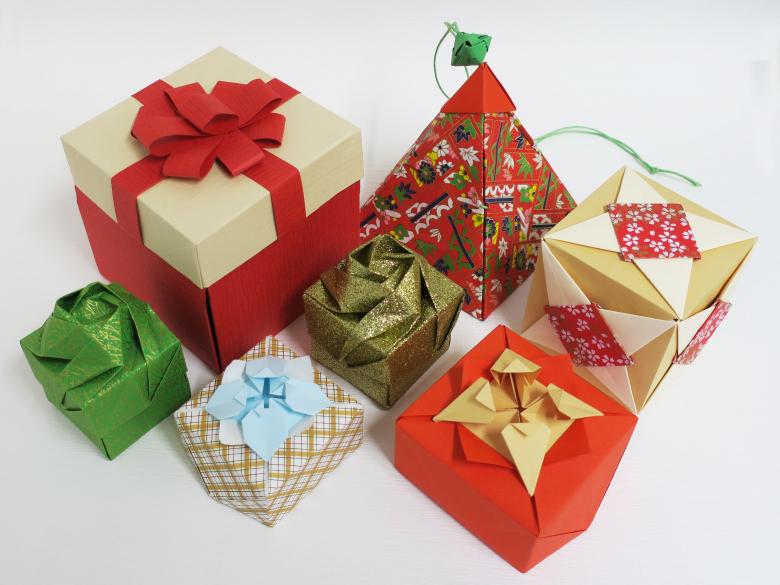
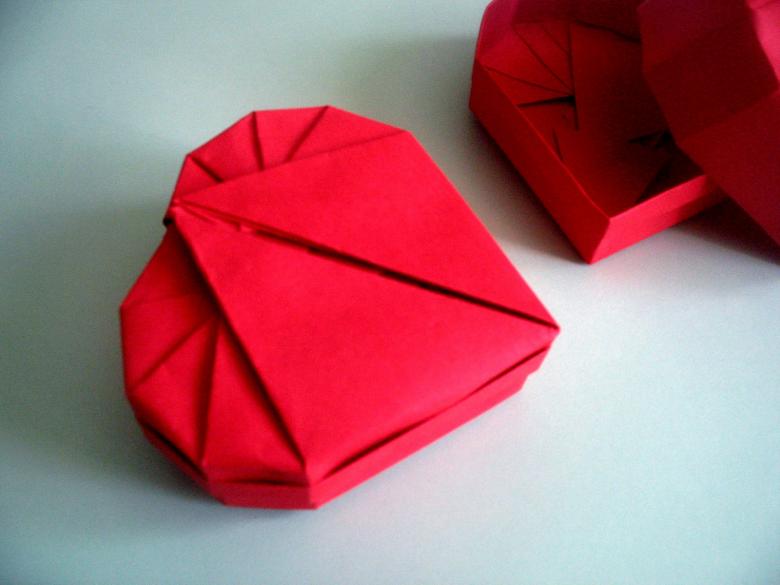
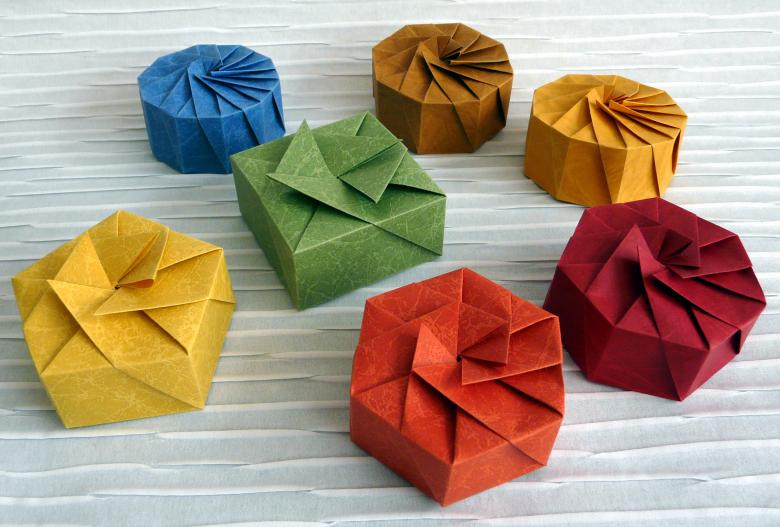
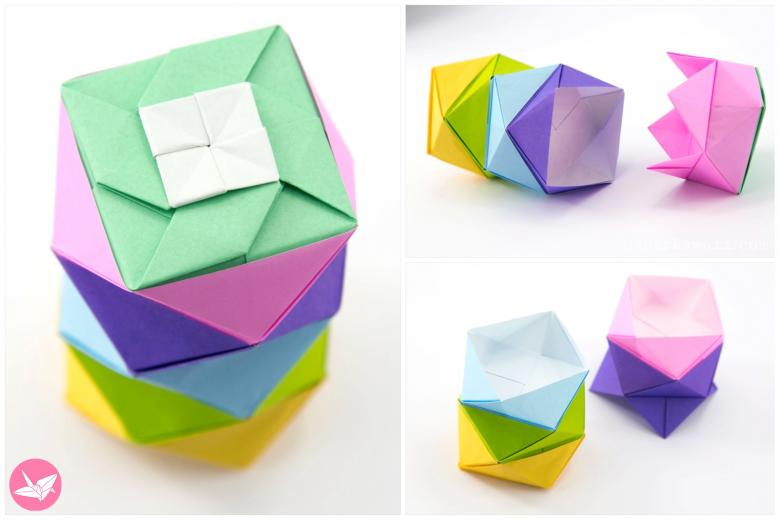
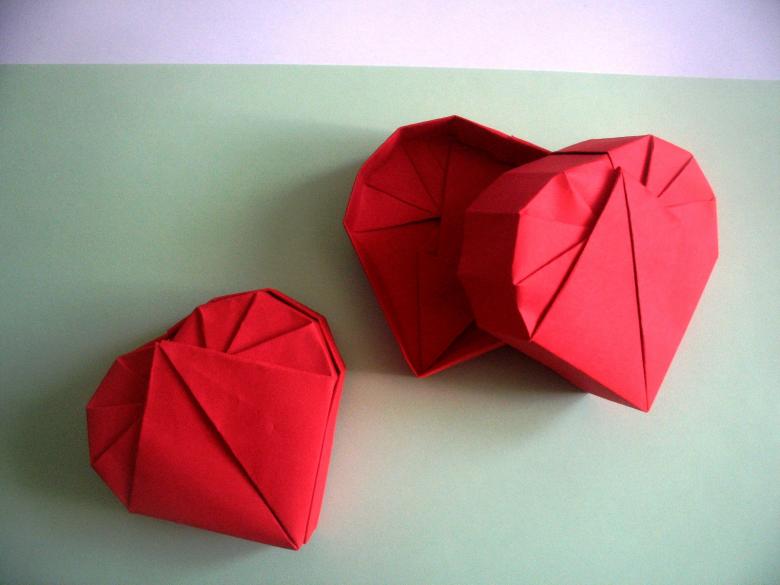
Photo ideas for creating a box of origami