Papier-mache handicrafts: a description of the technique and step by step instructions for beginners
A huge number of interesting techniques are used today to make crafts. France has given art and design an amazing direction - the technique of papier-mache, which is based on the use of different types of paper.
The technology of papier-mâché is quite simple, and does not require any special skills from the master. Molding is very useful for people of all age categories, allows you to develop fine motor skills of the fingers.
And coloring the finished products with bright colors stimulates a child's abstract imagination and storytelling.

Materials and tools needed
For work with paper you need to prepare a workplace with sufficient lighting, a wide tabletop, a comfortable chair according to the age of the child. Also for creative activities need the following set of materials:
- Office paper, newspaper, egg trays, sleeves from toilet paper.
- To prepare the paste need water, starch, flour and a separate container. Original and colorful papier-mache crafts can be made from toilet paper and PVA glue.
- Brushes will allow you to apply the glue solution to the surface of the sample figure.
- Vegetable oil is applied before the first layer of paper, so that in the future the finished handicraft will be easy to remove from the base.
You will also need sharp scissors or a stationery knife, paints for decorating the finished products.
Techniques in the art of papier-mâché
The concept of papier-mâché covers a wide range of different techniques. For children's creativity there are two main ways of making interesting products, souvenirs, toys, decorative dishes.

Machining .
The first and most well-known method is to paste the chosen object with pieces of paper, newspaper, paper napkins. To perform the creative work, it is necessary to prepare a separate container with paste. The sequence of steps in pasting the figure:
- The paper is torn into small pieces.
- The selected object is smeared with vegetable oil, and then proceed to paste the sample with the paper.
- Each piece can be dipped in the adhesive solution, or you can apply the paste with a brush to each new layer of paper.
Each new layer should completely overlap the previous one, and after 2-3 layers you should let the glue dry slightly. You will need at least 10 layers of paper to get a fairly dense wall of the object.
Paper pulp molding
The second, no less popular technique in the art of papier-mâché, is to sculpt toys and utensils from thick paper pulp. Step-by-step instructions for making papier-mâché crafts from egg trays:
- Tear egg trays, toilet paper sleeves, napkins or paper into small pieces.
- Put all the pieces in one container.
- Add a mixture of glue and PVA glue to the container.
- Mix the mass evenly.
- If excess moisture is released, the mass should be squeezed.
Then you can proceed directly to molding hollow or solid products. After the complete drying of the adhesive solution, the hollow figure is removed from the sample object, and the solid figure is decorated with paints.
Master classes on making handicrafts
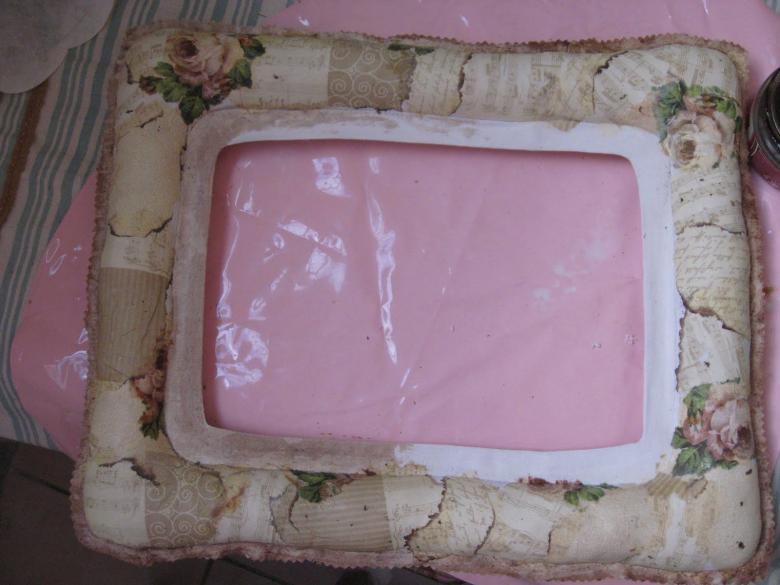
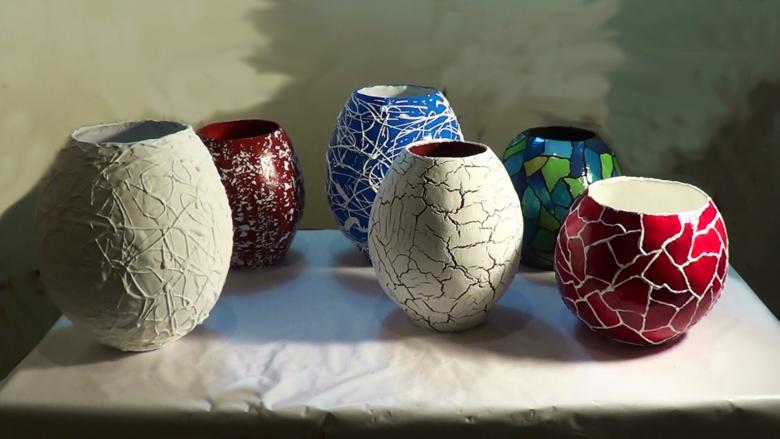
All items made in the papier-mache technique are used for interior decor. These can be cute toys, stylish accessories, bright frames for family photos.
Such products can be presented at a school exhibition as an exhibit or in public lessons of home creation.
A frame for a photograph
For children and novice craftsmen, the best solution will be to choose a simple sample for work, such as a photo frame. Master class on making papier-mache crafts:
- In a separate container (bowl or deep plate), mix together pieces of egg trays or toilet paper sleeves.
- Fill the paper with glue and PVA glue.
- Thoroughly mix the thick mass.
- On a work table put a cutting board, wrapped in clingfilm.
- Put the paper mass on the foil, which should be squeezed out of excess moisture beforehand.
- From the sticky mass it is necessary to roll out a 2-2.5 cm thick layer.
- The edges of the obtained layer are equalized to the shape of a rectangle.
- Using a sharp knife, cut out the middle of the future frame, leaving the edges up to 3-3.5 cm wide.
- Leave the piece until it is completely dry.
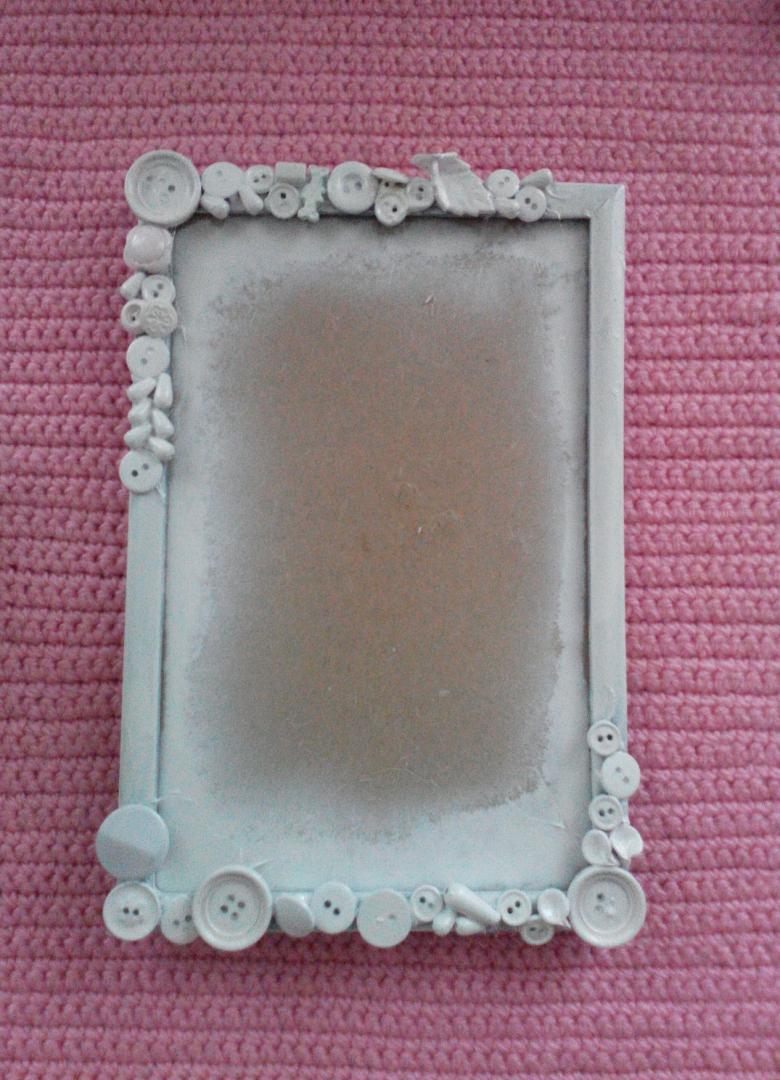
After the paste has set, you can decorate the piece with acrylic paints or gouache. Beautiful applications of paper circles, small buttons, shells can also be used.
Decorative vase
To make a handicraft, choose a beautiful vase without strong deformations or too deep relief ornamentation. For creative work, prepare a large number of pieces of paper or paper napkins.
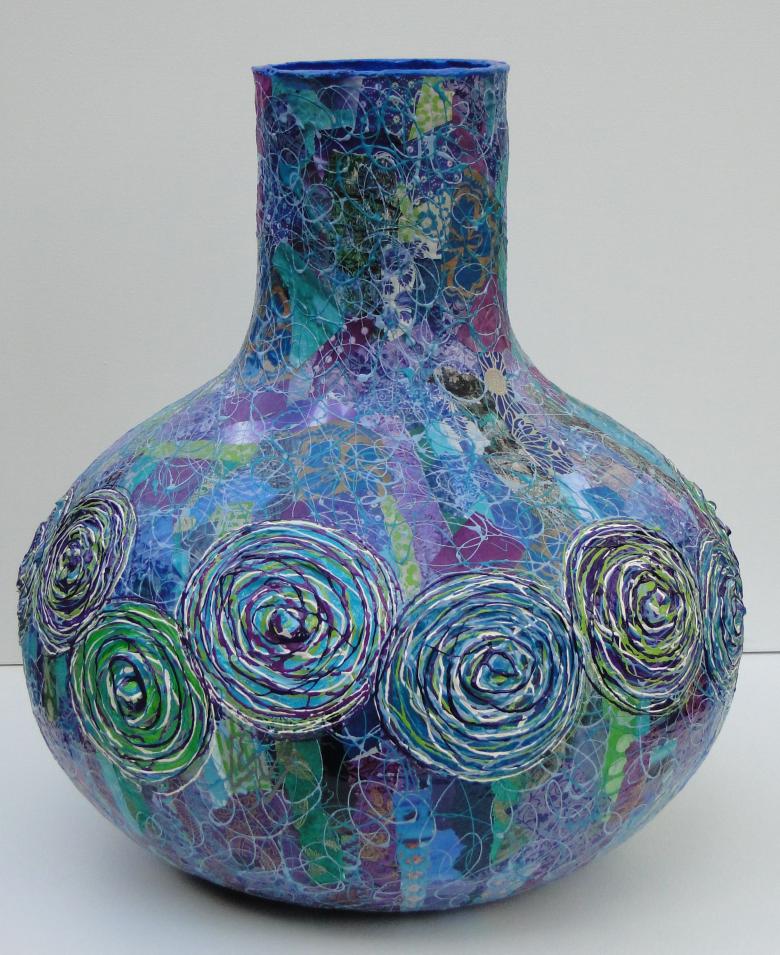
Instructions on how to make a stylish vase with your own hands:
- In a bowl or plate, cooled glue is poured.
- Vegetable oil is applied to the surface of the vase.
- The first layer of paper is glued on the basis of water, which will allow you to easily remove the finished product in the future.
- Each subsequent layer of paper is smeared with paste, sometimes combined with PVA glue.
- Leave the handicraft until the glue dries completely.
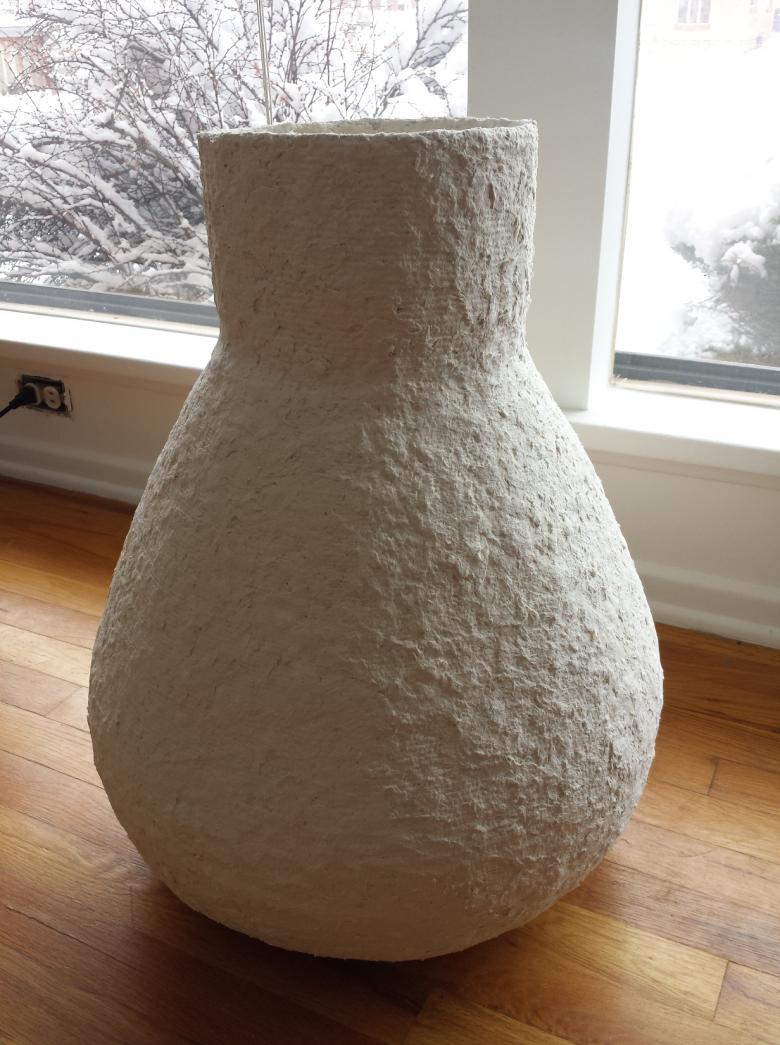
After the glue hardens, draw a cut line in a straight line with a box cutter. Carefully remove the two halves of the future decorative vase, trying not to damage the fragile walls. According to a similar scheme, you can make a step by step papier-mâché handicraft - a decorative plate.
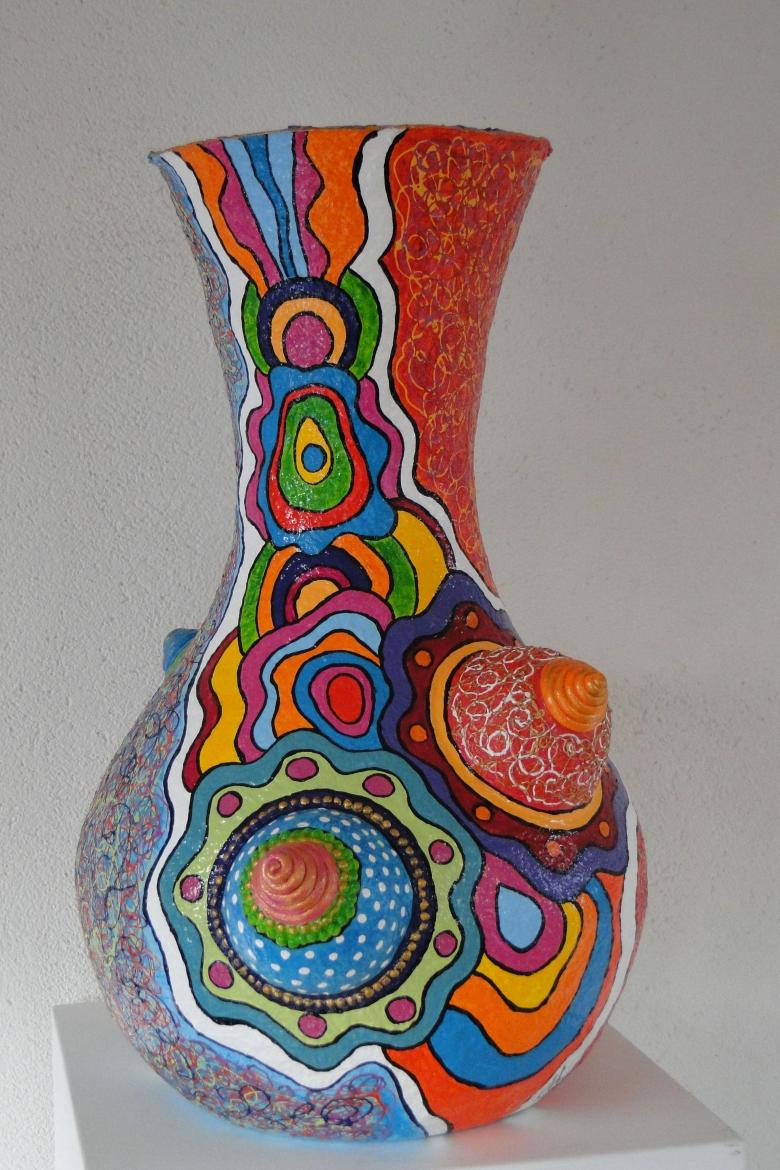
The halves are glued together, and paint the vase with gouache or acrylic paints. It is undesirable to use watercolor, as the water base quickly damages the craft.
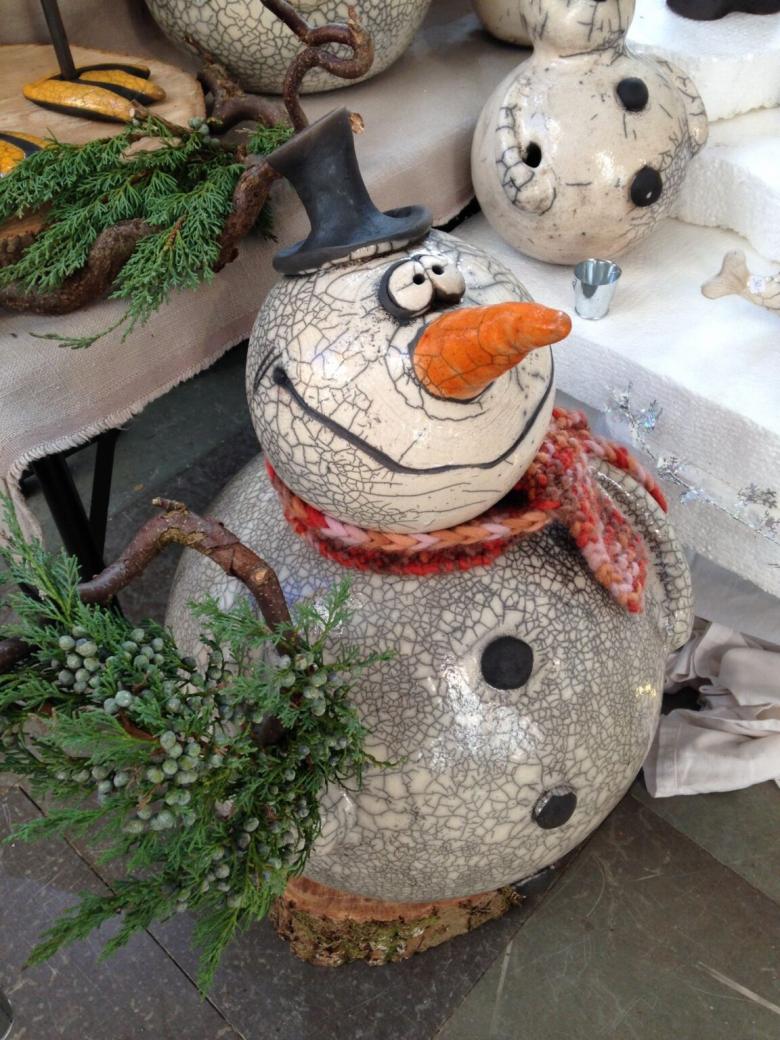
The snowman for New Year
No holiday passes without symbolic attributes. The snowman is a constant symbol of the coming New Year. For making the handicrafts you need 2 or 3 plastic balls of different diameters.
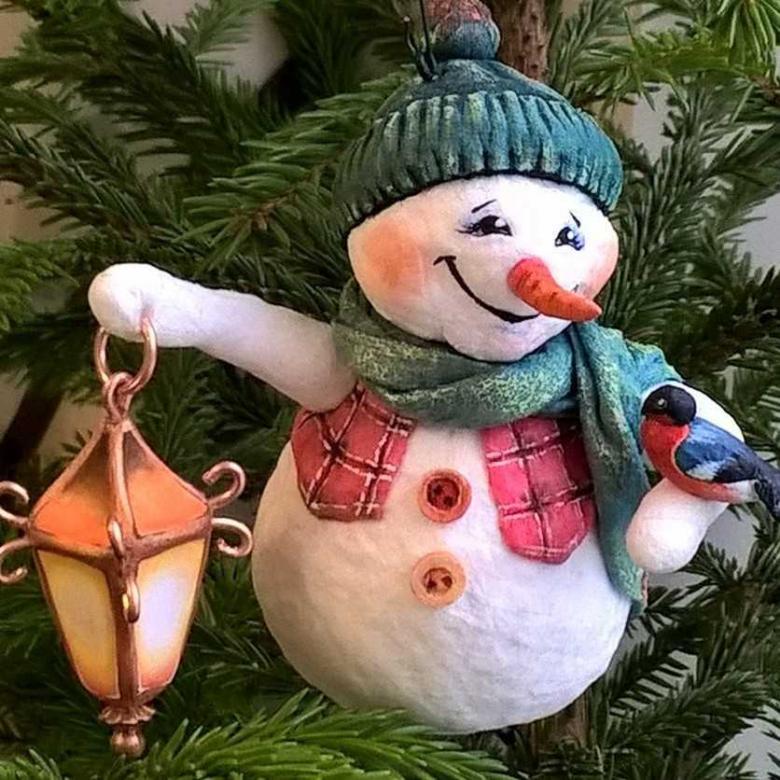
Instructions for making papier-mache handicrafts:
- Work with each ball in turn, pasting the plastic surface with pieces of paper or tissues.
- There is also a second method, which first prepares a sticky mass of paper. Three balls are rolled from it and left until the glue hardens completely.
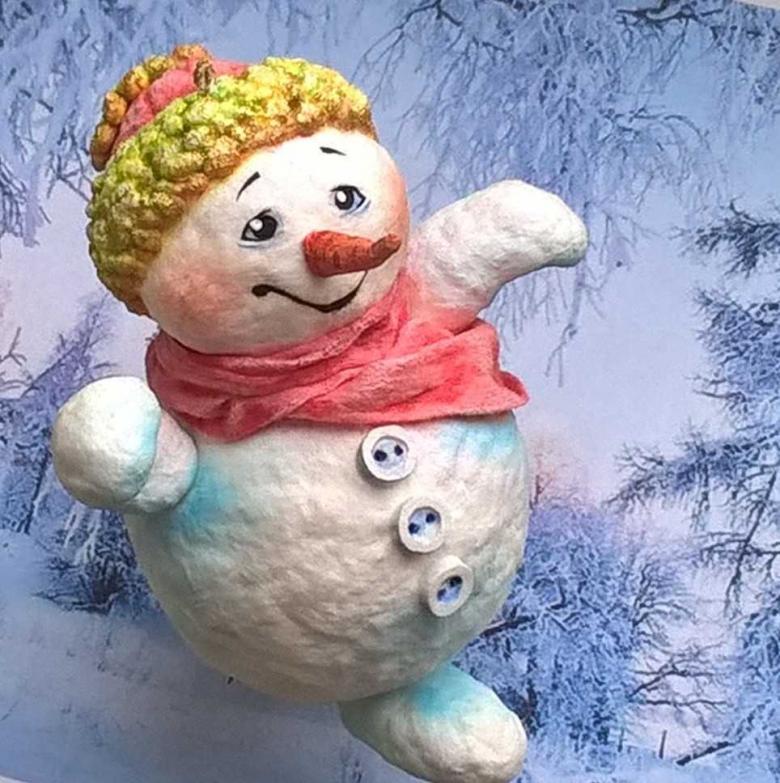
The finished balls are carefully glued together, then painted white. To complete the festive image you should sew a checkered scarf, fold a hat-cylinder from cardboard and make a broom from a twig.
Doing creative work at home is pleasant and very useful, as the painstaking work requires the utmost attention and diligence on the part of the child. And the joint creative activities of children and parents will bring a lot of positive experiences for both sides.
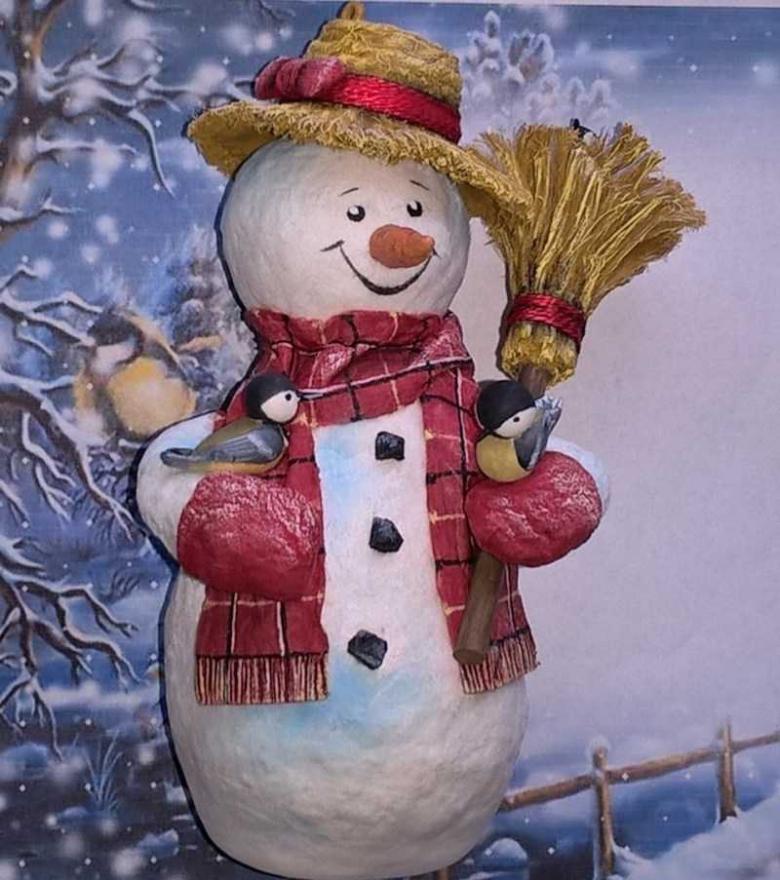
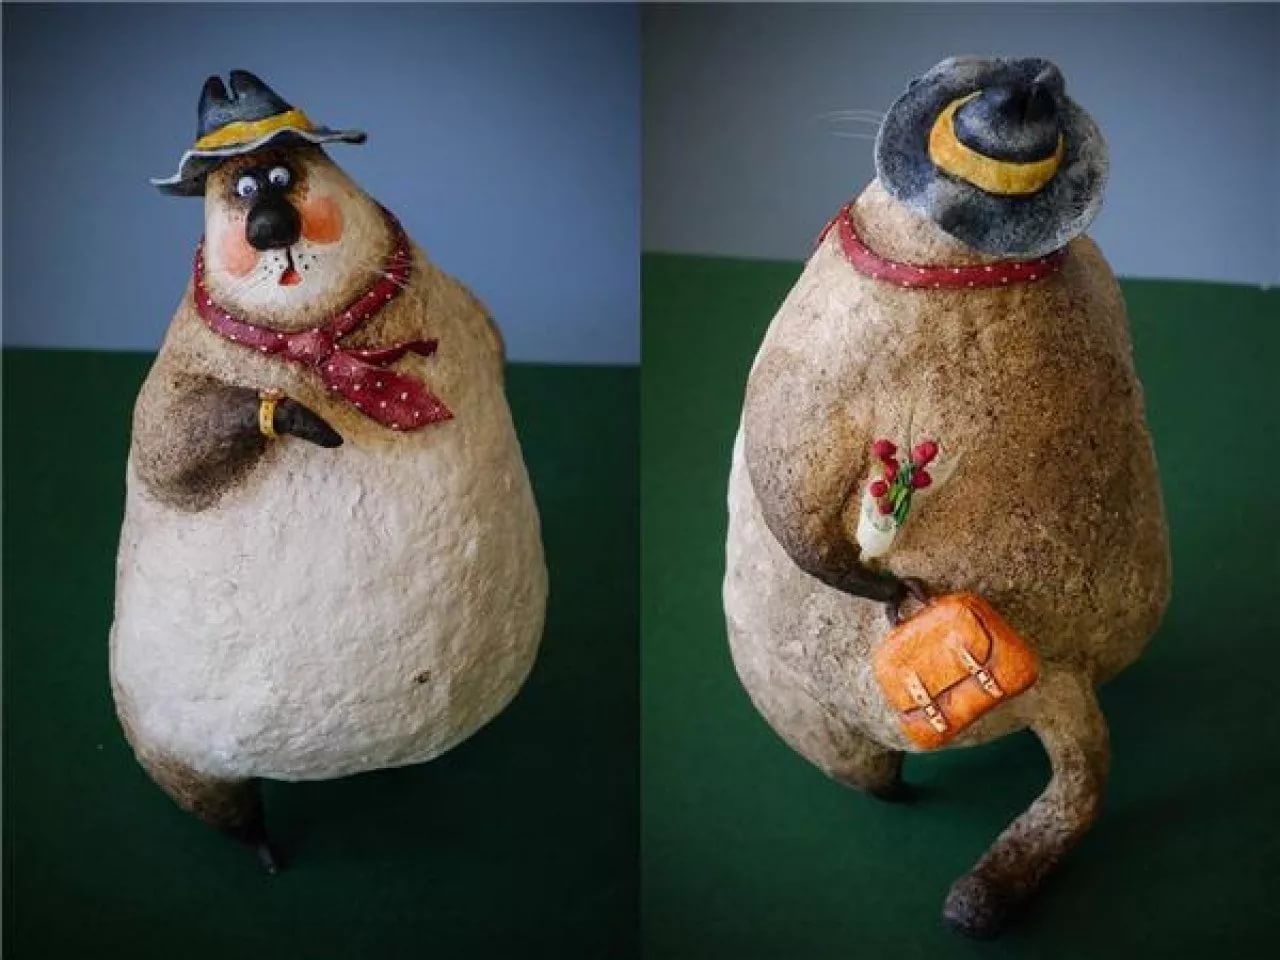
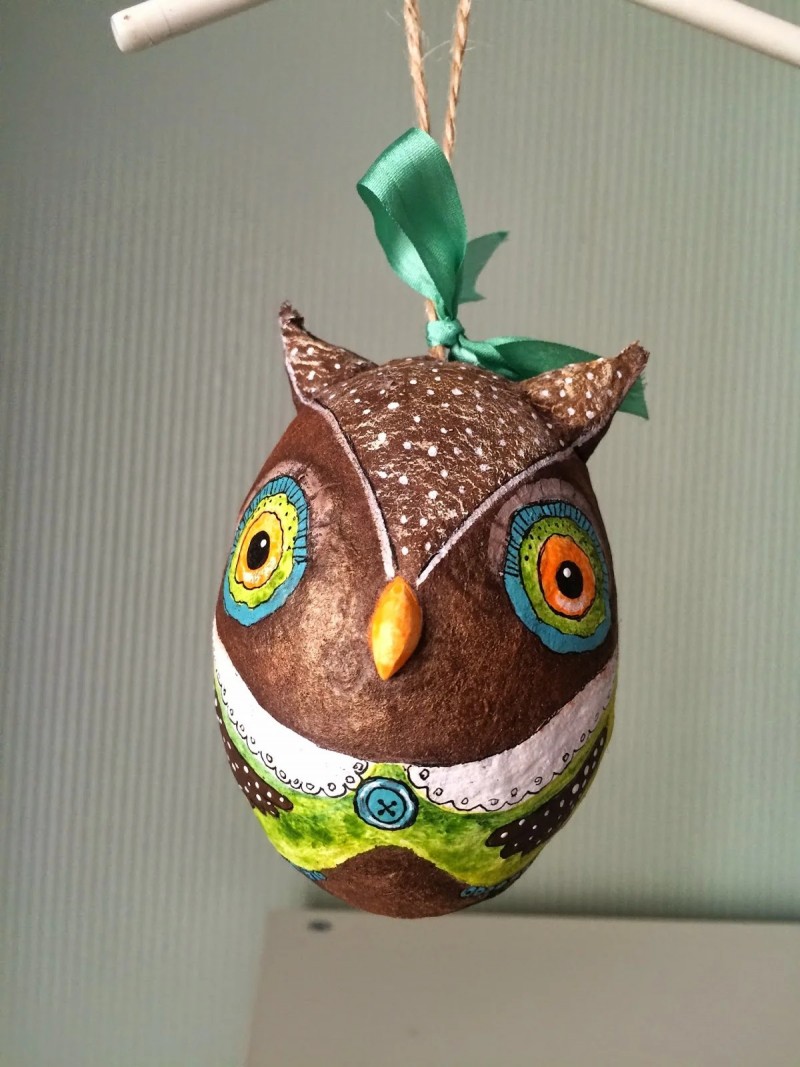
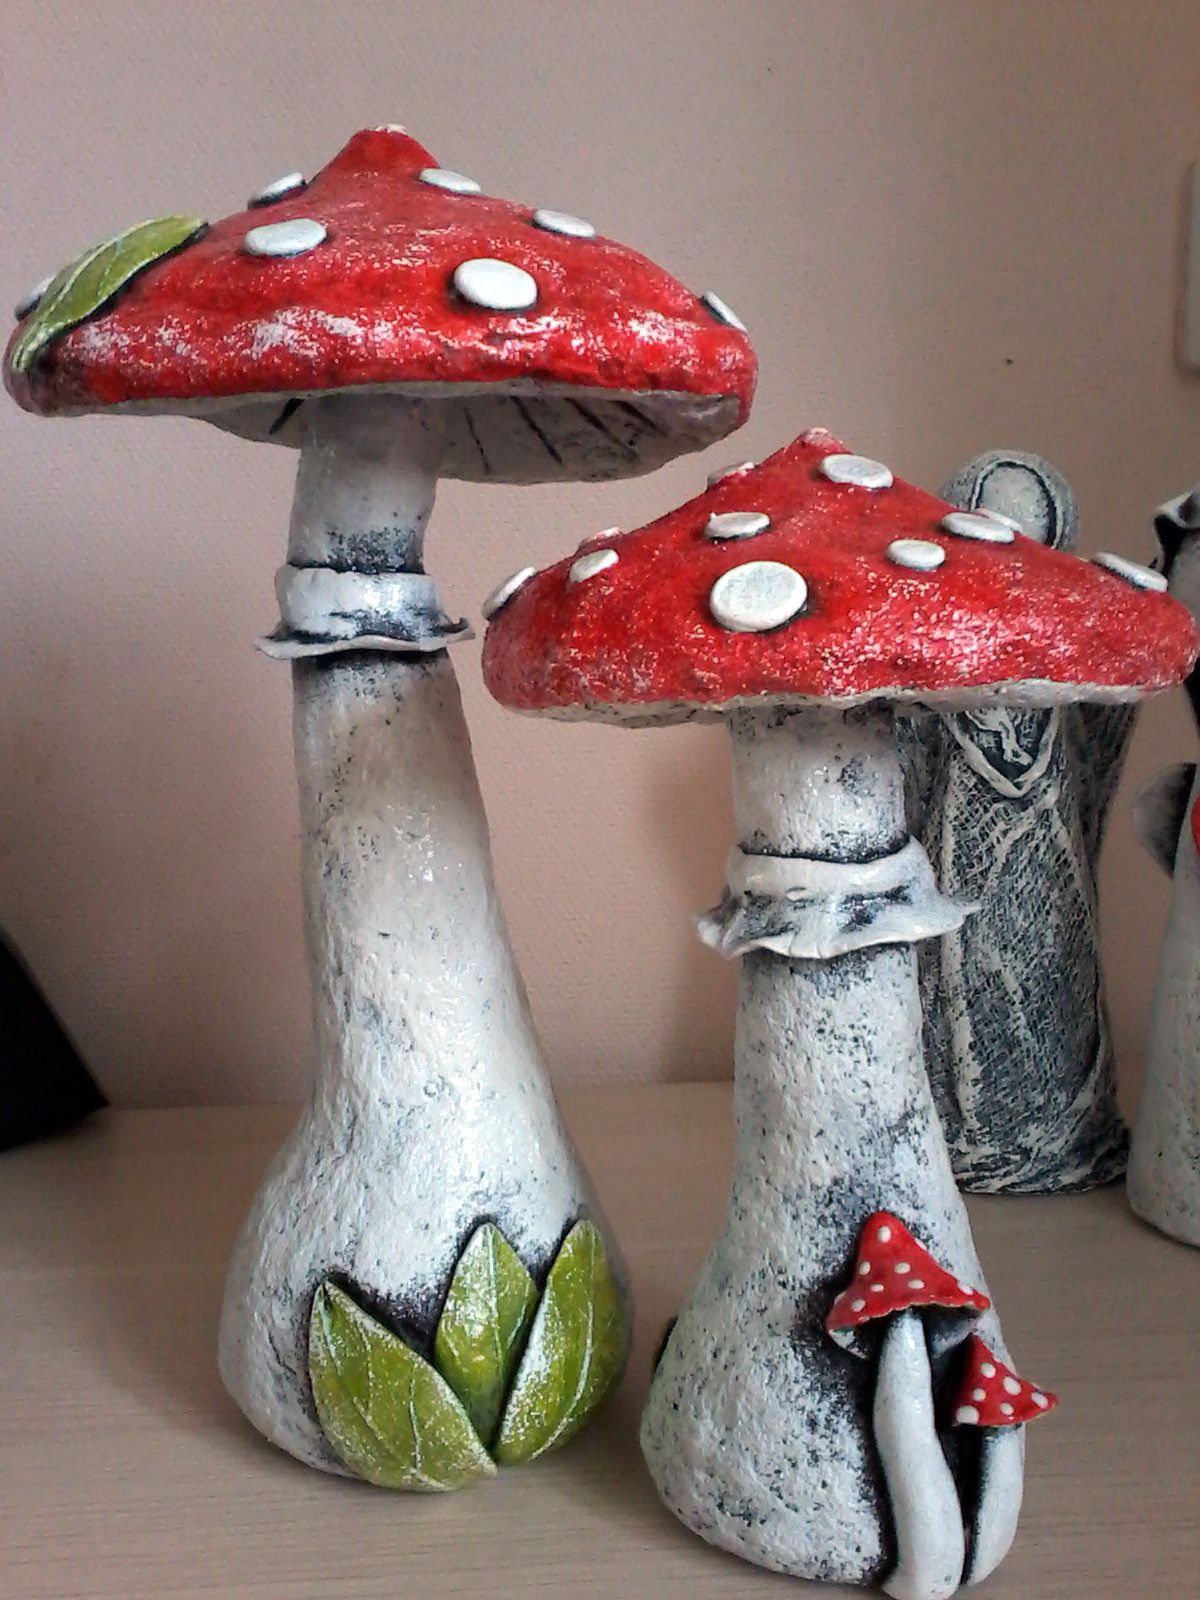
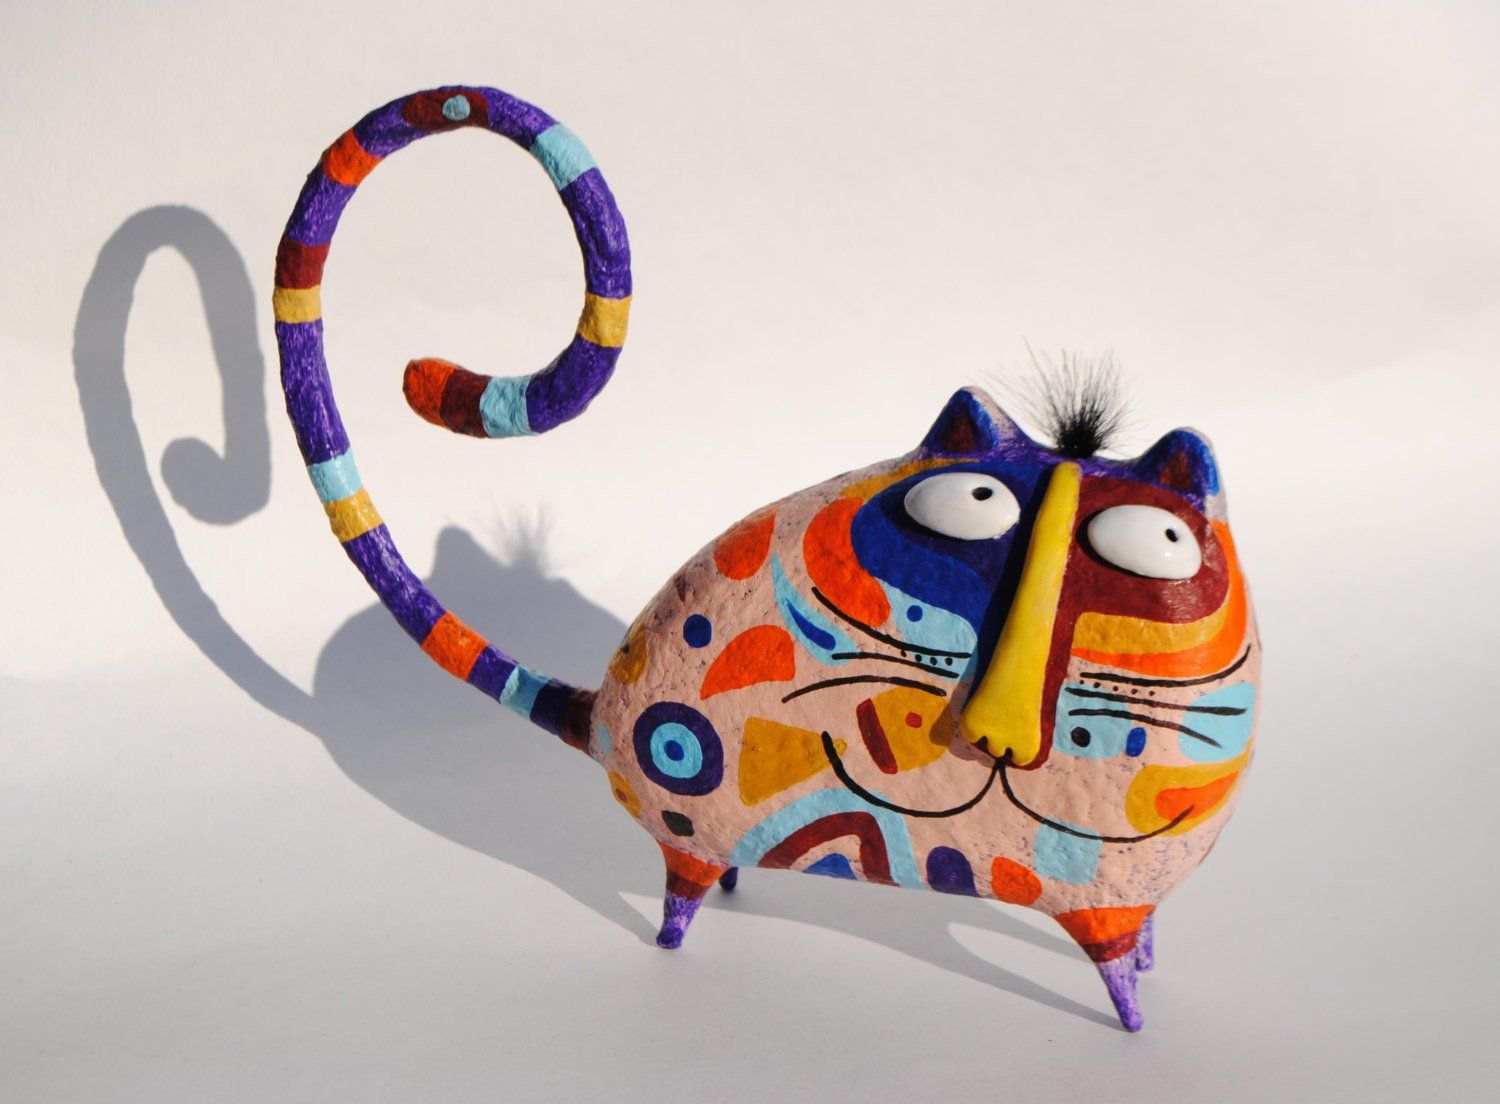
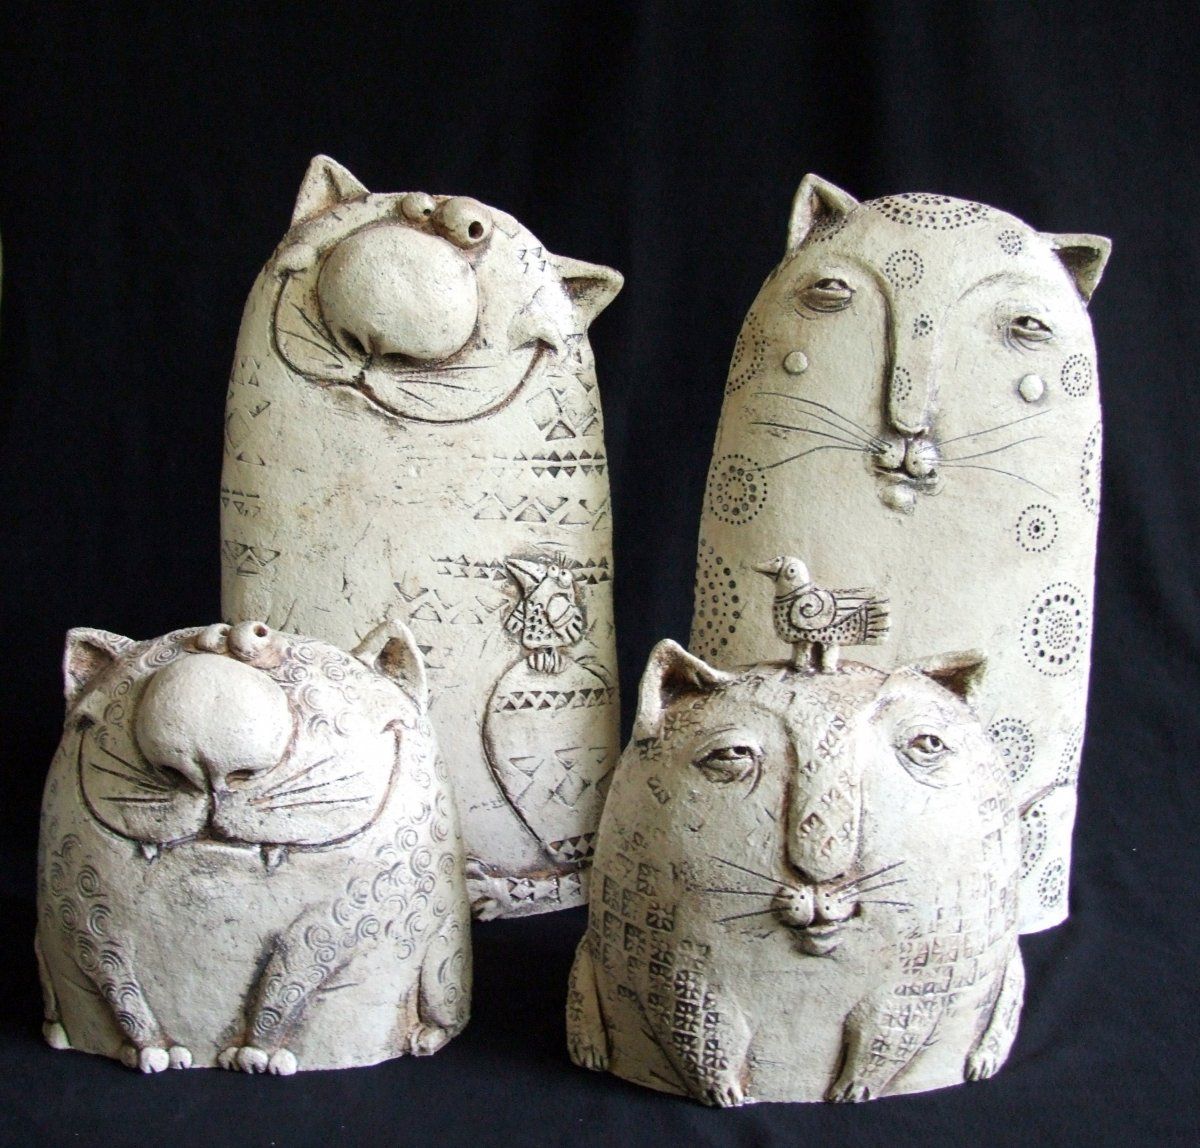
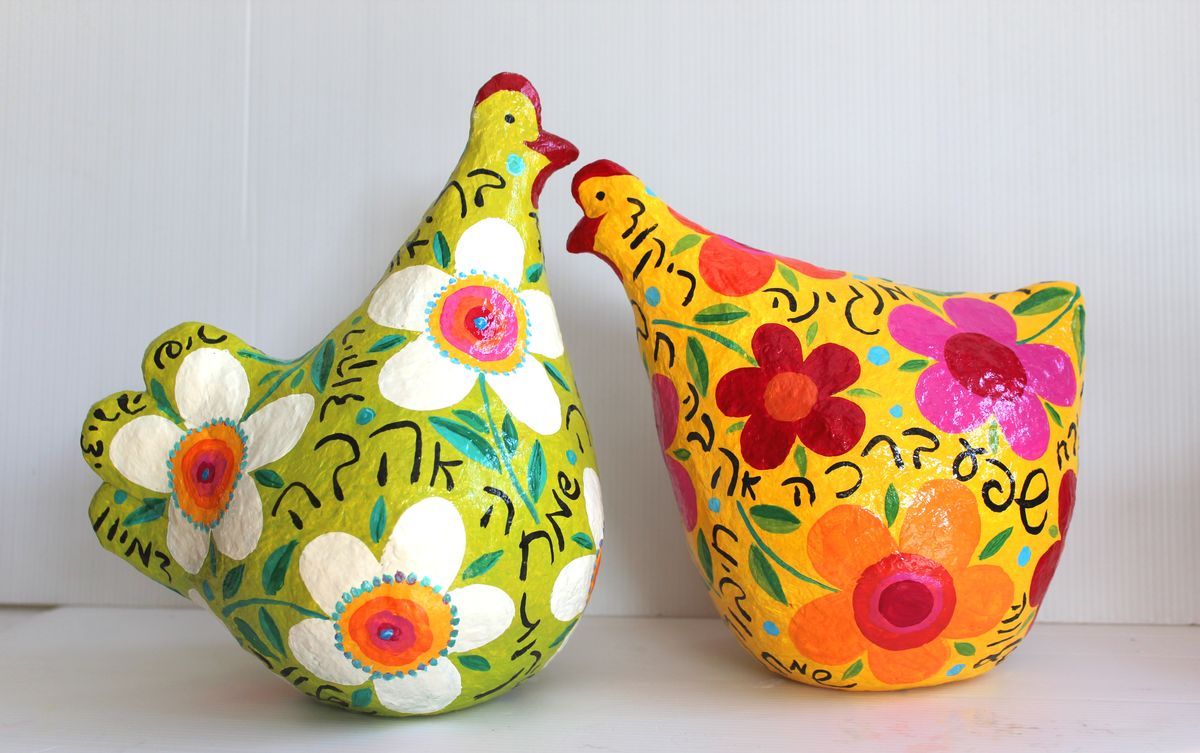
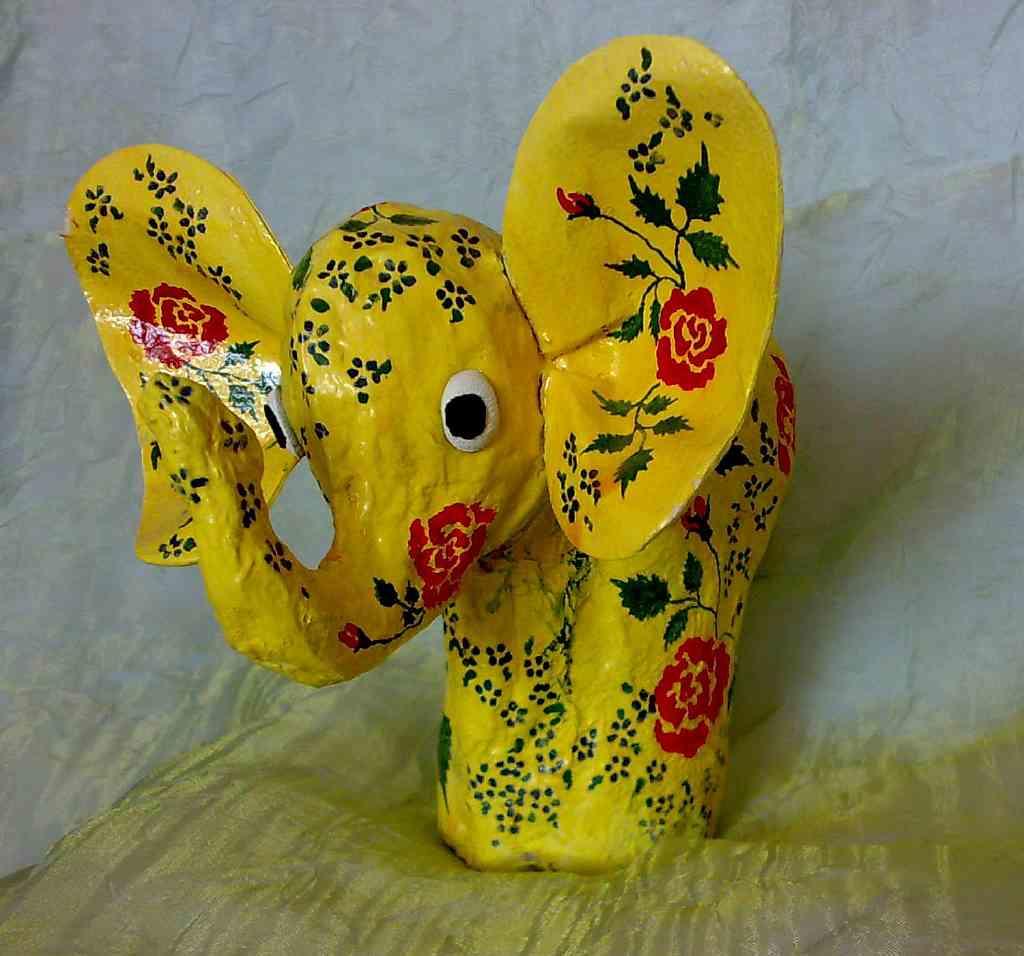
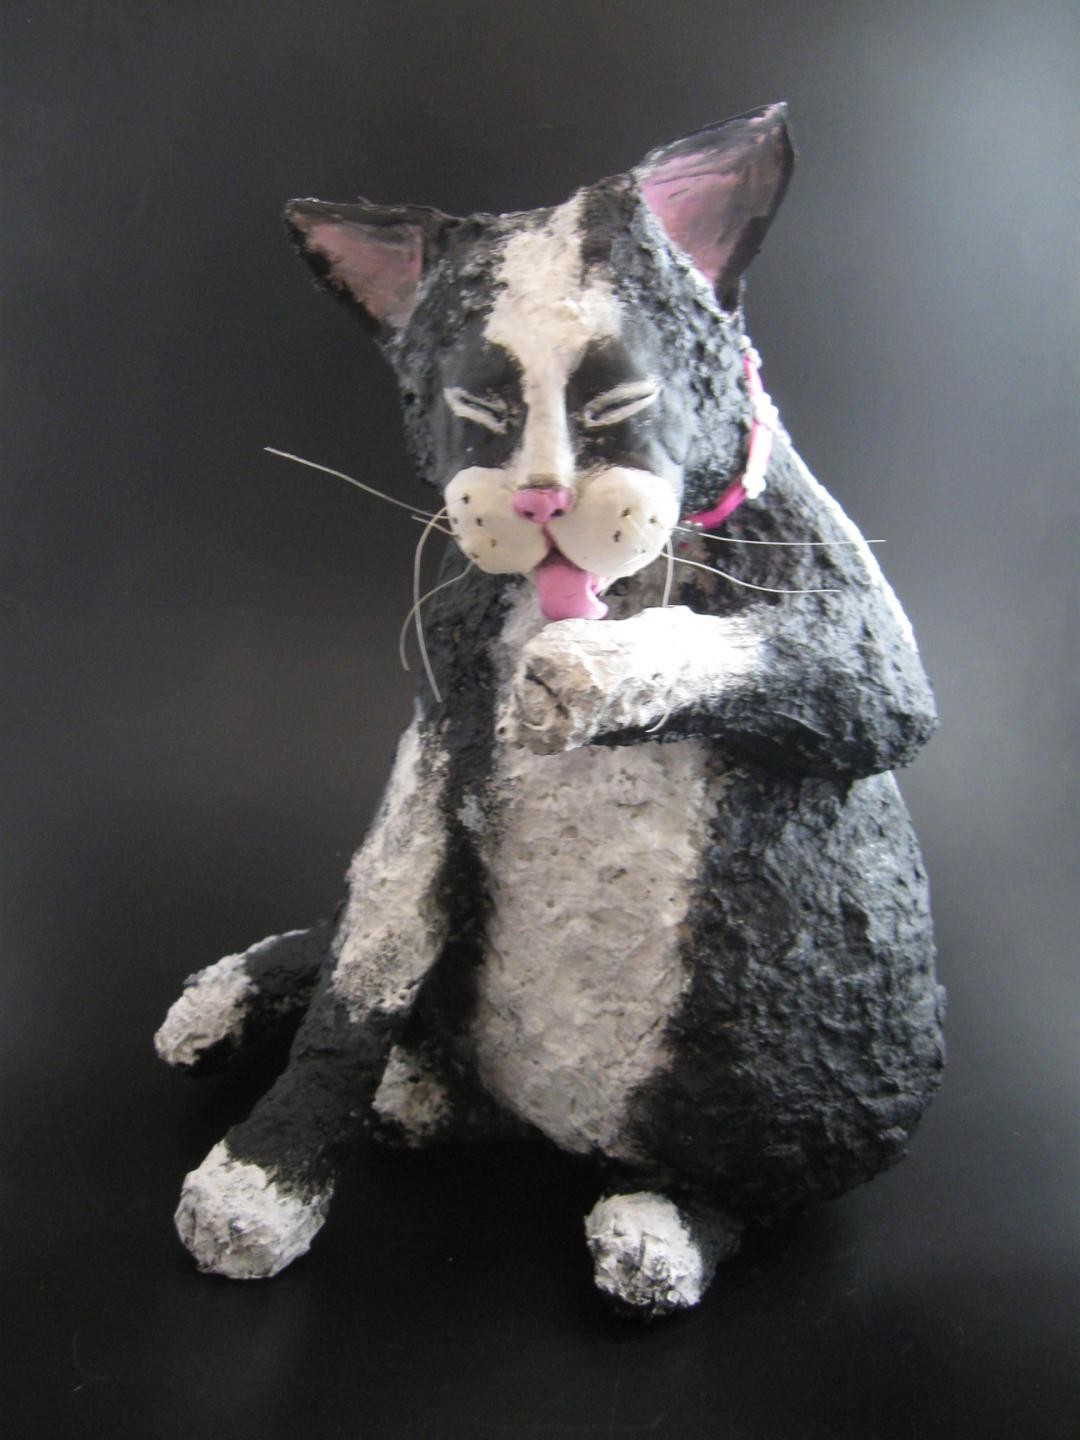
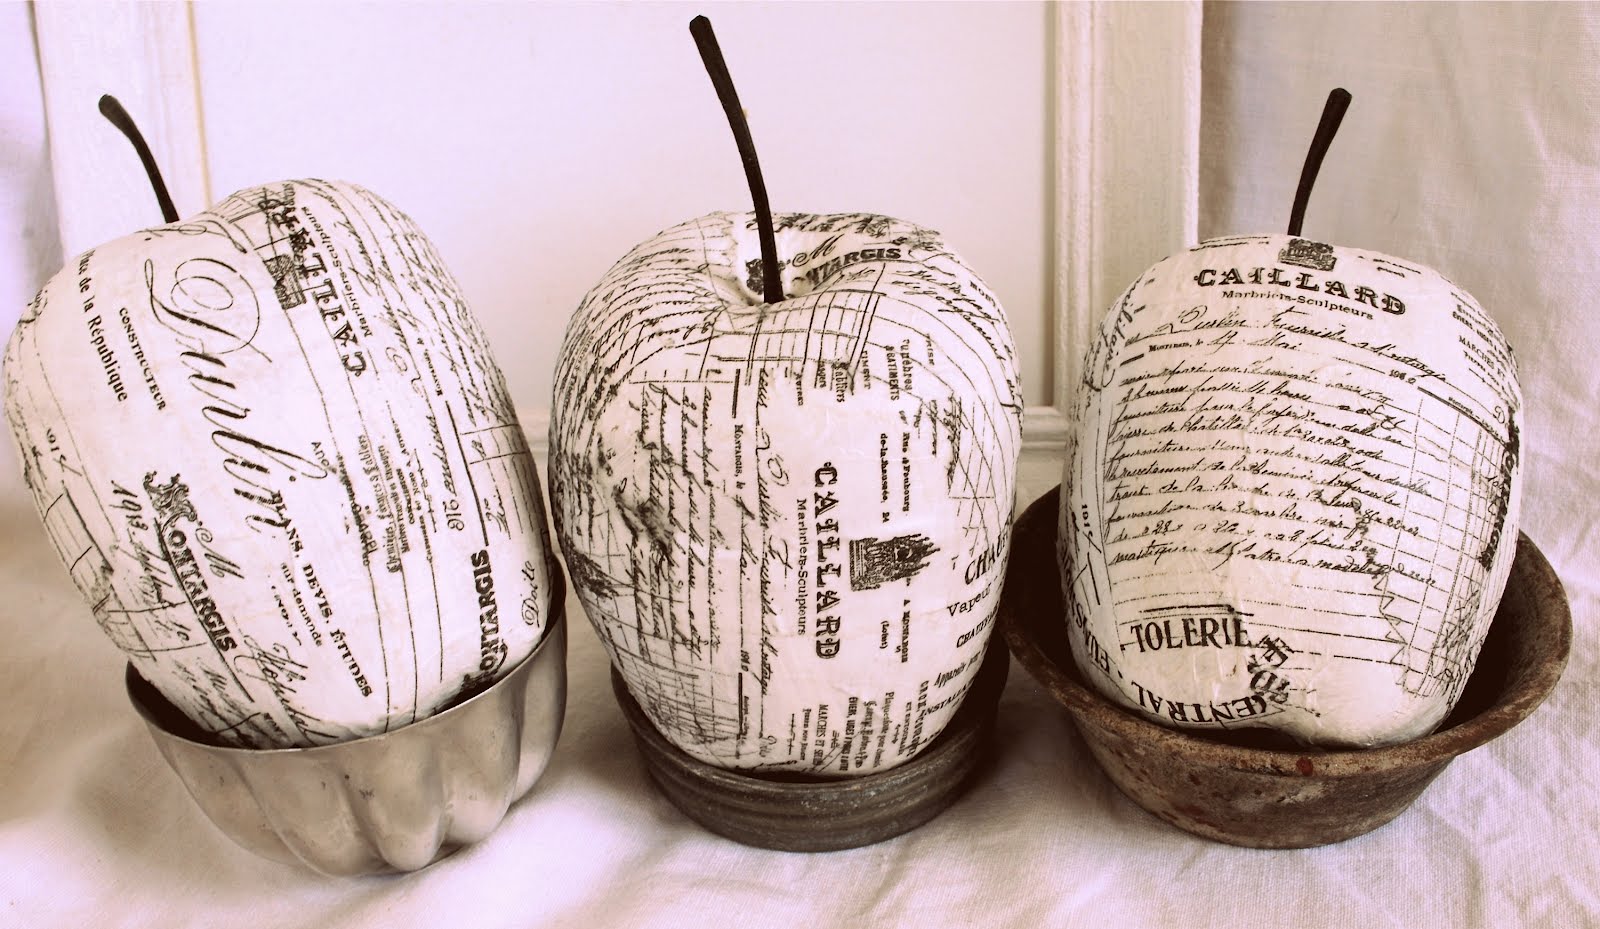
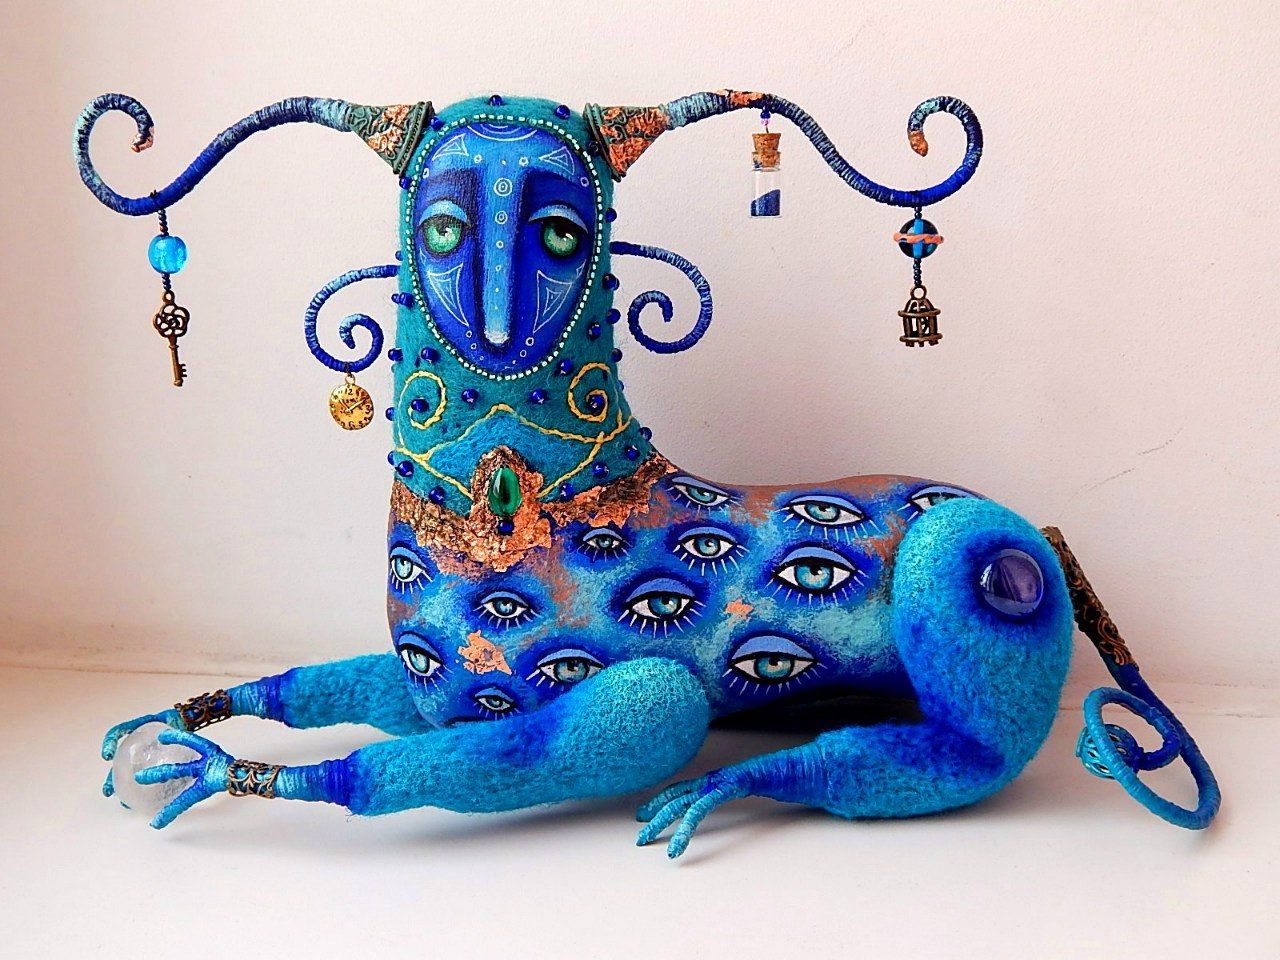
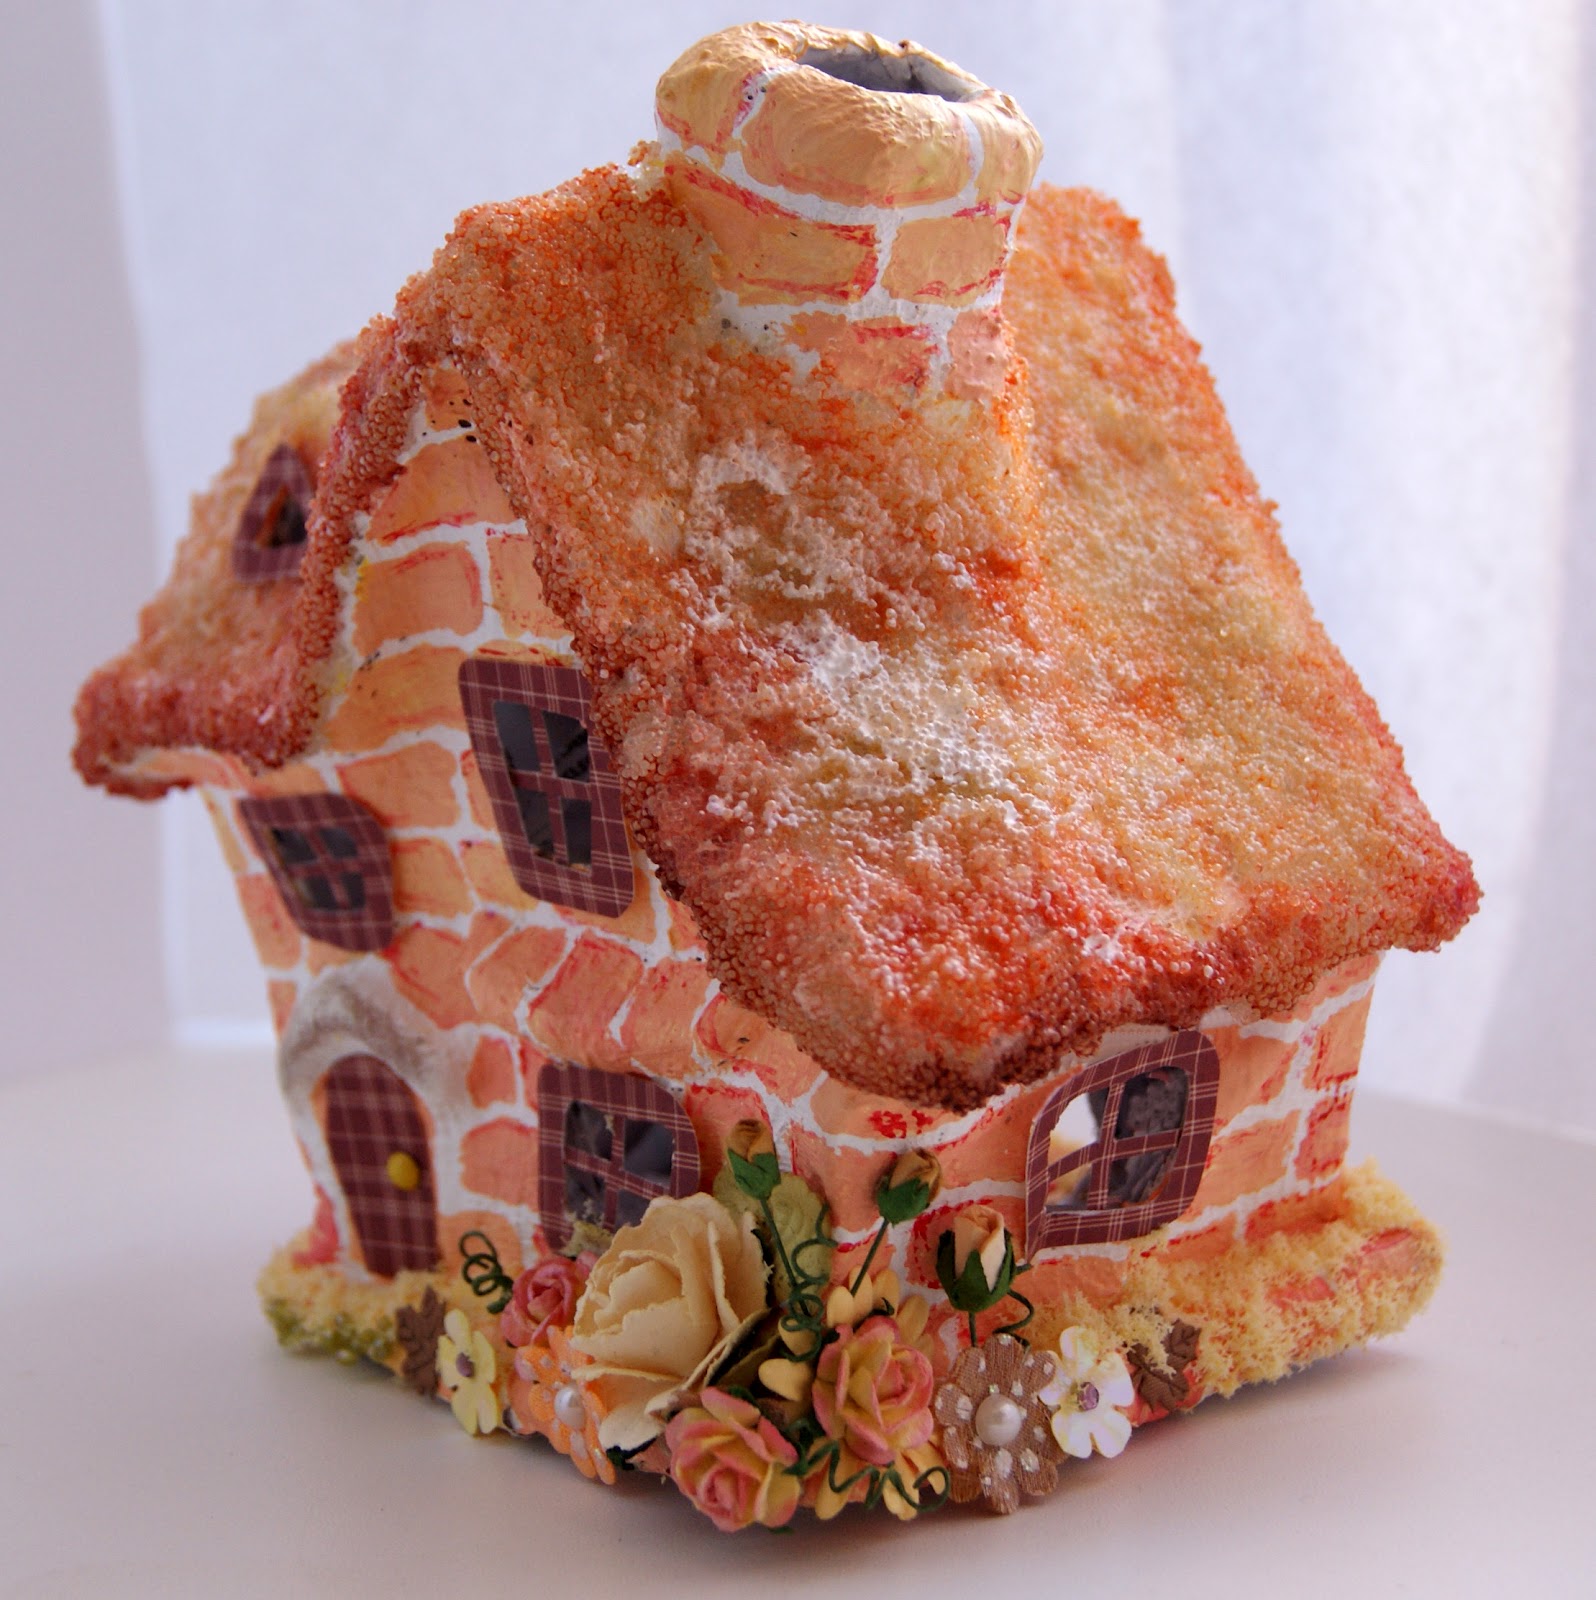
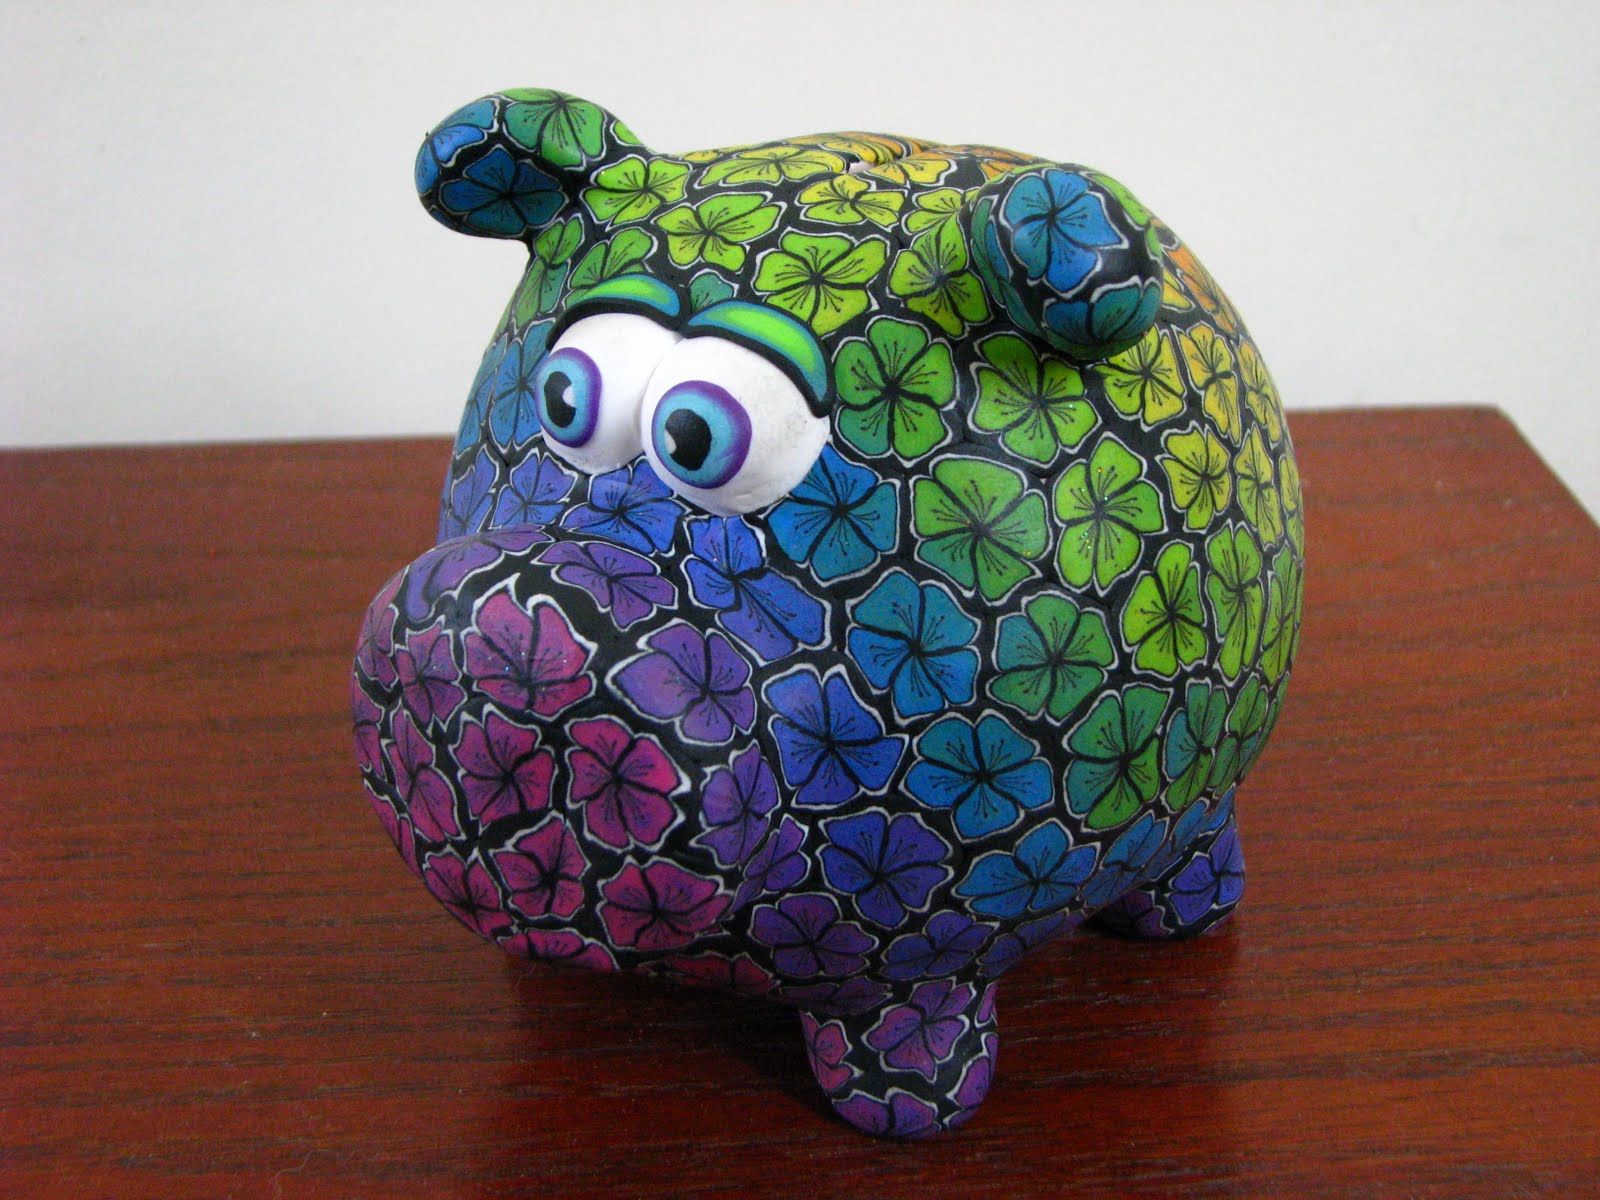
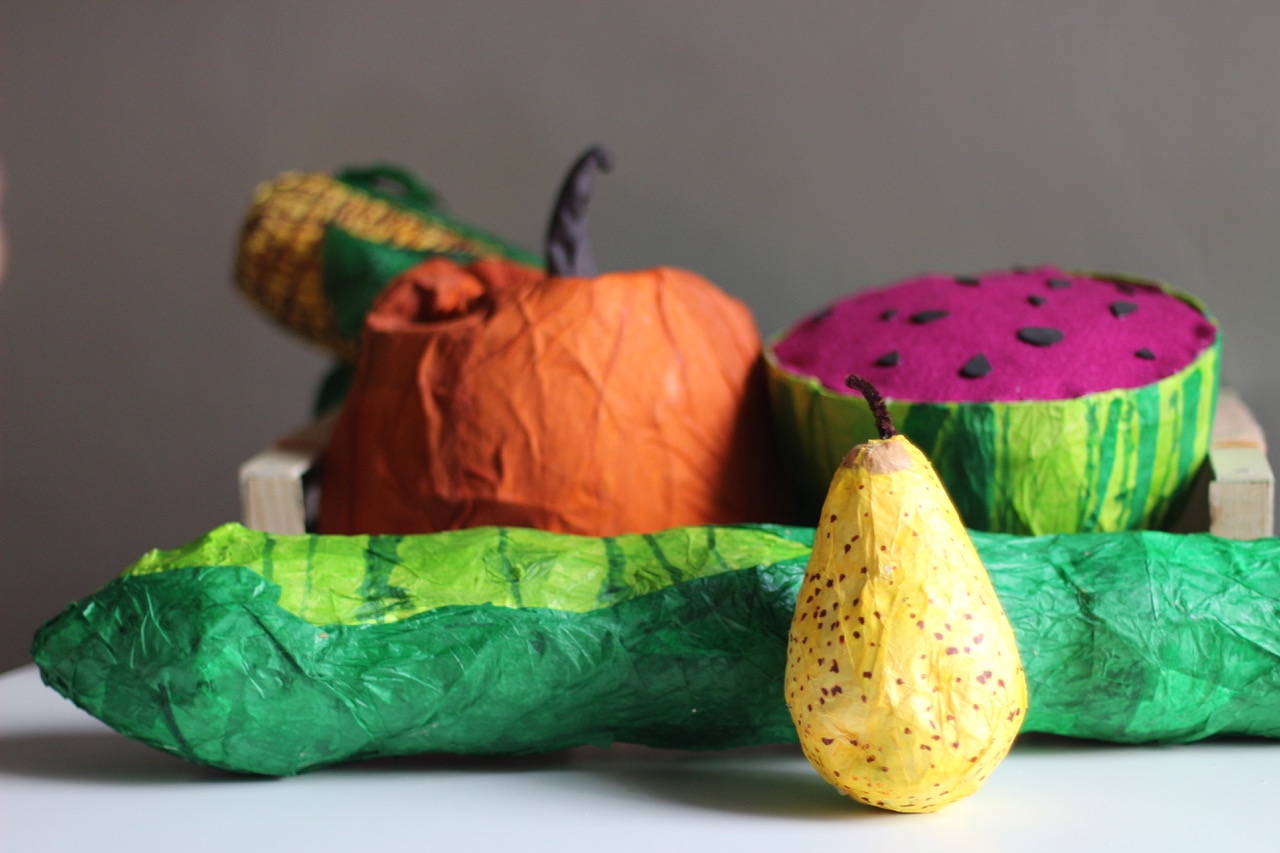
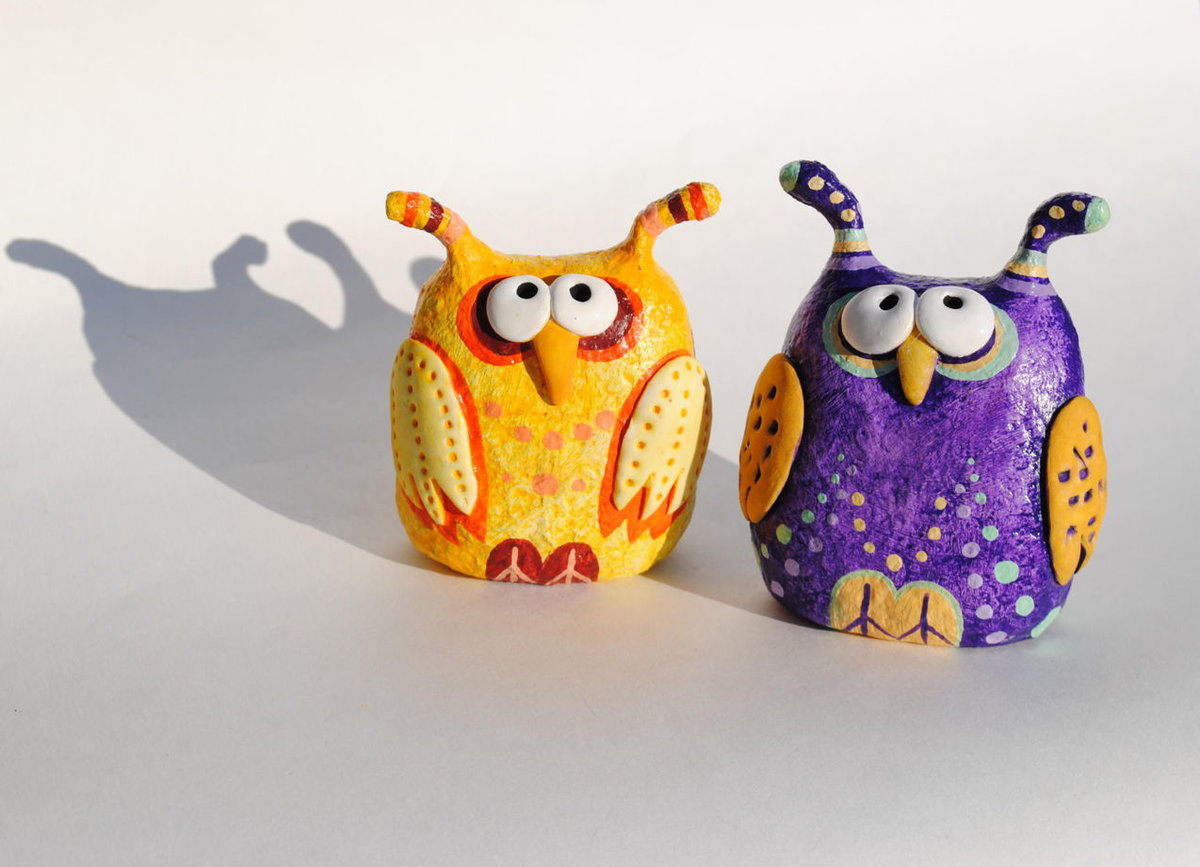
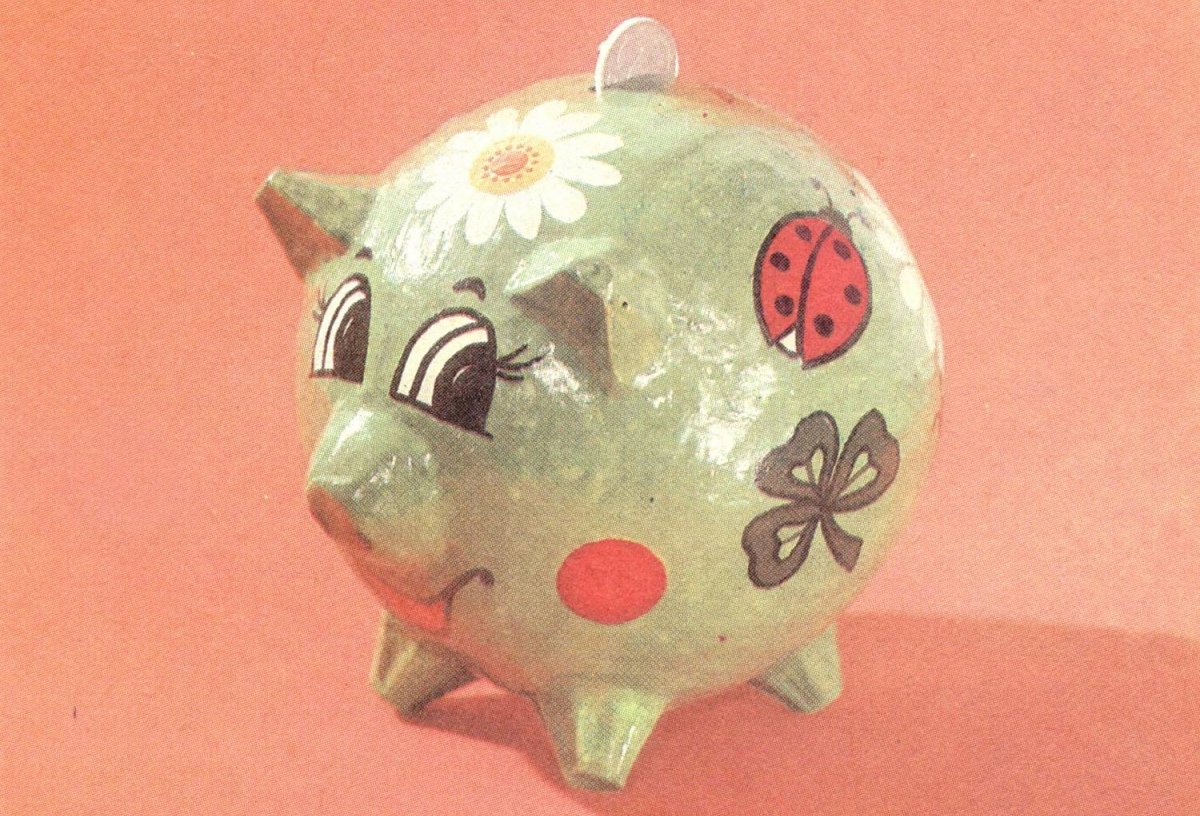
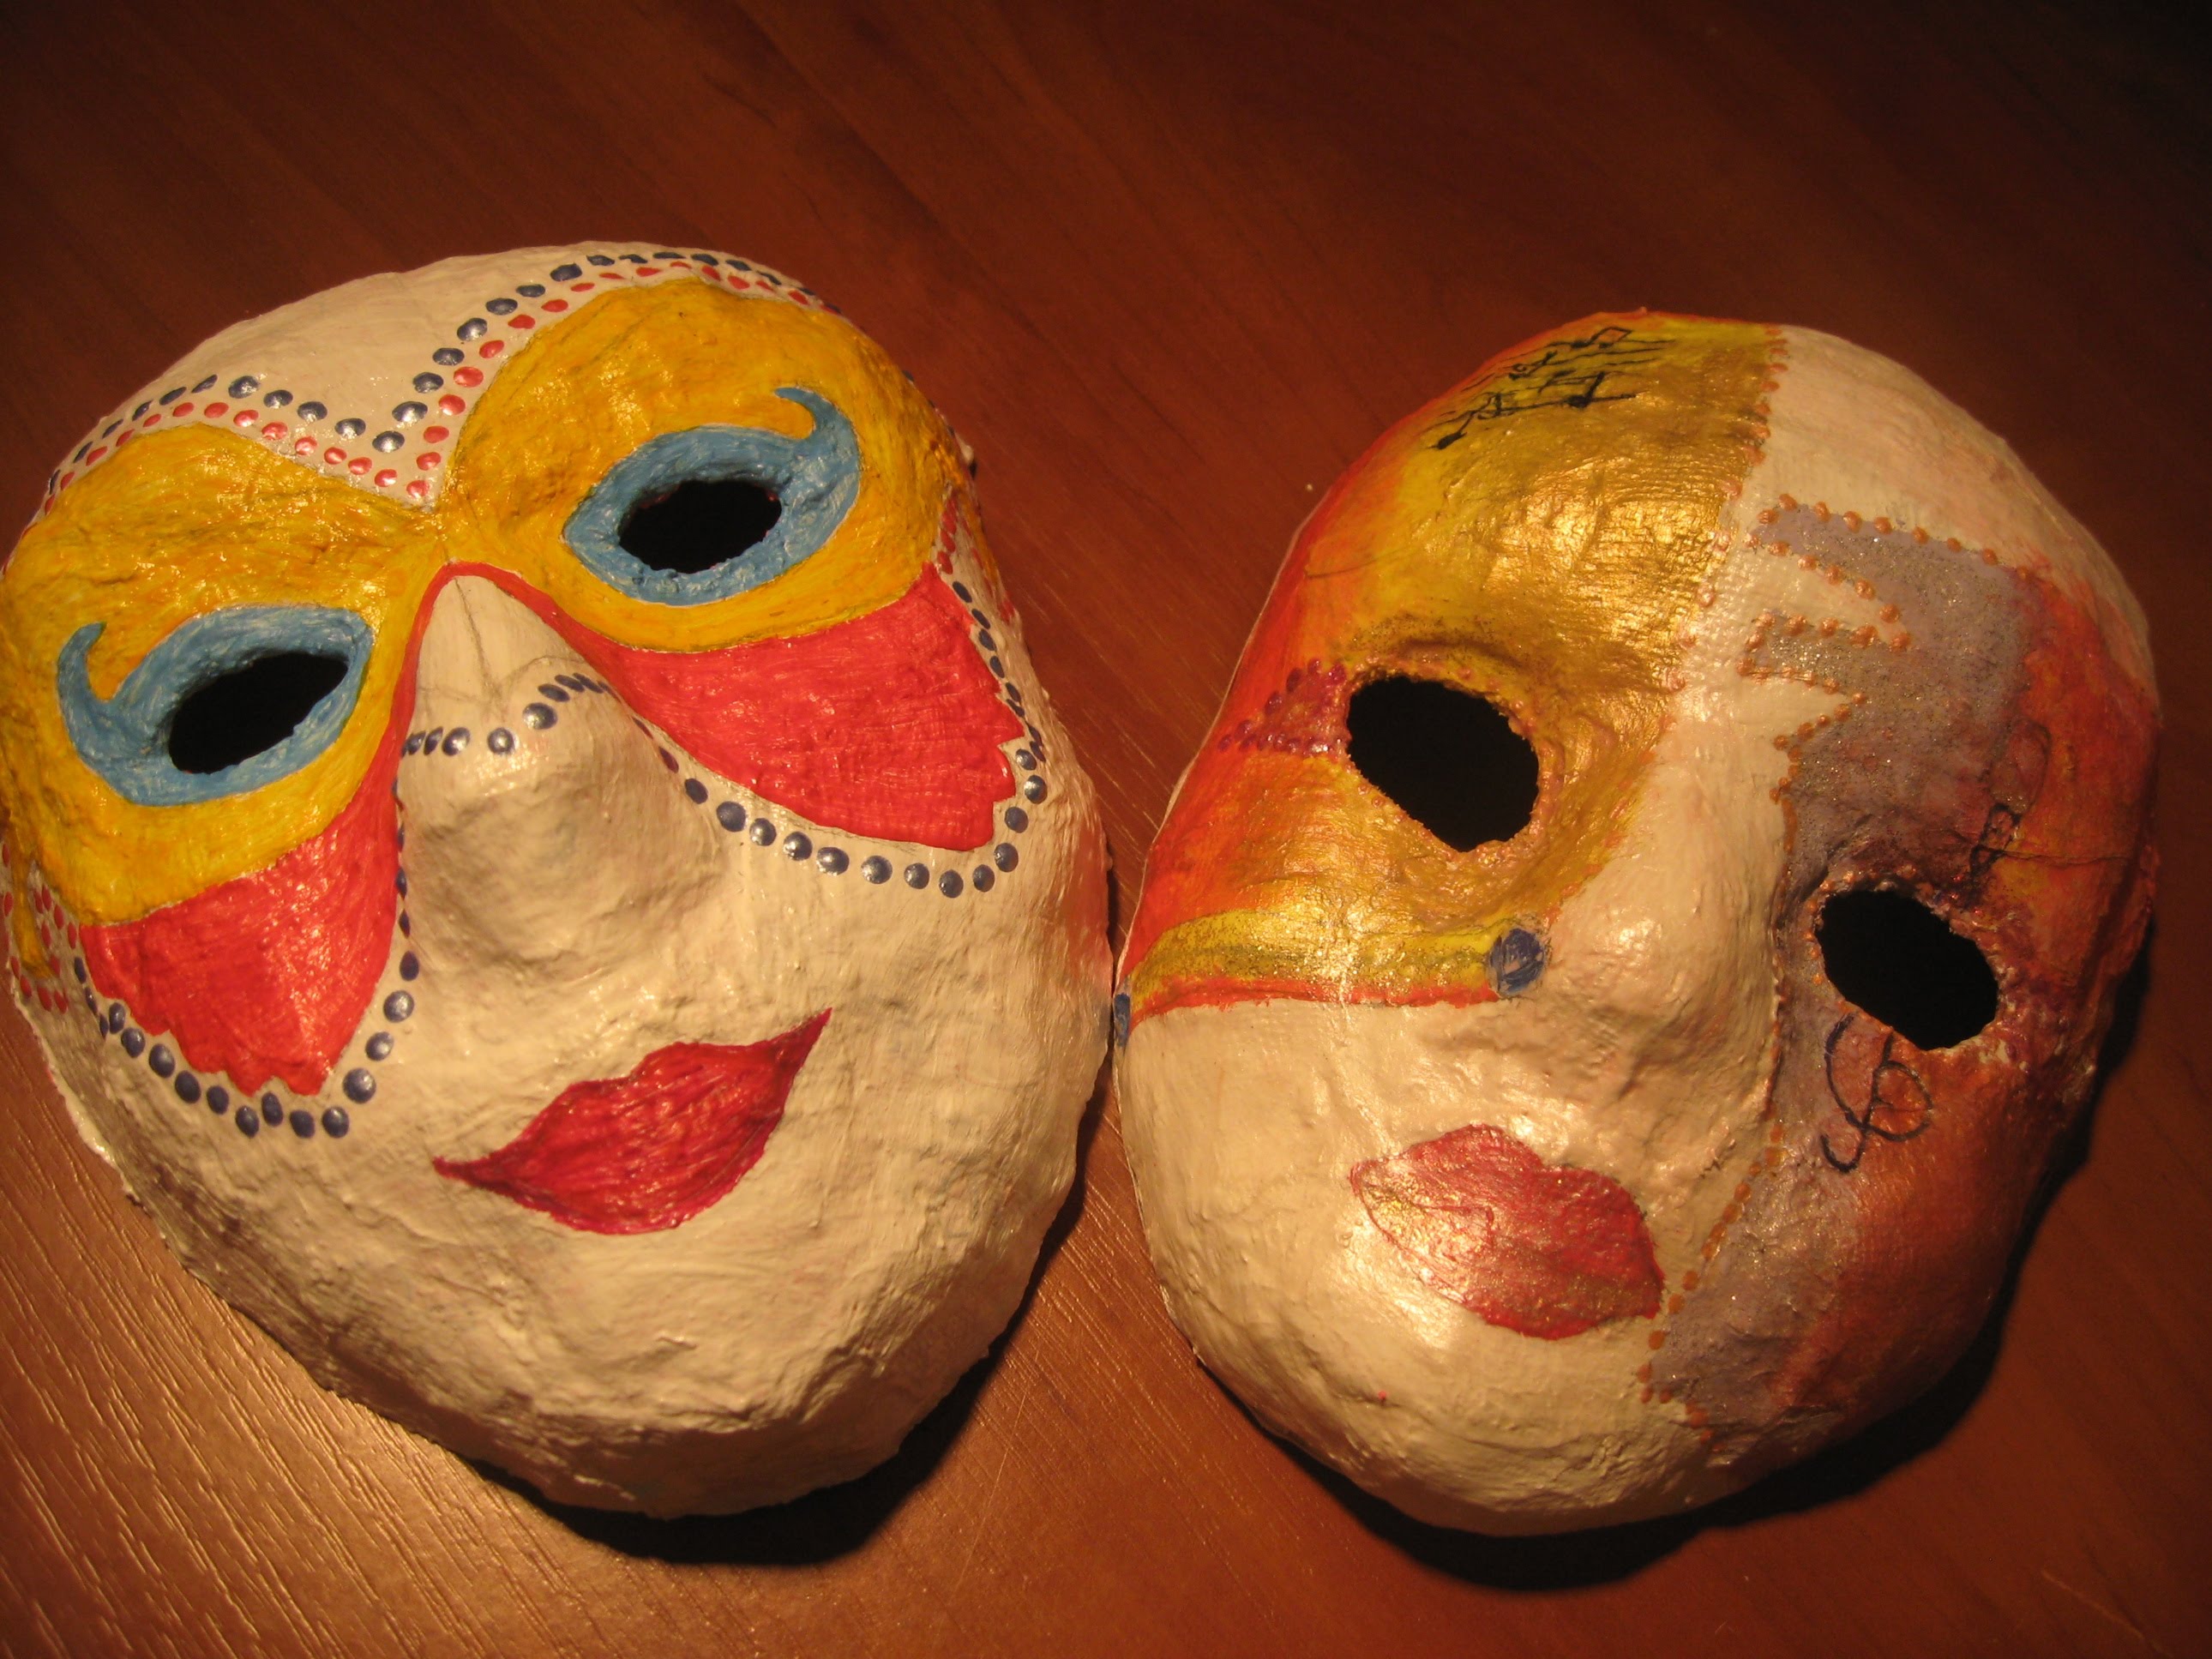
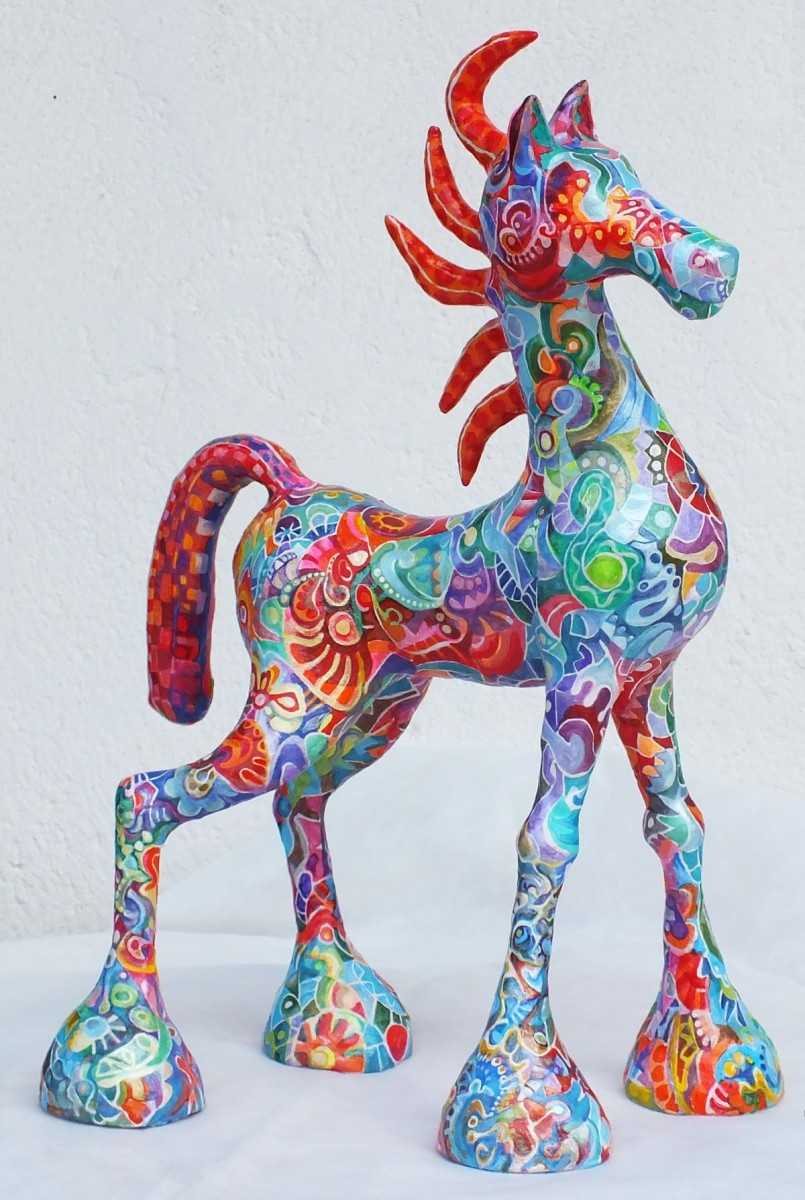
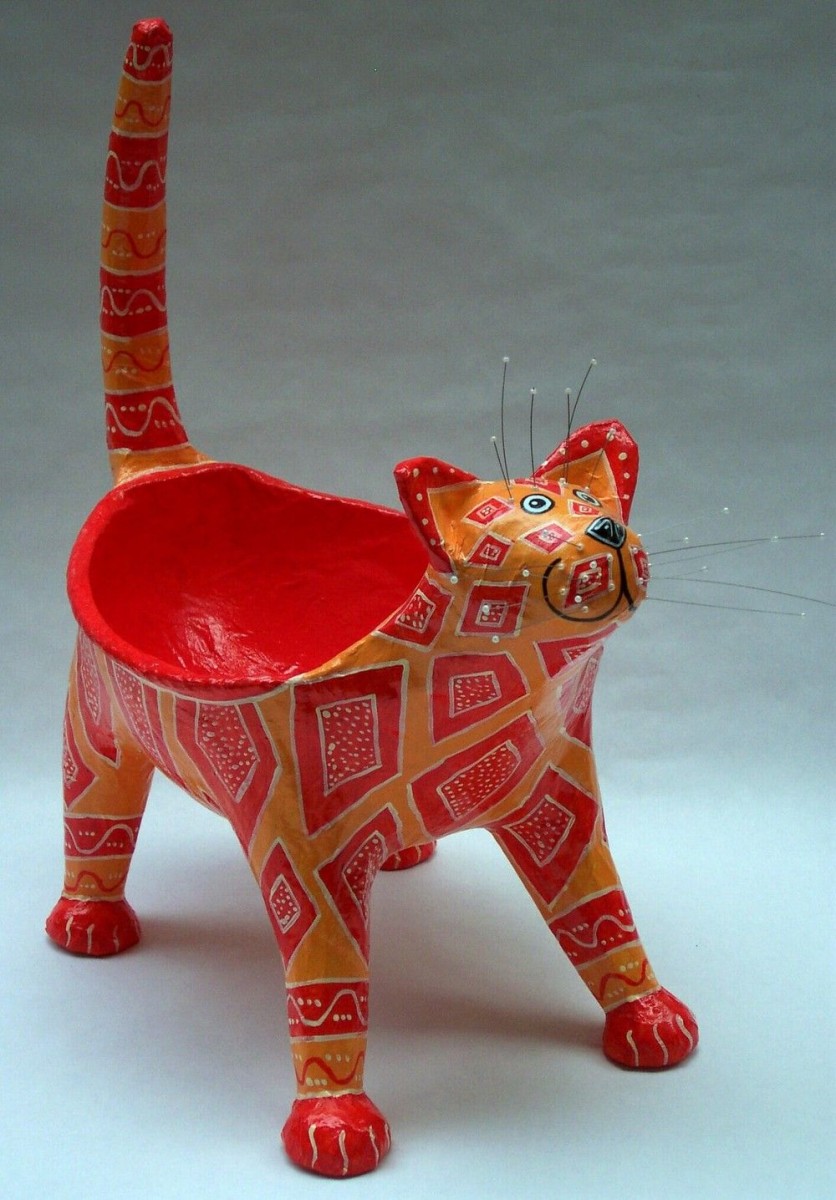
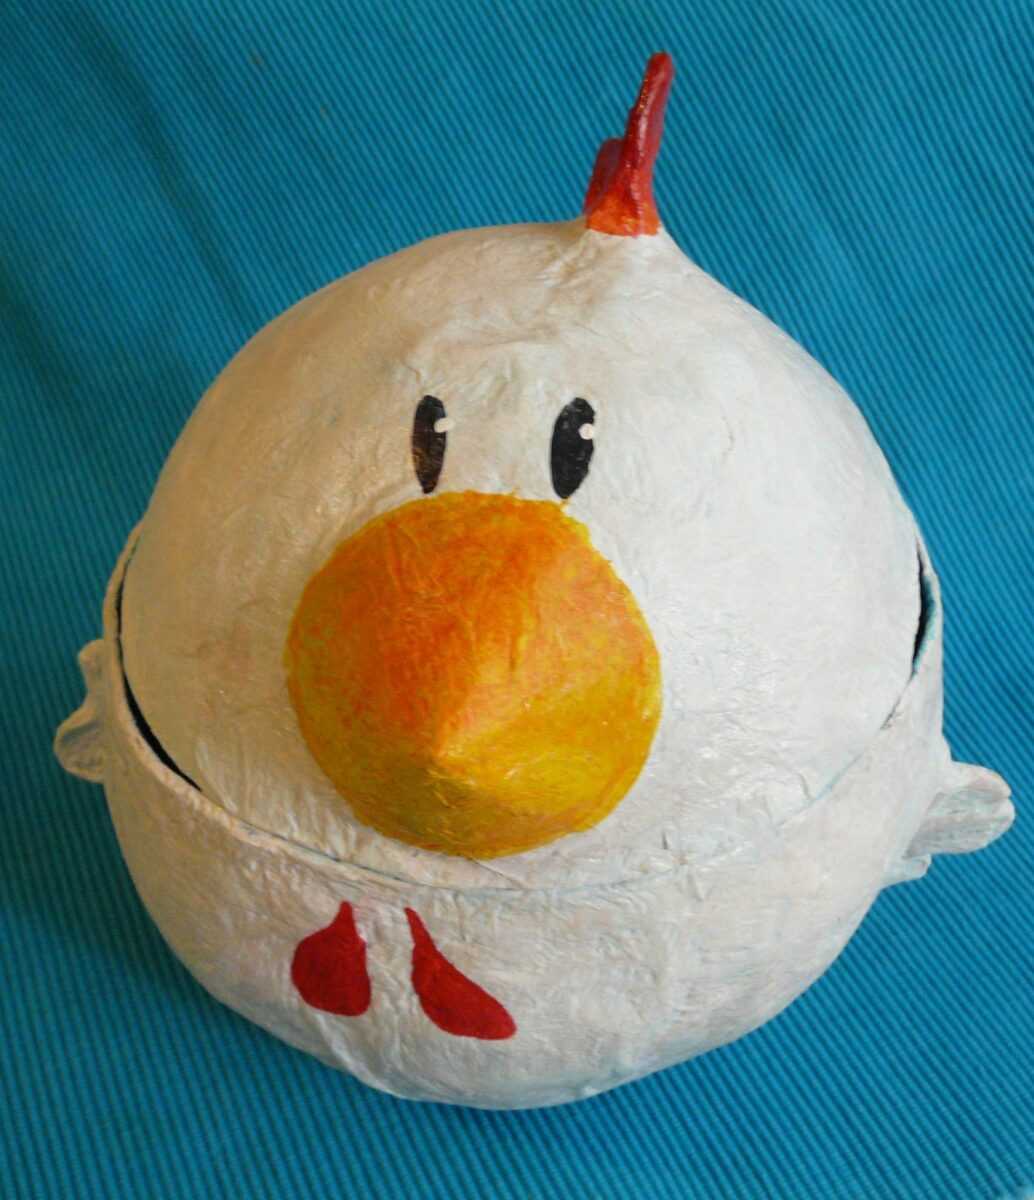
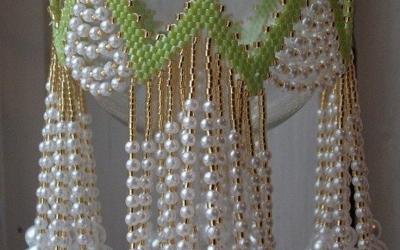
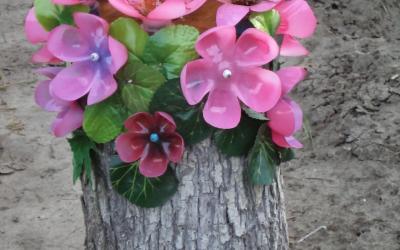
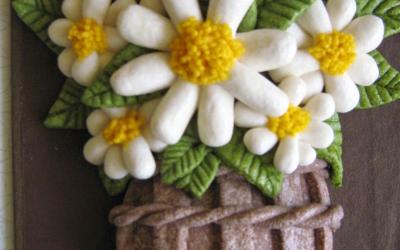
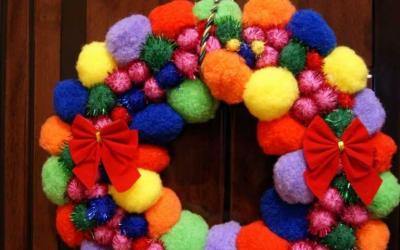
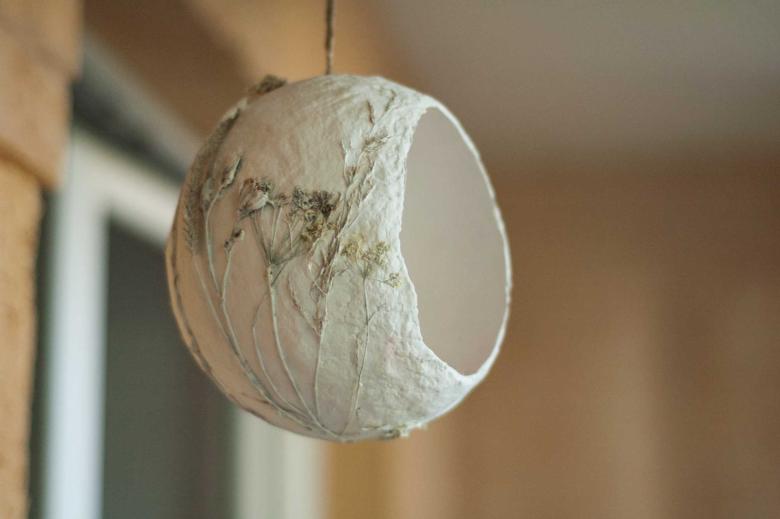
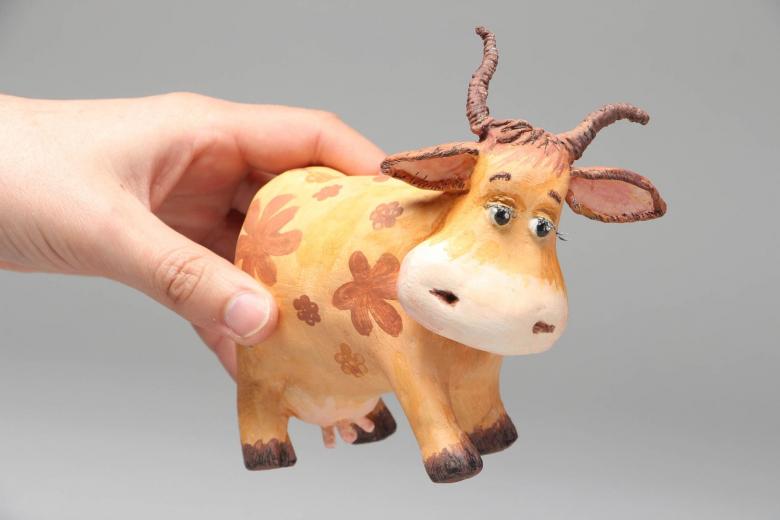
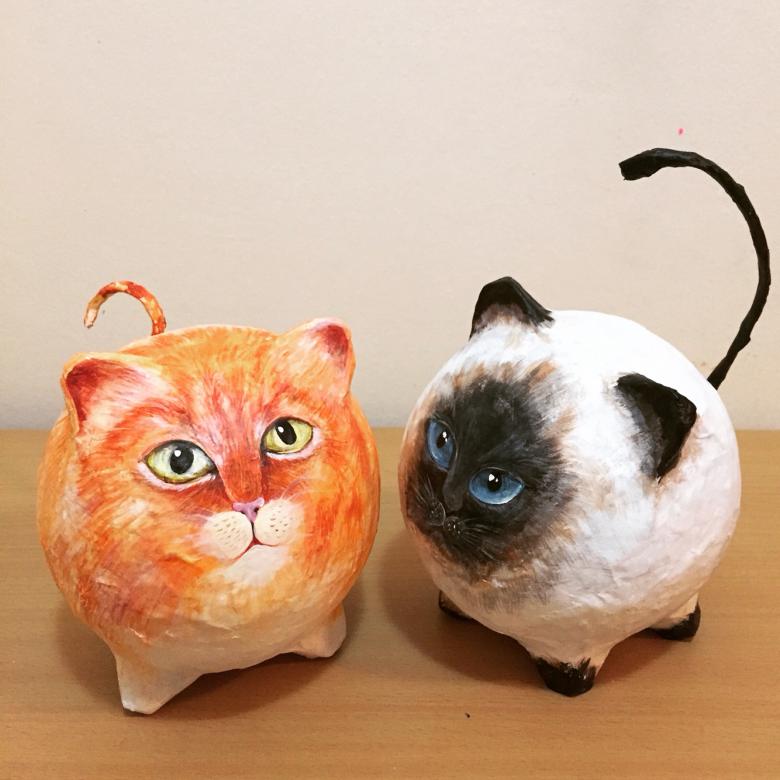
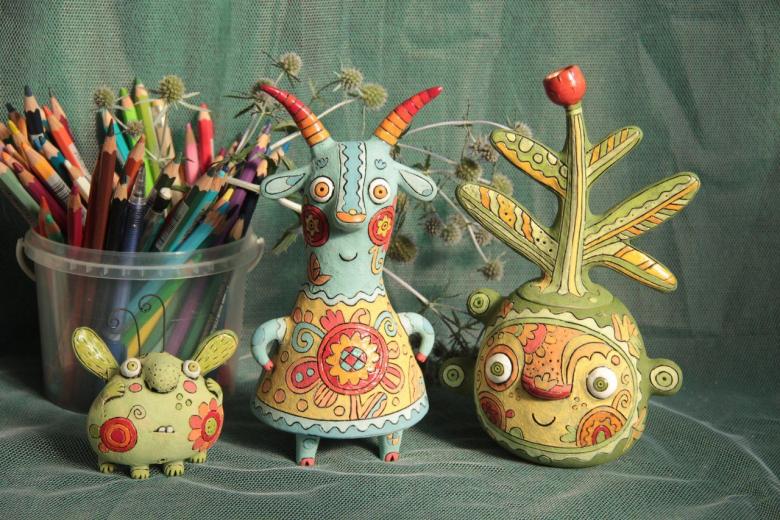
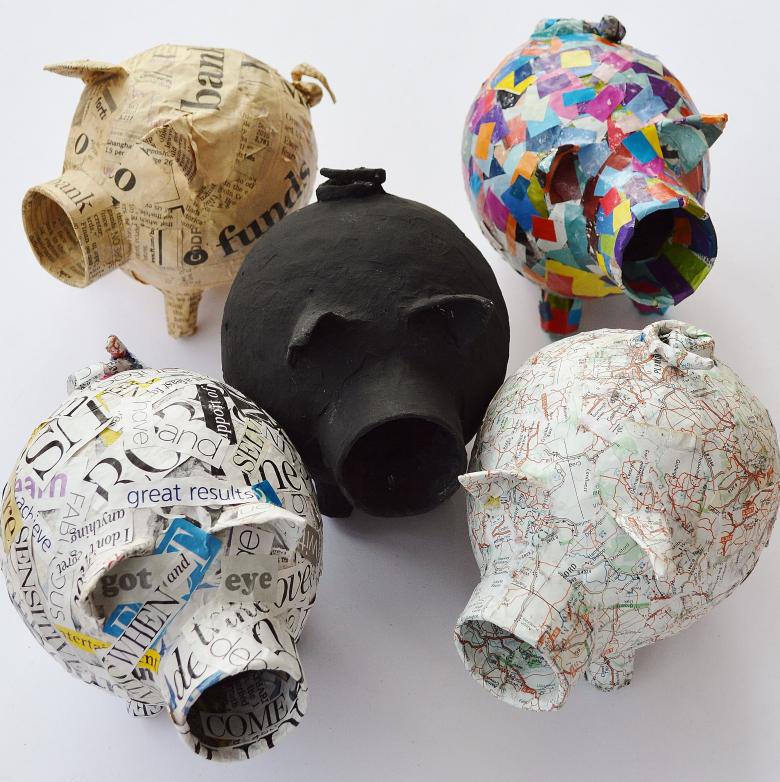
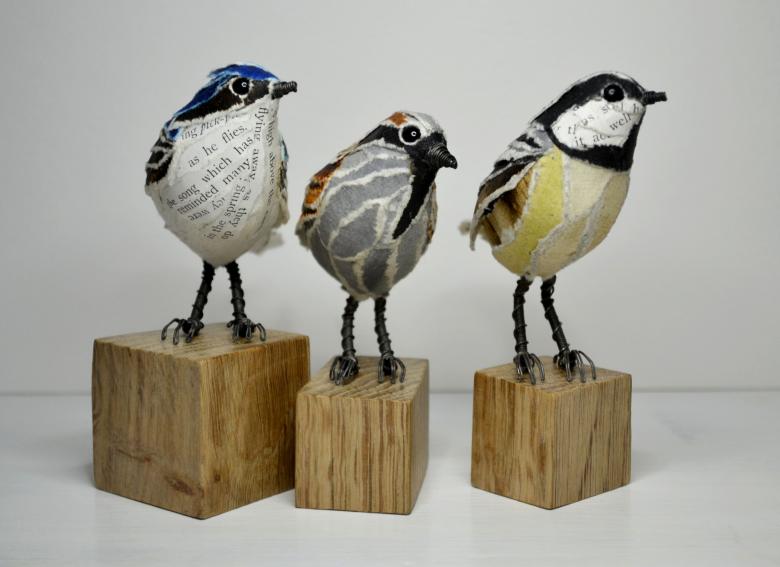
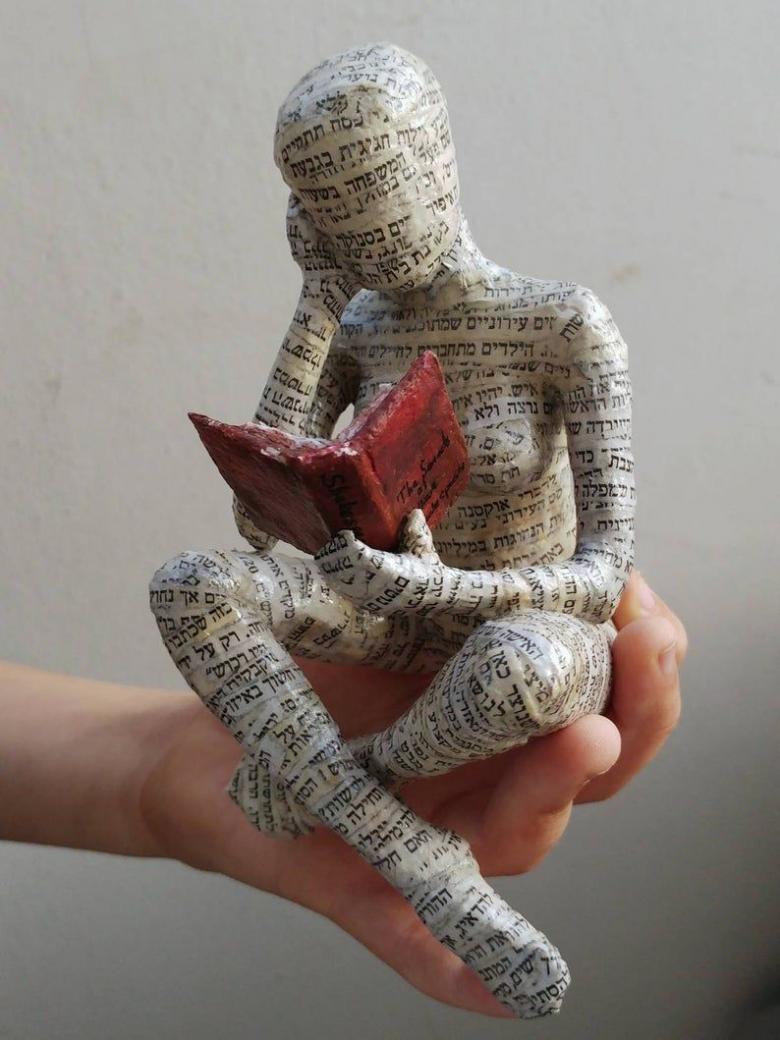
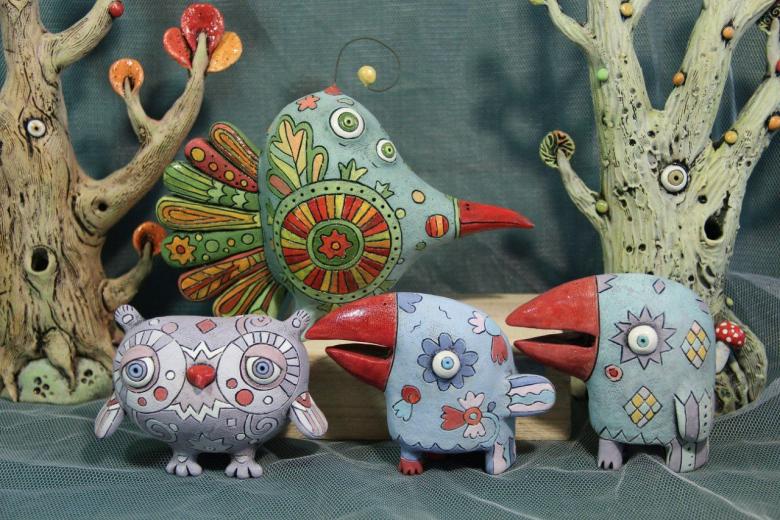
Photo ideas of papier-mache crafts