Simple handmade crafts - step by step master class with photo examples
One of the most common options for human self-expression is his ability to do something with his own hands.

Working on crafts is not only an opportunity to make an original gift for a loved one or a pleasant way to spend time doing your favorite activity, but also a great way to work together with a child.
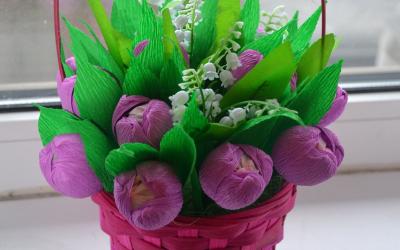
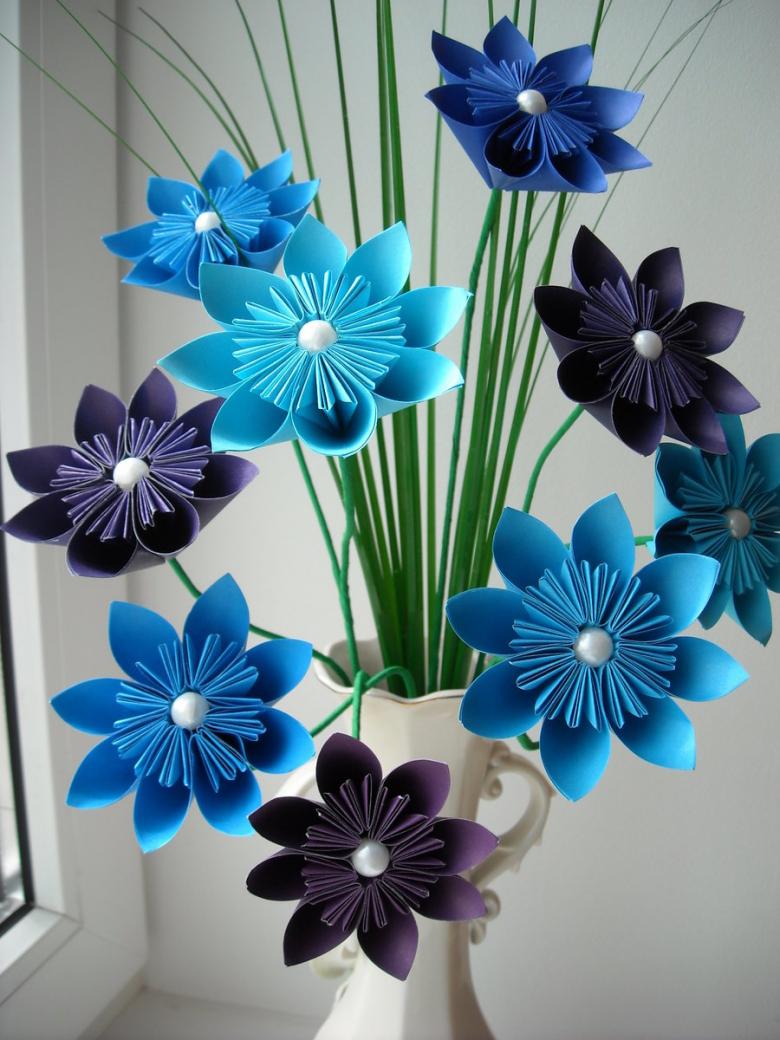
Paper crafts
This is the most common material, which comes in different forms:
- colored;
- corrugated;
- velvet;
- design, etc.
It is the variety of types of paper allows you to make a variety of crafts.
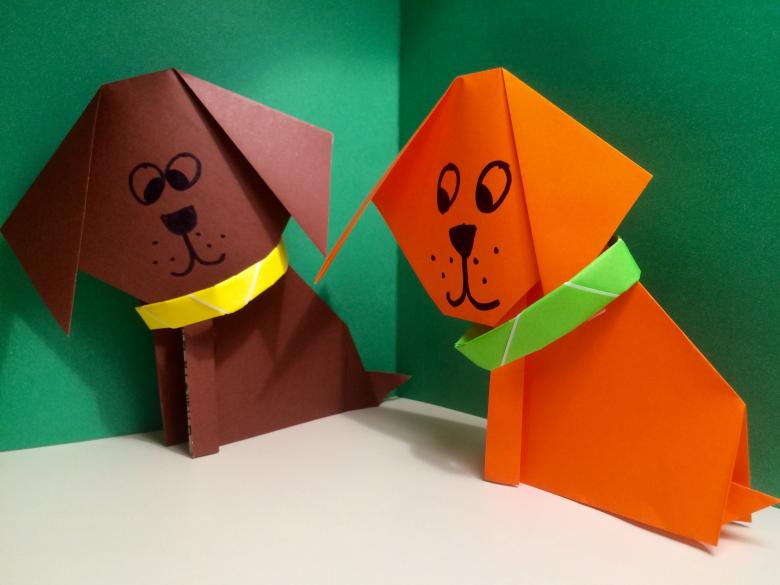
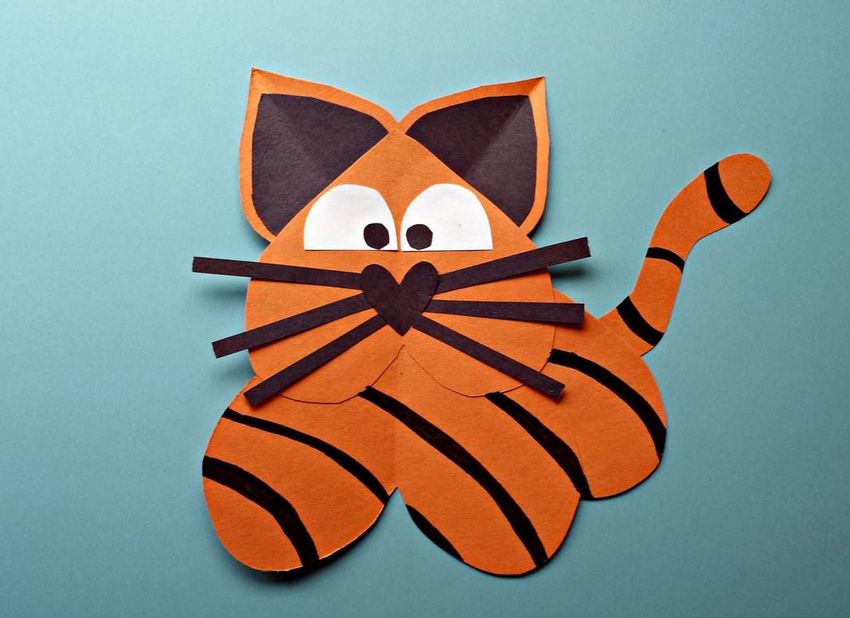
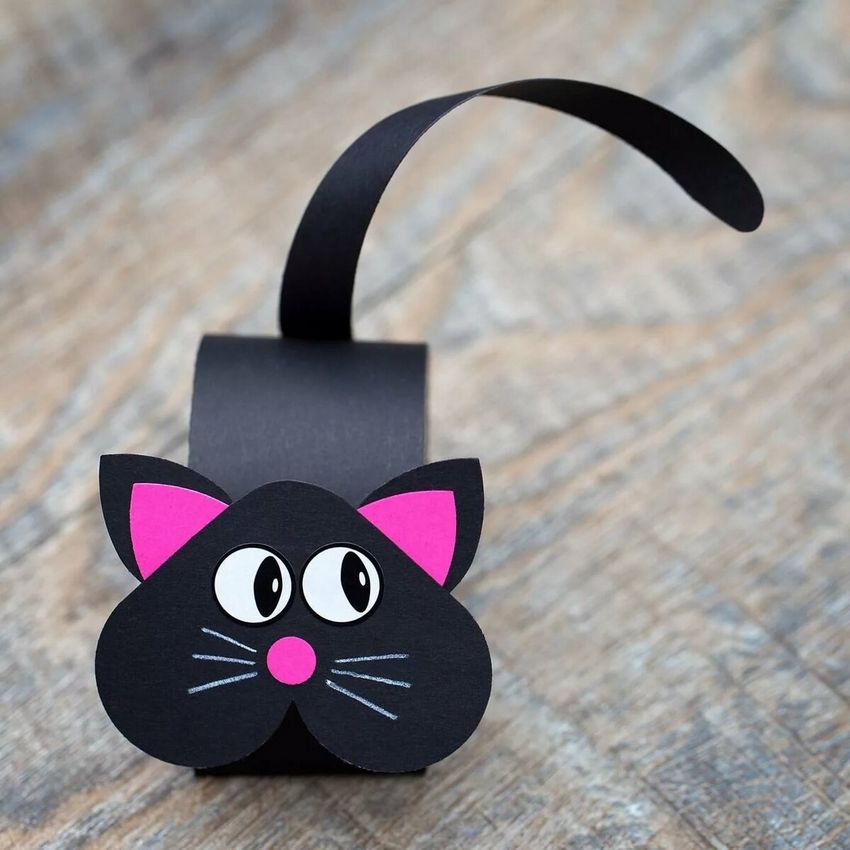
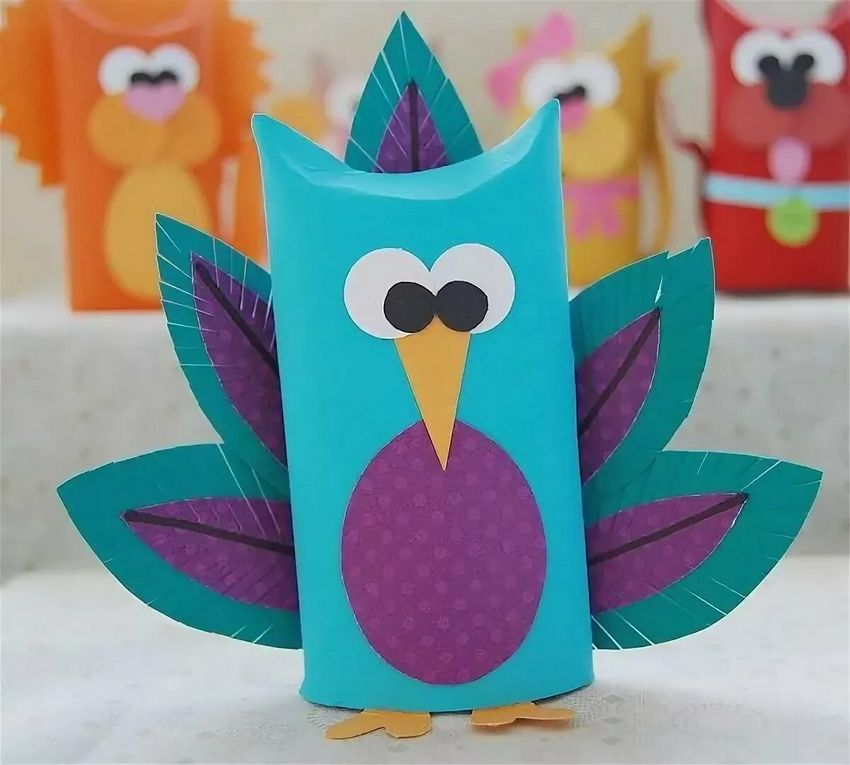
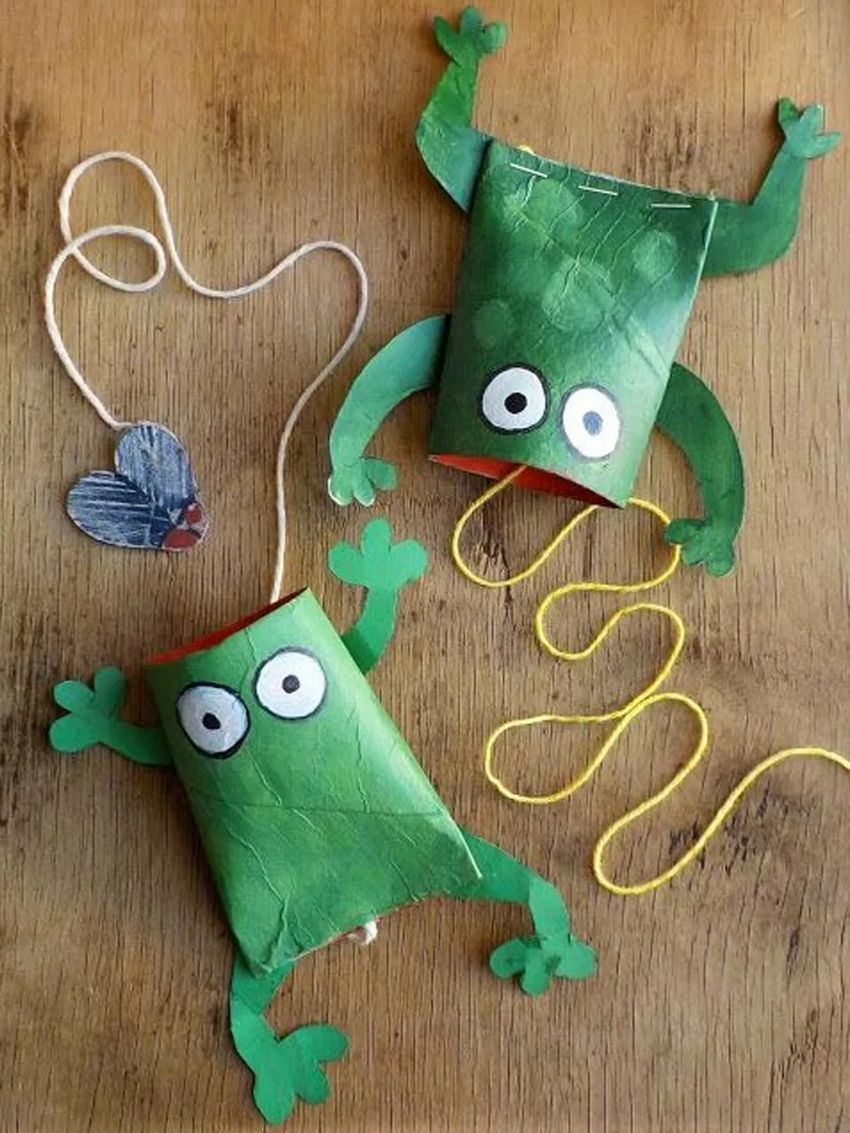
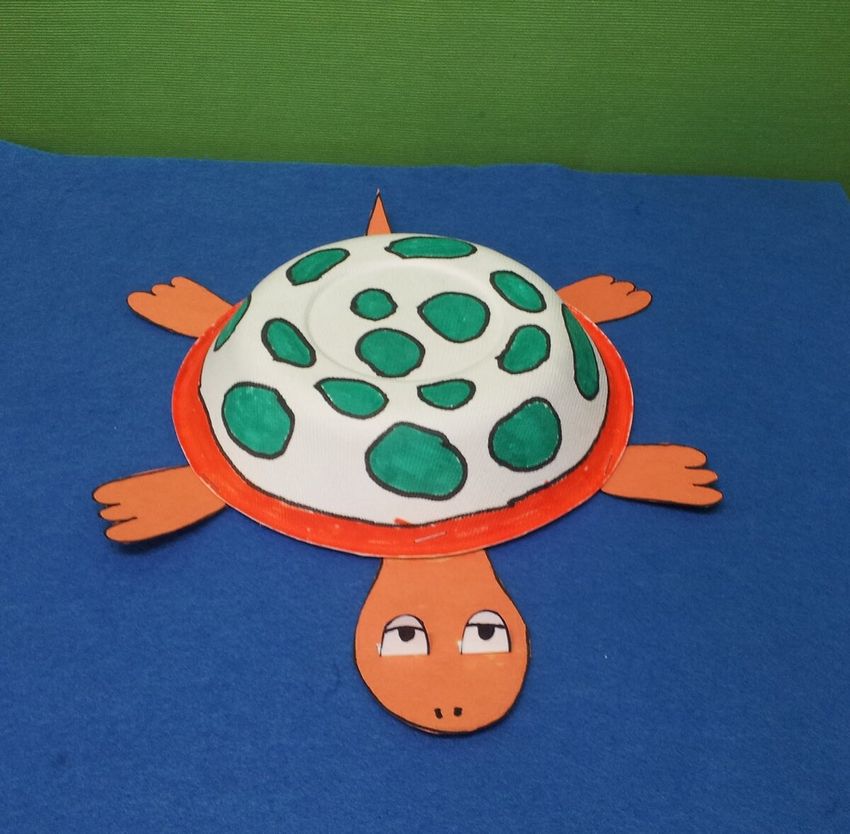
Simple applique
An elementary job, which you can occupy a little man - making a simple craft from paper.
Together with your child look at the beautiful images of animals or birds in the photo below. Give your child the right to choose and print out the picture(s) he likes.
While the child will paint or pencil picture prepare:
- scissors;
- glue;
- cardboard.
Once the child finishes coloring, cut out the image and let him start gluing the image on cardboard.
The simplest of crafts is ready.
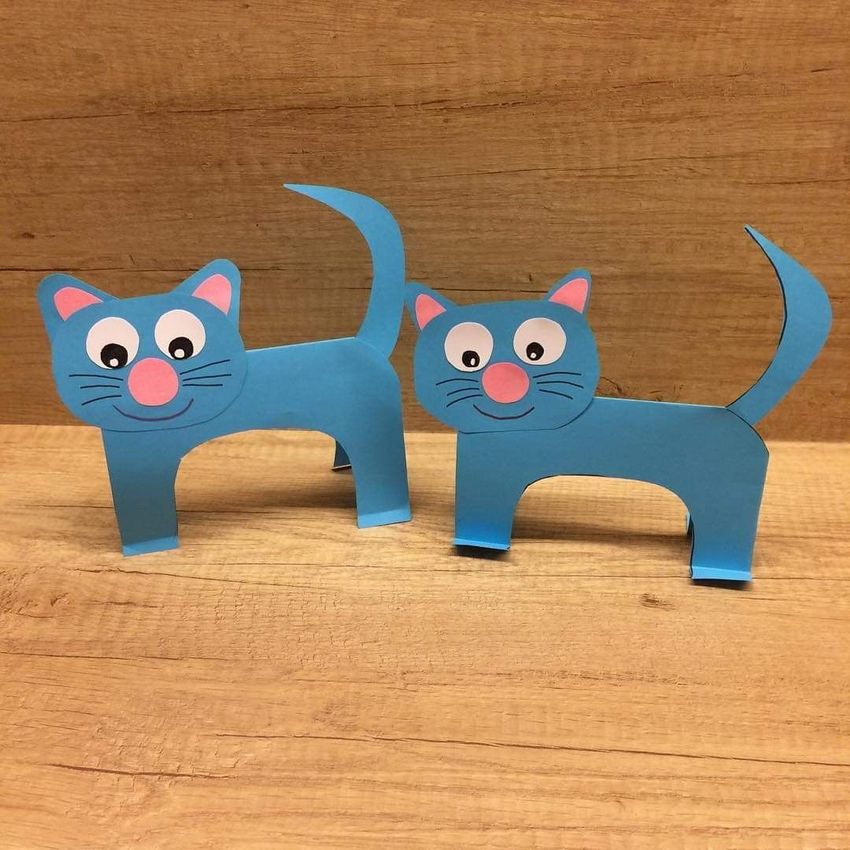
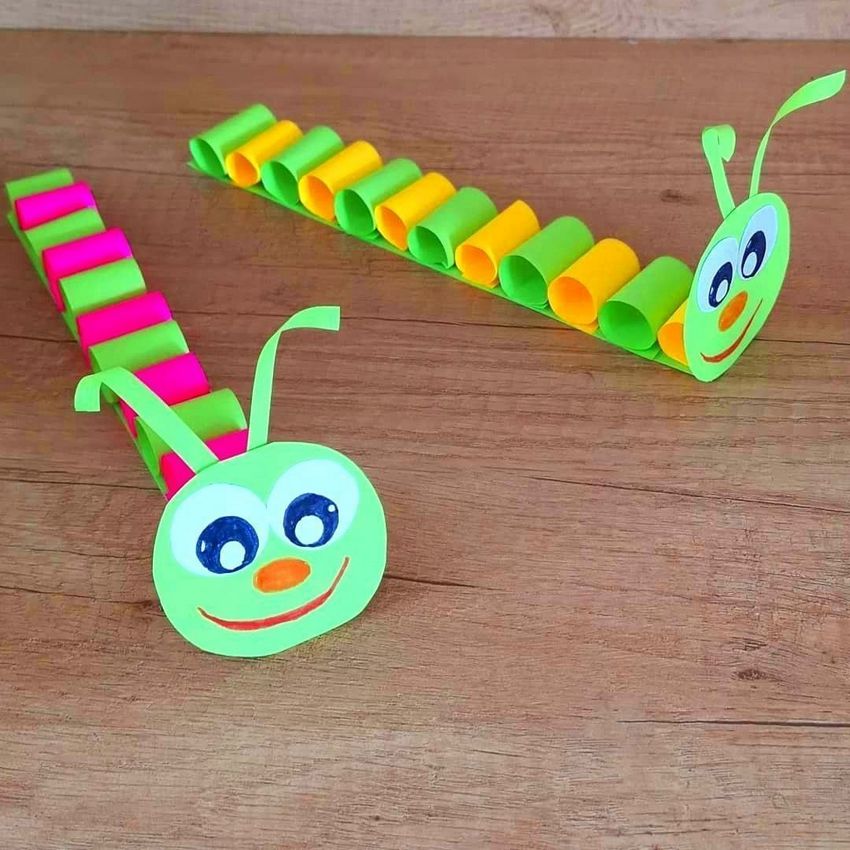
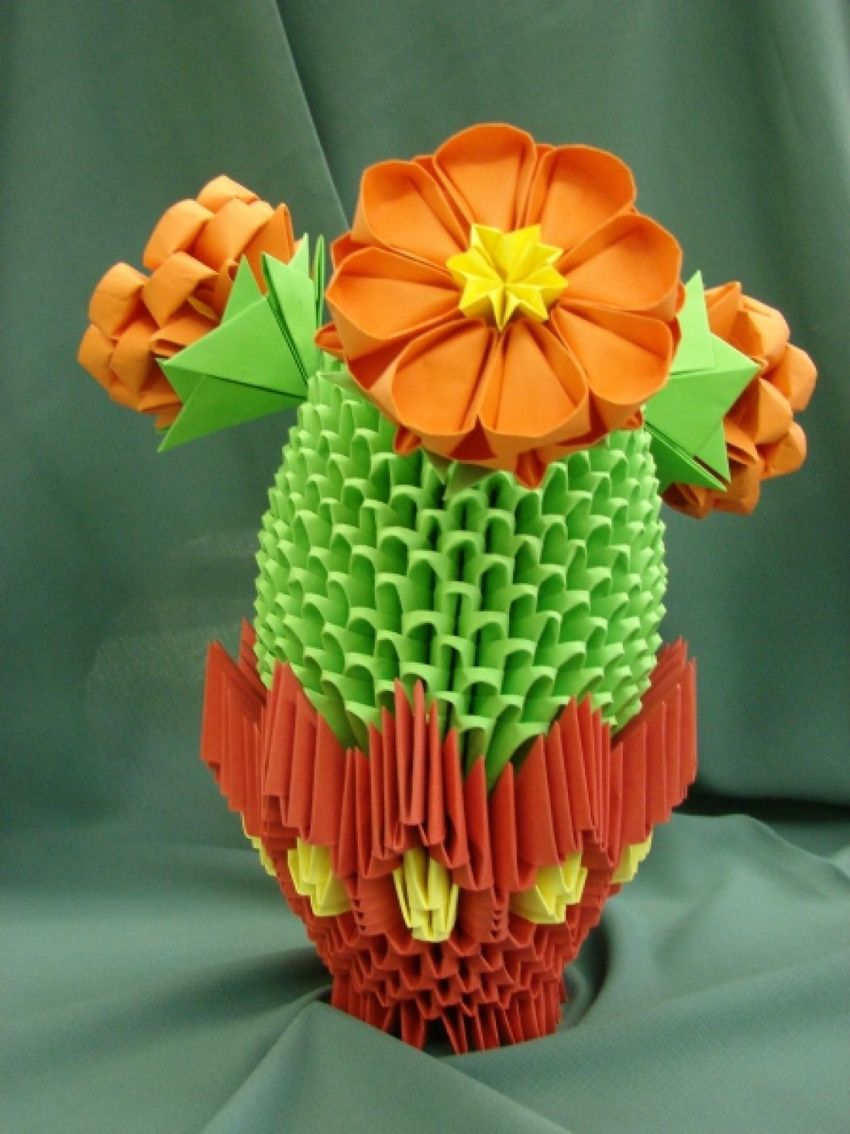
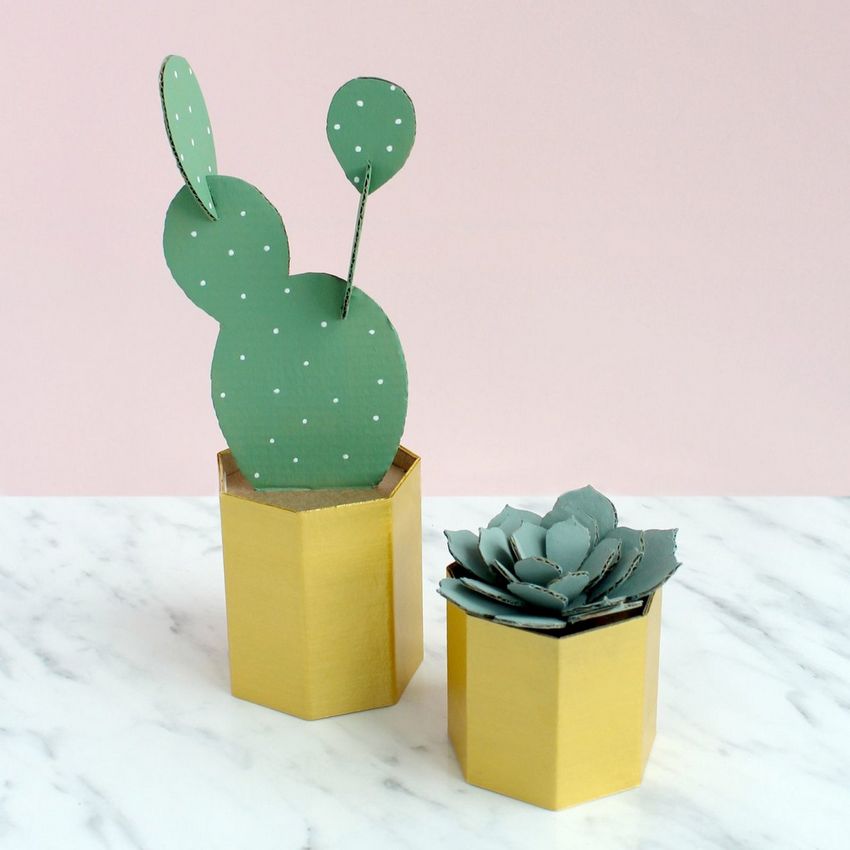
Three-dimensional figure
Making such a handicraft is no more complicated than the previous work.
Here we will need:
- paper of two colors;
- Scissors and glue.

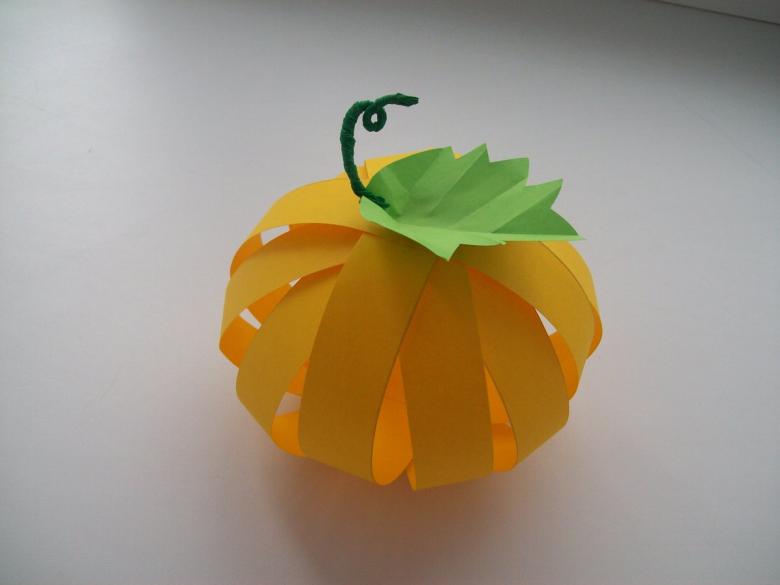
Suppose that you decide to make a pumpkin. The process will be as follows:
- Cut ten to twelve long strips of yellow paper about one centimeter wide.
- Instruct your child to glue the strips together into rings.
- While your child is doing this, cut a leaf out of green paper.
- When you finish making the rings, encourage your child to glue them together into a ball (oval), some kind of pumpkin.
- Instruct your child to glue on top of the vegetable, you cut out a leaf.
To make more believable figurine, glue the leaf green "tail". Volumetric craft pumpkin - ready.
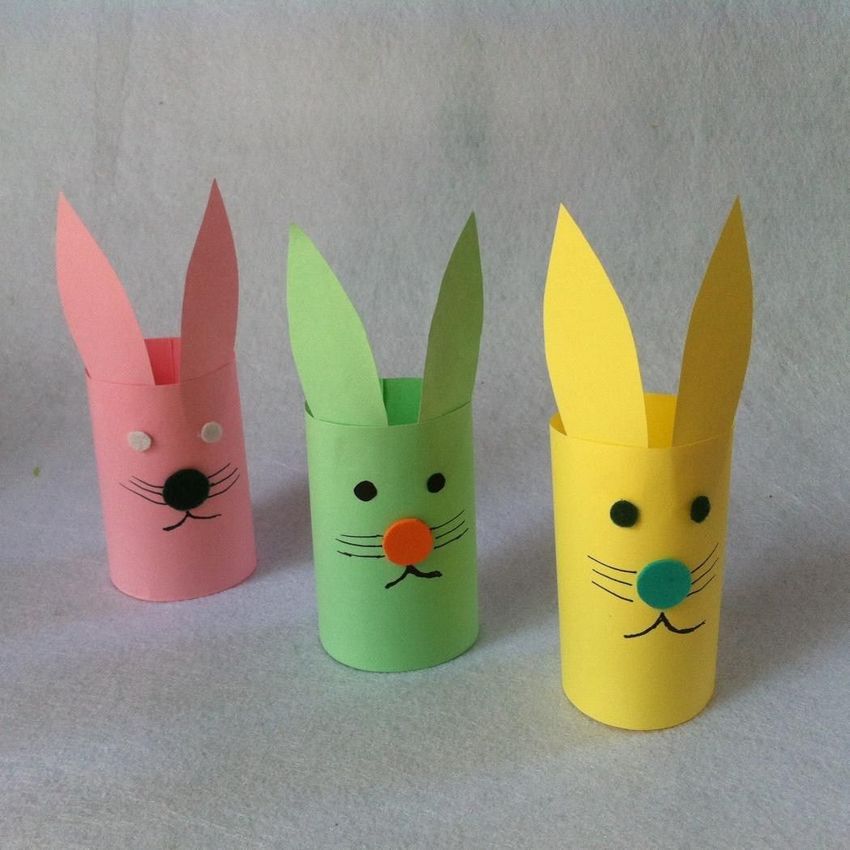
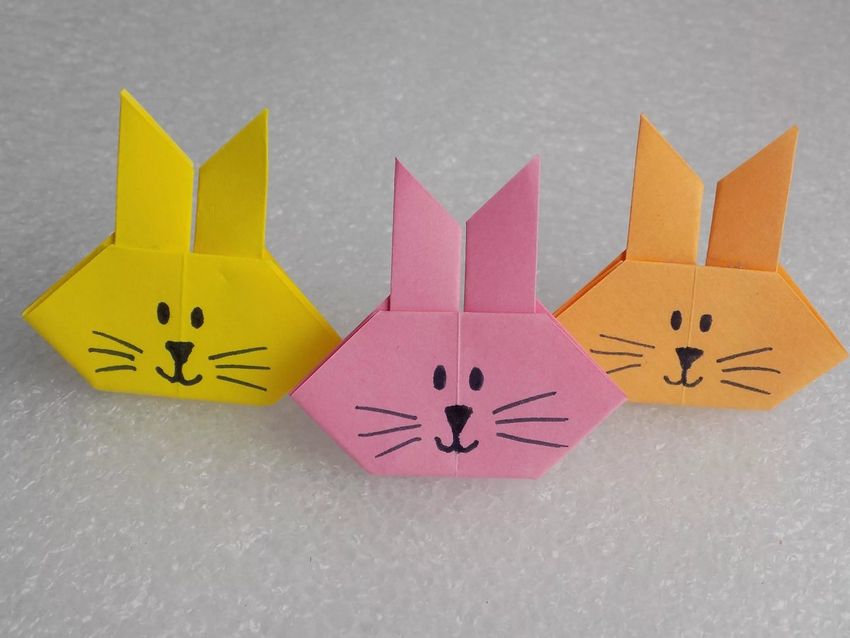
Bunny out of a cone
Spruce cones are found almost everywhere, so they are very often used to make various crafts.

To make a cute figure of a bunny, you will need:
- cone;
- white, black and pink plasticine;
- Matches or toothpicks.
Prepared the necessary materials, you can begin work.
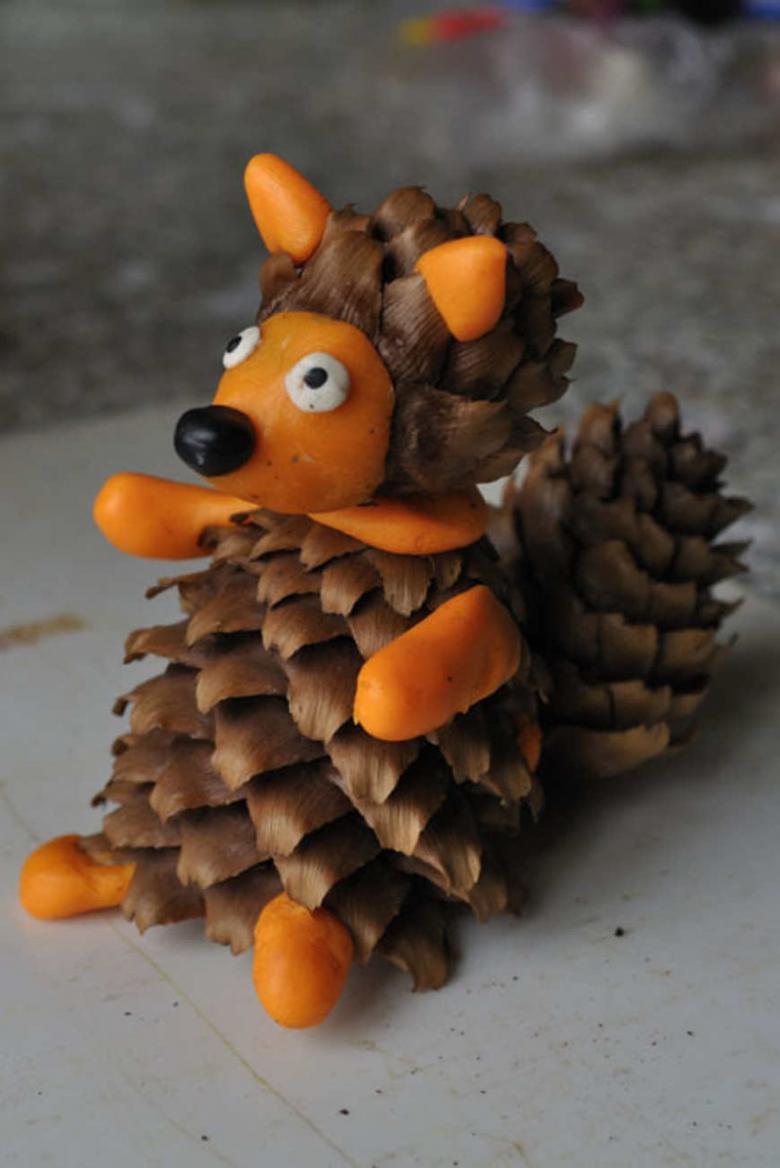
Step by step instructions
- Step #1. To the wide part of the cone attach bunny legs sculpted from white plasticine.
- Step #2. On the sides of the upper part we place the legs of a squirrel.
- Step #3. Place a white ball of plasticine on top of the cone - it is the head of the cowardly beast.
- Step #4. Make and attach long ears.
- Step #5. To make the "ears" more natural, we use pink plasticine to make small strips in them.
- Step #6. We use black plasticine to make out the eyes, pink plastic for the nose and mouth of the animal.
In conclusion, we put a few matches near the nose of the little hare, which will represent the tendrils (vibrissae) of the animal.

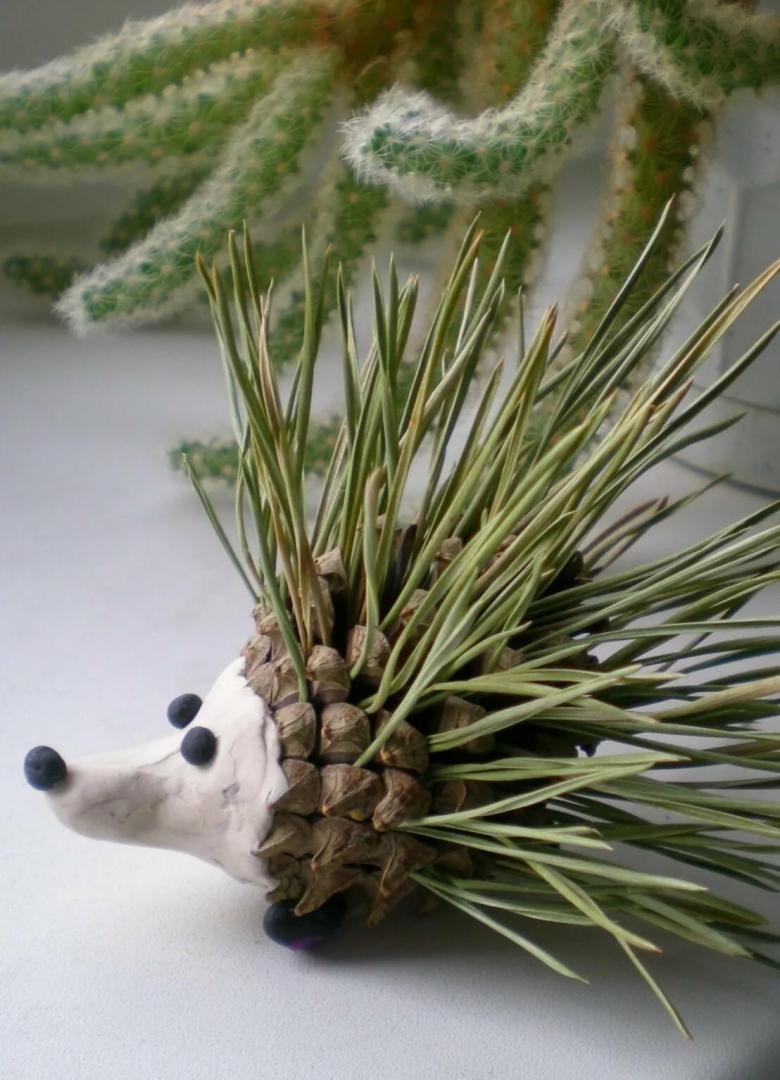
Family hedgehogs
To make the composition we will need:
- cone;
- clay of different colors;
- Buckwheat grits or seeds;
- leaves;
- cardboard.
Creation of the "image" of the mother hedgehog begins with placing a spruce cone horizontally.

To one end of the cone is attached a muzzle of pink clay.
On the muzzle, black plasticine decorated eyes and nose animal.

The next step is to make the animal's feet.
The location of the hedgehog on the "back" of the leaf will give the final finished look.
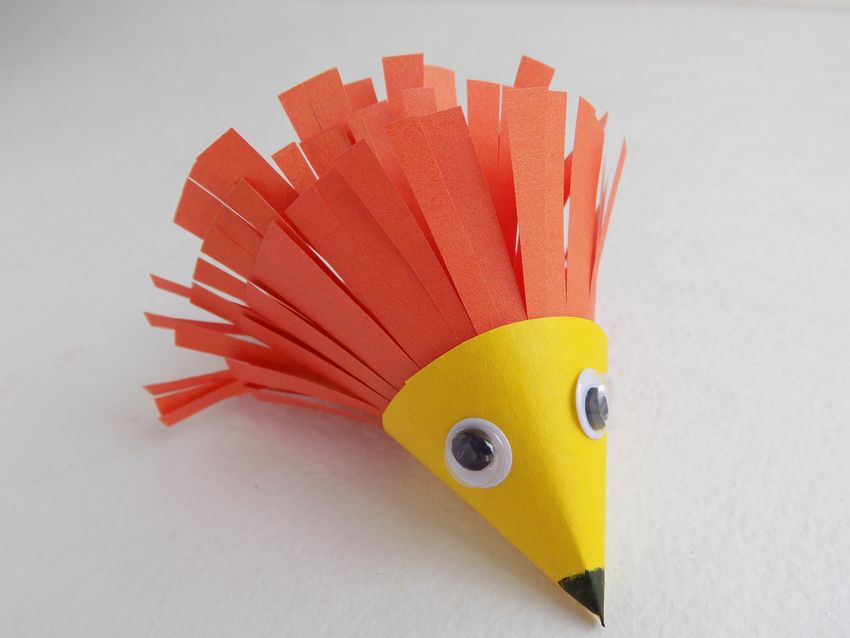
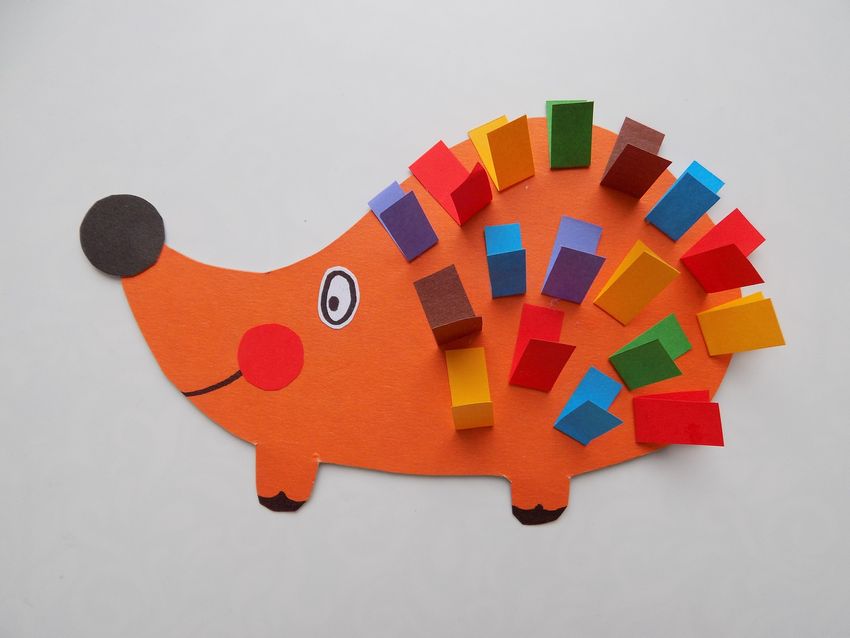
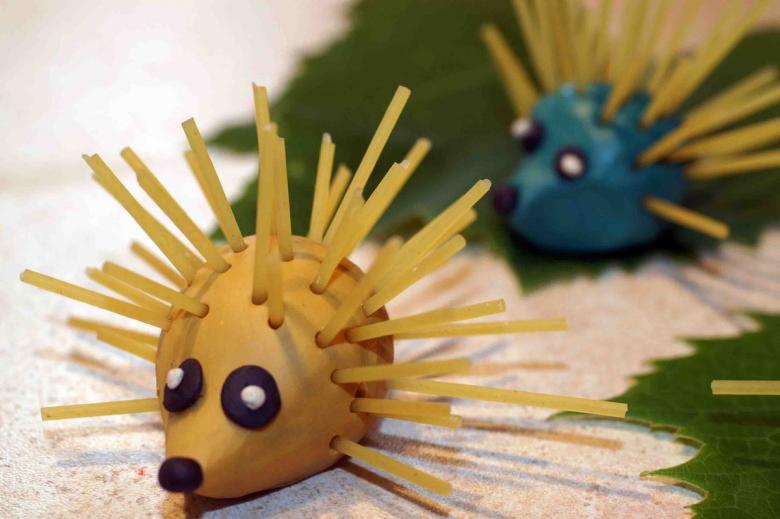
Hedgehogs
Making a family of baby hedgehogs will not cause difficulty for a child. The sequence of work is as follows:
- A small sausage is made of black plasticine - the body of the hedgehog.
- Animal face is molded from brown or orange clay in the form of a triangle and is attached to the body.
- Droplets of black plasticine are decorated eyes and nose.
- Stick seeds (you can sprinkle buckwheat groats) on the body of the hedgehog.
- Needles hedgehog can be decorated with balls of red clay - apples, which is the beast.
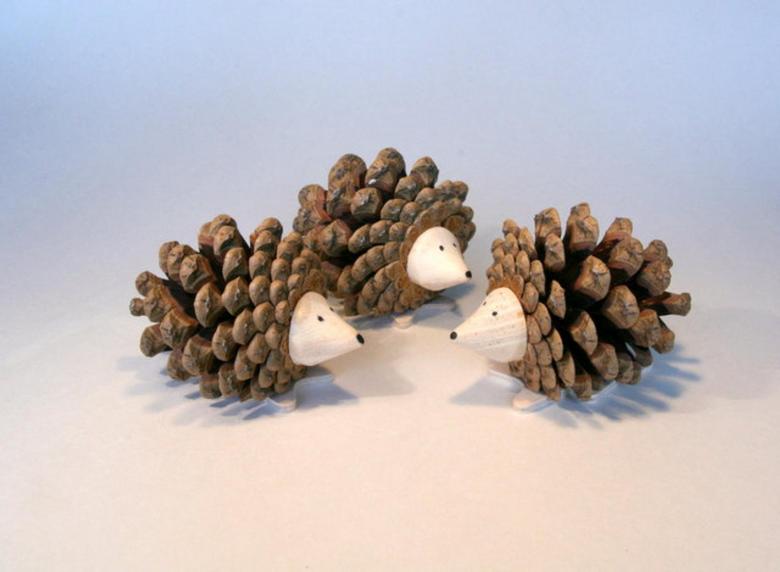
Elementary model of clay is ready. In a similar way "are made" brothers and sisters hedgehog. It is desirable to make them of different sizes, and on the back, instead of putting apples mushrooms, pears, some berries.The final stage of the work will be the location of the whole family on a piece of cardboard.
A gift for mom
Children love to please their beloved mothers with gifts for important dates - for birthdays, on March 8, the New Year.
Consider a few simple options.
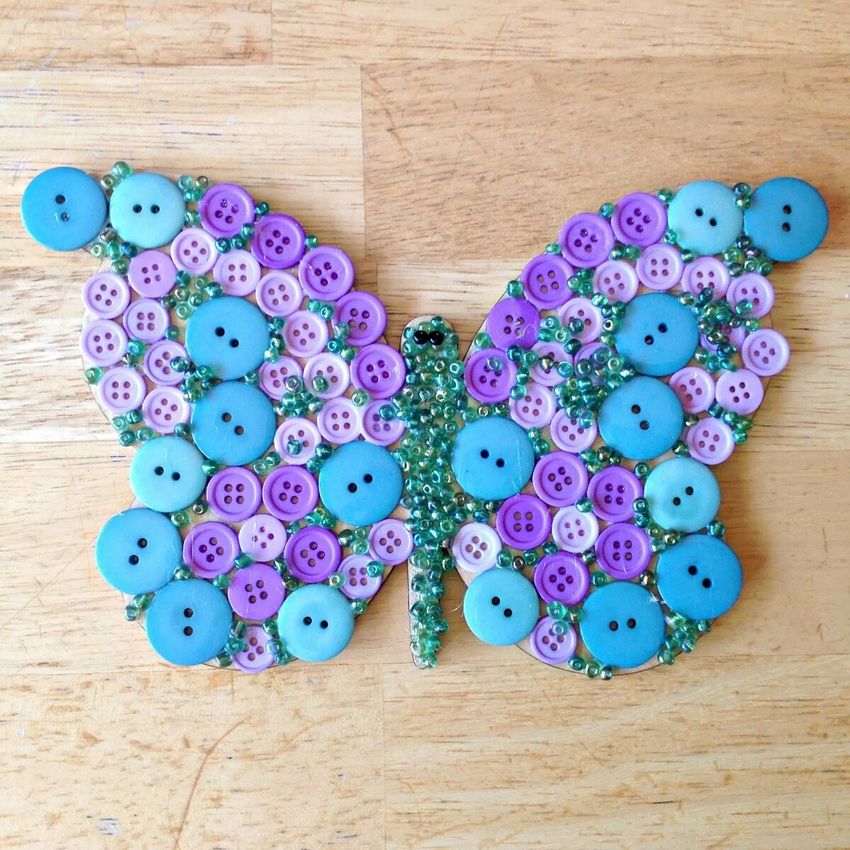
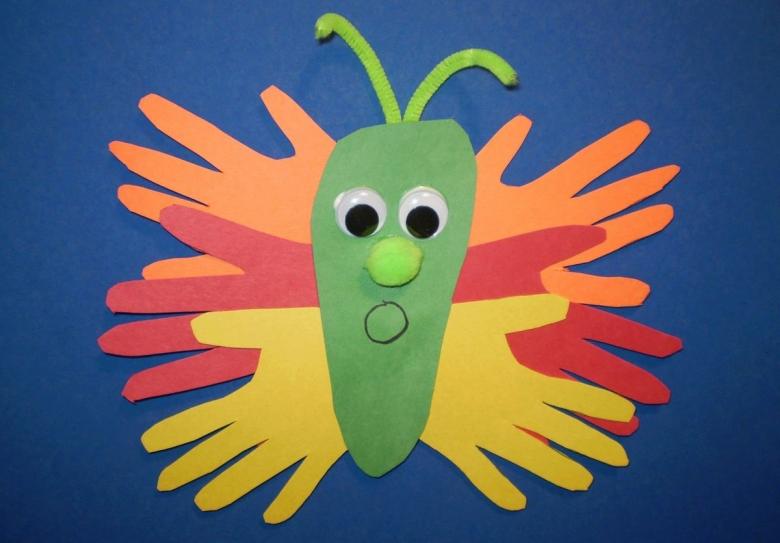
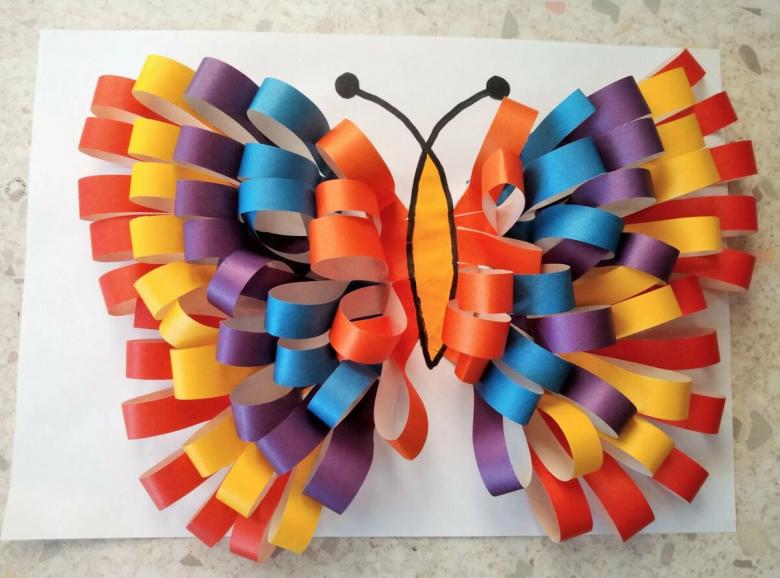
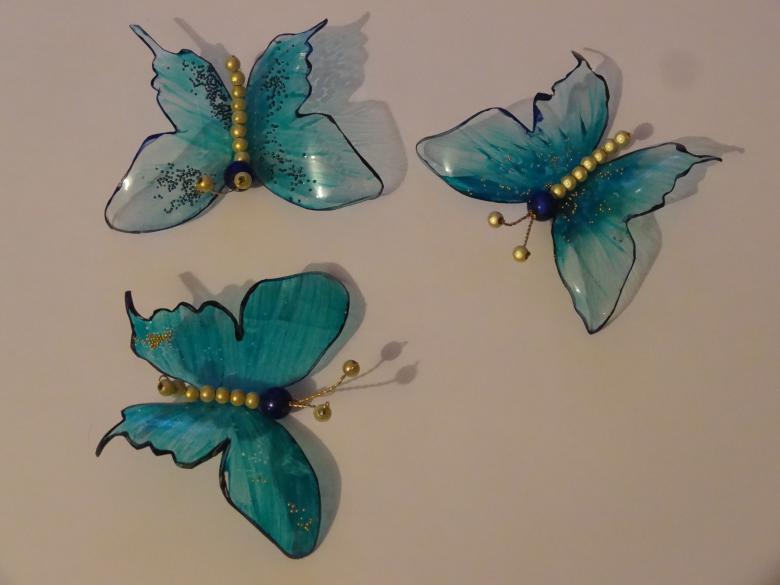
Plastic butterfly
To make a beautiful insect will not require unusual materials. In any home you will find:
- plastic bottle;
- scissors;
- glue,
- varnish or paint;
- felt-tip pens or markers;
- beads or rhinestones.
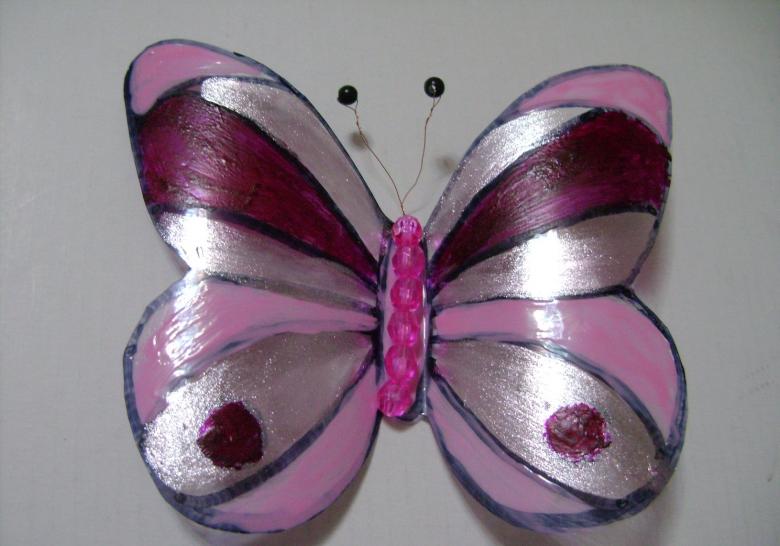
You will need to find some images of butterflies on the Internet, but for modern kids this kind of work with a computer will not be difficult, they are often better than adults to understand all kinds of new devices.

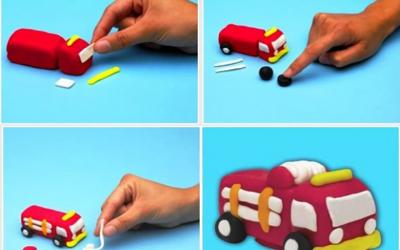
How to do it
- First you need to print out a picture of the butterfly you like.
- Then a piece of the necessary size is cut out of a plastic bottle.
- Applying the template on a piece of plastic carefully cut out the insect.
- According to the picture on the Internet (it is also possible according to your own taste) the butterfly is painted.
- After the varnish or paint dries completely, the workpiece is painted on the other side, and then beads are attached all over the body of the insect.
The butterfly is ready, it remains only to present a simple self-made handicraft for March 8 mom.
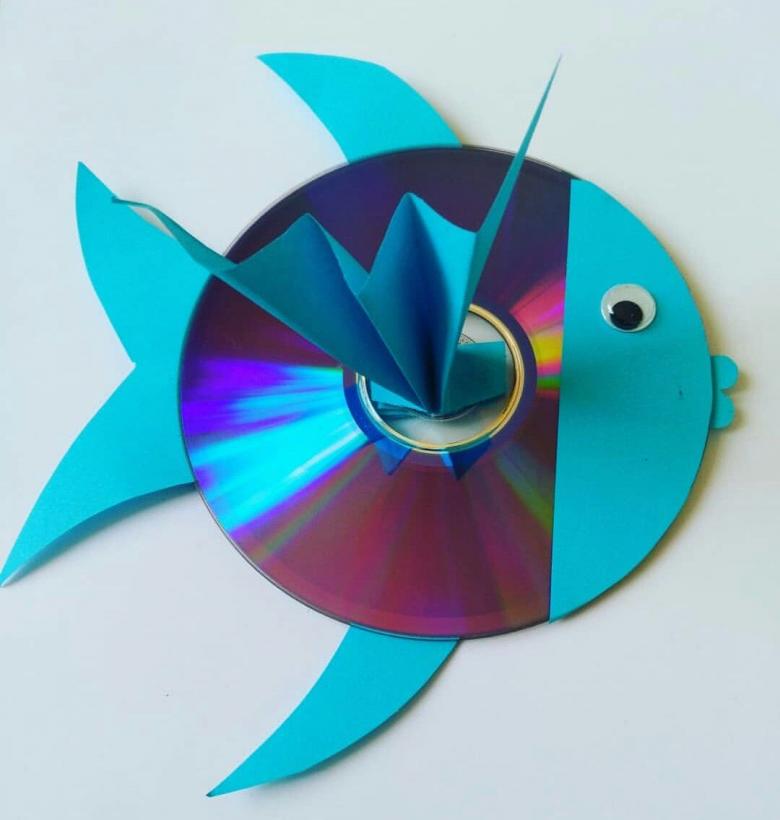
Fish out of disks
Out of a couple of age-deprived CDs can be made original fish. In addition to them we will need:
- colored paper;
- scissors;
- glue and felt-tip pens.
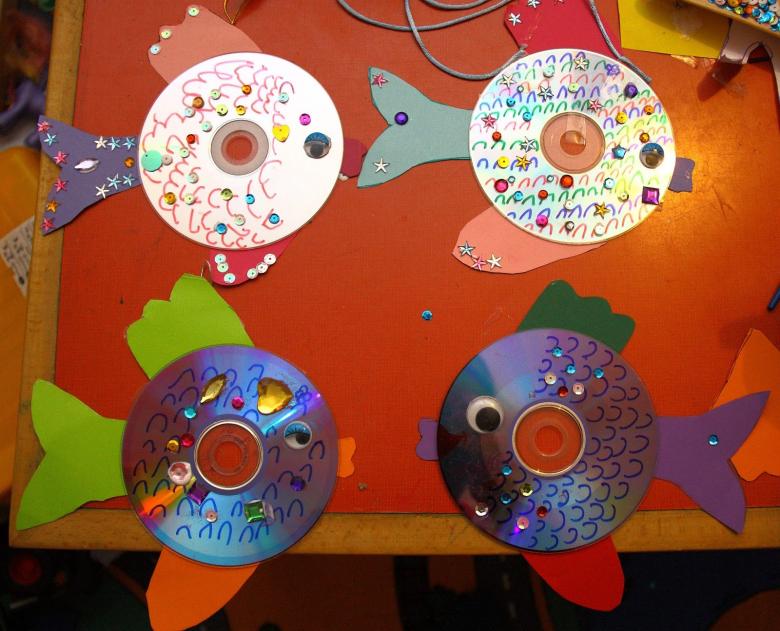
Stages of work
- From colored paper, the fin, mouth and tail of the fish are cut out.
- All the prepared elements are glued to one of the disks.
- The second disc is glued to the first. Make sure the holes coincide with each other.
- It is easy to make out the second fin: a sheet of colored paper folded and passed through the holes drives.
Eyes are decorated with felt-tip pen and the fish is ready!
Original frame
It's very easy to make an elegant decoration for a commemorative photo or your mother's favorite mirror out of discs.
A frame is cut out of cardboard according to the shape and size of the object intended for decoration.

CDs are cut into small geometric shapes - squares, rhombuses, triangles.
Blanks in any order glued to the frame. At the end of the work we get an elegant mosaic frame, shimmering under the rays of light.
Photo ideas for simple, beautiful crafts