Racks with their own hands - drawings, photos and schemes for the manufacture of metal, wood and MDF
The organization of storage areas in the rooms - in the kitchen, in the dining room, in the pantry, in the living room - is an important stage of interior design. As structures for placing dishes, personal belongings, books and toys can be a volumetric cabinet, boxes, open-type shelves or racks.
In its shape and device, such furniture resembles open shelves, but has a number of differences. Most furniture stores offer their customers a huge range of ready-made racks and shelves, but more advantageous design and practicality have designs made with their own hands.
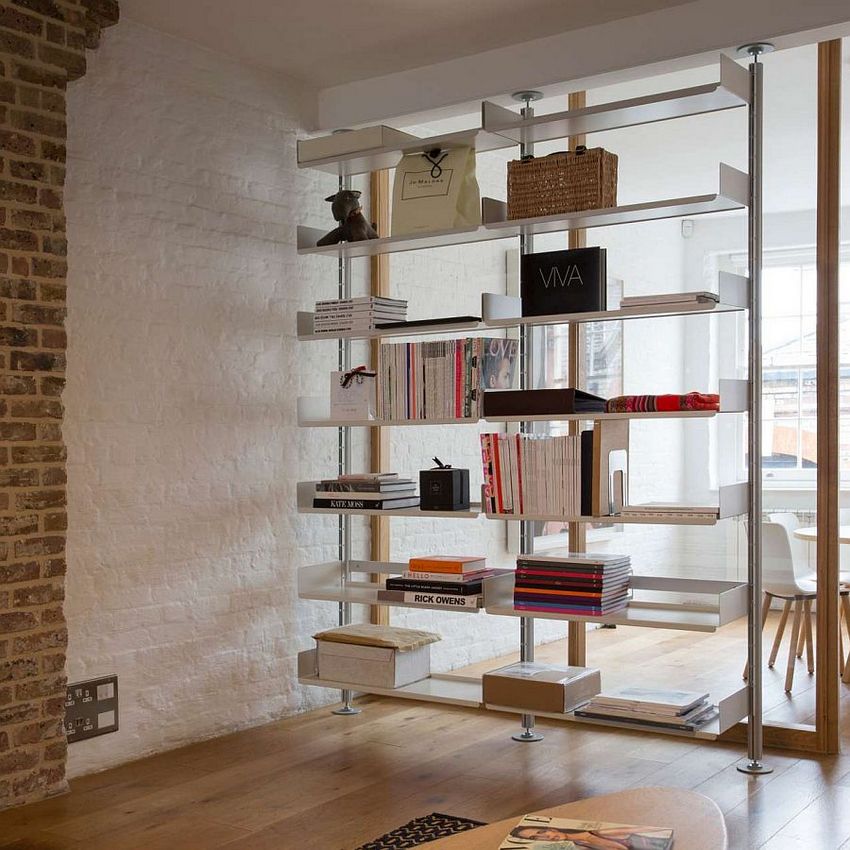
Racks in the interior
Quite a practical question - where the rack can be used. There are a lot of options:
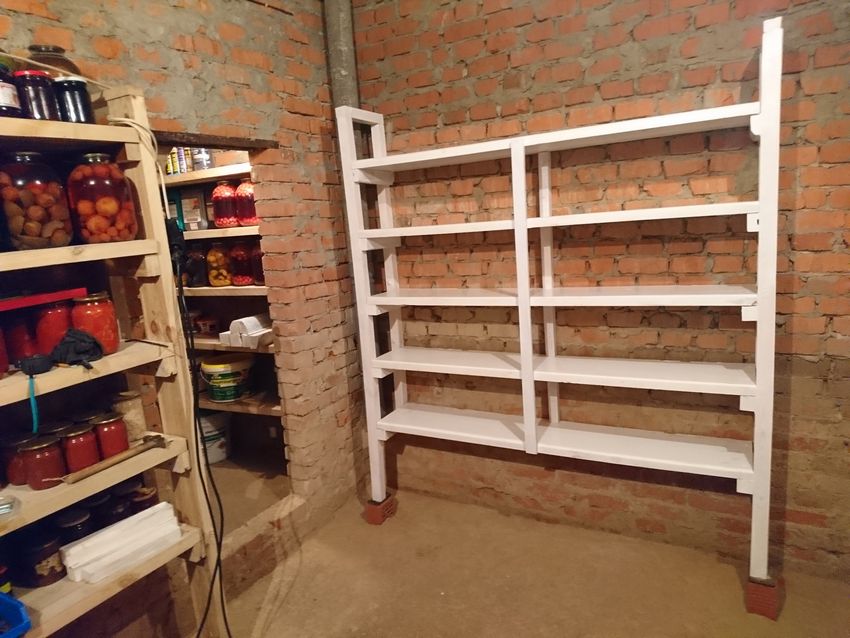
- In the kitchen and in the dining room to store dishes, kitchen utensils, household appliances. Separately, a closed compartment can be added along the back wall of the structure to accommodate cleaning equipment.
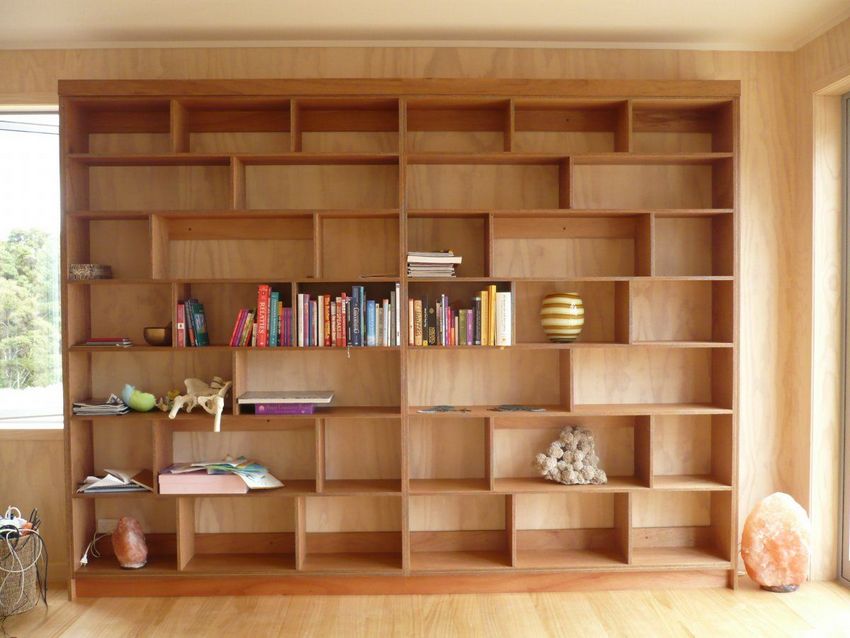
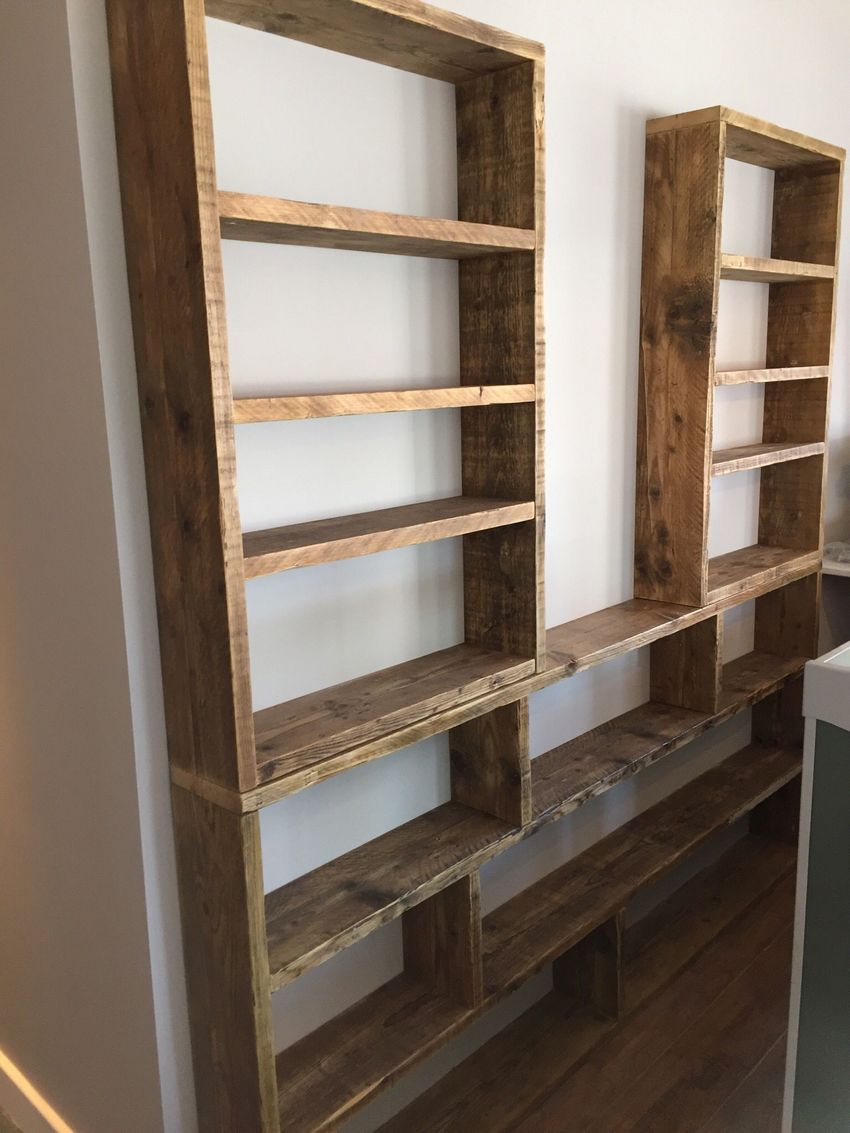
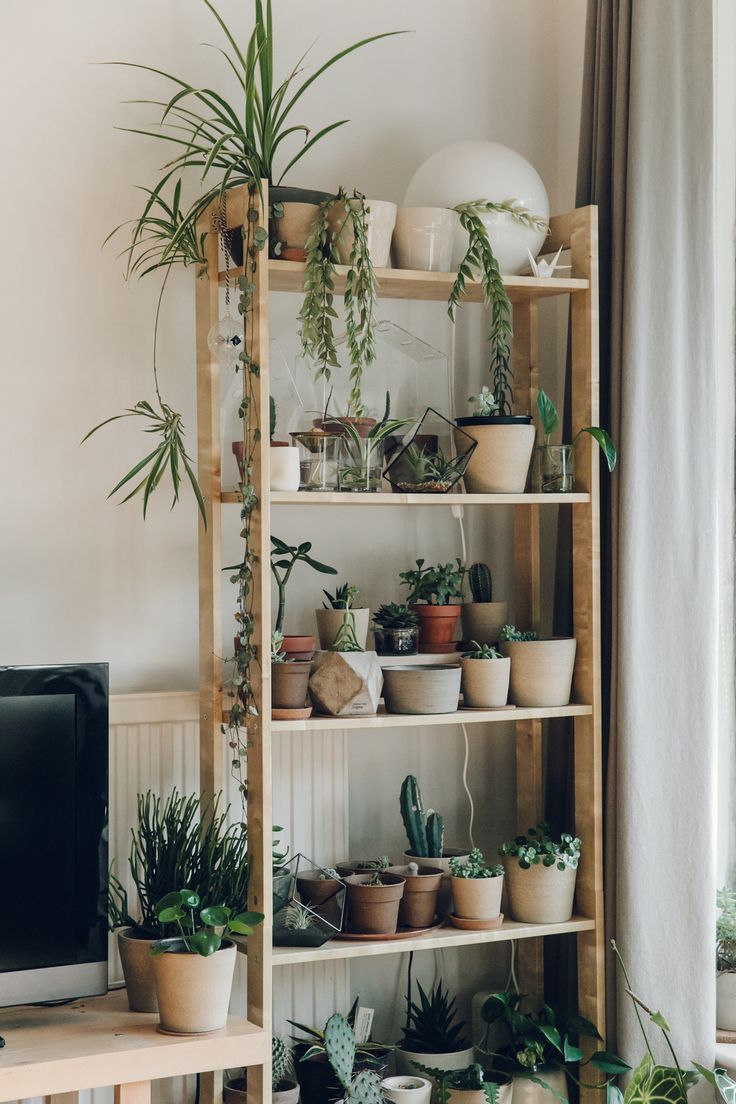
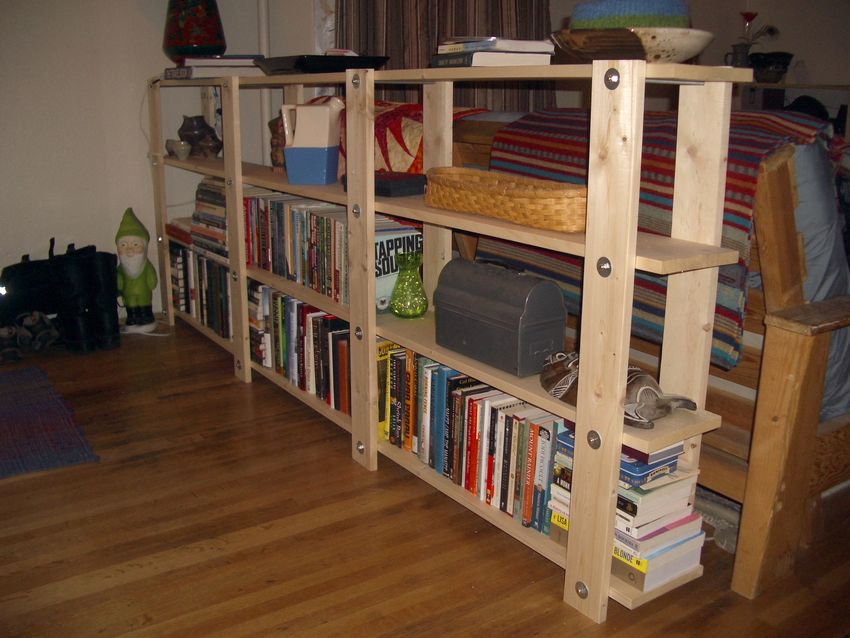
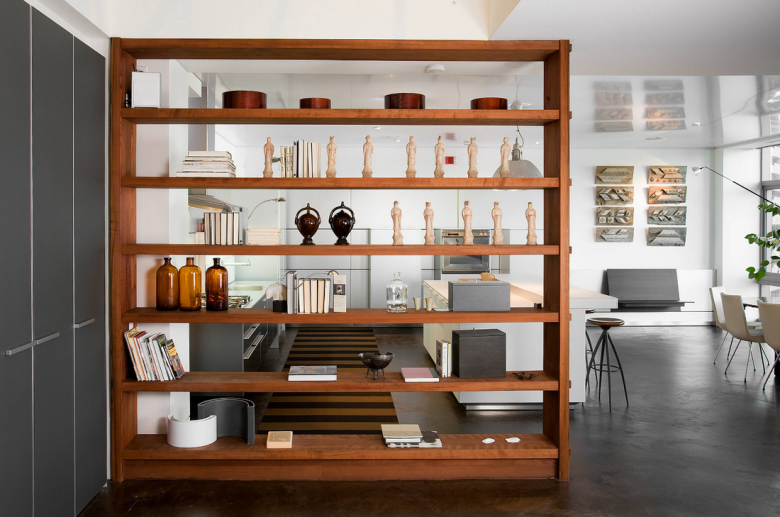
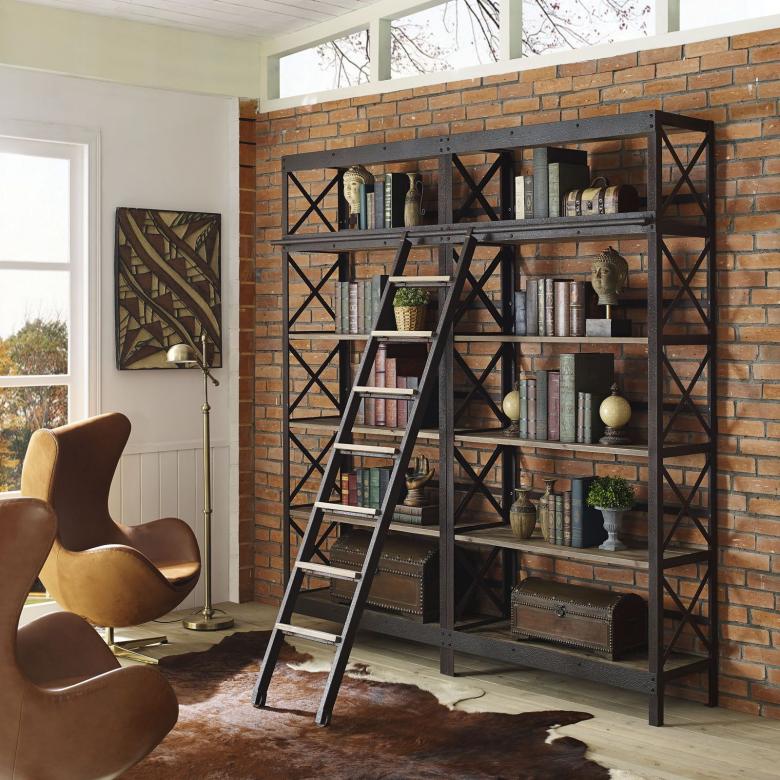
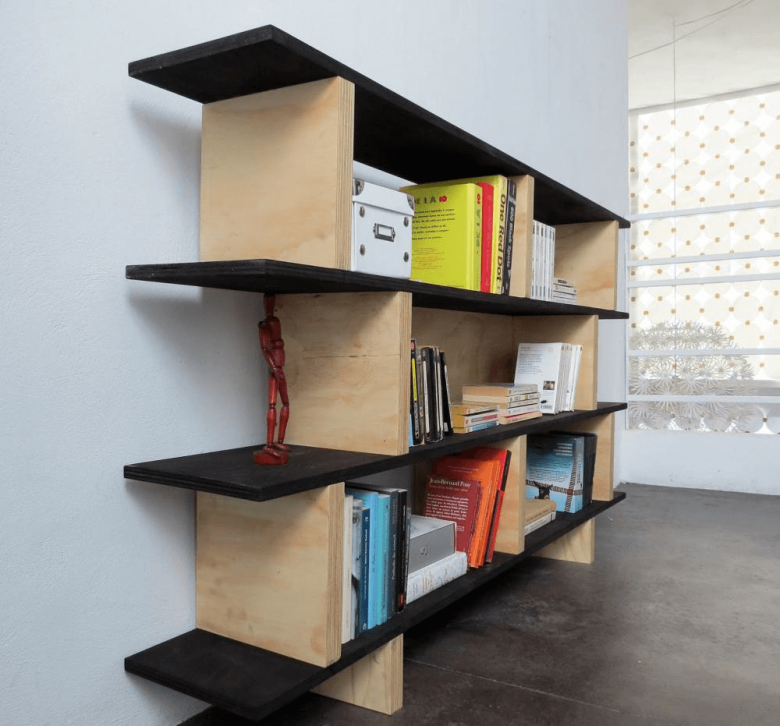
- In the living room to arrange the home library.
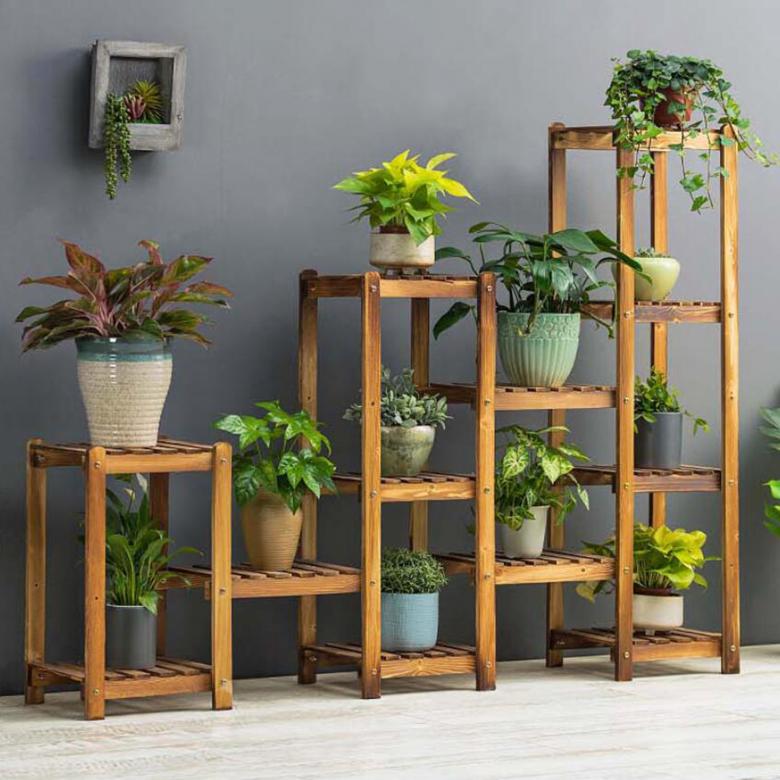
- In the children's bedroom shelving can be used as shelves for toys, school stationery.
Racks with a favorable decor can be used as furniture for zoning the room, for example, the division of the kitchen with the living room in studio apartments.
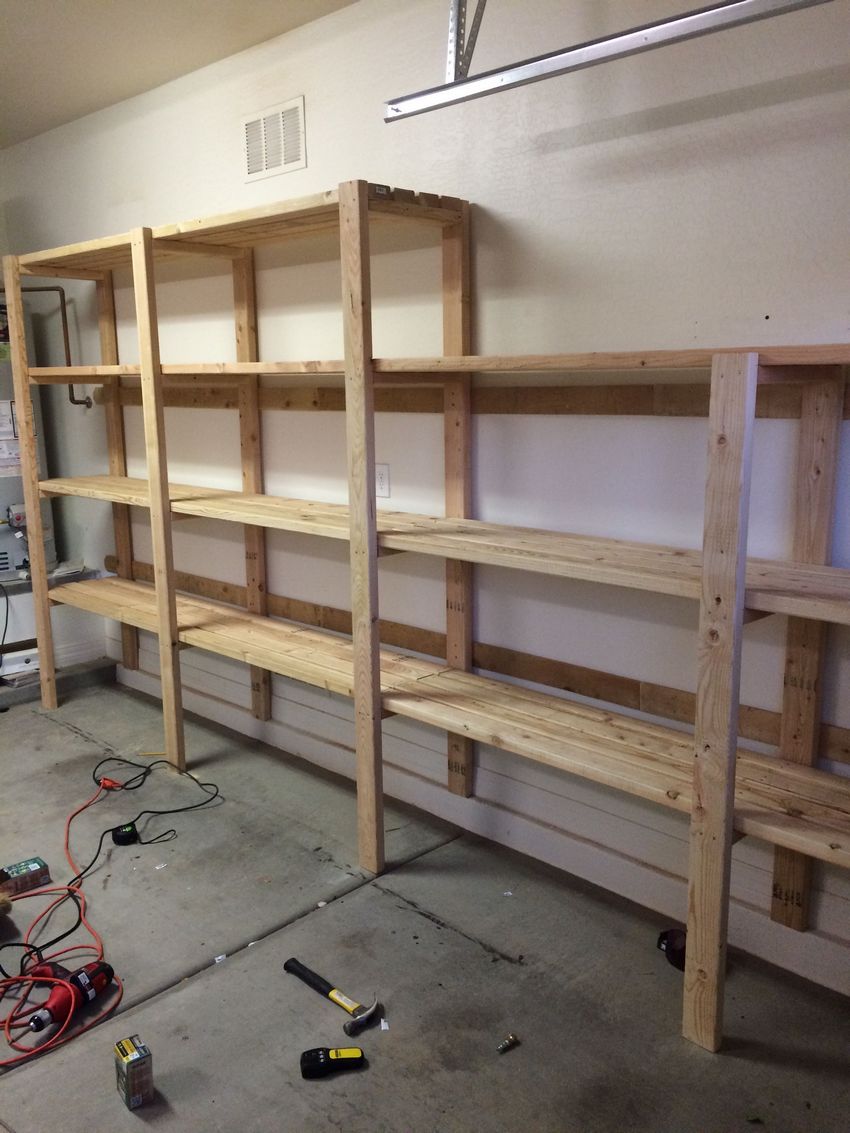
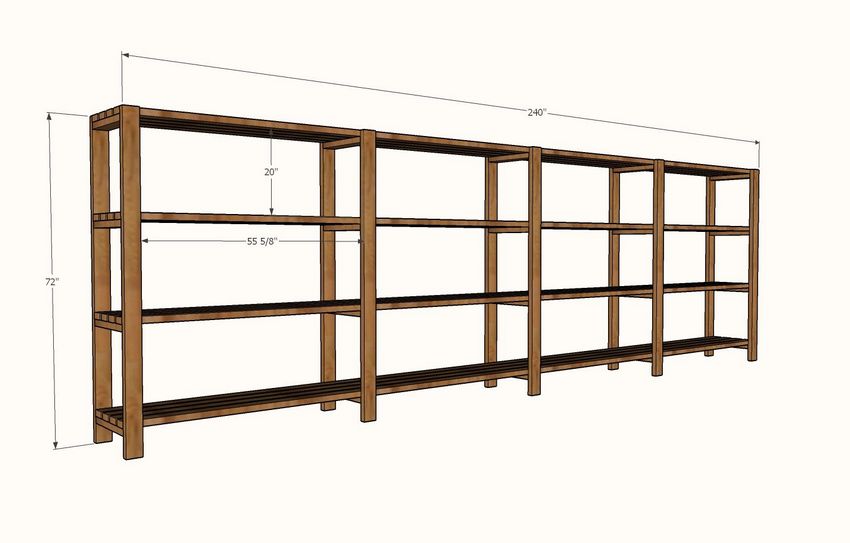
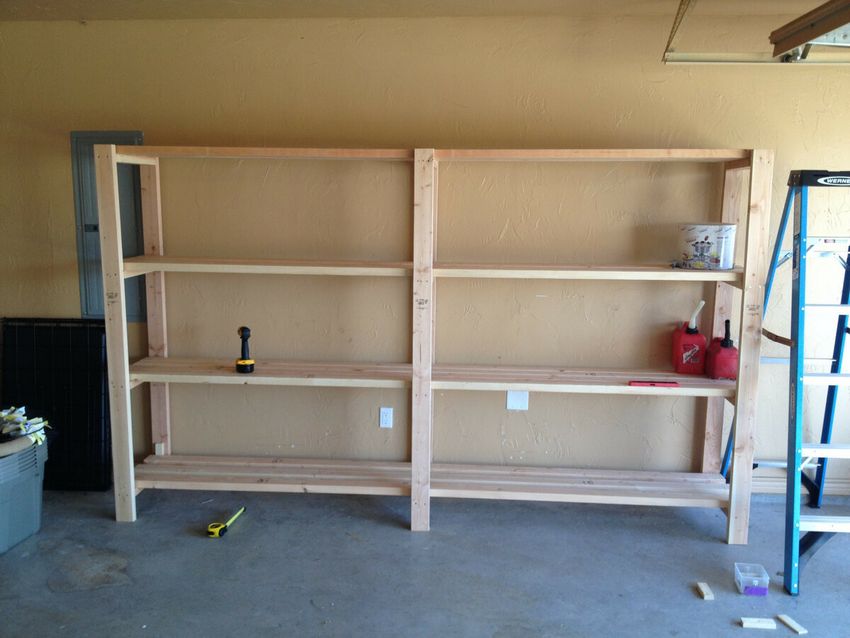
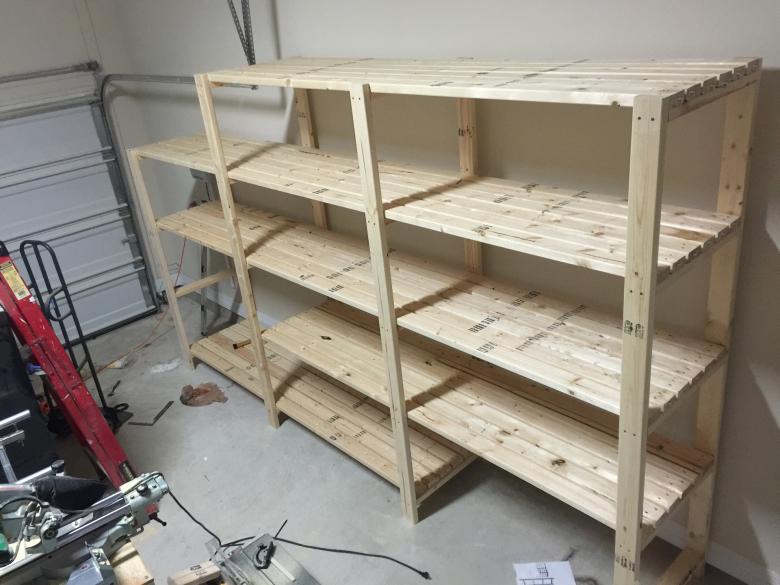
When combining the kitchen and insulated loggia, a miniature shelving unit allows you to accentuate each of the formed zones (for example, the dining and working area). Using step-by-step instructions, you can make a practical shelving unit in the garage with your own hands.
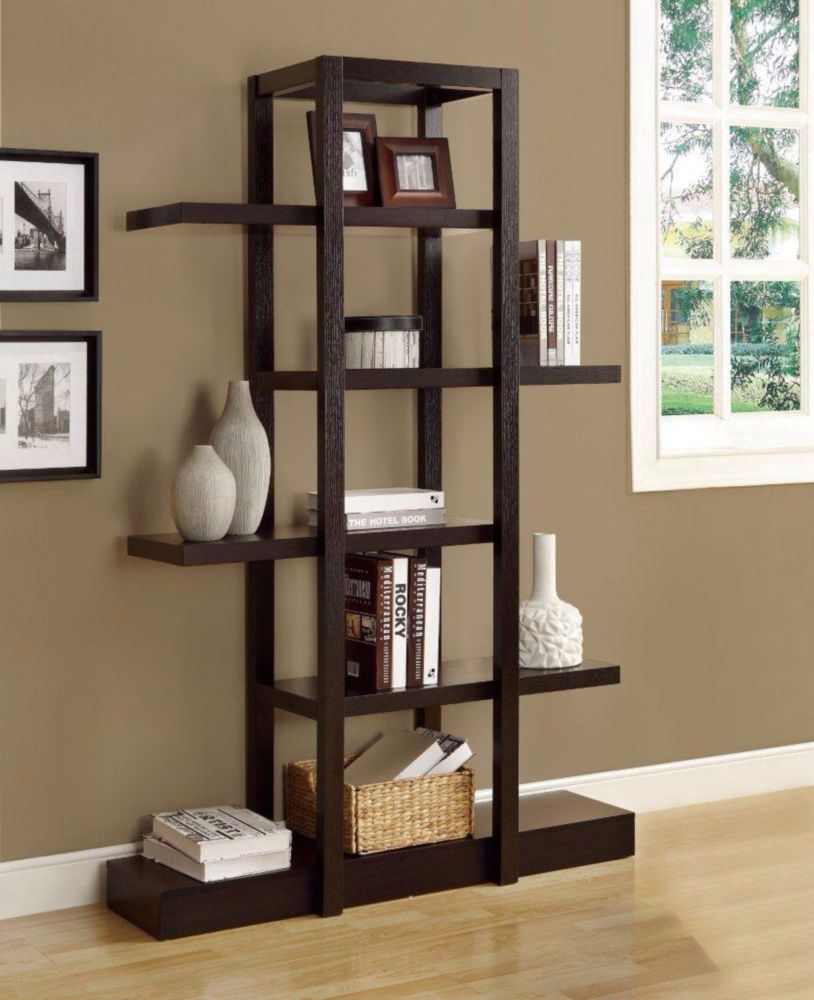
Basic models of shelving units
Thanks to the creativity of designers today you can find unique models of shelving units and ready-made plan-projects for self-work. Furniture differs in shape, size, design and type of construction:
- In terms of size, there are large floor shelving units that reach ceiling level, and miniature half-height shelves. Choose a suitable size based on the area of the room, the location of other furniture in the room, the height of the ceiling slabs and the placement of window openings.
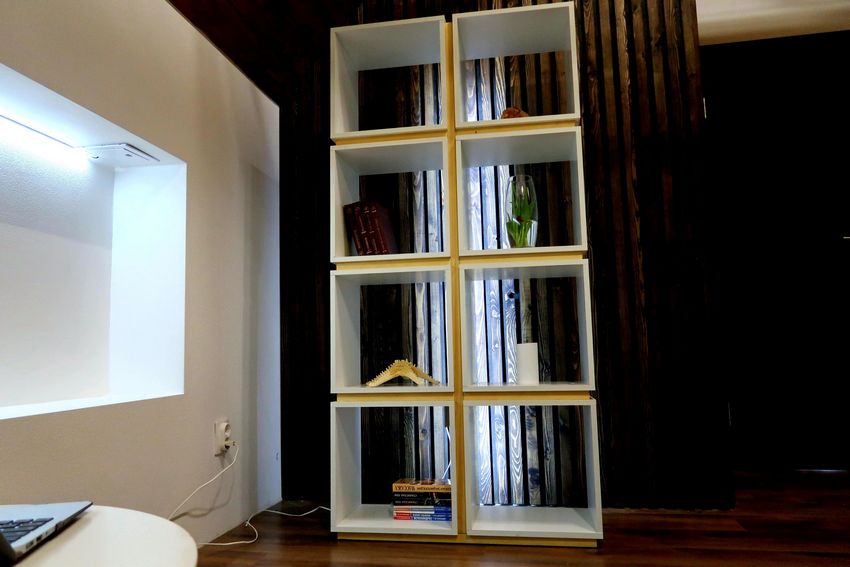
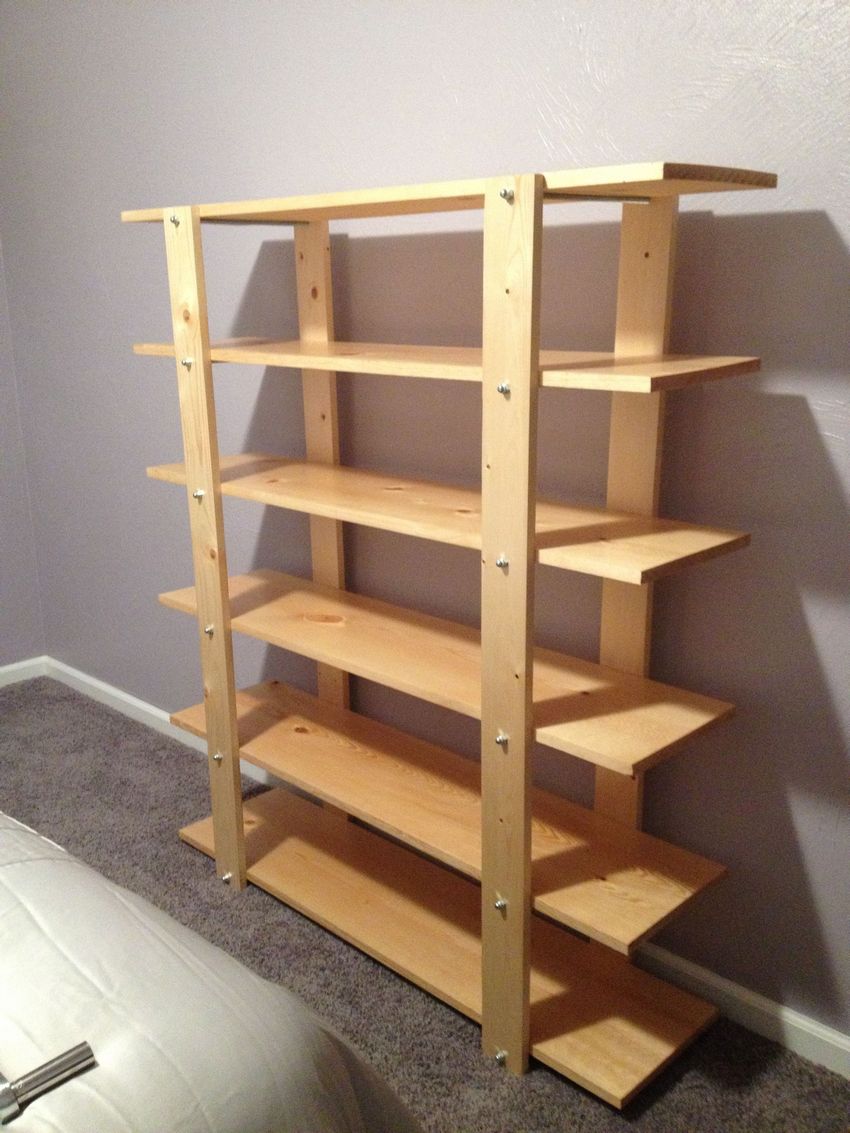
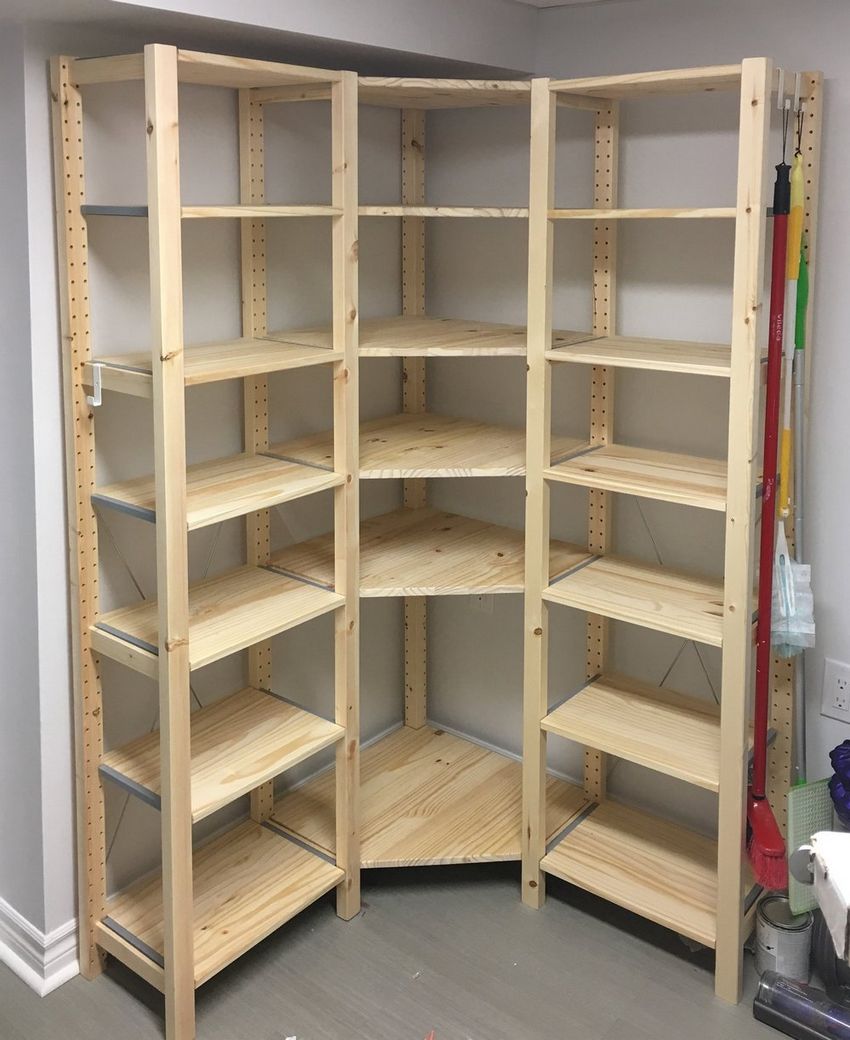
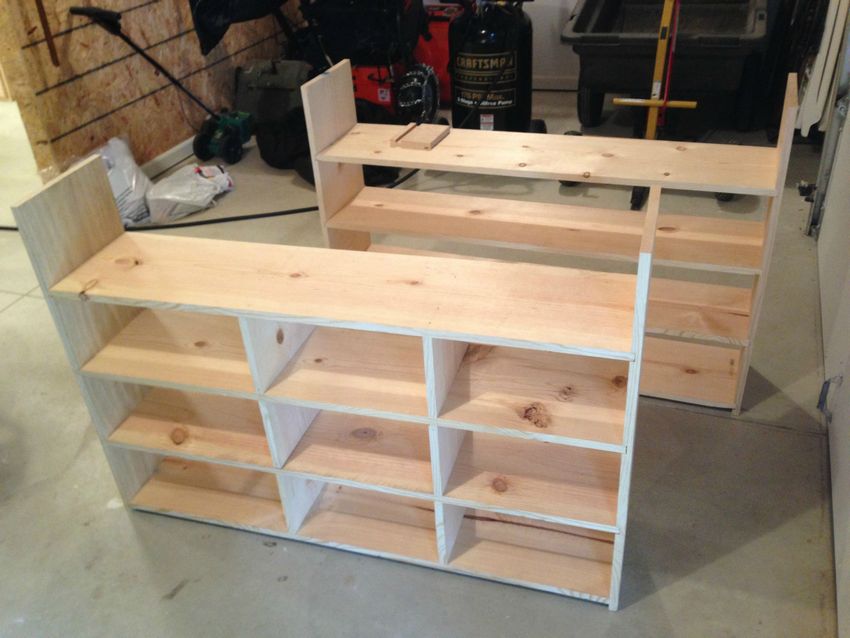
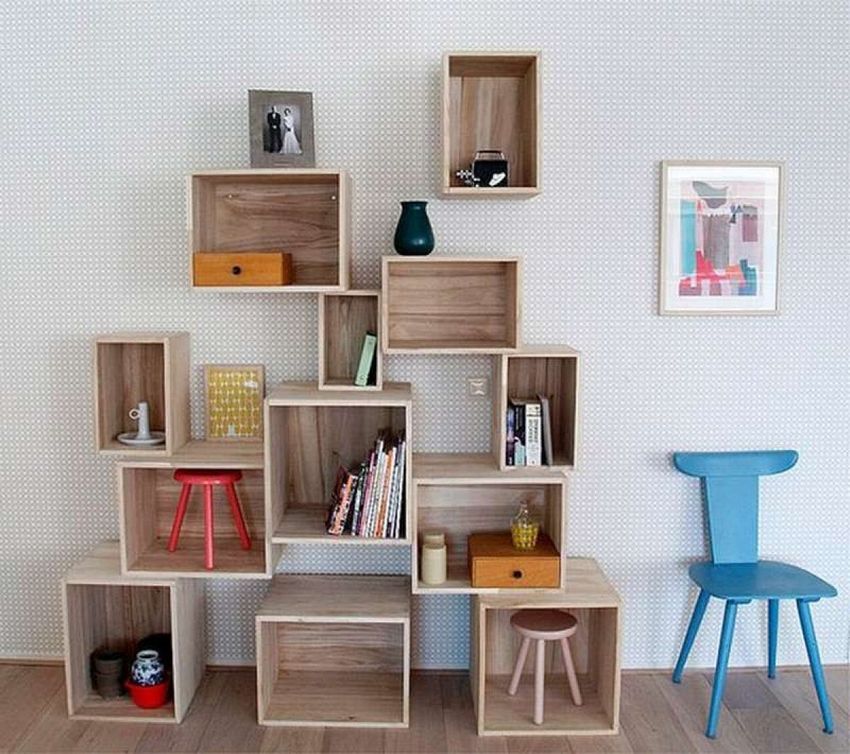
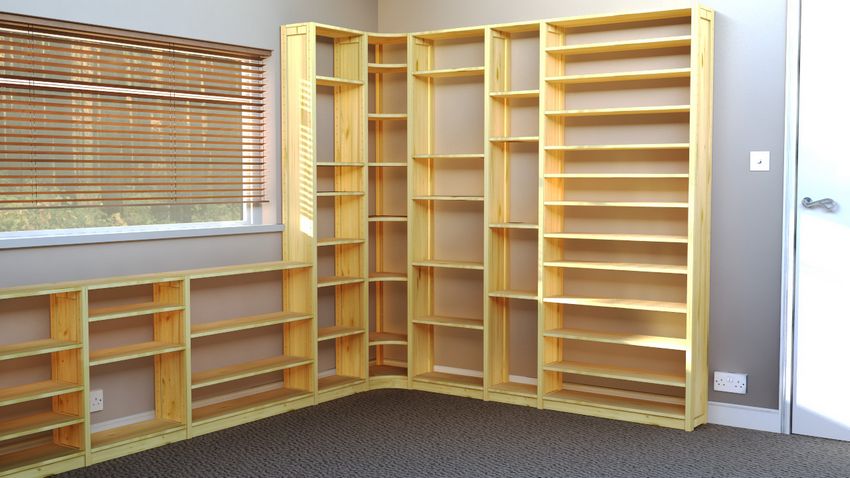
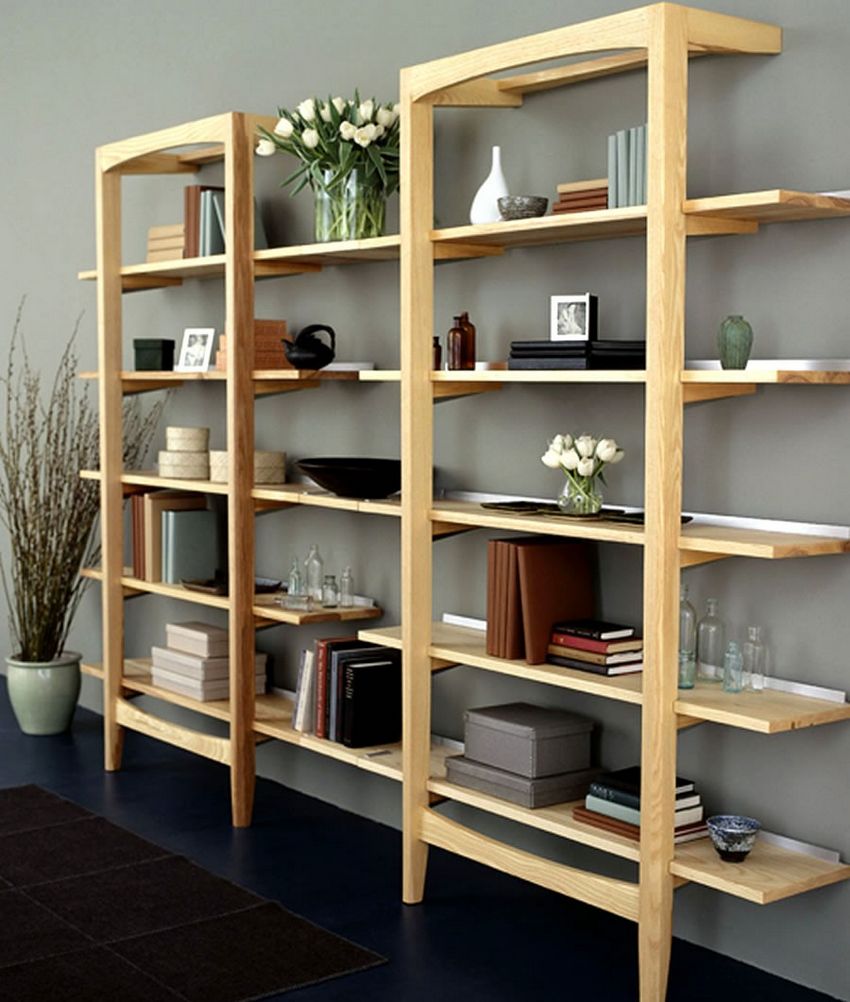
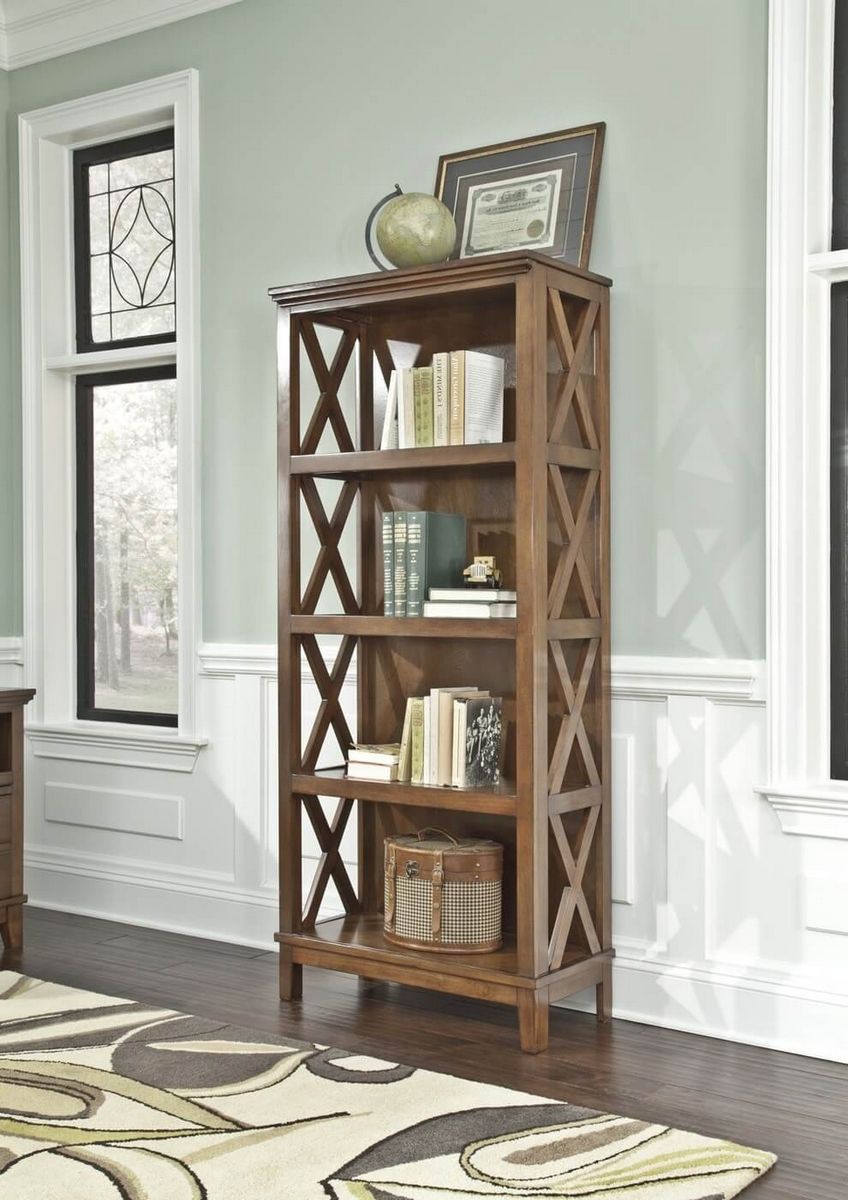
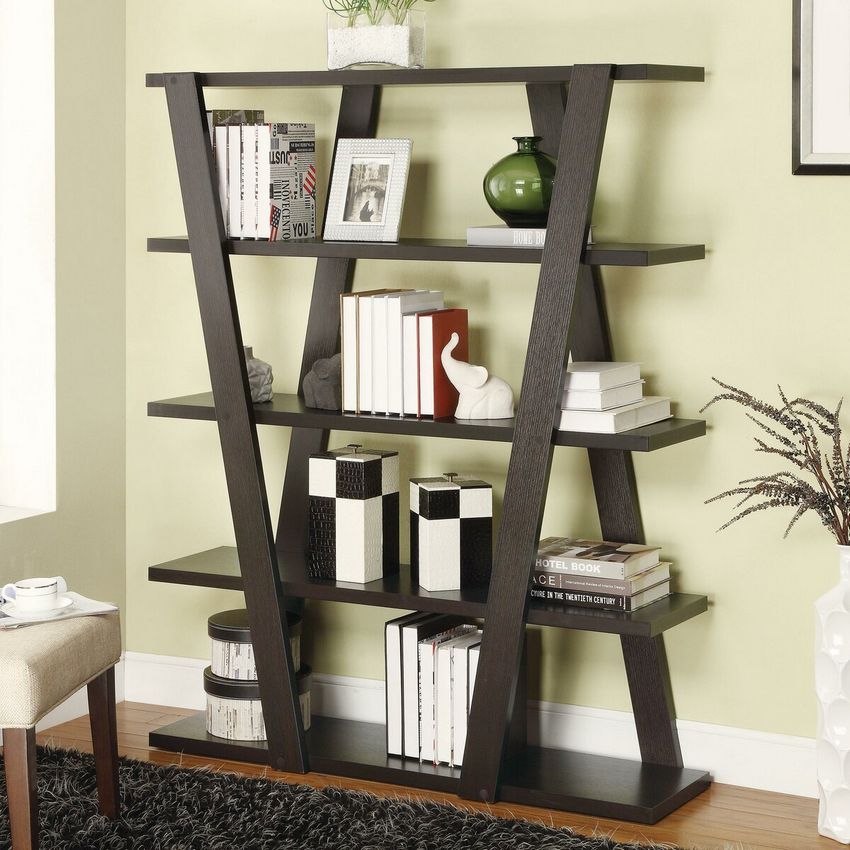
- According to the direction of the main body, there are linear models, angular and more non-standard types, such as T-shaped, P-shaped structures. The use of this or that type of shelving unit is determined by the practical characteristics of the room. For example, for small apartments it is optimal to use angular models, which successfully fit into any style of interior, are quite compact and mobile due to the modular assembly.
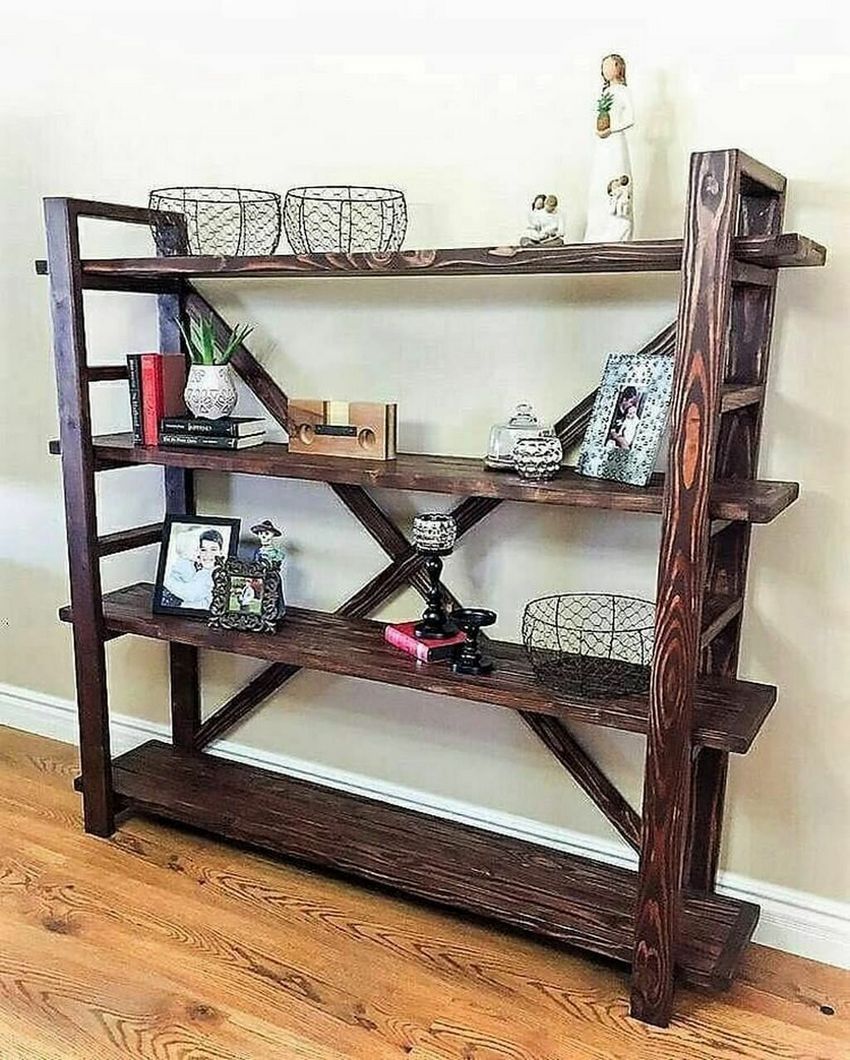
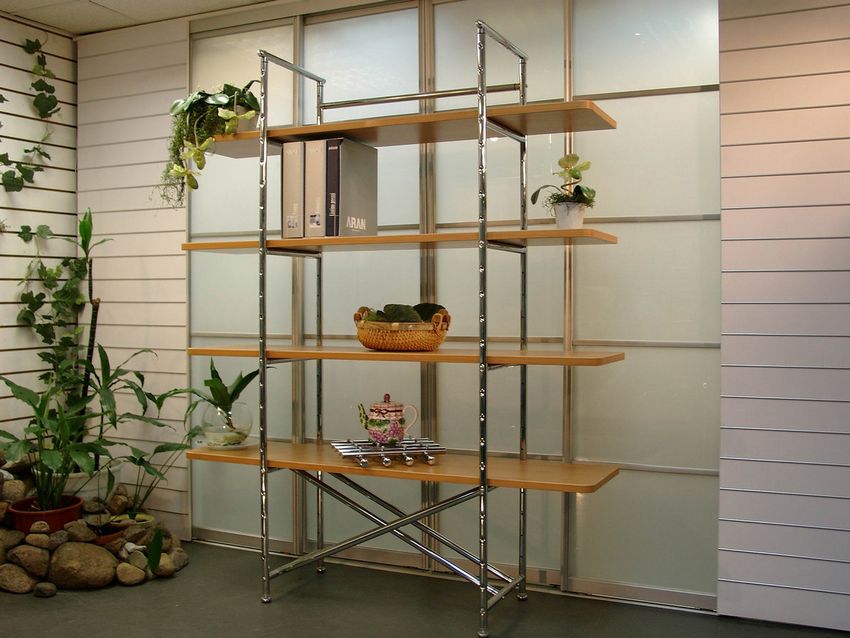
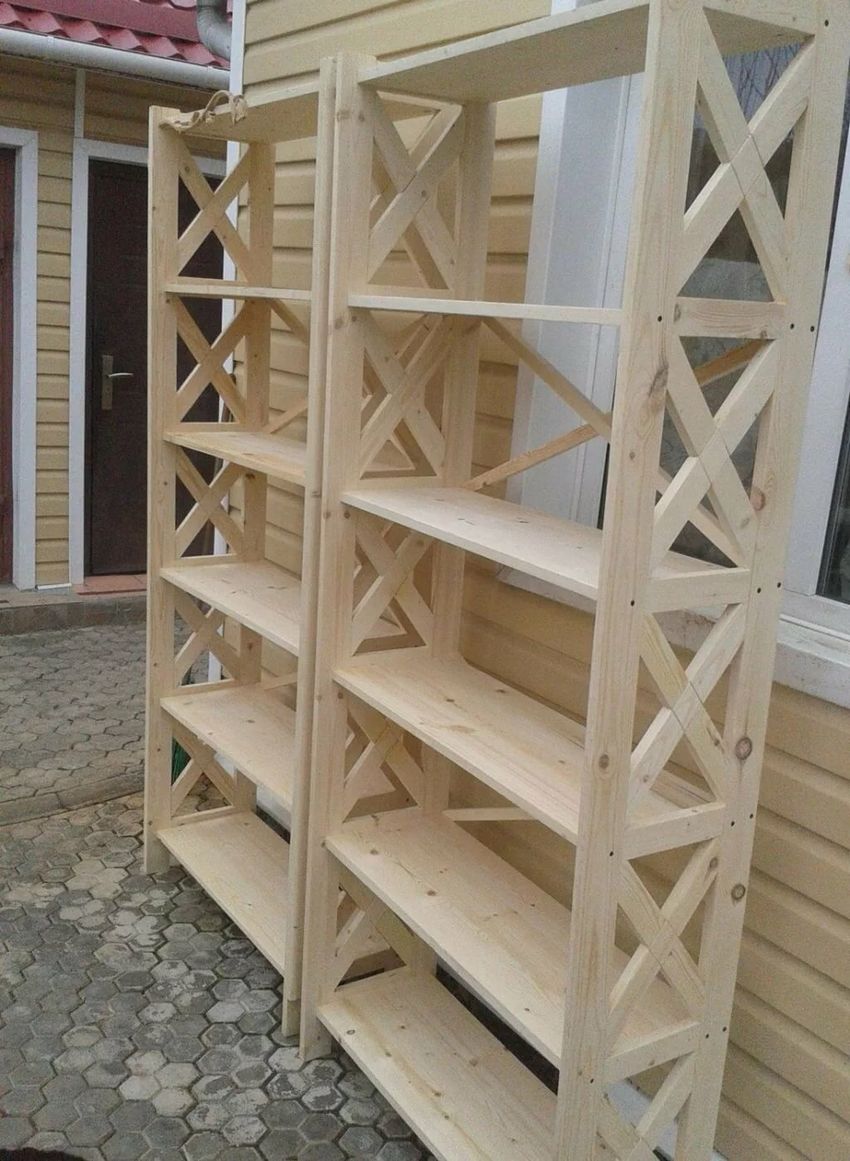
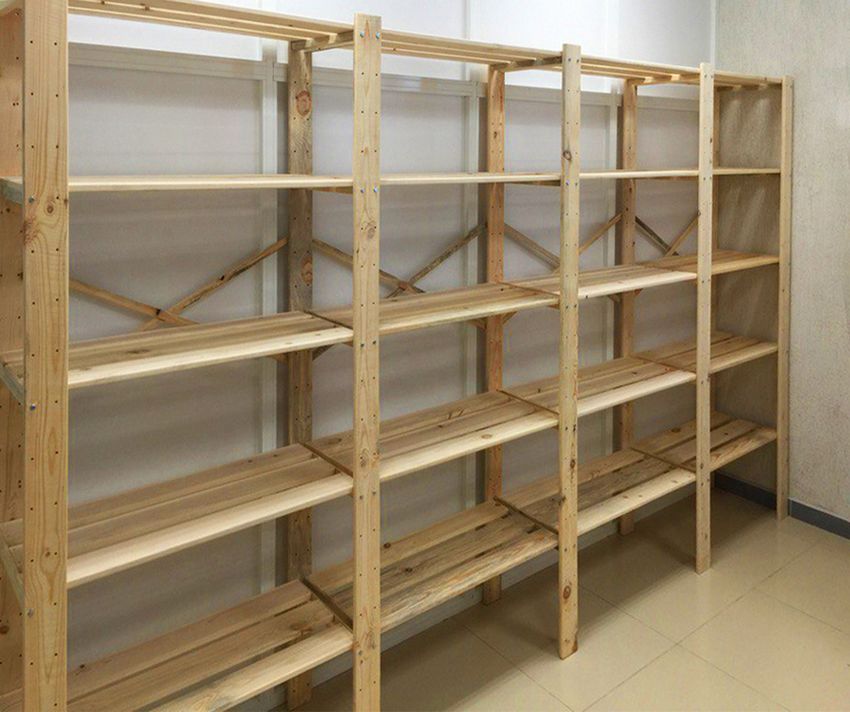
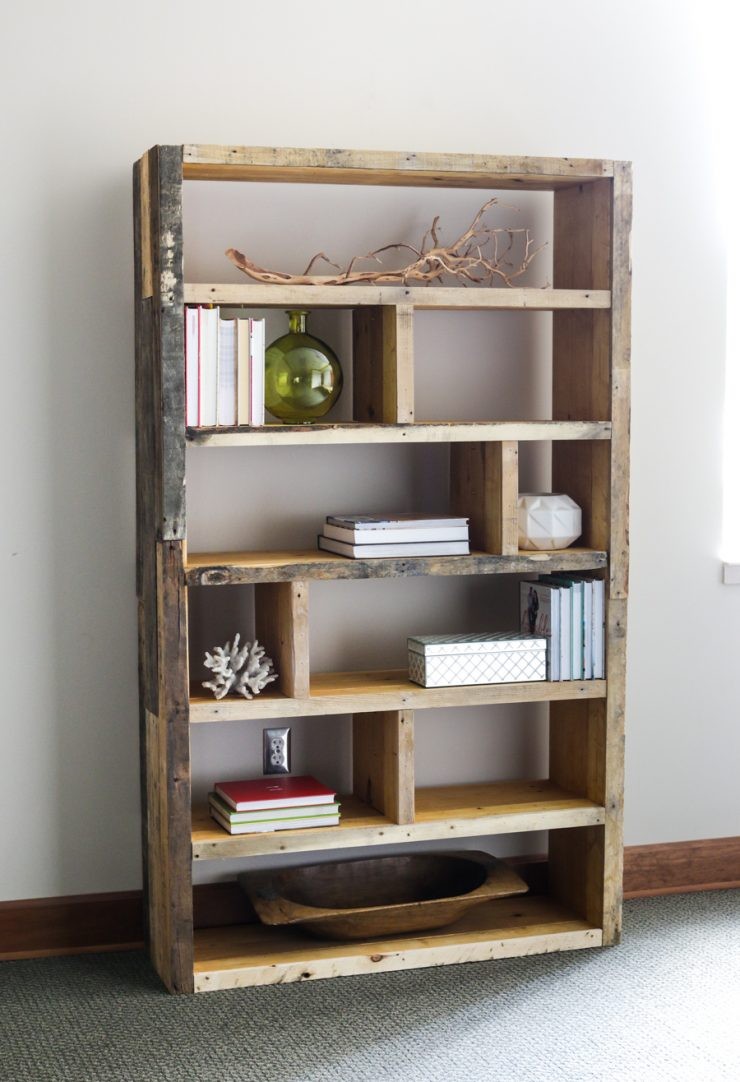
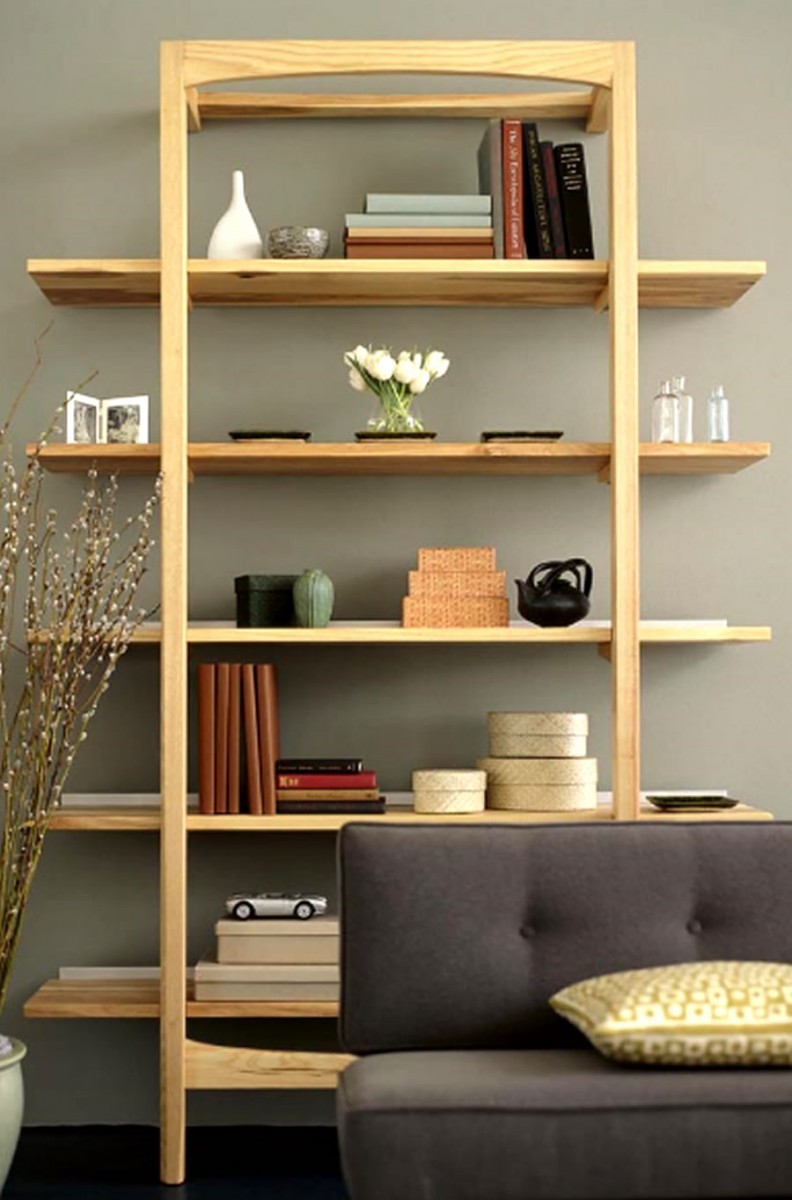
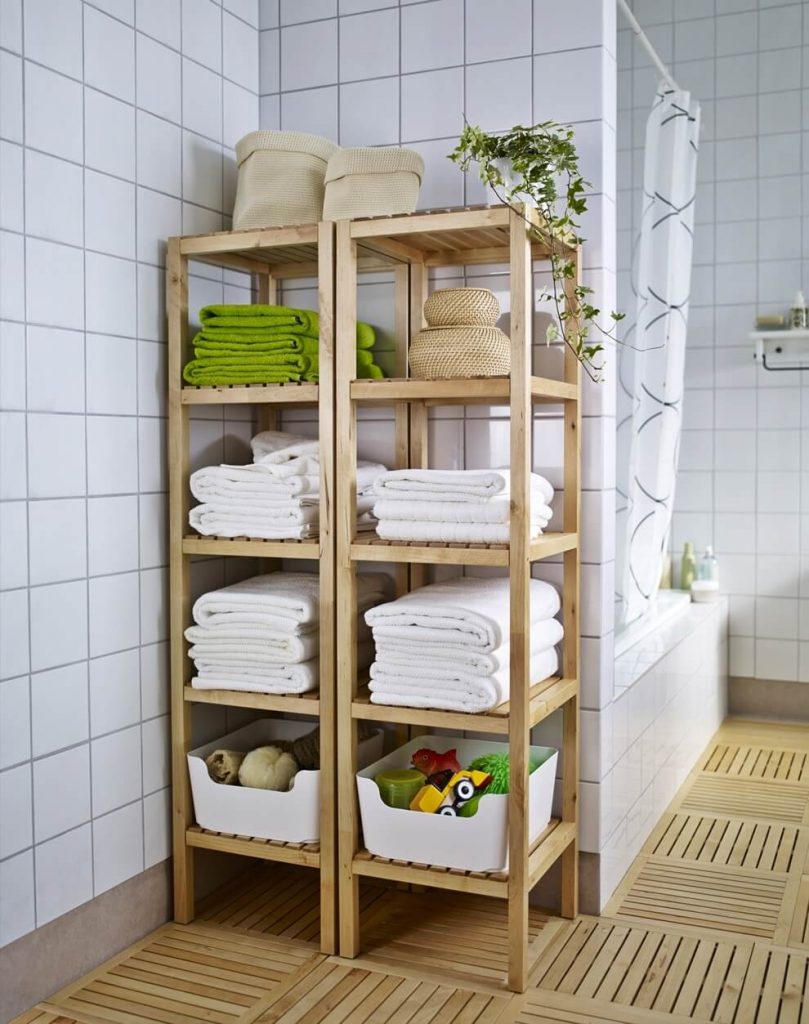
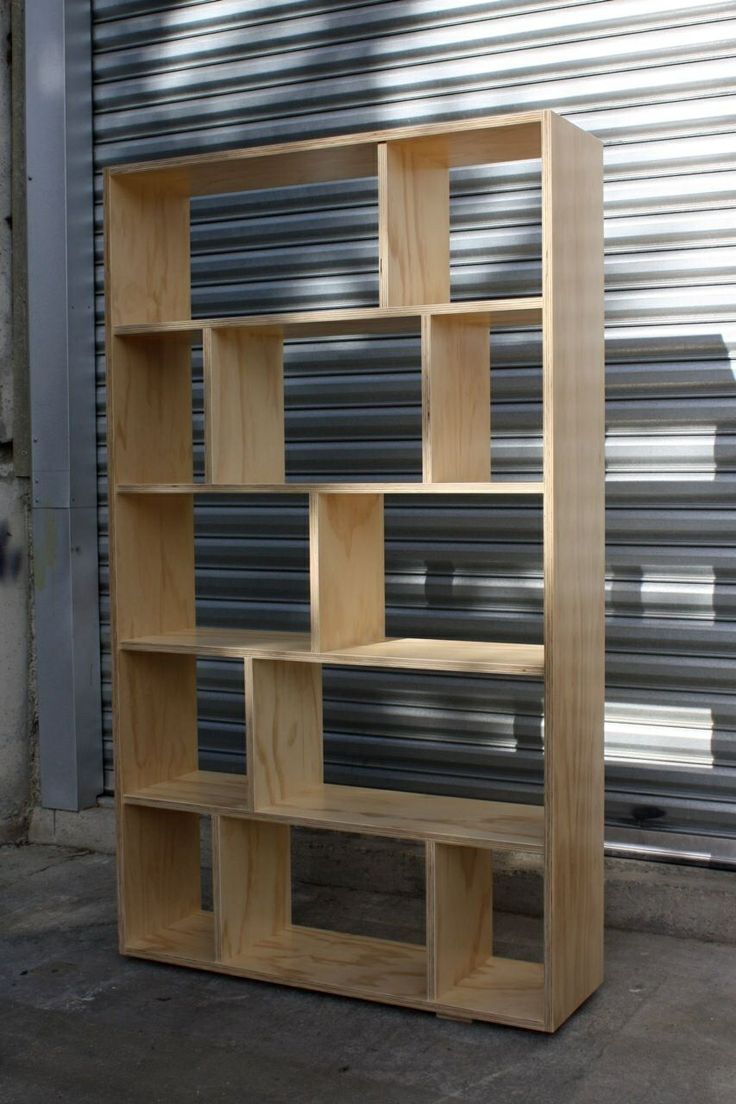
A separate, but no less important criterion for selecting a rack, the material of manufacture. According to safety and sanitary regulations in force, the material for the furniture must be sufficiently strong, resistant to moisture, detergents, have good environmental performance. Such bases today include solid wood, chipboard (pressed wood chips), plywood sheets.
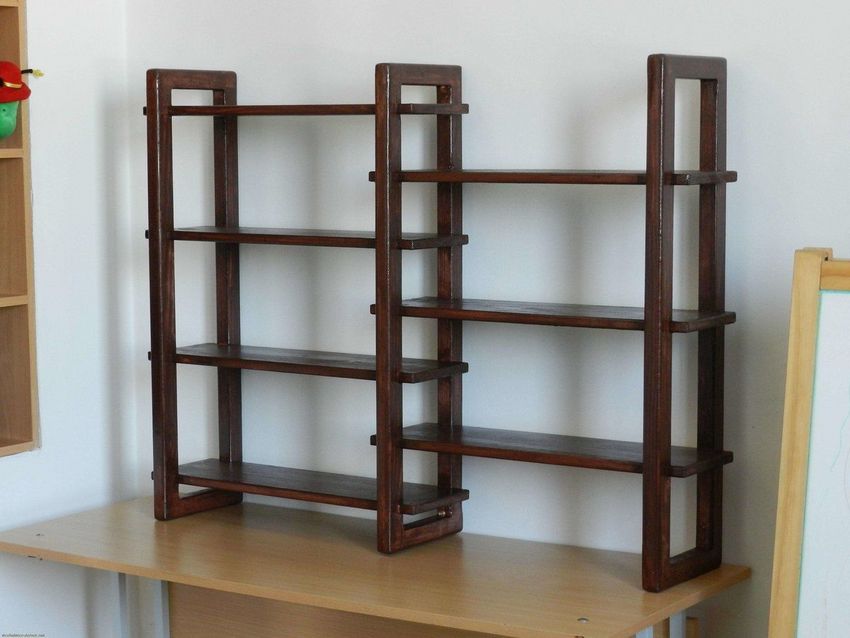
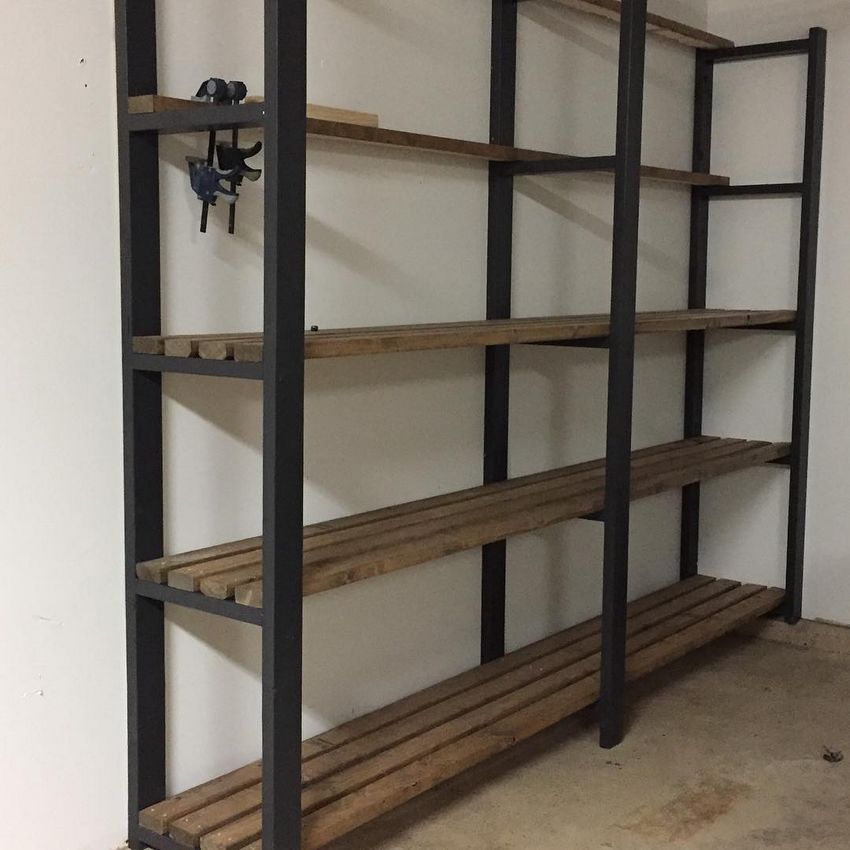
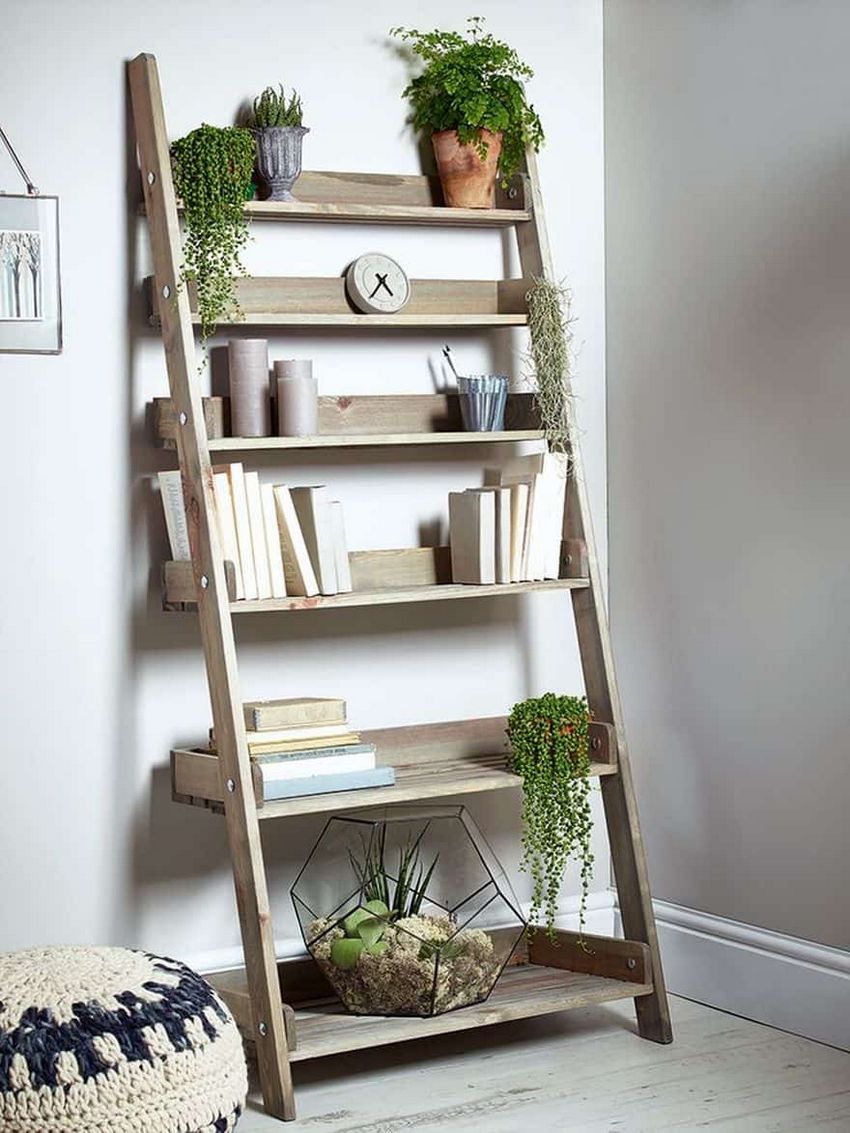
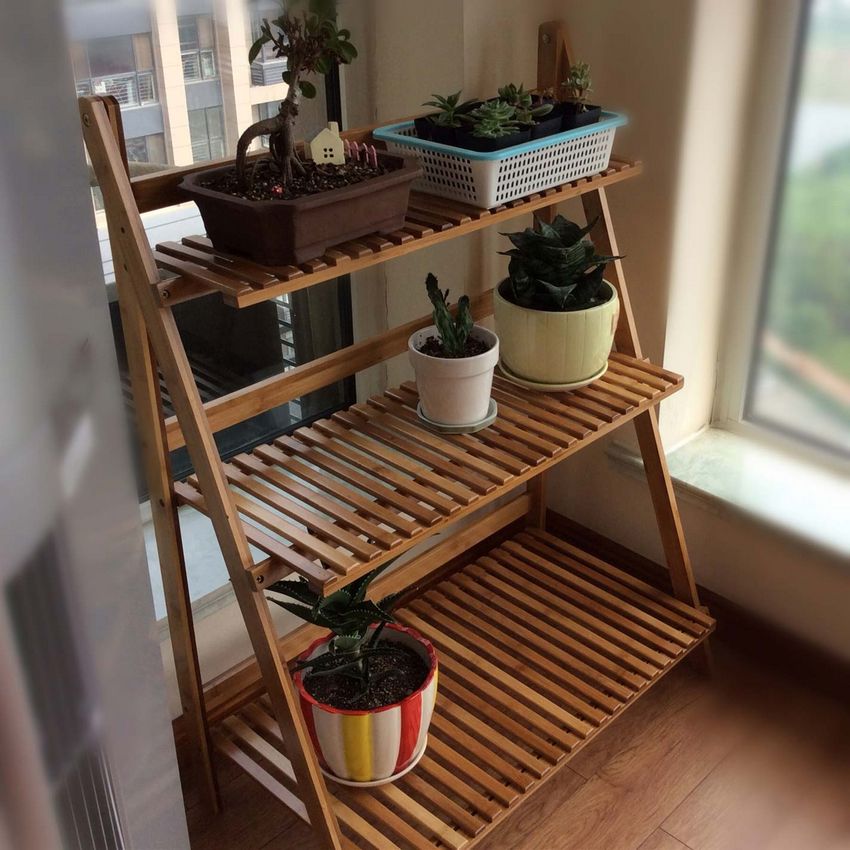
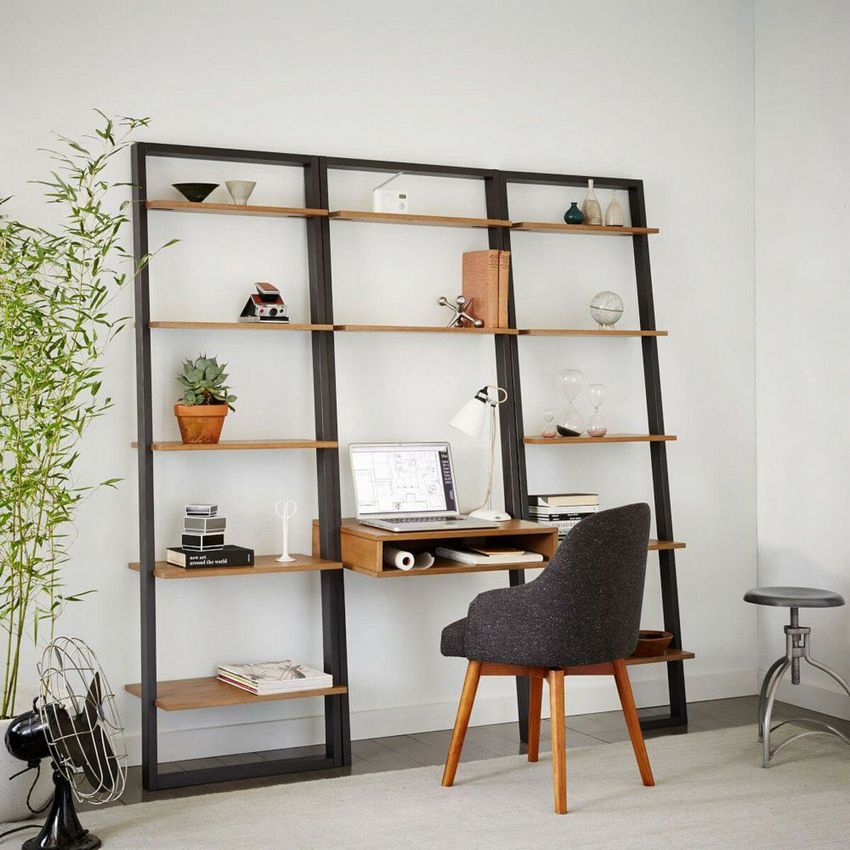
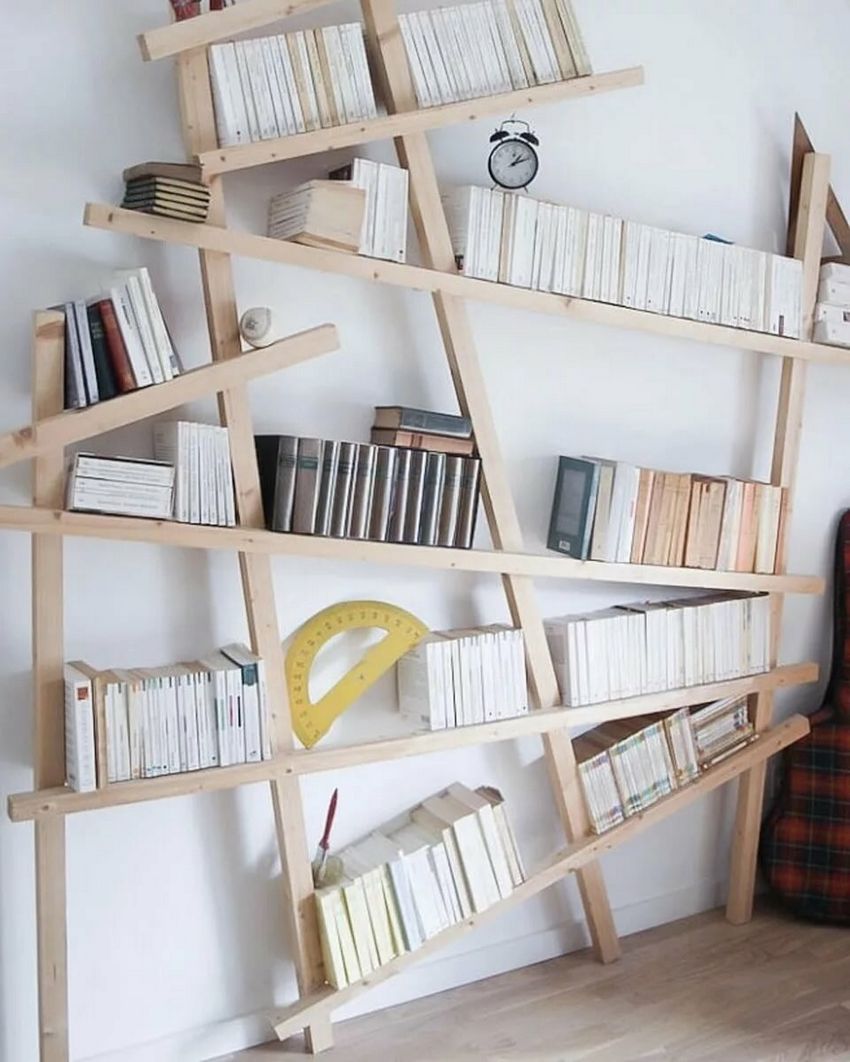
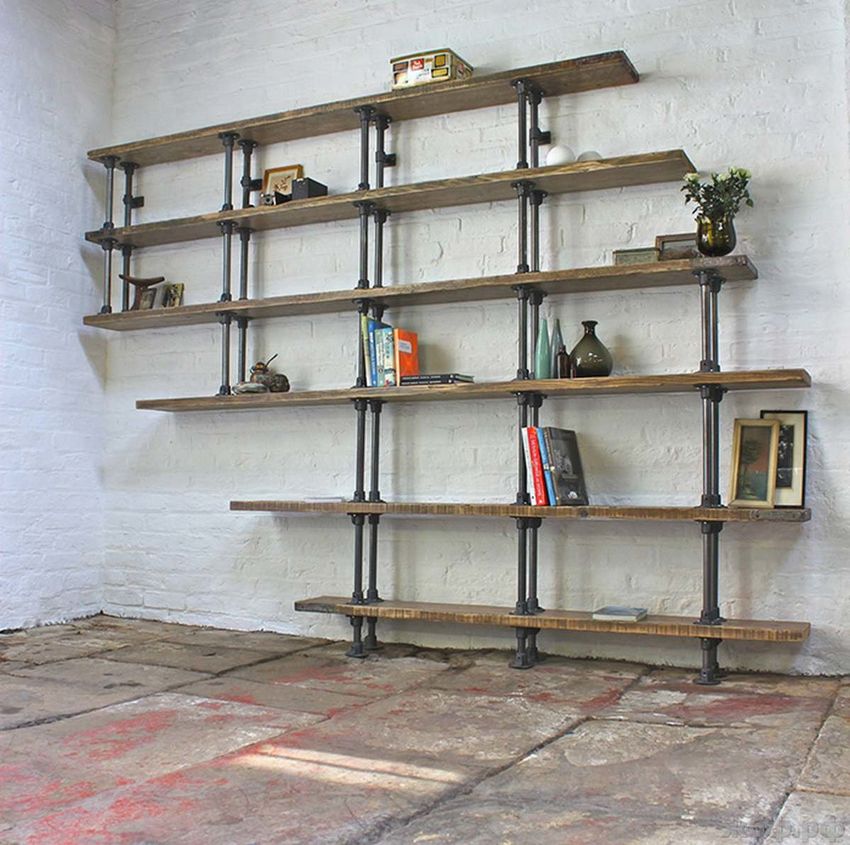
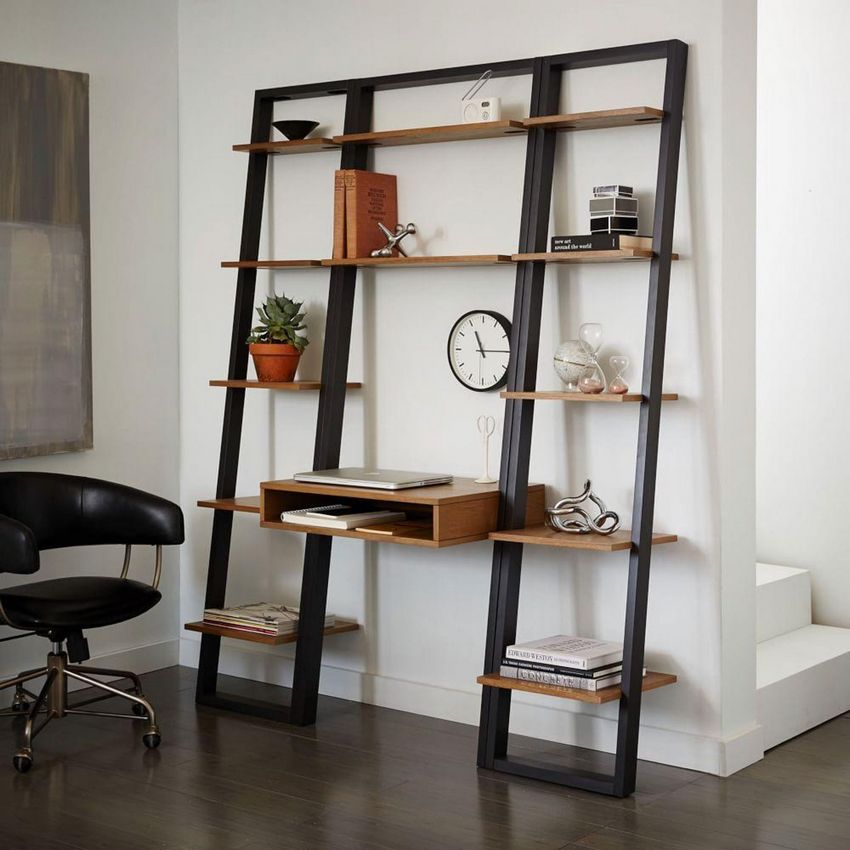
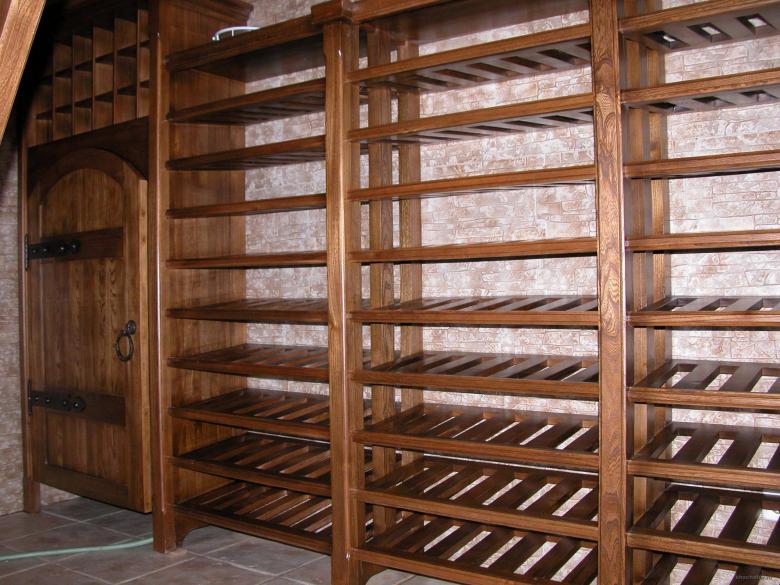
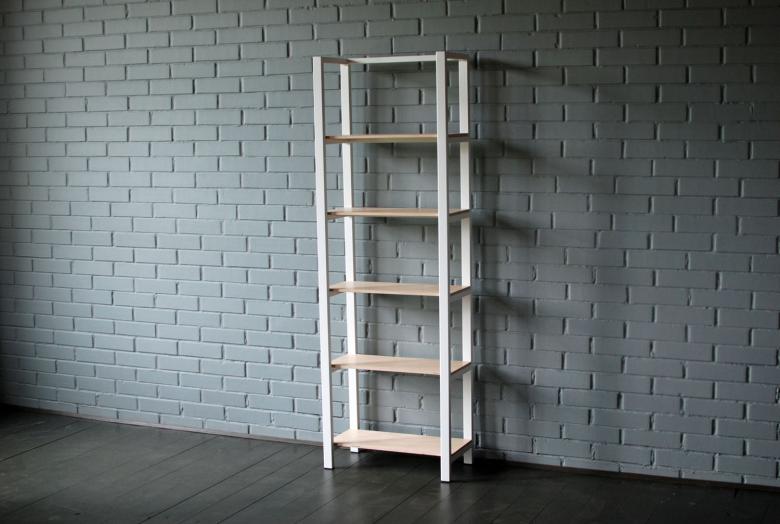
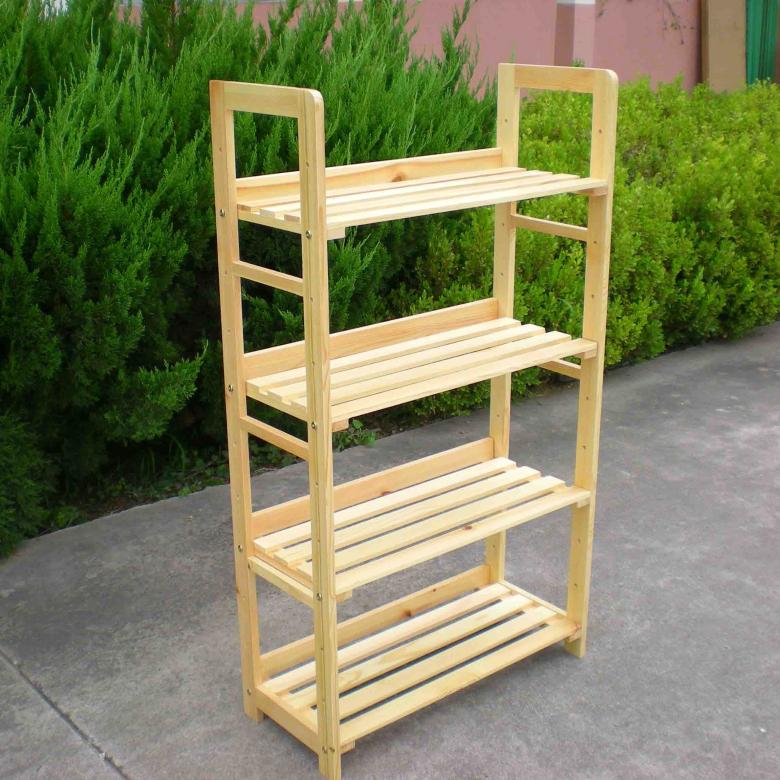
Wooden shelving, made with their own hands, is the best option for the job. Plastic inserts and fronts, metal frames, shelves made of tempered glass are widely used as successful combinations.
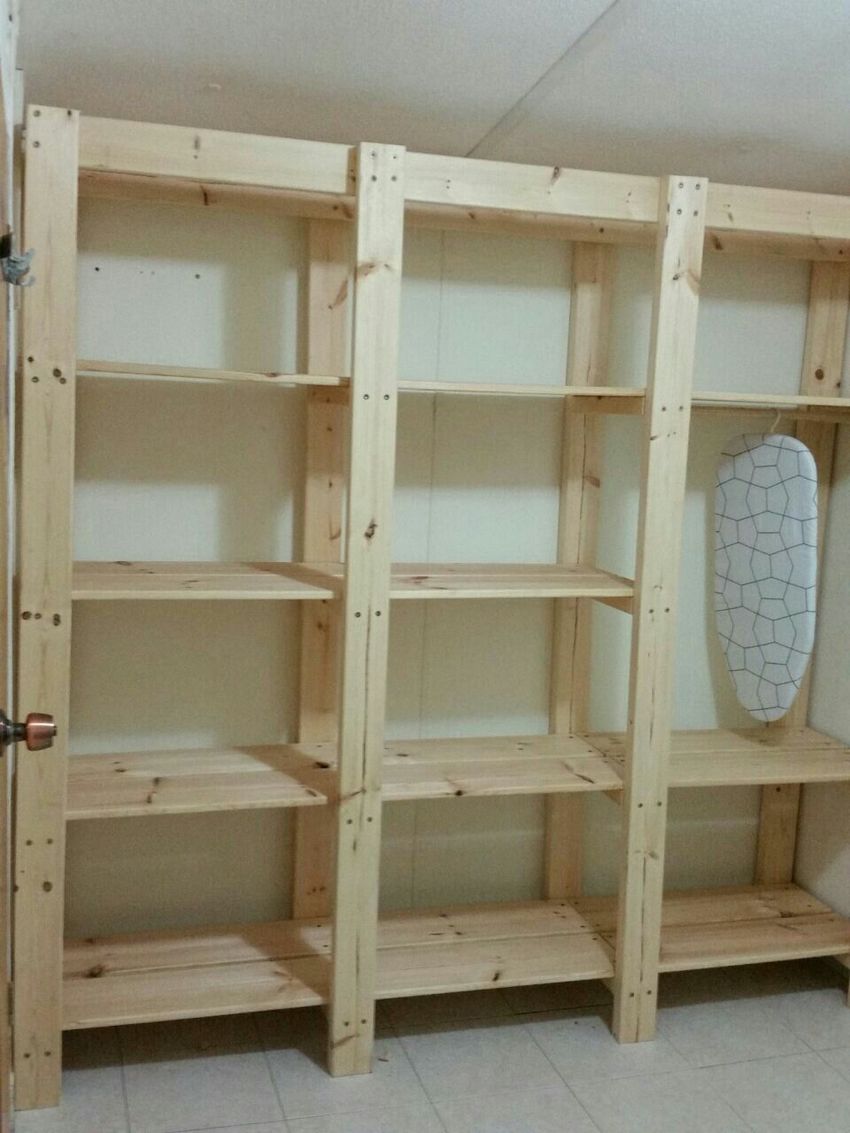
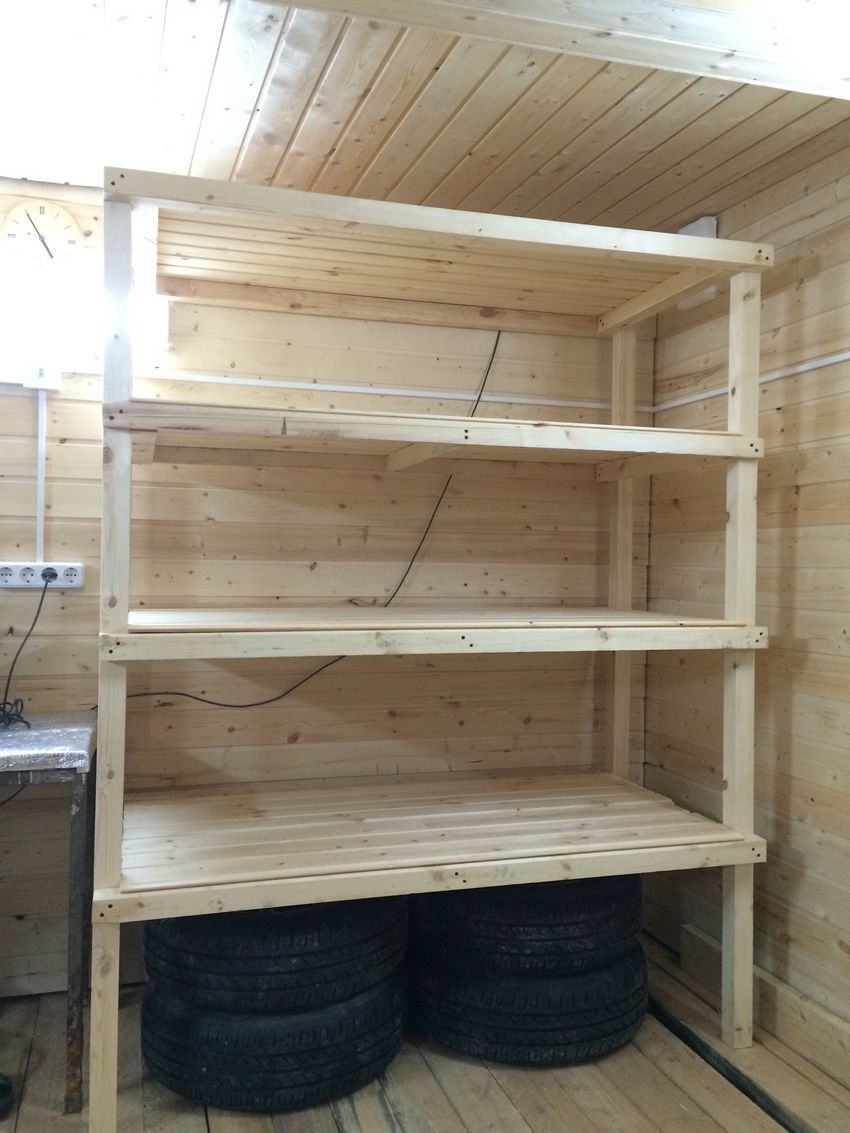
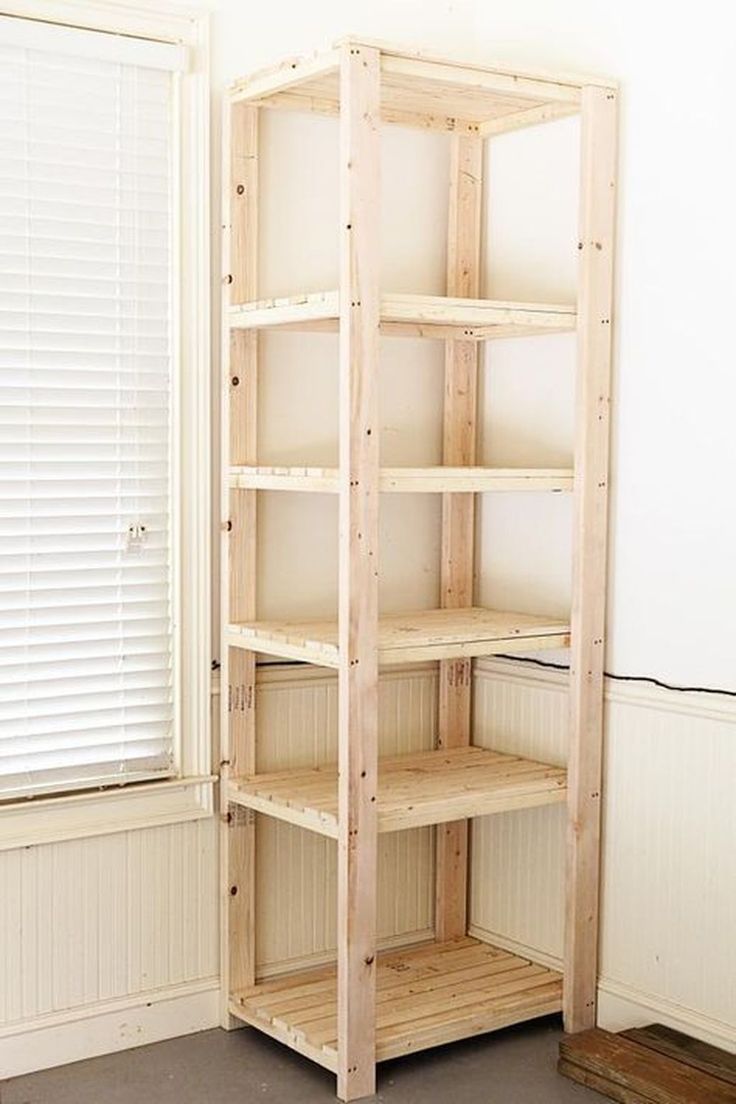
Step-by-step shelf construction
When starting to work on an independent project, you should make a thorough plan of further actions. A well-crafted plan of action is the key to success and successful use of the finished product.
Preparation of materials and tools
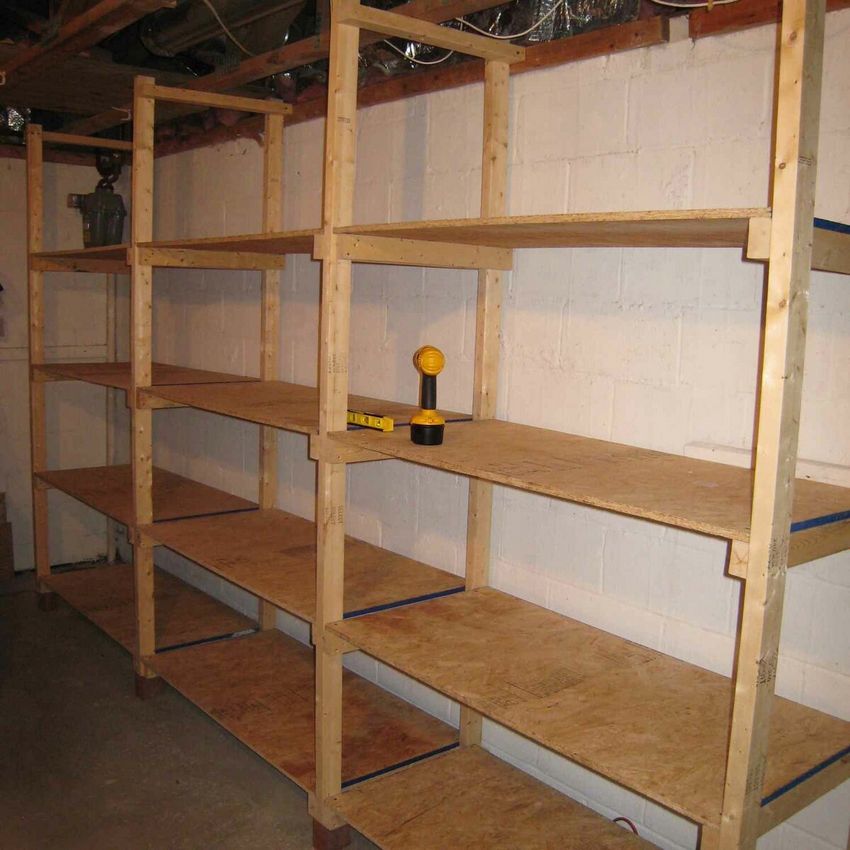
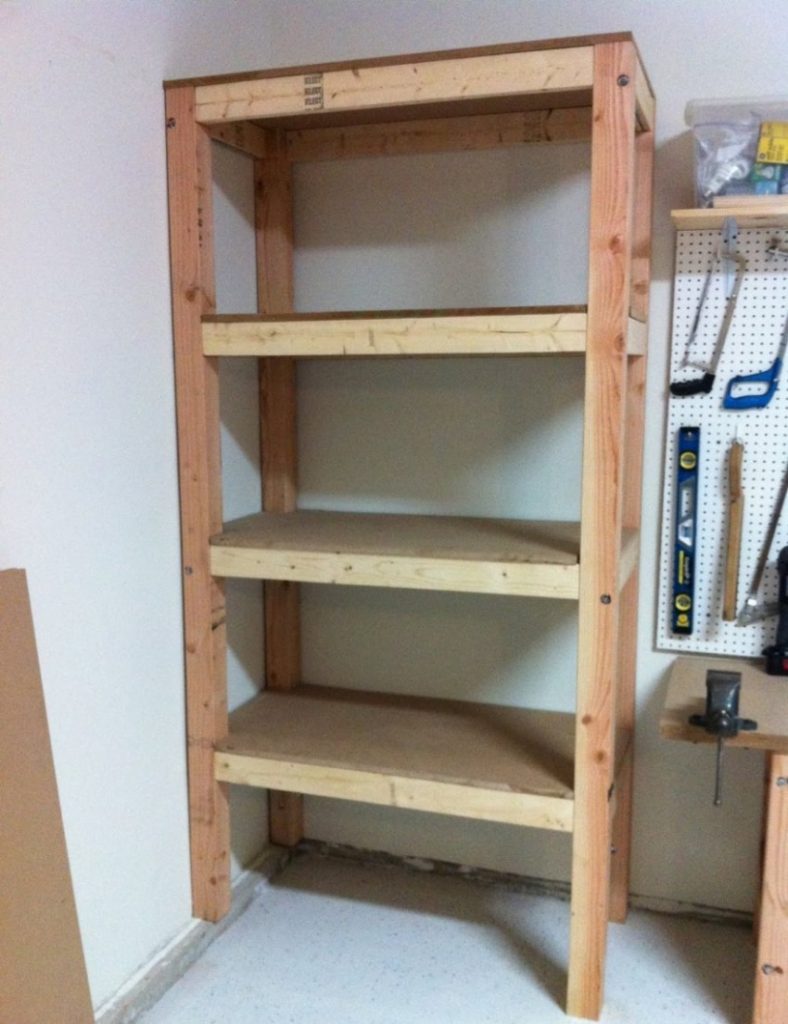
The most optimal material for independent work is wood, which has sufficient strength, acts as an environmentally friendly basis and has a favorable design. To work on the creation of a rack from wood with your own hands, you should prepare the following set:
- Jigsaw and planer for sawing wooden workpieces.
- Construction pencil and tape measure.
- Sandpaper for sanding surfaces.
- Impregnating compositions: antiseptic, antipyretic, moisture-proof and antifungal.
- Decorating compositions: acrylic varnish, stain, acrylic paints for stencil painting.
- Fasteners, as which are most often used metal corners, self-tapping screws.
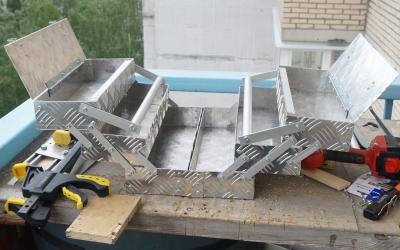
If the project is planned to make a combined rack, for example, from wooden plates on a metal frame, you should additionally prepare a grinder, welding and corrosion-resistant compounds. You will also need instructions on how to make a rack with their own hands, video tutorials and detailed descriptions of the work.
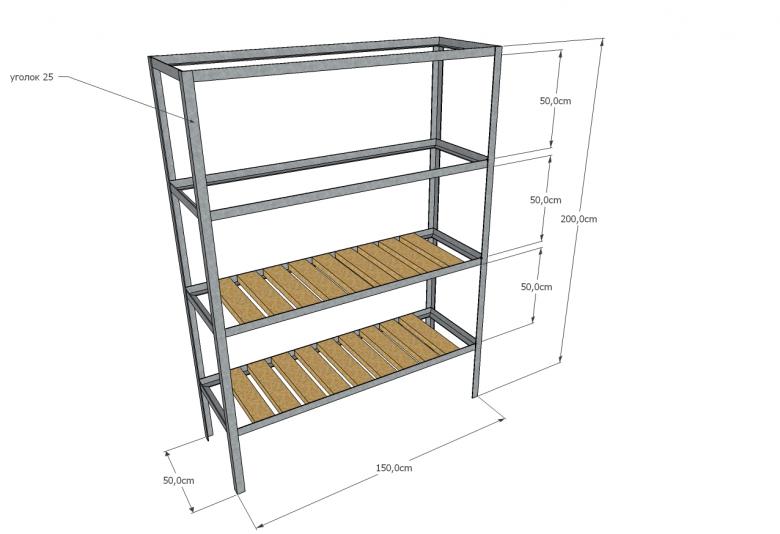
Preparation of the drawing
Blueprints for independent work can be found on various web portals on construction. Many experienced craftsmen share their author's schemes for assembling structures of various shapes and sizes. The following parameters should be displayed on the self-made drawing:
- The dimensions of the structure as a whole.
- The depth of the location of the shelves.
- The scheme of the frame structure, shelves and auxiliary compartments (if any).
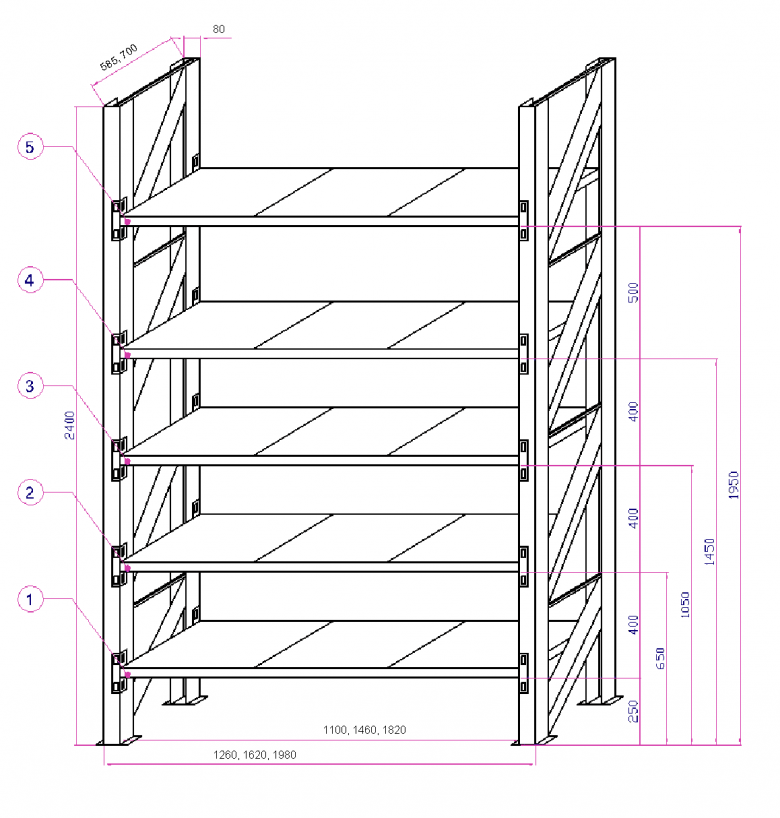
The location points of fasteners and their characteristics are also shown on the paper.
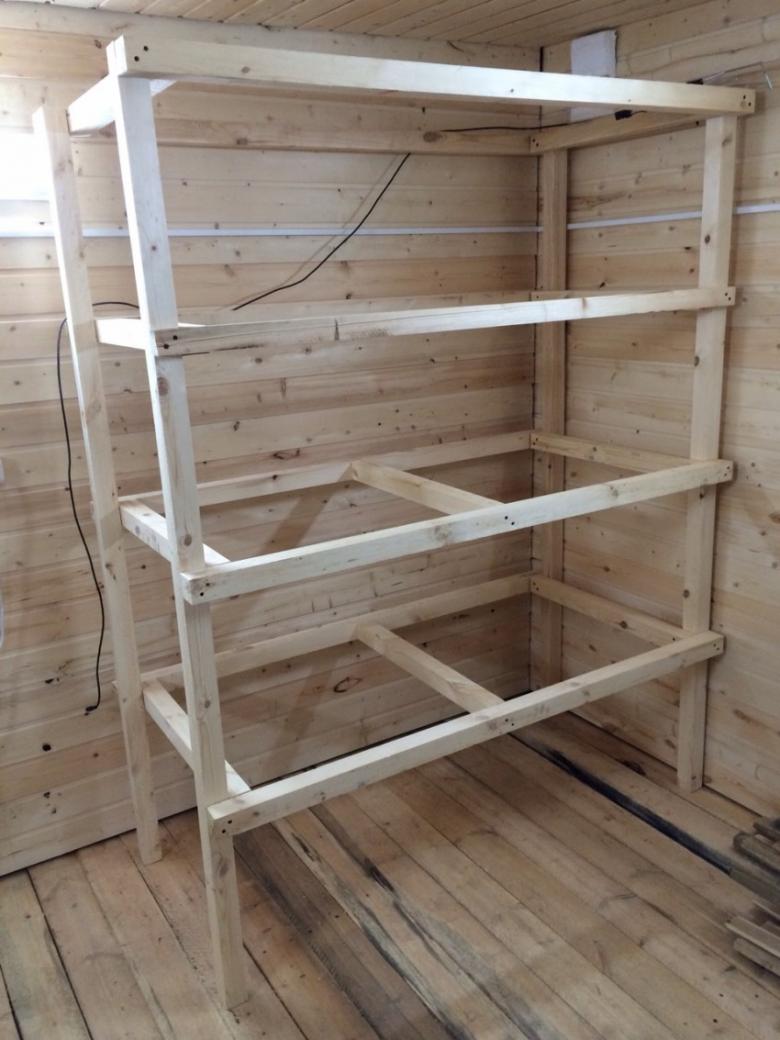
Processing of parts before assembly
Focusing on the prepared drawing, on the wood sketches of future parts: frame racks, shelves. The parts are sawed out with a jigsaw and subjected to their preliminary processing:
- Grinding of sharp cuts and nicks.
- Impregnation with antiseptic and moisture-resistant solutions, which significantly extend the service life of the finished construction.
After drying, details are covered with a stain and acrylic varnish. Further shelf life directly depends on the quality of the treatment performed.
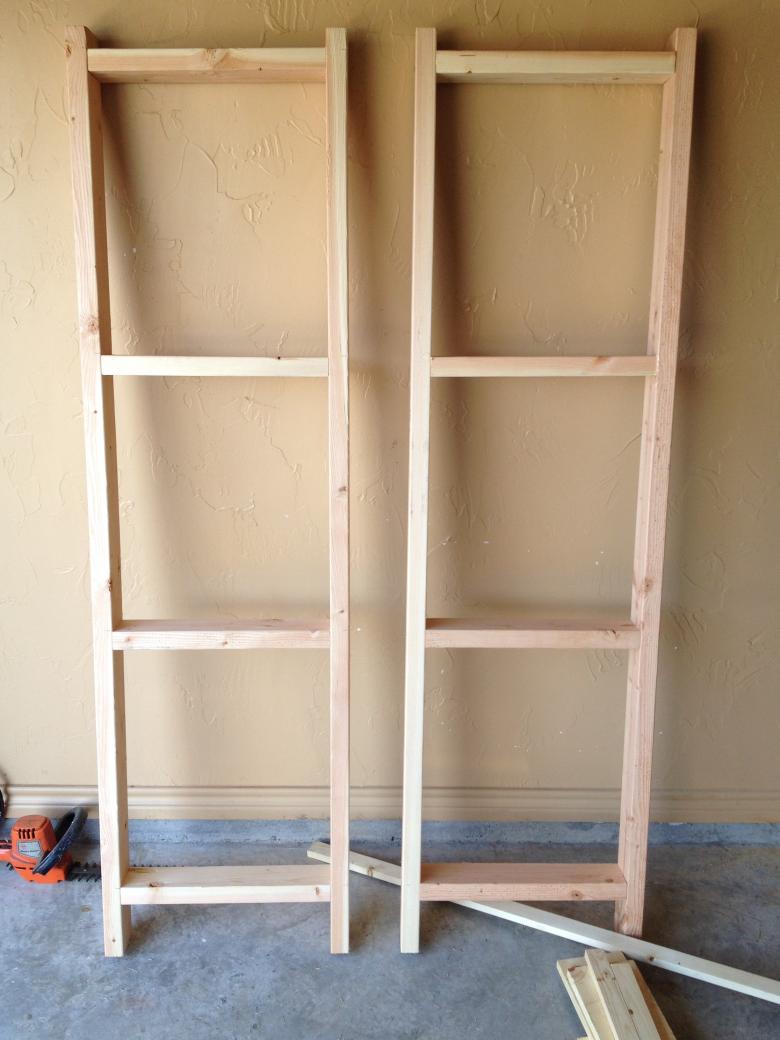
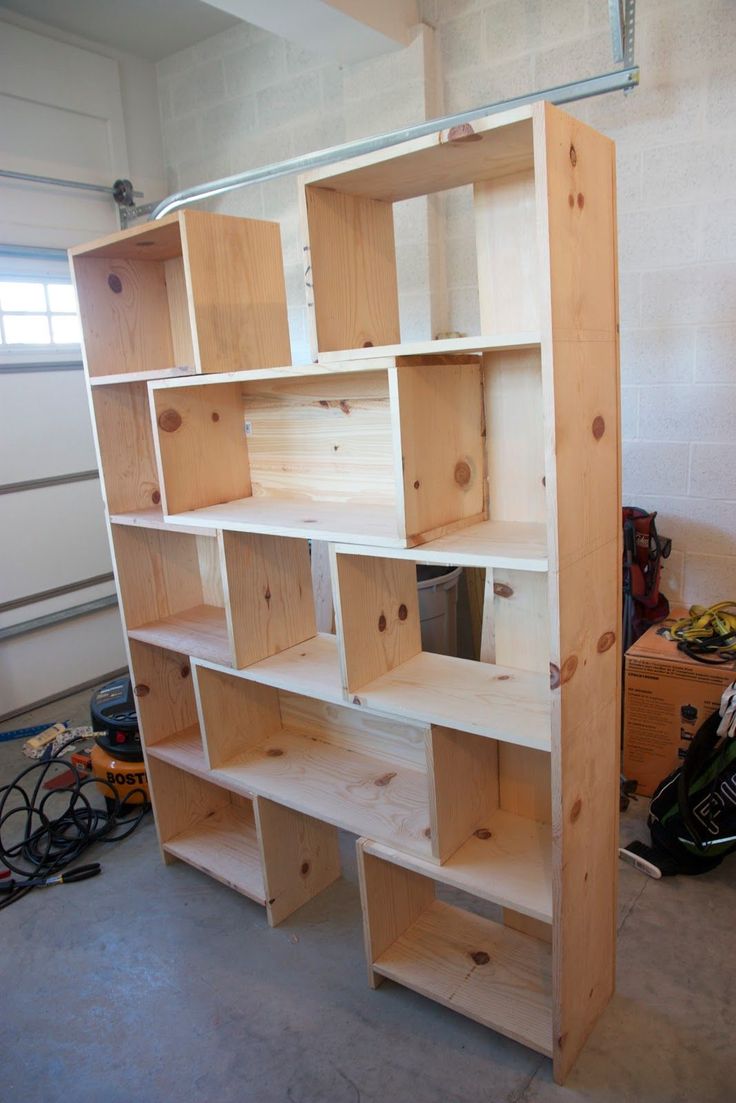
Assembling the construction
To carry out the assembly of the finished design can be several basic ways:
- With the use of self-tapping screws on the outer contour and metal corners (for additional strength) on the outer surface.
- With the use of dowels.
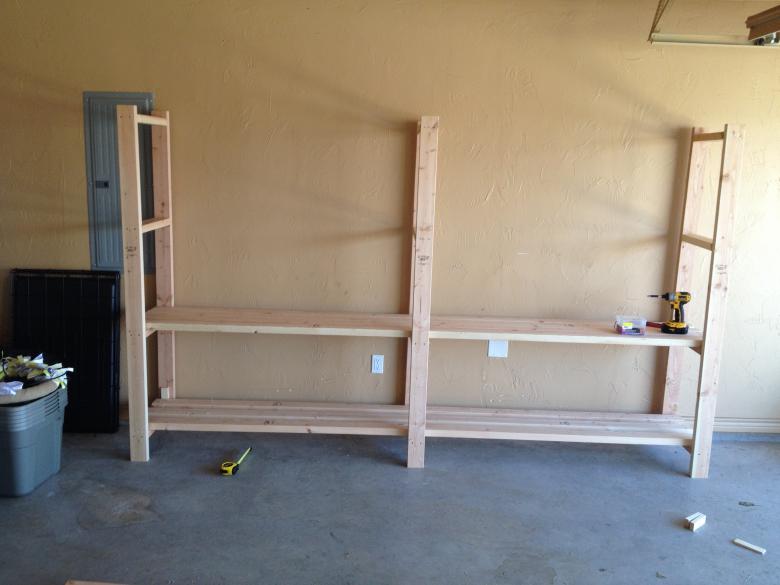
Also known is the original method of assembly, in which the joints are prepared in advance on the respective surfaces. The first to assemble the frame: wooden (one way) or welded profile pipes. Next, weld or mount the sides under the future shelves. The shelves are stacked, carefully equalizing all horizontal surfaces (using a construction level).
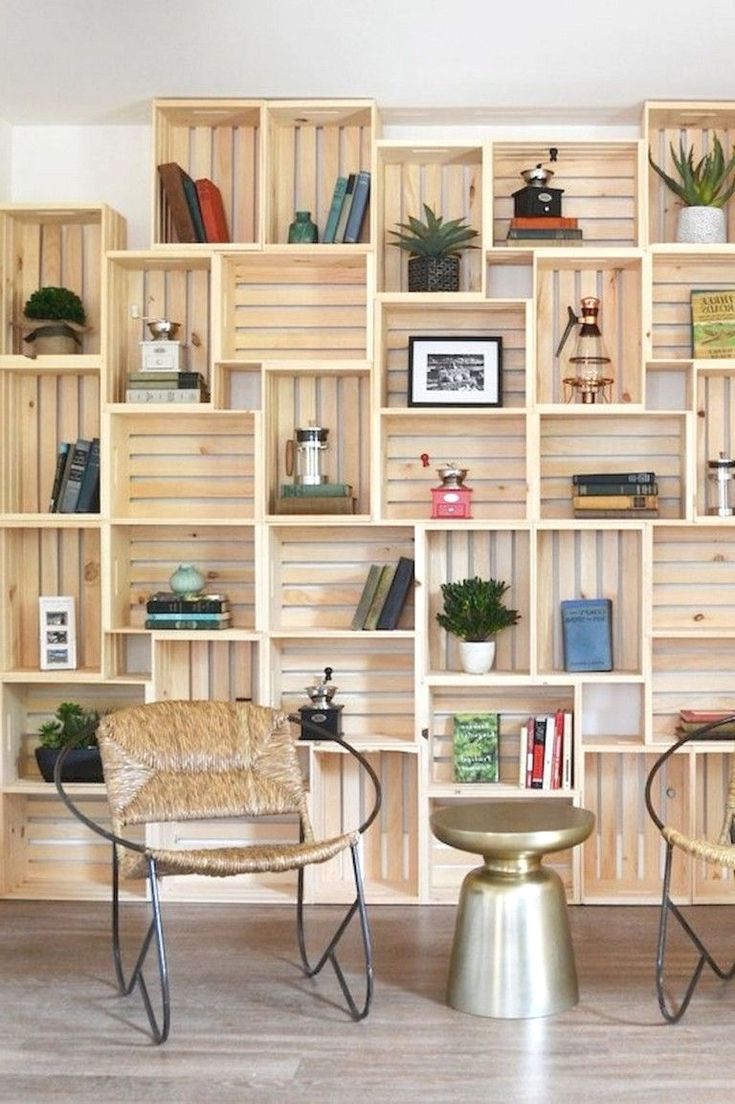
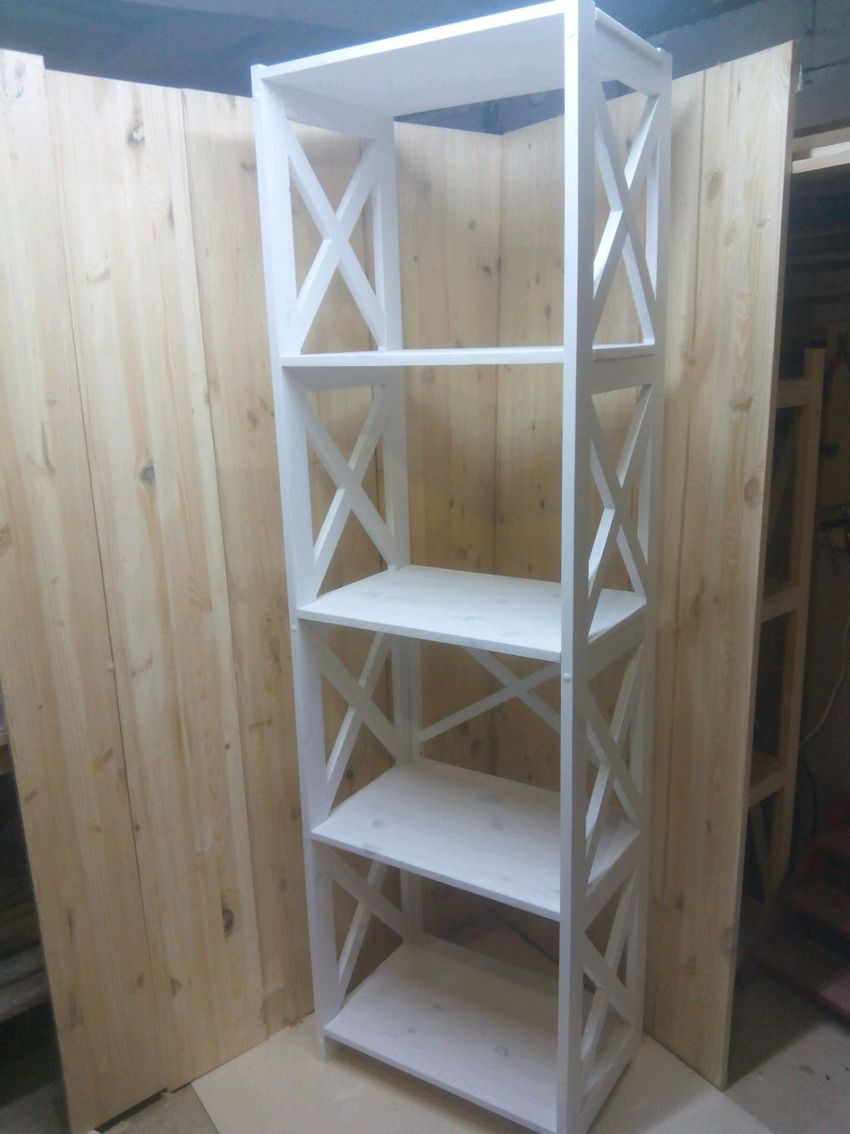
Options for decorating the homemade shelving unit
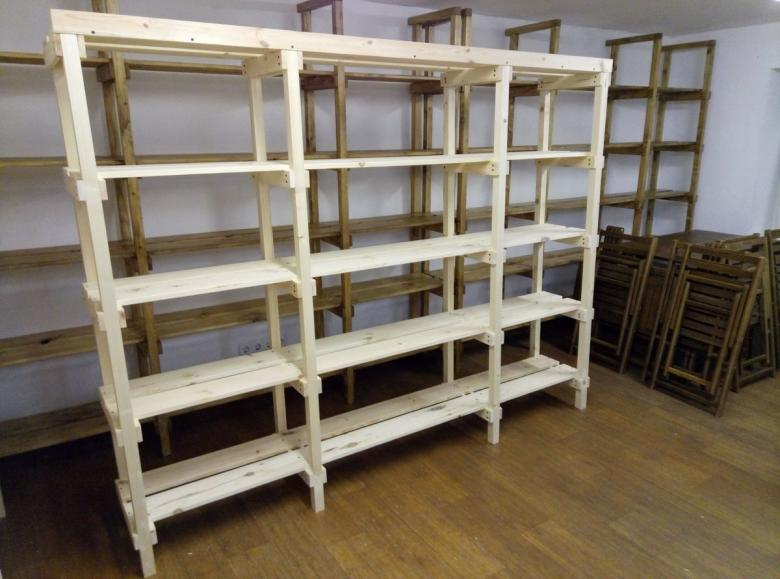
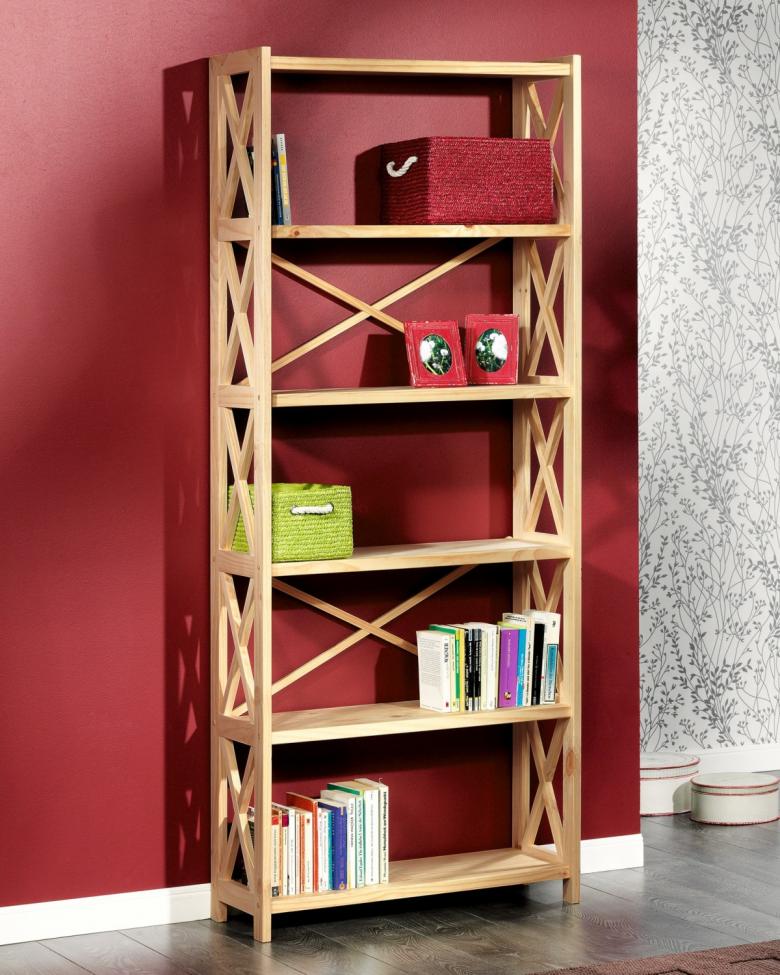
Shelving unit after assembly can be left unchanged, especially with the use of solid wood. Such structures have a pleasant design with a natural shade (walnut, wenge, oak). However, often masters additionally decorate finished structures in one of the ways:
- Painting by stencil with the use of acrylic paints.
- The use of special PVC films, imitating various materials (stone, brickwork, plaster panels).
On the facades you can hang beautiful souvenirs, made by your own hands (plates papier-mache with original painting).
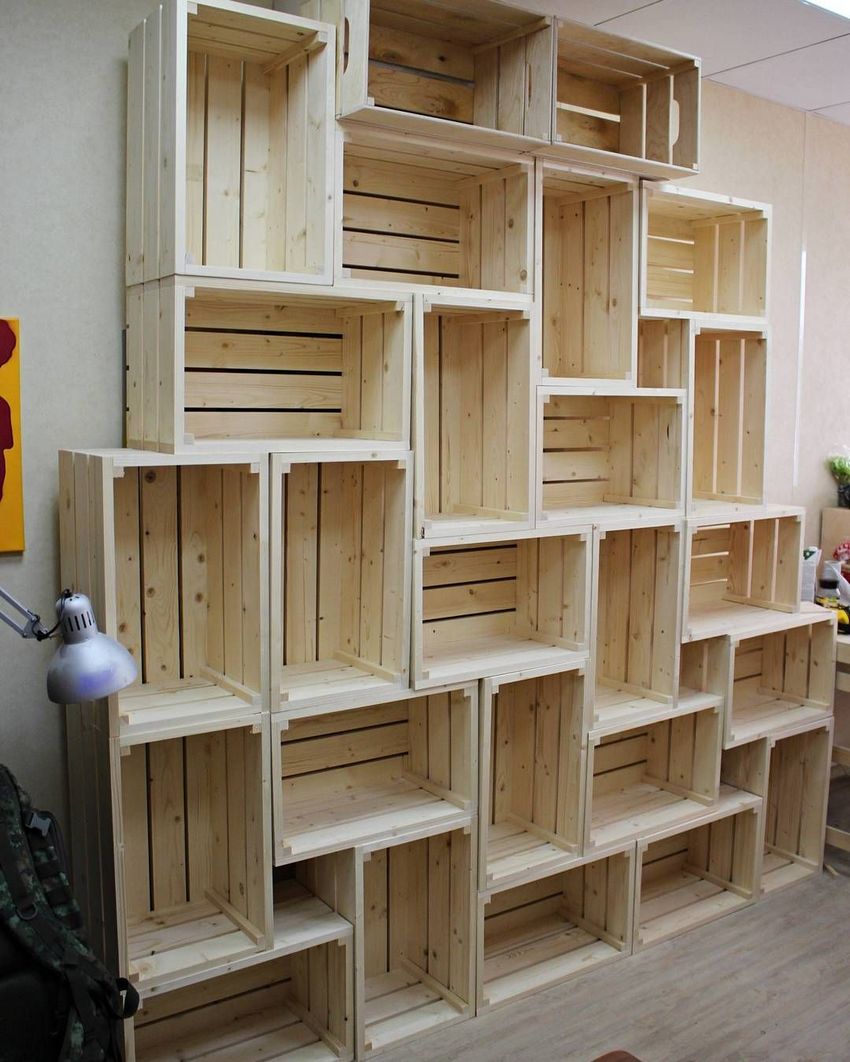
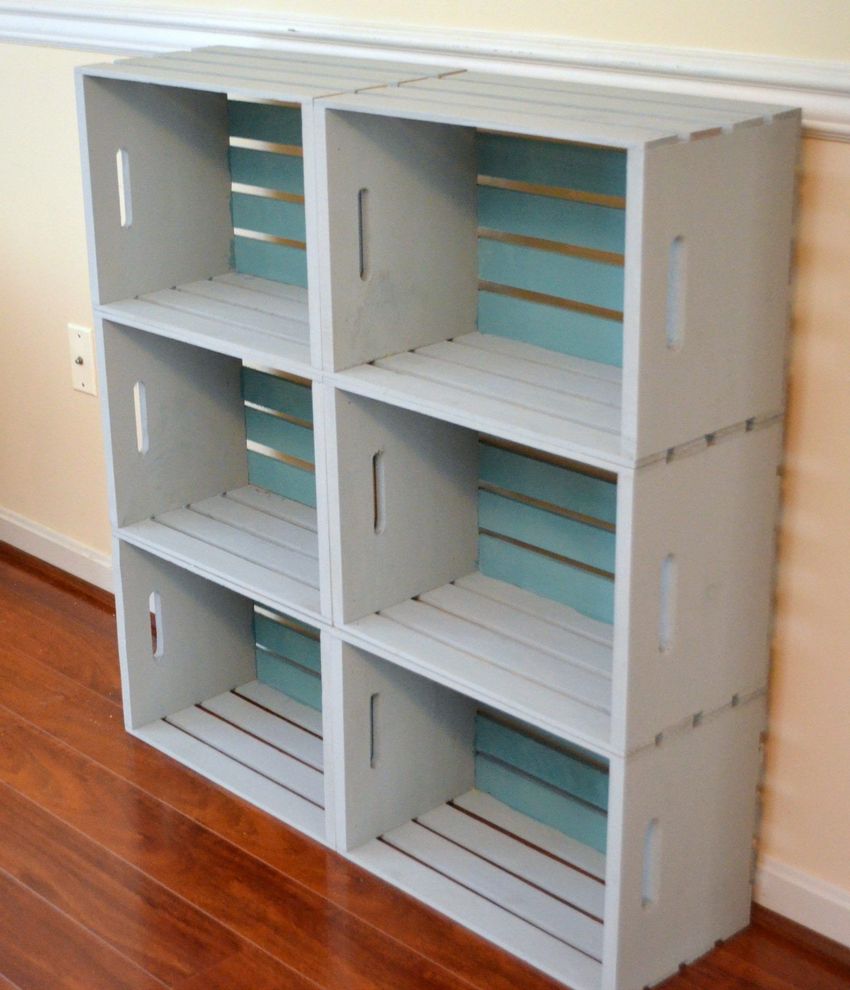
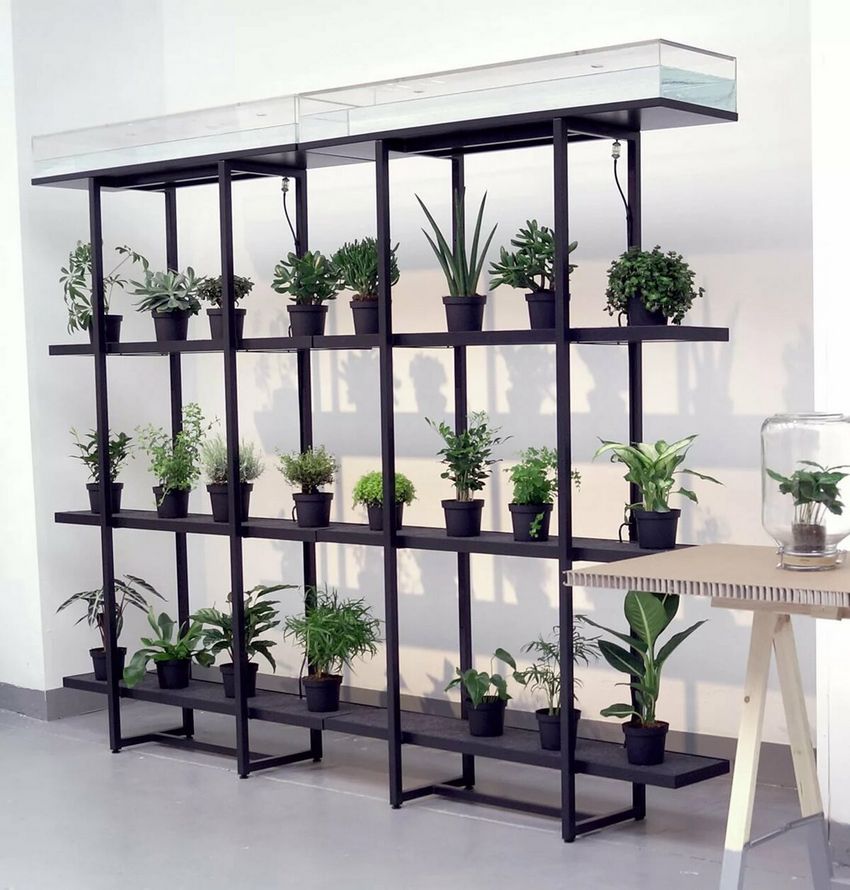
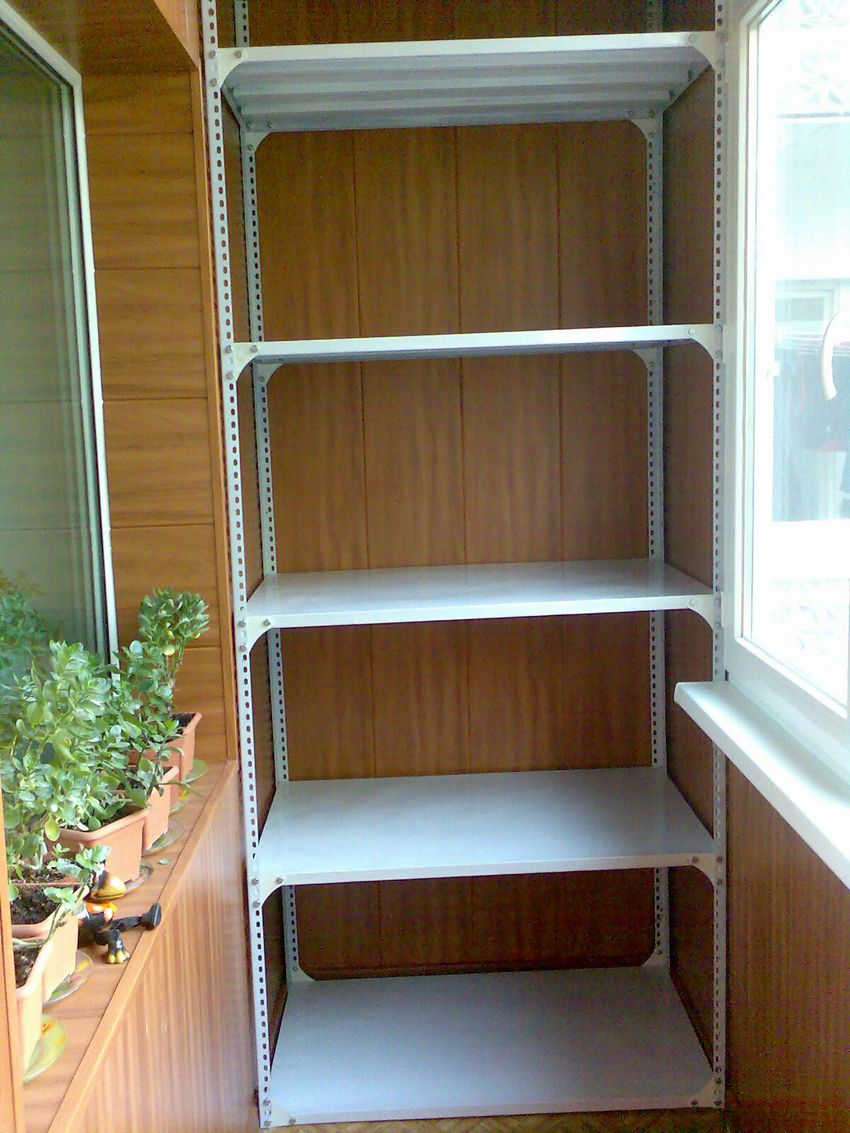
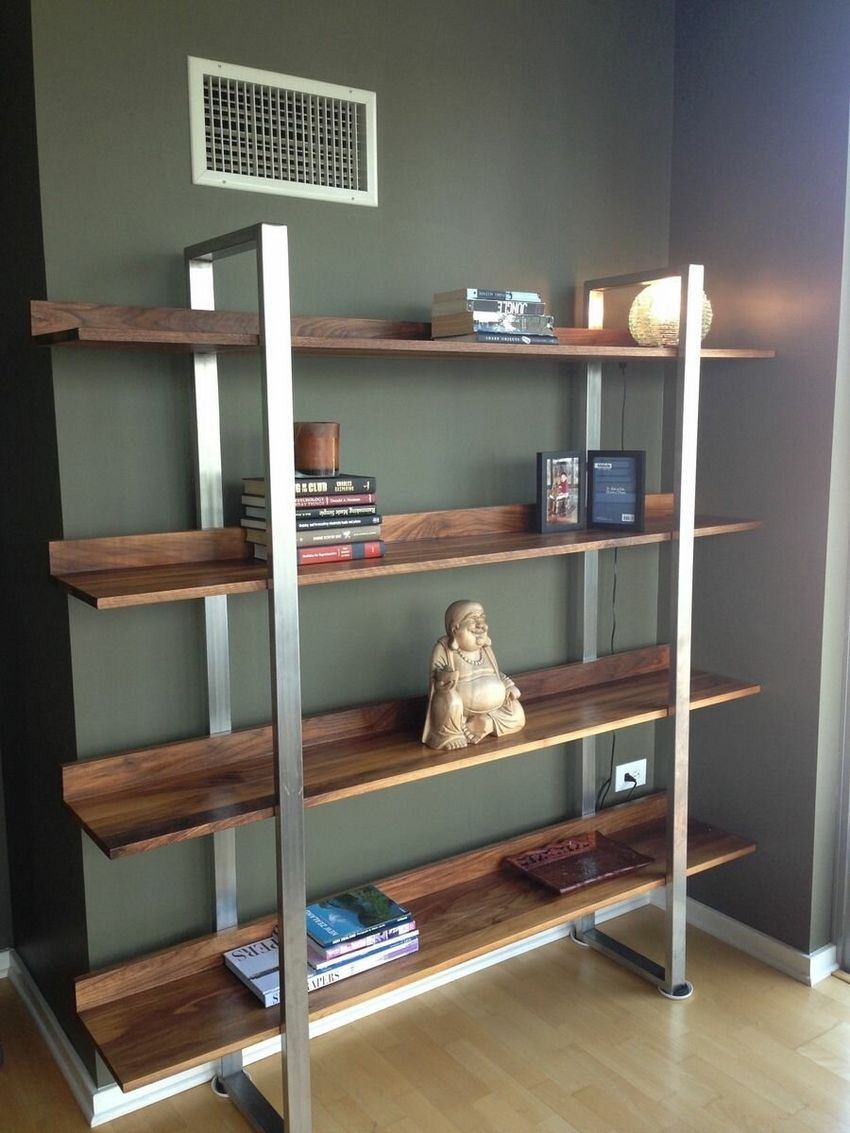
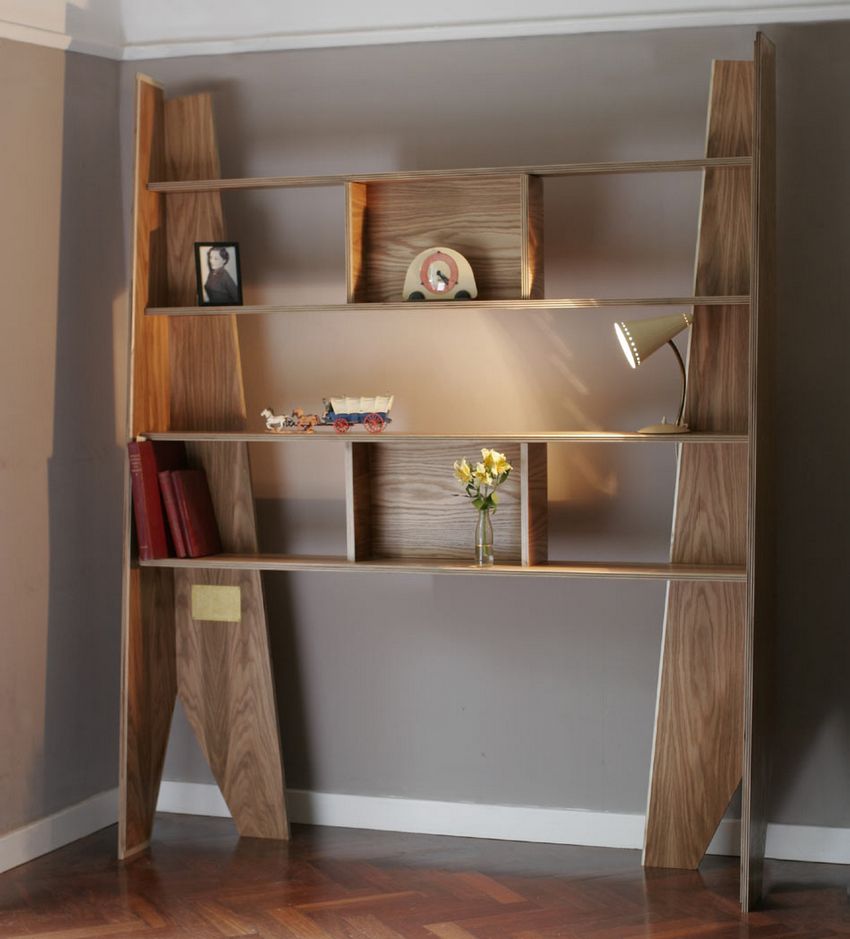
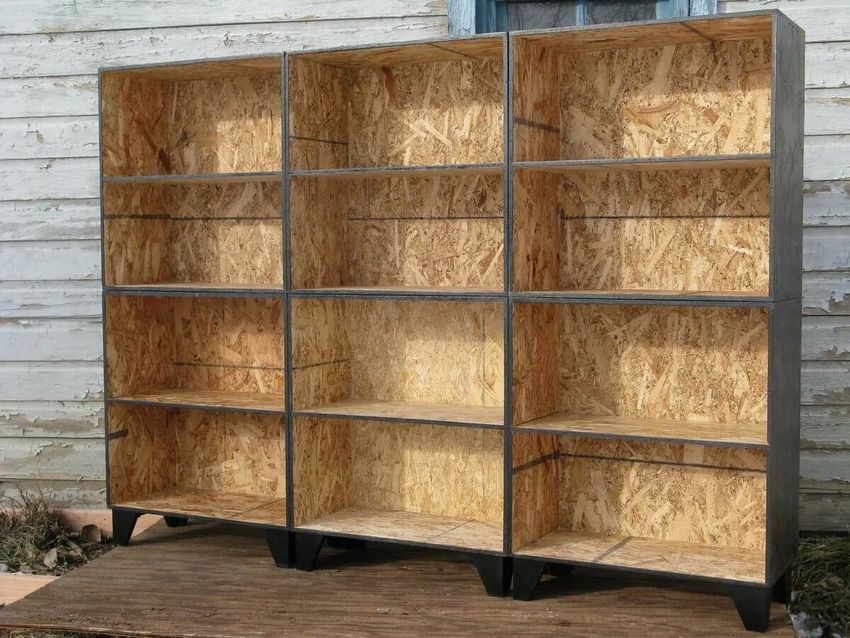
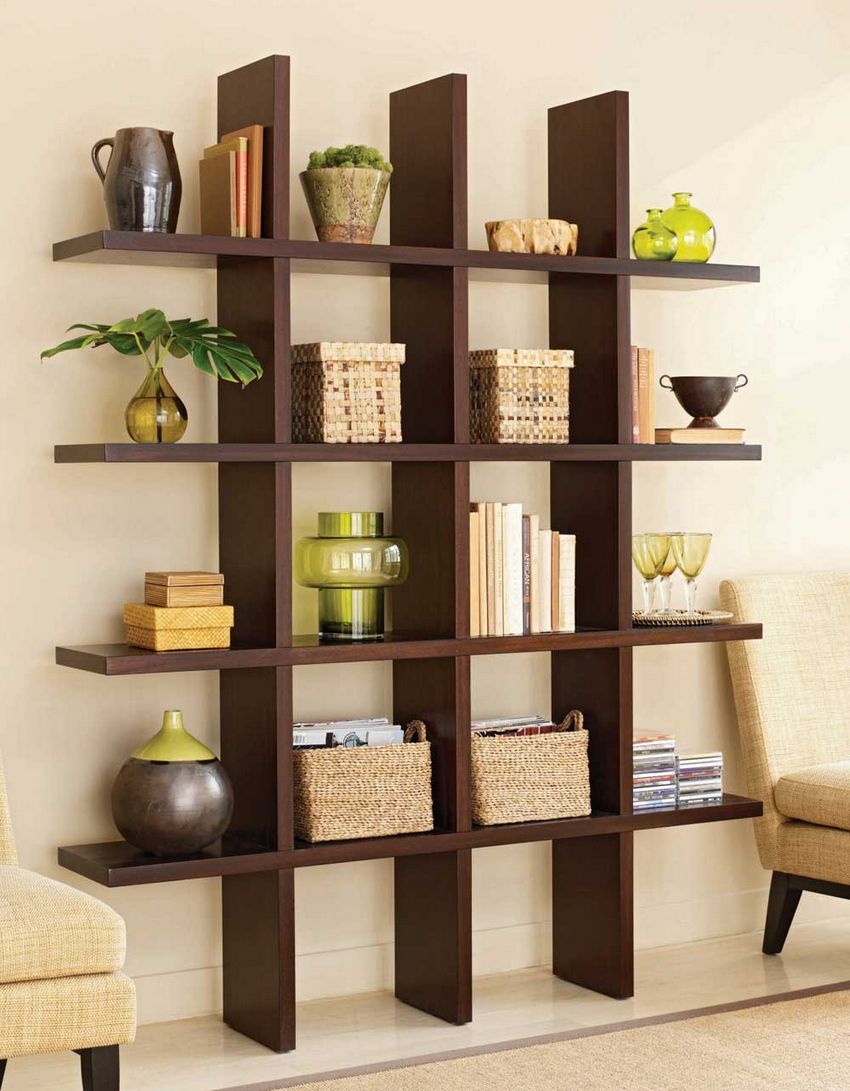
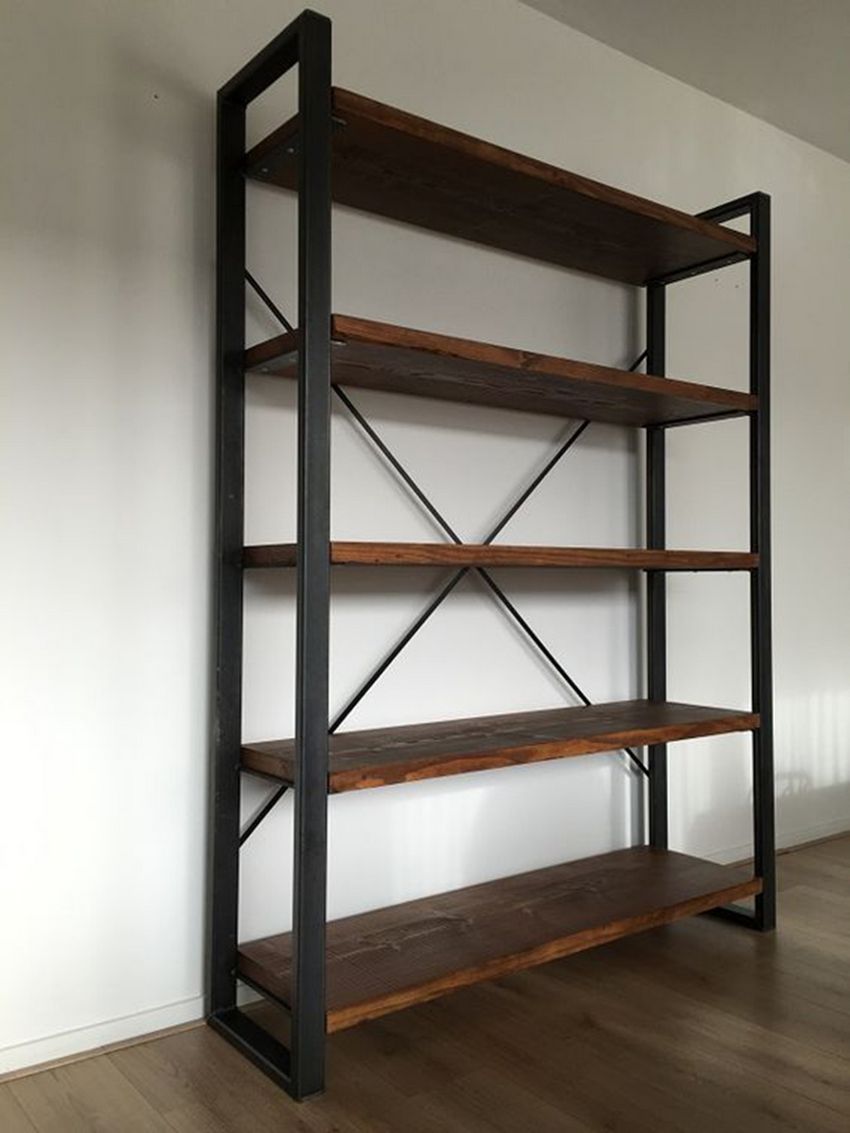
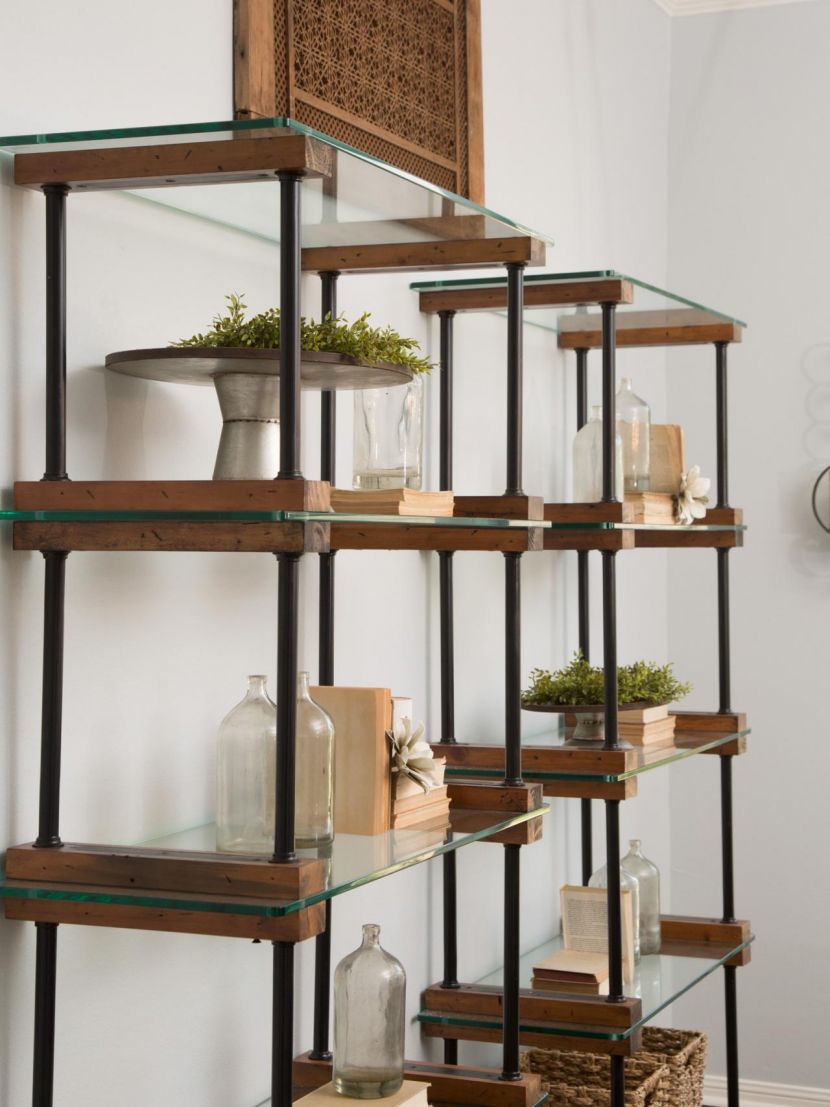
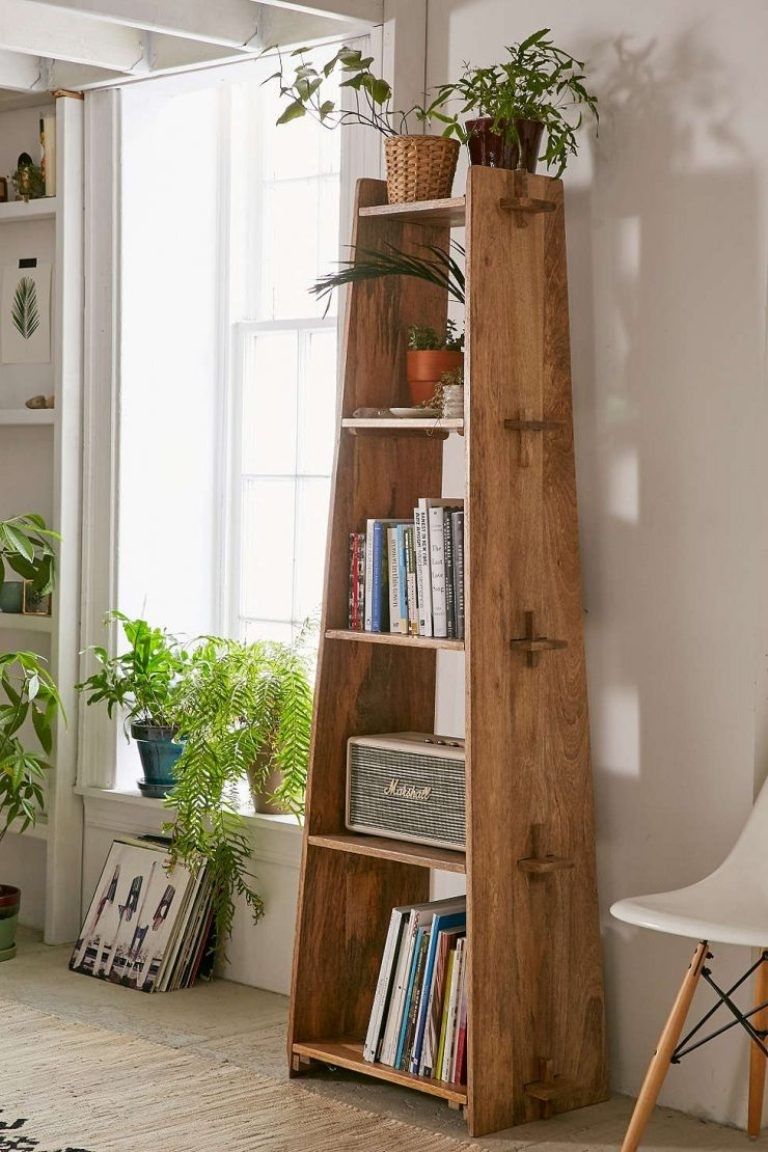
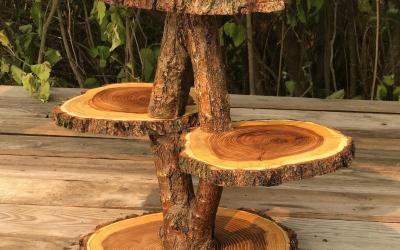
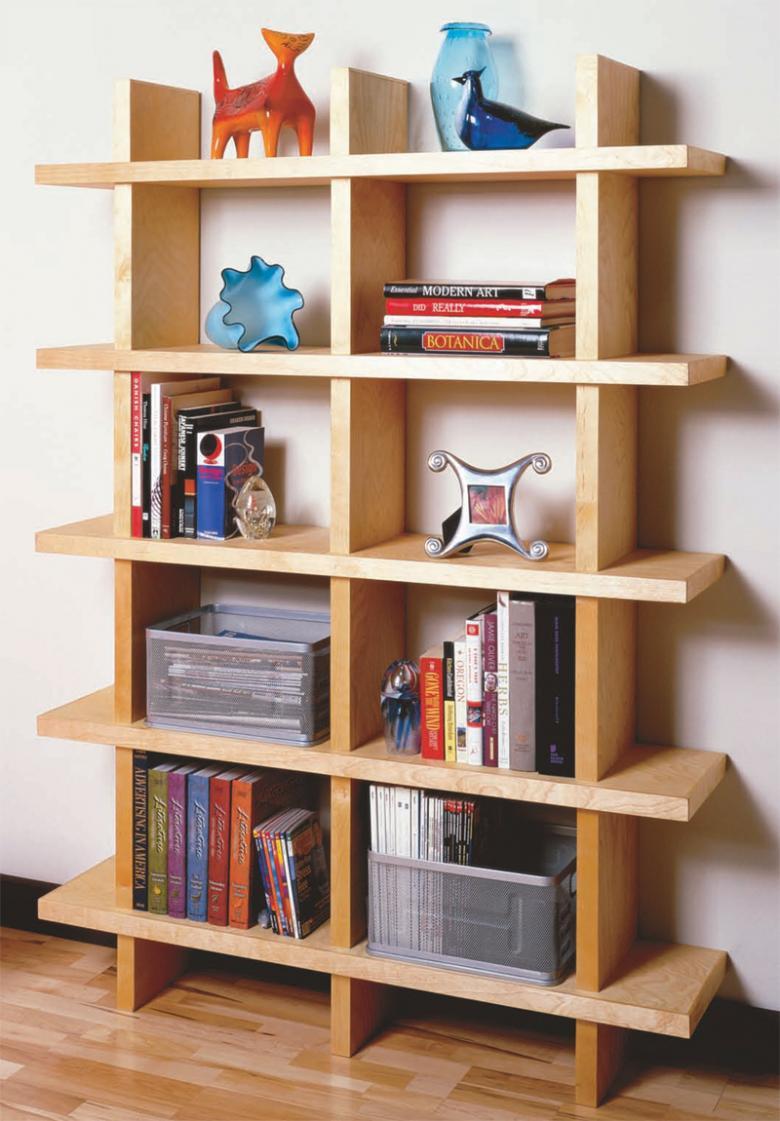
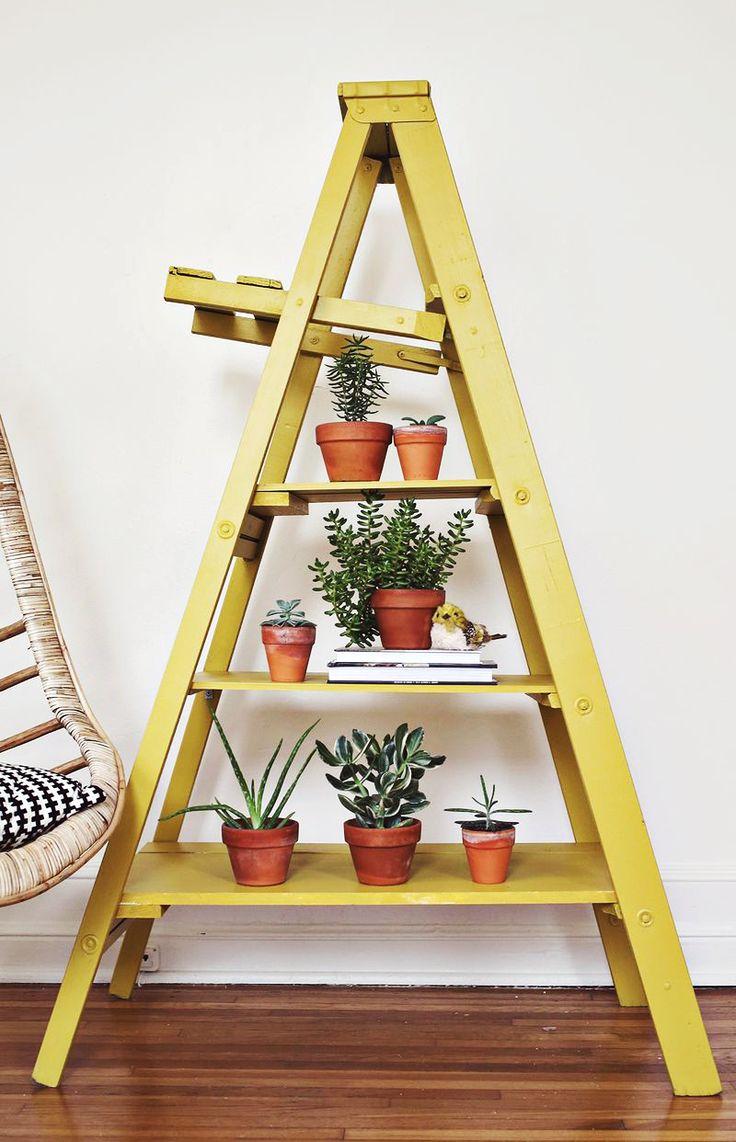
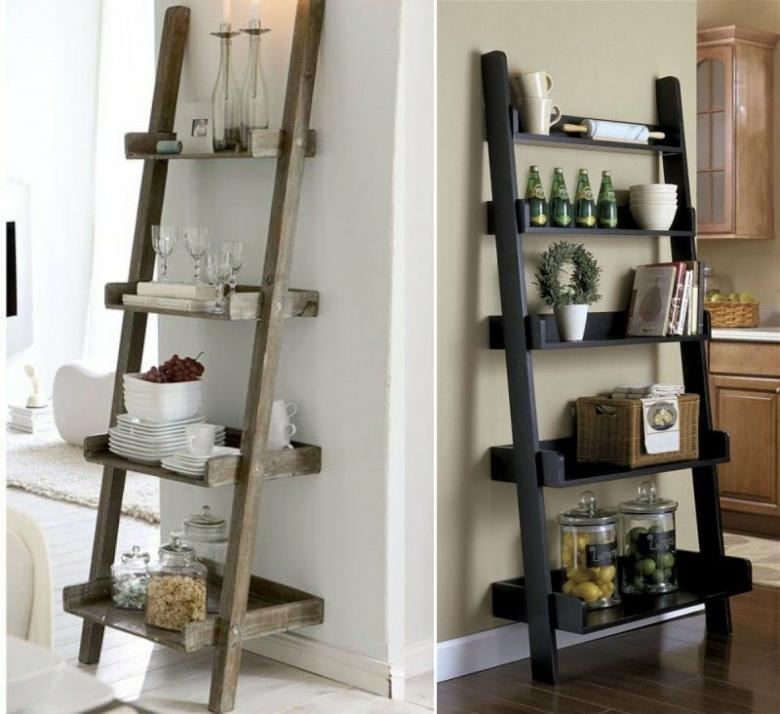
Photo ideas of homemade shelving units