How to make a wooden and metal toolbox with your own hands - step by step guide, drawings
Every decent man is in dire need of a toolbox, as when performing carpentry or locksmith work you have to store tools somewhere, and sometimes take them with you. And, of course, you want easy access to the required thing.
The expediency of self-made
Buying an organizer is too expensive, moreover, many of their owners do not seem convenient enough.
This problem can be solved quite simply - to make a toolbox on your own. Every man should and can cope with this interesting, creative and quite feasible task.
Carpenters and carpenters who have their own workshop store tools, hanging them on special holders of the wall, a drawer, a special cabinet. But most ordinary men do not have such a luxury as a workshop and use an ordinary backpack, bag or rolling organizer.
Types of storage boxes for tools
A rolling organizer .
It is suitable for beginners who have a minimum of tools in their arsenal. The size and weight of objects placed in it should not exceed a certain value, as the cloth roll will not withstand a heavy load. Textile is not particularly durable or hard-wearing material.
This thing will not last you for any serious period of time and that is the main disadvantage of the textile recliner organizer.
Drawer with retractable or fixed compartments
A drawer with multiple compartments, which can be either fixed or retractable, is optimal for craftsmen who perform work while driving to the customer's site.
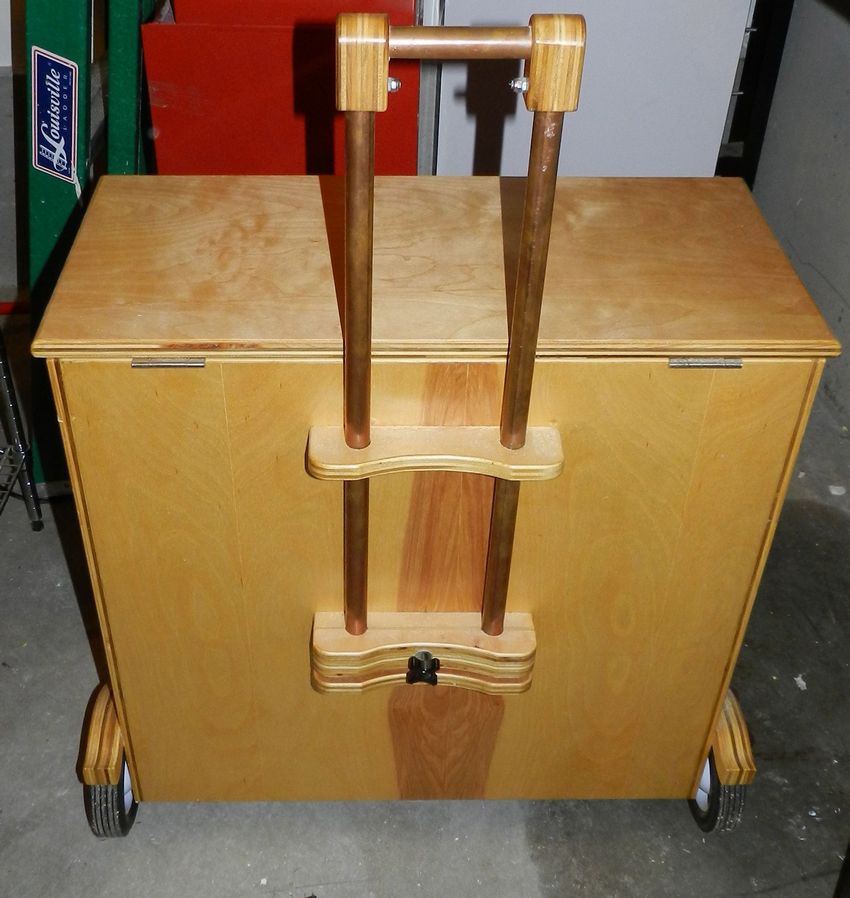
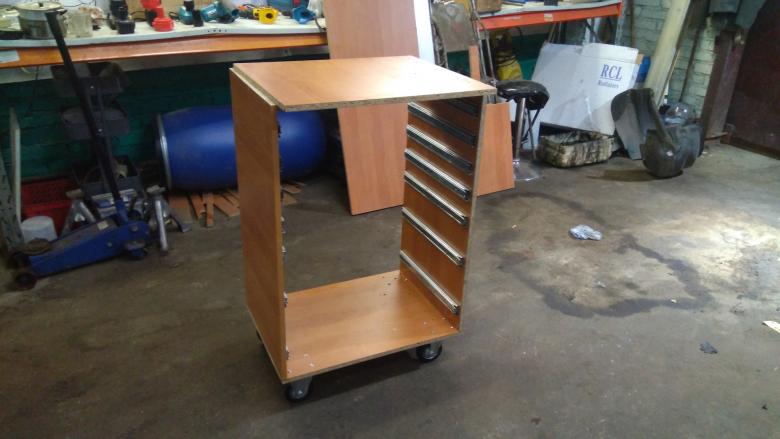
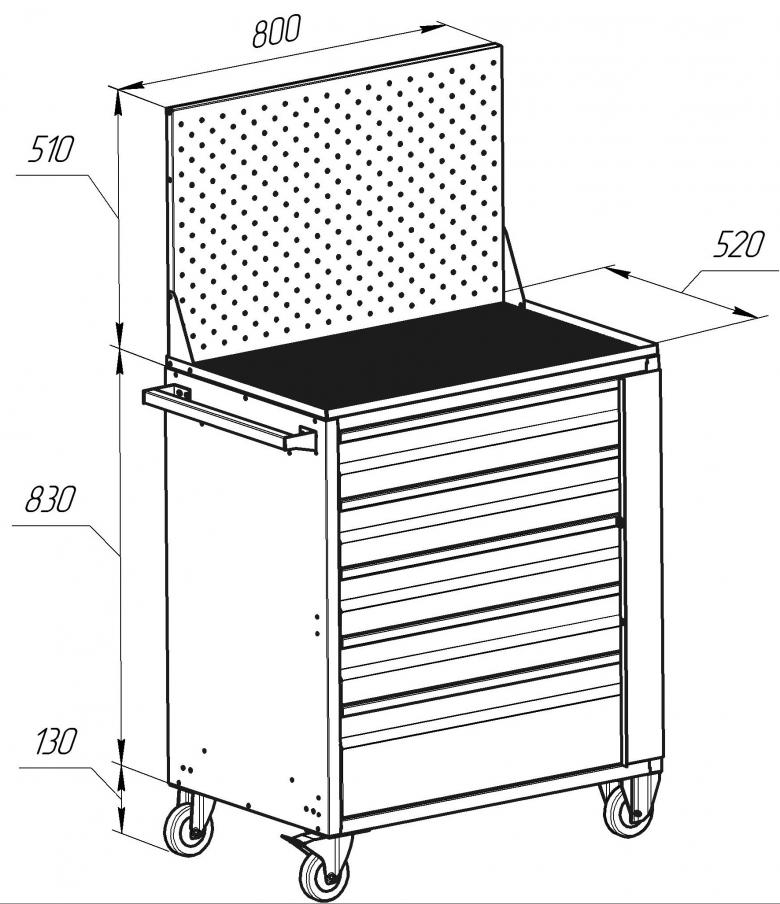
Tool Box on Wheels
Need to install the wheels are mostly large-sized containers, but their subspecies are quite a lot. They differ in purpose, method of opening, the material from which they are made. Based on the position in which moves the organizer on wheels and access to contents, there is a division to vertical, horizontal and modular types.

Vertical type
In turn is subdivided into solid and requiring assembly products. The vertical design is created by installing a group of drawers. They are equipped with drawers, a pair of reliable wheels and a convenient handle, and items from this organizer can be removed by setting it in an upright position.
Horizontal
This subspecies can be moved both vertically and horizontally, but tools can only be pulled out in a horizontal position
Modular Toolbox
These boxes have special fasteners that are used to connect the containers with each other. To move the construction on their basis requires a modular cart, on which this structure is installed.
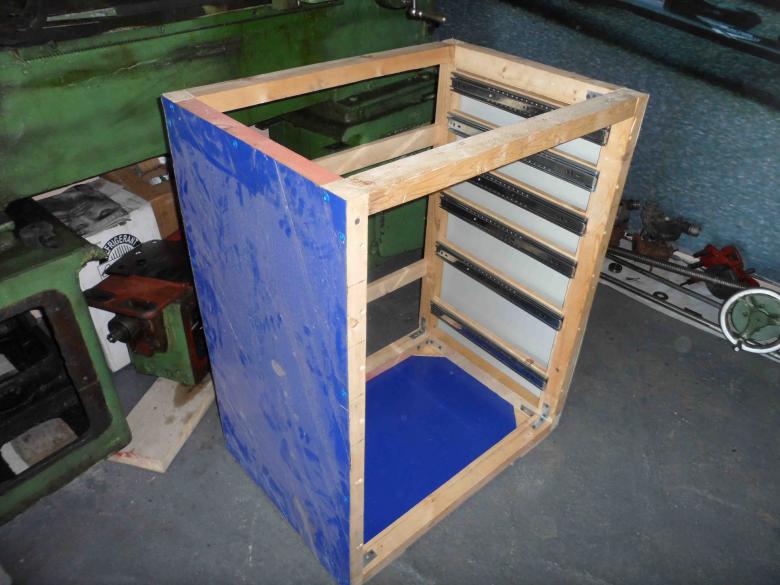
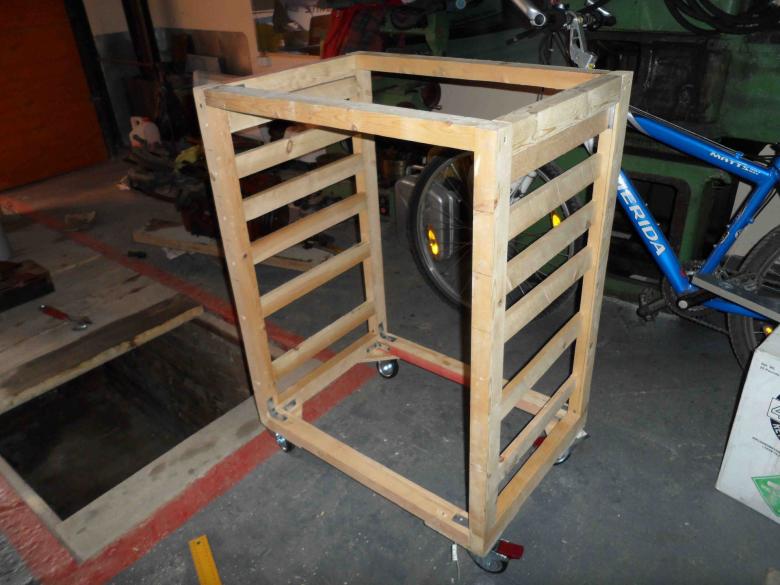
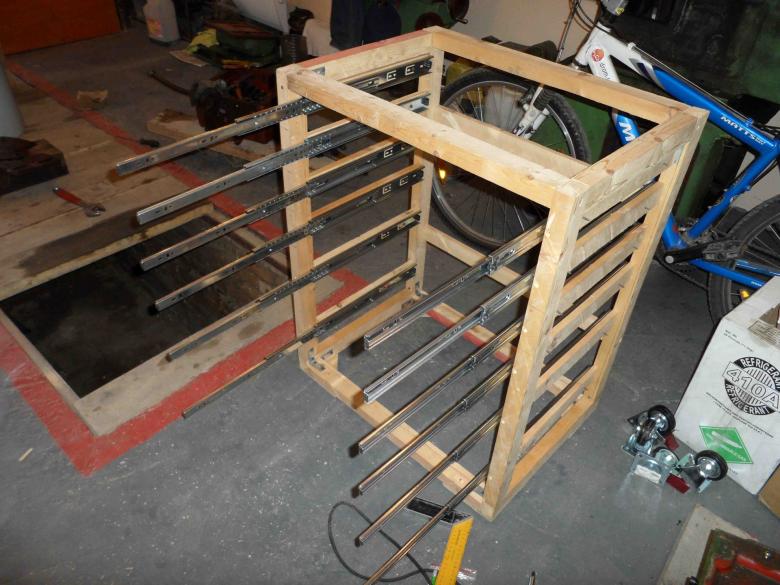
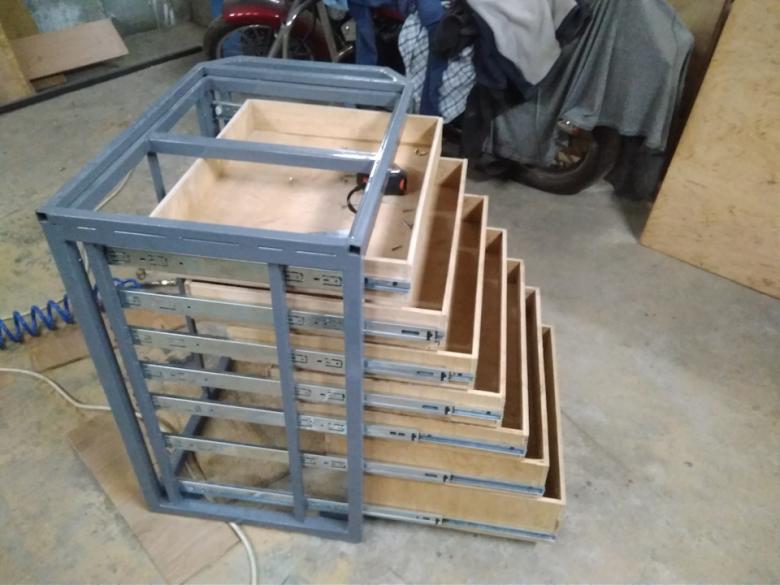
How to make a toolbox on wheels by yourself
A toolbox on wheels with their own hands to make is not particularly difficult. You will only need the necessary tools and creative enthusiasm.
From the tools we will need a pencil, measuring tools in the form of a ruler and tape measure, a grinder or sandpaper, a screwdriver, an electric jigsaw, a roller and a circular saw. Also, do not do without a square sheet of plywood 1525×1525×10 mm, the tray for the soil, the soil itself, brushes, wheels without a swivel mechanism (4 pieces), self-tapping screws with a washer (30 mm, 24 × 40 mm); drill (diameter 2 and 3 mm)
The creative process begins with the fact that we mark out the five basic elements of the box on the prepared plywood. These are 2 walls measuring 60 by 75 cm and 2 side walls measuring 75 by 40 cm, as well as the bottom, which size is 40 by 60 cm. We saw the plywood according to these dimensions.
Then we measure the handles in the form of round holes of the required diameter for you on the side walls of the box. This is done with a special crown. With a jigsaw, we connect the holes with each other, having previously traced the place of connection with a pencil.
The finished handles have sharp edges and should be sanded down with sandpaper or use a grinder. The next stage of assembling the product is screwing the four wheels to the bottom of the drawer. Now the only thing left is to connect all the elements of the future drawer into a single whole, fixing them with self-tapping screws.
The freshly assembled construction should be sanded, then primed. Apply the primer with a roller. When the primer dries, sand the product again with an orbital sander. With its help, you will achieve the smoothest possible surface. The product is ready, it only remains to decide what color to paint it or have the option to lacquer it.
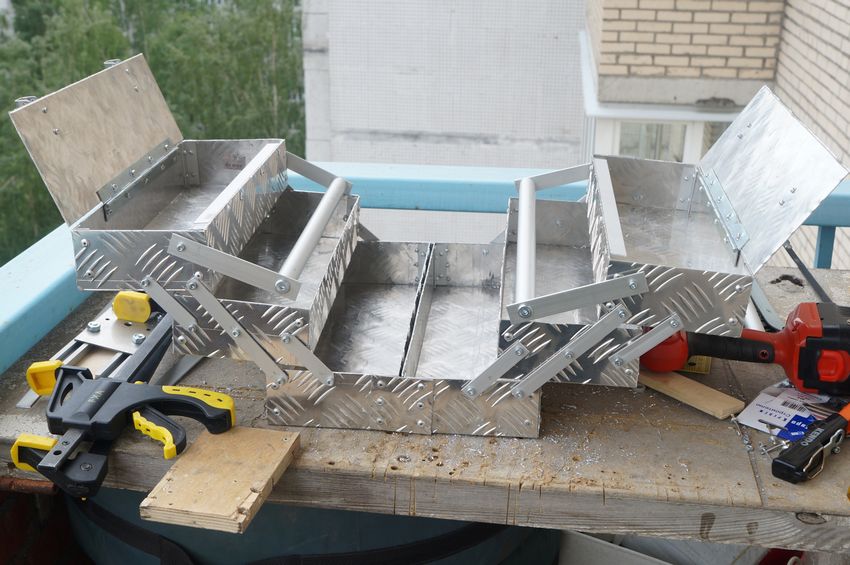
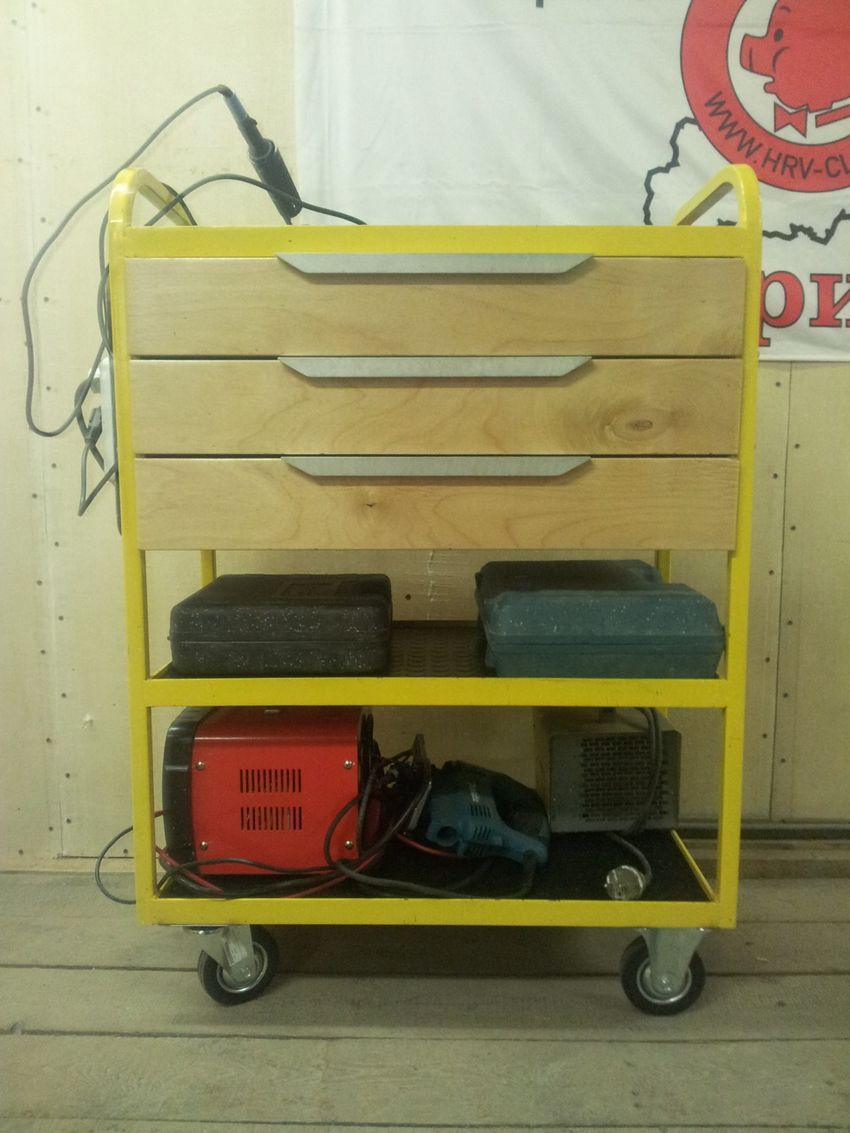
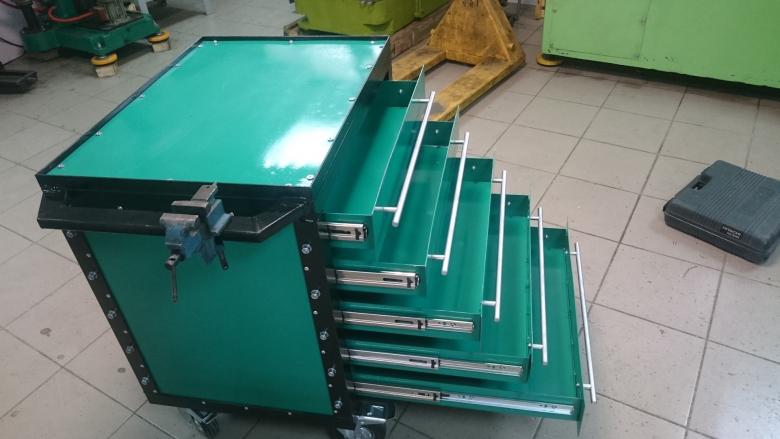
Making a Toolbox out of Metal
Metal is a great material for making a toolbox. The product made of metal does not absorb moisture, so your tools will be reliably protected from corrosion.
To independently make a box for tools from metal with his hands need a sheet of metal, an angle or compass, ruler, pliers, anvil or a metal bar, screwdriver, metal scissors, marker, file, and to fix parts between themselves use profiles, hardware, angles. The metal used is steel, aluminum (galvanized is possible) It is important that the material does not warp or bend.
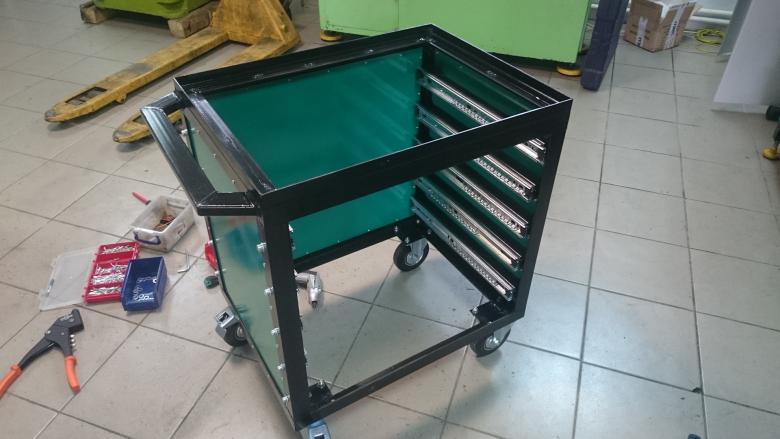
Assembly principle is as follows
- Draw the future product with dimensions on the paper;
- Mark out the outline on a sheet of metal with a marker, cut the metal with metal scissors or a chisel into its component parts, namely the base, sides, lid, handles must be present
- Mark the area for the future drilling on the sheet of metal with a marker and drill it
- Use a screwdriver to fix the individual elements with profiles, angle bars and self-drilling screws.
- Assemble the box and connect the strips with screws, profiles or angle pieces;
- based on the features of the design prepare sections for the installation of compartments, mounting drawers
- install runners, castors, sliding fasteners;
- assemble the drawers, partition walls, compartments;
- assemble the hinges and fit the lid;
- fix the accessories in the form of handles, locks, latches.
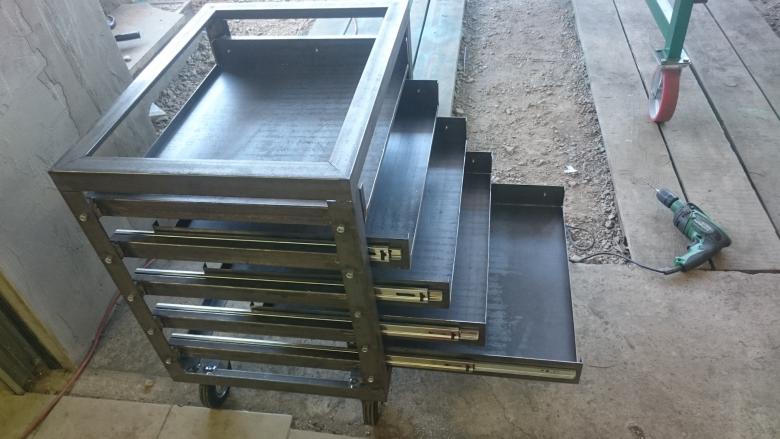
The final step is to clean the file rough edges of the metal, sanded, rounded edges. You can also paint the box as an additional protection against corrosion, pre-paint it.
A toolbox made of cardboard with their own hands
Such a container does not distinguish the ability to increased loads in the form of a large volume of bulky tools, but a minimum set of this construction will withstand.
To make the organizer we will need:
- cardboard sheets (4 mm thick);
- ruler;
- a pencil;
- utility knife;
- awl;
- scissors;
- Computer with printer and printing paper
Draw the future product in the number of three drawings. It is easier not to draw, but use a special computer program, then print out the drawings and transfer, with the help of awl, the tops of the corners in the form of holes from the printout on cardboard and connect these holes, using a ruler and pencil

Making the necessary parts
For a precise and easy process of bending the parts, use the roller cutter in a certain way:
- Lay the cardboard on a wooden surface
- Draw a path on the cardboard.
- Move the roller bender along the length of the track with proper pressure to reduce the thickness of the cardboard at the joint.
- Now bend the component along the length of the compressed distance.
All this is easier and faster to do with a tool called a rule. Let's connect the sides and the base of the box, slip the strip of cardboard into the specially allotted holes and get a ready-made toolbox.
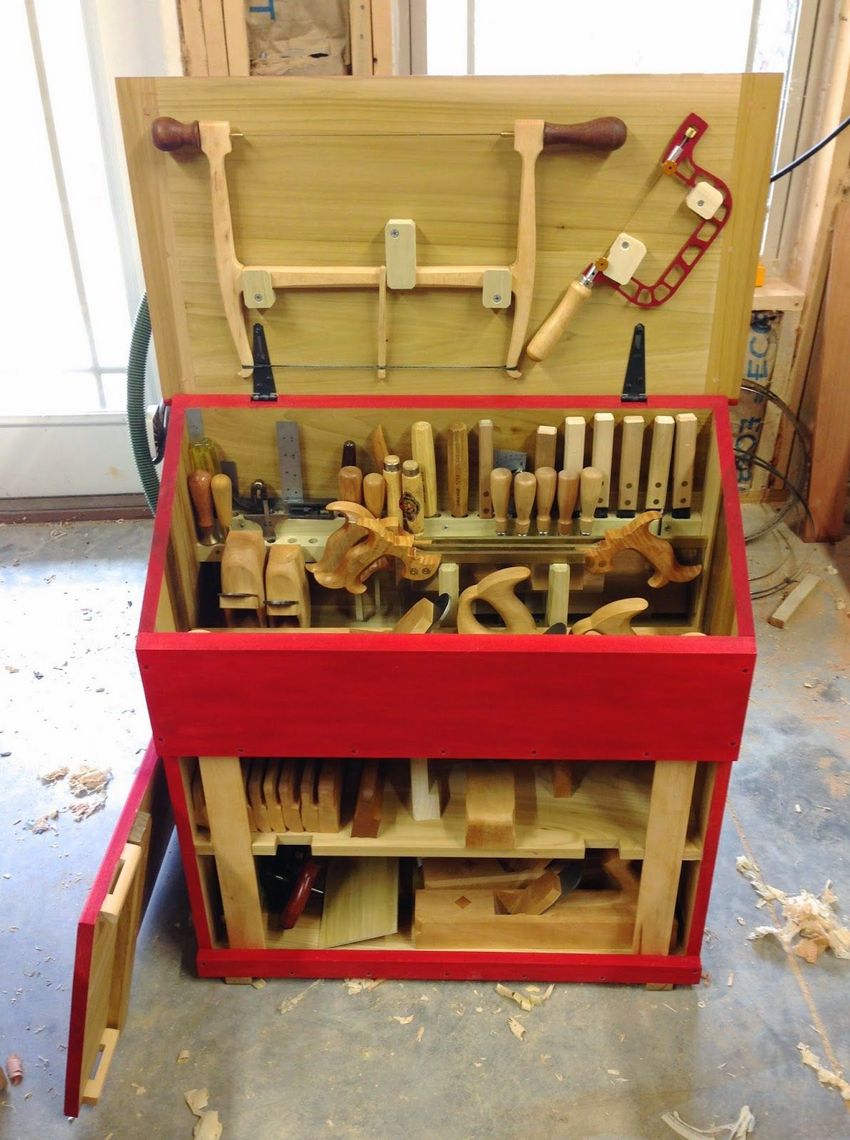
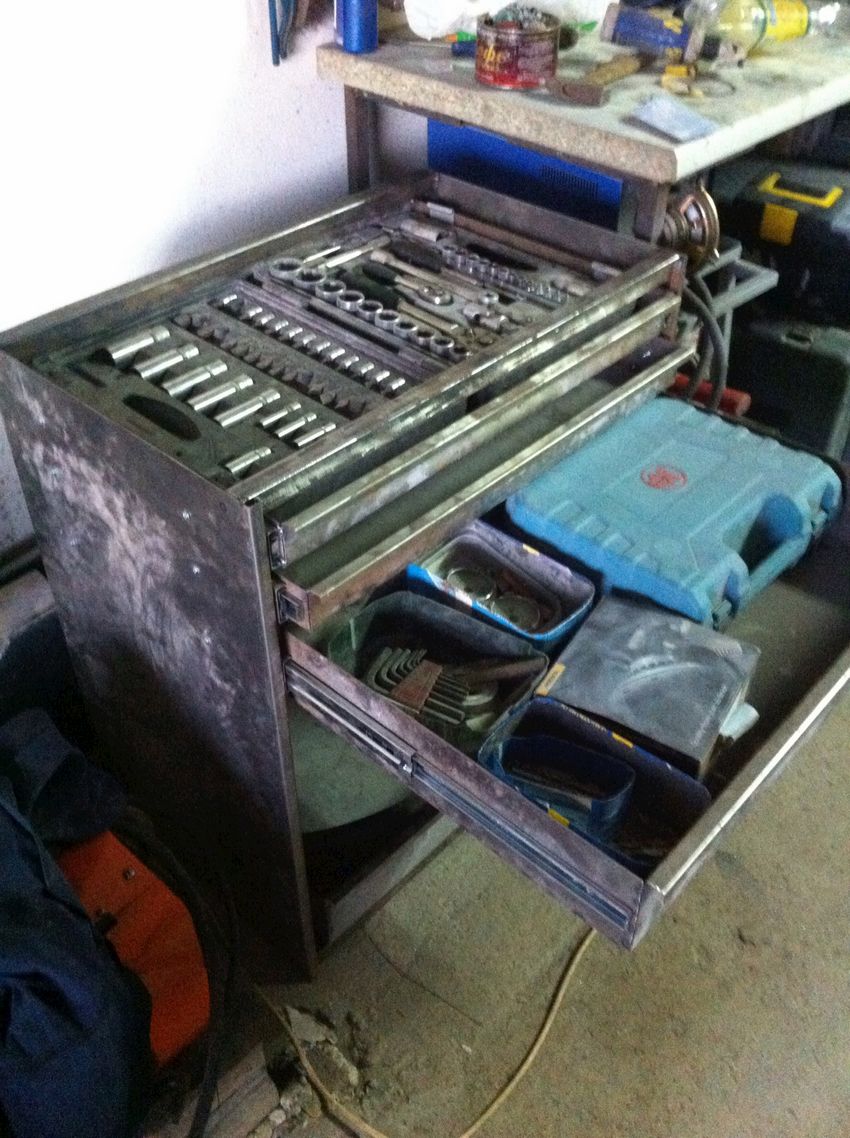
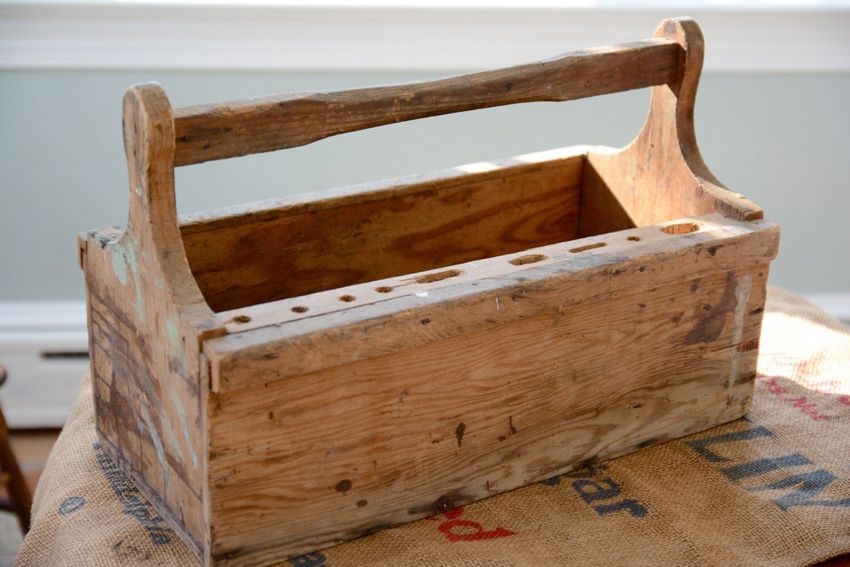
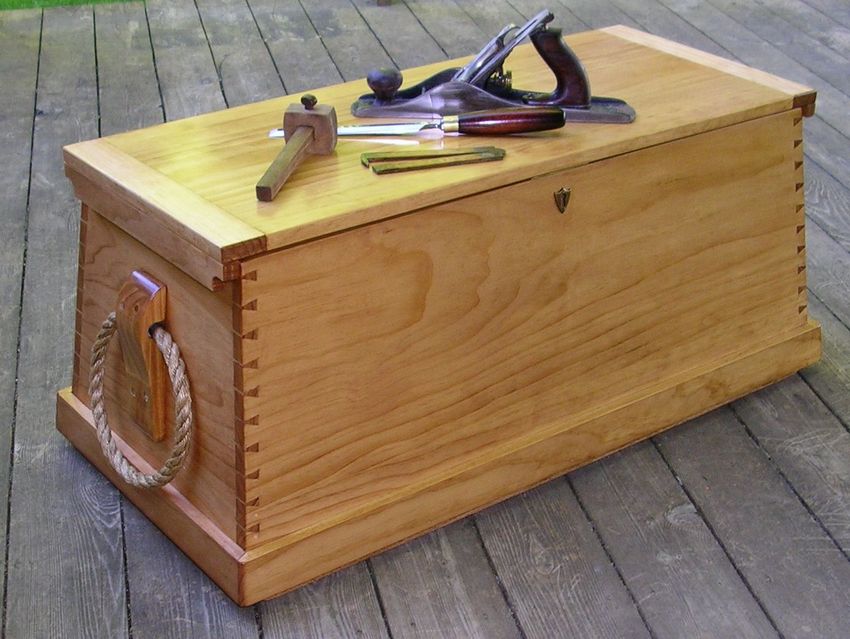
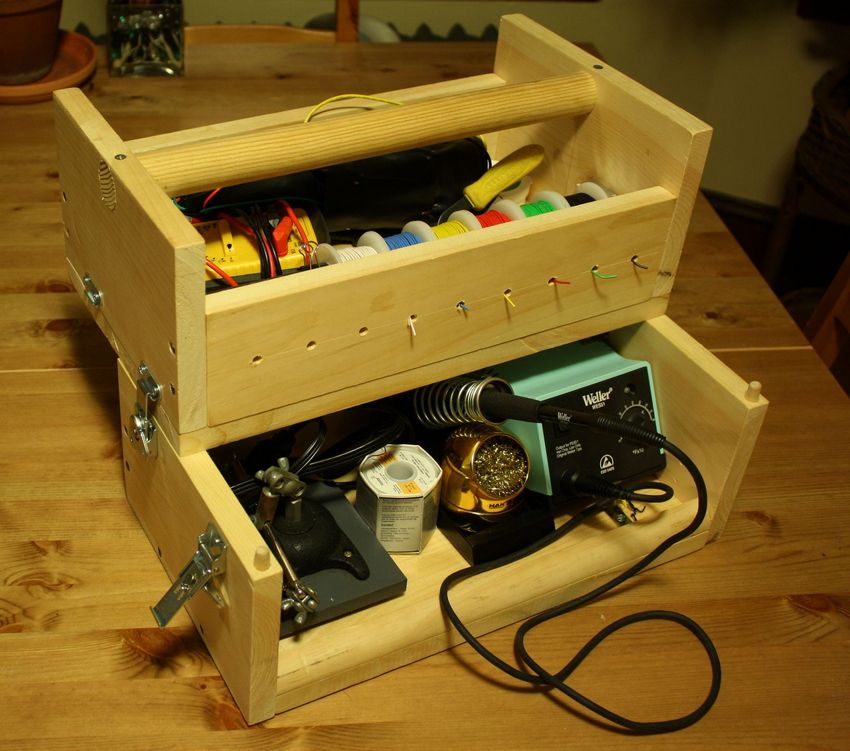
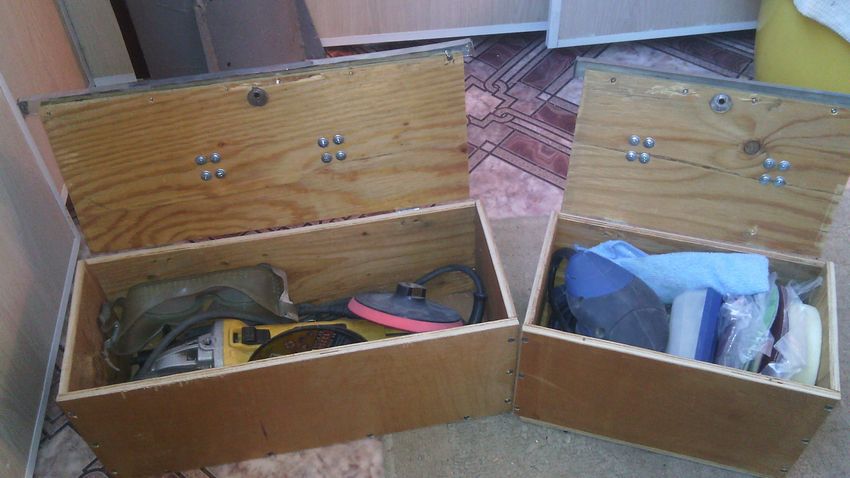
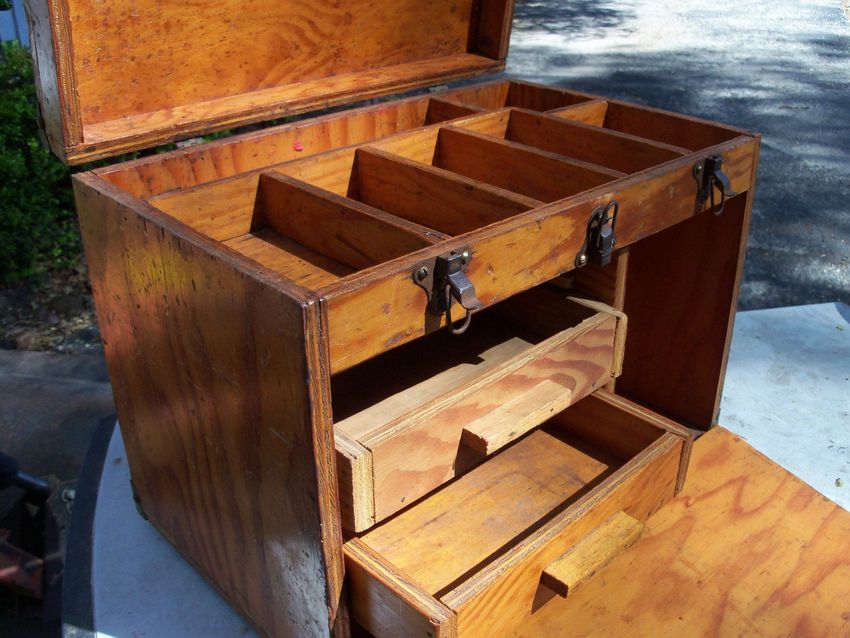
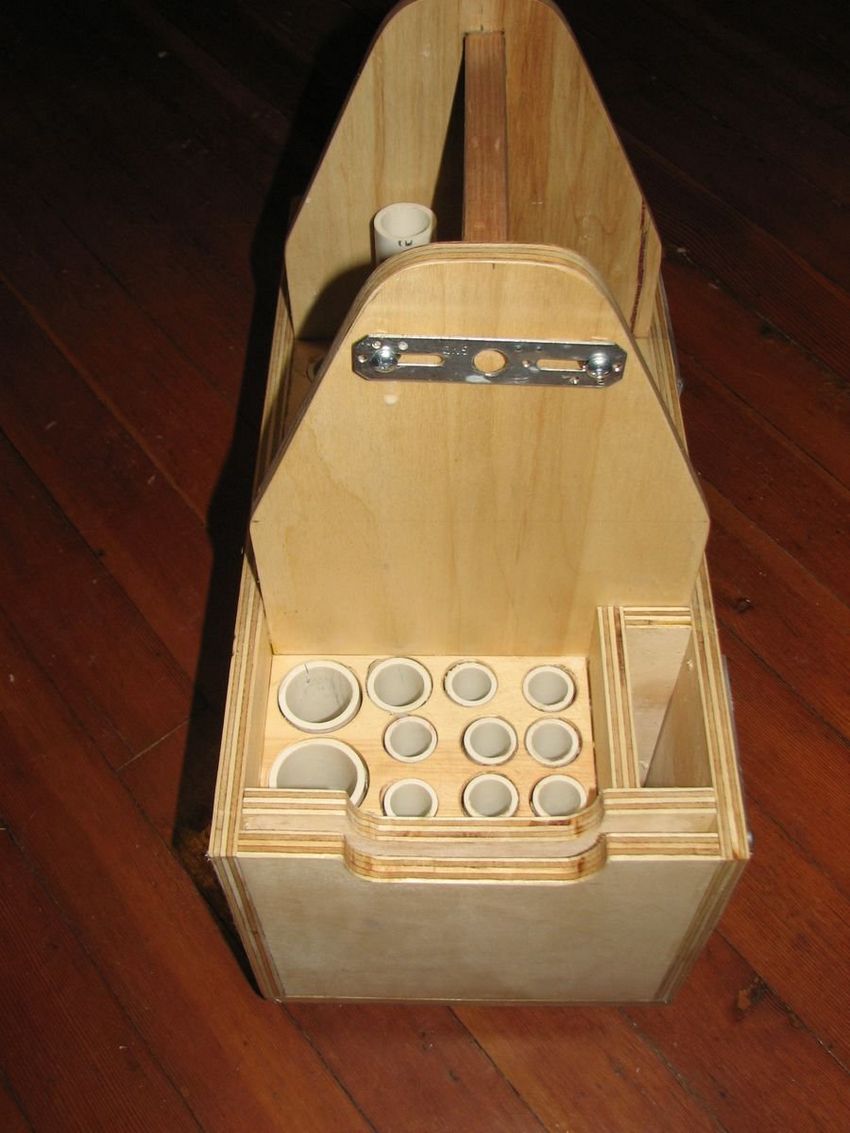
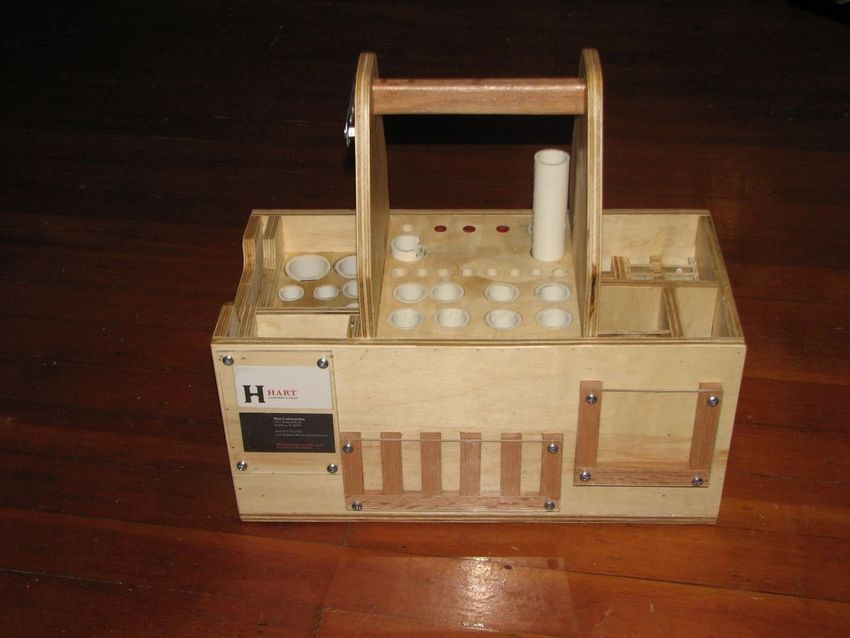
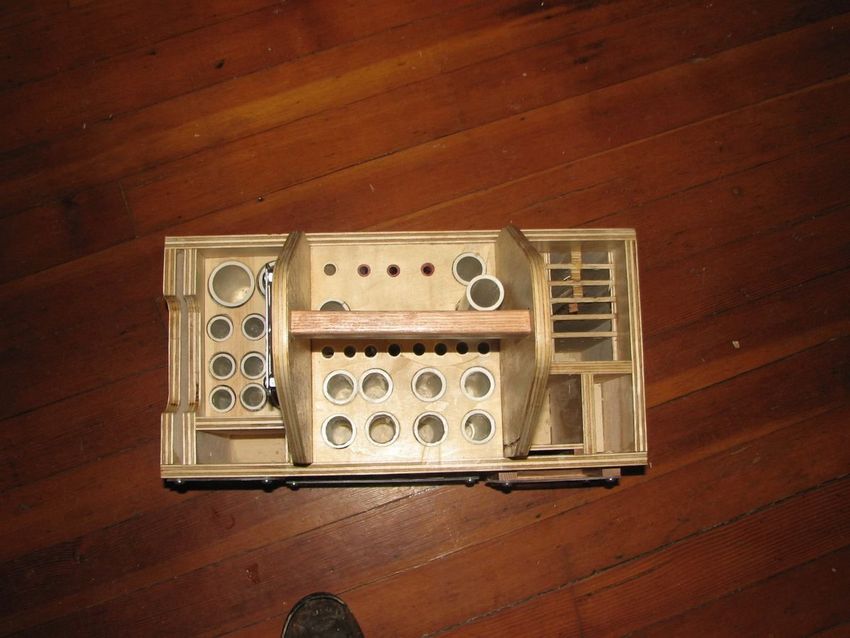
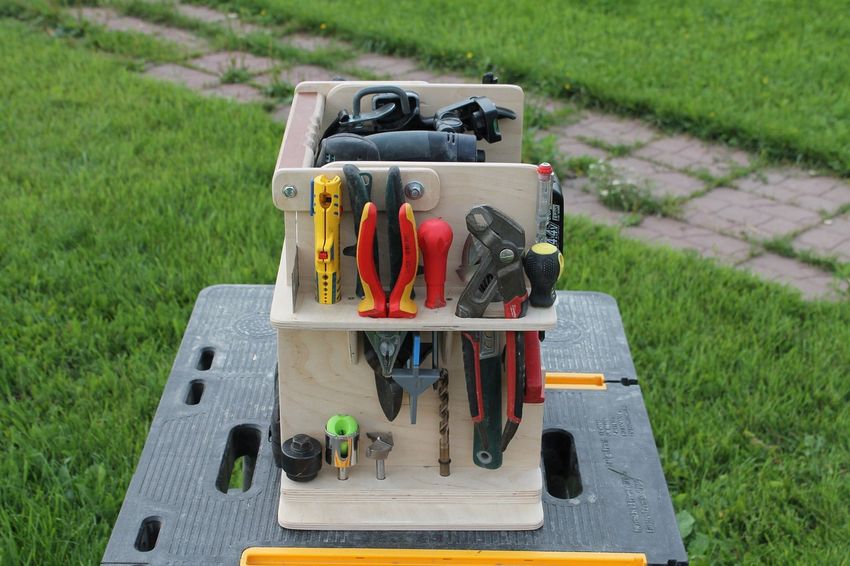
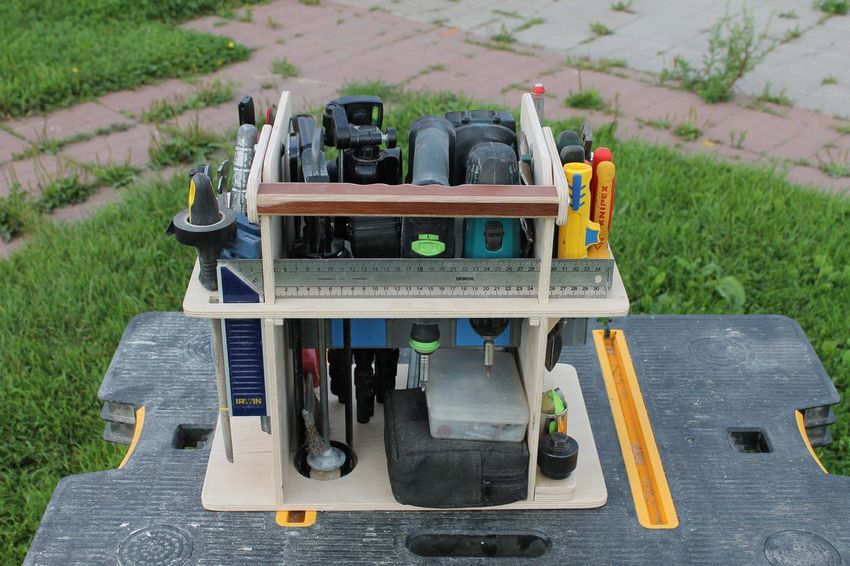
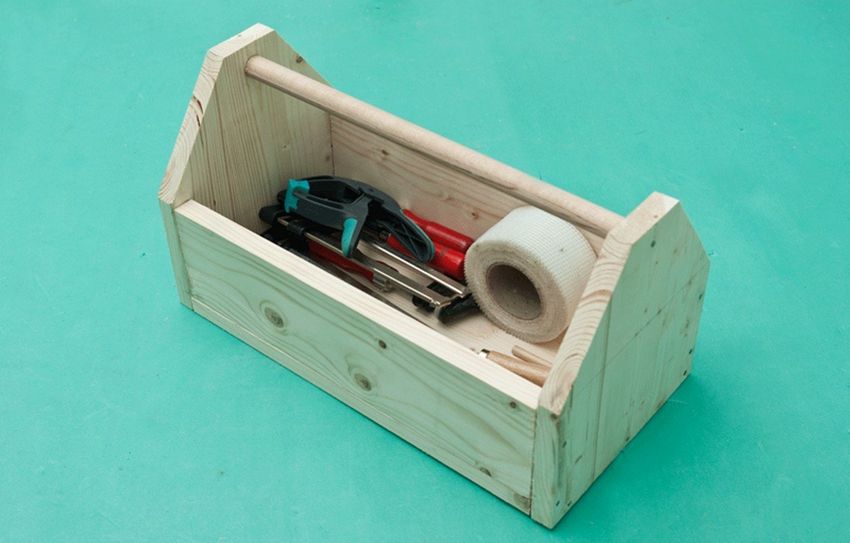
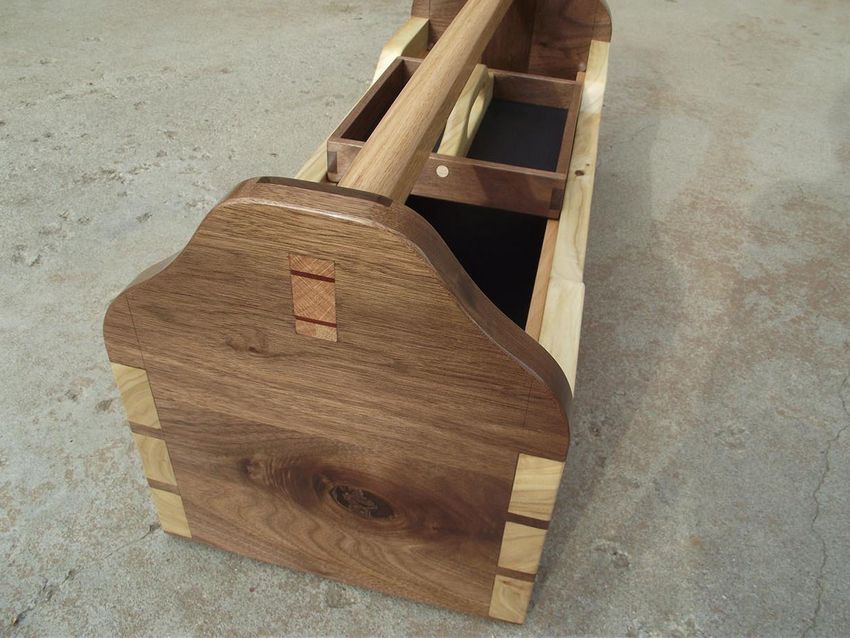
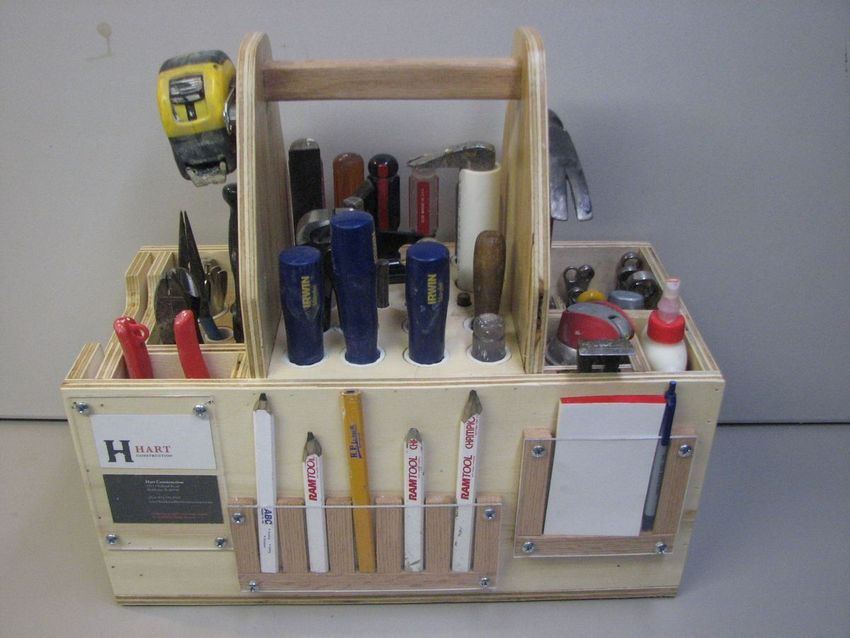
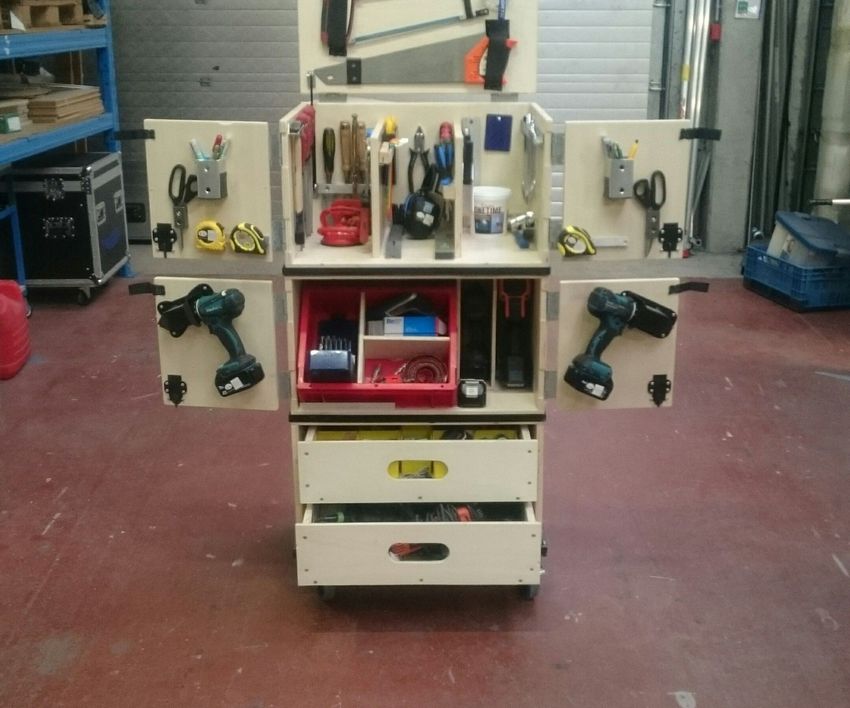
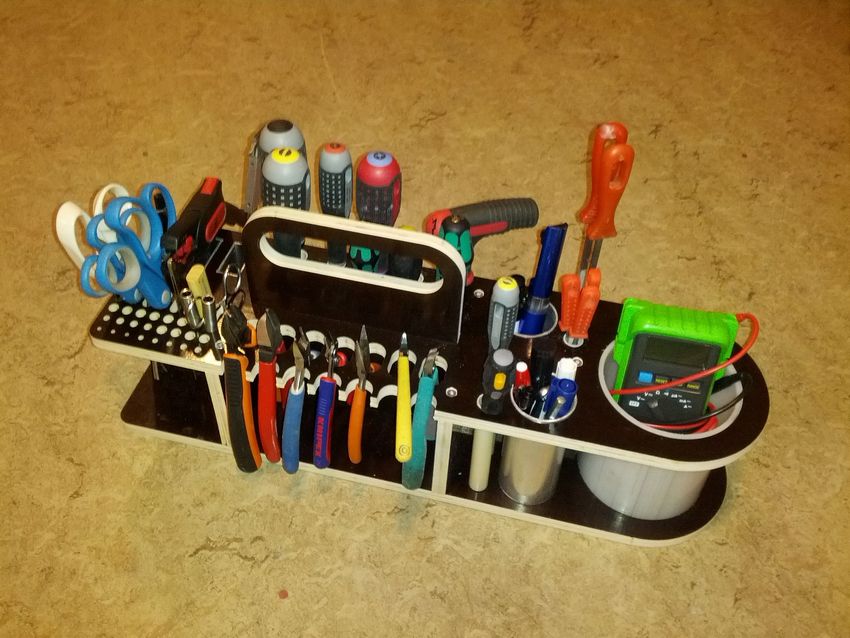
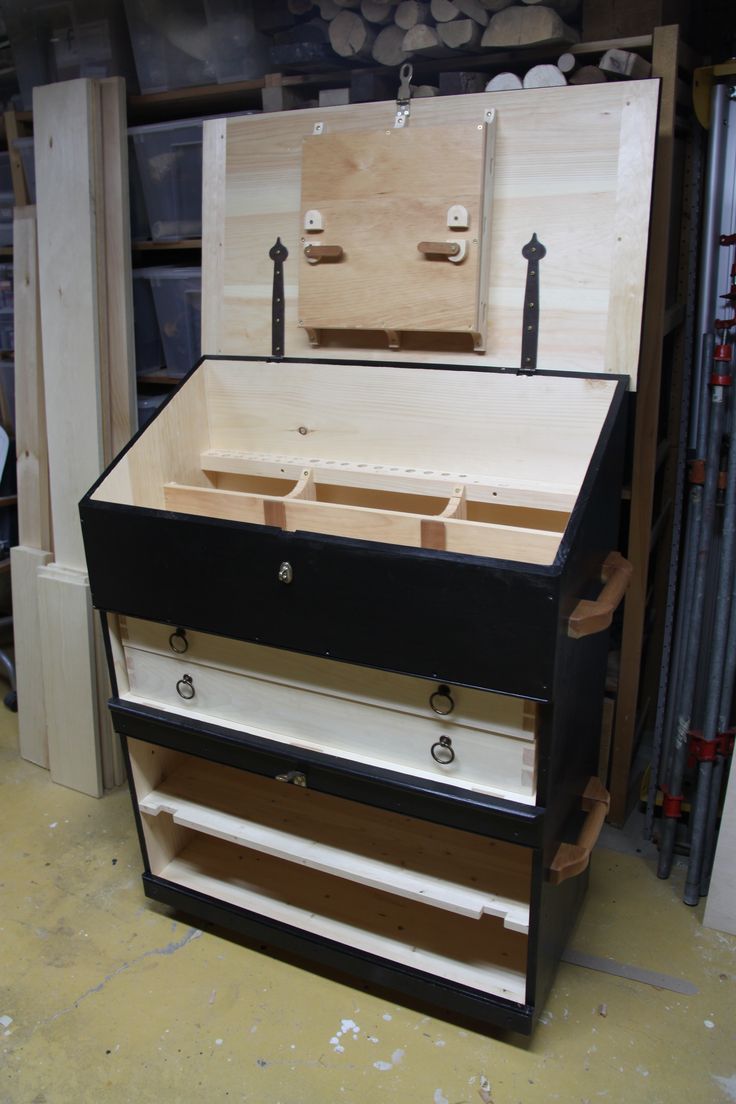
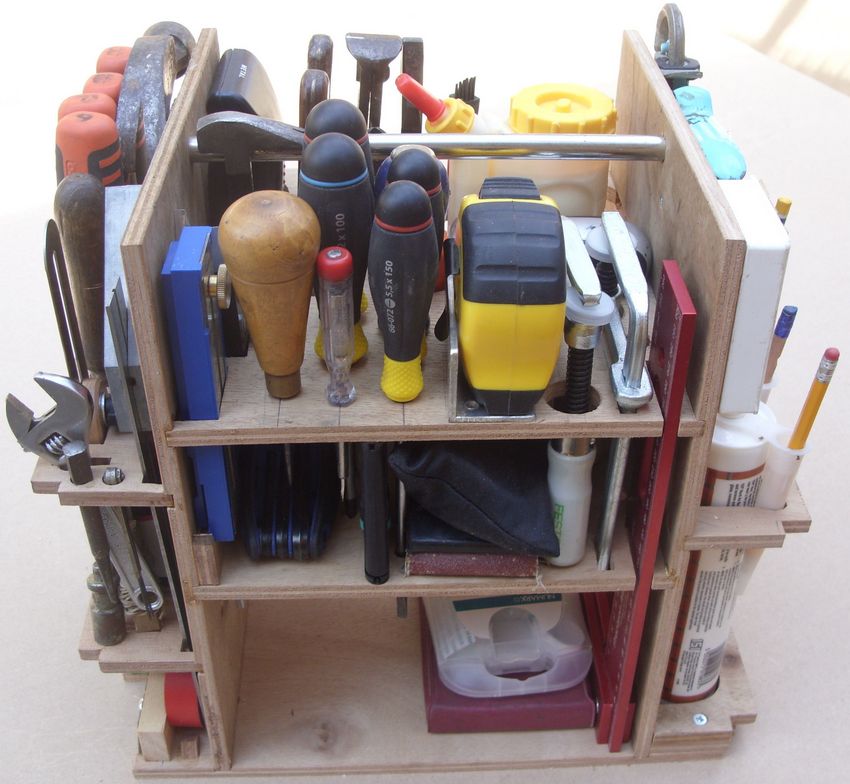
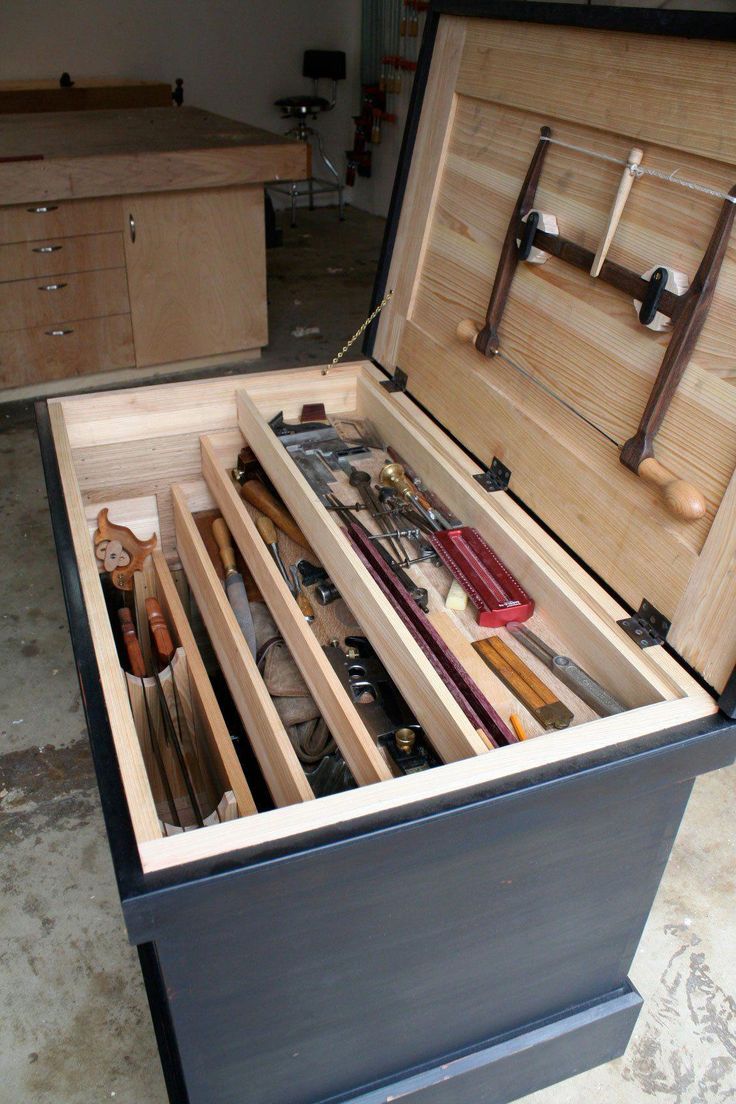
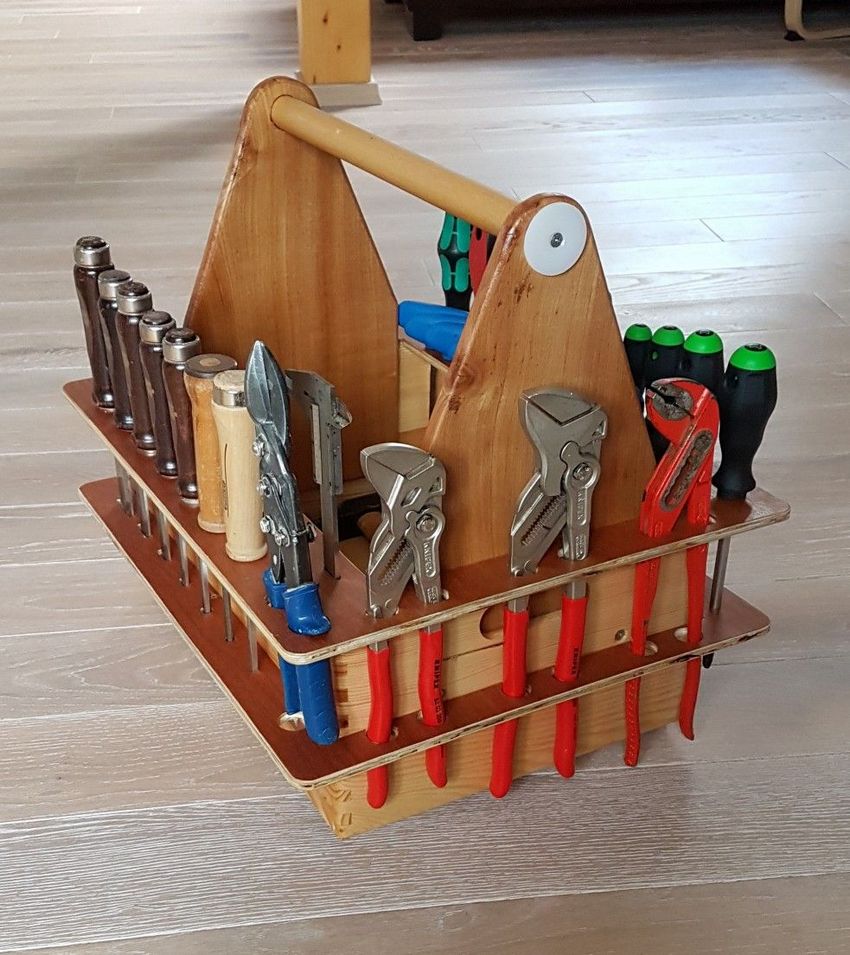
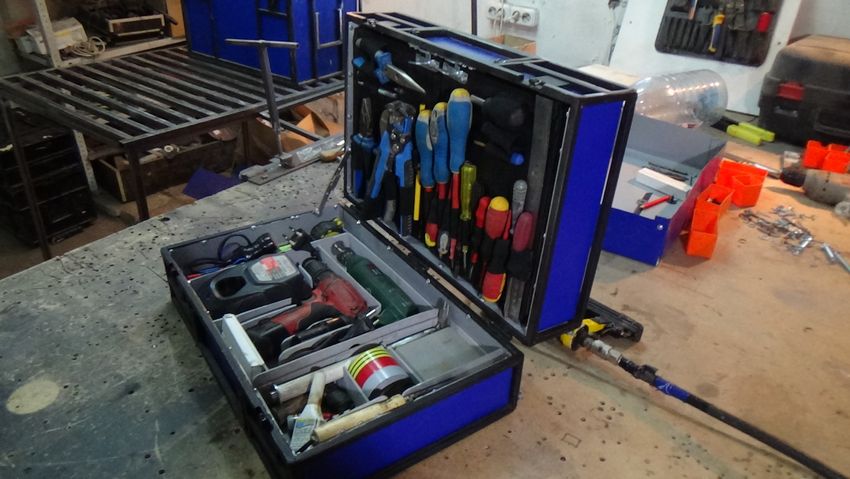
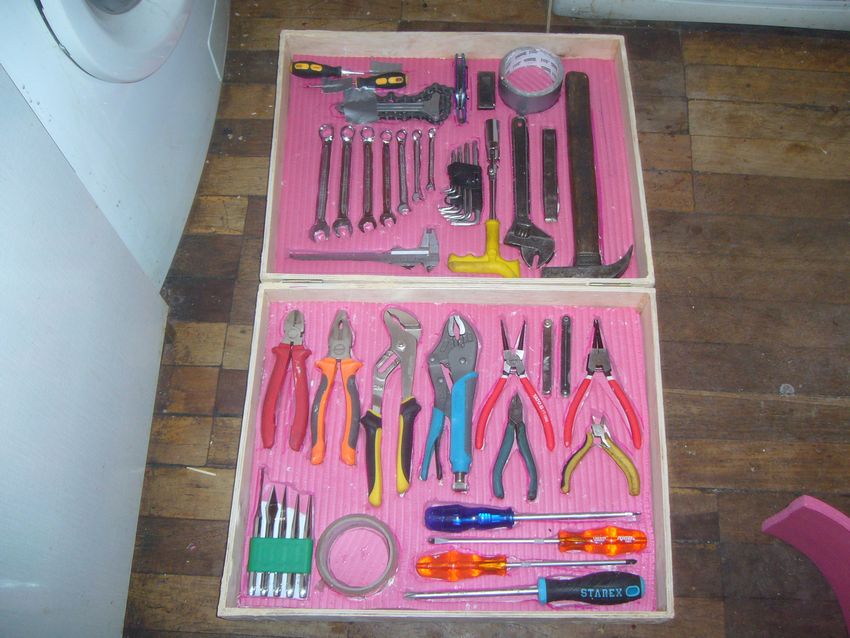
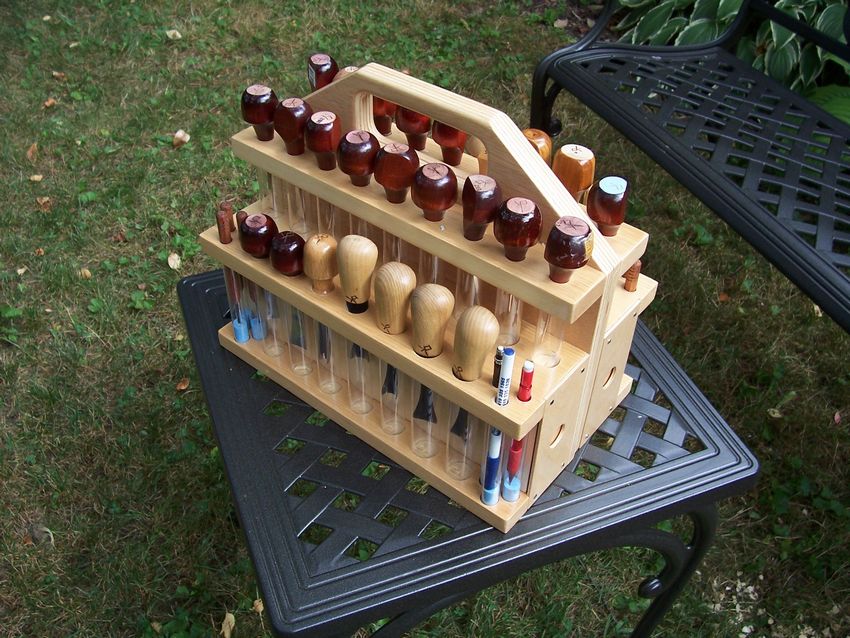
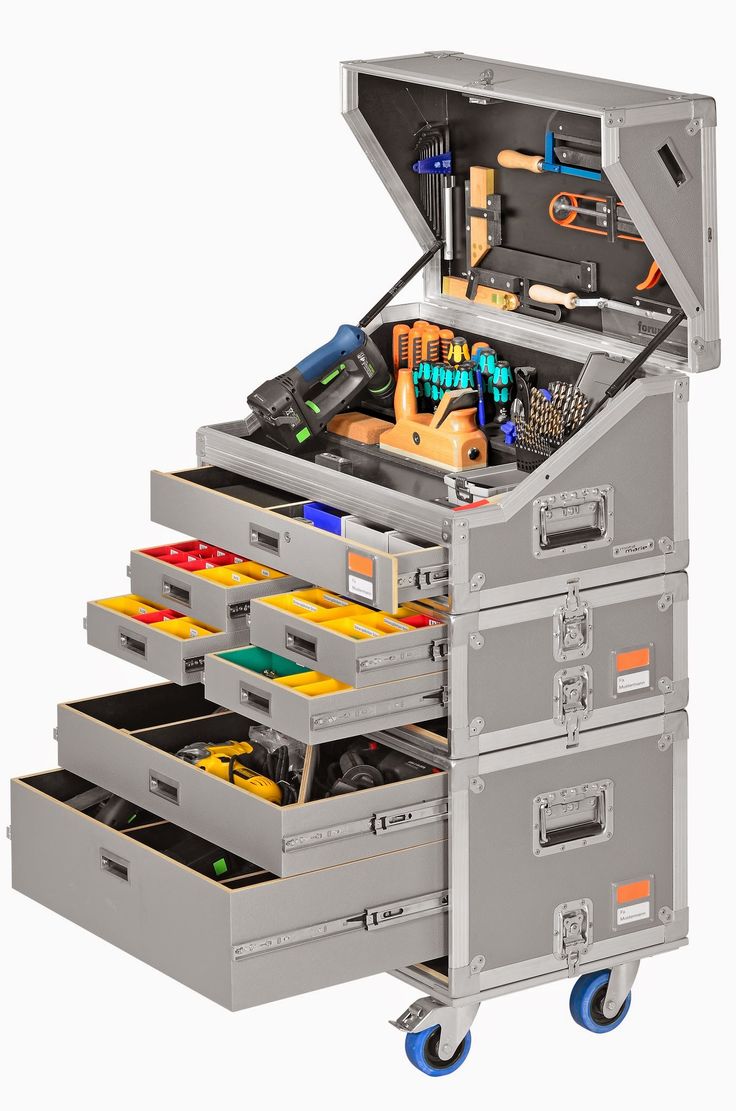
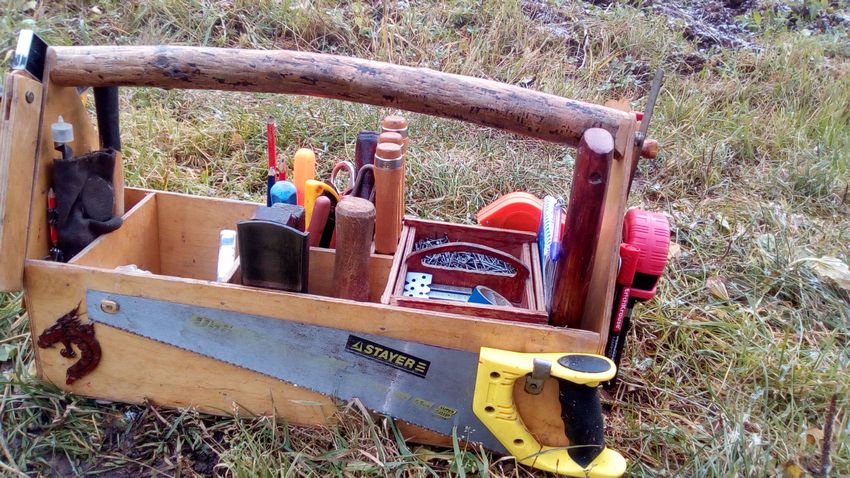
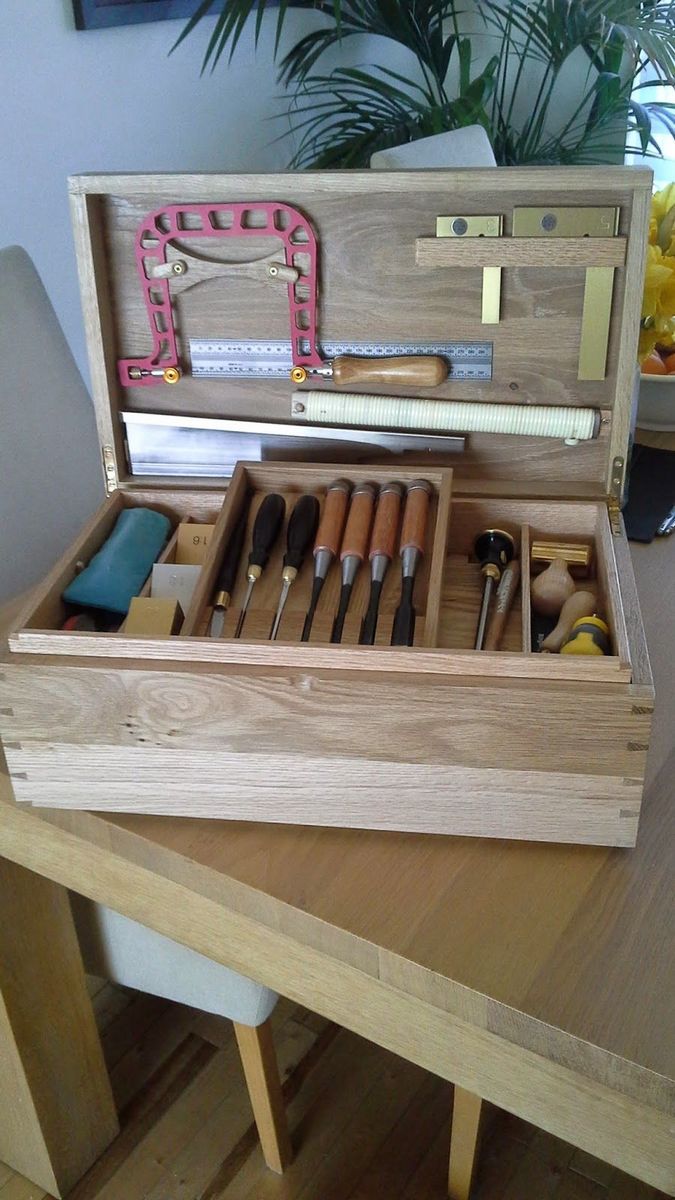
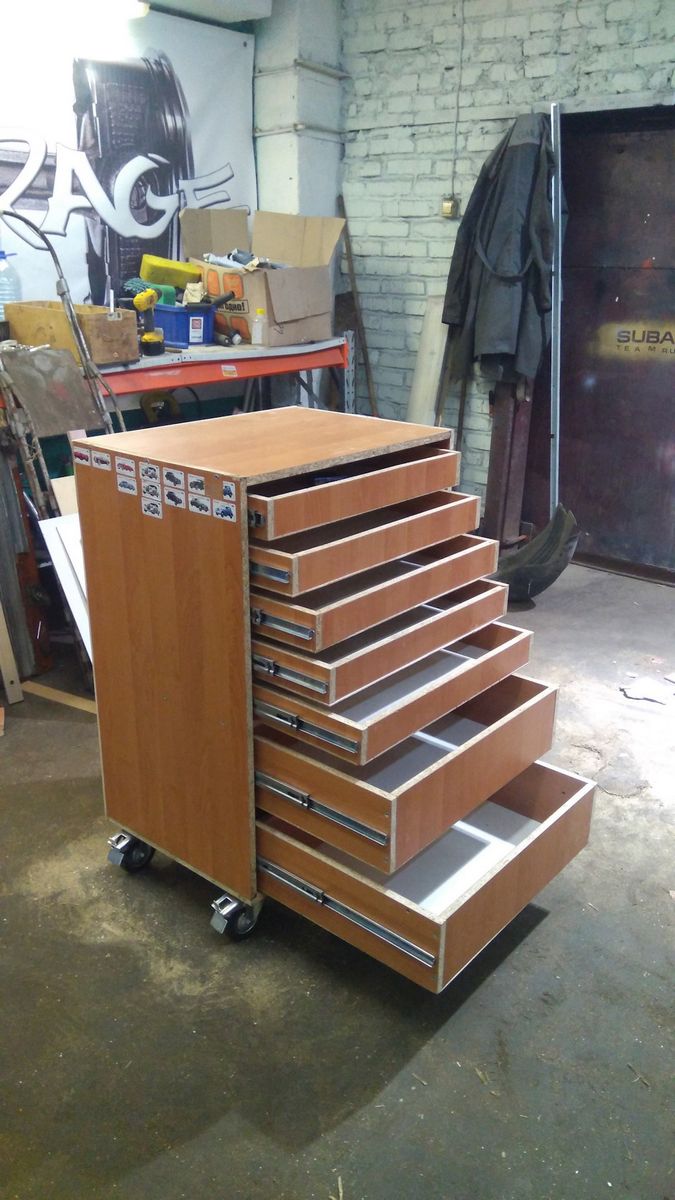
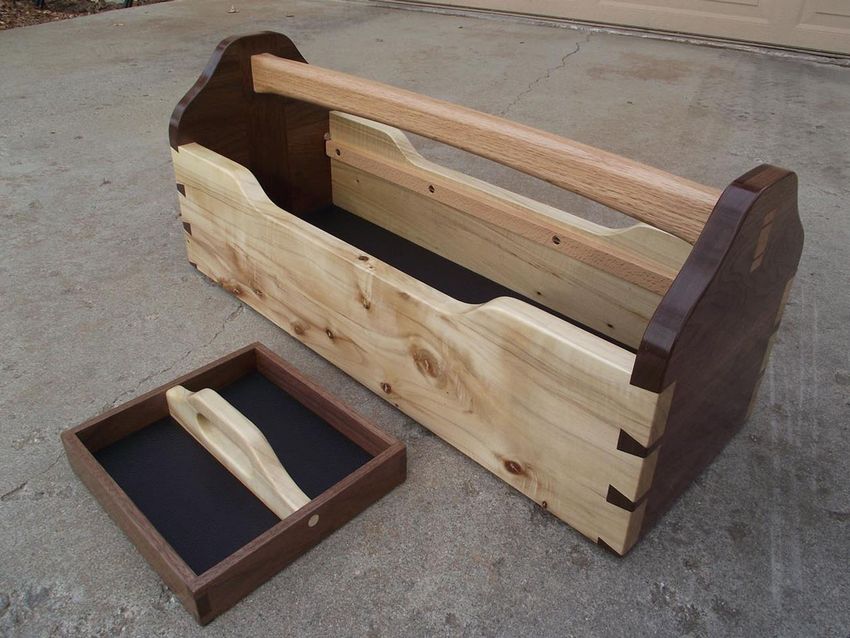
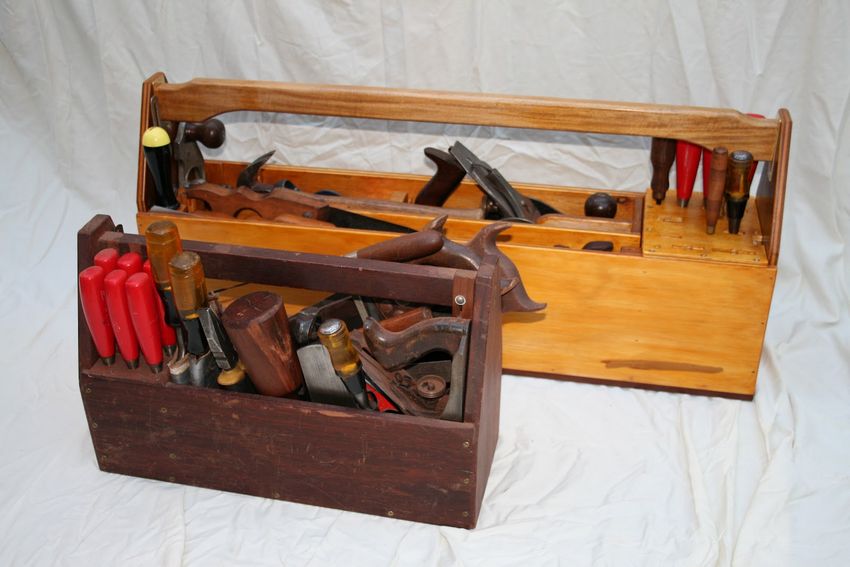
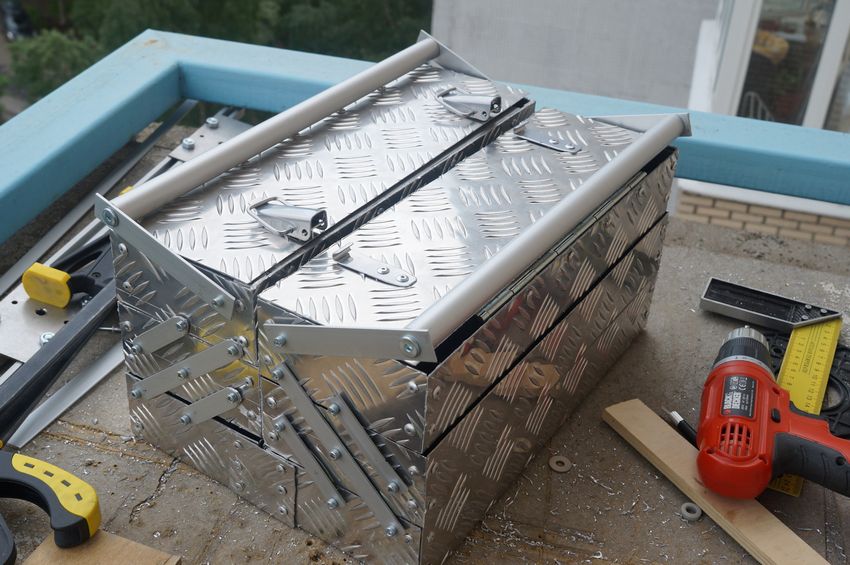
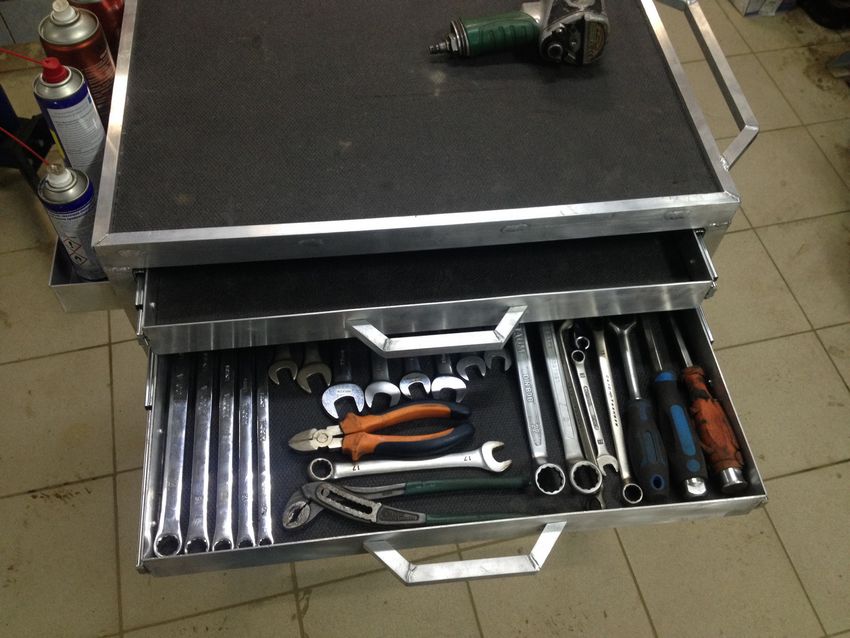
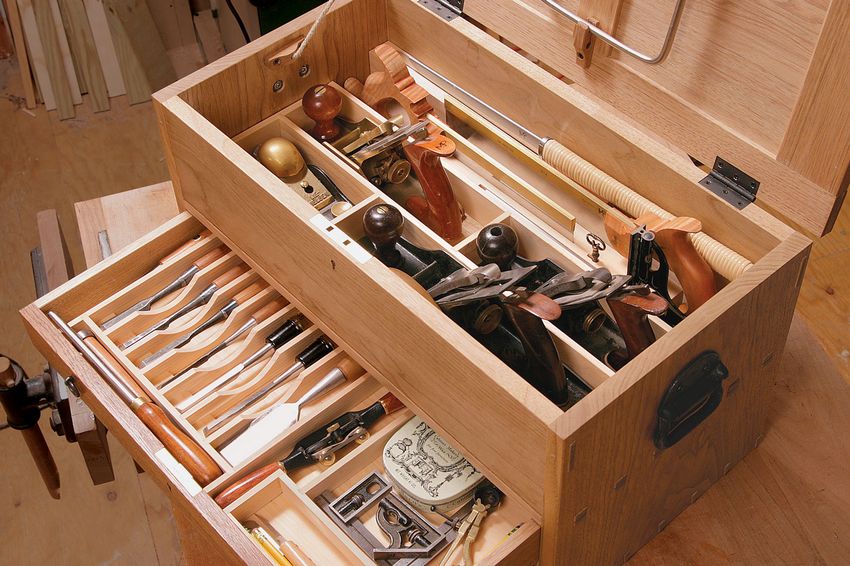
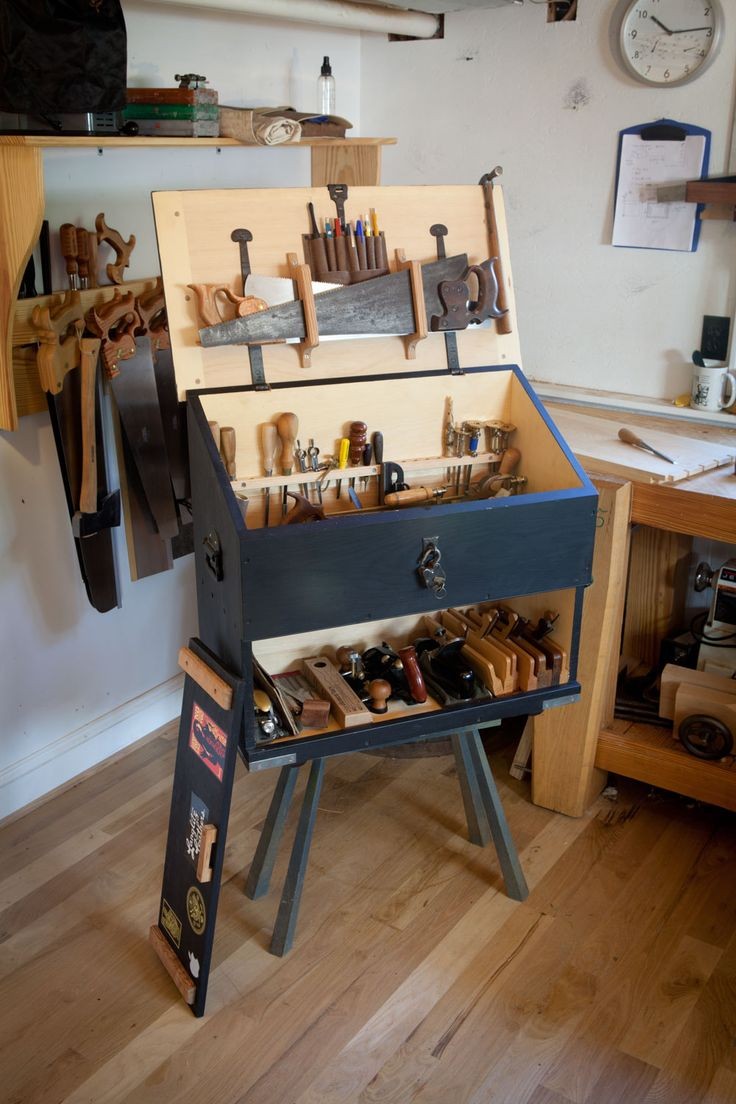
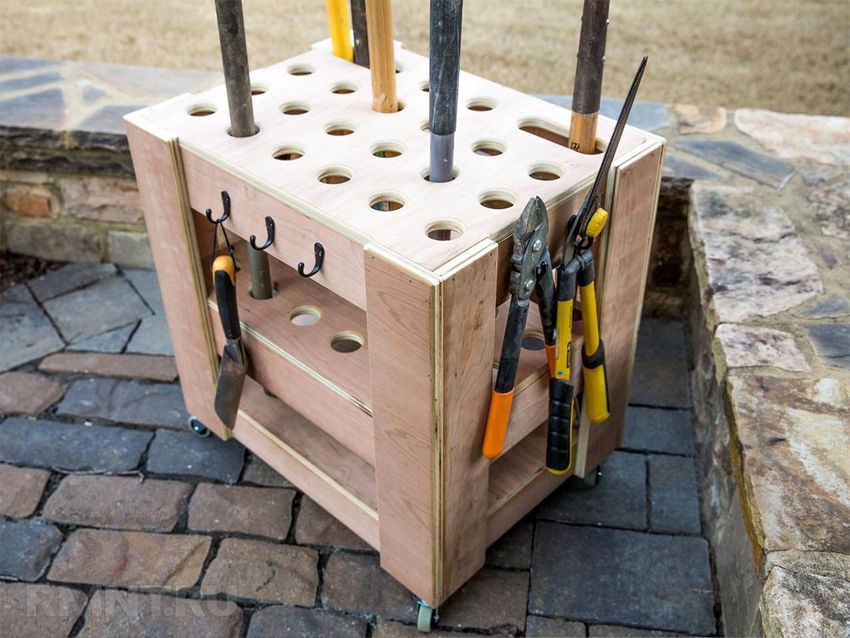
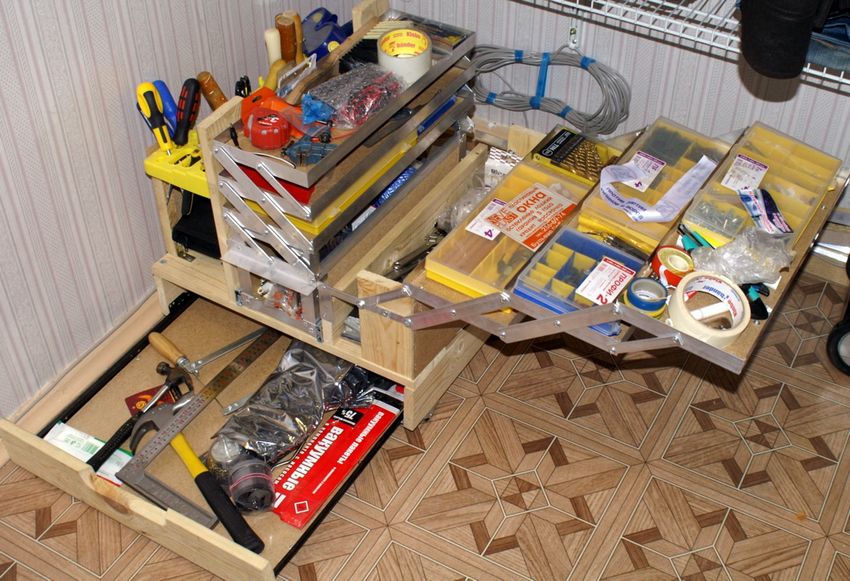
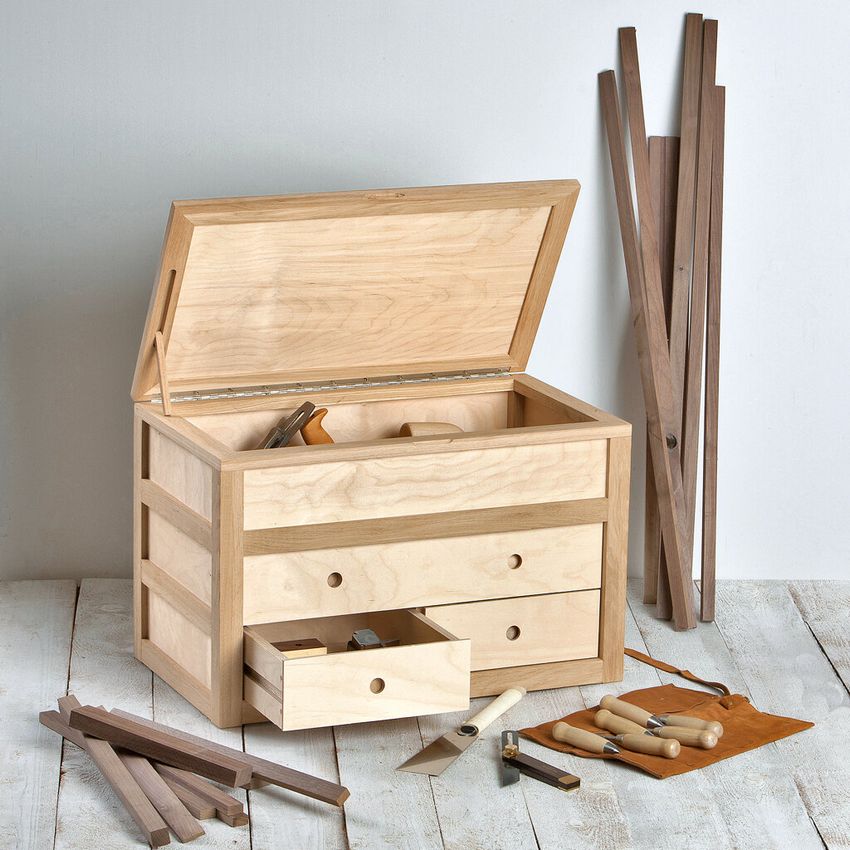
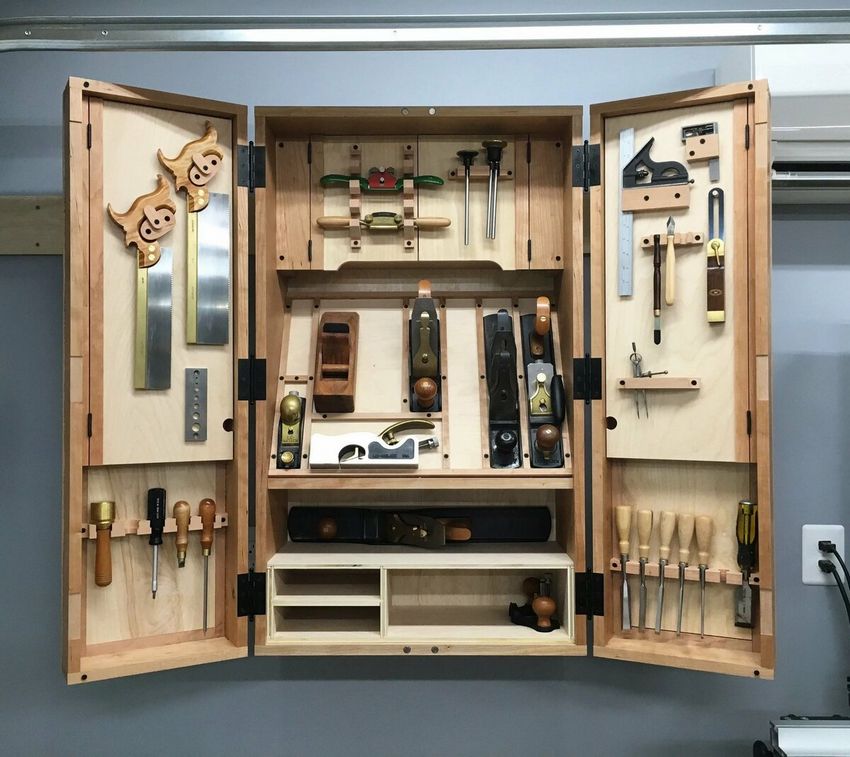
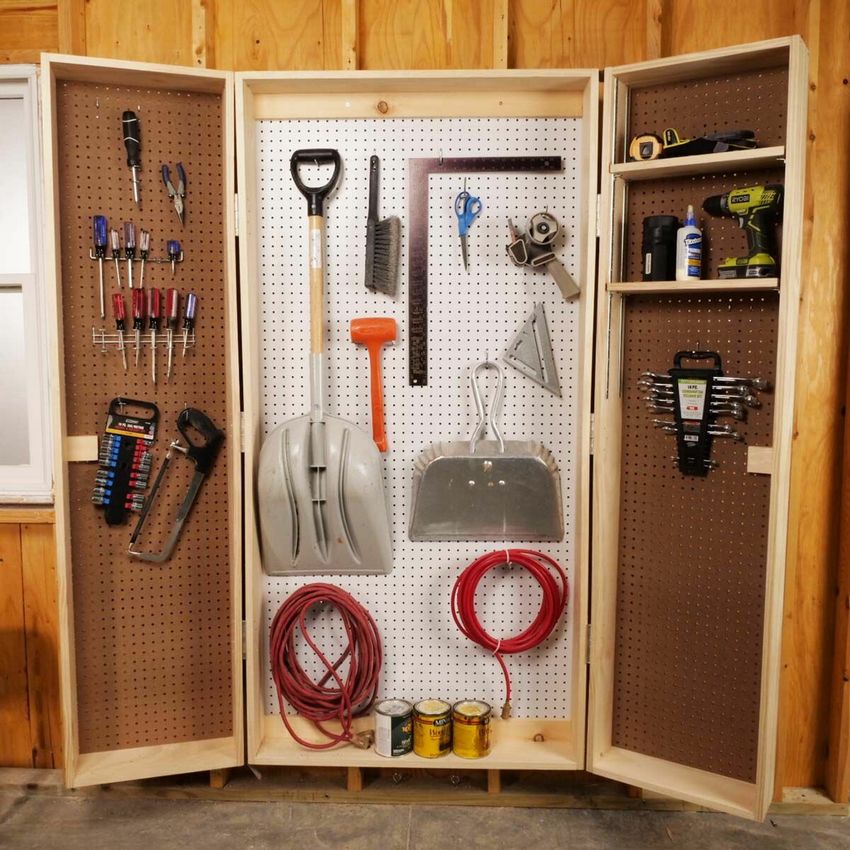
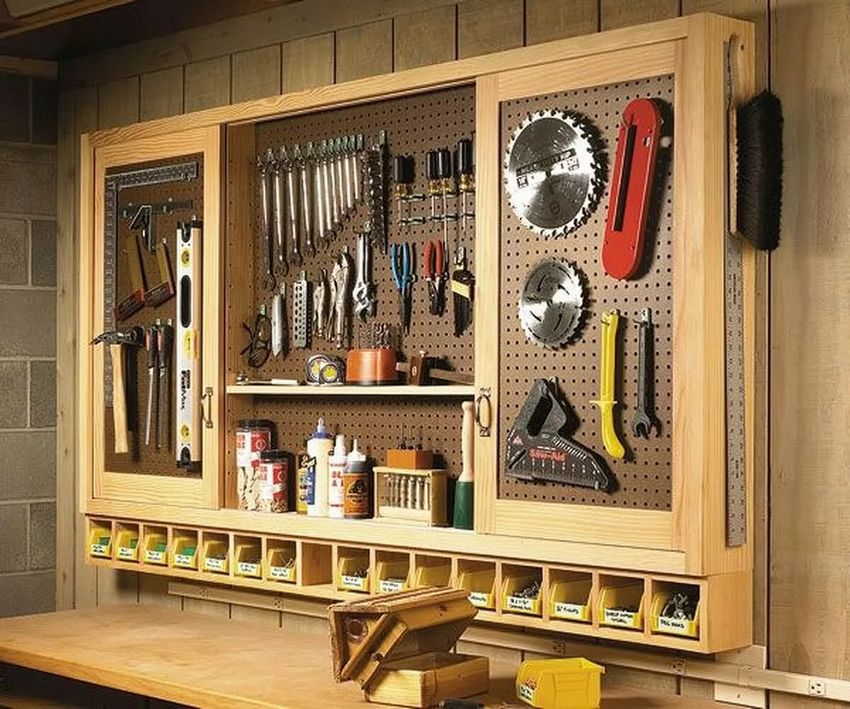
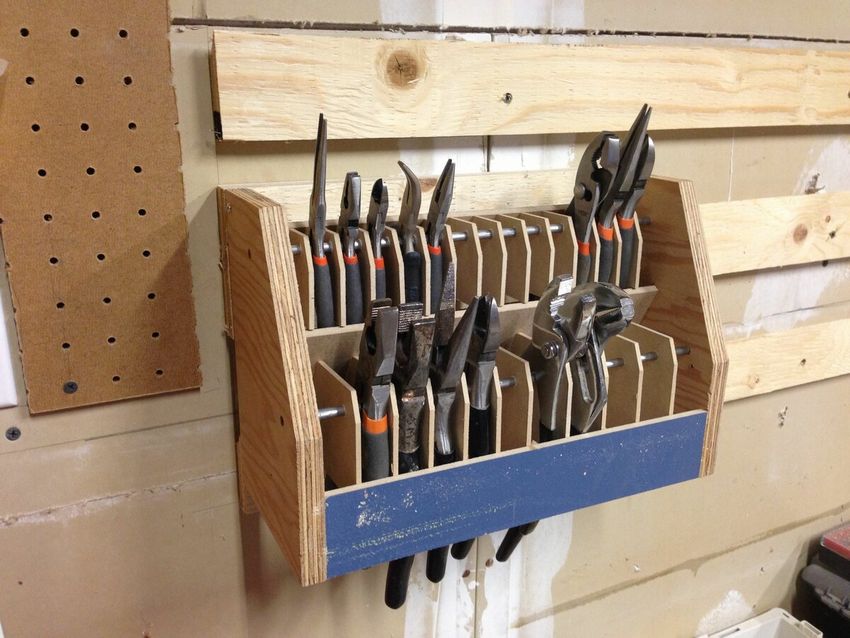
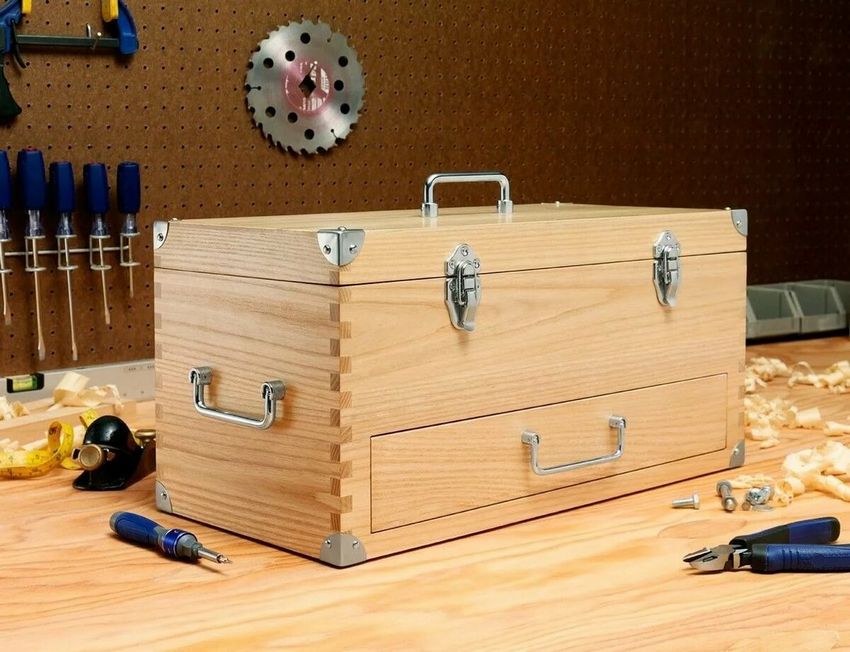
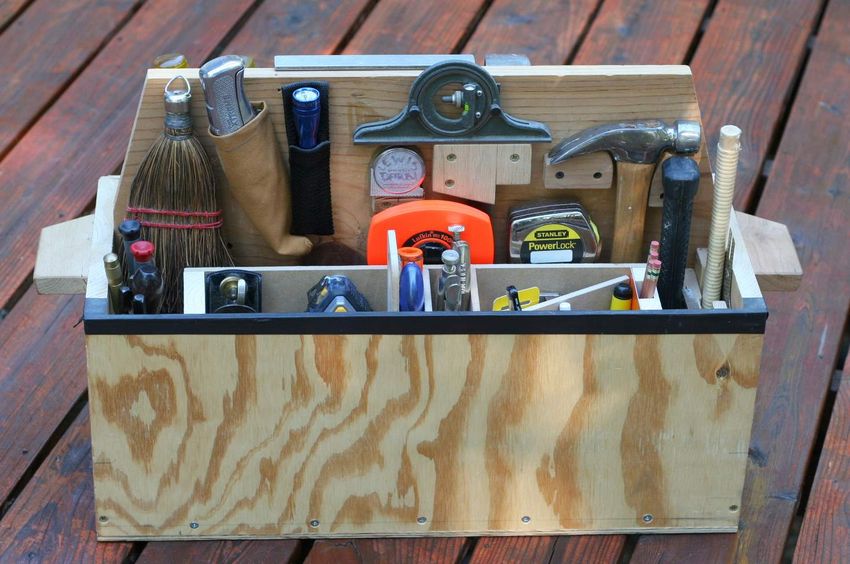
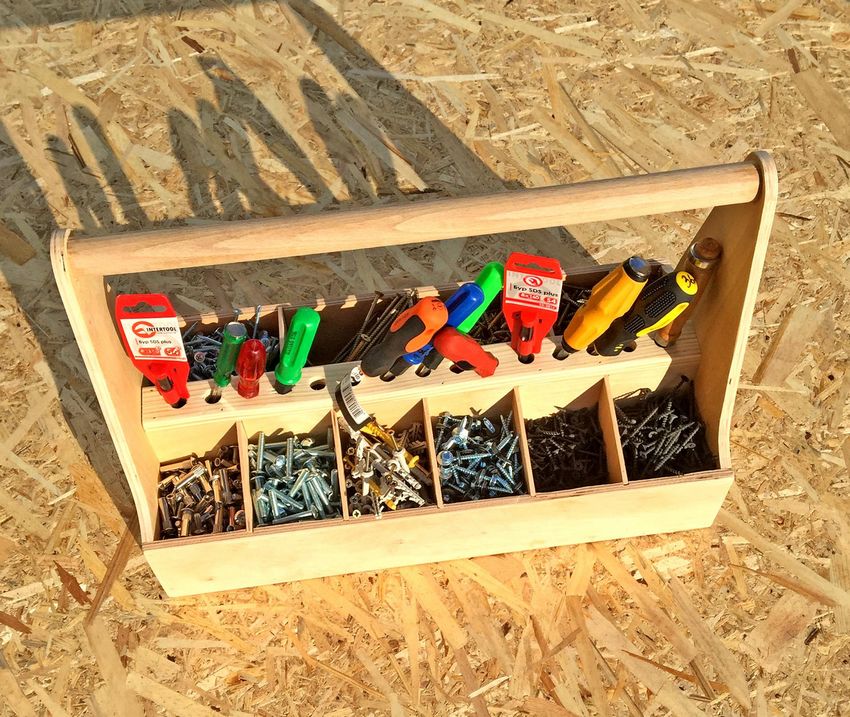
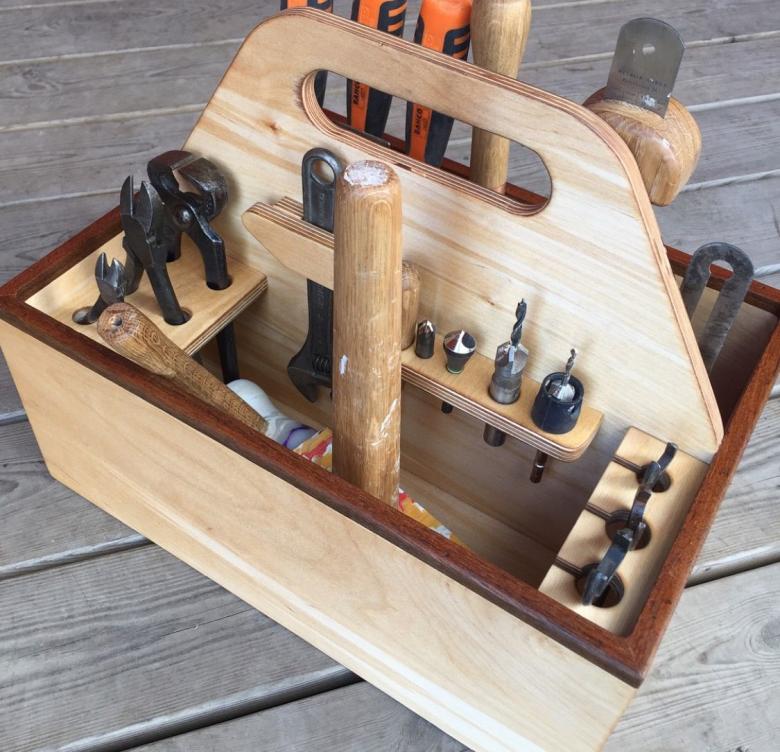
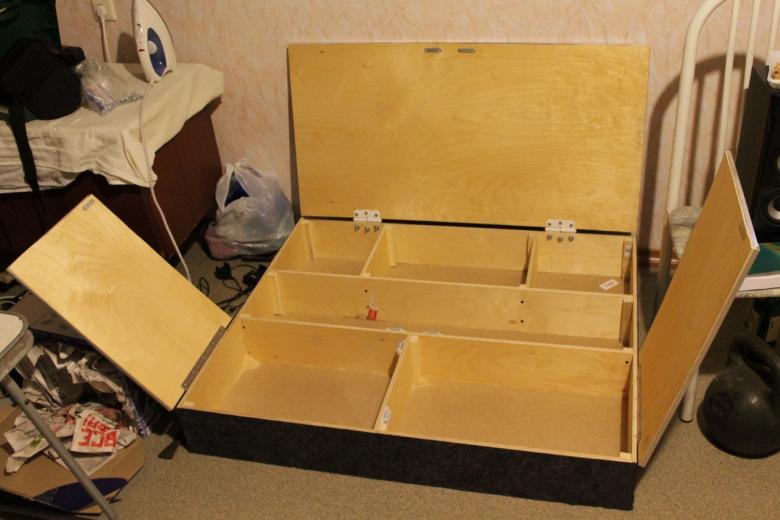
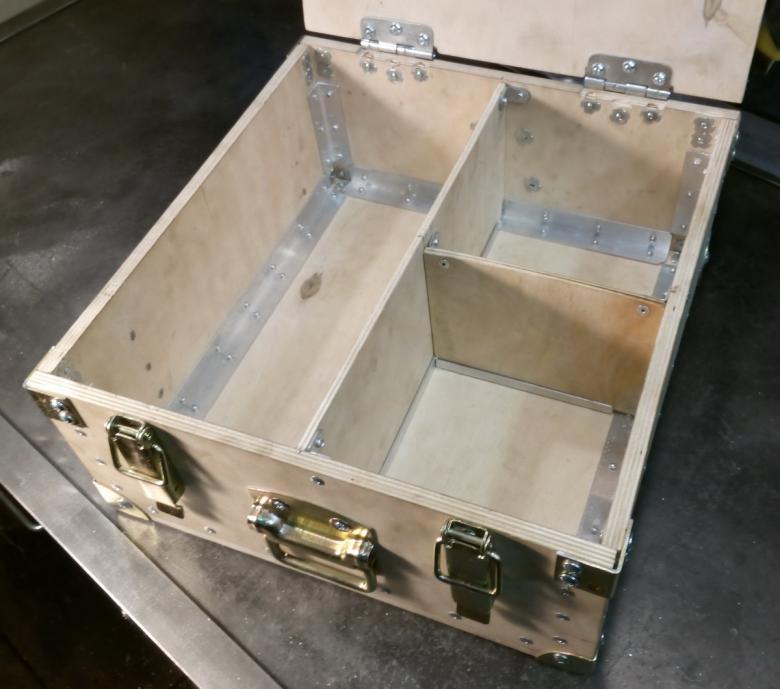
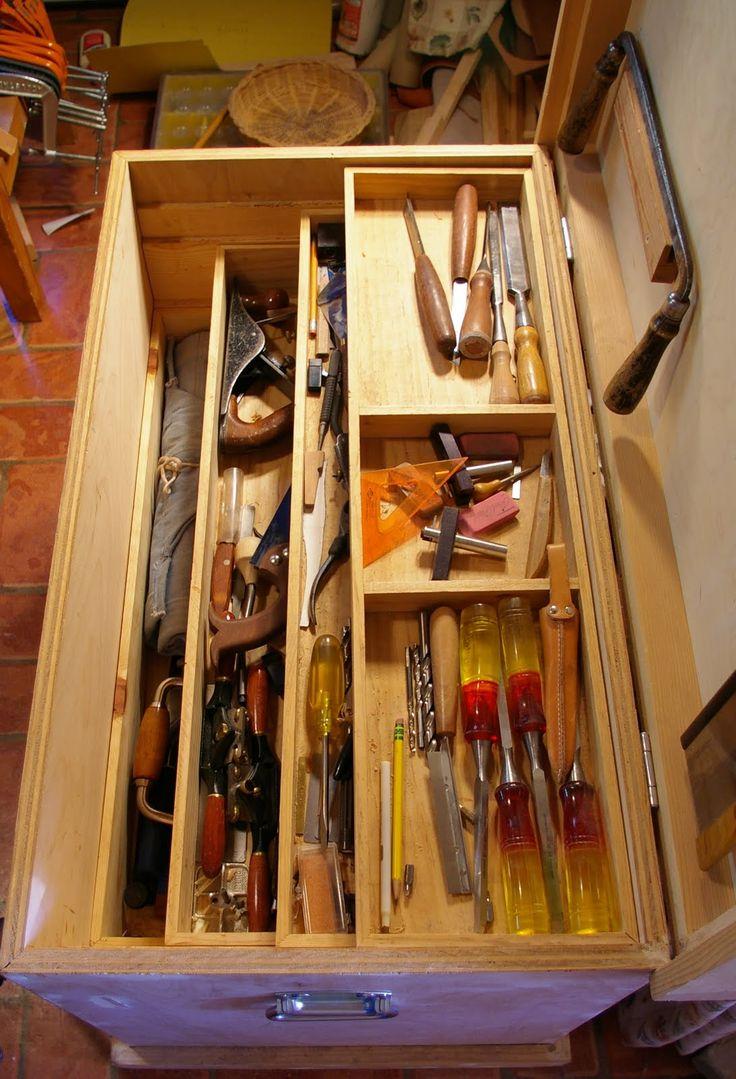
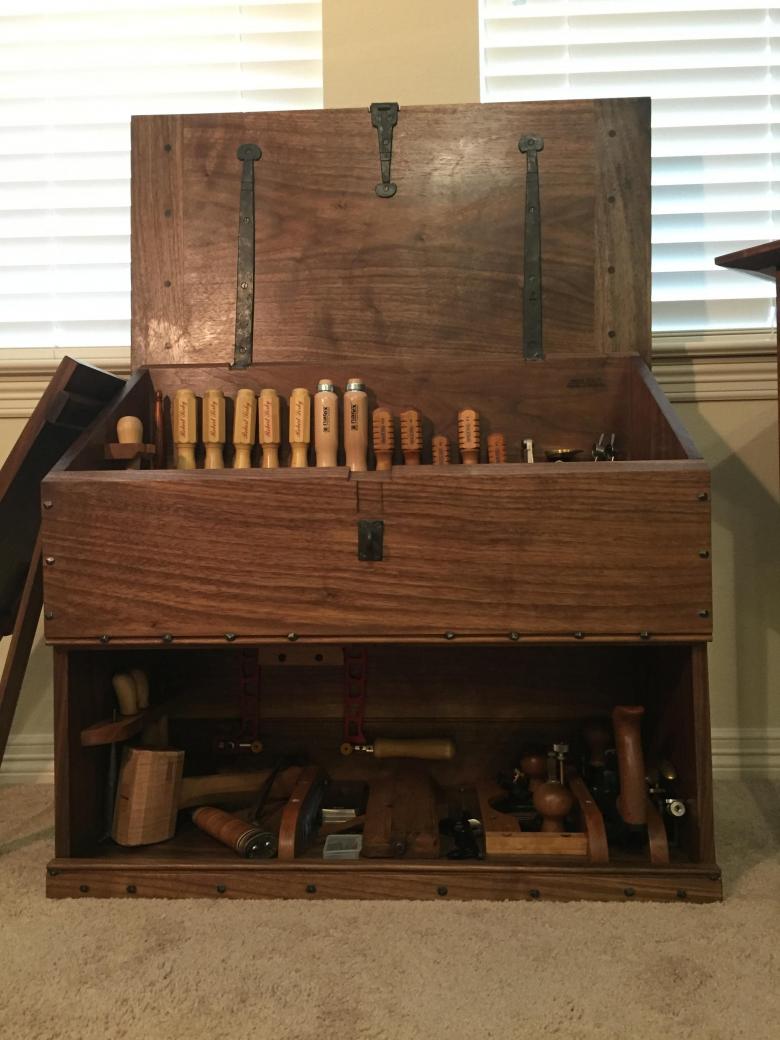
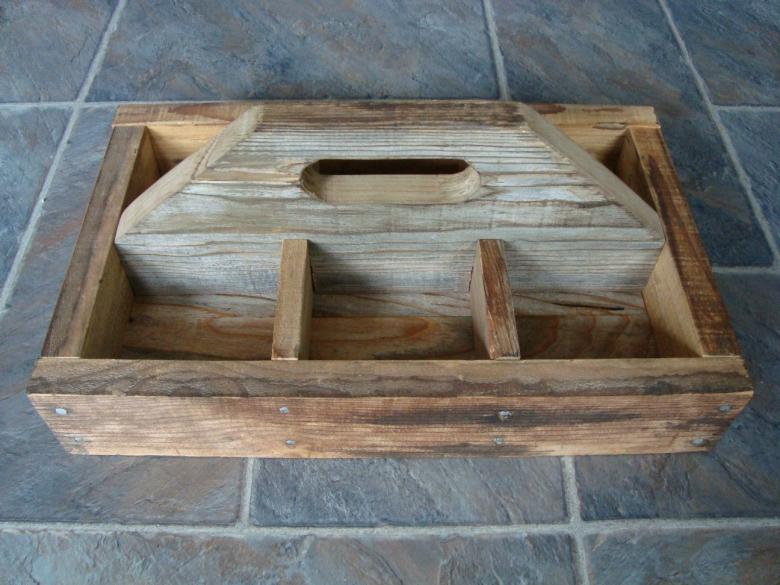
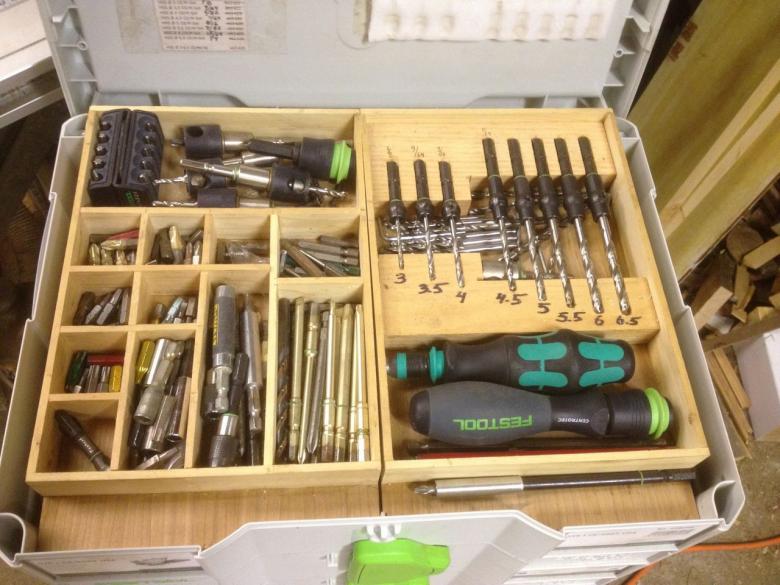
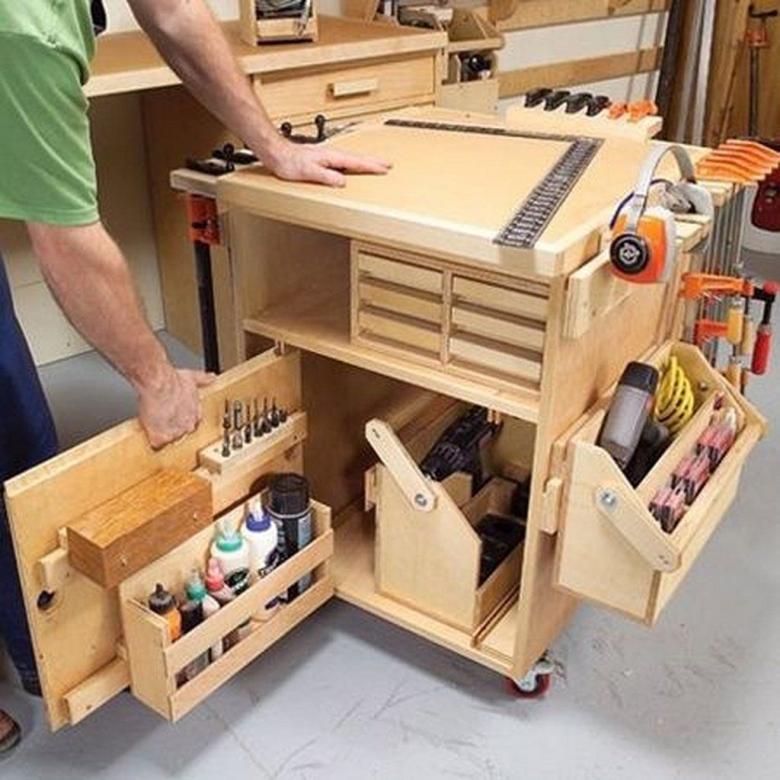
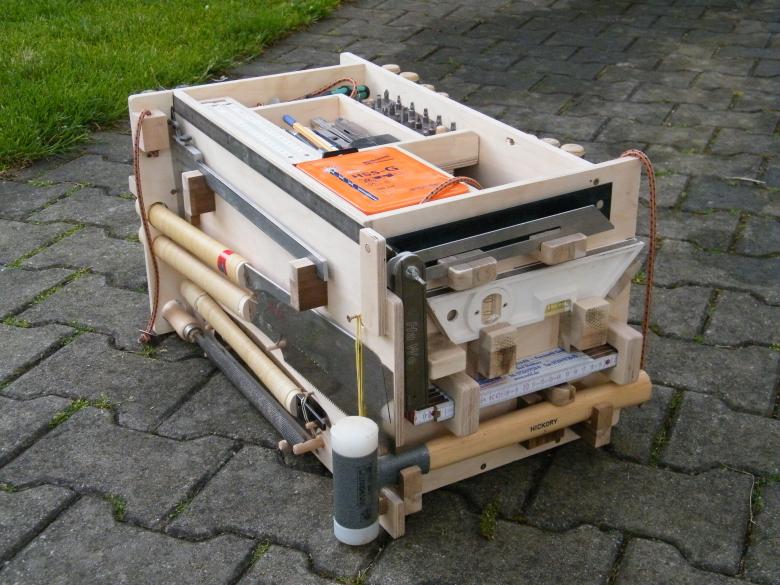
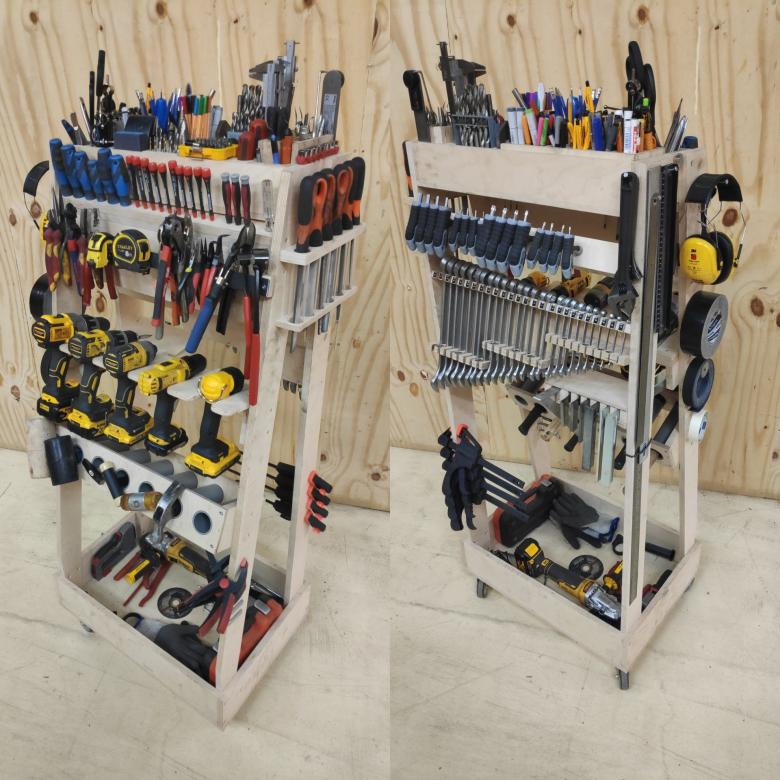
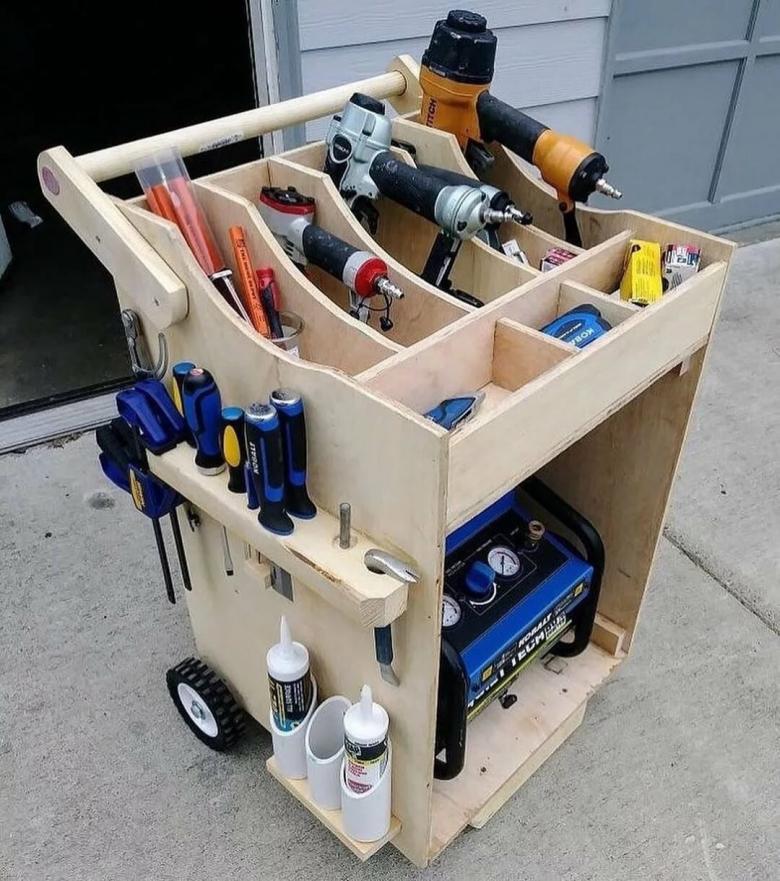
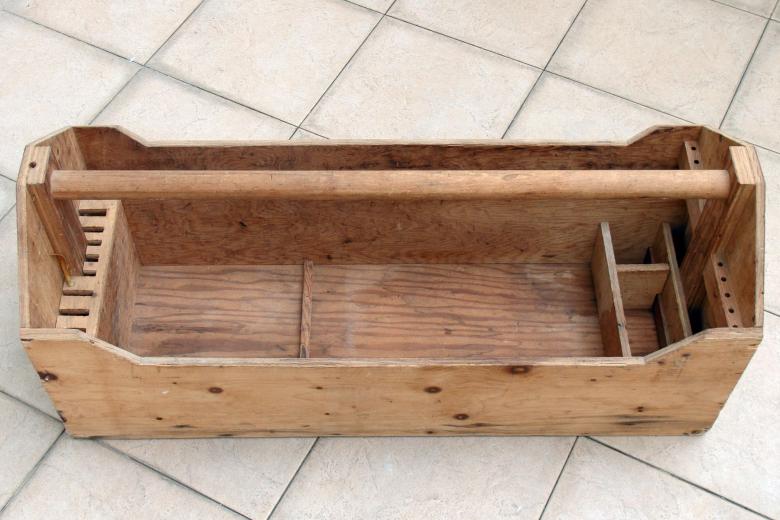
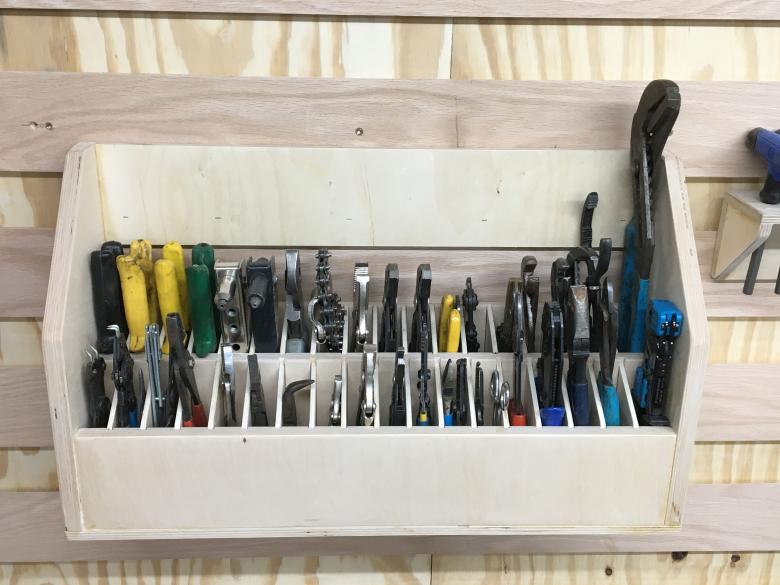
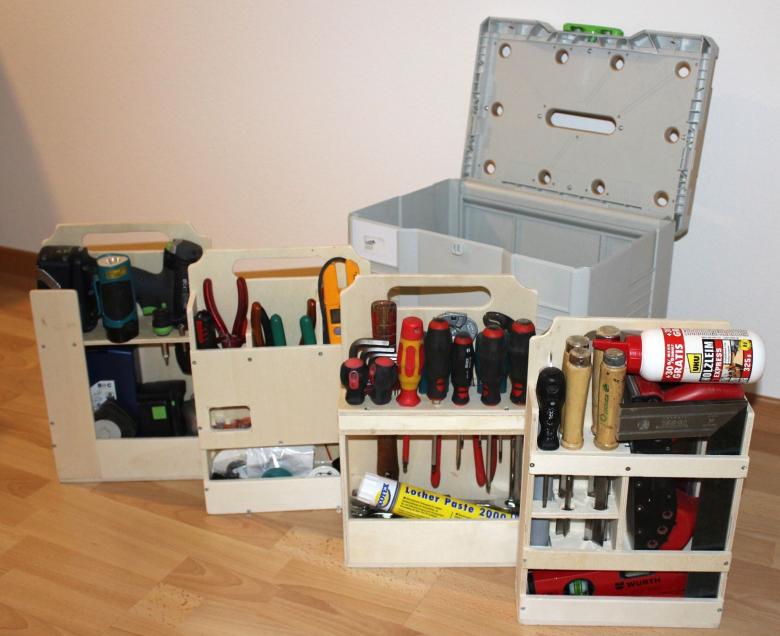
Photo examples of homemade toolboxes