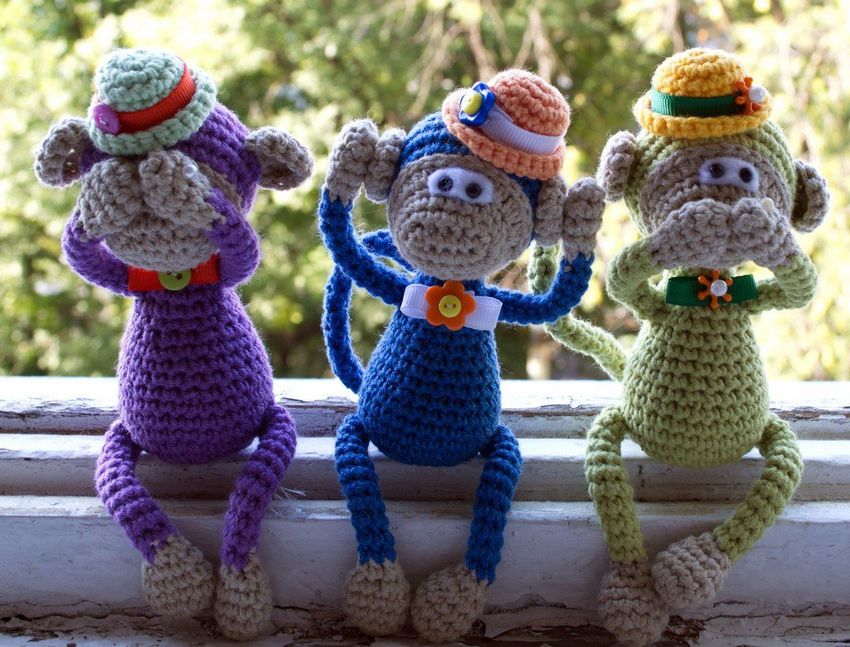
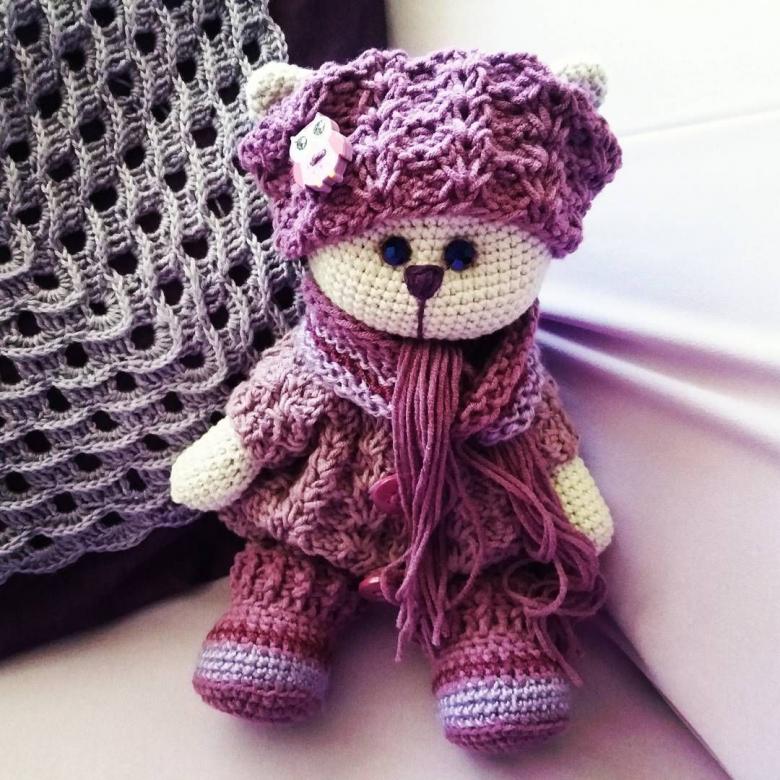
Knitting with amigurumi by hand - weaving schemes for beginners with beautiful photo ideas
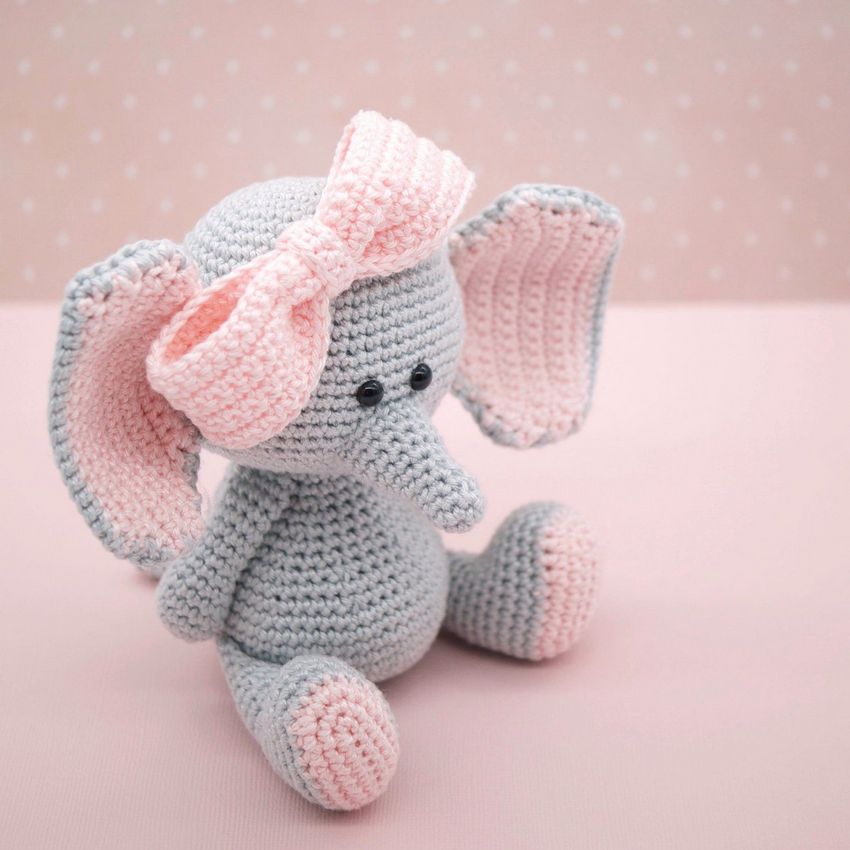
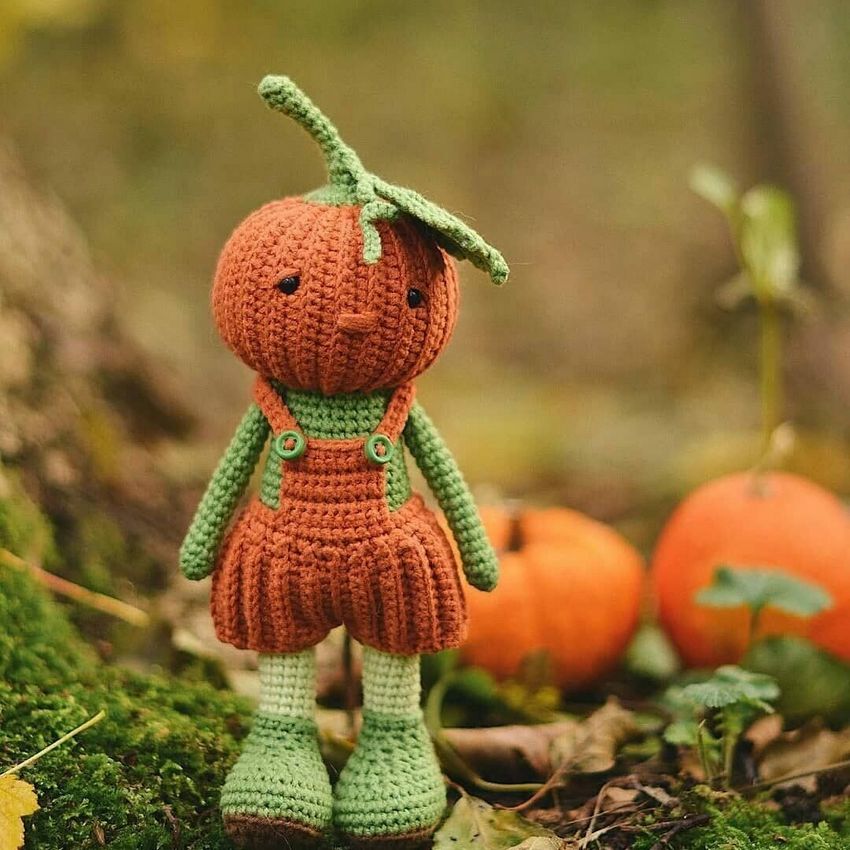
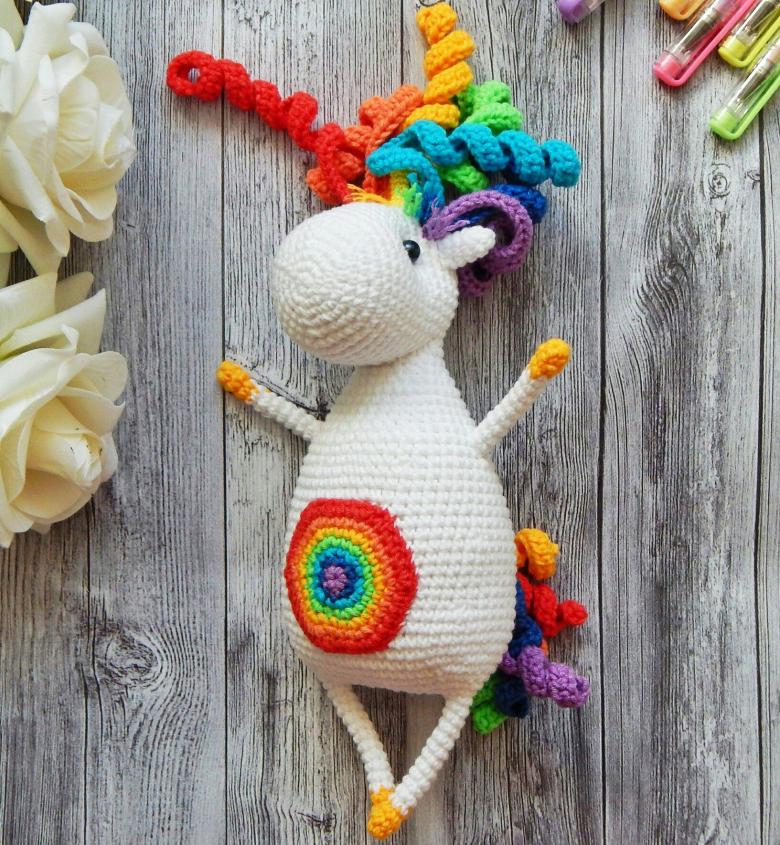
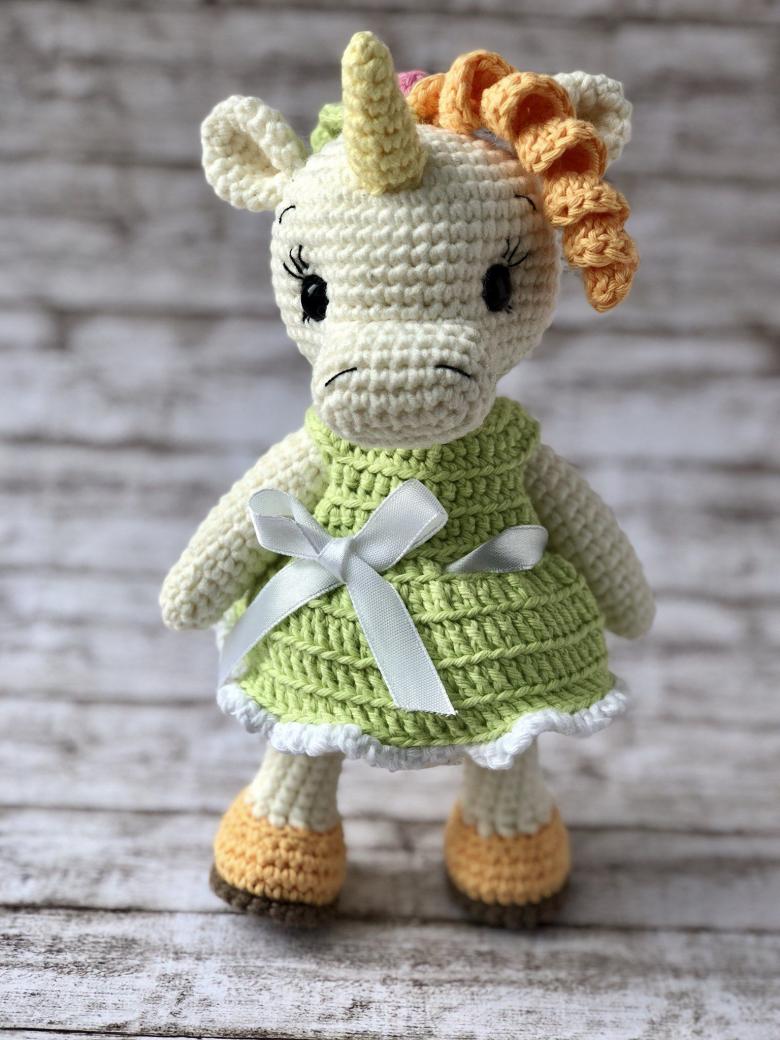
The process of making miniature, incredibly cute and charming crocheted animals, dolls, humanoid creatures, cartoon characters, hearts, etc. is becoming increasingly popular among needlewomen.
Crochet toys amigurumi (which is the name of this technique crafts that came from Japan) can learn even a beginner. What materials are needed for this, how to tie simple options?

The difference of amigurumi from other toys
Amigurumi differ from other toys in the following ways:
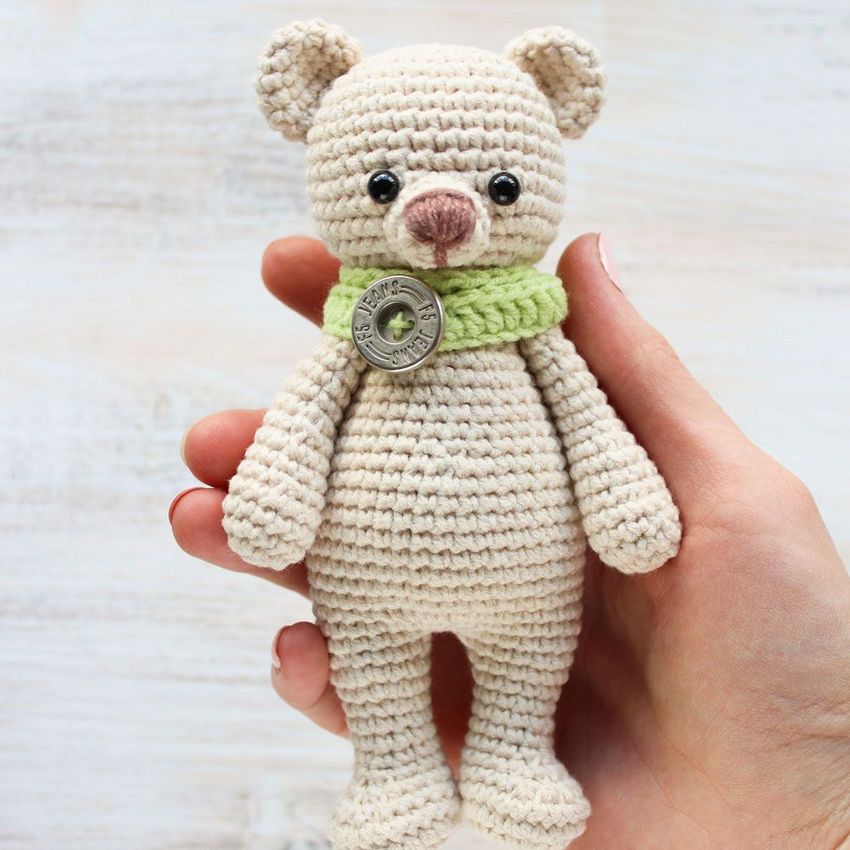
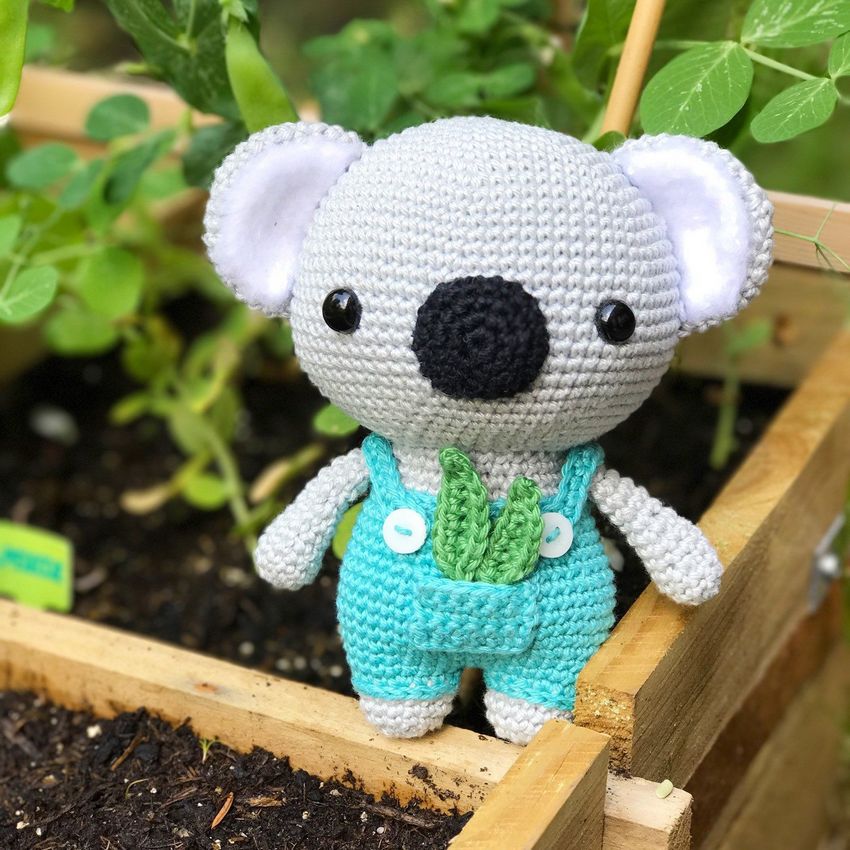
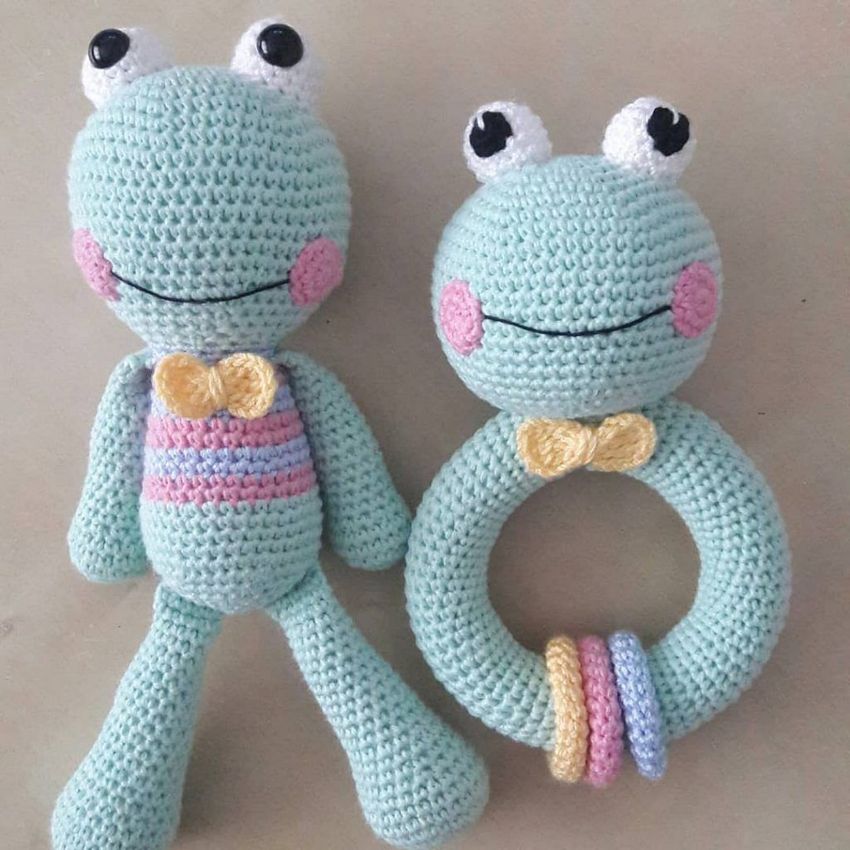
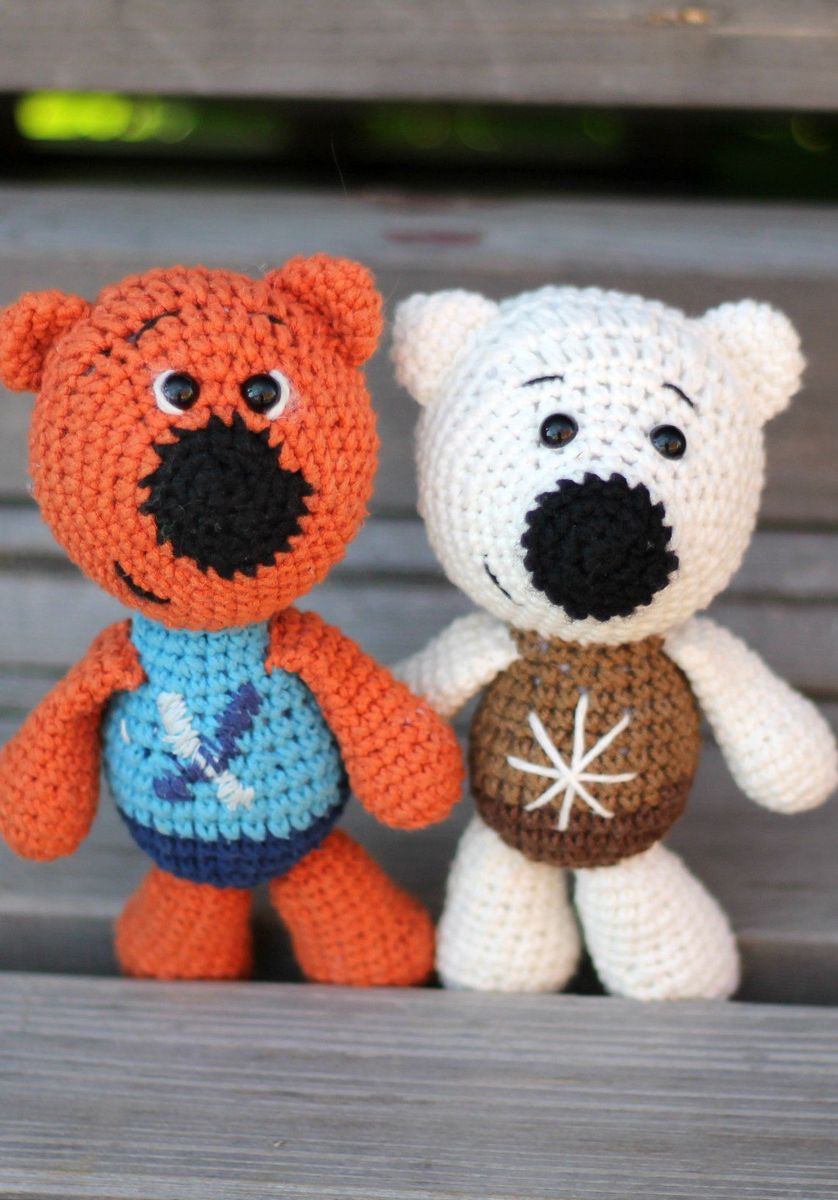
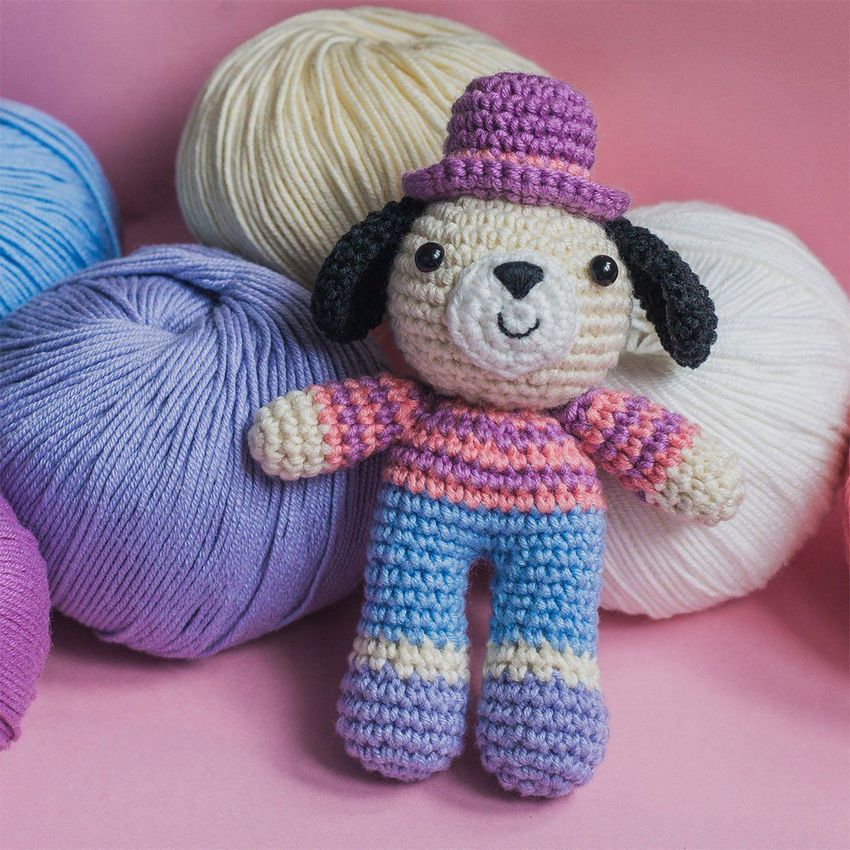
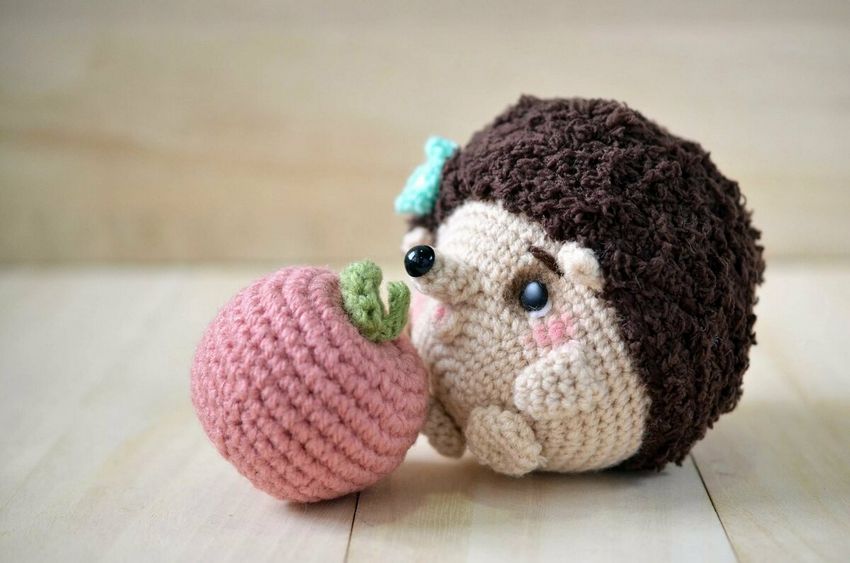
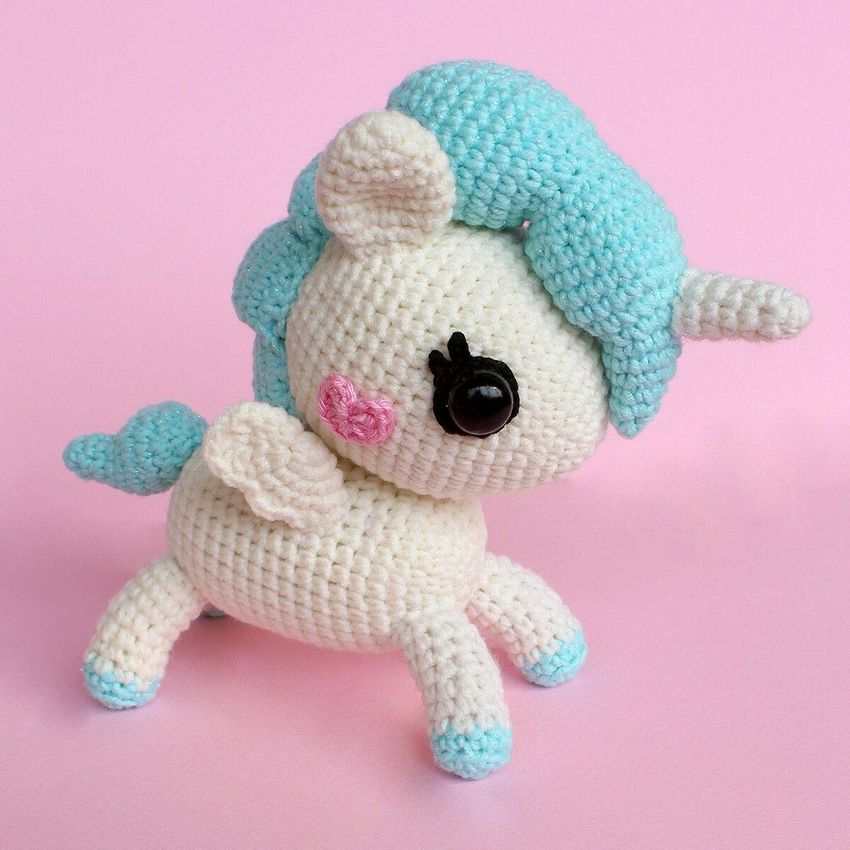
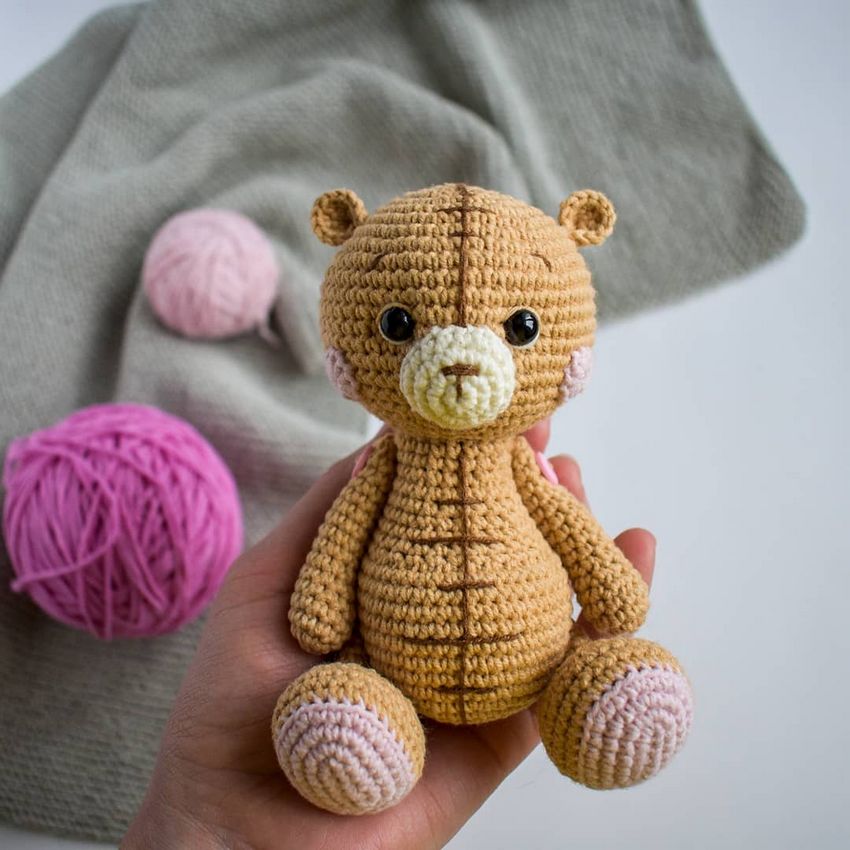
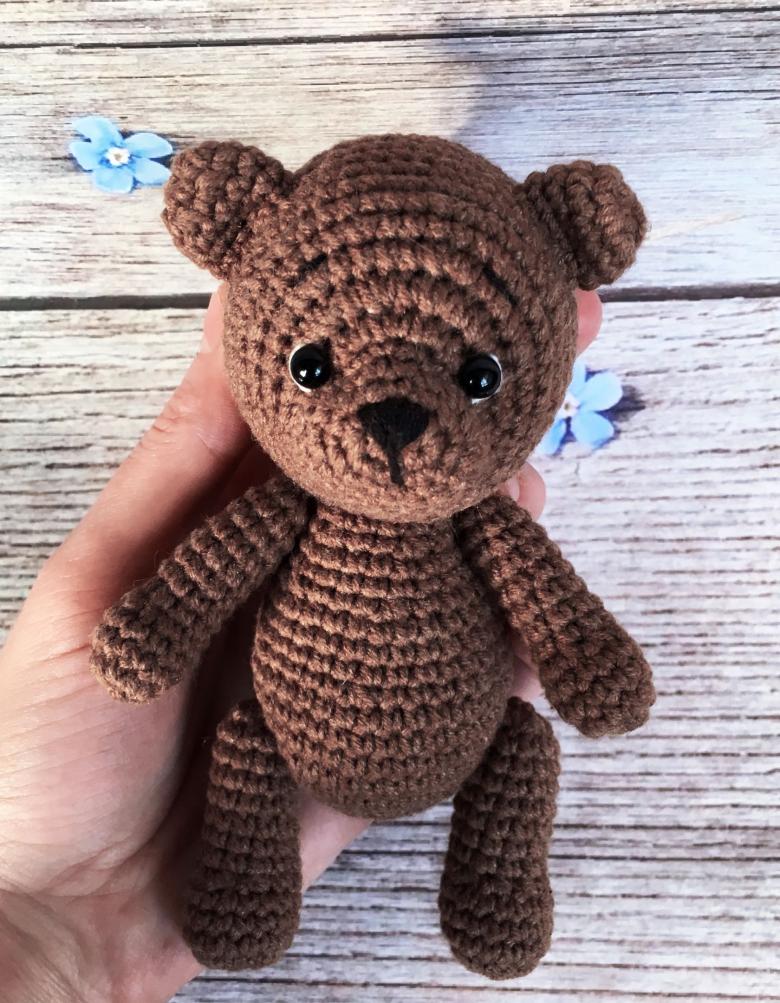
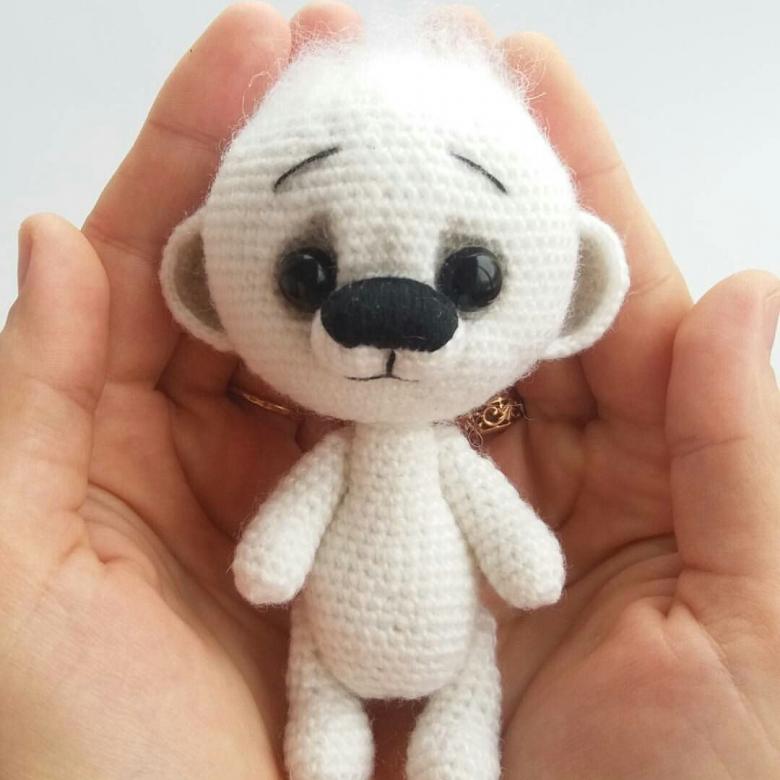
- they must necessarily have a miniature size - ideally about 7 to 10 cm, that is fit in the palm of your hand;
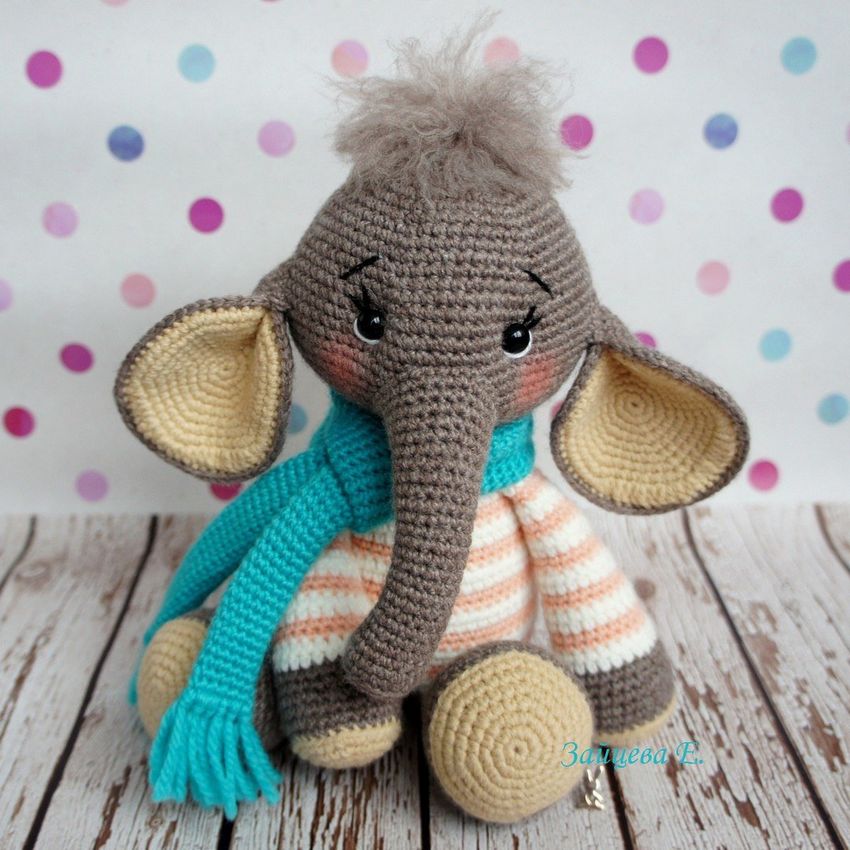
- As a rule, the figure of animals and people is disproportionate - a large head on a small body, eyes set low, and the nose and mouth, on the contrary, higher than usual;
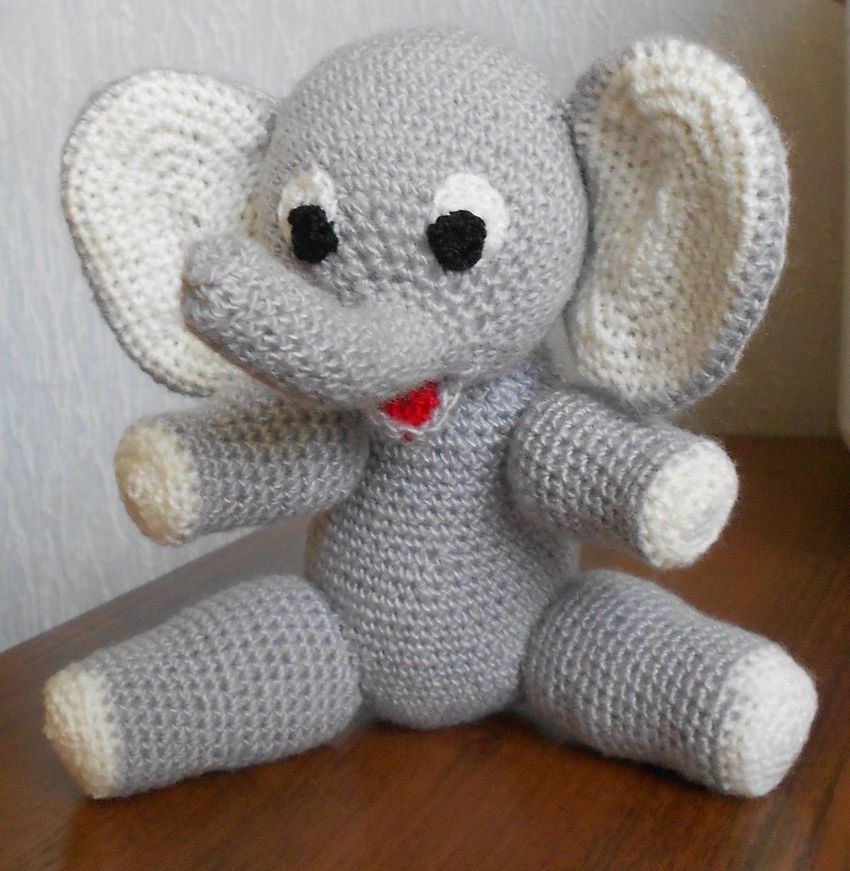
- The knitting is very dense, with no gaps;
- Each piece is knitted separately, then stuffed with filler and sewn or joined with hinges to other pieces;
- knitting is carried out in a spiral, the circles are not connected by stitch.
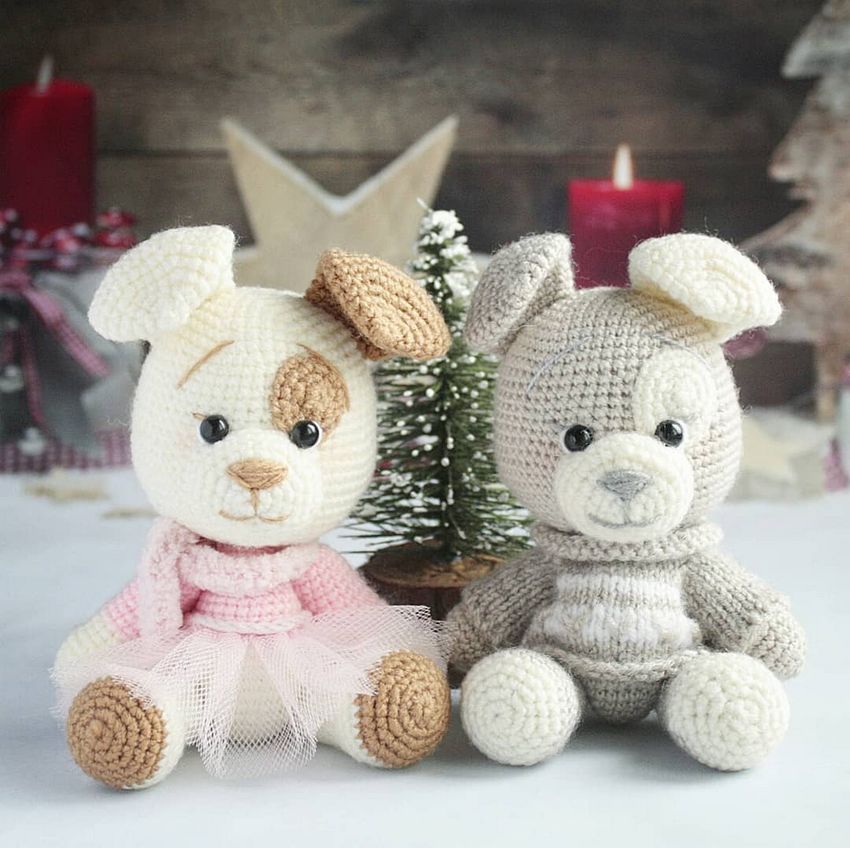
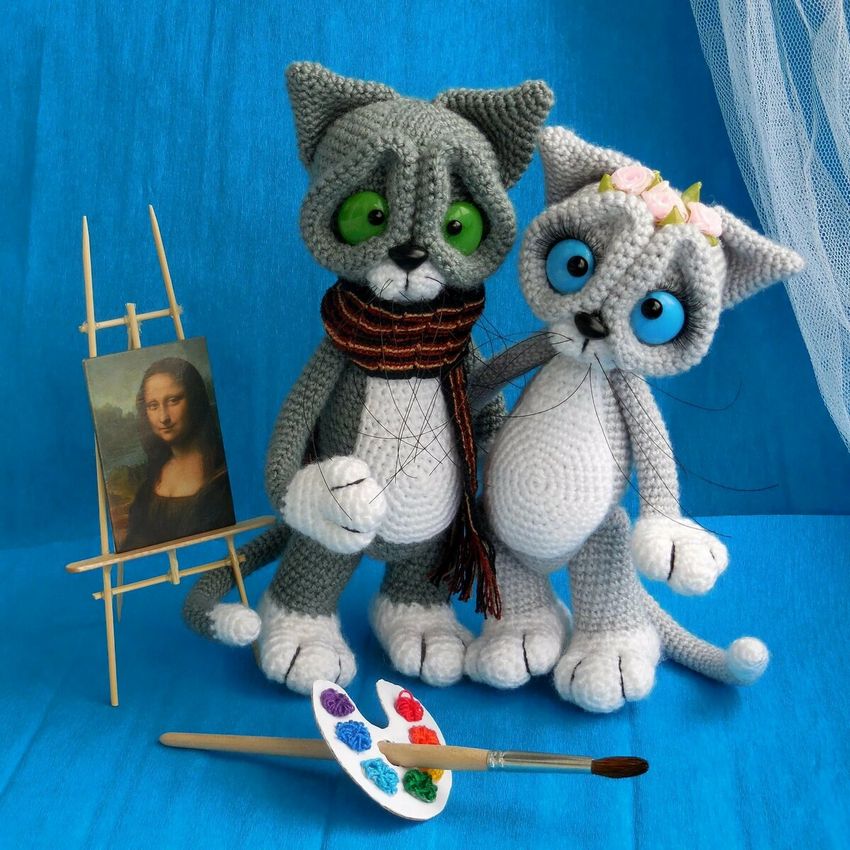
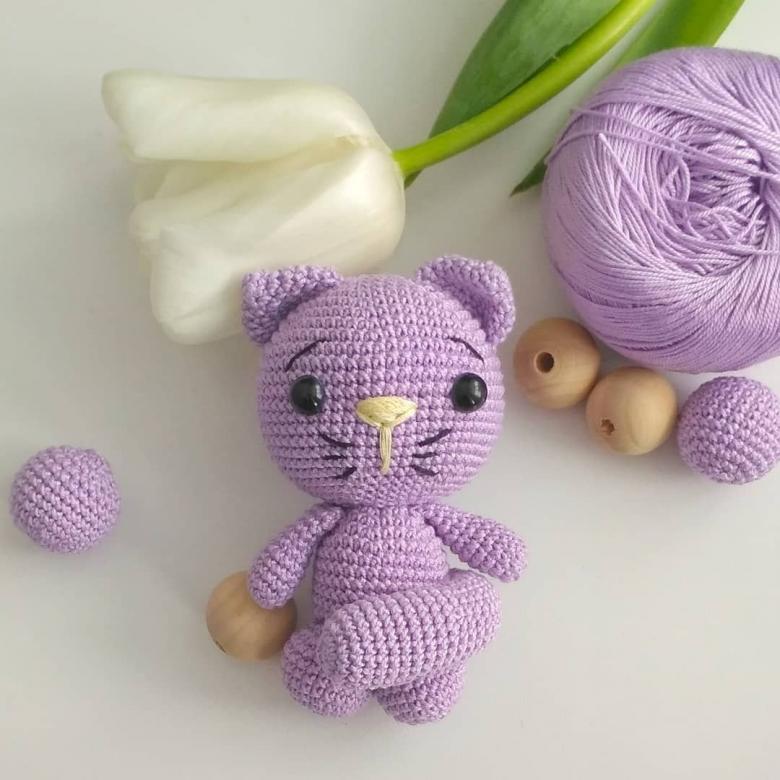
In figures made in the form of living creatures, the face must express emotion: be sad, happy, surprised, impressed, etc.
What will be needed for work
Yarn chosen depending on the desired end result:
- Yarn of Russian production "Iris", made from 100% cotton, is well suited for the smallest things;
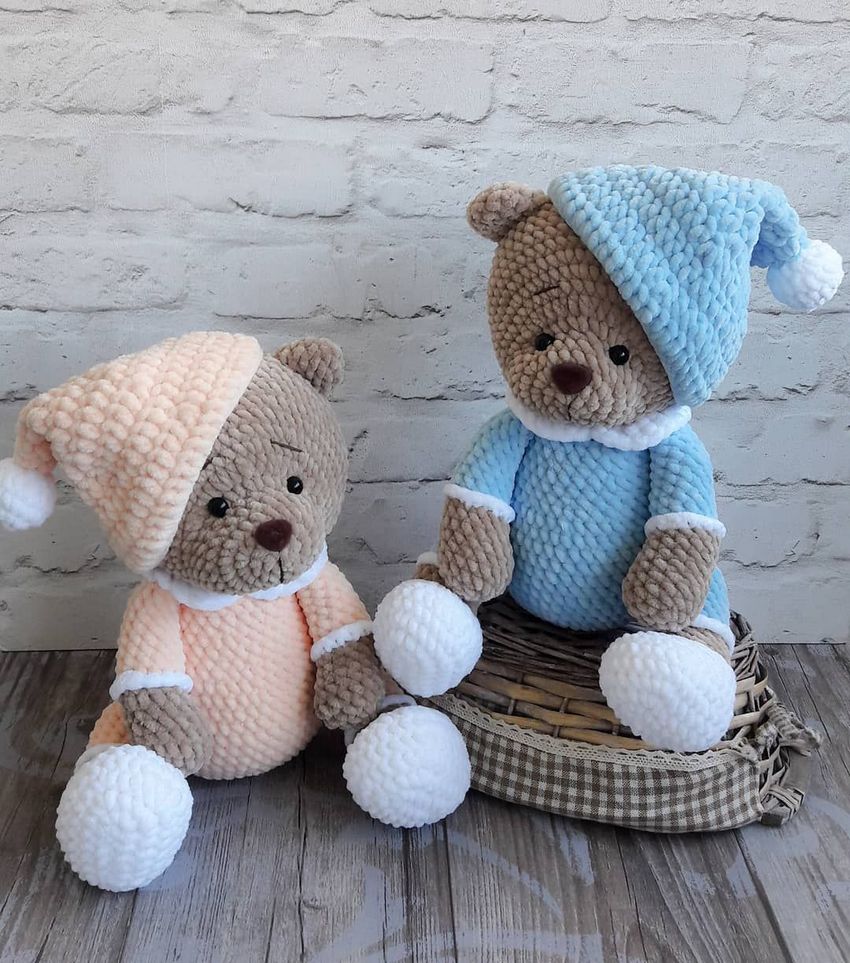
- Wool is the ideal material for fluffy, voluminous products;
- yarn with long fleecy "grass" is used for knitting shaggy animals.

For those who are just beginning to learn the technique of weaving, it is recommended to take a fairly thick yarn, such as acrylic with wool or pure acrylic (suitable yarn "Kroha" (Troitsk), whose composition consists of 20% wool and 80% acrylic). Such a yarn will be easier to perform dense knitting without gaps.
Those who already have at least a little experience in the technique, you can use a thinner yarn, such as the factory Pekhorka "Children's Caprice". It is mixed, its composition 50% merino wool, 50% artificial component - fiber.

As a filler for stuffing toys suitable sintepuh, hollofiber, etc. Feet, hands of people, paws of animals can be filled with plastic pieces, which will make the limbs heavier. For eyes, nose, mouth take beads, buttons, mouliné, etc.
Miniature figures can be crocheted as well as with needles. But since the seamless method is used in a circle, the hook is still preferable to the needles. To get a dense cloth, its diameter should be small.
Fundamentals of crochet amigurumi
Crochet amigurumi toys for beginners and those who knit for a long time, begins with a ring. Its peculiarity is that it is sliding. Therefore, when the first row is crocheted, the ring must be tightened to close the hole more tightly.
Ways to get the ring:
- Leaving 5-7 cm from the edge, the yarn is wrapped around two fingers. Remove the resulting ring from the fingers, pull the yarn through it and tighten. The resulting loop on the hook will be the basis on which further work will be carried out. This option is a traditional Japanese way.
- The yarn is wrapped around the hook and pulled. The loop is as in the first version.

In the resulting ring, two air loops are tied, then hook the hook into the first loop (ring), grab the working thread, pull it out, grab it again and tie two loops on the hook (stitches, stitches). The no-flip stitches are the basis of the technique we are studying.
In most cases, the first row consists of 6 sts. After tying it, tighten the ring by pulling the short edge of the yarn, and continue to move on, in a spiral. On the 2nd row make additions to increase the part: knit on each column of the first row by 2 stsbn. Respectively, for the loss of 2 columns knit 1 column.
If the yarn is too thick, then initially it is desirable to do not 6 columns without a stitch, and more, so that the fabric remains flat.

Examples of knitting simple works
Having mastered the simple examples of crafts, you can gradually move on to more complex works.
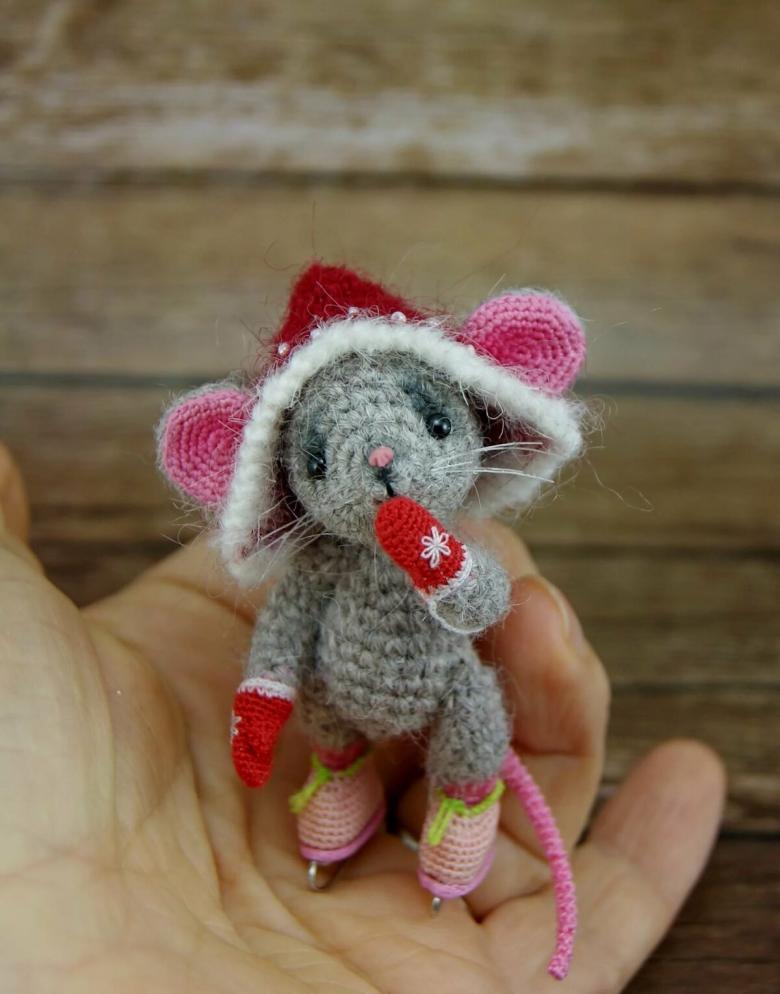
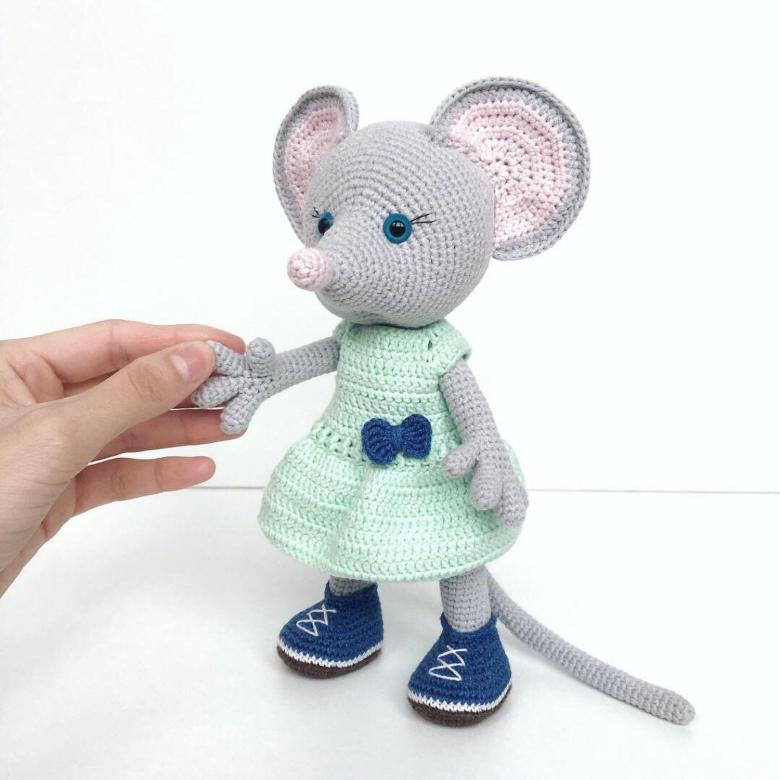
Mouse
To create a mouse, a hook with a diameter of 2.0 mm and a thick yarn (for example, "Kroha", Troitsk) is suitable. Start with a ring, then:
- knit 4 sts;
- Close the ring by pulling on the short edge;
- The loop that is on the hook, for convenience, mark it by hanging a pin marker - then it will be the first;
- 2 р. - Make an addendum on each stitch of the 1st stitch. (The end result will be 8 sts.);
- marking pin is moved to the loop that is on the hook;
- 3 р. - 8 sts;
- Do not forget to move the pin on the corresponding loop;
- 4-th - alternate addition, a column without a stitch (the end result should be 12 loops);
- 5 - knit 12 sts;
- 6 - add, 2 sts, add, 2 sts, etc., resulting in a total of 16 stitches;
- 7 - 16 stitches;
- 8 - addition, 3 bn, addition, 3 bn, etc;
- 9, 10, 11 - 20 sts each;
- 12 - take off, 3 stanzas, take off, 3 stanzas, the result should be 16 stanzas;
- 13 - truncation, 2 columns, repeat, the result should be 12 stitches; 13 - truncation, 2 columns, repeat, the result should be 12 stitches;
- 14, the final - 1 trim, 1 spb, repeat, remaining 8 loops.

Cut the main thread, leaving a medium length tip. A loop on the hook is fixed by pulling the tip through it. Then take a special needle with a blunt end, designed to work with knitted things, knitwear. It is inserted the rest of the main thread.
The body through the hole is filled with filler, trying to distribute it evenly inside the workpiece. Then the hole is sewn up, introducing the needle into the remaining 8 loops, tighten the tip. Secure the thread, tucked inside. Straighten figure, so that the nose was sharp, and the back, on the contrary, flat.
Mouse ears.
Perform a ring, then:
- knit 2 sts;
- Make 2 air loops (vp);
- Unwrap the cloth, do not tighten the ring yet;
- 2 columns with 2 hooks on the loops of the previous row: twice put the thread on the hook, put it in the loop of the second column of the first row, pull through the thread, first a loop and 1 hook, then a loop and the 2nd hook, then both loops left on the hook;
- make an addition - in the same stitch another column with 2 hooks;
- in the same way, 2 sts with 2 backs in the first stitch of the first row;
- make 2 GP and close, connecting the end with the beginning, inserting the hook into the first stitch;
- cut off the thread, tie the loop that is on the hook;
- tighten the ring.
Thing takes the form of an ear. Knit another ear and sew them to the body of the mouse.
The tail and eyes of the mouse
Make a starter loop. Knit a chain of BP of desired length. Sew to mouse body.
For the eyes take ready-made plastic parts from a craft store or embroider on their own:
- Take cotton black thread;
- Insert the thread into the needle, do not tie the knot;
- insert the needle into the back of the figure, lead it to the muzzle at the intended place of the eye, leaving the end of the thread inside;
- fasten the thread by making a stitch;
- Insert the needle, pull through not to the end, leaving a loop;
- several times wind the thread of the resulting loop on the needle, take off the needle and gently tighten;
- thread fasten, remove the needle to the back of the torso, pull slightly and cut off (the thread remains inside the handicraft).
Repeat steps for the second peephole. Mouse ready!
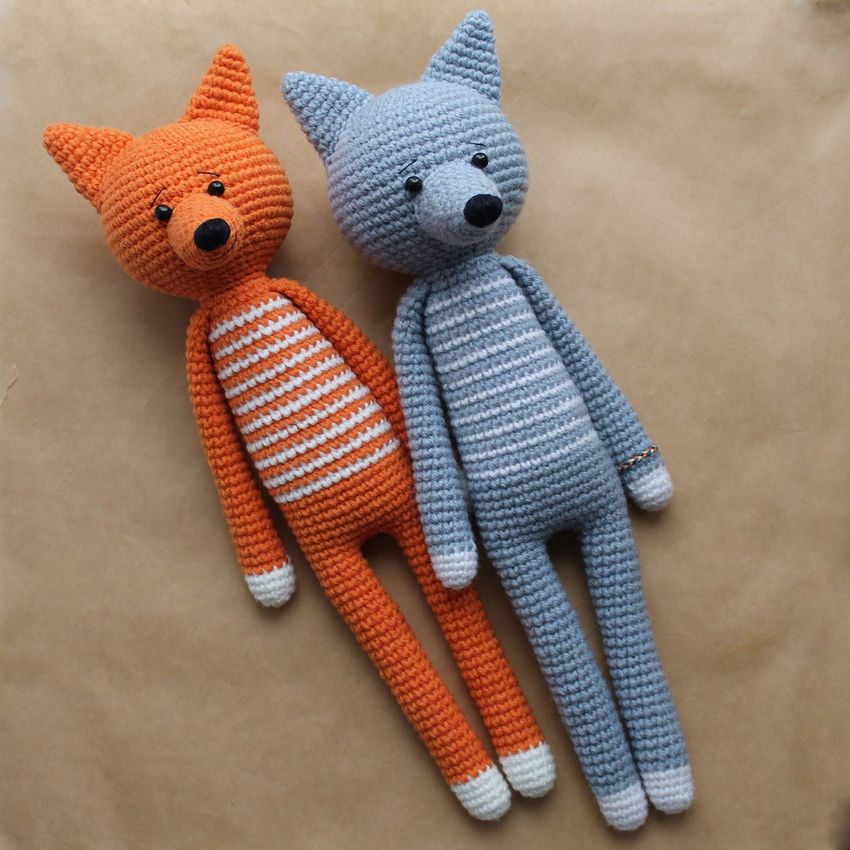
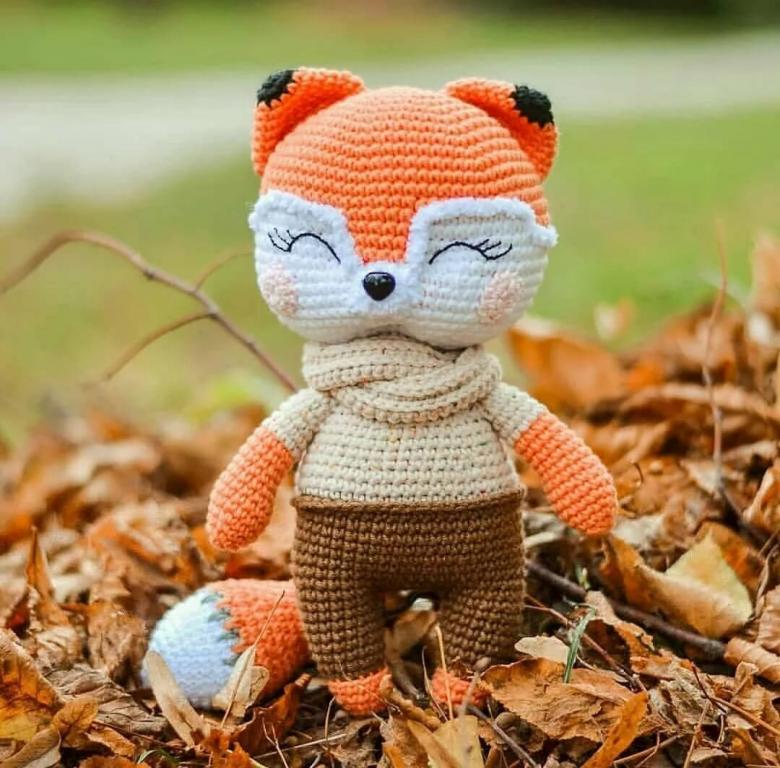
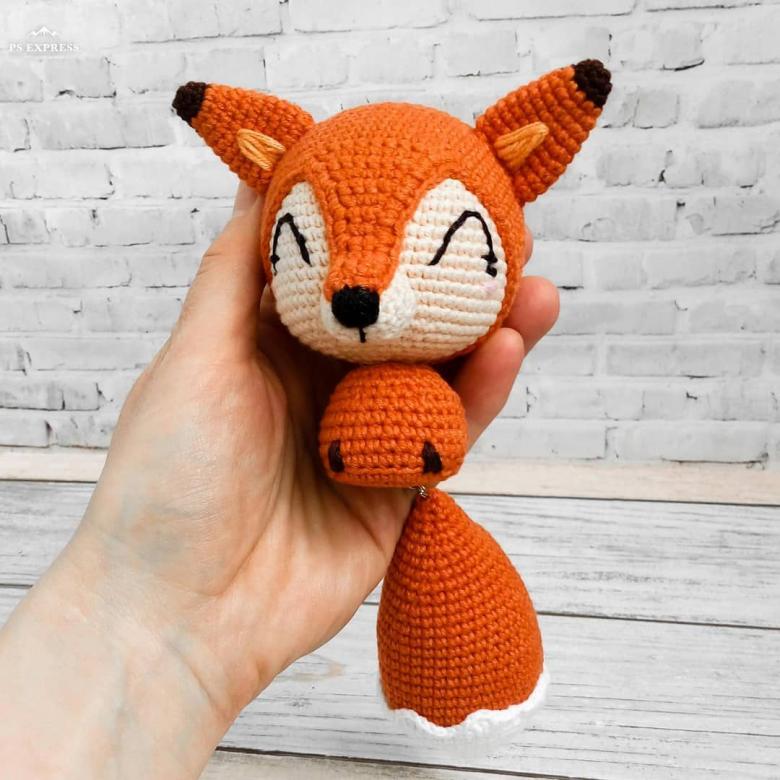
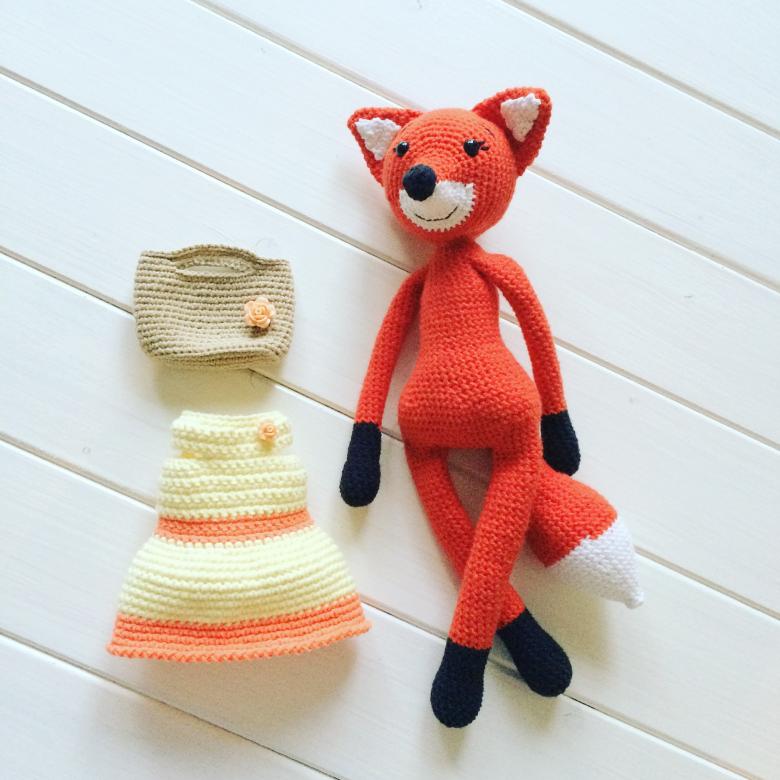
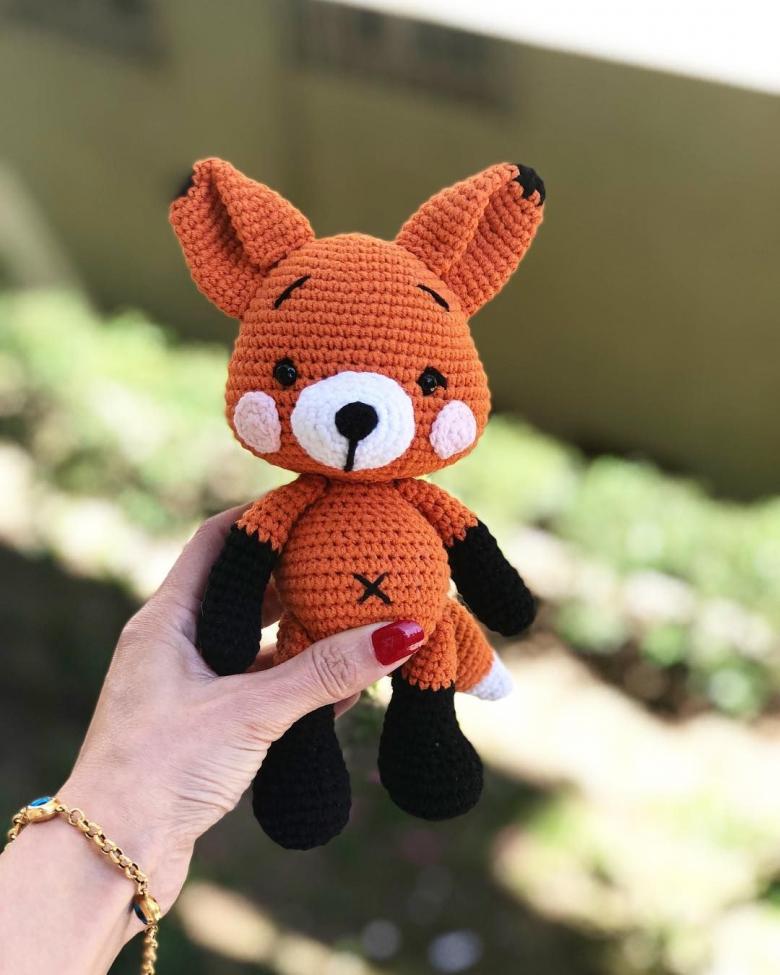
Foxy .
More complicated craft - crochet chanterelle amigurumi, the scheme and description will greatly facilitate its production. We will need:
- plush yarn (Himalaya Dolphin, YarnArt Dolce will do);
- hook number 4;
- stuffing;
- eyes with a diameter of 10 mm;
- Black bobbin thread.
All round pieces start the same way: make one air loop, tighten well and from it tie 2 air loops. In the second stitch knit 6 columns without a stitch. Thus you get the first circle.
Continue knitting in a circle (spiral) without making any join stitches.

Head
Head fox knit as follows:
- 2 р. - 1 stn, 1 add (pr.), repeat 6 times (12);
- 3 - 1 st, pr., 6 times (18);
- 4 - 2 sts, pr, 6 times (24);
- 5 - 3 st, pr, 6 times (30);
- 6 - 4 sts, pr, 6 times (36);
- From 7 to 9 - 36 sts;
- 10 - 4 st., 1 st. (ub.), 6 times (30);
- 11 - 3 sts., ub., 6 times (24);
- 12 - 2 st., ub., 6 times (18);
- 13 - 4 st., ub., repeat 3 times (15);
- 14 - 15 columns.
Warning. In row 13, the combination is repeated not 6 times, as in previous rows, but 3 times.
Front paws
Front paws knit as follows:
- 1 row (6 sts. in CA) is performed with white thread;
- 2 - 6 sts;
- From row 3 to 6 - switch to orange thread, 6 sts each.
After the elements are done, the hole is folded and tied behind both walls with two sts. The main thread is cut, leaving a small tip, which tucked into the handicrafts.
Ears
Ears are made in the order below, in each row of combinations repeated 2 times:
- 2 - Addition, 2 st. (8);
- 3 - Ave, 3 sts (10);
- 4 - pr., 4 st. (12);
- 5 - Ave, 5 st. (14);
- 6 - 14 sts;
- 7 - 1 subtraction, 5 st. (12);
- 8 - 1 subtraction, 4 st. (10).
After the parts are connected, the thread is cut and fastened.
Back legs.
These parts are knitted in this method:
- 1 row (6 sts. in CA) perform white thread;
- 2 - 6 apr. (12);
- 3 through 4 - orange thread, 12 sts.
- 5 - 2 sts., trim, 3 times.
Details stuffed with filler, the holes fold in half and for both sides of the stitching 3-ma sts.
The torso .
Begin in this order:
- Second row - 6 pr. (12);
- 3 - 1 st, pr., 6 times (18).
In the 4th row begin to knit back legs: put one of them to the torso and along the way knit elements together 2 sts, then in the last stitch details join prikabivkoy. Further on the body make 1 stn, attach the second paw and bind parts according to the scheme: 1 st, pr., 1 st.
Then continue to finish knitting: 1 st, pr., then comes the combination of 2 st., pr., which is repeated 3 times (24). The beginning of the row marked with a marker and continue according to the scheme:
- 5 row - 24 sts;
- 6 - 10 st., stub., 2 times (22);
- 7 - 9 st., umbe. 2 times (20);
- 8 - 20 sts;
- 9 - 8 sts, gaps, 2 times (18);
- 10 - 18 sts;
- 11 - 4 st., ub., 3 times (15).
Cloth is cut off, thread is tightened, hide inside. Fill the body with filler.
Muzzle, tail
Muzzle knit with white thread:
- Second row - 6 pr. (12);
- 3 - 12 sts;
- 4 - 3 sts, pr., 3 times (15).
The tail begins with white thread:
- 2 - 1 st, pr, 3 times (9);
- 3 - 2 st., pr, 3 times (12);
- 4 - 3 sts, pr, 3 times (15);
- 5, changing to orange yarn, 15 sts;
- 6 - 3 sts, tr., 3 times (12);
- 7 - 2 st., tr., 3 times (9);
- 8 - 1 st, pr, 3 times (6);
- 9 - 6 st.
The tail is filled with filler.
All parts are connected to each other. You can use ordinary cotton thread or monofilament and a needle with a blunt end and a wide eye. Sewing thread is folded several times for strength.

Nose on the snout embroidered with black floss. From his center down to run a strip and embroider a smile. Eyes are attached either with a secure attachment, or glued with glue.

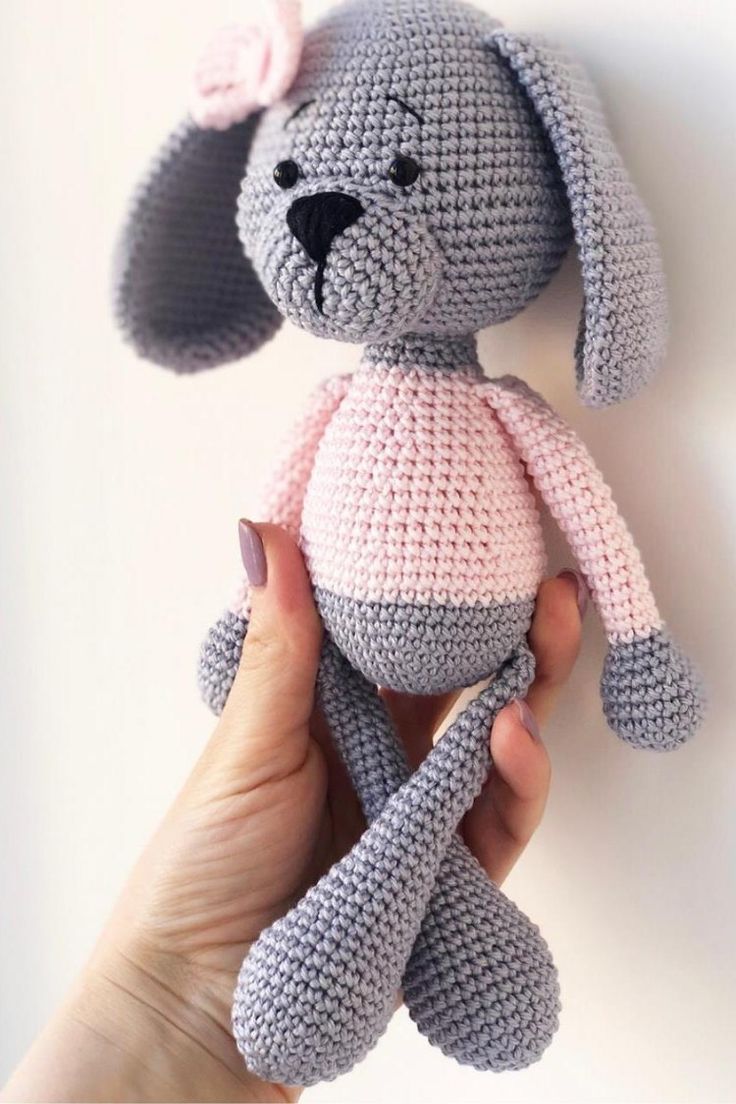
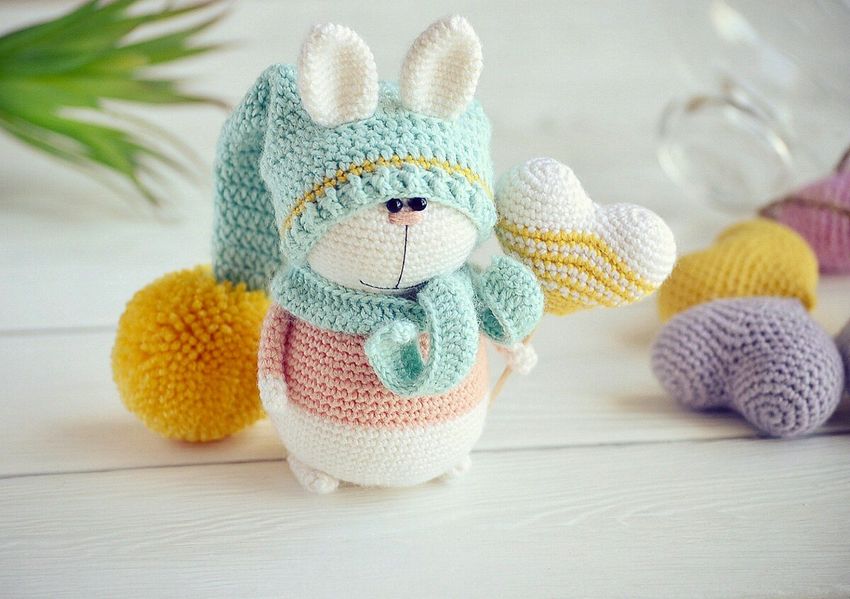
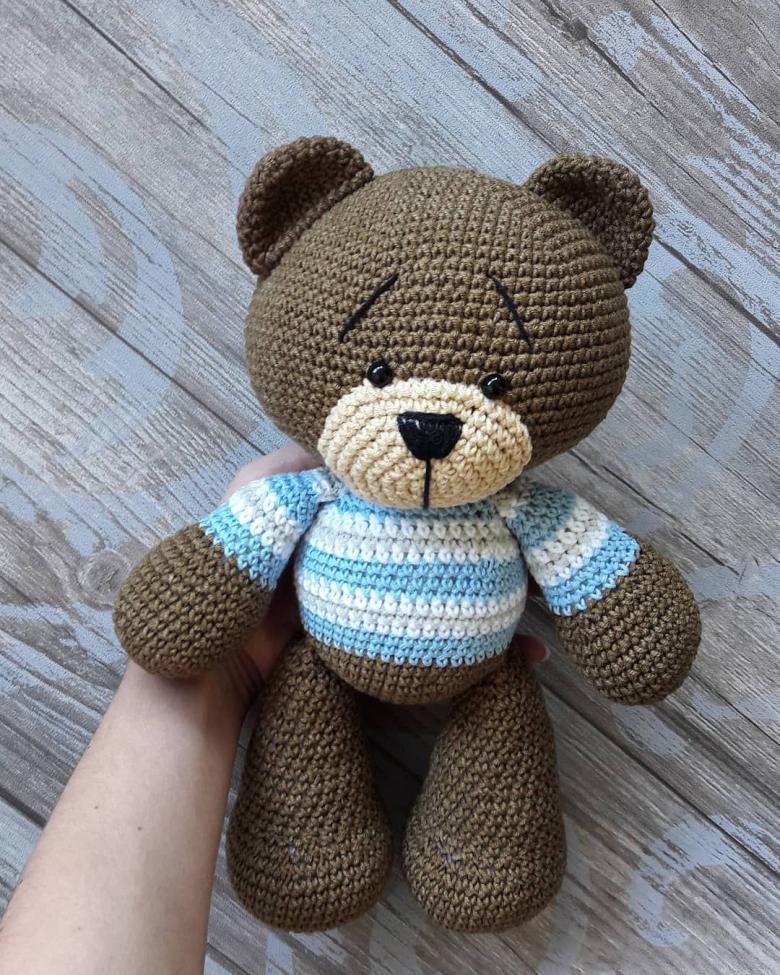
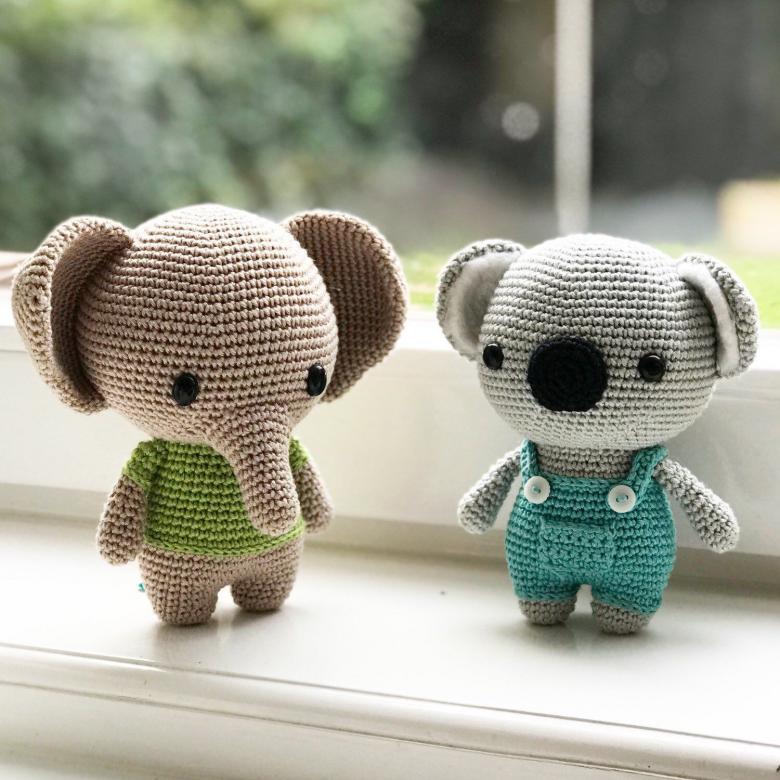
Notes: handmade dolls are not the same, even if sewn according to the same scheme, so it is not difficult to make just yours, one-and-only toy in the world amigurumi. Do not be afraid to experiment!
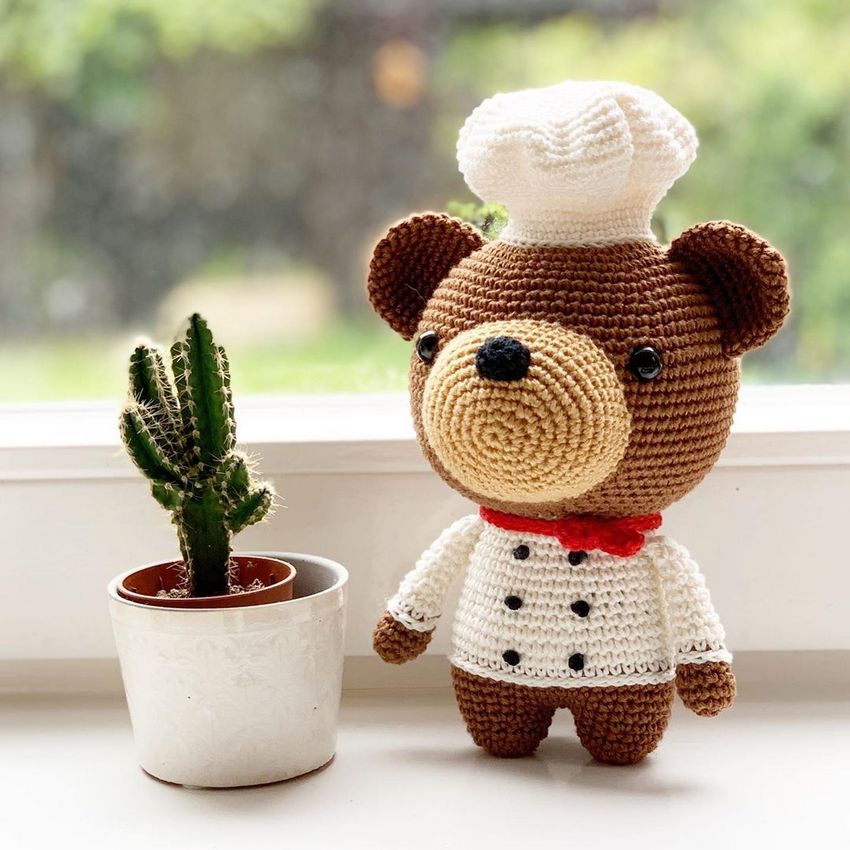
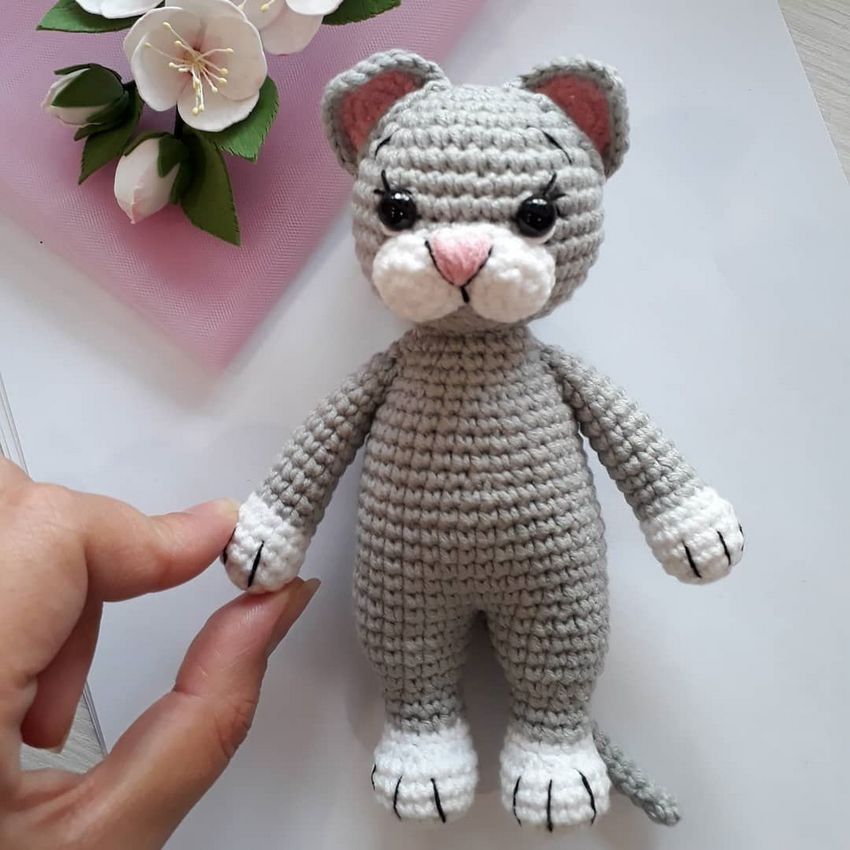
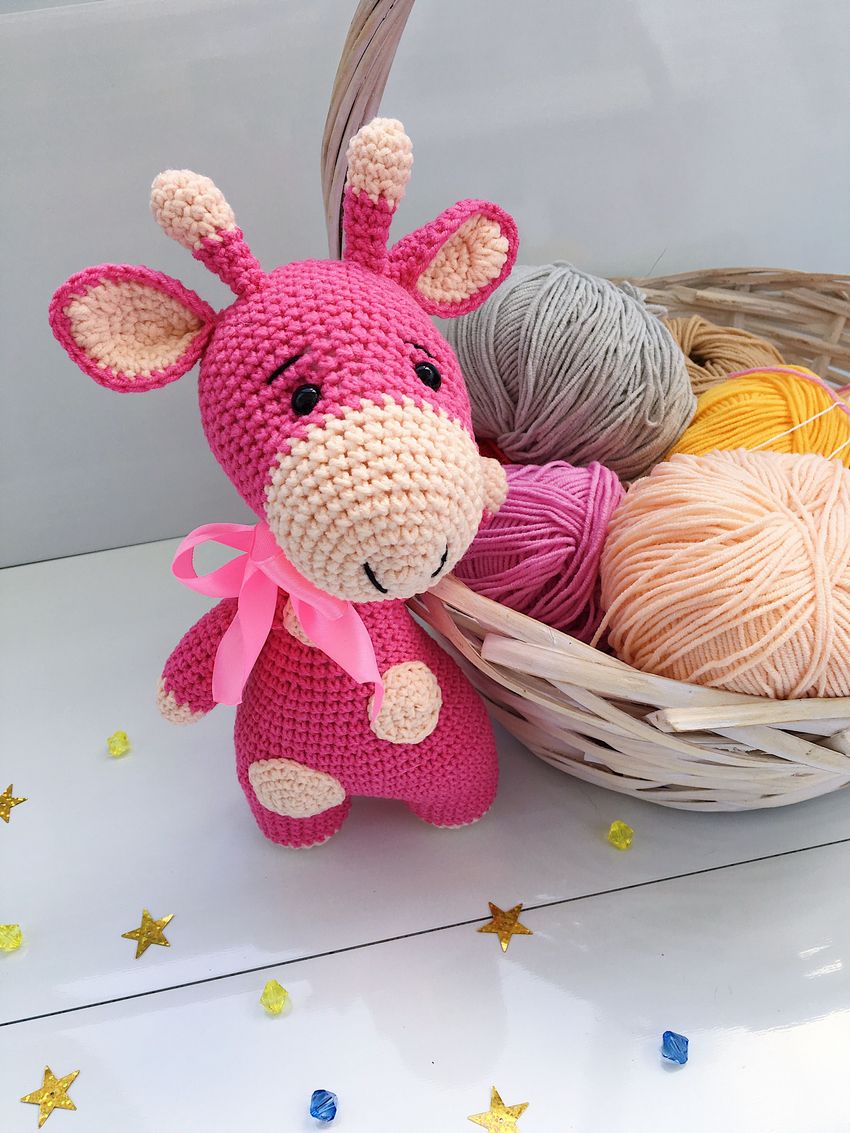
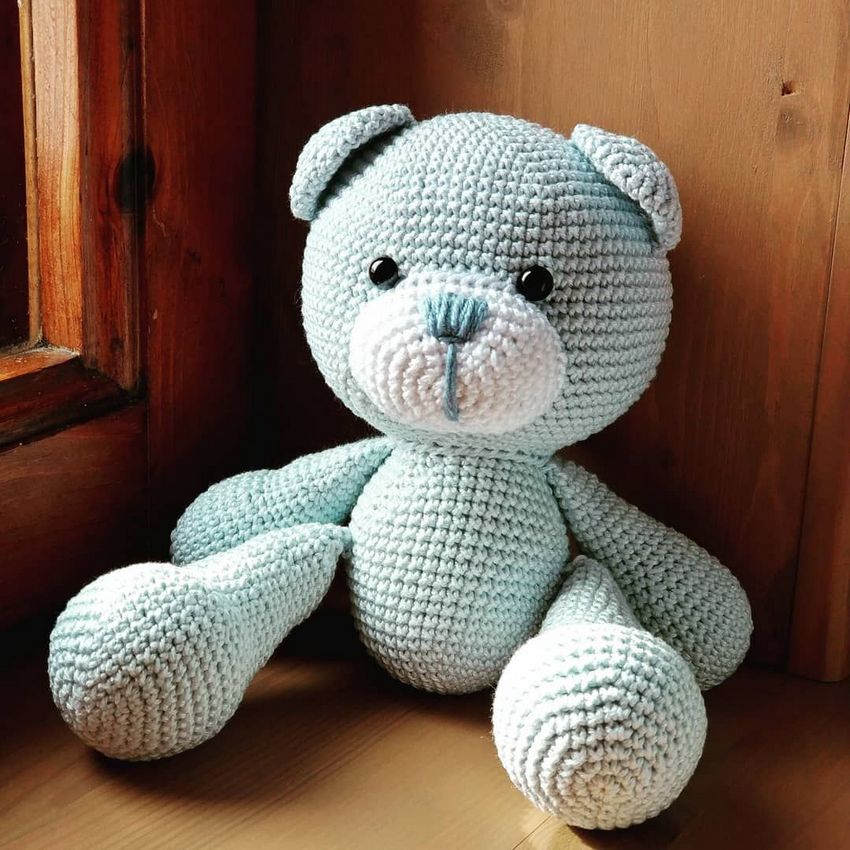
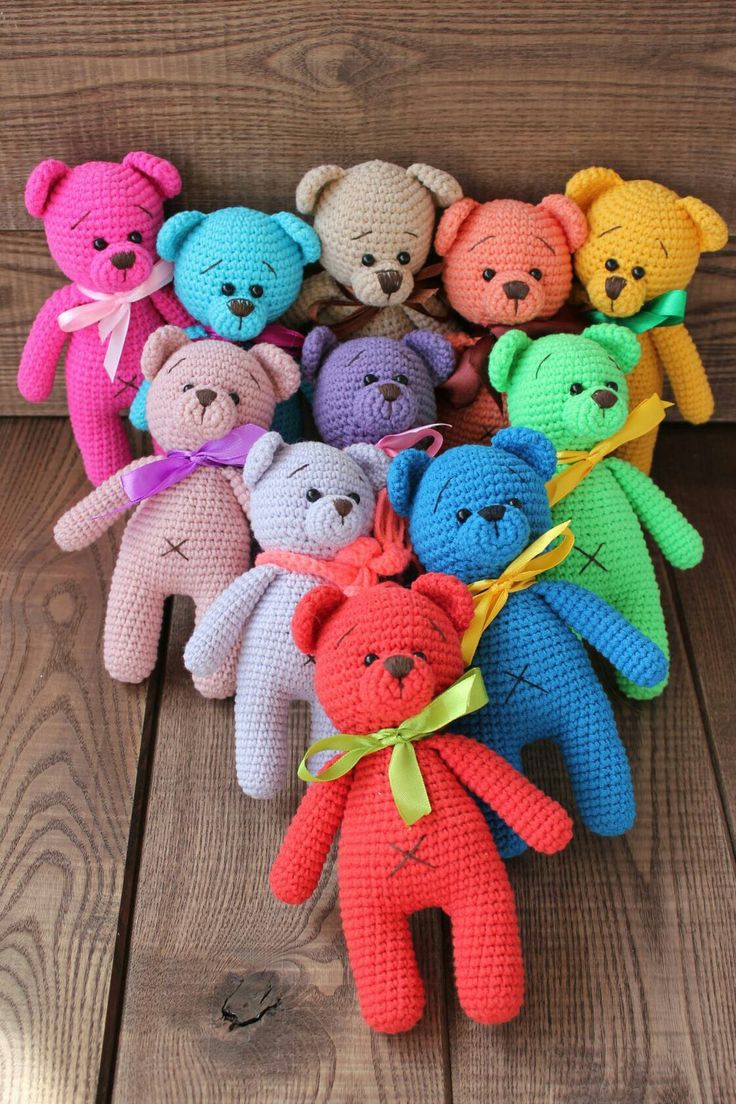
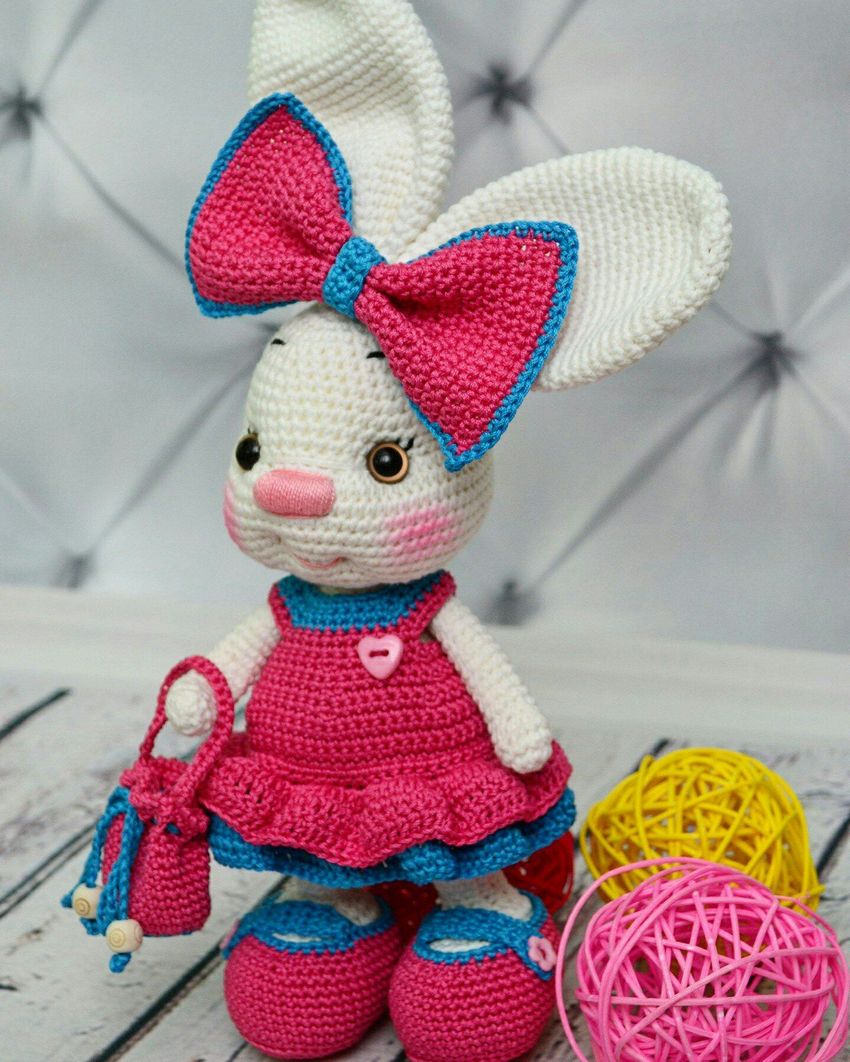
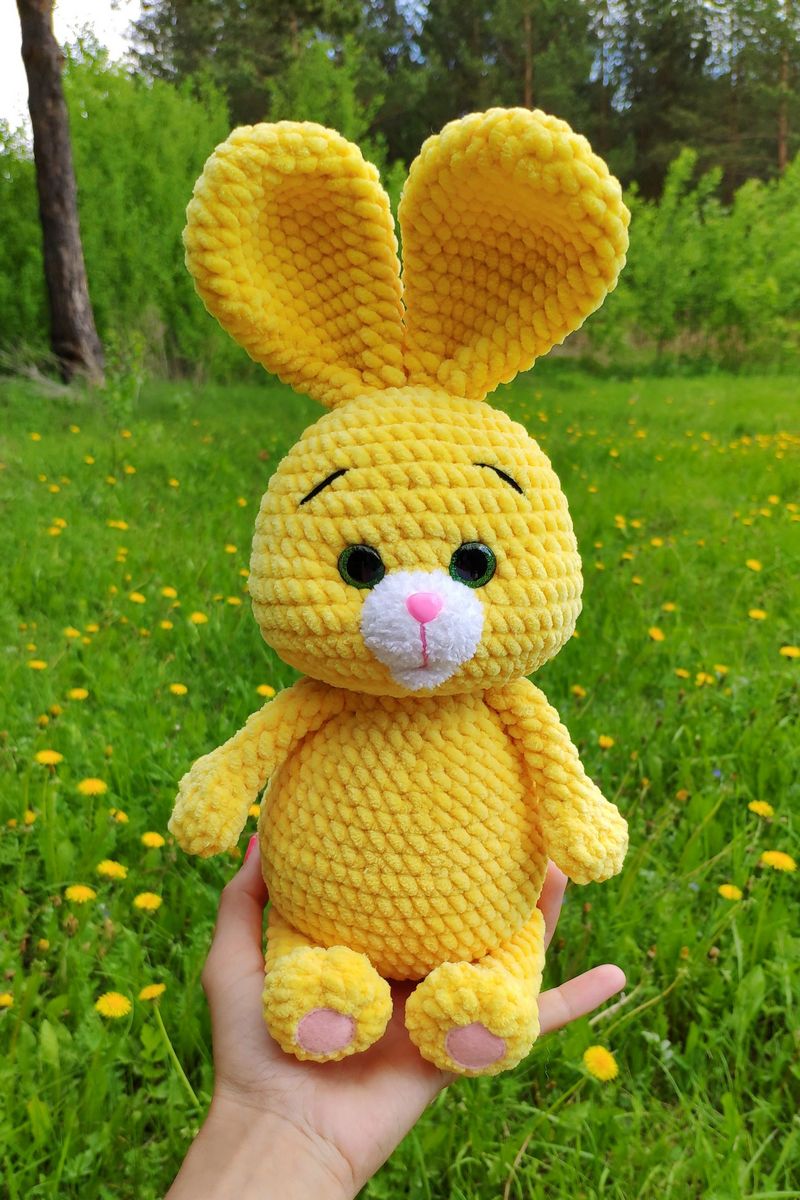
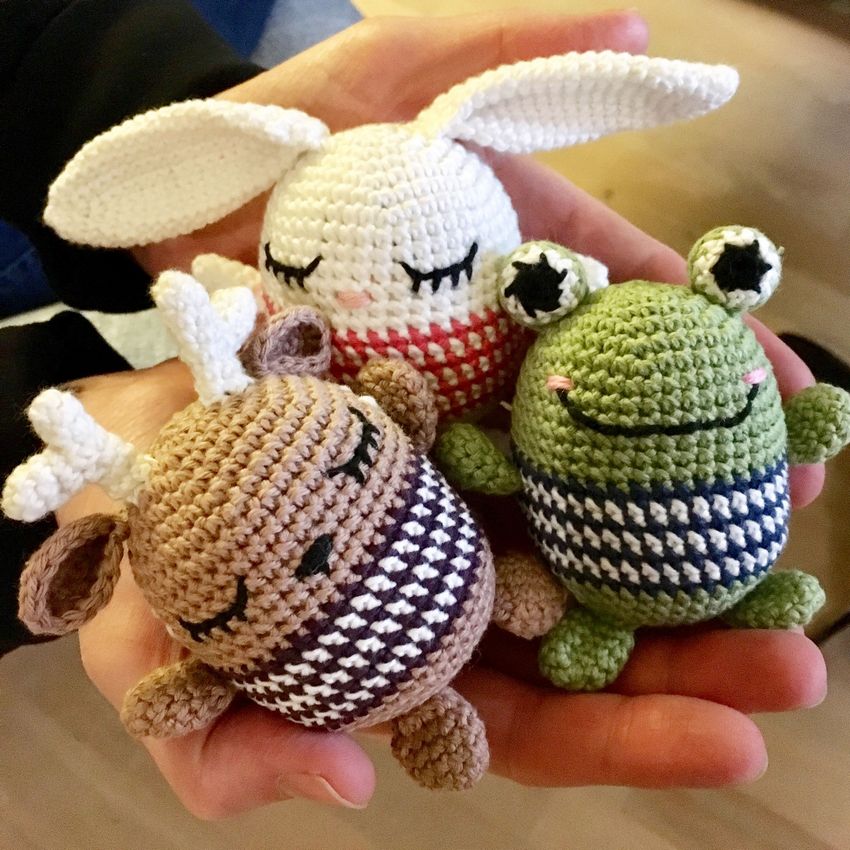
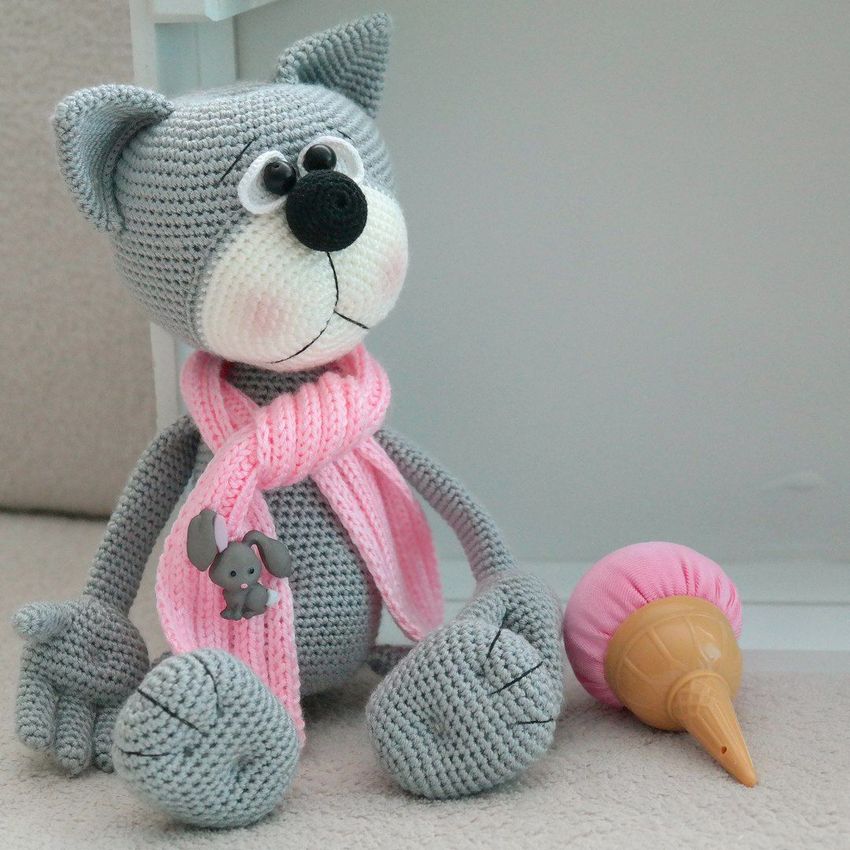
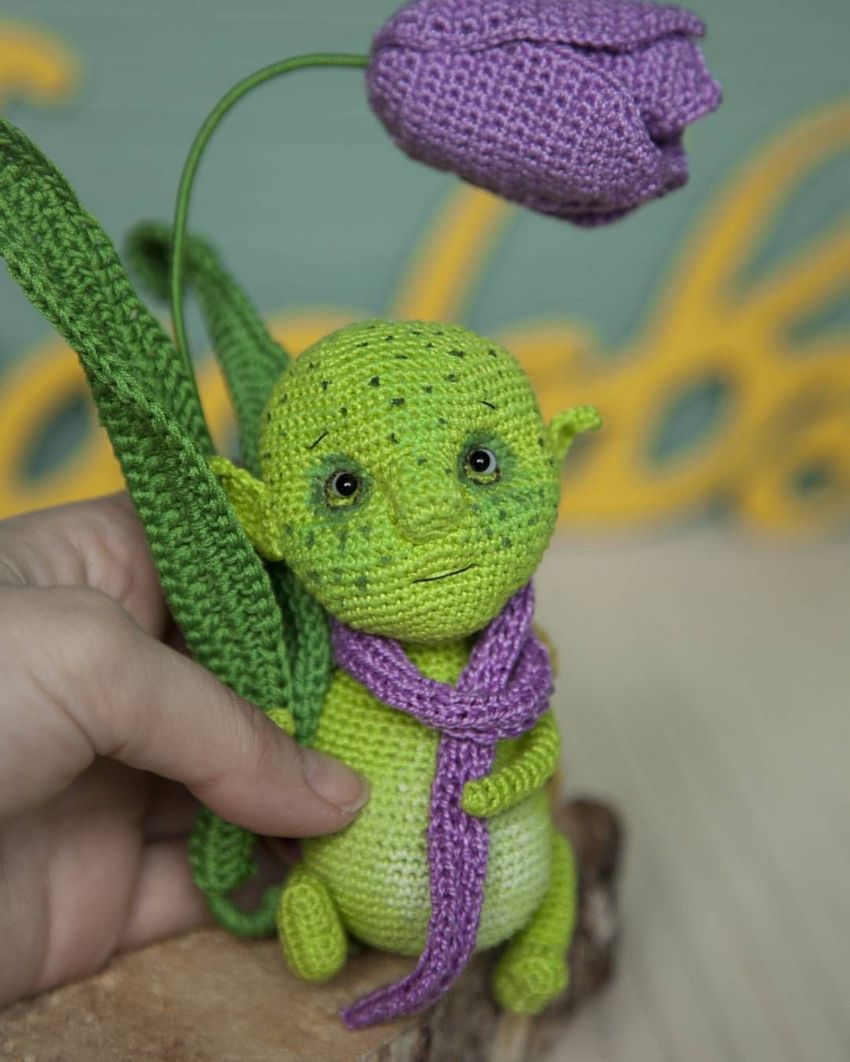
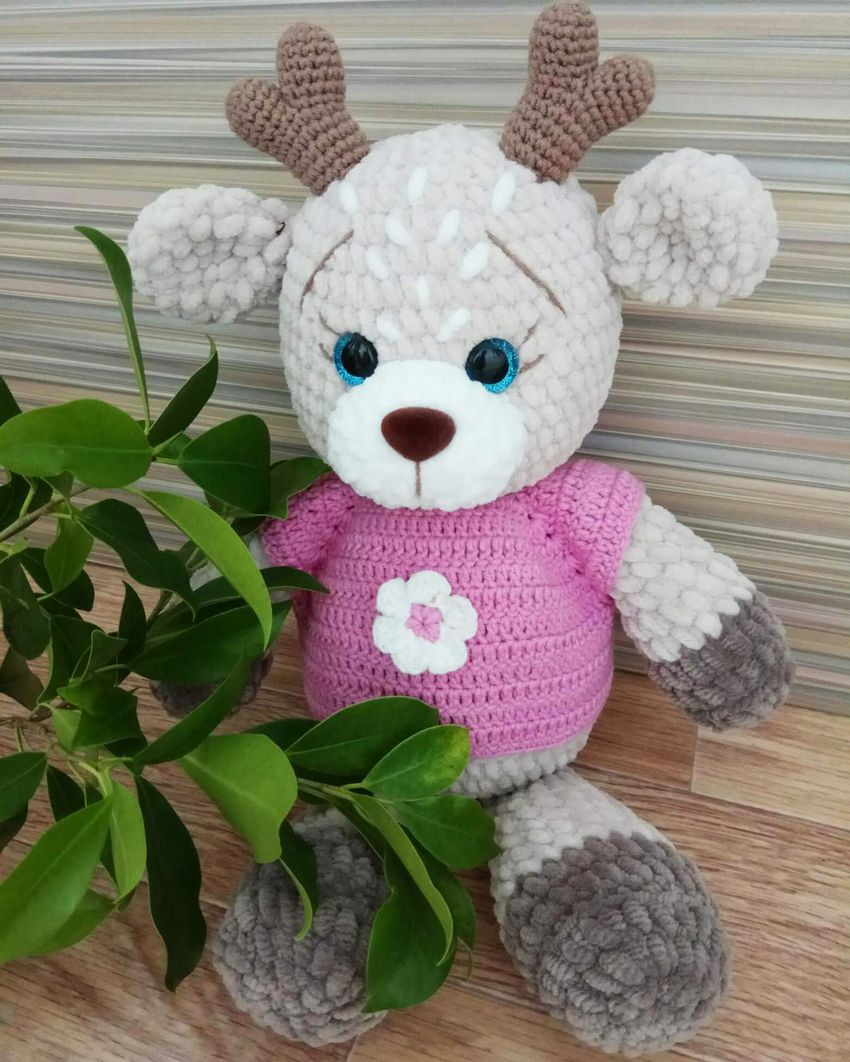
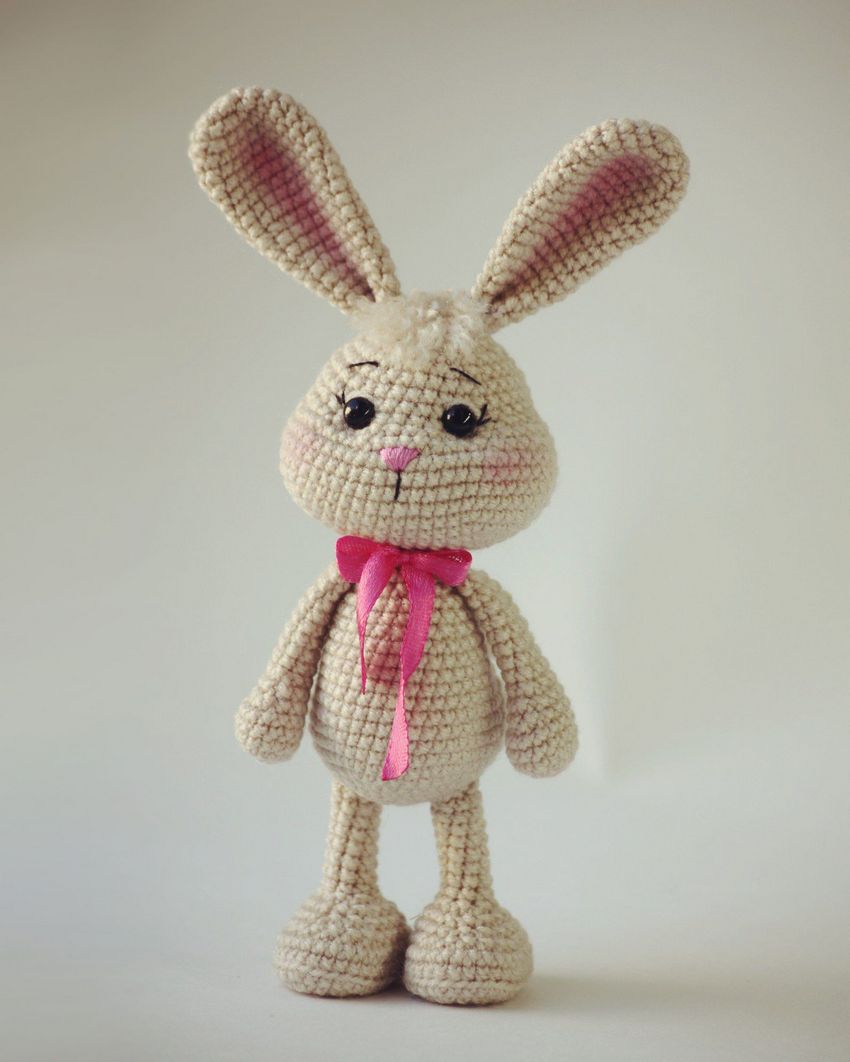
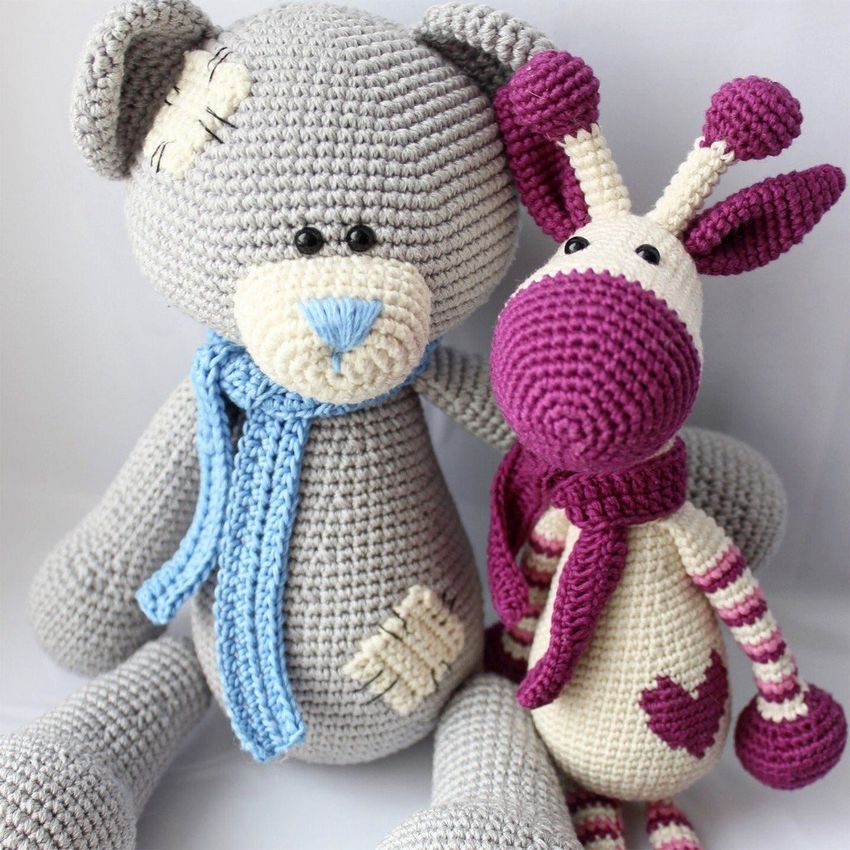
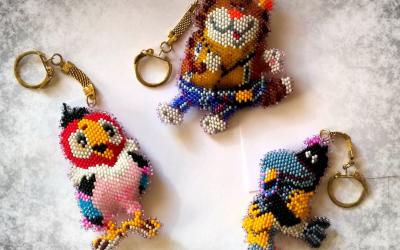
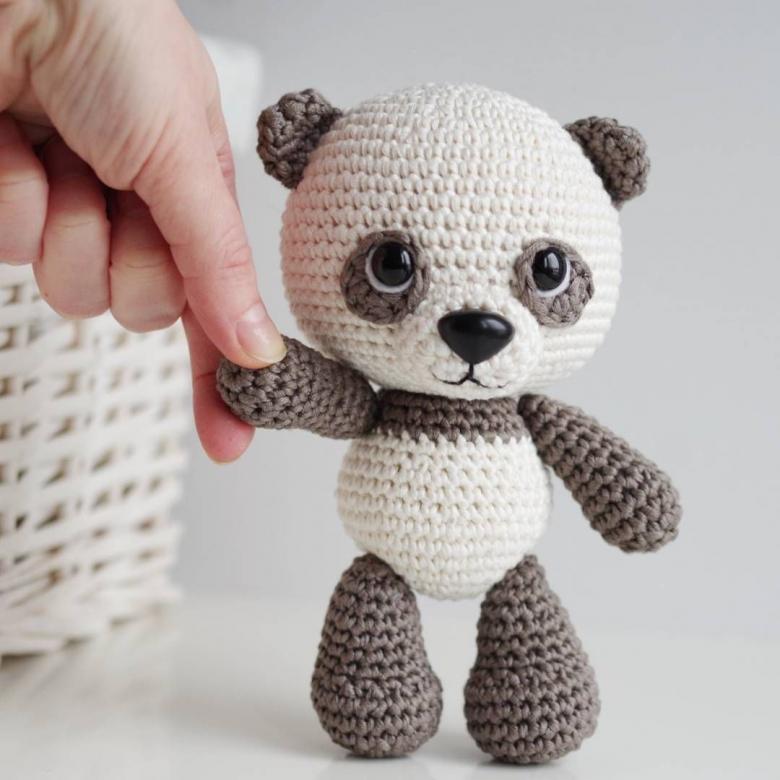
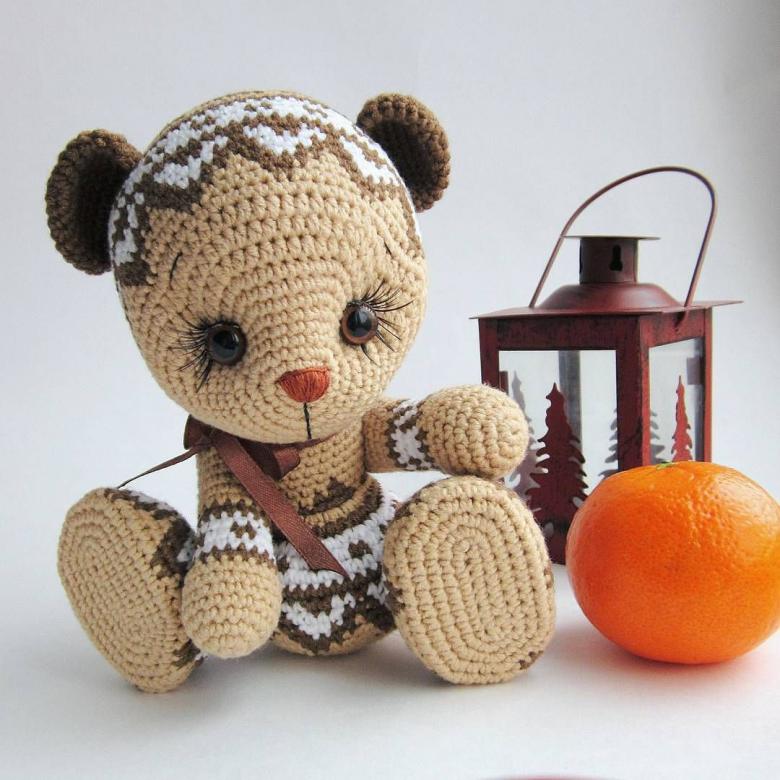
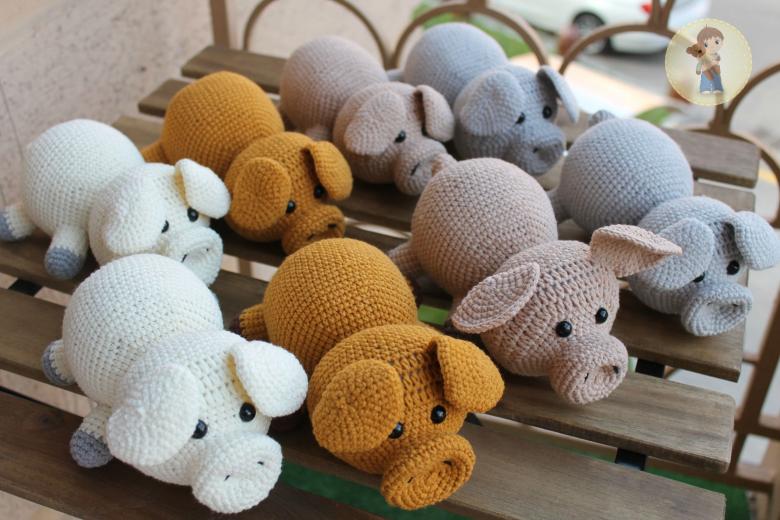
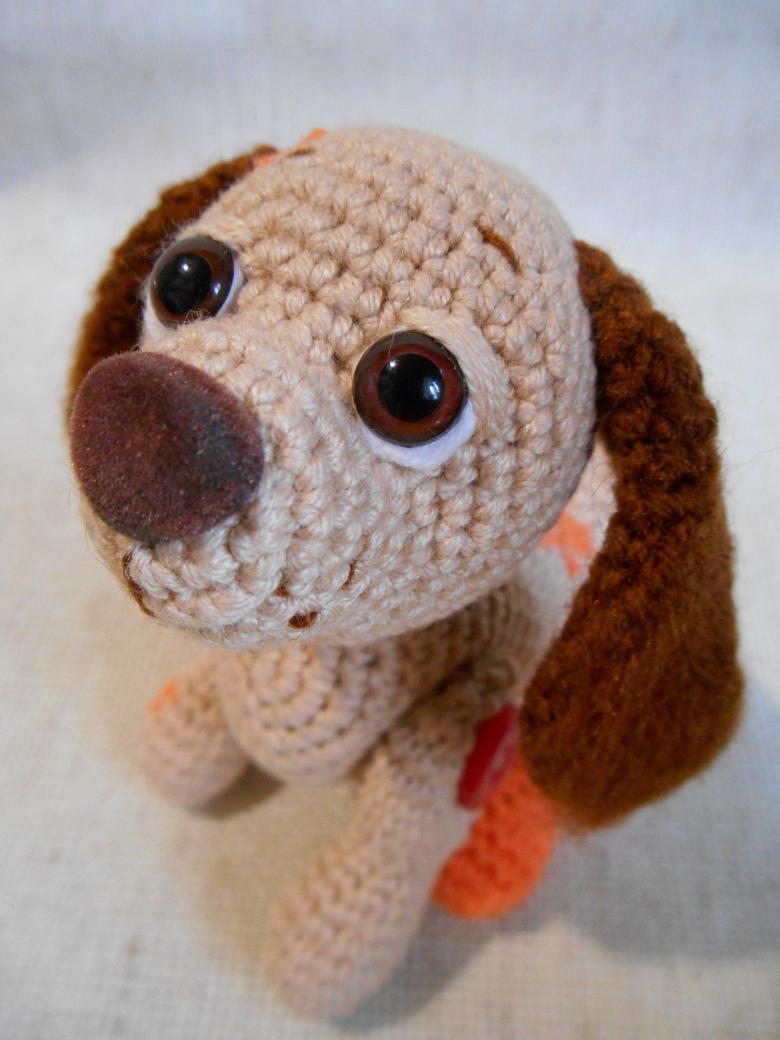
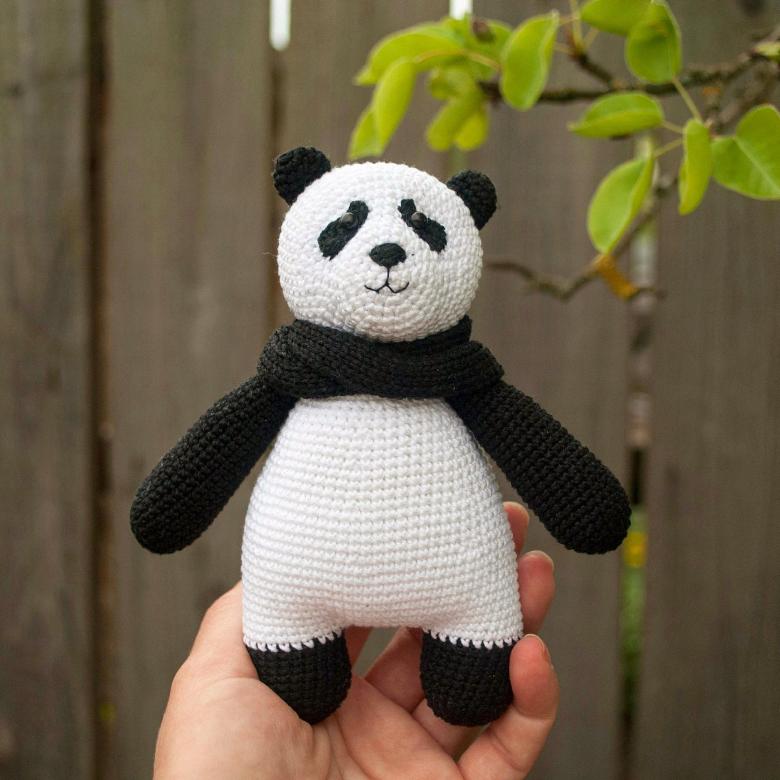
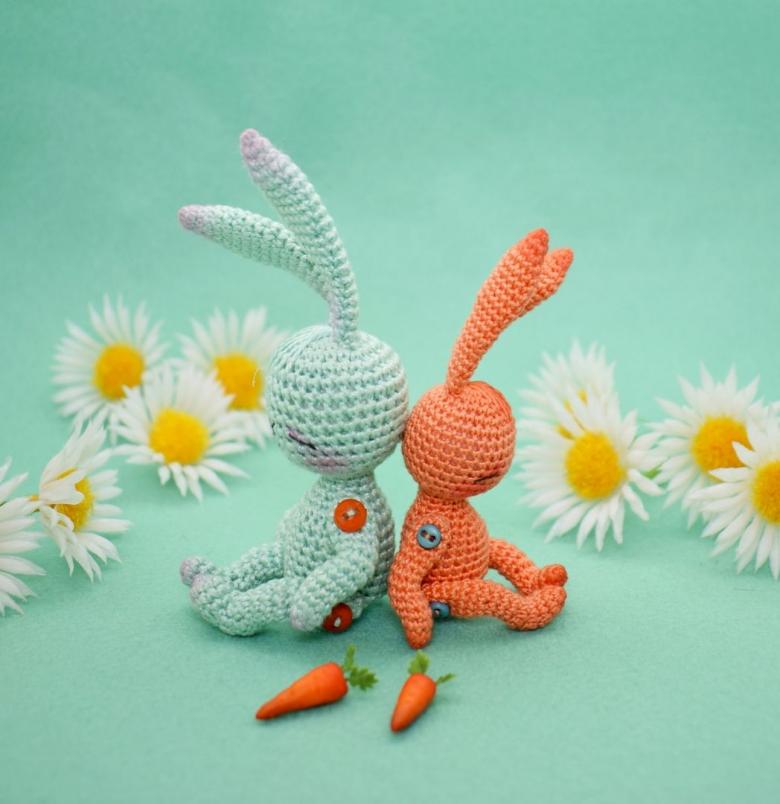
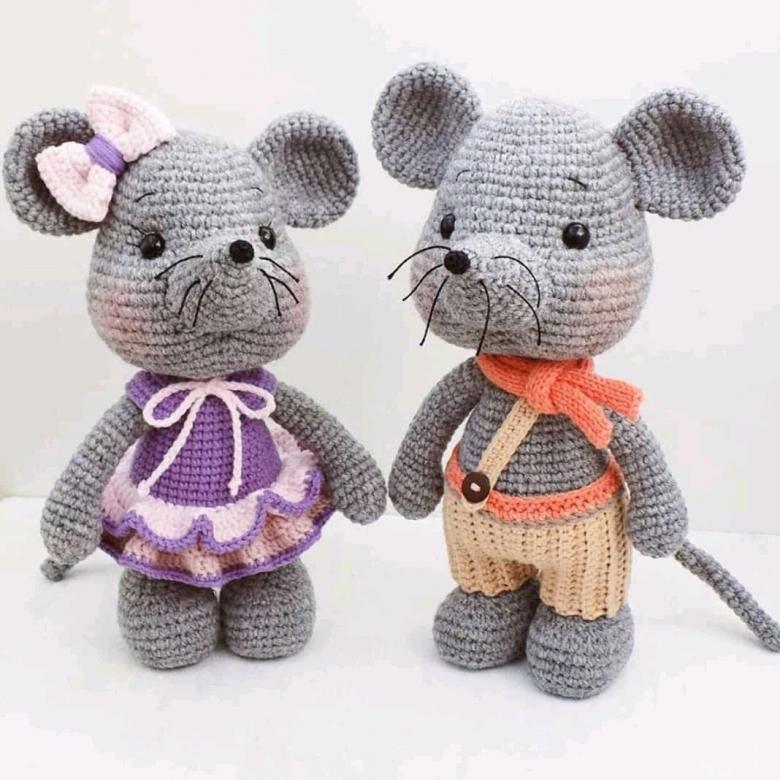
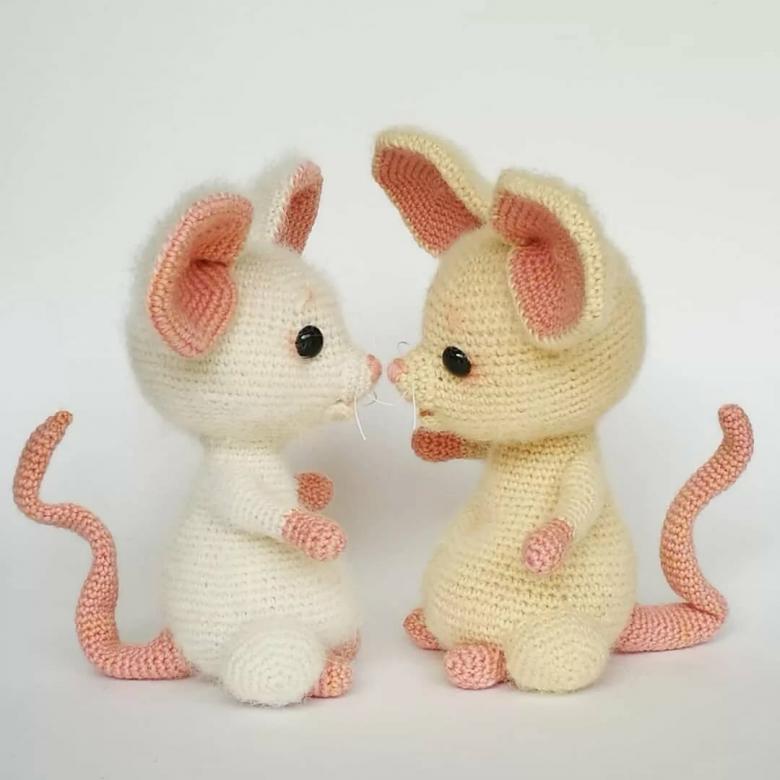
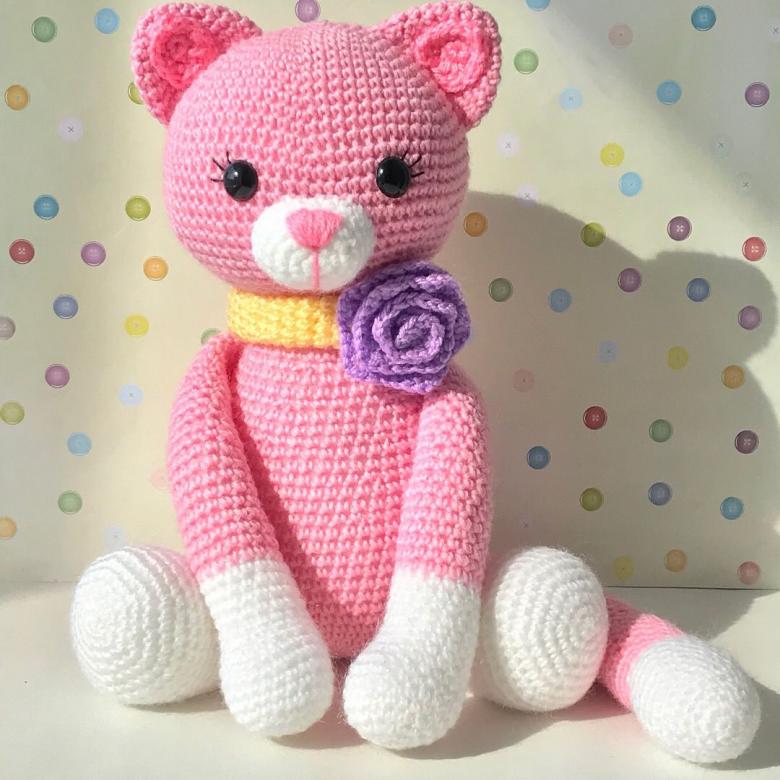
Photo ideas of beautiful homemade amigurumi