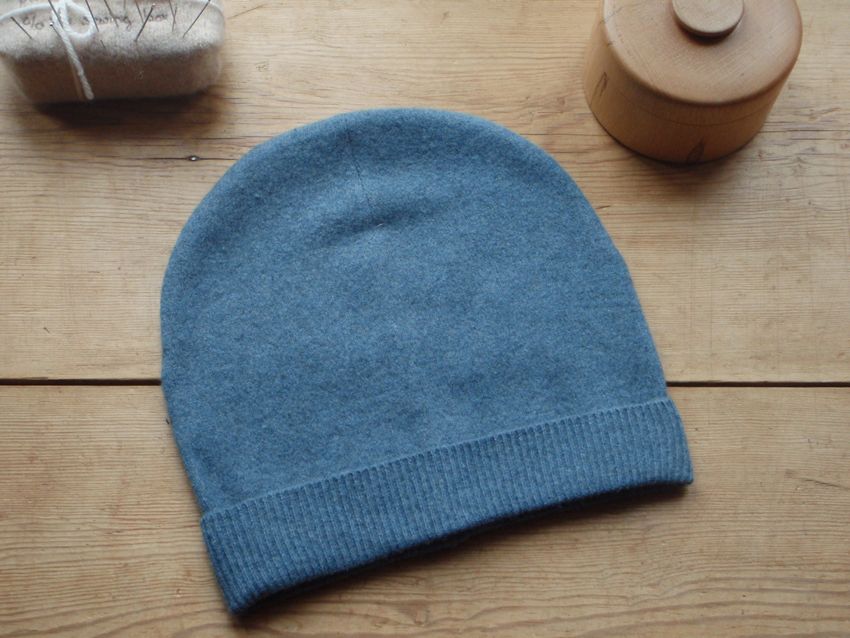
How to sew a hat with your own hands - patterns, ideas, steps to do the work
Needlewomen love to create unique things with their own hands. To create a hat for them will not be difficult. You need to have patterns and 2-3 hours of free time. Shopping centers offer a wide range of hats, different studios are engaged in sewing fur and other types of hats, but, despite this, to find a model that meets all the requirements is not always possible.
Getting ready to go
Knitted hats never go out of fashion. The following types of fabric are best for sewing it:
- Lightweight translucent fabric is suitable for late spring or early fall models.
- Wool dense fabrics are suitable for winter or late fall models.
- Synthetic fabrics are suitable for both summer and winter models.
There is a knit that combines both natural and synthetic fibers. Such a fabric does not crumple and fairly well holds shape. For sewing a hat you need:
- Fabric of any color.
- Sewing machine.
- Pattern.
- Threads of the same color as the fabric.
- Needle.
- Scissors.
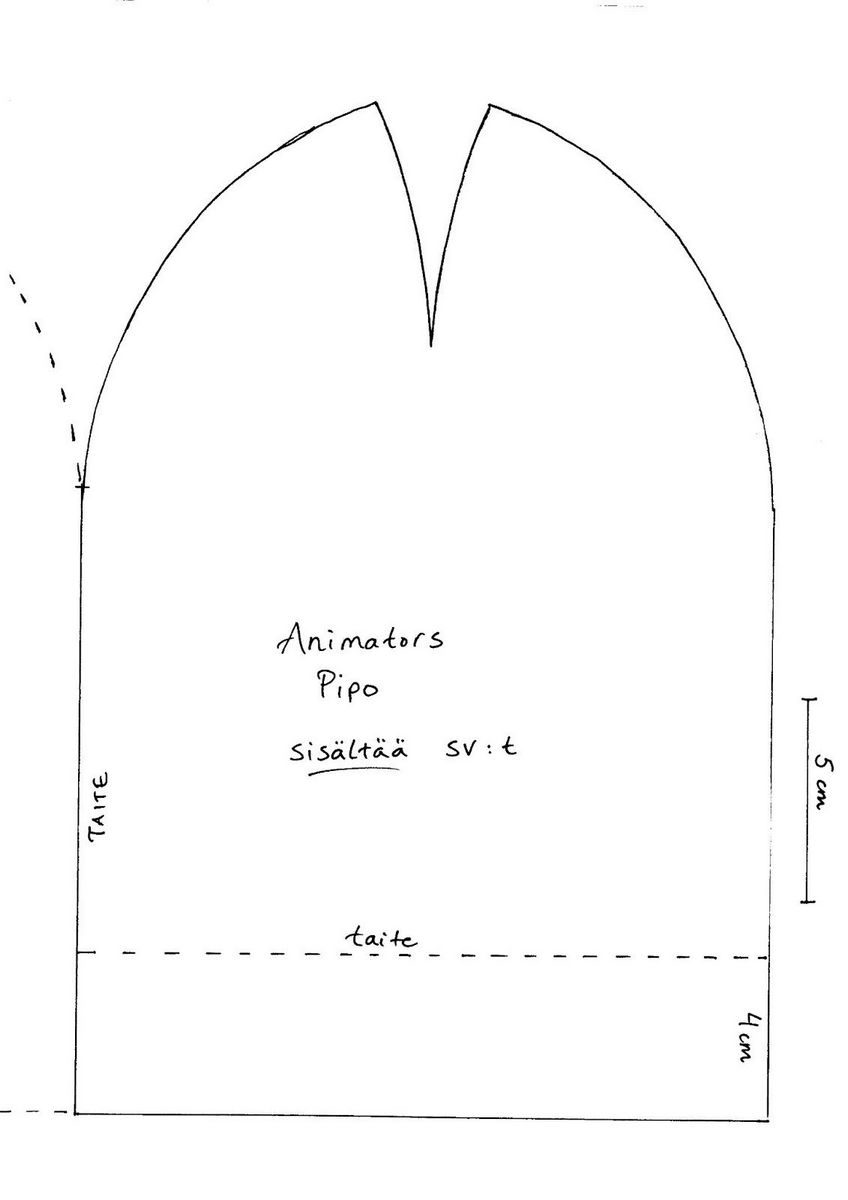
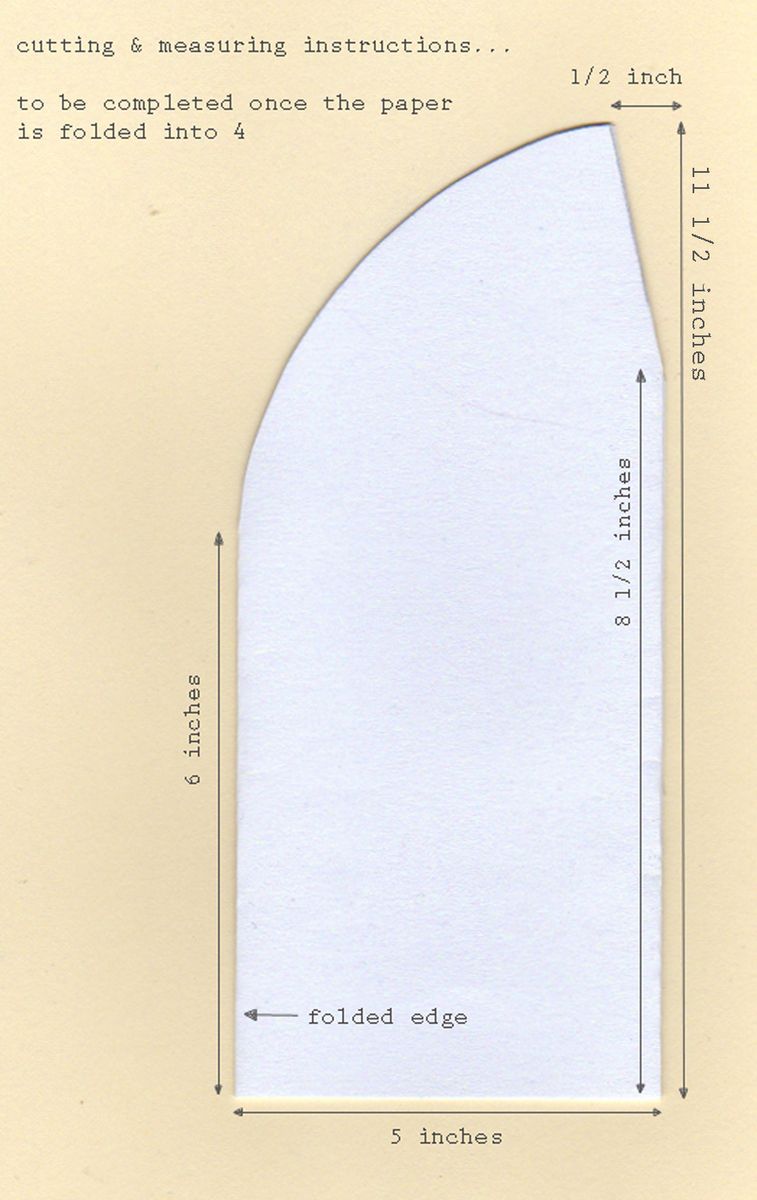
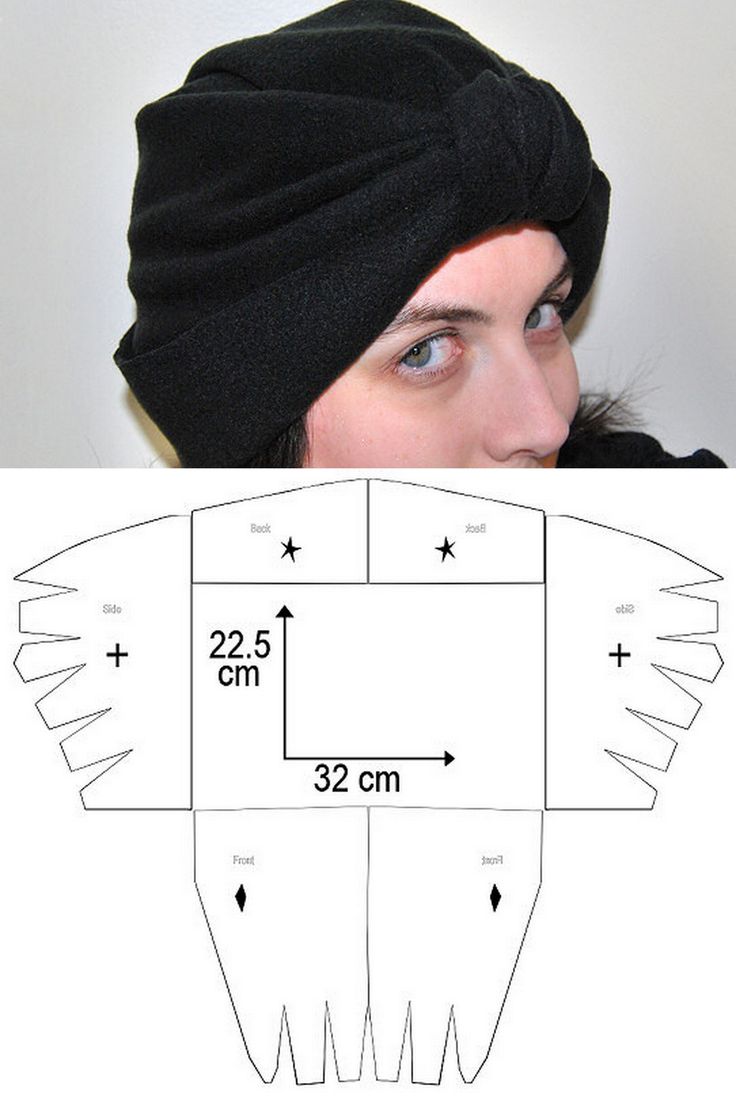
It is better to print the pattern in real size, because with an electronic version you can easily make a mistake with the calculations.

Features of work
To ensure that the loops in the cut do not fall, you need to observe the following rules:
- The left-handed yarn must run parallel to the buttonhole column.
- It is best to use pins with large heads to fasten the cut out elements, otherwise they will just go through the fabric.
- When cutting the details of the product, under no circumstances should the fabric be stretched wide or work on an unstable surface.
- It is better to use soap when marking the patterns, as chalk dust can dull the needle, which may damage the loops on the fabric.
- It is better to choose thinner threads for stitching.
To keep the buttonholes, you can iron special pads on the wrong side, or treat the edges with colorless varnish. Iron the finished hat only in the direction of the loops.

Preparatory work
In preparation, you will need to buy fabric, sewing tools, a pattern to cut out the details of the product. One of the key points is to decide on the size.
Taking measurements
If the measurements are wrong, the headpiece may turn out either too small or slip on the forehead. Therefore, before you cut out, you need to figure out the parameters. This will require two measurements:
- A centimeter to wrap around the head along the line of the eyebrows and the convex part at the back of the head. This will be the circumference of the head.
- Wrap a centimeter around the top of the head from ear to ear. Divide the result by two. This will be the depth of the product.

The standard is considered a product size 55-60cm with a depth of 16-18cm, but there are models with overstated crown.

Pattern and creation of details
It is better for beginners to use ready-made patterns, which can be easily found on the Internet. Then print the resulting pattern and proceed to transfer the pattern to the fabric.
- Lay the knitted fabric on a flat surface and use pins to attach the cut out parts to it.
- Contour the pattern with soap, leaving a centimetre on each side for the seam.
You can buy a chalk wheel or a pen with special ink that is easy to rinse off in the craft departments.
Cutting the fabric
Cut parts from knitwear need very sharp scissors, as this fabric is very stretchy. Pulling the material is not allowed, otherwise the parts will be crooked. The best option is to lay the fabric on a flat surface and cut the fabric without stretching.
Slippery stretch can be fixed with masking tape, and its edges can be lubricated with transparent varnish or ironed with a special tape.
Sewing different models
For beginners, it is better to opt for simple styles, otherwise the hat may not work out. The most important thing here is to choose the right pattern.
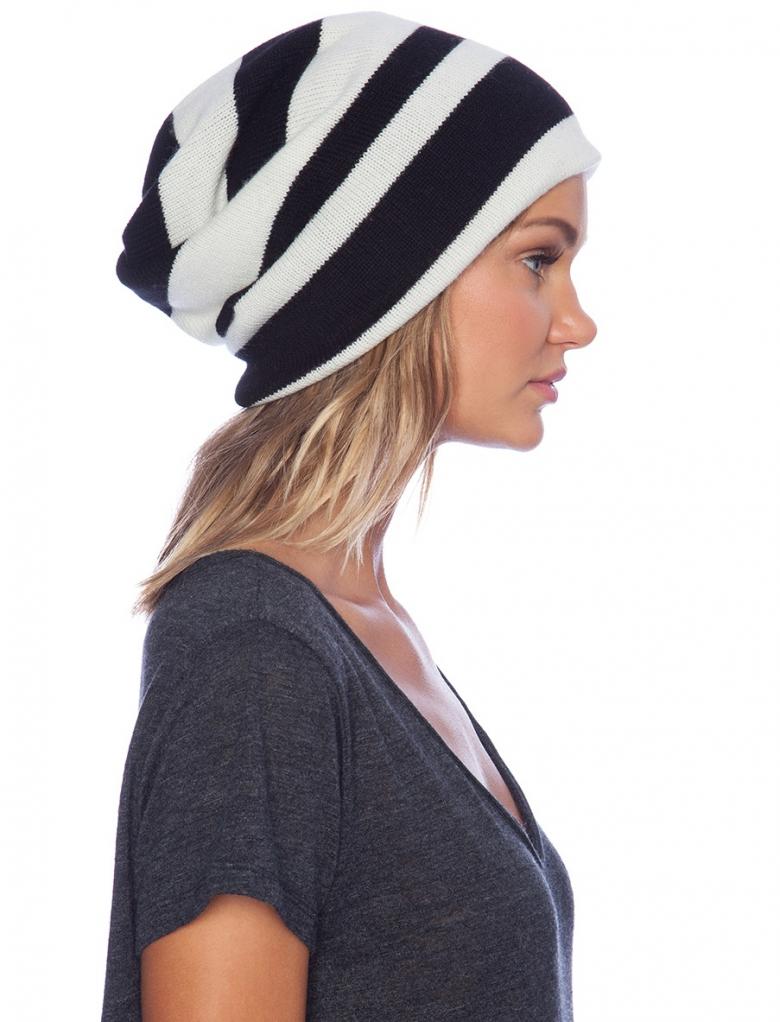
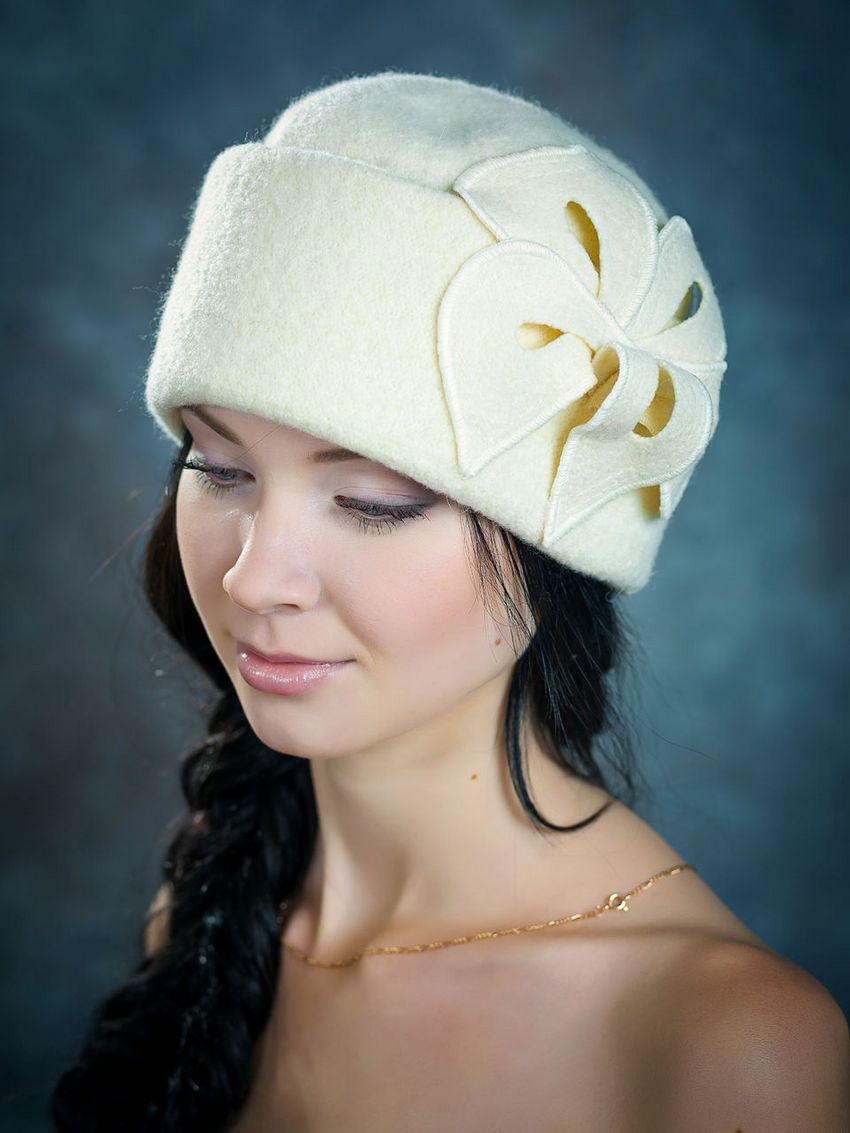
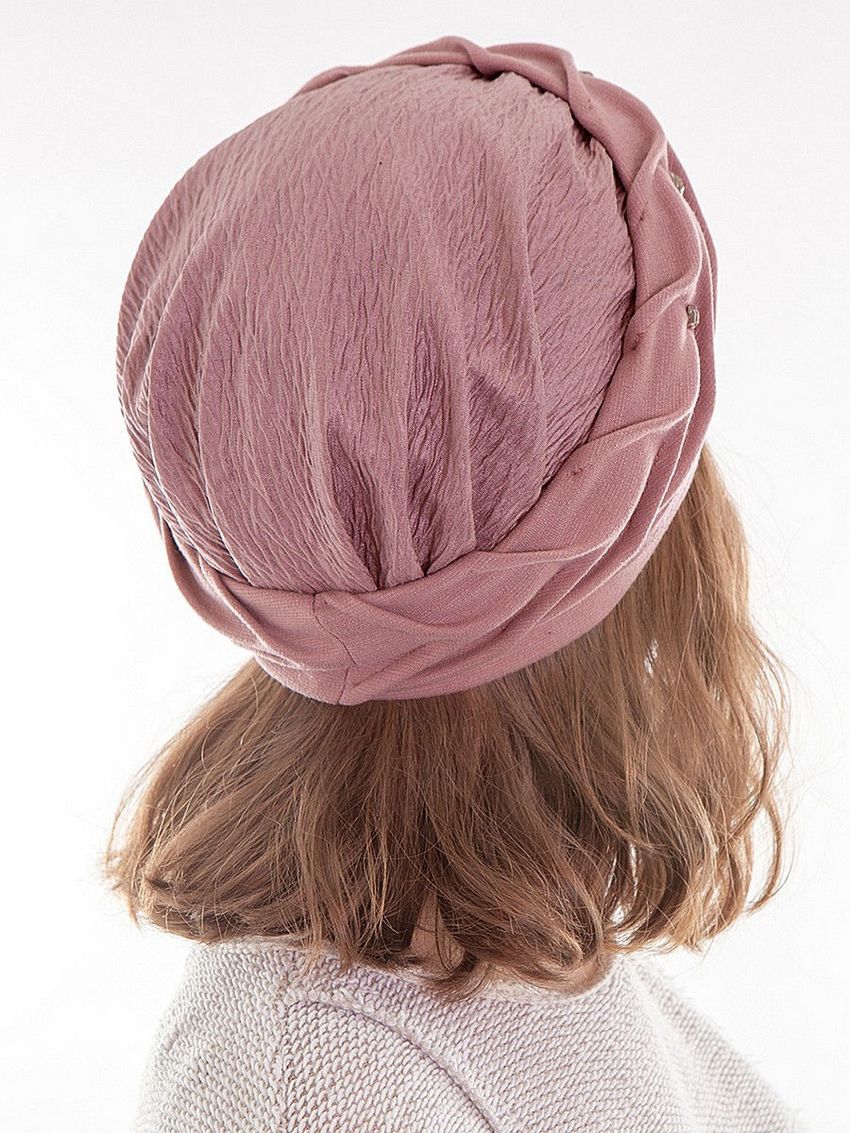
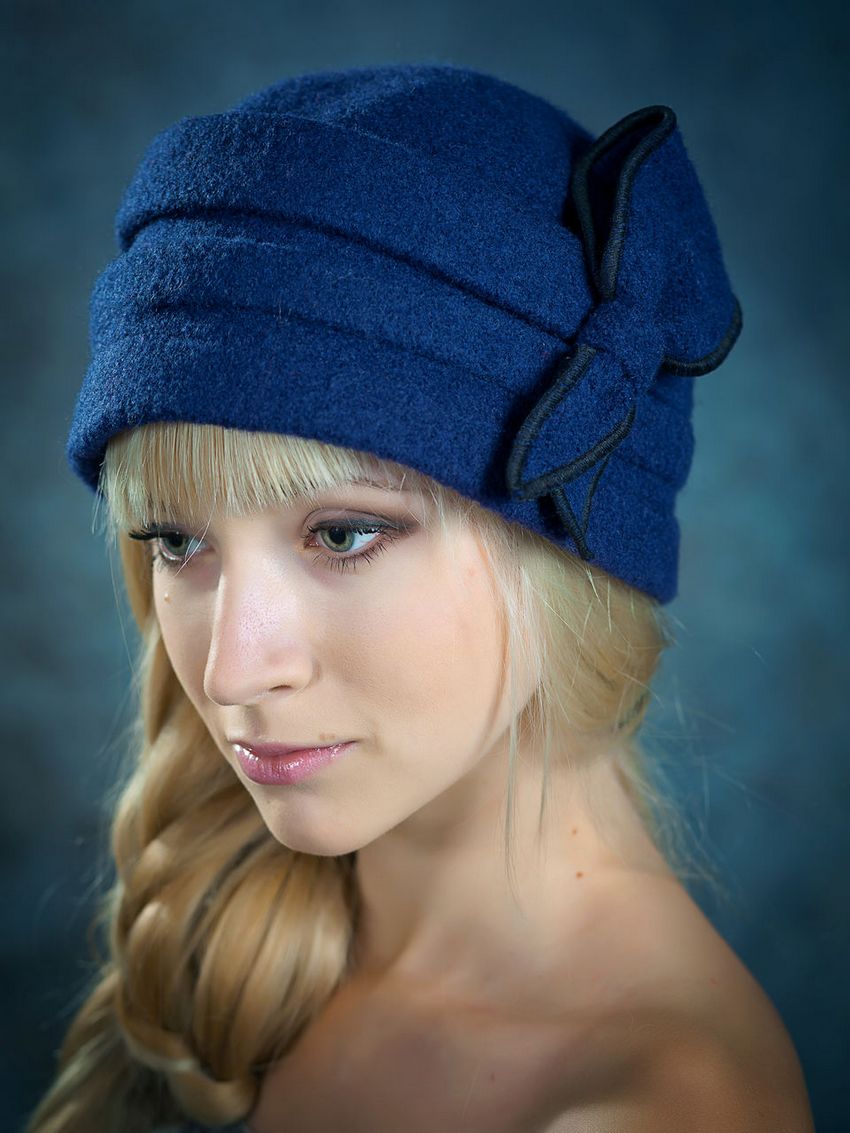
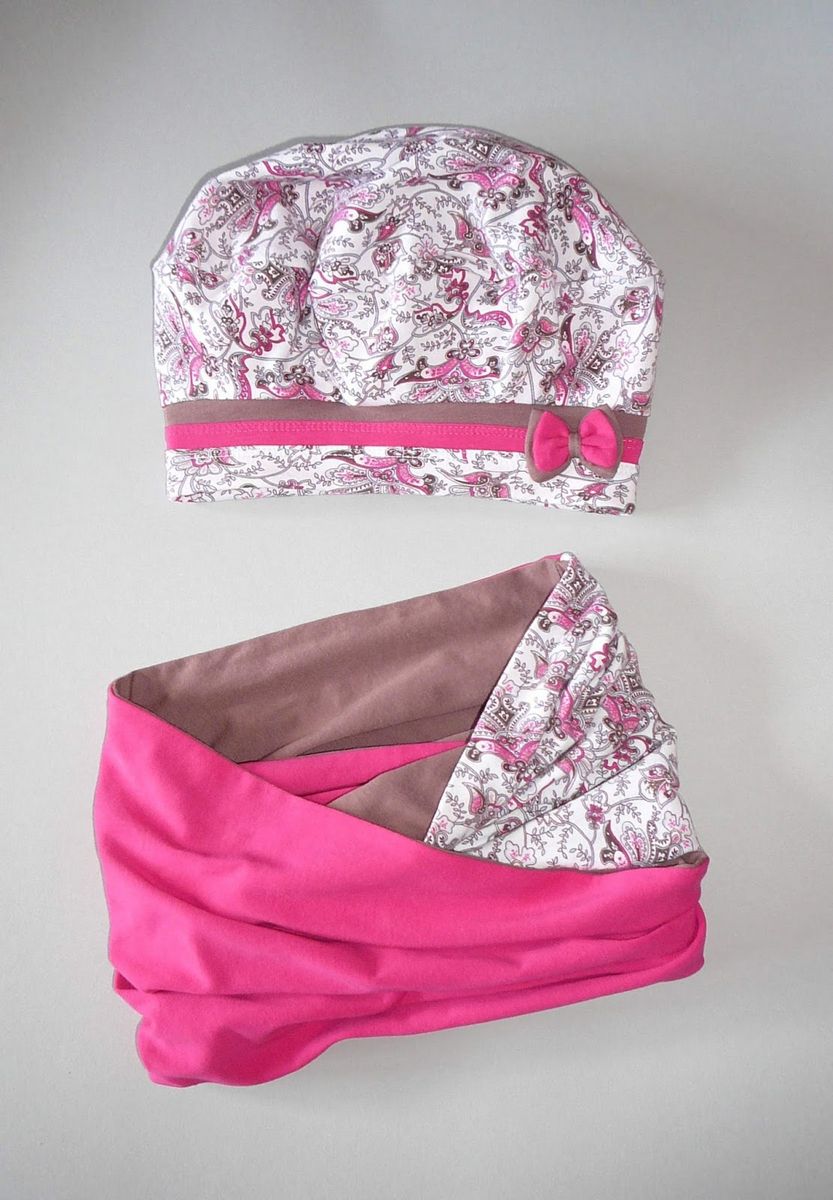
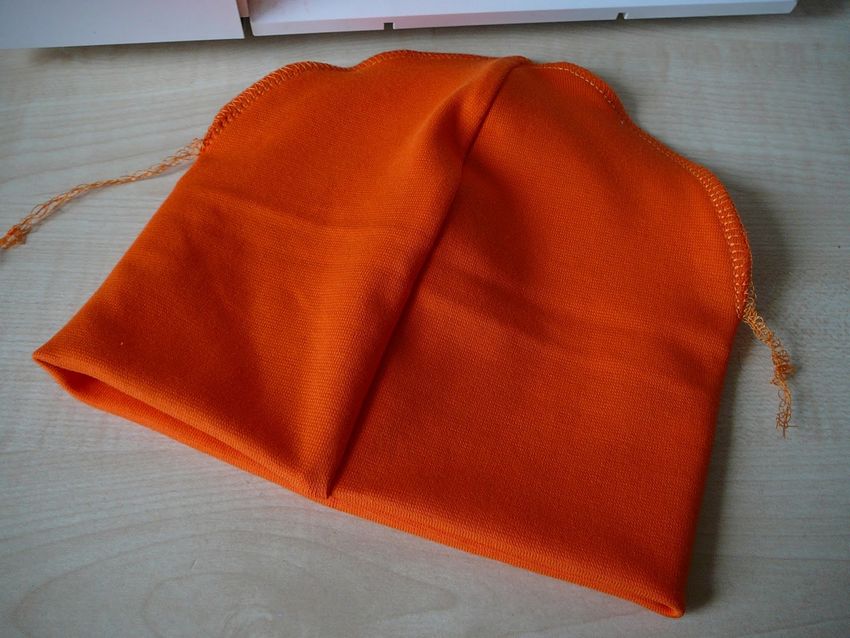
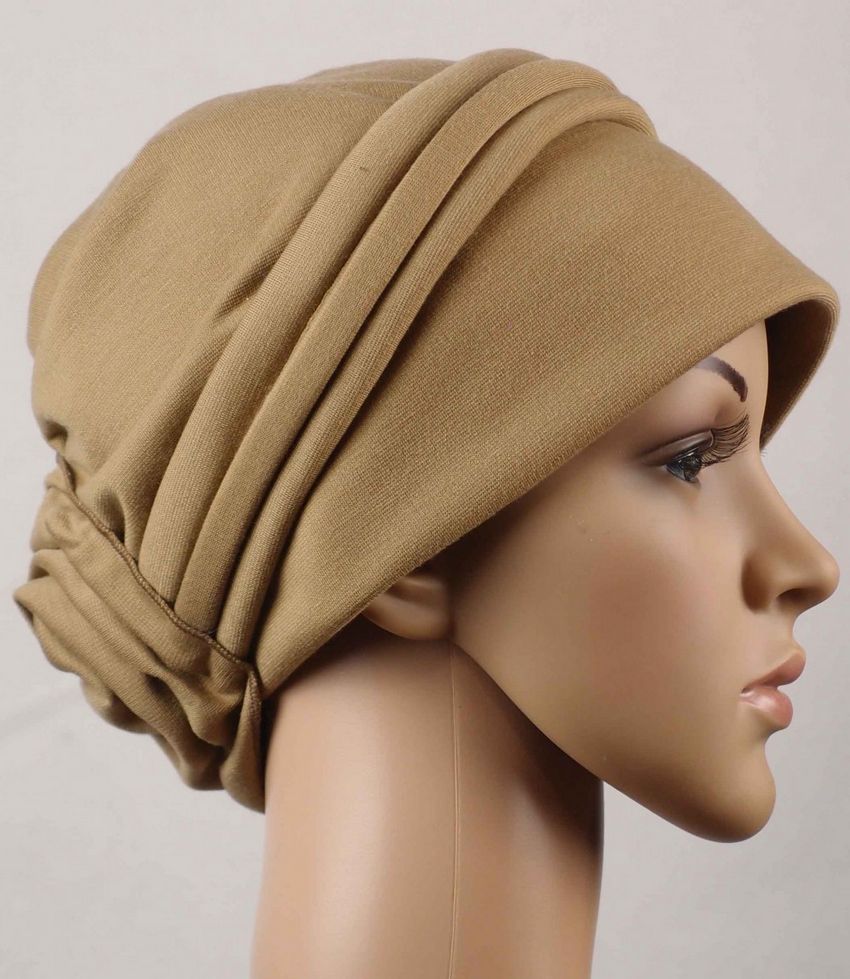
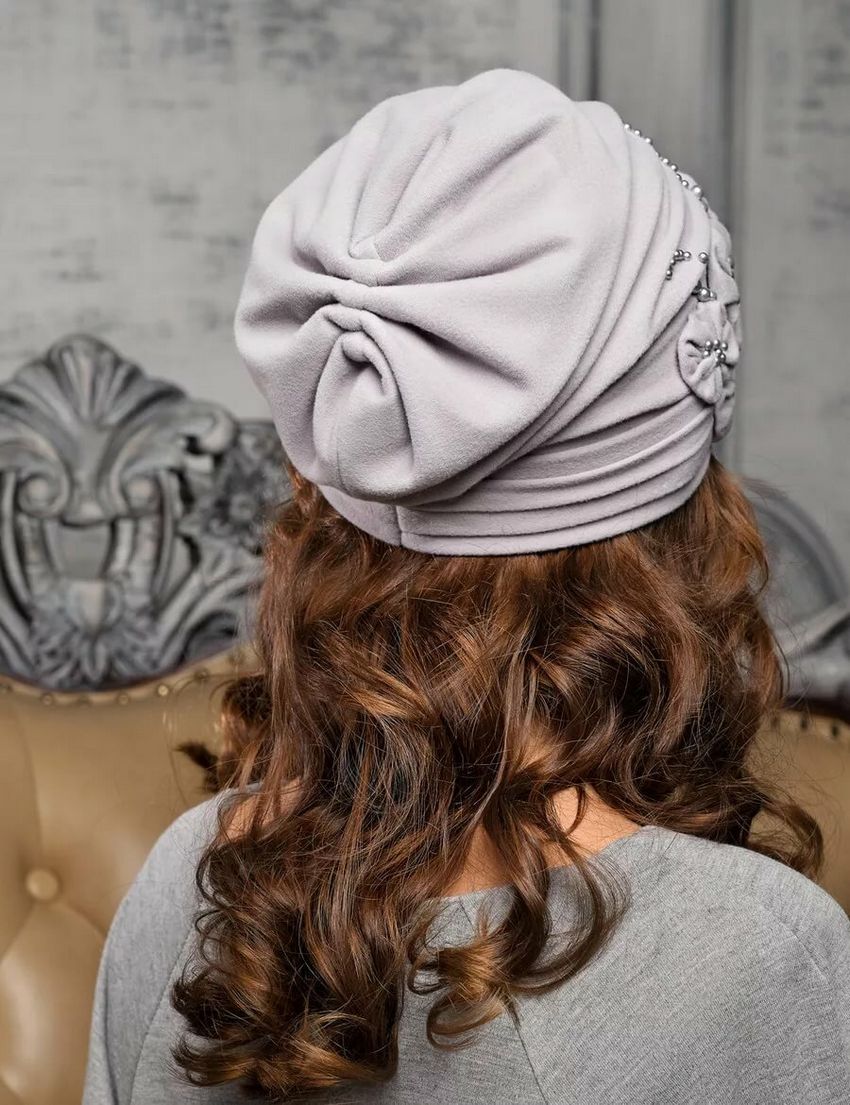
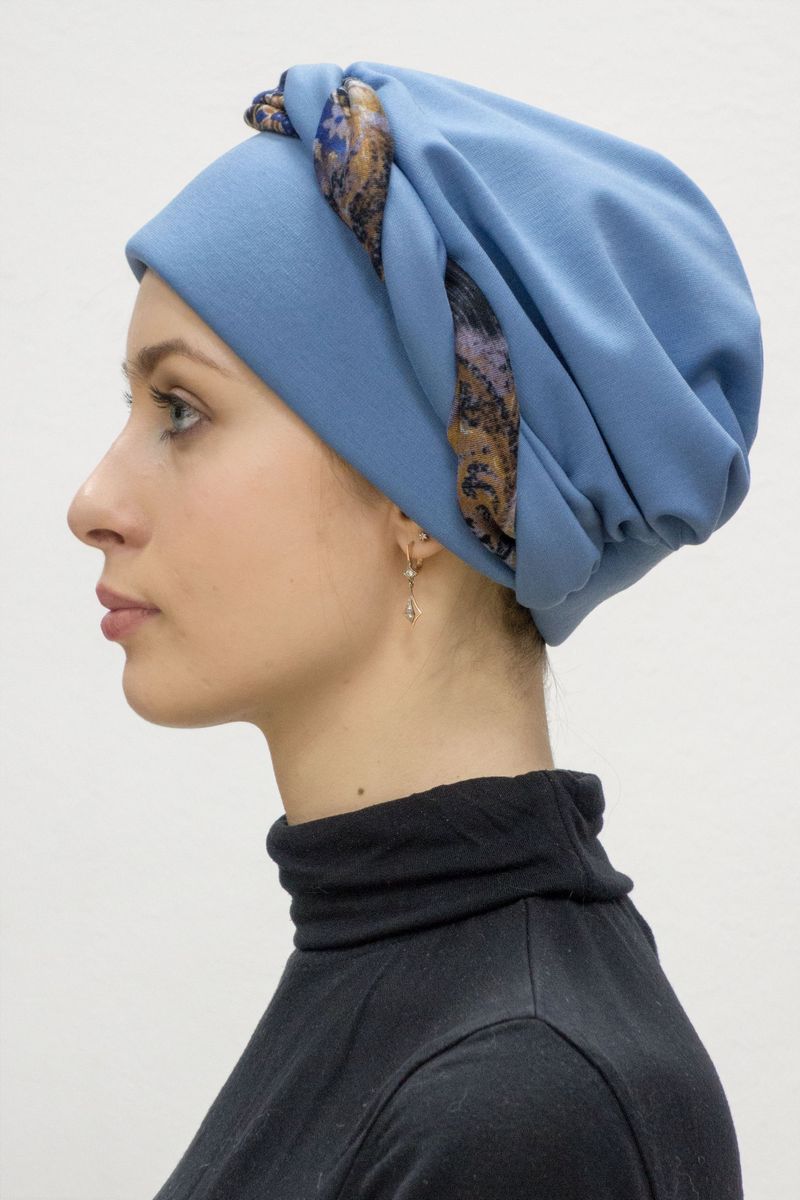
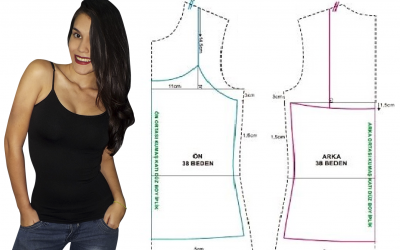
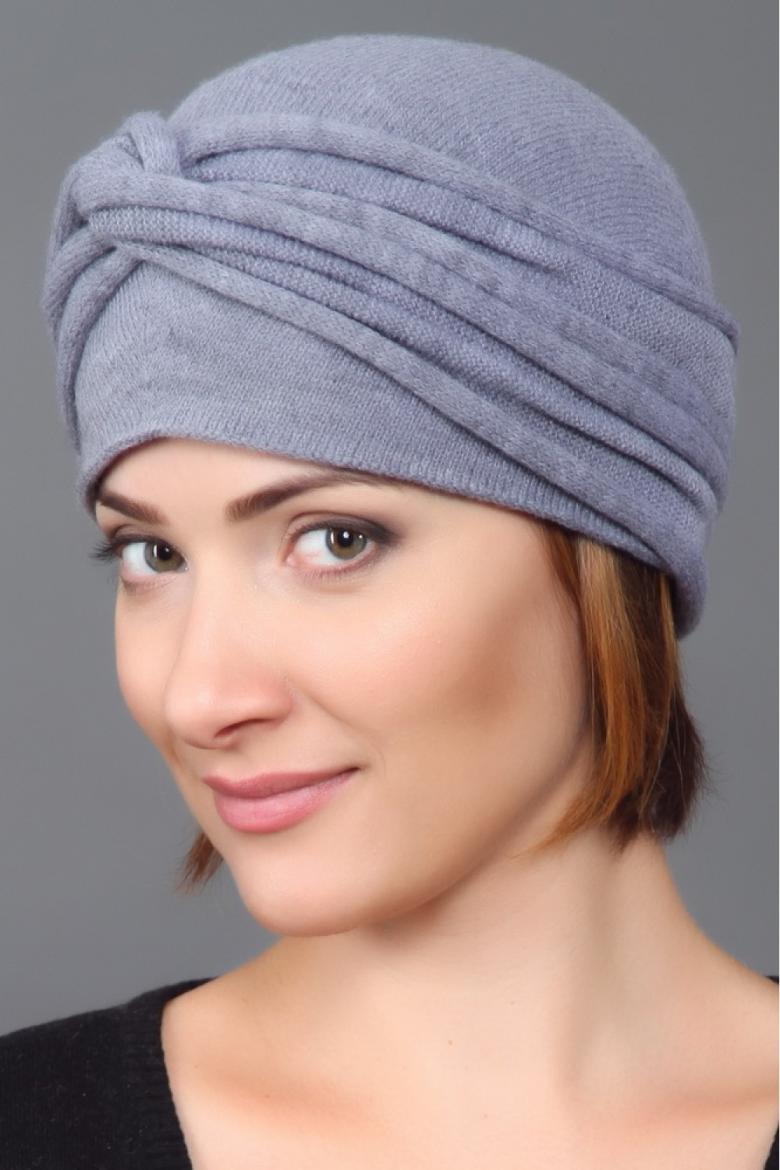
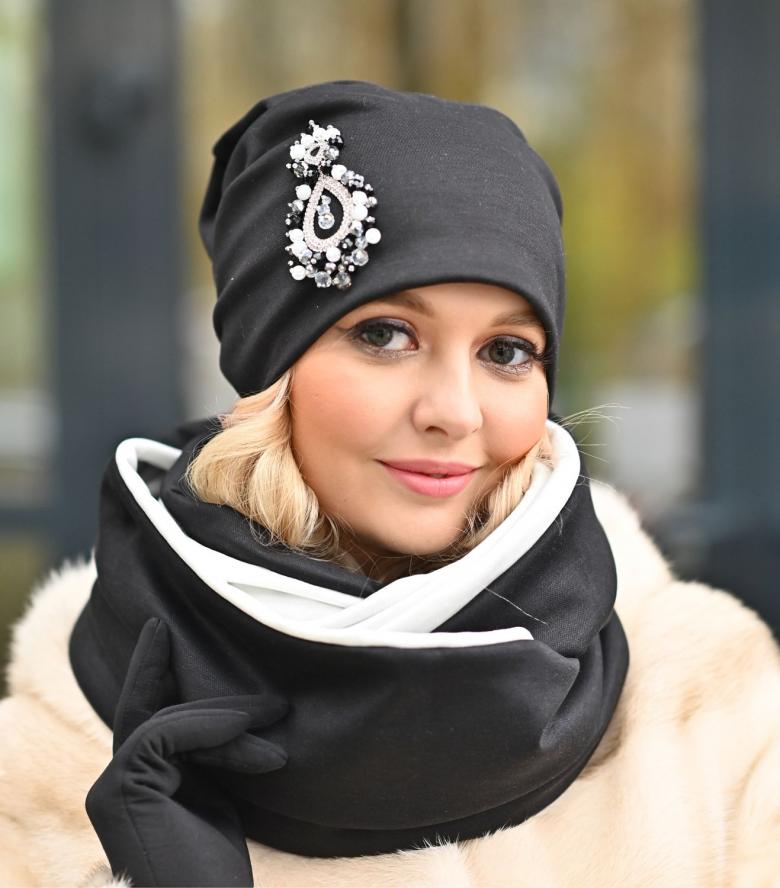
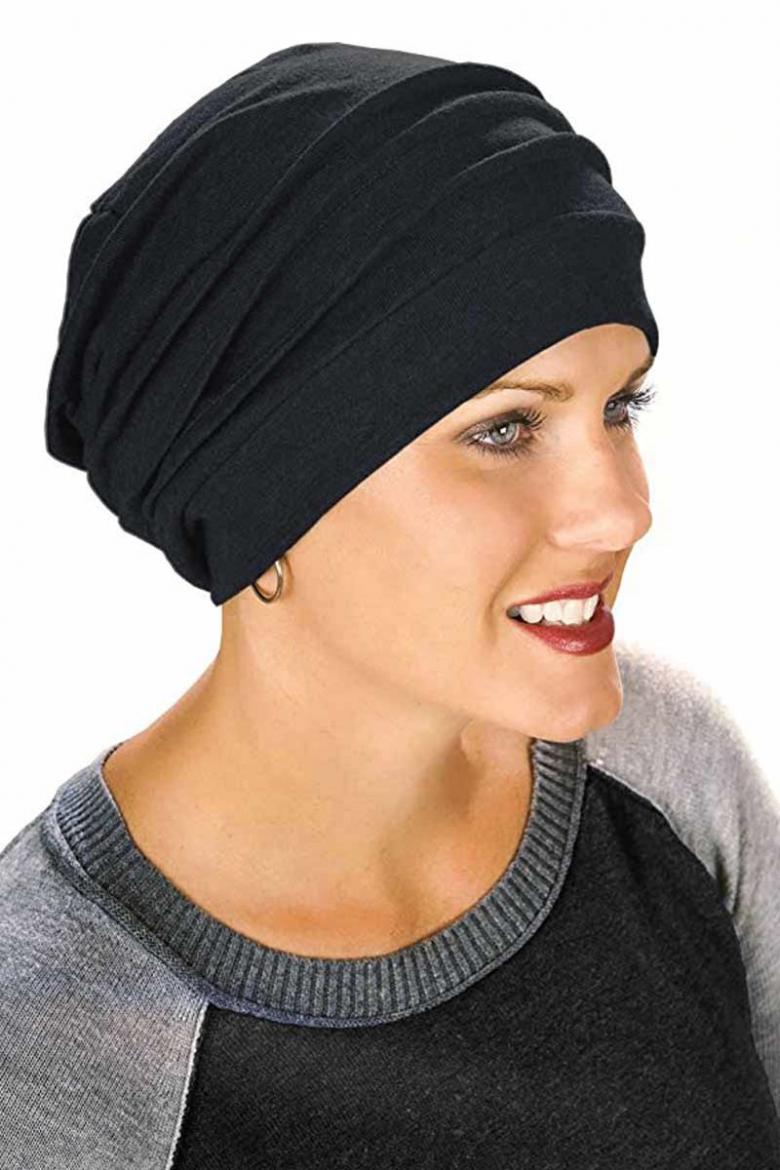
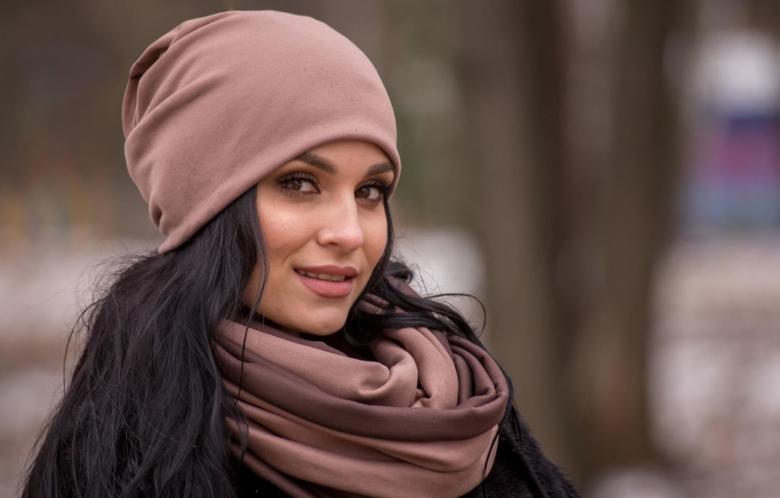
Sewing a woman's hat
It will need a knitted fabric, width 1.5 and length of 0.3 meters. To begin with, you need to find a pattern and print it out. The size of the hat is equal to the circumference of the head (52cm.) - 4 cm. = 48cm. 48/2=24 - the width of the hat according to the pattern. You need to leave a centimeter on each side for the seams.
Cutting a hat
To work we will need:
- Scissors.
- Pins.
- Thread to match.
- Machine needle knitting.
- Plain needle.
- Ruler.
- Centimeter.
- Soap.

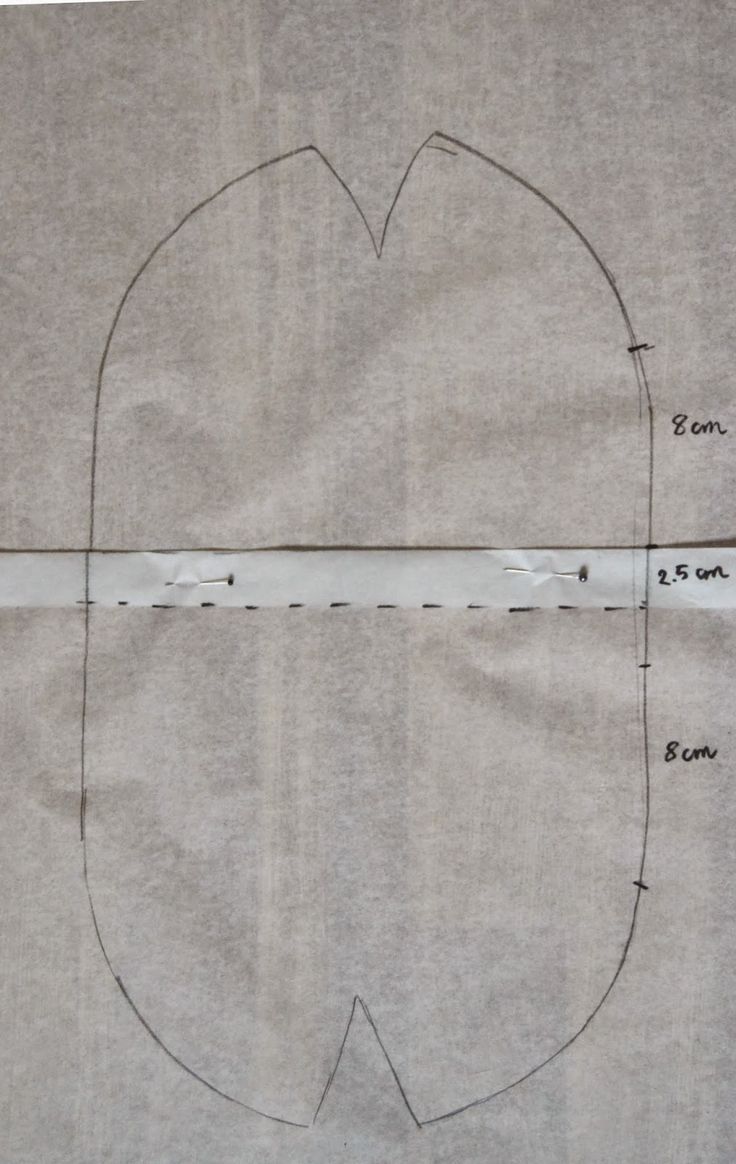
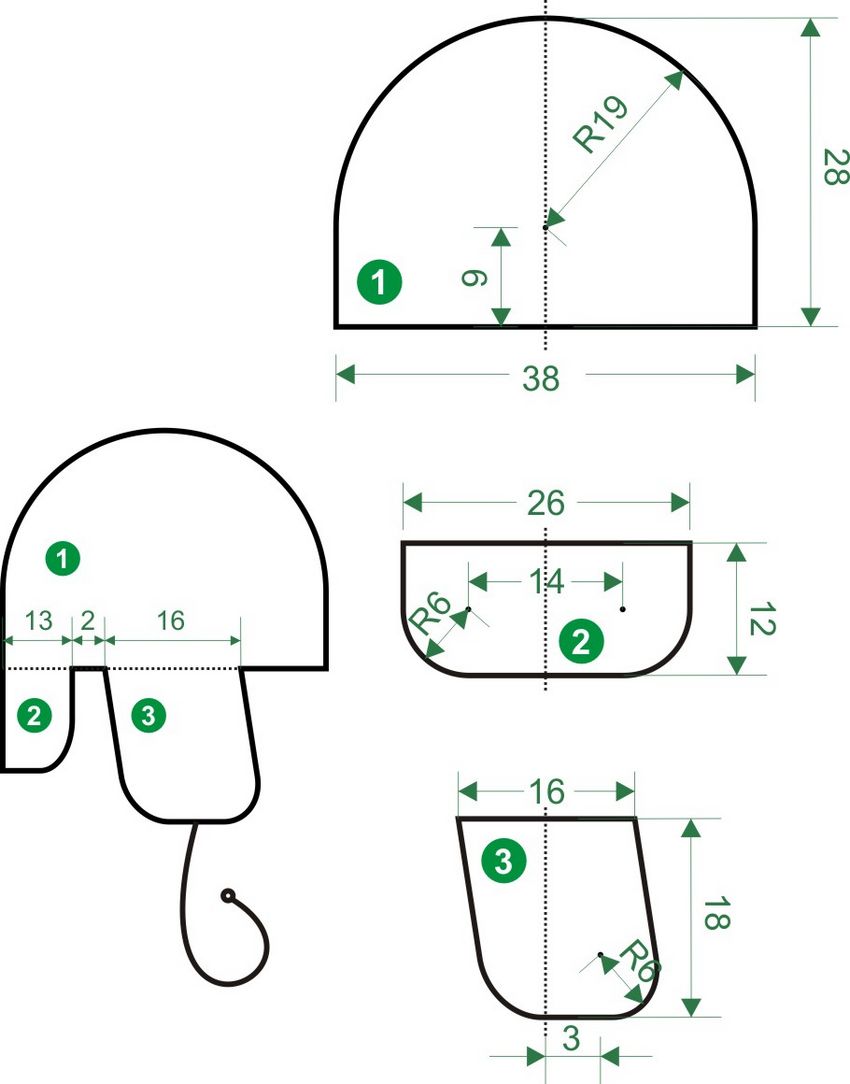
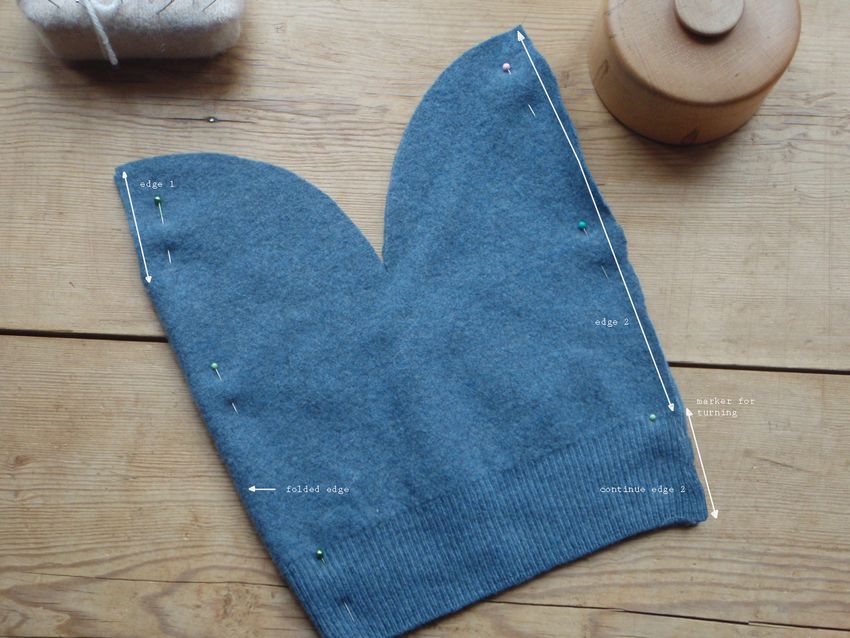
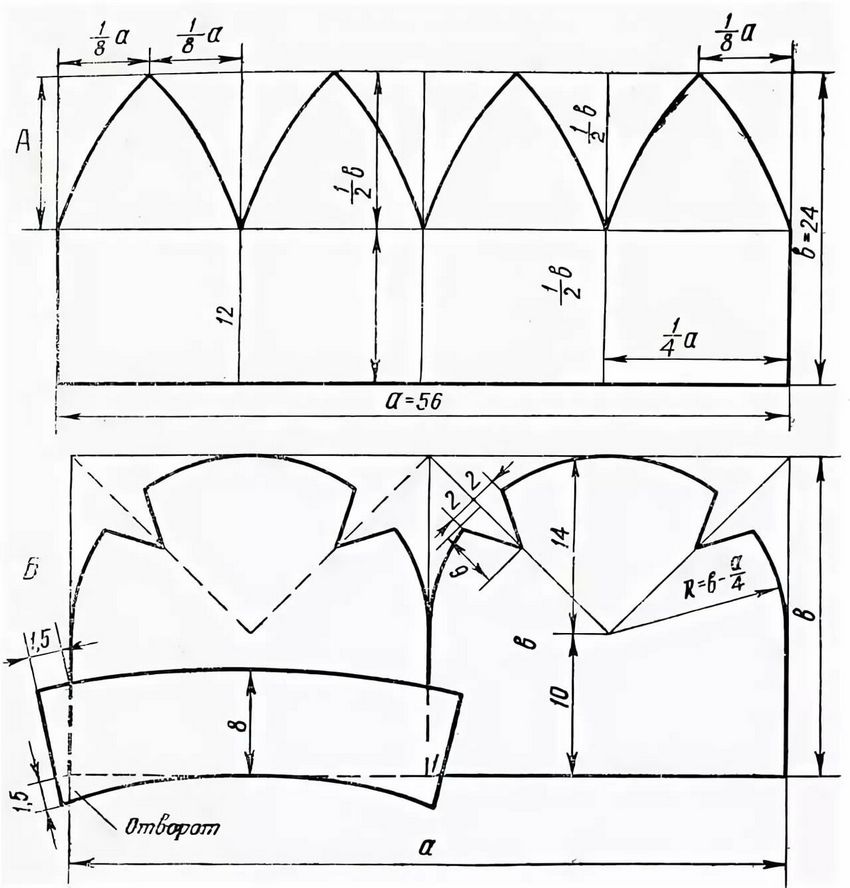
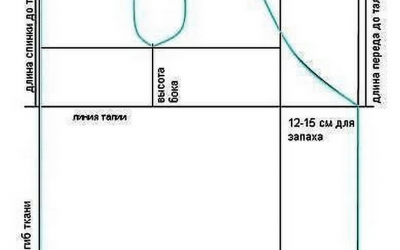
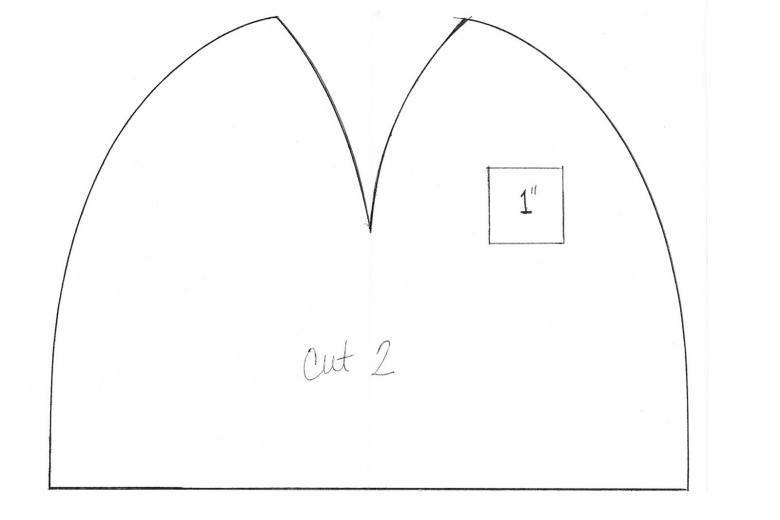
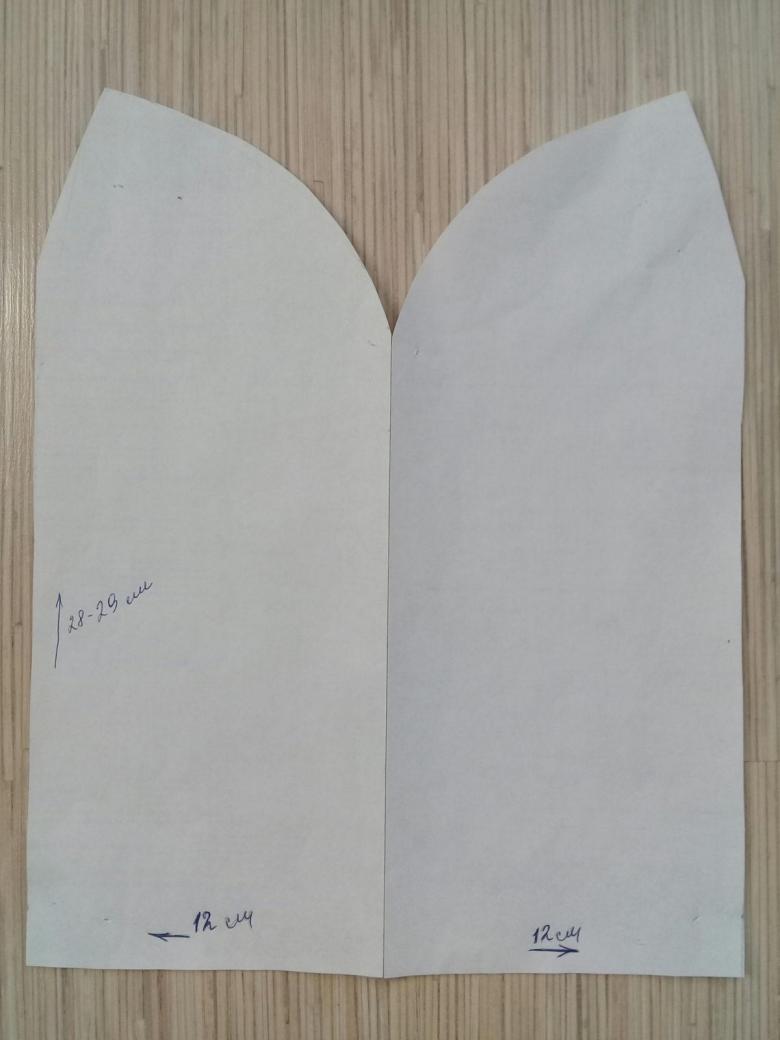
Sew a hat according to the following scheme:
- Place the fabric with the wrong side down. The width of the main part - 25cm.
- From the top cut leave 1cm for the seam.
- Divide the seam into 4 parts (24/4=6cm).
- Find the centre of each of the segments 6/2=3cm.
- Connect the midpoints of the segments with the points located at 6cm. Mark them with arc-shaped lines.
- Cut out the resulting model.
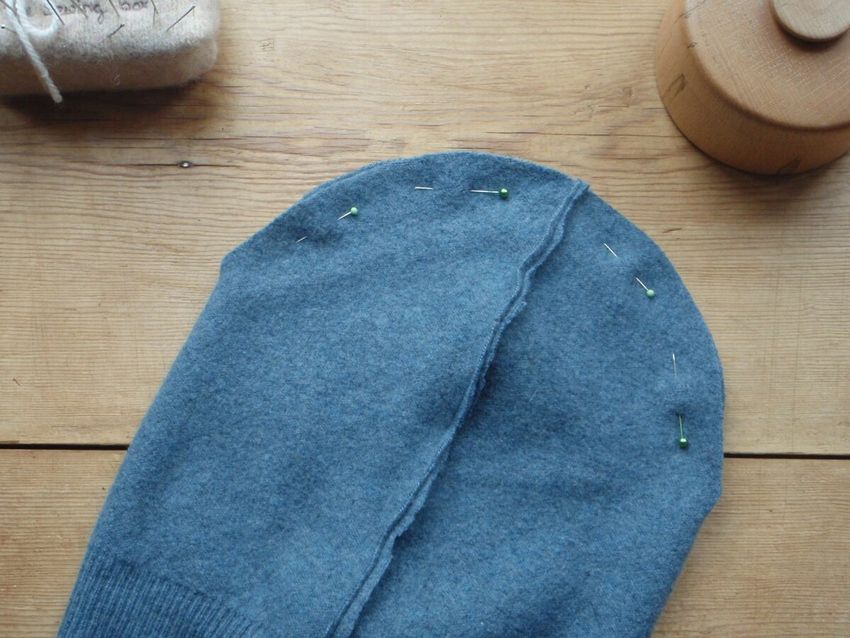
Sewing a hat.
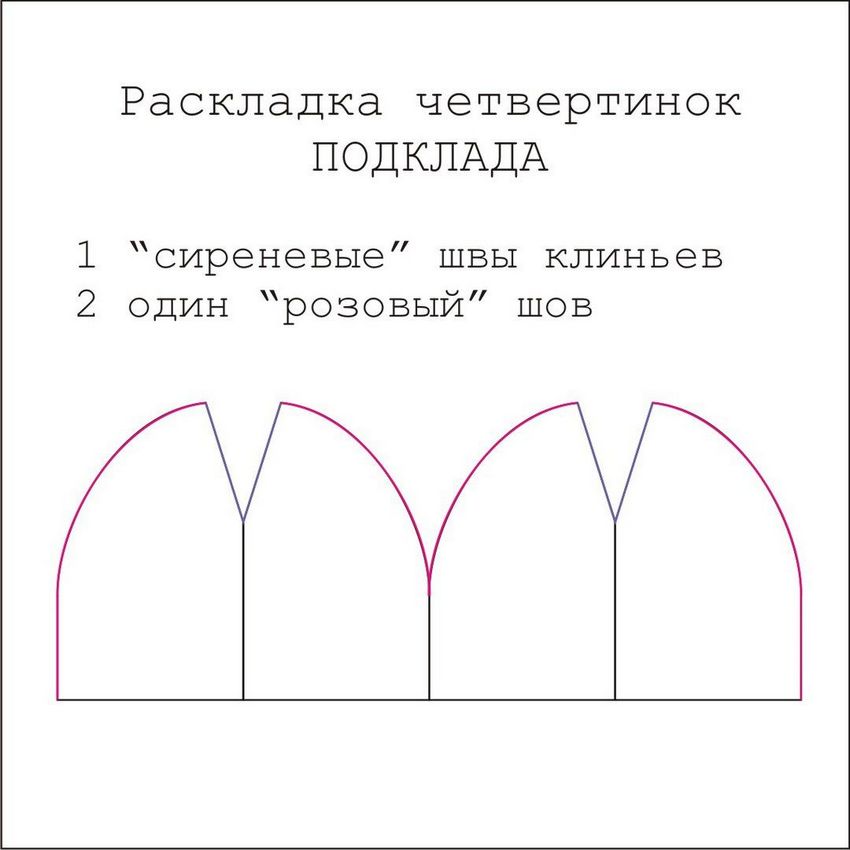
- Mould the hat's wedges along the top edge.
- Do the same with the lining of the hat.
- Cut off the middle seam on the main pattern and on the lining. Seams are better to sweep by hand to avoid misalignment of seams.
- Sew both hats (main and lining) together. Turn out the main product on the wrong side, put the lining into the hat so that they are face inward, and align the seams, pinned to avoid displacement of the fabric.
- Grind away at the machine details zigzag stitching.
- Remove the pins, and turn the product on the front side.
- In the lining, rip a small seam and through the resulting hole turn out the hat.
- Sew the opening with a blind stitch.

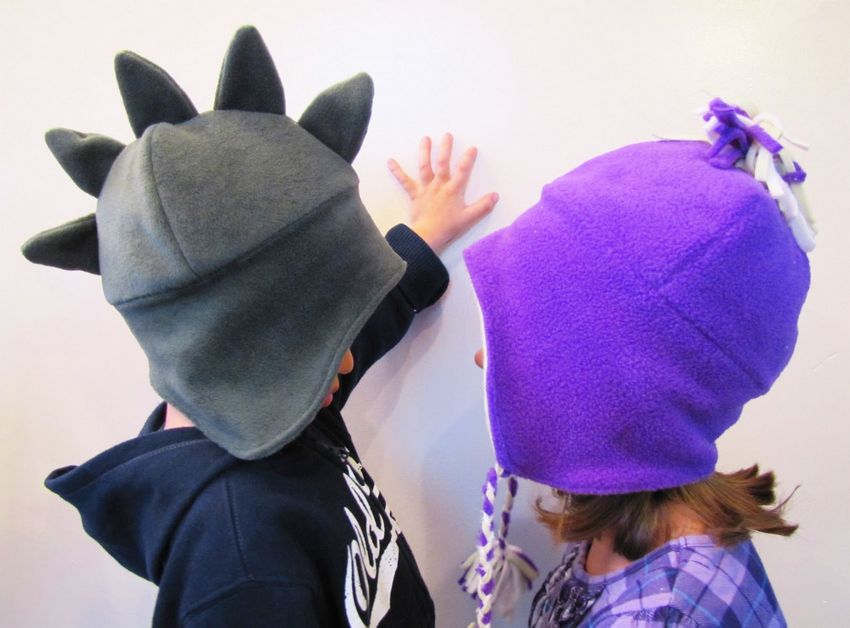
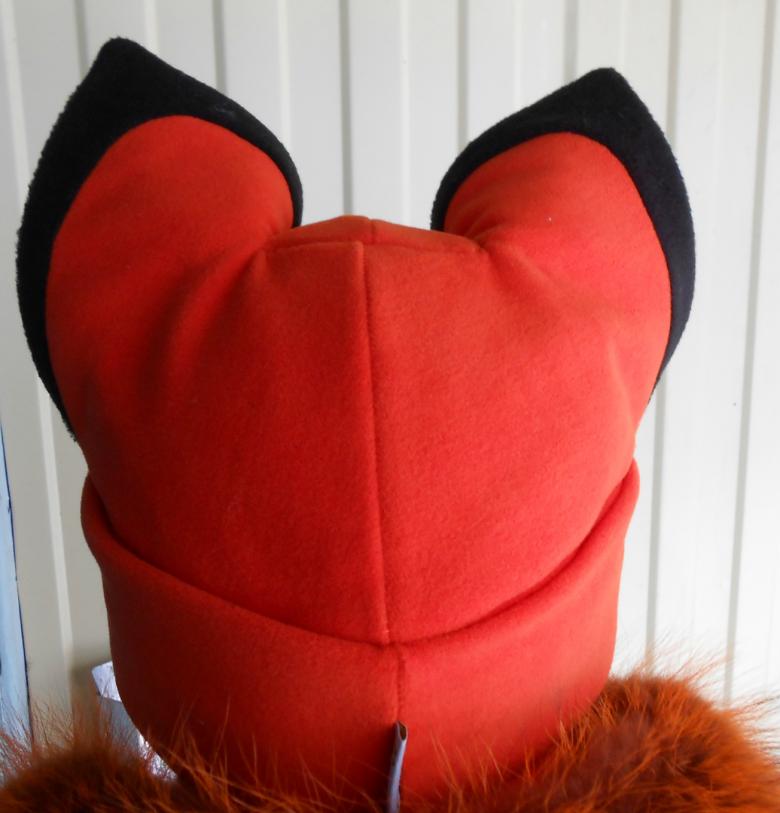
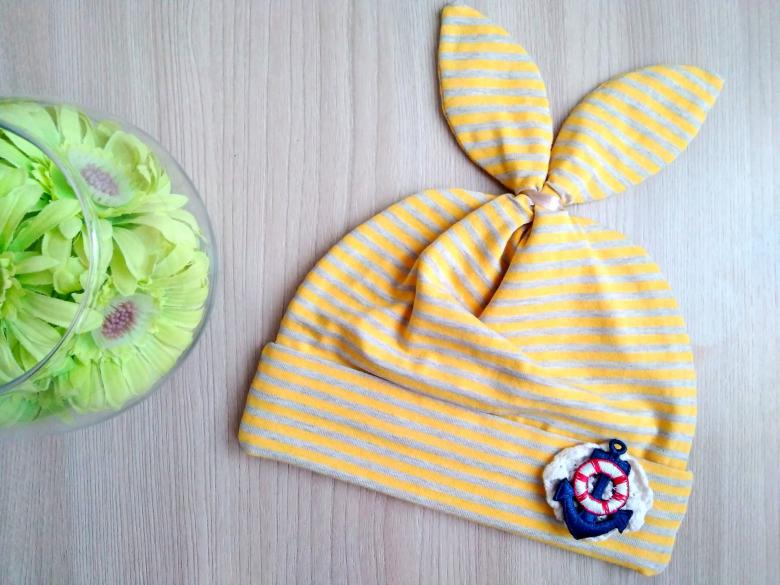
Cute hat with bunny ears
The pattern of the hat will be exactly the same as in the previous work. For this hat you need to make applique - carrot and hare ears. Finished ears stitch to the hat to get them under the seam.

To make the carrot look even more believable, you can make stitches on it with a zigzag stitch. Then sew the finished piece to the hat. On the back side of the hat you can glue a piece of fleece to keep the hat fabric stretched. That's it, the product is ready!
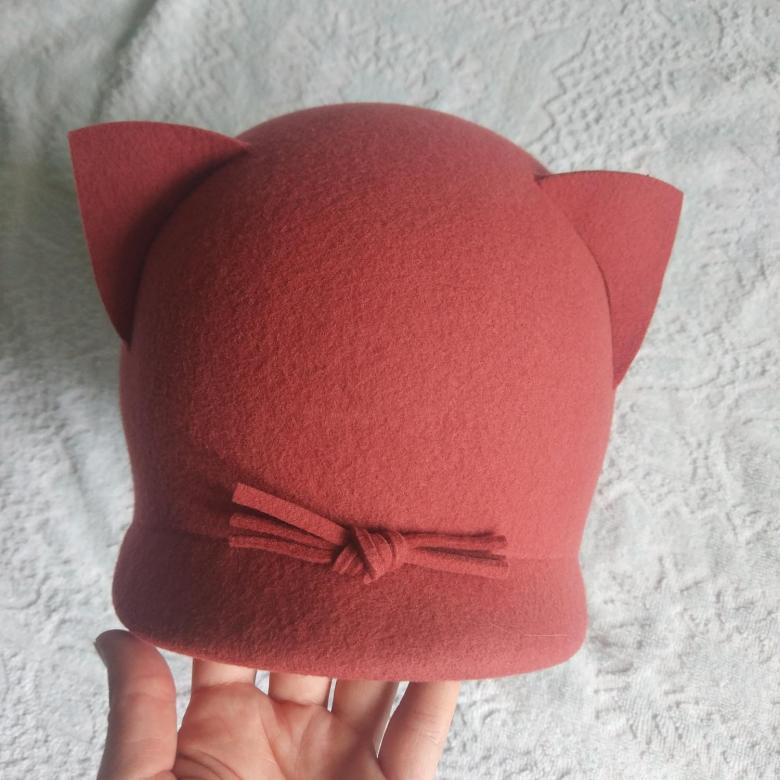
According to the same scheme you can make a hat with cat ears, or search the Internet for a lot of patterns of children's original hats for the street or any holiday, such as patterns for a Santa Claus hat and others.
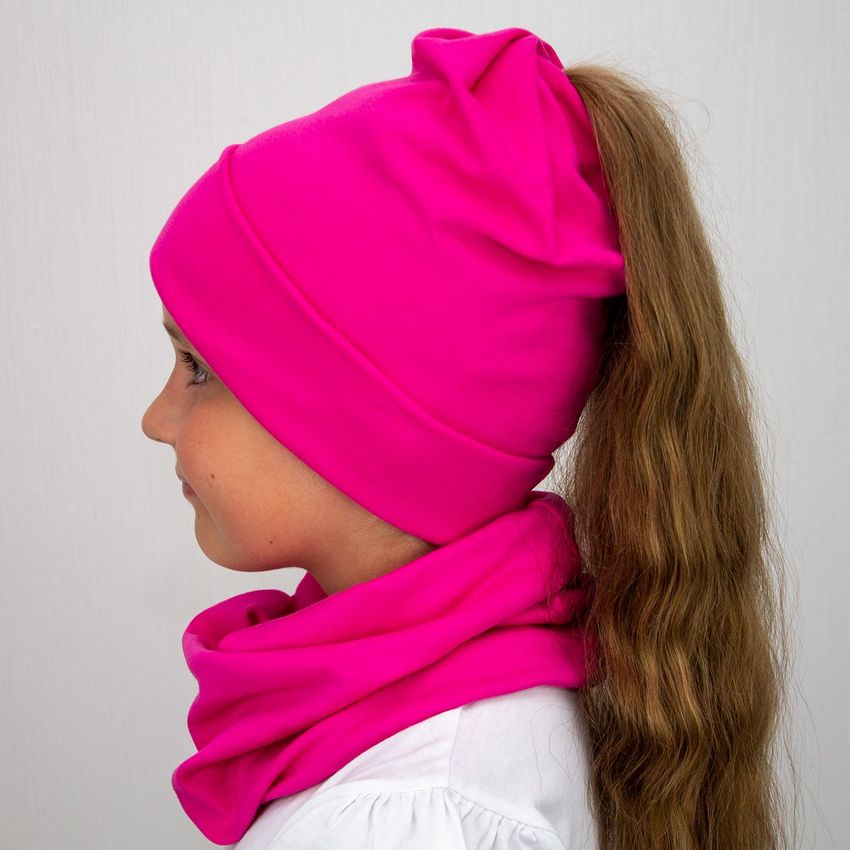
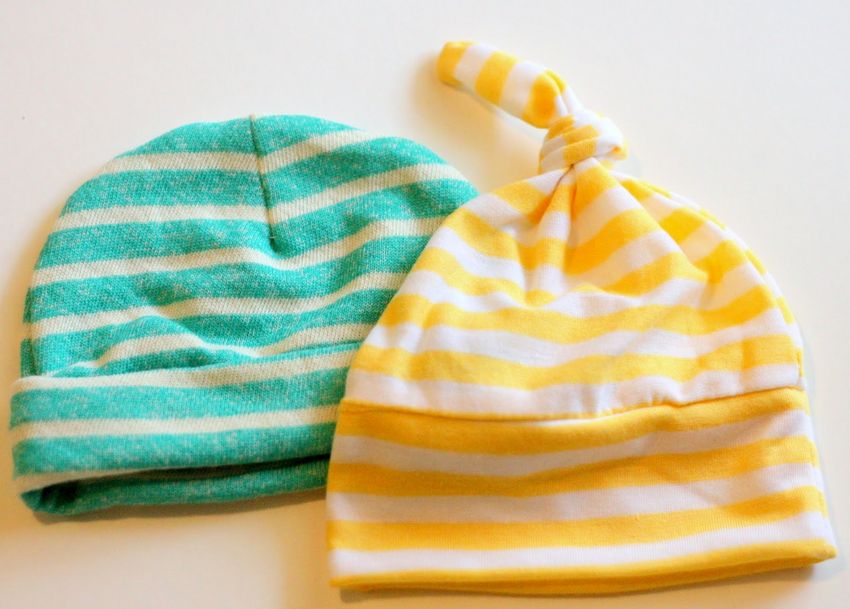
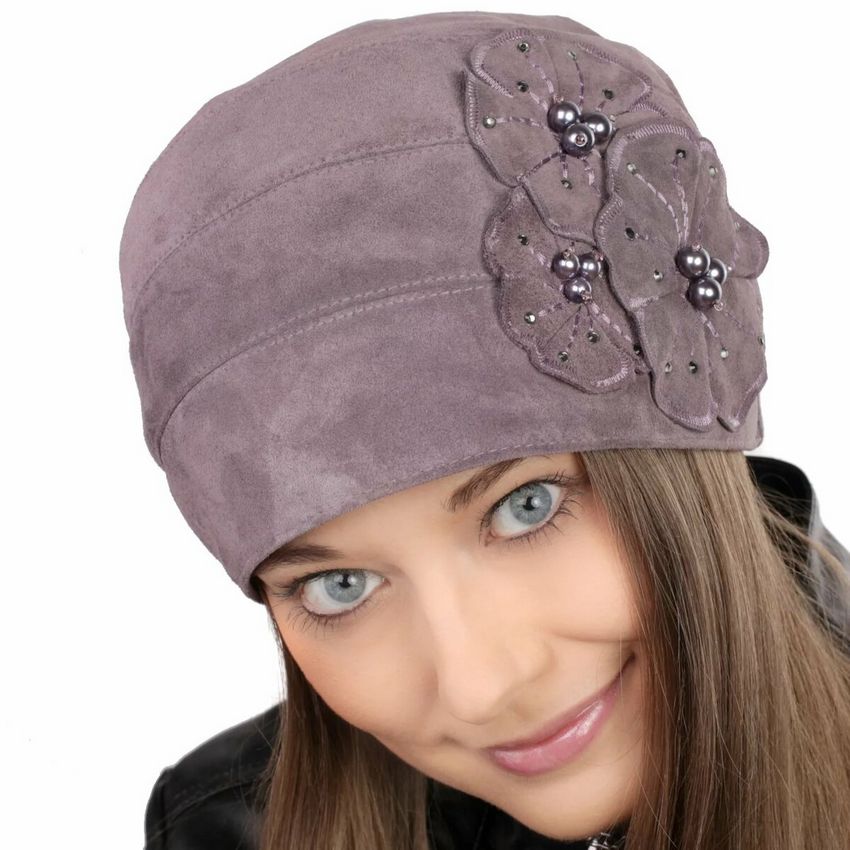
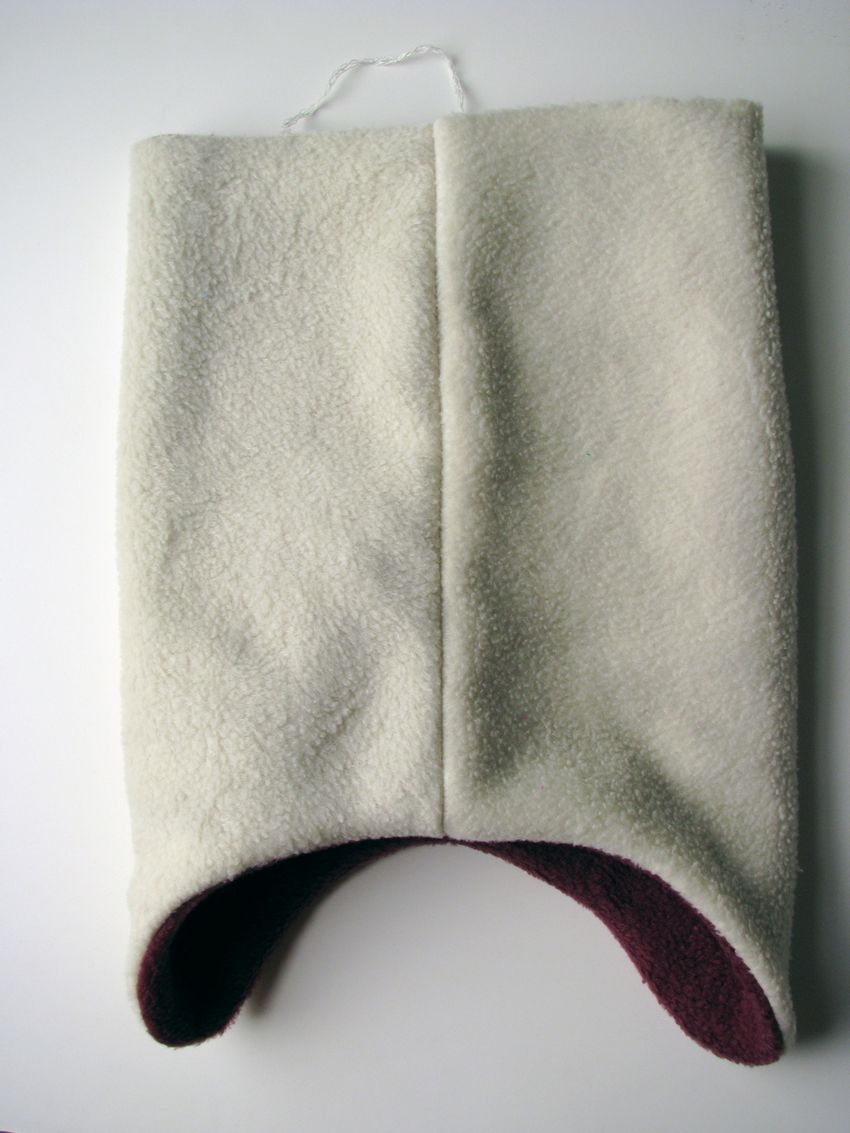
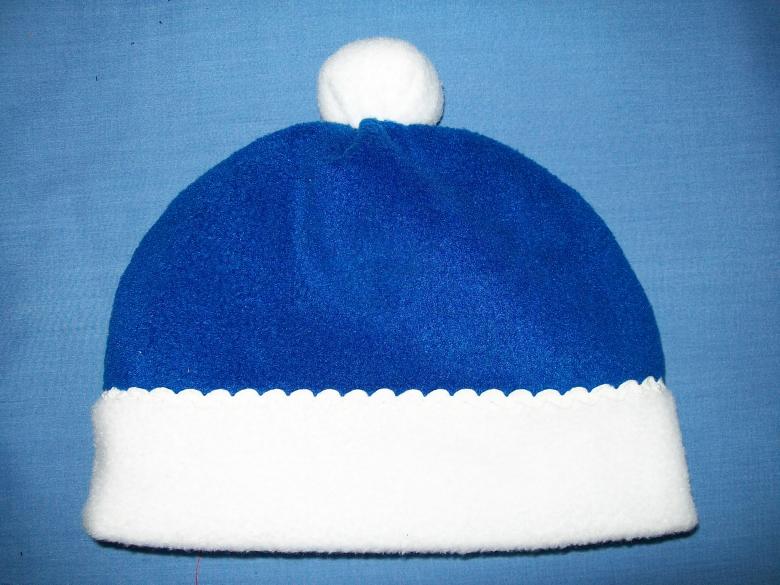
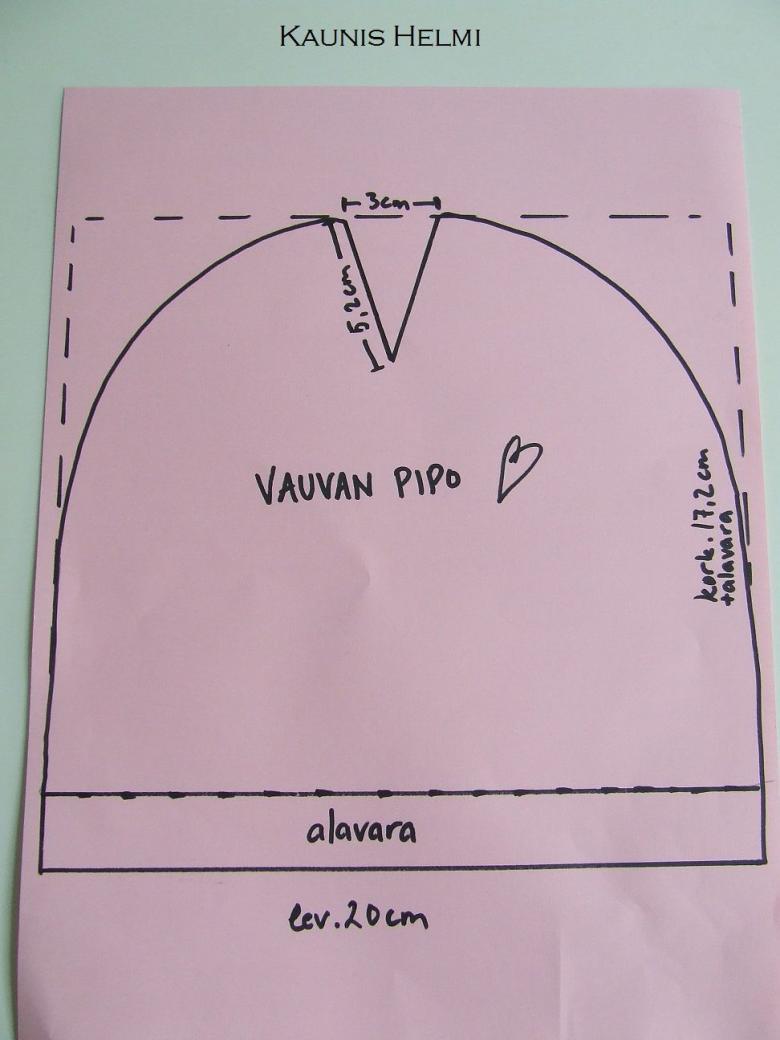
Sewing a children's hat from fleece
Cutting and sewing such a hat will take about two hours. It can be sewn according to the following scheme:
- Cut the parts of the cap and fix the seam on the side.
- Turn inside out 5cm. and stitch along the edge.
- Pull the fabric together on the crown and sew by hand.
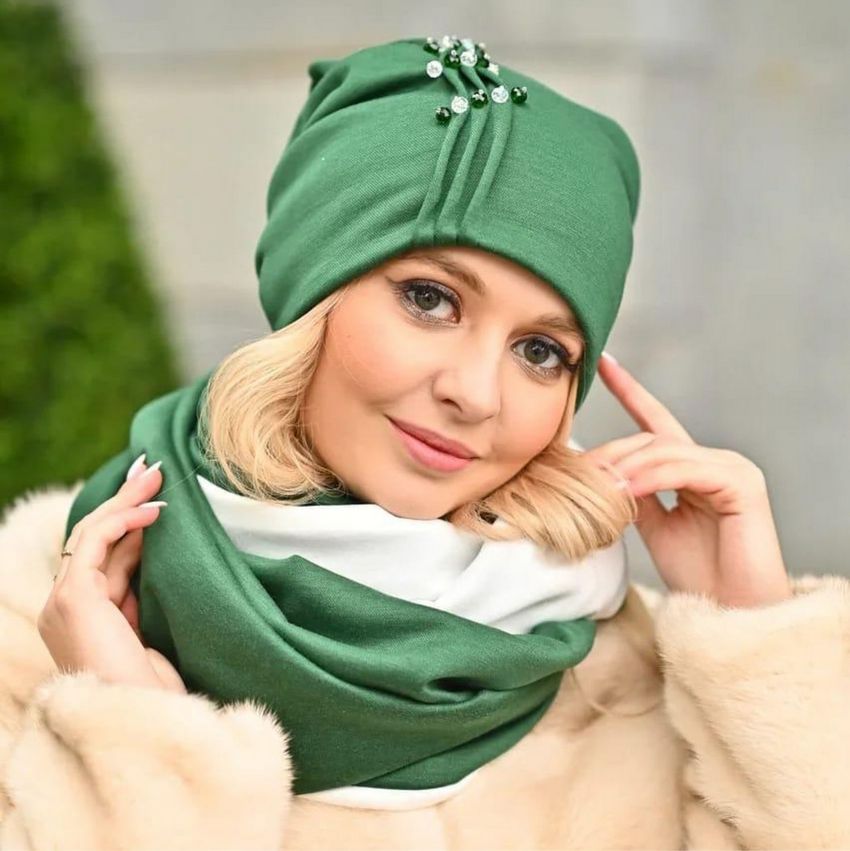
- You can use beads or crochet appliques for decoration. The decor should not have stabbing or cutting details.
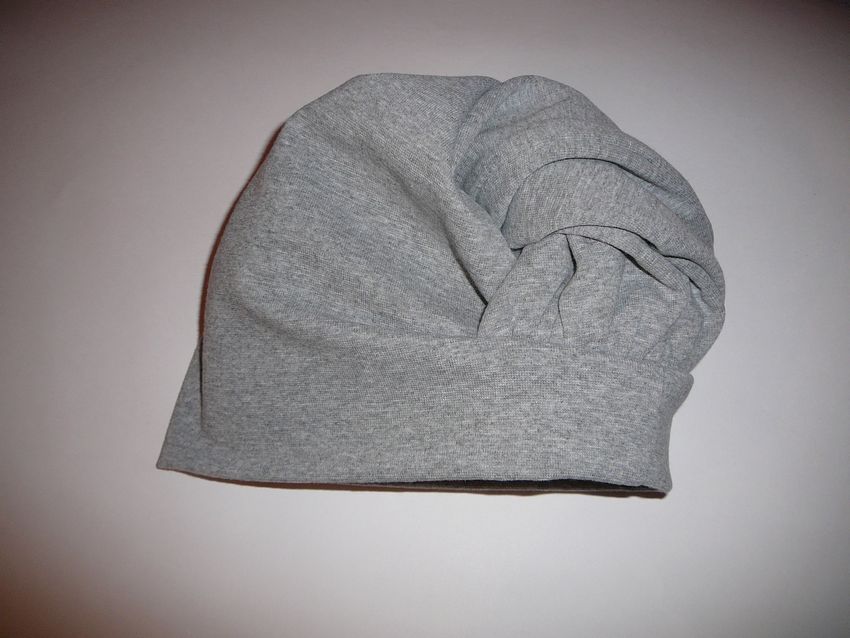
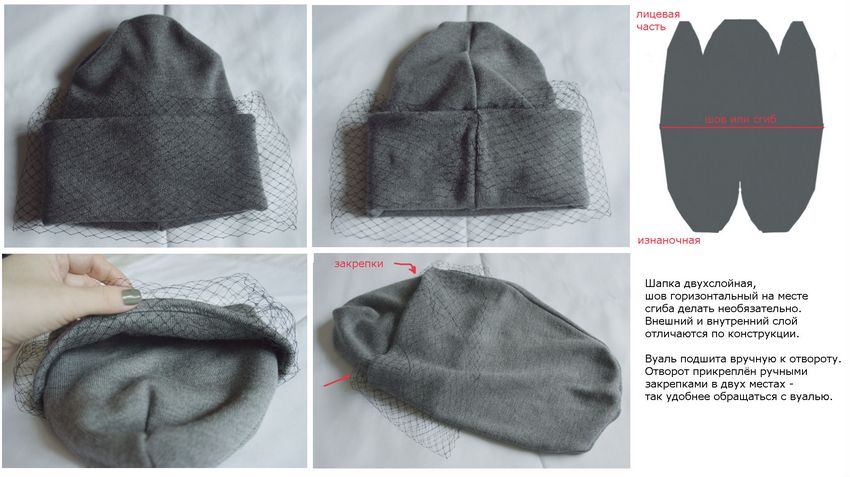
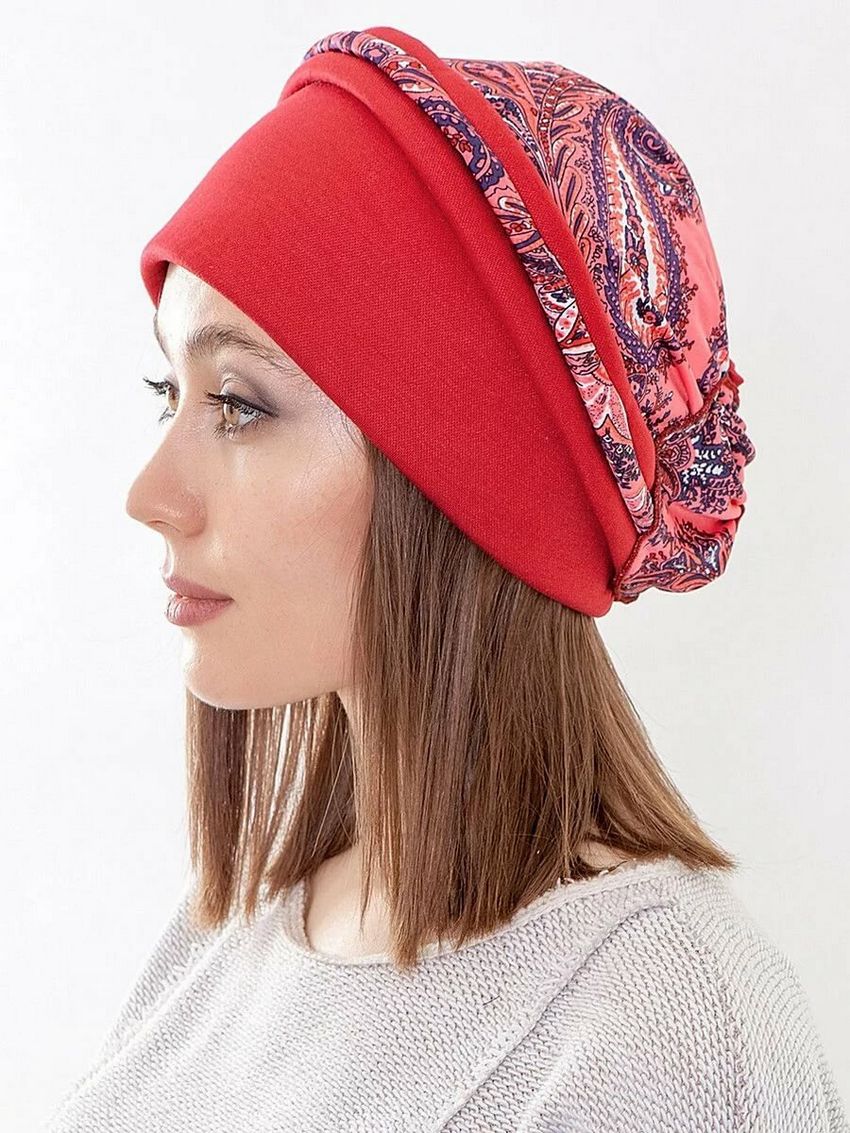
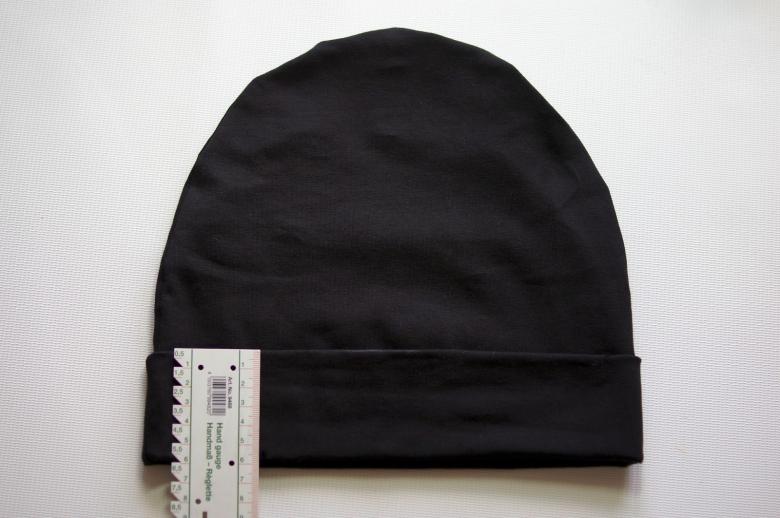
Two-layered men's hat
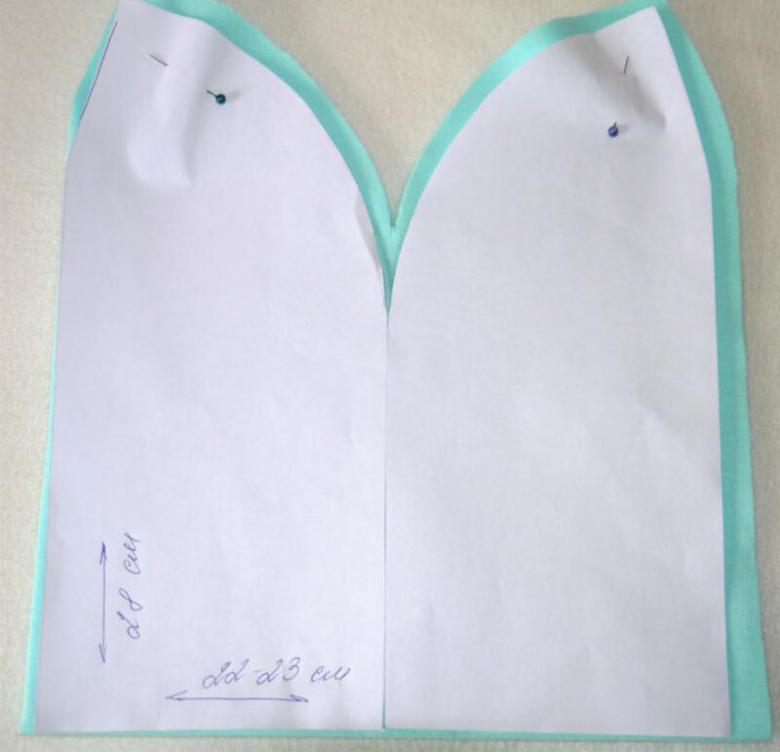
For such a product you will need a fabric of 60 by 50cm. The work algorithm is as follows:
- Fold the material with the front side inward, then fold again from left to right.
- Print the pattern, pin it to the fabric and cut along the contour, leaving a centimeter for the seams. The fabric must remain intact and the pieces must not be cut from each other.
- Unfold the fabric and sew along the back seam with a zigzag stitch. The fabric should be facing inwards.
- Turn the hat face side out and iron.
- Fold the product in two layers, decide which side is the wrong side, fasten with pins and stitch.
- Turn out the finished hat on the right side. Also such a hat can be made out of fleece.
This is a simple hat, which can handle even a beginner. Over time, you can try hat patterns ushanka and more complex models, such as fur hats, berets and others.
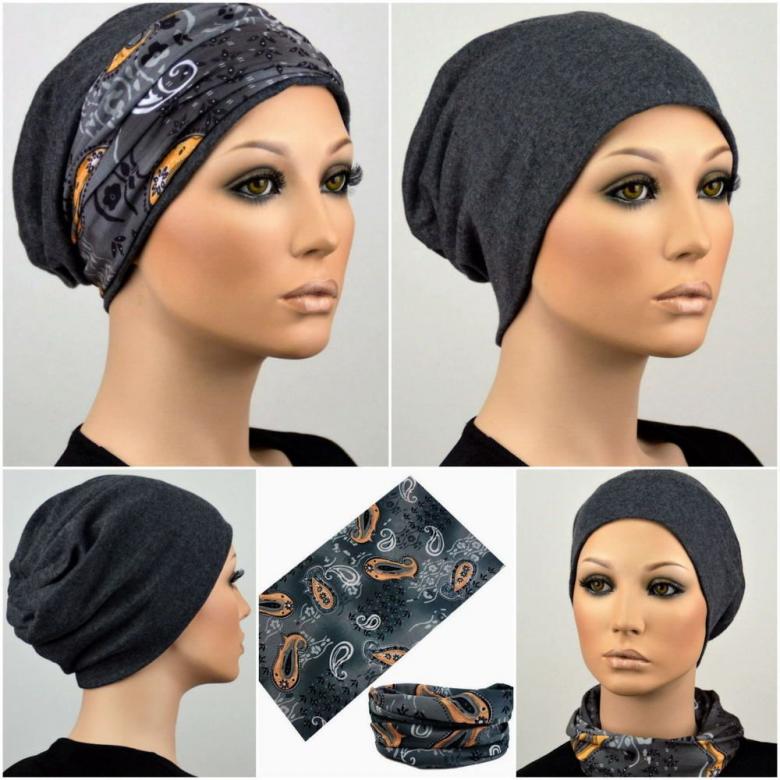
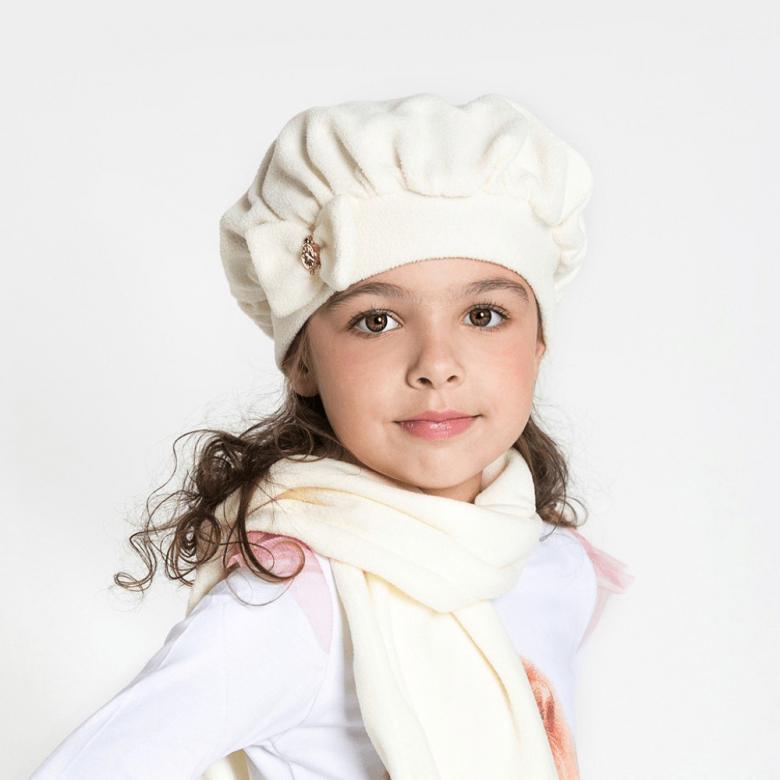
Knitted beret
First you need to choose the right pattern. The steps to do the work are as follows:
- Fasten the parts of the side.
- Iron along the seam.
- Attach the bottom to the edge.
- Iron the seams.
- In the final step to sew the edging.

If the product is sewn from a thin jersey, you can sew to it a lining. Cotton is suitable for the lining. Cut out the inside in the same way as the beret itself. The lining is sewn on after all the other main parts are sewn.

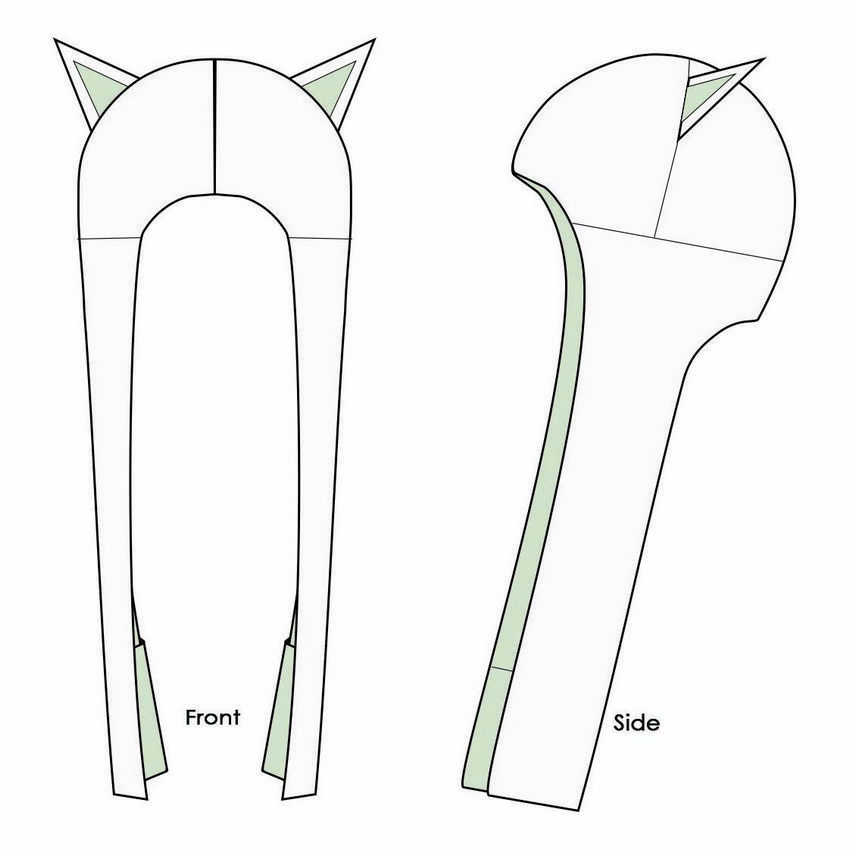
Cute hat for a girl
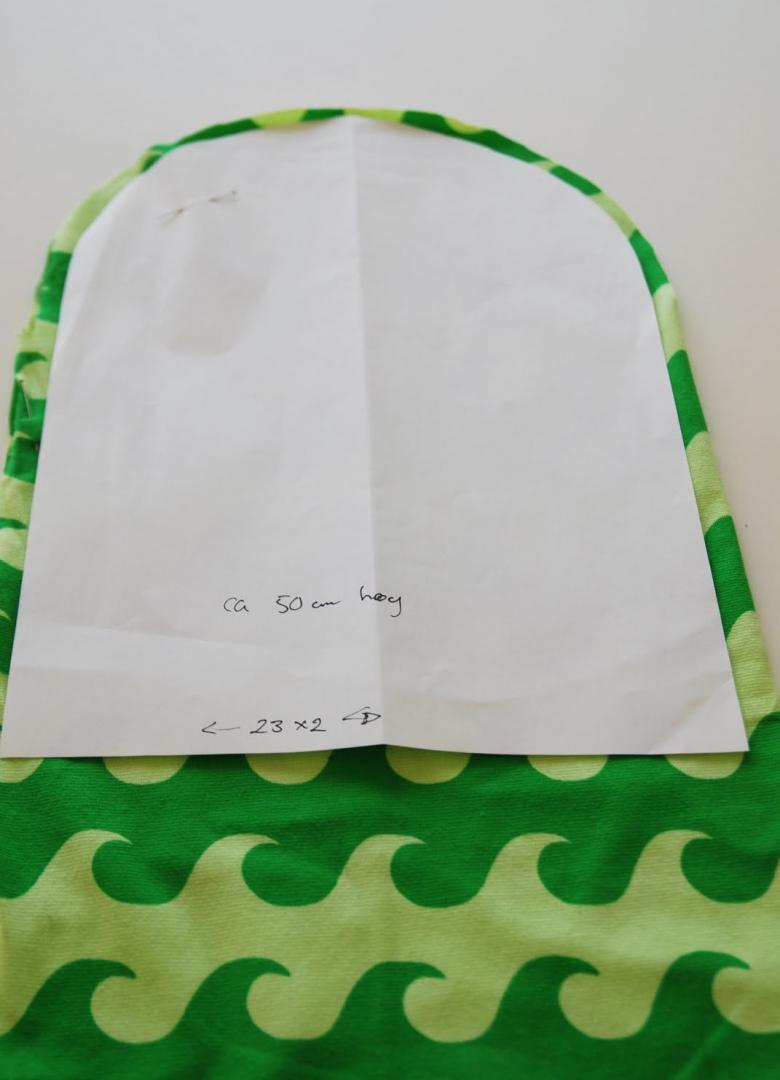
You can sew a cute hat with ears for a girl. In order not to waste time on taking measures, you can use a child's hat. It should be circled on paper to get two parts of the pattern. (The front and back). According to the patterns, cut out the base and lining. Then cut out ears-triangles.
Before sewing you need to fasten the parts face inward with pins. Attach ears to the top line of the seam, pre-stitching them. Then sew them on the machine. You can make an application in the form of animals, sewing eyes, nose and mouth, and you can decorate the product with sequins or embroidery.
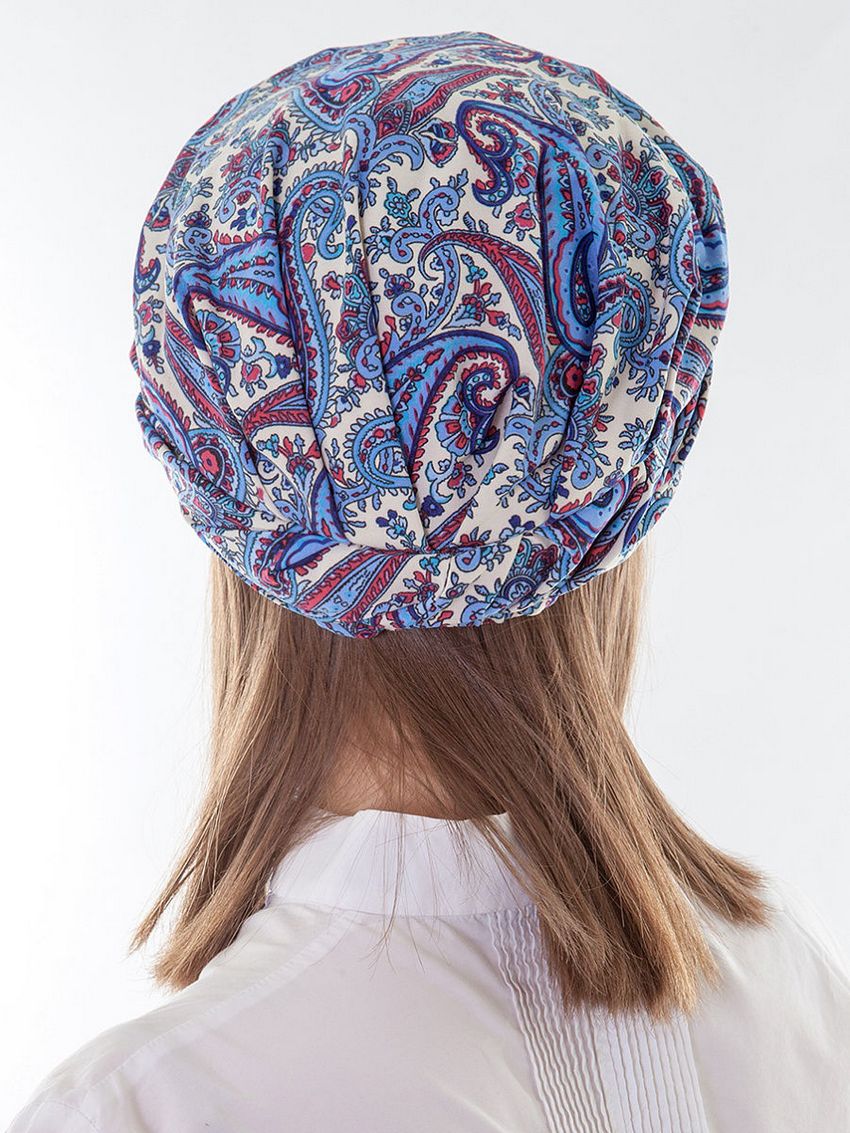
Photo examples and diagrams for sewing hats with your own hands