Inspection pit in the garage with their own hands - dimensions, drawings, what to consider when designing, photos of works
Today there is a huge number of services that provide services for the maintenance of cars, as well as performing repairs of any degree of complexity. Nevertheless, some motorists prefer to do their own inspection of their car and even fix minor breakdowns. How to make a pit in the garage with your own hands, so as not to repair the car, lying under it, we will tell you today.
The size of the future pit
The size of the pit is determined depending on the height of the owner of the car and its dimensions:
- to determine the width measure the gap between the two front or rear wheels, and then subtract from this value 40-50 cm (the space that will be needed to maneuver one and the other wheel). In most cases, the width of the finished pit is 90 cm, which is quite convenient for work;
- the length is calculated by adding 1 meter to the length of the car. This allows you to go down and up without problems;
- it is more convenient to work under the car for a man in full height. Therefore, the depth of the pit is better to determine, adding to the growth of 18-20 cm.

These rules of calculation are not a model. Here everyone is guided by personal preferences. Some like pits, allowing to work with his hands raised, some make them flush with his height, and some even less. The latter is more relevant for owners of cars with high clearance.
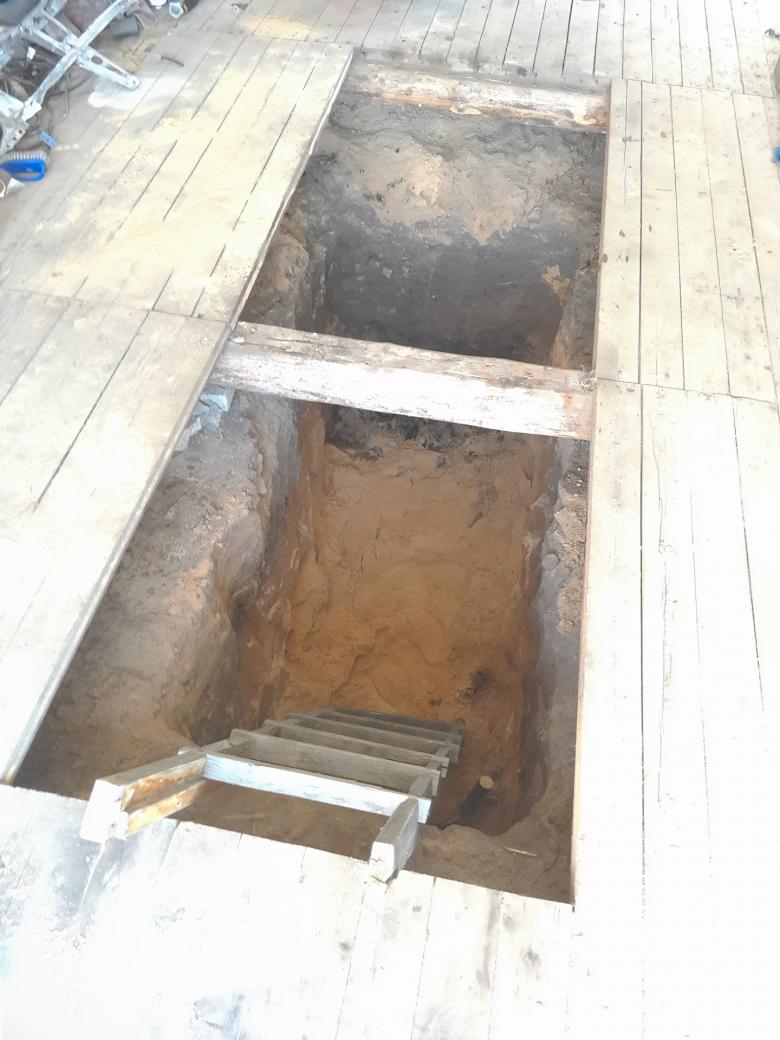
If it is not possible to dig a long hole, it is dug smaller, and the car is driven into the garage forward hood or trunk, depending on what part of it needs repair.
Attention! In the process of planning the excavation to the final dimensions add the thickness of the walls, as well as the height of the floor.
If the area of the garage room allows, the inspection pit is better placed closer to the wall, and the remaining space is used to install equipment, such as racks for spare parts and working tools. In this case, the gap between the edge of the pit and the nearby wall - 1 m.
How to make an inspection pit: step-by-step instructions
To equip an inspection pit in the garage premises it is not necessary to have a diploma in construction. It is enough to follow the step-by-step instructions.
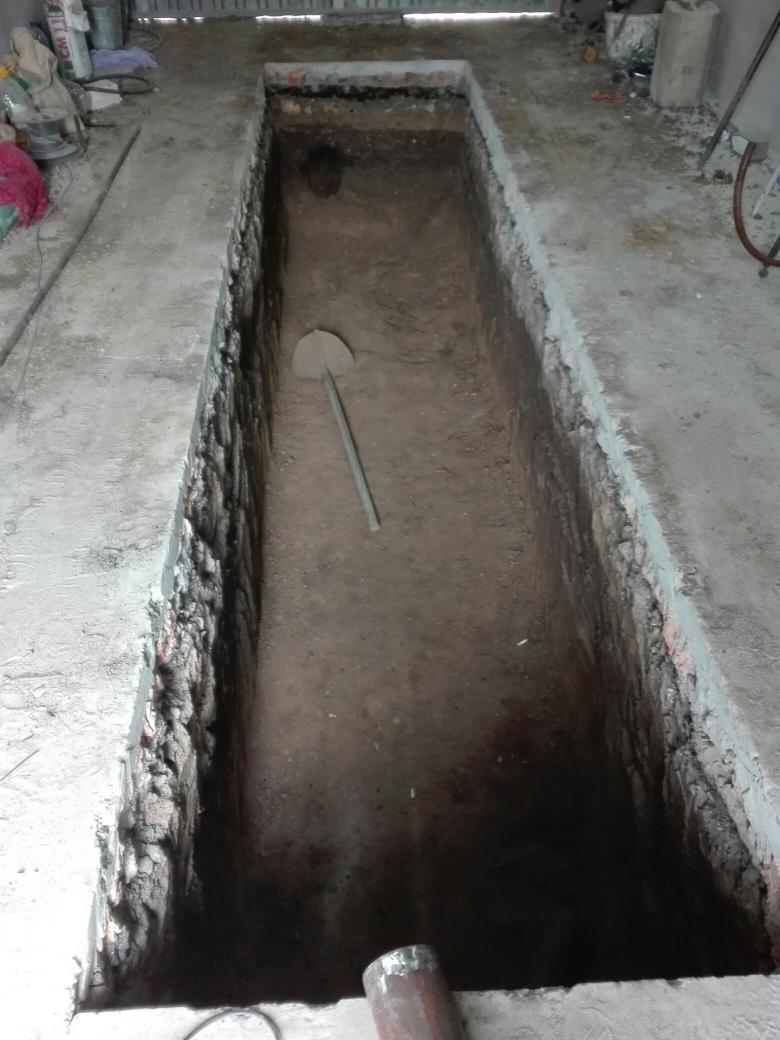
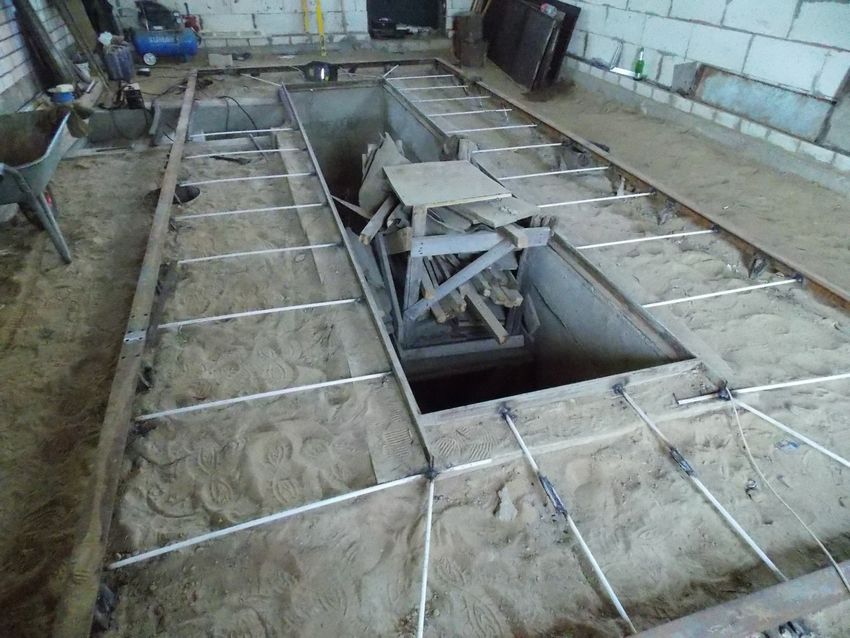
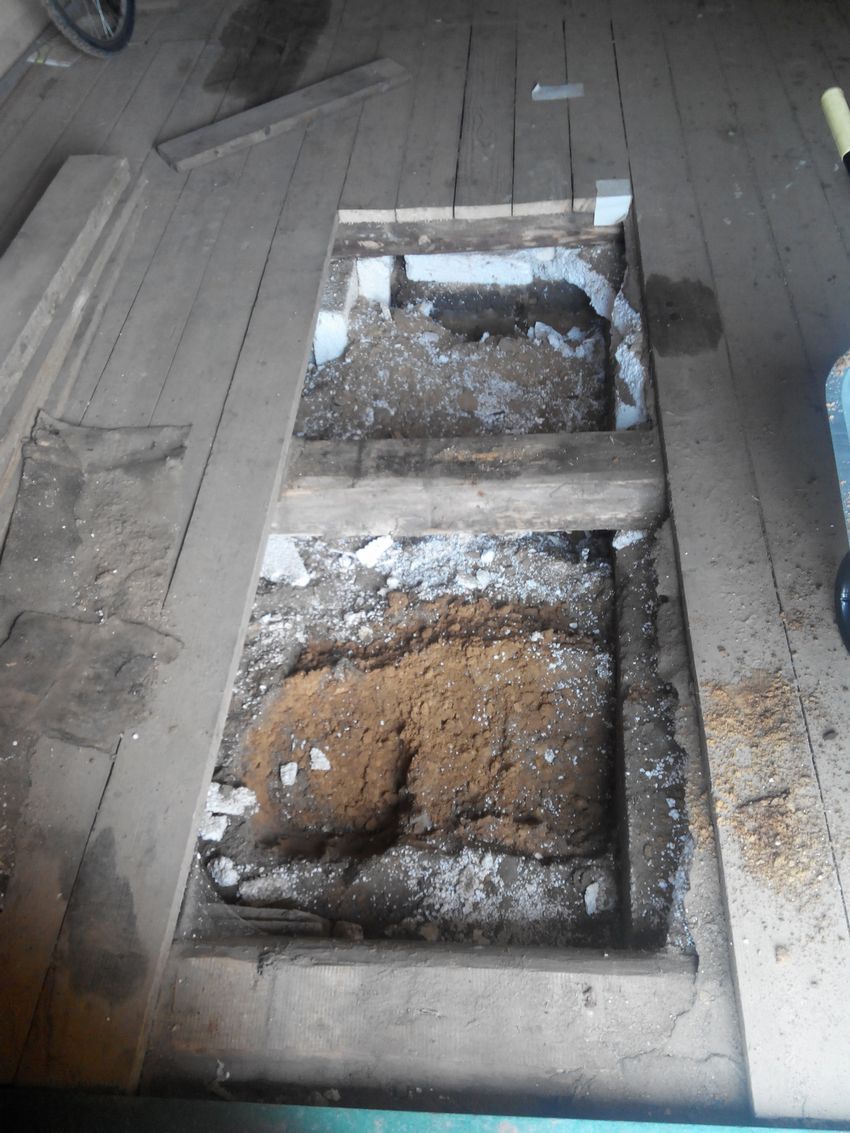
Marking and formation of the pit
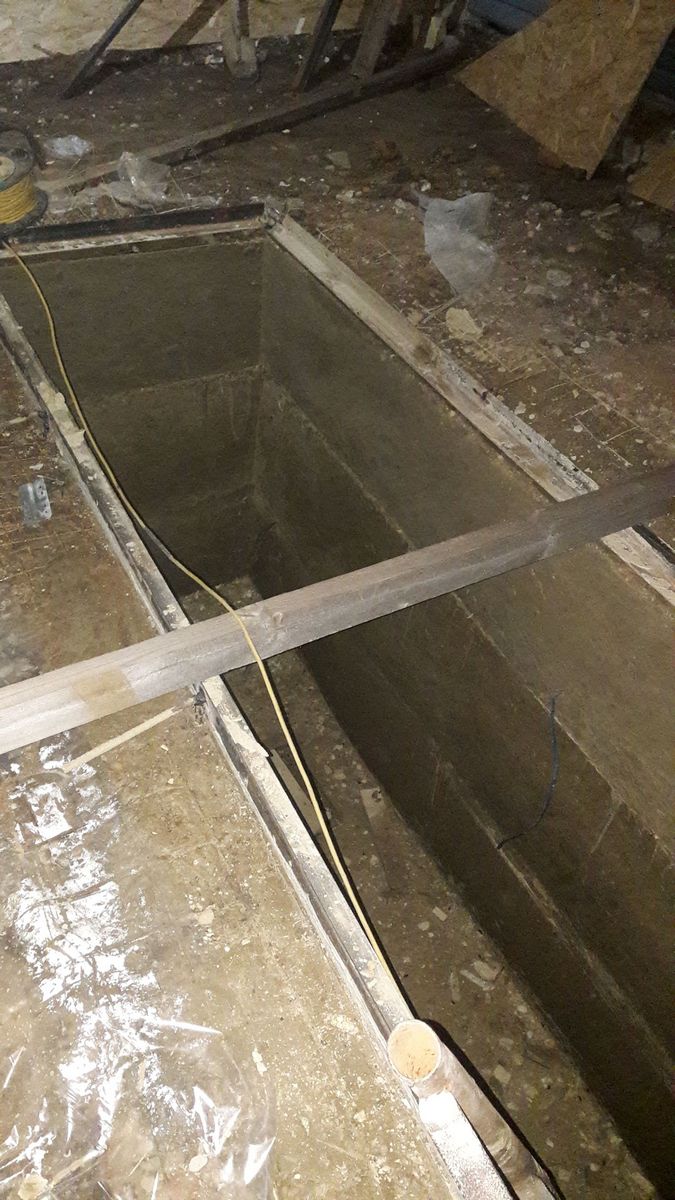
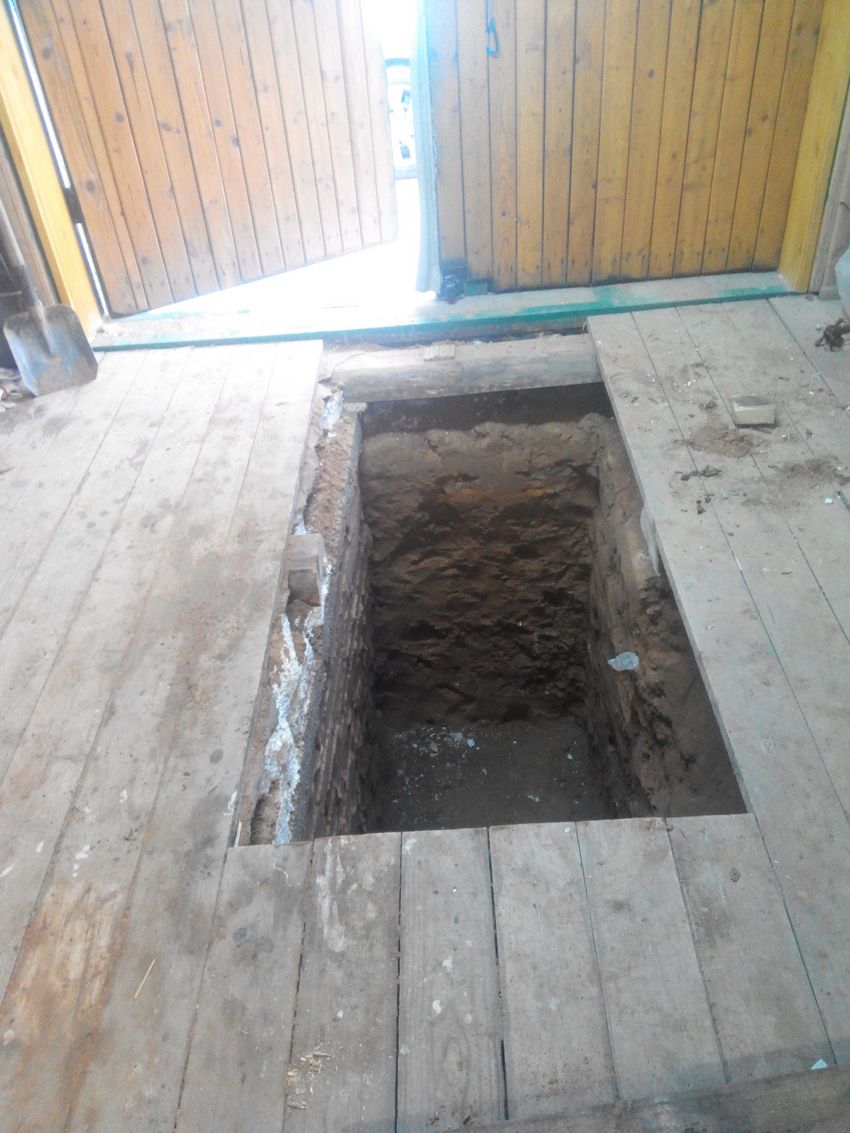
The first thing to do is to mark and dig an excavation.
For this purpose:
- Measure the width, as well as the length of the pit according to the established dimensions;
- hammer in all four corners of the stakes and pull the line;
- excavate the excavation strictly according to the marked markings;
- level the walls;
- Fill the bottom 2 layers of crushed stone of any fraction (height 5 cm), tamping it every time;
- Pour a layer of sand construction (5 cm) and also tamped.
Attention: Tamping the bottom is necessary until the footprints will not be visible.
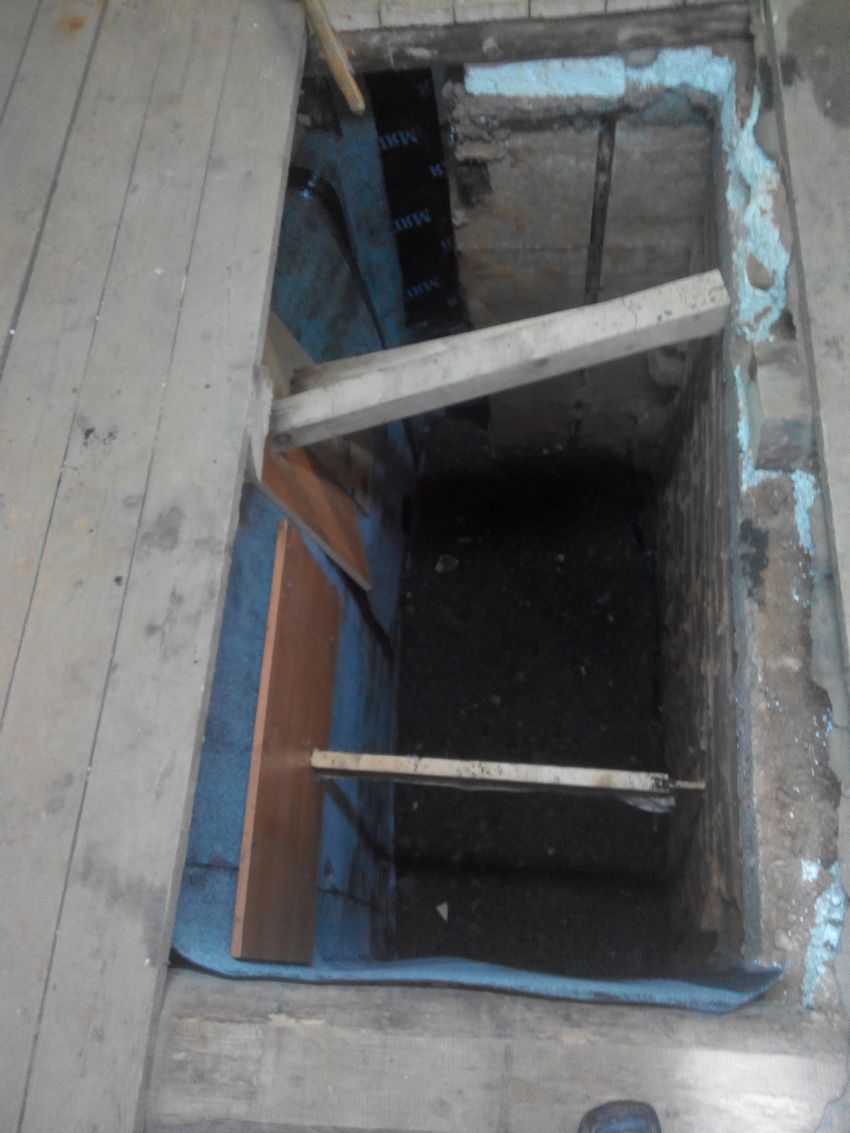
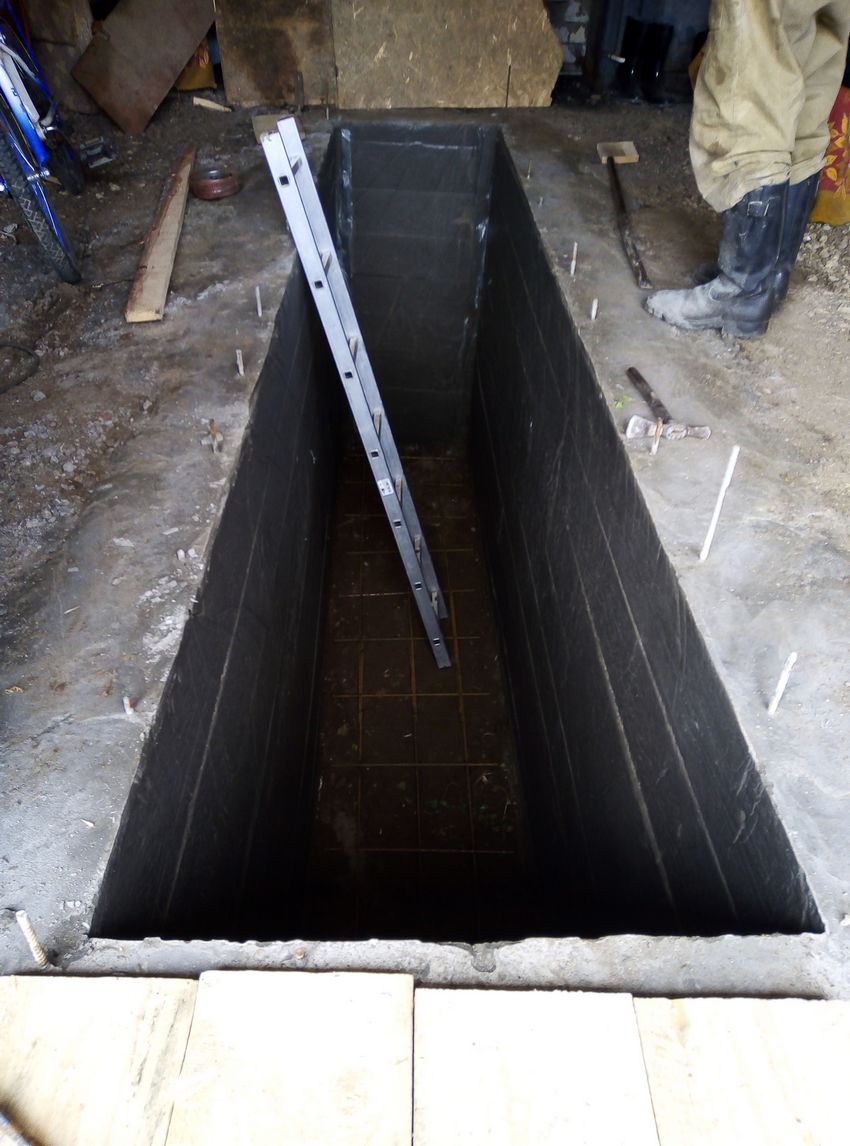
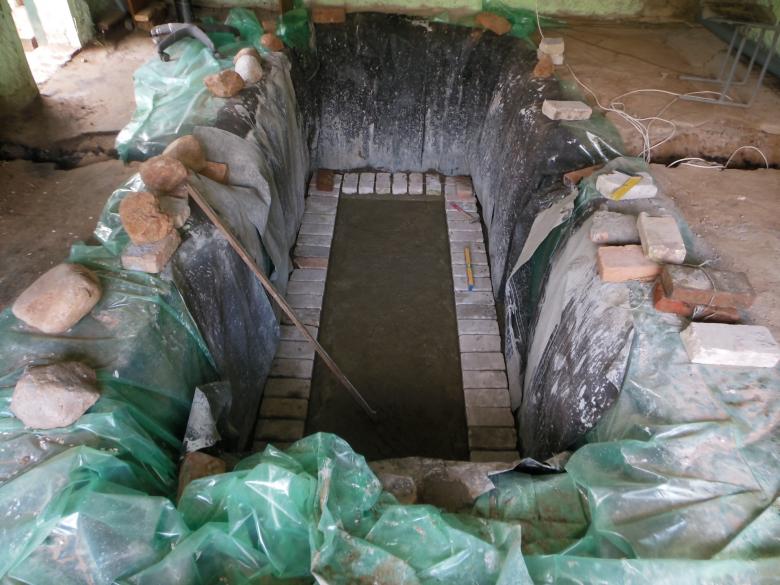
Waterproofing
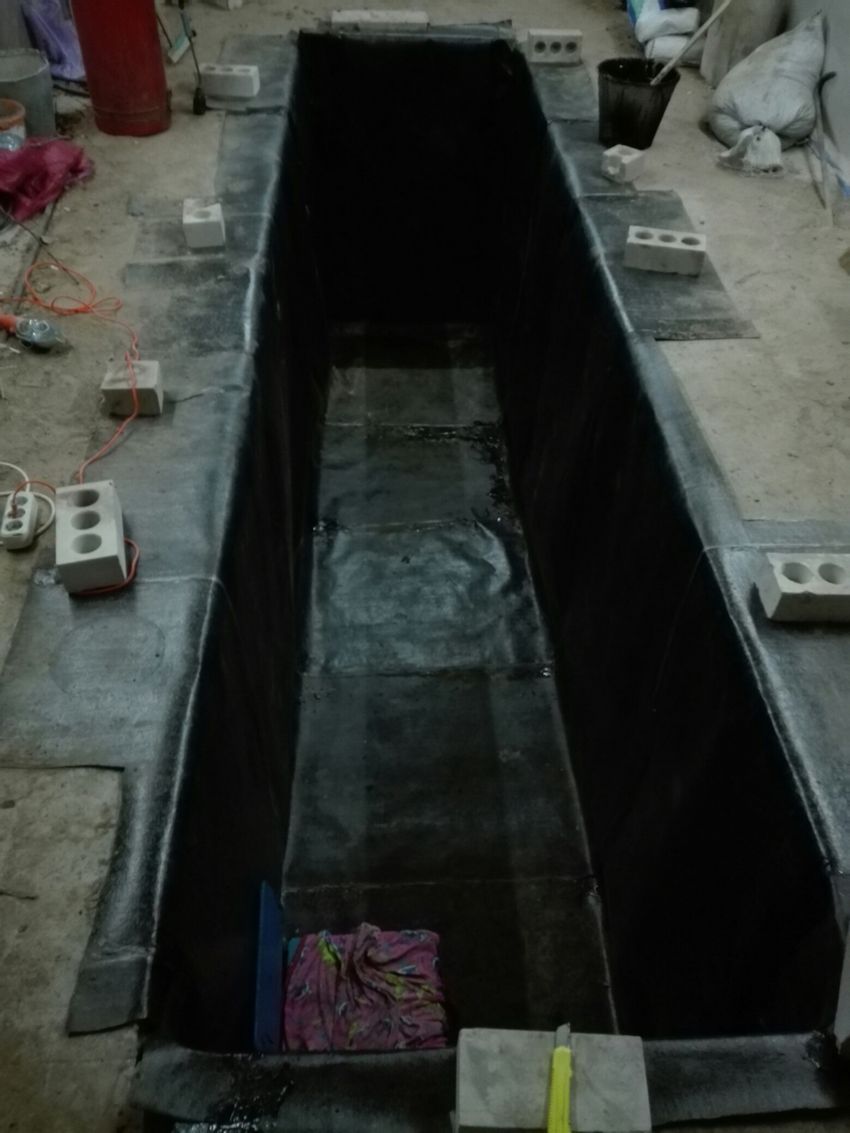
To protect the inspection pit from groundwater, waterproofing is necessary. There are two types of waterproofing:
Outdoor .
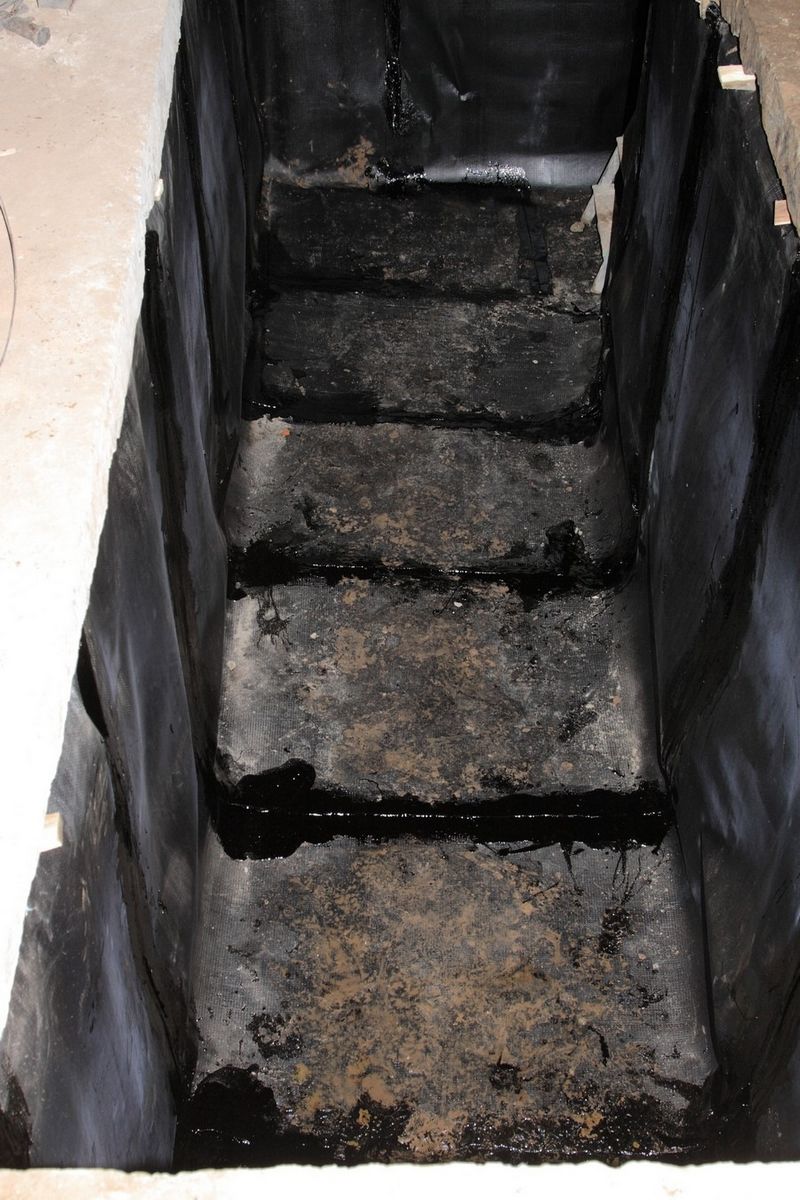
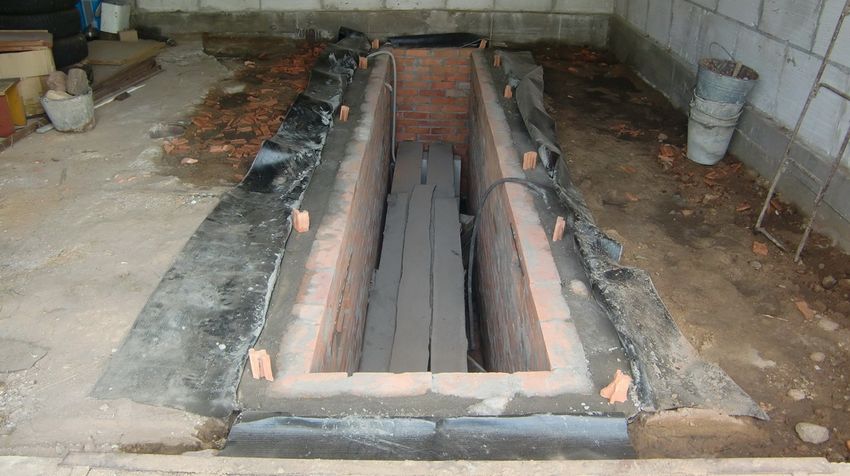
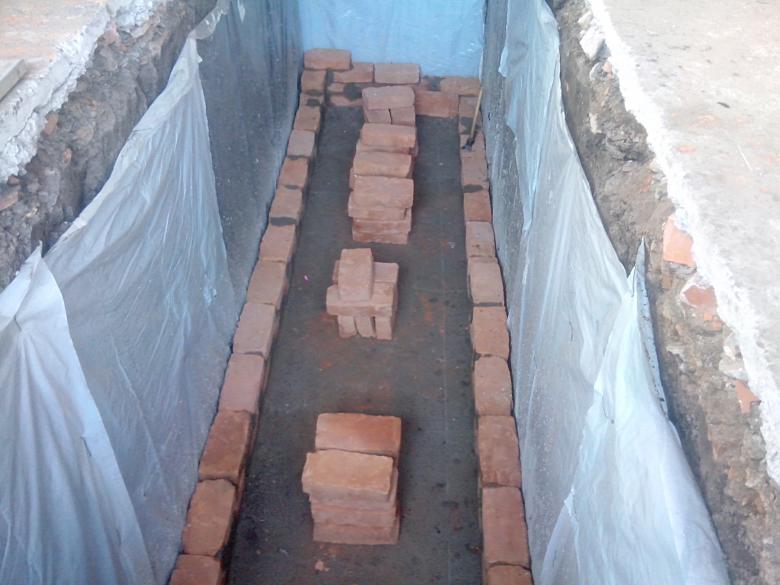
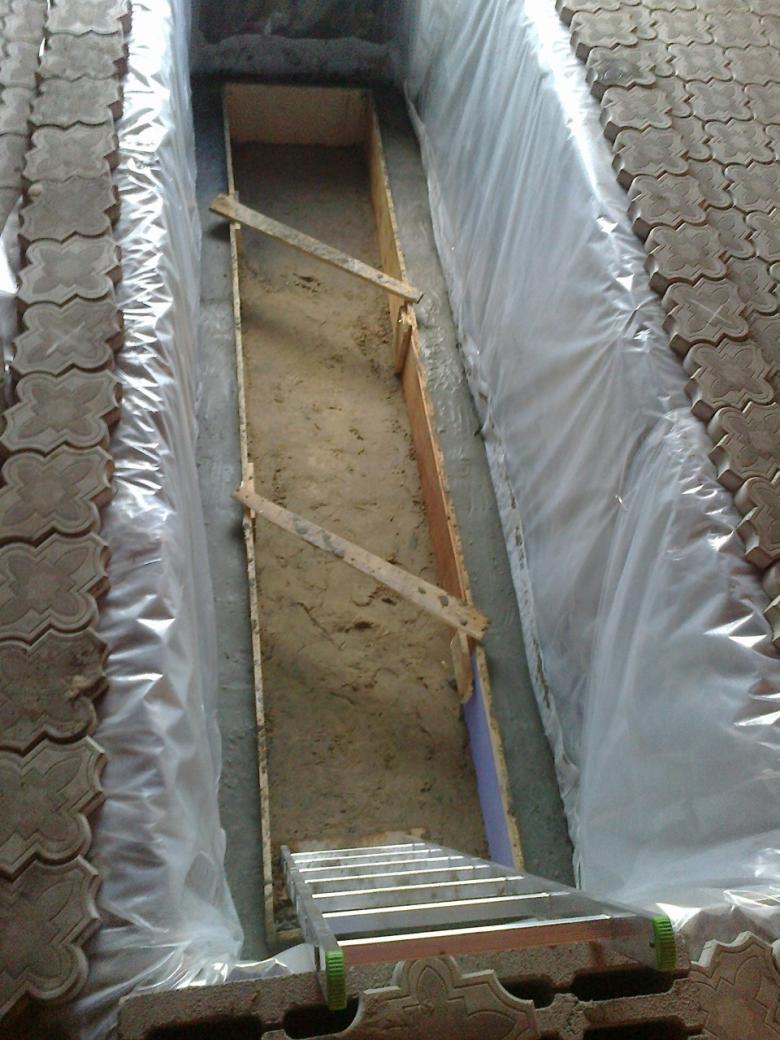
In the process of its implementation, the pit is covered with waterproofing material. Each subsequent layer must cover the previous one by at least 15 cm. The edges of the film at 20-25 cm extend to the floor of the garage room. For greater strength, the joints are glued with double-sided adhesive tape.
External insulation is done only during the construction of the pit. Some people neglect it, motivating it by the deep location of underground water, i.e. minimal risk of its entry into the pit. Nevertheless, there is always the possibility of its increase. For this reason, it is better not to neglect such a type of protection as external waterproofing.
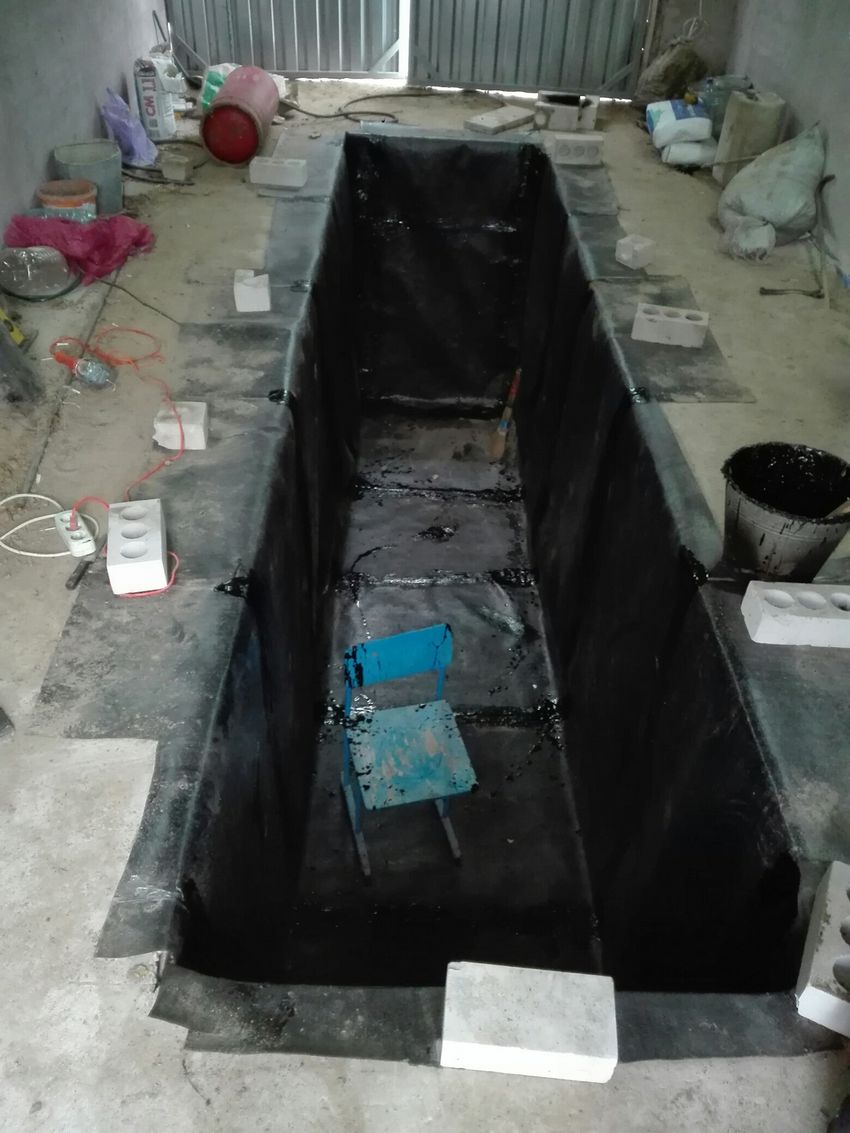
Internal
This type of waterproofing involves processing the walls and the bottom of the pit with special compositions that reduce the hygroscopic nature of the building material. Ideally, choose a special composition designed for the treatment of swimming pools. It looks and looks more attractive, and will protect better.
Another way to prevent excess moisture in the pit - to equip the caisson, which is a metal box that is installed in the pit. To prevent extrusion of water to the sides of the device welded metal bars about 1 m long and hammered into the ground.
When groundwater seeps into the pit after its construction, you can get rid of them by using the so-called pit, made in one place of the pit and fixed with concrete recess. This will allow you to collect moisture in one place and make it easier to work in the pit itself.
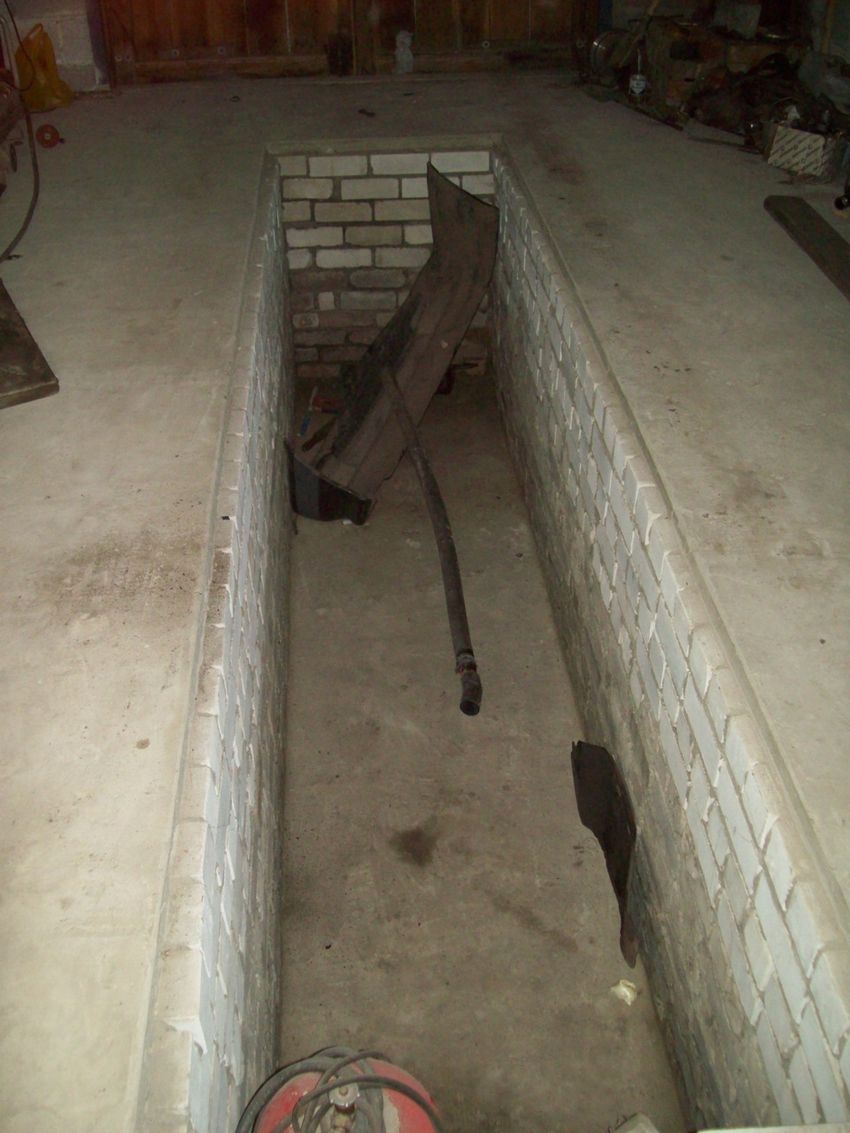
Interior finishing of the pit
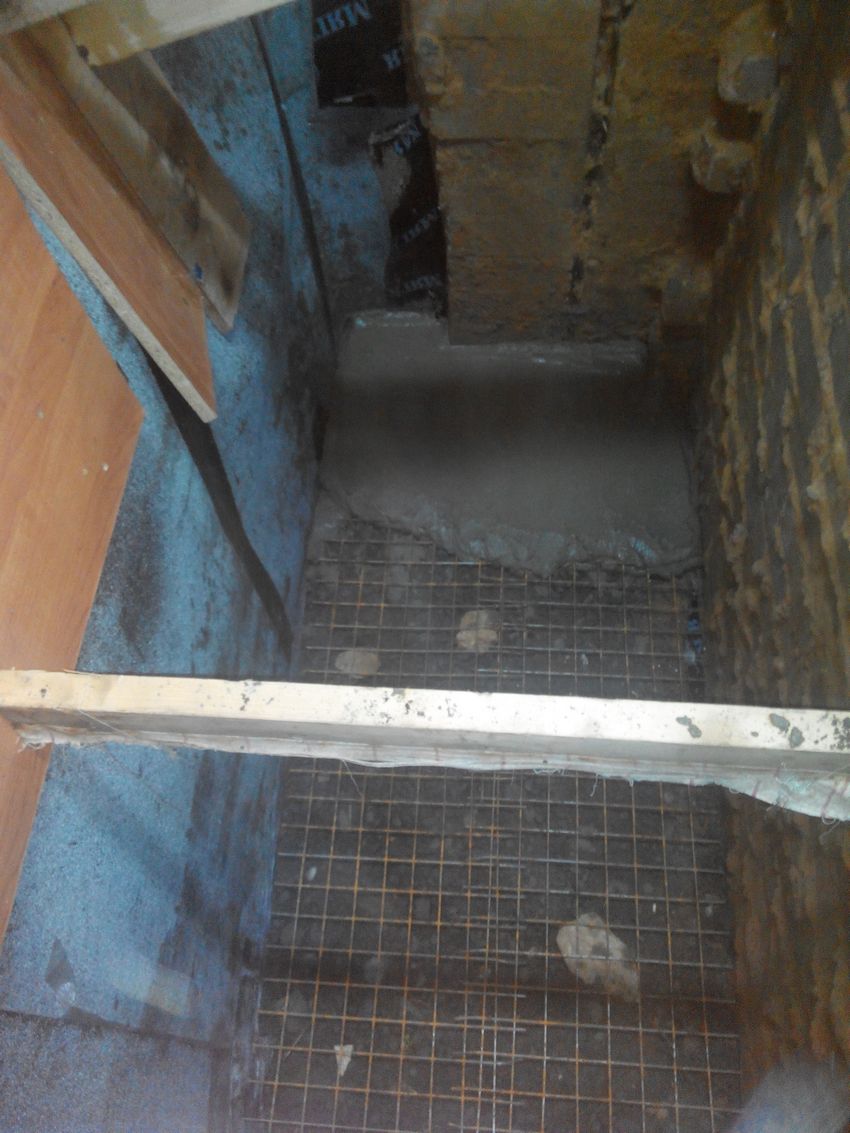
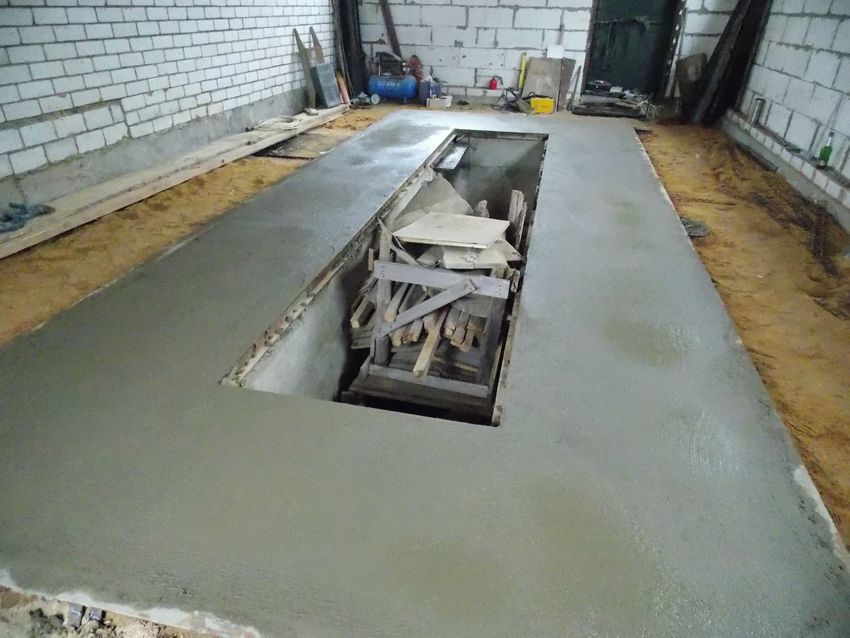
Since it is necessary to repair the car and in the cool season, it is recommended to insulate the inspection pit. For this purpose, extruded polystyrene foam is often used, which is placed on the walls and floor between the waterproofing coating and interior cladding.
On the insulation put a reinforcing mesh and pour the floor with concrete (5 cm). Concrete can be made their own hands, combining 1 part cement M 400, 3 hours of sand and 5 hours of gravel.

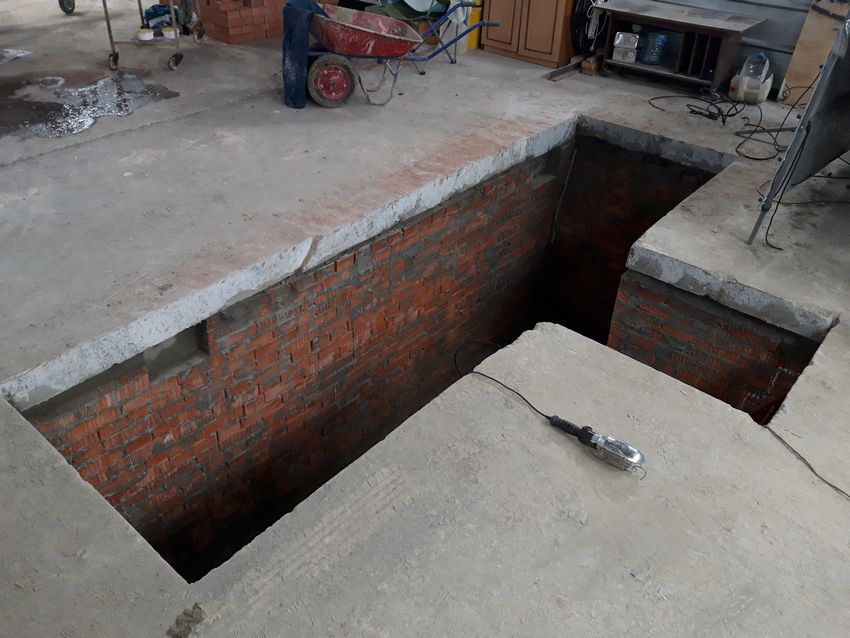
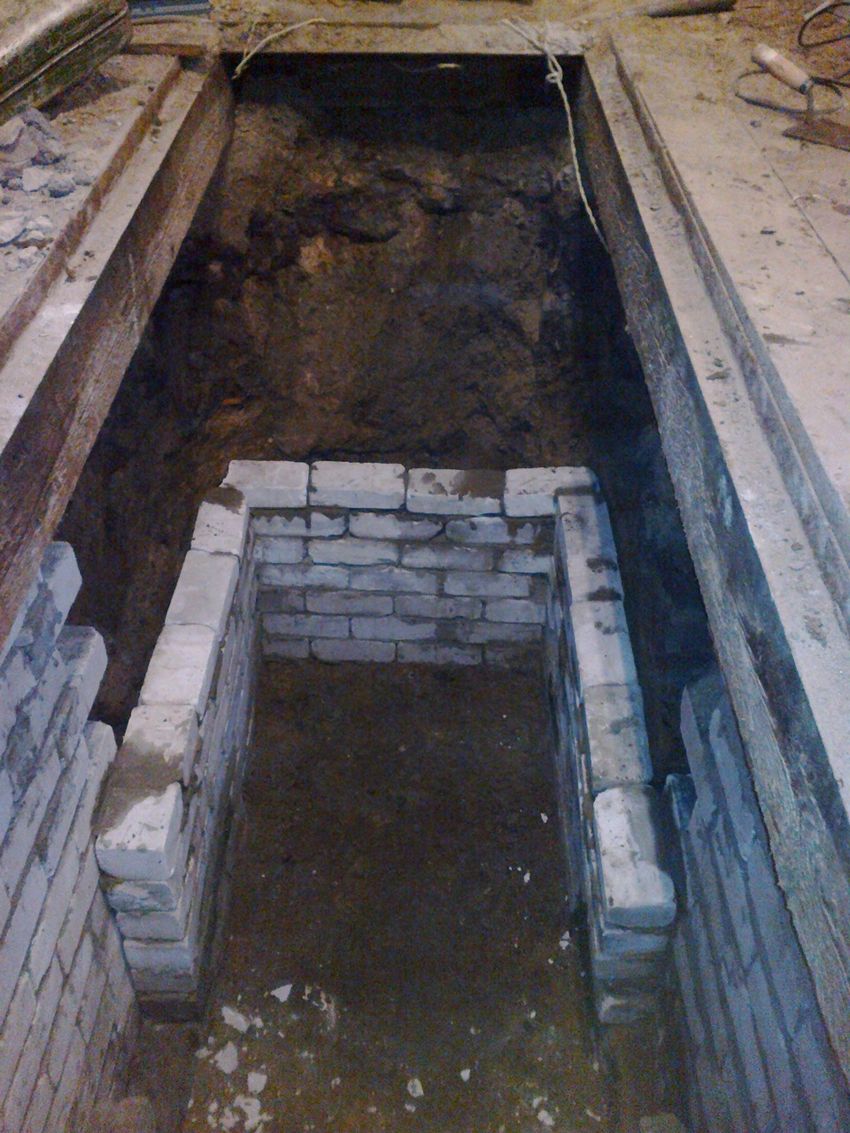
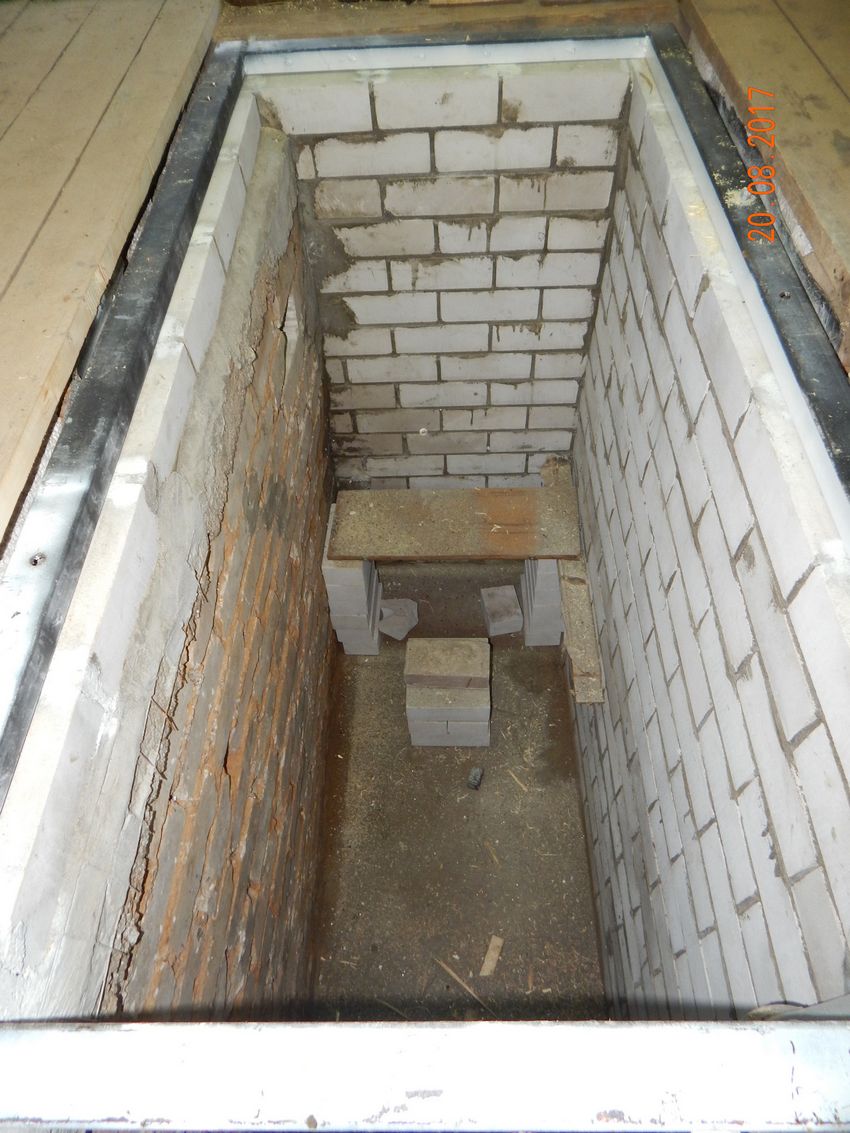
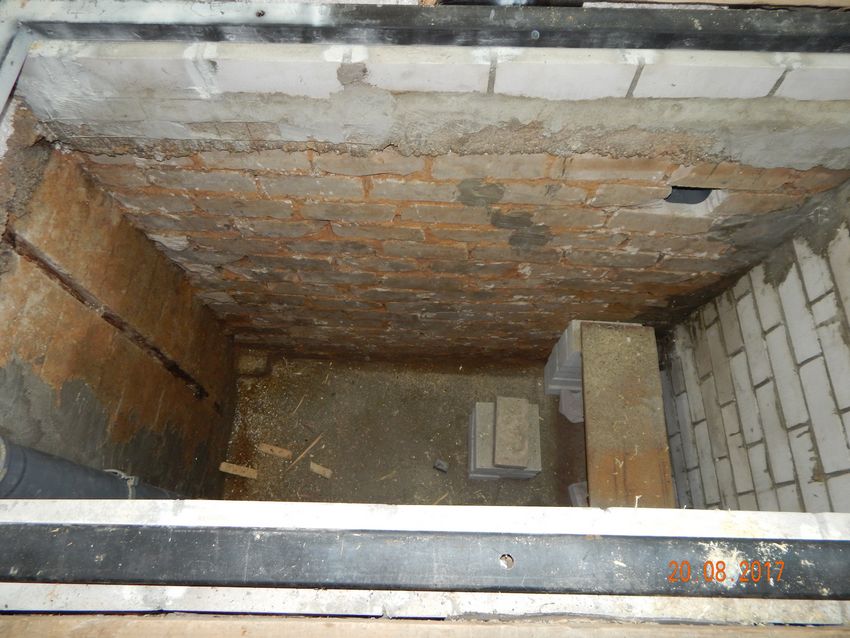
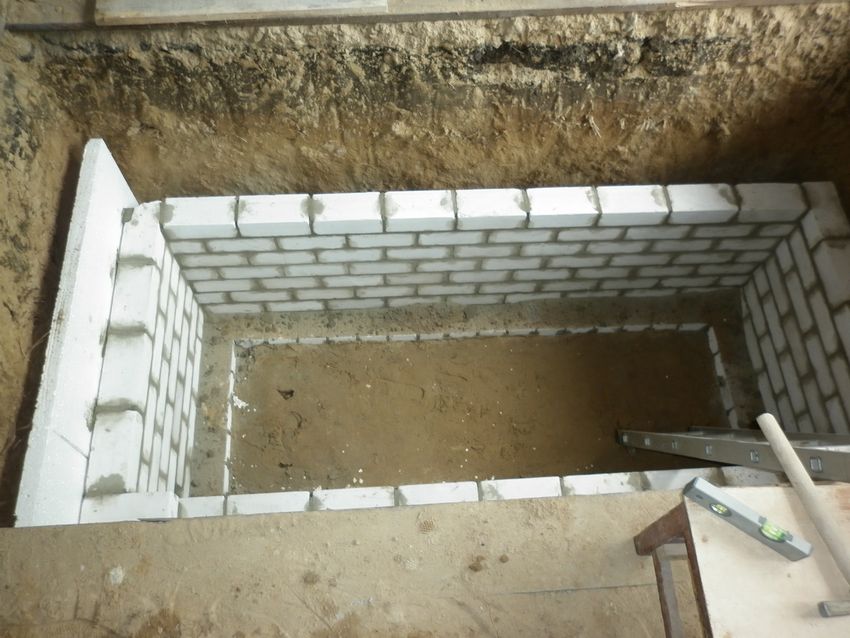
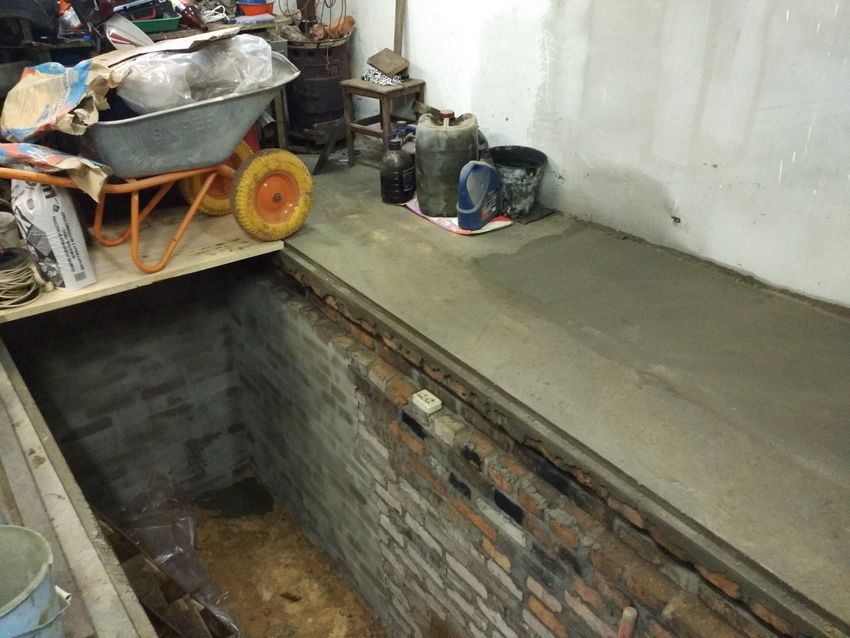
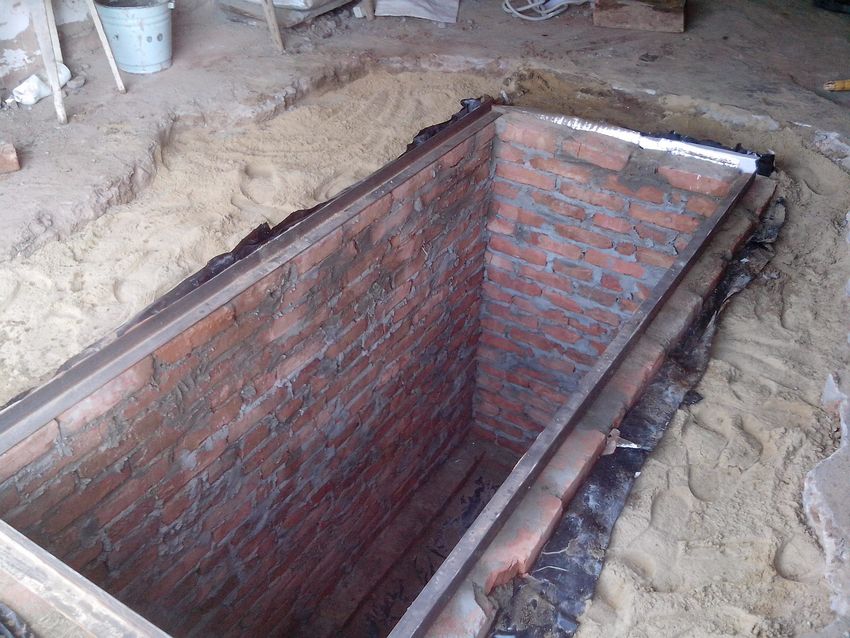
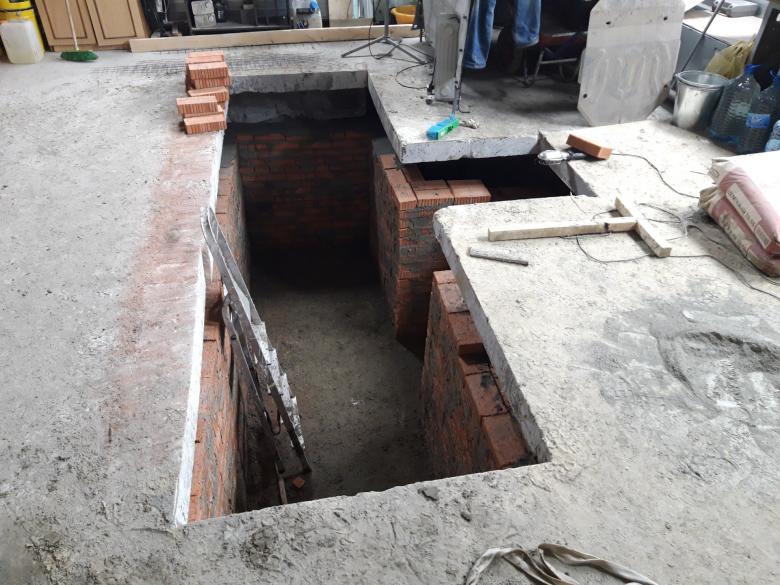
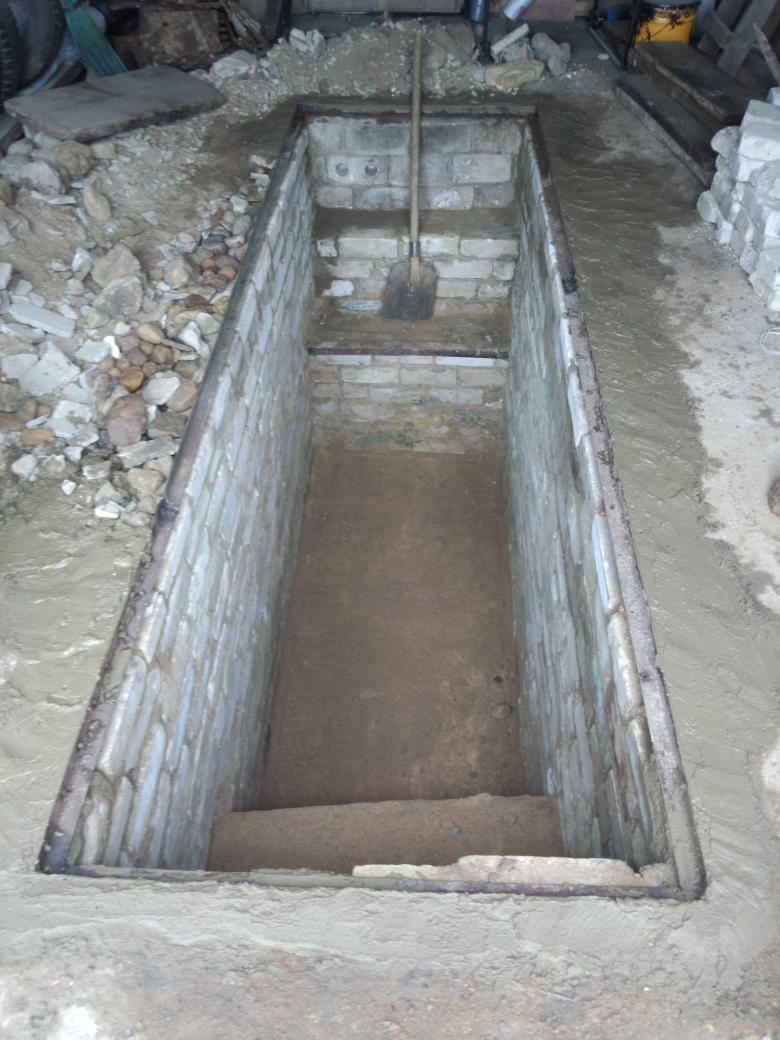
After the concrete hardens (1-2 weeks) lay out the walls. For this purpose, it is recommended to use:
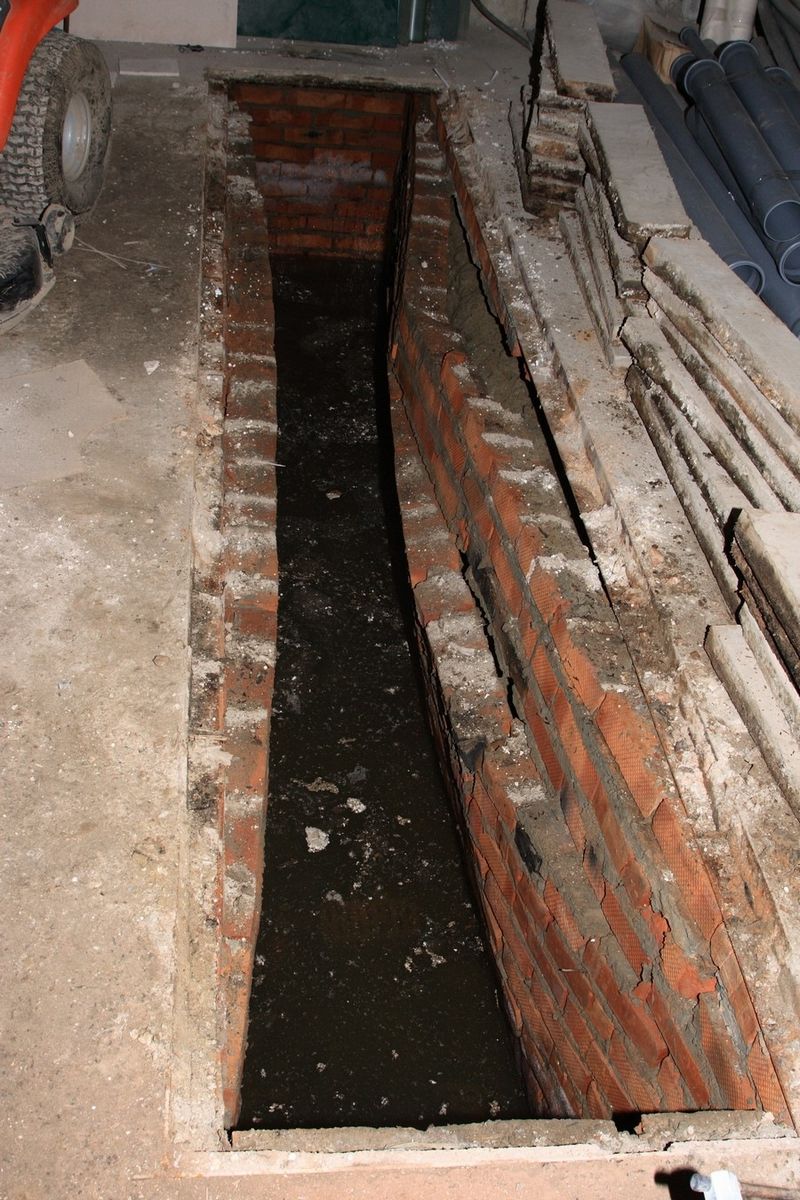
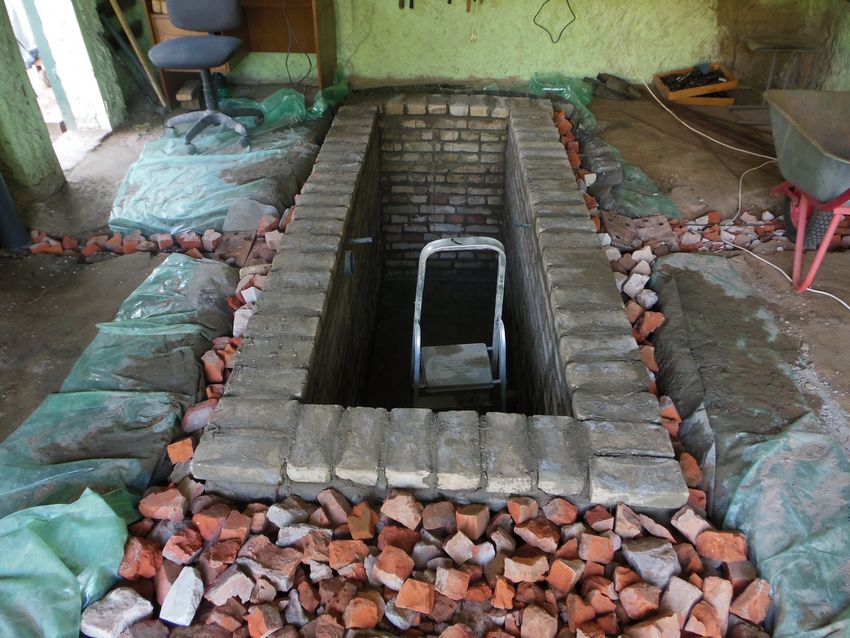
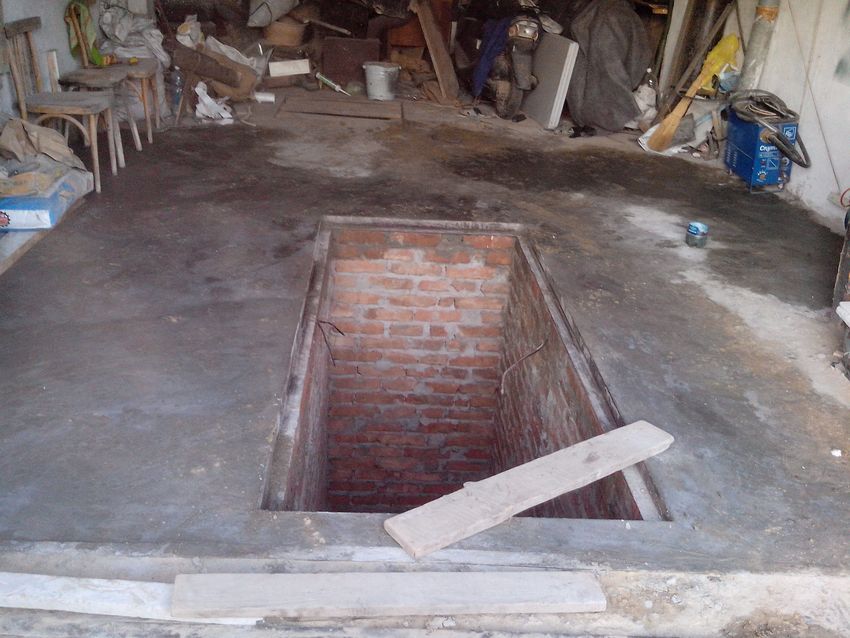
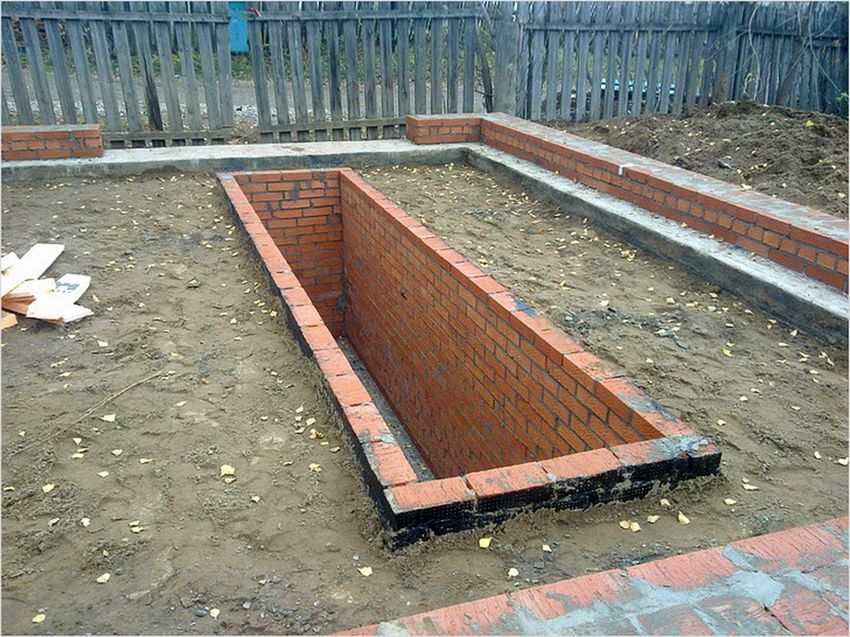
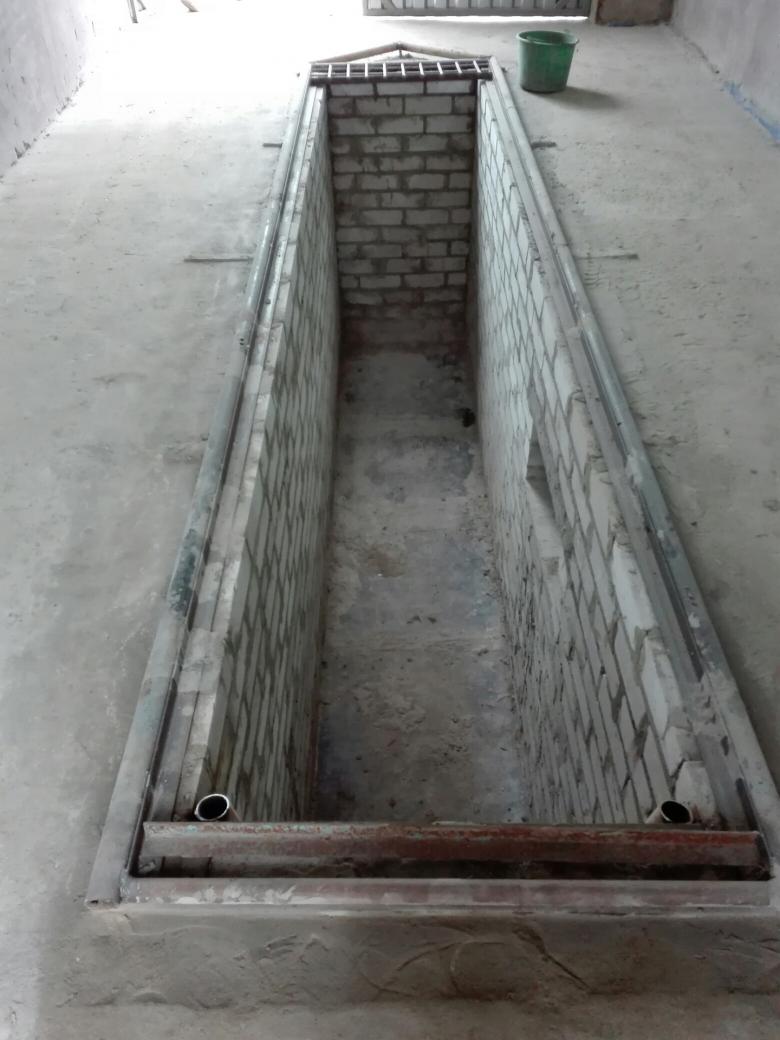
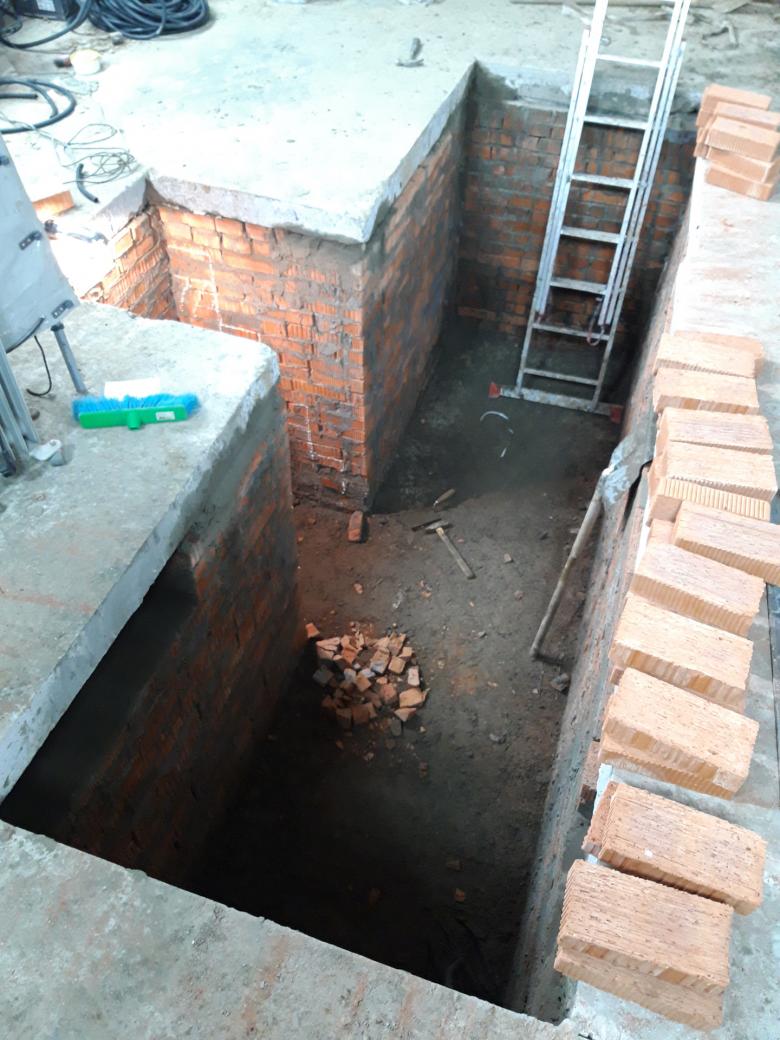
- Brick (preferably moisture-resistant ceramic). Inspection pit in the garage with their own hands from bricks is usually made in half a brick;
- building blocks;
- reinforced concrete (grade M 250). For reinforcement, a special reinforcement mesh or rebar is used. The thickness of the concrete wall is about 20 cm.
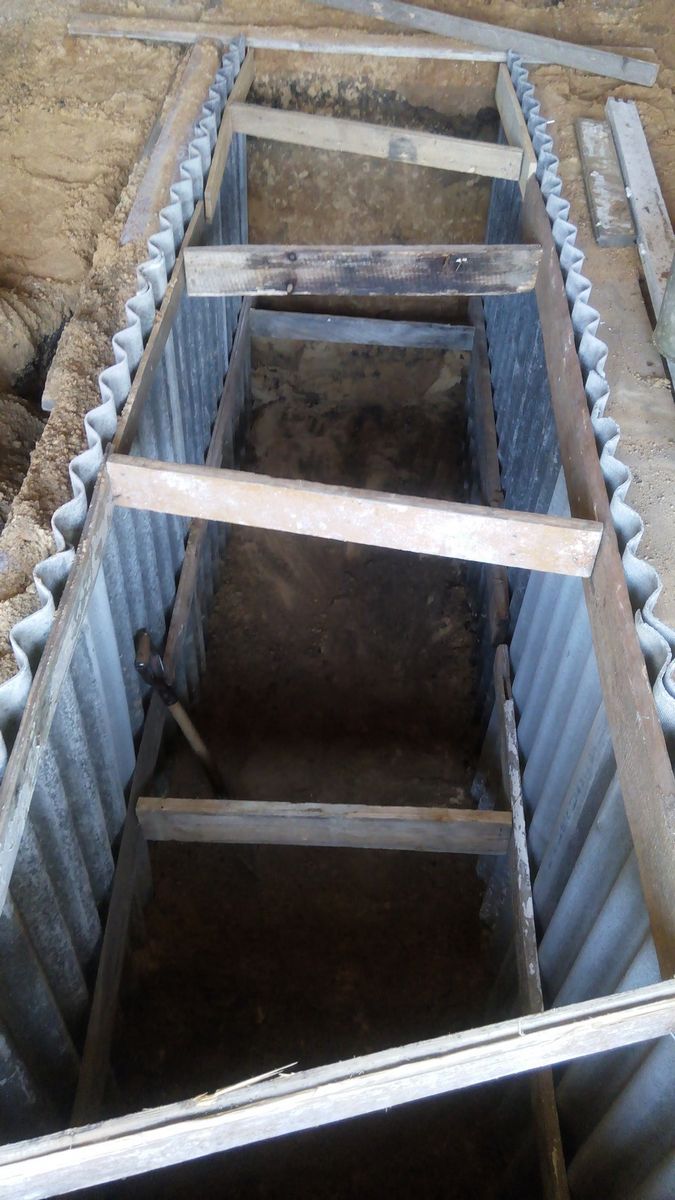
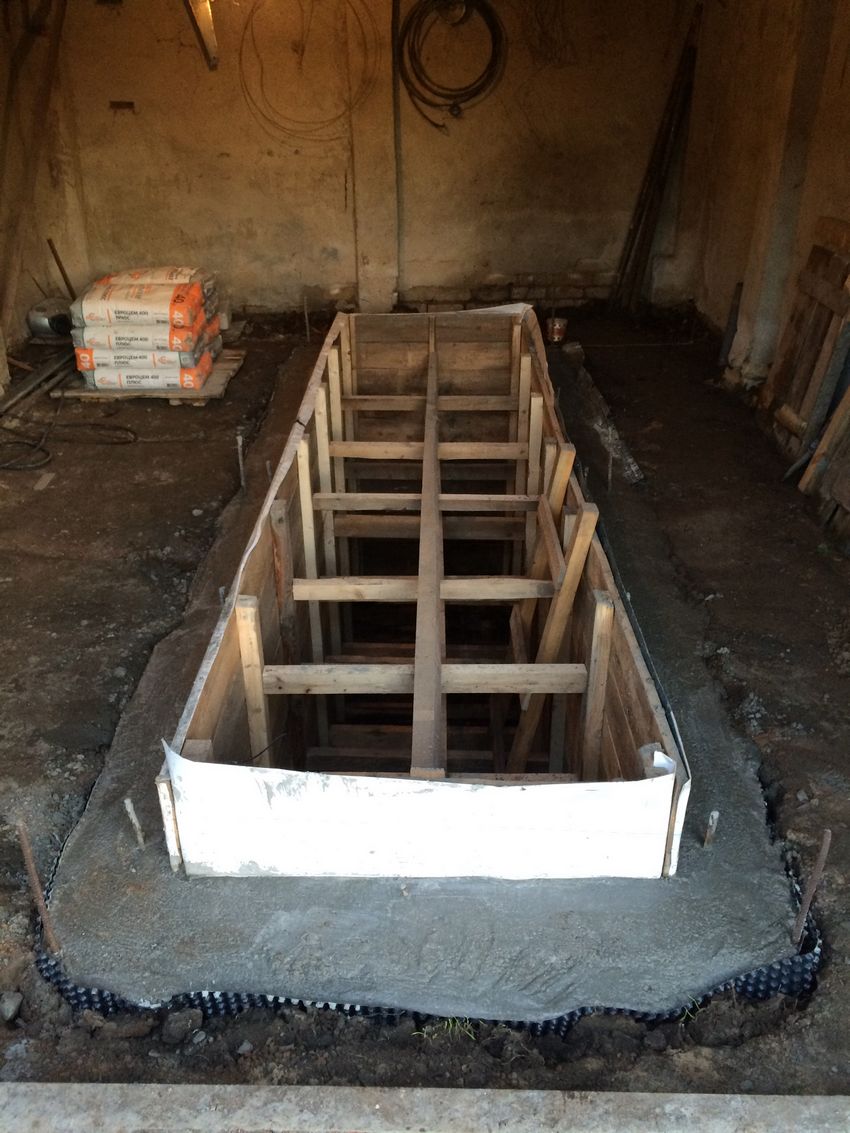
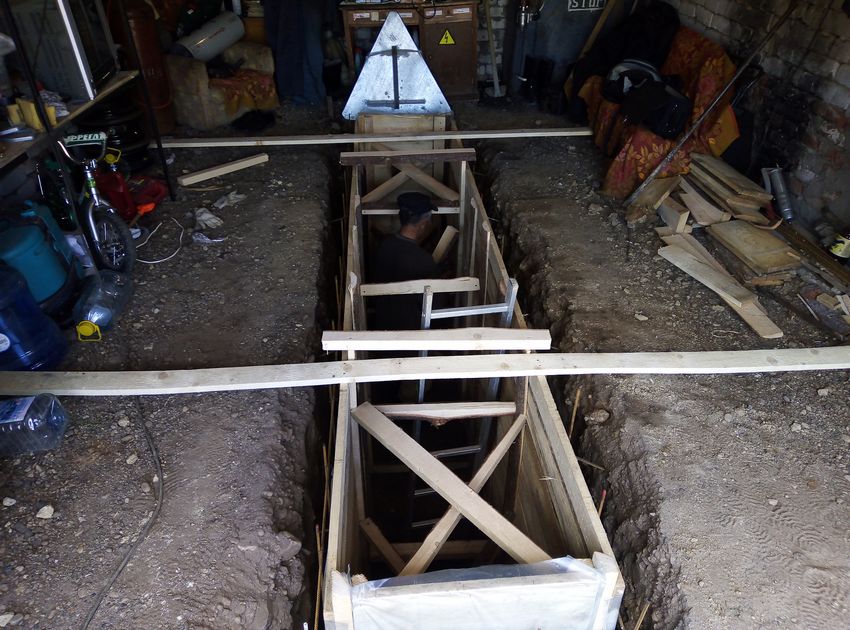
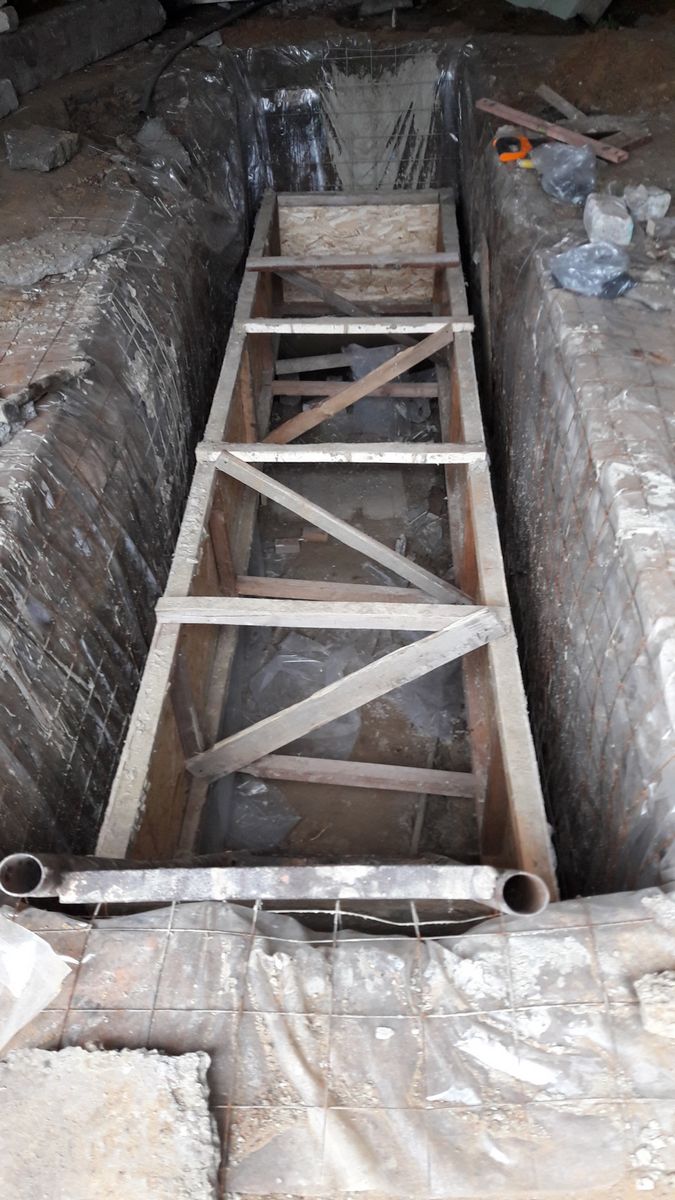
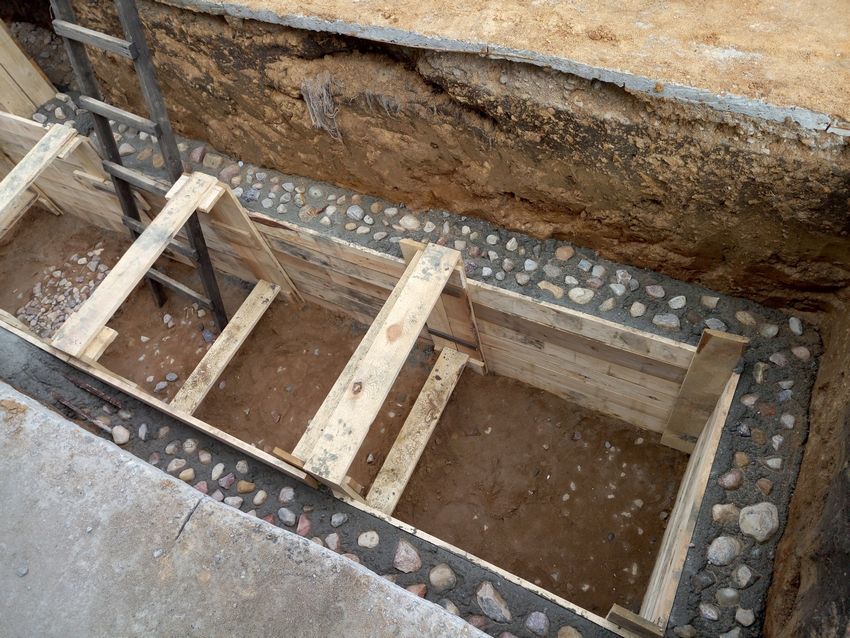
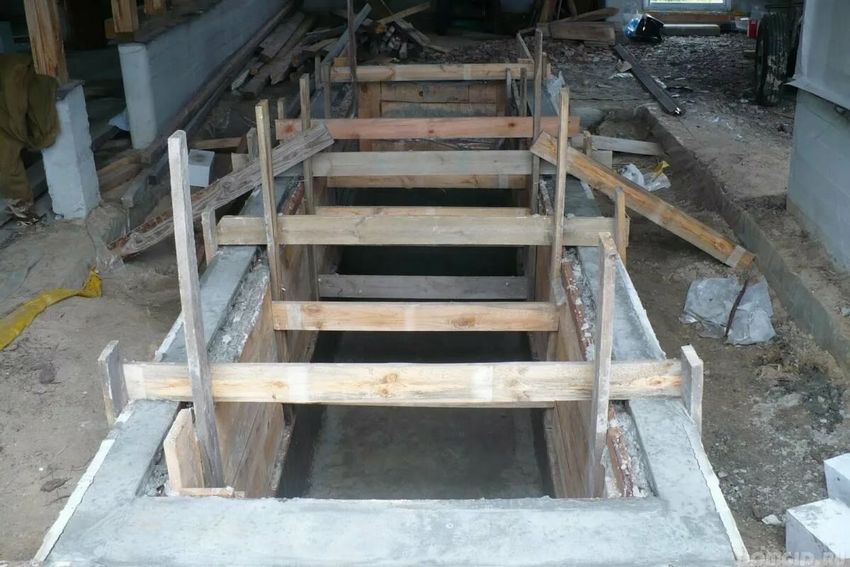
If wall cladding with bricks or building blocks is not particularly difficult, then pouring concrete walls will require more work. Before they are poured, you need to make a wooden formwork.
Tip! In the walls it is recommended to make niches with shelves, in which it is convenient to store tools. Form such niches with the help of metal corners.
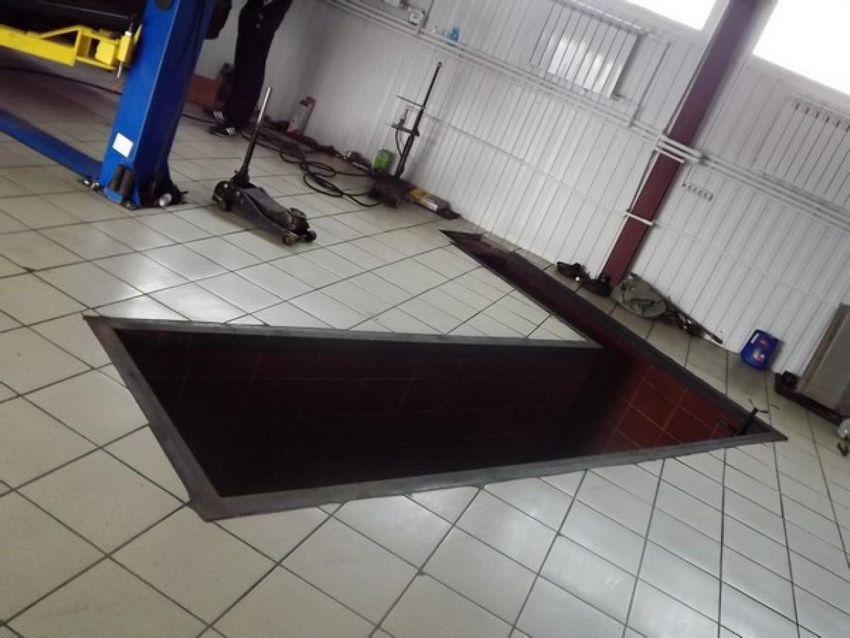
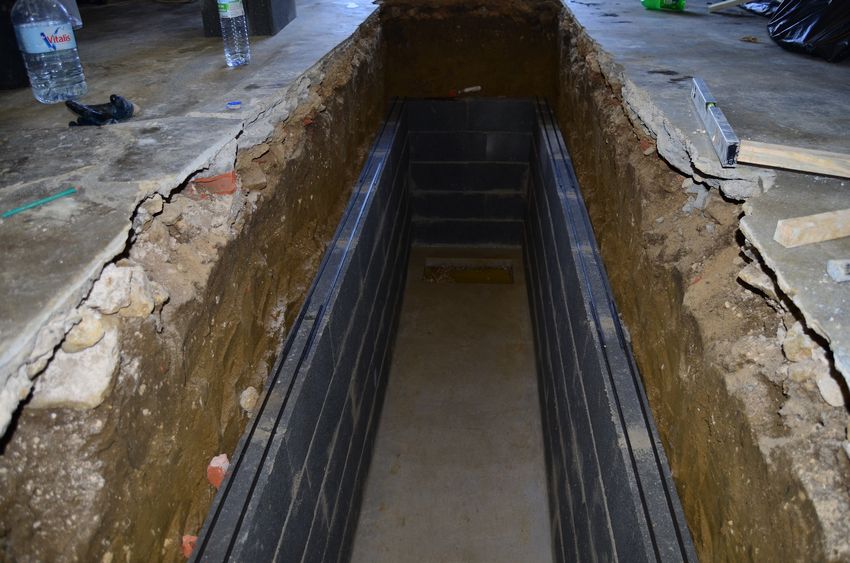
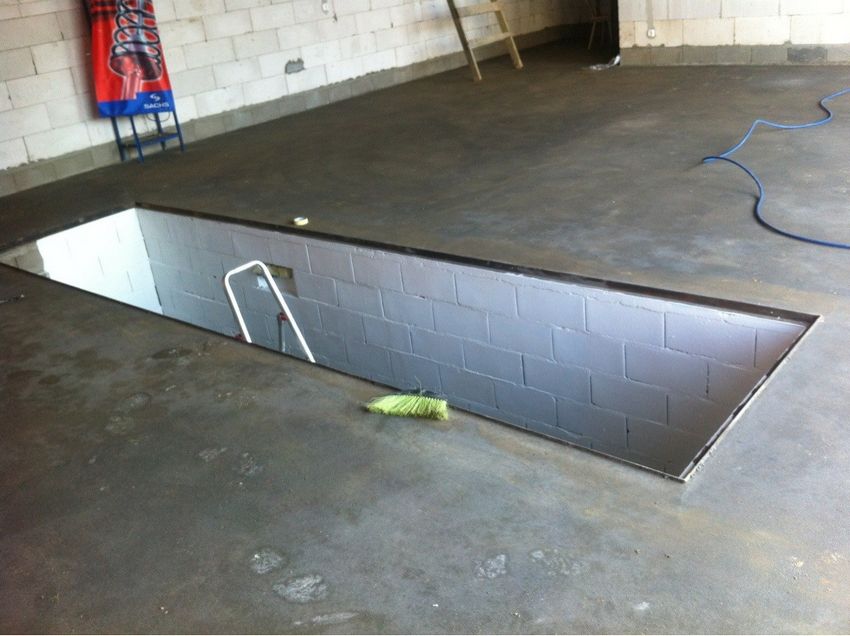
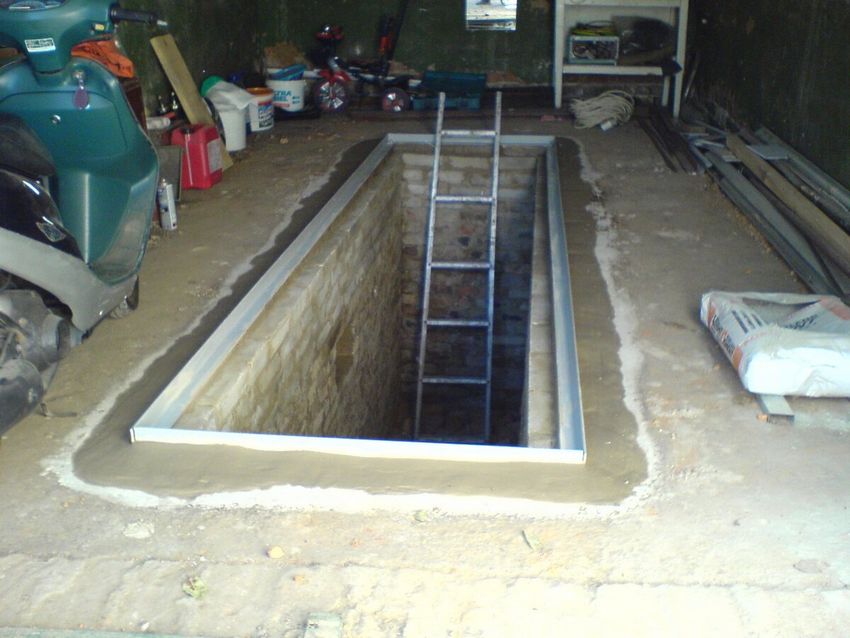
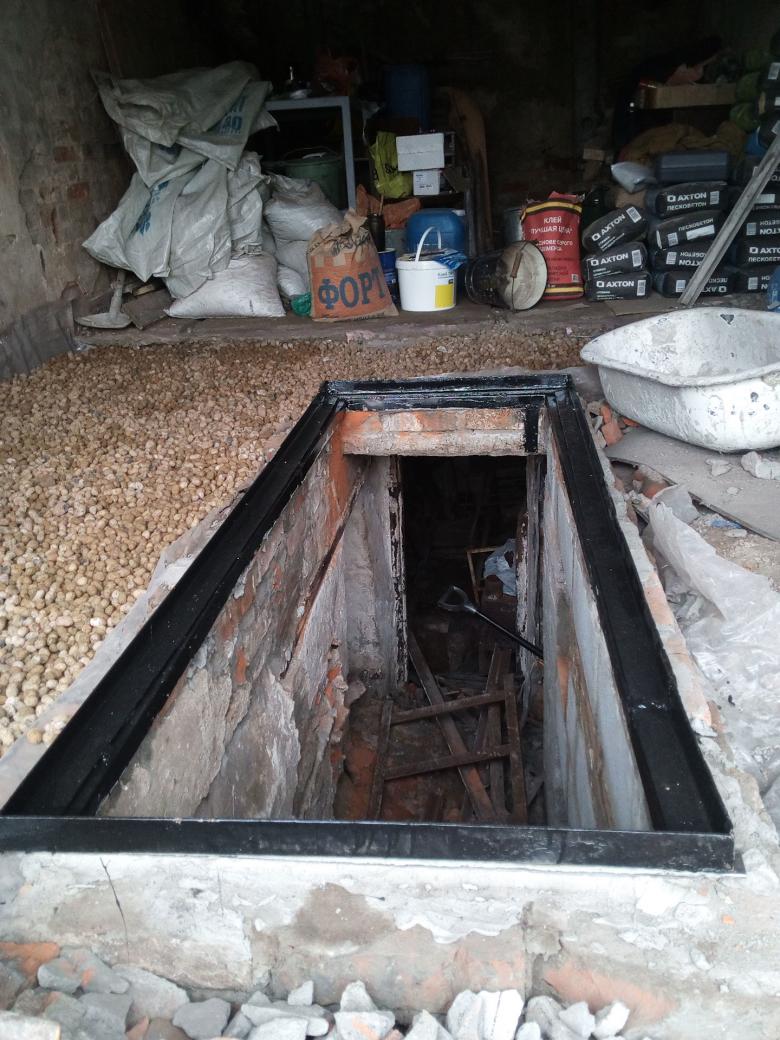
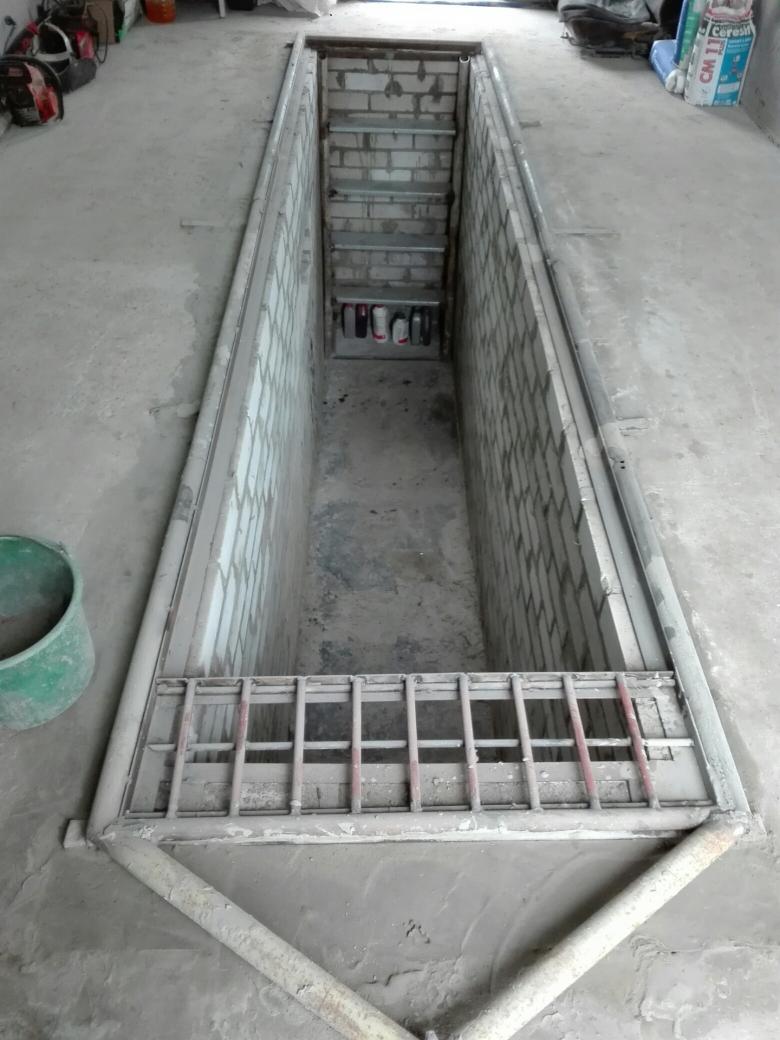
After laying the walls install a metal fence around the entrance to the pit, which should be about 20 cm above the floor level of the garage.
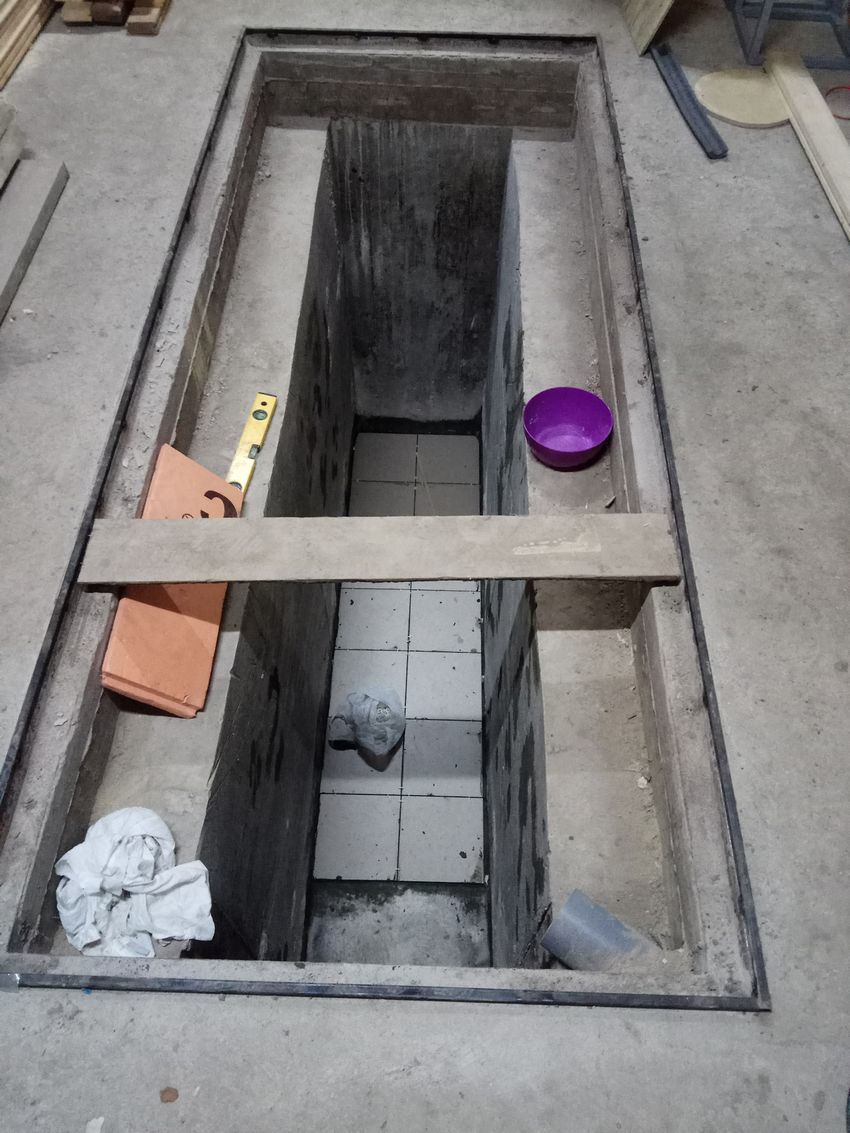
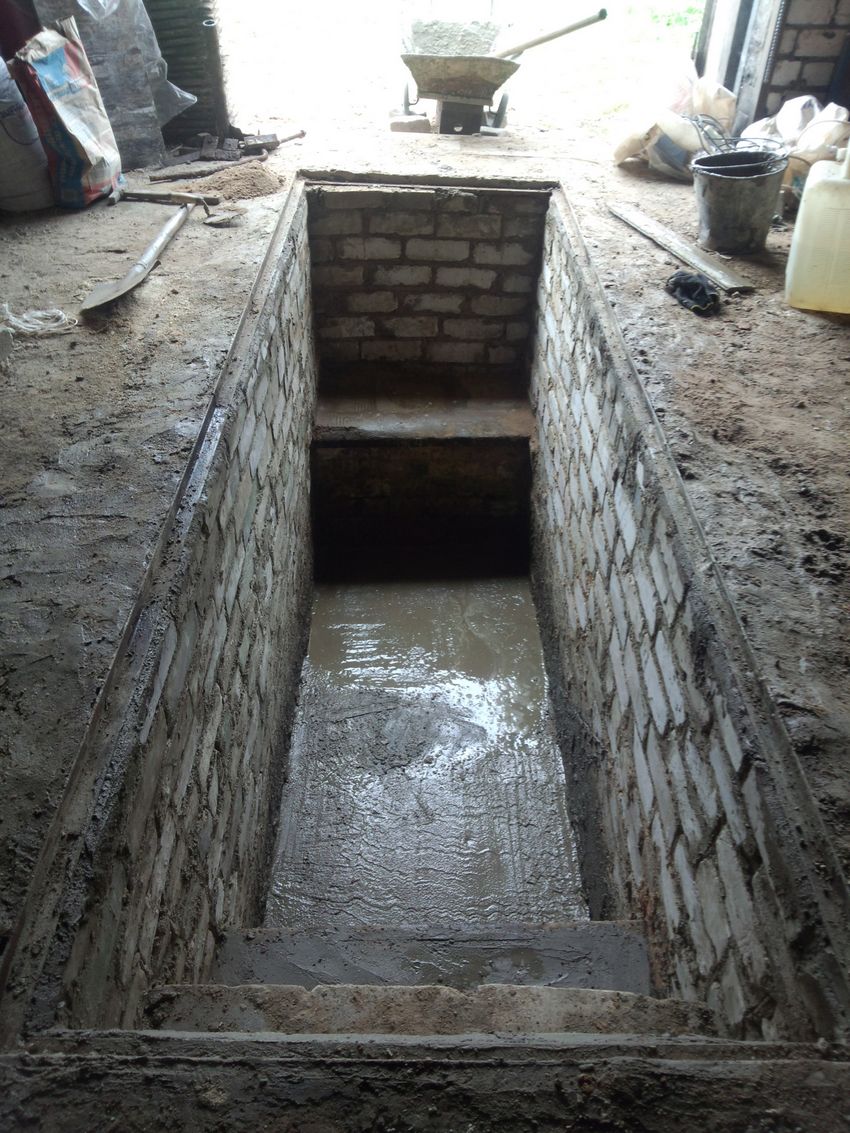
Drawing the bottom
The bottom in the inspection pit can be earthen or poured concrete. The concrete in turn is covered with tiles, rubber or wood (boards, ramps).
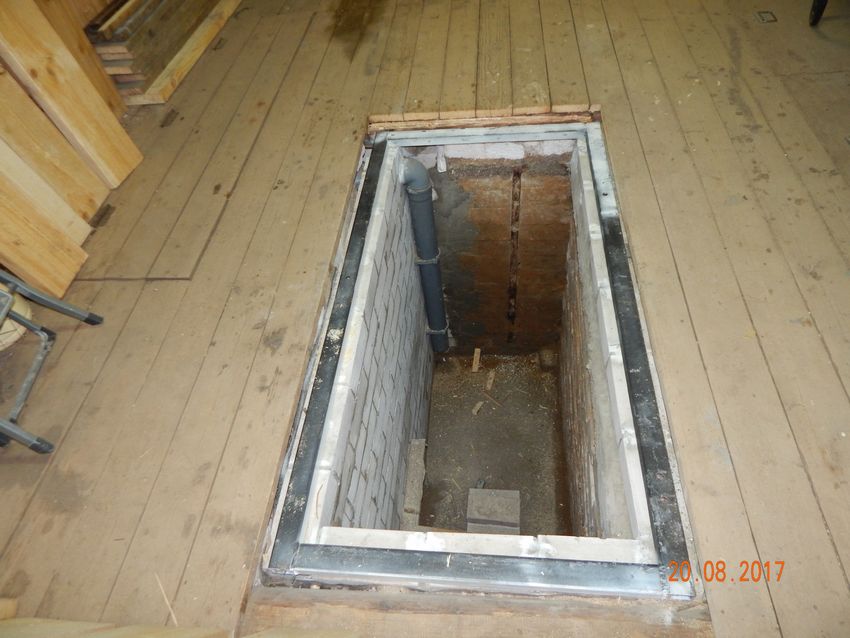
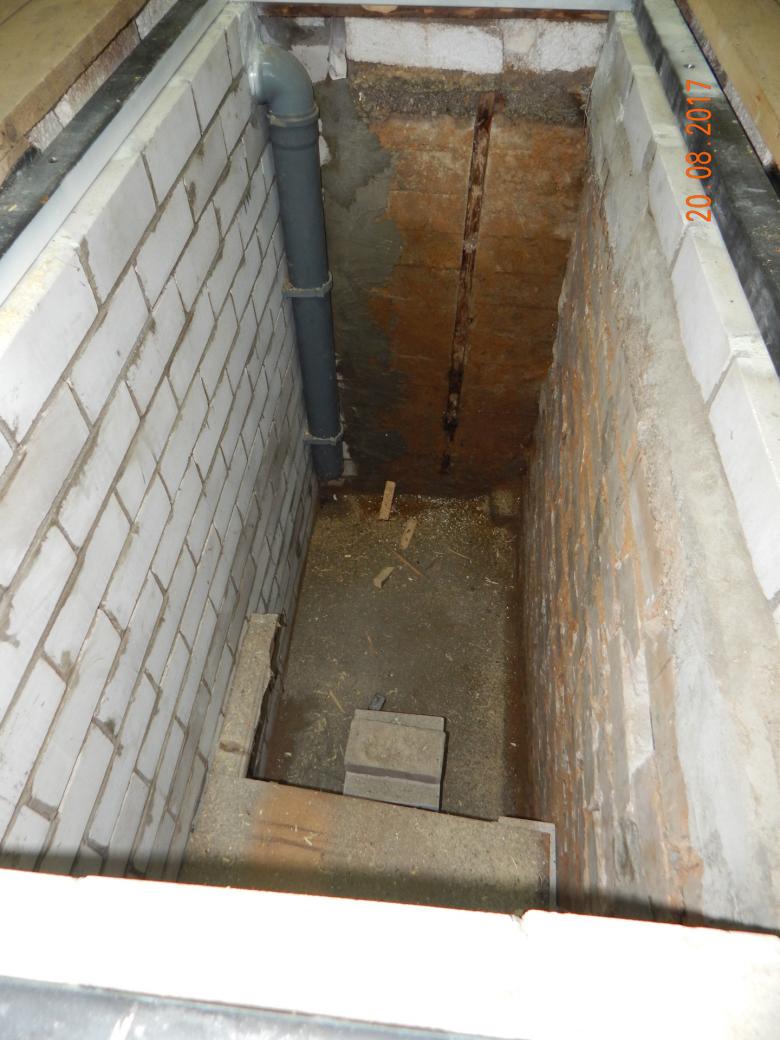
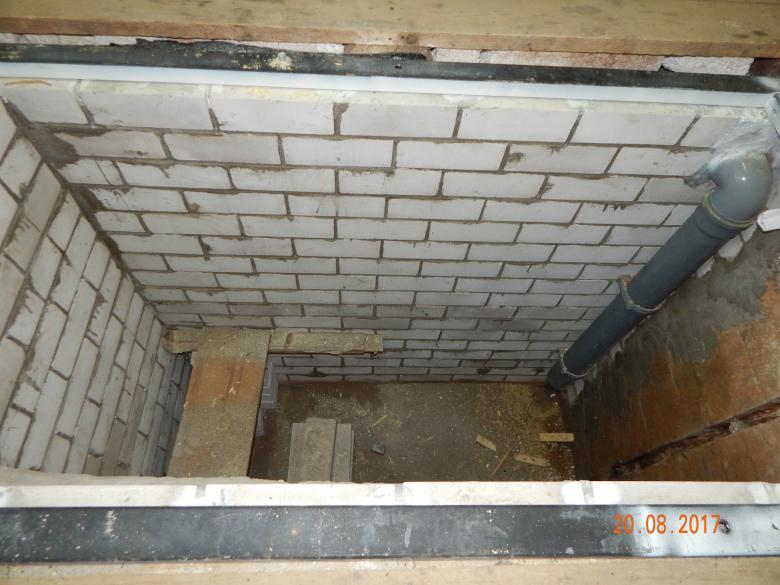
Ventilation and light
Good ventilation will help prevent mold and dampness.
It can be:
- Exhaust, for which in the last row of bricks install a pipe with an exit to the outside;
- supply and exhaust, in which another pipe is installed with an outlet to the outside, but only almost at the floor.
For lighting in the process of arrangement of niches bring an electric wire in a protective rubber jacket. This will help to make lighting in the pit and facilitate the work of the master.
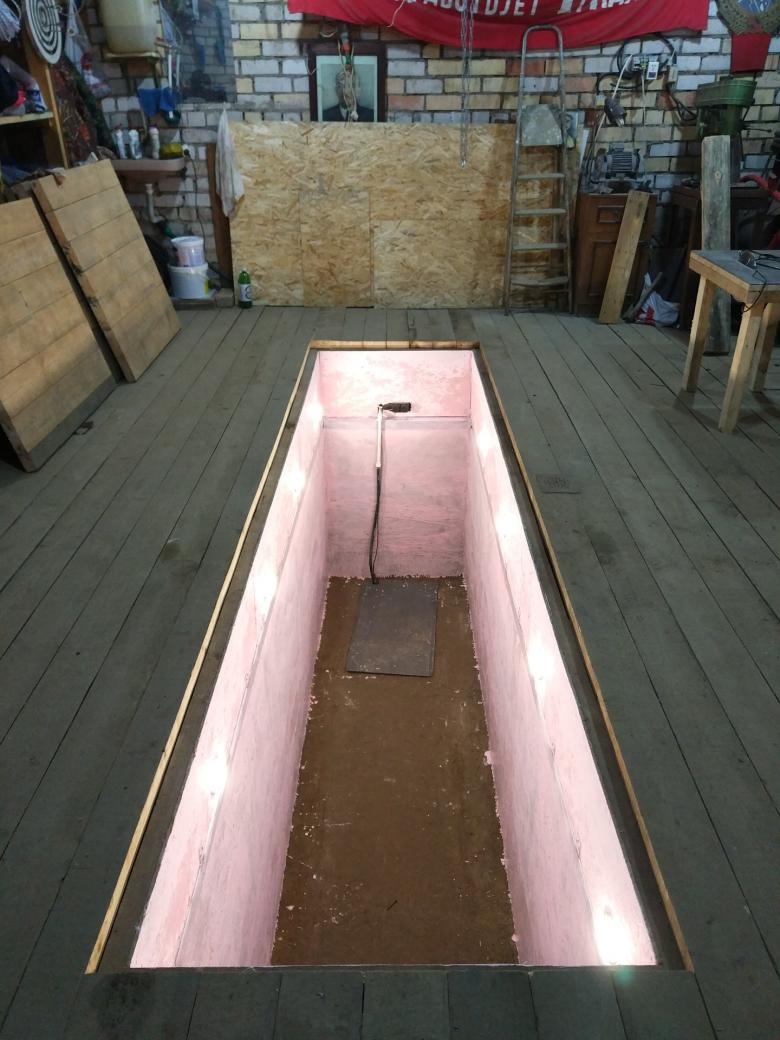
Tip! It is better to entrust the lighting to a professional electrician.
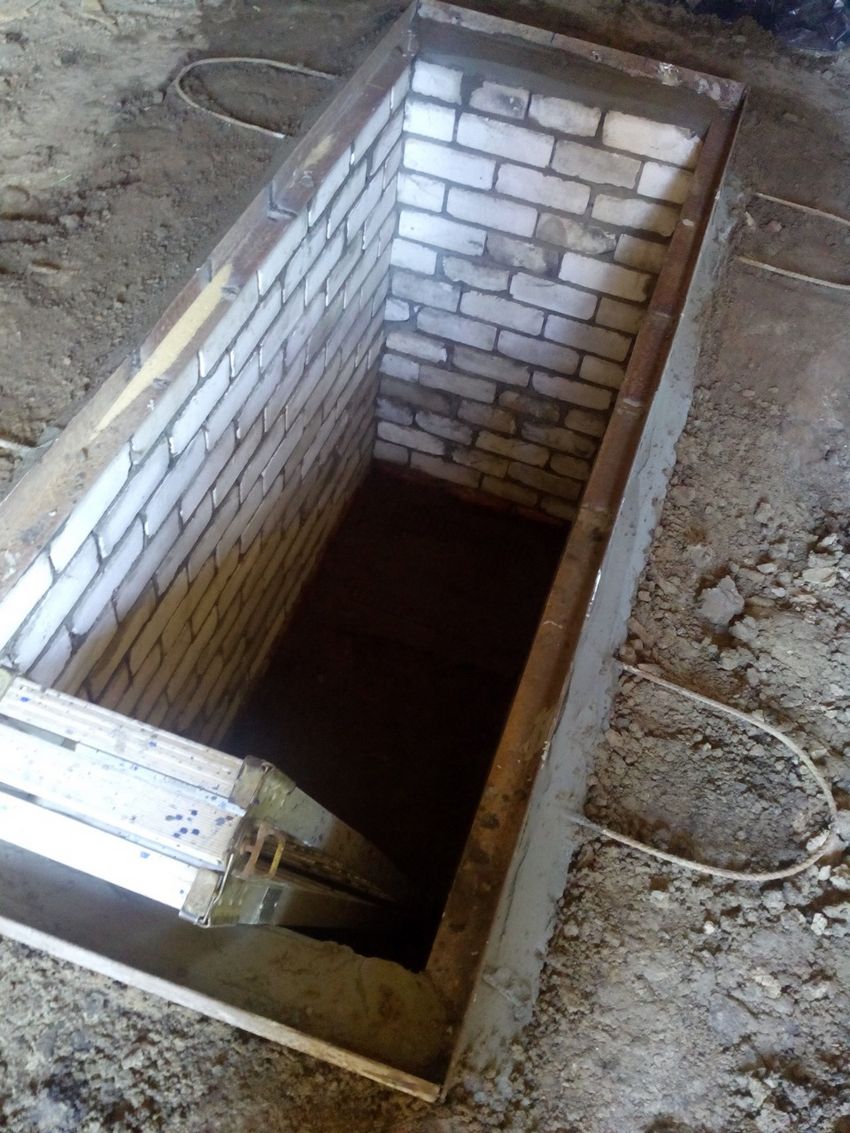
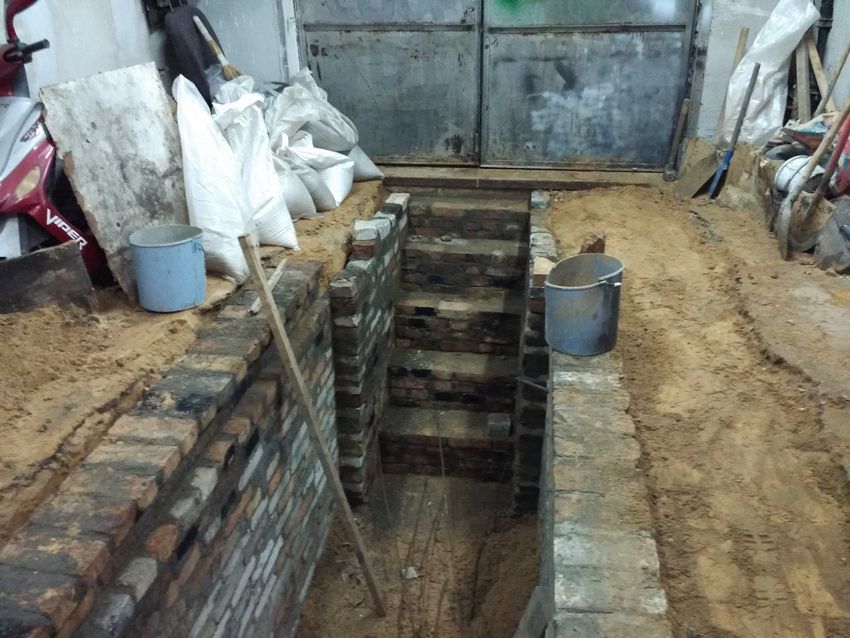
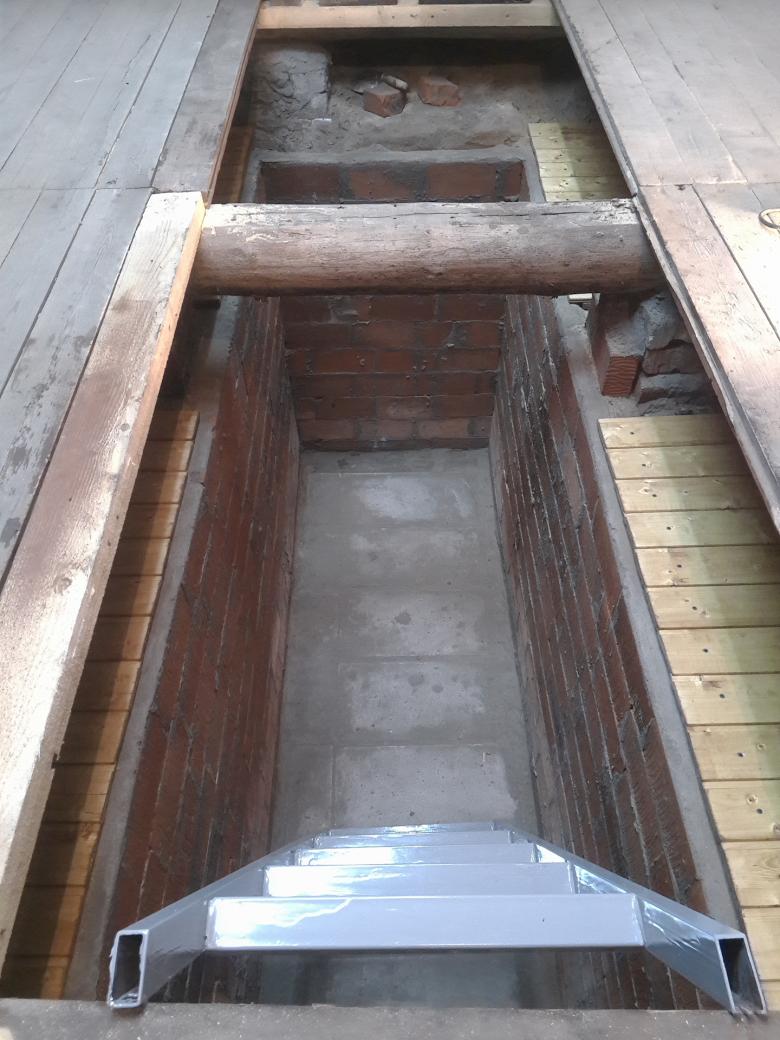
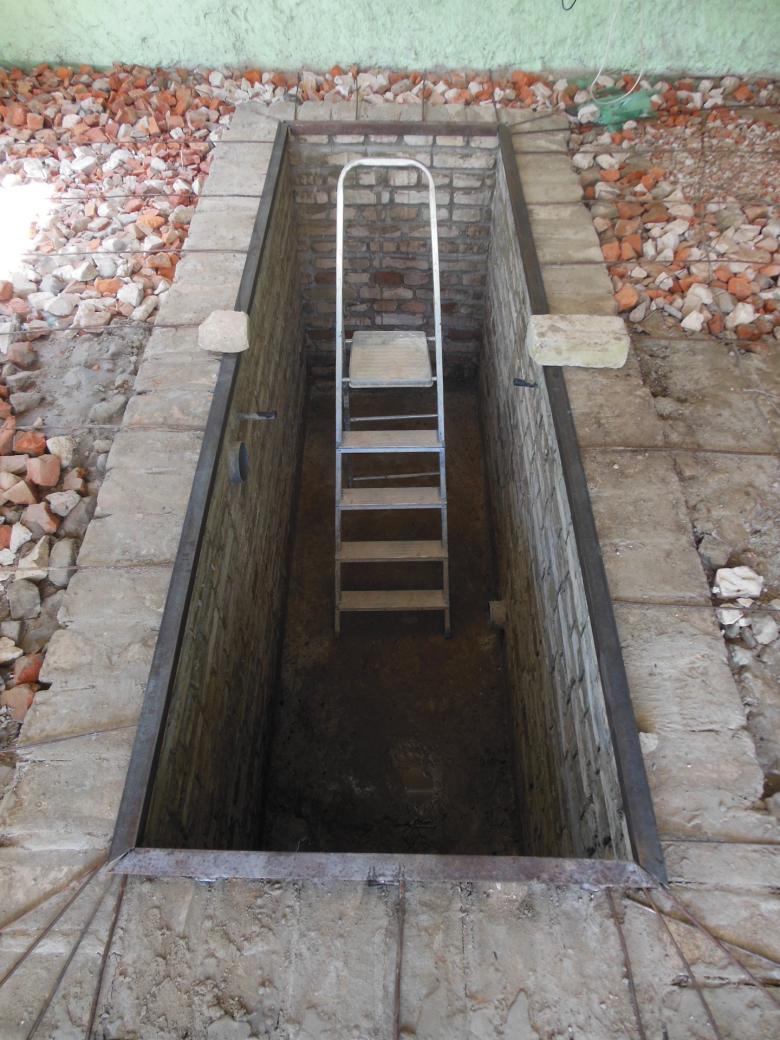
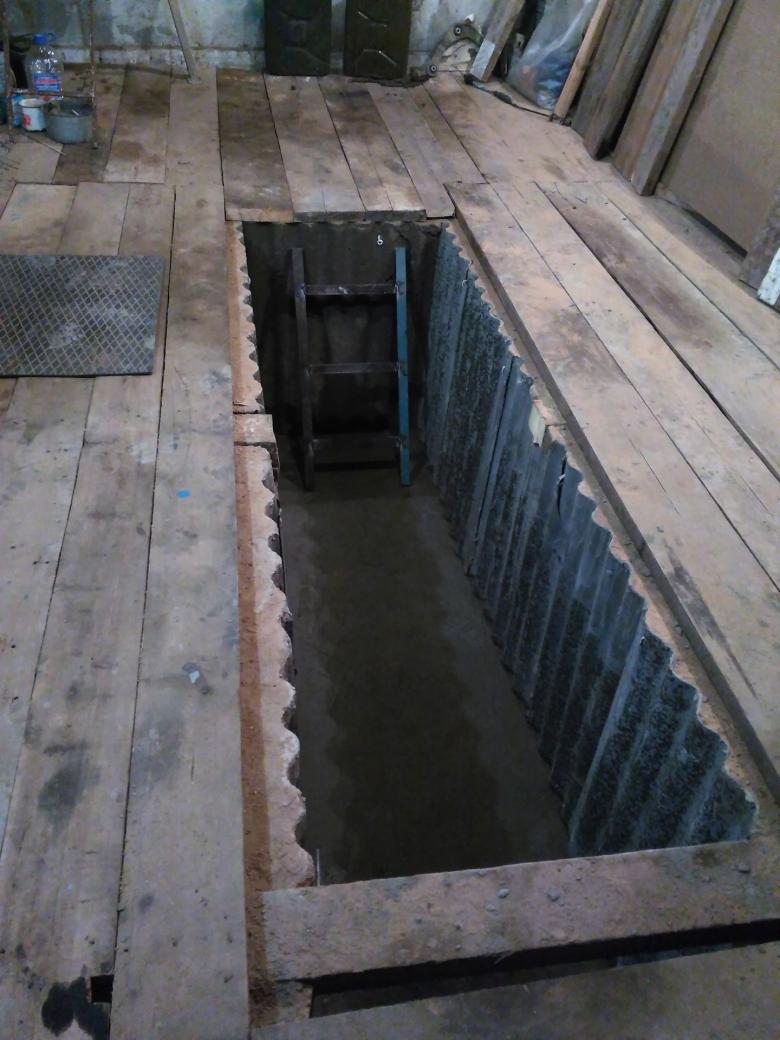
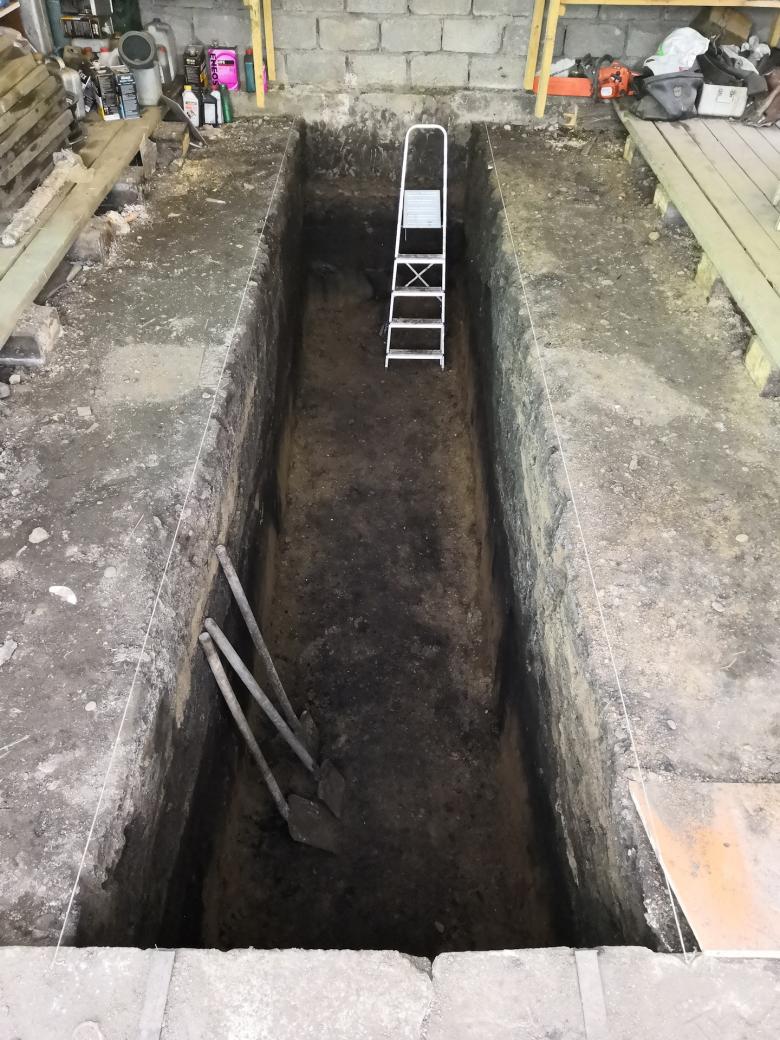
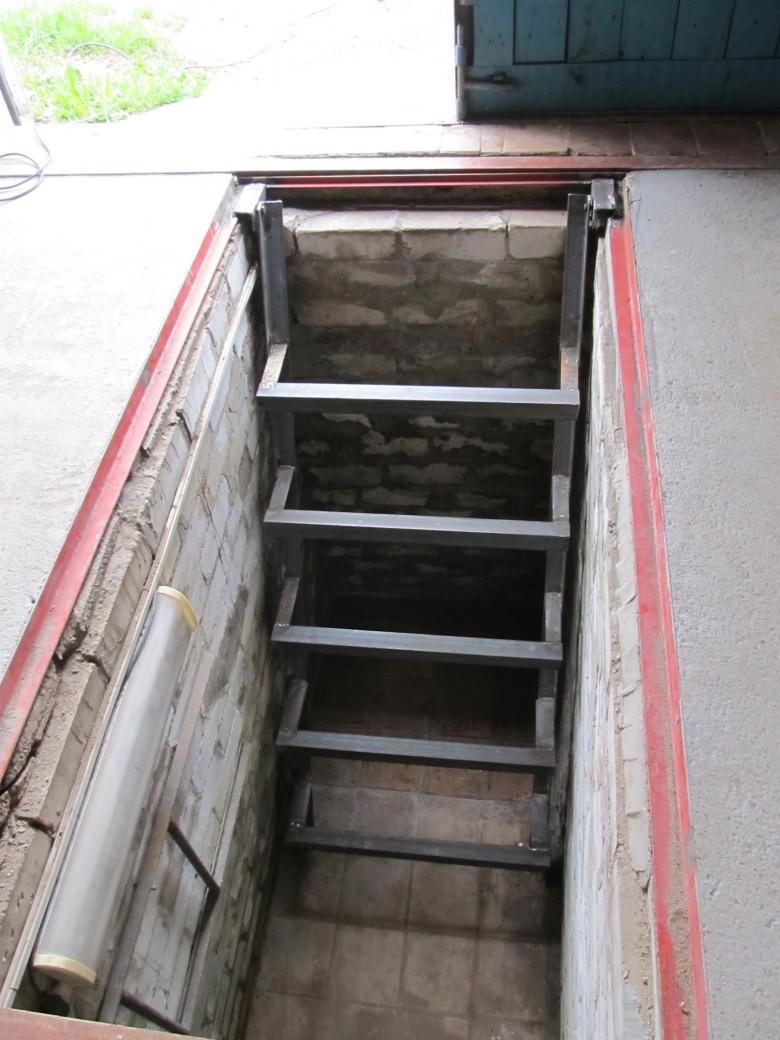
Entrance steps can be made of brick. For small pits, it will be more convenient to use an ordinary ladder, which is made of wood or metal corners.
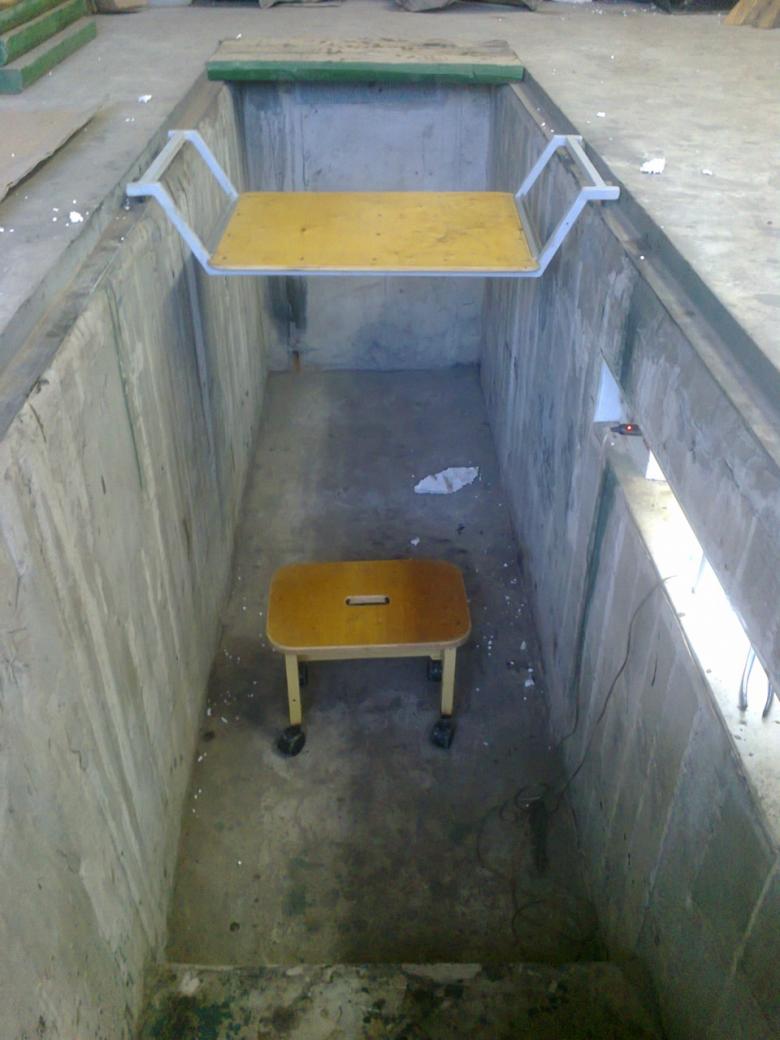
For convenience, it makes sense to equip the excavated pit with a ladder made of wood or a sturdy stool.
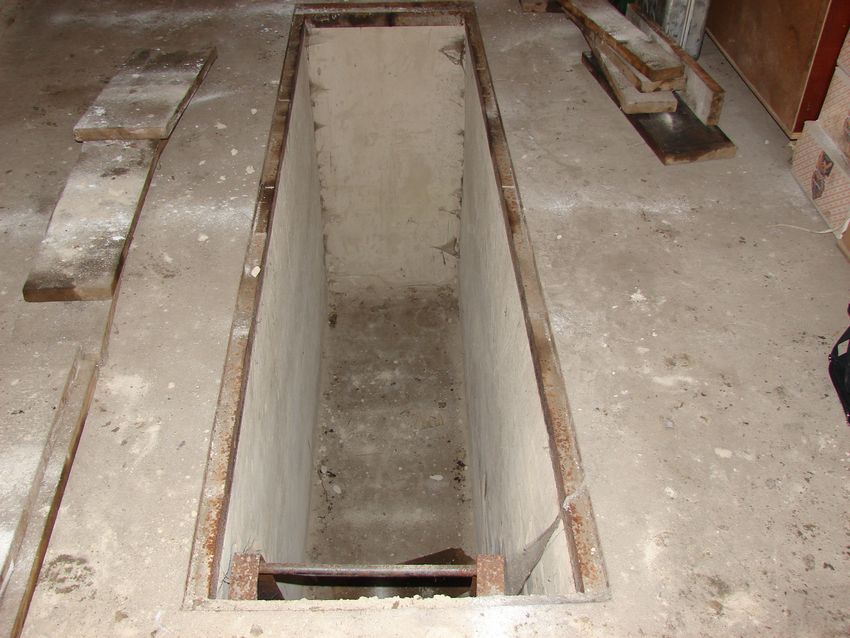
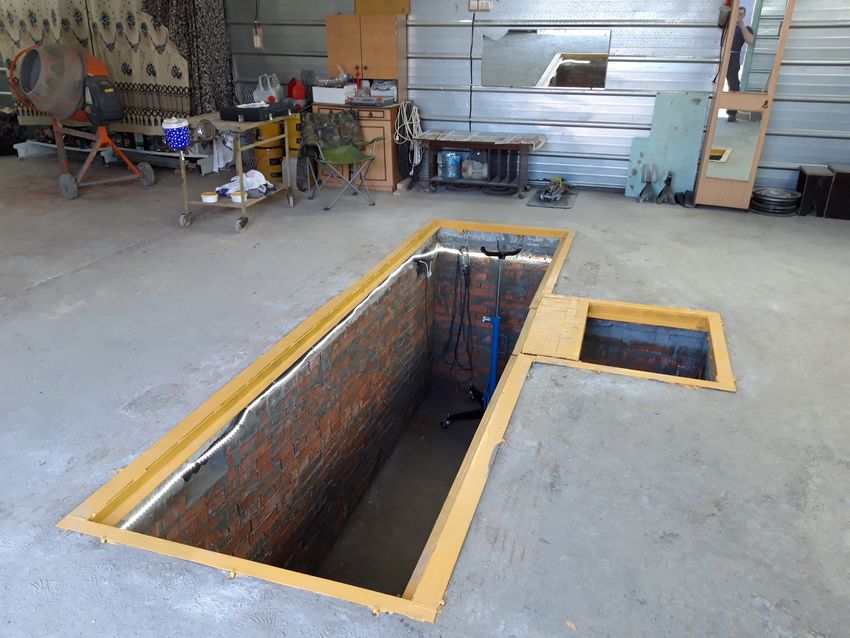
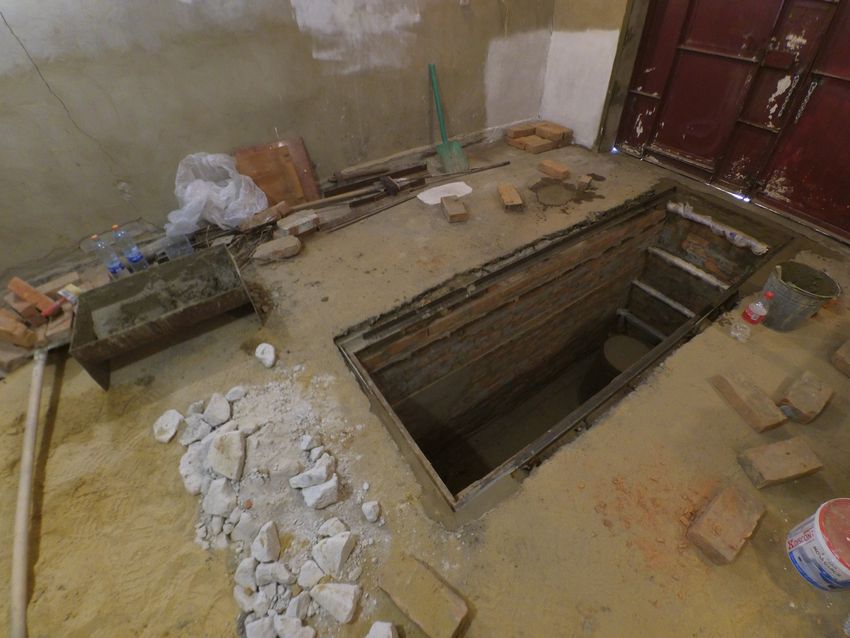
Inspection pit in the garage with their own hands will facilitate car repairs and help save on the services of professional builders.
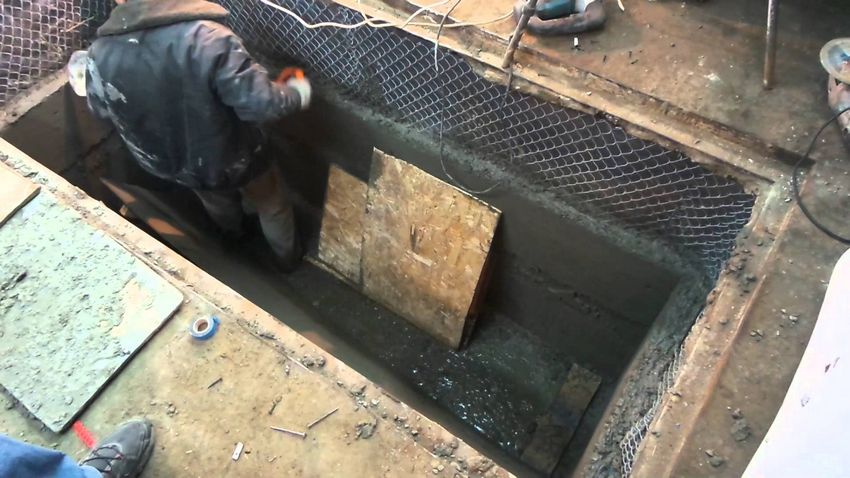
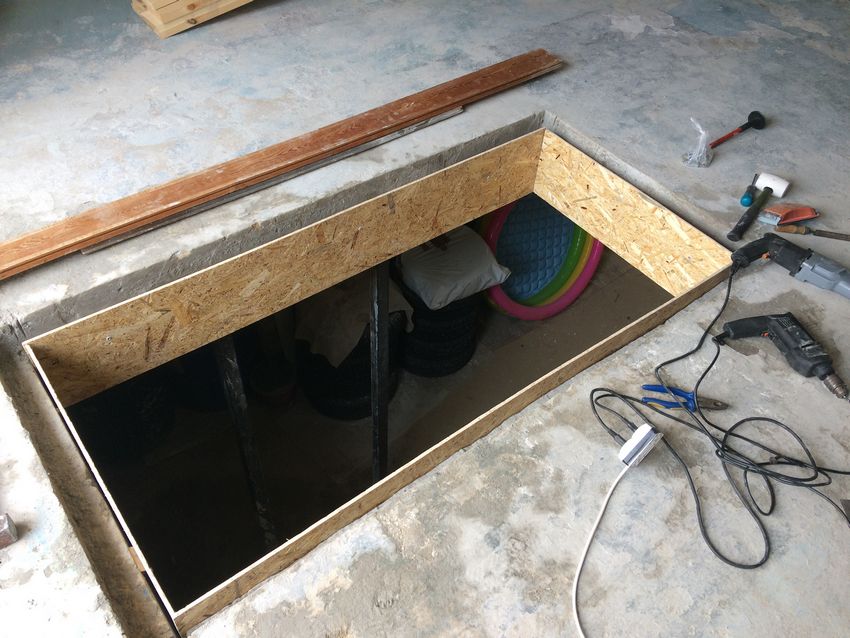
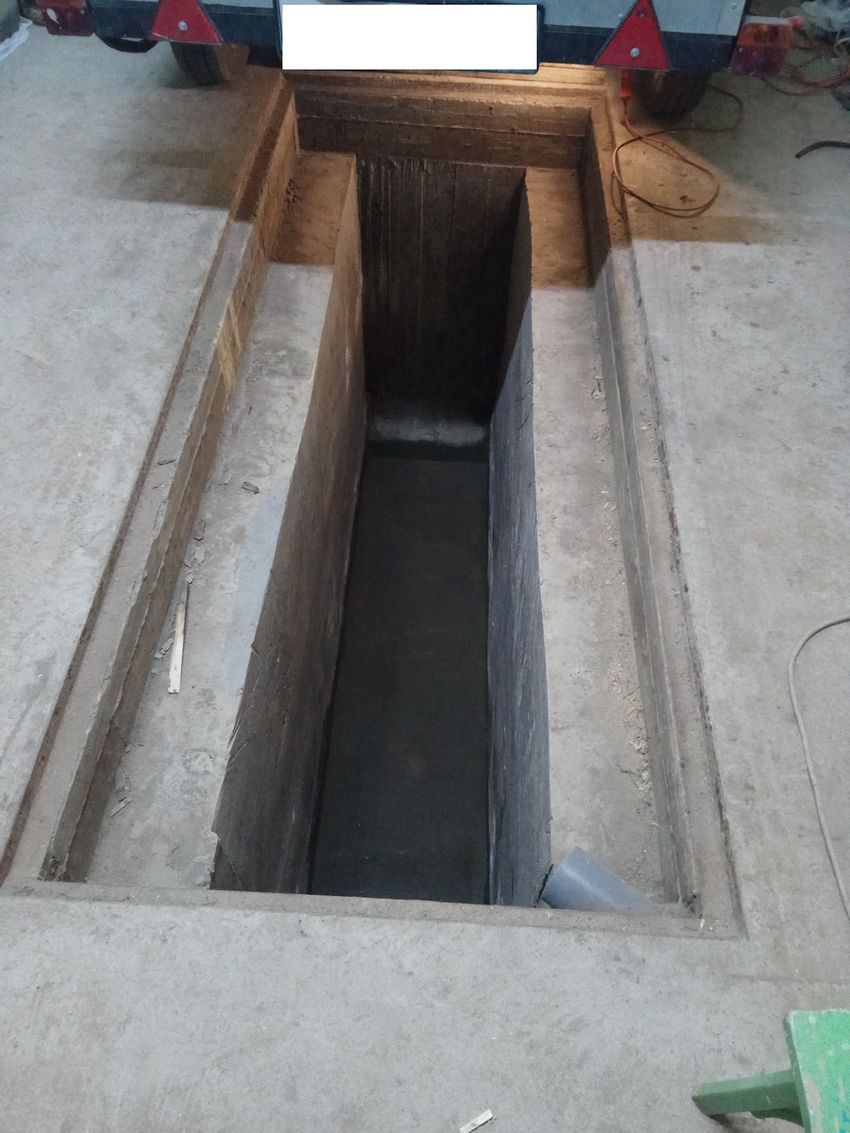
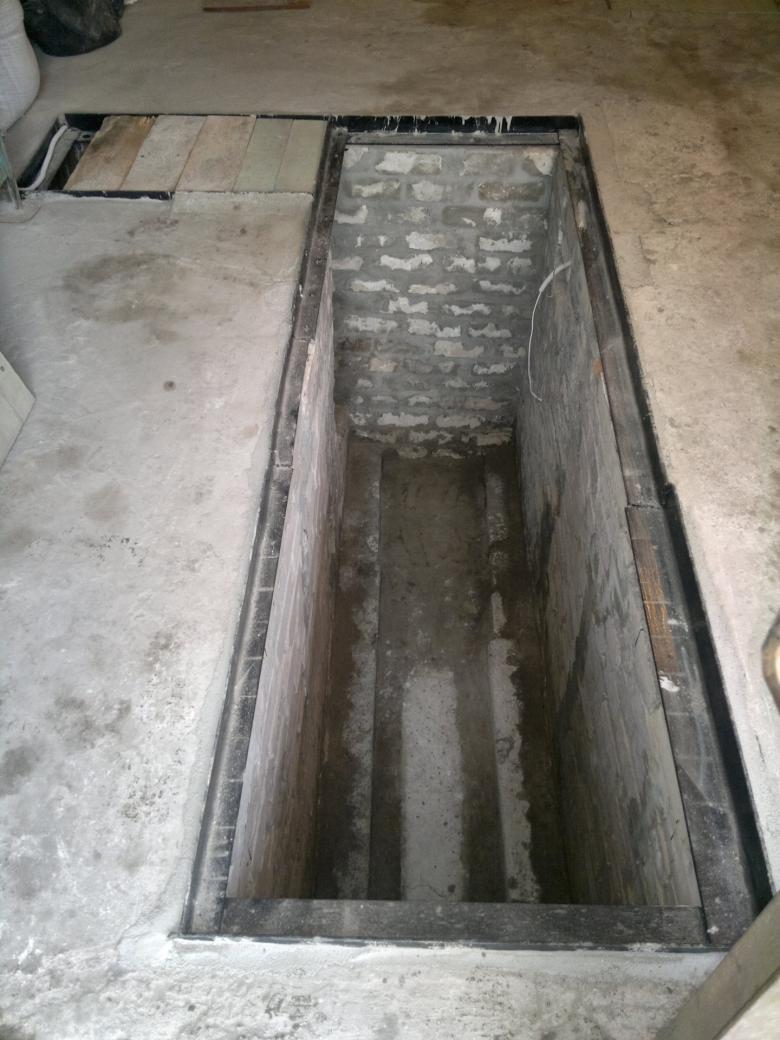
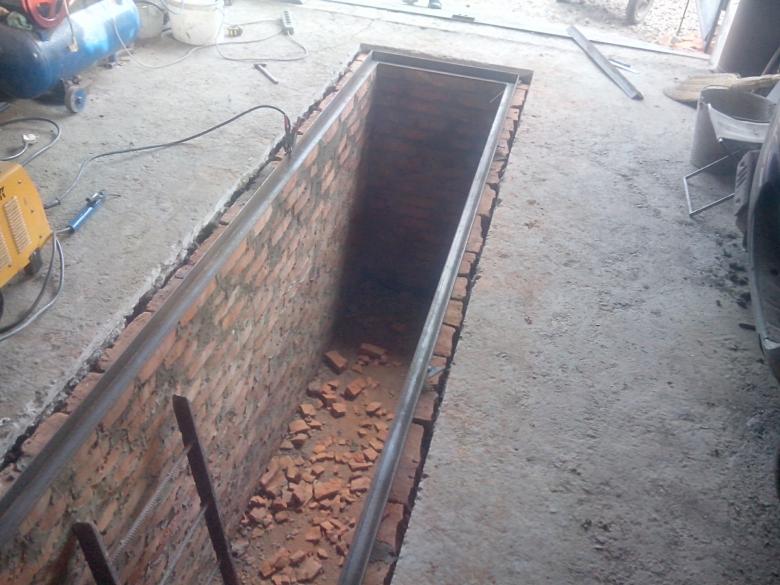
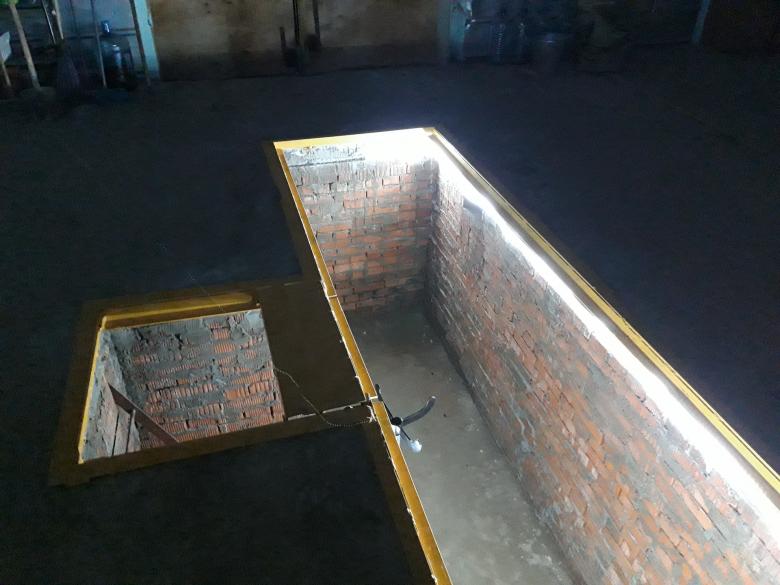
Photo examples of homemade inspection pits in the garage