Beading animals - a master class and schemes for beginners, basic techniques, photo ideas
A person is inherently creative. In it he finds self-expression, self-affirmation and pleasure. Beading - one of the types of such creative work, they are enthusiastic millions of people. It is interesting to adults and children. For many peoples, beading is original in character, they create real works of art.
The basic techniques of beading
Since its inception, the technique of this kind of needlework has been constantly improving and complicating. Five types of weaving techniques are widely used:
- Weaving with one thread of fishing line, wire.
- Simultaneous weaving with two threads (work with both ends of one thread).
- Parallel weaving - a complicated version that allows you to create more complex figures. The variant involves stringing the beads at both ends, and the thread is threaded through the beads several times.
- Mosaic weaving is a technique of dense bead weaving.
- "Brick Stitch." An ancient technique in which the cloth has the appearance of brickwork.
What you need to consider to get started
Those wishing to prove themselves in this form of art does not decrease. And, of course, for all newcomers - the relevant question of where to start. The answer is banal, with mastering simple things.
Here we will consider the technique of beading on the creation of simple things, specifically how to make animals from beads. Beading animals will help master such weaving techniques as parallel, mosaic and "brick stitch".

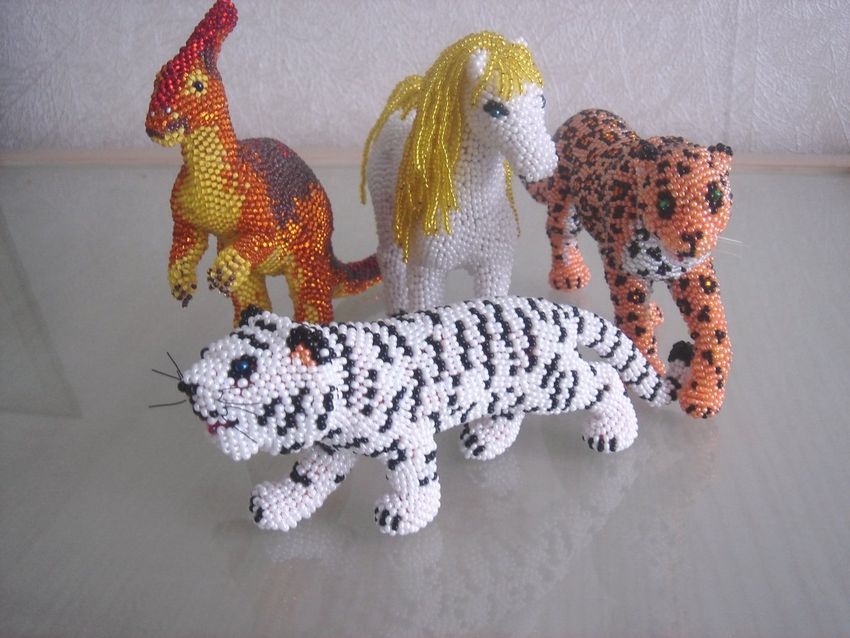
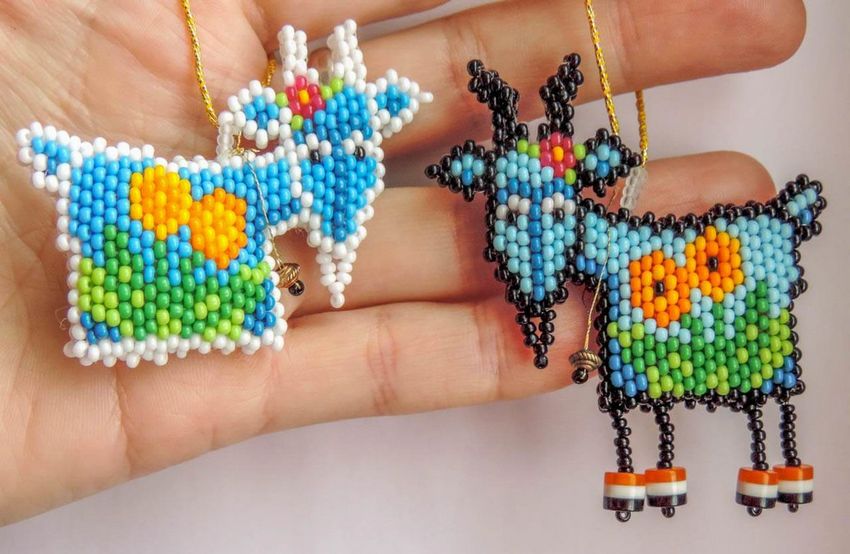
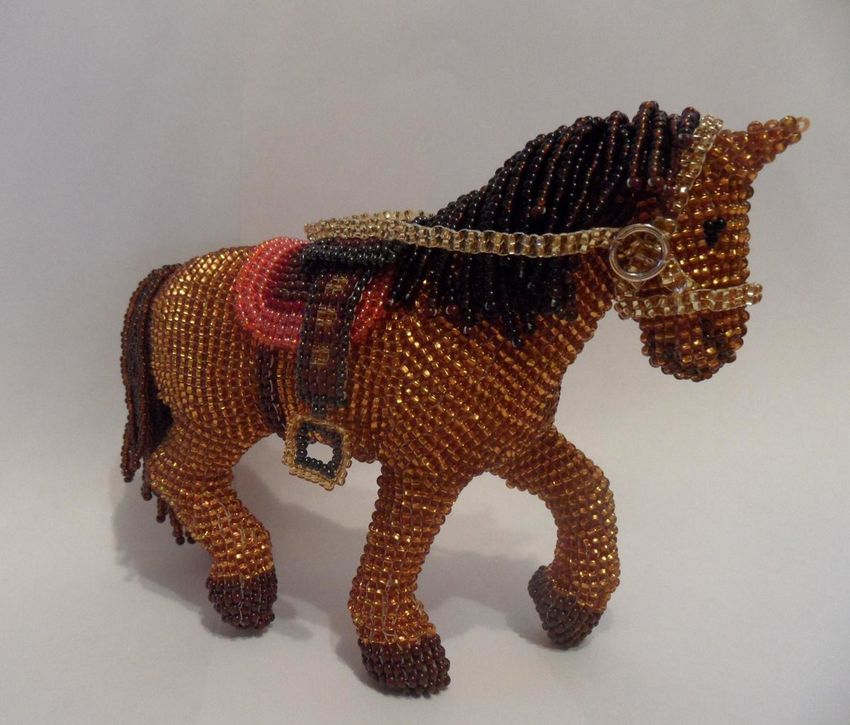
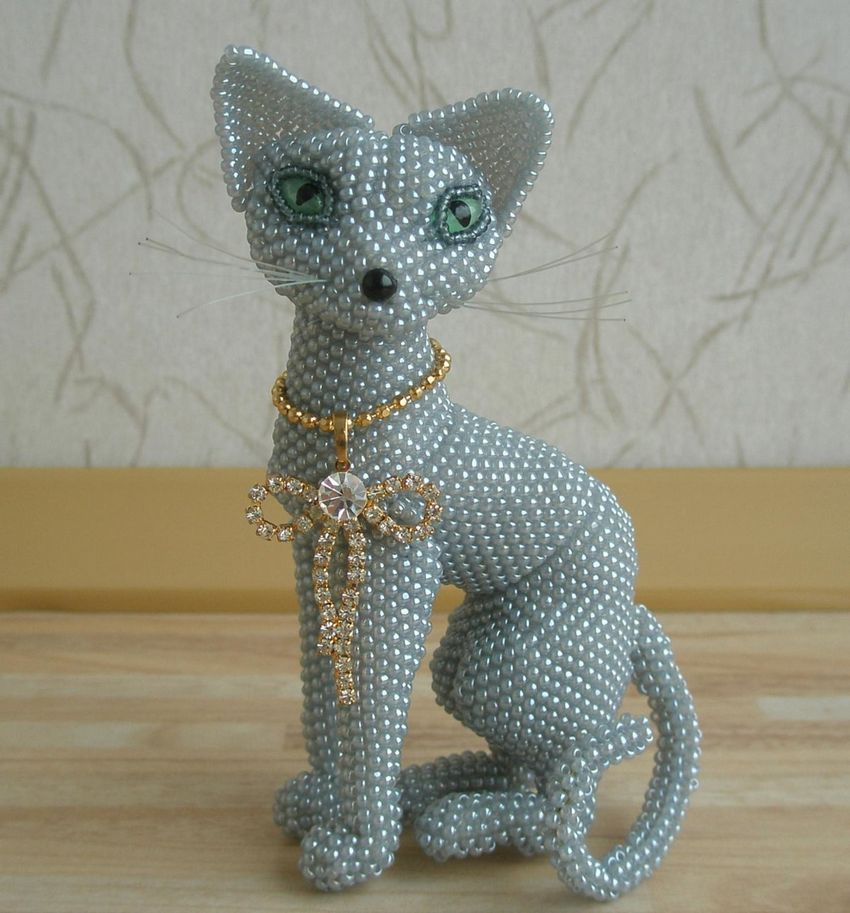
All beaded animal figures are divided into two large groups: flat and three-dimensional. To begin to master the art of beading it is advisable to use flat figures and gradually move to the knitting of three-dimensional figures as the skill grows.
To simplify the work it is desirable to choose animals, which have few additional details. This, among other things, will focus on the technique of weaving.
Beginners should preferably perform knitting on a thin, flexible wire, so you can give the product the desired shape.

Volumetric shapes require parallel weaving and other techniques. To create a three-dimensional figure must be guided by the appropriate schemes.
An explanation of the process of creating animals from beads for beginners with schemes greatly facilitates and speeds up the work. The scheme determines the beginning of plaiting figures, it indicates the point of accession of additional parts: legs, feet and other things.

Making a dog out of beads
For a flat doggie with beads we will need four colors of beads, of which six beads of small black beads, one large black bead, one more bead of pink and the main color will be for the doggie brown, and in addition will be such yellowish, milky can be taken even white.

We will also need a diagram, according to which we will weave. For convenience, put the scheme in front of you so that it was visible, as the presentation of the material will be connected with the scheme. Weaving a doggie is done on a thin copper wire, it will be needed, about a meter.
Step one. Plaiting the body of the doggie
The weaving process is upwards. We start from the tail of the puppet. We are going to take three brown beads and five milky beads. After that we make a loop with a wire. To do this, we separate the fifth bead from the rest and run the wire through all the remaining beads.
This end of the wire should be left short, we won't have to work with it anymore. Next, we will work on a long wire. Now move on to the row indicated by the arrow in the diagram, the first row from the bottom. On this row we will do the legs of the doggie.
In this row we are going to take four brown beads on a long tip and put them down to the tail. After that, we begin to make the legs. Dial three beads of milky color according to our scheme.

Attention, now we have a responsible moment. Again we lower them down and make a circle with the wire. To do this, we move the three outermost beads and insert the end of the wire into the remaining three, you should have a ring. Next, tighten the wire.
After you have tightened the wire, we should get a little leg of the dog. Next, according to the scheme is one black bead, and then again four brown ones. We repeat the operation exactly as we did on the first leg. We get a row with two legs.
Then we move on to the second row and just thread all eleven beads onto the wire, and then connect the long wire to the short end. The short end is cut off and hidden.
And then the long end must be passed through the eleven beads of the first row. Now we make the third row, and we pass the tip through all the beads of the previous row and so on up to the end of the row where the mouth is. Here we have the body of the dog.

Step two. Plaiting the head of the doggie.
Let's start braiding the head of the doggie. First we will plait a row where we have, according to the scheme, four and three beads. Let's start from the row where there are four beads, and then where there are three beads, that is vice versa.

So, let's take our wire from the row of four beads only three milky beads, then let's take a row where there were three beads with a tongue: one milky bead, then a pink one and again a milky one.
Next, the same principle of weaving, as for the paws of the dog. Separate three beads, and pass the wire through the second (middle) bead, you get a loop. Pull up the wire and we get a convex tongue. And only now we need another bead, the fourth, of a row of four beads.

And after that it is necessary to pass the wire in the previous row. This ties the head with the body. On a similar principle is recruited and the nose. Should get a convex nose and mouth. After that, we continue to plait the eyes and ears in the same way as weave the body.
Learning models of beadwork animals
On the example of the doggie we have in detail disassembled the parallel-type beadwork, and how to use the schemes, so that you can start making figures on your own. For the further development of skills we give model examples of weaving various animal figures from beads without the weaving schemes in the form of trinkets. They are so simple that they do not even require schemes.
They are made by the type of mosaic and parallel weaving. Before finishing your work, attach a metal ring to the keychain and the gift for friends is ready.

And here are more complicated training models of animal weaving.

Let's create a dolphin with beads
A very simple dolphin craft for the very beginners to practice a parallel method and at the same time it is a good keepsake.

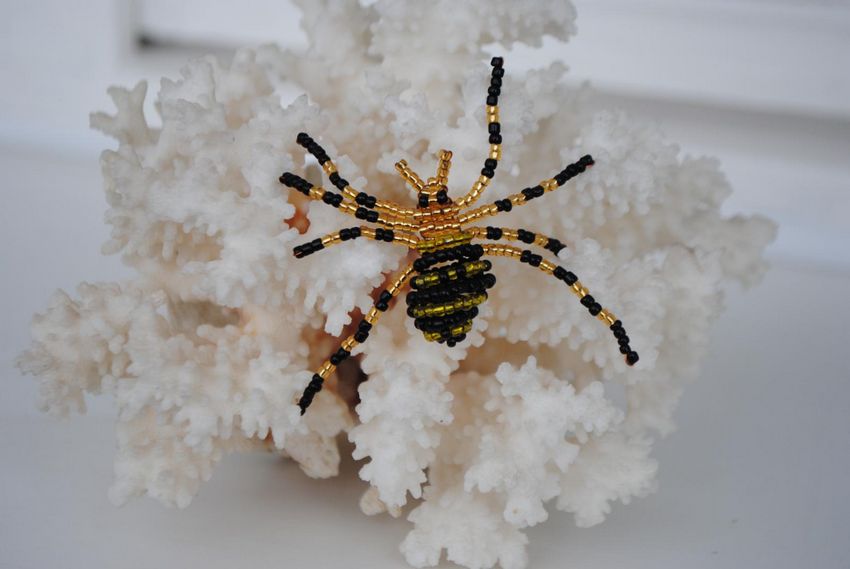
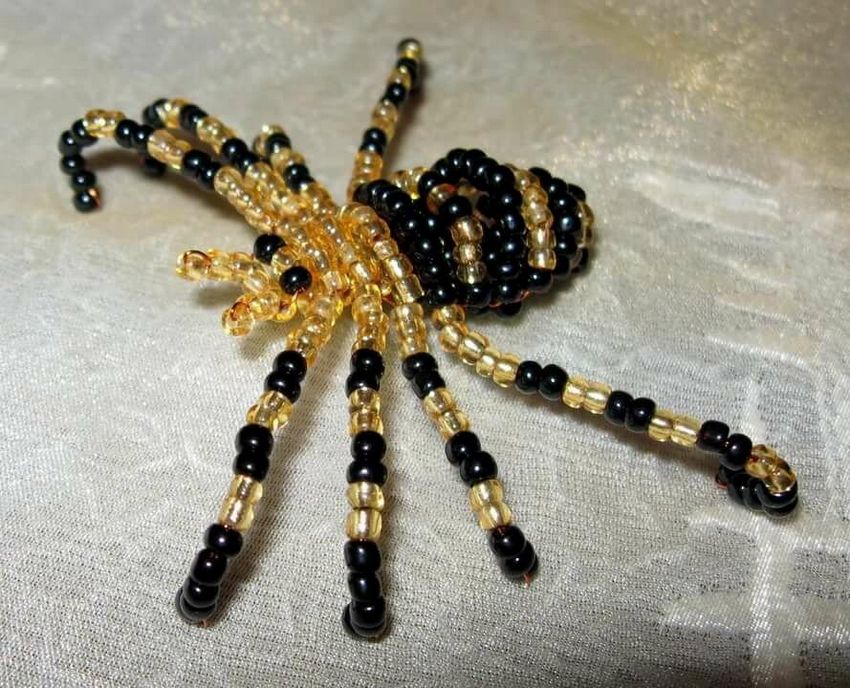
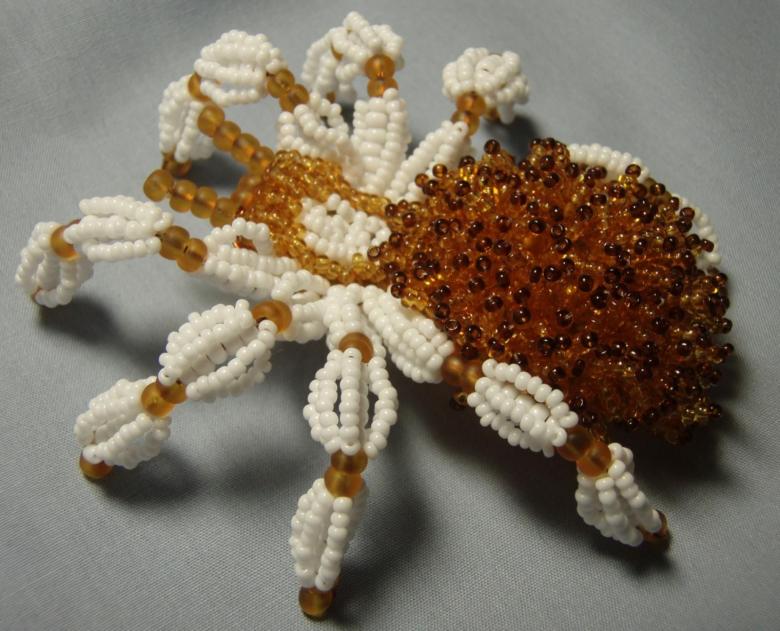
Creating a spider with beads
This model already uses more complex material: round and tubular beads with several shades. The weaving is carried out by parallel technique.
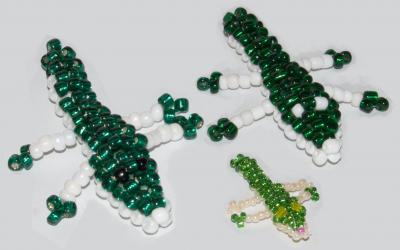
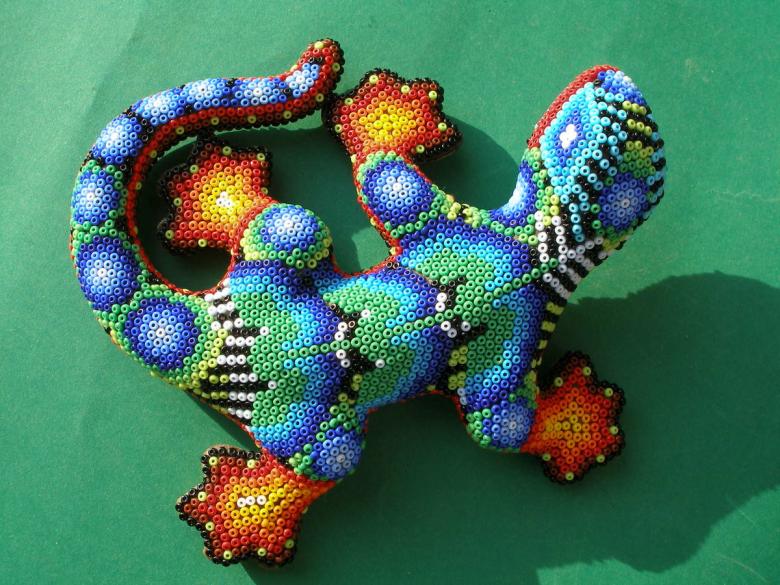
Let's create a lizard with beads
Beading is made in a parallel way with beads of different colors.
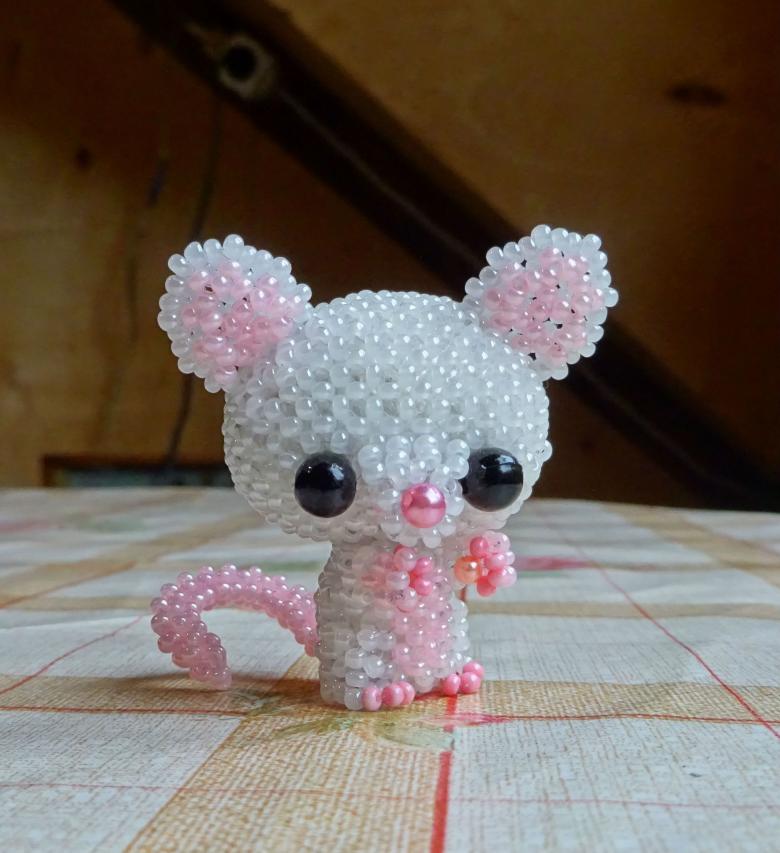
Let's create a mouse from beads
For work we offer two variants of the mouse: one monochrome and the other larger and two-colored. Both variants are made according to the type of weaving.
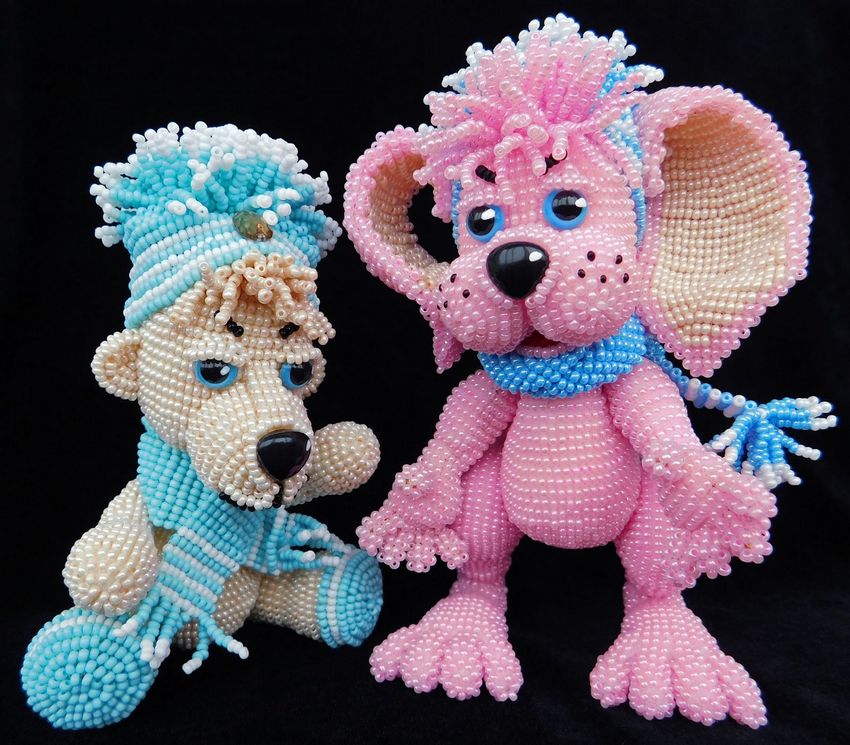
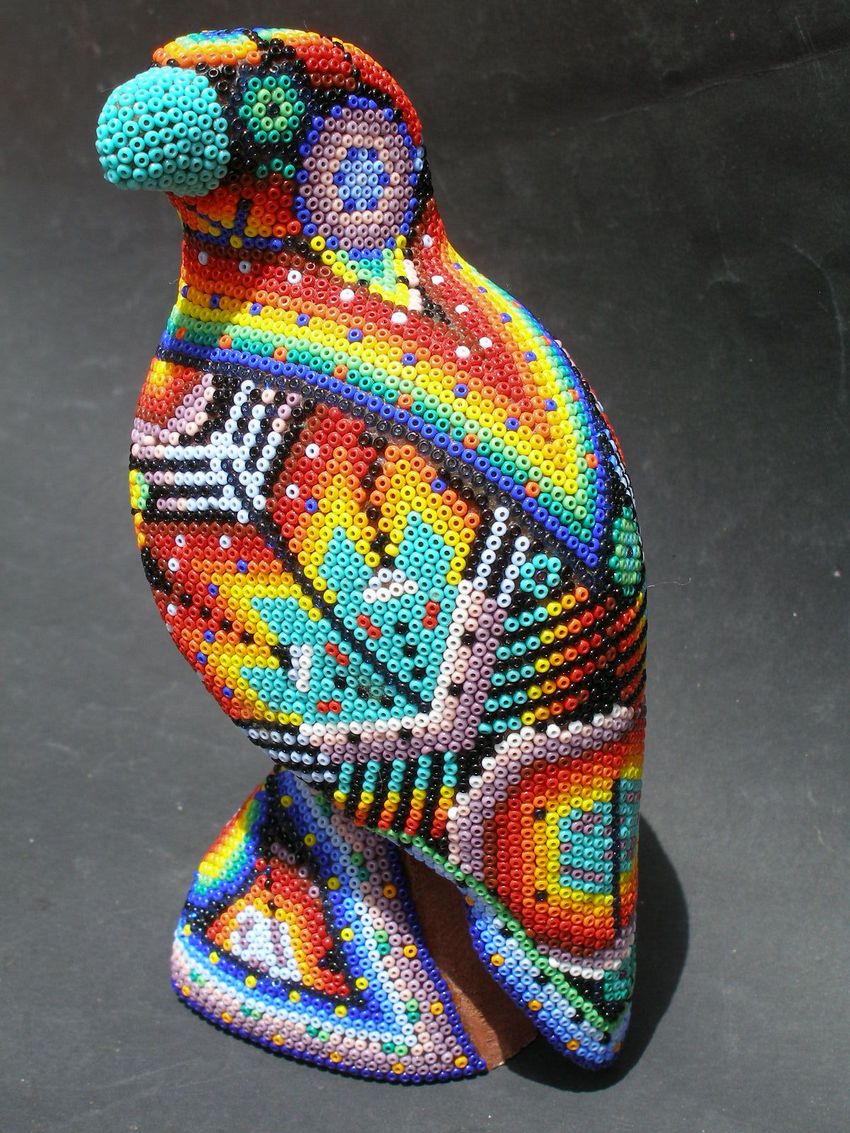
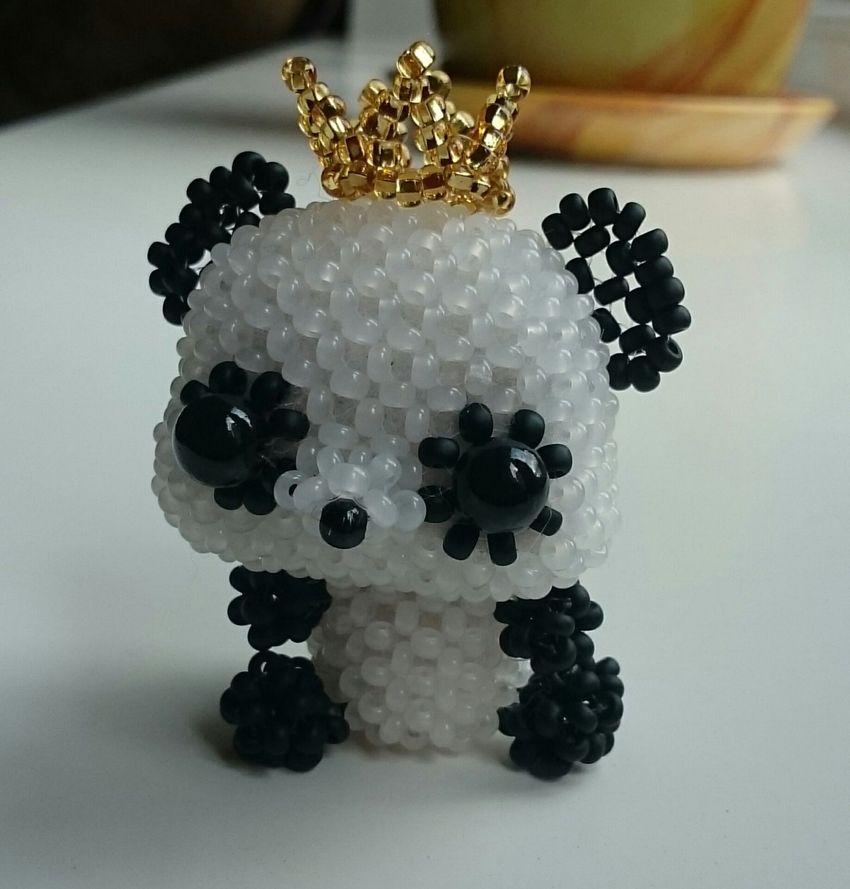
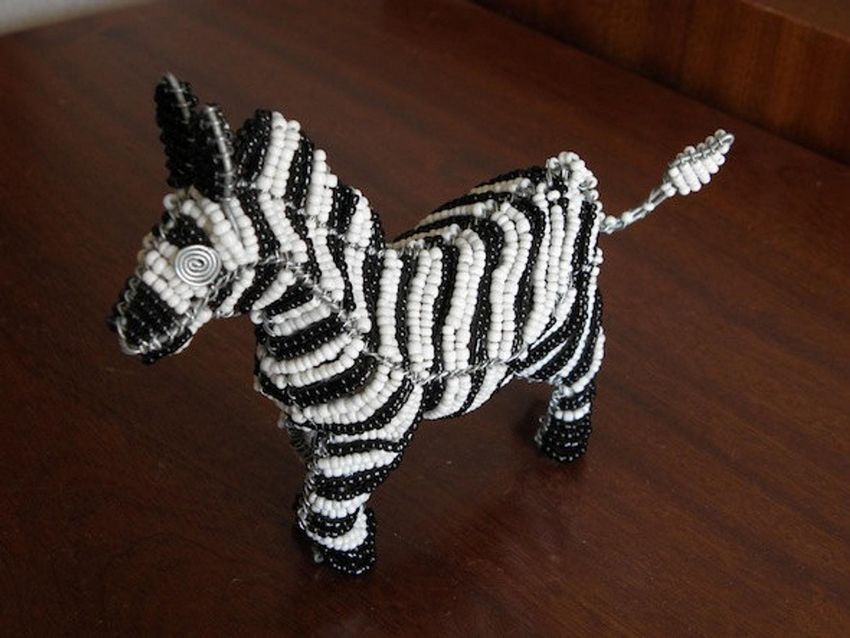
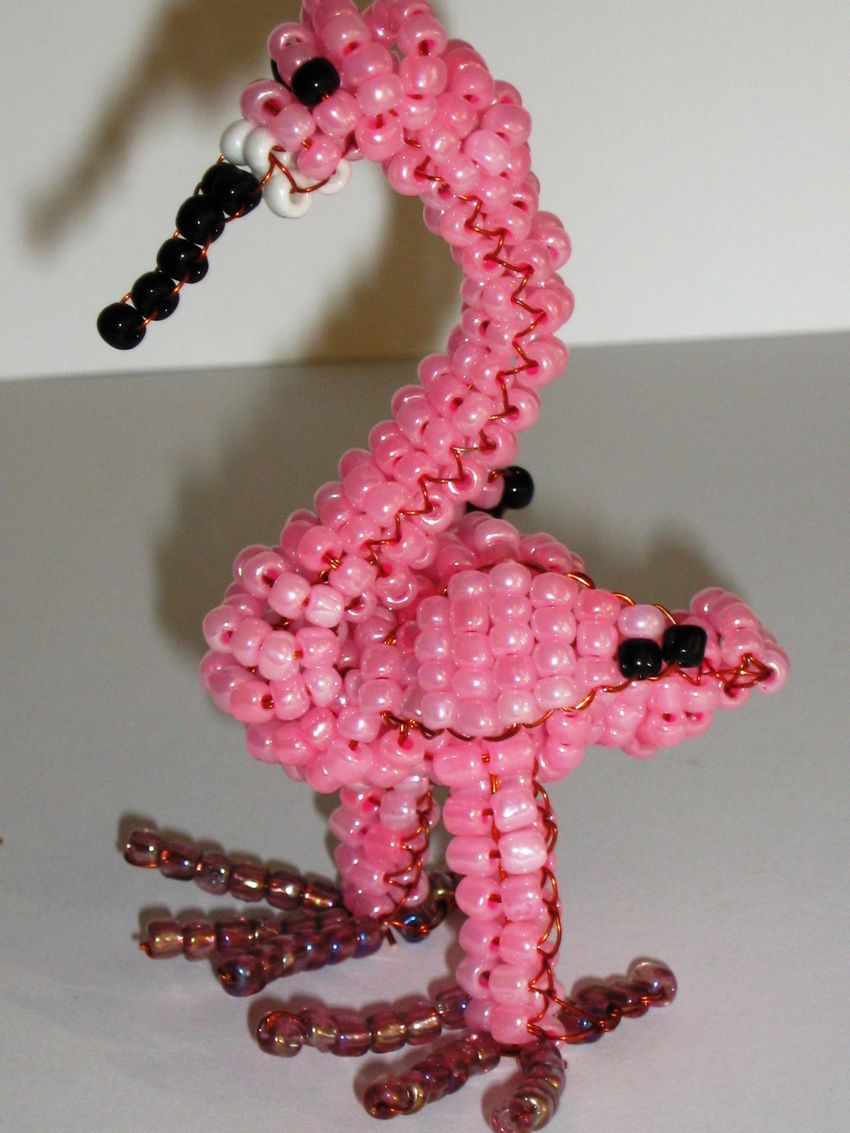
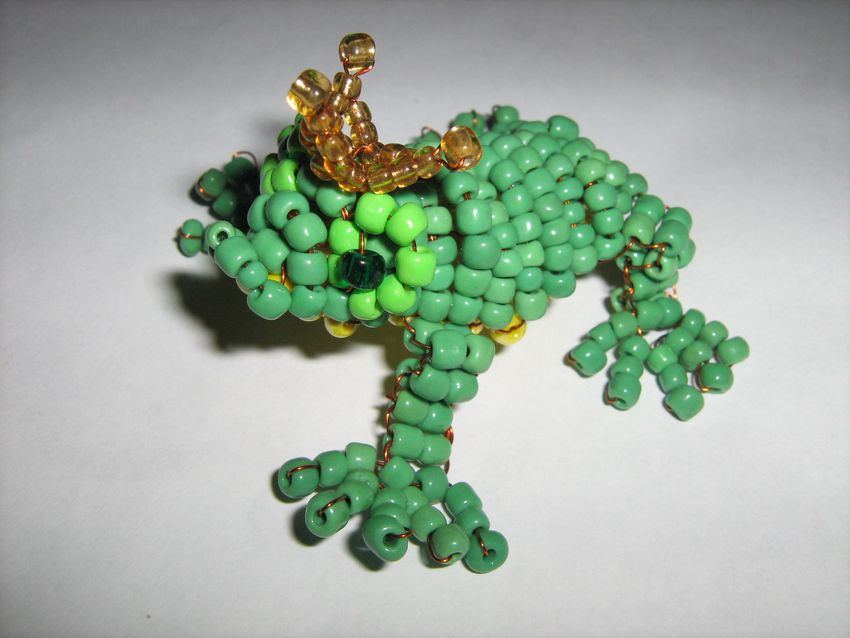
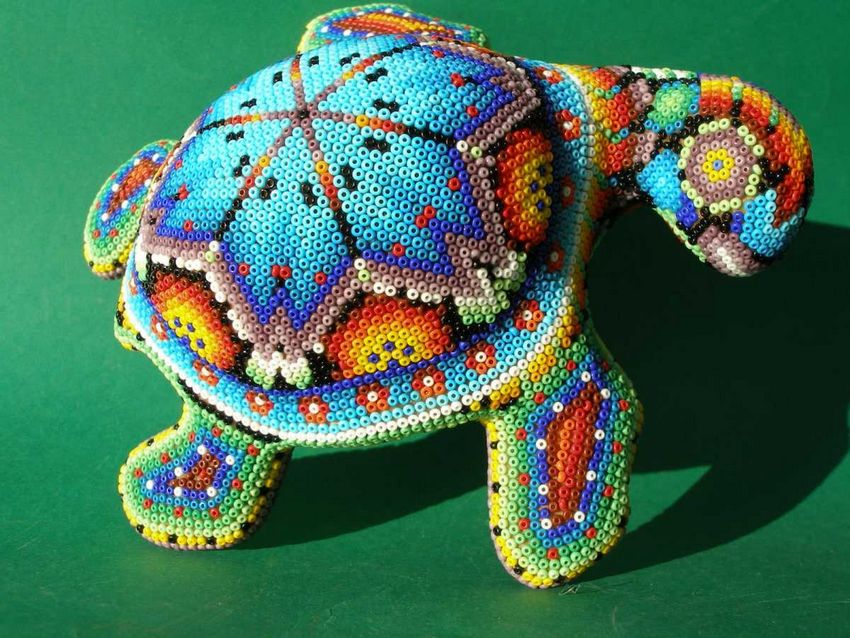
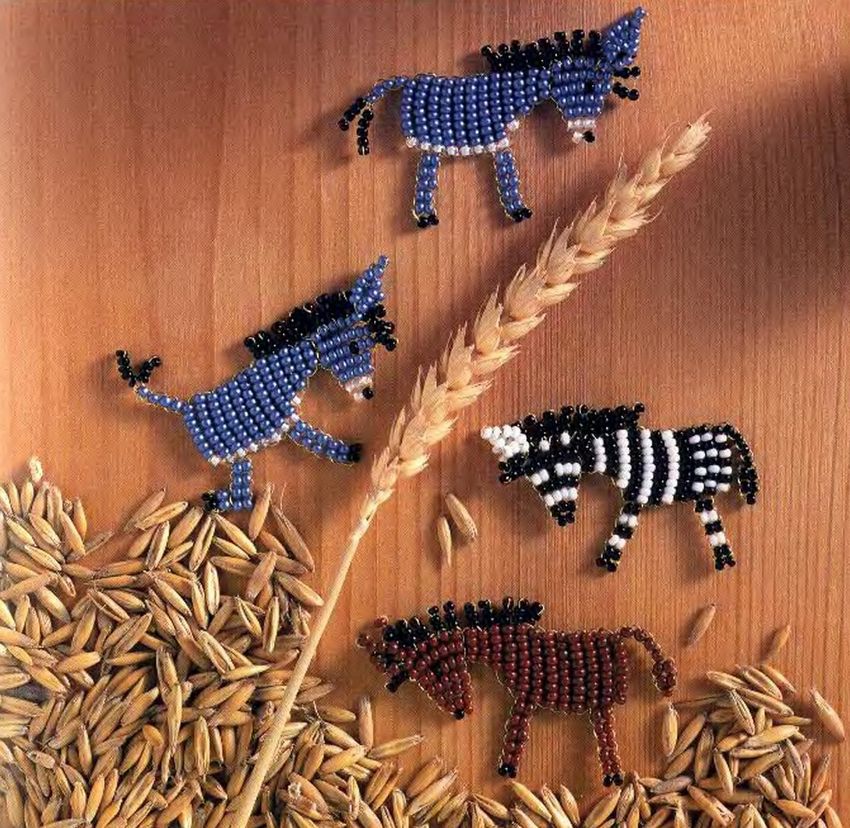
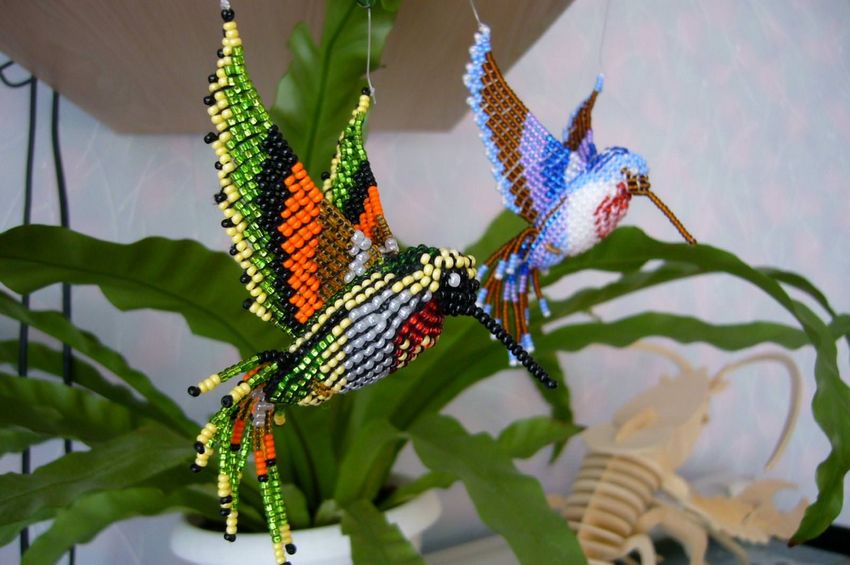
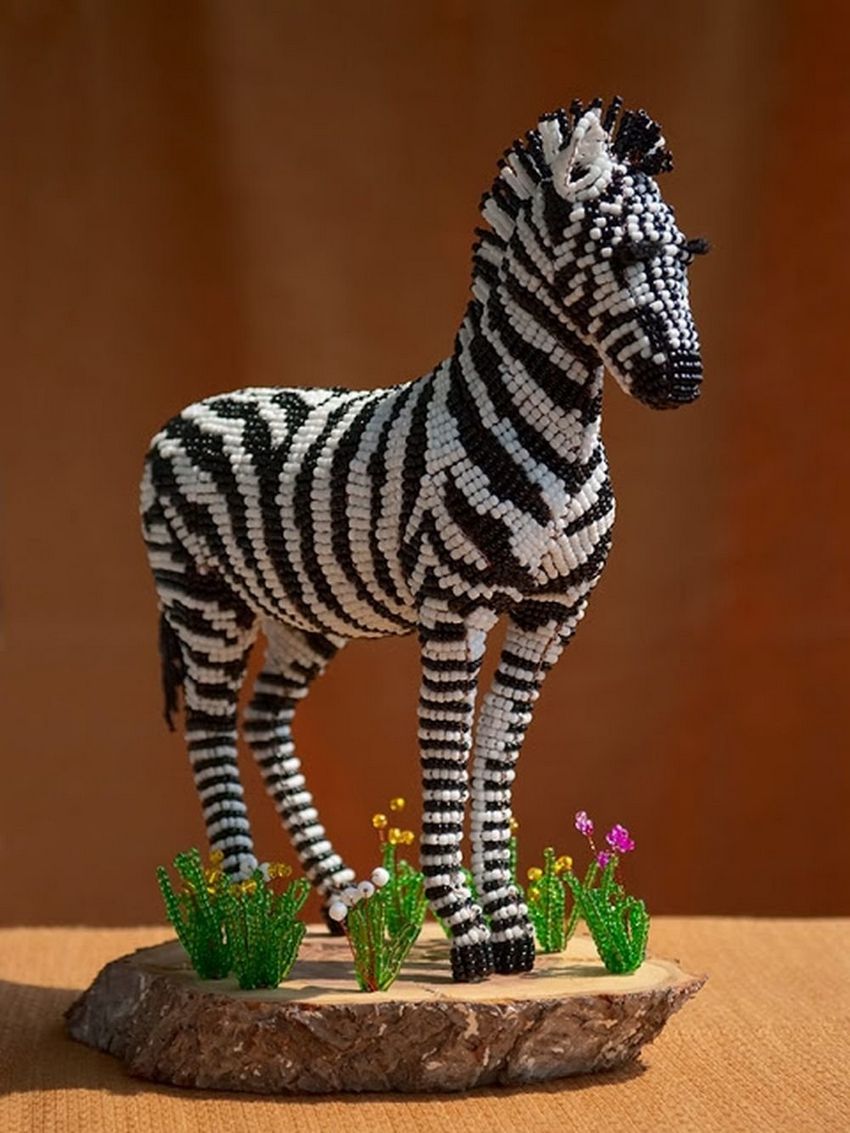
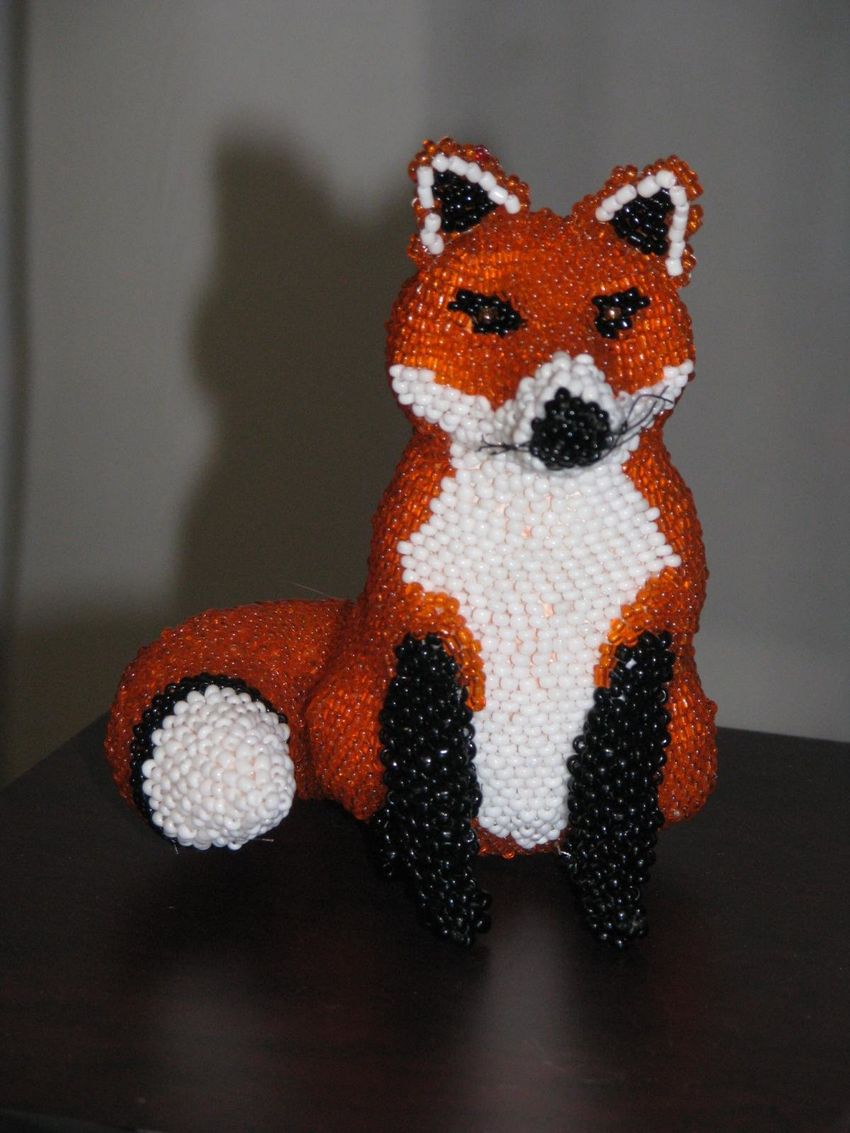
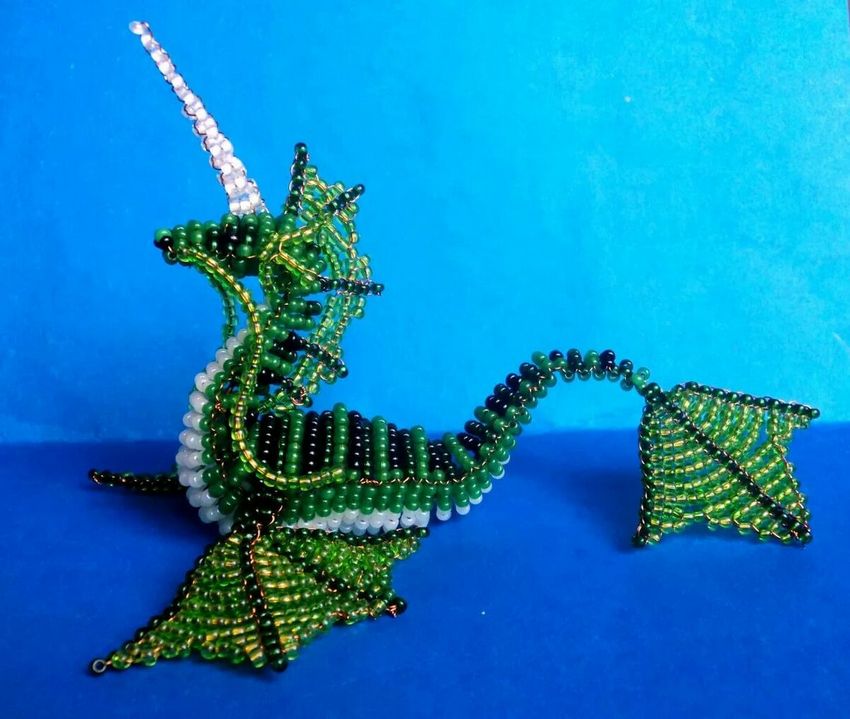
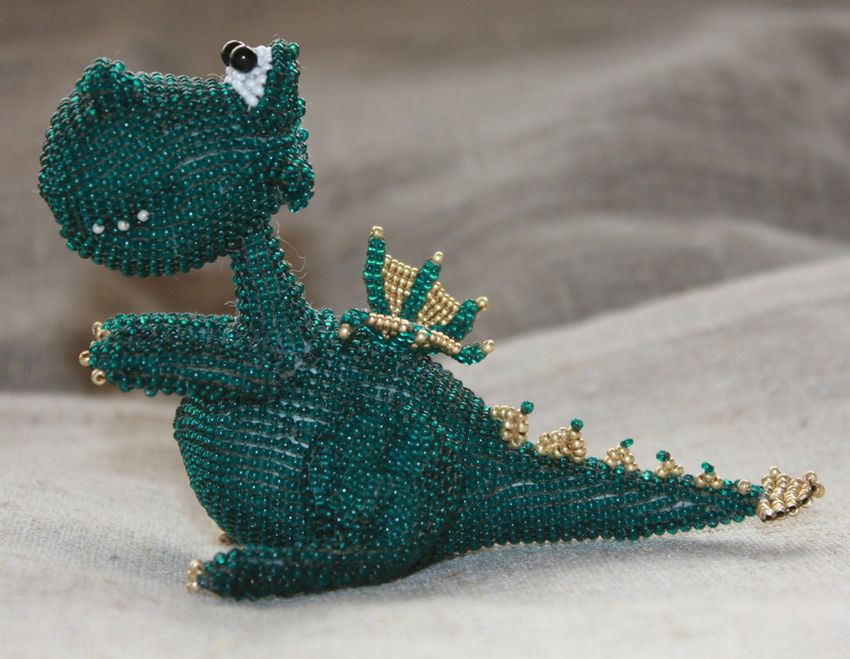
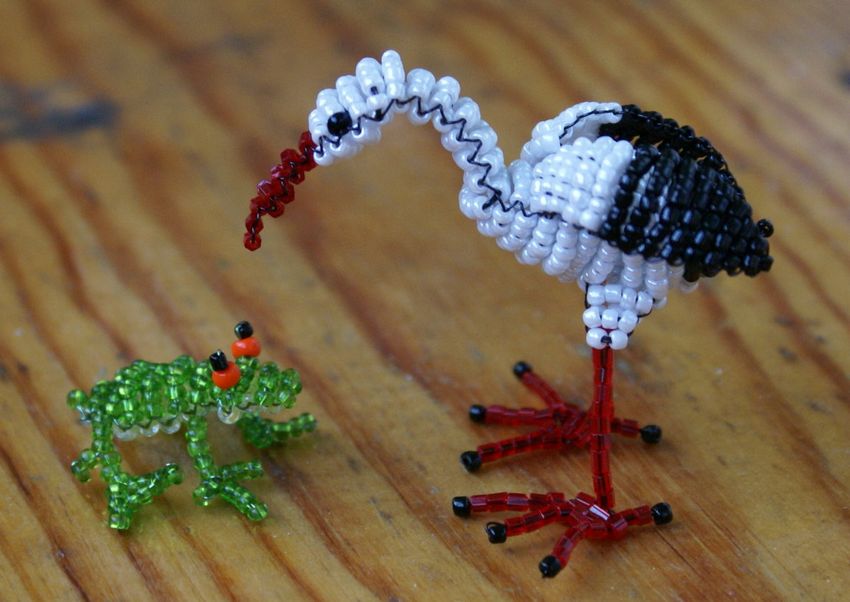
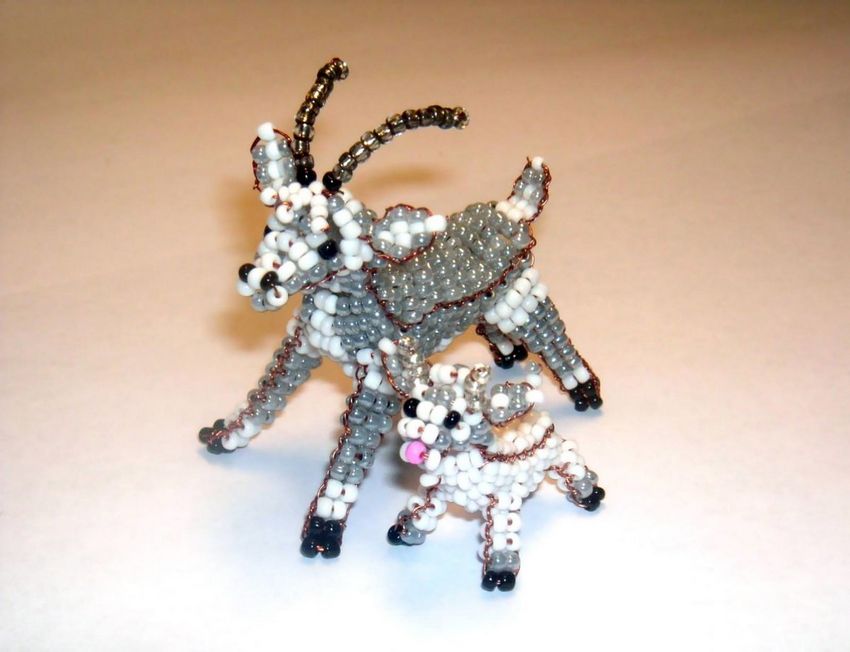
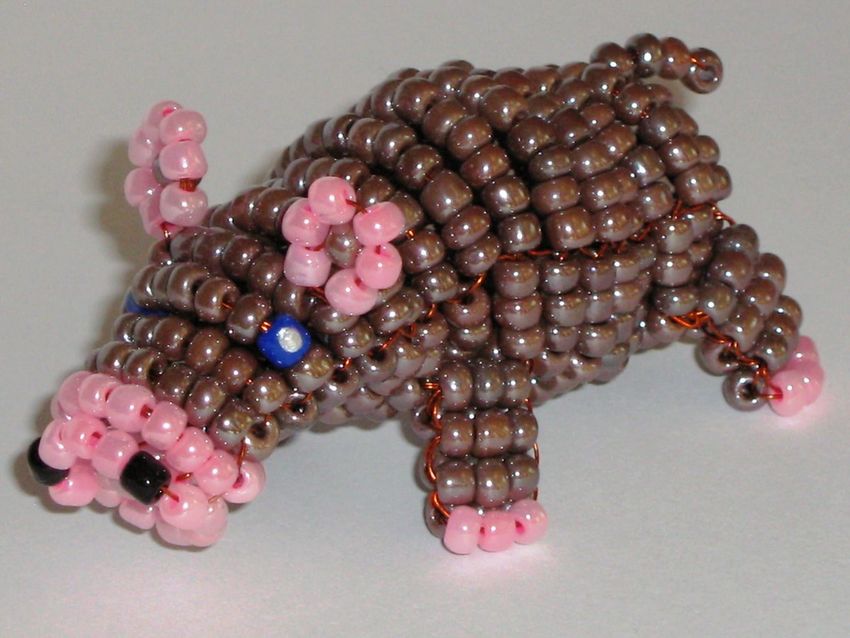
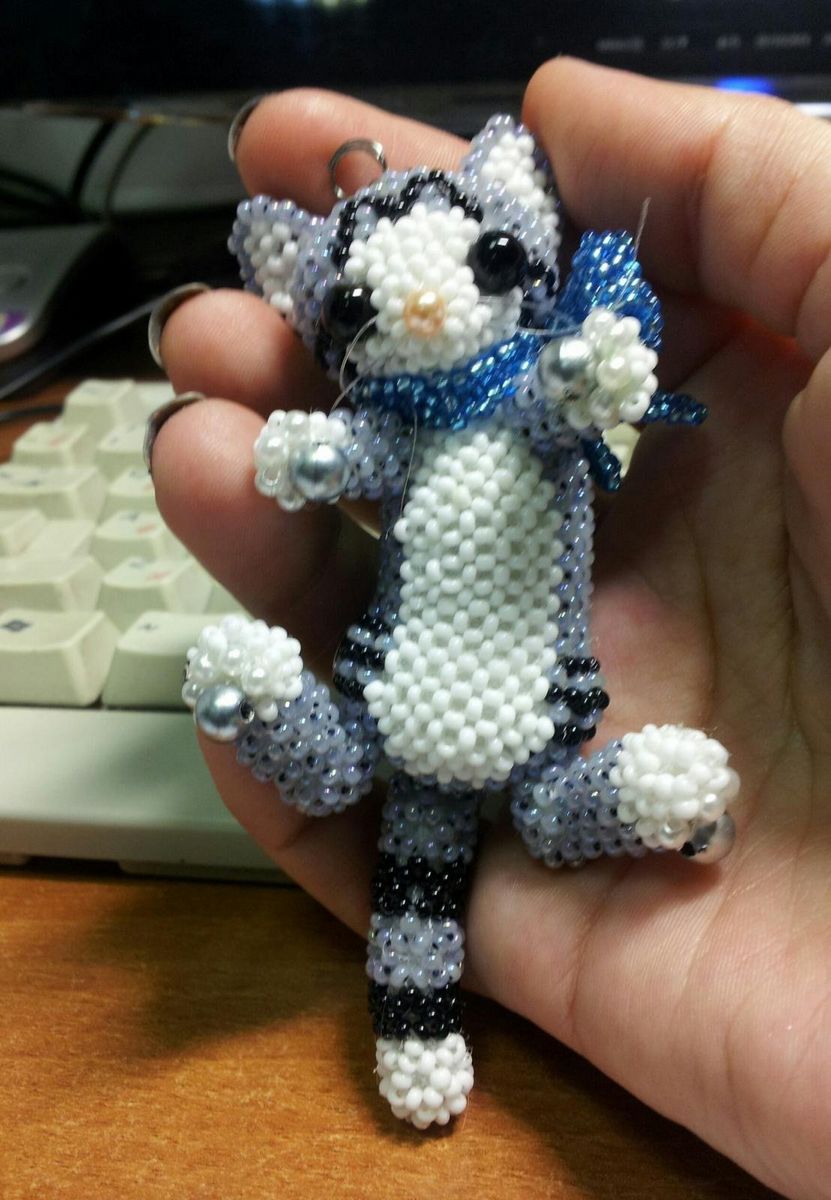
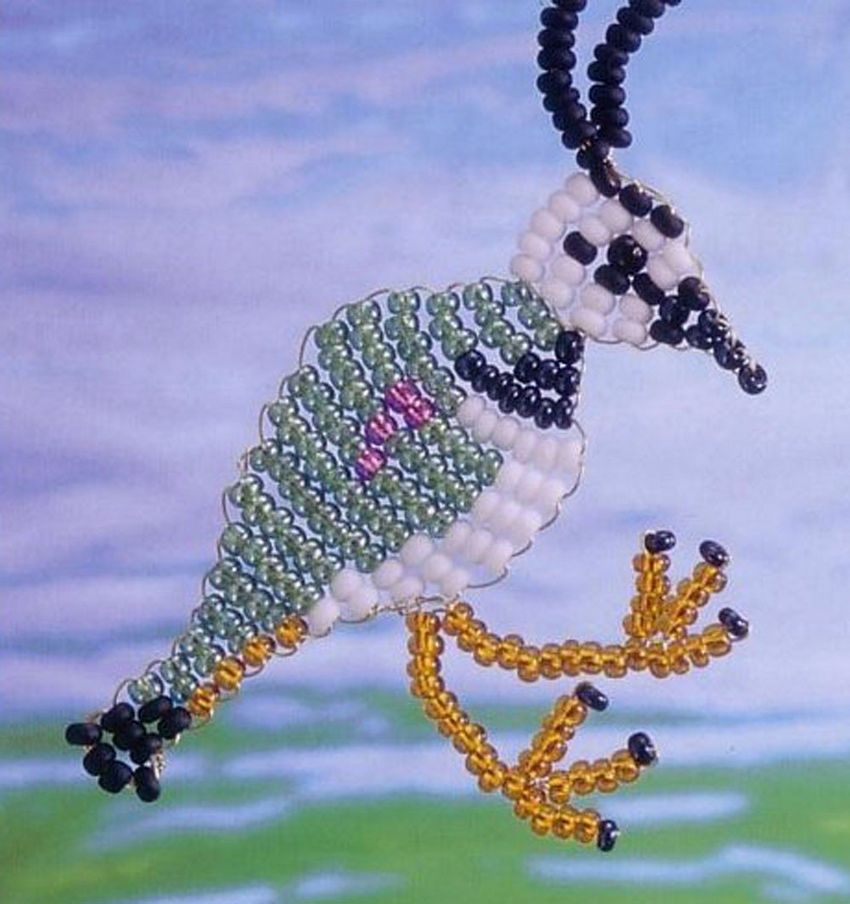
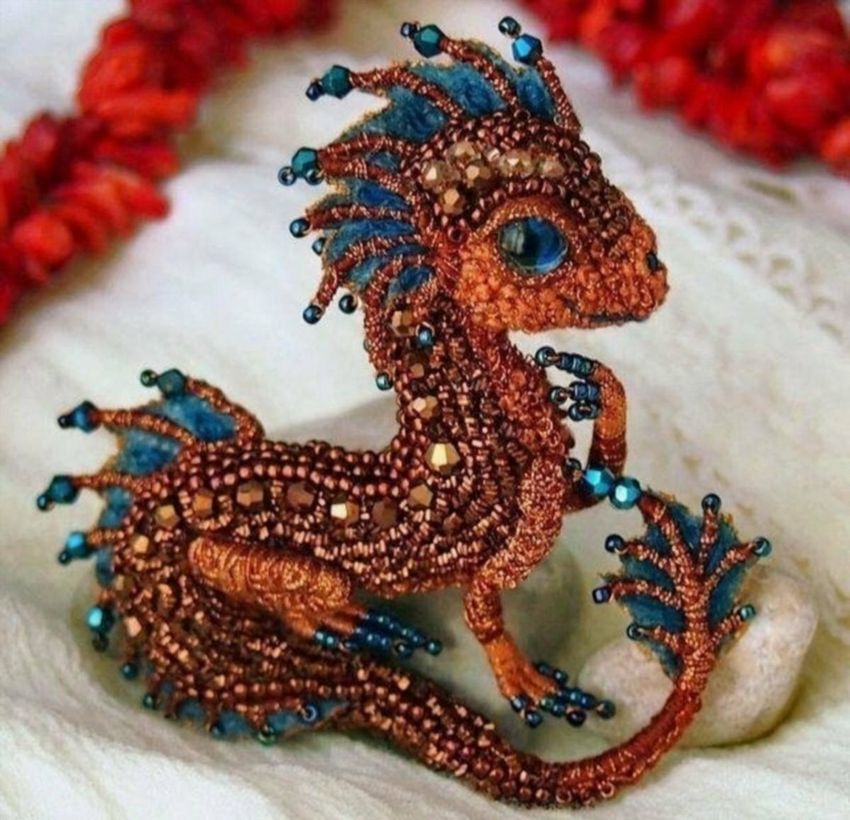
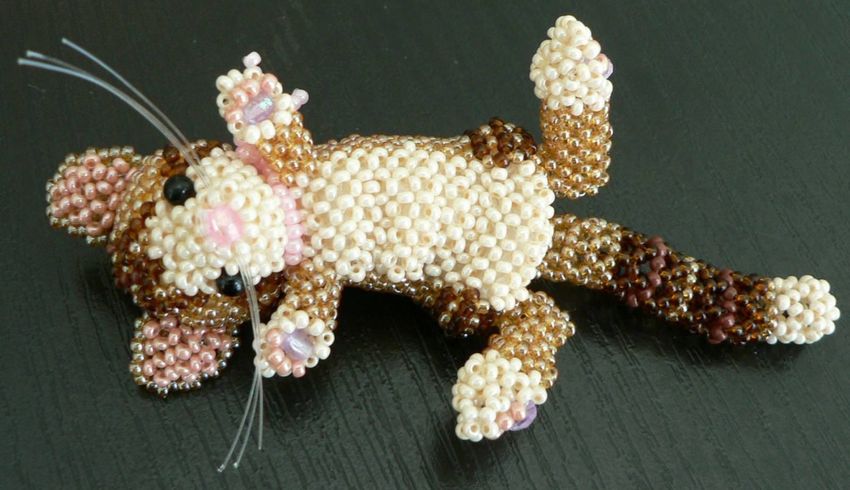
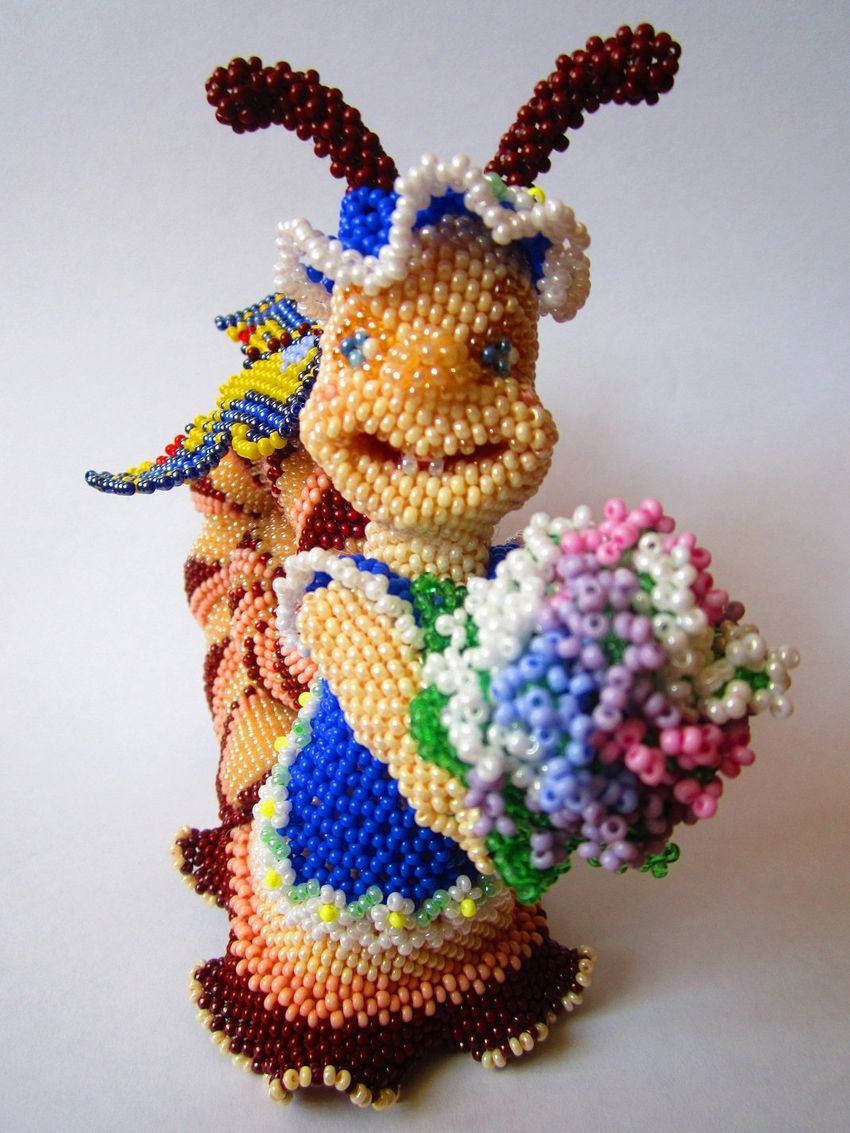
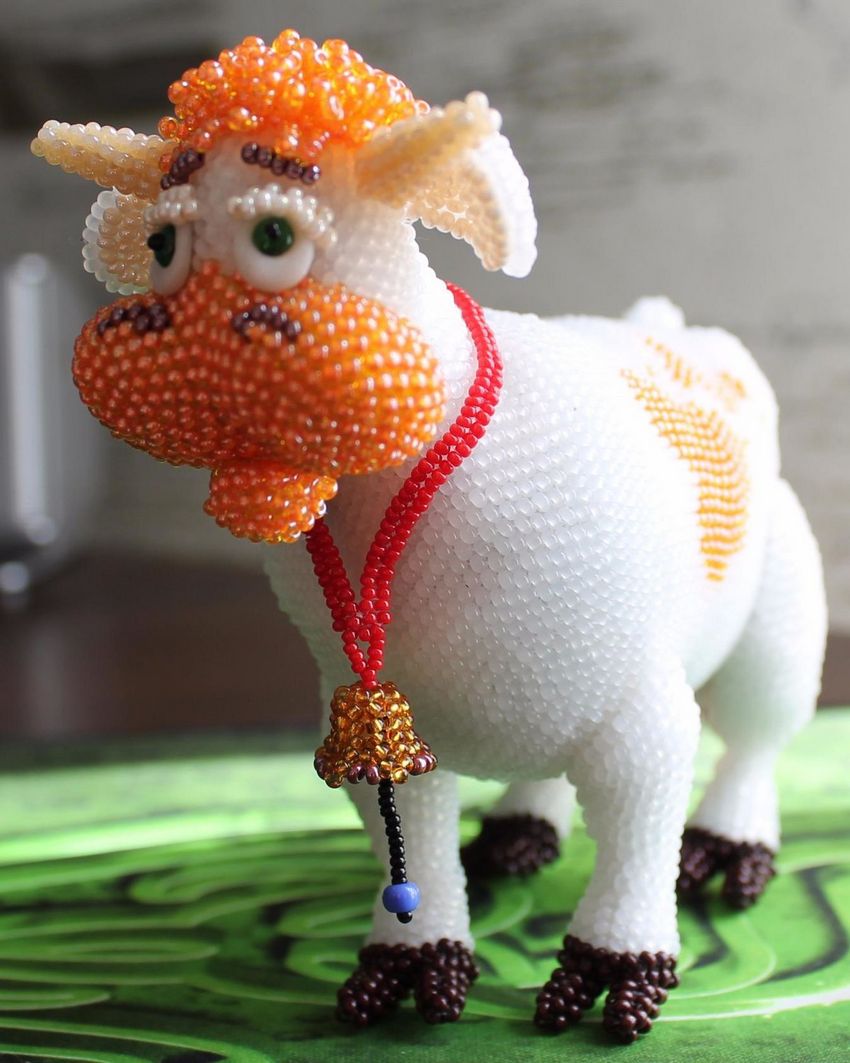
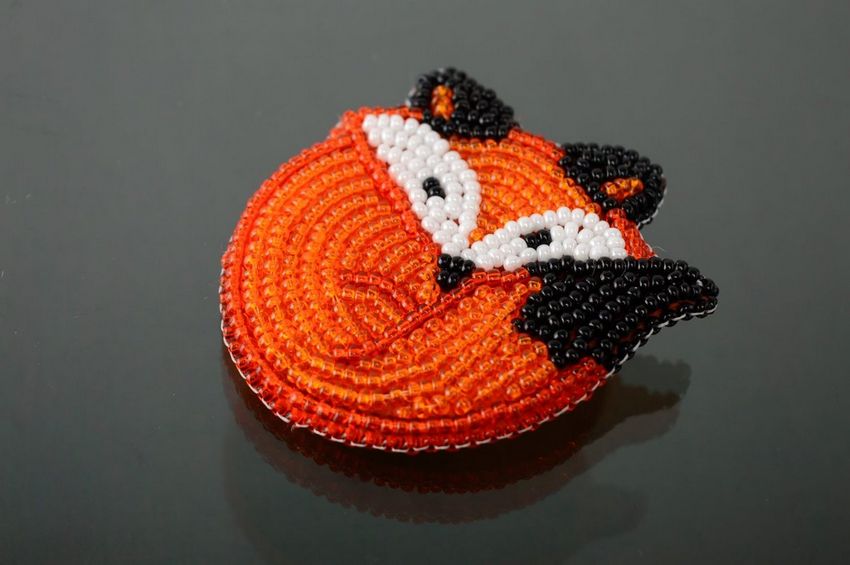
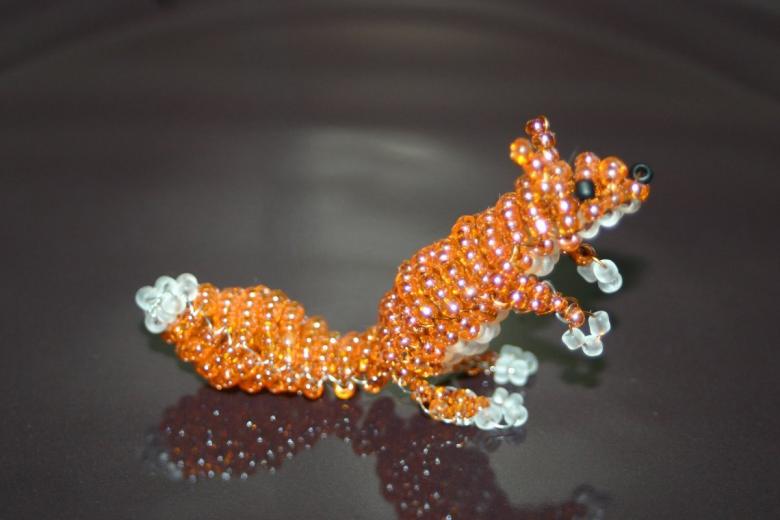
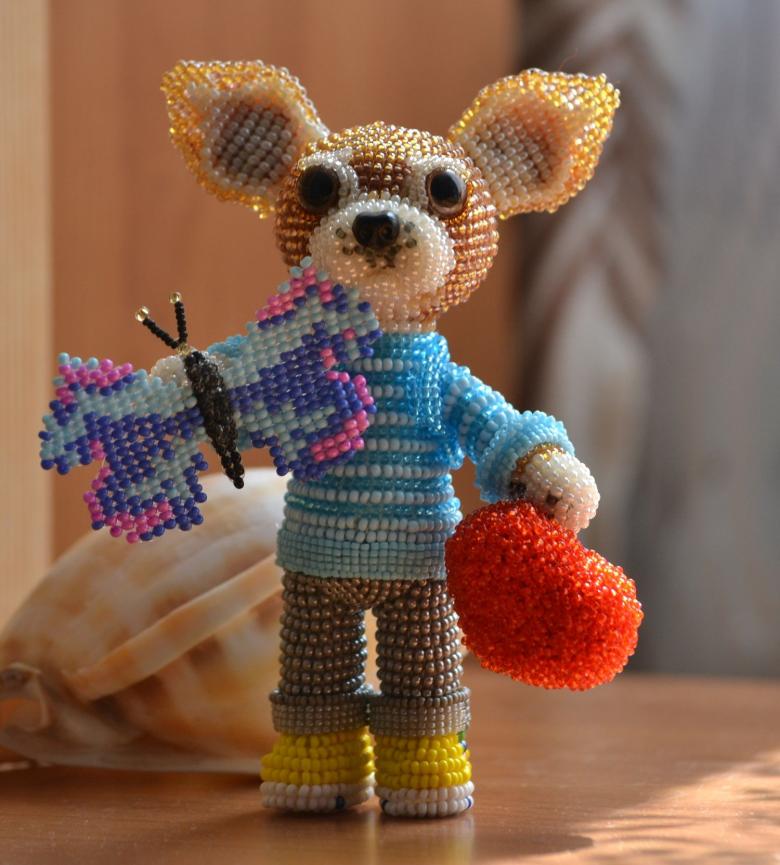
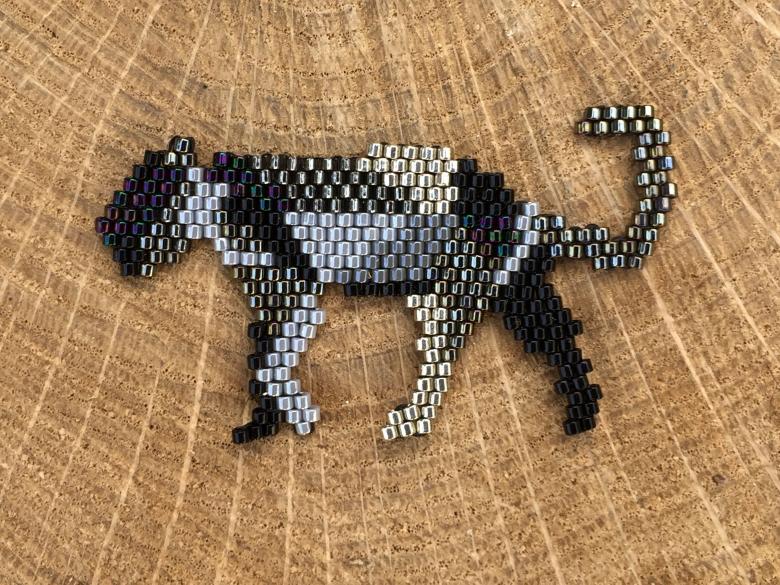
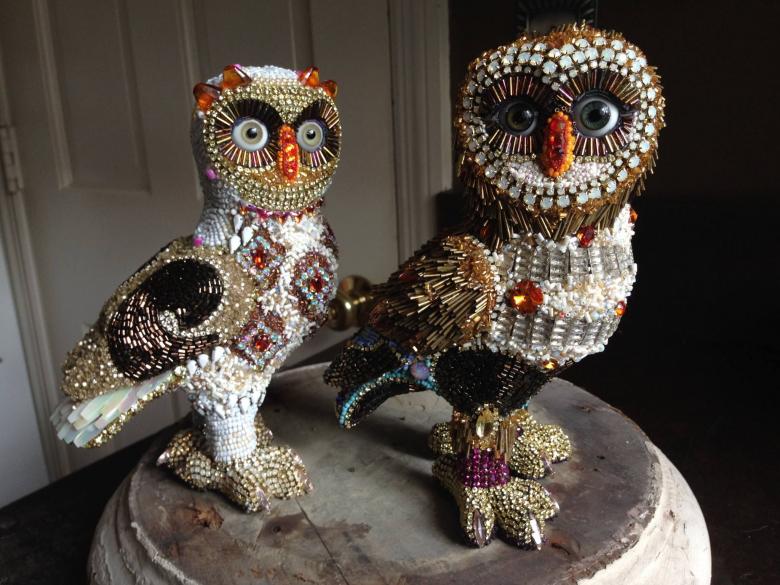
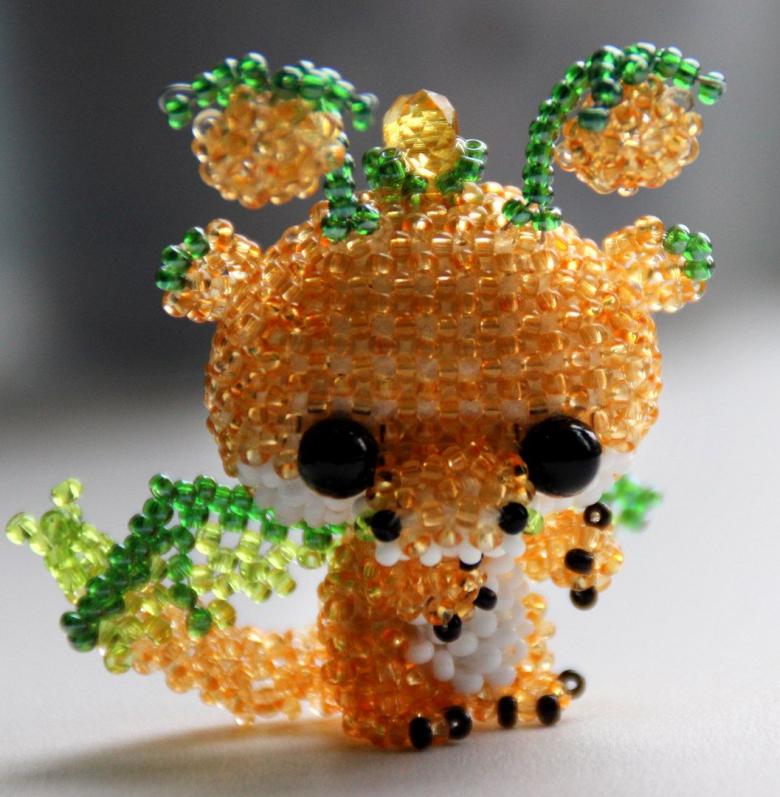
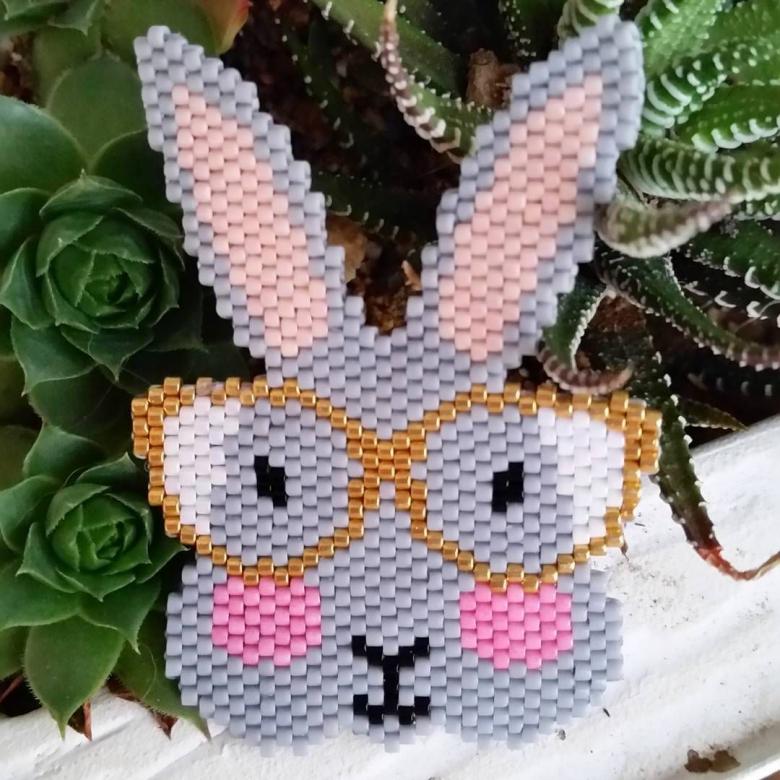
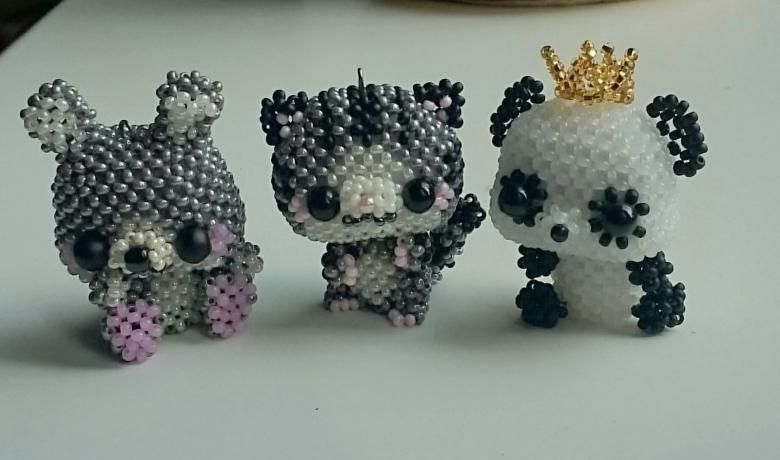
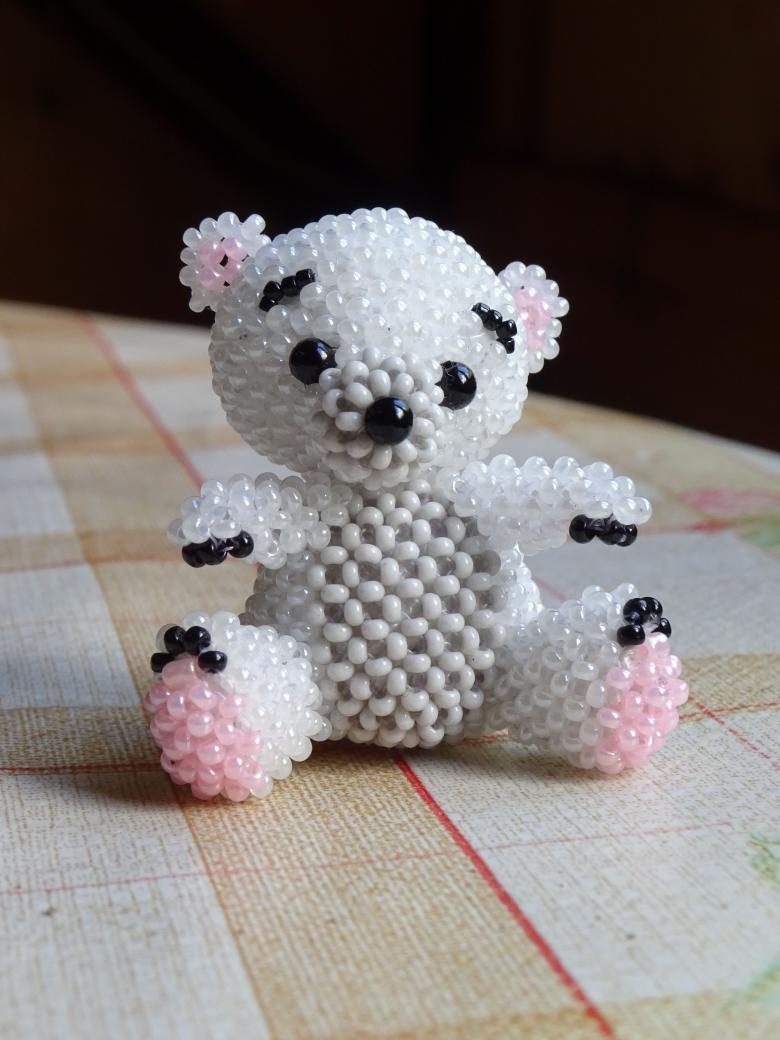
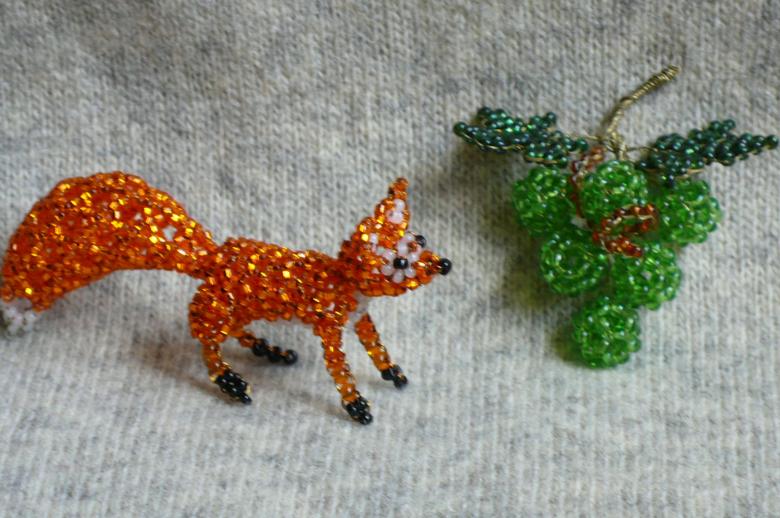
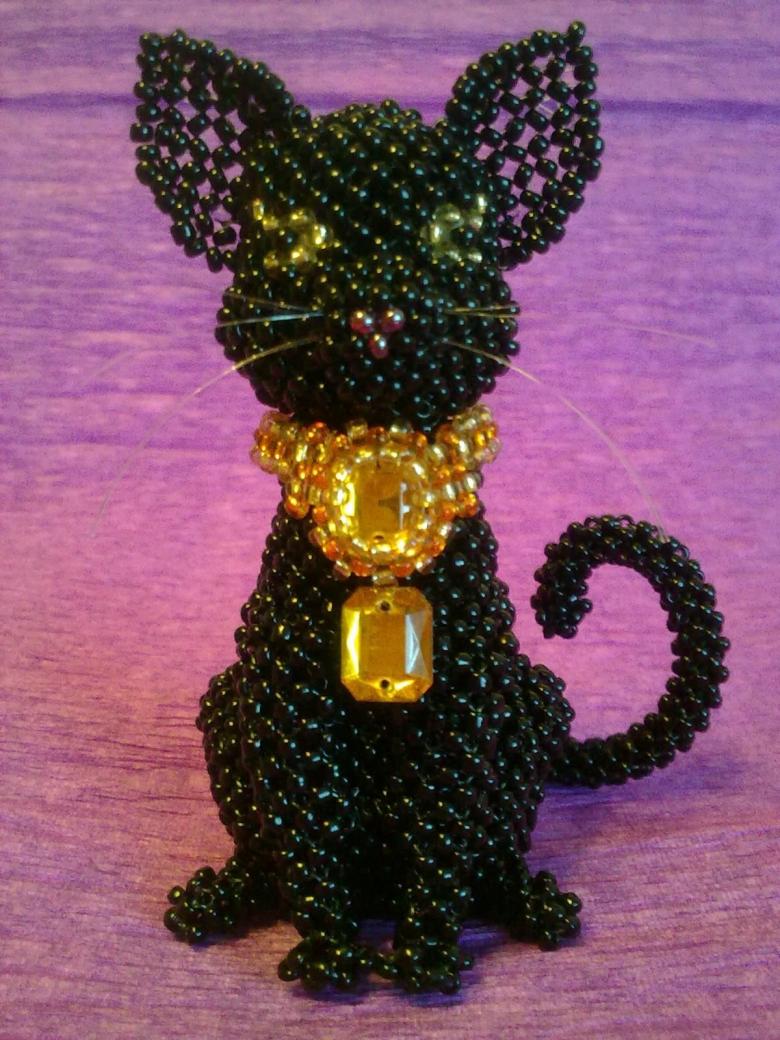
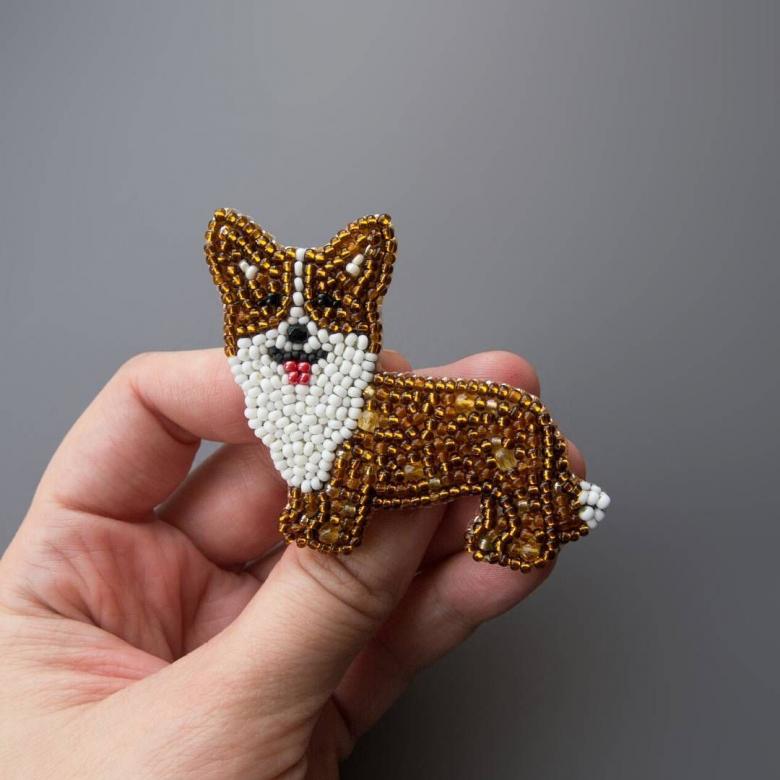
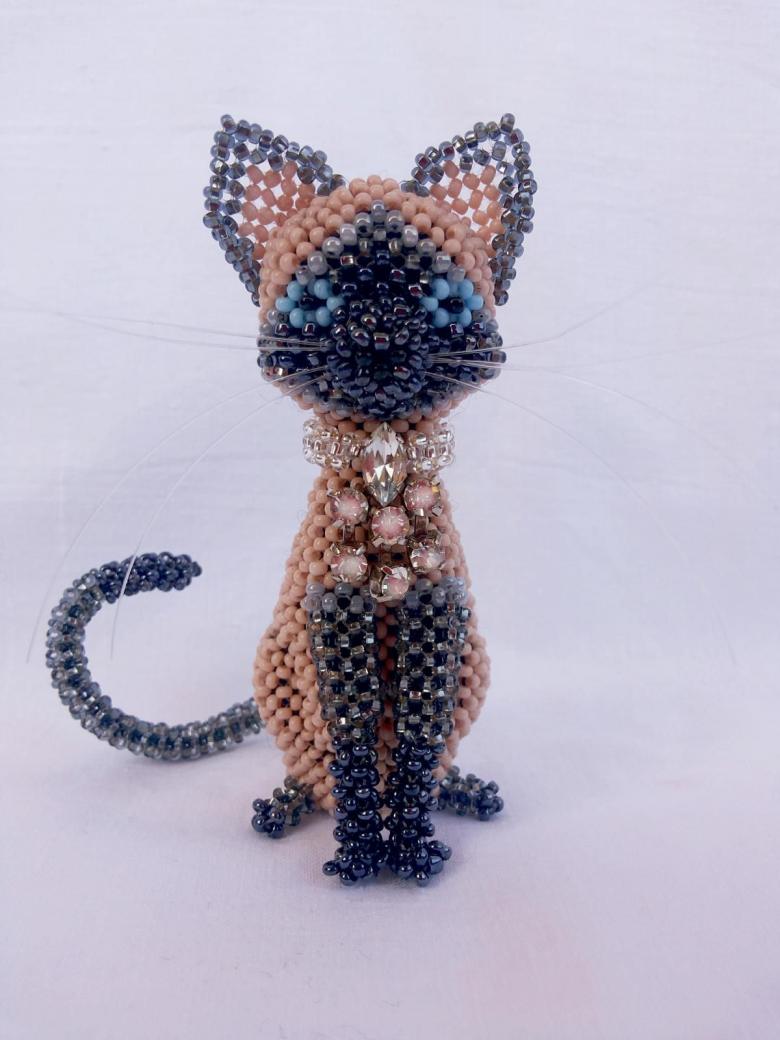
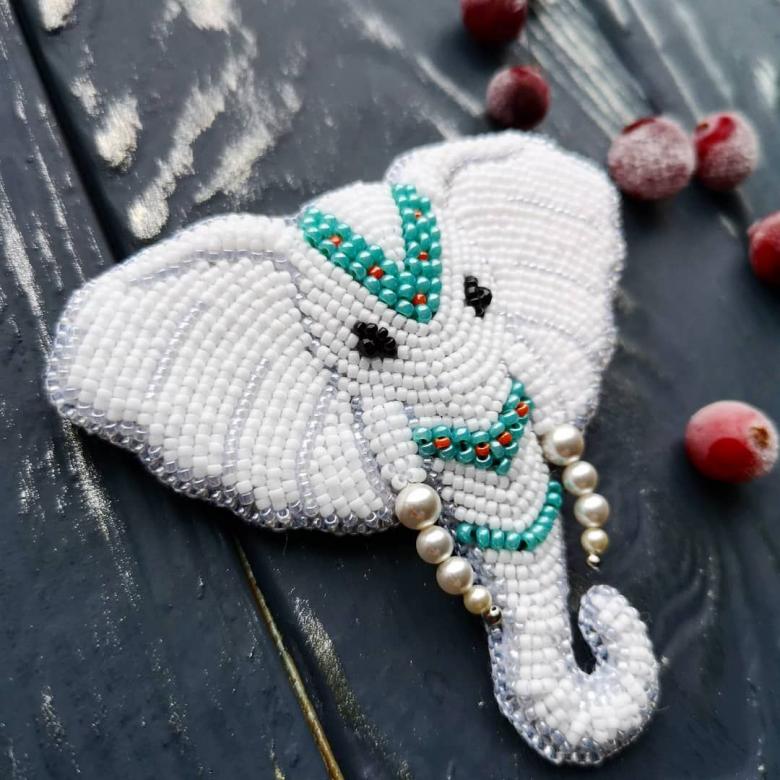
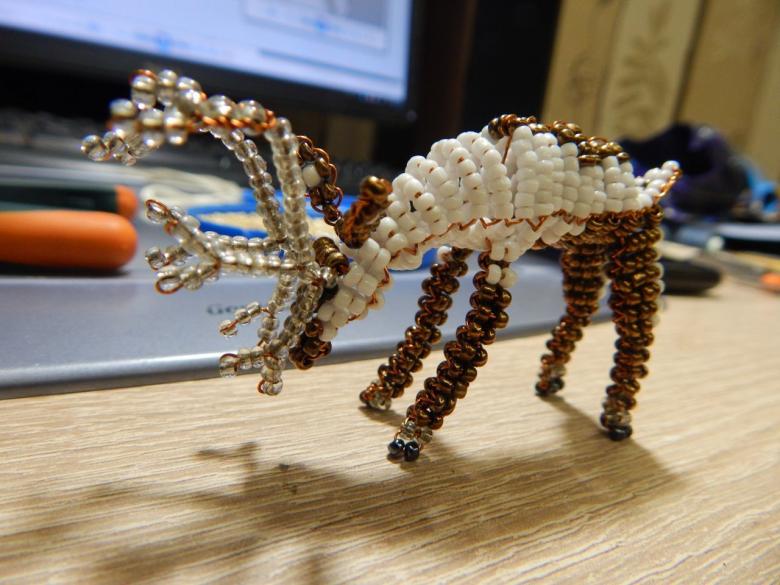
Photo ideas of animals made of beads