How to make a pool with your own hands - types of frames, how to make a frame, all about stairs, filters and heating
To have a pool on your plot, it is the dream of every owner of his plot. However, to order the production of his pool is not a luxury for most average citizens. Therefore, there is only one option, to make your own pool. Independently you can make a fully ready-made pool, this implies self-made not only frame, but also equipment and filter for the pool with their own hands.
Types of pools for suburban area
For independent construction of the pool is a huge selection of different variations as the forms and materials from which it will be made.
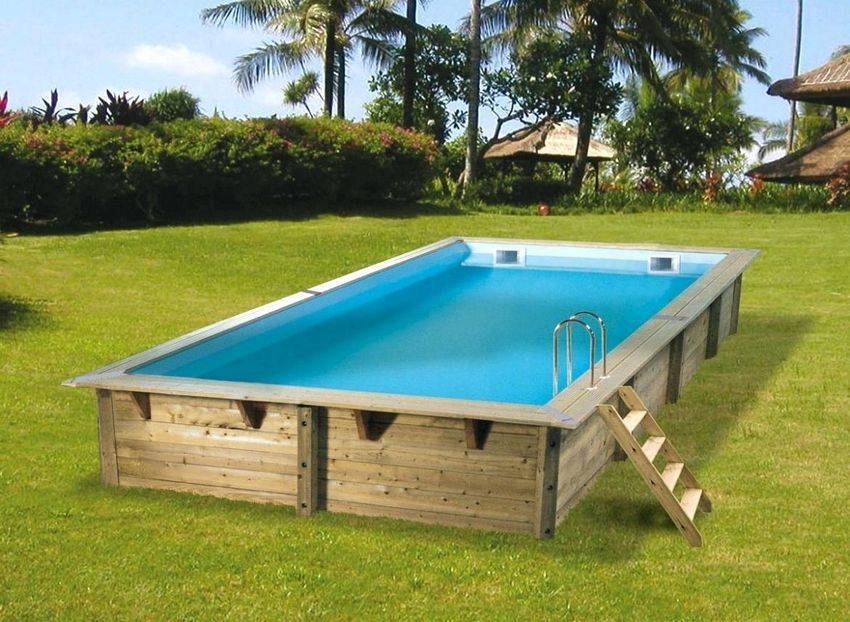
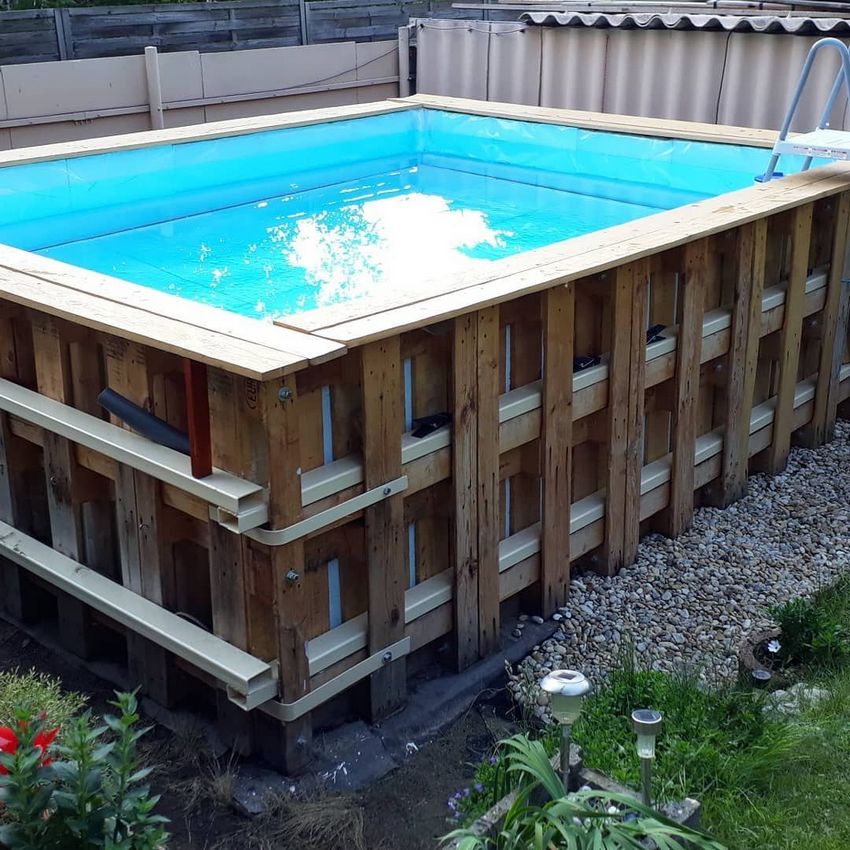
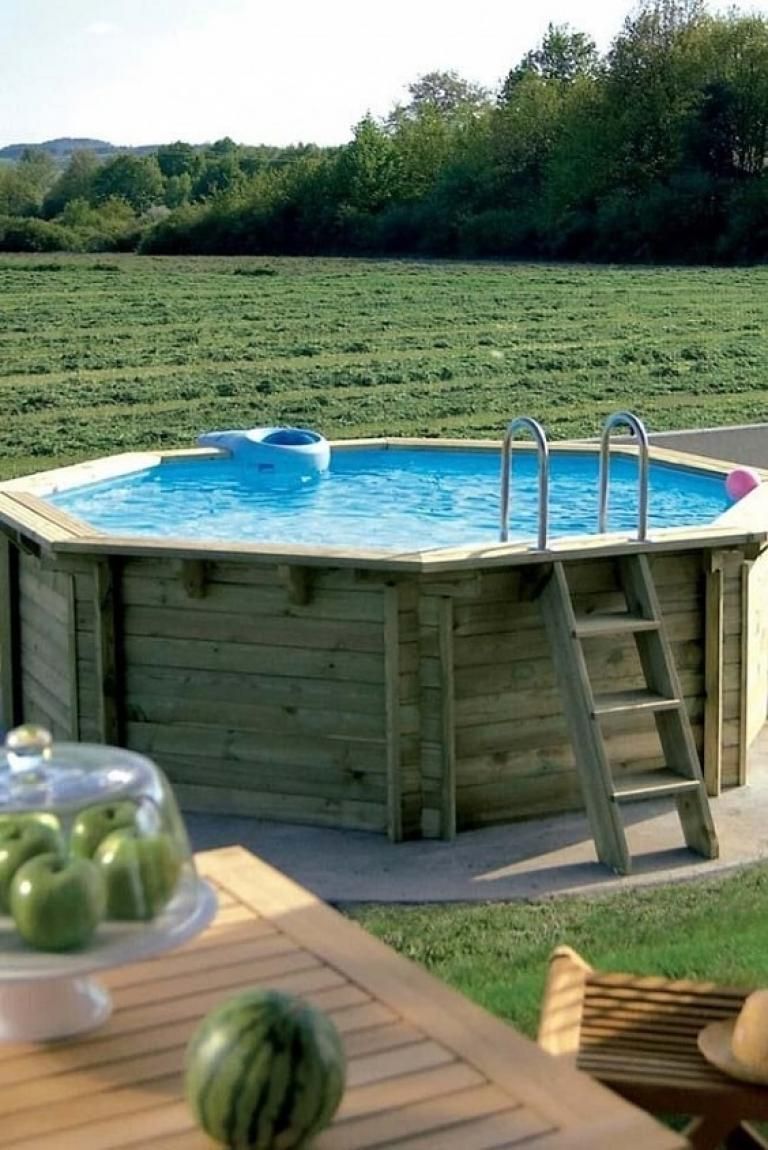
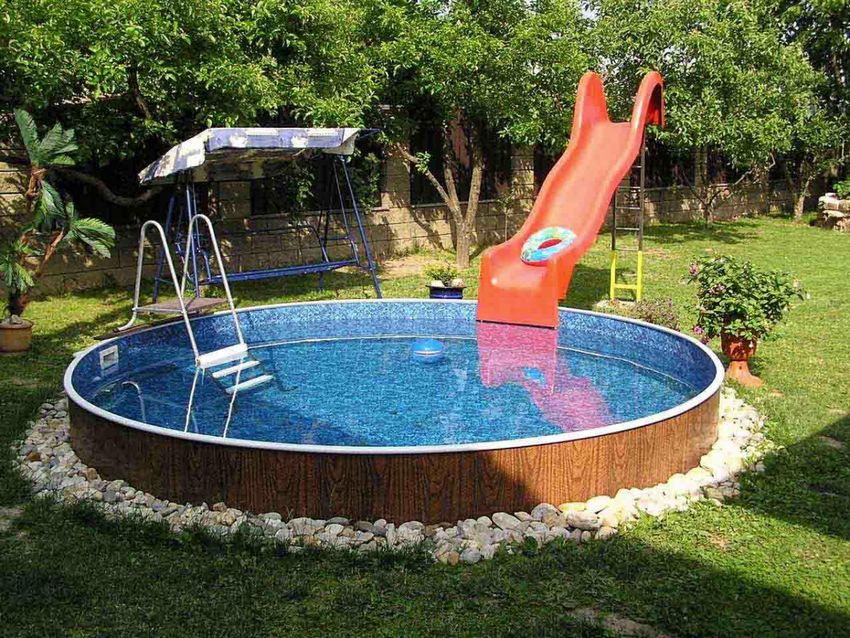
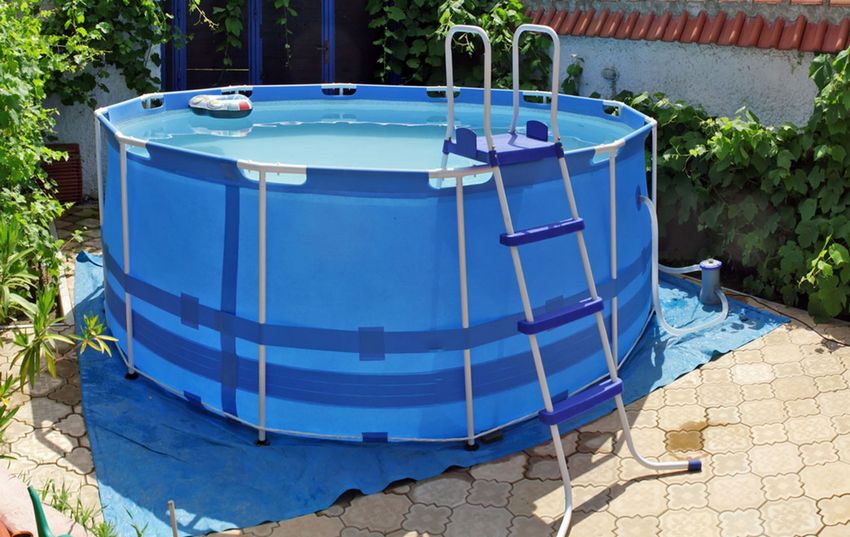
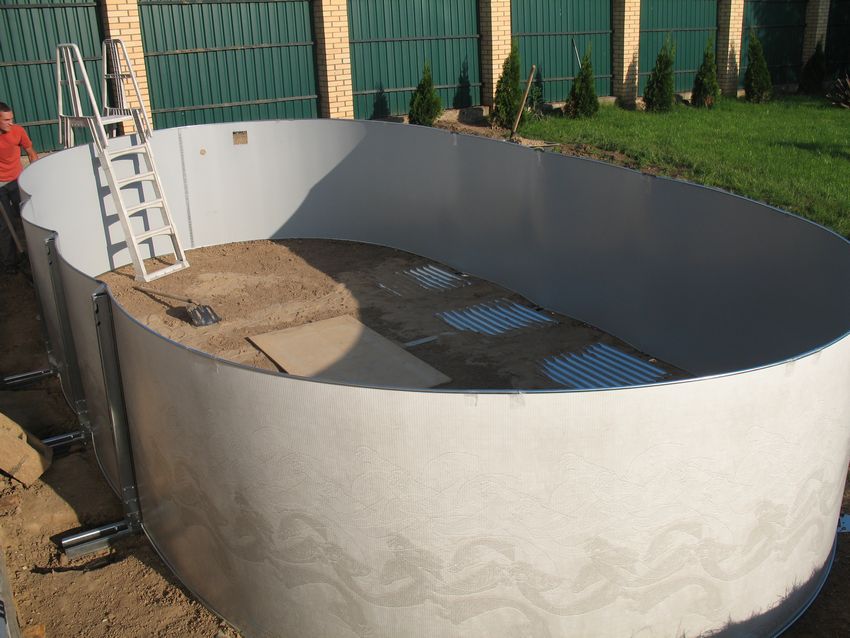
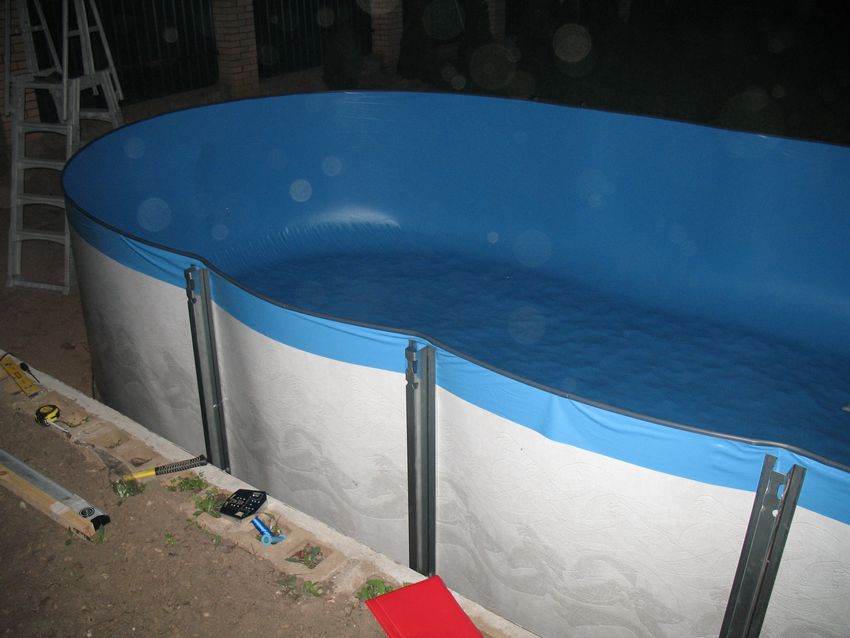
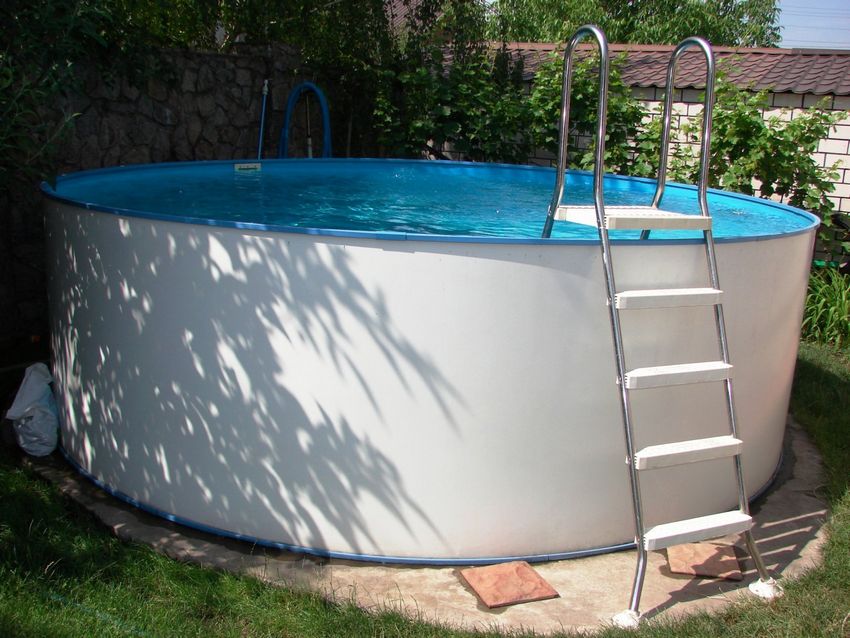
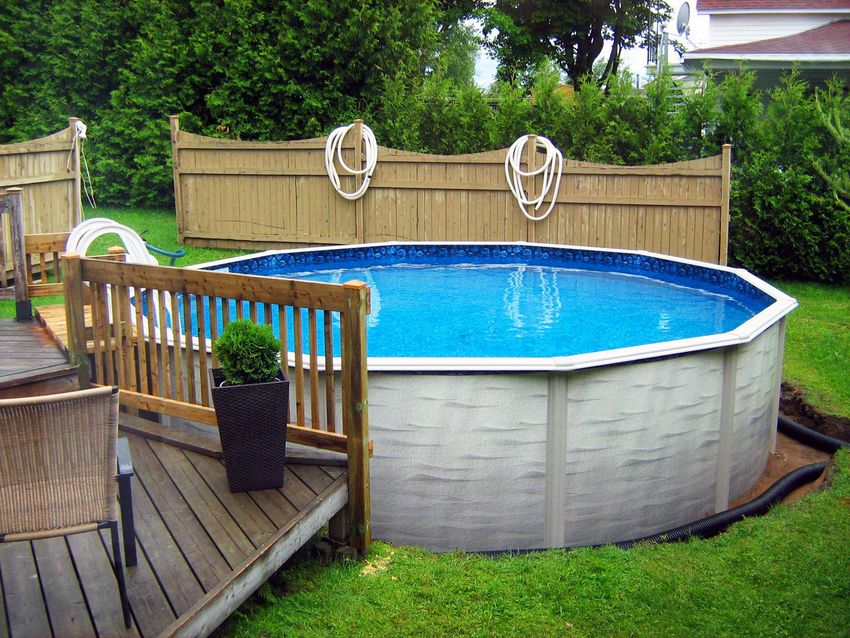
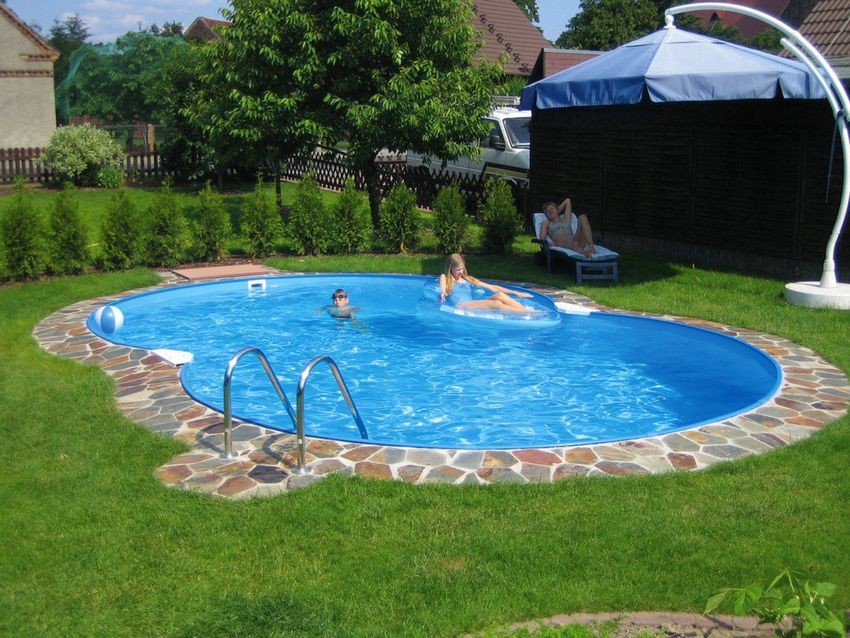
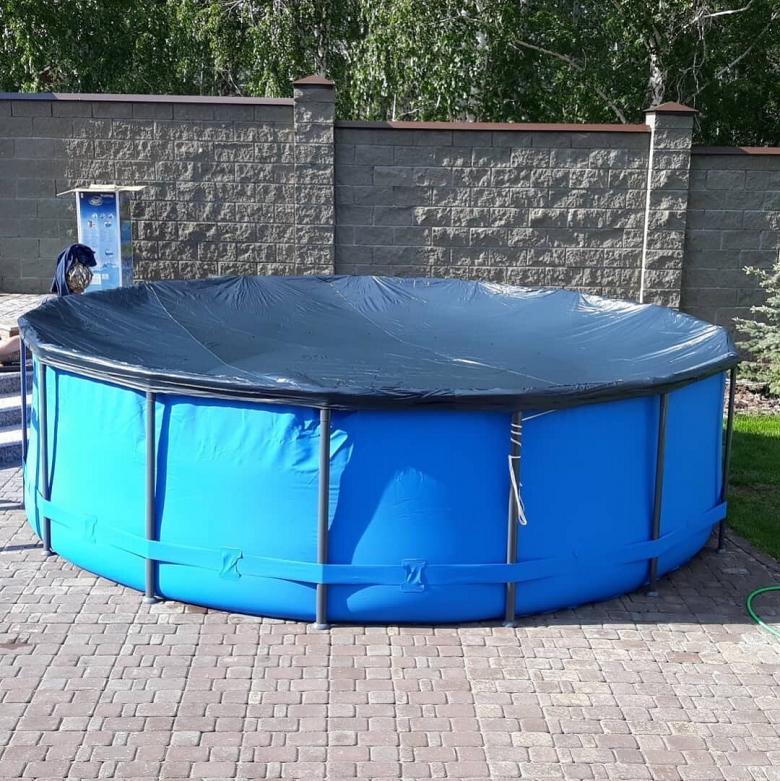
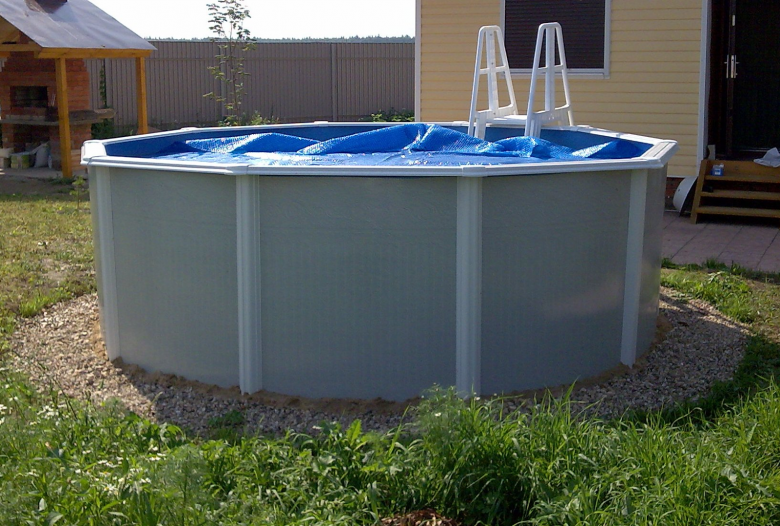
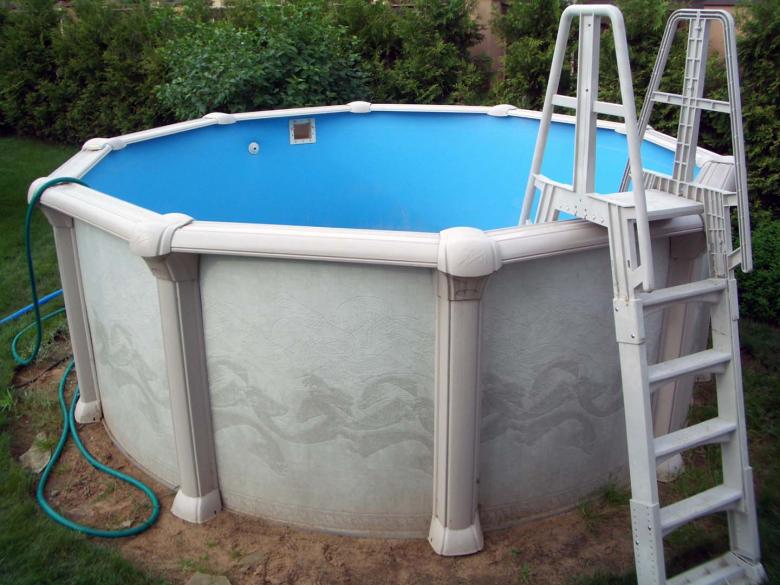
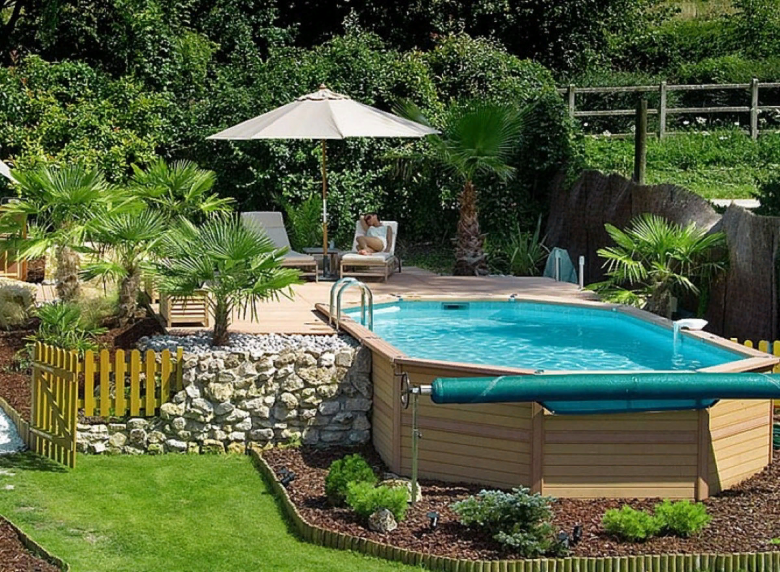
A frame pool
This is one of the easiest versions of the pool, its construction will not take much time. This pool is covered with film and easily assembled with your own hands. A frame pool is a prefabricated structure that consists of metal pipes, rigid plastic sheeting and wooden parts. Its construction does not require a long preparatory phase. It does not need to pour the foundation.
Advantages:
- Quick and uncomplicated assembly procedure.
- Minimal monetary and time expenditures.
- Great choice of shapes and models.
- The ability to easily move the pool to another place on the site.
- Does not require any special care.
- Resistance to frost.
Disadvantages:
- To install the pool will have to level the site under it, since its installation requires a flat surface on the site.
- Need to build a ladder so it was convenient to climb into it.
- If you do not figure out how to protect it from frost, the fall pool will have to dismantle and clean up.
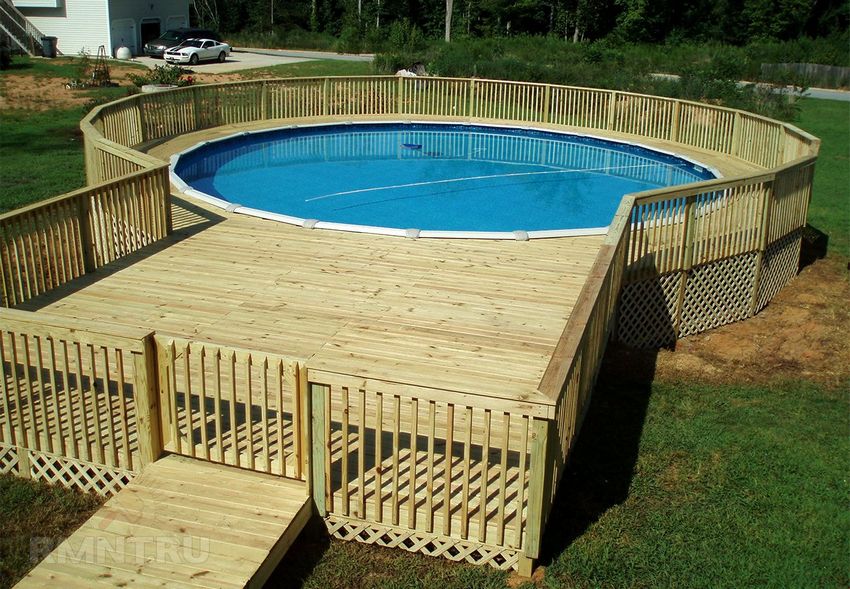
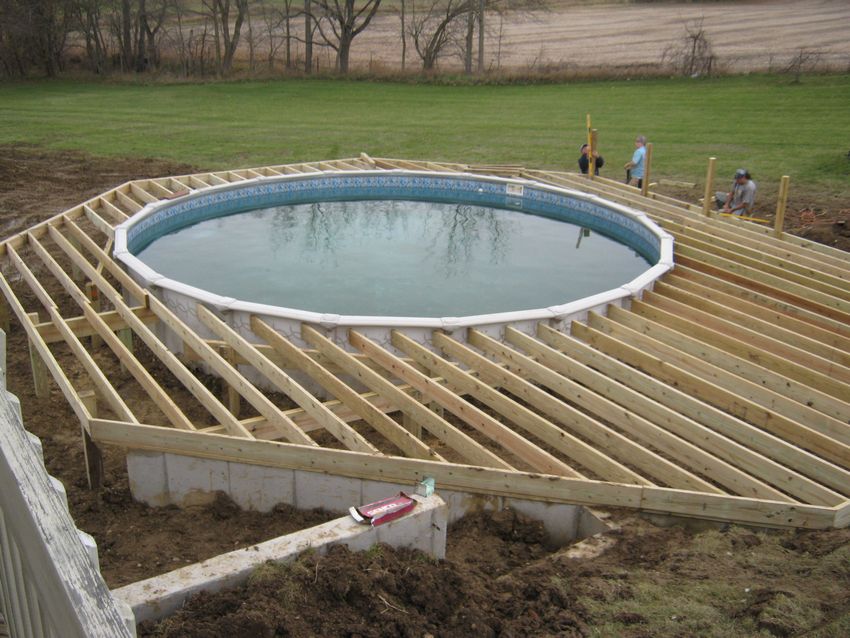
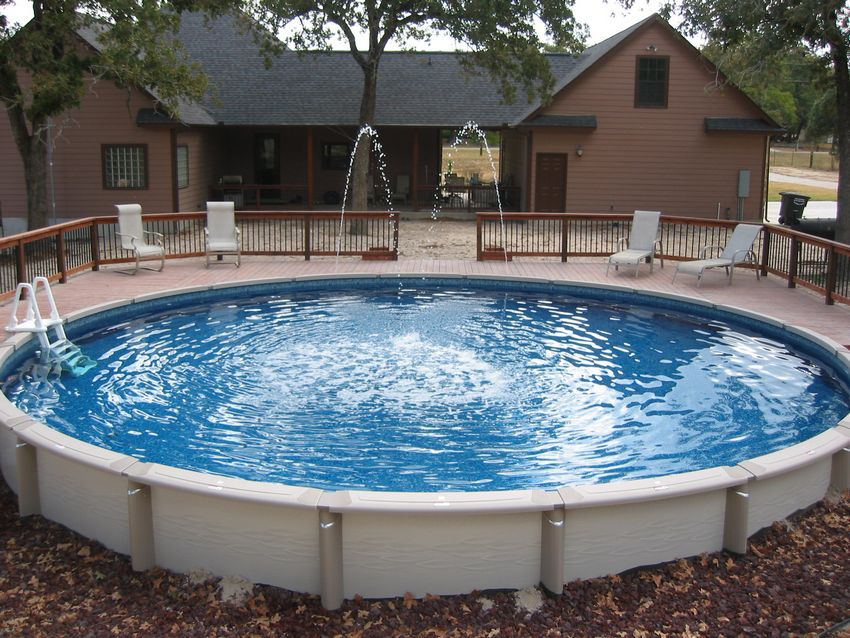
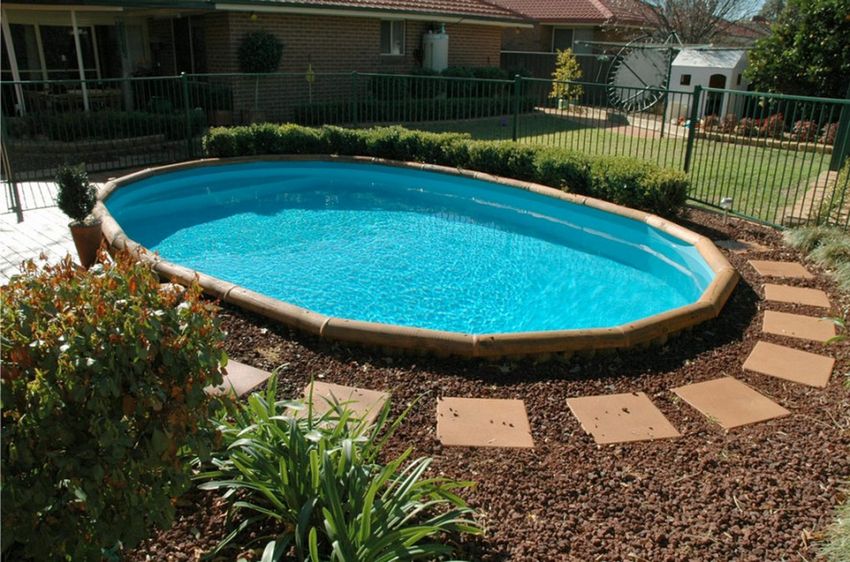
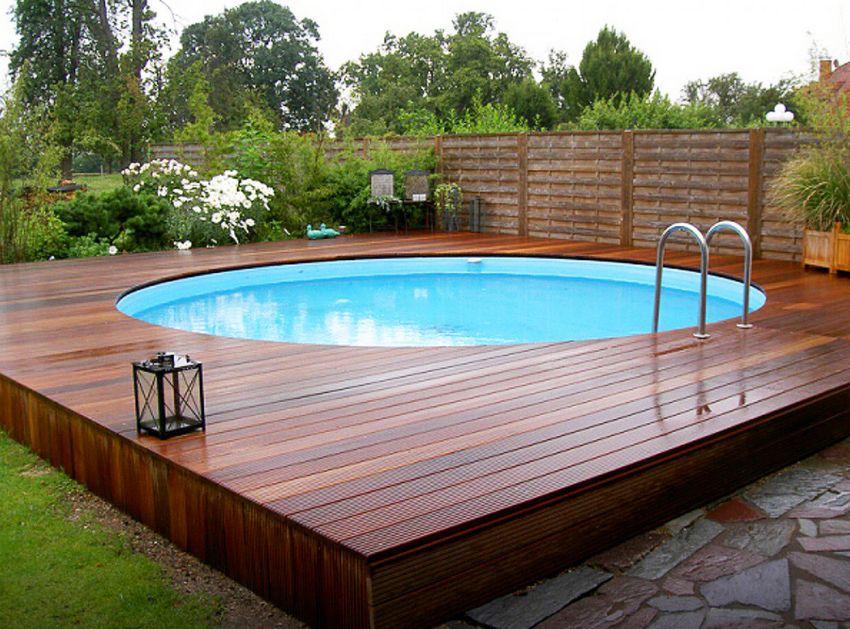
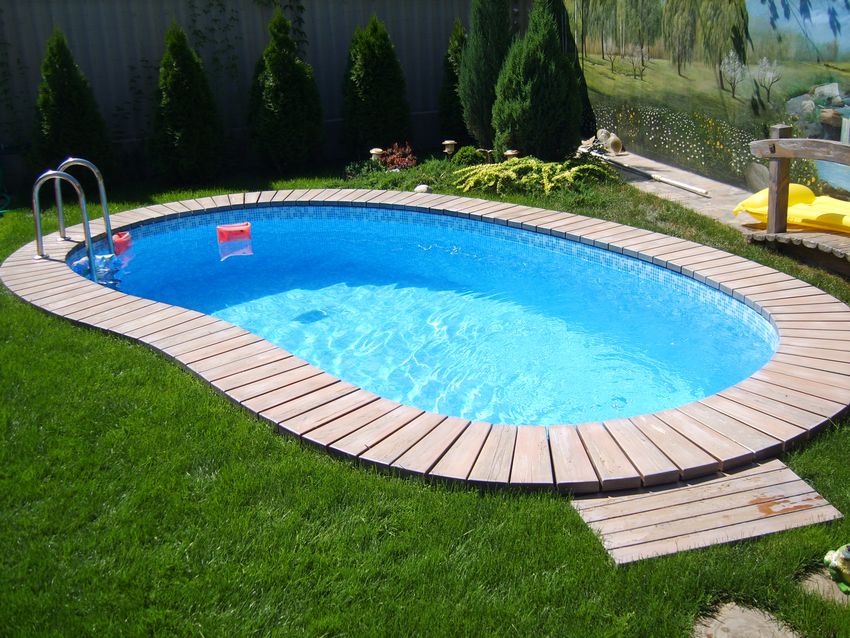
Above described characteristics of the pool consisting of a tube frame, but the option of making a frame pool on the basis of wood is possible.
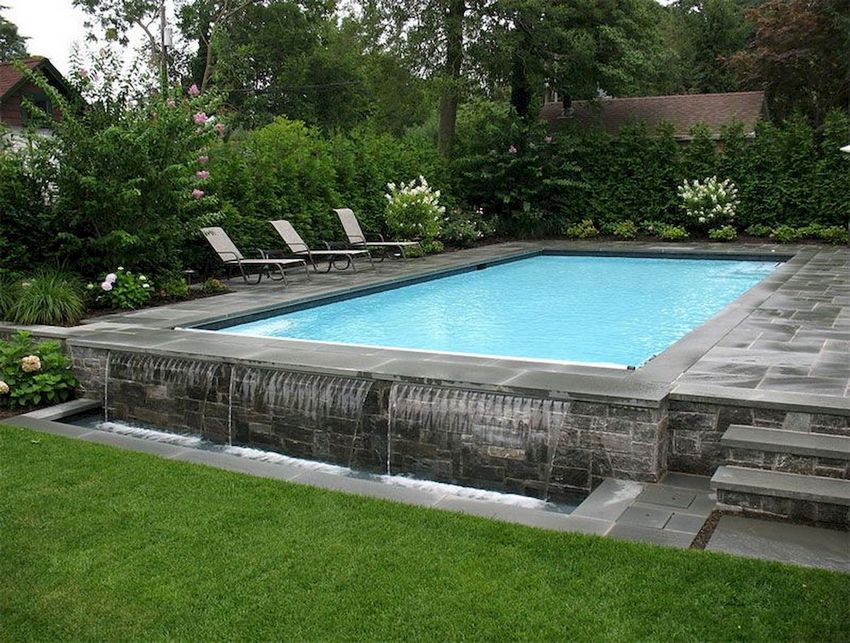
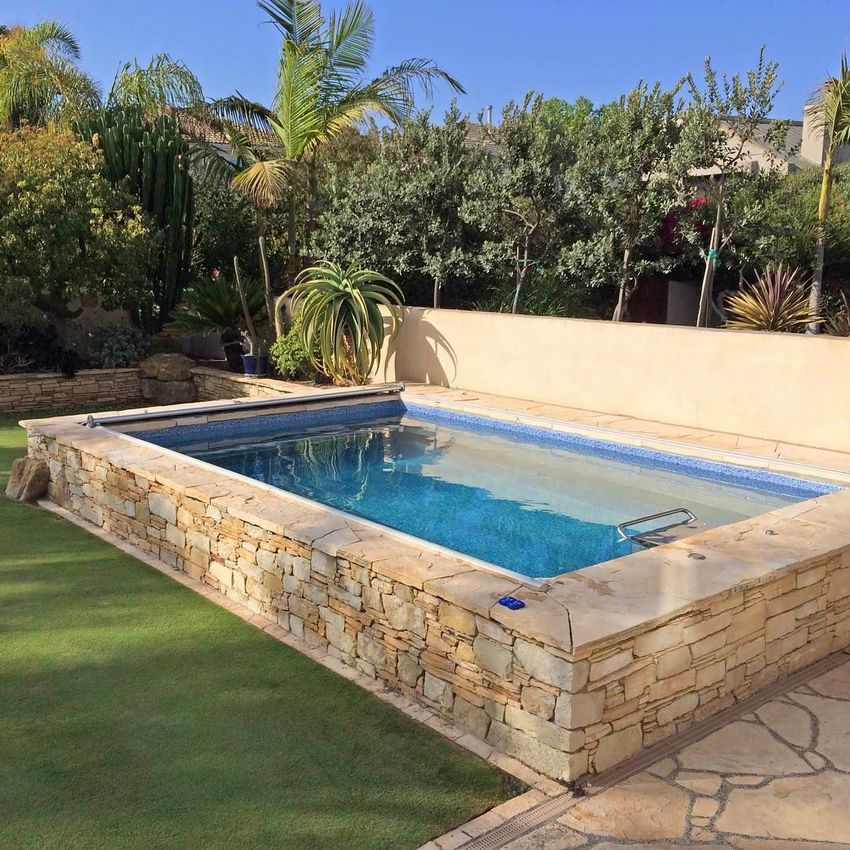
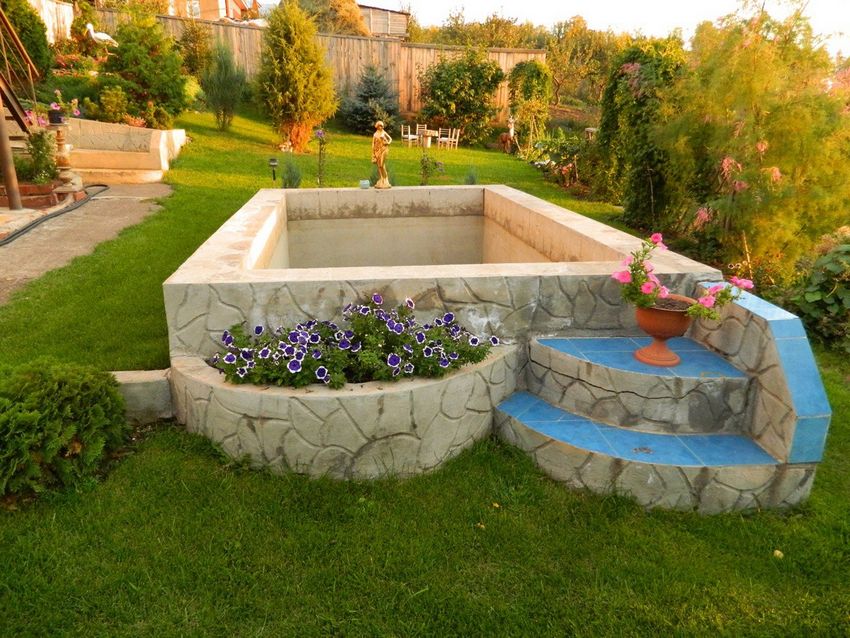
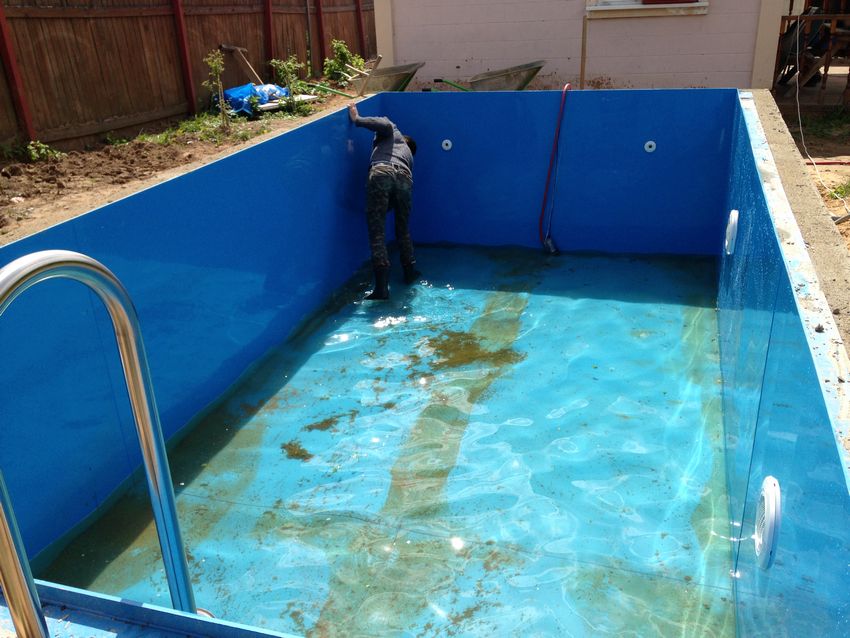
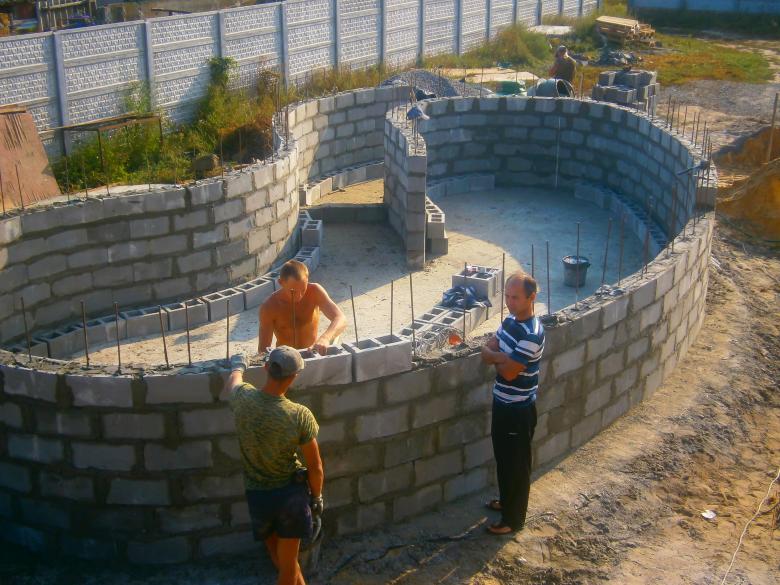
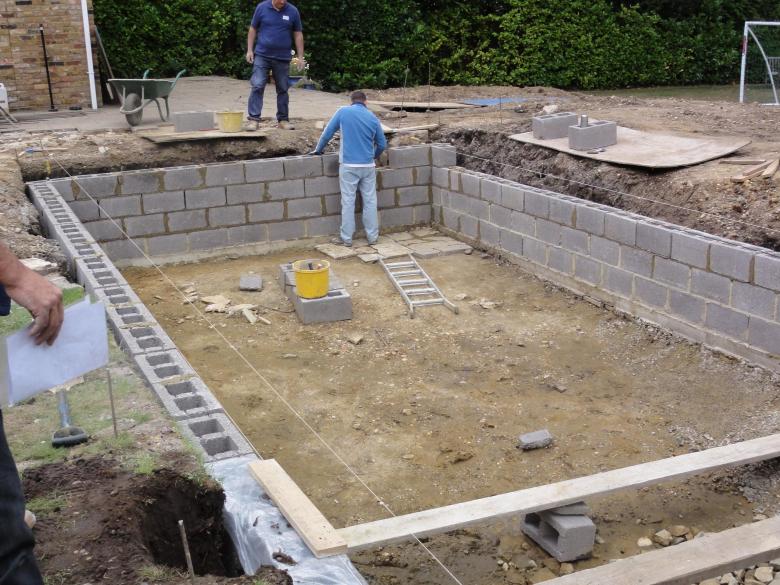
Block and brick pool
One of the most expensive of the possible pools, which you can make with your own hands. Gas silicate blocks and bricks are very expensive, so you need to carefully calculate the economic component.

Beginning construction is required in the spring, when the soil warms up, as this type of pools are made in several stages. Between stages you need to maintain a pause, which can be up to several weeks.To build a block pool, you need to have at least some knowledge of masonry brickwork.
Advantages:
- The pool structure turns out to be very strong and will last for many years.
- Large selection of shapes and sizes.
- Possibility even at the construction stage to provide for the presence of minor elements.
Disadvantages:
- Long time costs.
- Expensive construction procedure.
- If the construction technology is violated, damage occurs, due to which the pool will have to be rebuilt.
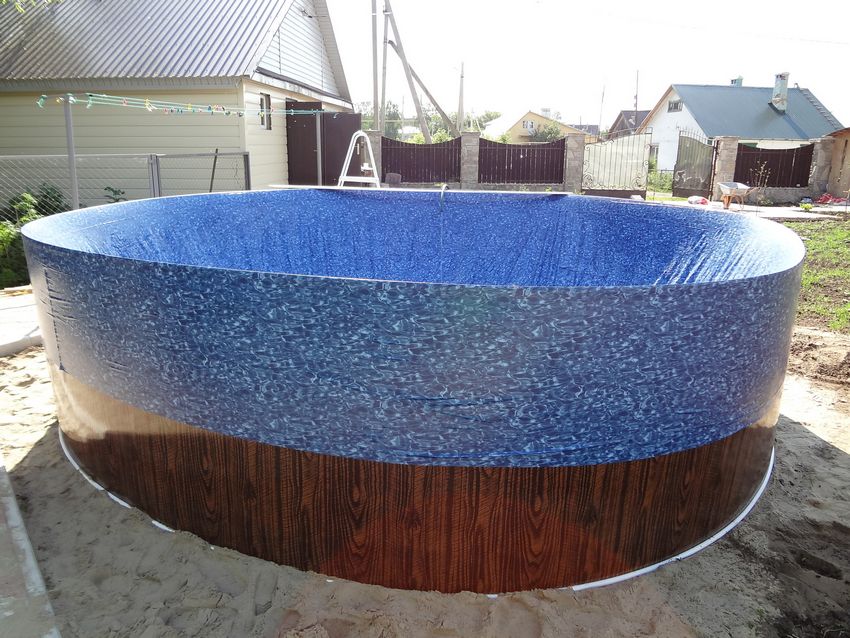
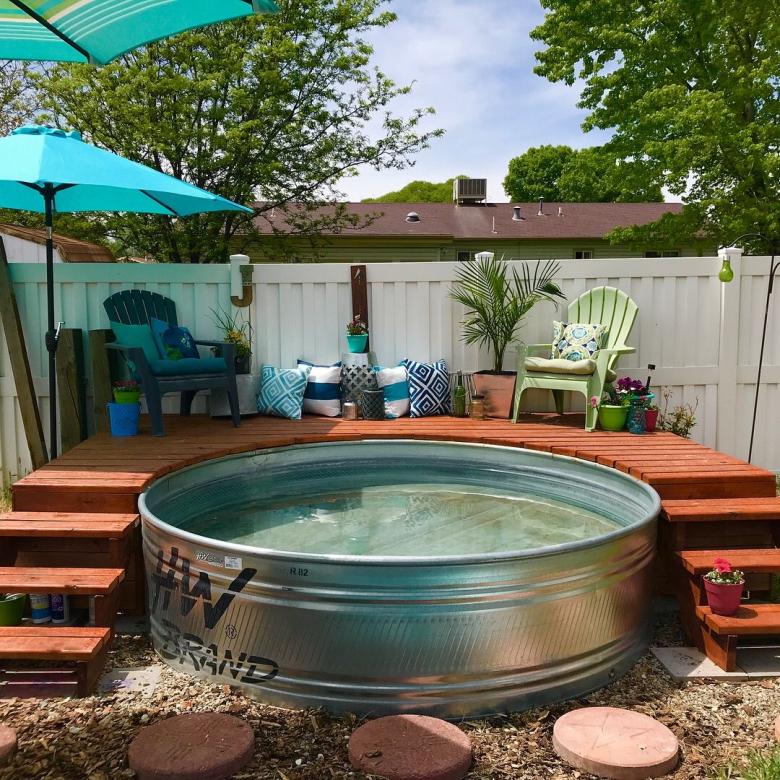
Swimming pool made of metal sheets
The construction of the pool is a time-consuming process, as the metal sheets are very difficult to work with. Therefore, this pool is not very popular.
Advantages:
- The pool is built in a short time.
- The design of the pool has a low weight.

Disadvantages:
- If you do not galvanize the metal cutting areas, corrosion will appear.
- Requires the creation of an outer frame to strengthen the walls.
- The joints of the pool structure are weak.

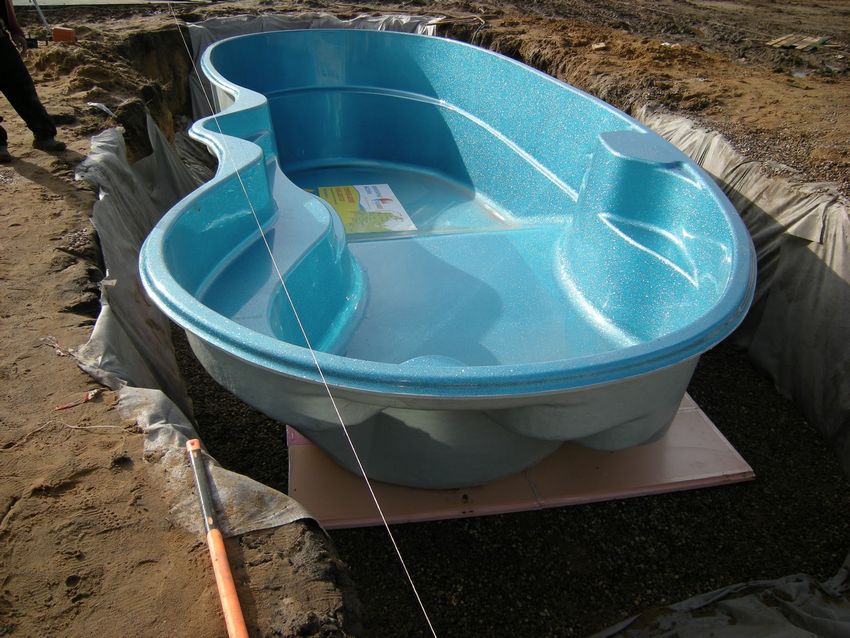
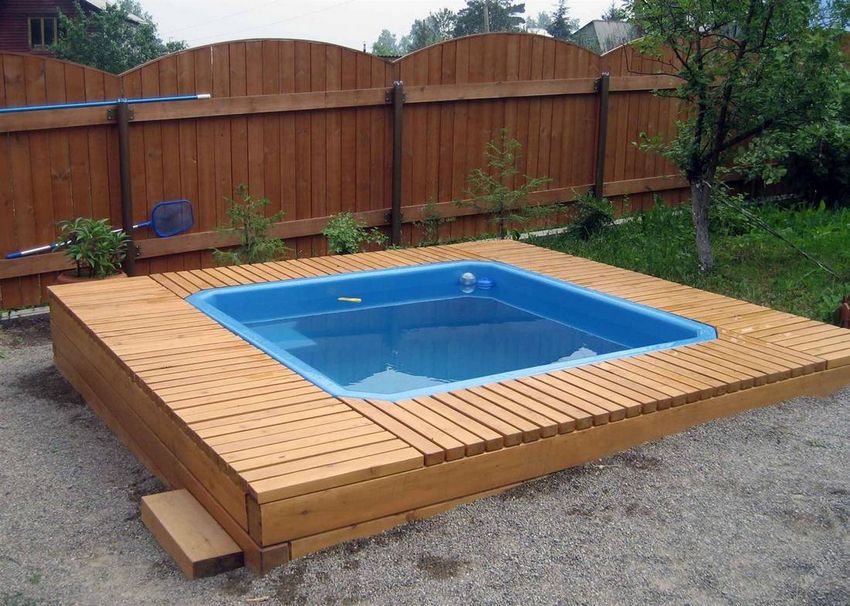
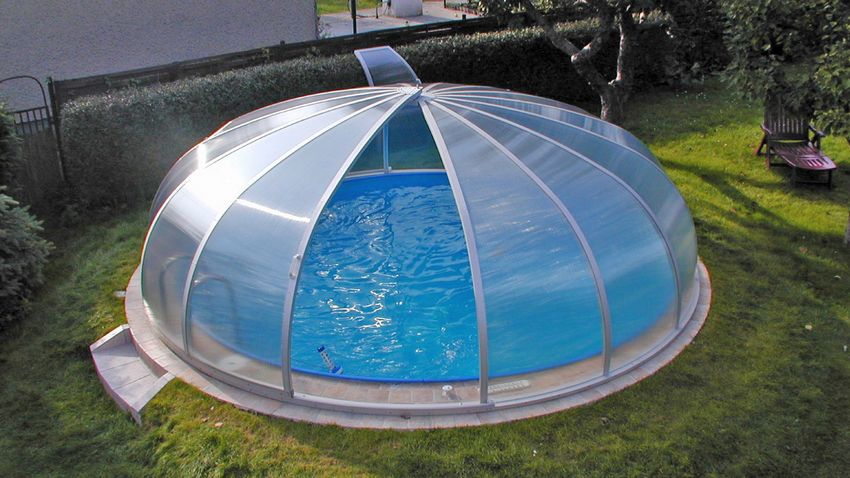
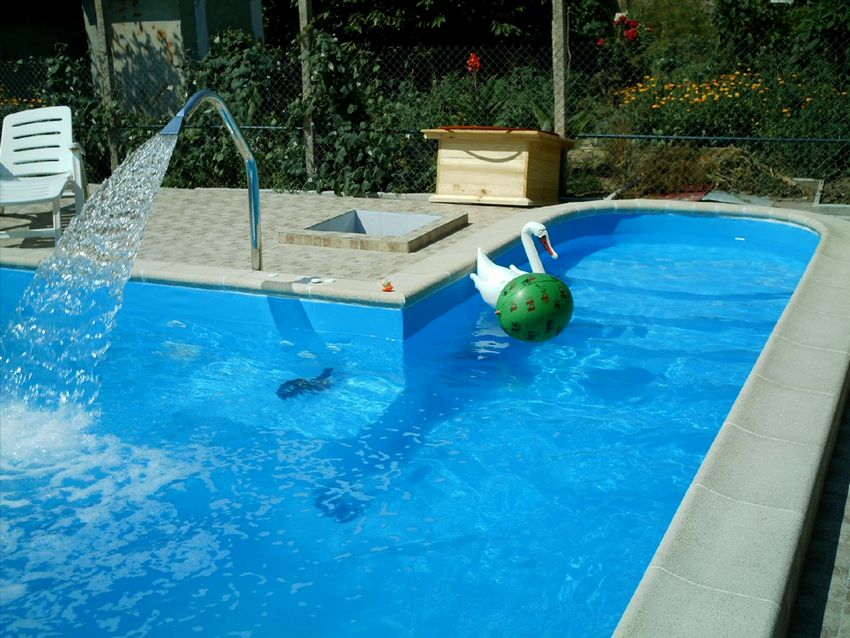
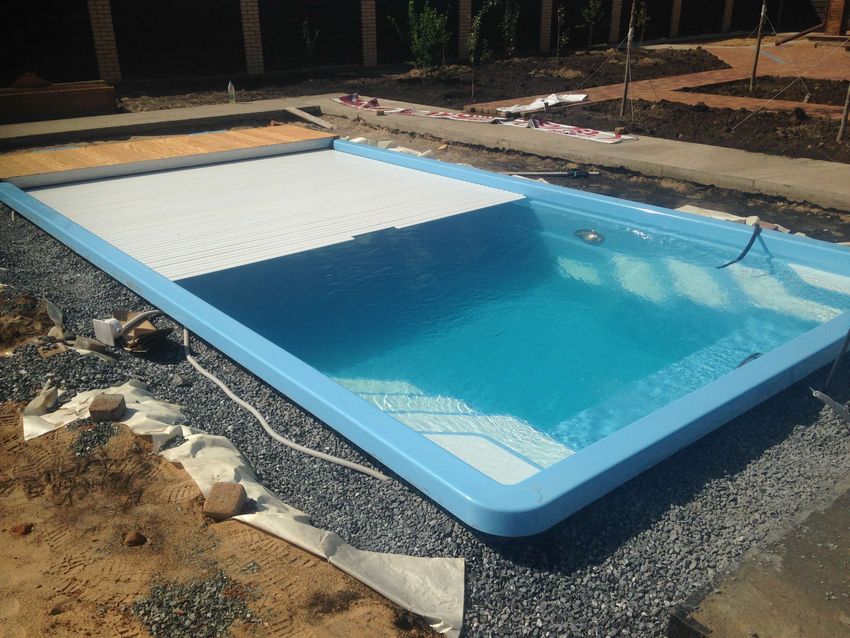
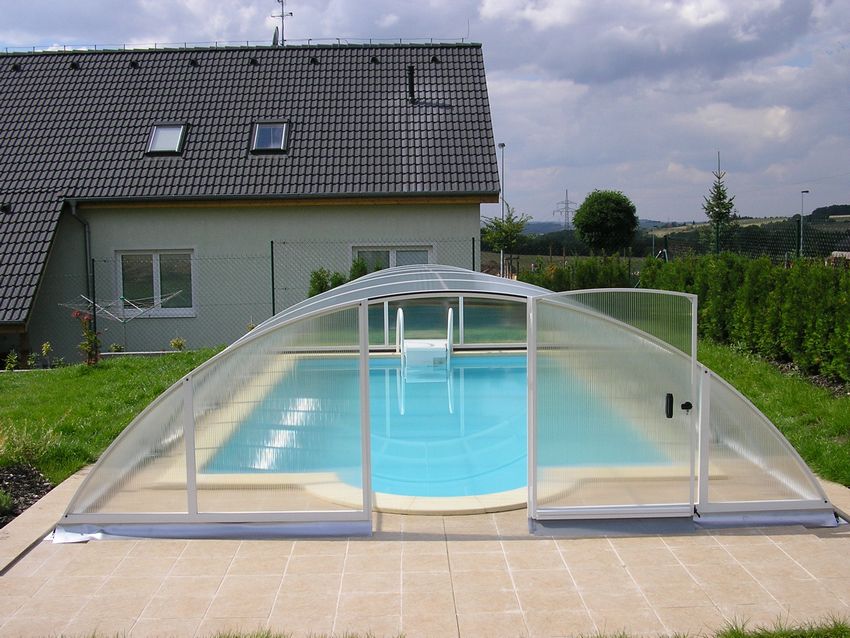
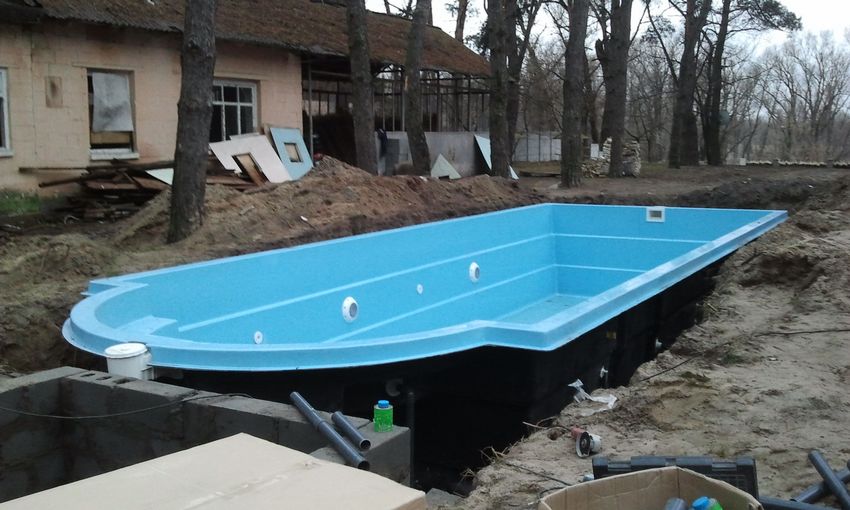
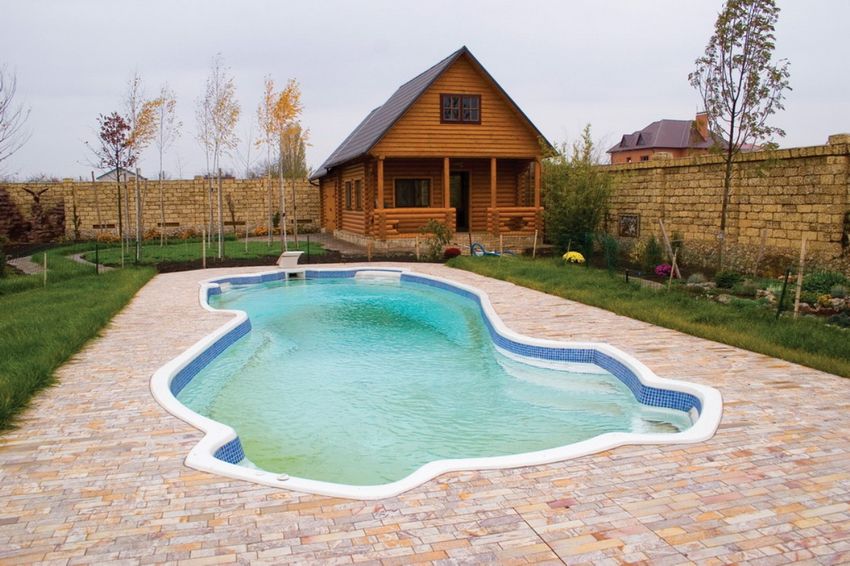
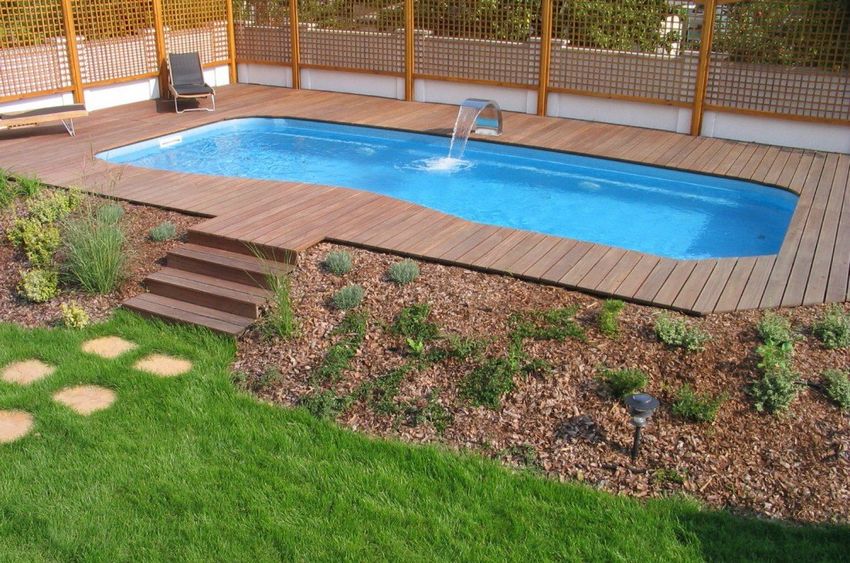
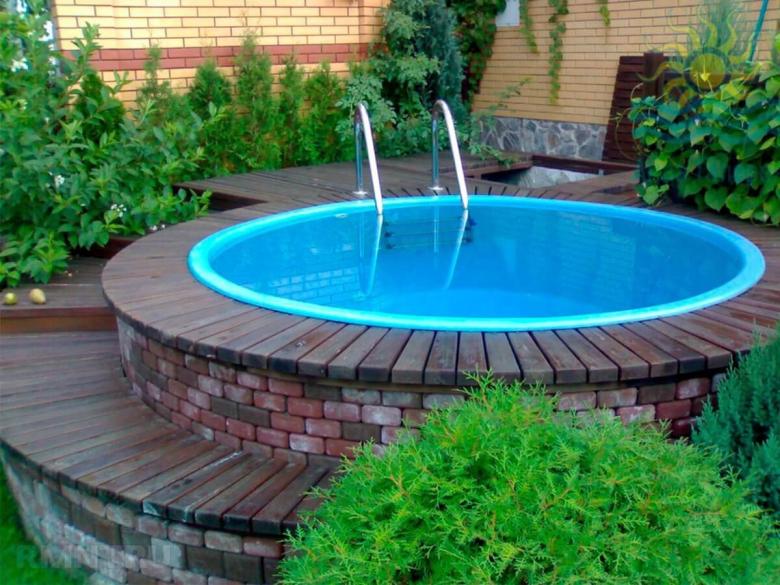
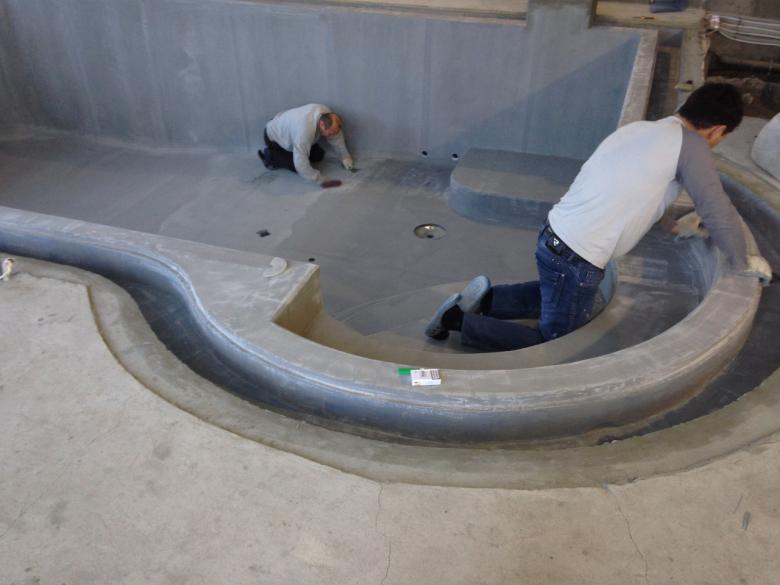
Prefabricated polymer tanks
Prefabricated polymer construction is a finished pool that only needs to be installed. This is ideal for those who do not want to spend a lot of time and effort to create a pool. Both simple installation into the ground and making a formwork or pouring a concrete base are possible.

Advantages:
- Resistant to temperature extremes and prolonged exposure to sunlight.
- Long service life.
- Pool requires little maintenance.
Disadvantages:
- Costs of bringing the pool to the site.
- Limited choice of shapes and sizes.
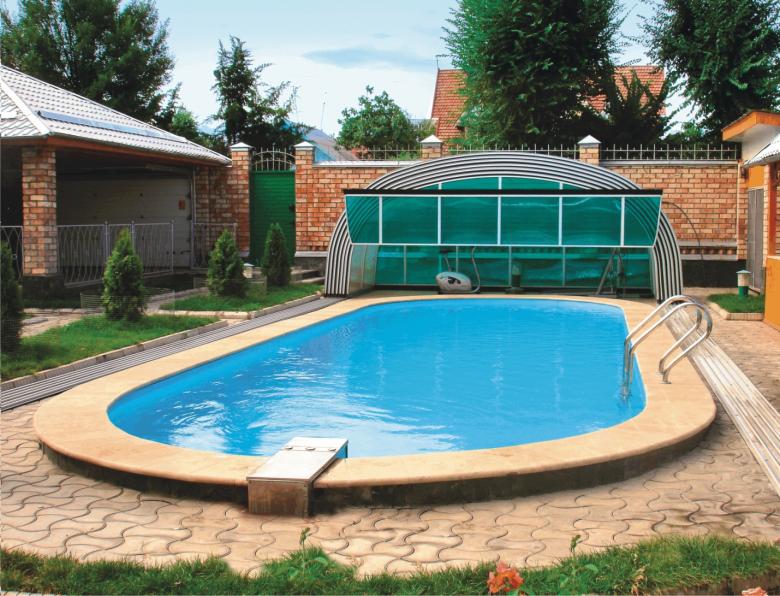
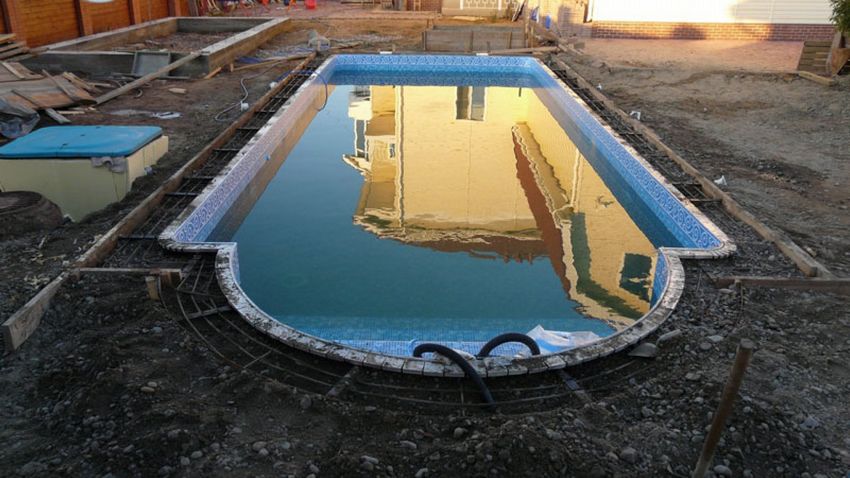
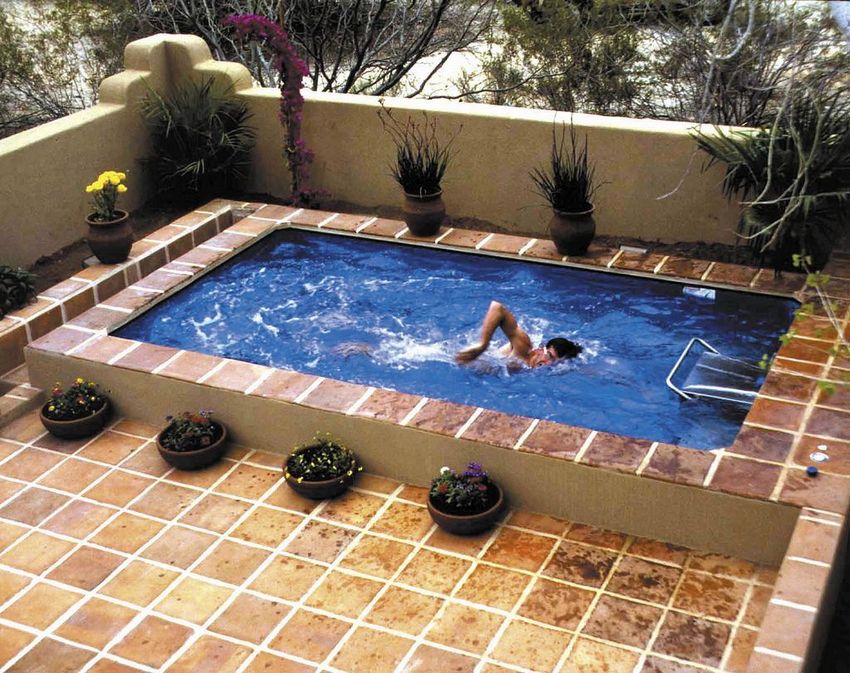
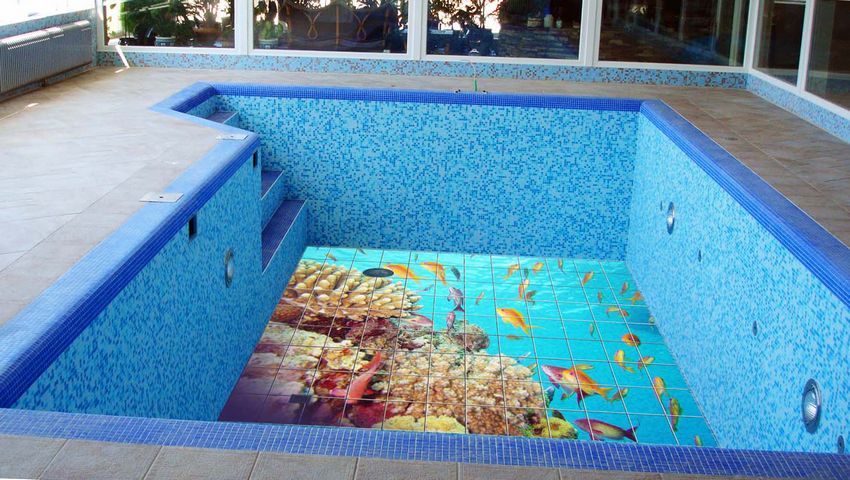
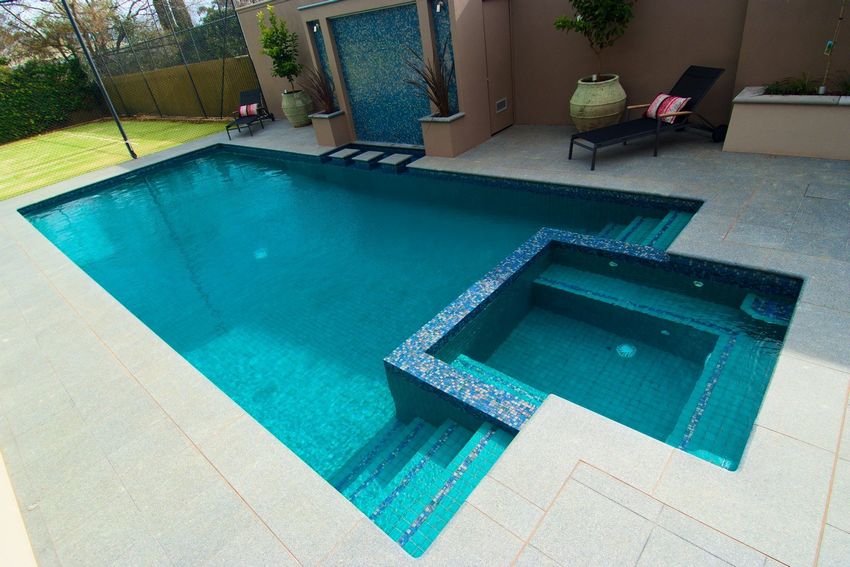
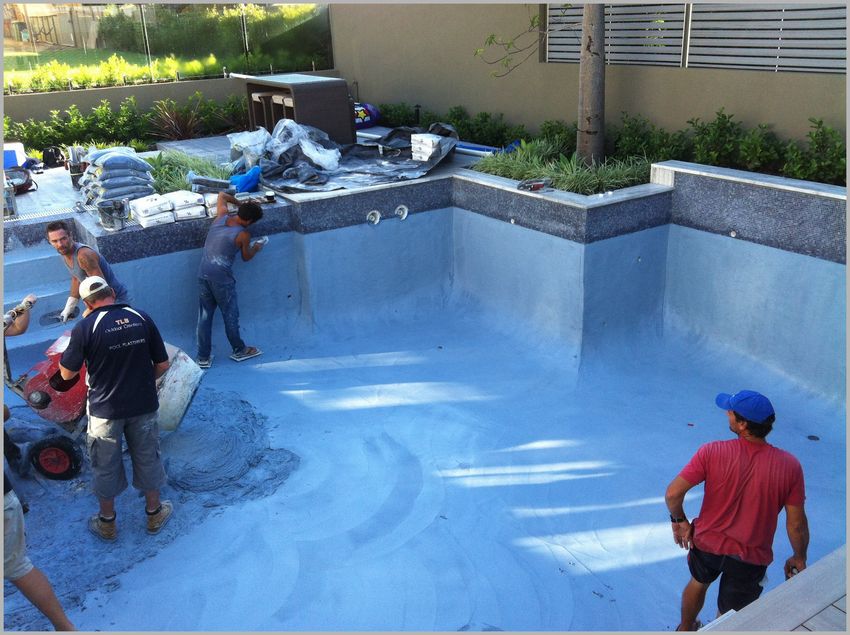
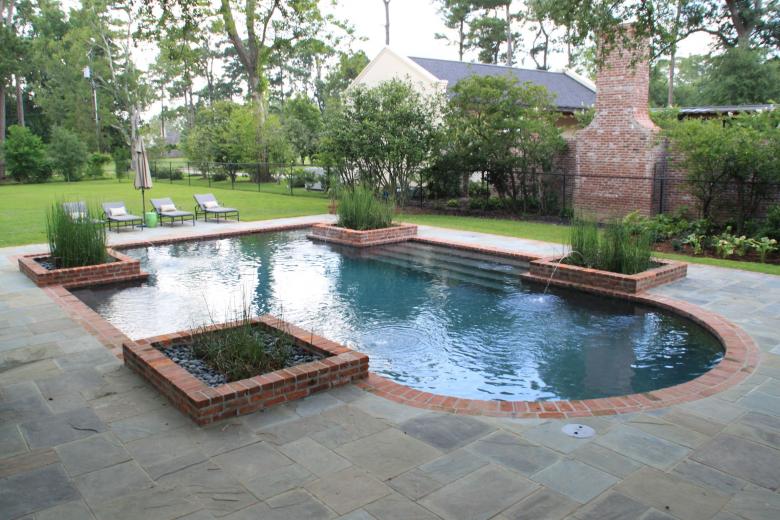
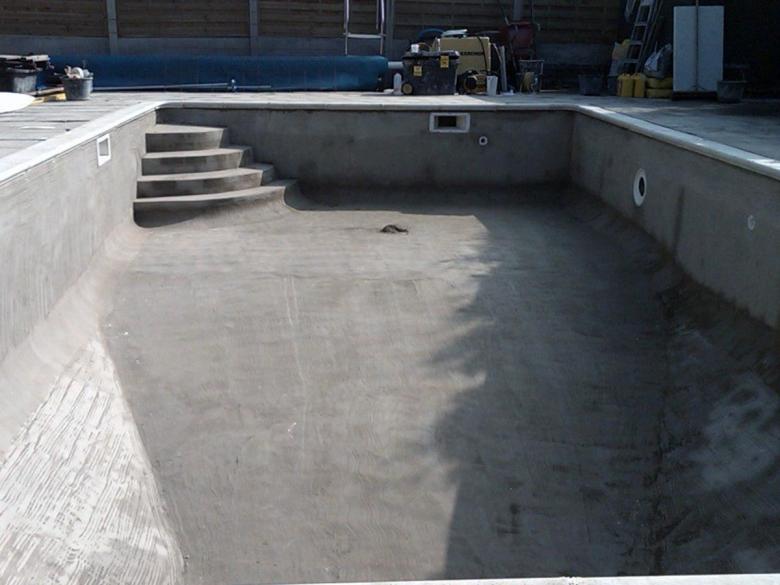
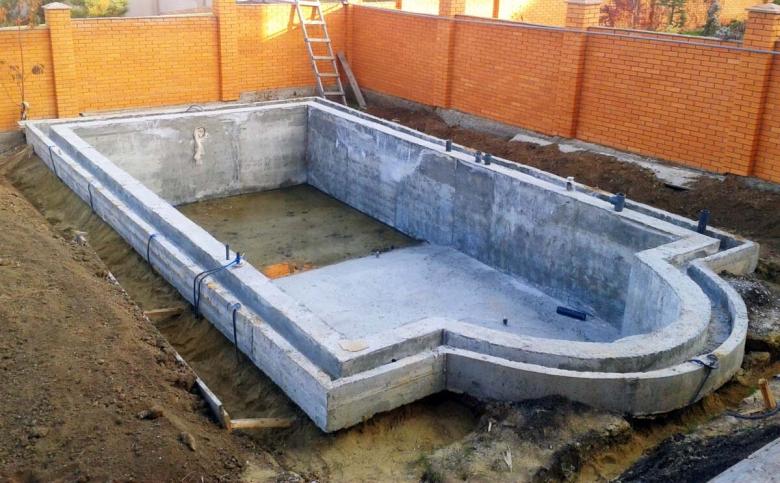
Concrete pool
Concrete pool is the most expensive type, as the process of making it takes a long time and a lot of money. If you try hard, the pool will turn out "for the ages".
Advantages:
- Long service life.
- It is possible to provide for a pool cleaning system at the construction stage.
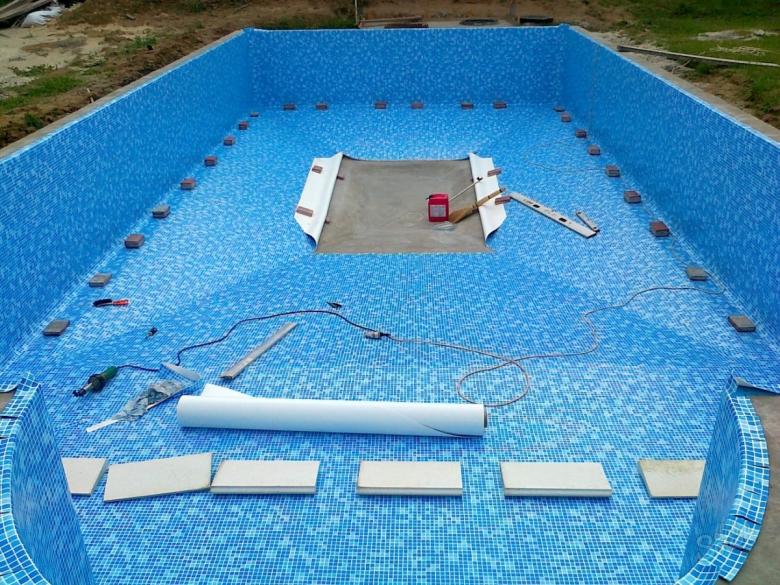
- The surface can be tiled or mosaicked.

Disadvantages:
- Large monetary costs.
- Construction is carried out with the involvement of special equipment.
- Long construction period.

Pool construction
Consider the procedure of construction on the example of the pool deepened into the ground.
Excavation
For marking the pit we need an ordinary rope, a tape measure and wooden pegs. You need to leave at least half a meter of reserve on each side of the pool.

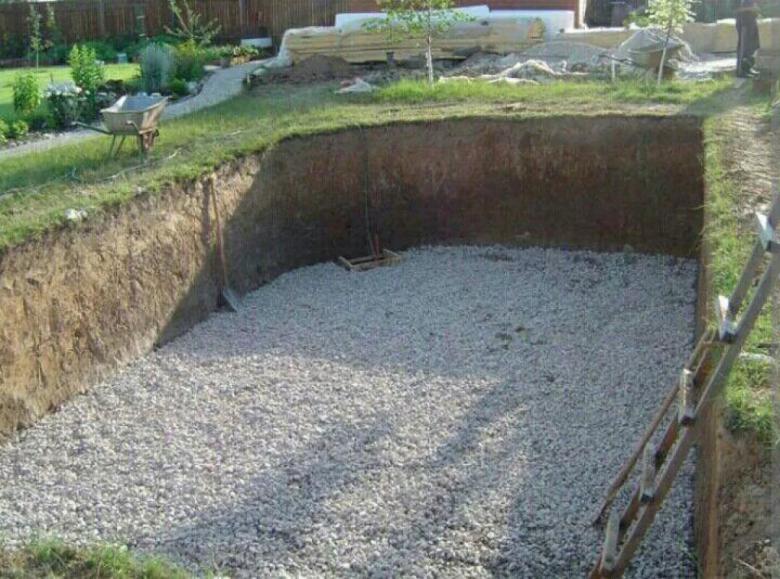
Backfill
When digging the excavation you must remember that its depth should be 30-40 centimeters more, since under the bottom will be sand-gravel backfill. After digging is complete on the bottom of the pool poured a layer of sand with a thickness of 20-30 centimeters. A 10 centimeter layer of gravel is poured on top of it. All this is thoroughly tamped.
After making the backfill it is necessary to provide a bottom drain or a recess for the pump.
Waterproofing and insulation of the bowl
Waterproofing is made of bitumen guide rolls. They cover the entire bottom of the pool. This is done to ensure that groundwater has as little effect on the concrete. You can also use a special waterproofing foundation as waterproofing.
After laying waterproofing, the walls and bottom of the concrete should be insulated with foam glass. This is done so that the pool heated faster and cooled more slowly. A layer of 5 centimeters will be enough.
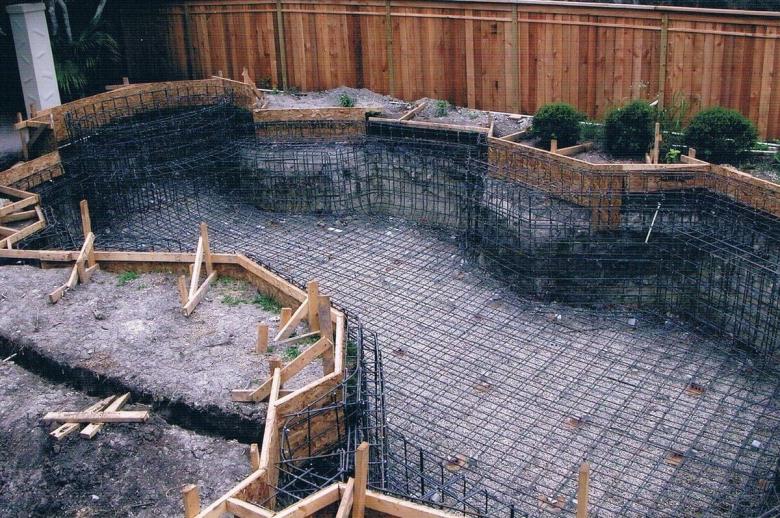
Pouring a concrete screed
Before pouring the concrete screed, it is necessary to construct beacons and mount a grid of rebar. This is done to ensure that the screed turns out even and uniform.Reinforced belt should be built not only at the bottom, but also at the walls.

Concrete screed should preferably be poured immediately on the entire pool to make it even. The minimum thickness of the resulting screed must be at least 20 centimeters.
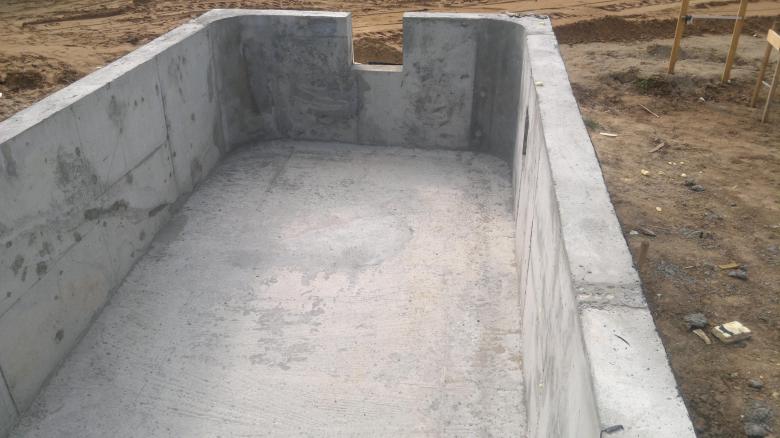
Construction of concrete walls
The thickness of the formwork walls should be at least 70 percent of the width of the screed.
Reinforced wall on the sides is required for even pouring of the formwork. The rod pitch should be 30-35 centimeters.
Next, with the help of 30 millimeter board is constructed formwork, which should repeat the contours of your pool. The more even you make the formwork, the less you have to spend on plaster to level the walls of the pool.
Pour the concrete slowly in layers of 15 centimeters. Use a vibrator to remove all the bubbles in it.
Liquid Waterproofing
After the pool walls are completely cured, they are finally levelled with plaster.
The final step in the construction is to treat the outside of the pool with liquid waterproofing. Rubber paint or Ceresite is ideal for this. Every 2-3 years the external waterproofing will have to be renewed.
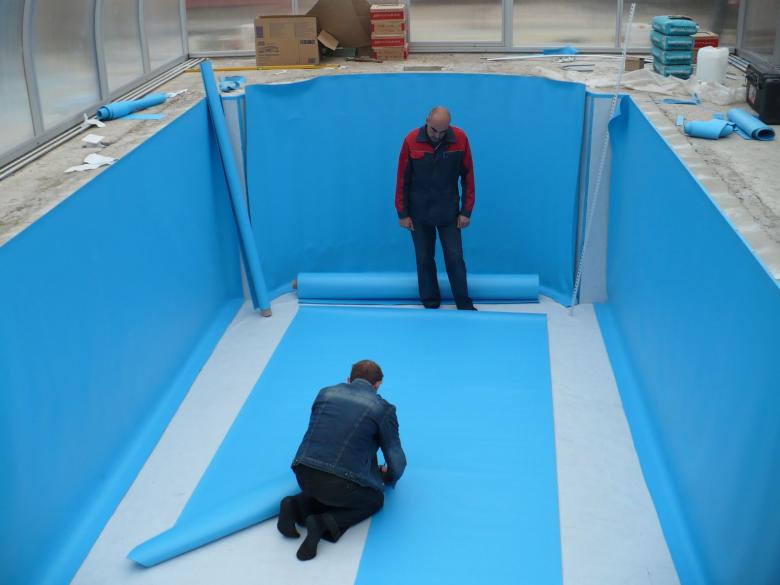
Another option of waterproofing is to install PVC sheeting in the basin bowl.
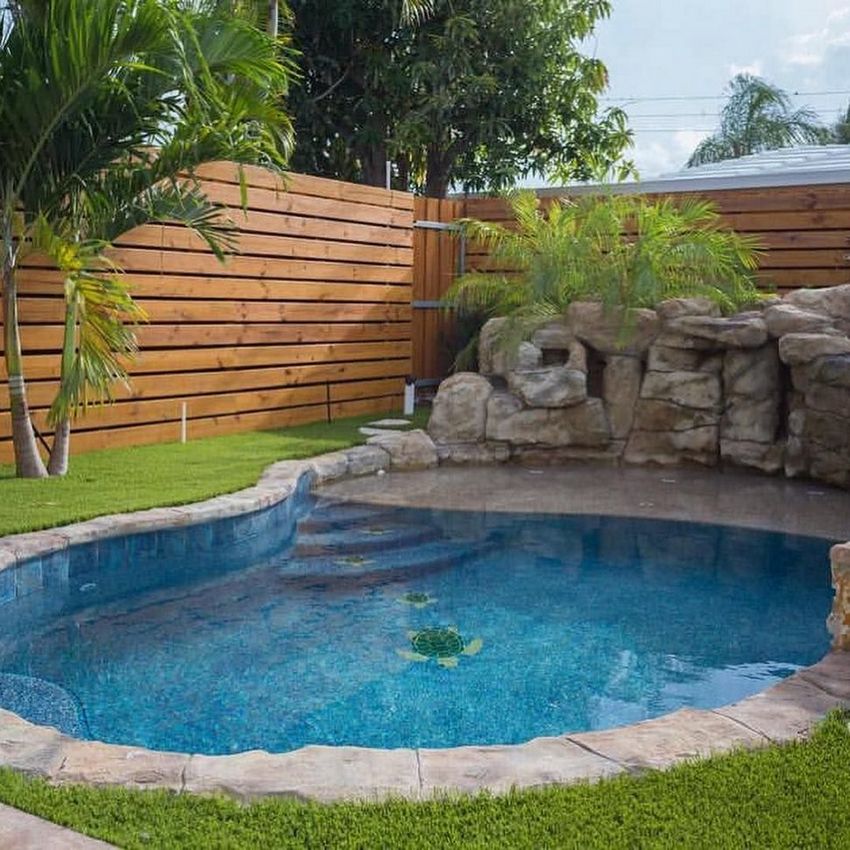
Make a pool with their own hands quite simple, there are many types of pools that do not require special construction skills. In addition, it will be much cheaper than hiring a construction crew.
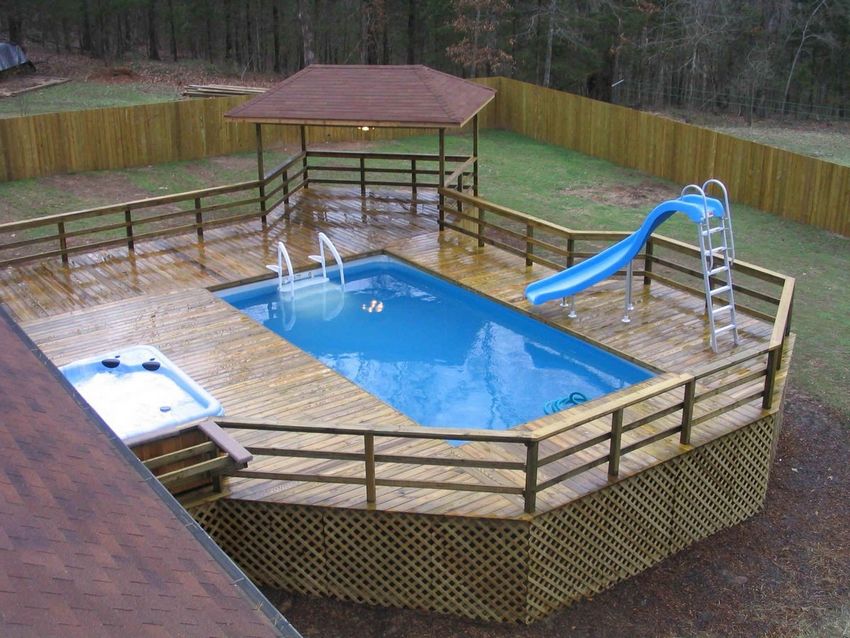
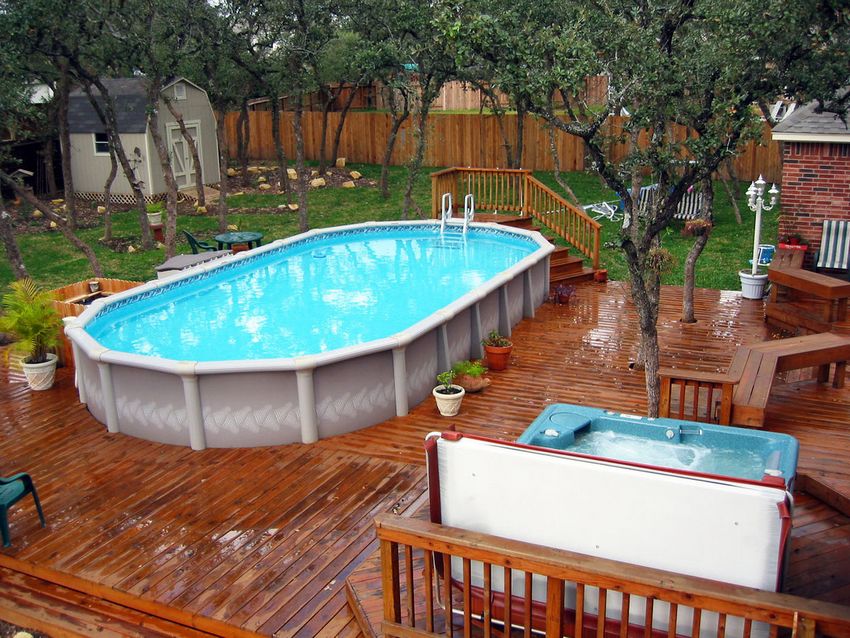
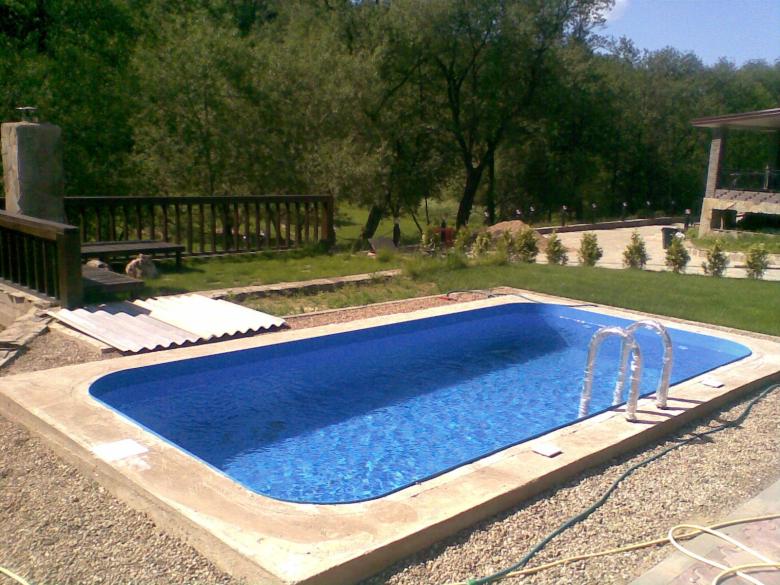
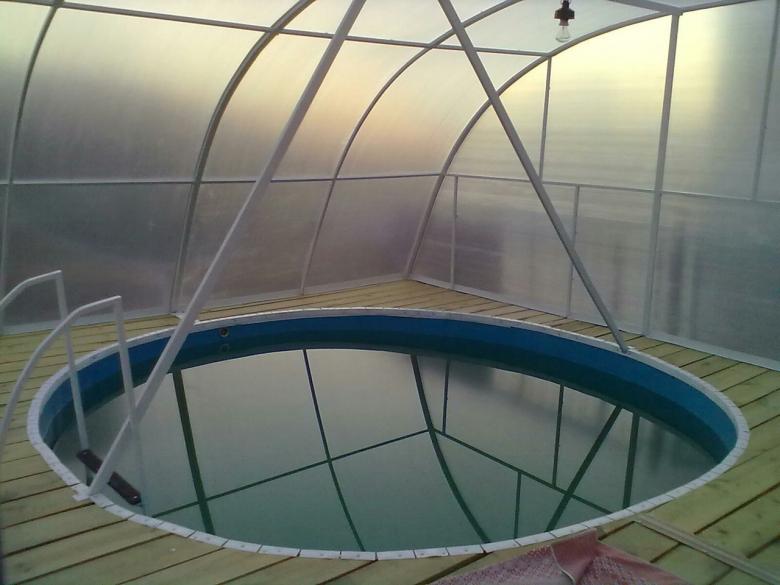
Photo examples of self-made pools