How to make a stencil with your own hands correctly: master classes and photo ideas for beautiful wall decor
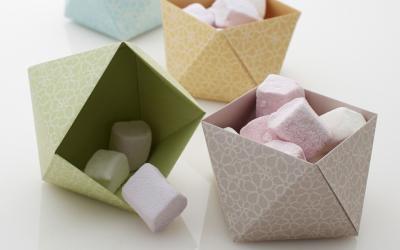
Using modern decorating techniques and combining them with classic traditions helps to create aesthetic decor. Stenciling and creation of volumetric installations is accessible even to those who have no artistic talent, but have a desire to create something bright and unusual.
The procedure how to make a stencil is not complicated and the creative process does not require special knowledge or professional skills. And to implement the idea you only need a little time, perseverance and the desire to create.

What are stencils for?
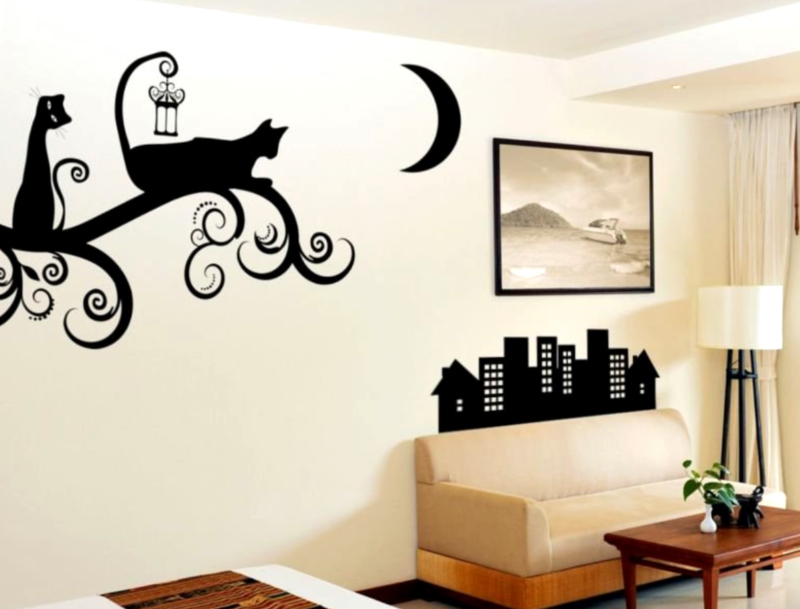
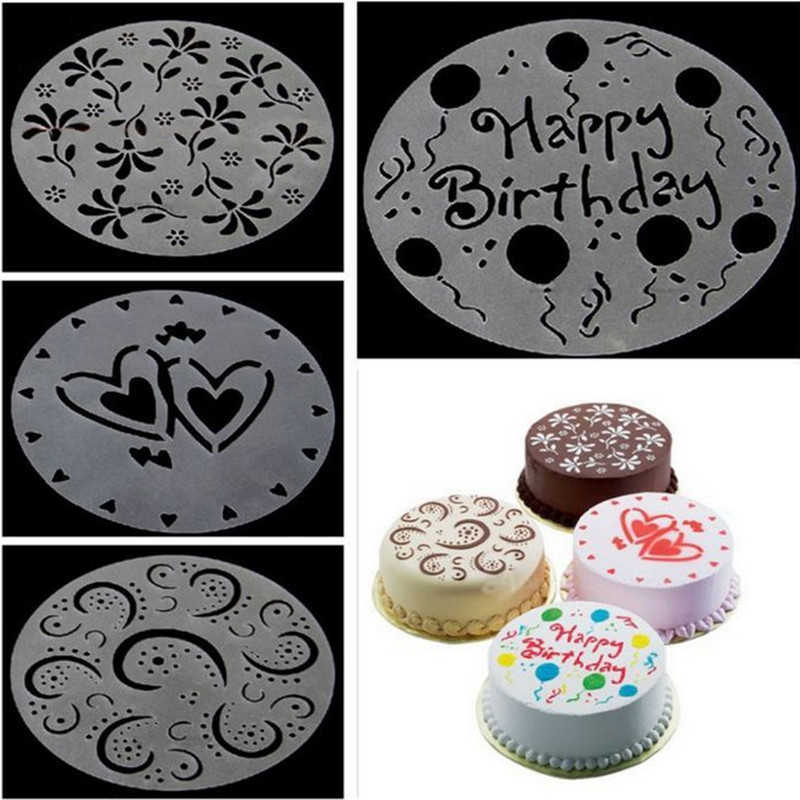
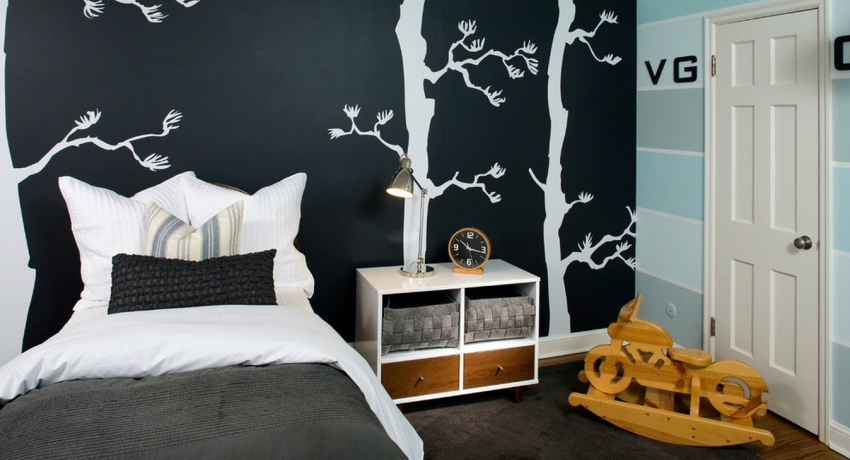
With one stencil you can decorate the walls and ceiling, any surfaces in the room, furniture and even create decorative crafts. Depending on the type of product, it can be used to create a three-dimensional decor, a repeating pattern or a completely exclusive picture.
Having mastered the basic technique how to make a reusable stencil you can avoid additional costs at the stage of finishing any room after the repair.

Types of stencils and the difference from stamps
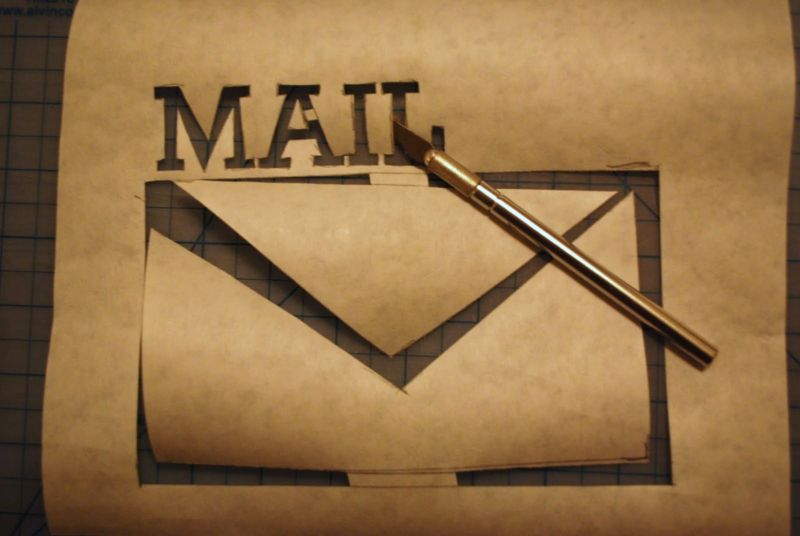
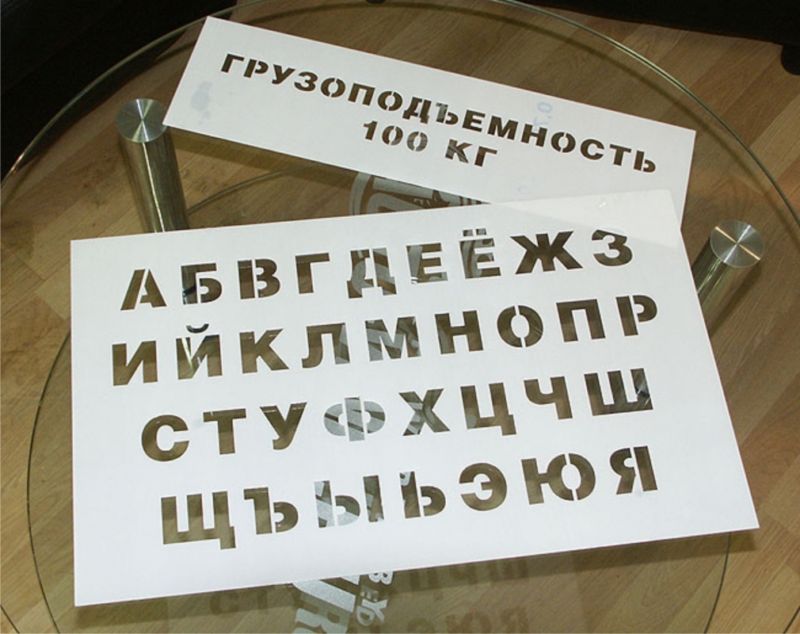
To create an original decor, you can use different stencils and make several types of templates beforehand. The sequence of actions describing how to make a stencil for letters with their own hands remains standard, and by types they are divided into categories:
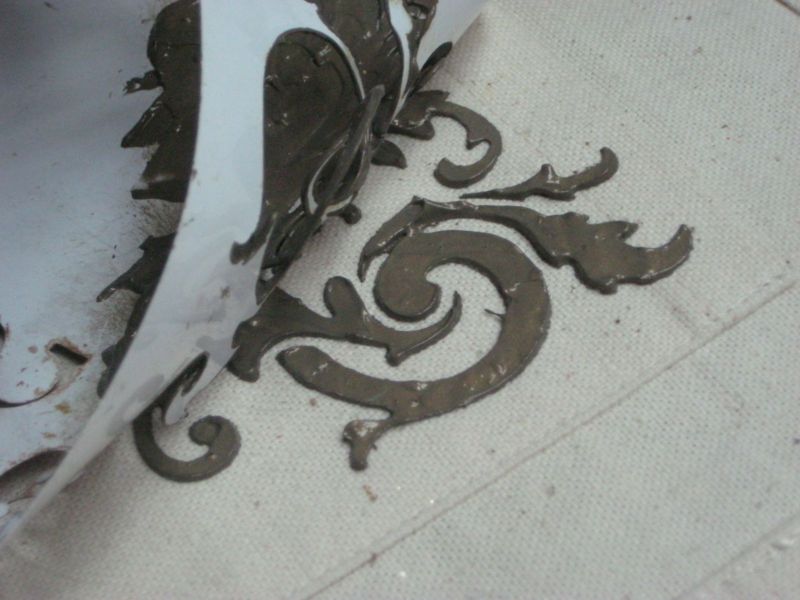
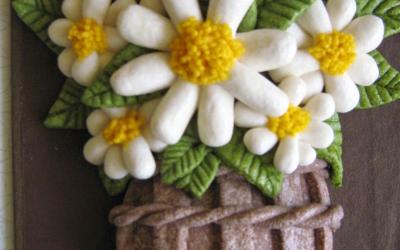
- Volumetric, created from applied plaster, cement or other materials;
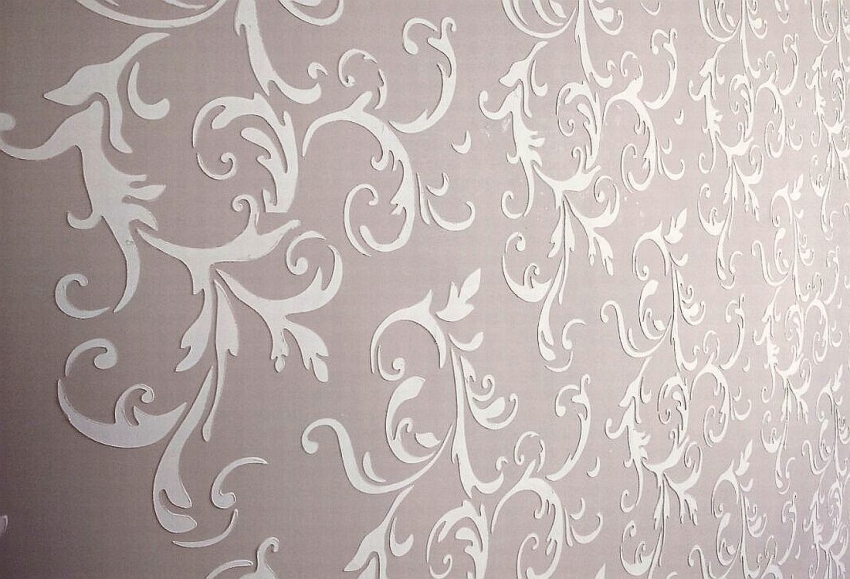
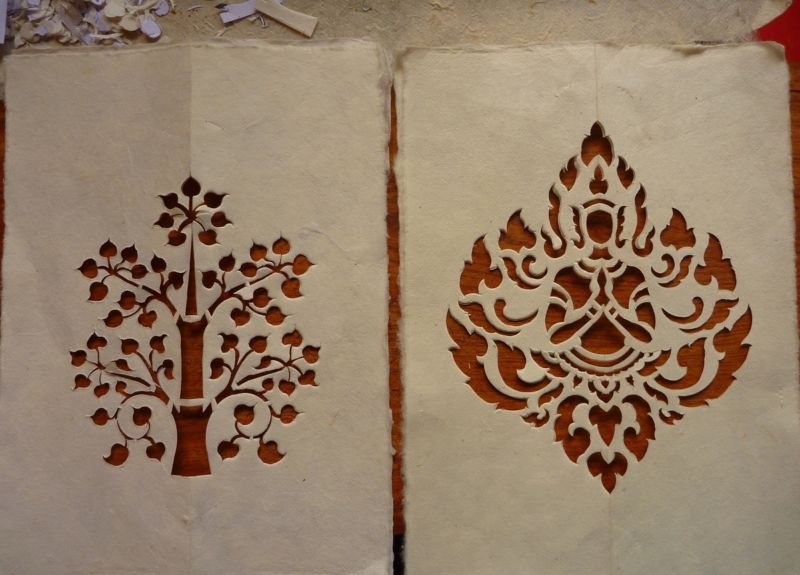
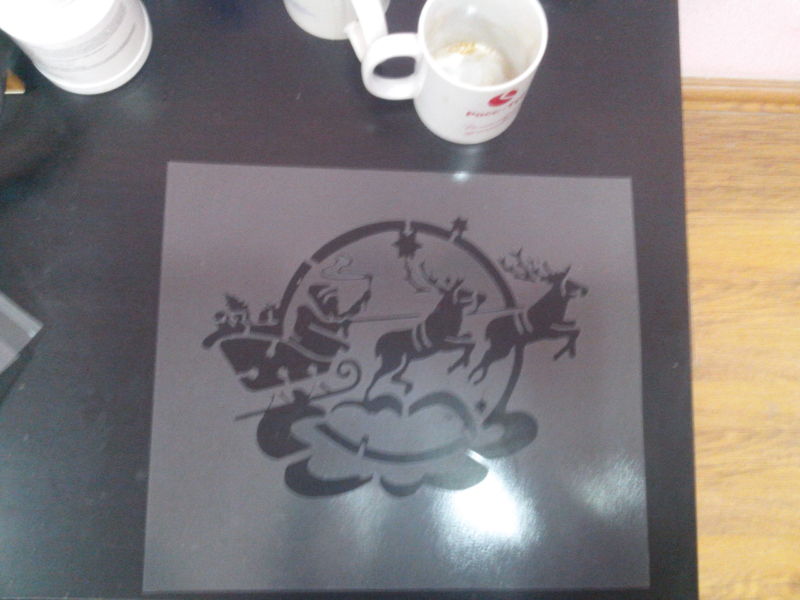
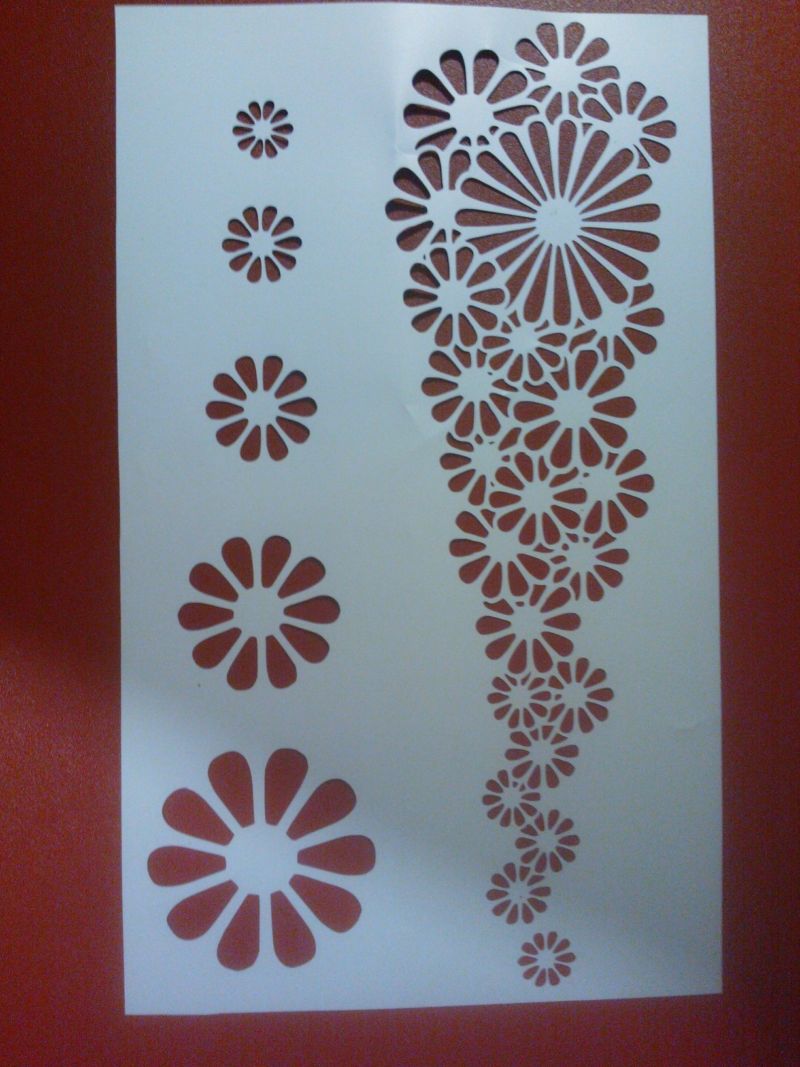
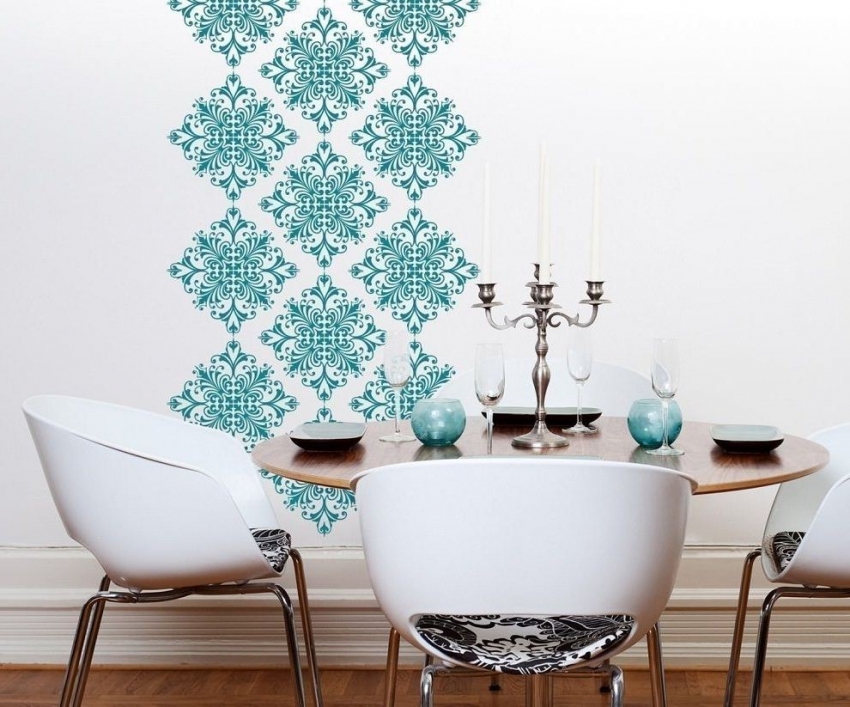
- graphic stencils, with repeating ornaments made in different styles;
- multi-levels, designed to create a complex pattern with different elements;
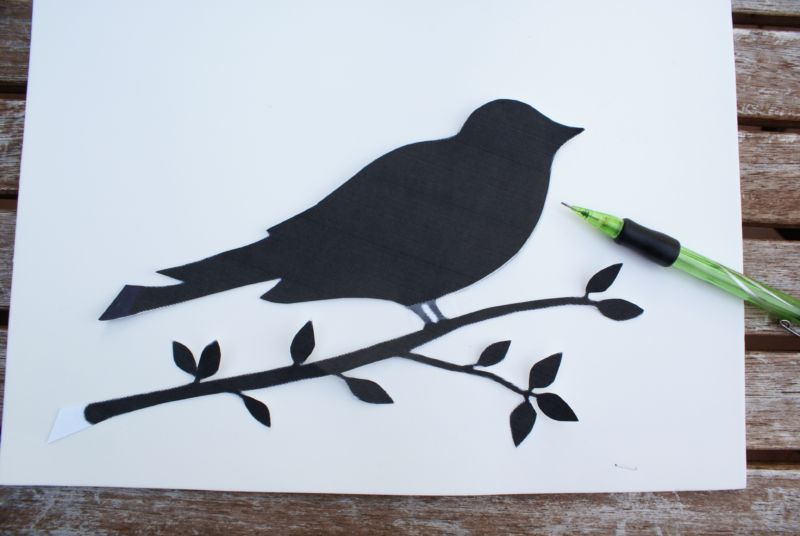
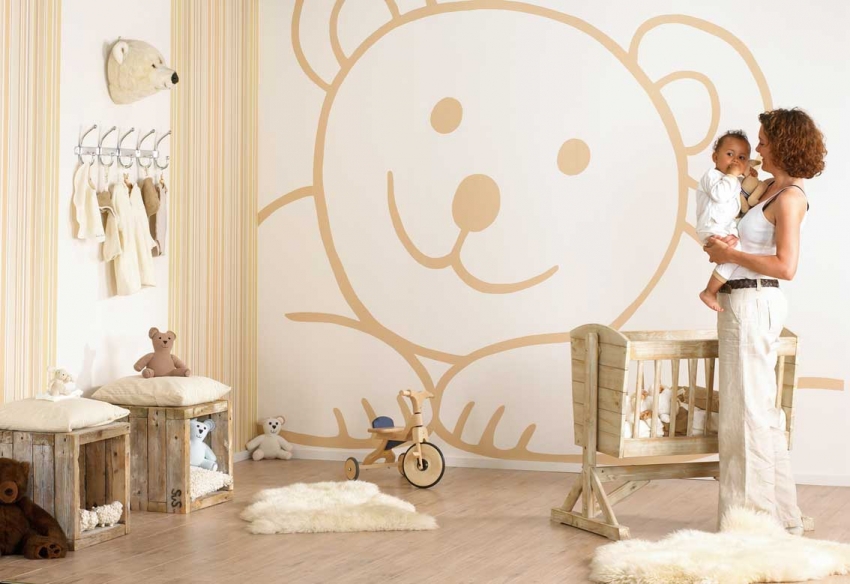
- Contour, helping to recreate only an outline or a clear silhouette without overpainting.

Stencils can be used only once or repeatedly, so they can be divided into types according to the number of uses. And another classification divides templates into categories based on the material used in the manufacturing process, which can differ in ease or complexity of processing.
What materials to create a stencil from
Regardless of what idea for a stencil is chosen, you can always use a standard template to make it. At the same time, it is necessary to observe safety techniques, to work as carefully and attentively as possible, not to be distracted and to use cues:
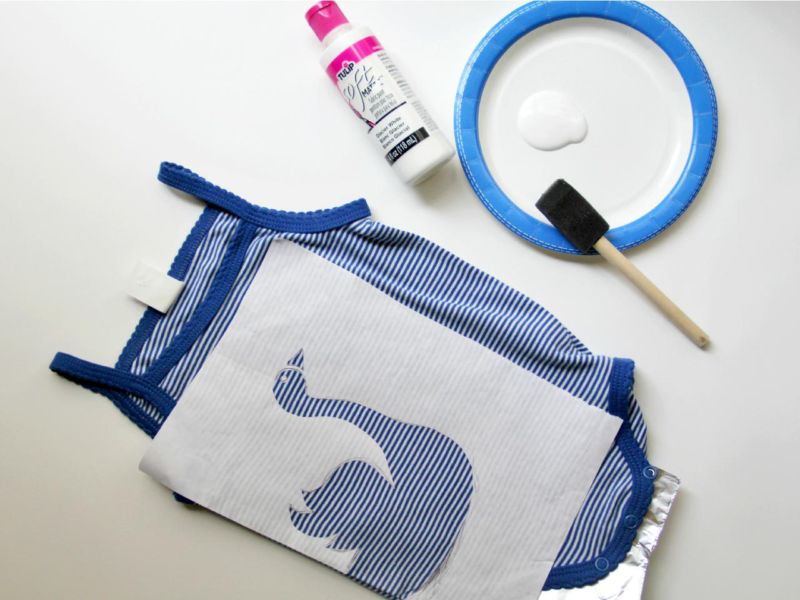
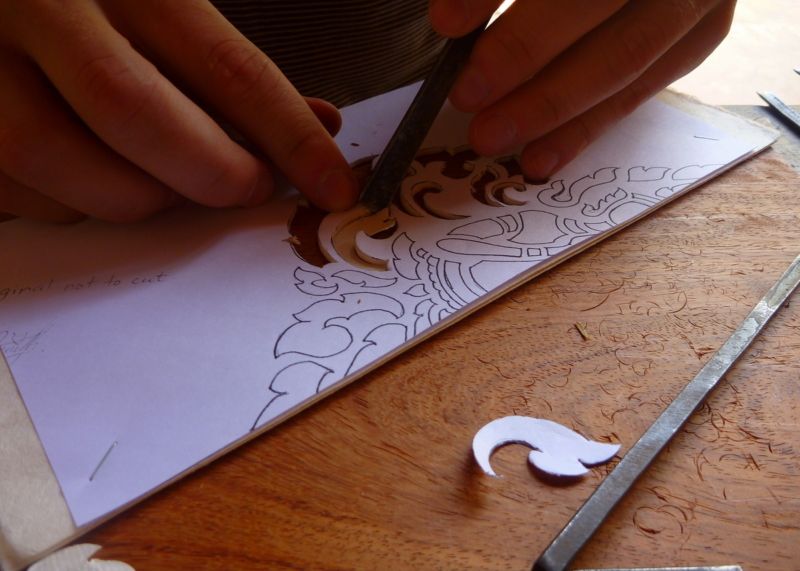
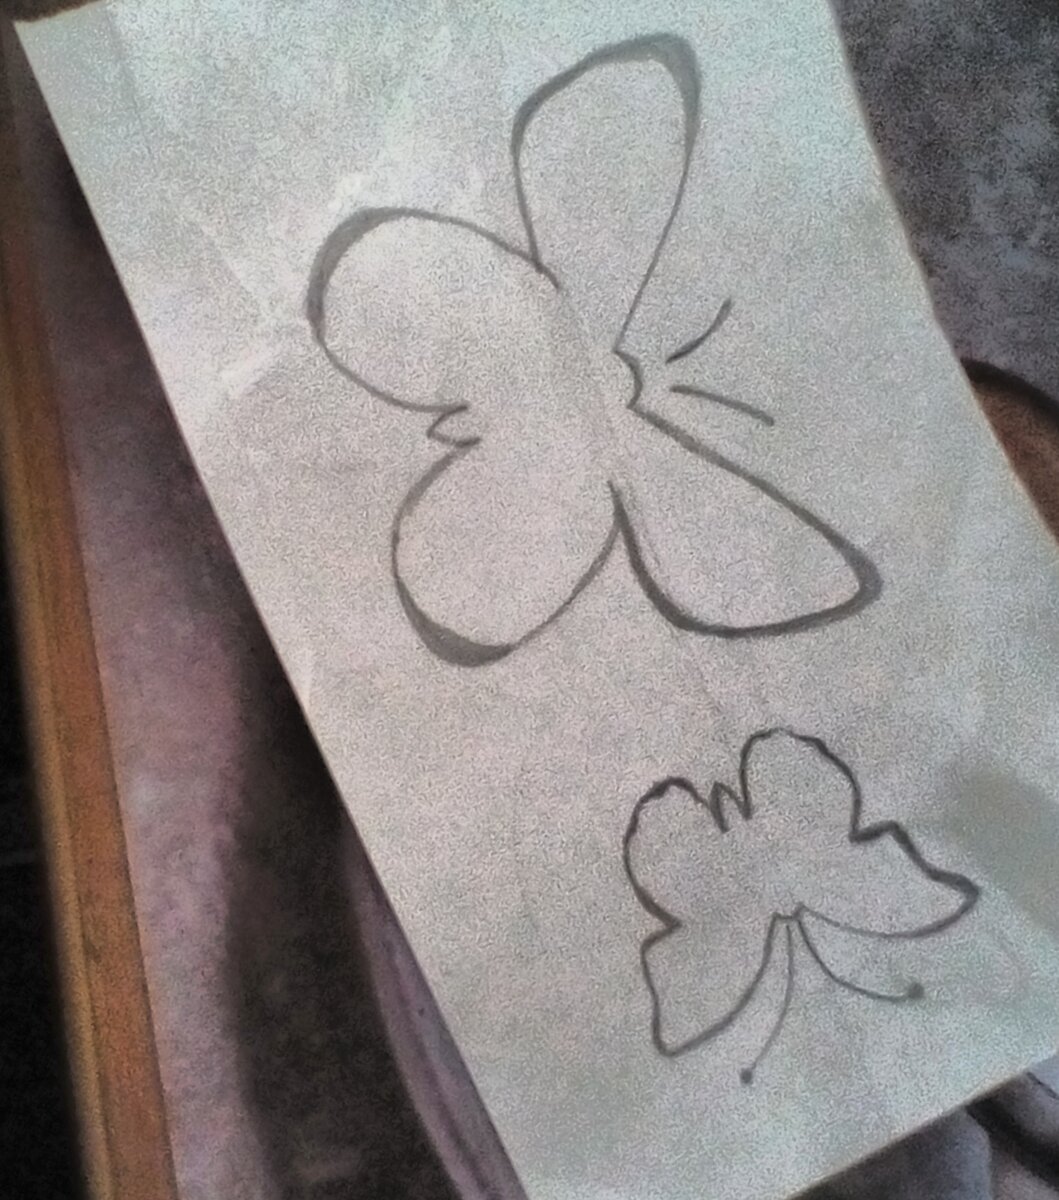
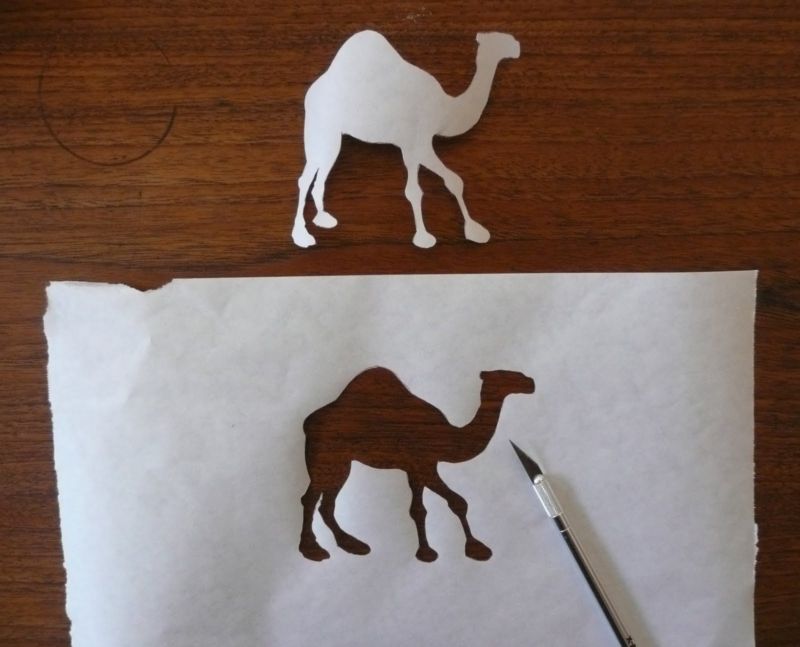
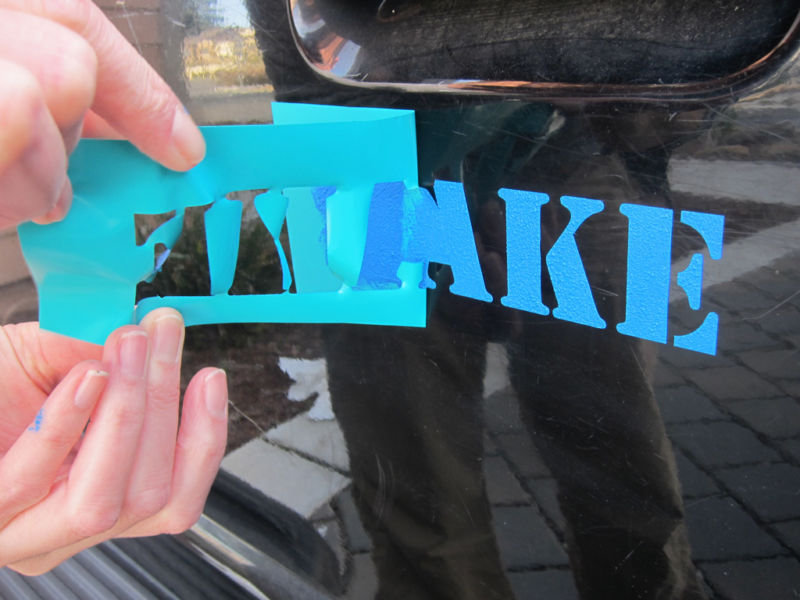
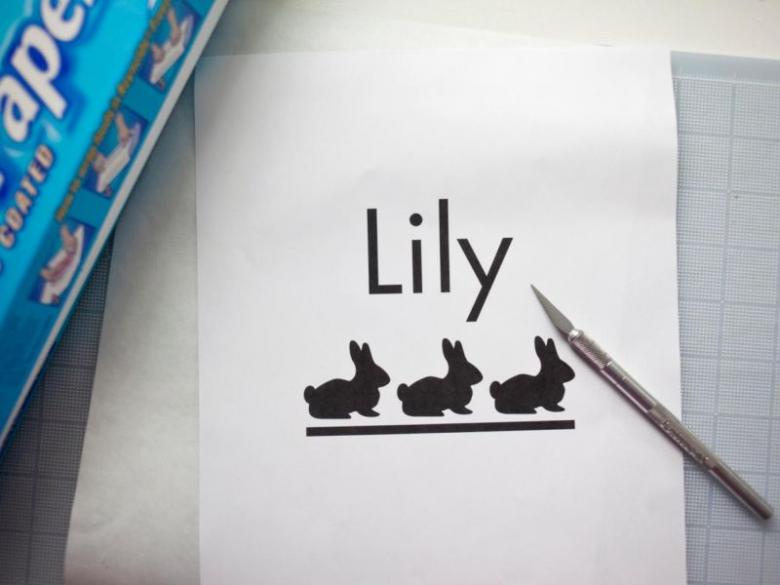
- The pattern, image or symbol to be used to decorate a particular surface is drawn on plain paper;
- all elements are accurately cut out and a paper prototype can be used for a test stencil application on a flat surface;
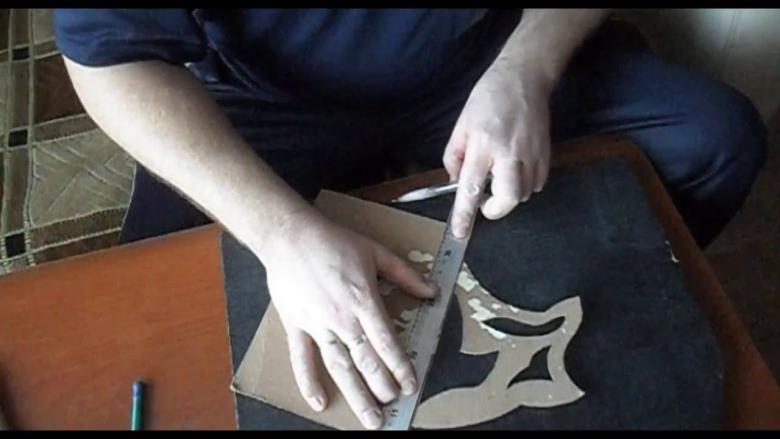
- on the chosen working surface it is necessary to fix as firmly as possible the chosen material, suitable for the creation of an uncomplicated stencil;
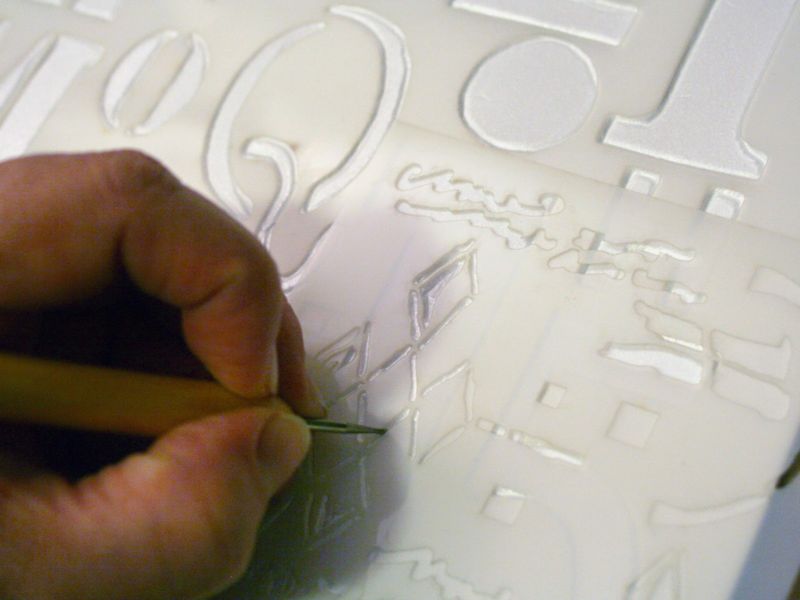
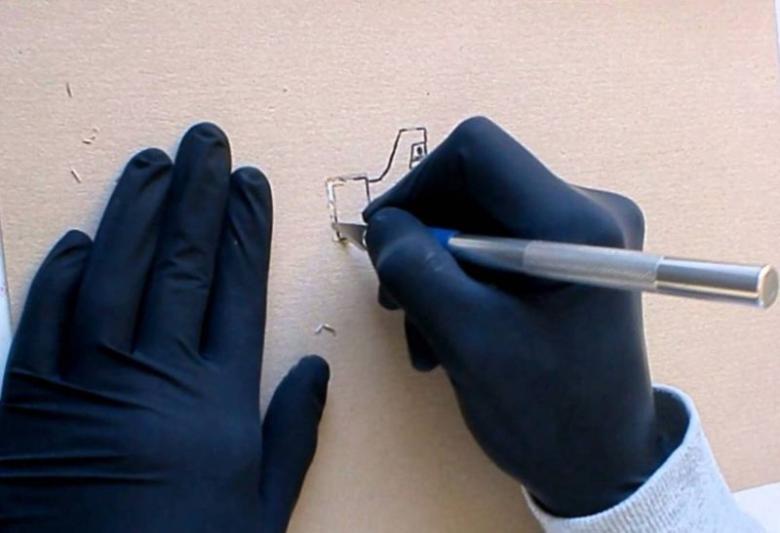
- the figure and its outlines are transferred to the substrate, all the elements are removed, if necessary the bridges between the parts are drawn;
- the areas prepared for cutting are shaded, such precaution will help avoid the need to re-cut a new template;
- the contours of the future image are cut along the clearly outlined lines, the inner elements are carefully taken out and the stencil can be checked.
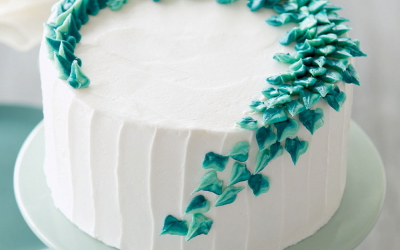
In a similar technique, you can create a multi-level stencil, suitable for creating multicolored paintings or compositions. It differs in that it consists of overlapping elements, and it is important to think through the sequence of filling patterns with colors so that the pattern looks bright and attractive.

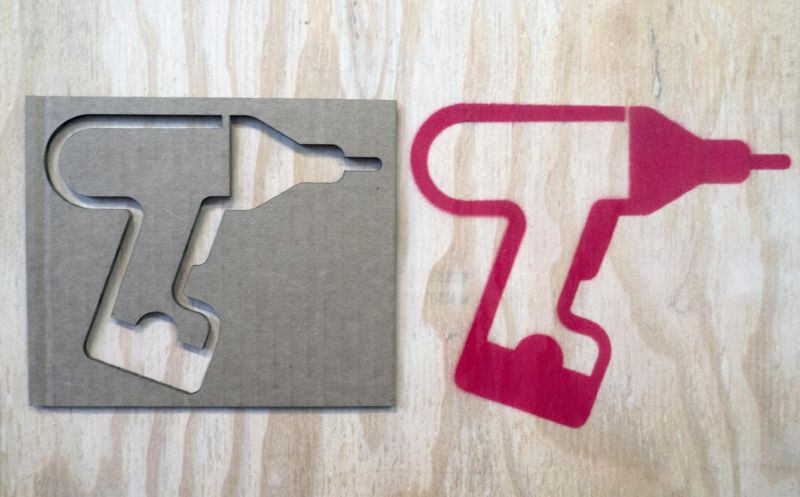
Paper and cardboard
Such materials are suitable for mastering the skills of how to make a stencil for numbers with your own hands. For this purpose, you can use thick office paper, corrugated or beer (denser) cardboard, they can be cut with scissors with thin blades or it can be replaced with a stationery knife.

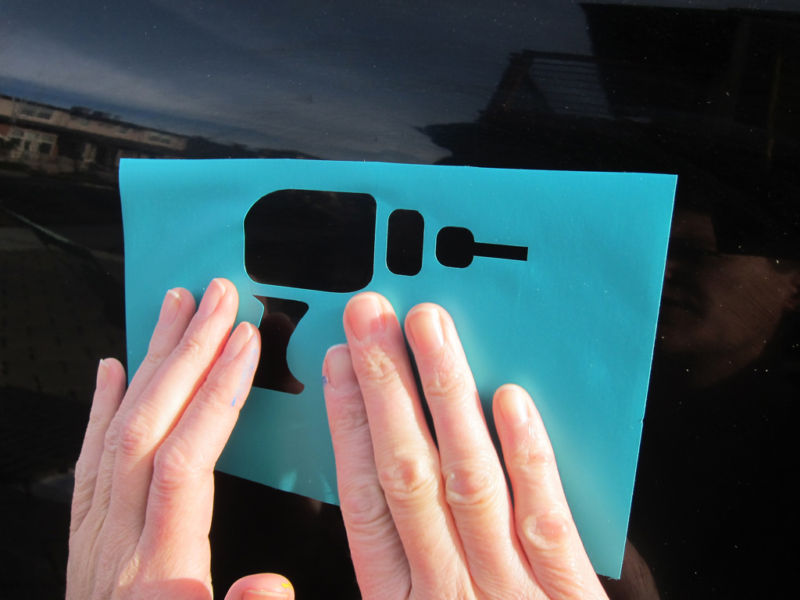
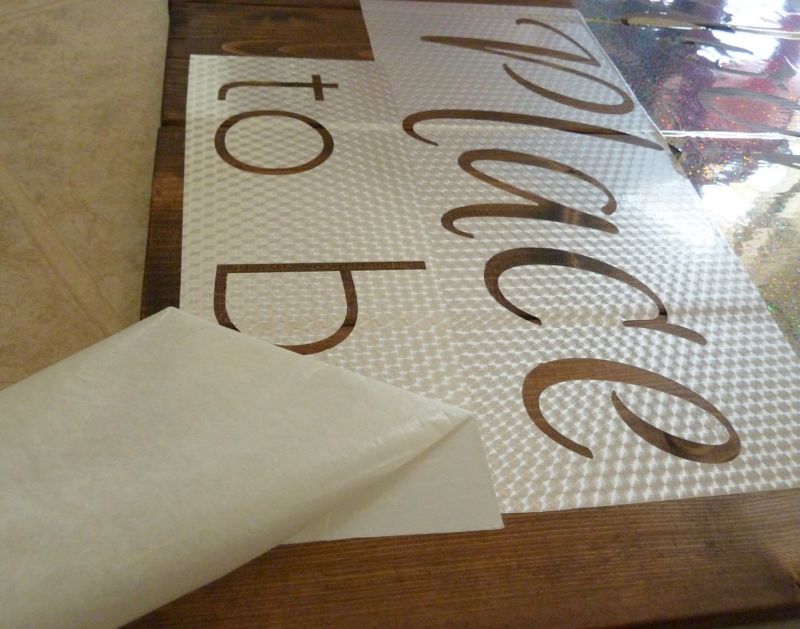
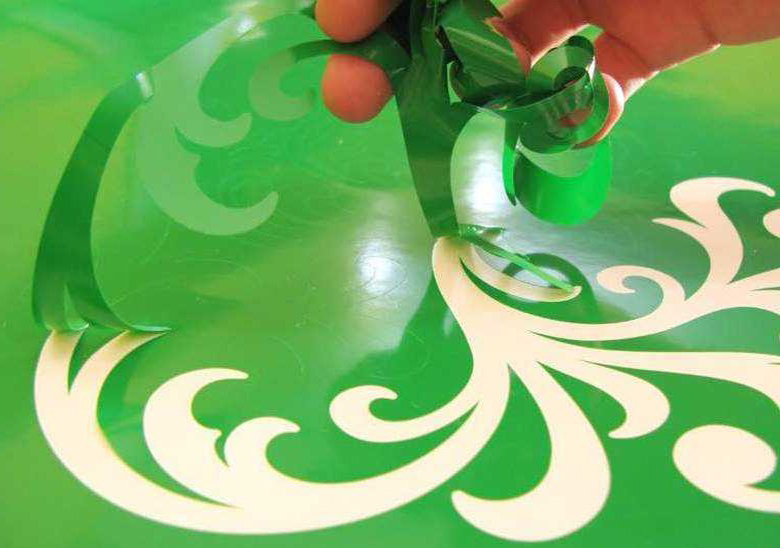
Flexible plastic
Colored stationery folders are made from just this kind of plastic, which cuts perfectly and stays dense. The polymer backing is suitable for long-term use, does not deteriorate in humid environments and withstands any type of painting, or application of wet plaster.
Dense Plywood
A variety of lumber can be used for reusable stencils, but processing them involves the use of special tools. The thicker the texture, the more effort is required, and to work will have to choose a jigsaw or saw, to master the skills of using such tools.
Non-standard materials
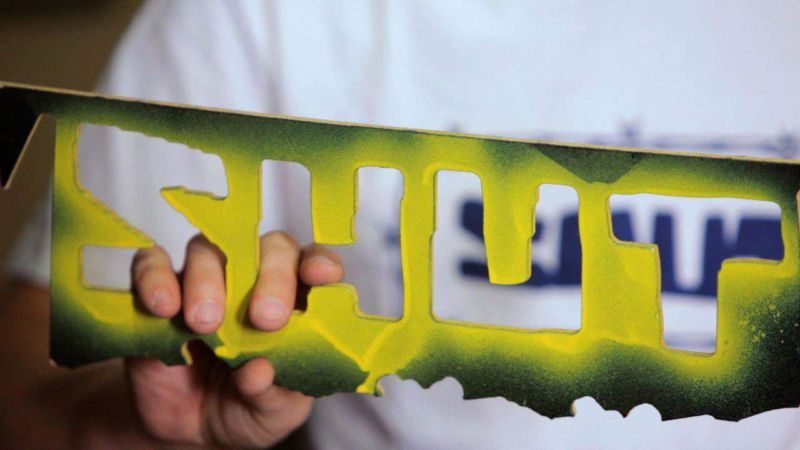
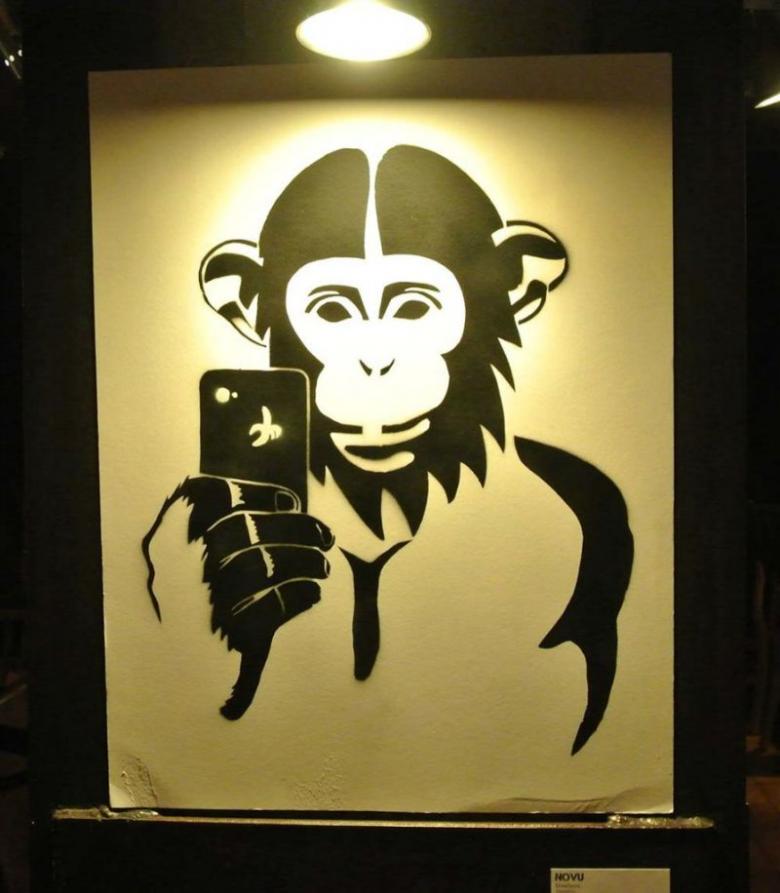
Asking the question how to make a stencil for graffiti always aims to minimize the expenses for the realization of the creative process.
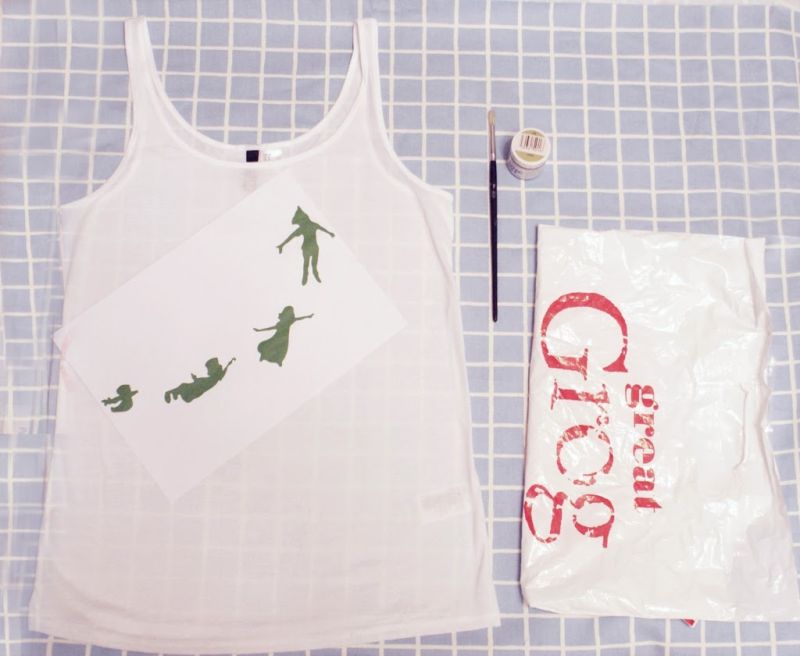
Non-standard materials for stencil production include silicone baking mats, oilcloth or film from a greenhouse, cellophane bags, and even fabric with an impervious coating.

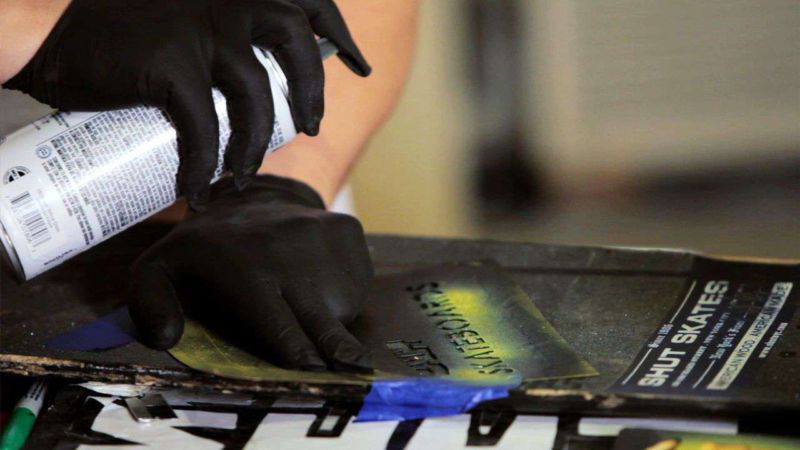
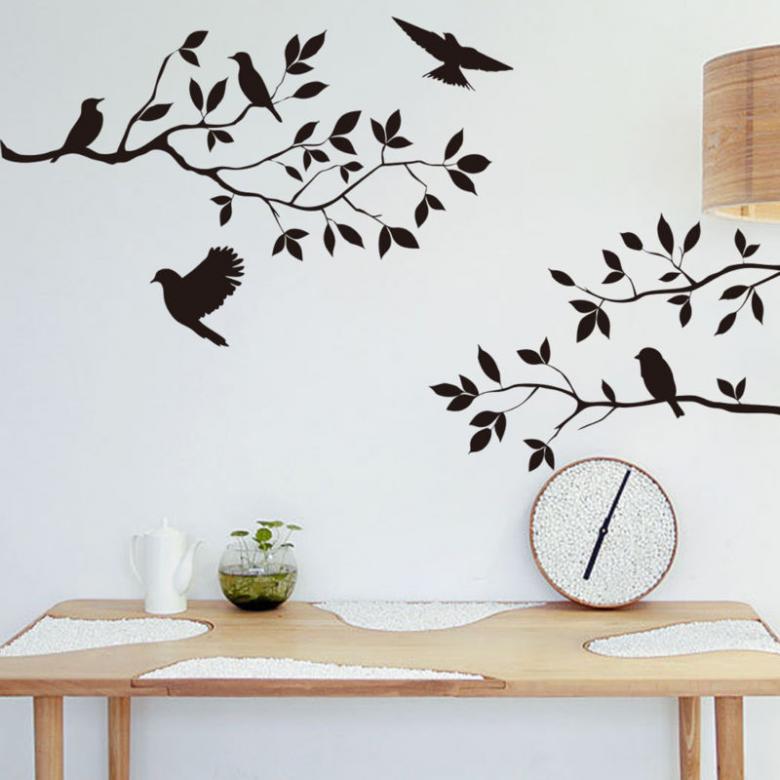
How to use stencils for the wall
In the course of decorating any surface, it is necessary to follow a certain sequence of actions, which will allow you to create a perfect drawing:
- The area of the wall selected for decoration is thoroughly wiped, if necessary aligned;
- On the surface it is necessary to use a simple pencil to draw a marking, noting only the key points;
- The control points are used to secure the stencil, for this it is better to use small pieces of tape;
- In addition to fixing the stencil point, you can also protect the edges of the product, avoiding damage to the coating around it;
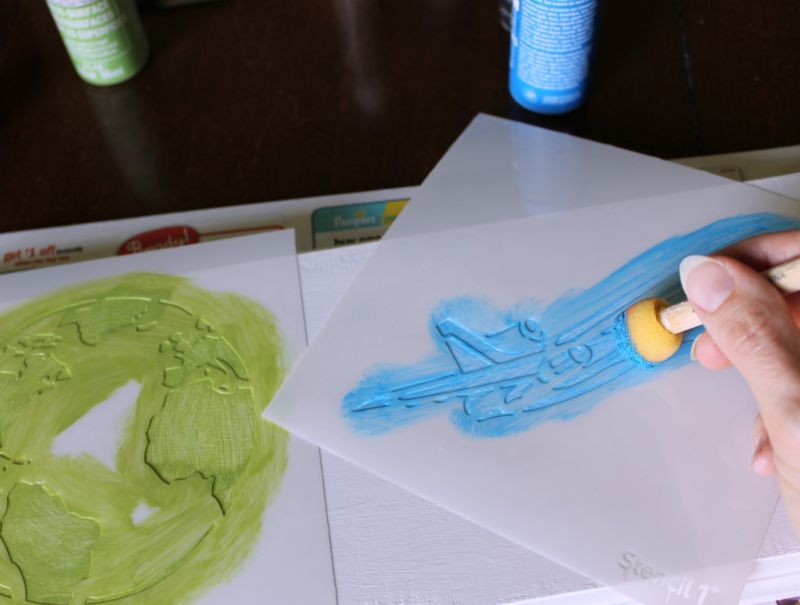
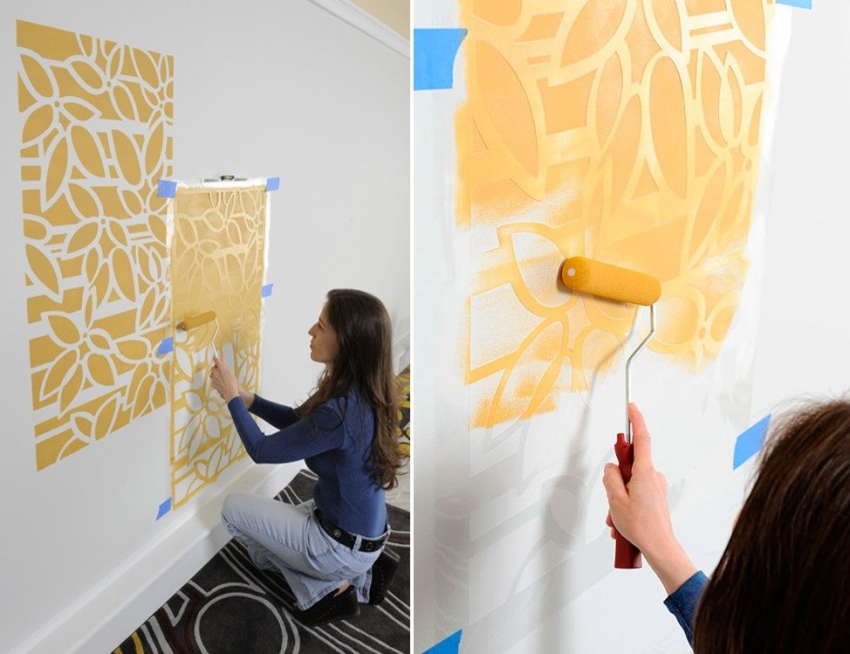
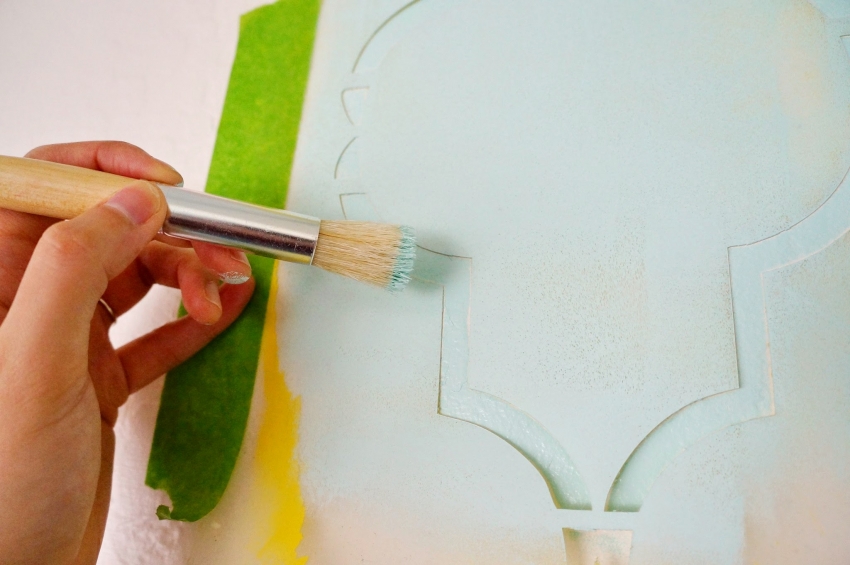
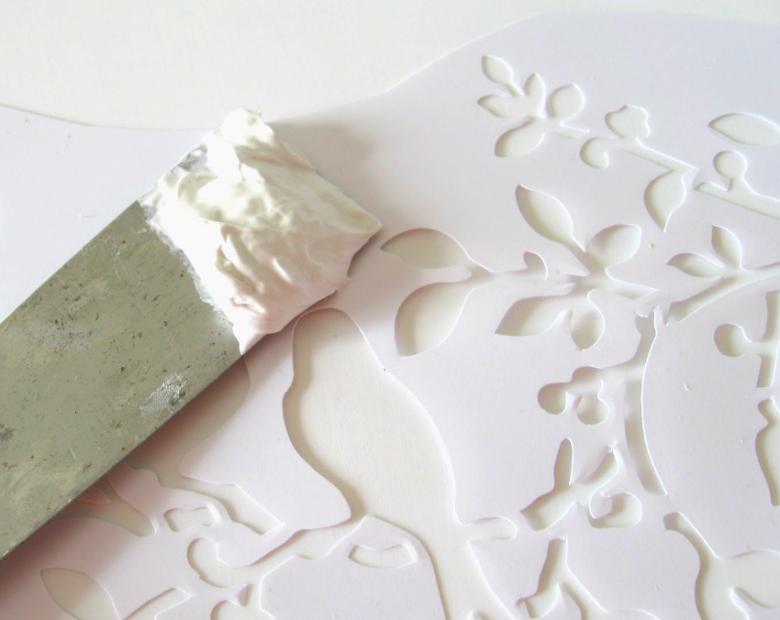
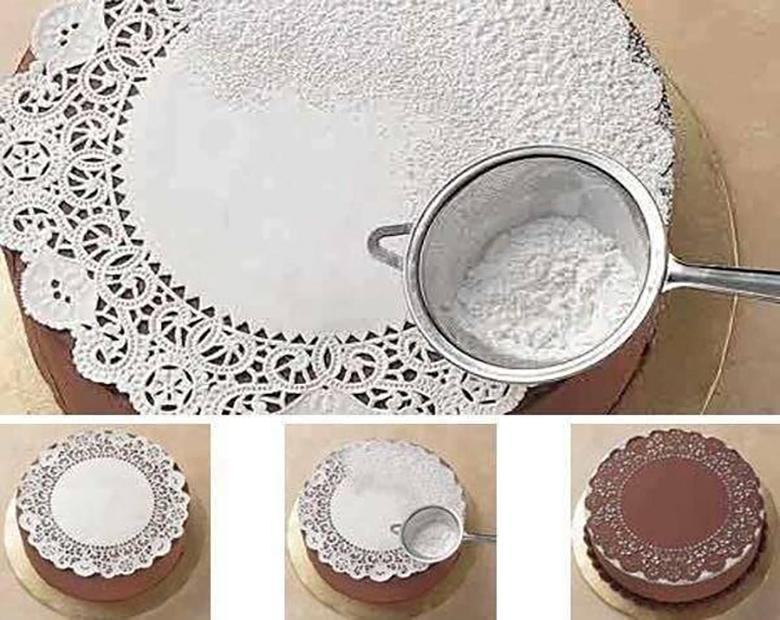
- using a roller, a paint can or a brush, paint is applied to the free areas of the stencil and carefully distributed;
- the surplus paint can be removed with a sponge, if the template is layered it is necessary to repeat the operation from the first step.

After complete drying, the stencil is carefully removed, it is important not to smudge the fresh coat of paint. If necessary, corners are painted with a thin brush, small details of the picture are refined and the entire picture is varnished.

The simple technique of how to make a stencil with your own hands for painting can be used to make original templates. The author's drawing will be difficult to repeat and in the apartment, on the wall of the house or on the furniture will appear a bright accent, which will always remind of its exclusivity.

Photo ideas of beautiful stencils for decor