How to knit gloves: patterns, sewing schemes and design options
Knitting is a fascinating and interesting activity, a way to show care for your loved ones, to knit gloves for your son, husband, or sister. In this article we will consider the algorithm of making gloves and mittens with yarn for beginners in needlework.

Right glove
For knitting you will need:
- 5 needles.
- Yarn.
- Taken measures.

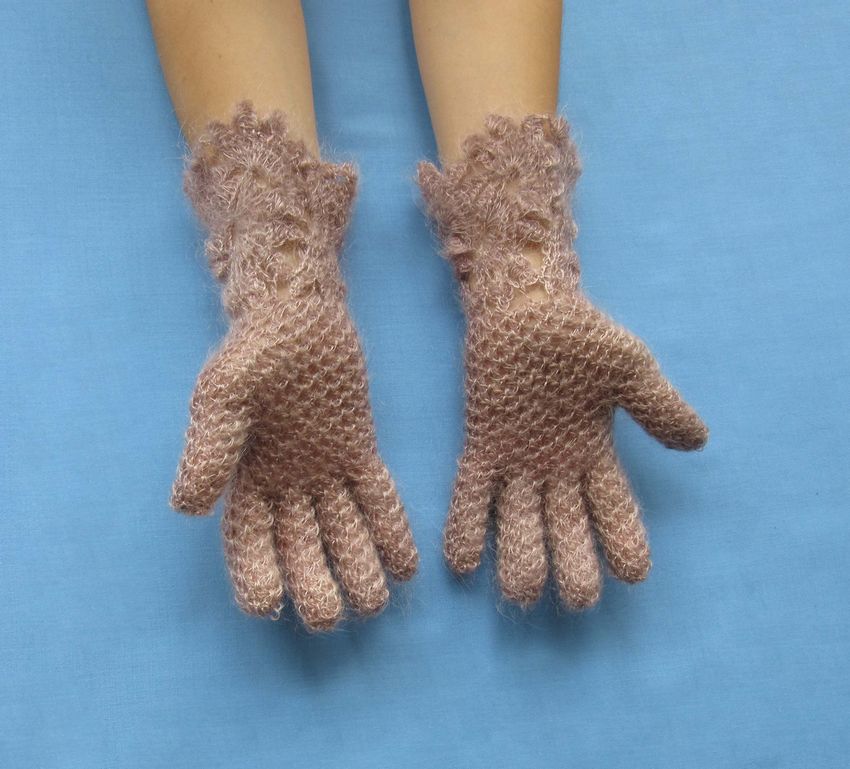
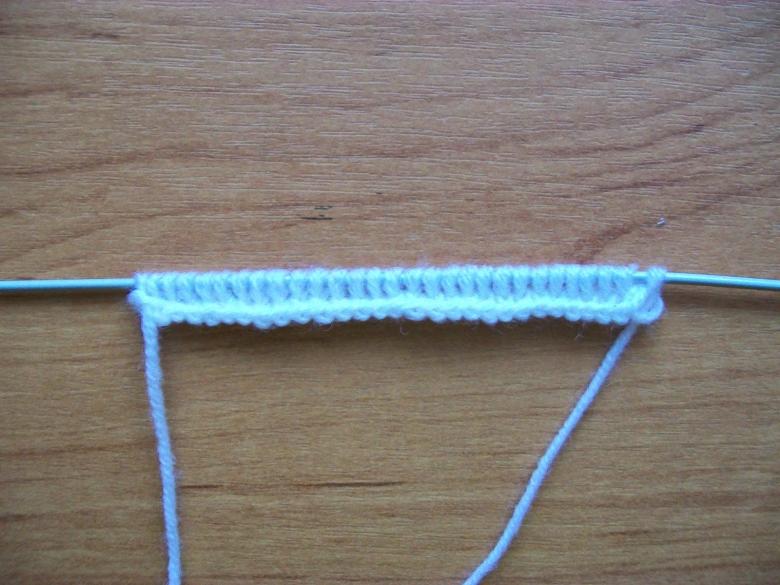
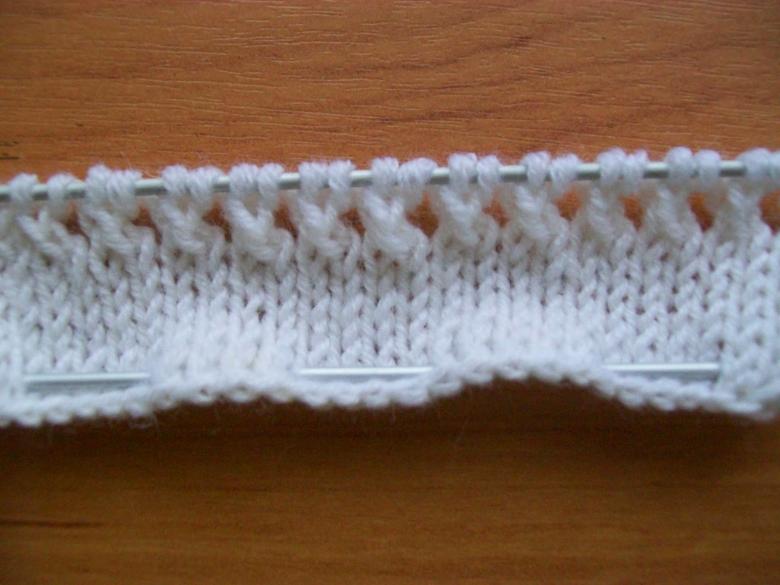
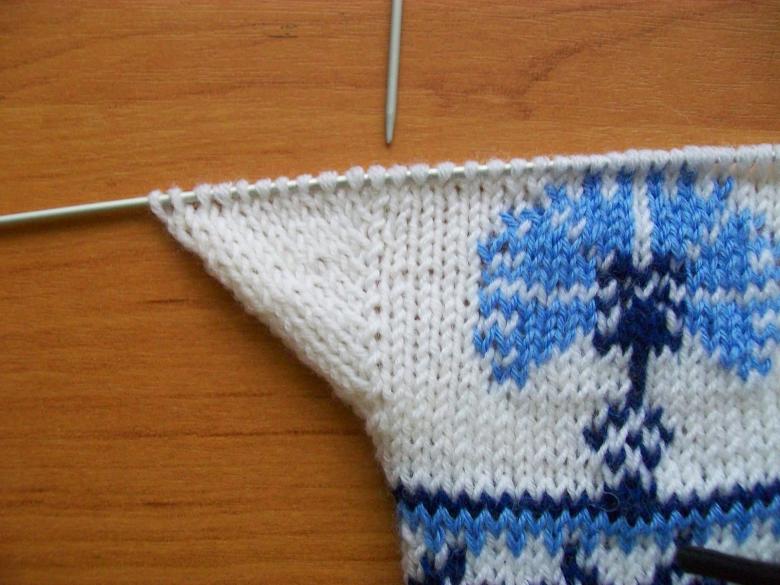
Cuff .
- Take two knitting needles, put 37 loops on them.
- The first stitch is not knit. Take two more spokes, each of the 4 knitting needles is distributed on 9 loops. A rubber band is knit, and then the first and last stitches are knit to close the circle.
- The length of the cuff should be about 5-7 centimeters.
- You can also add a pattern if desired.
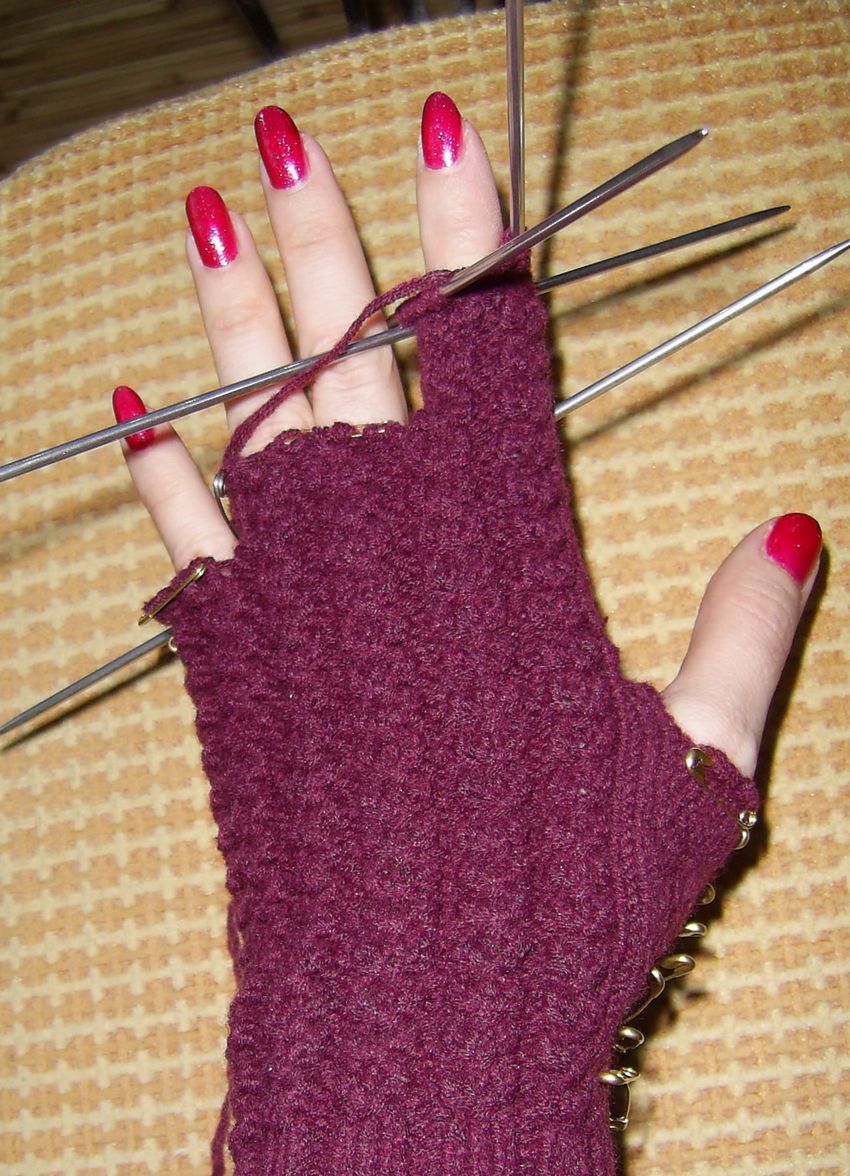
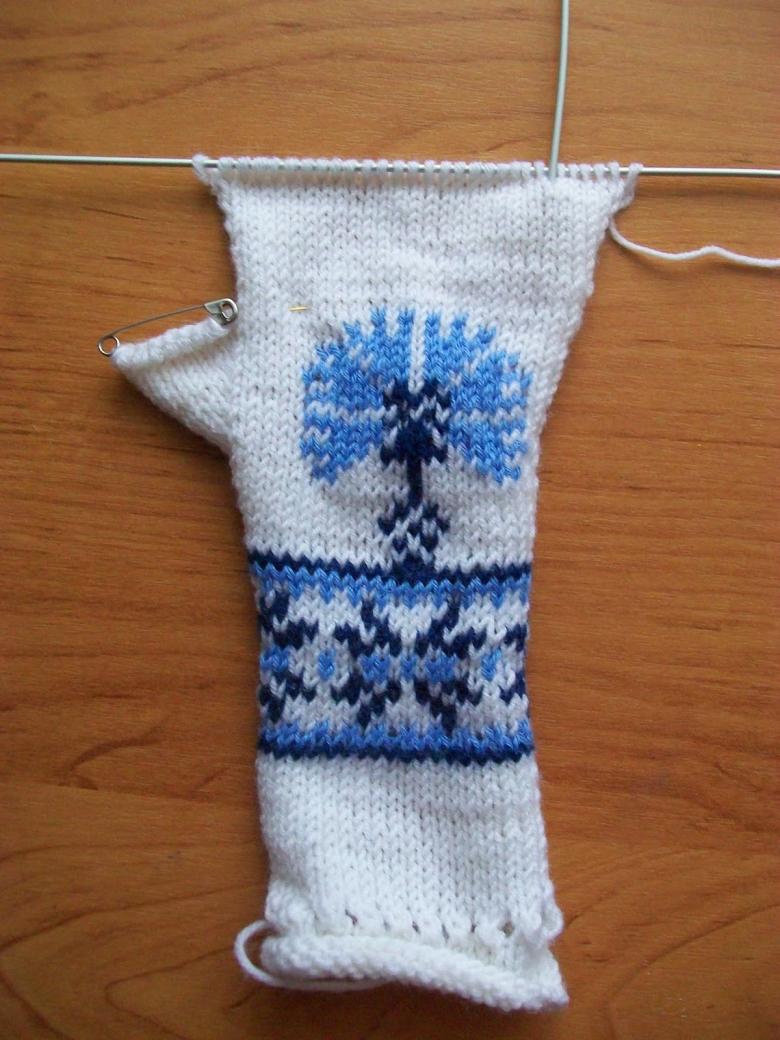
Thumb
- To knit the thumb take 3 spokes.
- It is knit 1 stitch +1 buttonhole + 1 buttonhole + 8 loops.
- Three rounds are knit.
- After this wedge is added to 1 stitch at the beginning and end. Between them 3 stitches, you get a total of 5 stitches in the wedge.
- Three rows are done.
- After that repeat 4 steps until there are 11 stitches on the wedge.
- After the last three rounds form an opening for the thumb.
- To do this, 11 loops are attached to 2 pins.
- On the third knitting needle 7 air loops are dialed.
- Then knit the remaining stitches and connect to the 4th spokes. We do one circle, we get the base of the thumb.
- After that, for 3 rounds get rid of the air loops. For 3 rows, 2 loops, the last one is removed.
- Two rounds are handled.
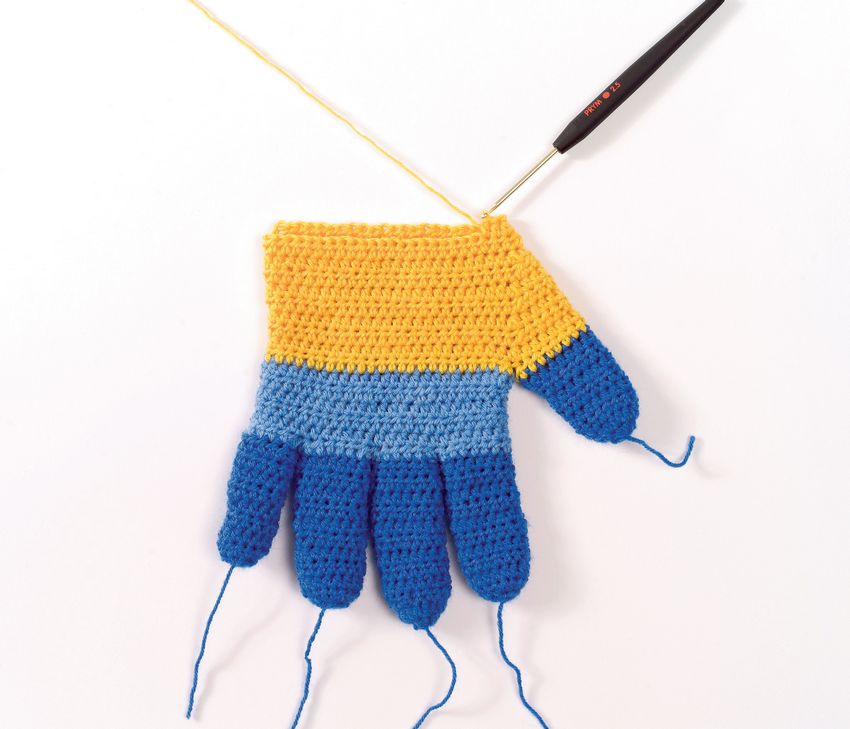
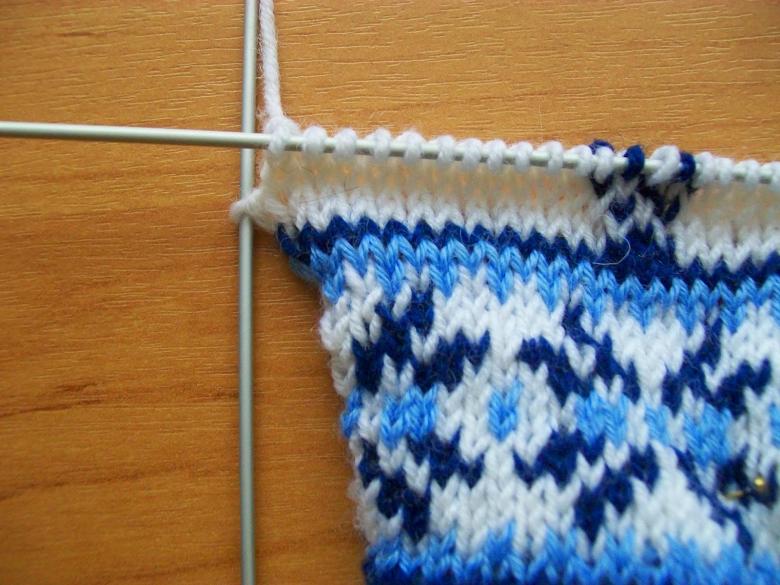
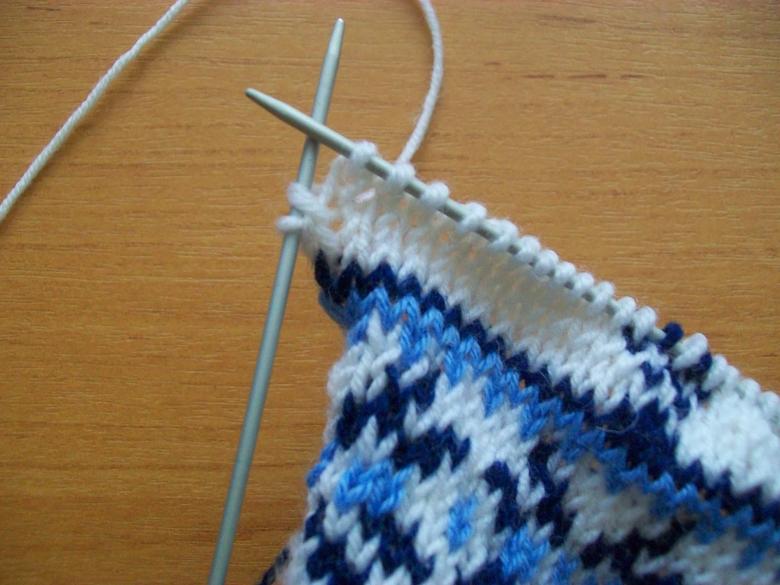
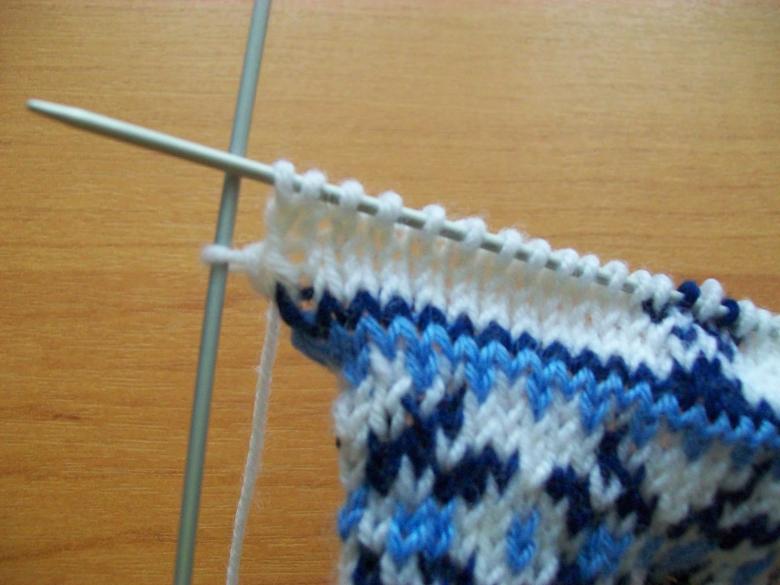
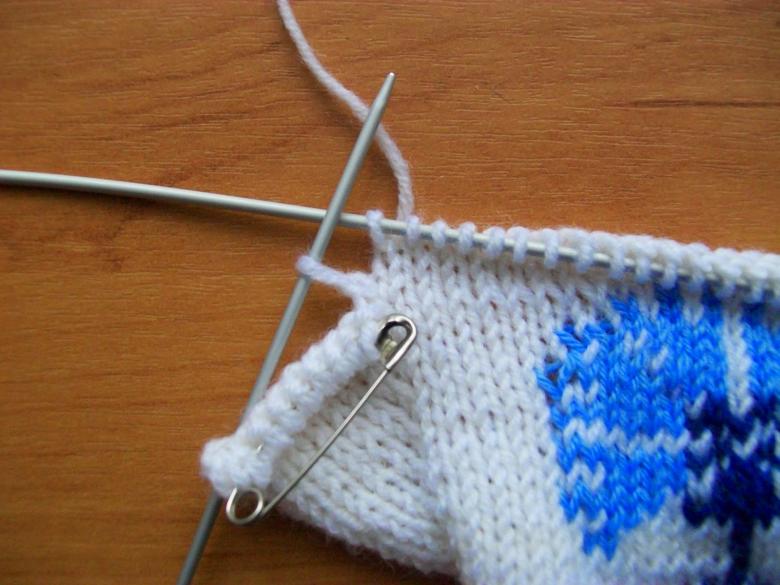
Distribution of loops for each finger
Initially 37 loops were connected. The little finger goes 9 stitches, its distribution is done separately.

The remaining fingers are 32 stitches (28 main and 4 free). Loops are distributed as follows:
- The index and middle fingers have 11 loops each: 6 upper and 5 lower.
- The ring finger has 10 loops, 5 on each side, respectively.

Distribution of the little finger
From the first knitting needle is taken off the first 5 loops and attached to a pin. The same is done with the 4 stitches on the 4th needle. In their place, 4 free stitches are cast on. The remaining loops are knit.
Further making the glove will be done on 3 handpieces.
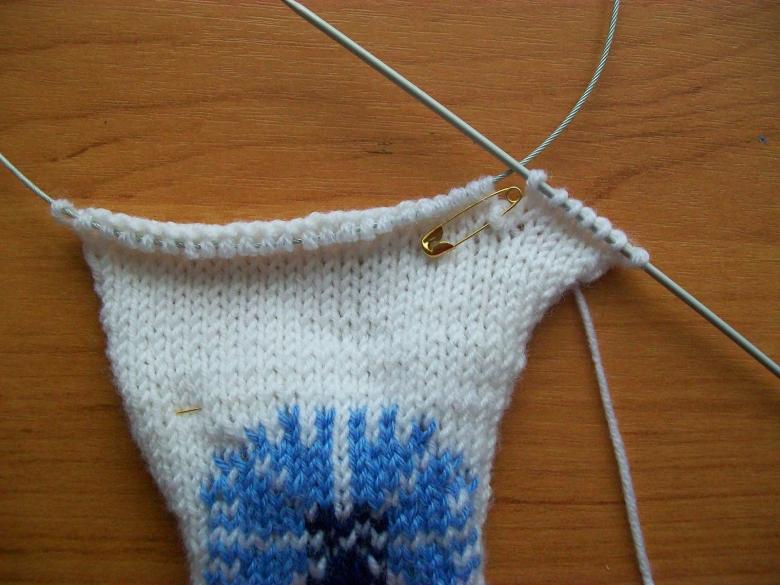
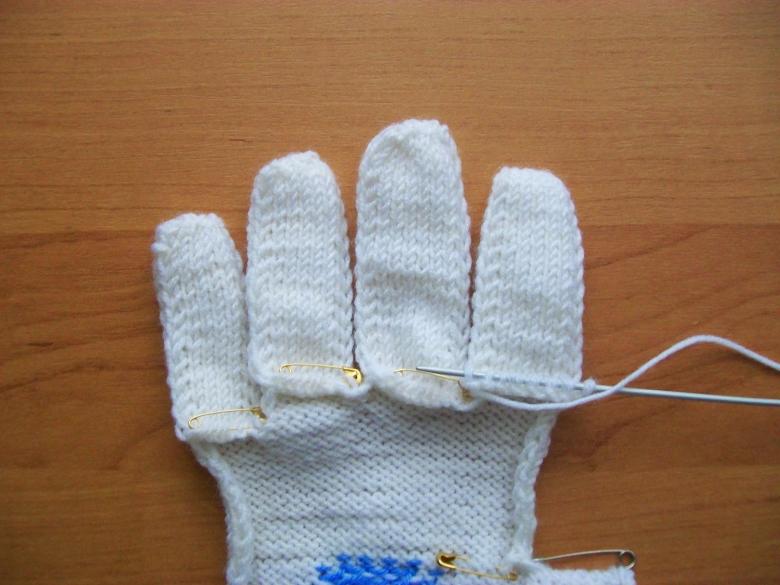
Index finger
- Knitting this finger is carried out on the loops of the first and second spokes. From the second need to leave the last 6 stitches, and the rest are removed and fastened separately.
- The glove is turned over, 5 loops are knit on the back side, and the rest are removed separately.
- The third knitting needle has 4 stitches.
- Knitting continues in a circle.
- In total, the index finger should be knit to the middle of the nail.
- After that, on each knitting needle is knit at least one stitch each round until there is one stitch left on each needle.
- The loose knits are joined to the two knitted ones and pulled out.
Middle finger
- Between the index and middle finger, four free knits are picked up.
- Likewise, free loops are picked up between the middle finger and ring finger.
- You get 4 sides.
- Knitting is carried out to the middle of the nail.
- Similarly, there is a reduction of the loops each round, after the remaining free loops are knit and pulled out.
Ring finger
- Four stitches are picked up between the middle and ring finger.
- Knitting continues in a circle.
- After that, the last stitch on each spokes is knitted after completing the circle until there is one stitch left on the spokes.
- Loose loops are connected to the two knit and pulled.
Little finger
- Between the ring finger and pinky finger, 4 loose loops are picked up.
- Knitting continues in a circle.
- In total, the index finger must be knit to the middle of the nail.
- After that, on the knitting needles, 2 stitches are knitted on each row until 1 stitch remains on each.
- The loose stitches are joined to the two knitted stitches and pulled out.
Thumb
- On the free edge, 7 free loops are dialed in.
- If there is too much free space left, you can add extra stitches in the corners.
- Up to the middle of the thumb knitting is done with 4 spokes.
- After each row is a reduction of 1 stitch from the needle.
- The last spokes are knit.
The remaining threads should be tucked into the inside of the glove.
Similarly, knit the other glove.
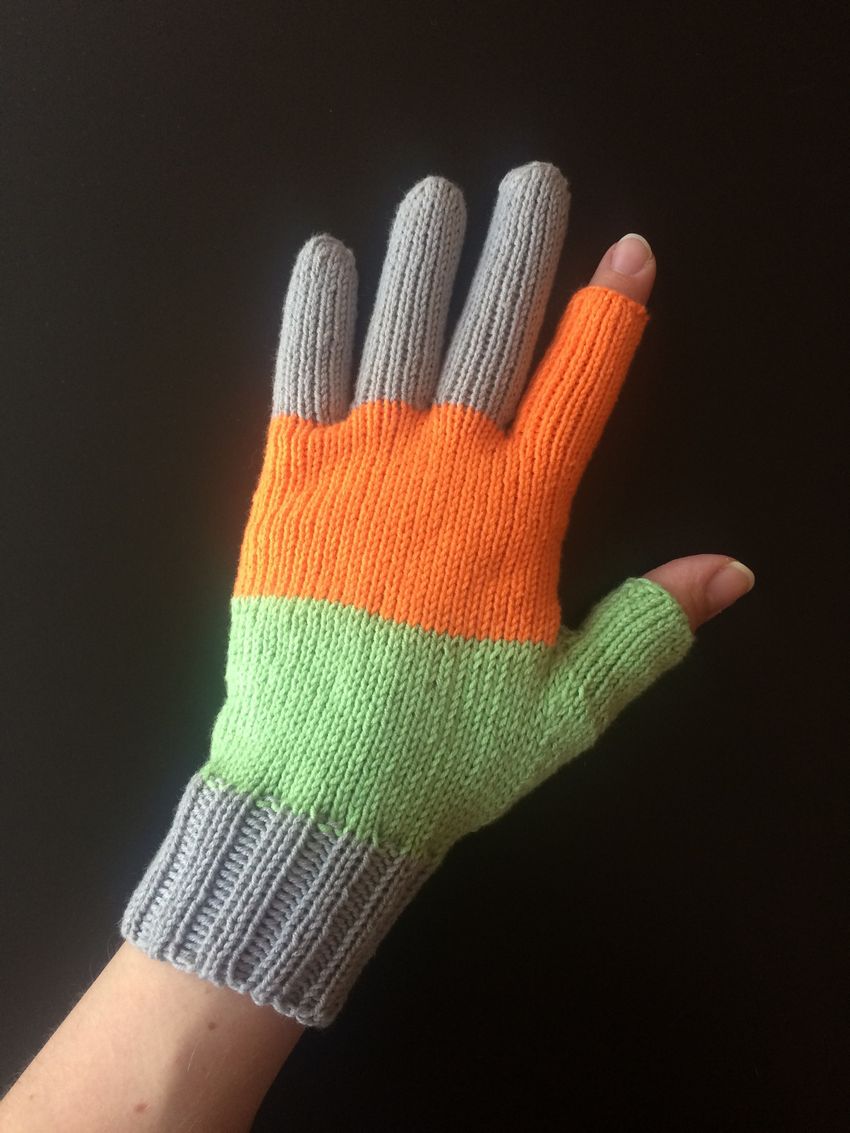
Models without fingers are done similarly, but the loops at the base are tied together with a separate thread.

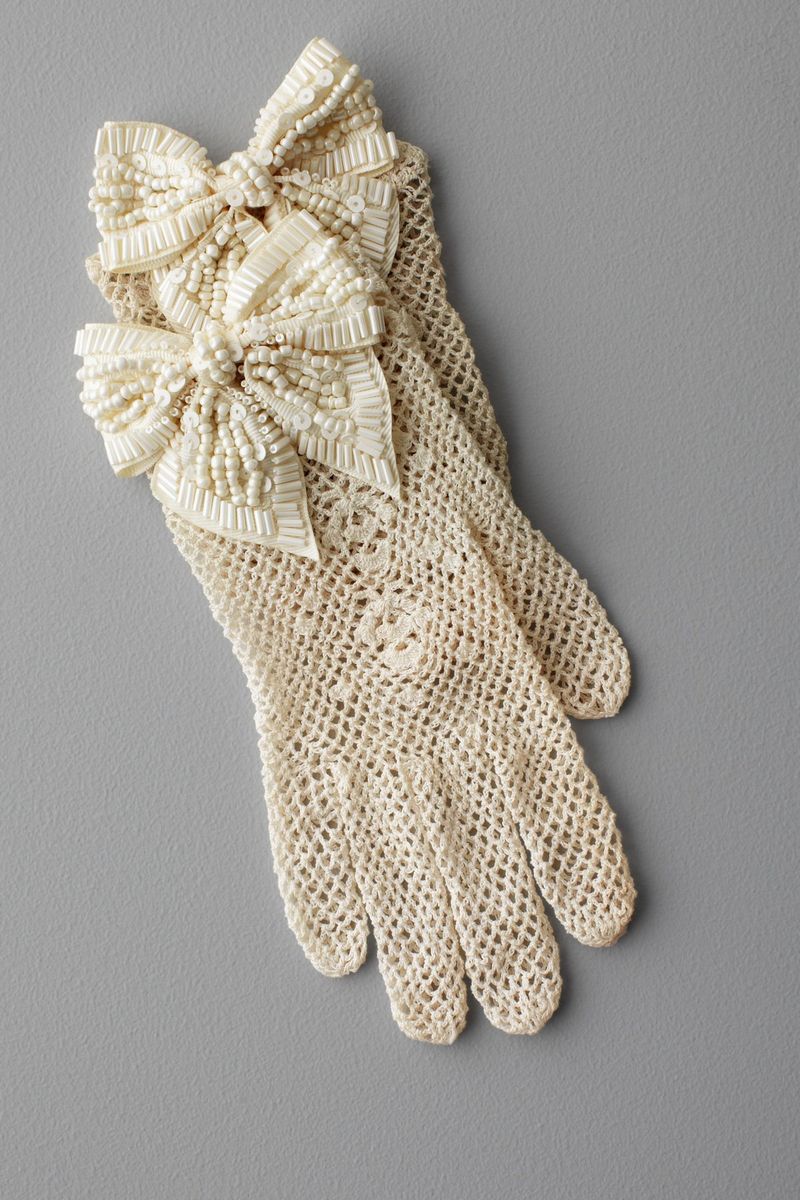
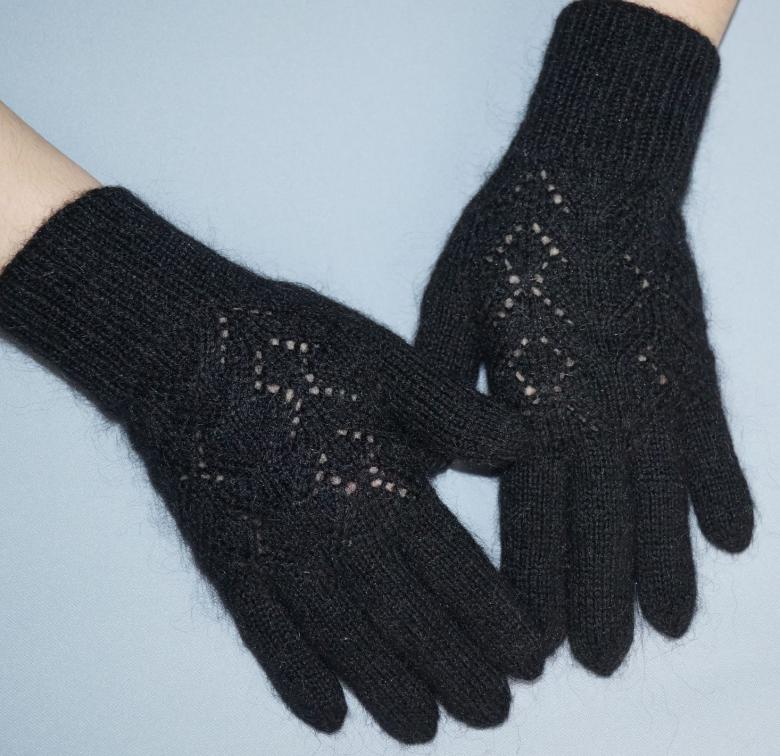
Decorations
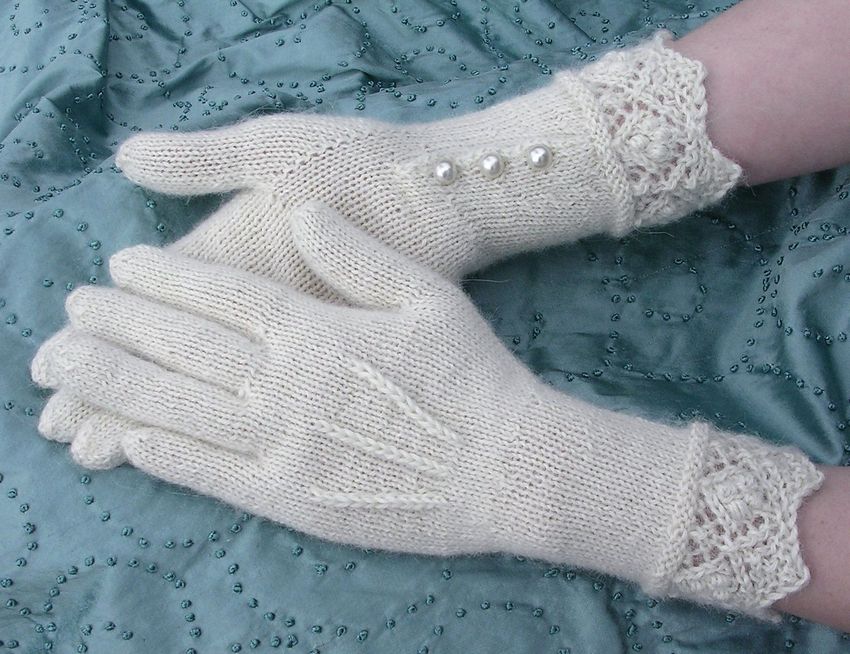
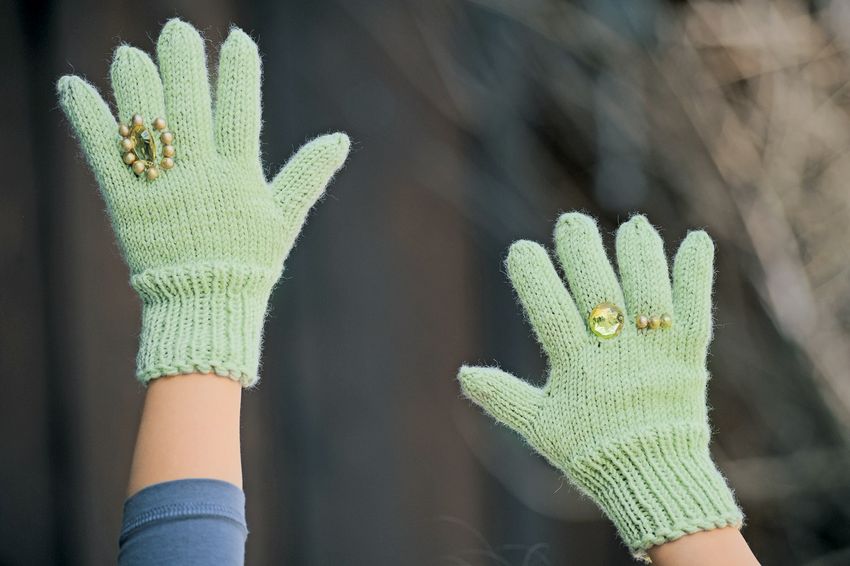
Items such as beads, beads can act as jewelry for the gloves. The main types of jewelry:
- Beads, beads. This type of jewelry is applied directly to the base or palm of the glove. It is not recommended to glue it on the fingers, the beads will interfere.
- Embroidery. It is necessary to purchase thin ribbons. Directly from the ribbons and will be embroidered. The final pattern on the glove can be anything. Starting from flowers and ending with the limits of your imagination.
- Applique. This type of embellishment can be useful. Under the applique you can make a mini pocket. Applique is made of wool or leather, it can be volumetric and glued. A good option would be a leather palm applique. Not only will it look beautiful, but it will also help not to stick to metal objects in winter.
- Fur. The fur padding can be attached to the base of the glove or at the end, in a fingerless version. It will give color and femininity.
- Costume jewelry. A great option for jewelry is a ring. A rubber band can be used as a base for the ring.
- Knitting. On top of the glove with fine yarn or thread, you can embroider a pattern. For this, it is more convenient to use a crochet hook rather than crochet.
Preparing
Before starting the basic work of making the glove, you should not forget about the preparation of materials and measurements. The ideal option for knitting a glove or mittens will be. It does not harm the human skin and keeps the heat from the hand inside.

Each person has an individual hand size, so before you start, you need to fix the size of your wrist, finger length and hand in general from different sides. This is to ensure that the glove fits well and does not cause discomfort.

It is very easy to knit a mitten or glove. There is a lot of useful information on the Internet about the different options for creating a glove, in this article the option of knitting from the wrist was considered. This type of needlework is not limited to one model for all occasions.
It is a large set of different variations, a huge scope for creativity and development of the skill. Knitting will not only help to develop another additional skill, it is a way to show your care for loved ones.
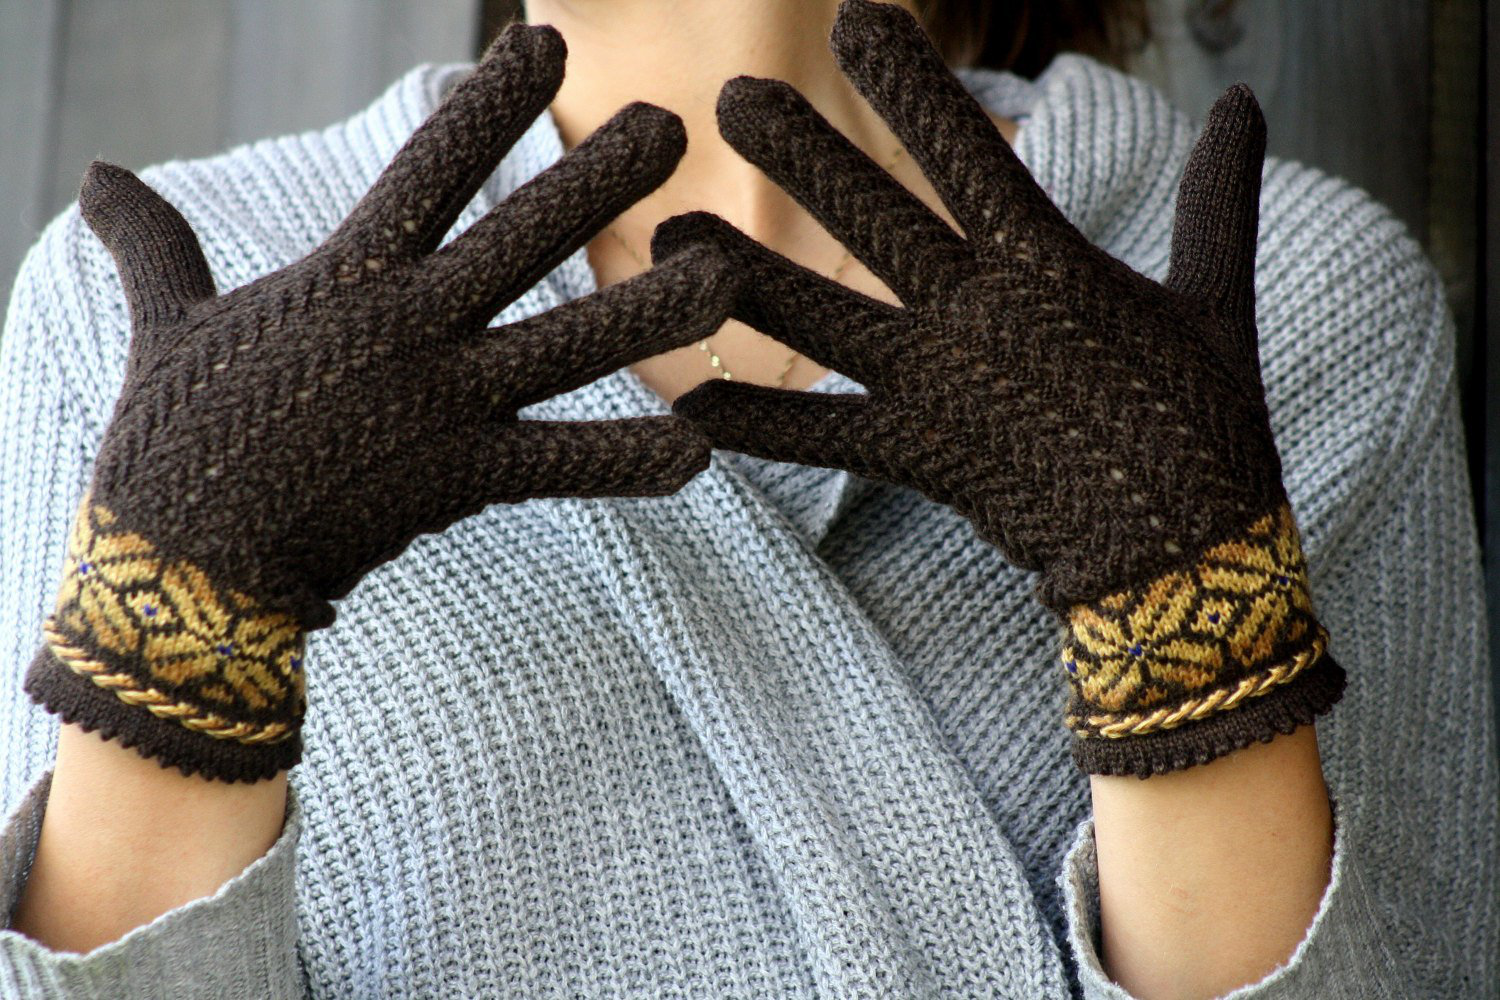
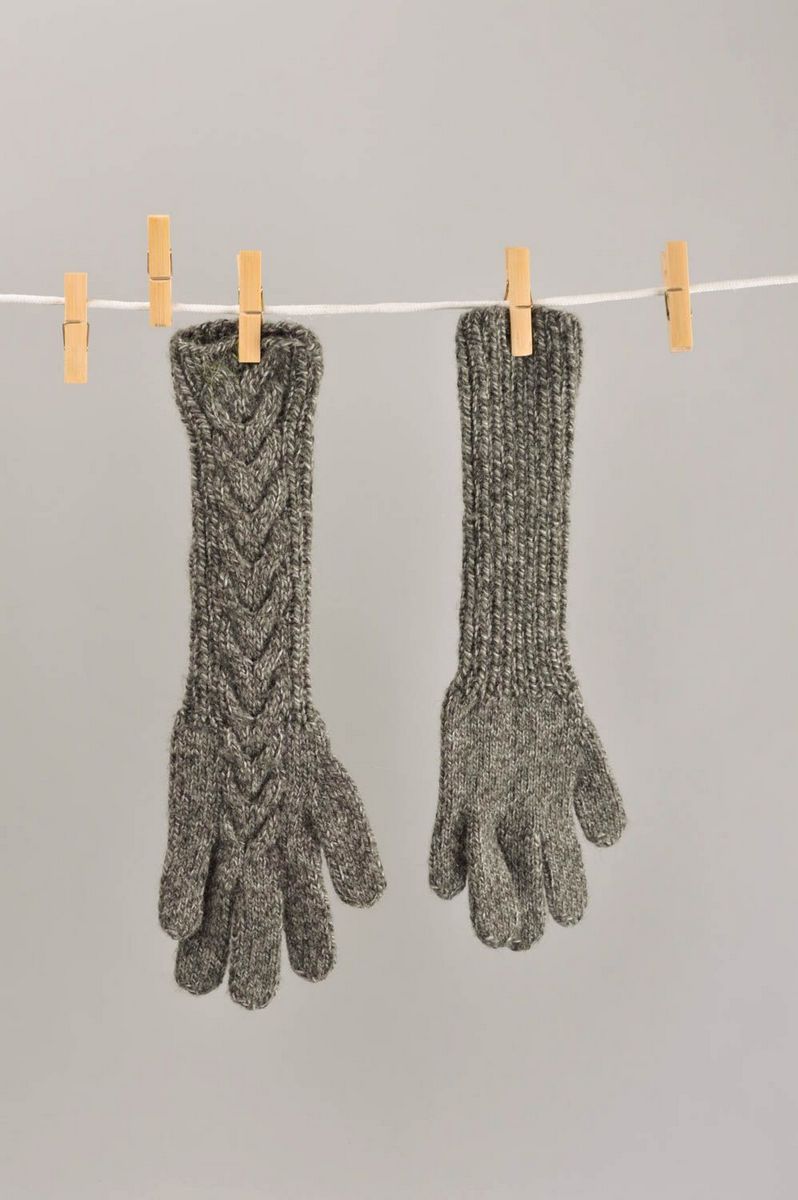
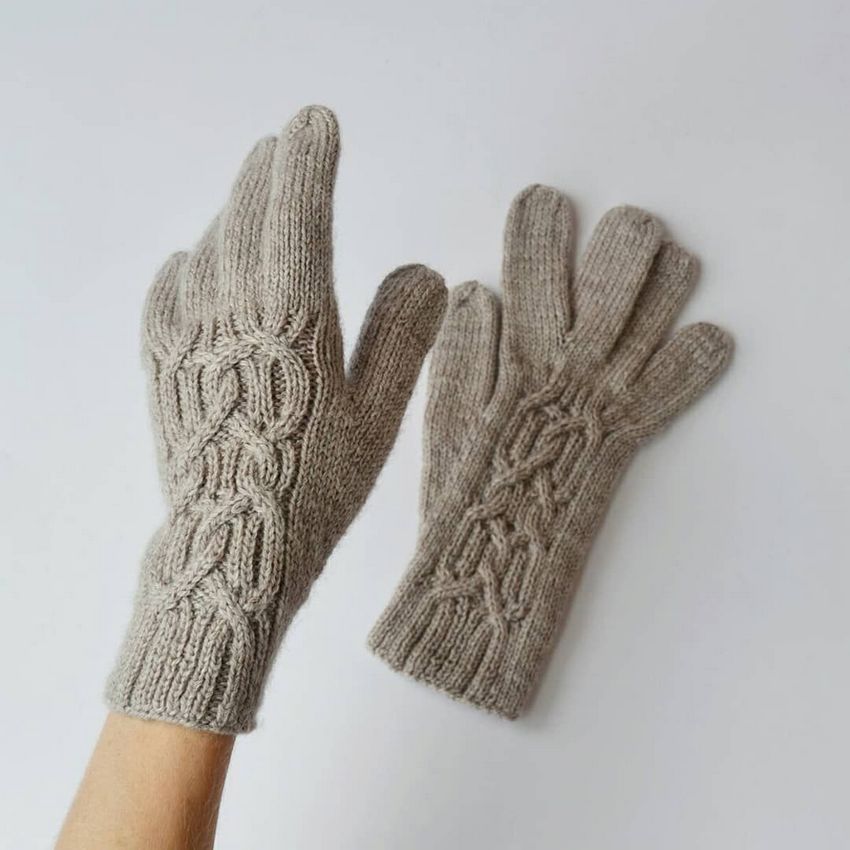
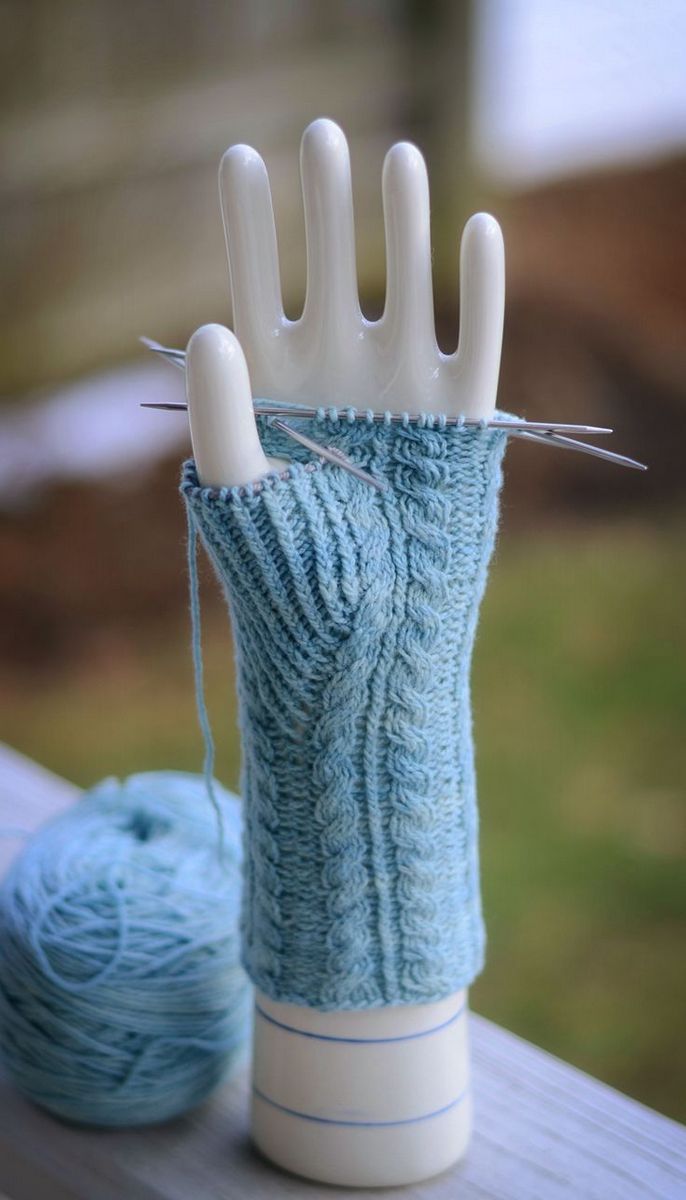
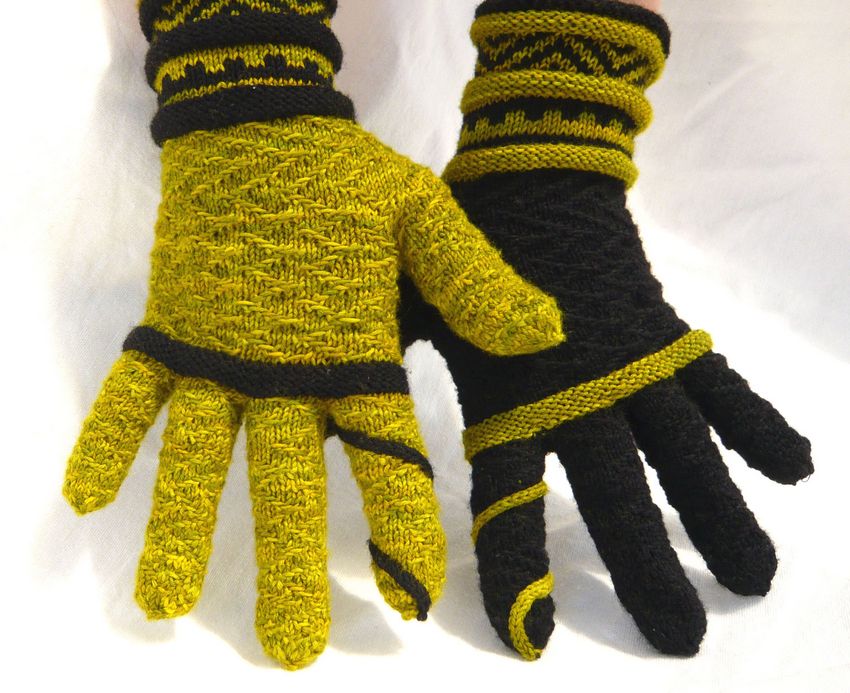
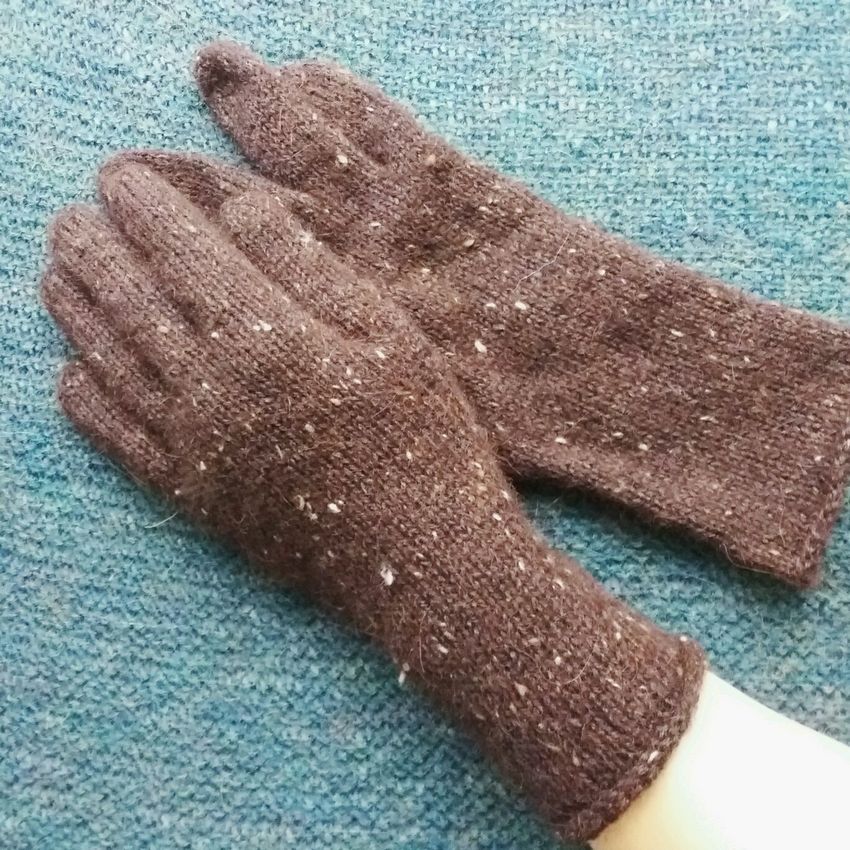
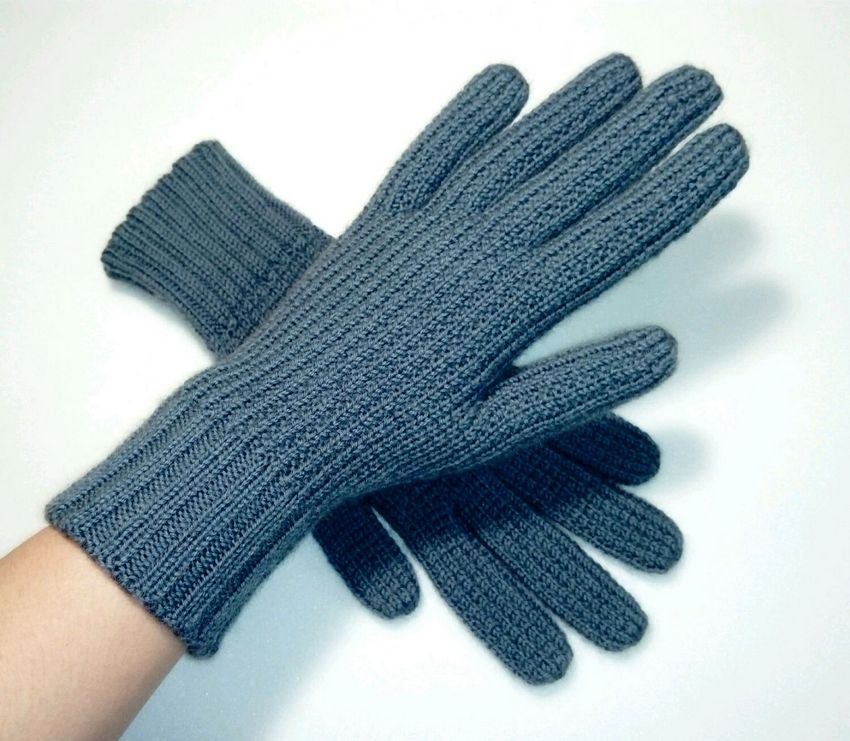
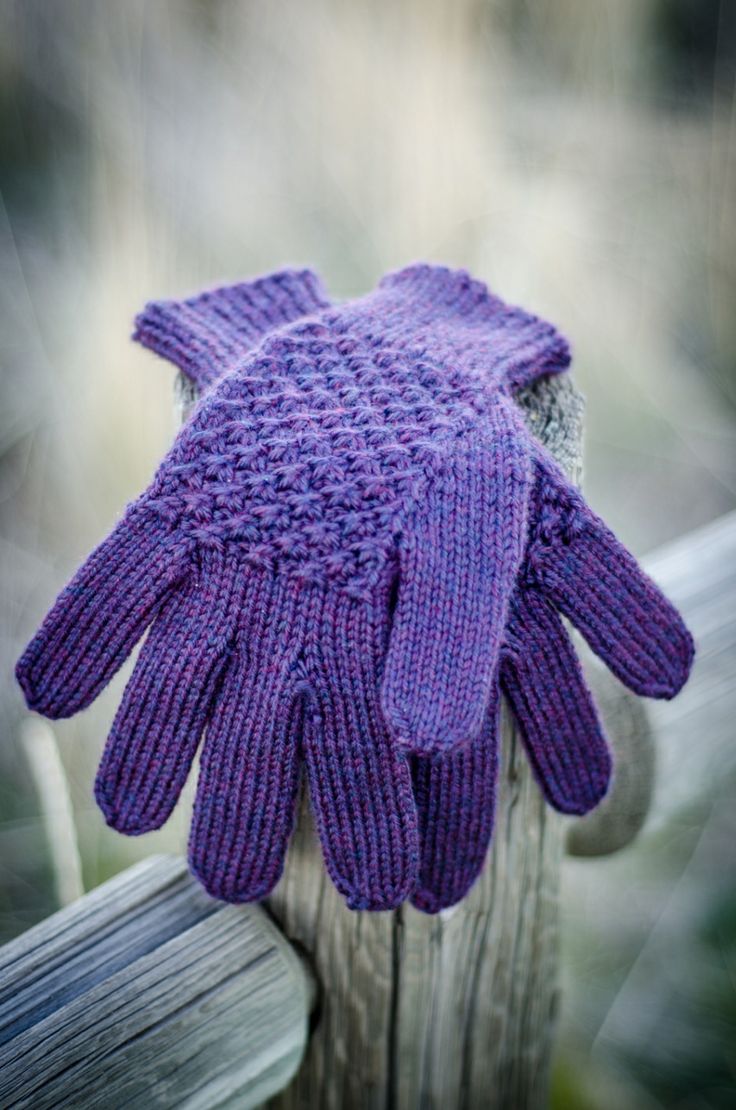
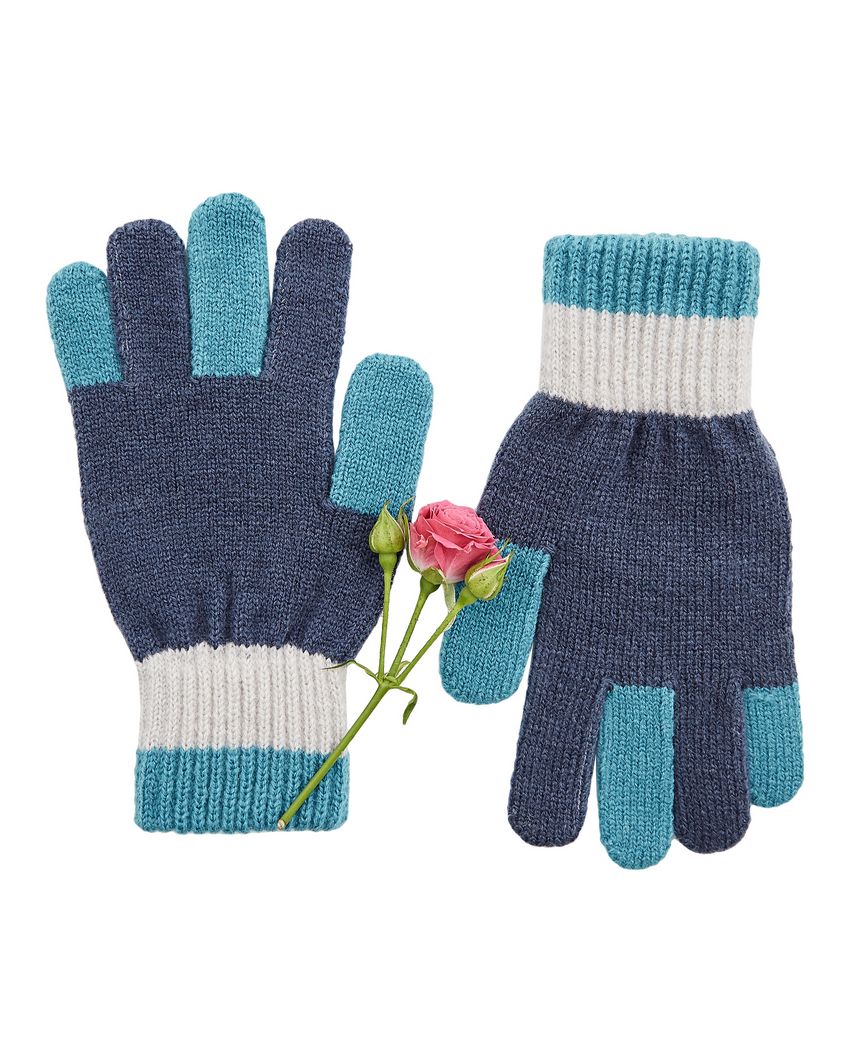
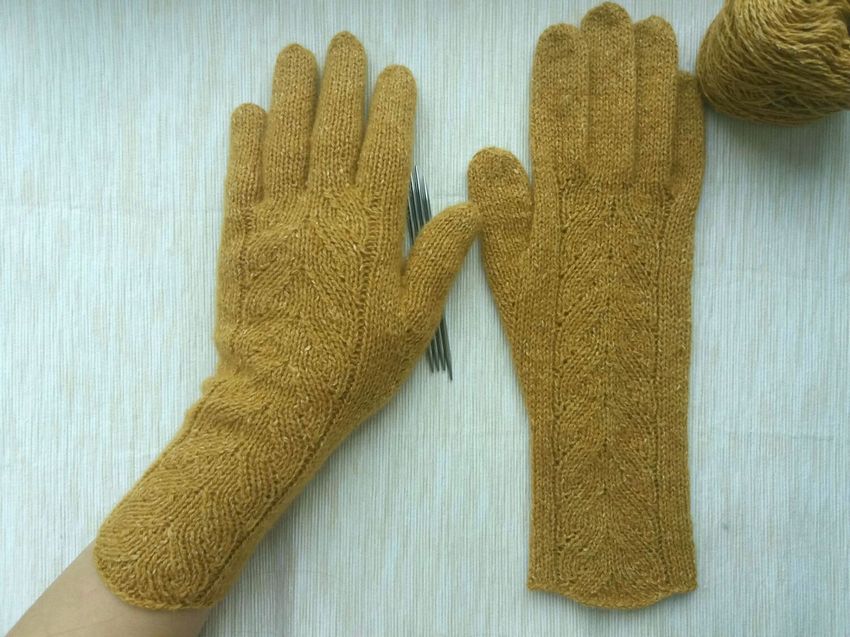
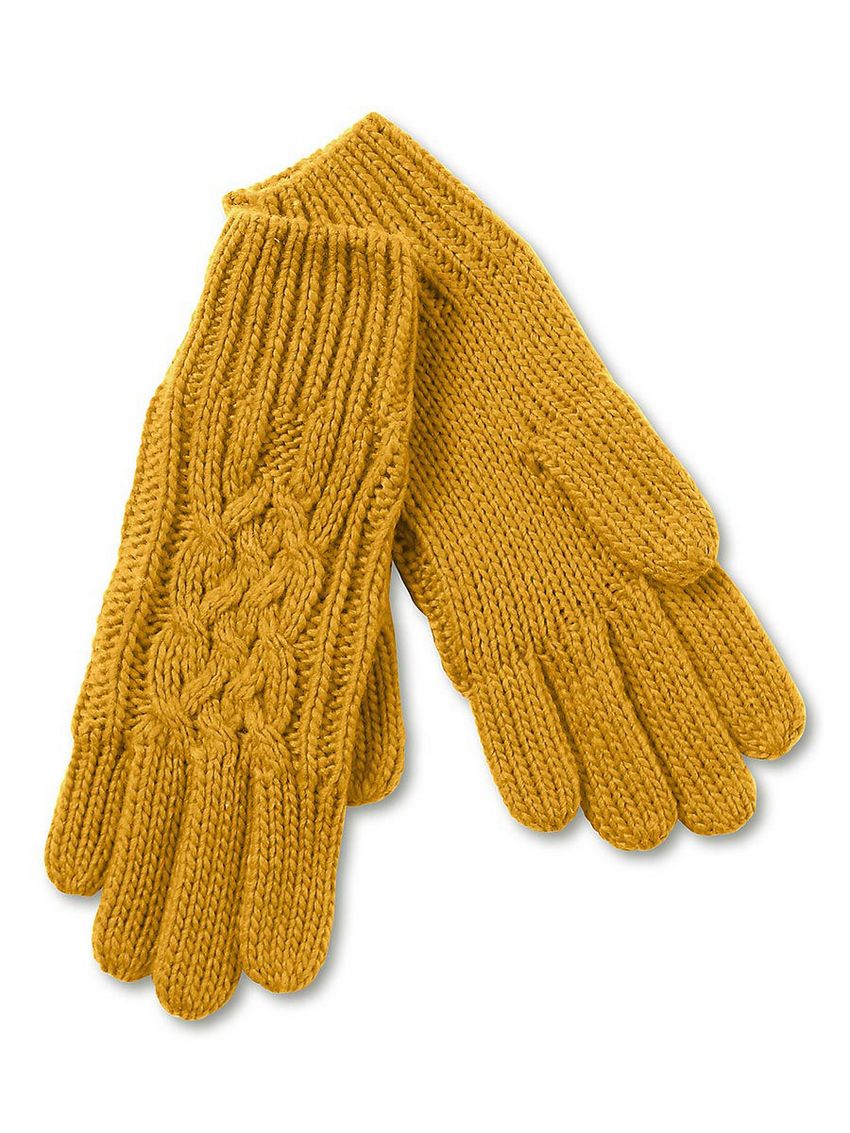
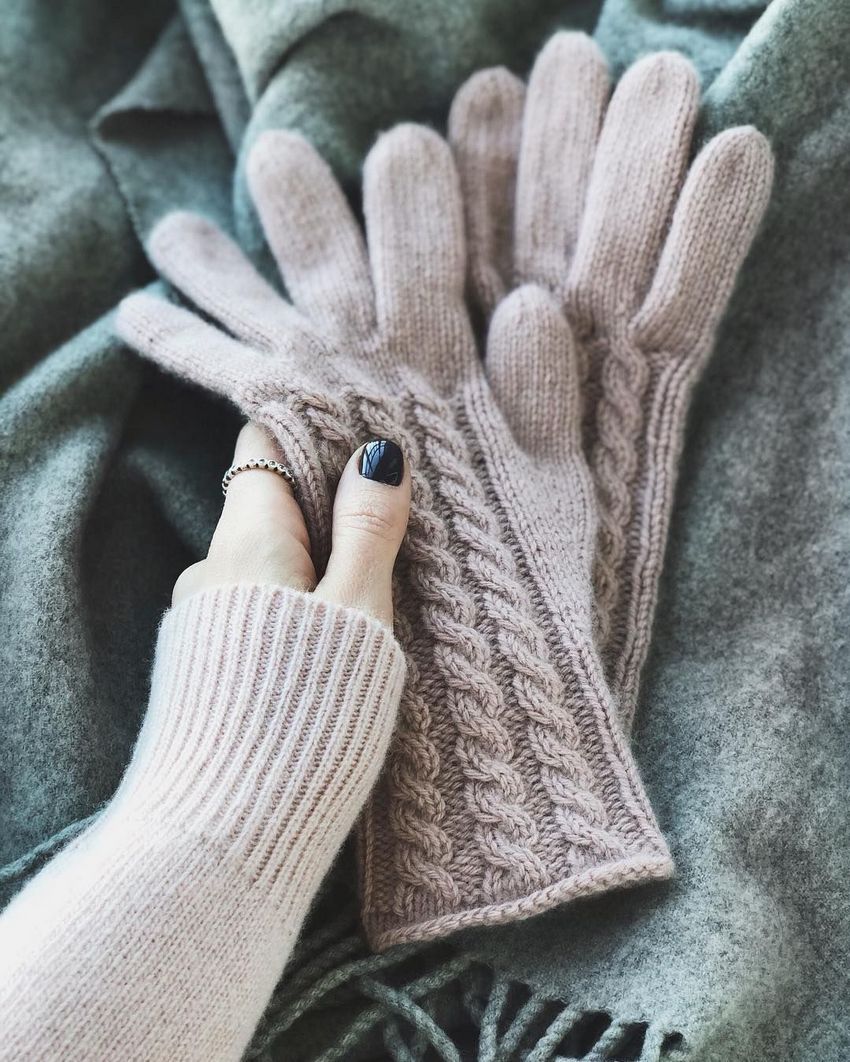
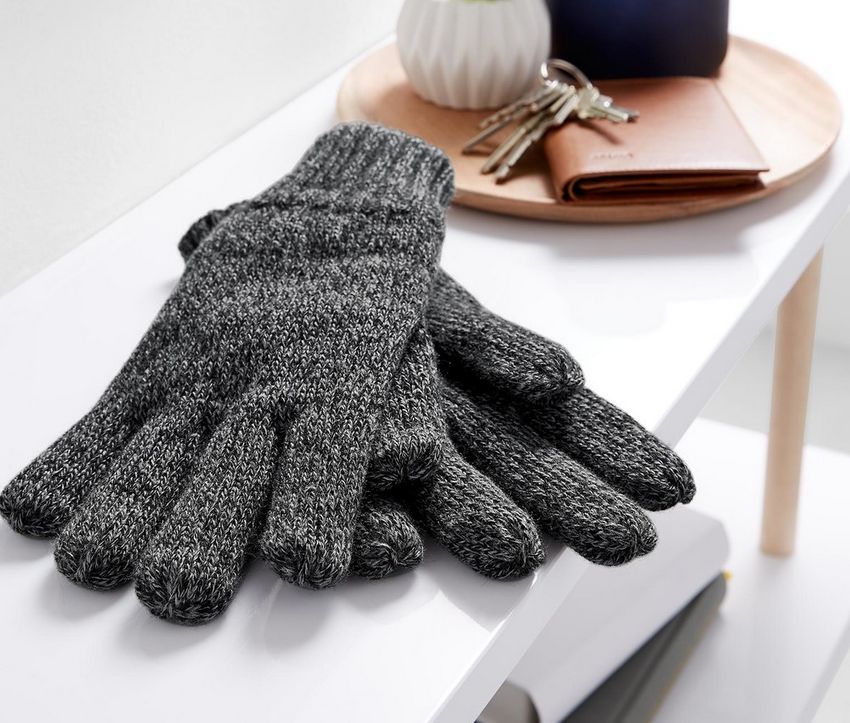
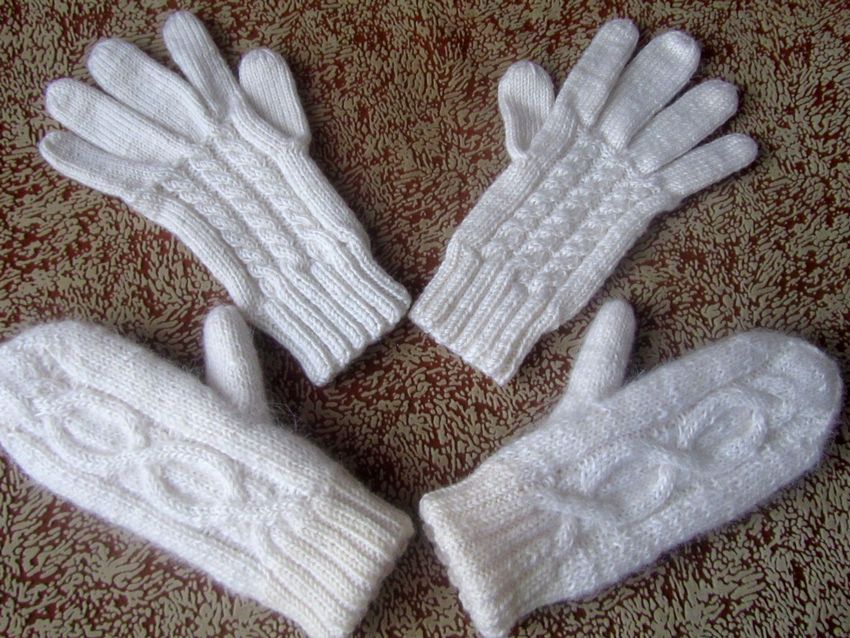
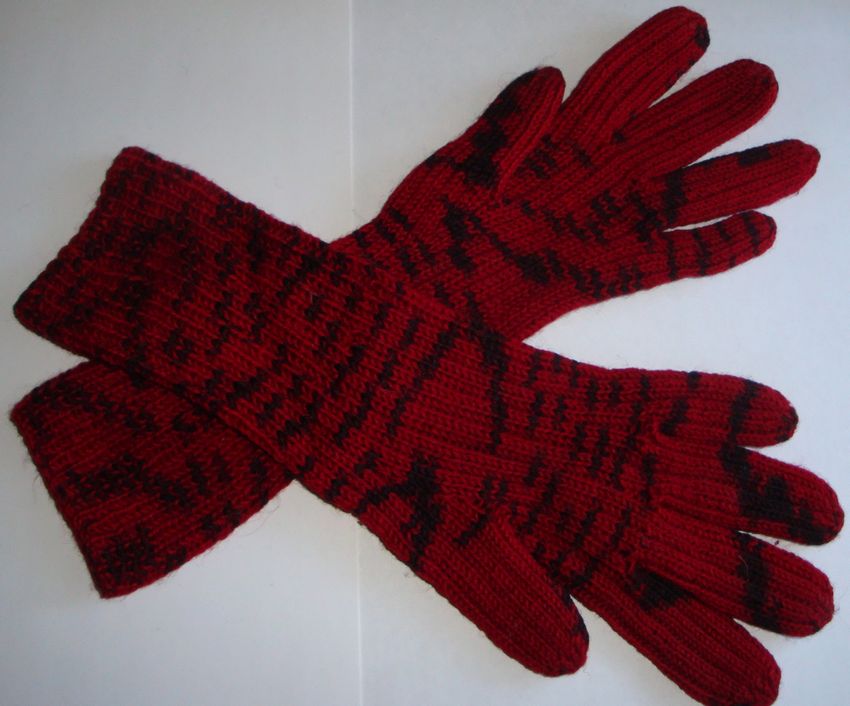
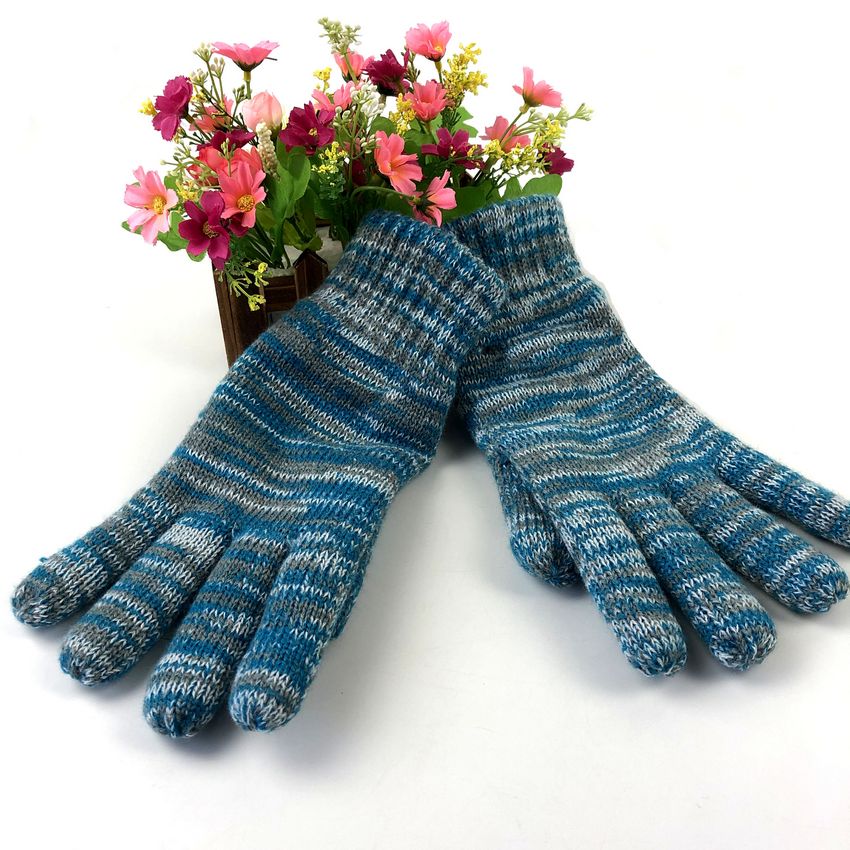
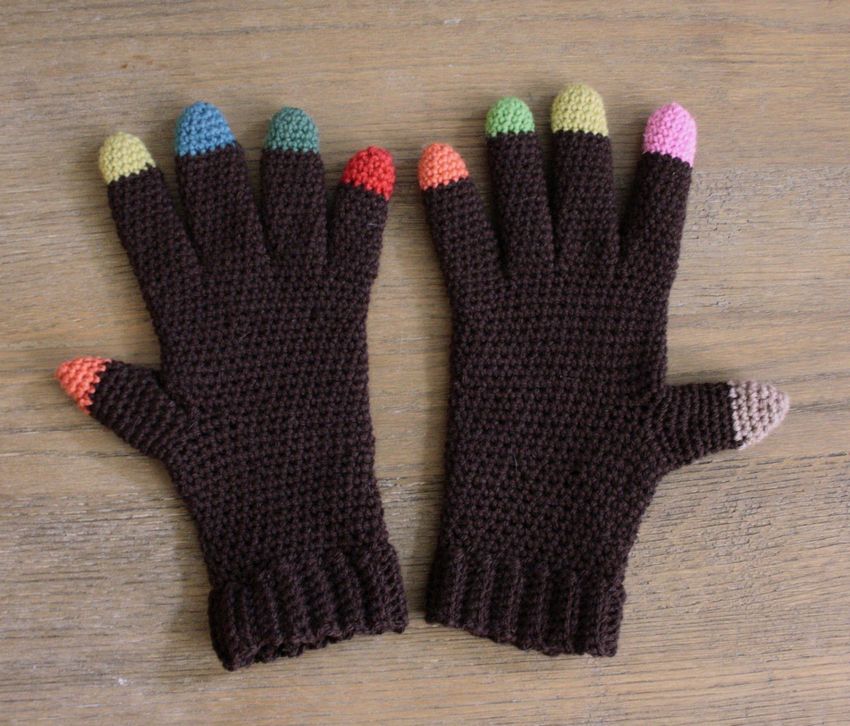
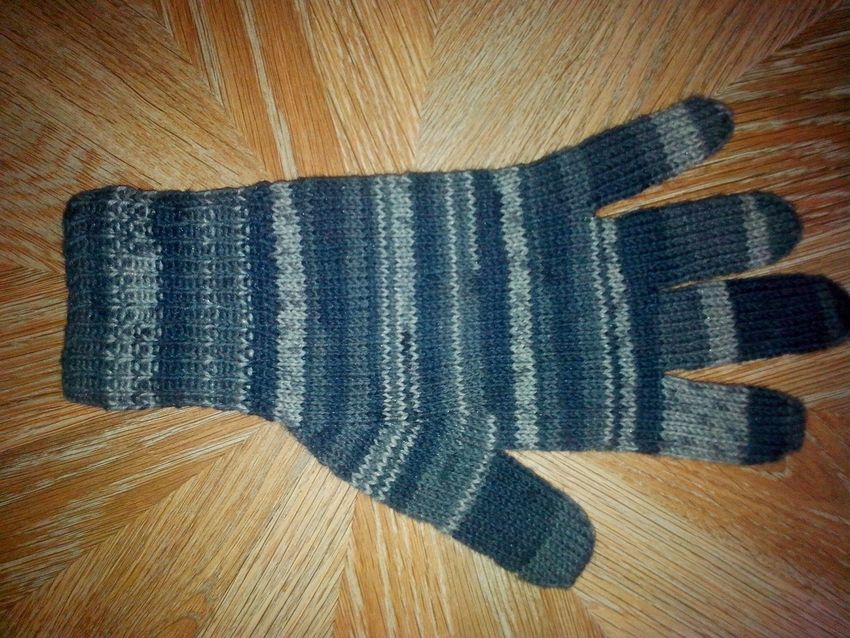
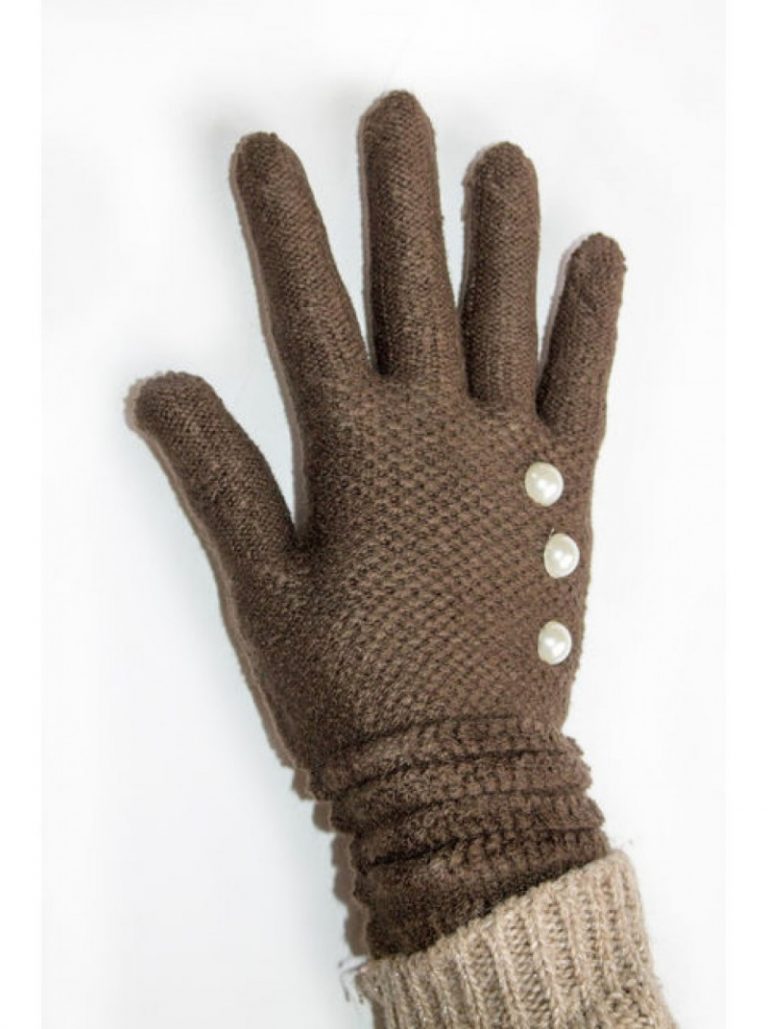
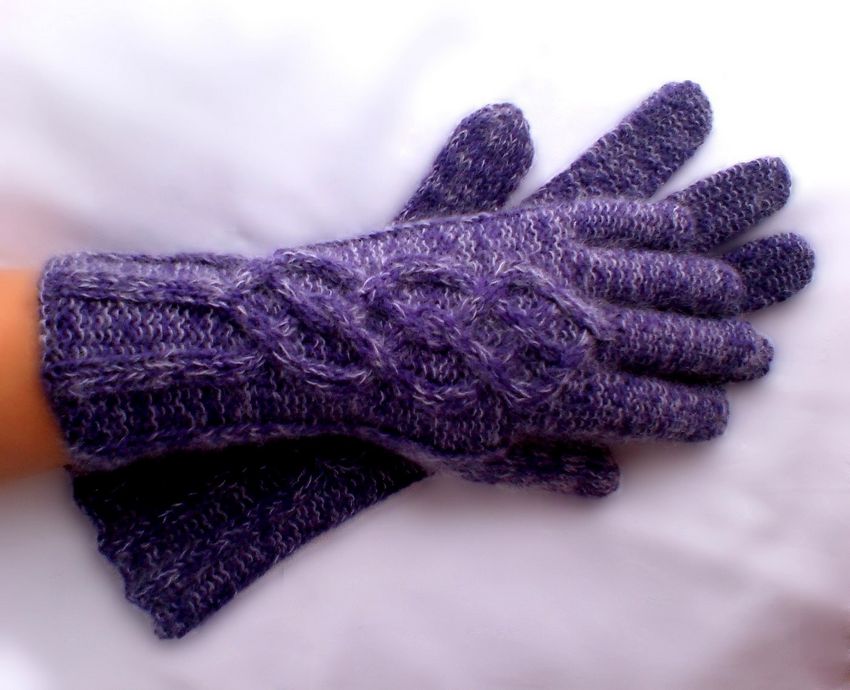
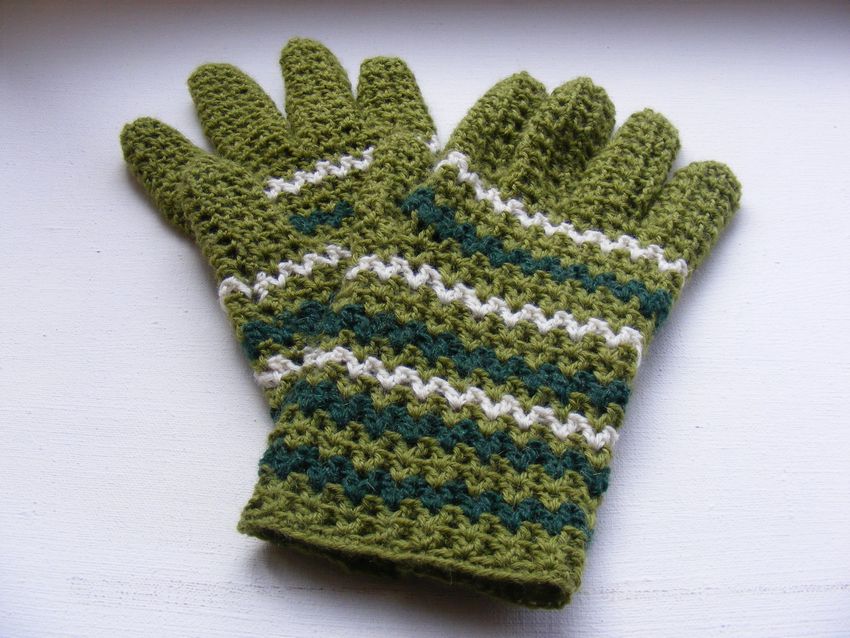
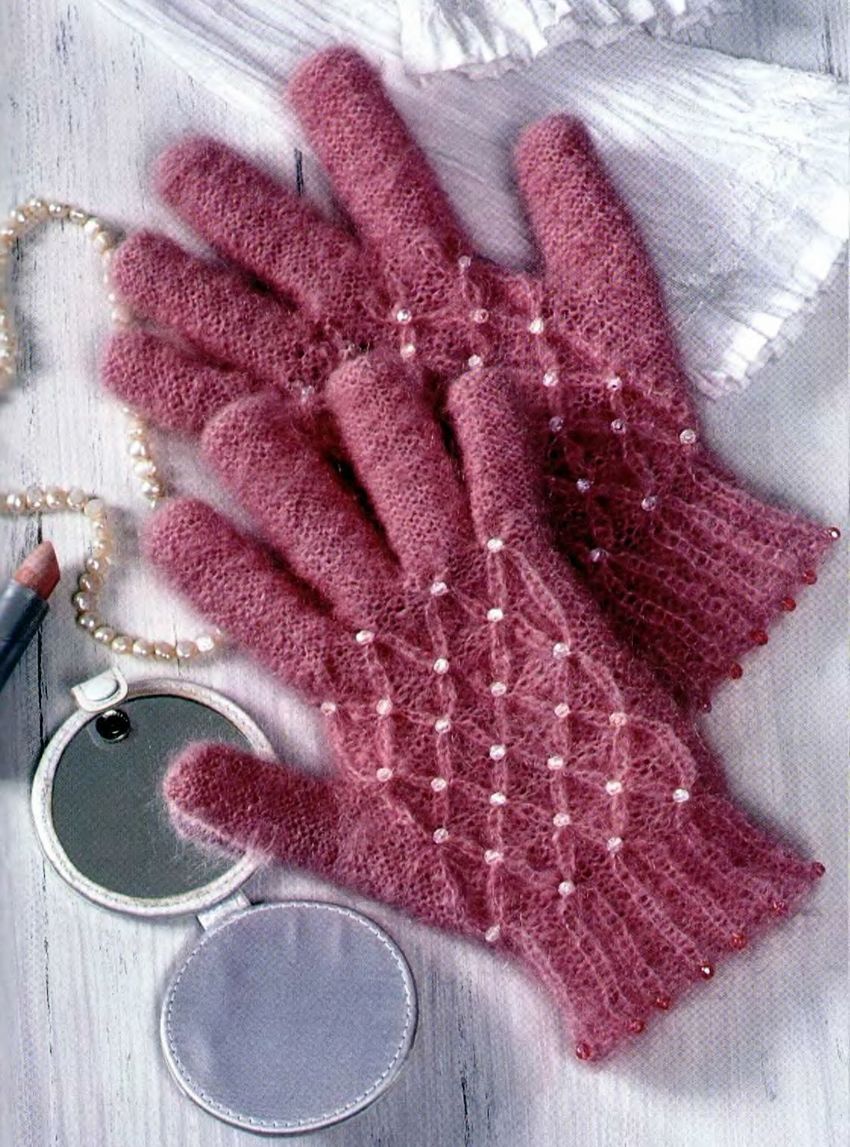
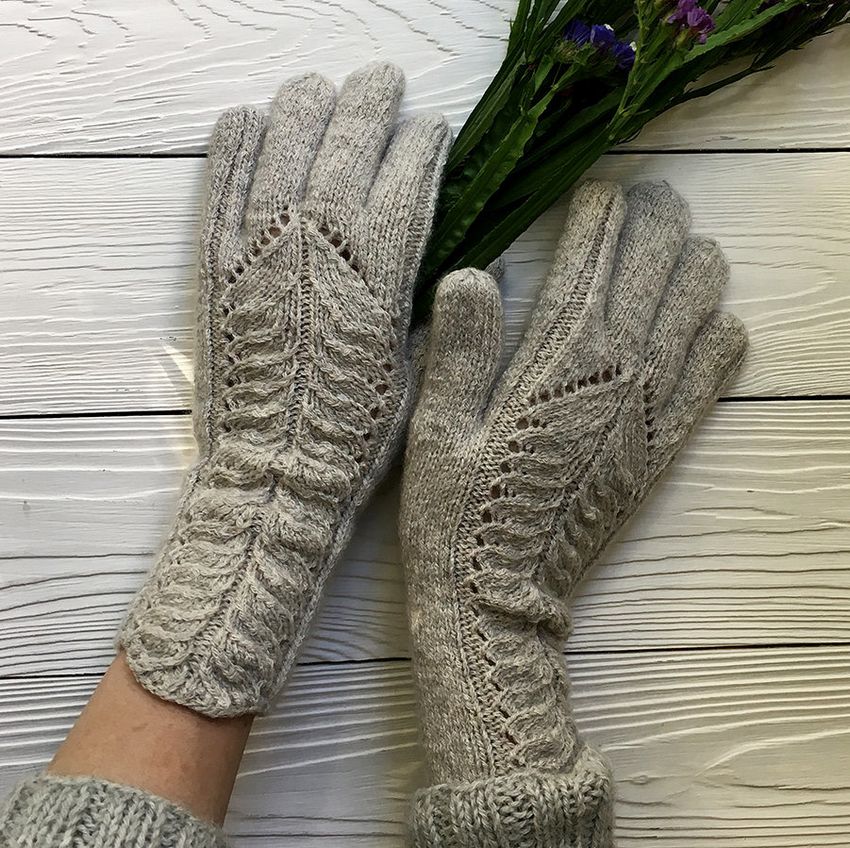
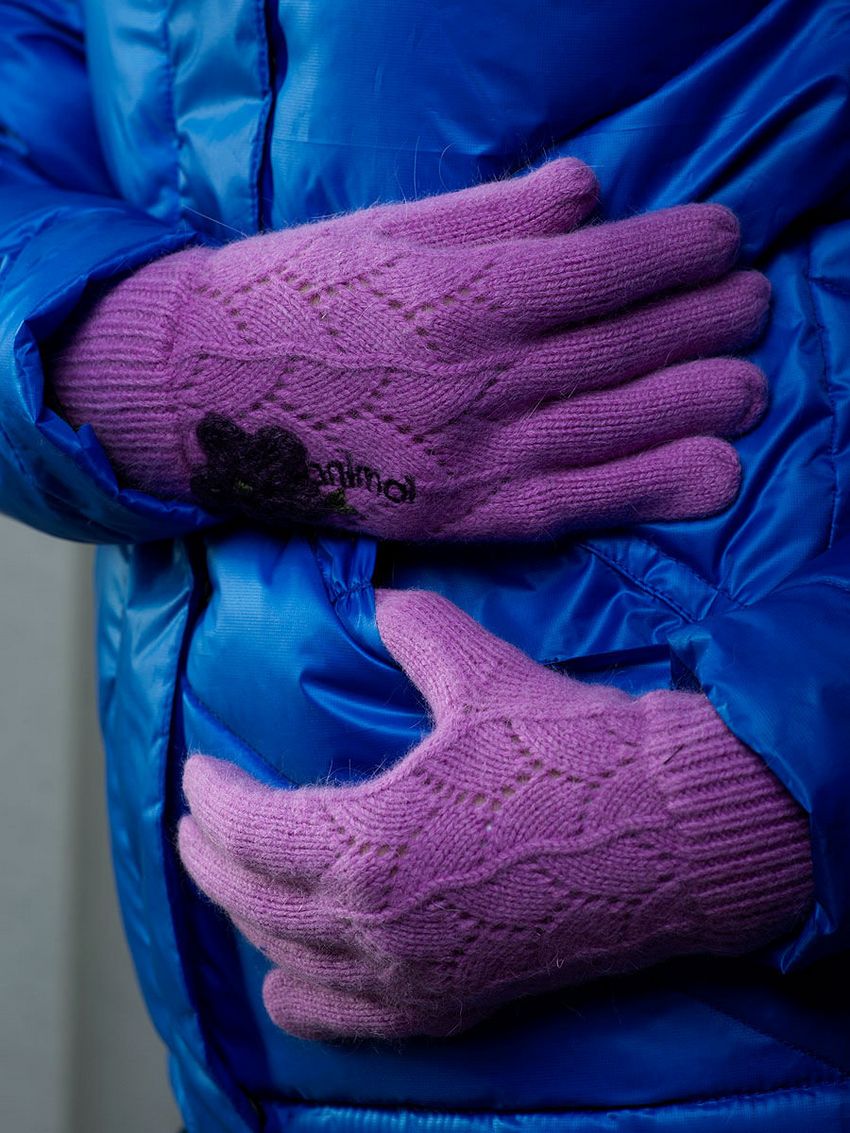
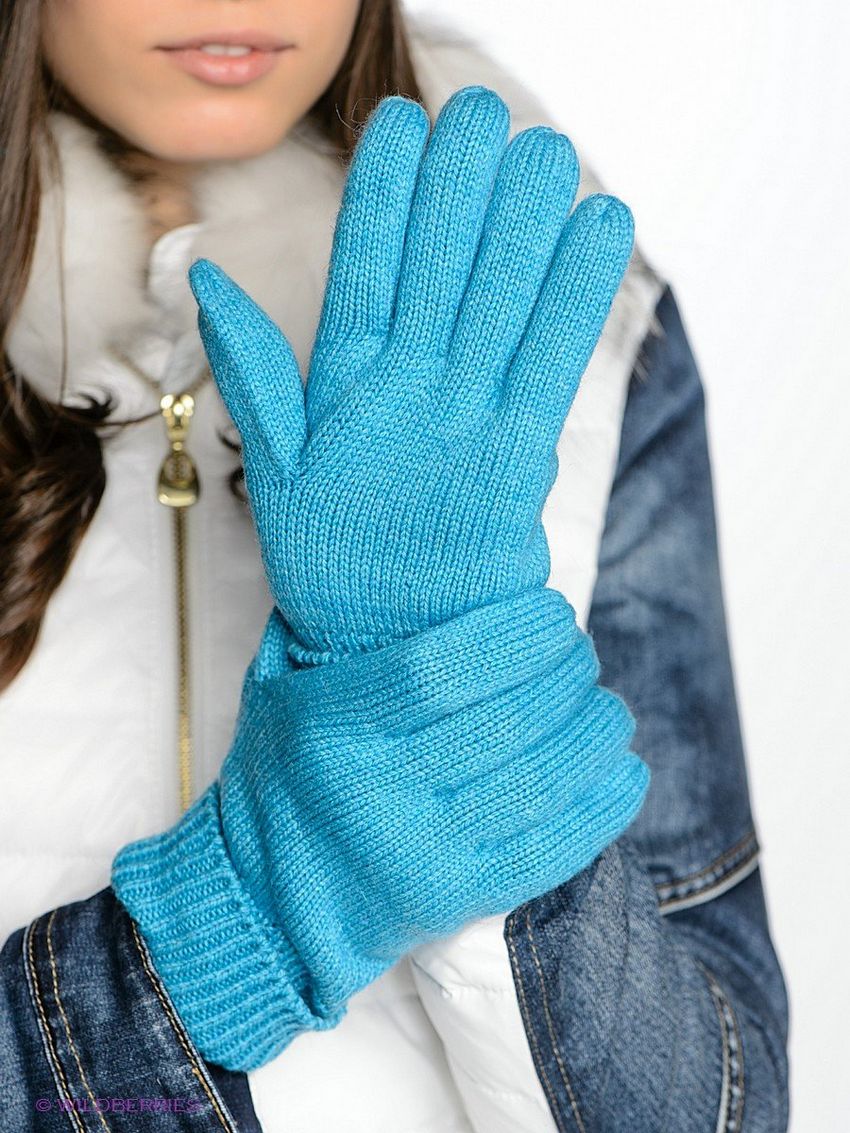
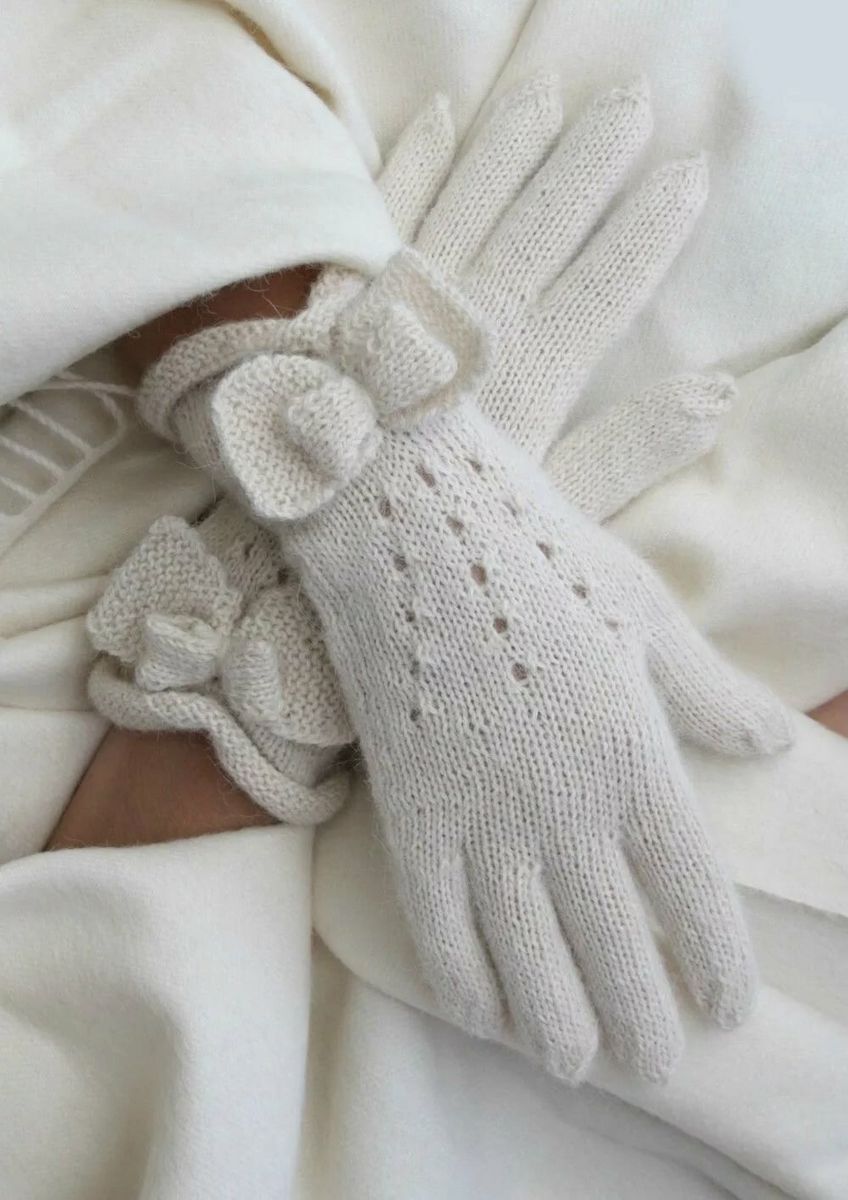
Photo of knitted glove ideas