How to draw a castle with a pencil: bring a fairy tale to life in a drawing with your own hands
The image of a castle evokes the association with something fabulous, ancient and beautiful. At first sight, it seems that to draw it is very difficult for a beginner or someone who can't draw at all. But all is not as terrible as it seems at the beginning. The main thing is to start.
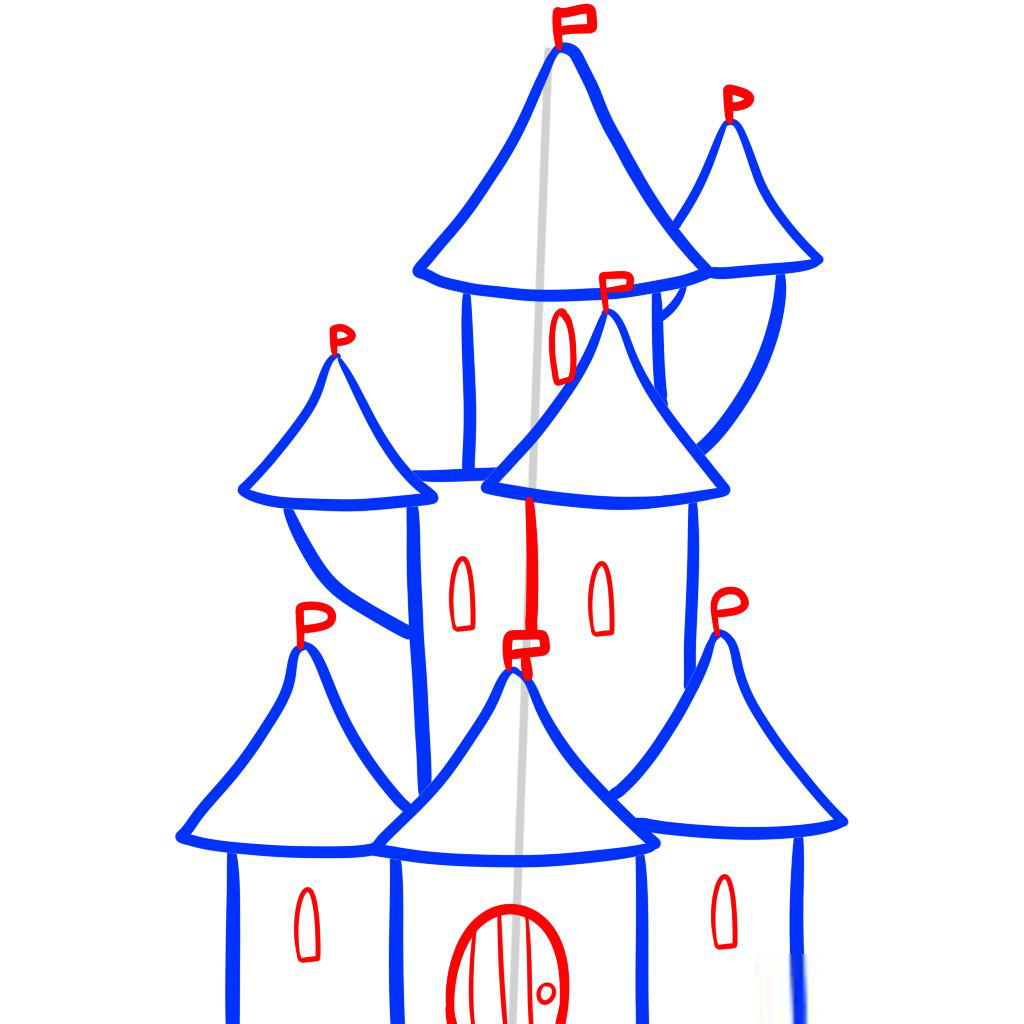
How to draw a castle with a pencil for children
Materials for drawing a castle
Let's try to figure out how, with the help of an ordinary pencil and paper, to draw a castle easily and beautifully.

To create a drawing you will need:
- A4 paper, a sketchbook or a notebook page.
- Pencils are ordinary graphite pencils, it is better to take hard and soft.
- You can use colored pencils and paints if you want.
- An eraser.
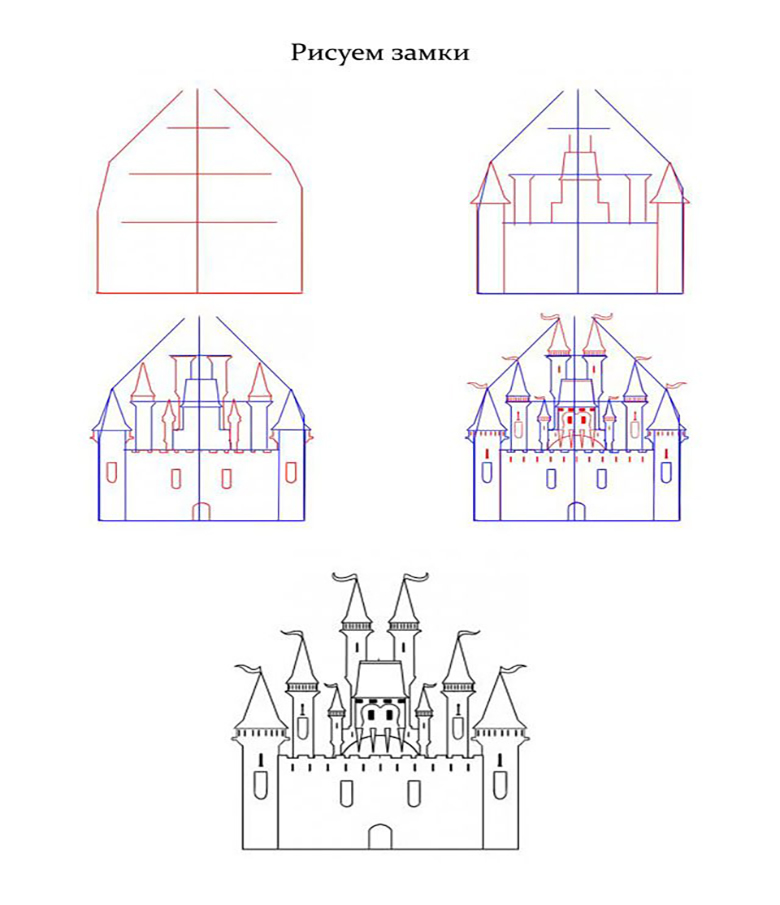
Step by step plan
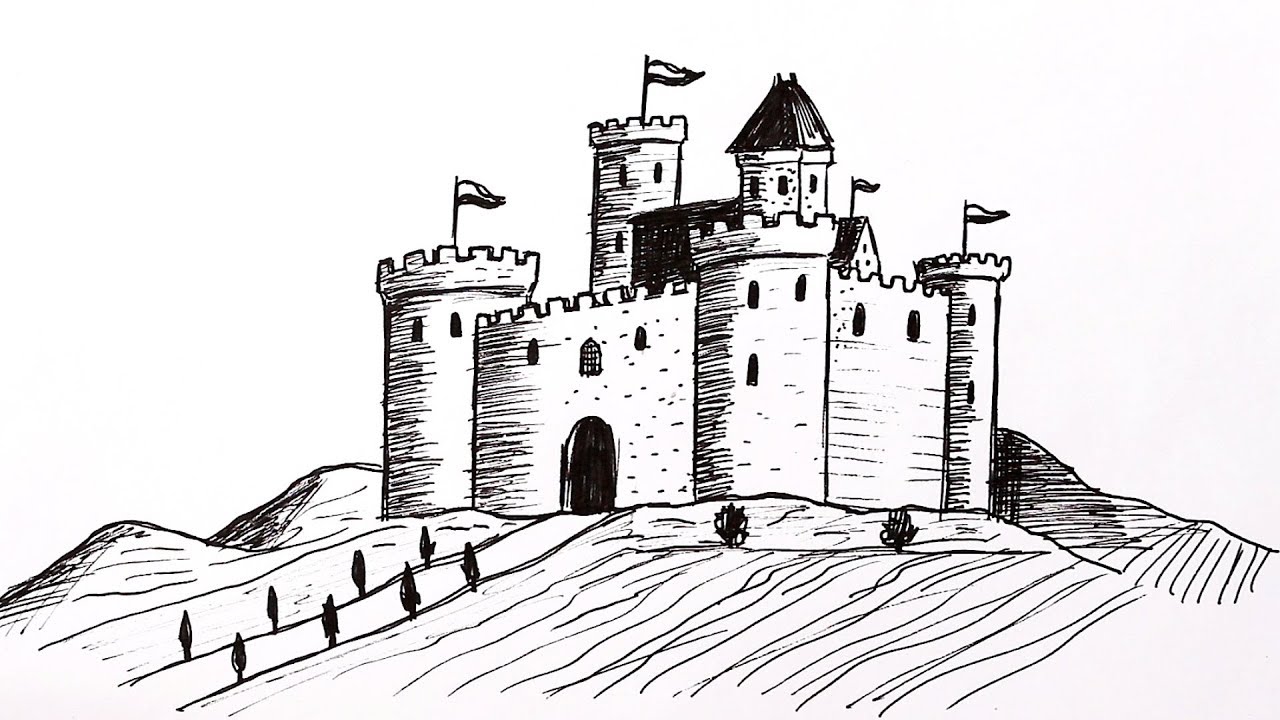
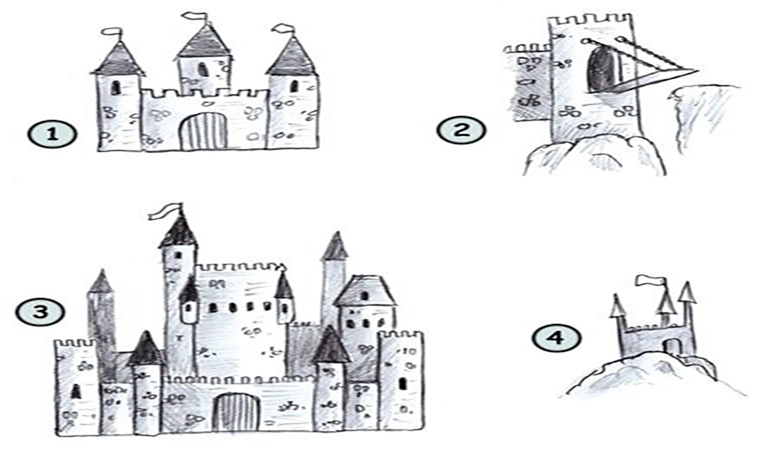
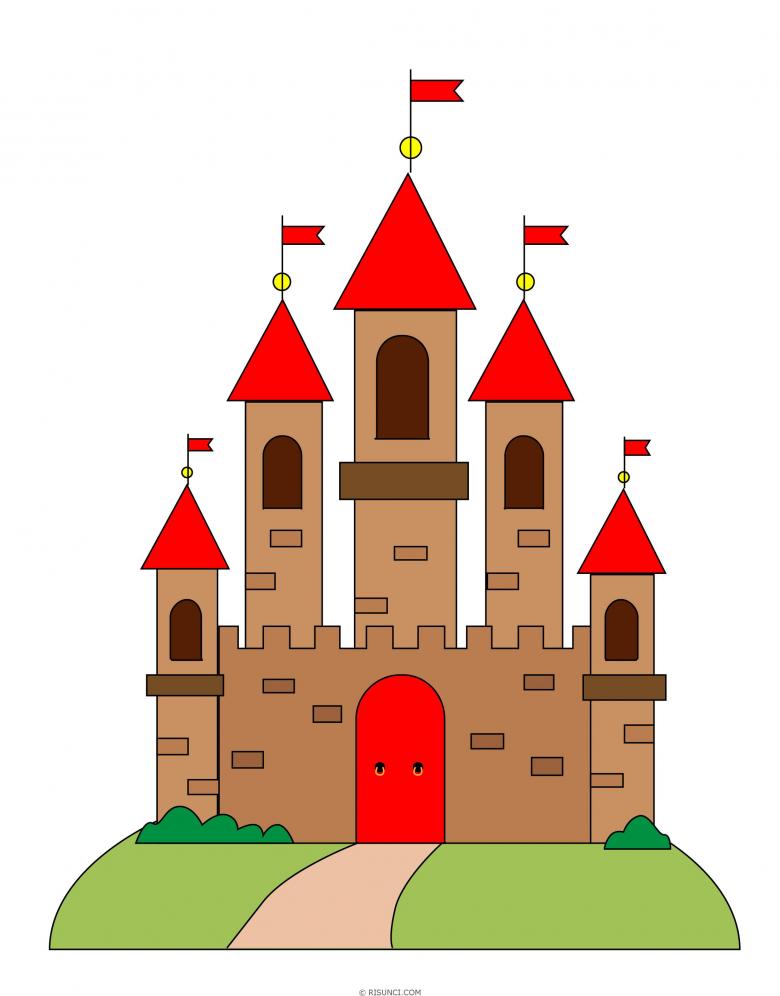
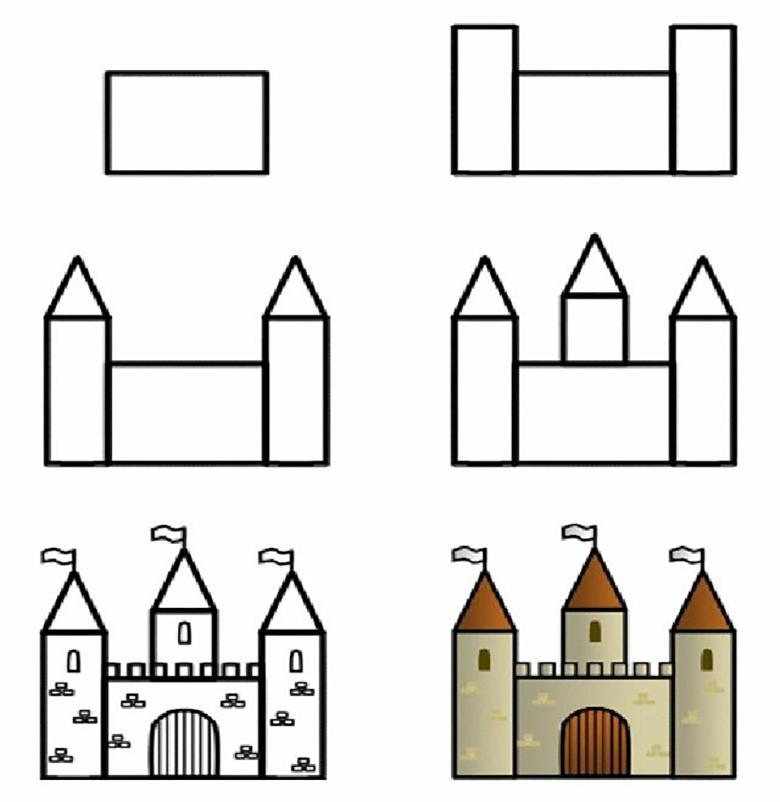
- It is necessary to place a sheet of paper or an album for drawing in a horizontal position. Next, you need to draw a straight line at the bottom of the sheet, which will be the base of the building.
- To the left and right of this line mark two straight vertical lines, and on top connect them with a horizontal stripe to form a rectangular figure.
- The next step is to draw rectangles on the right and left side. But you need to keep in mind that they should be higher than the rectangle in the center. And they should be placed vertically, not horizontally, like the first figure.
- In the center of the whole structure should depict the gate in the form of an elongated rectangle with a rounding at the top - it will be an arch. In the arch, draw vertical lines that will represent the grid.
- On the right and left vertical rectangle mark triangles, which will be the roof.
- In the elongated towers under the triangular roofs draw one arched window each.
- On top of the central rectangle to draw a railing on the roof with undrawn squares at different heights in staggered order. Together they should make up a "jagged" wall.
- Above the wall of "half-squares" in the center is drawn an elongated rectangle with a triangular roof in the likeness of the left and right towers. In the center of this tower structure is drawn a small window also arched.
- Above the three triangular roofs it is desirable to portray waving flags.
- All walls of the building to sketch with randomly placed rectangles prototypes of bricks.
- Horizontal intersecting lines can be drawn in the center of the gate, which will make the grid more solid. The arch itself can be outlined in bold to give it a more robust appearance.
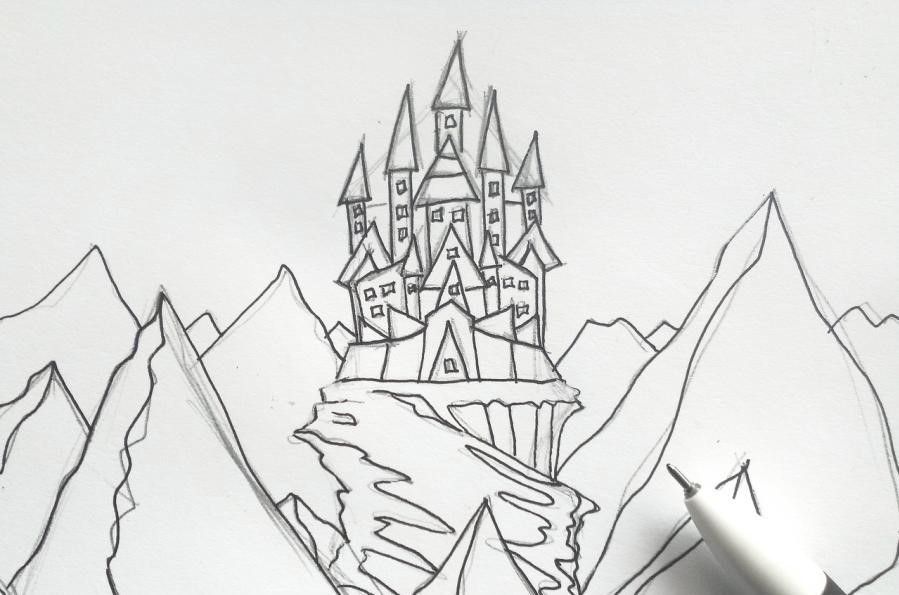
- Next, the environment around the castle can be depicted according to your imagination: a hill or a road leading straight to the gateway may well be located below it. It would also be quite appropriate to depict the sky with clouds, trees and shrubs around the magical structure.
- Colors, or colored pencils acceptable to give a colorful drawing, the castle itself to depict the gray shades, the road beige, brown or gray color, if it is a road paved with stones. The nature around can be depicted both in realistic colors, and you can give free rein to your imagination, especially if you are drawing with a child.
You can draw smaller elements, shadows, and nature based on this drawing. This lesson can clearly demonstrate how to draw a castle of a knight, a princess or an entire royal family. Such a lesson can be very interesting for children, as it awakens the imagination and immerses them in the world of a fairy tale.
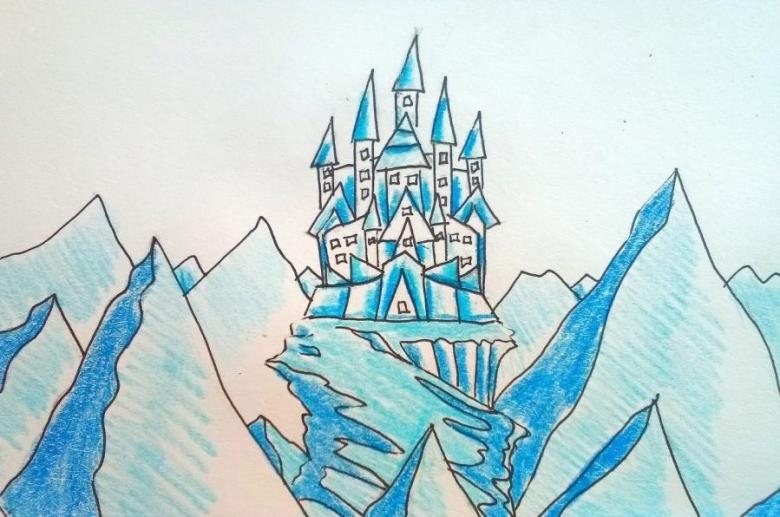
Step-by-step lesson on how to draw a snow queen castle
This option is a more complicated type of drawing, but it is worth your attention, as the castle will turn out more complex and creative.
What you will need for the work
In this lesson will be used paints - watercolor. They are diluted with ordinary water and do not require special chemical thinners.
For drawing, as well as in the previous version, you will need thick paper A4 for watercolor, a pencil regular HB (hard-soft), brushes: squirrel or synthetic, watercolor paints, a glass with water.

Step by step drawing
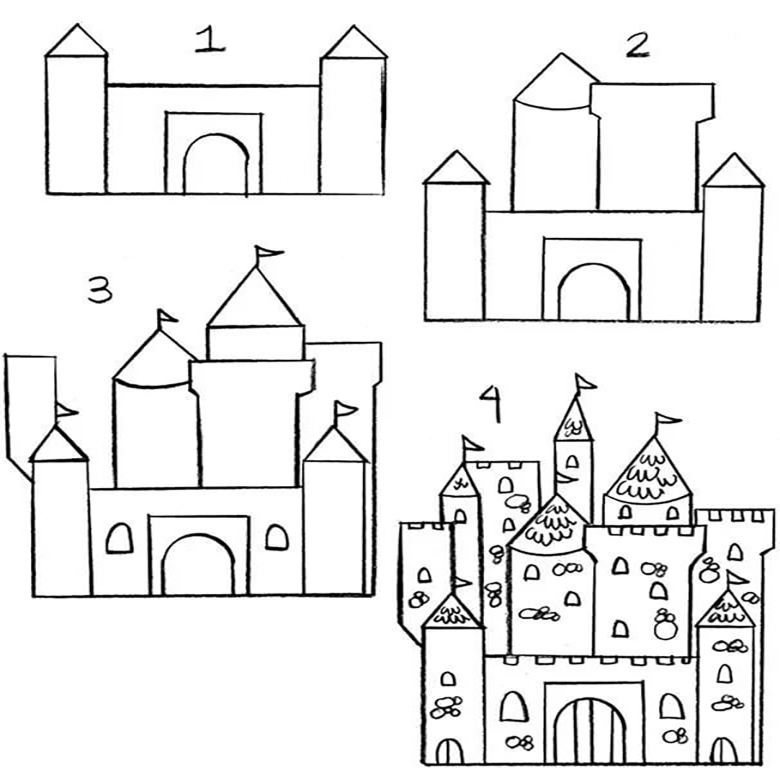
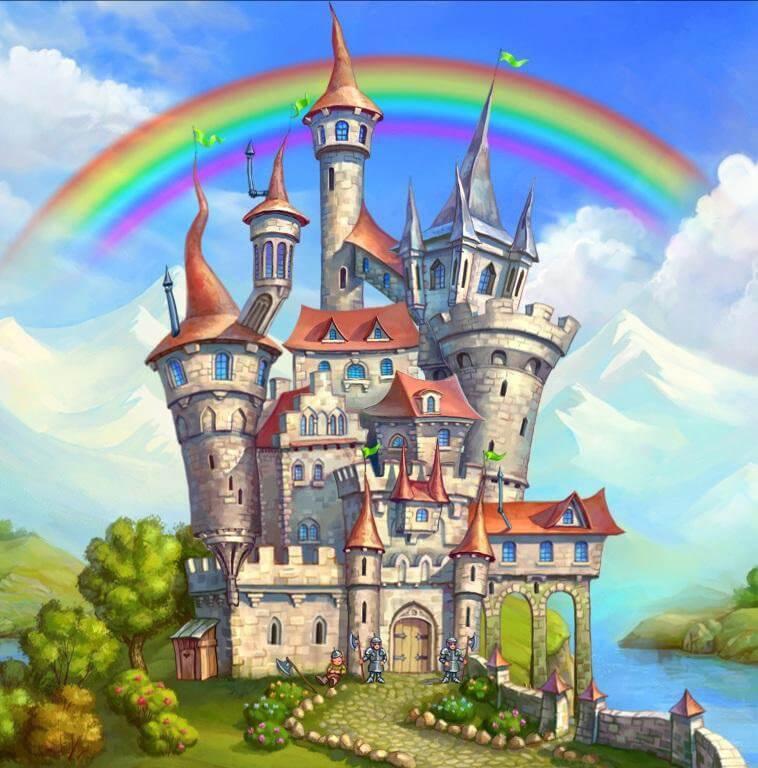
- Before doing the work, it is better to take any image of a castle, but it is better to take a picture with more pointed elements of the construction, because this is the castle of the Snowy cold unapproachable queen.
- At first you should outline the castle with an ordinary pencil. It is better to be guided by a sample when drawing. On the left side of the sheet you should draw a rectangle and a triangle with an acute angle on top. The triangle will represent the roof of the tower. Pencil should not be pressed too hard, so as not to get too bold outlines. Because when drawing with paint, too thick pencil outline will be smeared.
- The tower is drawn in the center, but higher and wider than the previous one. On the right side a tower is drawn about the same size as the first tower. To the left of the first tower is a smaller tower.
- The resulting structure should look like elongated crystals with pointed tops.
- At the bottom of the building a horizontal line is drawn, which will be the base of the castle.
- In the center there is an entrance in the form of a rectangle with a rounded top, the so-called arch.
- Next, you need to outline the roof with thicker lines and the main walls. On the left and right towers, zigzag lines on the walls should be drawn evenly. Make a so-called peculiar ornament, which will give the castle creativity and rigor.
- Above the central arched entrance, sharp peaks resembling the back of a throne are depicted. Sharp shapes, some kind of spikes or ice blocks are drawn on the roofs of the towers.
- Triangular windows are added to the side towers. Virtually all the elements in this drawing must be made with sharp shapes to give the image that the structure is made of ice blocks.
- You get a complete image of the castle, made with outlines.
- The next step is to create the environment around the castle. It is better to depict the road, sky and hills. It is better not to paint vegetation as this is a castle of Snow Queen and there can't be any plants around it.
- Next, we should give the castle some color. For this, we use purple, blue, blue and grey shades of paint.
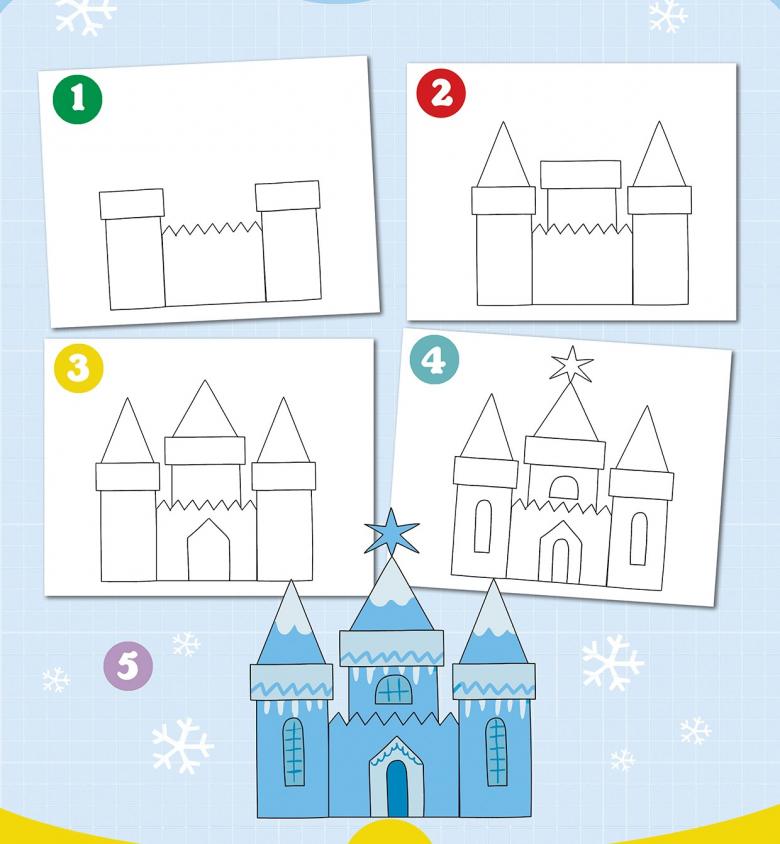
Cold colors give even more rigor and coldness to the home of the Snow Queen. The advantage of watercolors in this work is that they, with the help of water, are diluted to the desired transparency and the finished picture looks like color transitions on an ice floe.

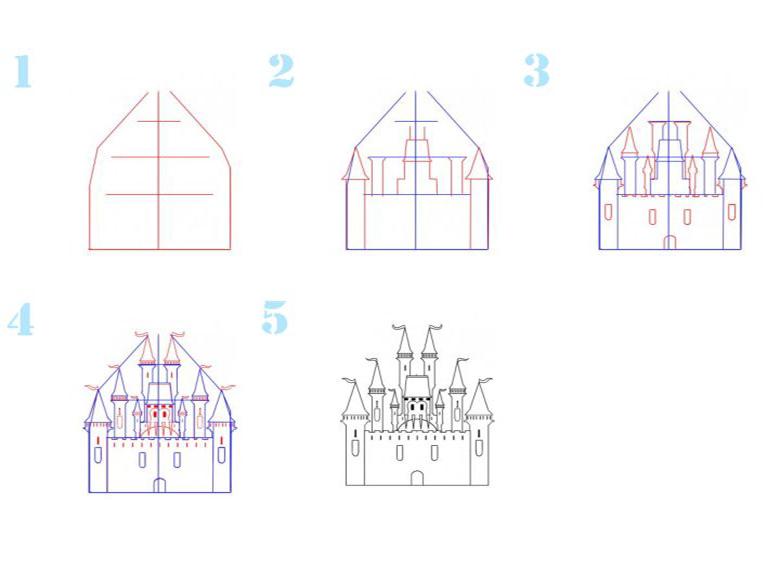
Drawing a Disney castle
By the same analogy, you can learn how to draw a Disney castle. Prepare an image of such a castle in advance. The order of actions is similar as in the previous options, but it is better to be guided by the original image of the castle of Walt Disney.
Only the silhouettes of such a castle are rounded, not pointed, like the castle of the Snow Queen. It can be depicted as a pencil and shading, as well as painted in the company blue and lilac colors, or in any shade you want, because it is a creativity, and in it you can do almost anything.
Thanks to the work done, we can conclude that anyone can learn to draw even seemingly complicated things. The examples given in the text can be changed to make the castles more sinister, or on the contrary, pink and cute. All in your hands, it depends on your imagination or imagination of your child, who obviously will like this activity.

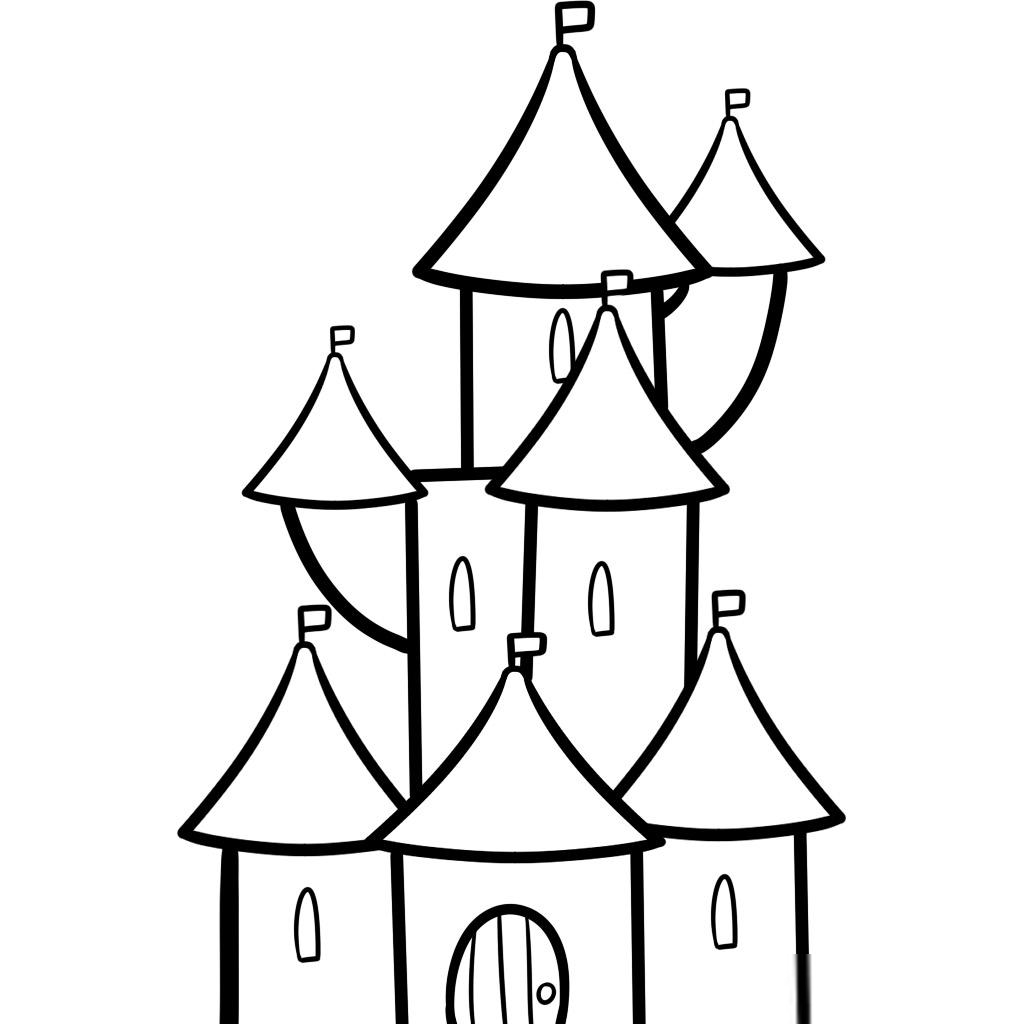
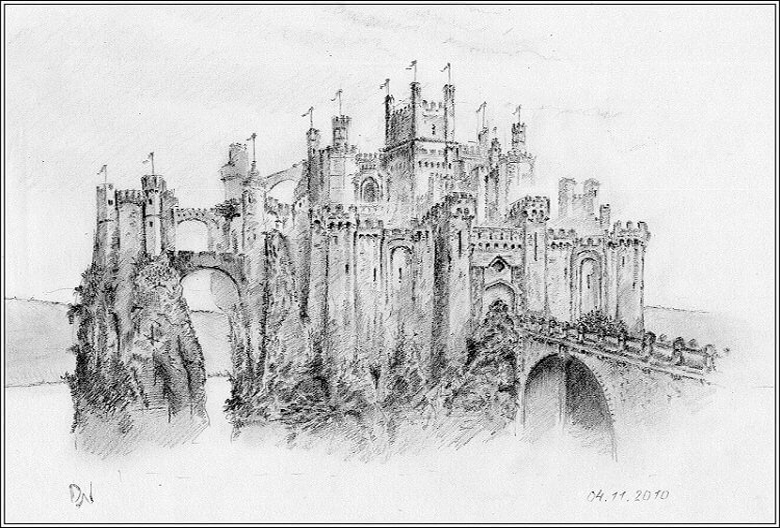
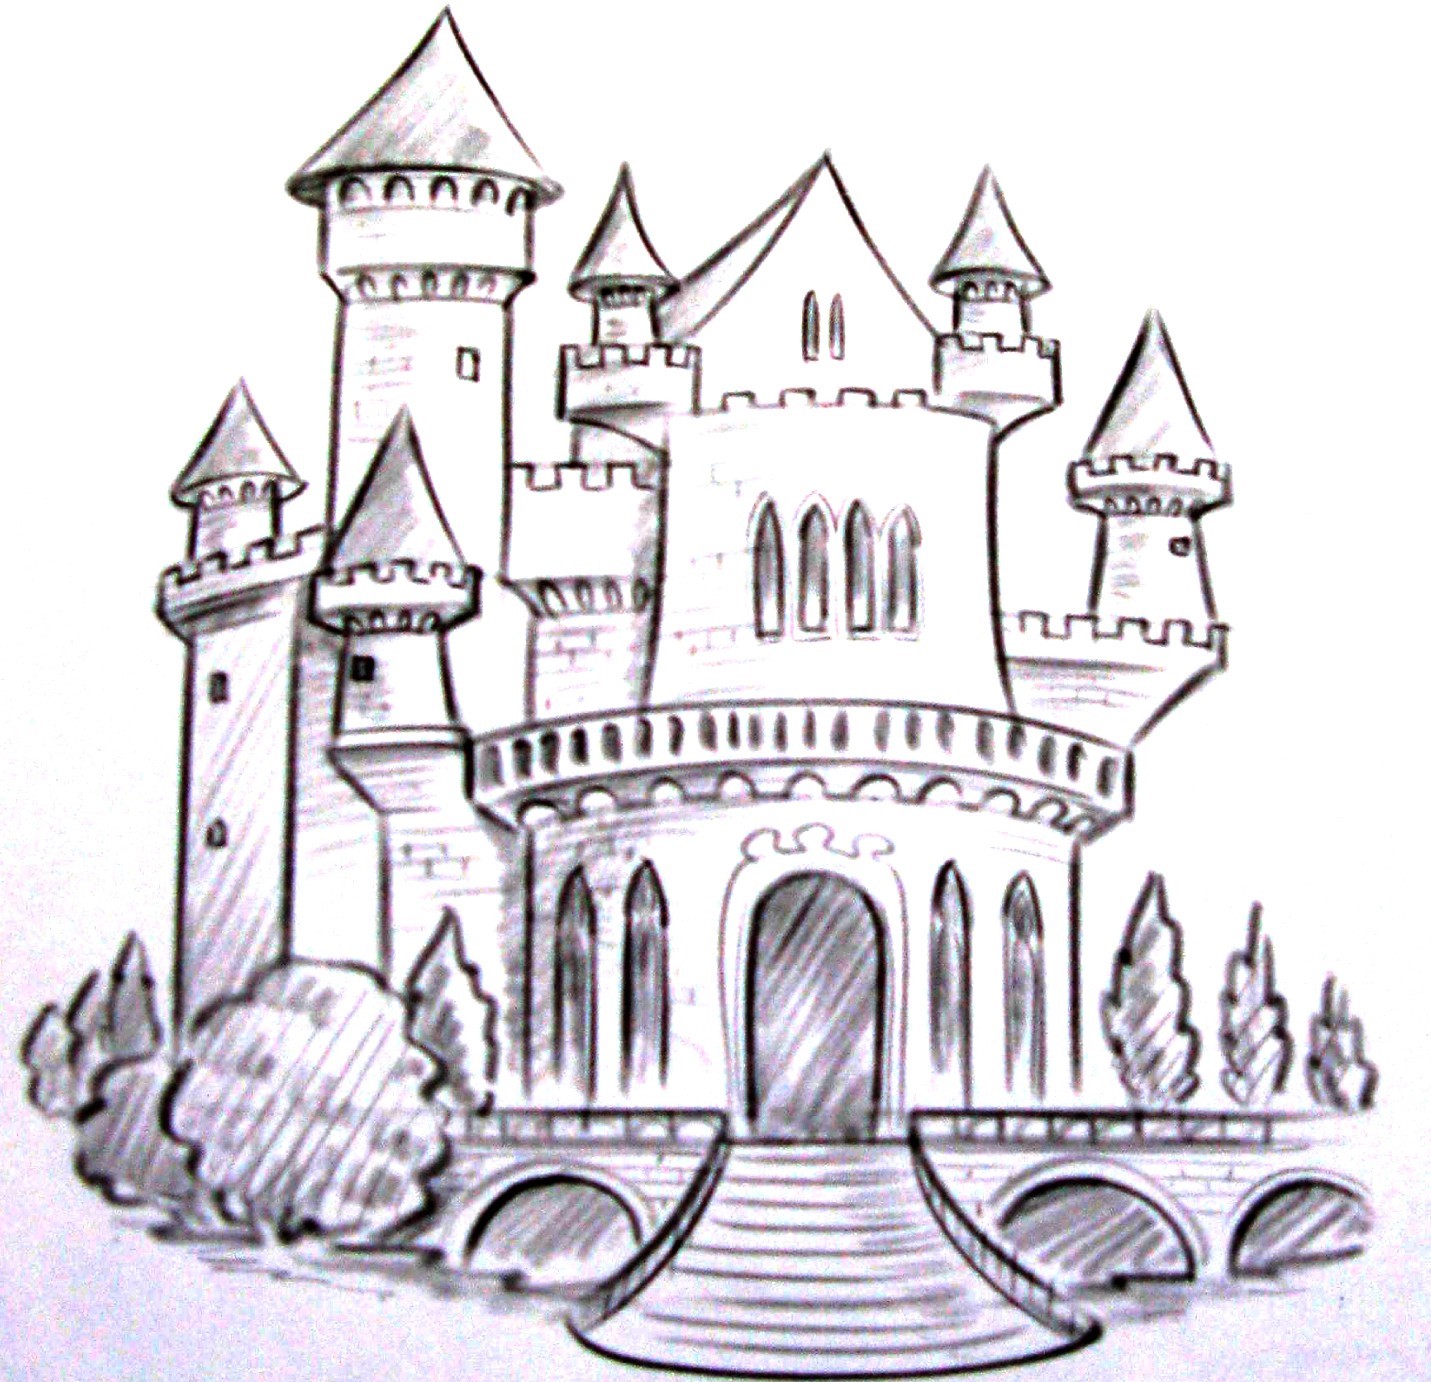
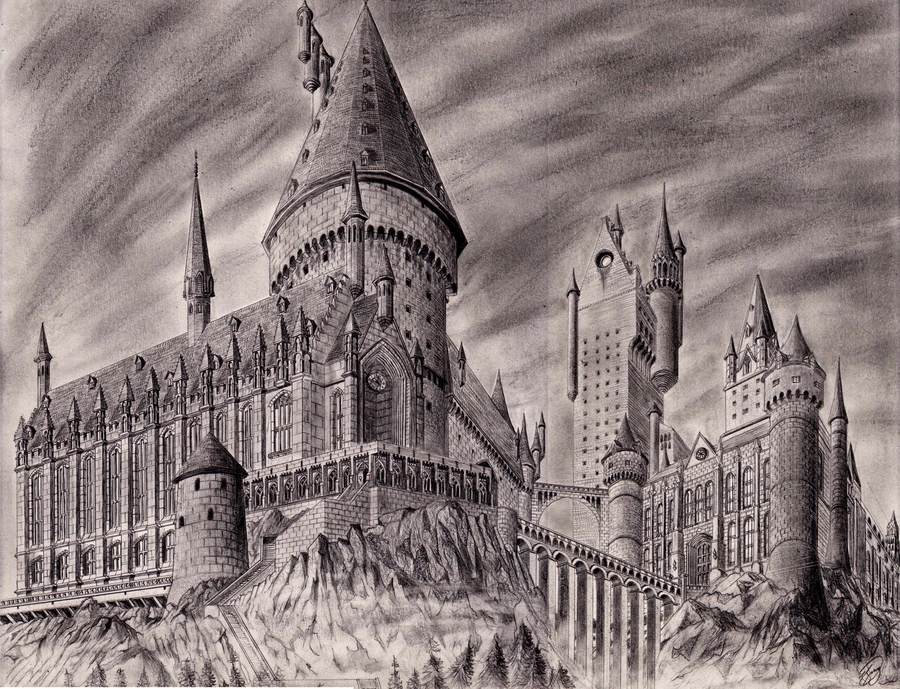
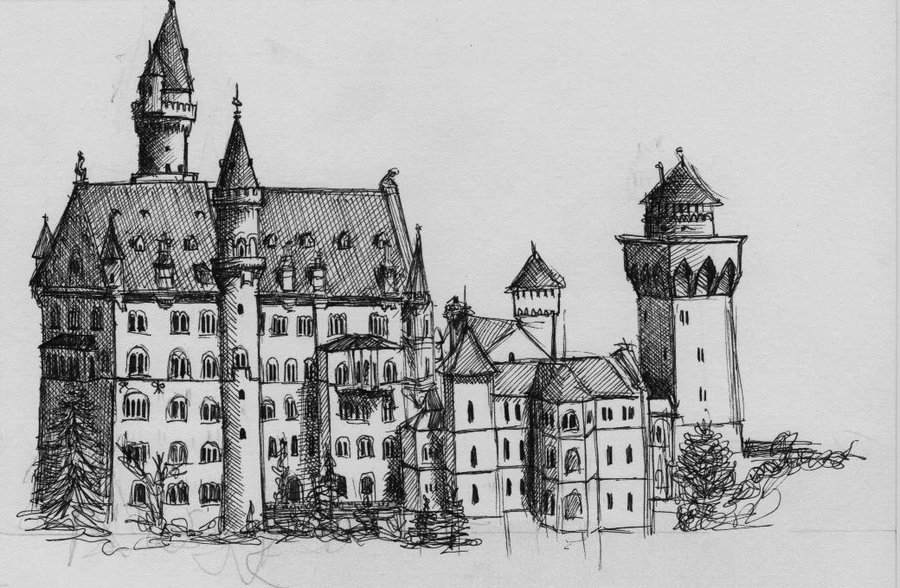
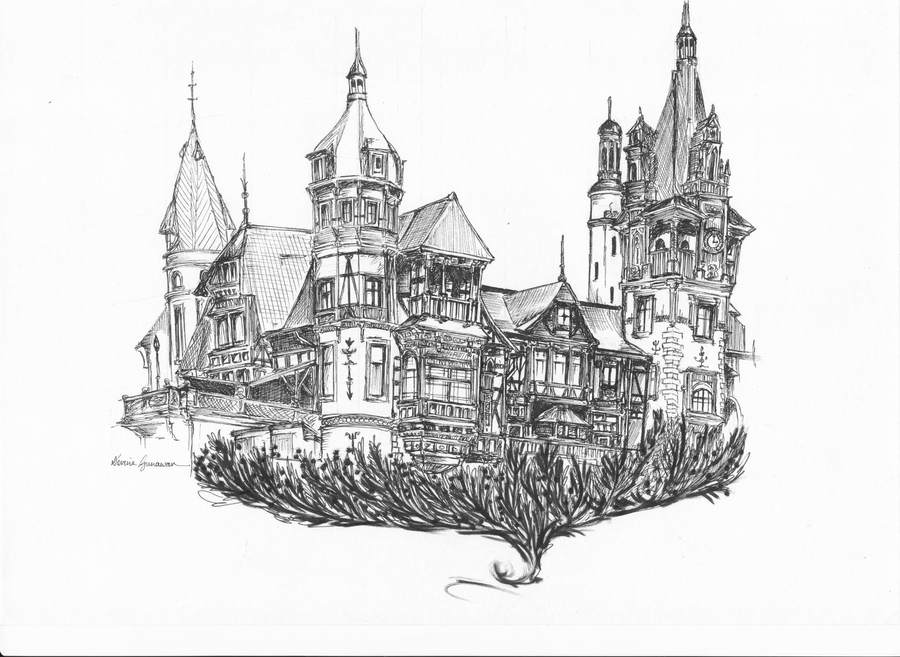
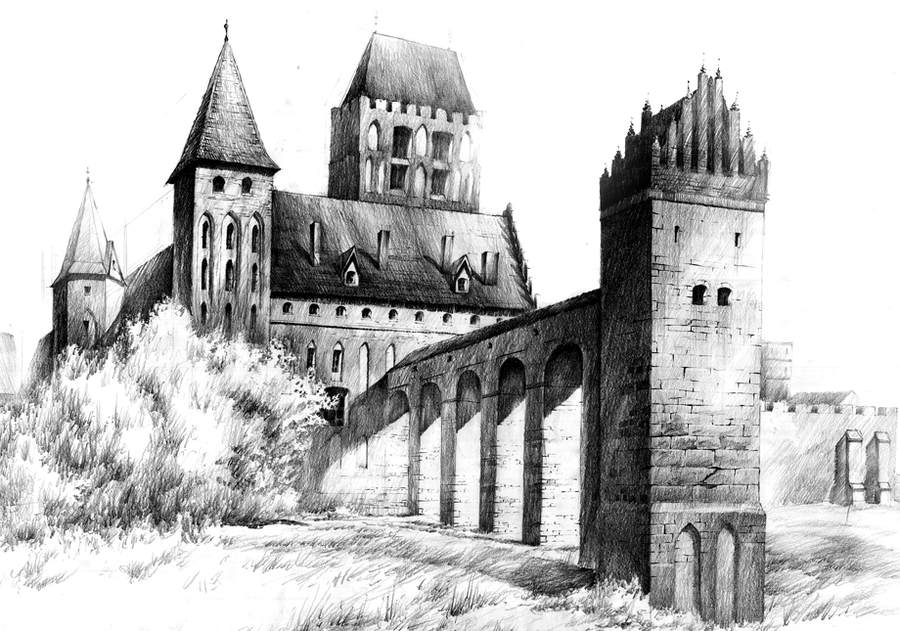
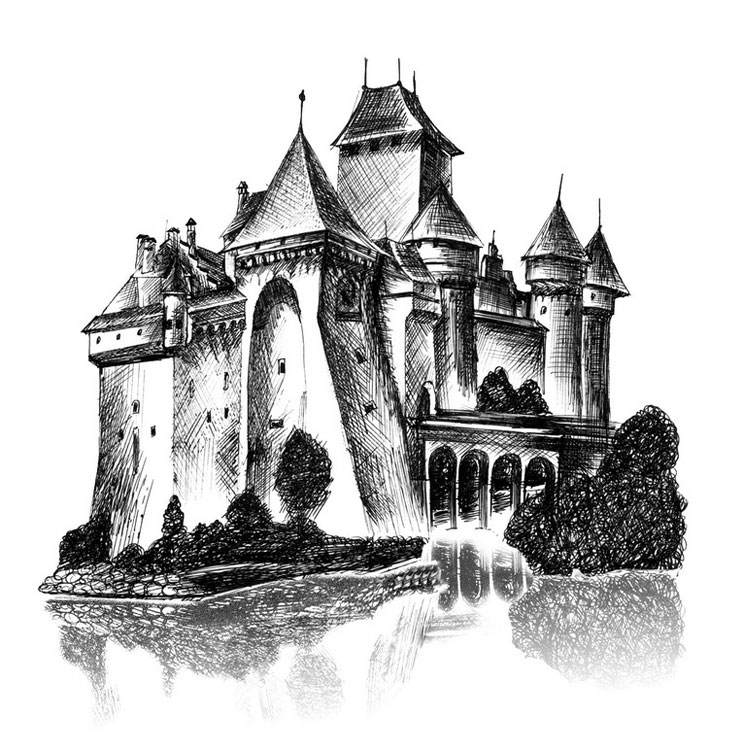
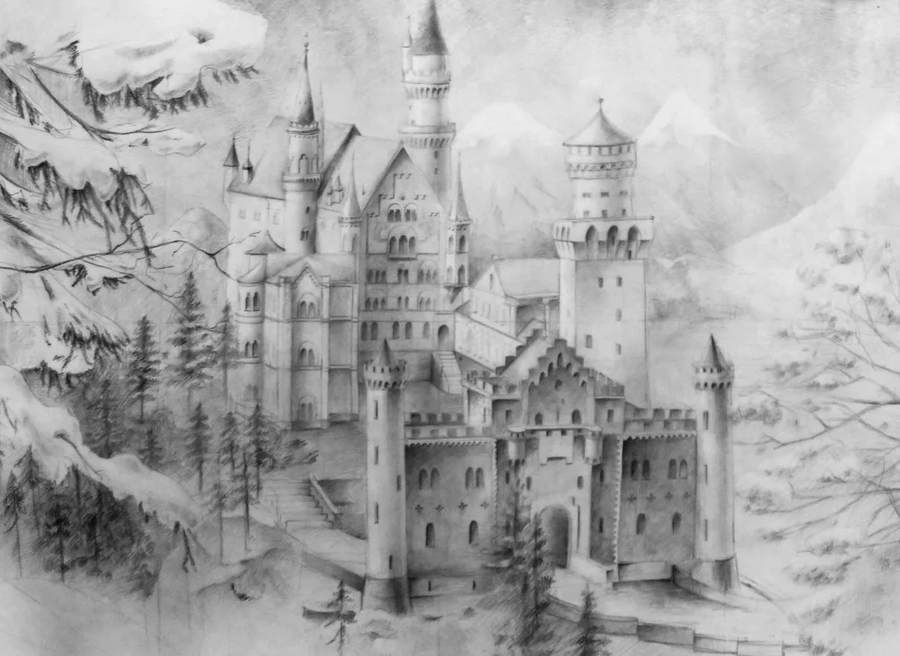
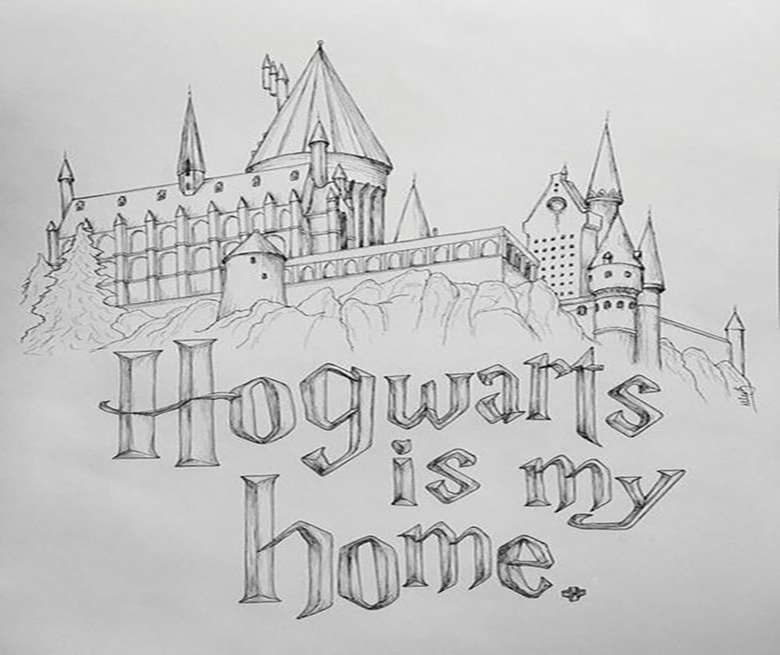
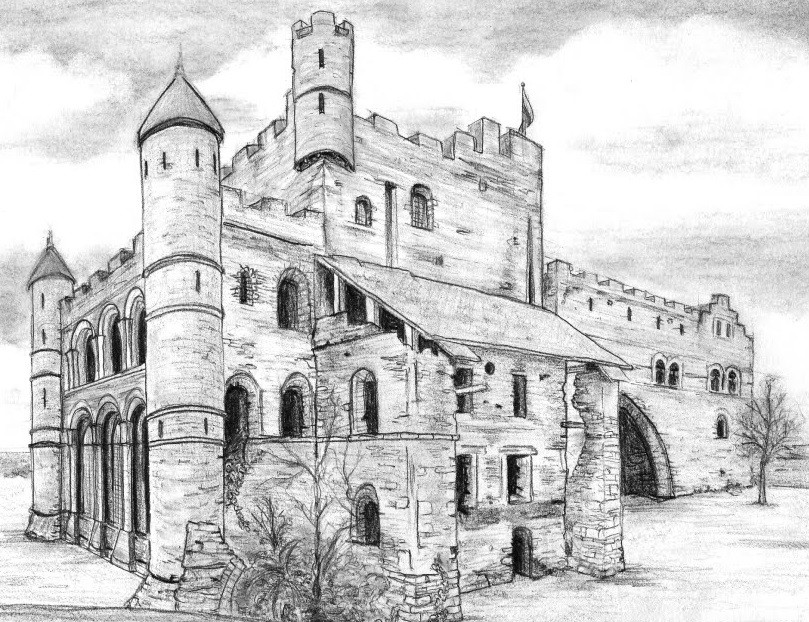
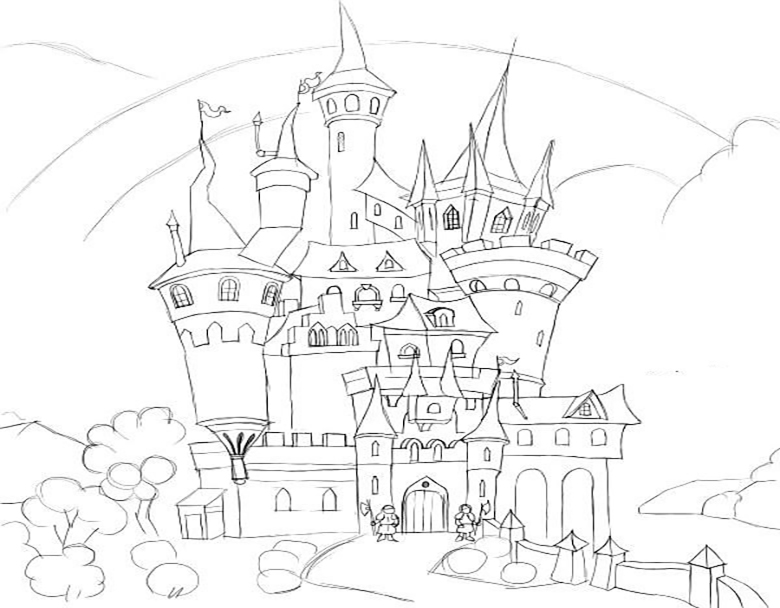
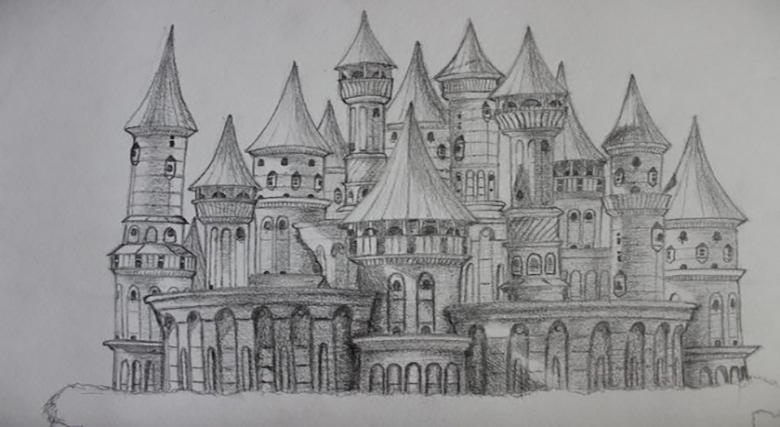
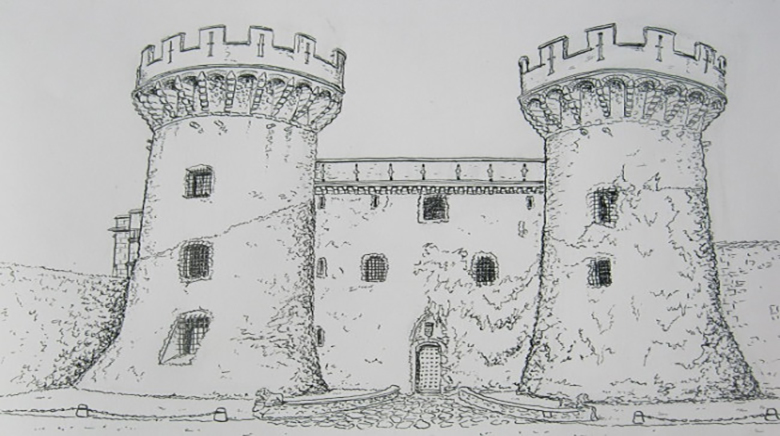
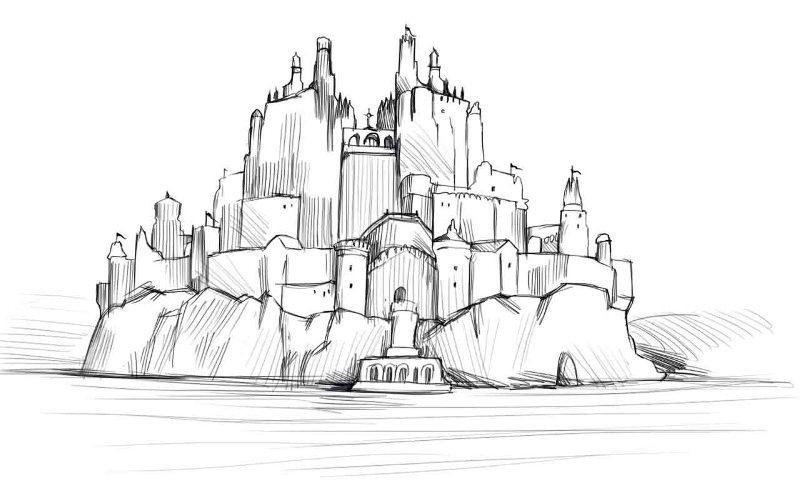
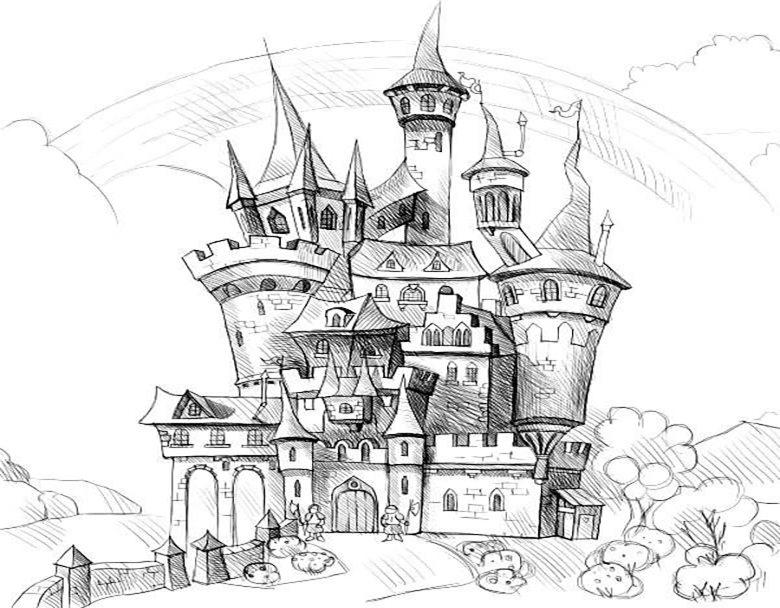
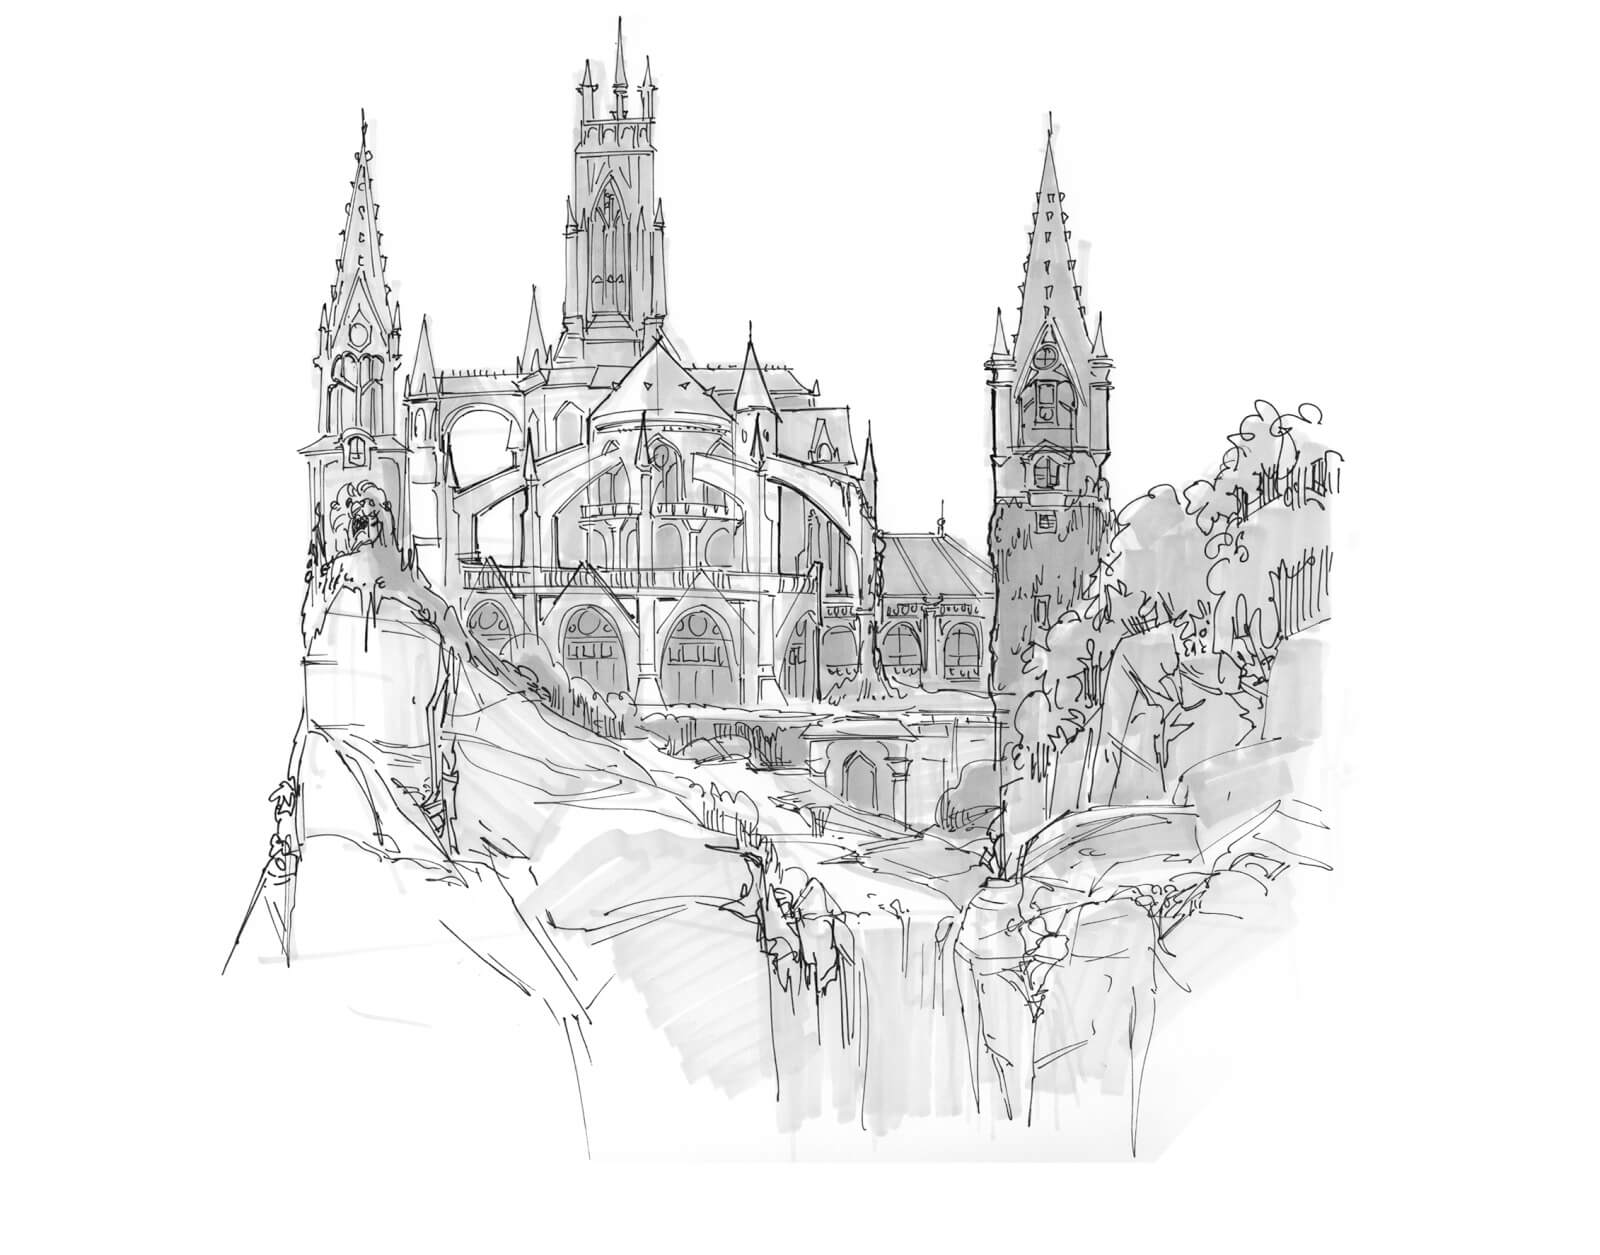
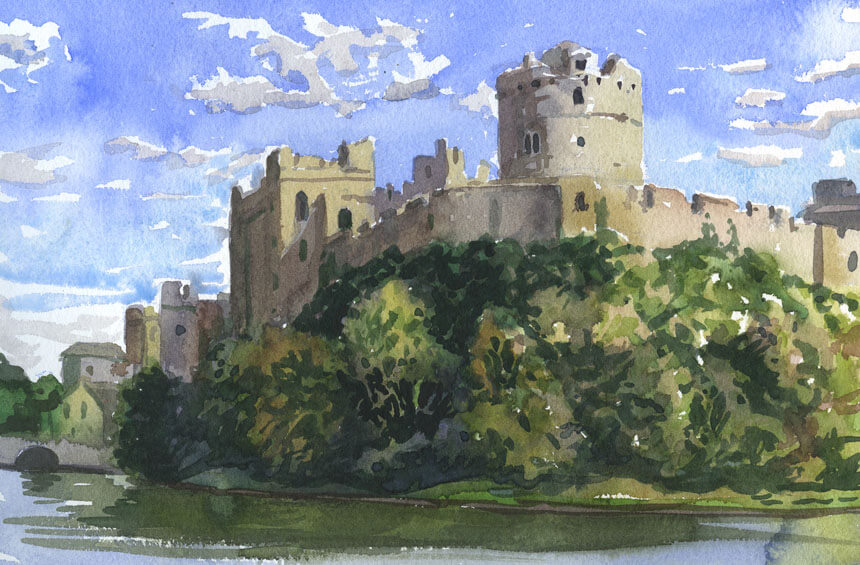
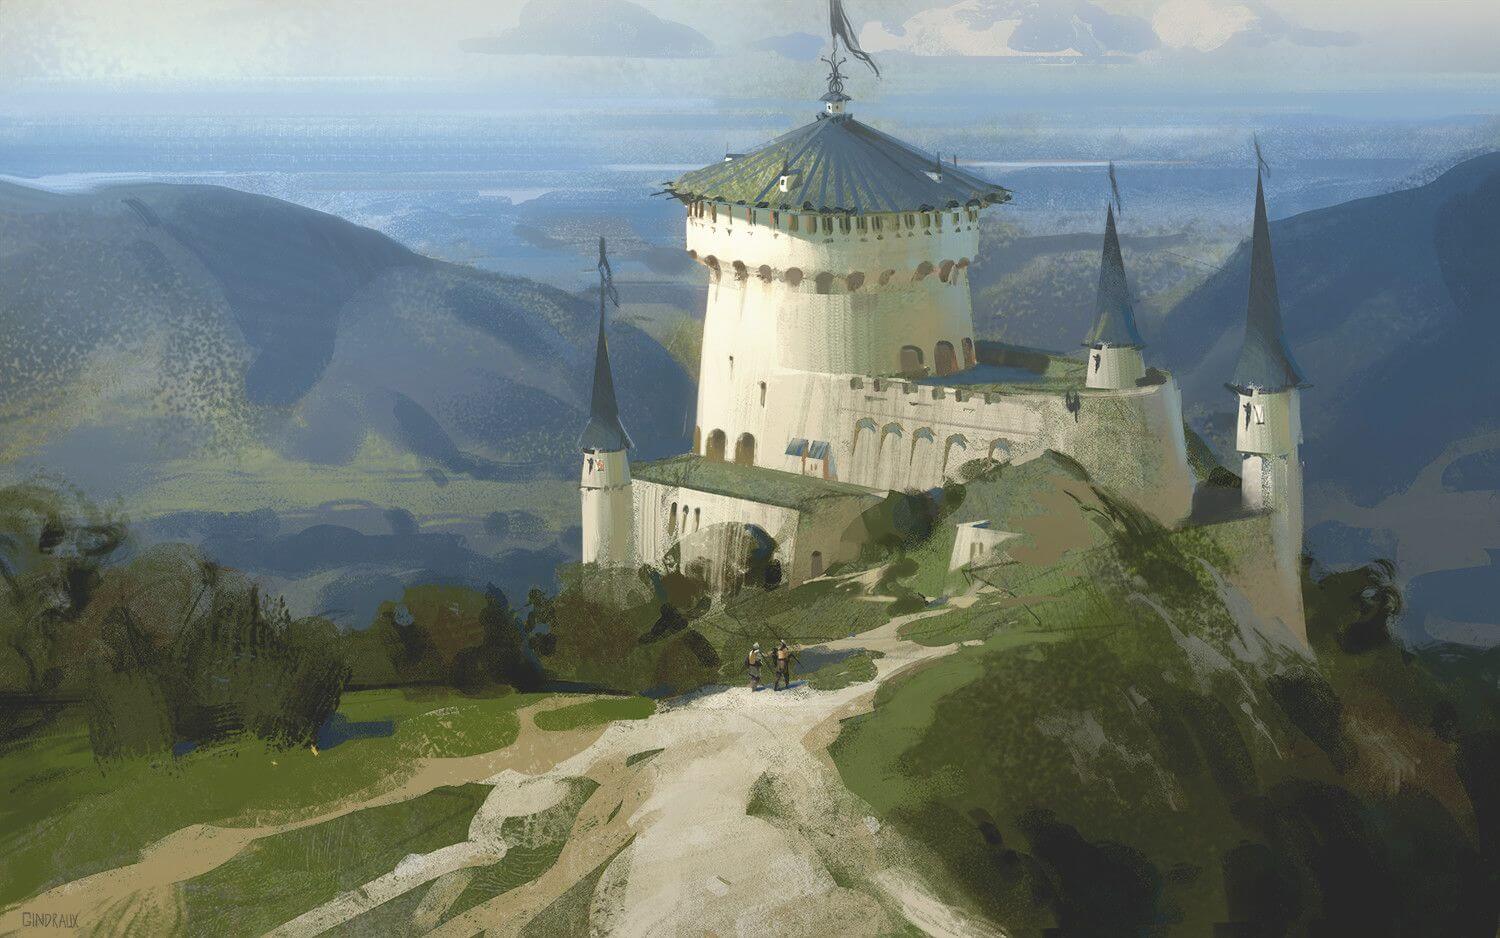
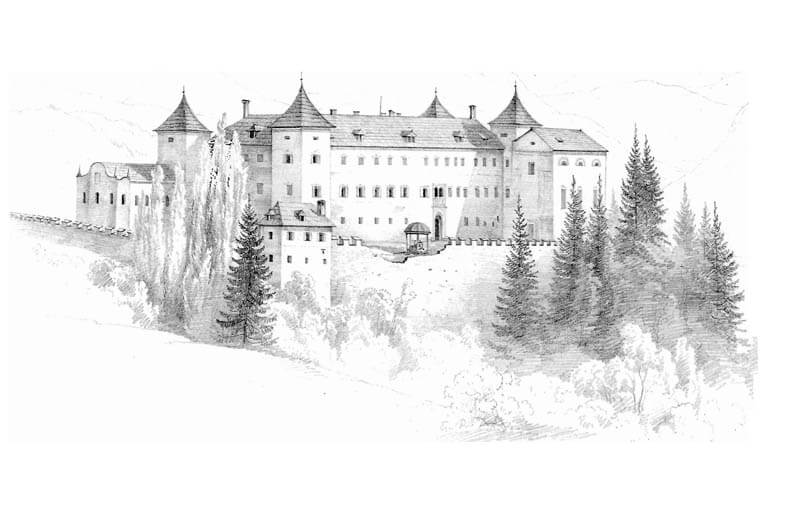
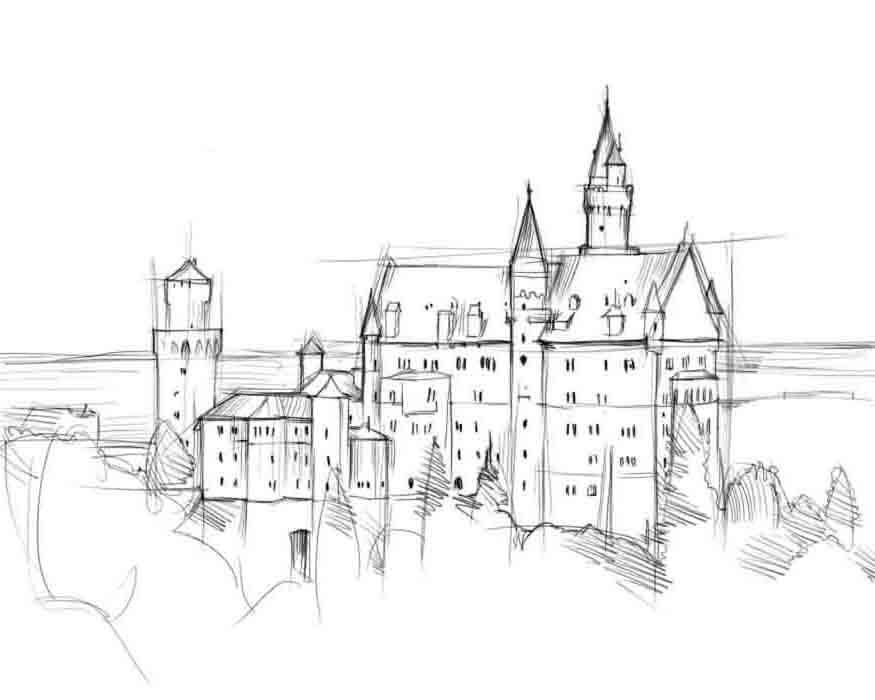
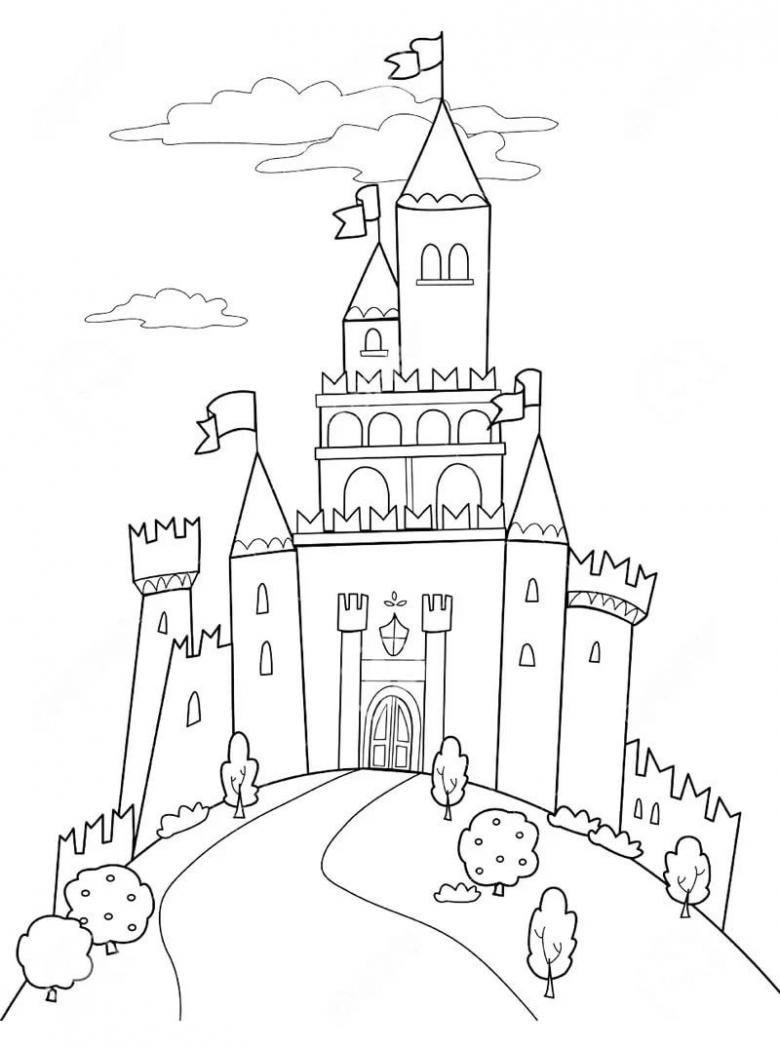
Pictures of castles for sketching in pencil