Handmade greeting cards for February 23: beautiful and interesting cards (77 photo ideas)
Postcard for February 23, made by your own hands, is a great gift with special energy, because the giver puts a part of the soul in his masterpiece.
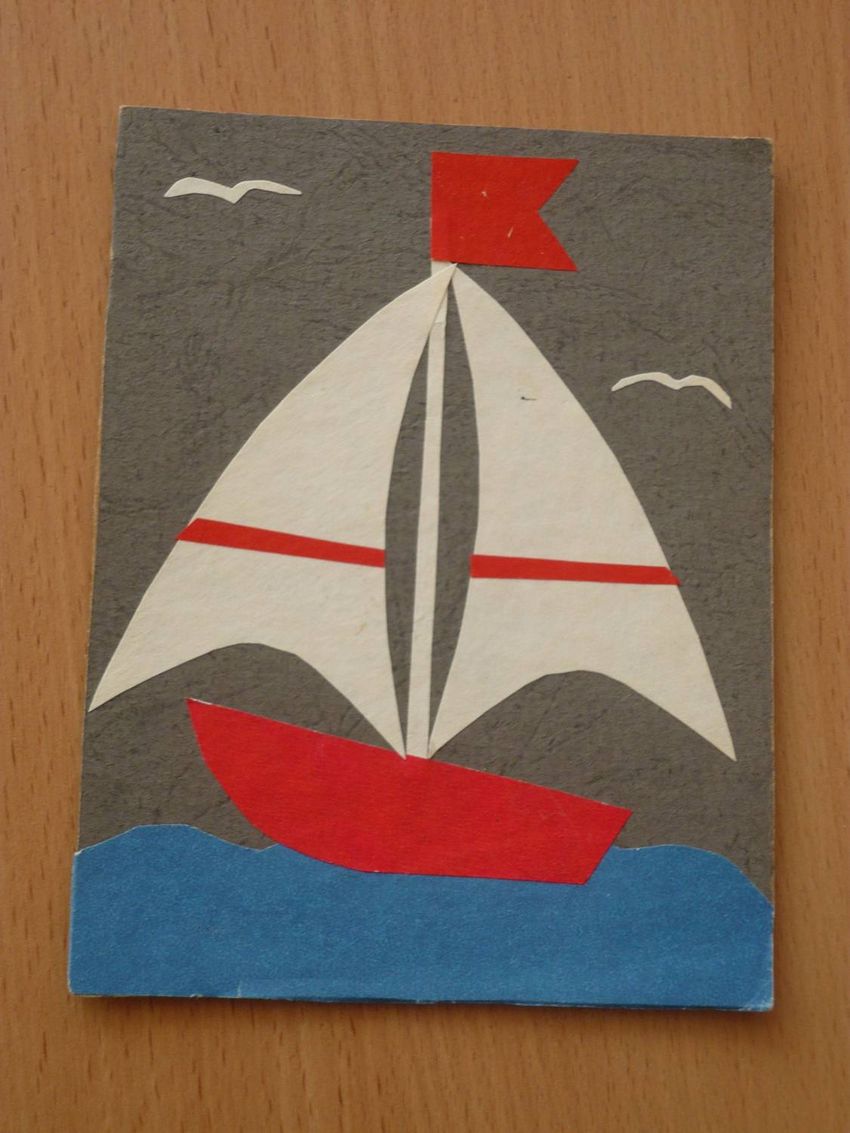
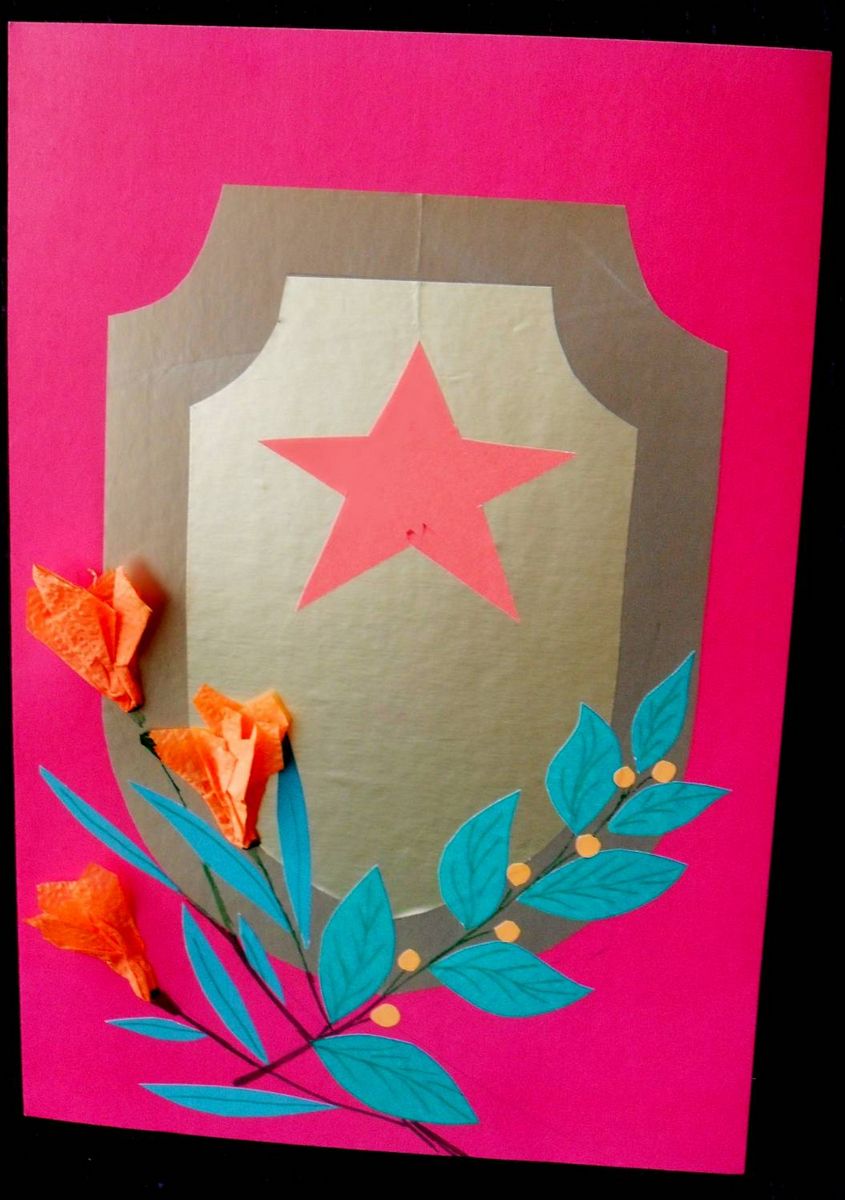
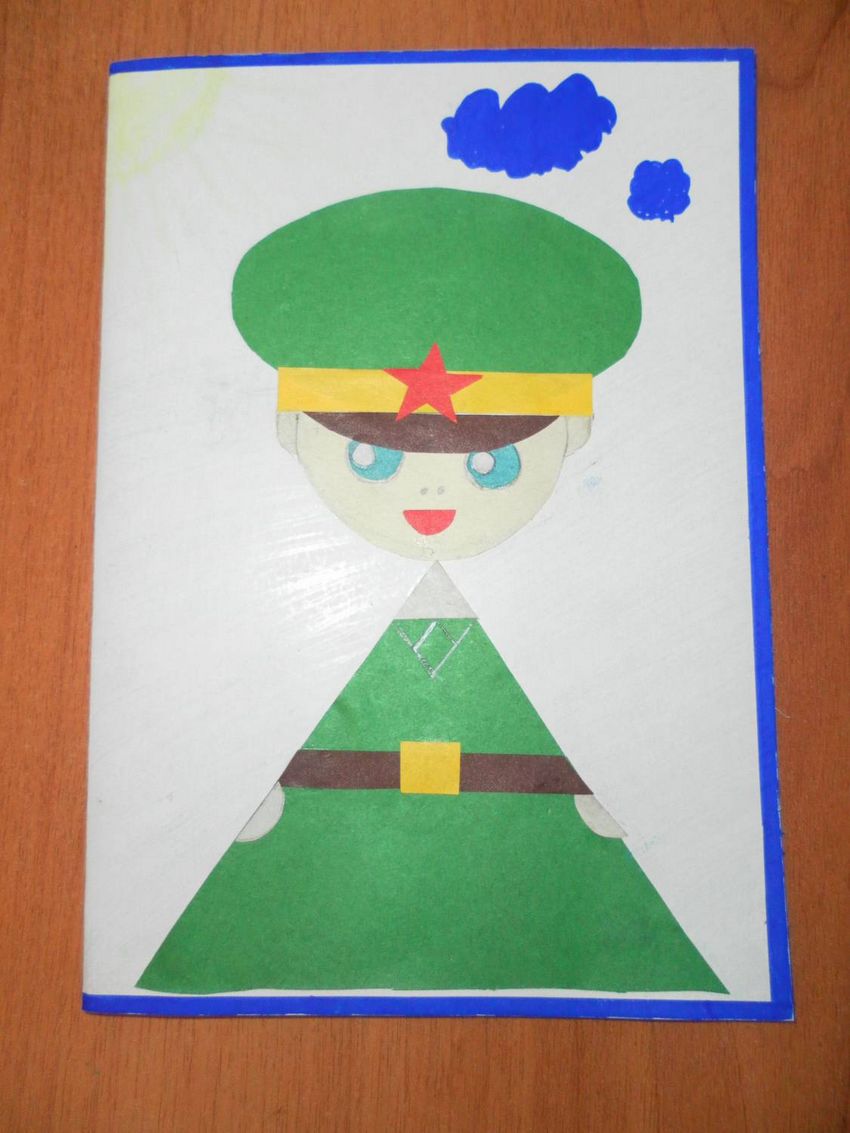
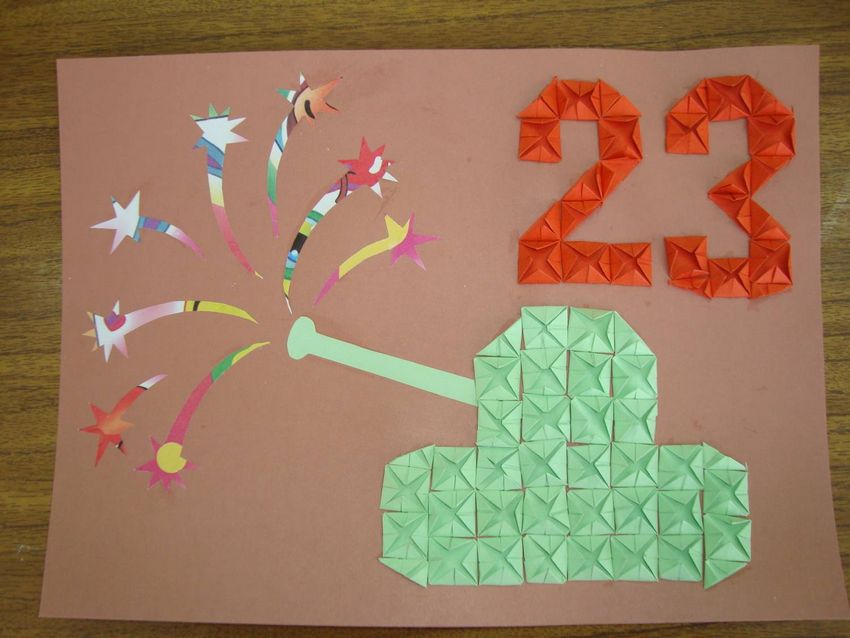
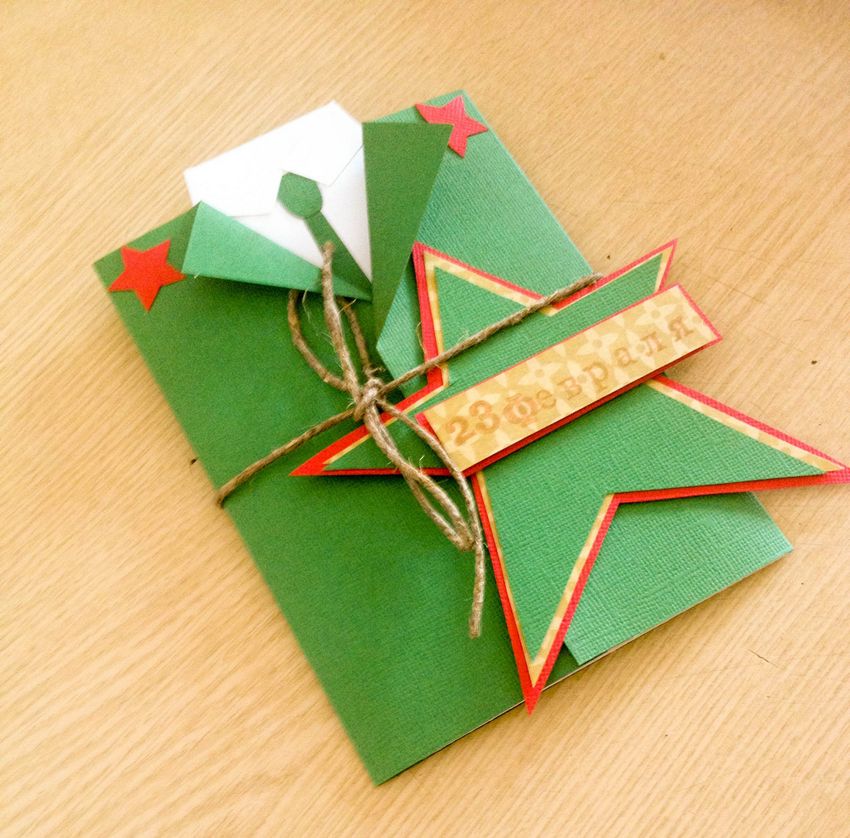
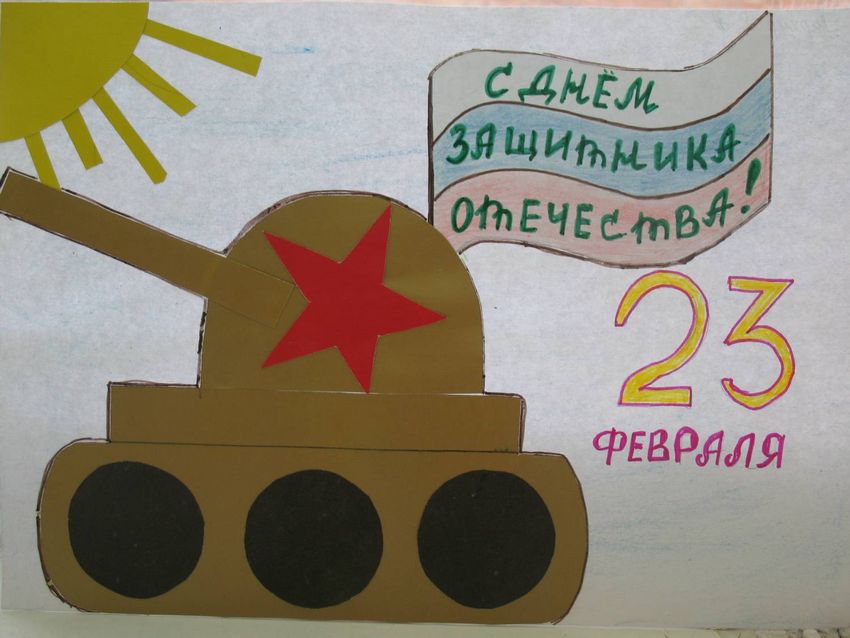
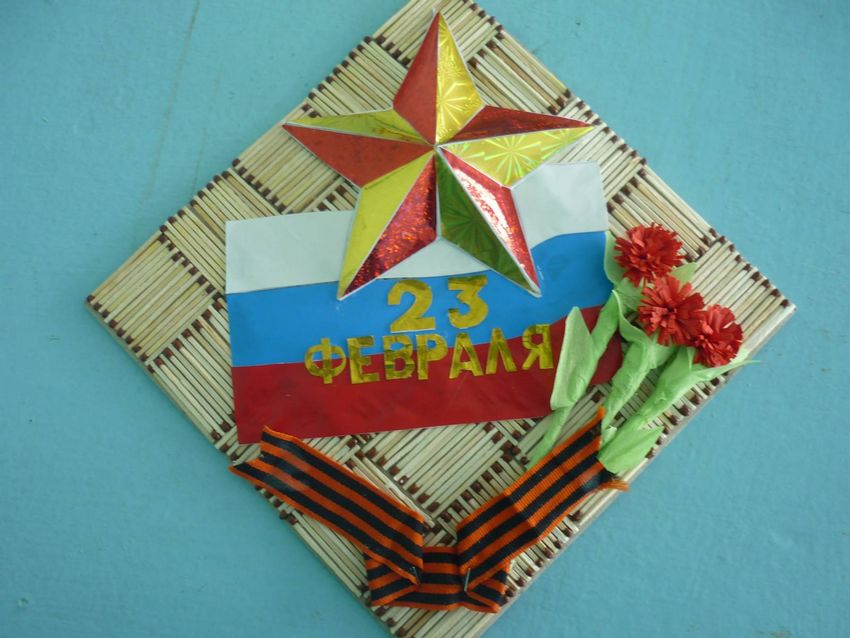
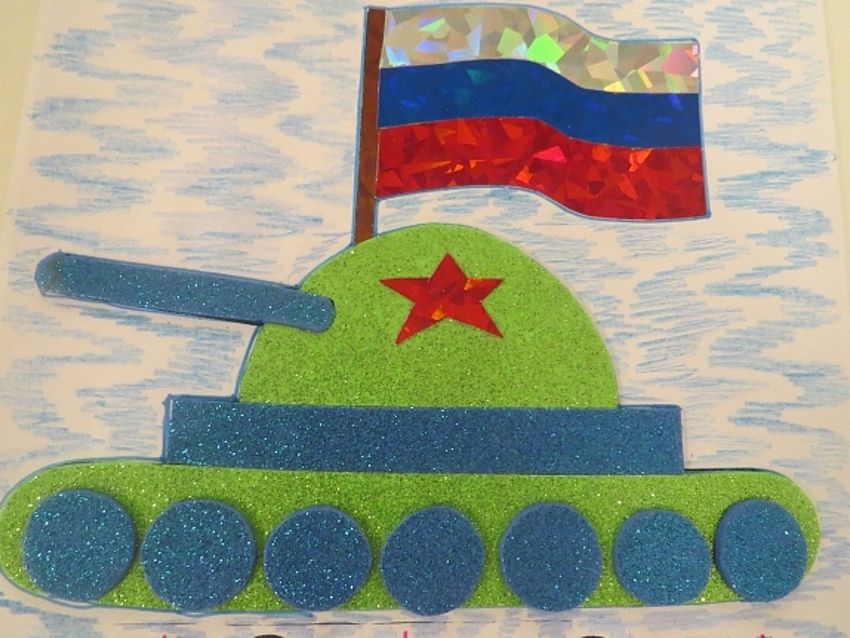
Such a handcraft can be made in any shape - round, three-dimensional, multi-layered, in the form of a star, plane or shirt, everything is limited only by imagination. The main elements can be flags, stars, weapons and military equipment. You can use a ready-made template or come up with a design for the craft yourself.

Handicrafts in kindergarten
Preschoolers can make simple cards with their teacher. Toddlers under 4 years old need to work with elements already cut out. Working with scissors, needles and sharp objects at this age is not safe. Such a craft can be presented to a friend, father or grandfather.

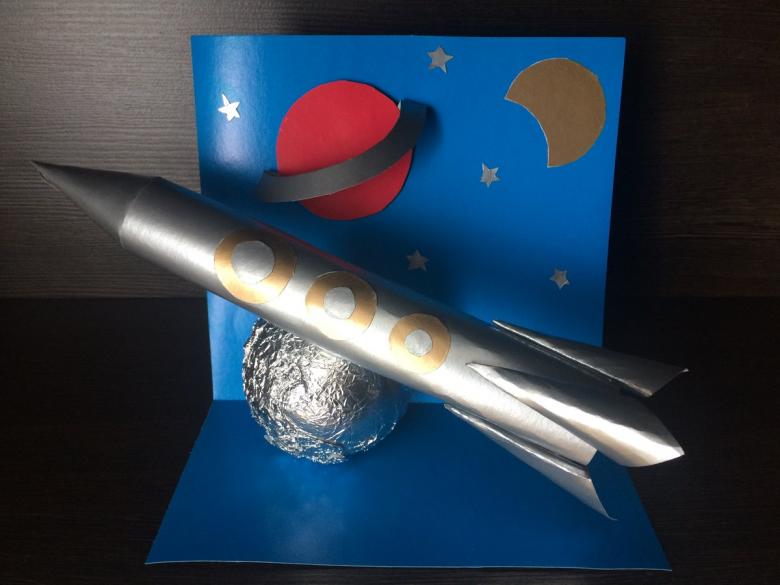
Rocket out of cardboard
This handicraft is simple in execution and at the same time looks quite interesting. For small children, all elements should be prepared in advance. The task of the child is to glue all the parts of the rocket and make a congratulatory inscription.
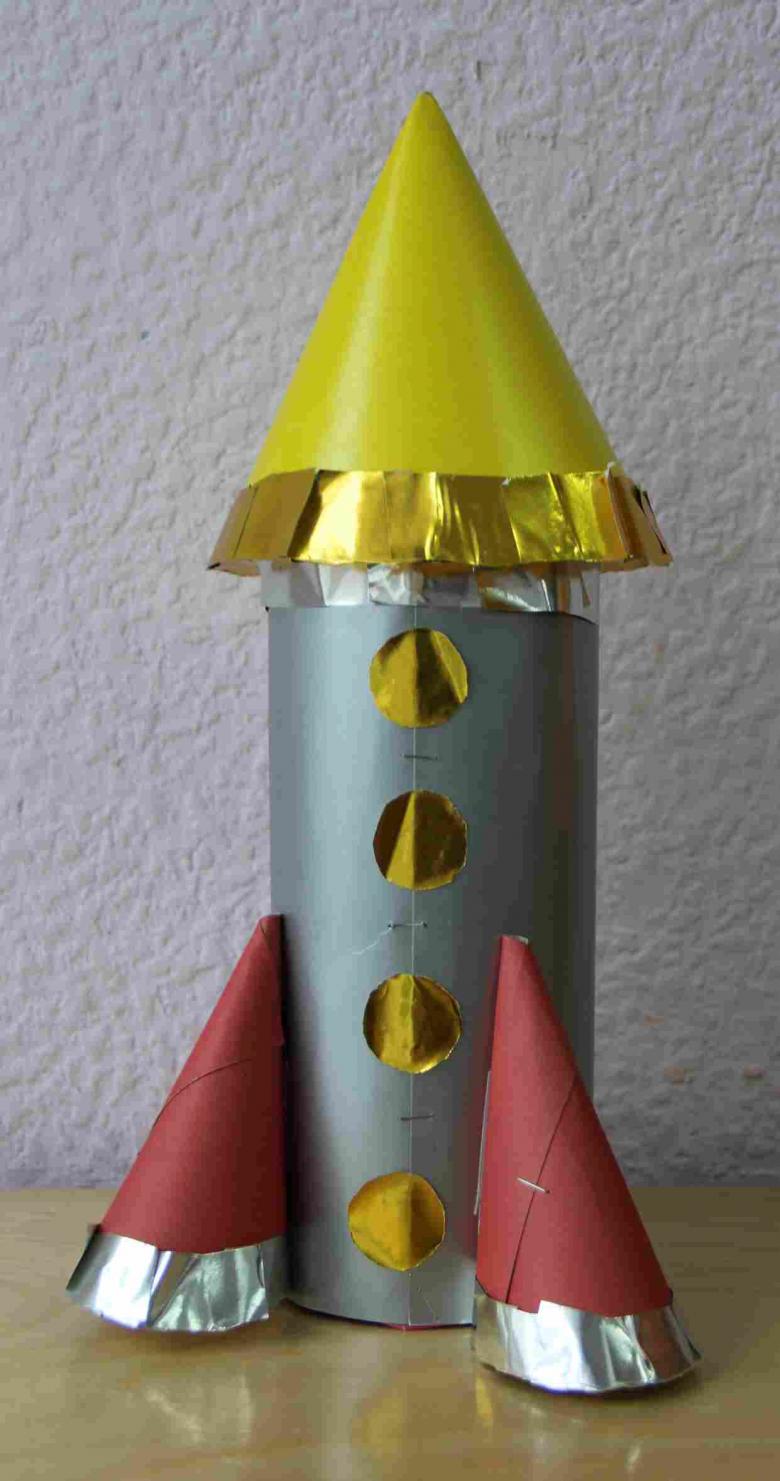
The list of necessary materials:
- one piece of blue cardboard;
- a black rectangle;
- 3 yellow circles;
- 1 red star;
- 3 red triangles;
- glue stick.
On the blue cardboard should be glued a black rectangle, which will serve as the base of the rocket. At the top of the base of the rocket it is necessary to glue a red triangle, which will act as its nose part. On both sides of the rocket should be glued red triangles. Yellow circles should be glued to the rocket, which will serve as windows. The red star should be glued to the nose of the rocket as a decoration.

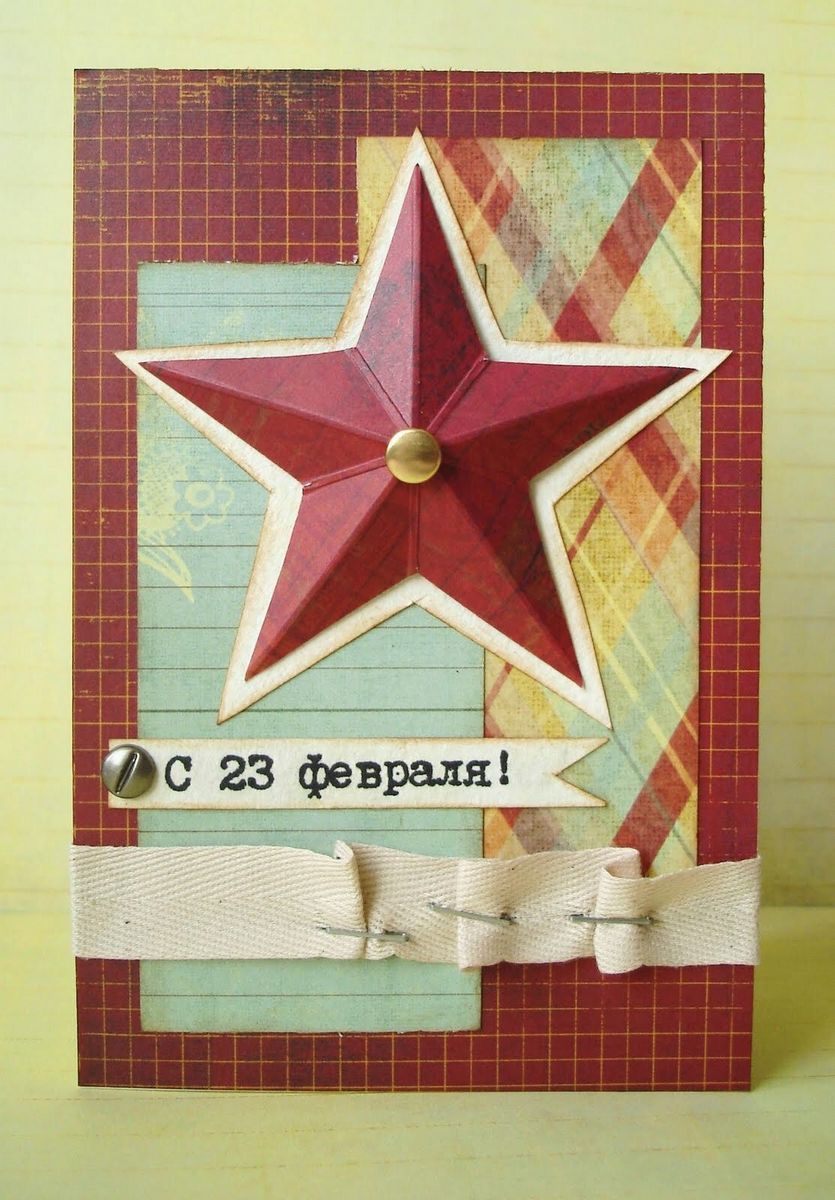
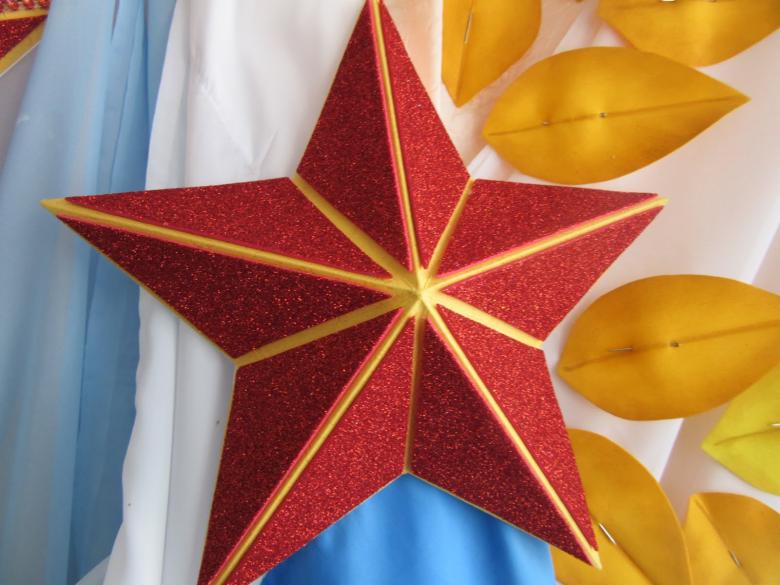
Star made of cardboard
A nice three-dimensional handicraft which even kids will manage.
To do the work you should have the following materials on hand:
- colored cardboard;
- PVA glue;
- colored paper;
- gold foil or decorative tape;
- ruler, a simple pencil, scissors.
A sheet of cardboard should be folded in half, and then from the top corner to the bottom diagonally draw a line. We cut the cardboard along the marked line and mark in the middle the place of the cut. Then you should unroll one half of the cardboard and insert the other half of the craft in the place of the cuts. The finished card can be decorated with notes, decorative tape or pieces of gold foil.
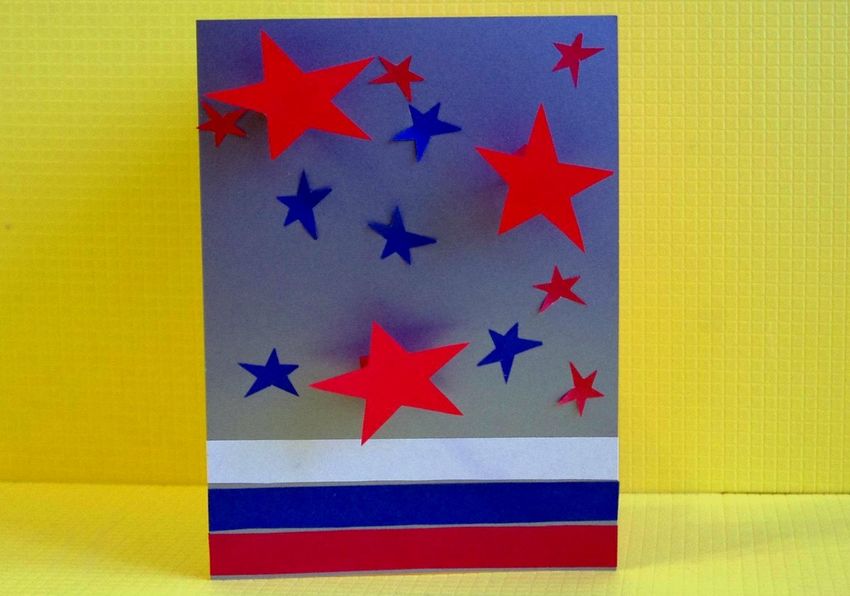
Russian flag
This craft will appeal to the true patriot of his homeland.

Required supplies:
- white cardboard;
- red and blue colored paper;
- glue;
- foil;
- Scissors, pencil and ruler.

Step by step instruction
- Cardboard is folded in half. One half of the cardboard should be divided into three equal parts.
- The middle part should be cut out leaving a few centimeters of cardboard on top. On the bottom half of the cardboard from the outside should be glued a strip of red paper.
- On the second half of the cardboard on the inner side you should glue a blue colored paper. The result should be a flag of Russia.
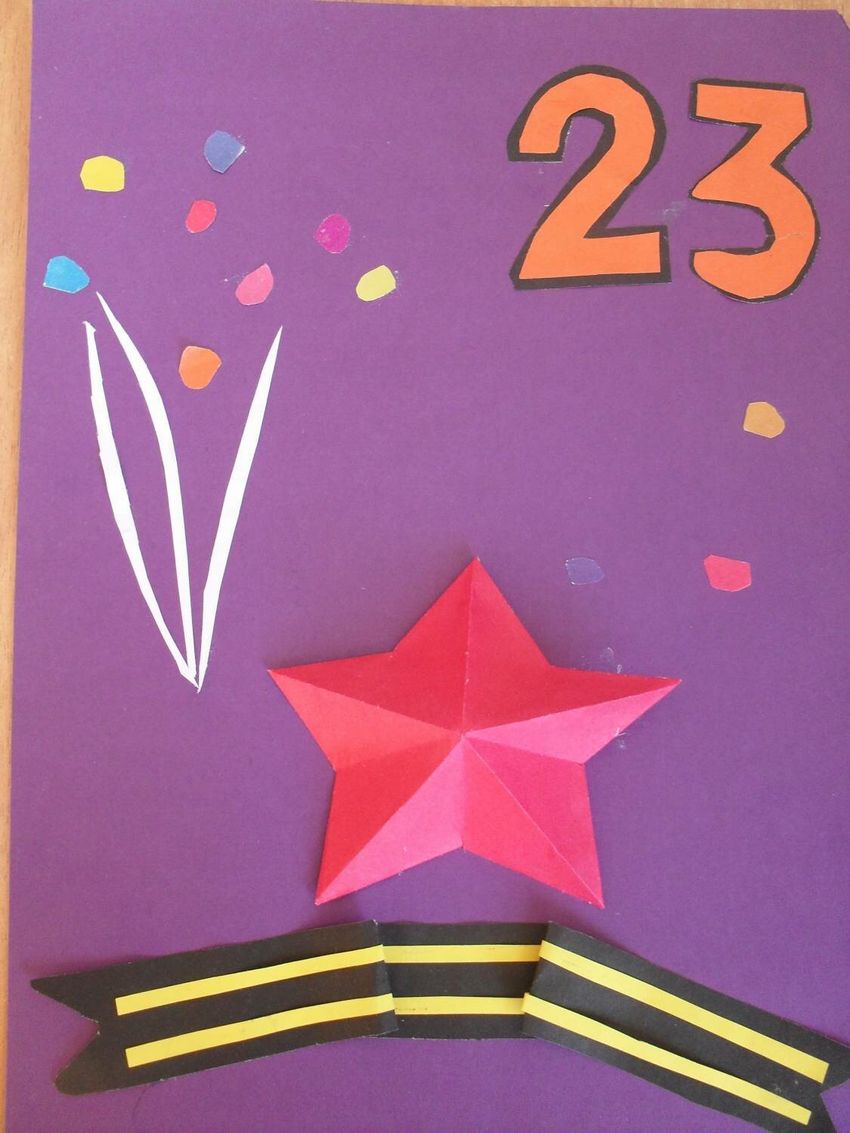
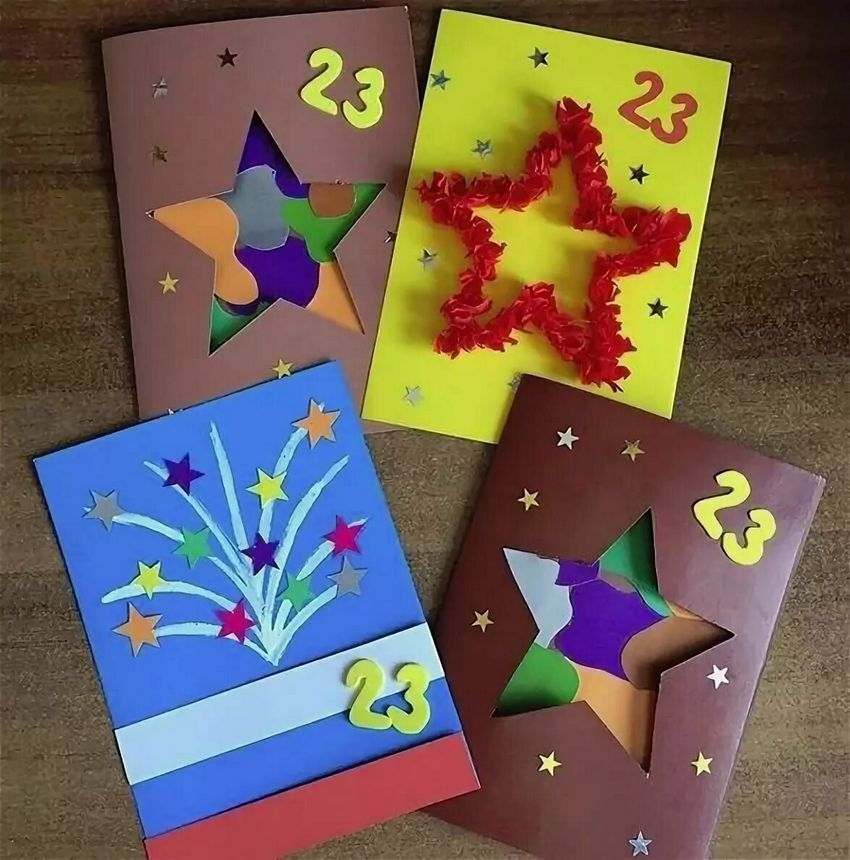
- You should cut out a star and numbers "2" and "3" from thick cardboard.
- Glue red paper on the star, and decorate the numbers with gold foil. The star and the numbers should be glued to the outside of the card from below.

Handicraft for father
Postcard for February 23 for daddy can be made with his own hands. Such a handcraft will be especially valuable, because the child put into it a part of his soul.

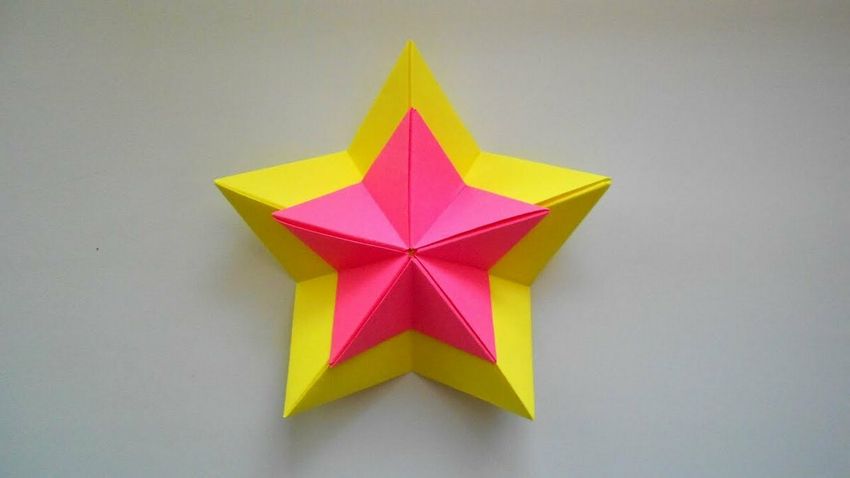
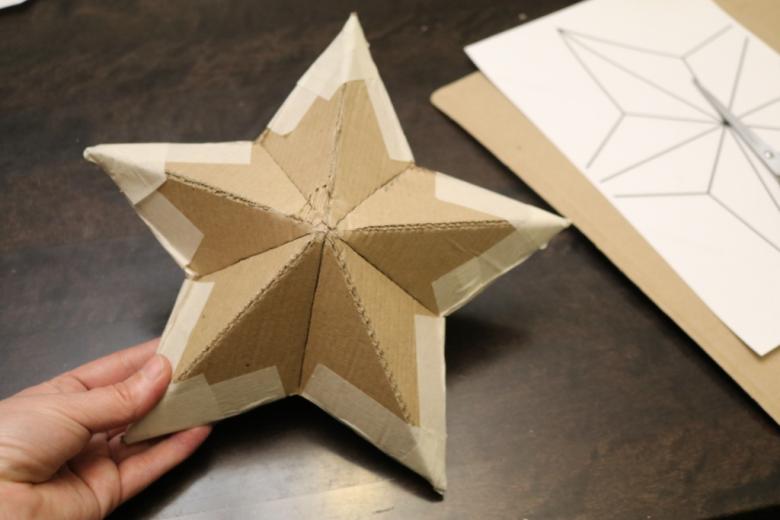
Three-dimensional star
Such a craft will not take much time, especially if you find a suitable template on the Internet.
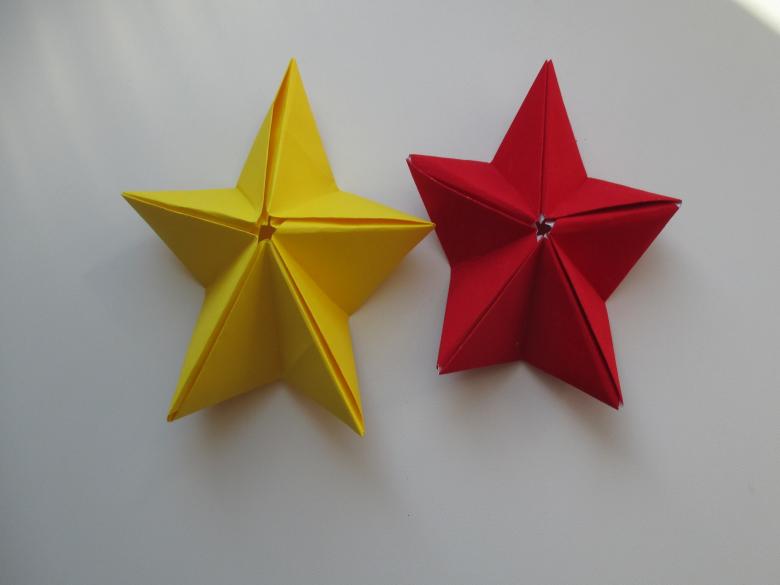
For the craft you need the following materials:
- A printed template of a star;
- colored paper and colored cardboard;
- a simple pencil, ruler, glue stick;
- A box cutter.

Step by step instruction
- Printed star template should be transferred to colored paper. On the inside of colored paper along the lines of the curve of the star should not write with a pen. It is better to do it with a ruler.
- Then you should fold the star so that the short rays look inside, and long stick out. From colored paper to cut several flat stars of different sizes and colors.
- Cardboard should be folded in half, and the stars should be glued on the inside. The volumetric star should be located in the center of the upper part of the card.
- Using a box cutter, cut out the stars on the front of the sheet. Do it with the help of a template. The resulting holes should exactly match the stars glued on the inside of the cardboard.
- The front side of the cardboard can be decorated with stickers, lettering or small drawings.
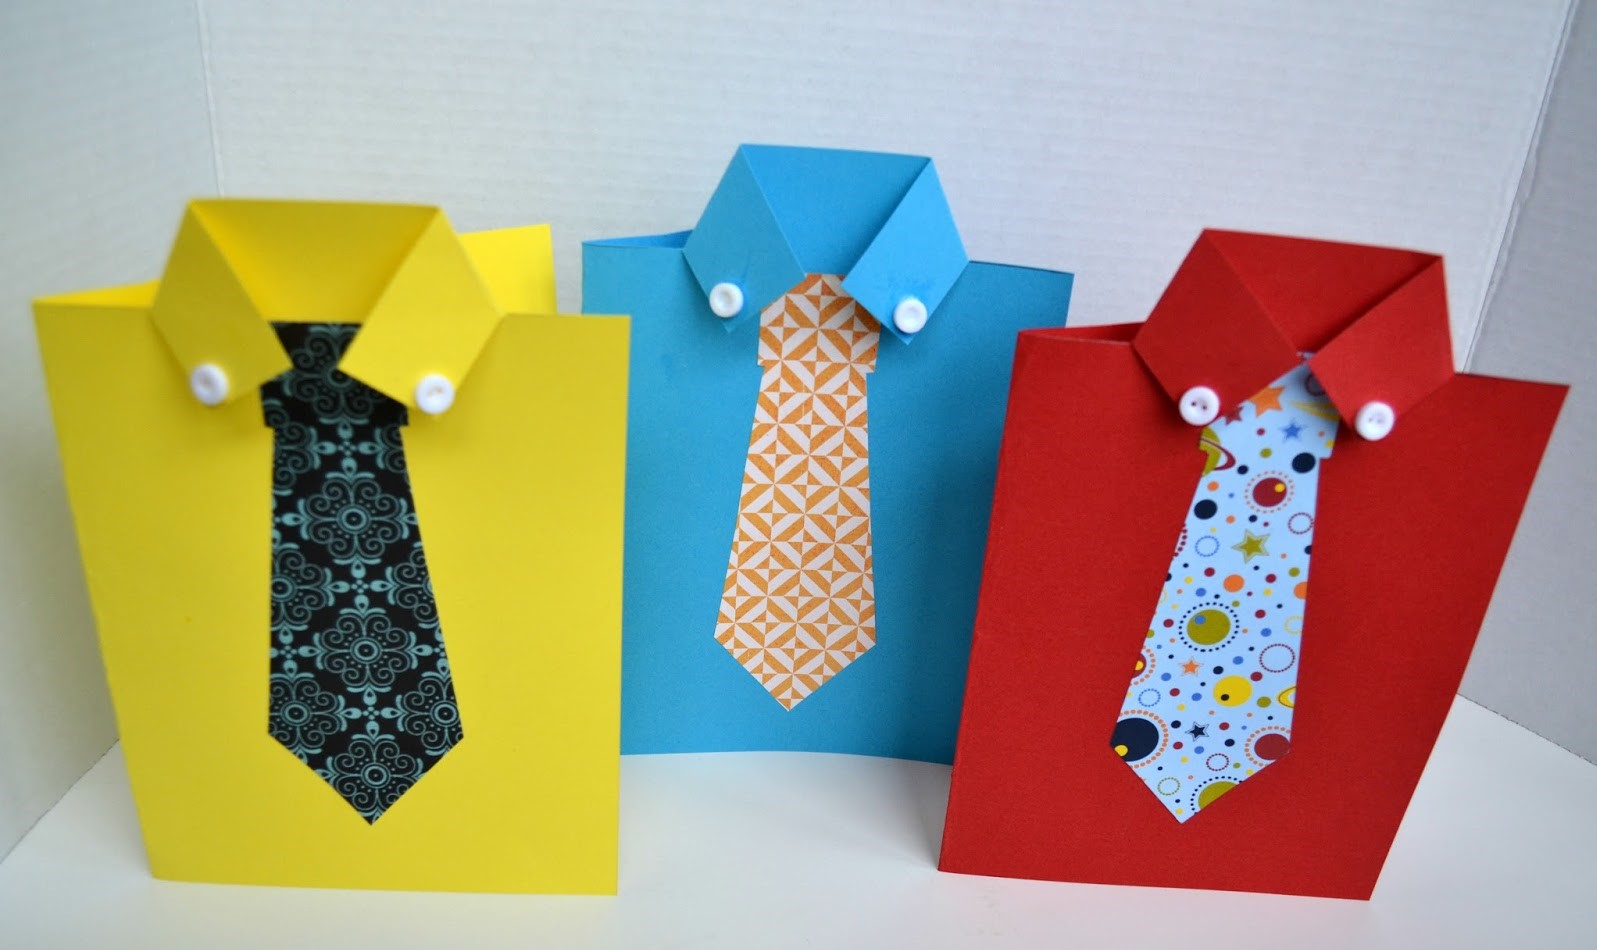
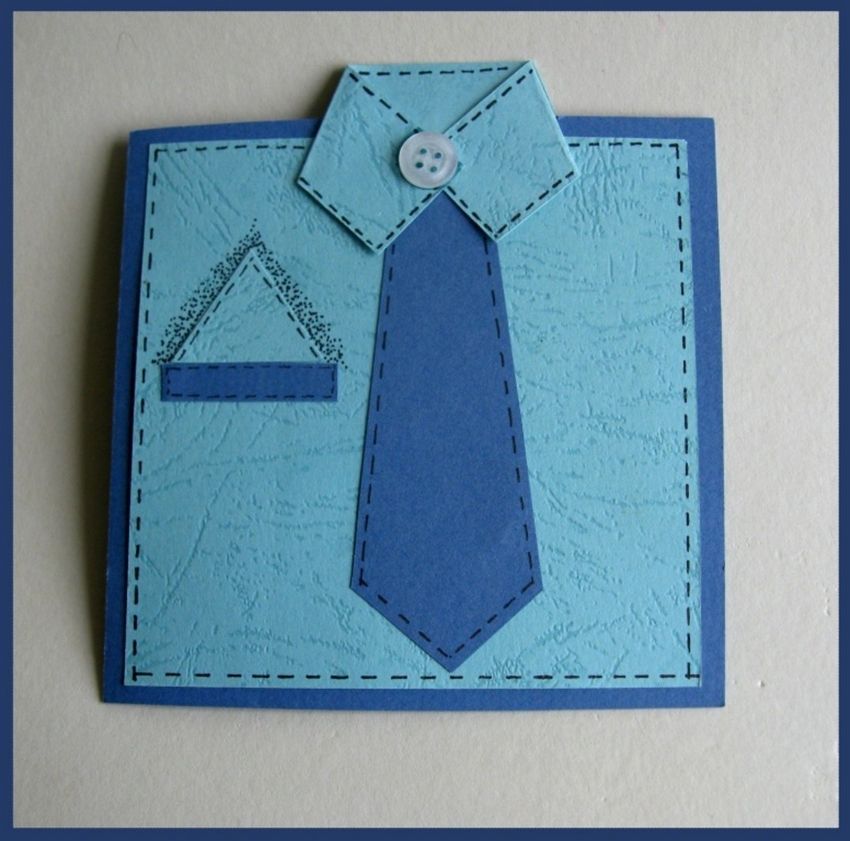
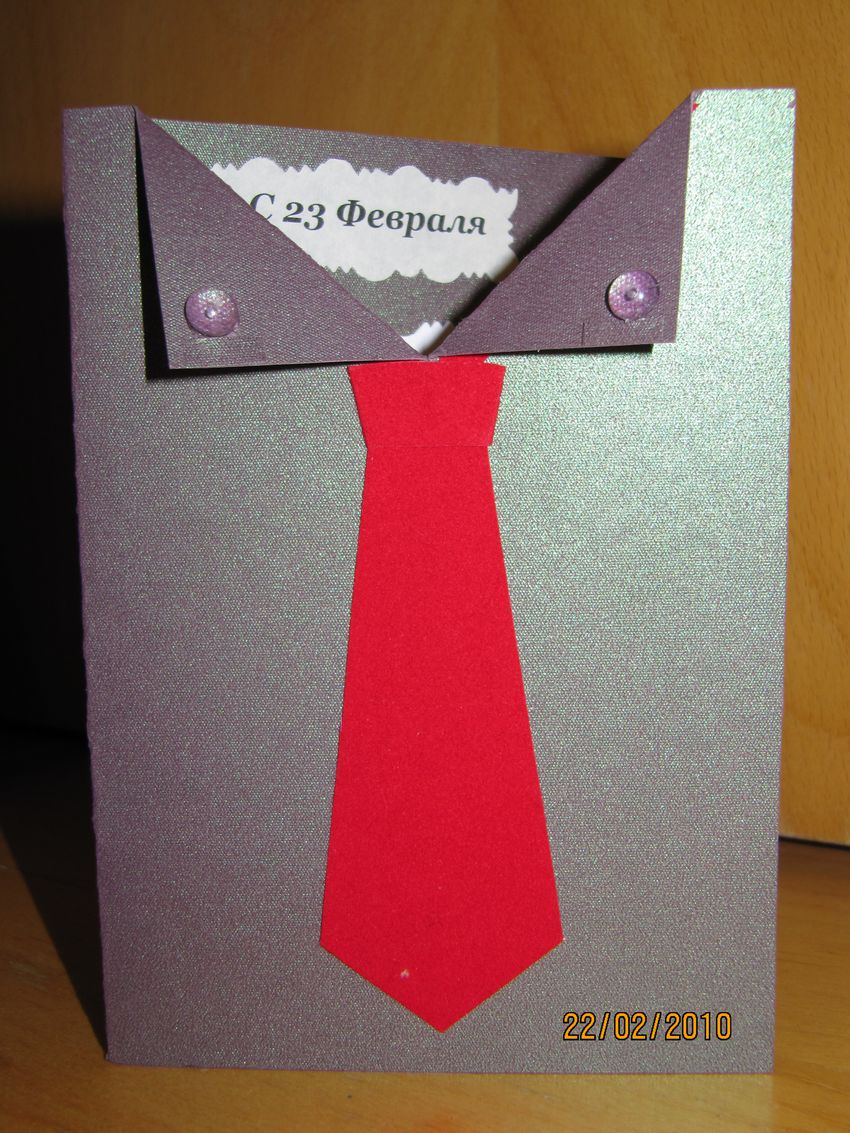
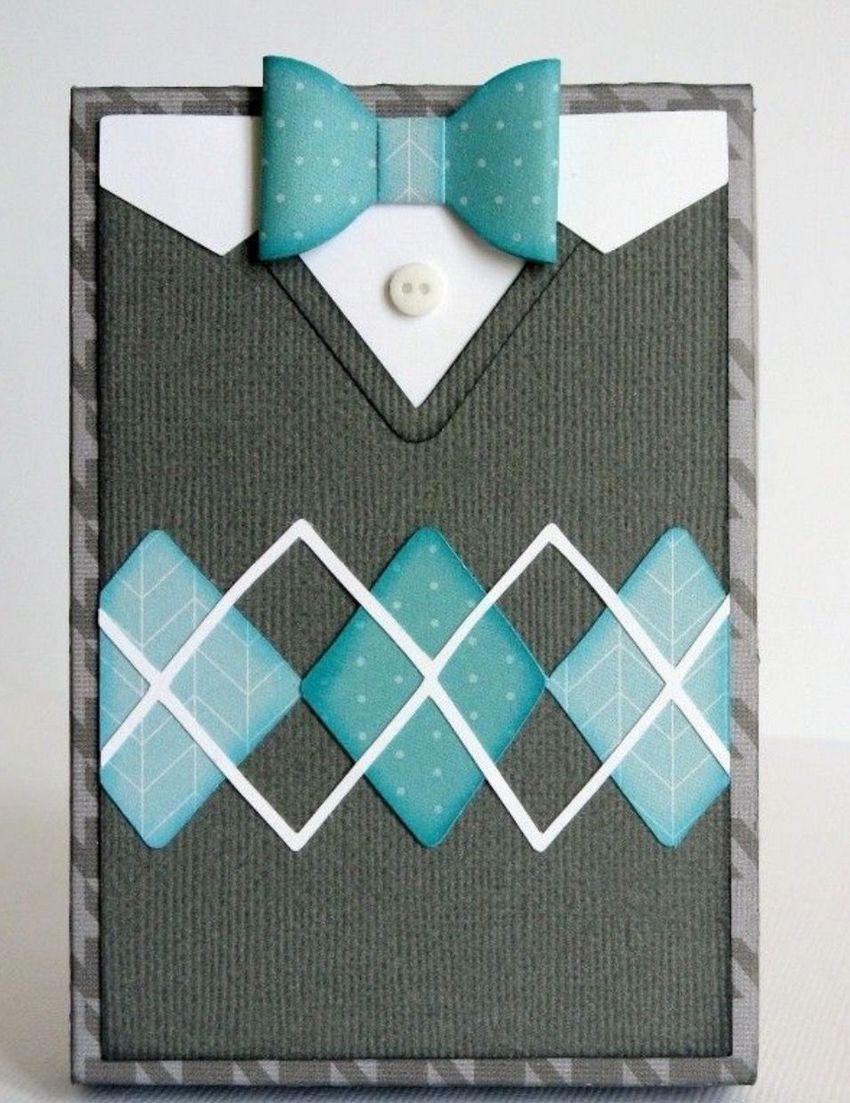
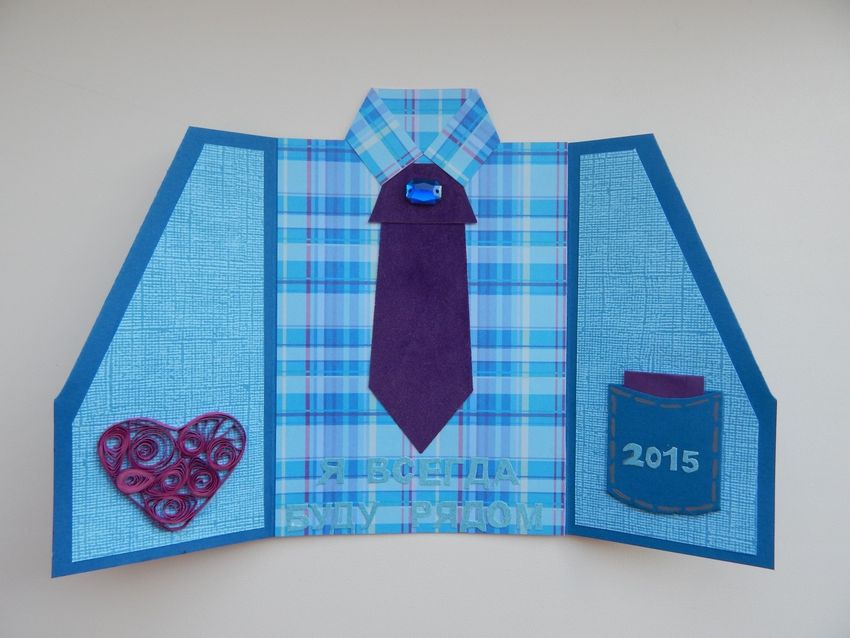
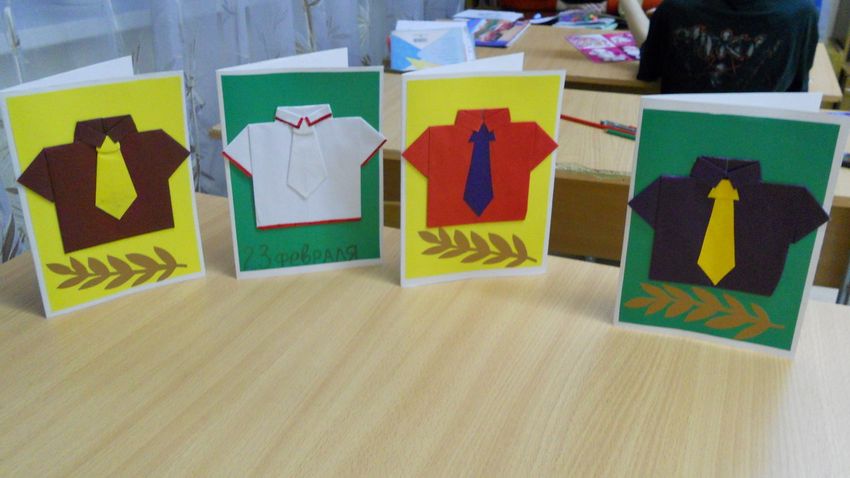
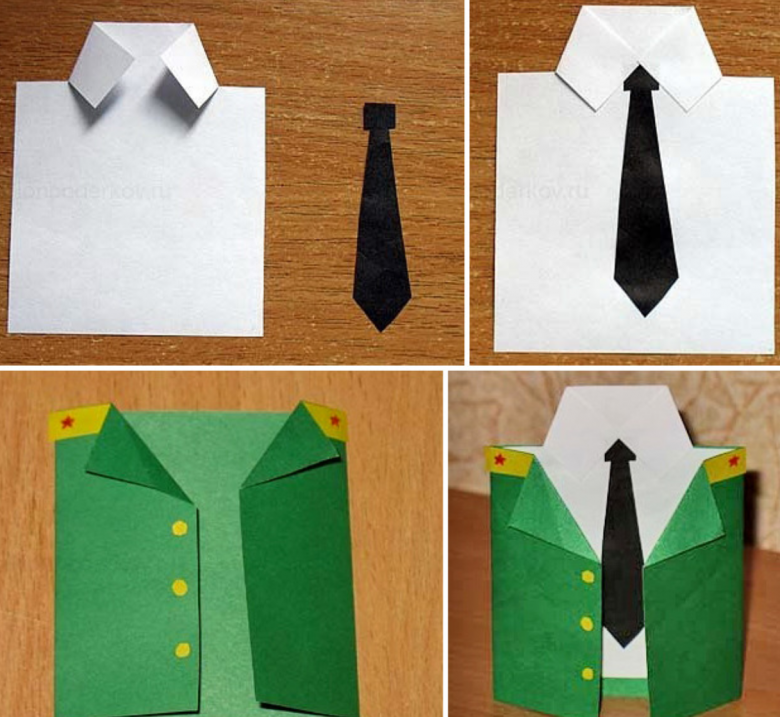
Shirt
On February 23, you can give your dad a handmade card of a shirt. Such a craft will look cute and original.
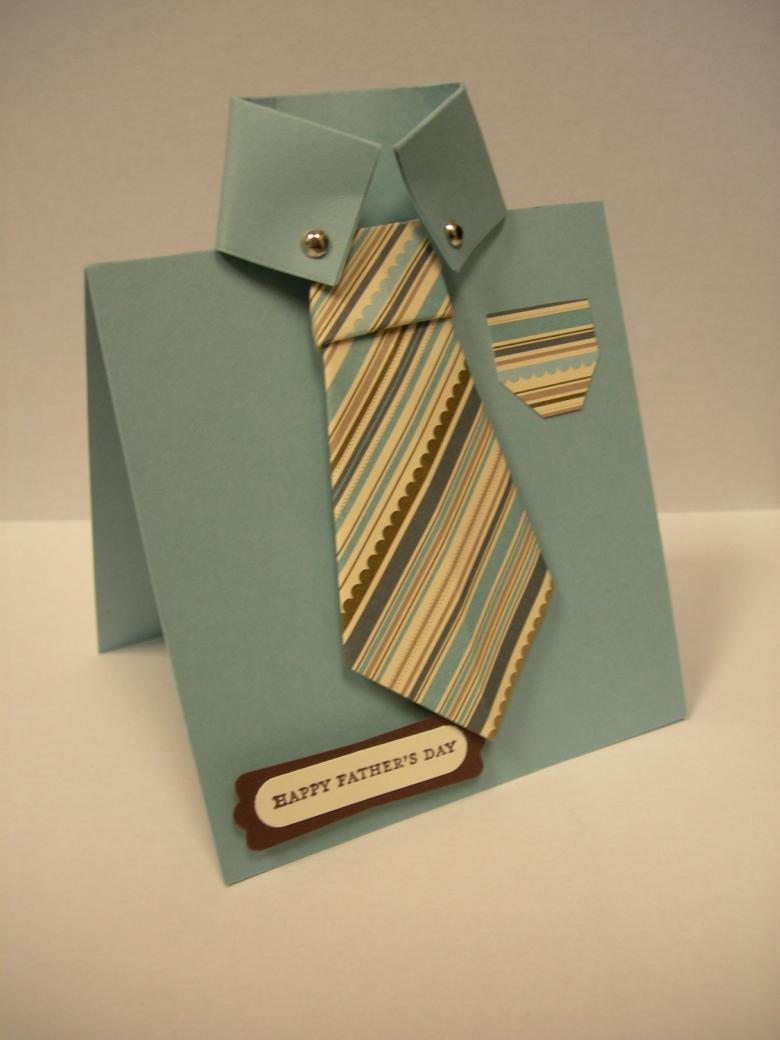
Needed stationery:
- paper of white and black colors (you can pick up brighter colors if you wish);
- glue;
- scissors;
- buttons.
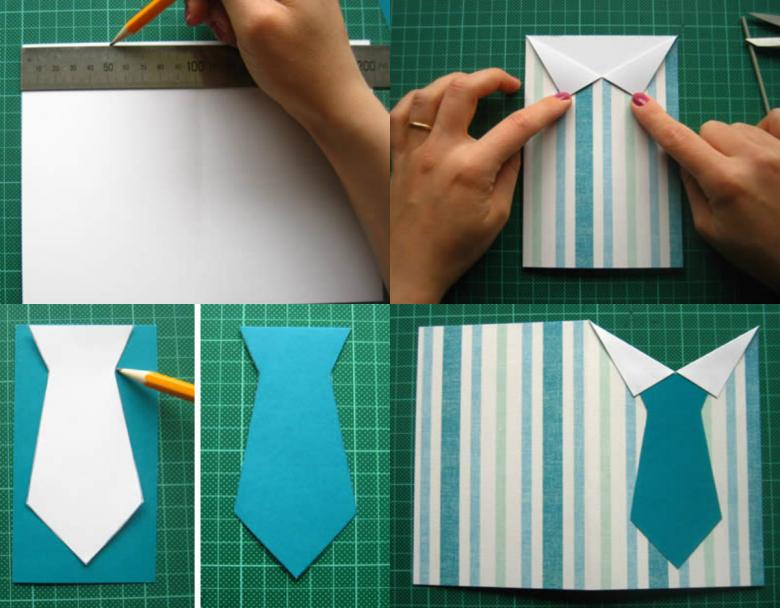
Step by step instruction
- White sheet of paper should be folded in half.
- On the inside of the sheet from the top to measure 4 cm and a simple pencil to draw a straight line. This part should be cut off.
- On the front side of the sheet from the top also need to measure 4 cm and make incisions around the edges.
- The cut sections should be bent, joining the edges in the center with glue, so that you get a collar.
- On the edges of the collar glue the buttons.
- From black paper you should cut out a tie and glue it to the collar.
- If desired, you can make a side pocket, decorating it with a button.
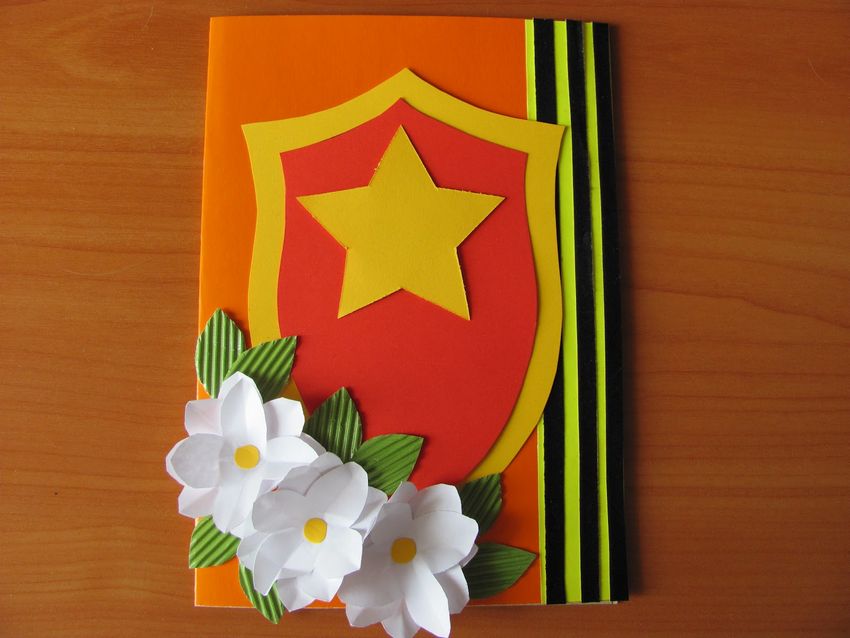
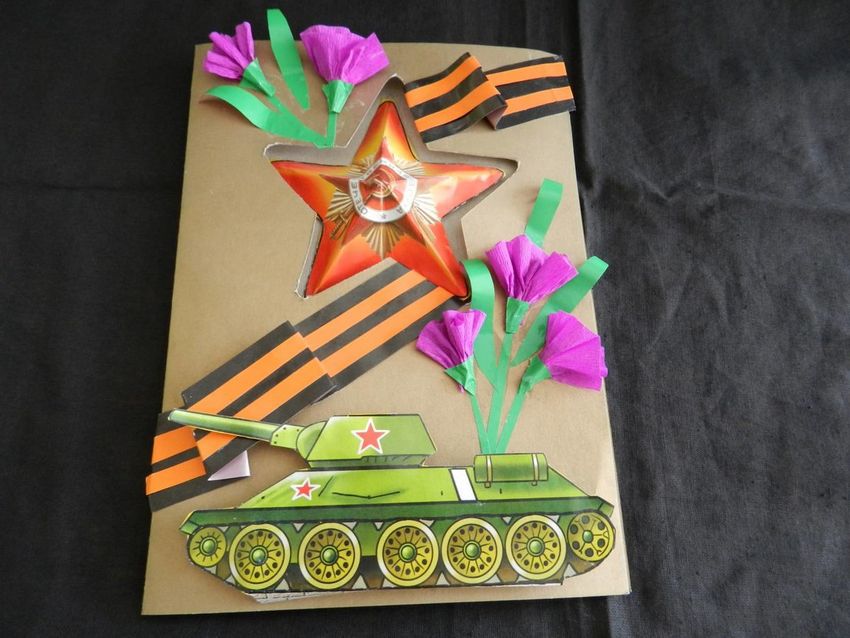
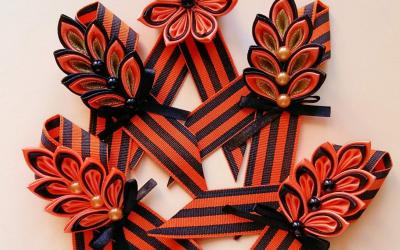
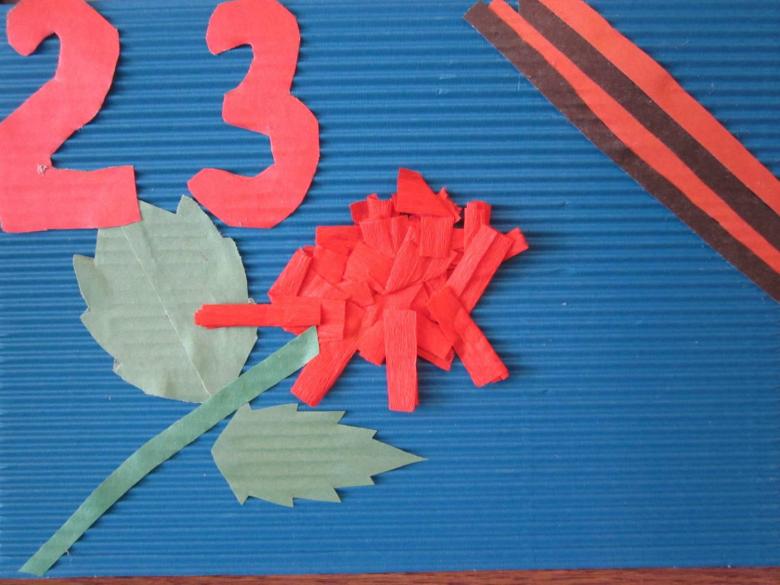
Postcard for the veteran grandfather
Such a gift will remind the grandfather of the victory, his courage and heroism. The postcard should be decorated with the main symbol of the holiday - the St. George ribbon.
The necessary supplies:
- blue cardboard;
- corrugated paper;
- colored paper;
- glue, scissors.
Step by step instructions
- Corrugated paper should be folded and cut a circle.
- 5-6 circles to fold a triangle and make a few cuts. The flower should be glued to the blue cardboard.
- Of green paper to cut the stem and leaves of the flower and glue them to the cardboard.
- To make a St. George's ribbon, you need to cut an orange strip 3 cm wide and three black strips 0.5 cm wide.
- The black strips should be glued to the orange one at the same distance from each other.
- Ribbon should be glued along the bottom edge of the card only along the edges, so that there is a protruding curve. Then glue the middle of the ribbon and bend the edges.
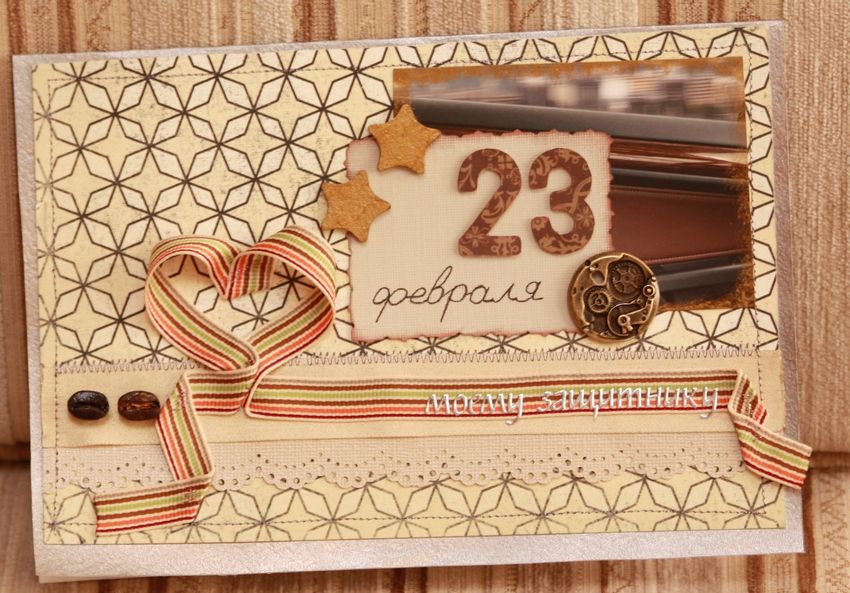
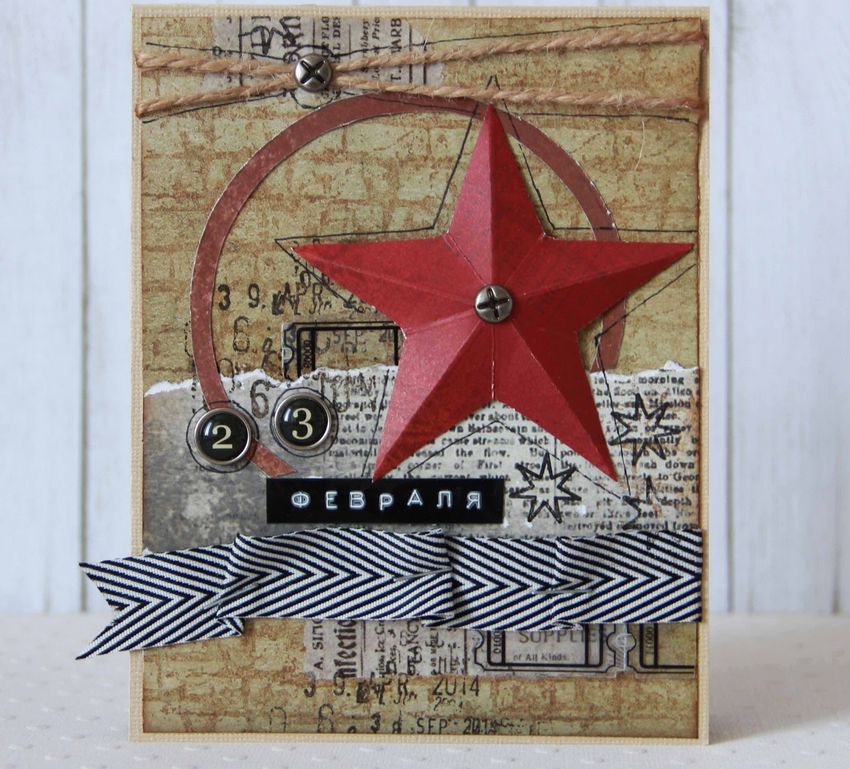
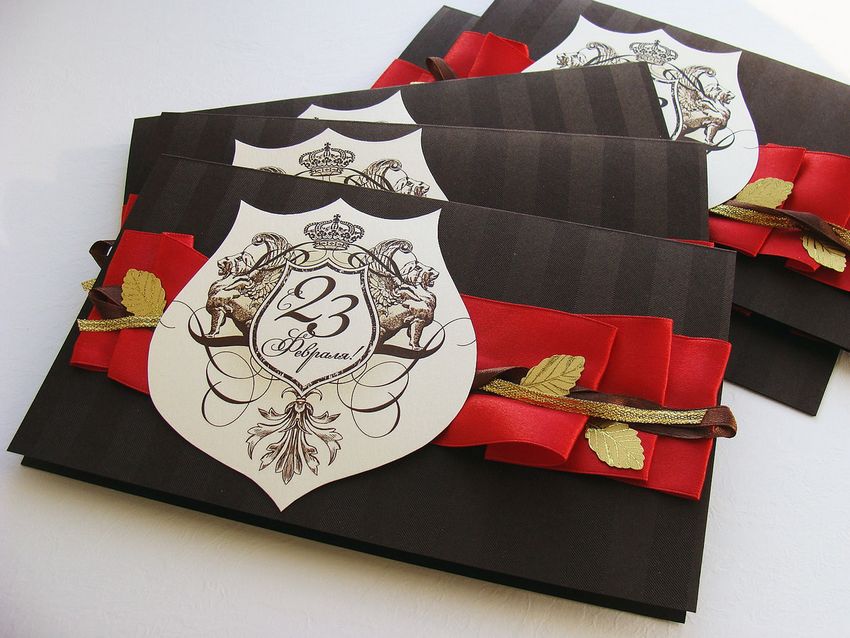
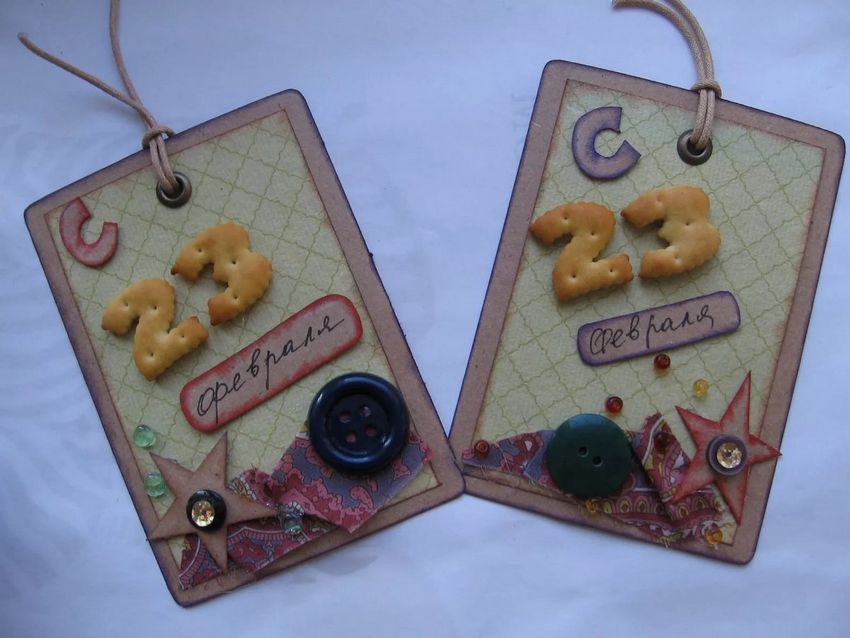
- Jobs made in the technique of scrubbing, using beads, rhinestones, ribbons and various fabrics look interesting. Such a gift can be made by a teenager or adult.

Make a greeting card is very simple, it does not require any special effort or expense. Such a craft will give your family and friends a piece of warmth, as well as help you express your respect.
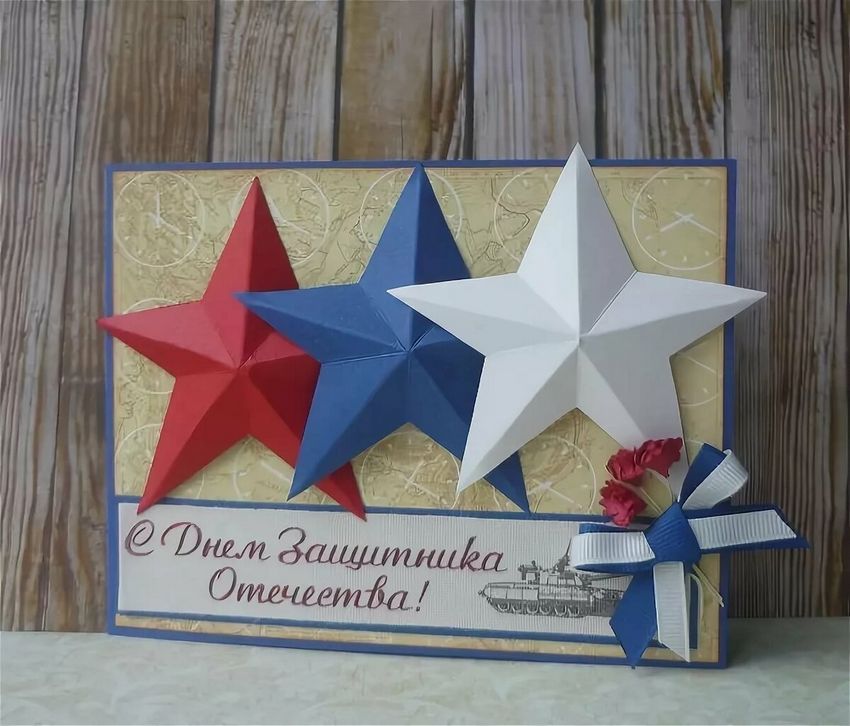
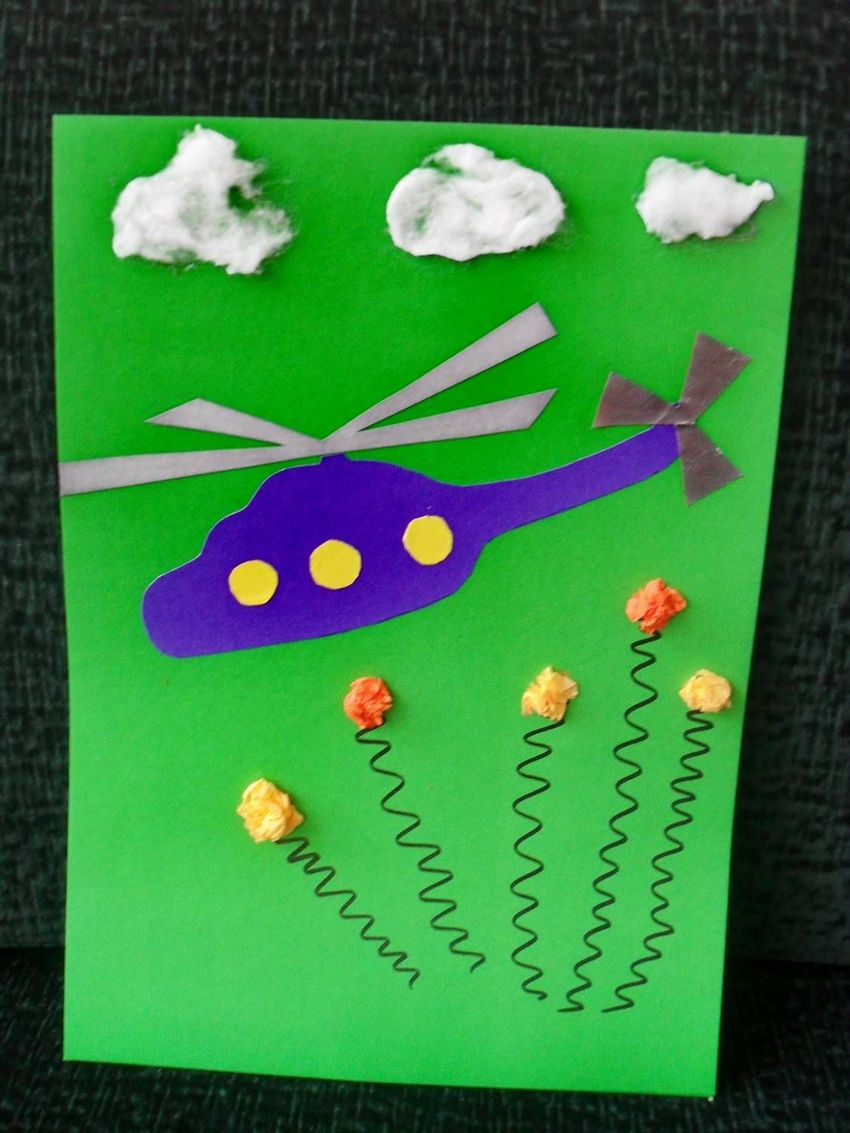
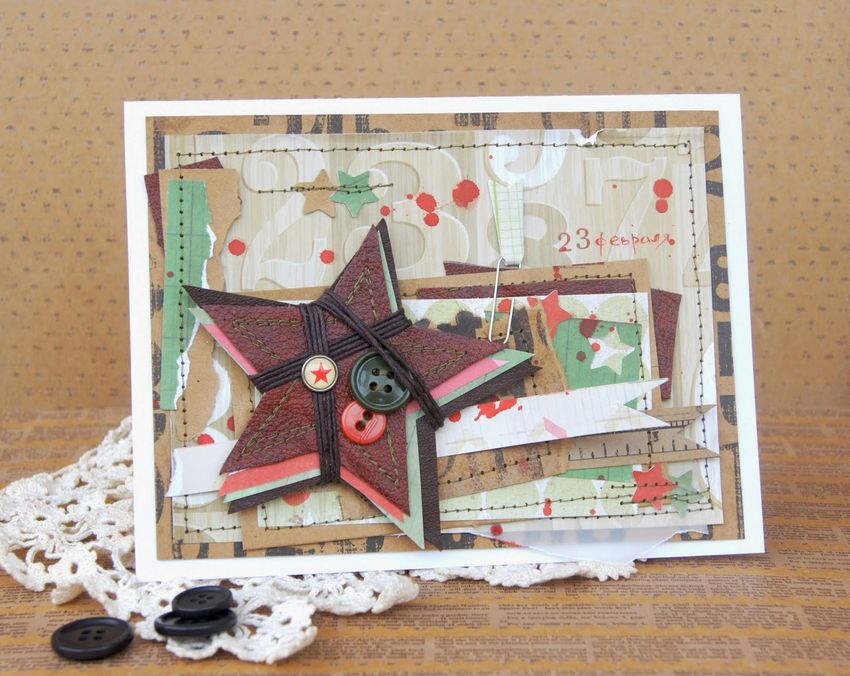
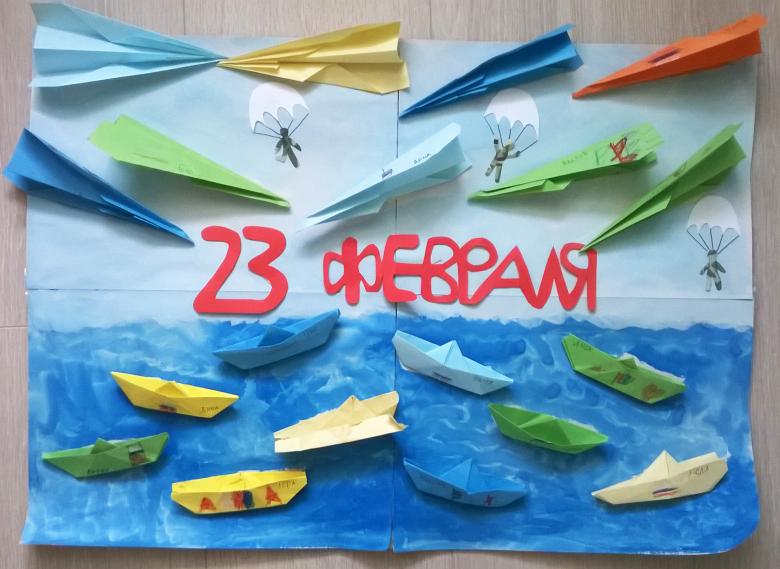
Photo ideas of homemade cards for February 23