How to make a postcard with your own hands - original volumetric and flat cards
Since ancient times, the custom has been to complement the gift with a beautifully decorated greeting card. Of course, today you can buy a card in any store. But it is much nicer to give a handmade card.

Advantages of self-made cards
Handmade greeting cards can be given not only to family members but also to friends. A handmade card for March 8 to your mother or sister should show your feelings for these representatives of the weaker half of humanity. For the friend, you can choose harmoniously contrasting shades. For a friend, it is desirable to choose a clear picture.

To impress the gifted person, it is necessary to have a developed imagination and acquire the necessary materials for this kind of "crafts".

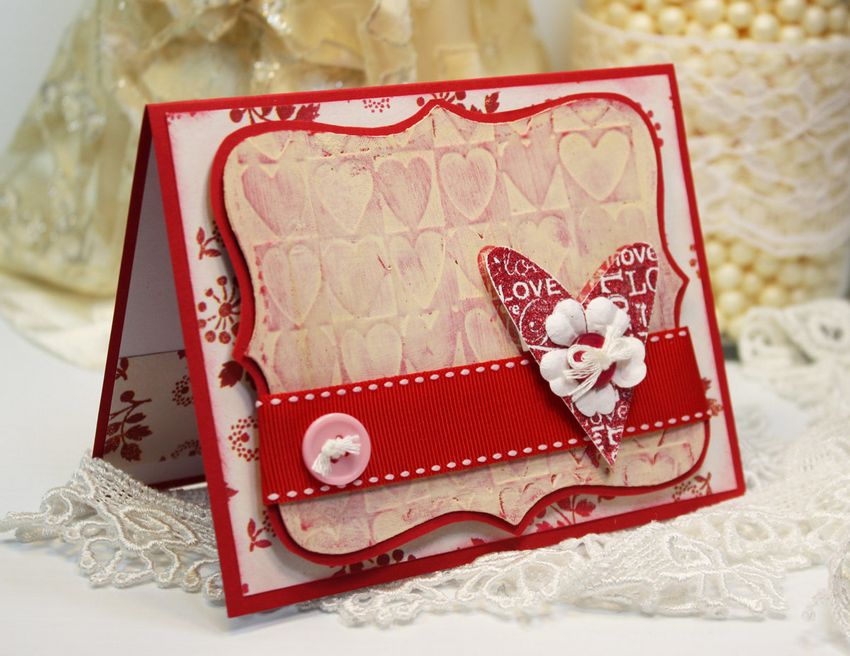
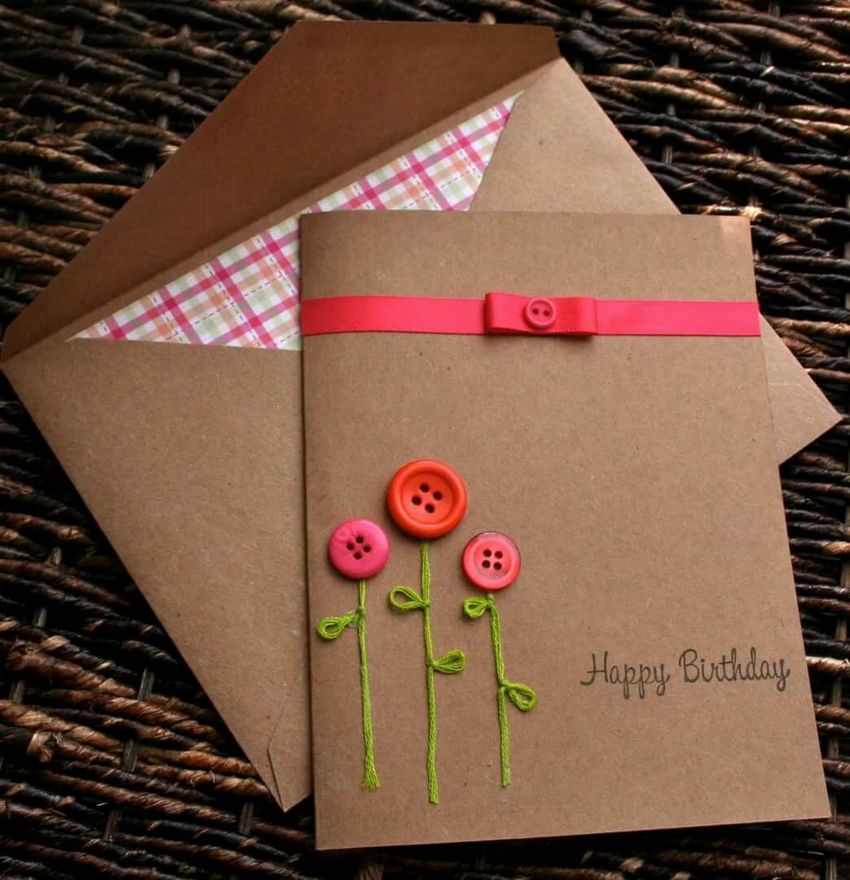
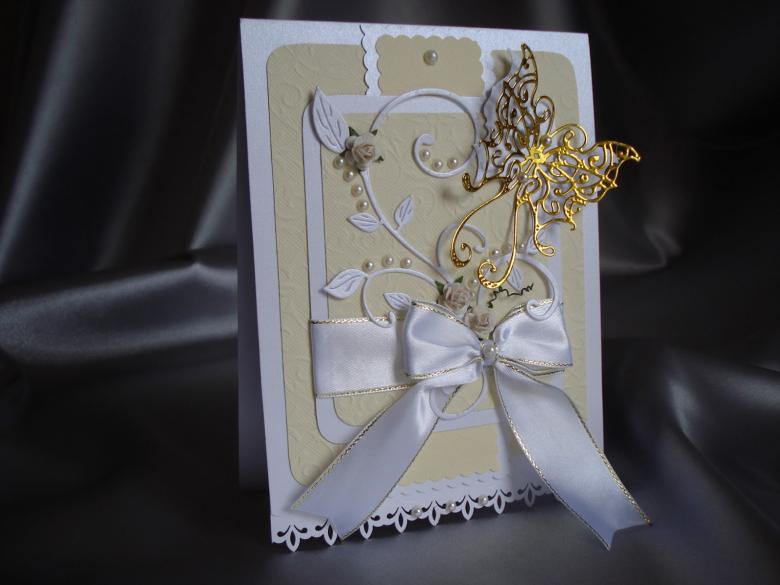
You can decorate finished products with beads, beads, rhinestones, lace, satin ribbons, scraps of textile, buttons, pieces of foil, dried plants, autumn leaves, macaroni, etc. The choice of decorations for the greeting card is limited only by the budget and imagination of the artist.
Preparatory stage
To make your own greeting card, you need:
- Look in any outlet that specializes in the sale of goods for creative activities, and buy the right amount of paper and decor, as well as all the necessary tools.
- Develop a sketch of a greeting card, invent or search the Internet for the words of greeting.
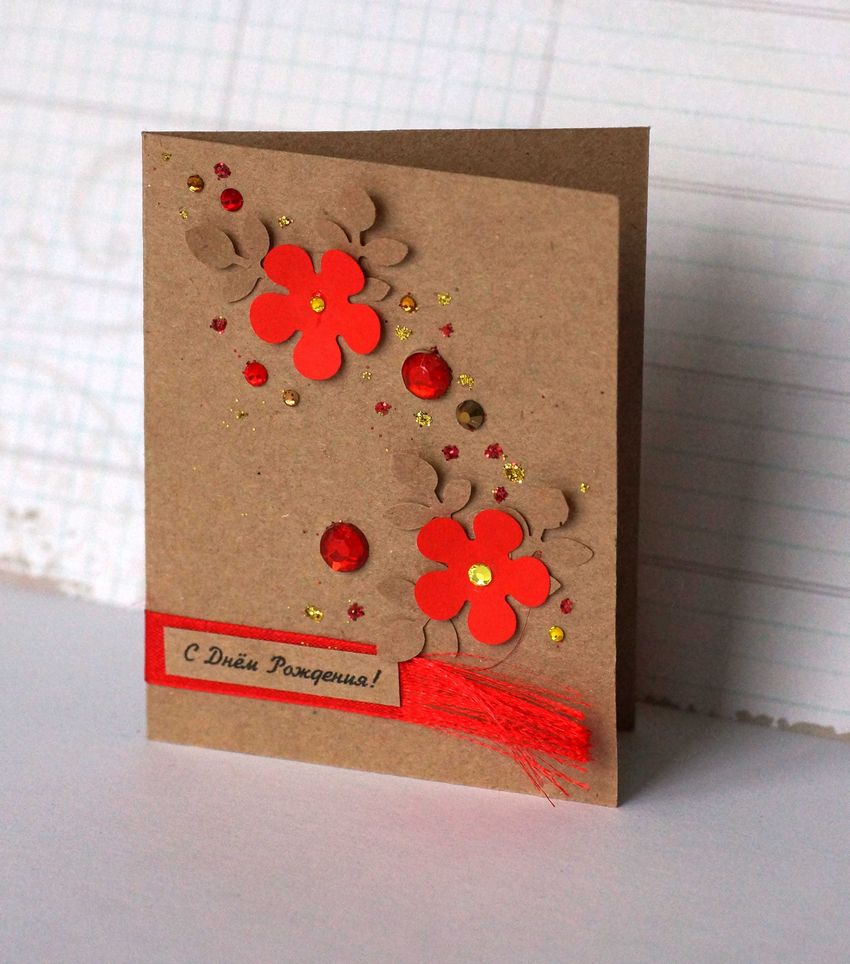
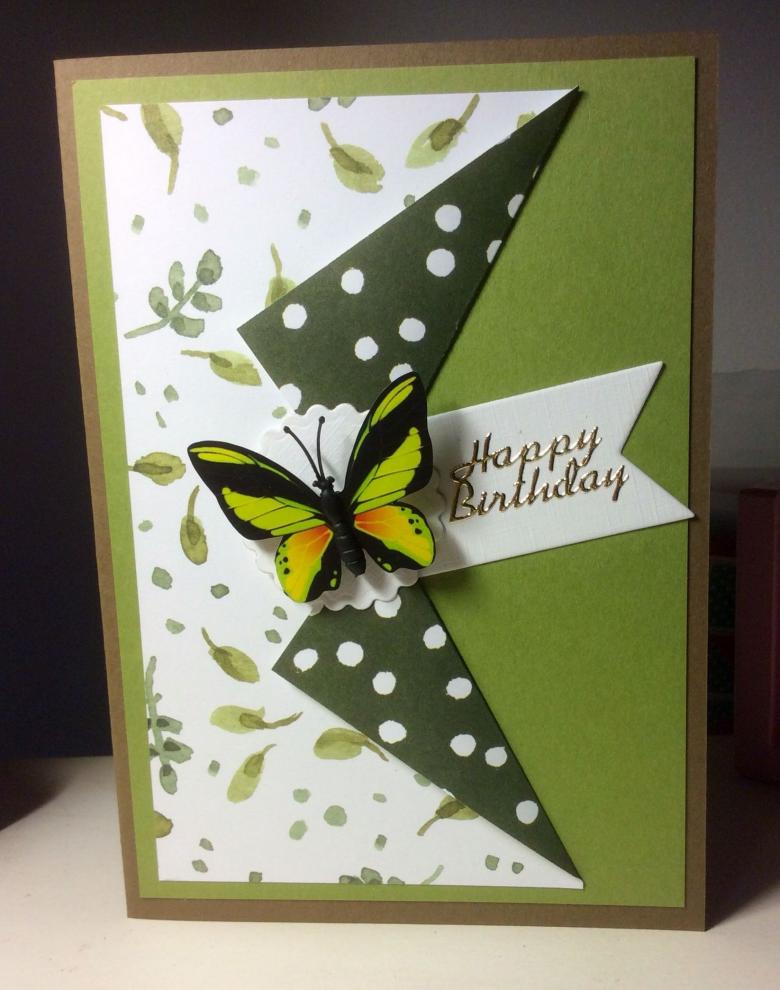
Birthday cards
Here are a few of the most interesting ideas for a birthday card for the birthday boy.
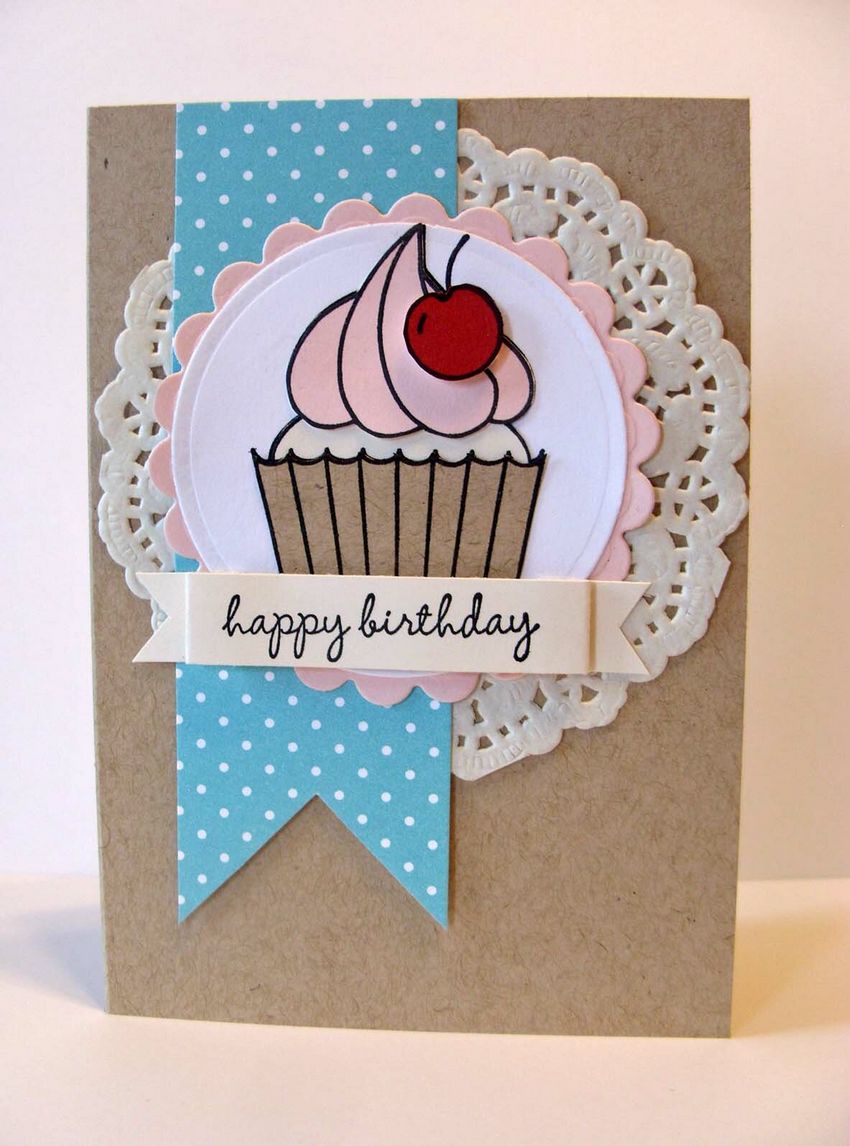
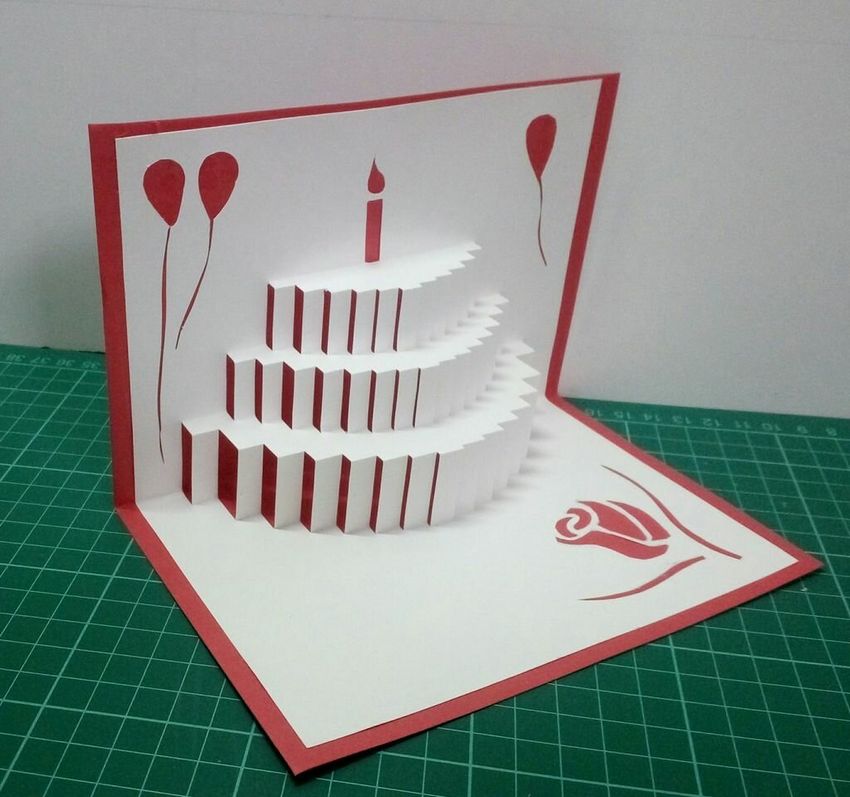
Option 1
To create a birthday card with a birthday cake you will need:
- colored cardboard of blue shade;
- office scissors;
- paper glue;
- A paper leaf of white color;
- Decorative paper with ornaments.

Instructions:
- Cut a rectangular blank 15*11 cm from cardboard, bend it crosswise into two equal parts.
- Take a white paper and cut a smaller rectangle - 14 * 11 cm. It also needs to fold in half.
- On the side of the fold of the paper blank to make 4 cuts, keeping the same distance between them. The first pair (located below) should be the same size. Each subsequent cut should be made 1 cm shorter.
- Fold the cut parts, following a certain scheme.
- Unfold the strips and open the paper. Fold the cut pieces inward along the fold.
- Cut out 3 rectangular pieces from the decorative paper, focusing on the thickness of the layers of the future cake. Fold them in half and glue them to the sheet.
- Fold and unbend the workpiece several times - the lines on the birthday cake should be clearly visible. Cut out candles and decorate the cake with them.
- Drop a little glue on the back of a rectangular paper blank and attach it to a cardboard base of a blue shade. Sign a greeting under the cake or on the outside.
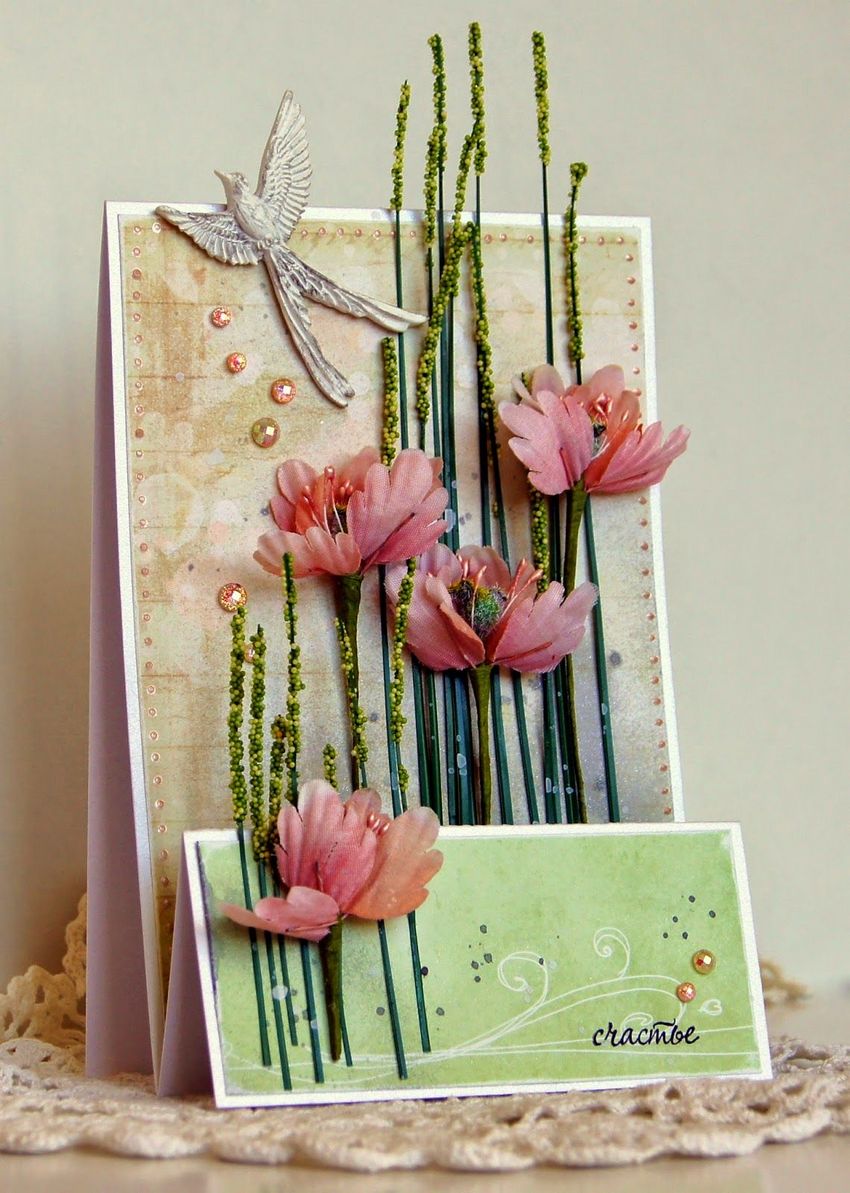
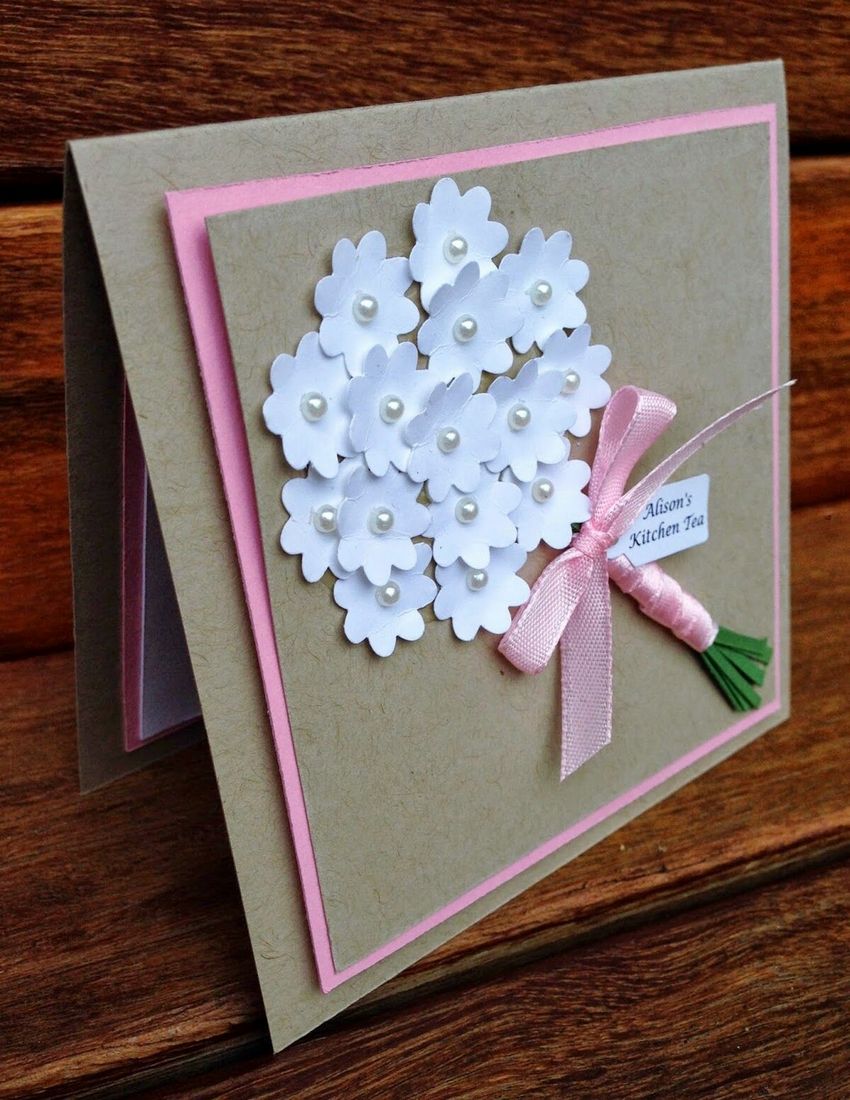
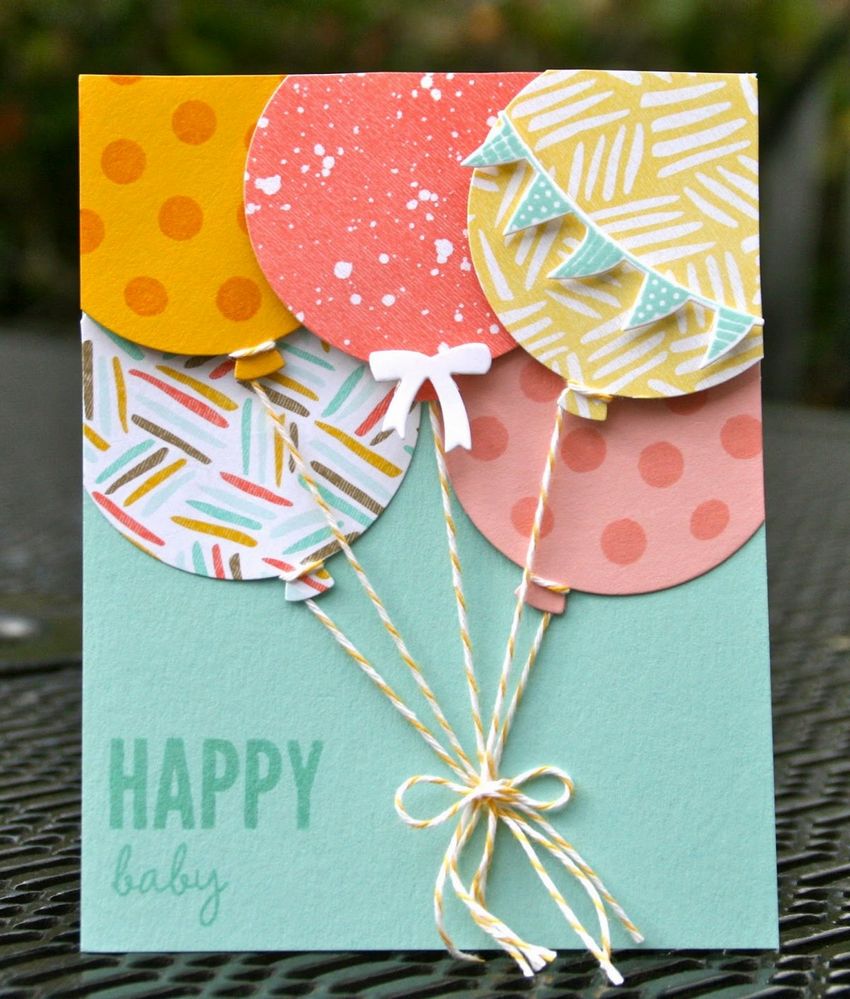
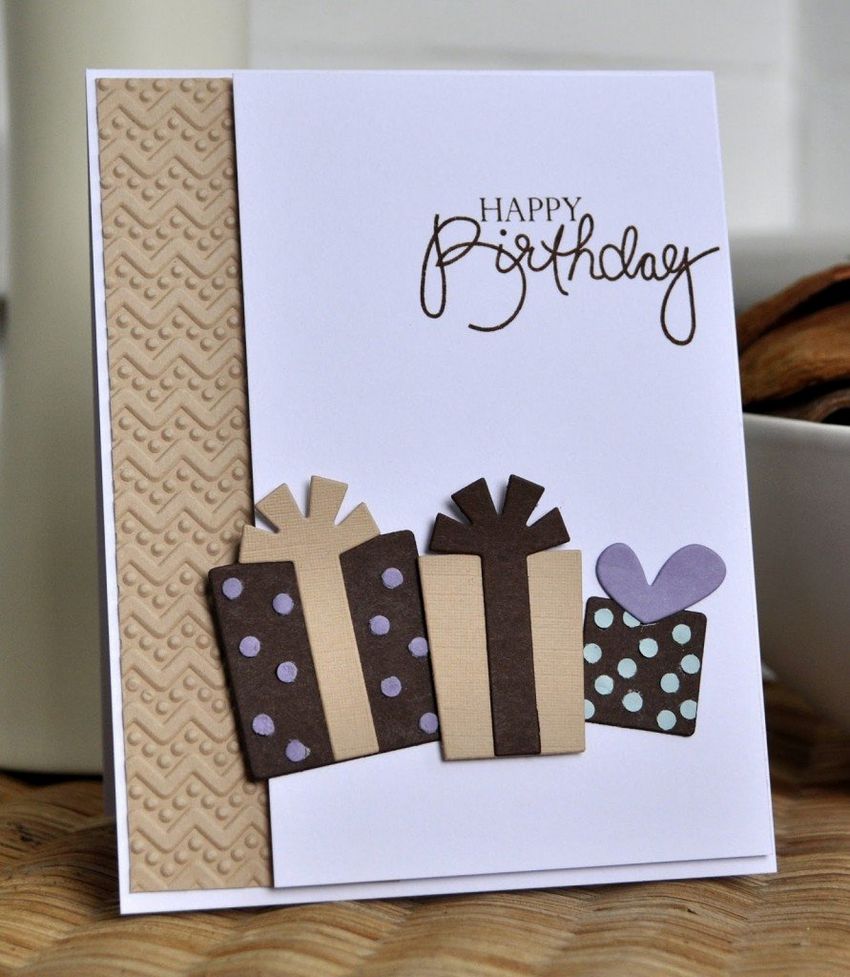
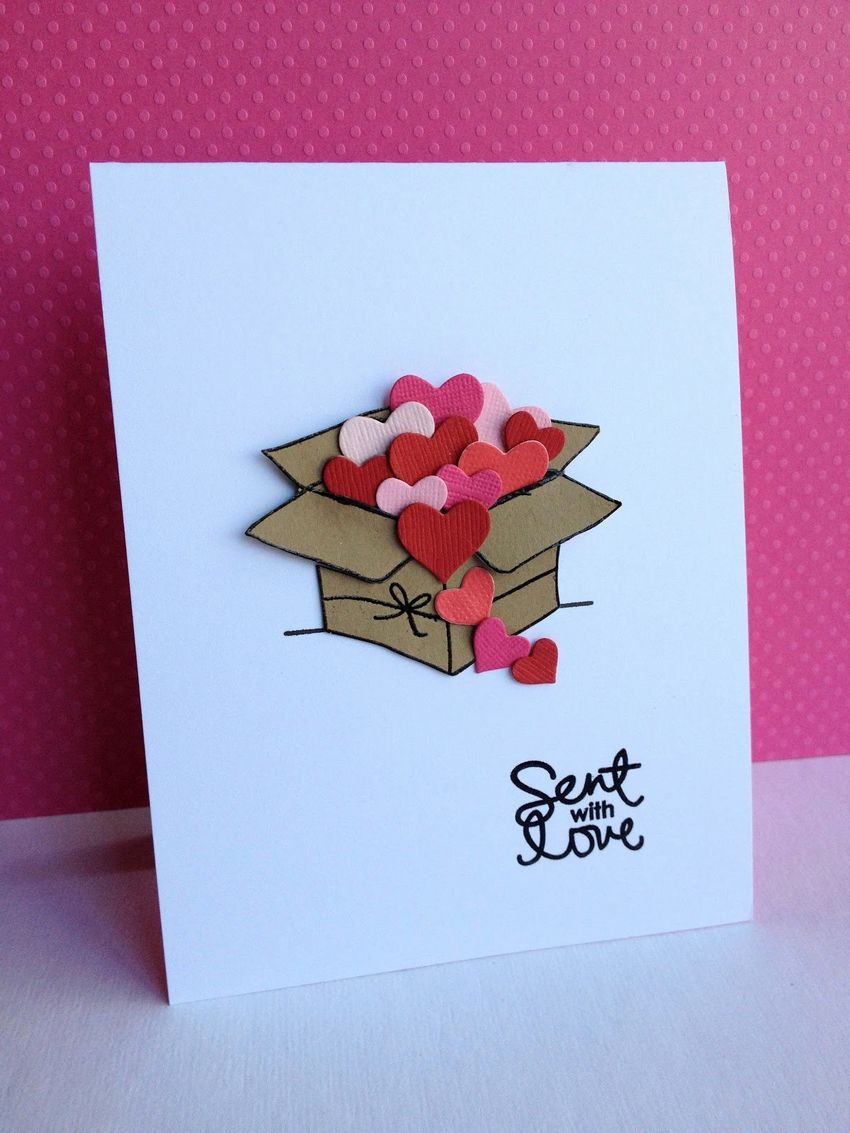
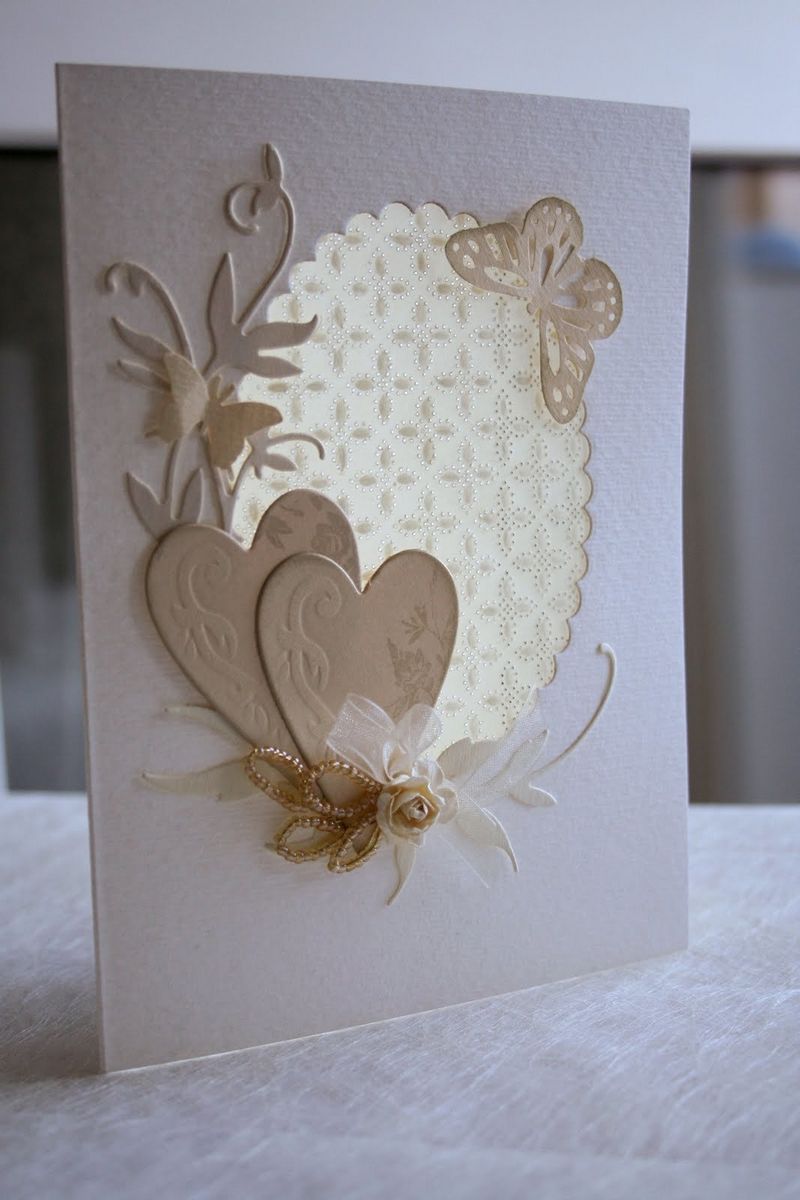
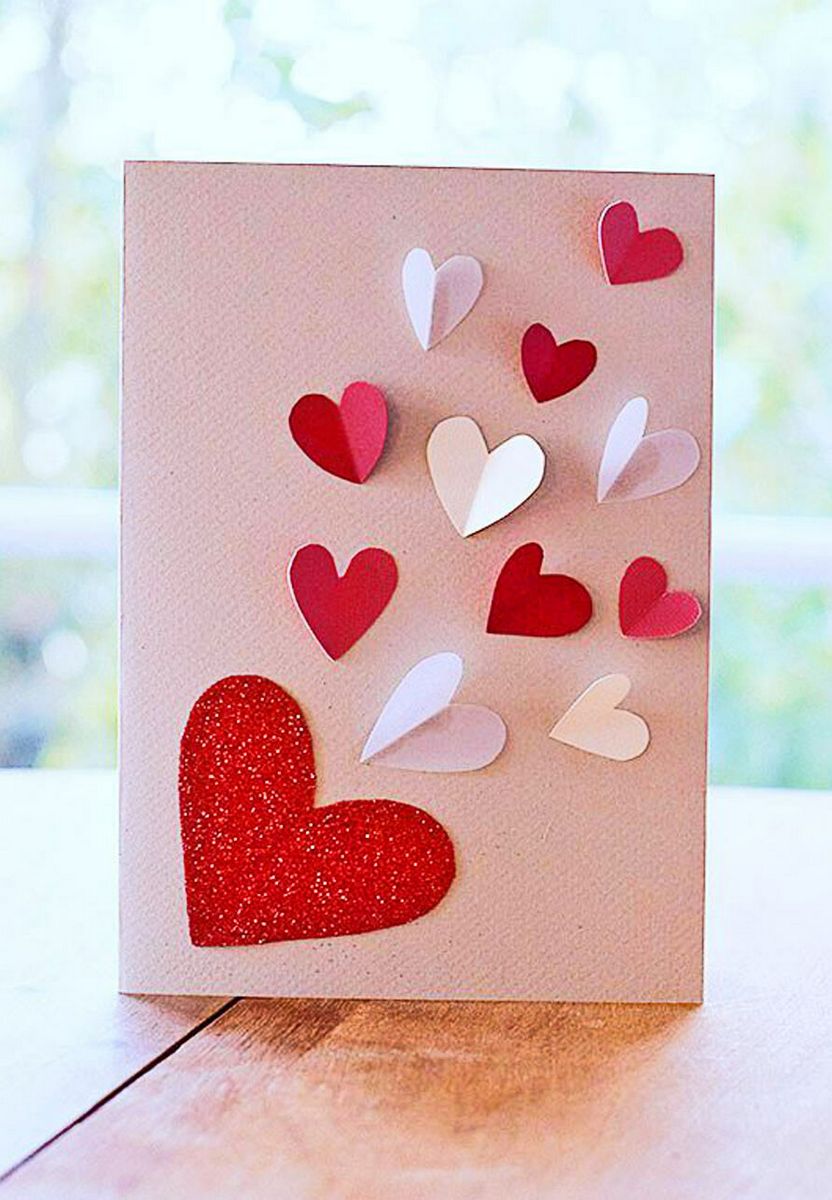
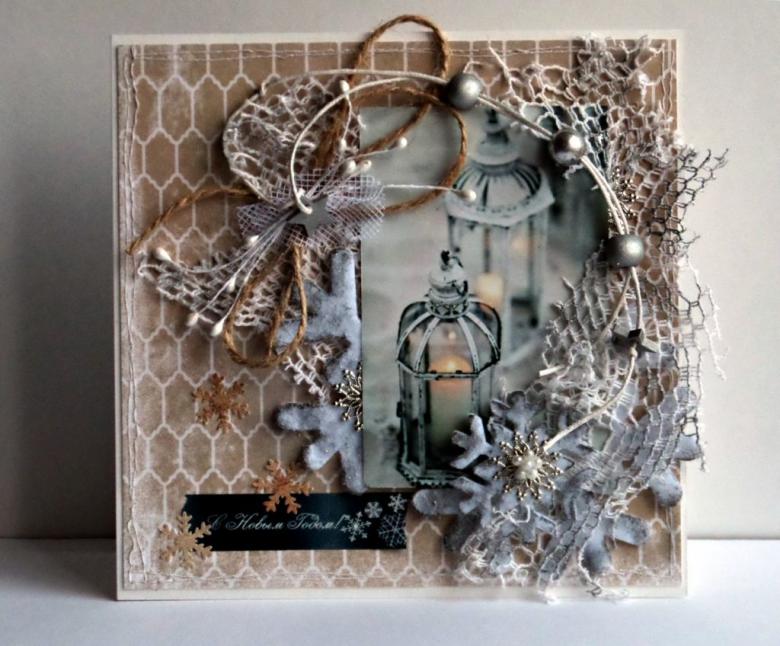
Option 2
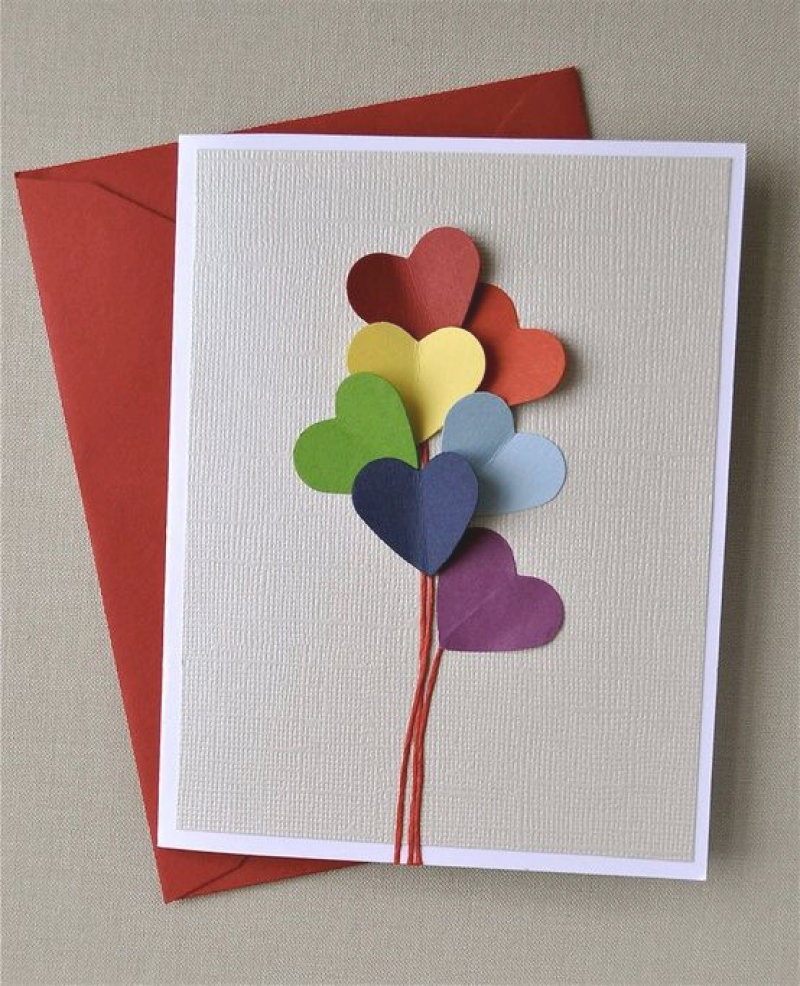
For the basis of this card, you should pick a sheet of paper in a neutral color - milk, pearl, sand. Instructions:
- Fold the selected sheet of A4 size in half.
- Cut small hearts from multi-colored cardboard.
- Create a composition that is a bundle of heart-shaped balloons. Ropes can be drawn or replaced with glued woolen strings.
- Wishes to print or write by hand on office paper, and glue to the inside of the finished card.

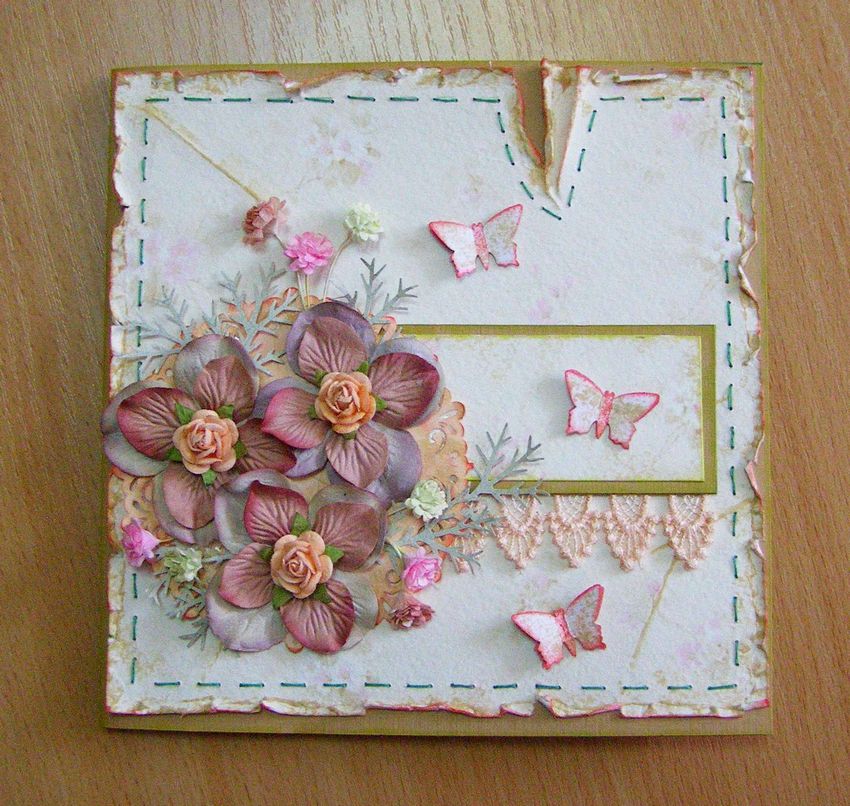
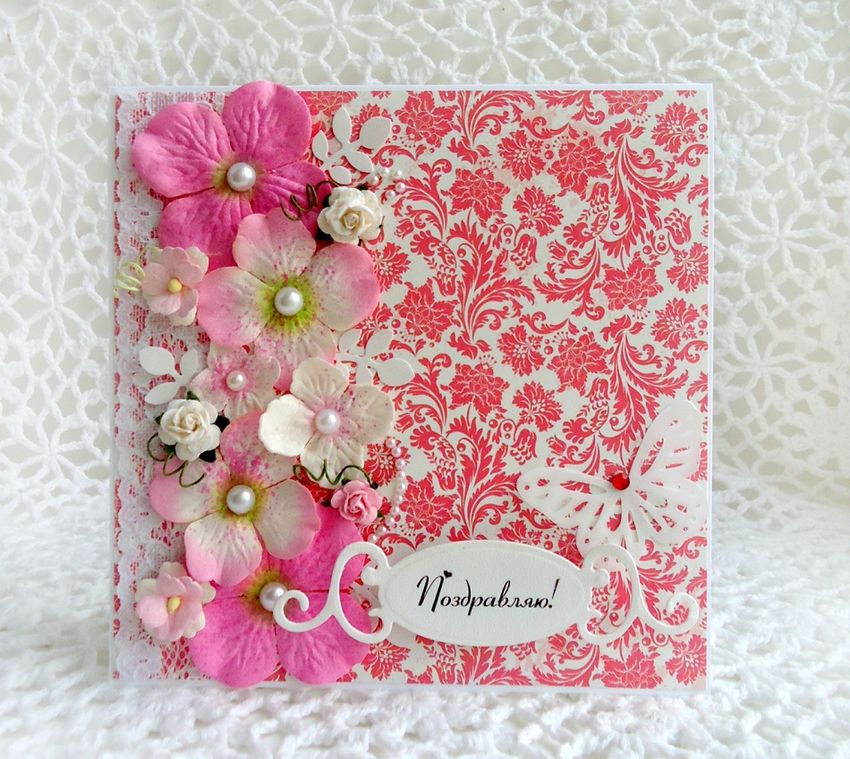
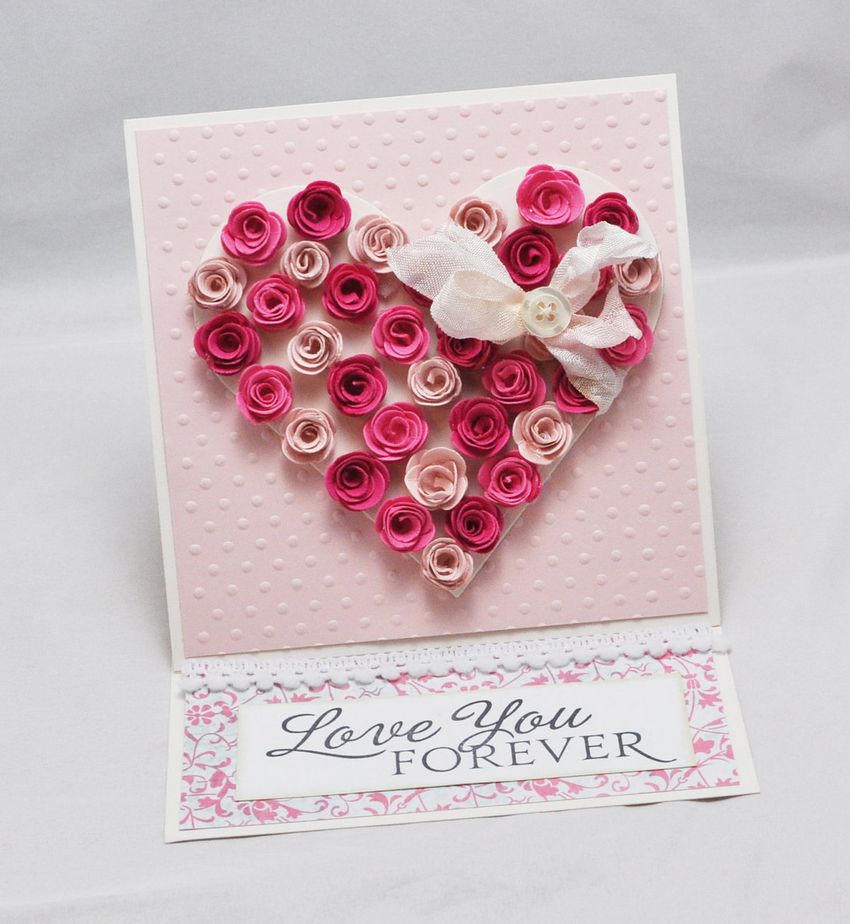
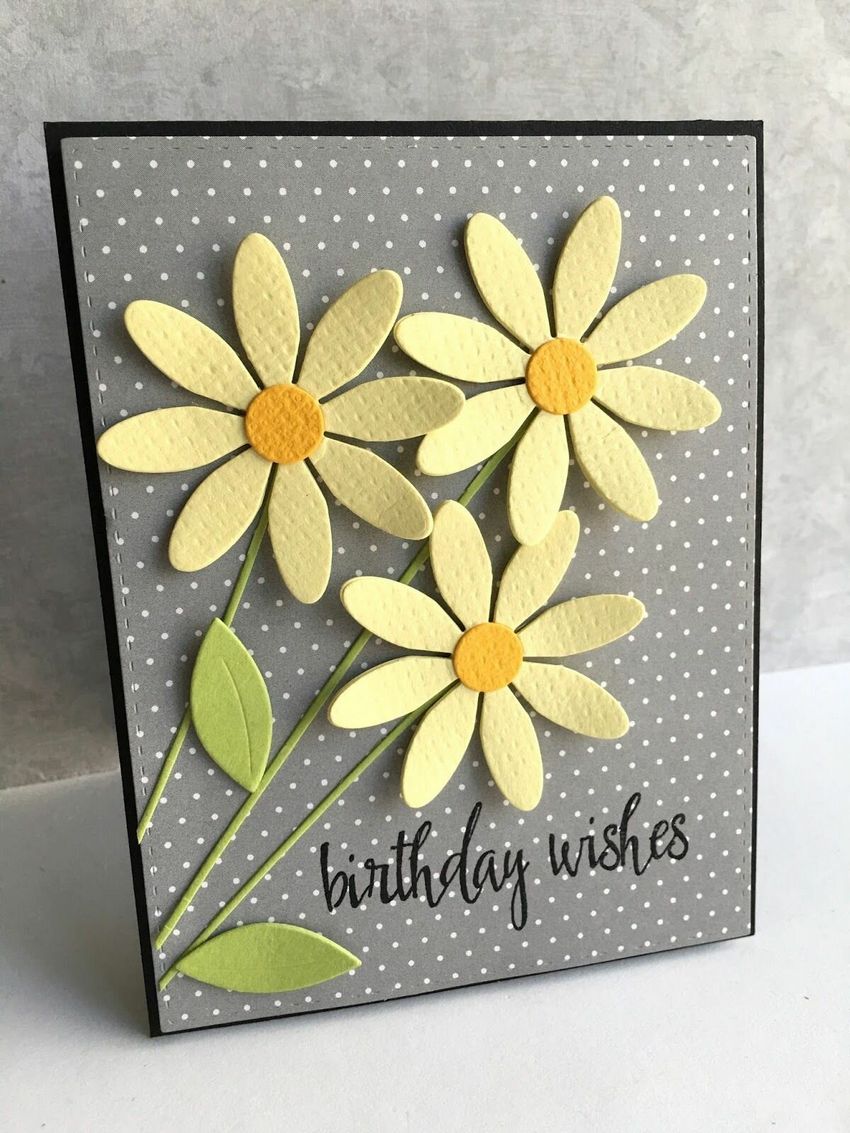
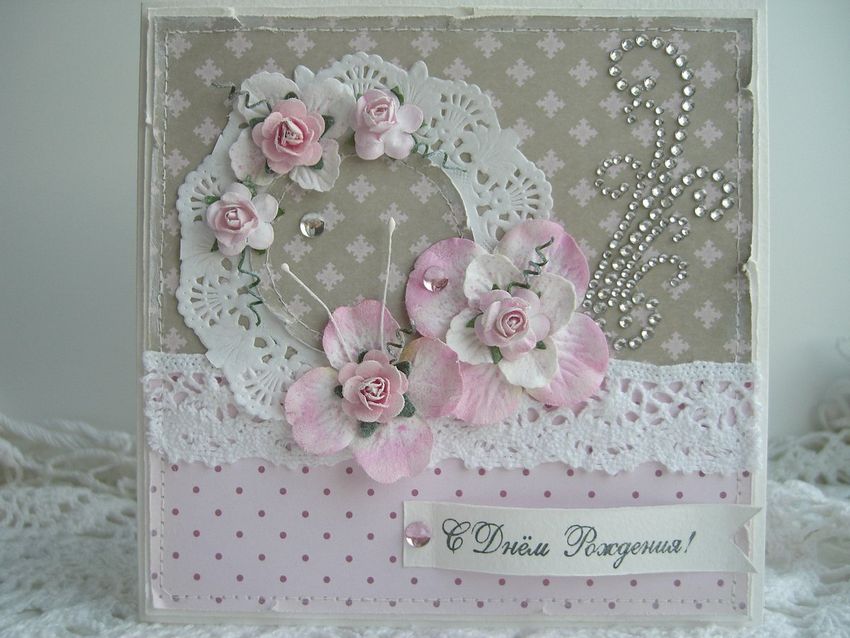
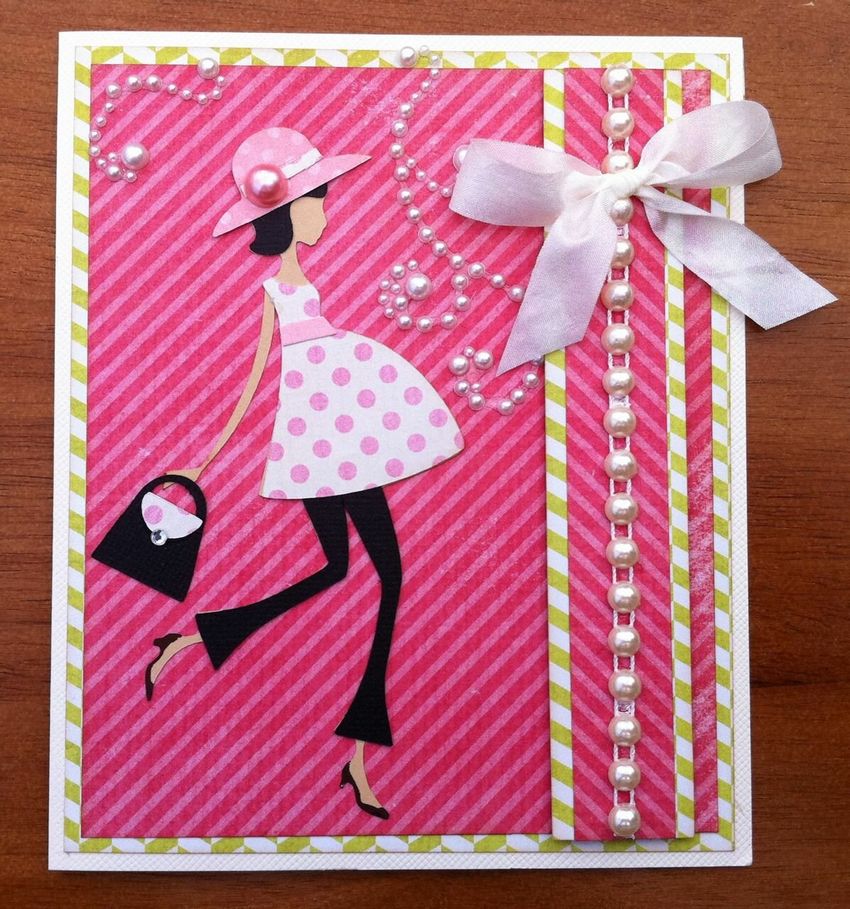
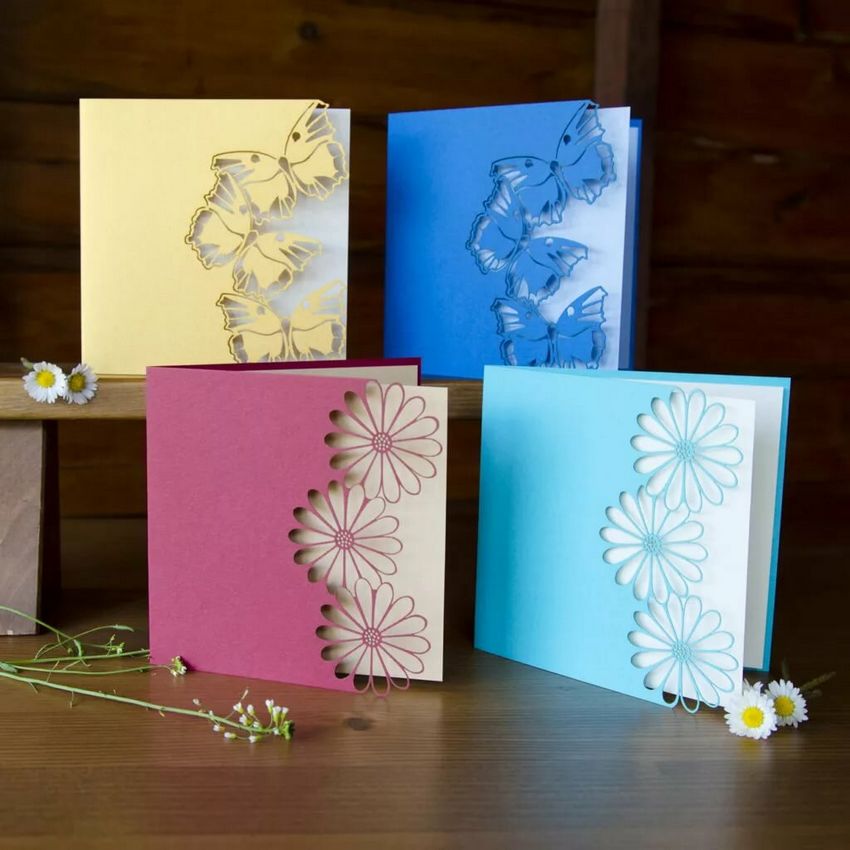
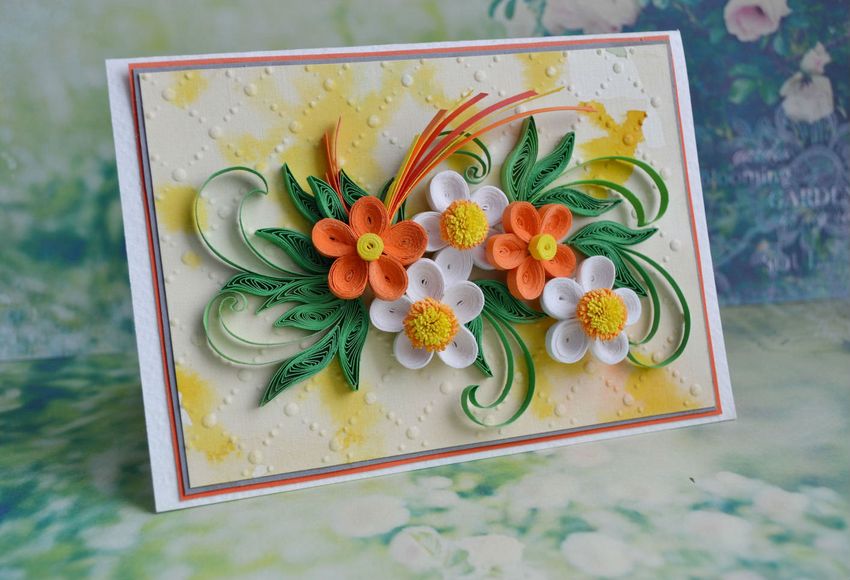
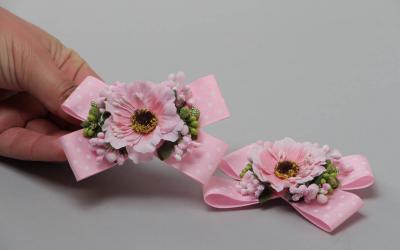
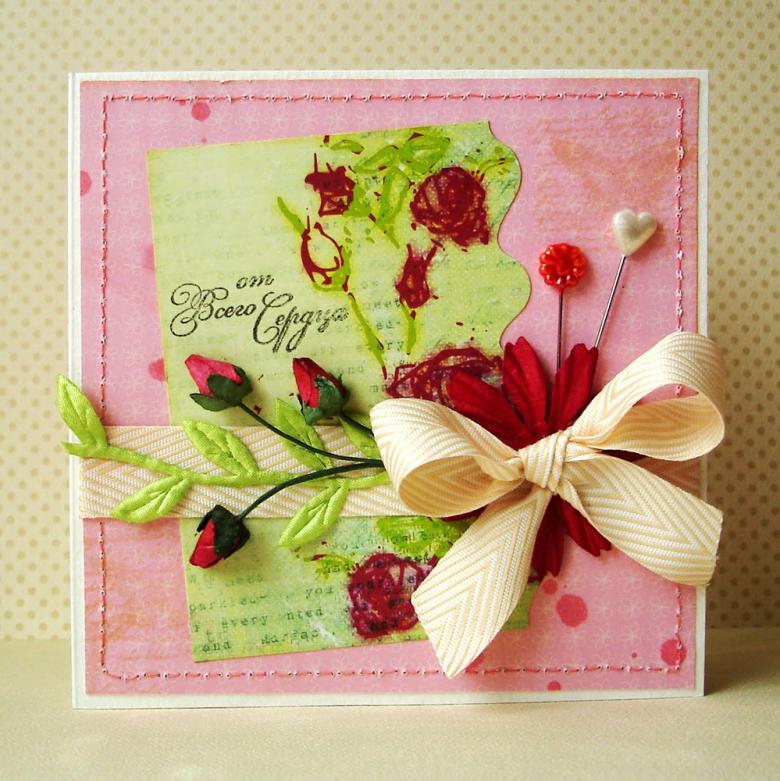
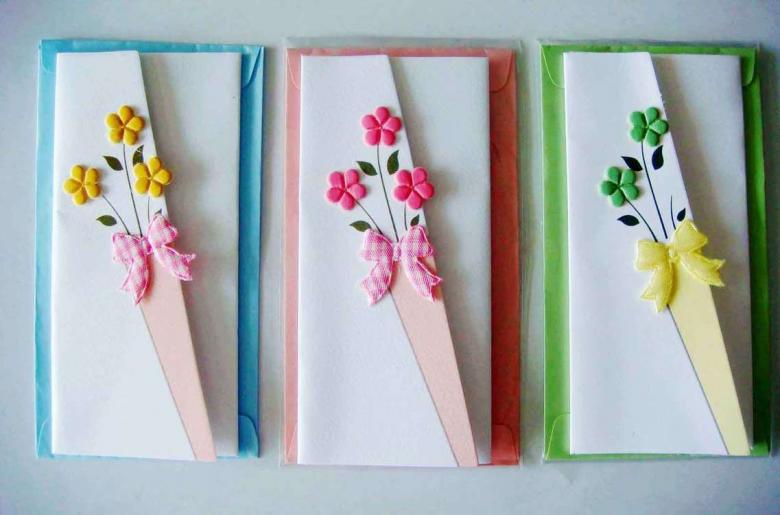
Option 3
To create such a cute card with flowers, you'll need:
- A sheet of heavy double-sided paper in a raspberry tone;
- double-sided paper in a rose shade;
- stickers;
- decorative beads;
- office paper;
- paper glue;
- scissors and a pencil.
Order of Steps:
- Fold a crimson-colored paper sheet in half. Draw a smooth line on the front according to the sketch and cut off the excess paper along the border.
- Using scissors, divide the sheet of pink shade across into two equal parts. The size of the halves should match the parameters of the folded card. Glue the paper to the back of the cover.
- Along the entire length of the edge of the cover, draw half circles on a sheet of rose-colored paper. Cut along the outline.
- Form a pair of squares of the same size from stickers of 3 different tones. Fold one diagonally, bend the corners a certain way.
- At the corner, sketch a heart on the figure and cut it out with scissors.
- Open the element, and twist the petals. Do the same with the 2nd square. Once it is ready, make a small cut at one point between the petals and glue one petal to another.
- Attach a second flower on the first. Place a bead in the center. Similarly, make two more flower heads.
- From the green sticker cut a small rectangle. Bend it twice in half. Draw half a leaf. Cut out the outline. You should have 2 leaves for the flower. Repeat steps described in this paragraph 3 more times.
- Glue the front side of the crafts made flowers with leaves.
- Decorate the area near the fold with beads. Write the wishes on office paper, cut it out and glue it to the part of the card back that is visible from the front.

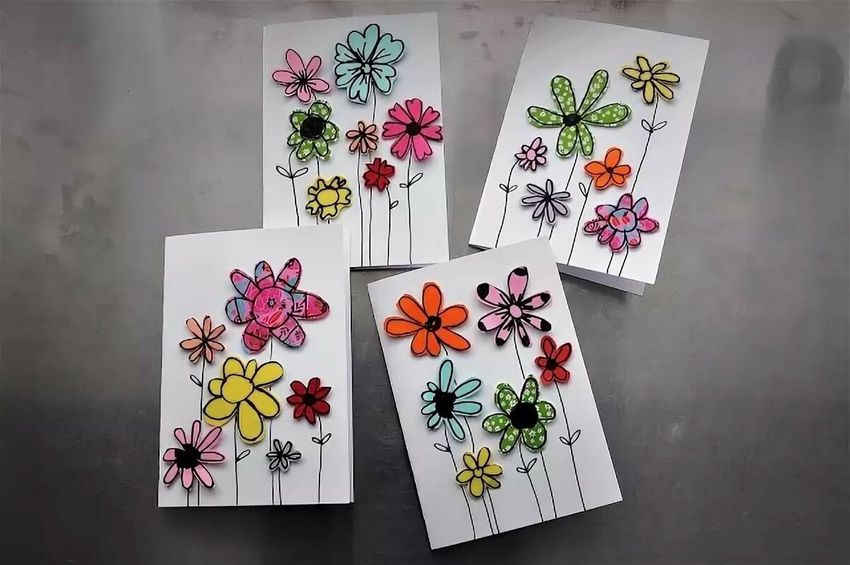
Popular ideas for children's cards for March 8
Here are the most popular ideas that you can offer your child for a card for March 8 by hand in elementary school:
- A simple book-shaped card;
- card-applique;
- mini-card;
- shaped card;
- A4 postcard.
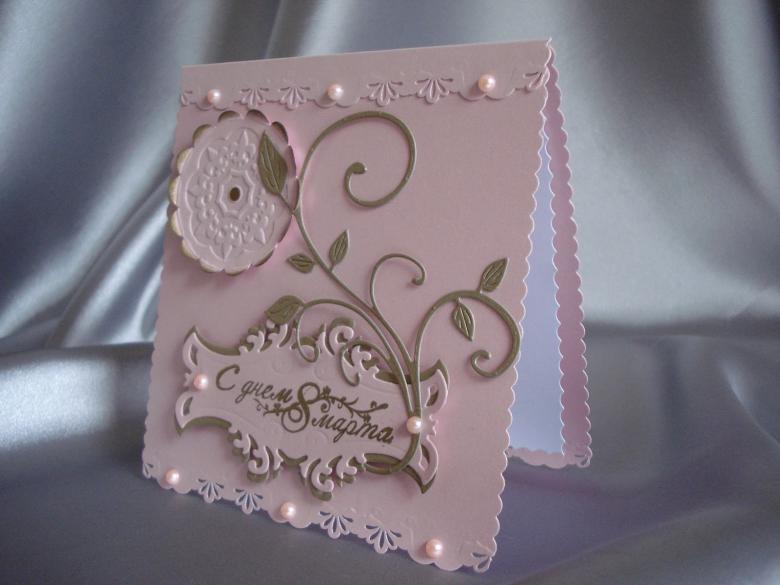
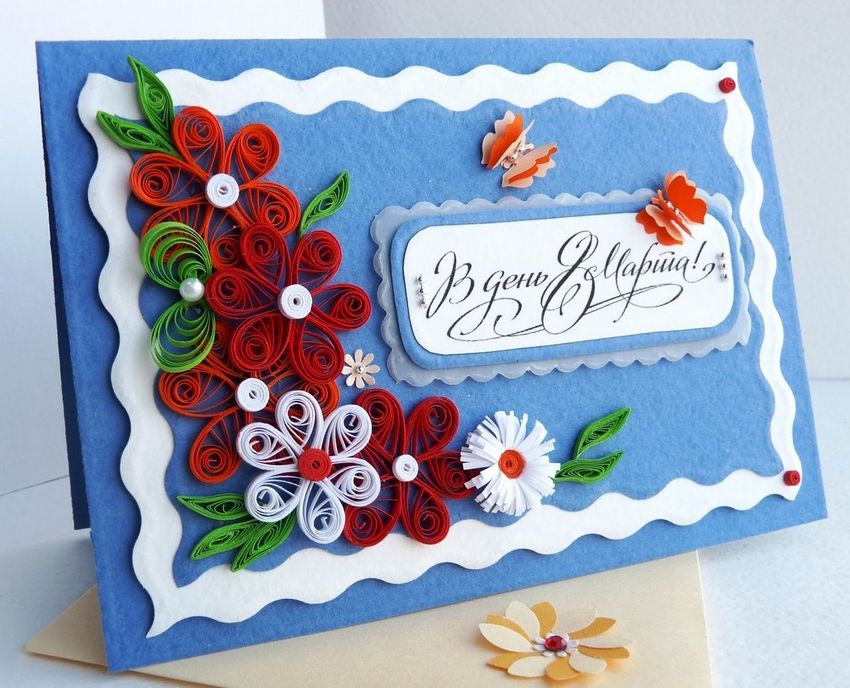
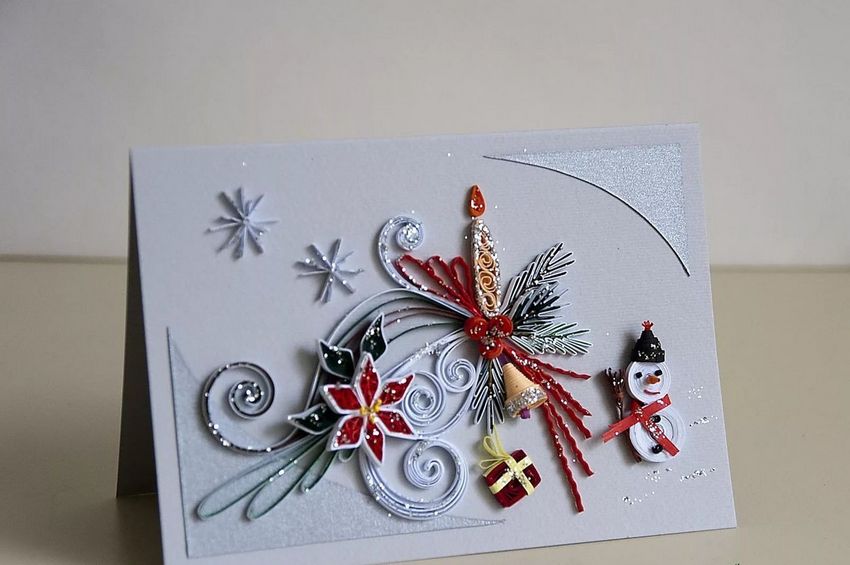
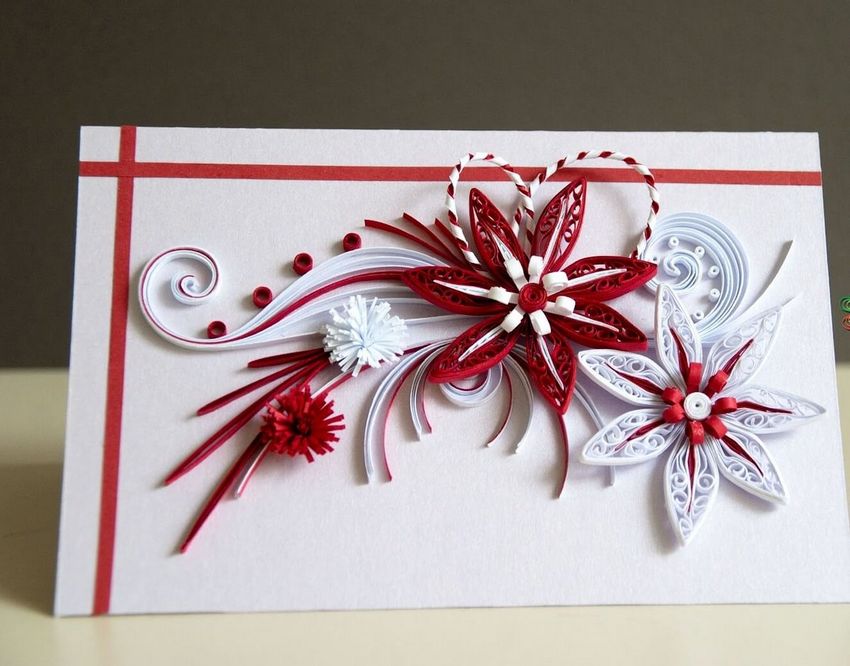
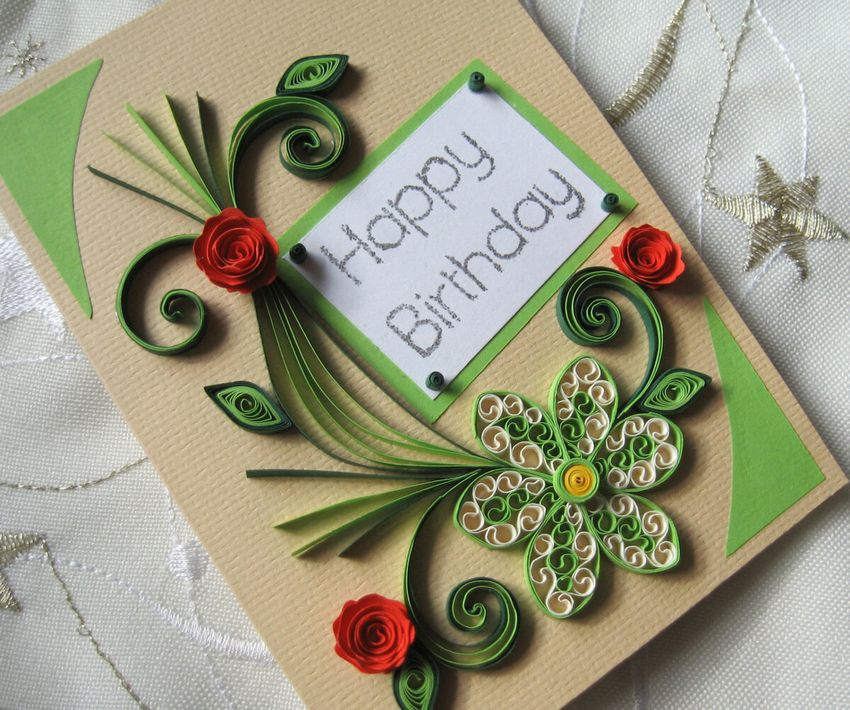
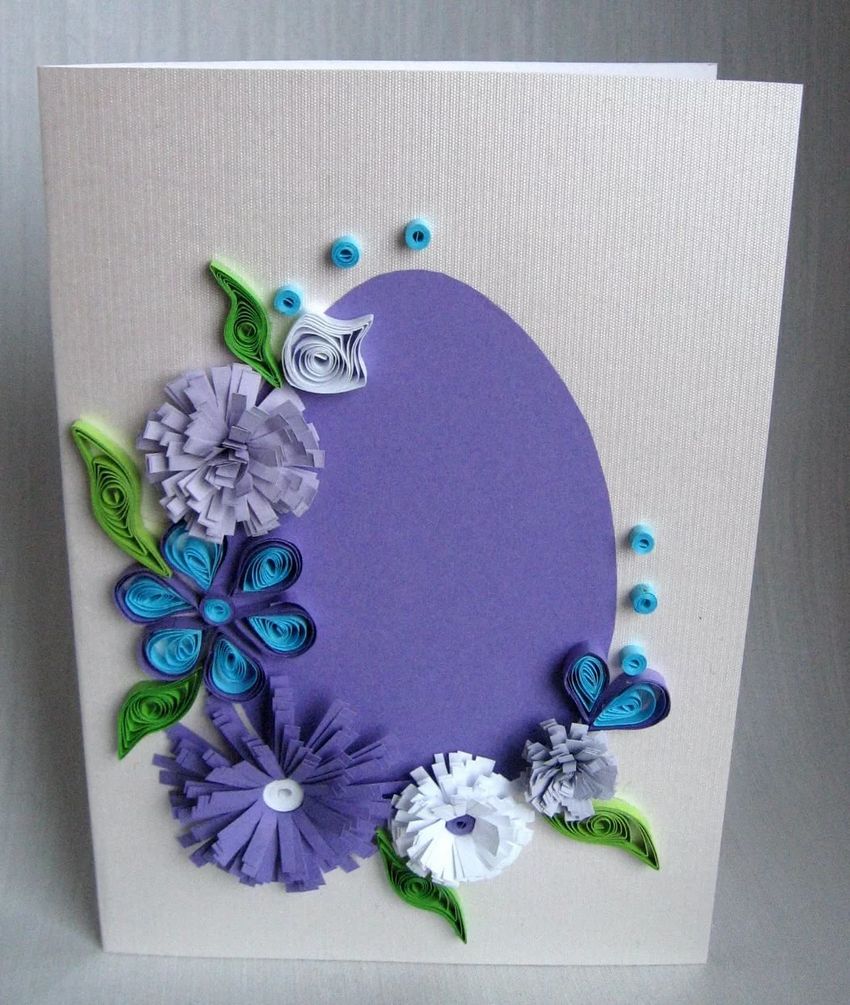
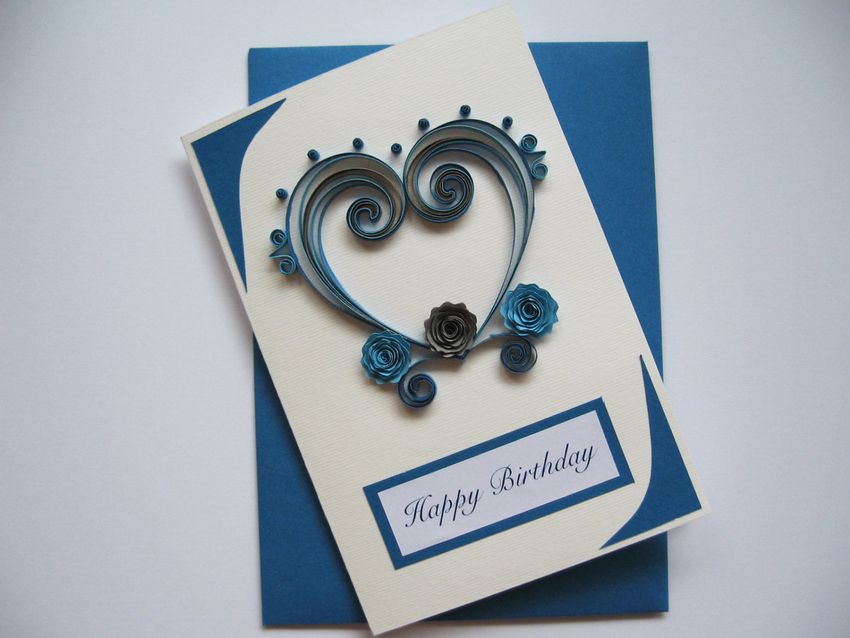
The simplest card with greetings for March 8 is a figure eight cut out of colored cardboard, decorated with paper flowers. Do you like unconventionality? Consider such card making techniques as kirigami, paper cutting, and quilling.
An uninitiated person may think they are quite difficult to learn. In fact, it is not. The main thing is to strictly follow the sequence of actions.

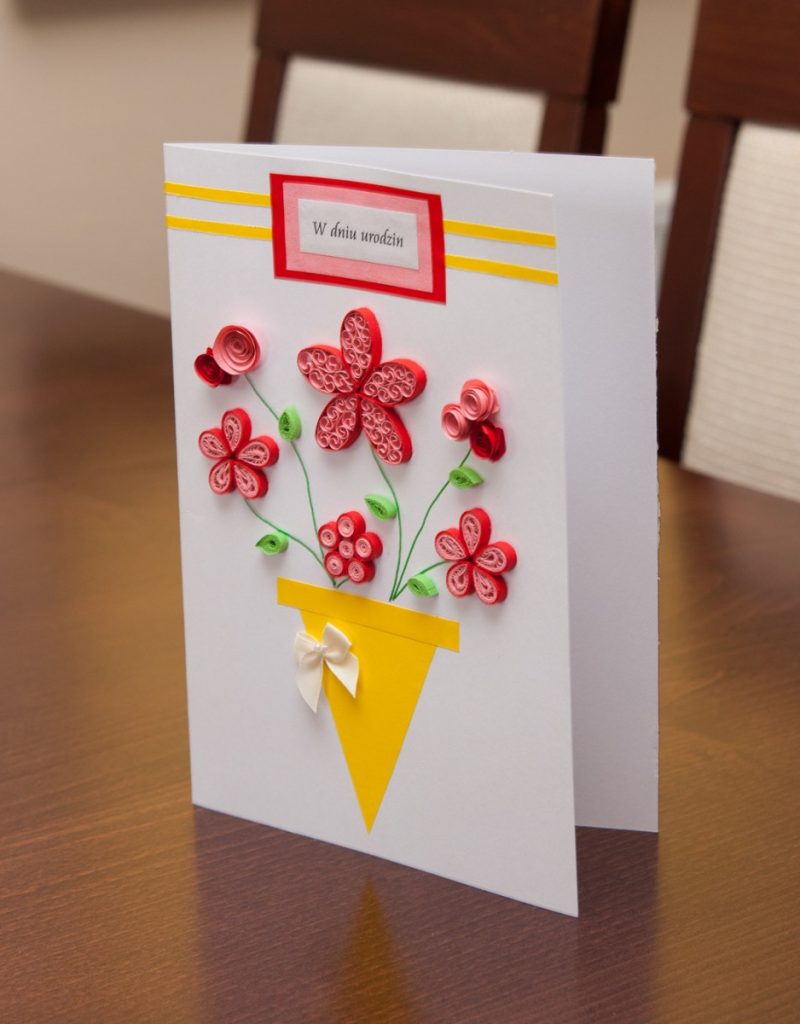
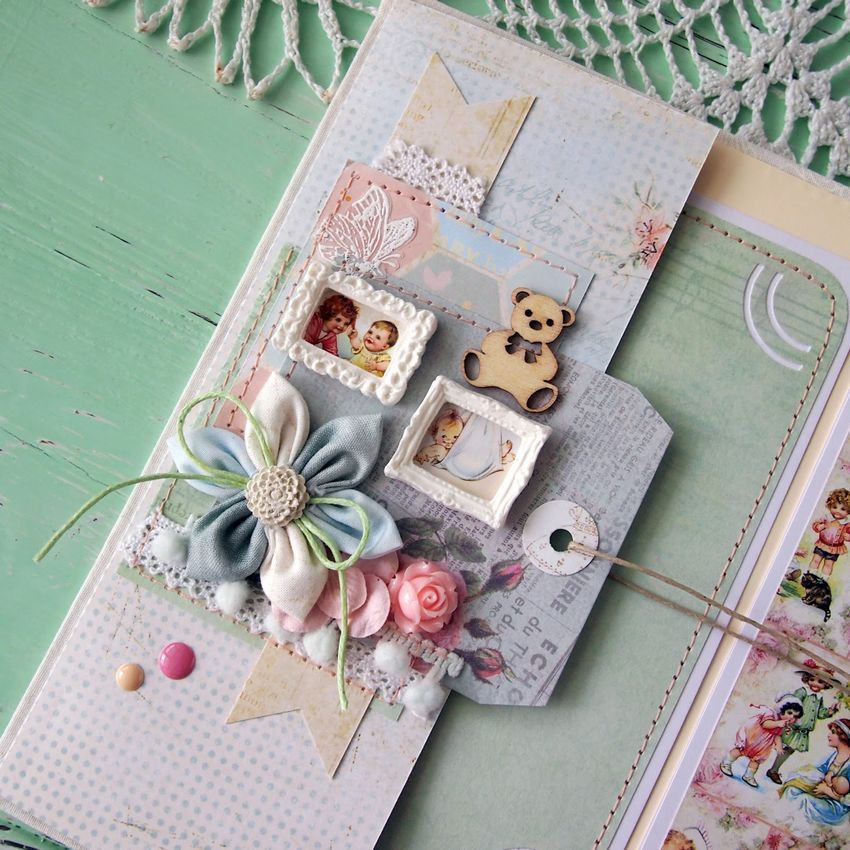
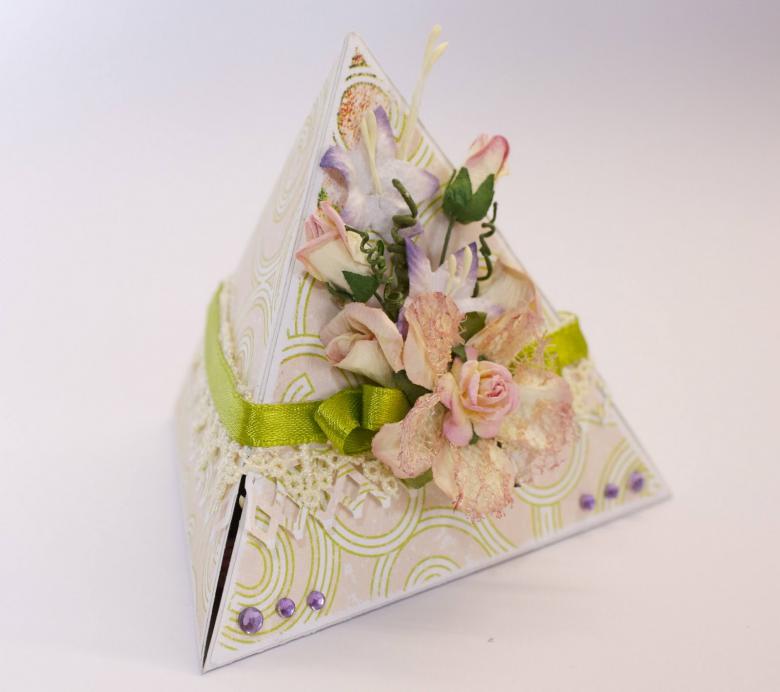
As an example of a card for March 8 with their own hands in kindergarten, you can give here such a card in the form of a pot of flowers. Work algorithm:
- Draw blanks, using an ordinary simple pencil, or print a template from the Internet. For younger children, it is recommended to make cardboard parts.
- Transfer the elements of the pot to fabric or brightly colored wrapping paper and carefully cut them out.
- Use colored cardboard/paper to create flowers. Glue the bouquet to the pot.
- Decorate the craft with ribbons and write wishes.
Looking at photos of handmade cards, it is worth saying that this is a very unusual and exclusive gift that brings joy to both the person being gifted and the giver. So buy paper, glue and scissors, and create!
Photo ideas of homemade cards