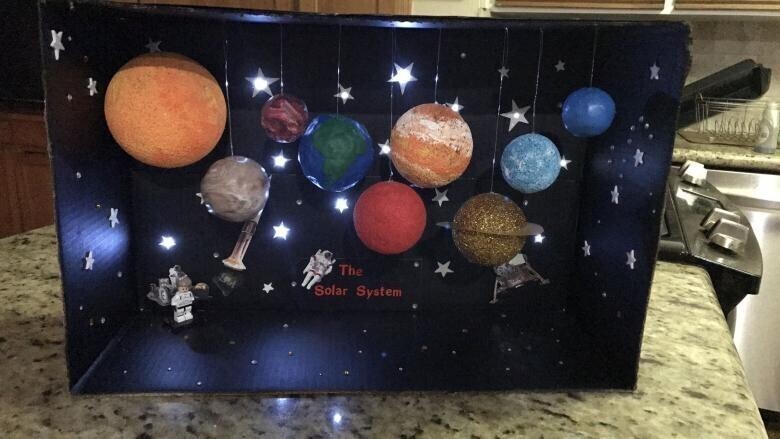
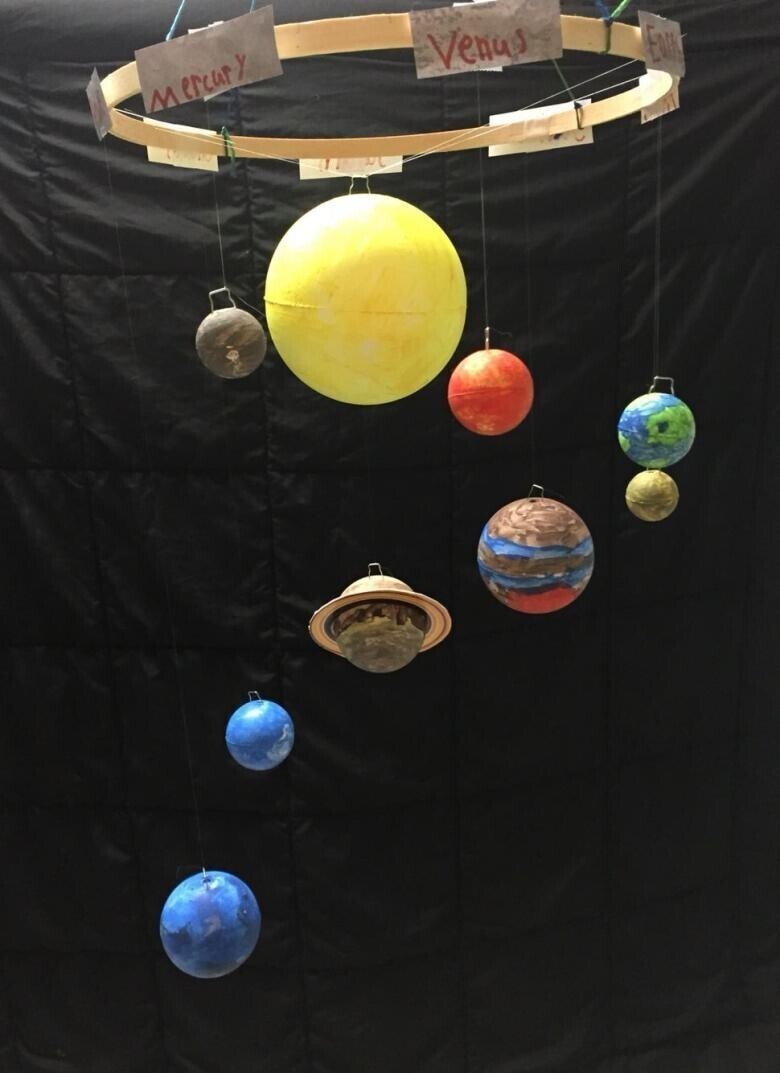
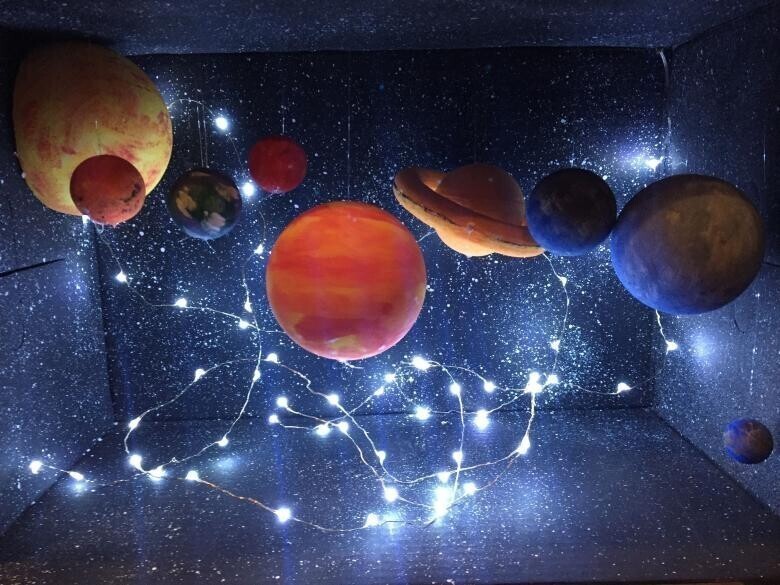
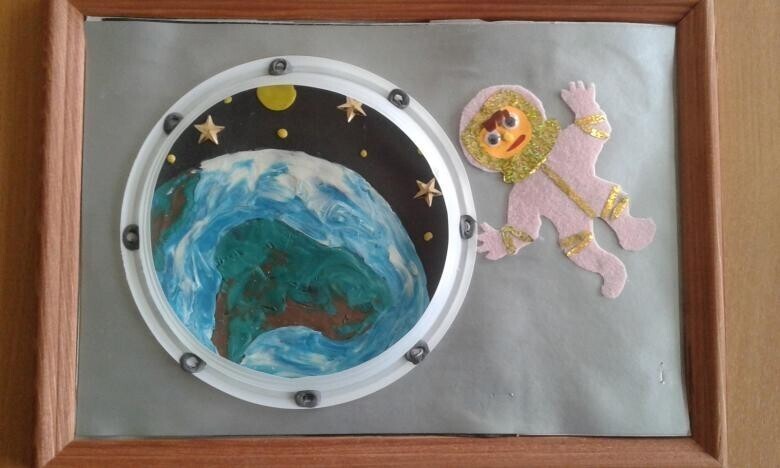
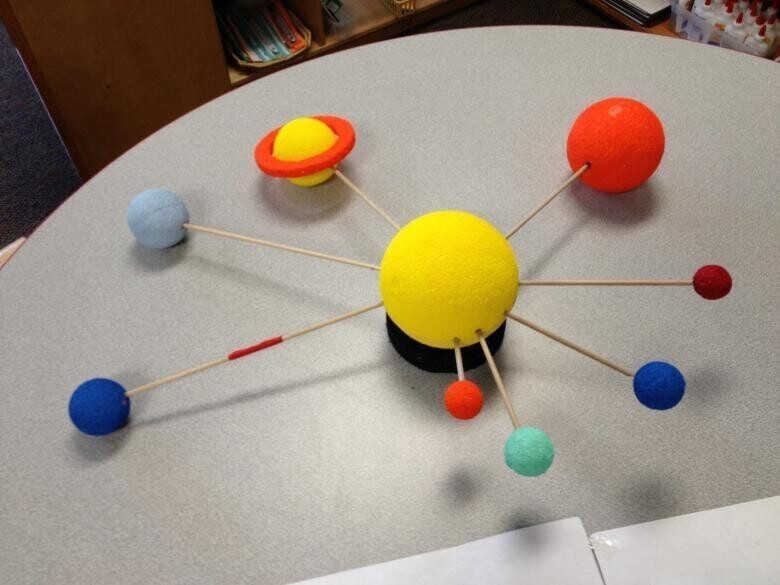
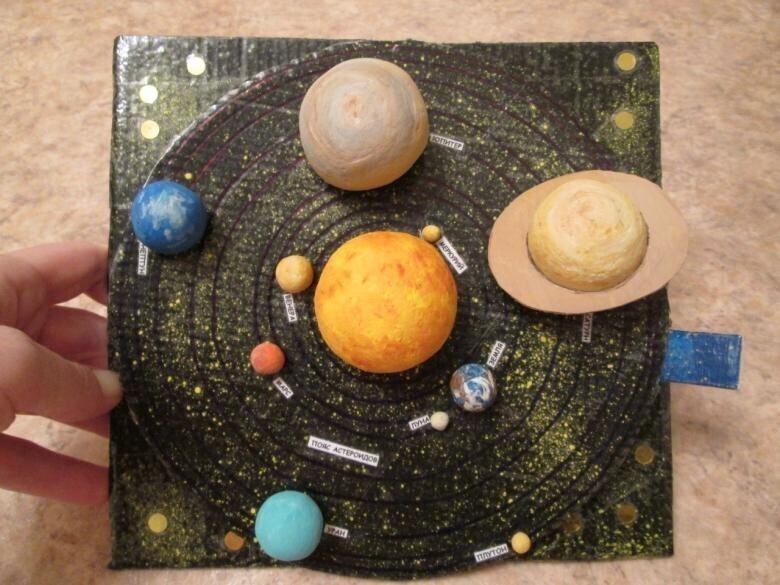
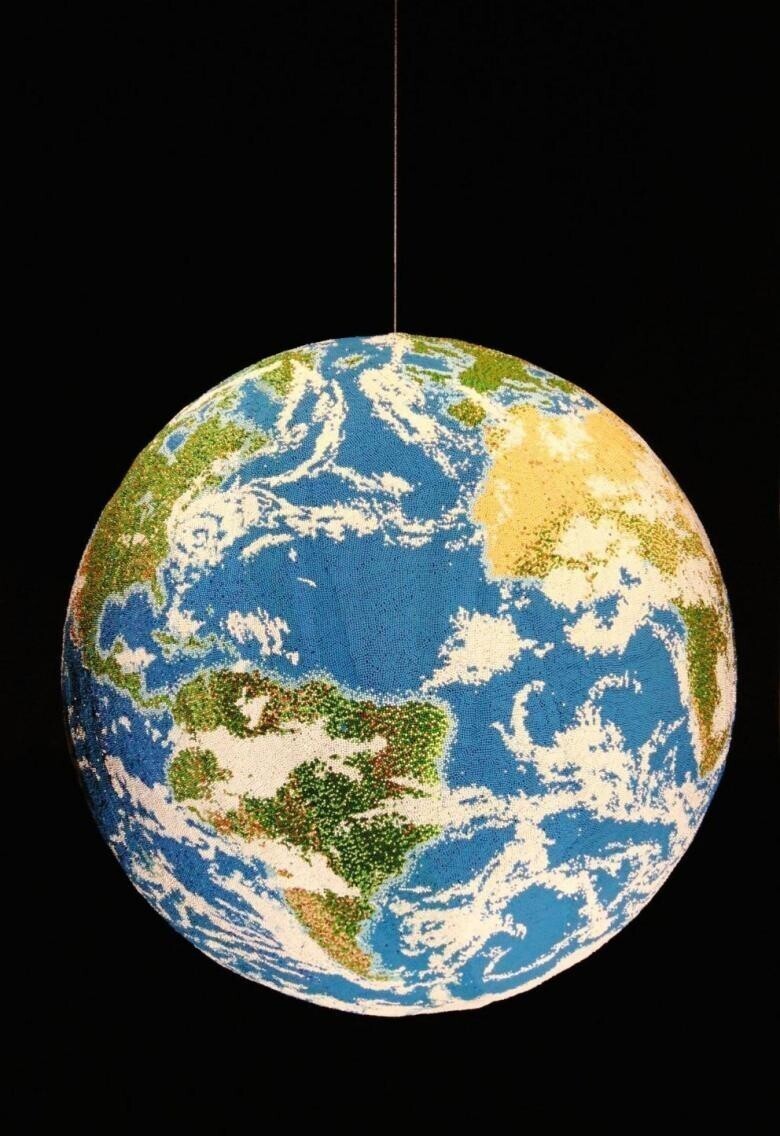
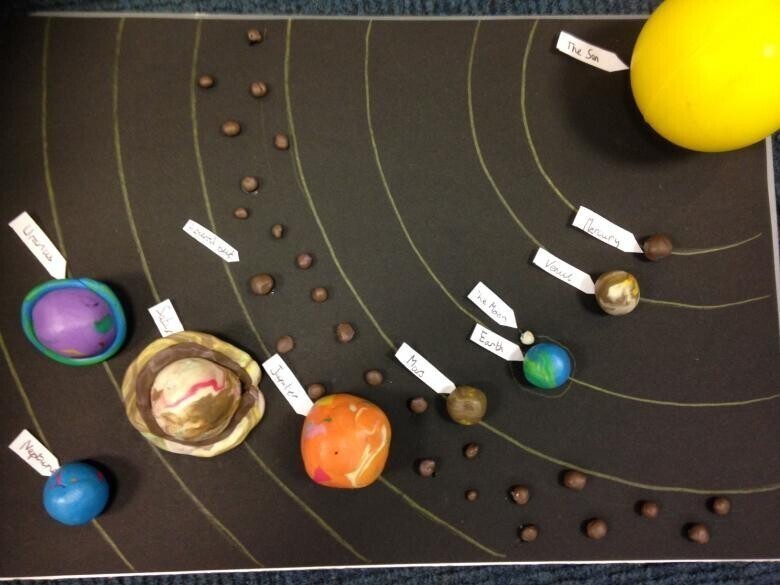
Handmade solar system planet: step by step instructions of improvised materials (90 photos)
If you like making a variety of brightly colored crafts, this is a great way to work with your child. Children really appreciate the attention. The more time you devote to his development, the more gifted he will be. You may also come across the need to make for a well-known holiday date.
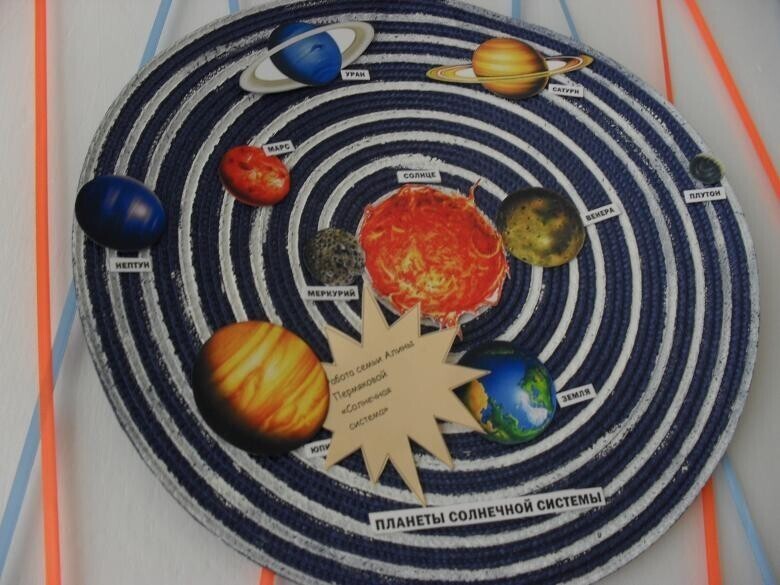
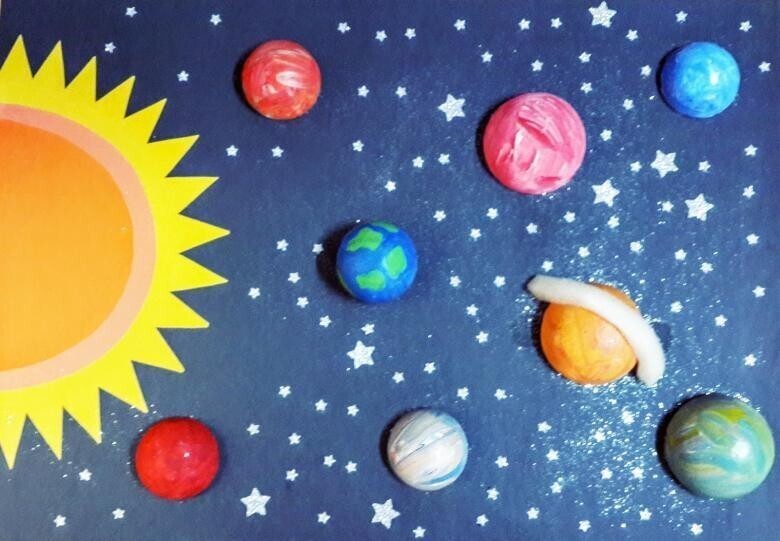
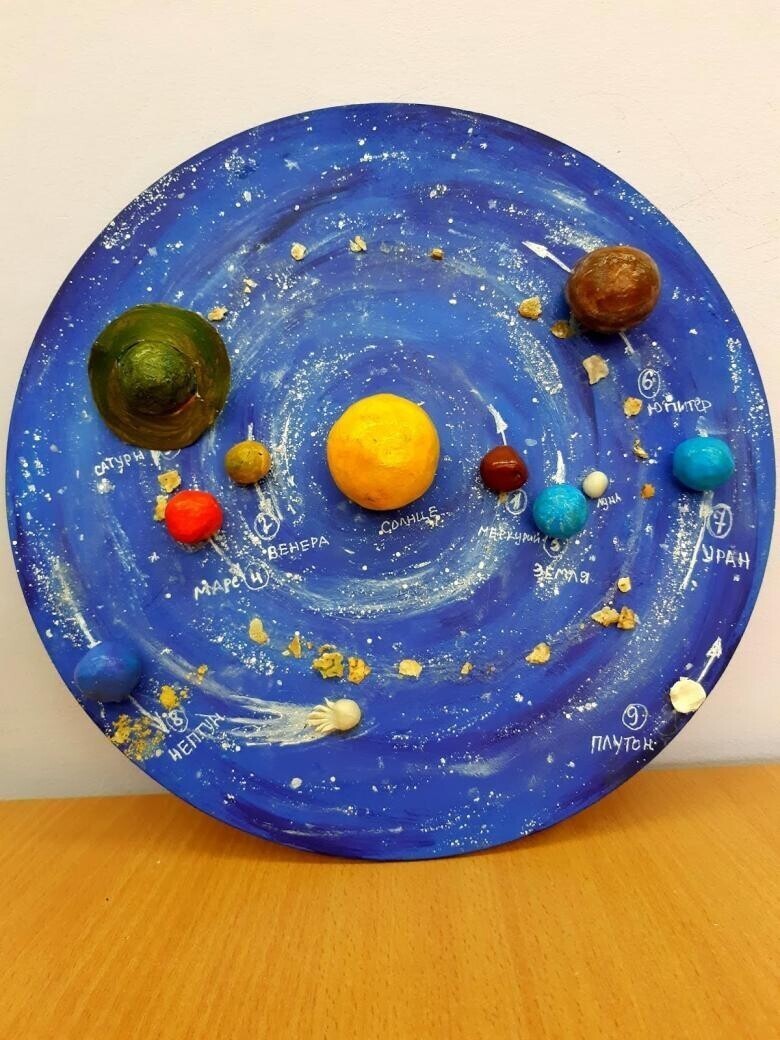
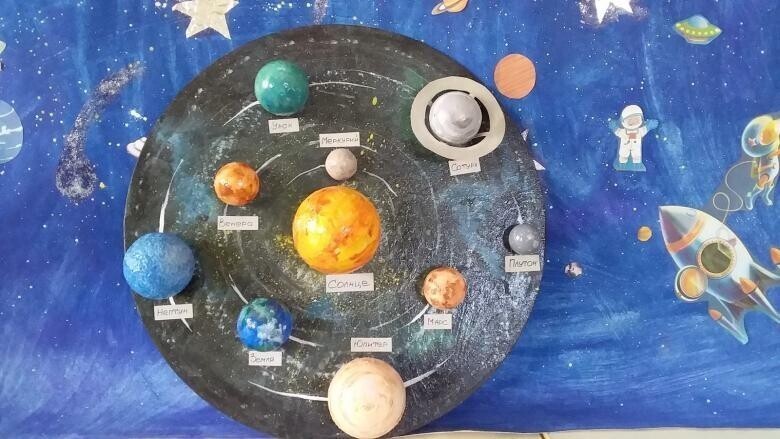
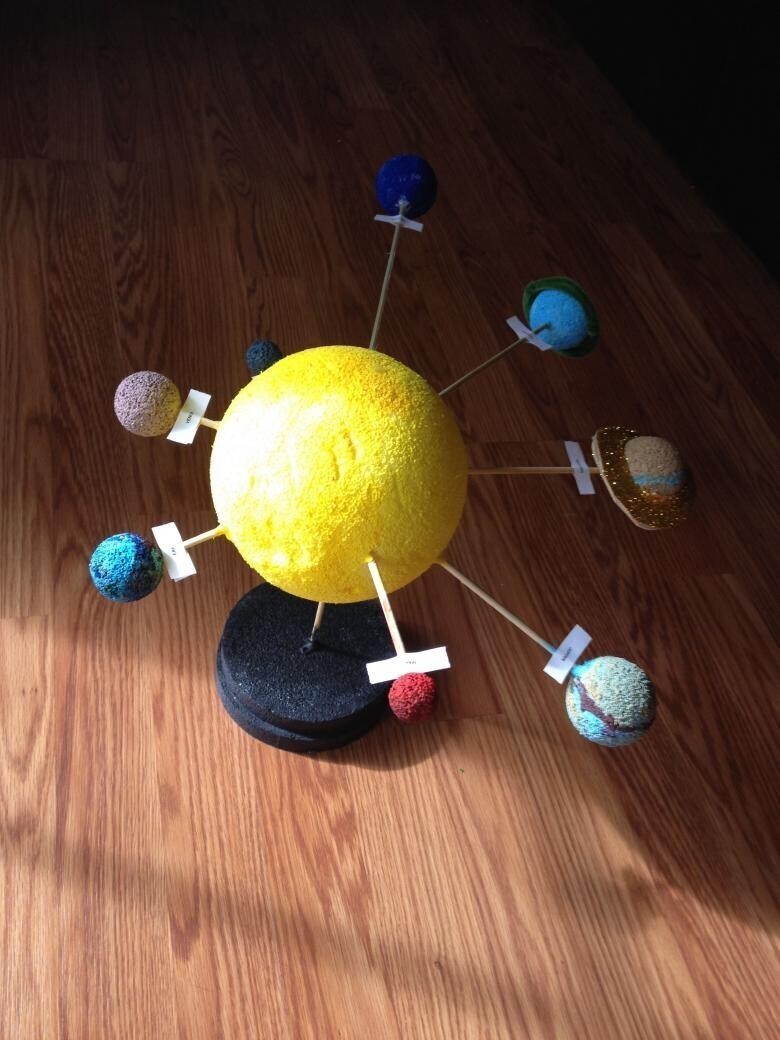
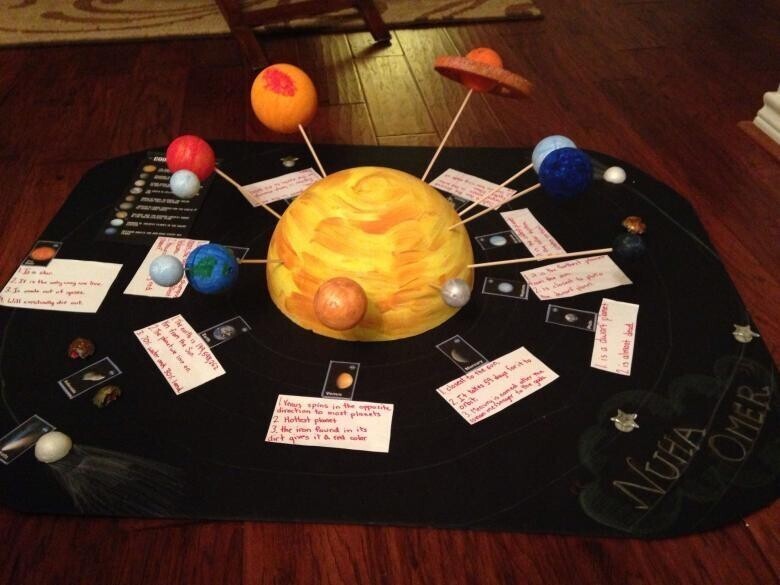
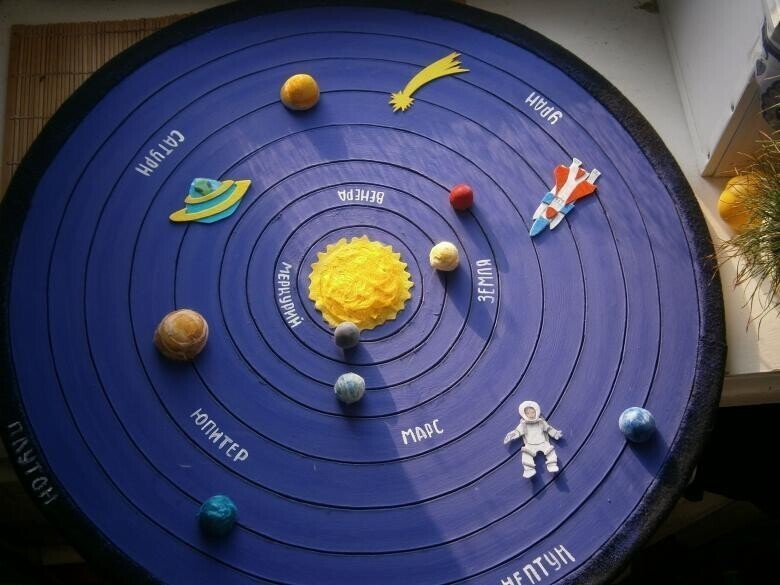
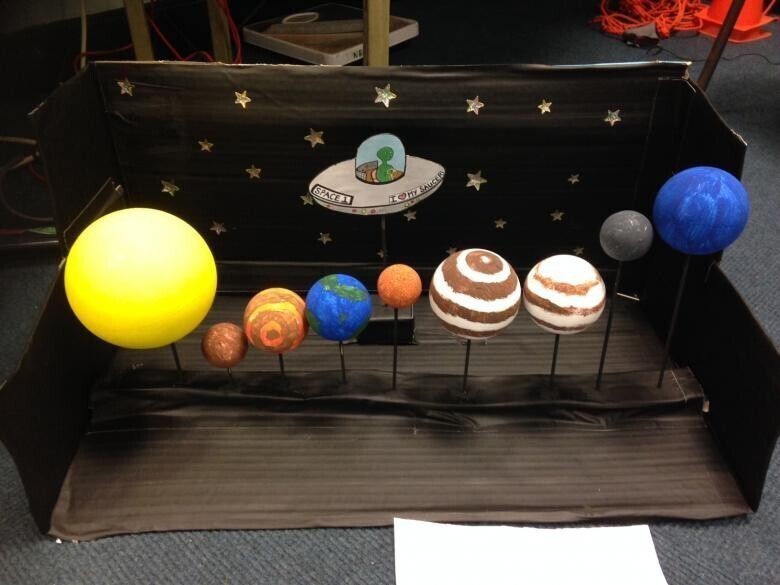
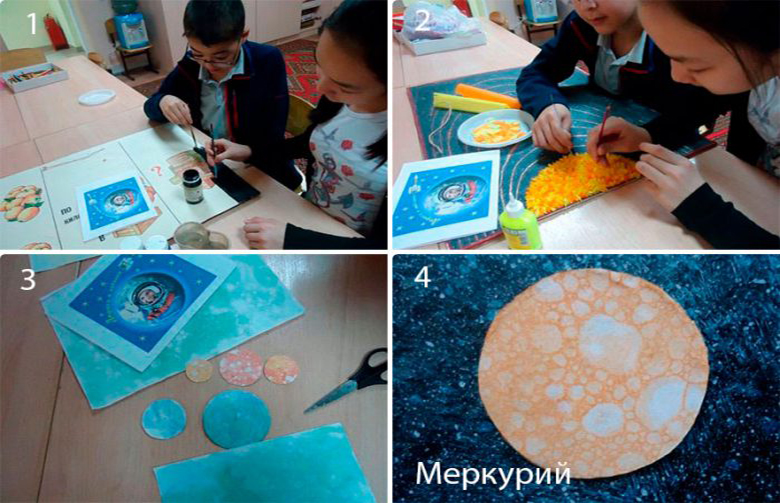
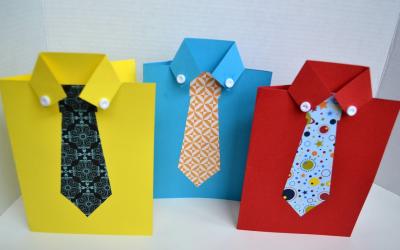
On Cosmonautics Day, school and preschools have craft shows where the kids show off their individual products. Check out some of the entertaining techniques for making a model of a space object.
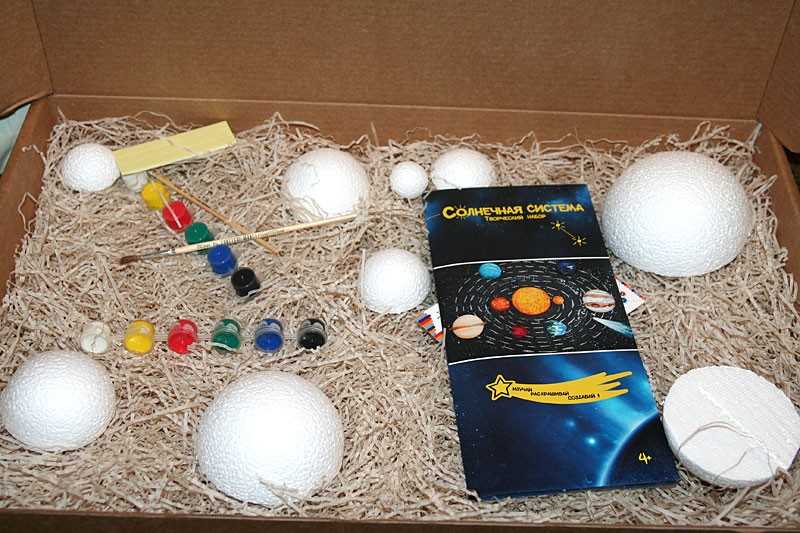
Handmade supplies
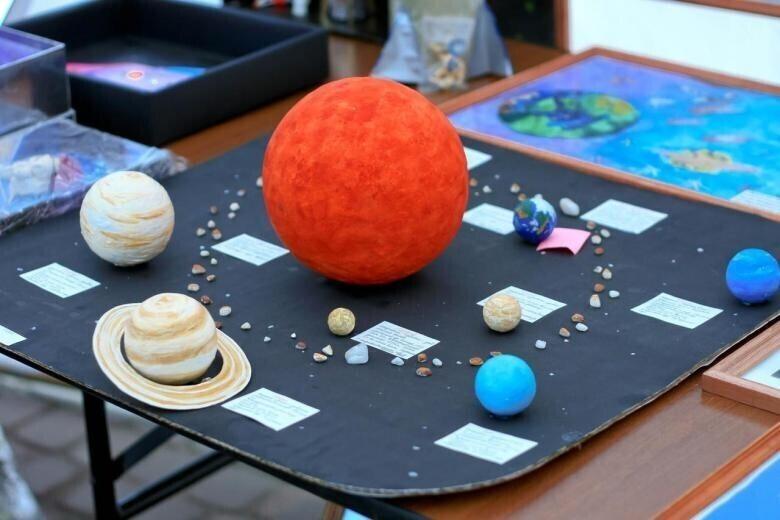
Space plots are made from whatever is at hand, which is out of use or prepared only for the craft process for crafts for the kids' home room, kindergarten, school.
- Several spheres of different sizes.
- Supplies to draw on.
- Illustrations and strips of newspaper.
- Wallpaper paste.
- Thin plywood, foam rubber.
- Thread and wire for looping to products.
- Compact discs.
- Plastic bottles.
- Plastic mass for molding.
- Food-grade aluminum foil and more.
Creating
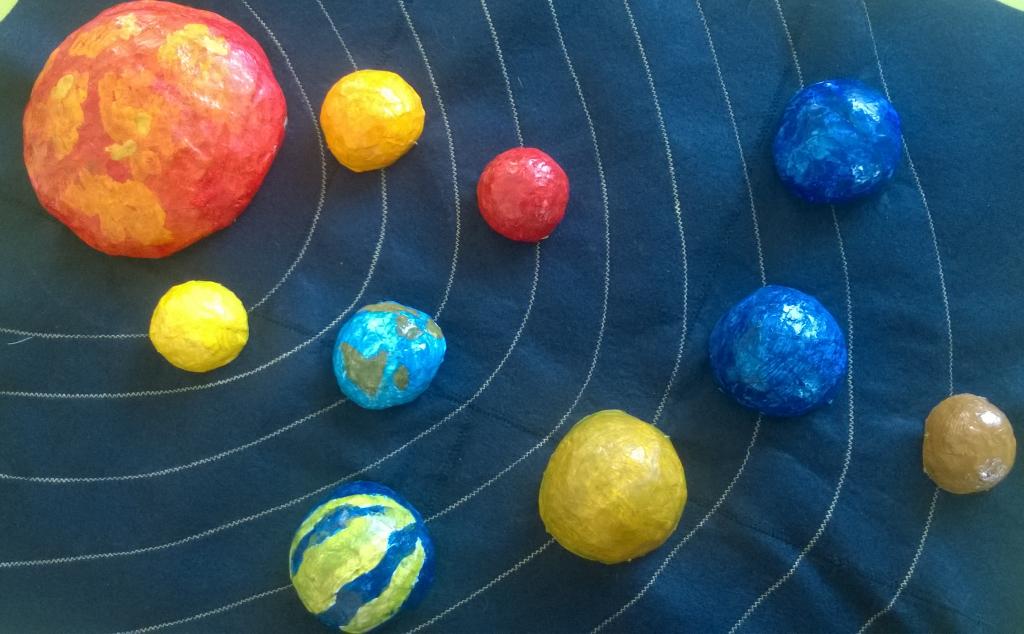
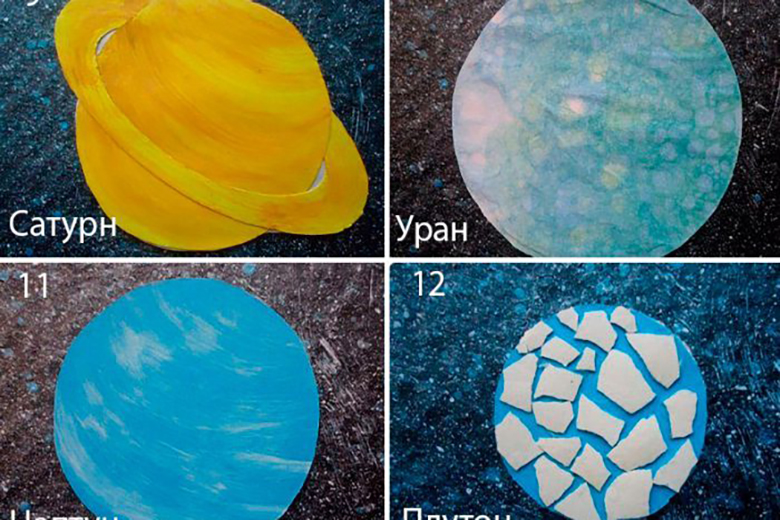
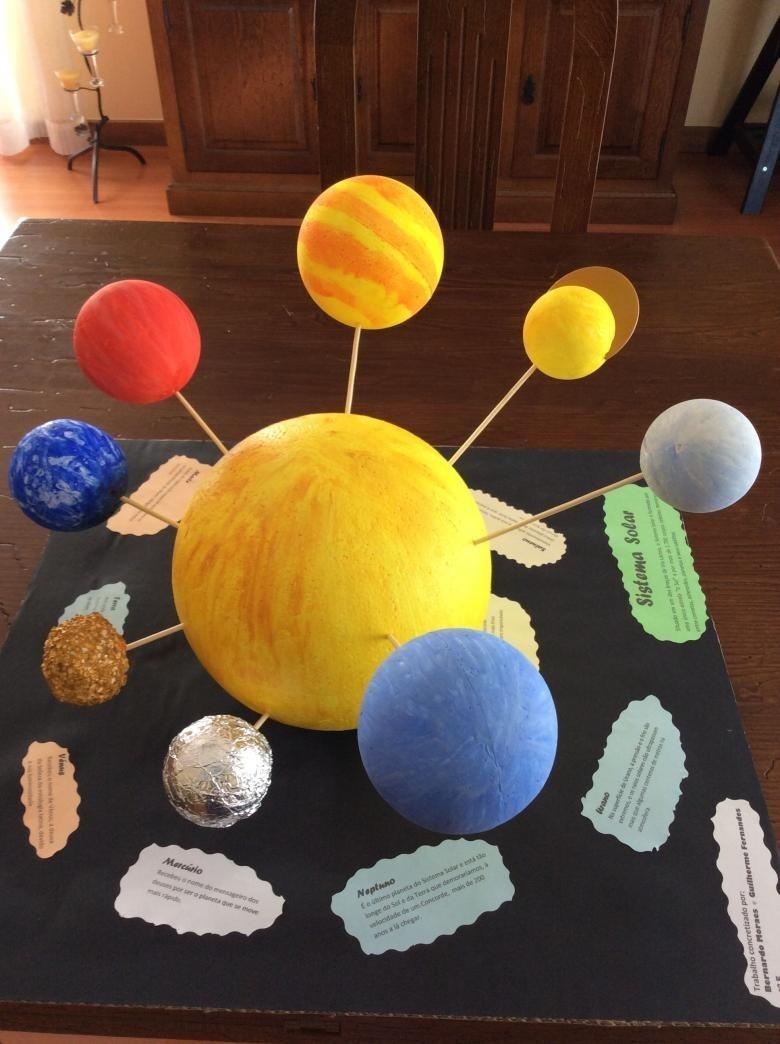
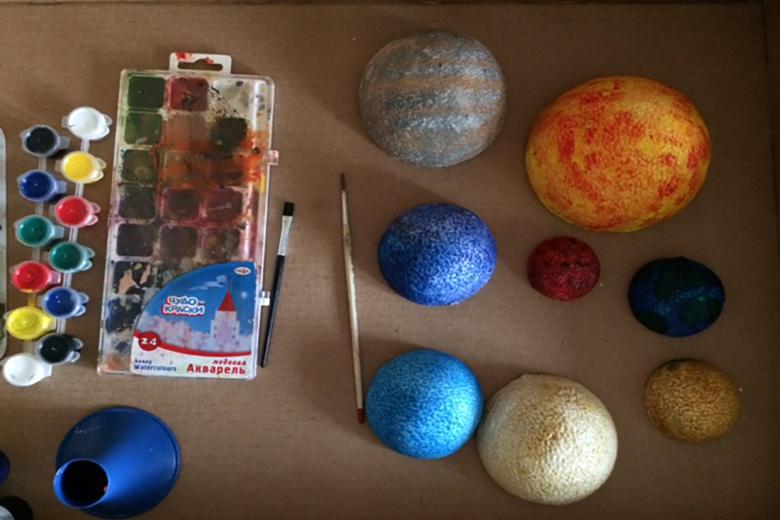
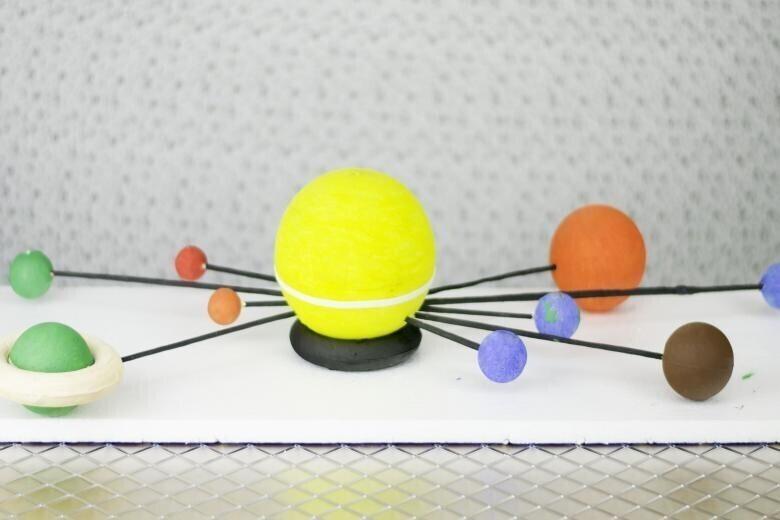
When constructing a system of galaxies and depicting its realism, it is advisable to study the tone and volume. Look at:
- The sun is gold.
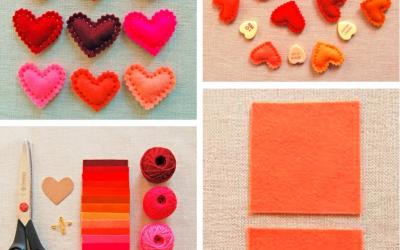
- Mercury - faded, somber.
- Venus - straw with whitish streaks.
- Earth - dark blue with greenish.
- Mars - scarlet.
- Jupiter - red-orange with whitish streaks.
- Saturn - bright yellow.
- Uranus is blue.
- Neptune is turquoise.
- Pluto is beige.
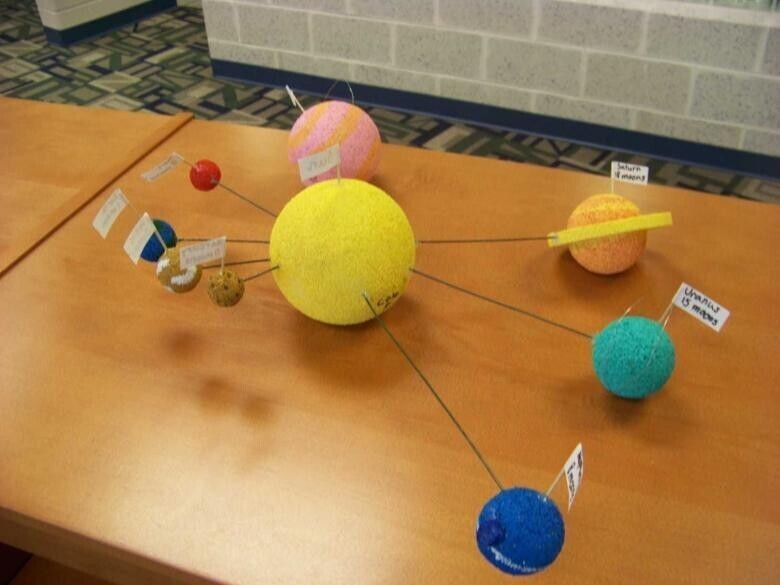
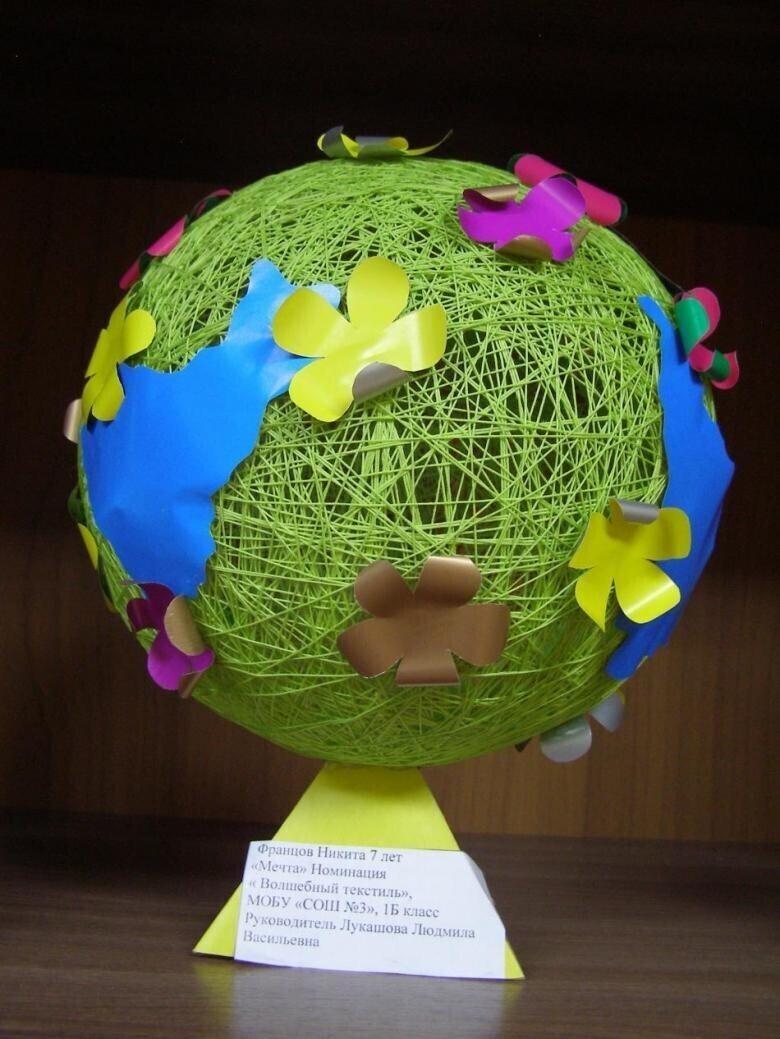
From the threads.
This is the most common option for making a planet. To work you will need the basic components. The next steps are simple:
- Inflate an inflatable balloon.
- Heat soap bubble glue with a needle, and pull through the thread. It will soak up the glue.
- Take it by its edge, and begin to wind it chaotically on the balloon, forming a fairly dense mesh.
- Leave the future planet until the glue dries completely.
- Once this has happened, fire the balloon, take it out of the blank.
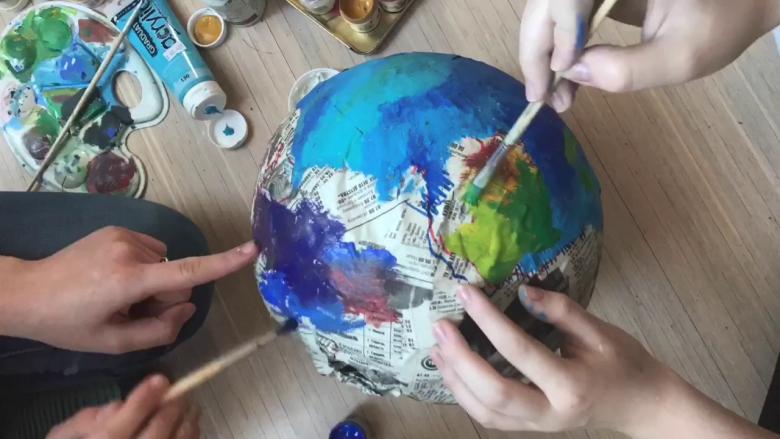
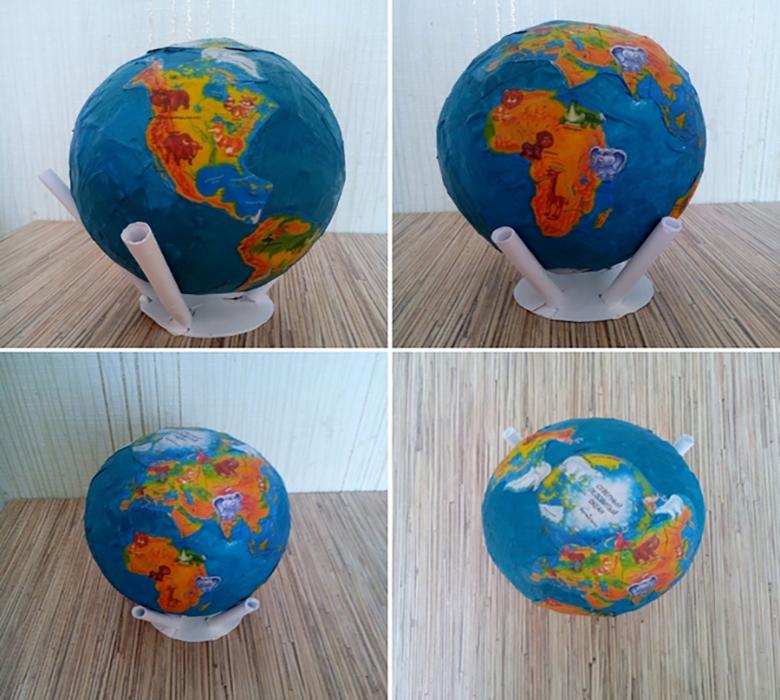
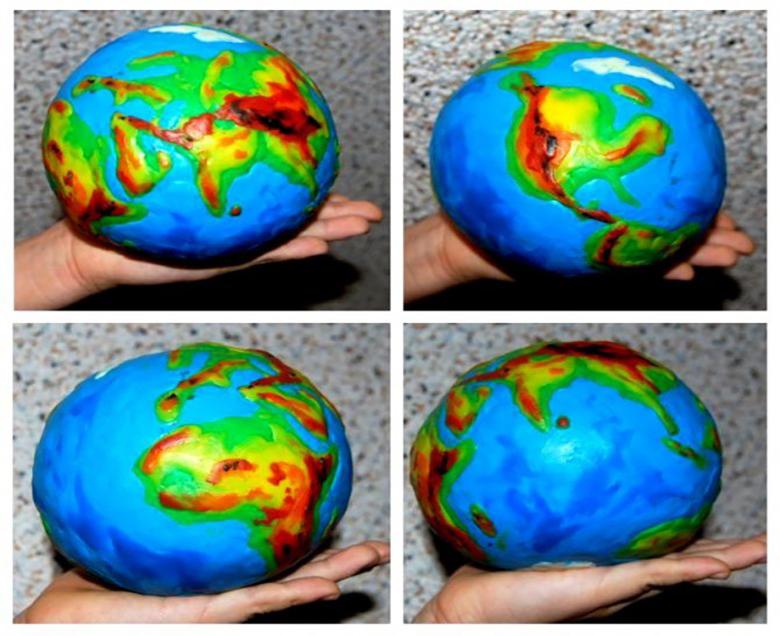
- Examine the world map or globe, and paint all the continents on the ball in the appropriate colors.
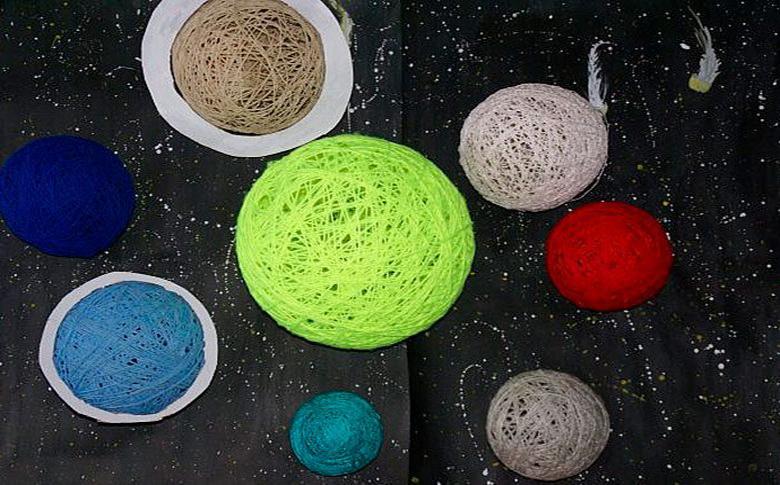
Then construct a pedestal and fix the craft. If the option with the coloring does not suit you, all sections of land can be made of felt, and glue them to the surface of the ball, and the craft itself you need to paint in blue.
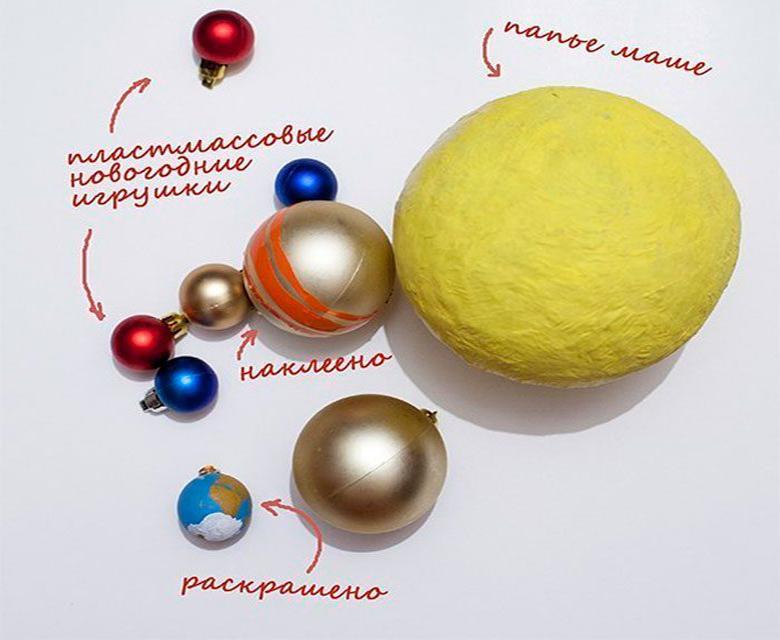
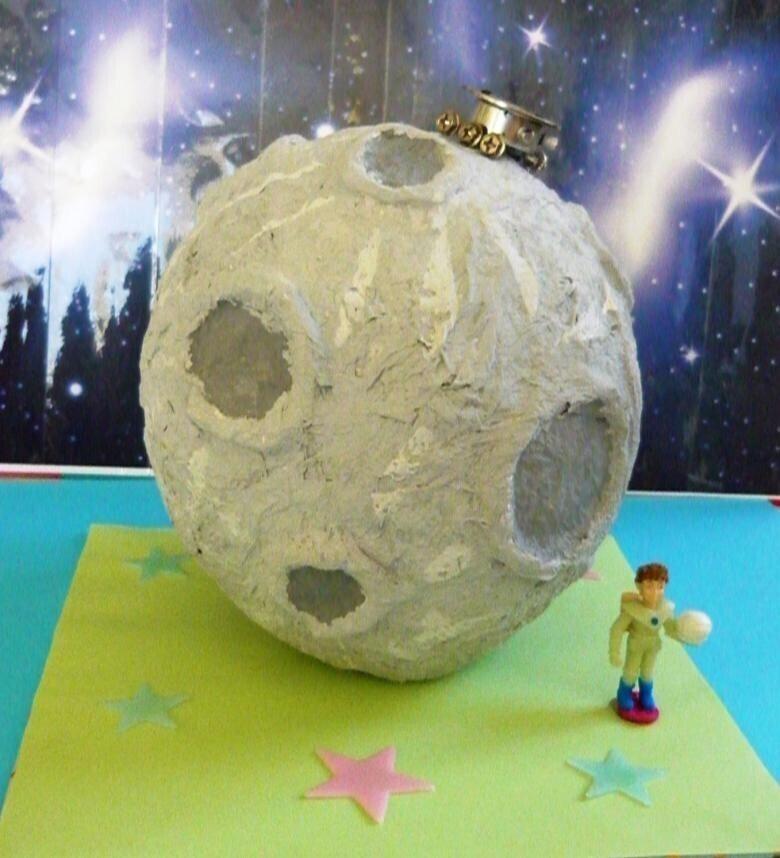
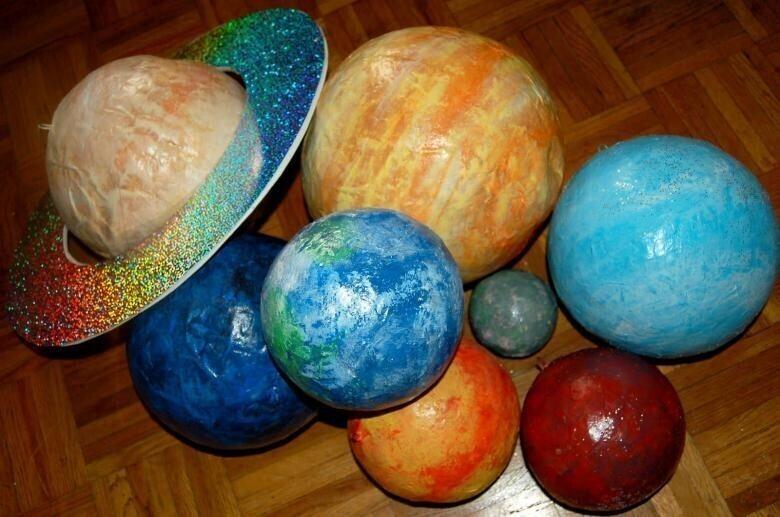
Papier-mâché
The French technique of making copies of objects has found its niche in needlework. Take:
- An inflatable balloon.
- Old newspapers, any other thin paper.
- Clues.
- A set for painting.
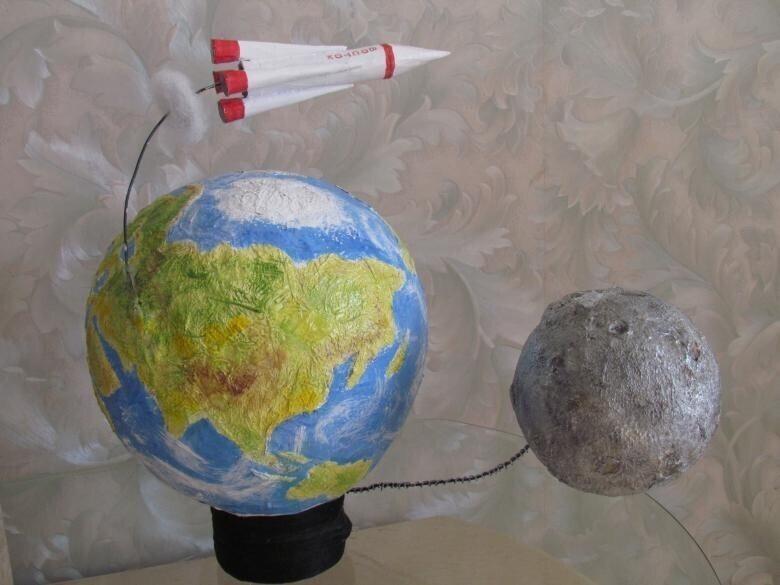
Instructions:
- Boil the gluester. The recipe for making it can easily be found on the Internet.
- Tear newspaper sheets into small pieces in large quantities.
- Dipping individual pieces of newspaper in the glue, glue them by layering on the balloon.
- Allow to dry. Air drying will take a large amount of time. It is acceptable to use an oven on low heat.
- Rough spots will form when gluing, don't try to smooth them out. They will form great volumetric elements of the exterior of the planet.
- Pierce the point of the ball inside and, with the help of the gap made, remove the rest of it.

Next, cut the pages into small squares. Fold them to form craters. Edge of the funnel carefully glue to the moon surface. Dry again. If you make a loop of wire, you will get a hanging moon.
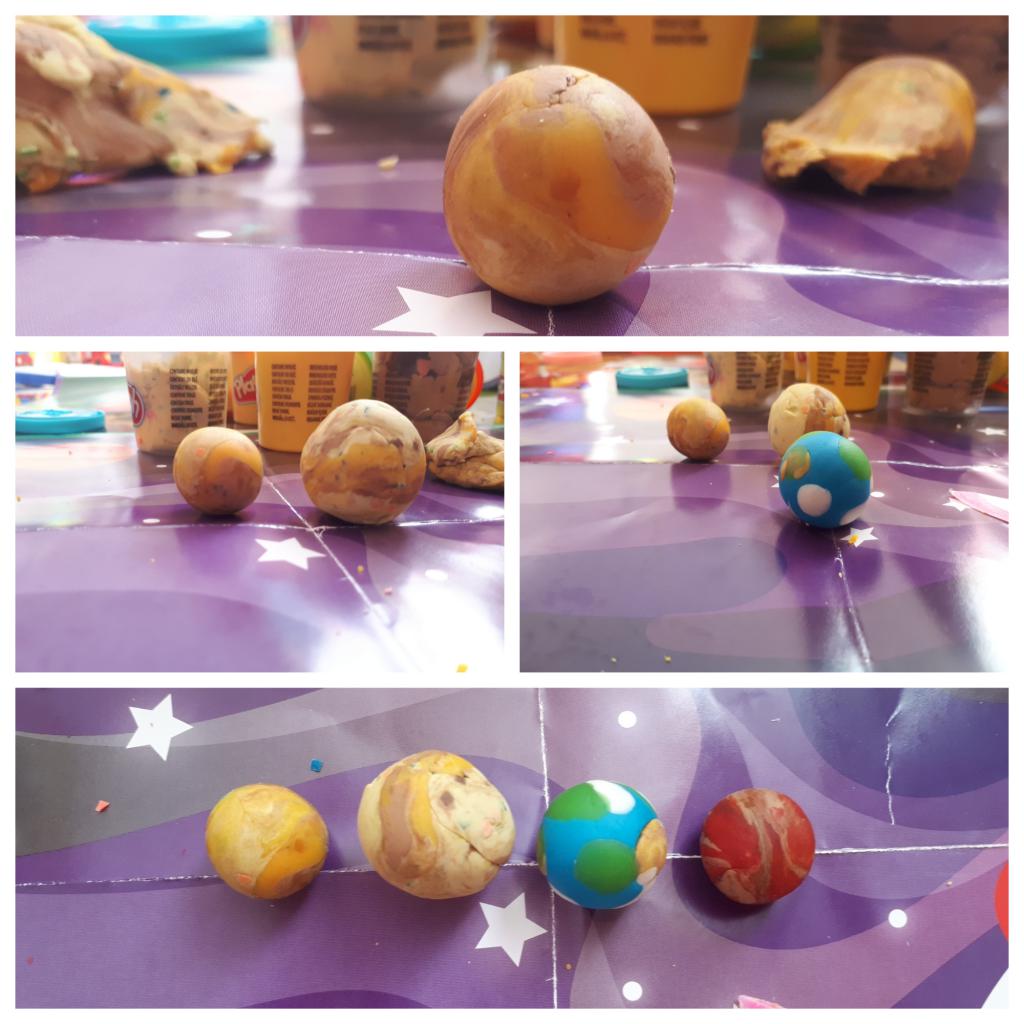
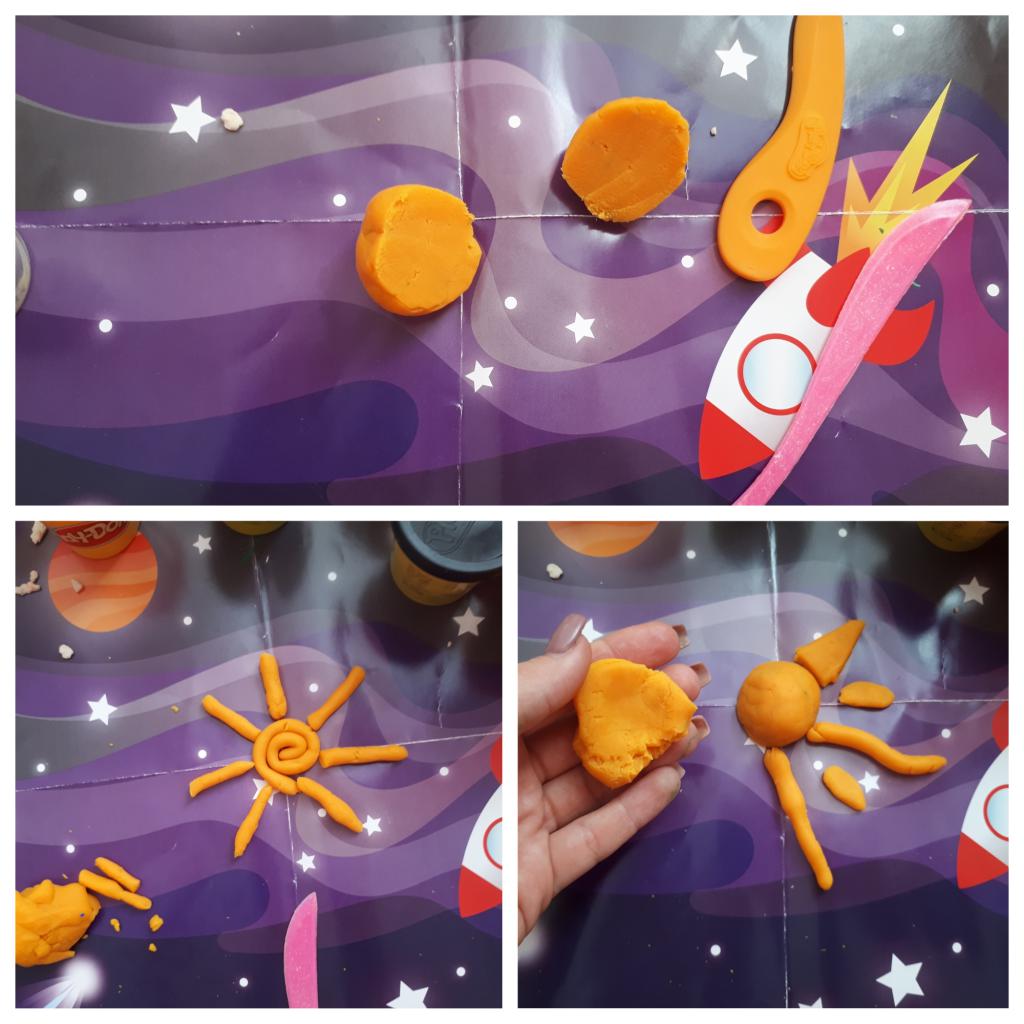
Plasticine
This plasticine material is ideal for modeling with preschoolers. In the process of molding develops mobility of the fingers, and the imagination deepens the spiritual perception of the world. Will be needed:
- Plasticine.
- A base, such as a disposable cup.
- Paints and brushes.
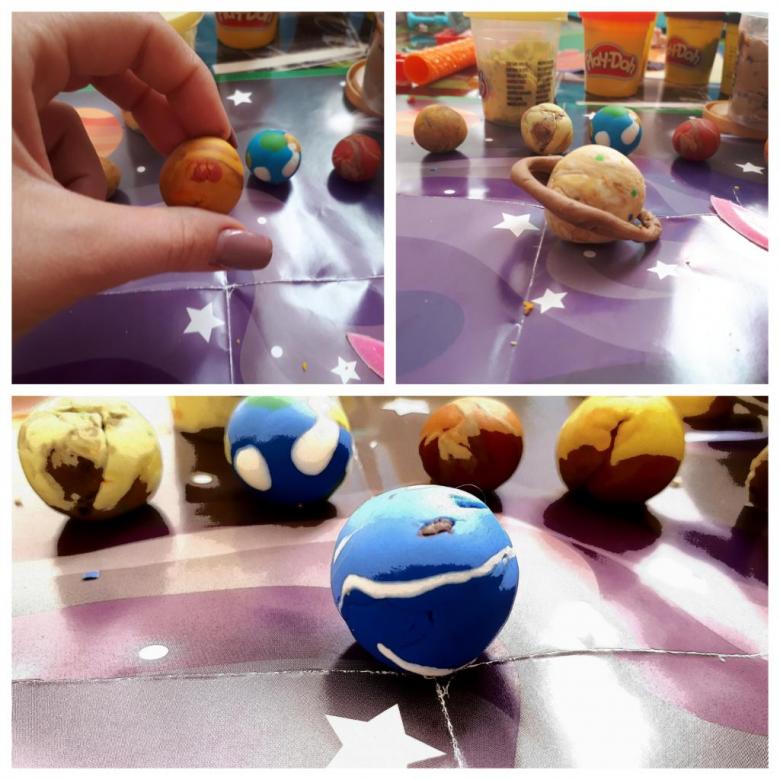
Memo .
- Take the base and paint in a darkish bluish hue. It is possible to apply any color your imagination allows.
- Draw stars around the edge of the dish and place the main planets and asteroids.

Feel free to experiment, depicting a galaxy. It is not at all necessary to sculpt exactly the moon, Jupiter or Pluto.
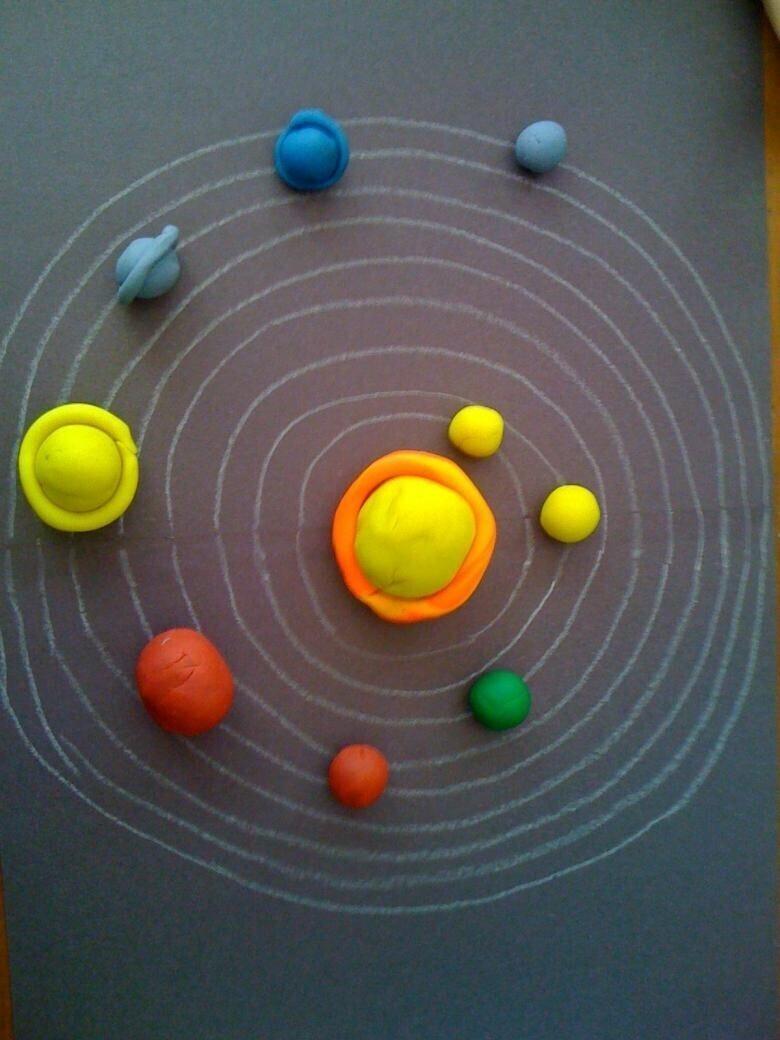
For example, make a ball of dark green plasticine. Craters on the moon will be blue spots. Attach them to the model of the space body. Place the model itself on the base.
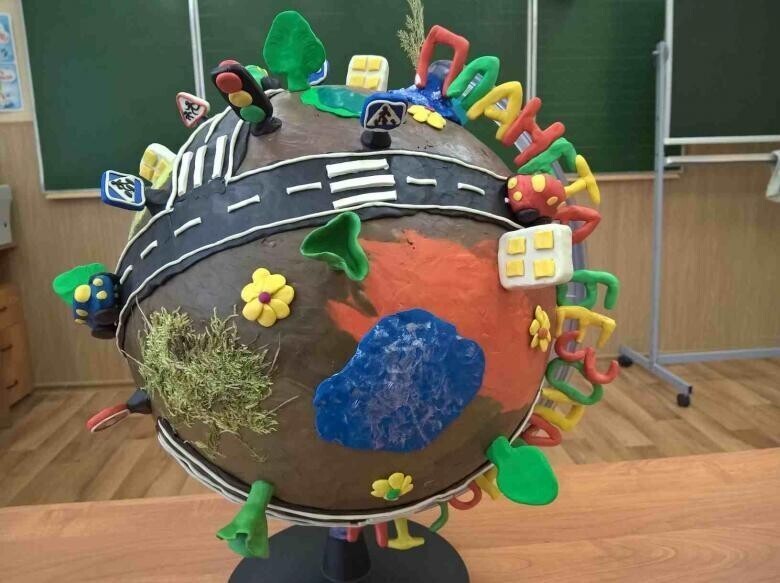
Papercraft
Handicrafts in this technique are characterized by faces, so even the ball there looks somewhat angular. Nevertheless, such products are interesting to many masters. When making it, a thick paper is used.
It is best if the pattern will be marked at once all the continents, so you do not have to do it by hand, and if it is also a color copy of the globe, the assembly of crafts will not take much time.
Felting
Felting in wool is an innovation that is increasing its fame. You can create original products. You will need:
- Yarn.
- Styrofoam.
- Needles for felting.
- Nylon stockings.
- Detergent and liquids.
- Paper napkins.
- Wire and pliers.
Technique:
- Cut a small circle out of foam rubber.
- Prepare the red wool, a little white.
- Wrap the ball with red thread. Soak it in hot water.
- Add a little soapy water on top and start dabbing the white thread into the future planet.
- Then thoroughly dab the ball between your hands and lower it into the cool.
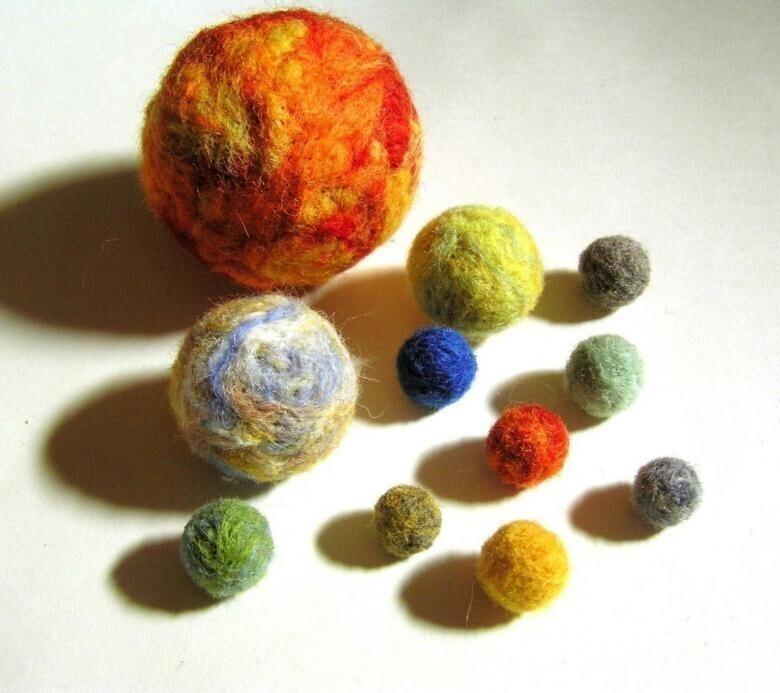
If necessary, repeat the action. Aim for a fuzzy product. Remove excess water.
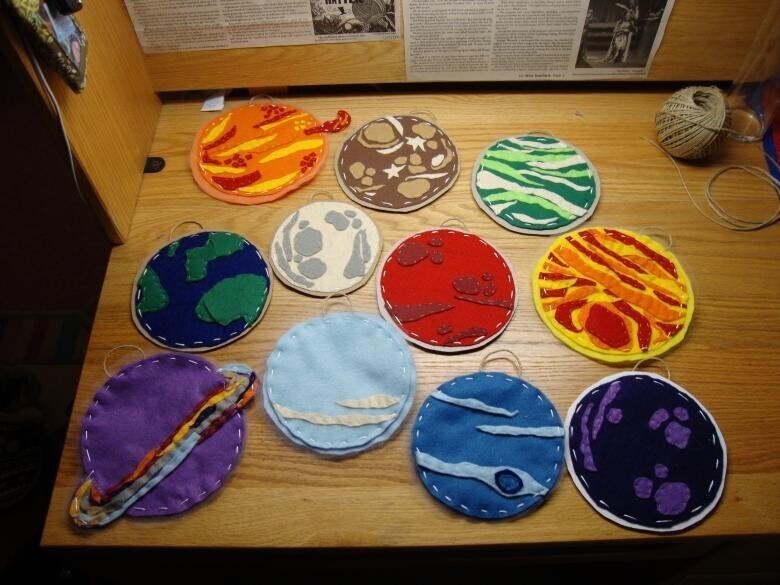
Planet Pillows
Tender and soft pouts will bring a zest to your interior, will make it cozy. Take:
- A sample of a celestial body.
- Any raw material that is comfortable to work with.
- Filler.
Step by step instructions:
- Using the template, make pillowcases.
- Sew them on the wrong side, turning them inside out and leaving a slot for filling.
- Fill the inside with synthetic material.
These days you can find a wide variety of colored fabrics in fabric stores, from dark monochrome blue to spaces soaked in stars. Choose the fabric you like.
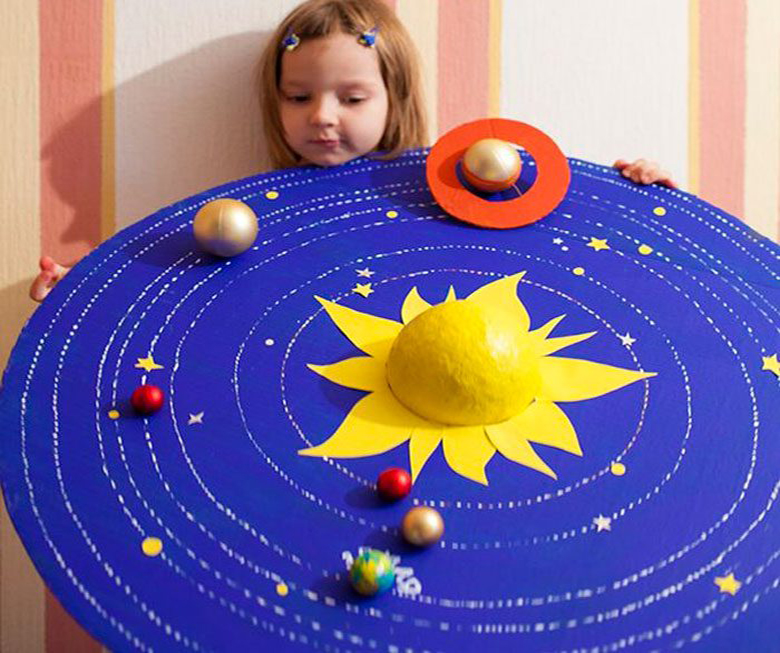
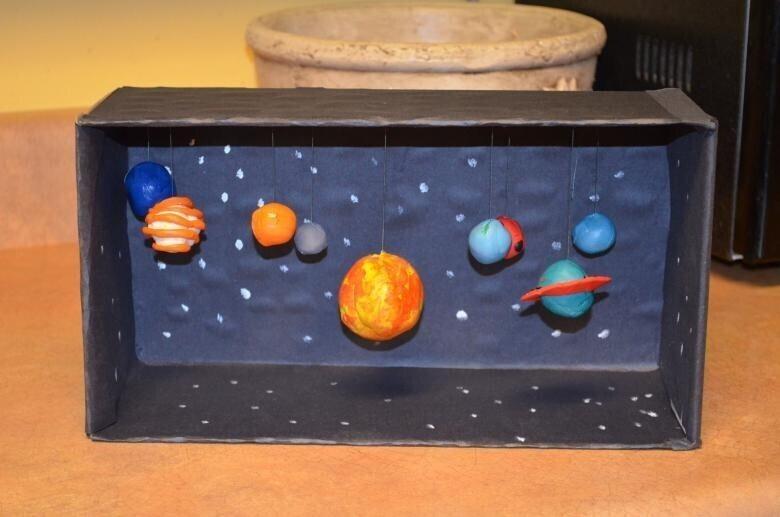
We've looked at just a small fraction of the ways you can create homemade planet systems. What are the benefits of these methods? Creating colorful patterns will help your child be curious and reflective while they work. Choose a method that works for you and get to work creating new planets!
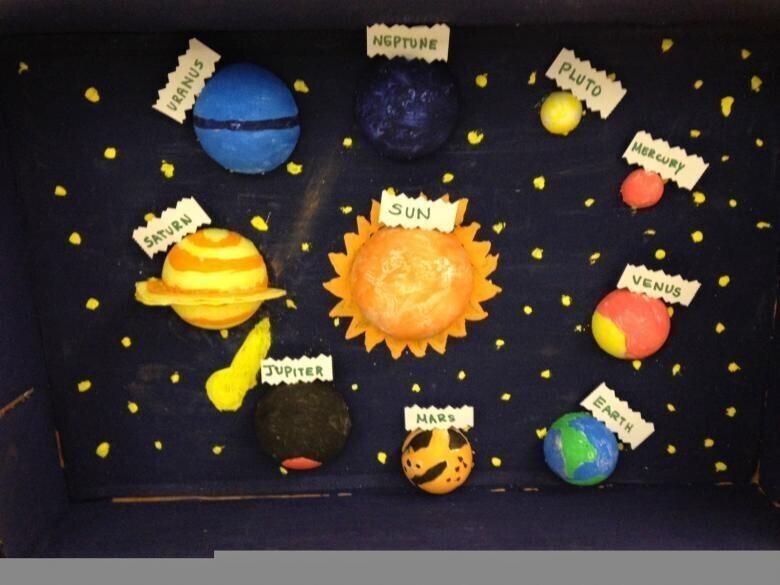
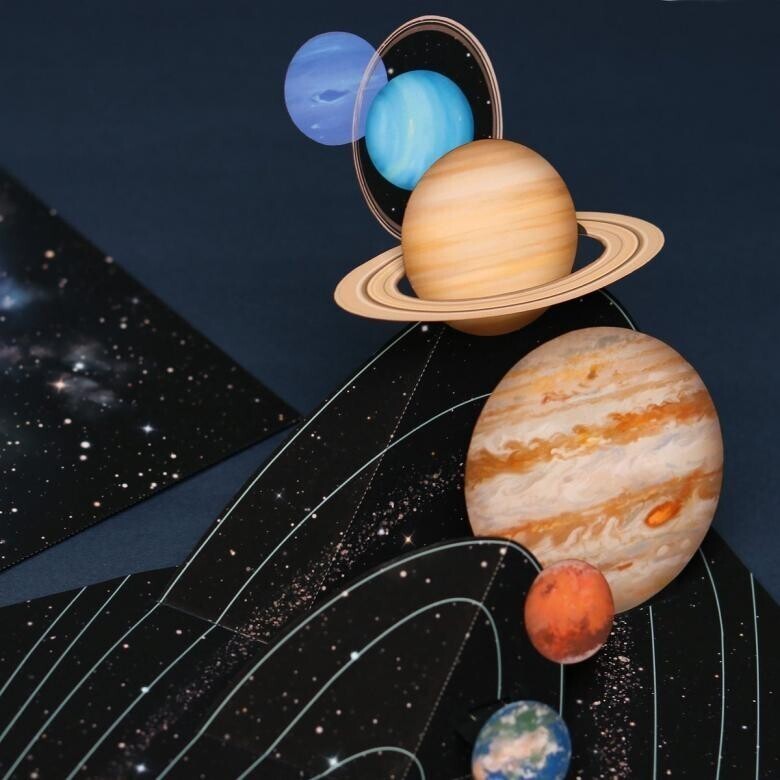
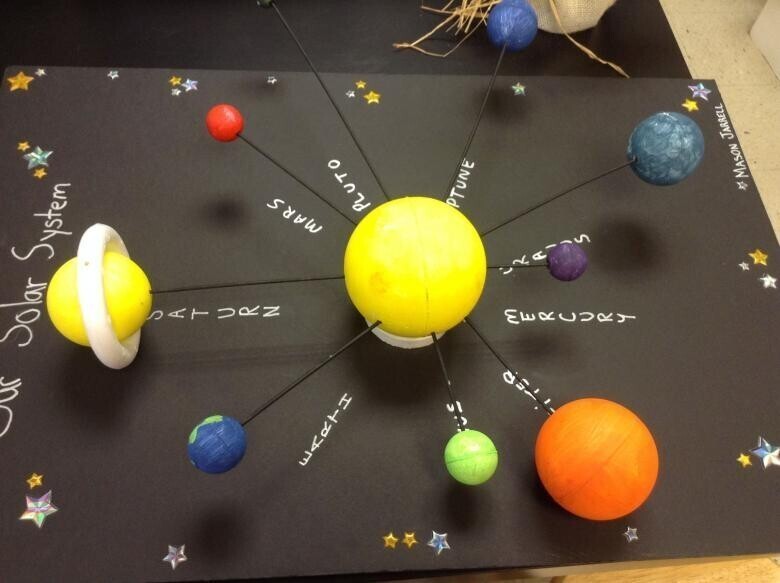
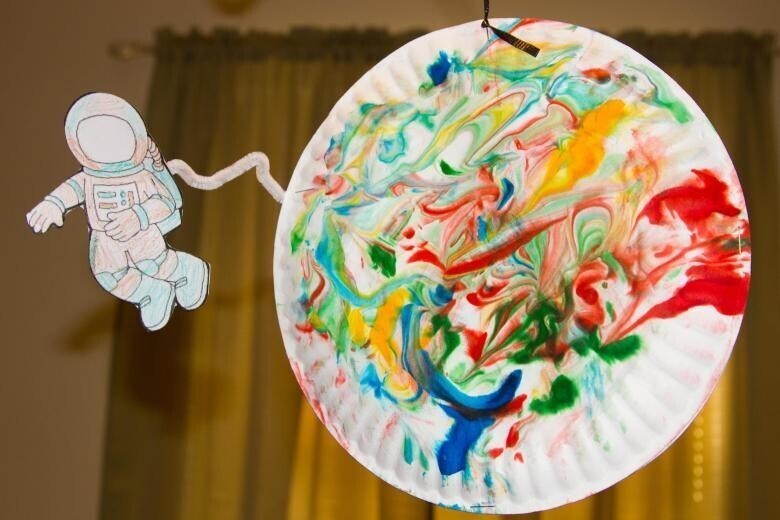
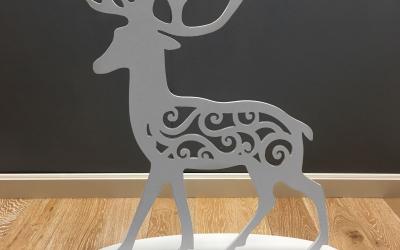
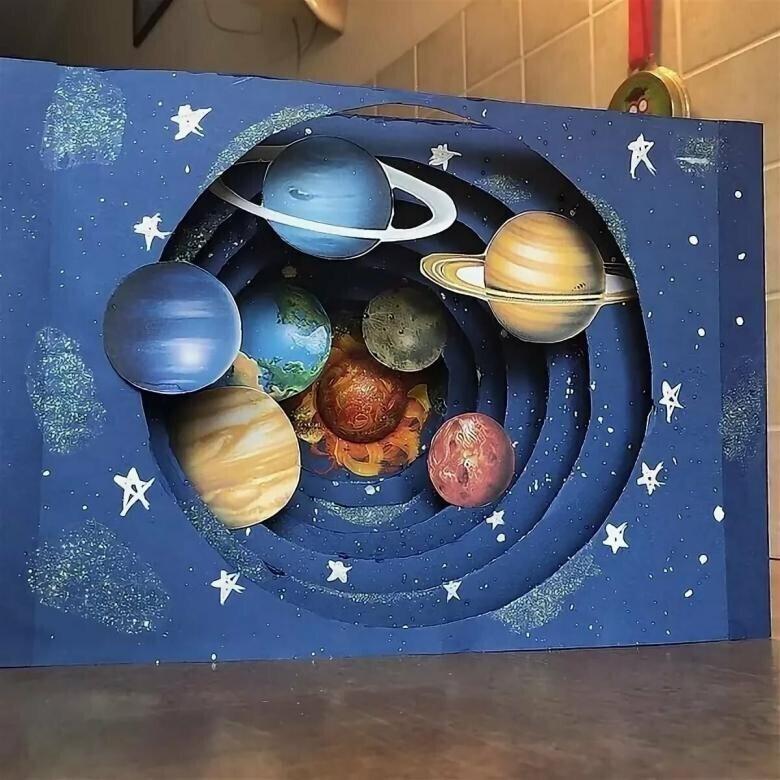
Photo ideas of homemade planet crafts