Handmade paper crafts for children and adults (93 photo ideas)
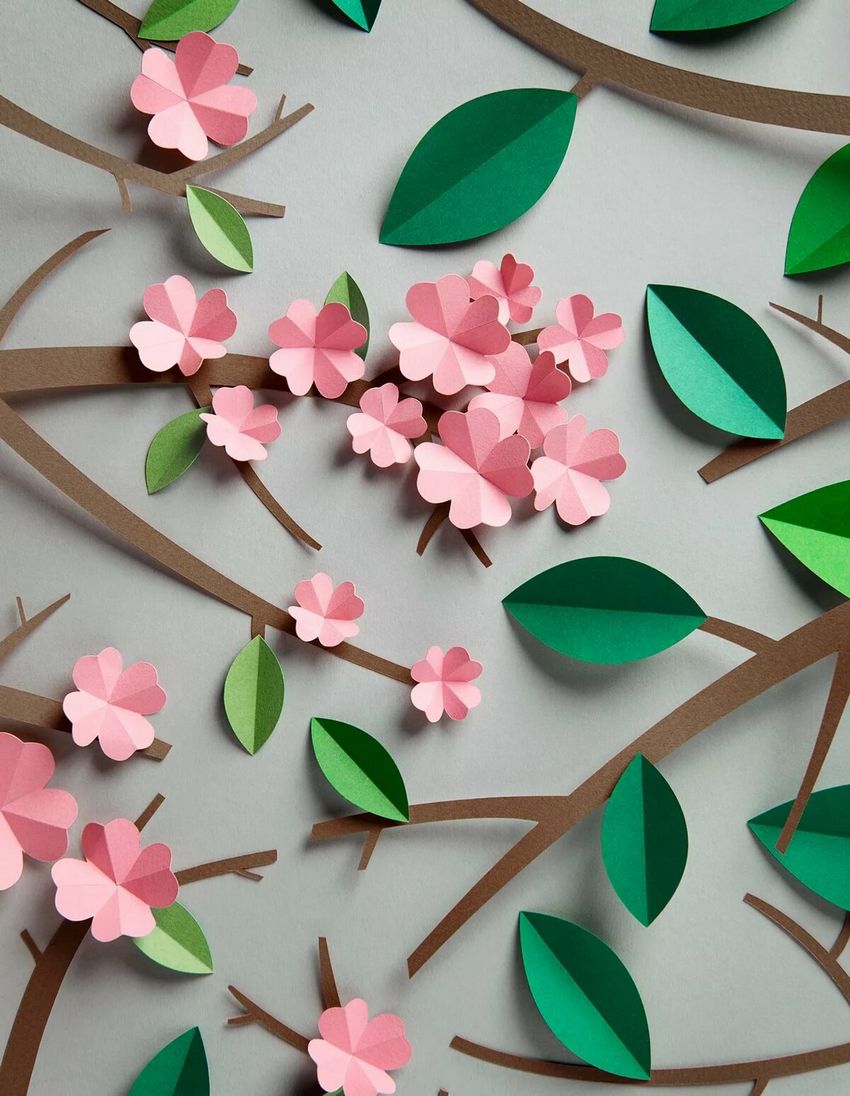
Paper is the most malleable and easy tool for creativity. Working with it does not require large expenditures. Make a simple shape can even be a child. All the more so that the creation of paper crafts for children is of great benefit:
- it improves the accuracy of movement;
- develops concentration;
- gives impetus to the development of memory, logic and imagination;
- introduces simple geometric shapes.

Most people know the basic types of work with paper, such as origami and applique. In the same article describes in more detail about the rare, but no less interesting, types of paper crafts.
Below the article we will cover topics such as:
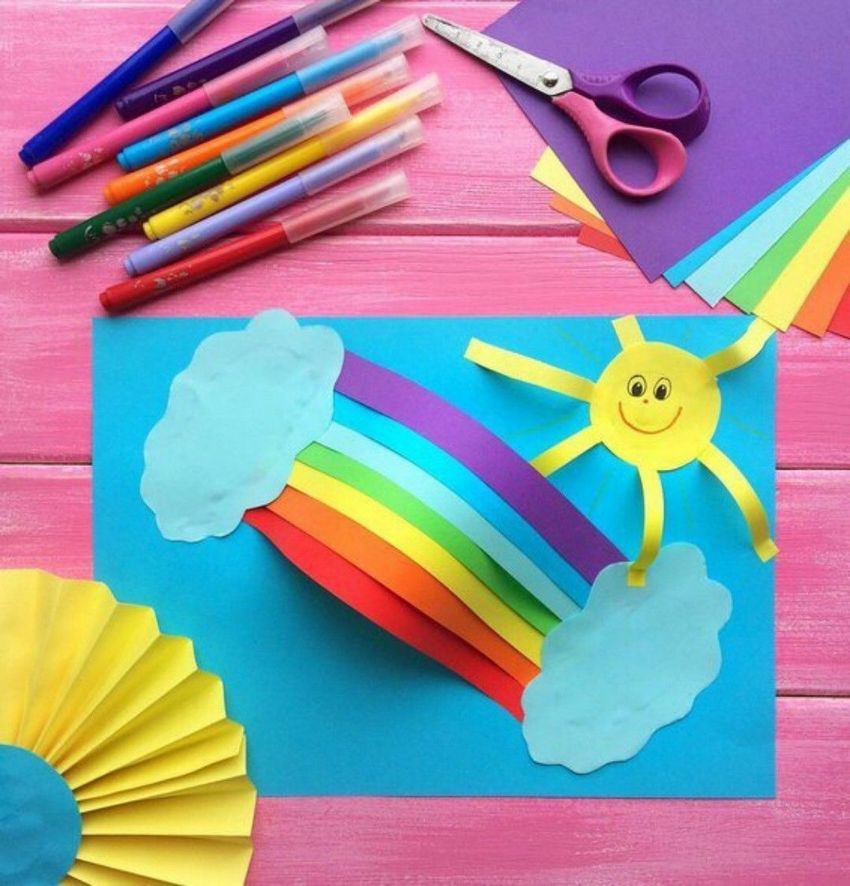
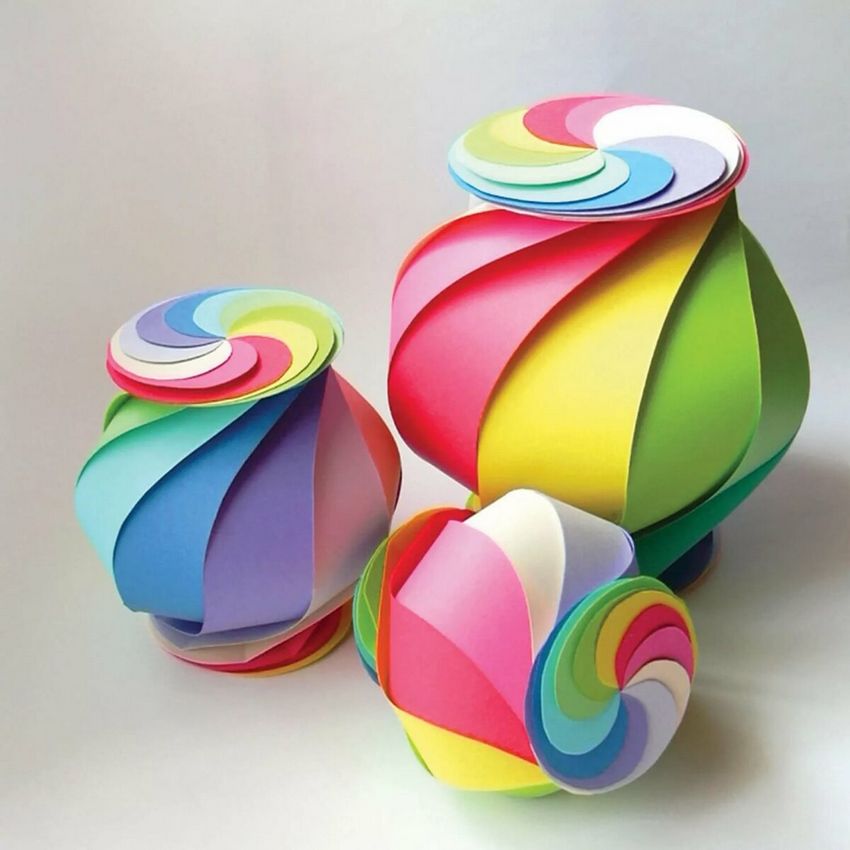
Iris Folding
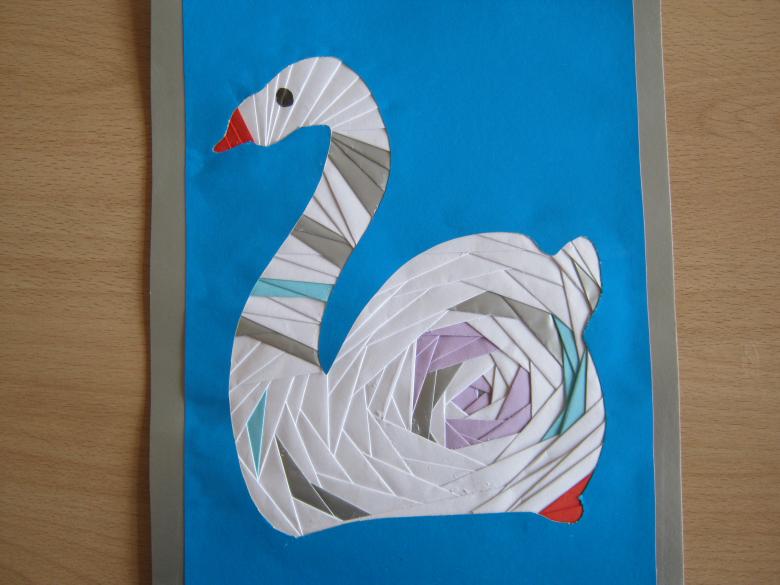
This is a craft made of colored paper, made by a method of special deposition of small pieces of it. The result are unusual patterns with a slight 3D effect. In translation from English, the name means "rainbow folding. Colored stripes are arranged in a spiral. Finished work in this scheme looks like the lens of a camera.
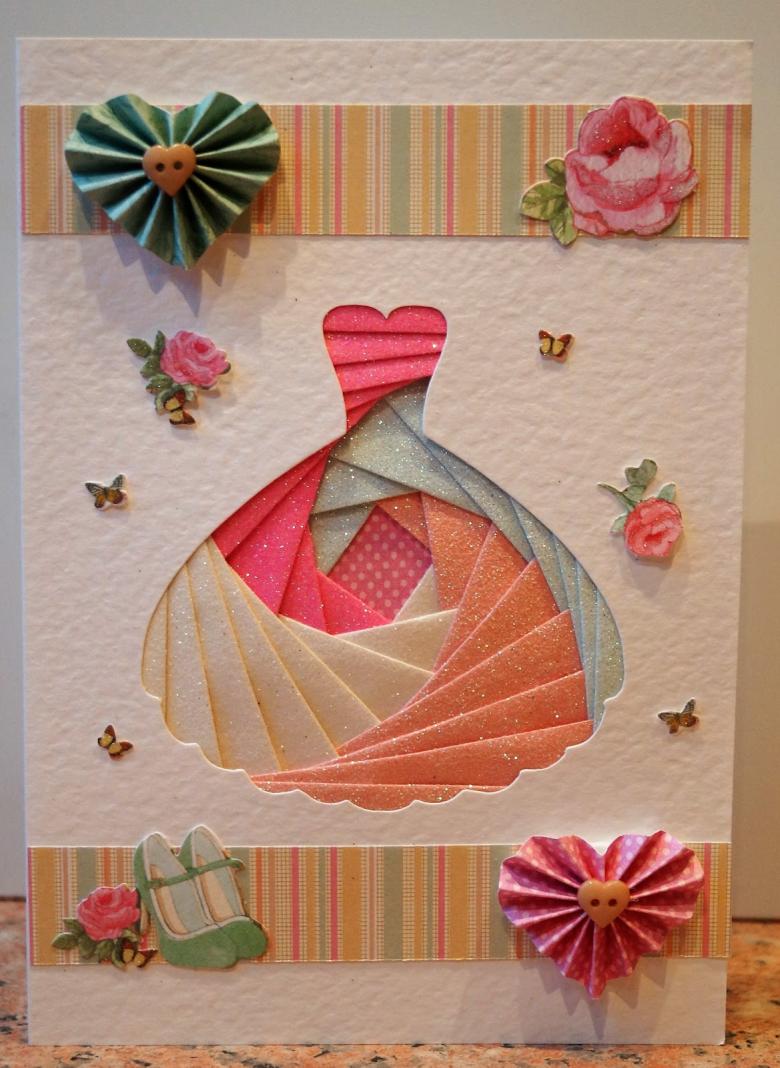
On the expanses of the Internet you can find schemes in this method for both professionals and beginners. Children especially like making such paper crafts. With their own hands, they can easily make a beautiful postcard for mom or grandmother.
History of Origin
This type of art originated in Holland, about 70 years ago. And immediately gained the love of many decorators and designers.

Initially, made only crafts from colored paper. Now it is possible to use other kinds of material, including cardboard. To work in this technique will also need a pattern, stencils for cutting out parts, scissors and glue.

Iris Folding pattern "Square".
On a sheet of square draw a square with sides 14 cm. From each corner indent 1.5 cm, and put the points. New points are connected in a new square. Action is repeated until you get a small square inside. Each figure inside the figure - a separate step. Numbered each element from the largest figure to the square in the center.

Cut strips of colored paper so that each strip is 2.5 times wider than the size of the step in the sketch. The length should coincide with the length of the step.
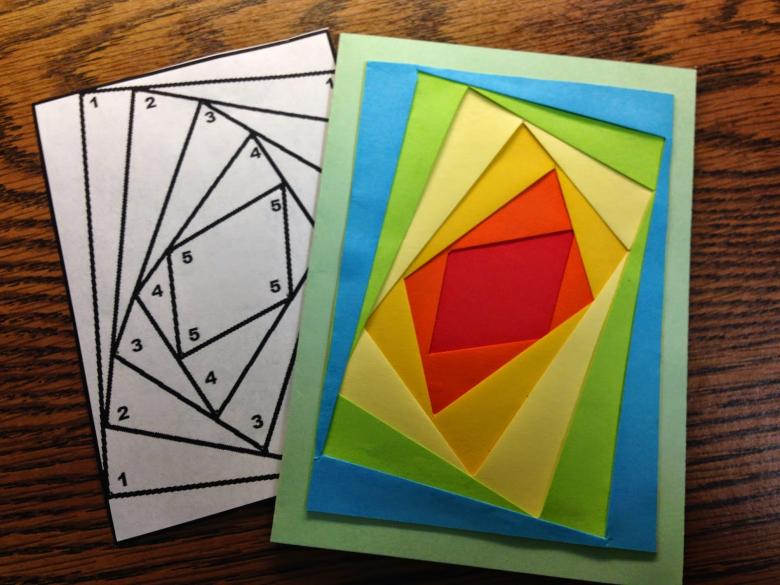
Ready-made strips fold in half lengthwise. Lay out the strips in accordance with the scheme of the figure, starting with the first number. Glue to the pattern and the neighboring elements.

If desired, on a sheet of cardboard draw the outlines of a figure, such as a heart or a cloud. The resulting stencil is cut out. The finished stencil is placed on top of the Iris Folding square and glued on. You get a blank card.

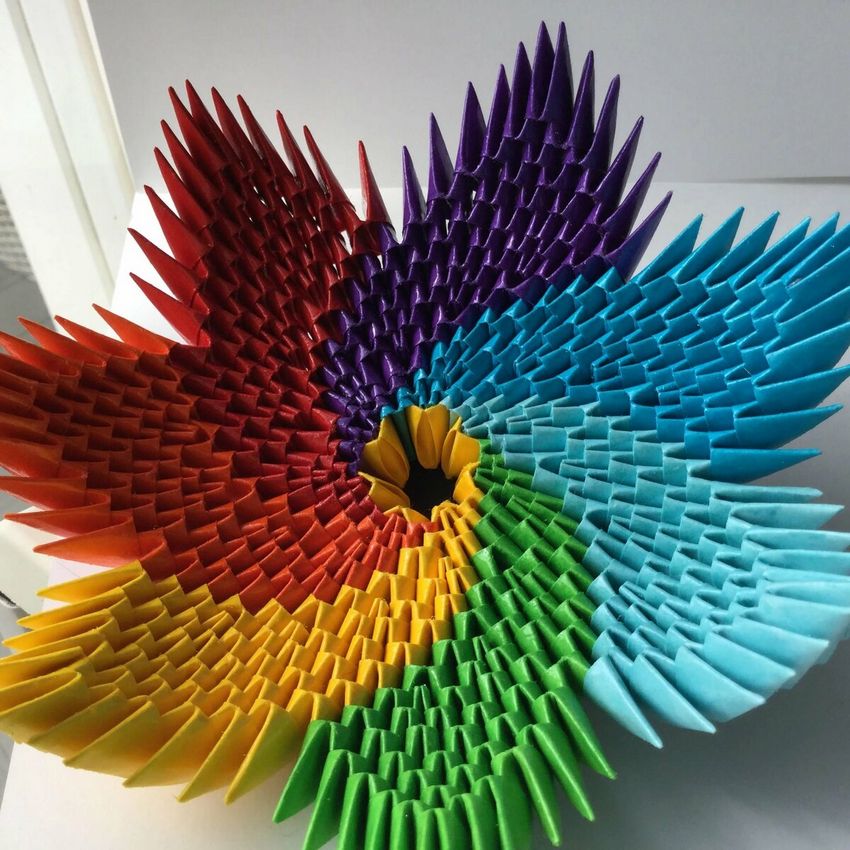
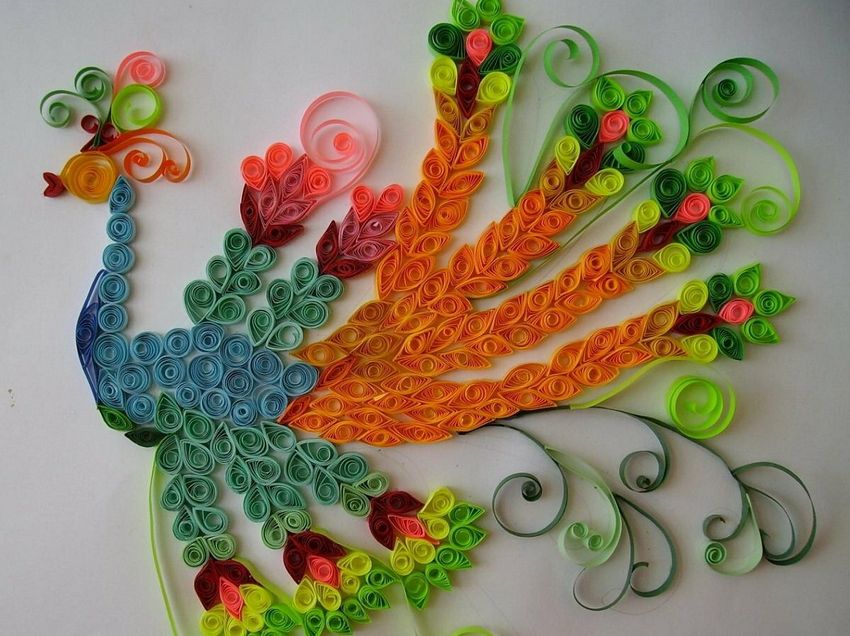
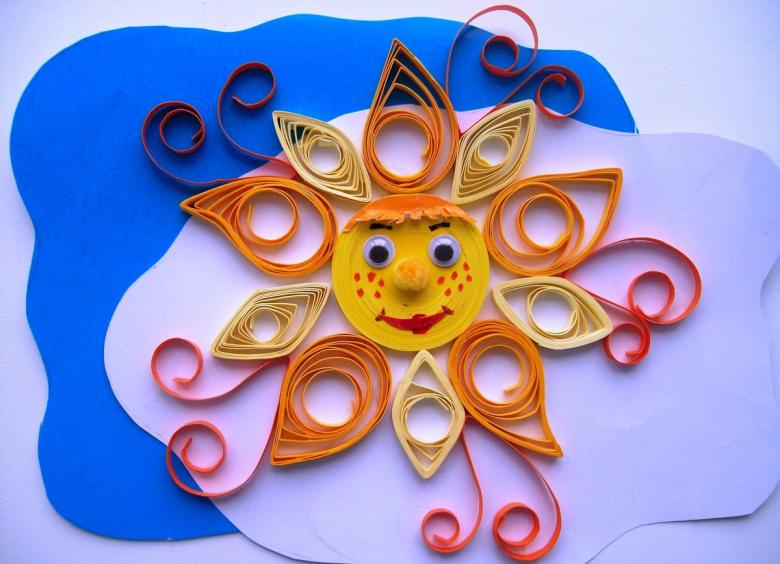
Quilling
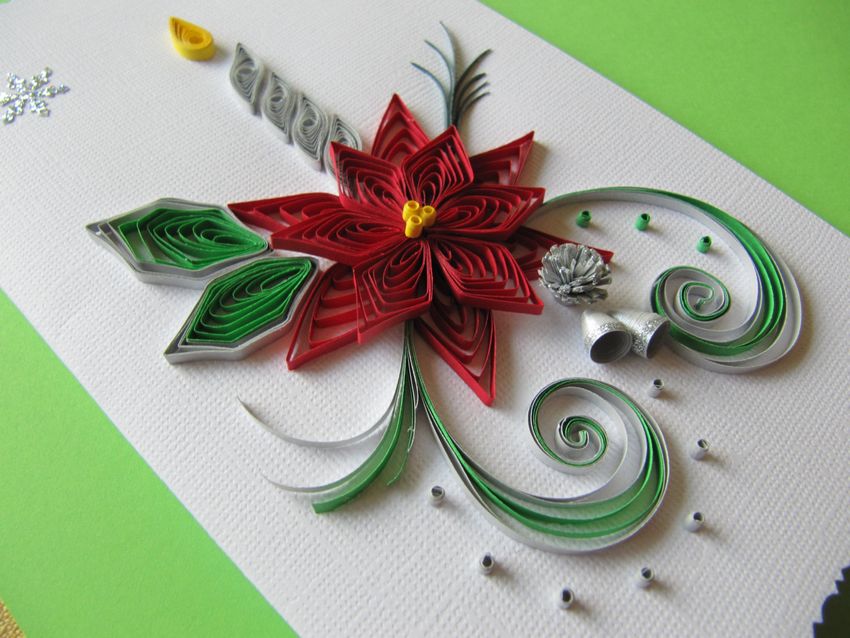
Elegant patterns, as if woven from quirky bird feathers - that is how one can describe the colored paper crafts in the technique of quilling. And for a reason this kind of art so called.
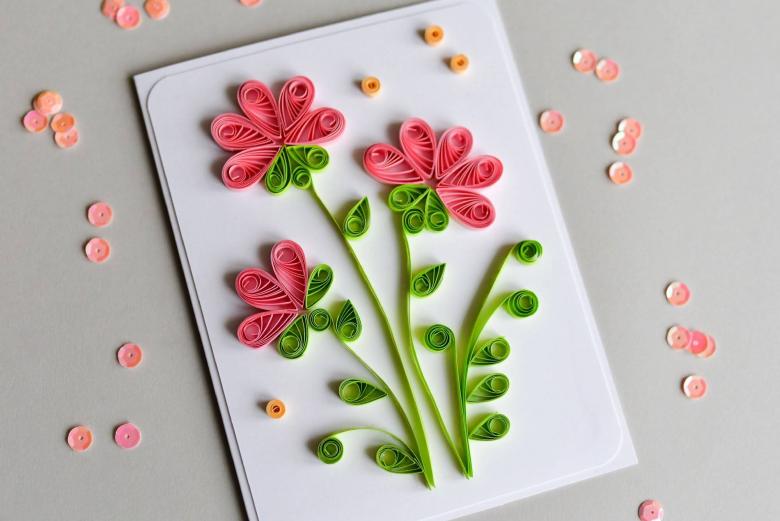
In translation from English, this art is called "birds feather. This art has a more comprehensible name "papermaking.

Thin strips of paper are laid out in a special way on the surface, getting a fantastic picture, or glued together, resulting in a practical things for the house, such as napkin holders and vases.

History of origins
As early as the 14th century, crafts were created in Europe using this technique. Moreover, it was considered an art form. It was especially popular in monasteries, where nuns created exquisite medallions.

In the 19th century, this technique of crafts from colored paper became especially popular among the high society. Aristocrats spent their leisure time for the creation of the next picture.

Since the middle of the 20th century the technique of quilling experienced a second birth. Now, in specialized stores you can find ready-made kits for needlework, including kits for creating paper crafts for children.
Materials
A beginner to buy a ready-made set for quilling is not at all necessary. Regular materials will also be suitable. First of all, colored paper is needed. To give a shape to the strips will require a special tool, which can easily be made from a toothpick. It is necessary to cut the sharp ends of the toothpick and use a knife to make a 1 cm longitudinal cut on one of the ends. You will also need scissors and pins, to fix the blanks on the field. To bind will need PVA glue.

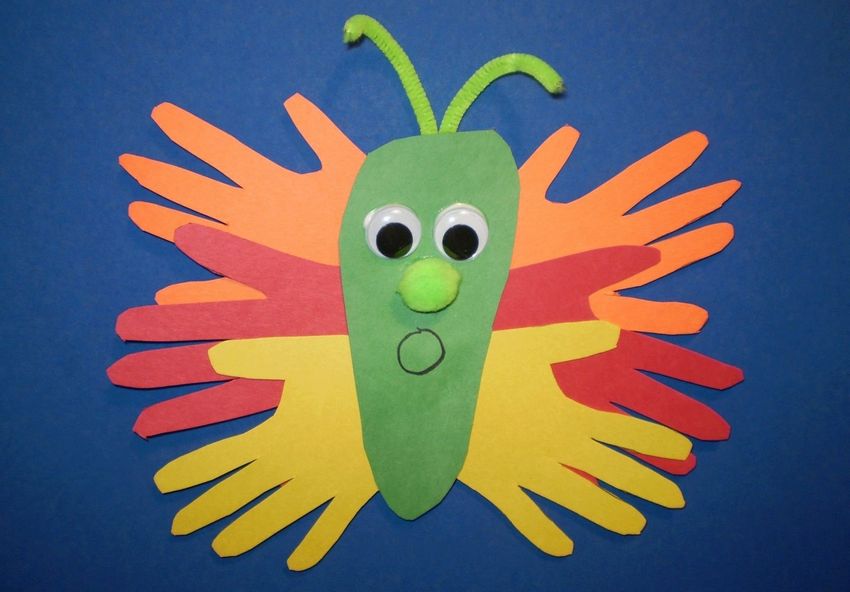
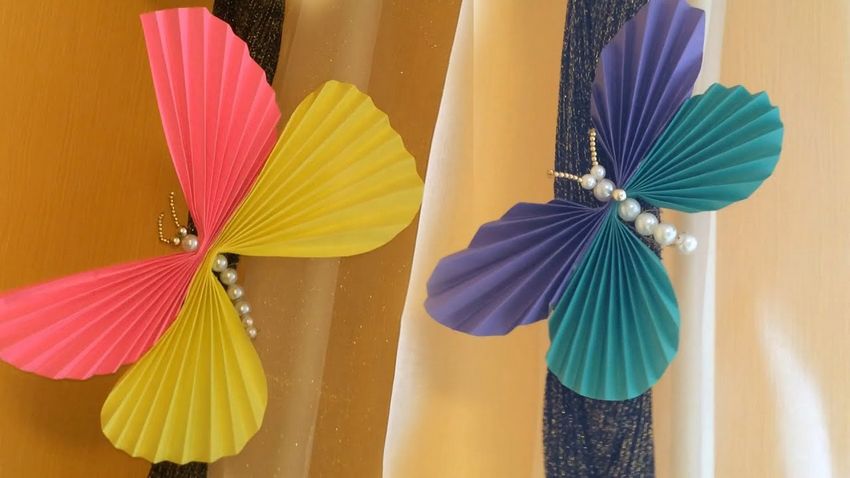
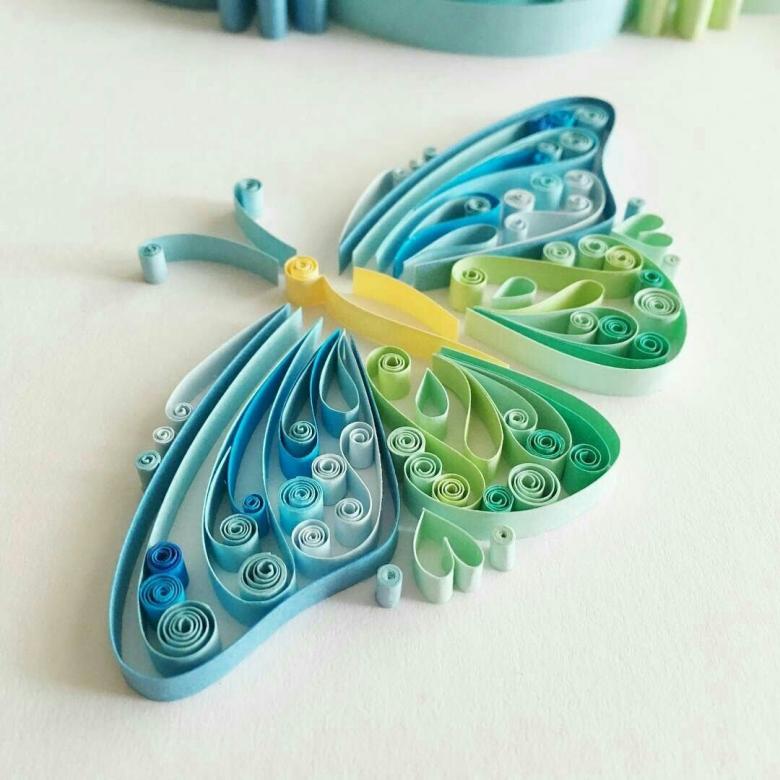
Model quilling "Butterfly".
Cut colored paper into strips 40 cm long and 0.5 cm wide. The resulting strips are twisted with toothpicks into tight plaits. Fix the ends of each bundle with glue. These will be the wings of a butterfly.
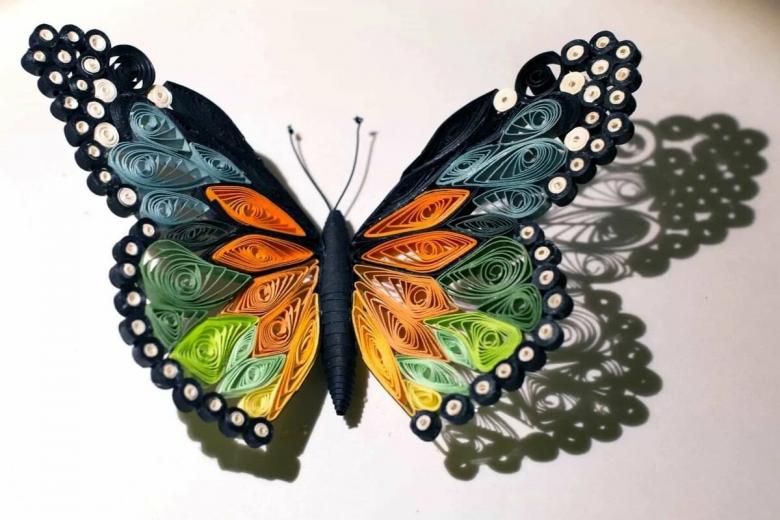
Place the resulting bundles on a scrapbook page, giving them the shape of wings and securing them with pins. The base of each wing fixed with glue.

For the body of the butterfly need a triangle with a height of 30 cm and a base of 6 cm. Grease one side with glue and twist from the base to a sharp corner. Done torso placed between the wings. Connect all parts with glue.
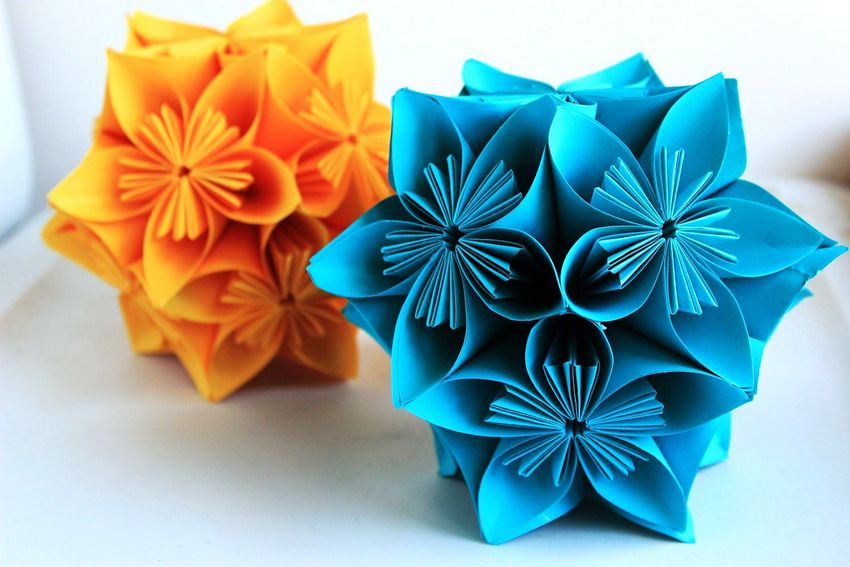
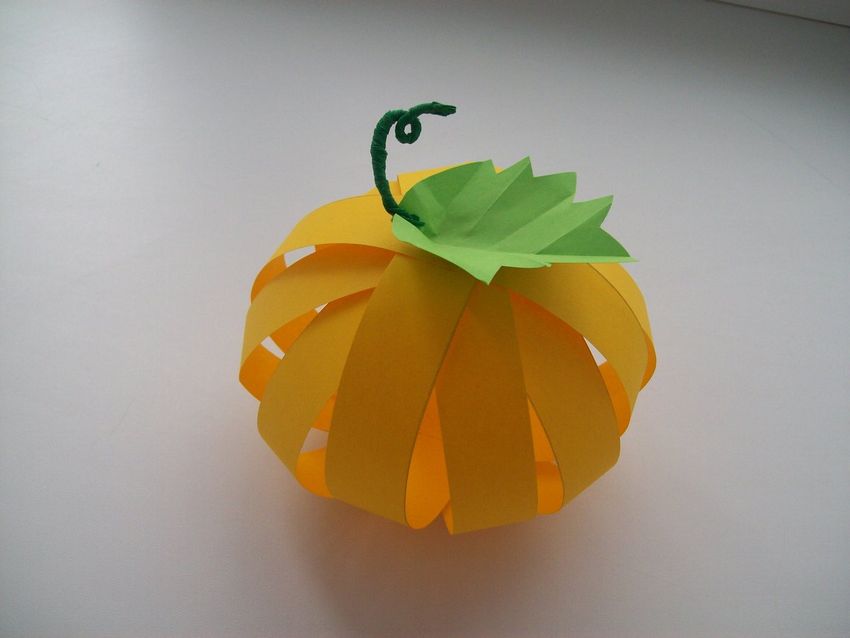
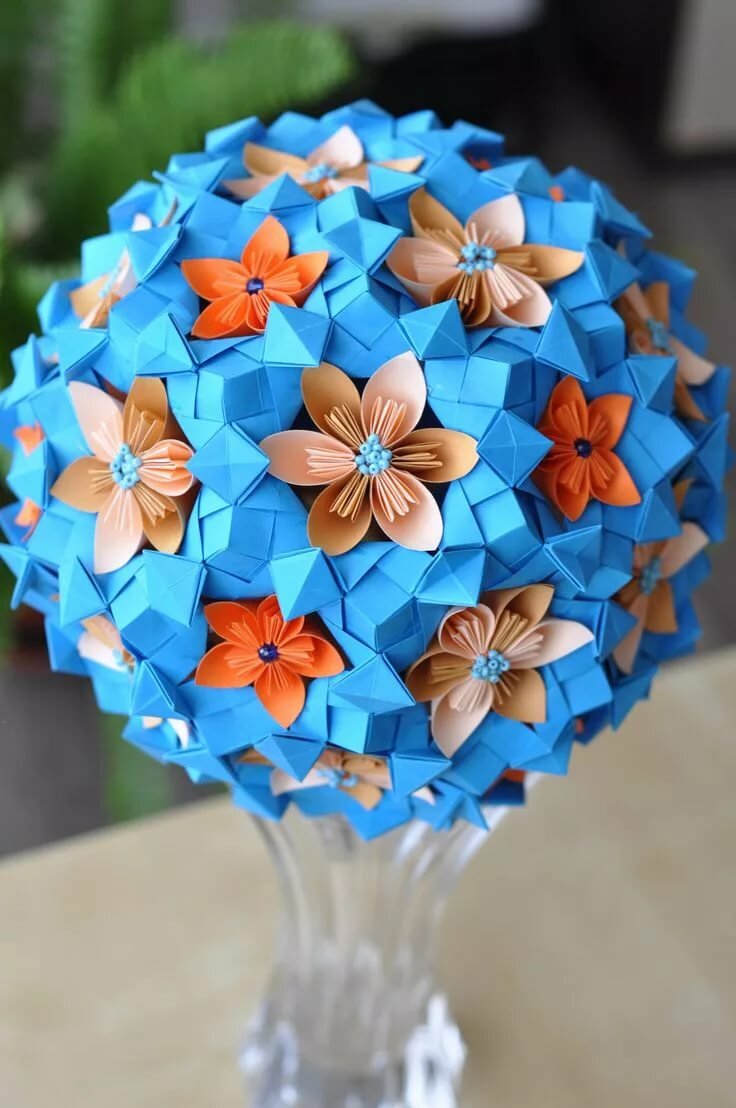
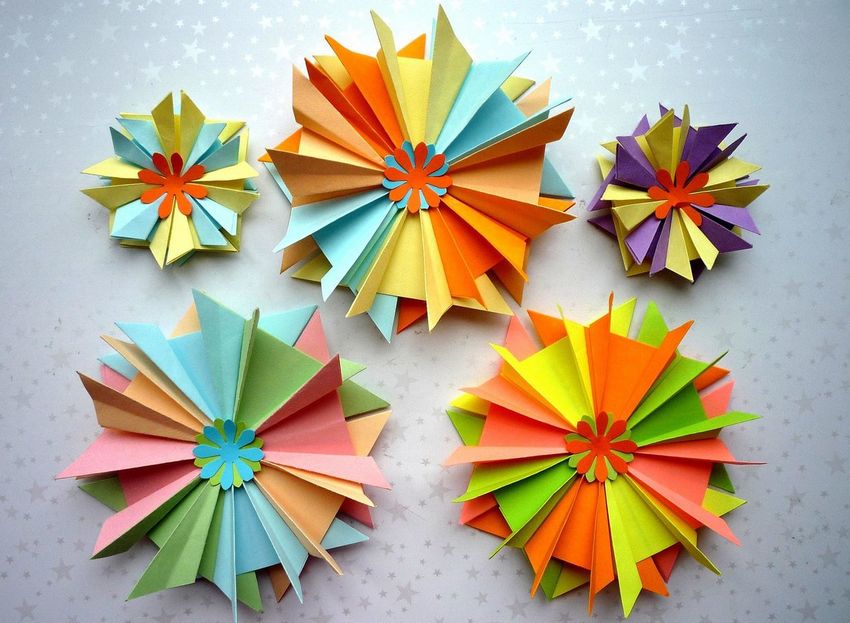
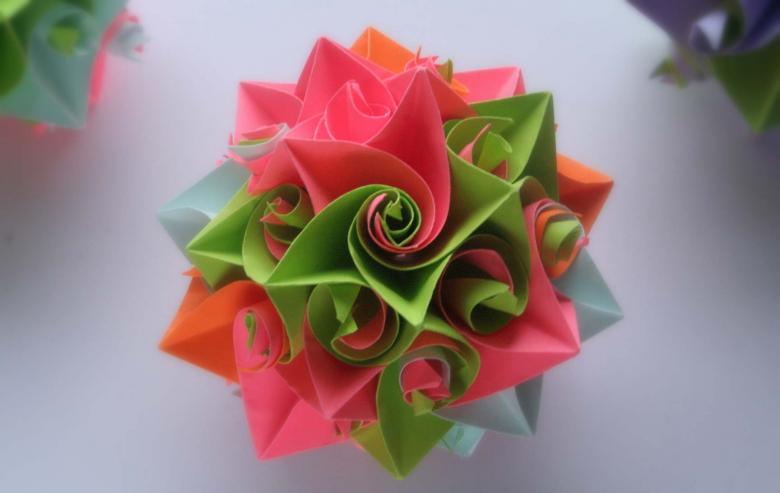
Kusudama .
As the name suggests, kusudama is a technique for making paper crafts with their own hands, which came from Japan. It differs from familiar to everyone origami is that to connect the elements use glue or thread. Making these balls will be a great option for working with crafts from paper for children.
History of Origin
In Japanese, the name of this type of art is called "medicine ball. In the past, Japanese healers filled paper balls with herbal mixtures. Such a craft hung in the bedroom, and the aroma exuded by the ball had a beneficial effect on the health of the inhabitants.

Materials
To make a simple kusudama ball, all you need is paper (regular paper will also work), PVA glue, glue brush and scissors.
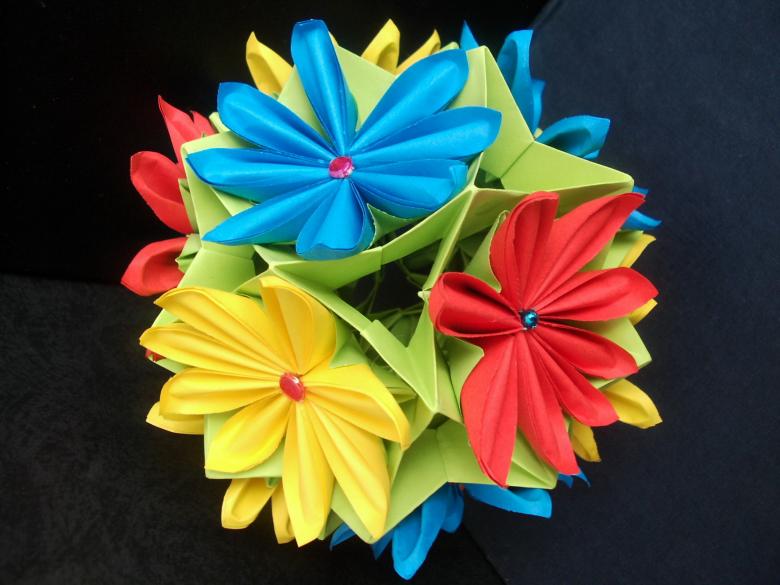
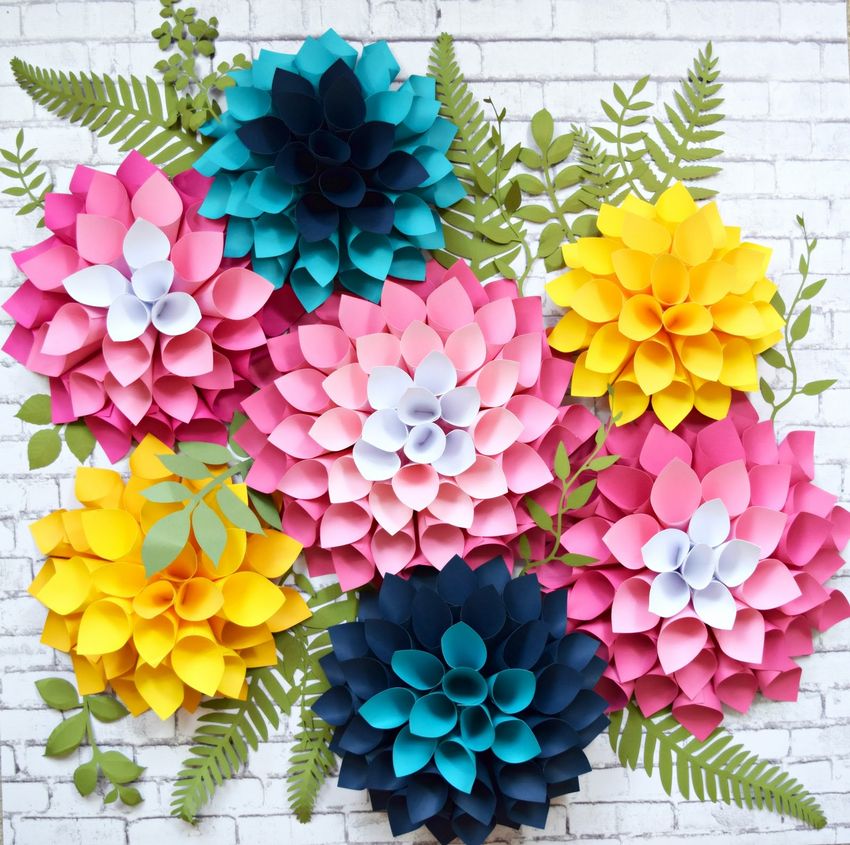
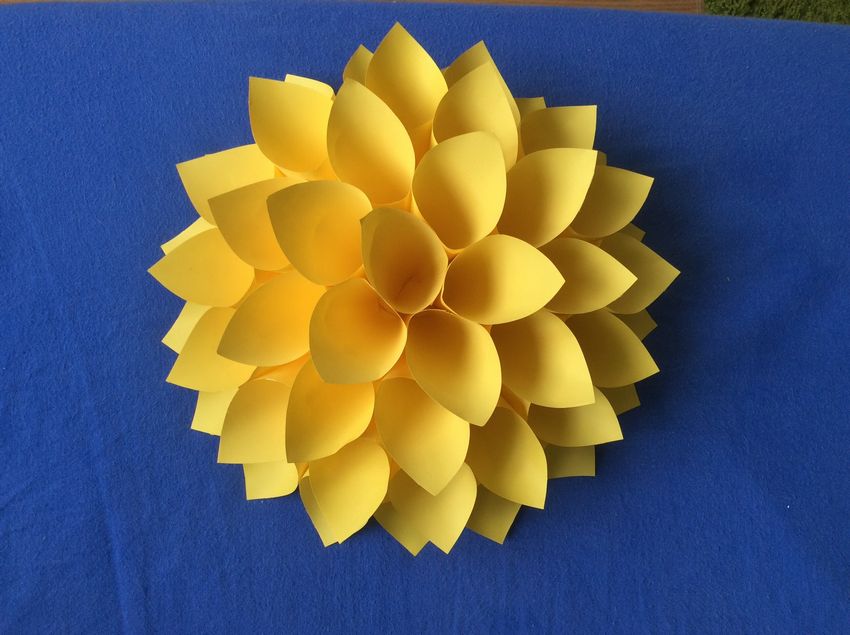
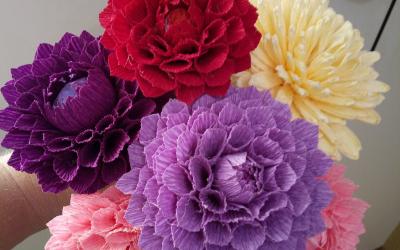
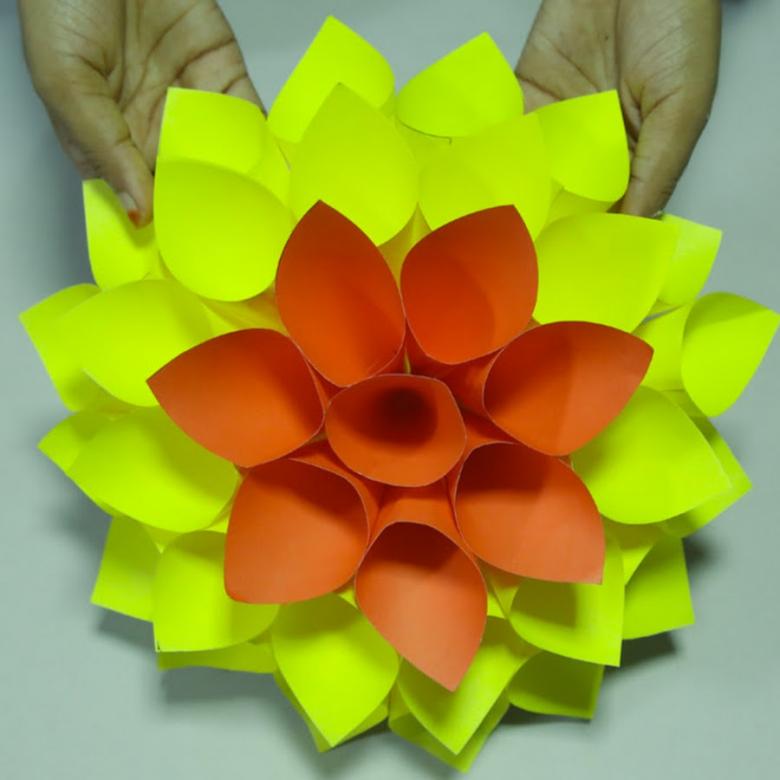
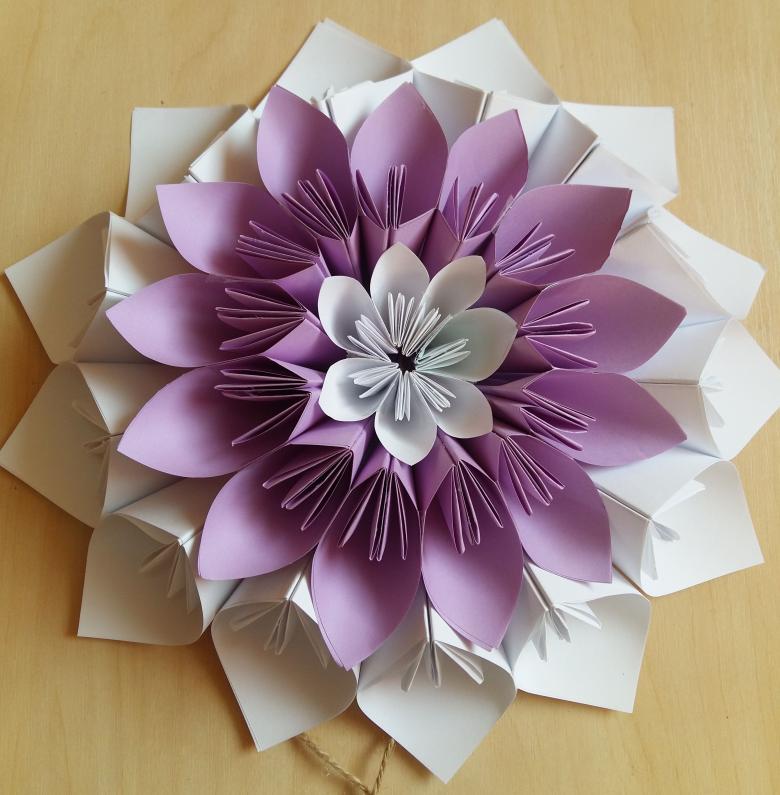
Kusudama model "Dahlia"
Colored paper is cut into squares. Each square is rolled into a funnel so that the wide side protruding corner and glued.
We get the petals of the future flower.
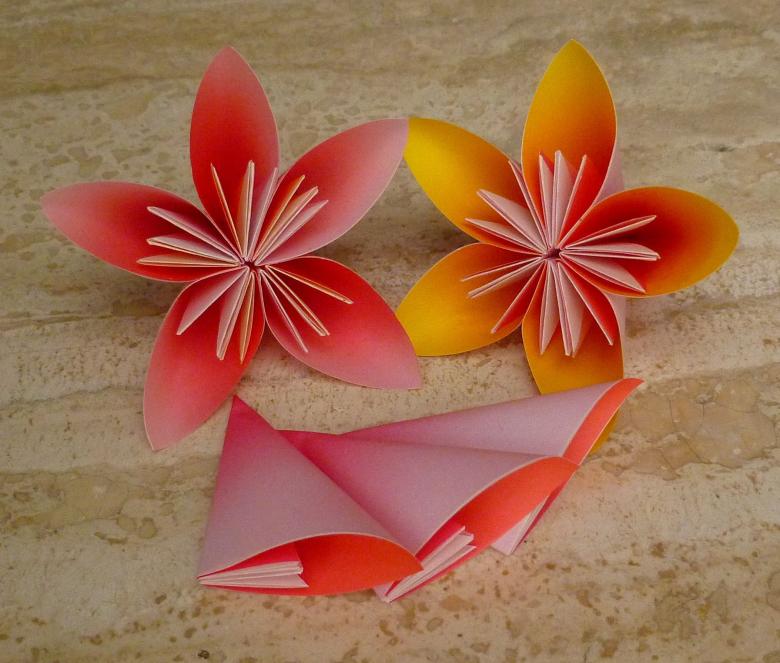
The finished petals are connected to each other with glue so that the corners of the broader part of the petals were in staggered order.
Before you glue the last petal to the ball, attach a ribbon in the center. Close the center of the last petal.
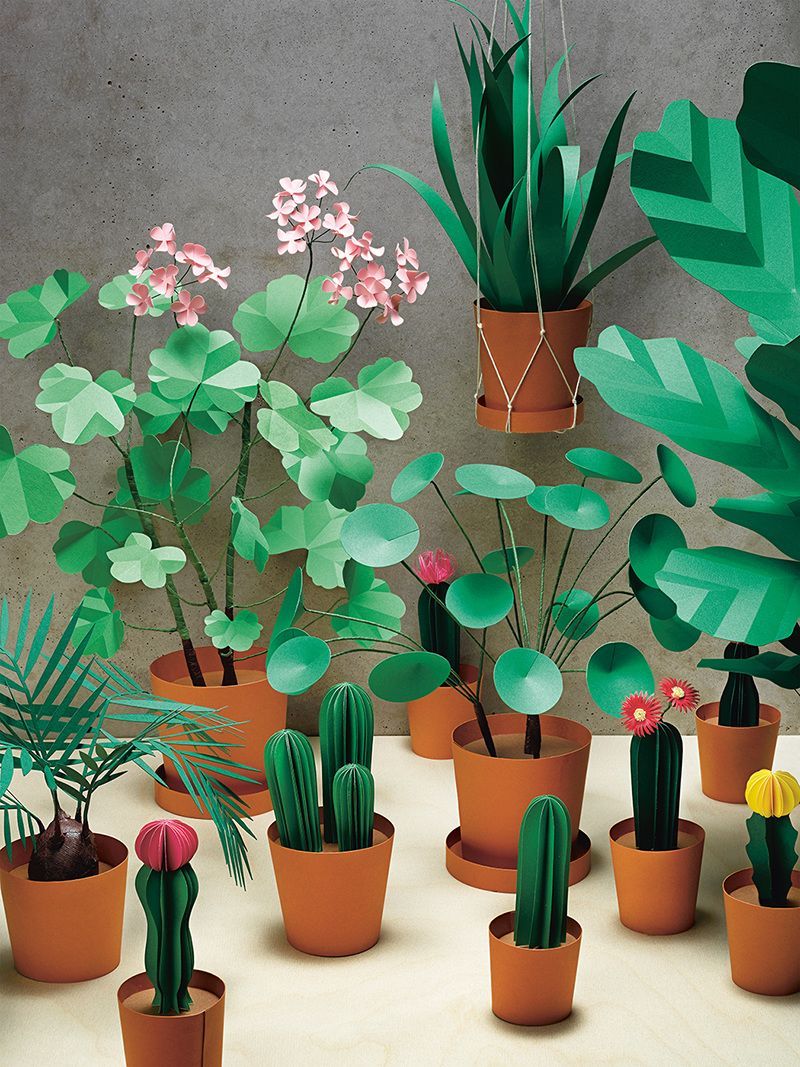
Making crafts in the above styles can be more than just a fun hobby. Finished paper handicraft will find use in the decor of diaries, photo albums.
Paper handicrafts with their own hands can decorate the interior of the house, adding to its uniqueness. All these methods are easy to perform for both children and beginners in needlework. And performing the next creation will give a good mood and calm the nerves.
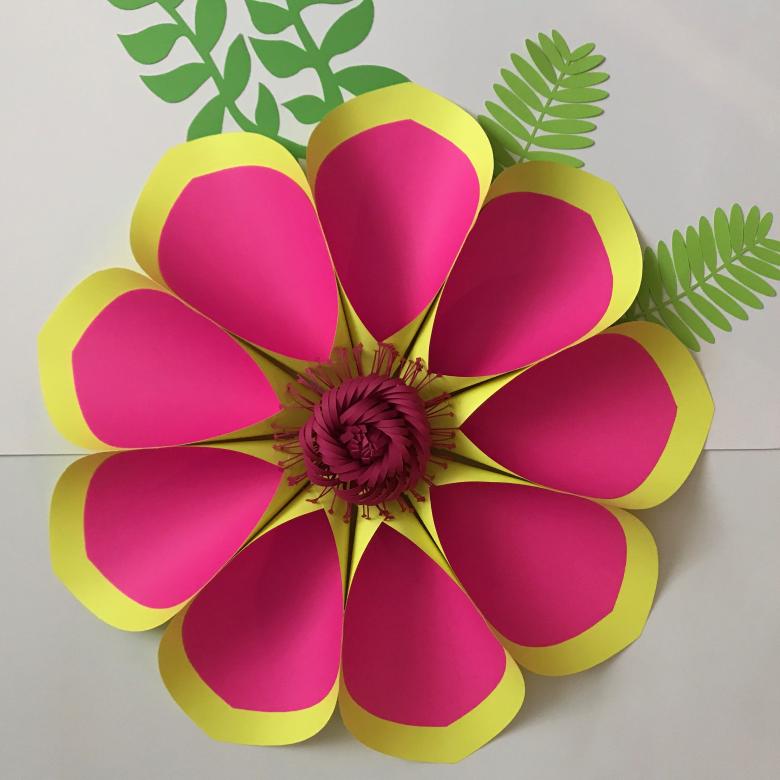
Photo ideas of beautiful paper crafts