Rocket craft made of paper, origami, clay: options for a variety of techniques
Rocket - it's a craft, which is often offered to children in kindergarten or school on the eve of Astronautics Day. The leadership of educational institutions regularly arrange exciting exhibitions, where children and parents can show room for creativity and imagination.

Job options
All space-themed crafts can be divided into two large groups - those that have no volume (flat) and three-dimensional.
Flat
Flat crafts are of less interest, but are excellent for implementation in the younger and middle groups of kindergarten.
The main difference between such crafts is the lack of volume. An example of making a work can be a rocket applique from geometric shapes, from pre-prepared templates. Looks original and beautiful flat rocket on a stick or string.

Volumetric
Volumetric products are more difficult to make. They require children to be skilled in working with paper, cardboard, glue and other creative materials.

Common examples of volumetric rockets include:
- From cardboard and paper;
- Of plastic bottles;
- In the technique of origami;
- papier-mâché;
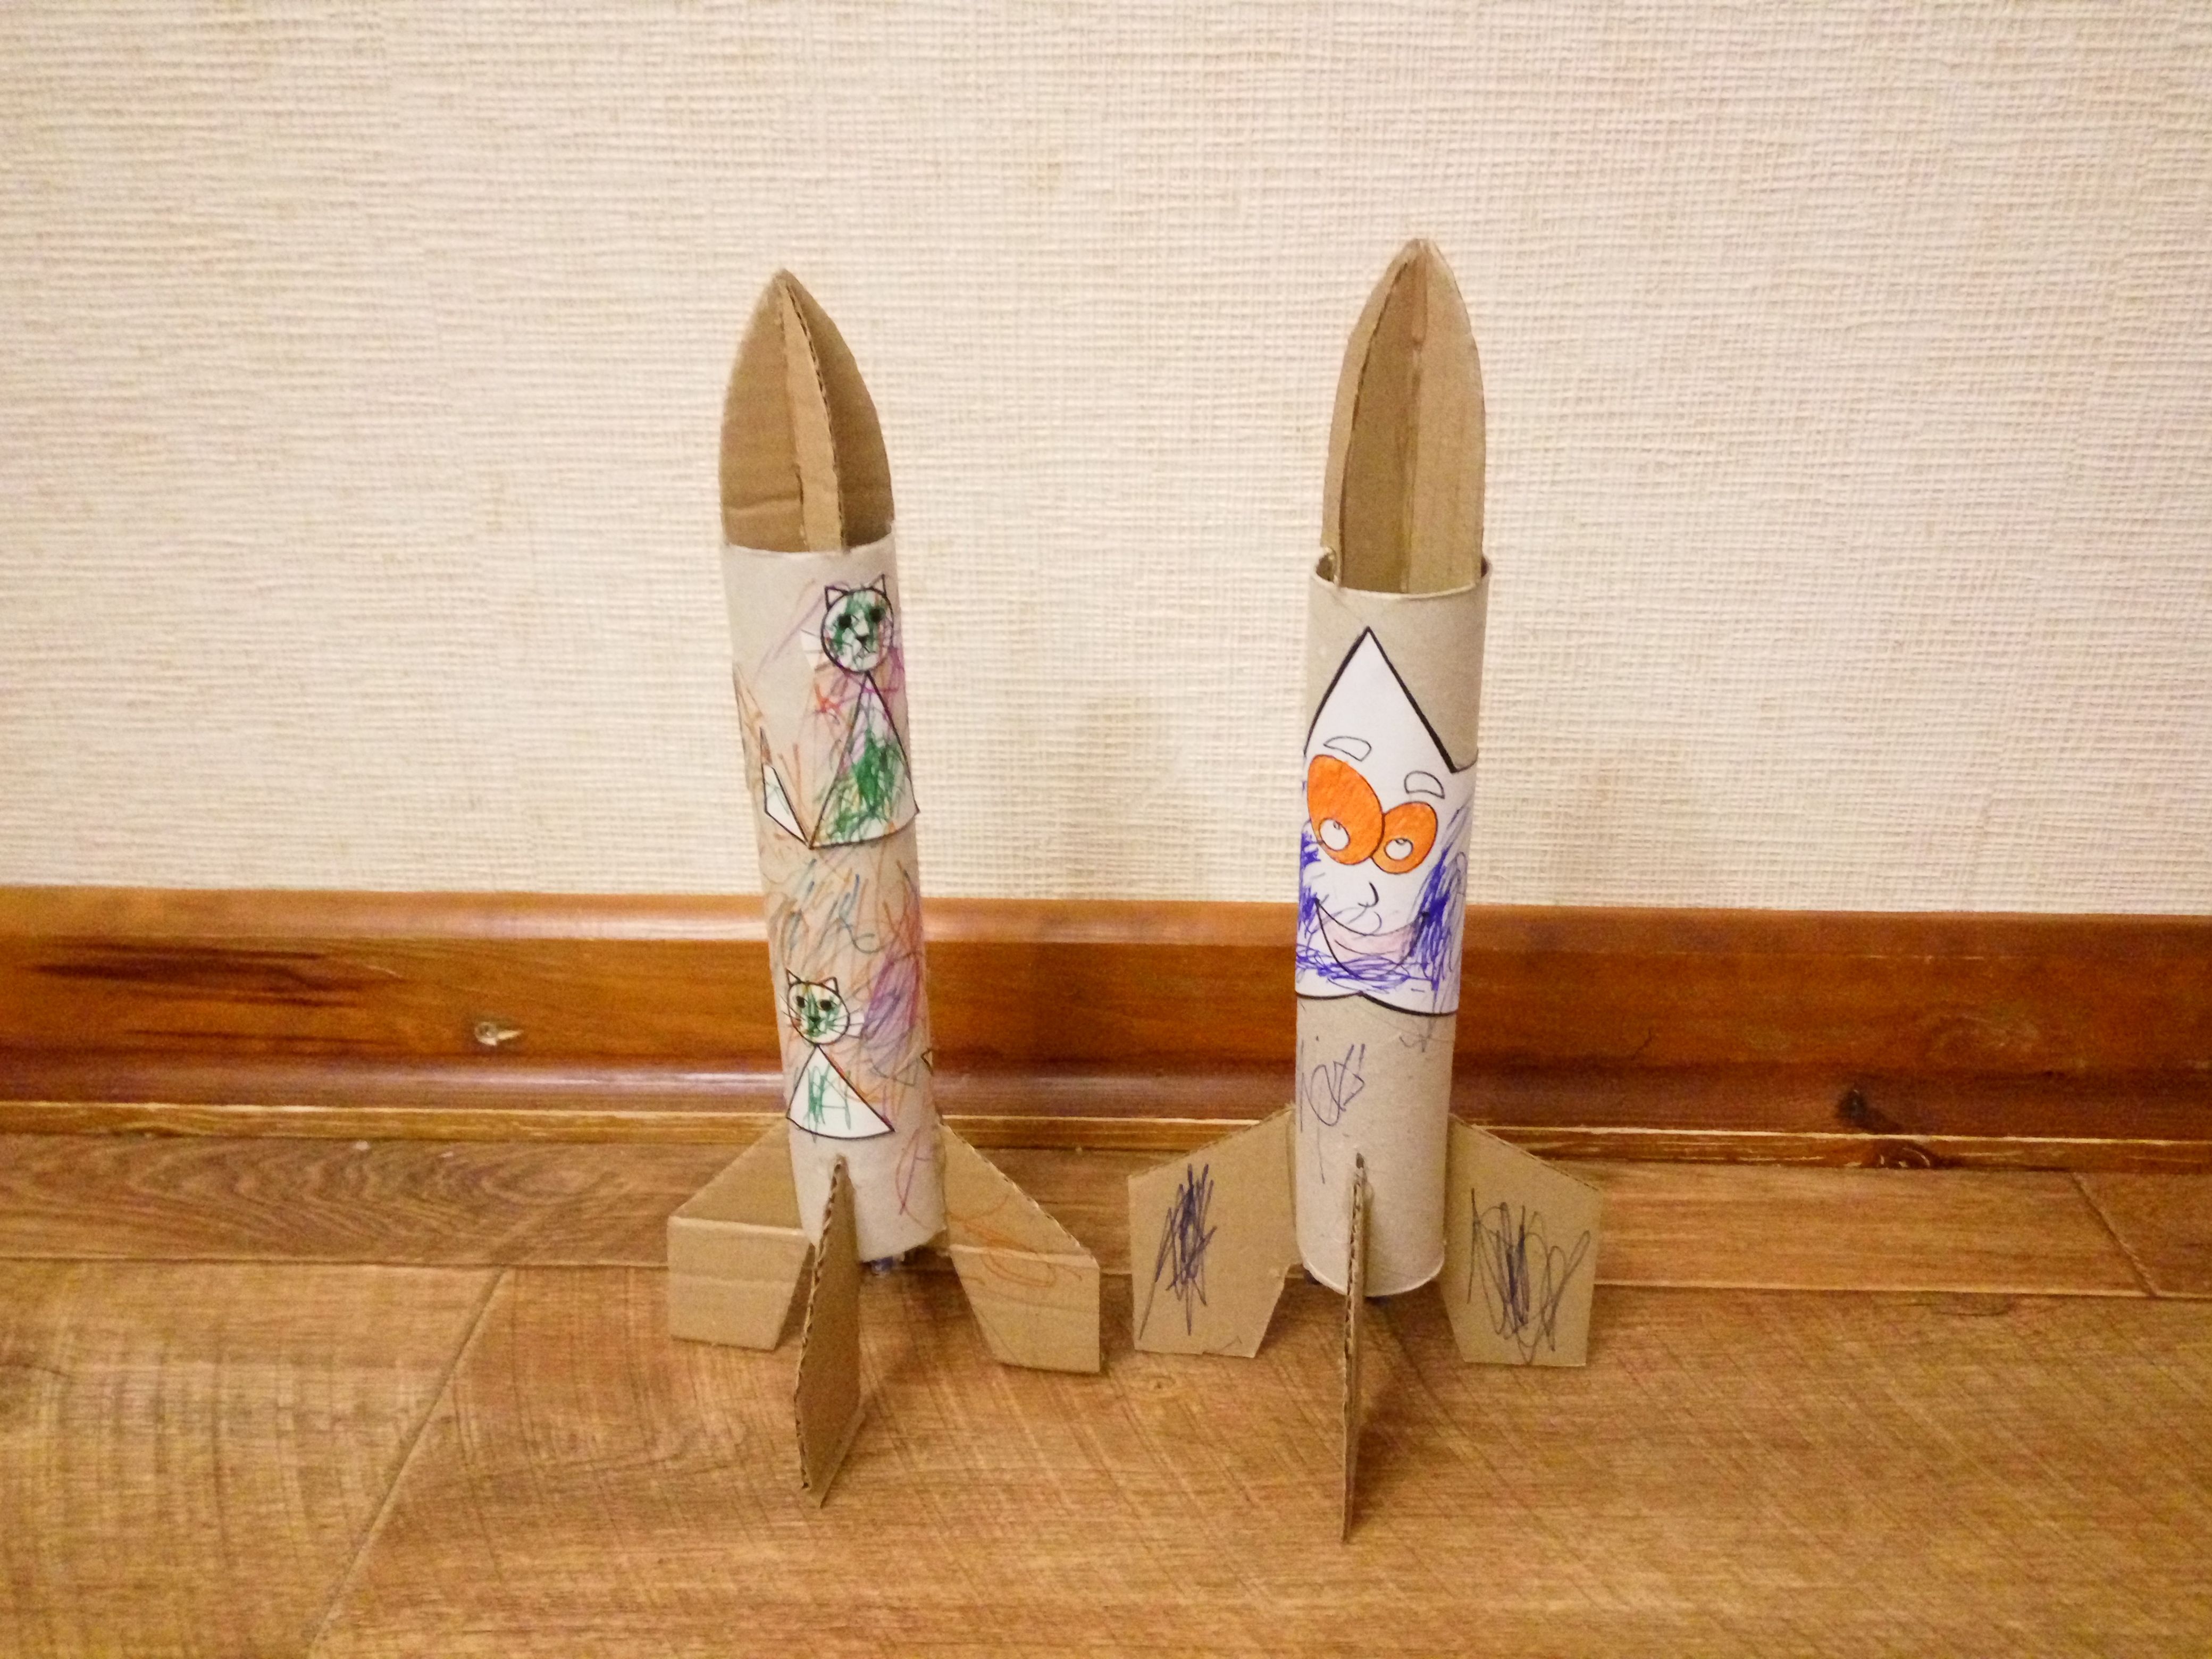
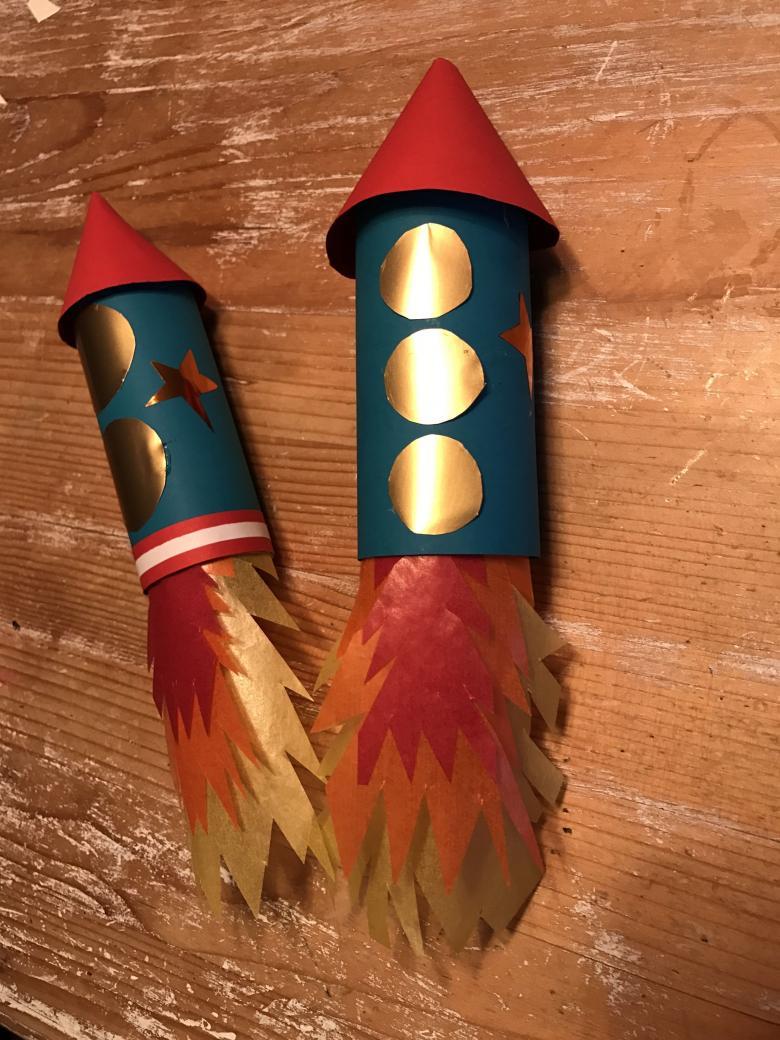
- from toilet paper sleeves.
Versions of the spacecraft differ in variety.
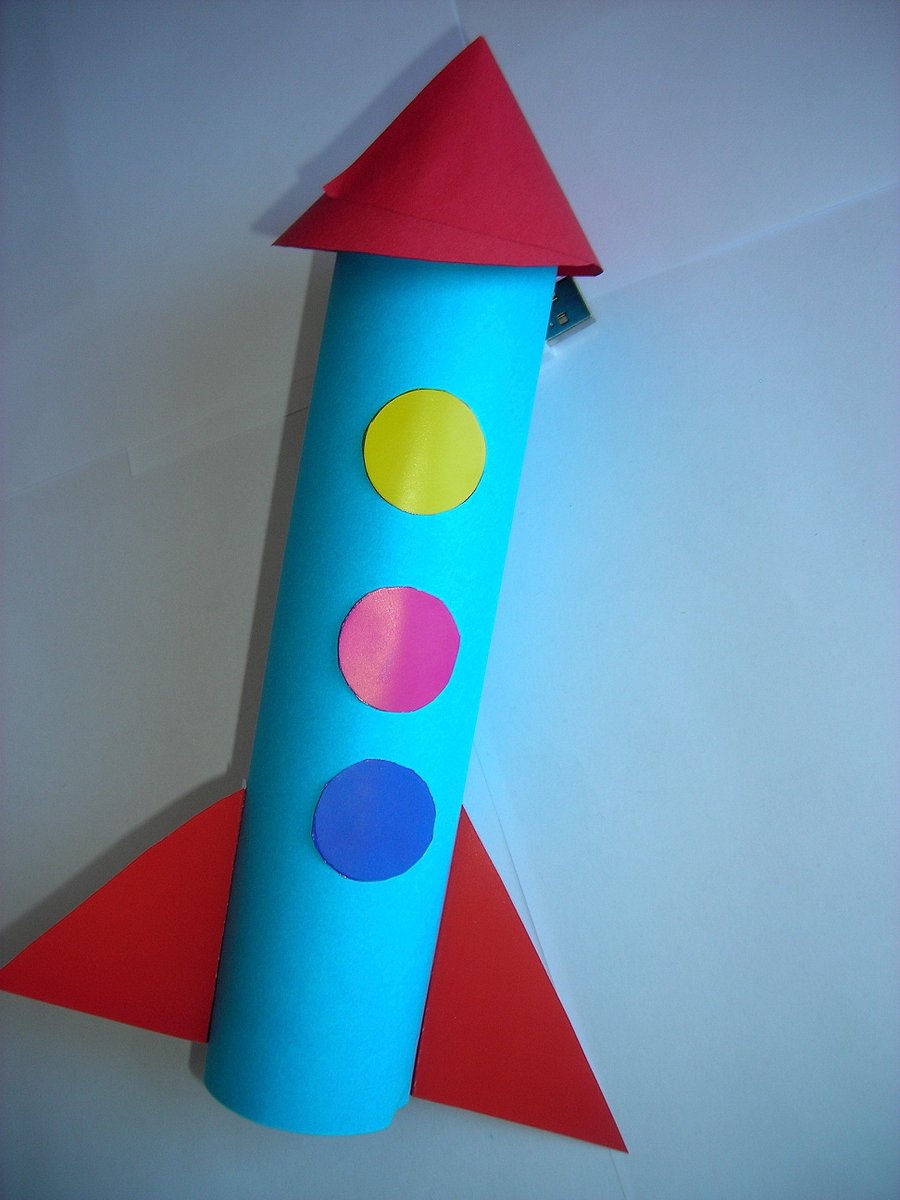
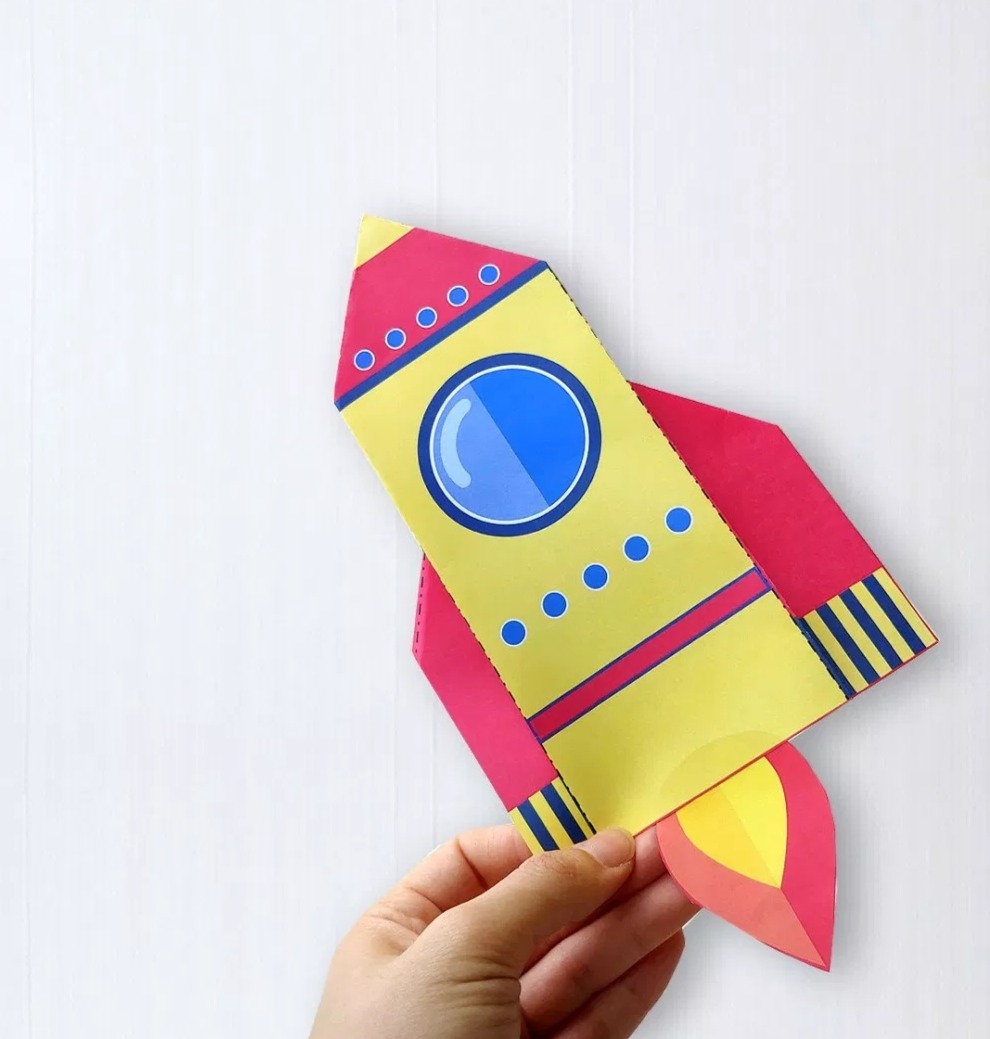
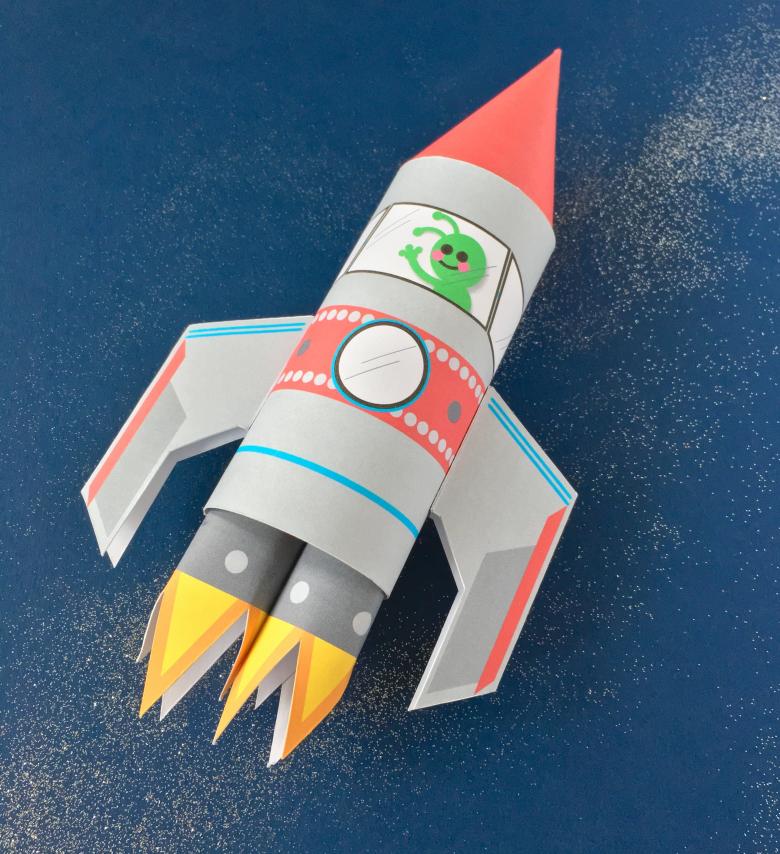
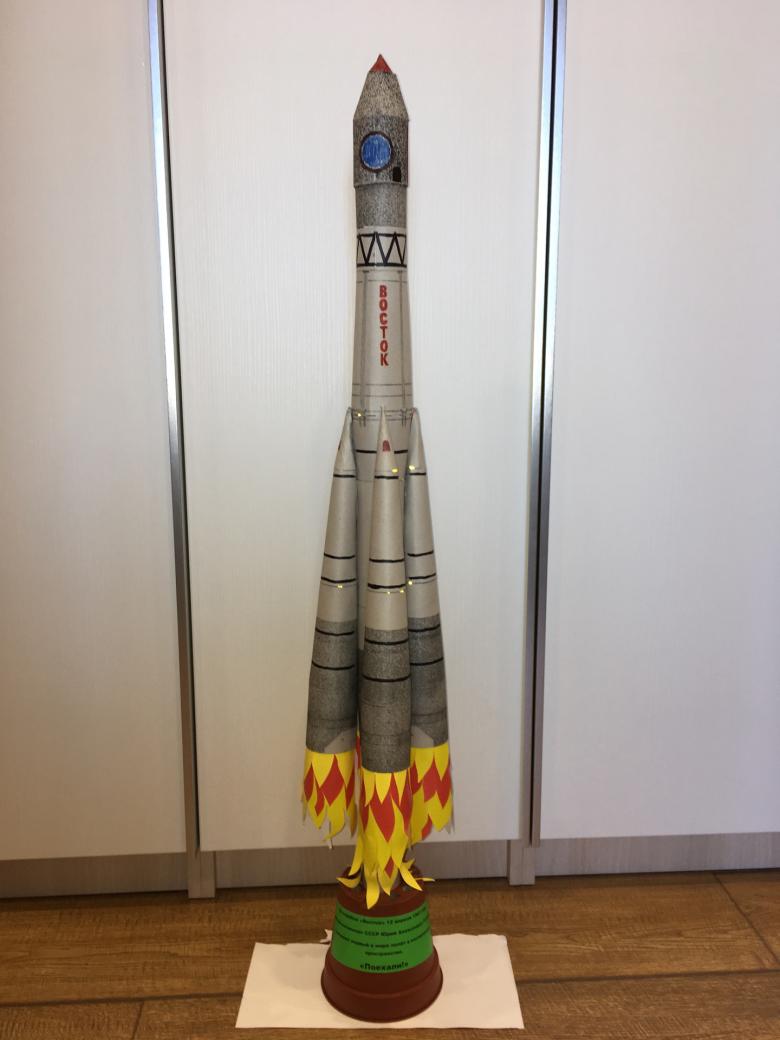
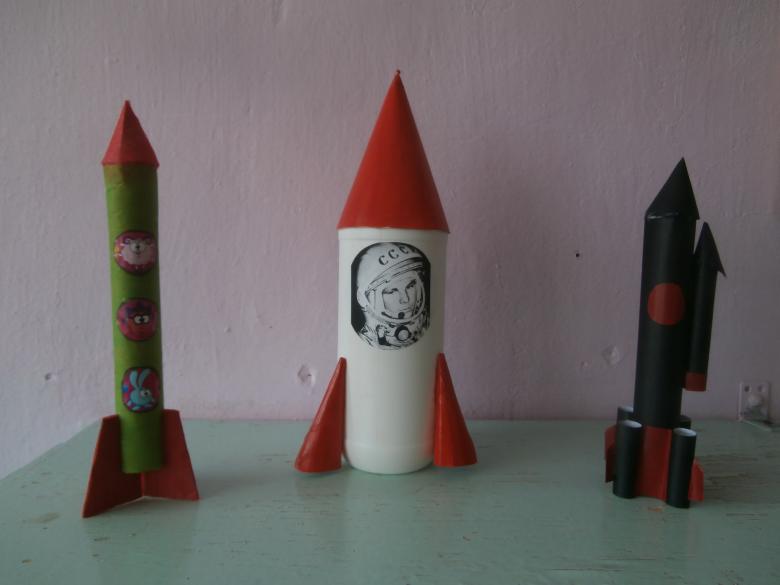
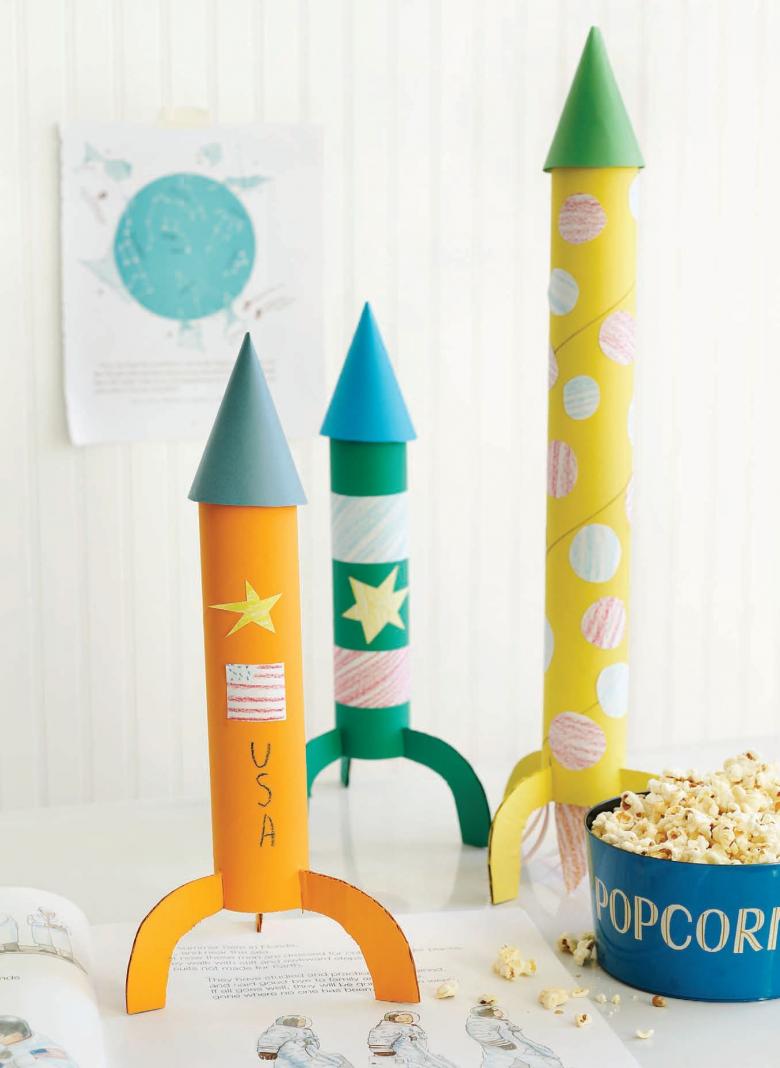
Rocket out of paper
The easiest and most accessible material for making crafts - paper or colored cardboard. Working with them contributes to the development of fine motor skills, creative perception, visual memory, eyeball skills. For kindergarten often use a rocket craft made of paper and toilet paper sleeves.

When creating a rocket, you can use ready-made 3d templates, and you can make everything yourself.
Of the materials required:
- colored paper (silver, red, orange, black or blue);
- scissors;
- ruler;
- compasses;
- glue.
Before making a rocket, it is better to look at examples and clearly imagine how the manufactured model will look like.
The work is done in several steps.
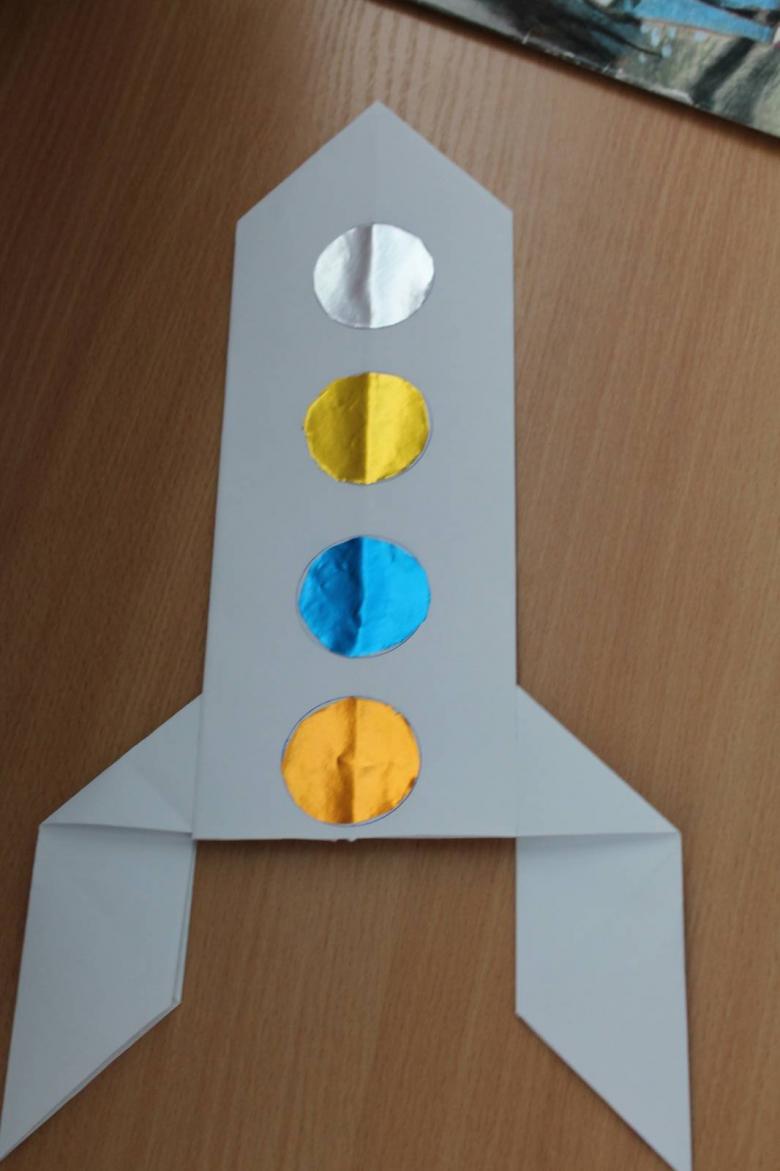
- The body of the rocket. First made the main part of the rocket. For her, a rectangle is cut out of silver paper. Can take half of A4 sheet. From the rectangle is rolled and glued a tube. Diameter should be 3-5 cm.
- The nose of the rocket. For the nose of the ship make a cone of red paper. The diameter of the cone must be equal to the diameter of the cylinder for the base.
- The tail of the rocket. Cut out of red paper 4 triangles. They will serve as the tail section.
- Assembly. Rocket nose glued to the base. Tail triangles glued at an equal distance below the rocket.
- Portholes. From black or blue paper cut 3-4 circles 2.2 times smaller in diameter than the diameter of the base of the rocket. Portholes are glued on the base of the rocket at the same distance from each other.

Rocket can be glued to the string to hang the craft from the ceiling or put it on a window sill. Rocket size depends on the size of the rectangle, which is used as the base of the product.

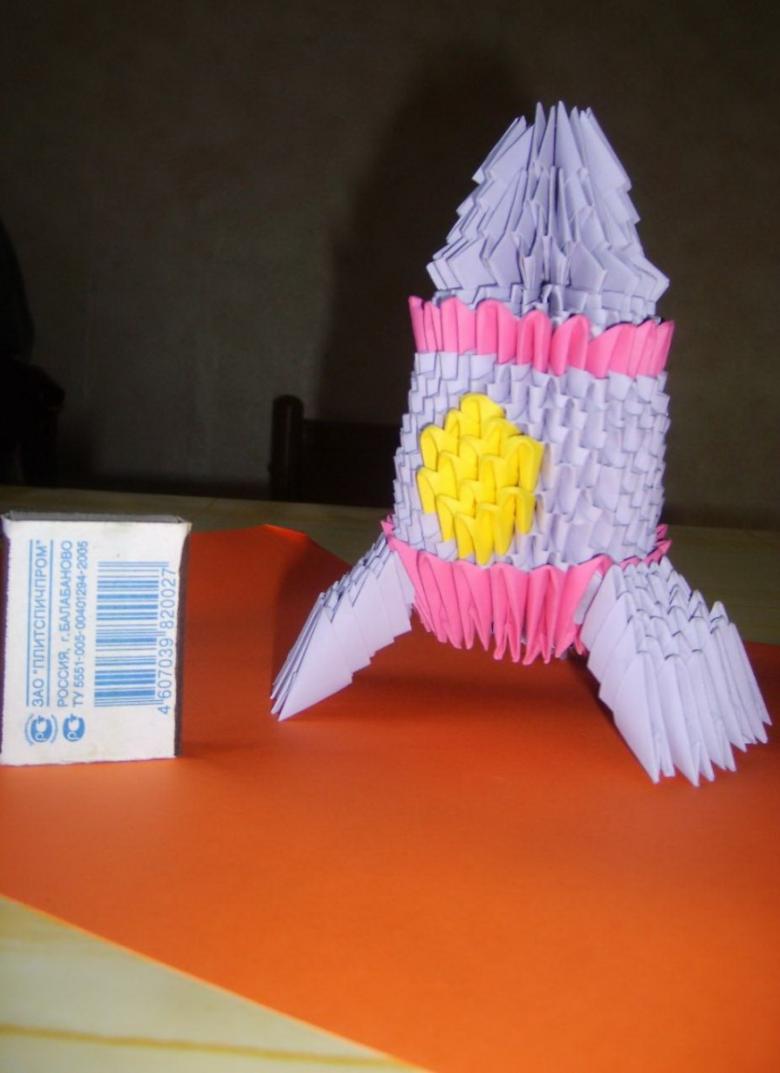
Origami technique
Origami is the ancient art of folding paper figures. The technique offers several options for creating handicraft rocket for the day of astronautics. The most difficult and time-consuming option is to assemble a layout of triangular modules. Such a rocket requires diligence and attention, but the result is worth the effort.
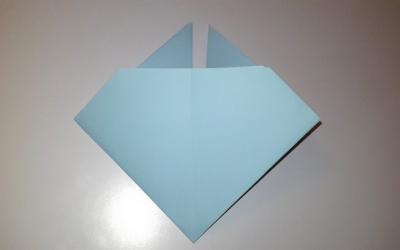
The easiest version of the creation of a rocket in the origami technique - the assembly of a rectangular sheet of paper. With such a handicraft cope children of preschool age. To work requires a square sheet of paper. It is better to take a tinted or white for printing.
- Fold the sheet in half 2 times. So that the fold line divides it into 4 equal squares.
- The upper half fold horizontally in half (top line is inflected to the middle).
- The product turn over, the upper corners to wrap the center.
- The sides of the bend to the center line. Fold should go straight down the middle of half.
- To make a rocket wings, both bent edges bend away.
To see a rocket, the workpiece should turn. As a decor on it can draw a porthole, the stars, paint it at will.

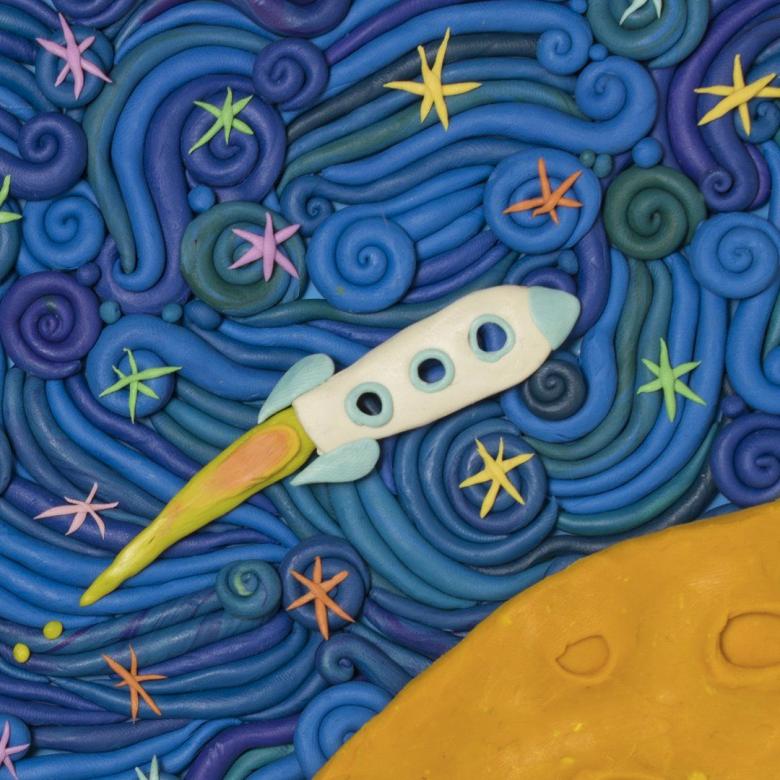
Spacecraft in plasticine
Plasticine is a favorite material for children's crafts. It is recommended to use it to work with preschool children. A craft made of clay rocket is perfect for the younger and middle groups of kindergarten.
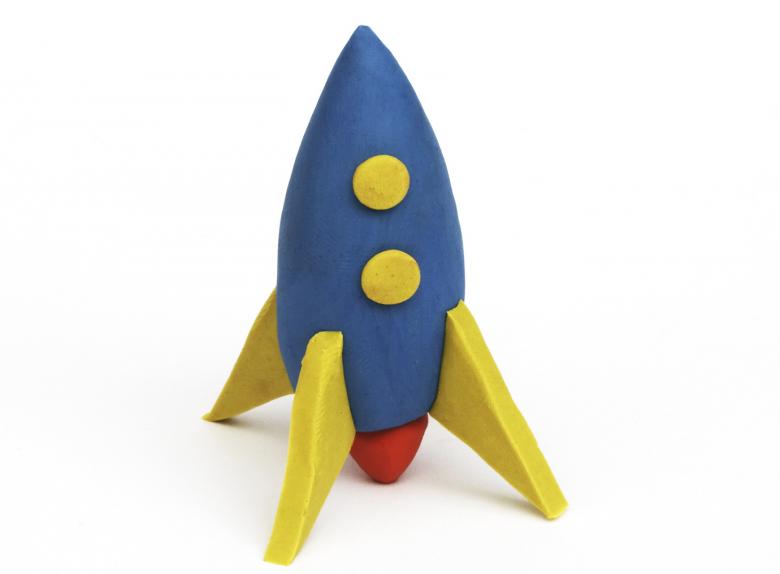
For work you will need:
- plasticine of different colors;
- stack;
- cardboard.
To do the work it is necessary to clean and cover the workplace with oilcloth.
- Making the body. To make the body of the rocket take a large piece of plasticine and knead it in his hands. Then form a cylinder out of it.
- Making a nose. For the nose requires a piece of plasticine of a different color and smaller. Knead it in their hands and form a cone. Rocket nose is attached to the base of the hull.
- Making portholes. For portholes, take 1 or 2 small pieces of white plasticine. Roll into balls, which are flattened into a cake. The finished porthole is glued to the hull.
- Making the tail. For the tail, take three identical pieces of plasticine (the same color as the nose of the rocket). From them mold identical triangles (thick enough). Triangles are attached to the base at an equal distance from each other.

The finished rocket is placed on a small cardboard pad. As an additional decoration of yellow and orange plasticine can be made and attached a flame.
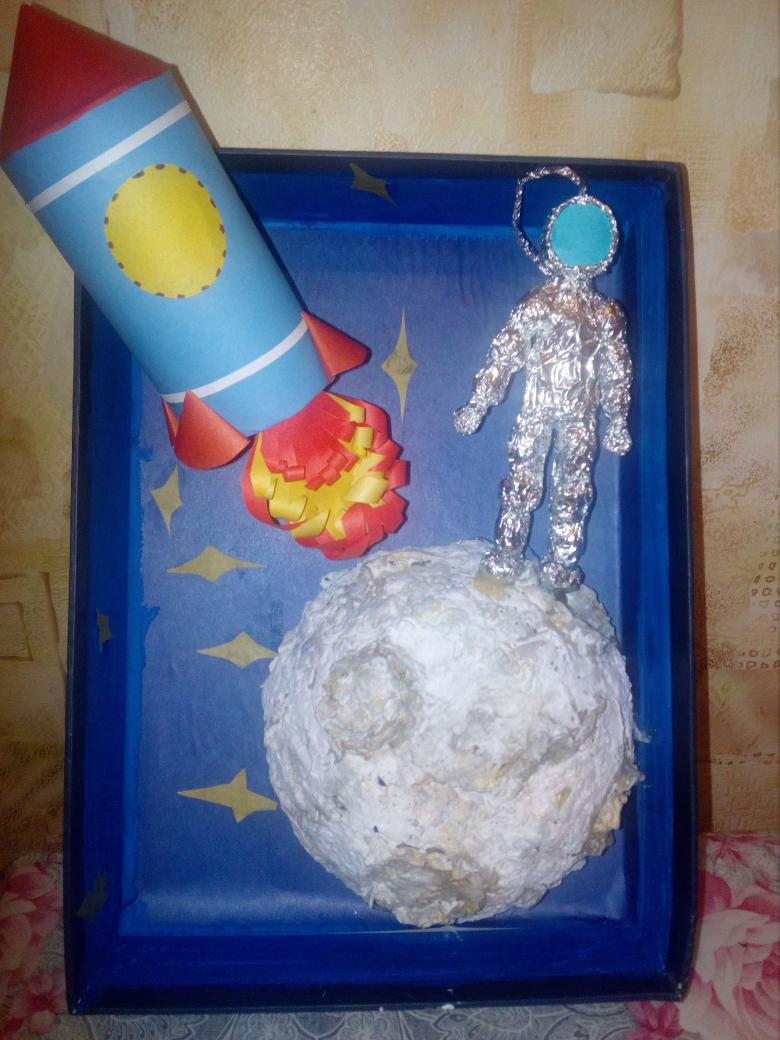
Made with hand-made materials
To make a space rocket craft with their own hands use not only plasticine, colored paper and cardboard. In the creative process go any suitable objects - plastic bottles, fabric, felt, socks, large cardboard boxes.
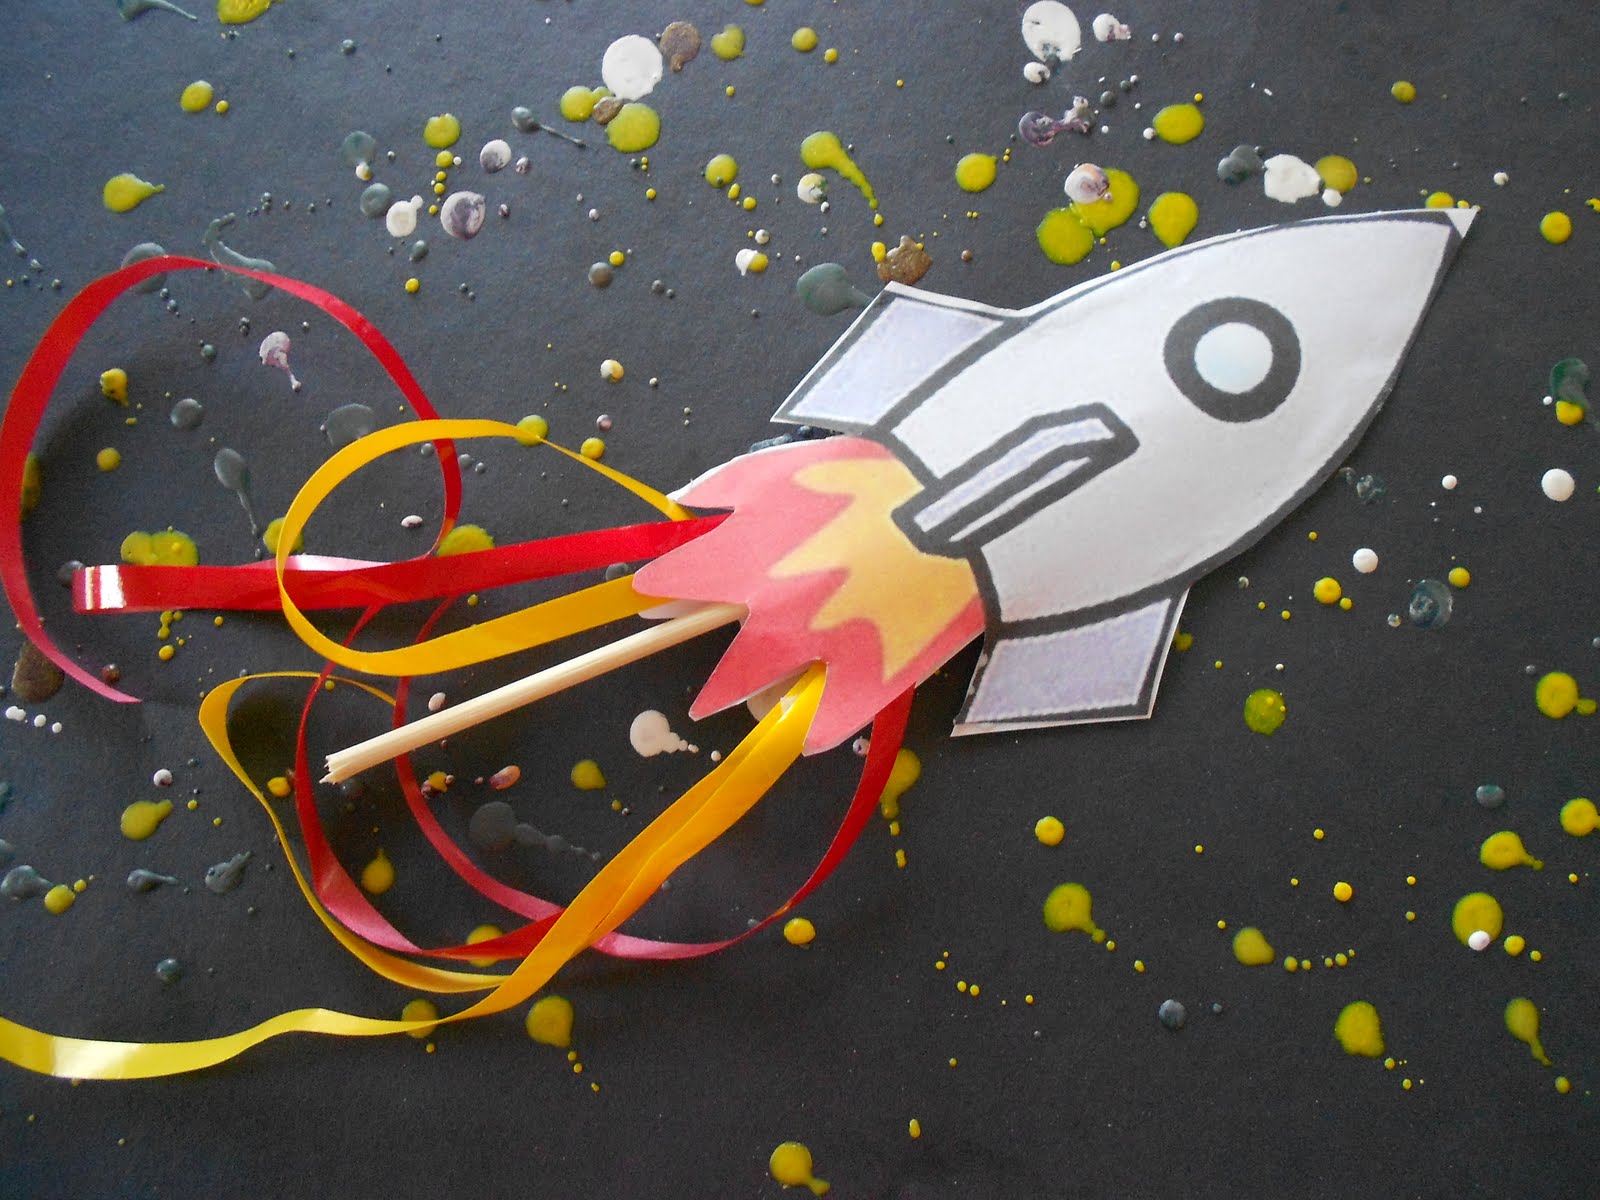
Flying rocket
Flying rocket - this is an original craft, which can not just be made, and can be used for games or to arrange competitions.
For making it will need:
- a template of a rocket on paper;
- pencils;
- tubing;
- scissors;
- glue;
- duct tape.

To begin with, a sheet of paper draws a template rocket or print out a ready-made image.
- Template. The image of the rocket is colored with pencils or felt-tip pens. If it is colored, there is no need to color it. The template is cut out with scissors.
- Tube. To rocket fly you need to make a tube. For this, a white paper cut a rectangle and roll it into a tube.
- Assembly. Finished the tube glued to the back of the rocket. With one edge of the tube glued.
In the rocket on the reverse side is inserted straw. To start the game you need to sharply blow on a straw. Rocket flight.
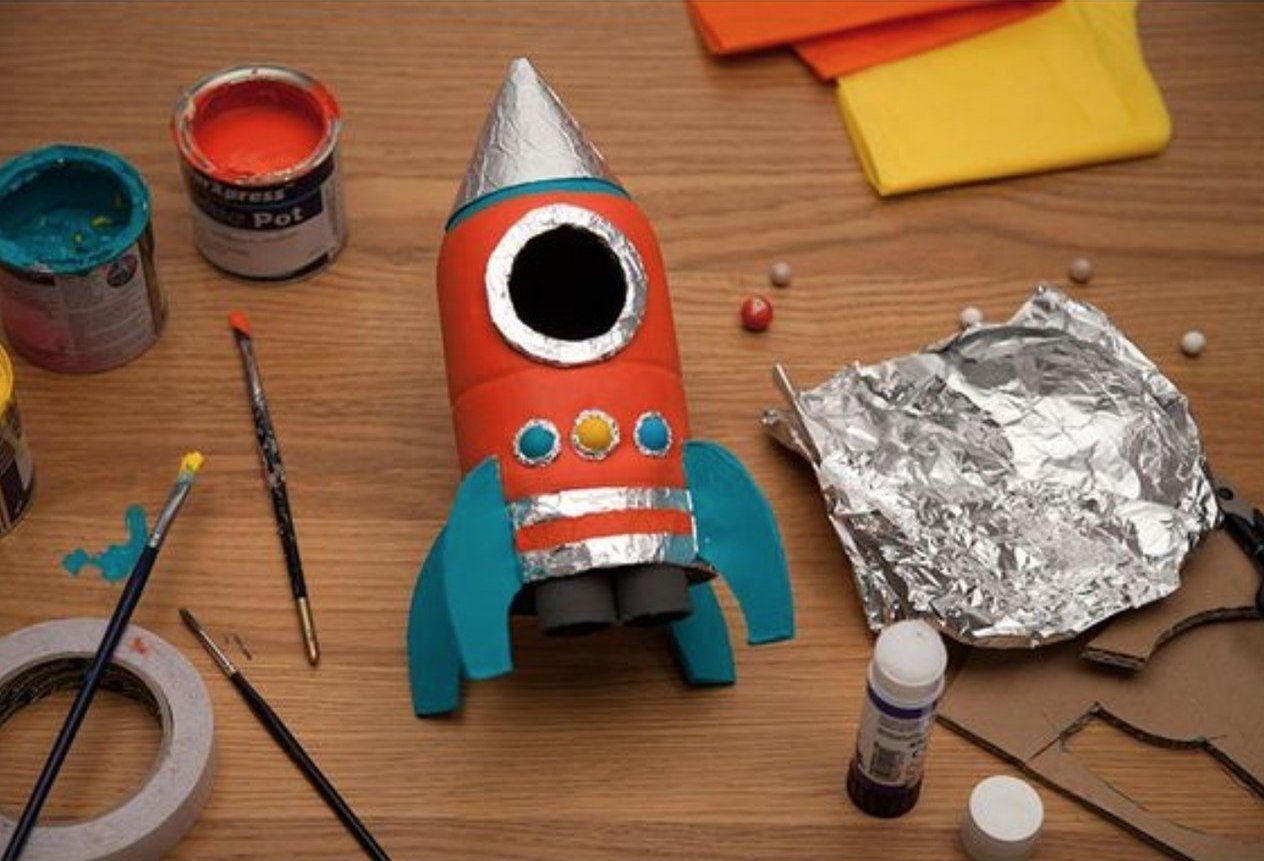
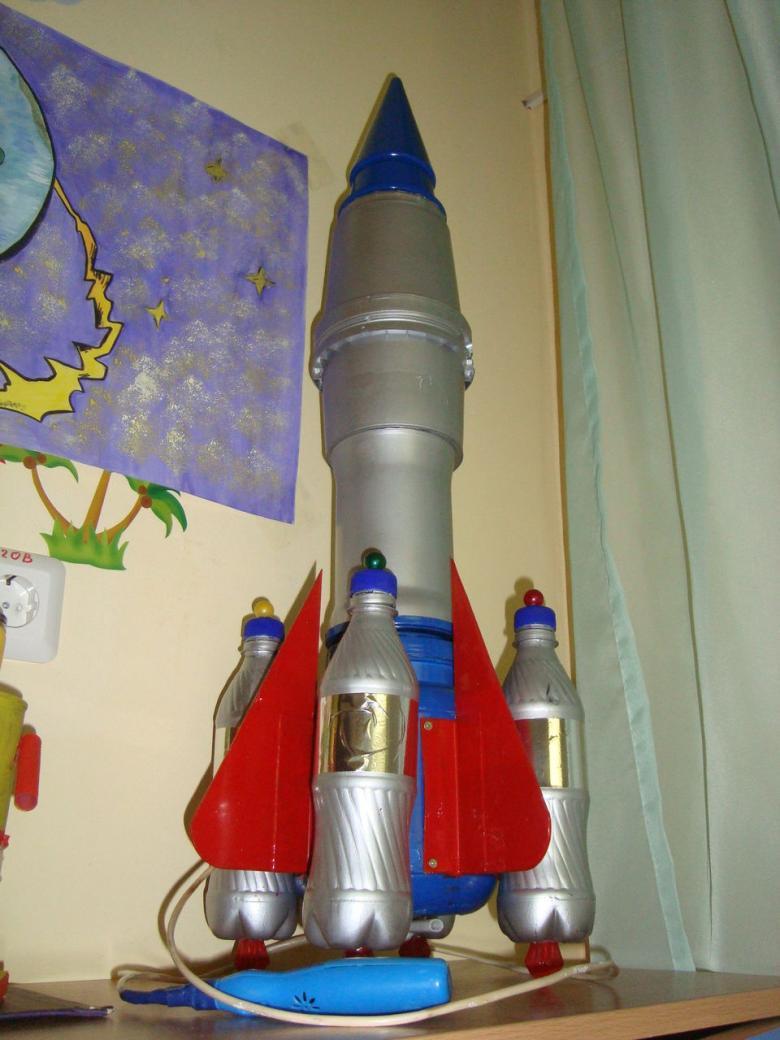
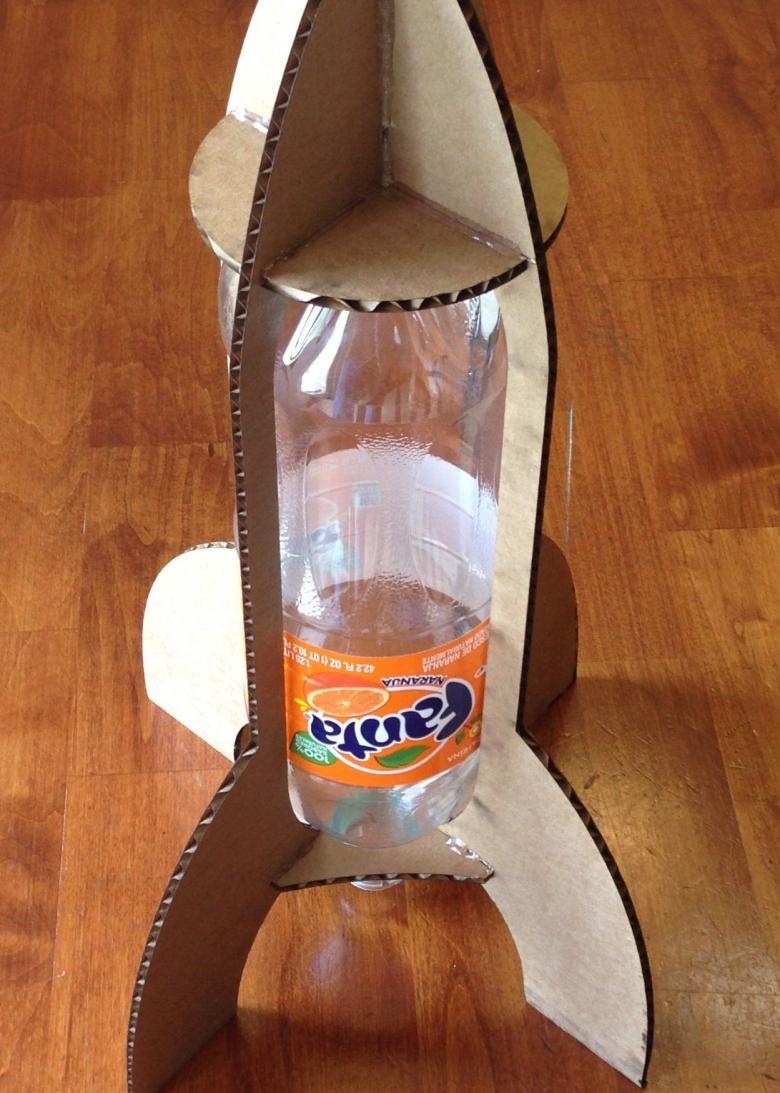
From a plastic bottle
Plastic bottles have a rounded base and an elongated nose. They are excellent for making a rocket.
For the craft you will need:
- plastic bottle;
- colored cardboard;
- glue (hot melt glue);
- scissors;
- paints;
- foil.
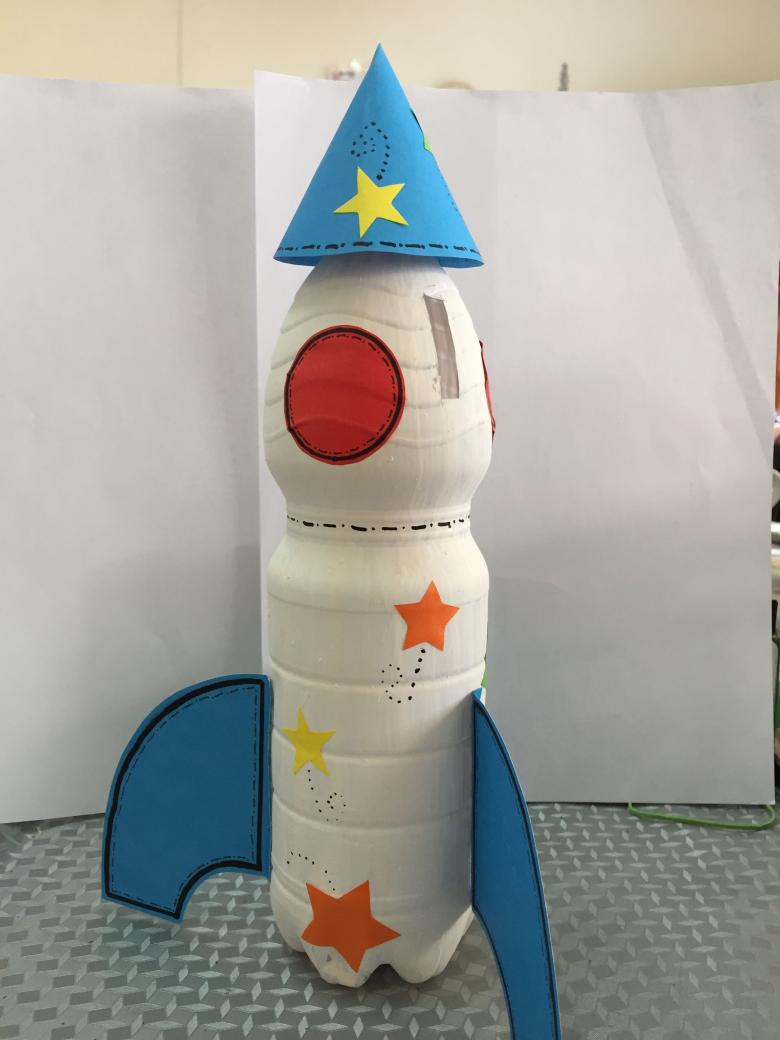
The work takes place in several stages.
- Preparation. The bottle is thoroughly washed and dried. All labels are removed from it.
- Painting. The bottle is painted in a single color with paints. Acrylic paints are better for plastic. Gouache or watercolor will not adhere to the surface. In the center leave a circle for the porthole.
- Nose. A circle is cut out of white paper (diameter slightly less than the height of the bottle), from which a cone is made. The size of the cone depends on the size of the bottle. Details should look harmonious.
- Assembly. The cone is placed on top of the bottle. Parts are glued to each other.
- Decorating. From foil cut strips and stars, which are used to decorate the rocket.
- Making the legs. For the legs of the rocket is cut out of heavy cardboard 3 triangles or part, resembling half a crescent. At the bottom of the rocket at regular intervals office knife make vertical cuts equal in size to the wide part of the triangle. The legs are inserted into the cuts.

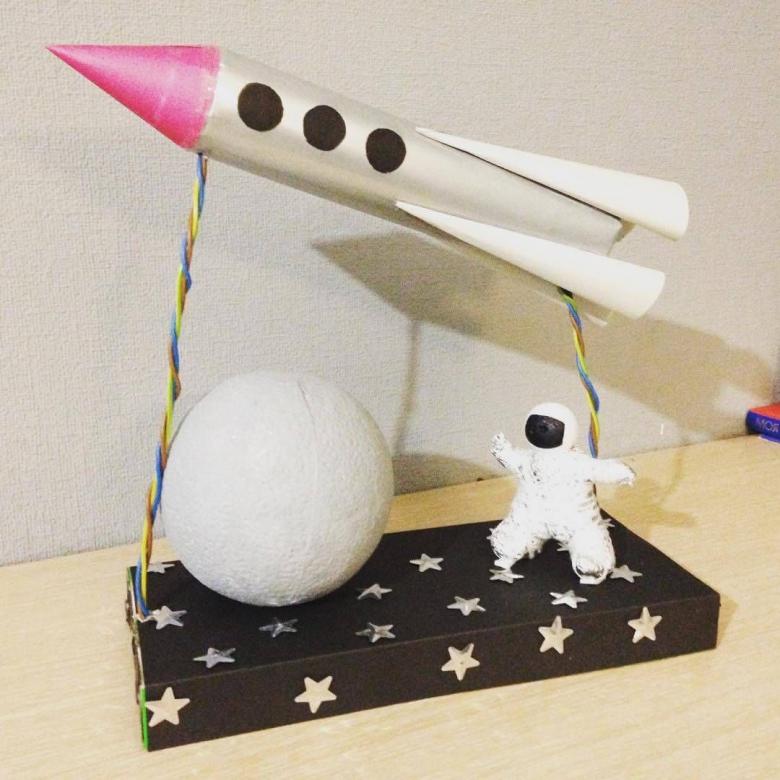
When using a plastic bottle, the rocket craft is light and bulky. It is installed on a stand or suspended by a fishing line. Such a spaceship can be fixed on a wire around the ground from a foam ball.
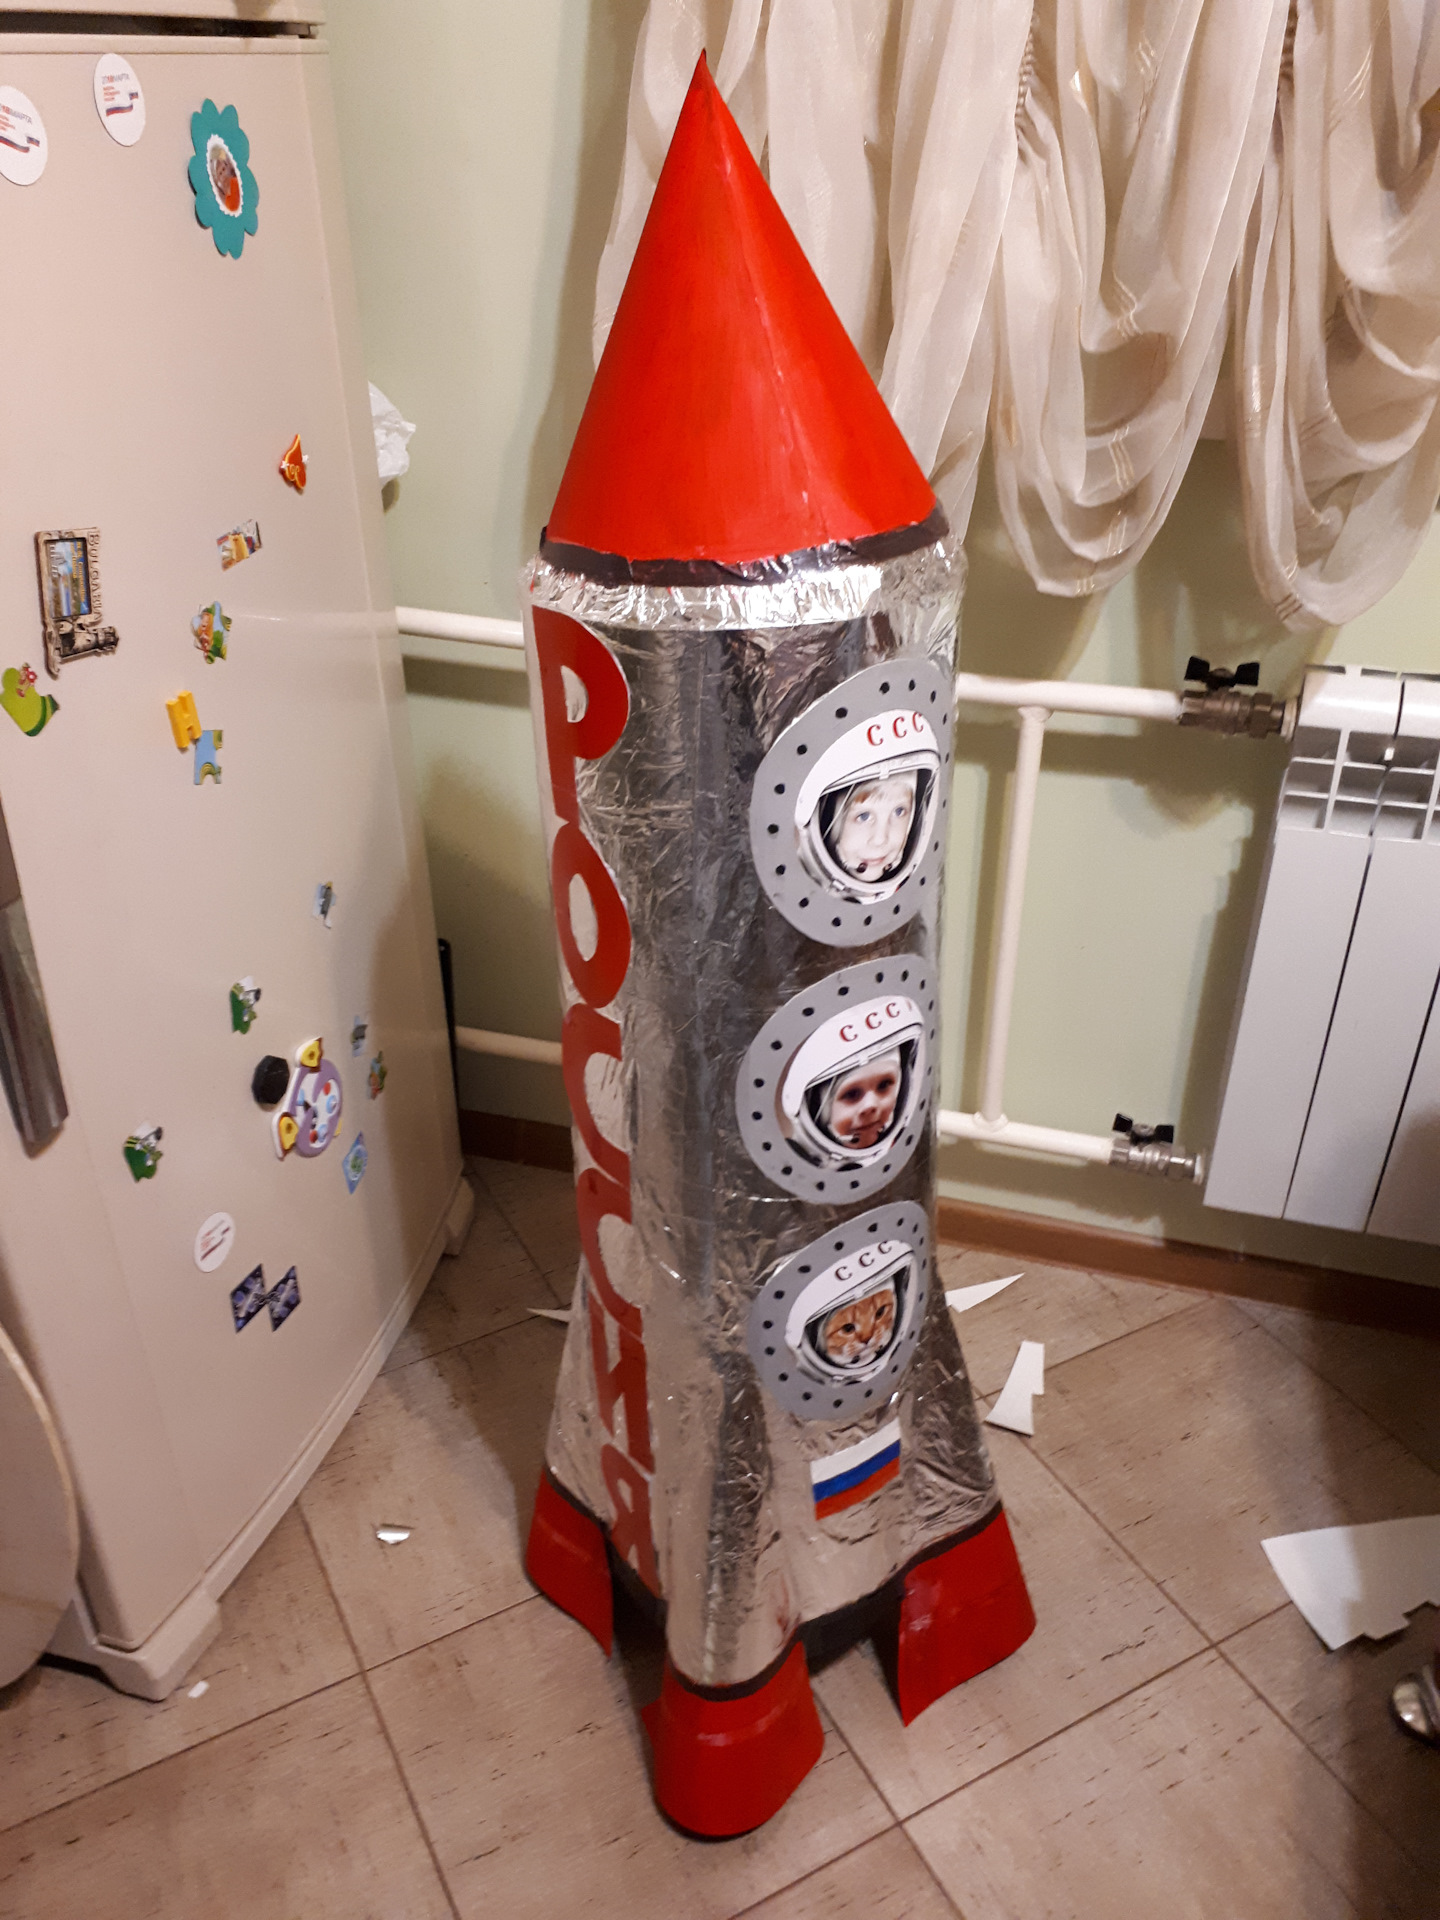
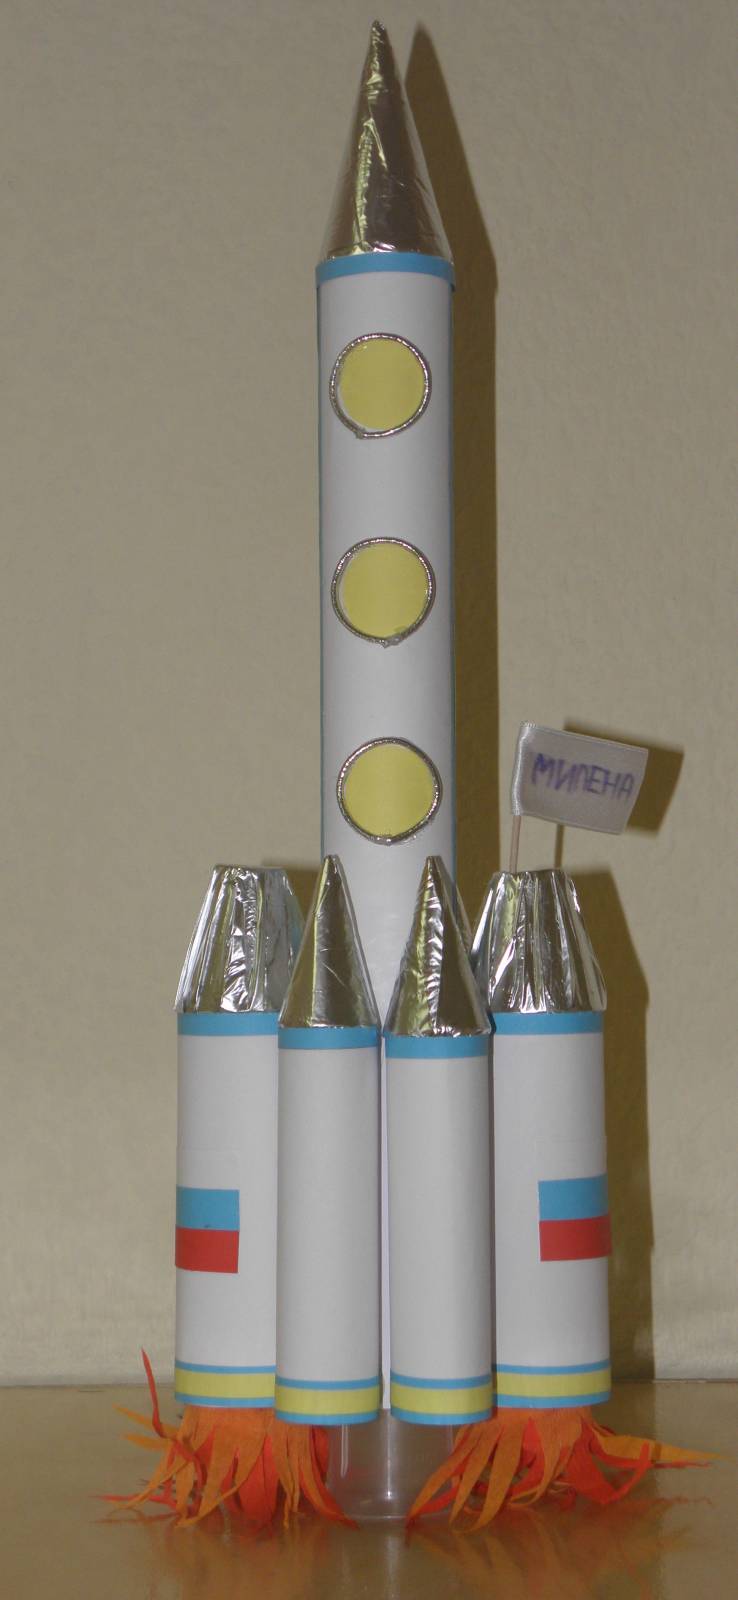
Made out of a cardboard box
If you need a rocket of large size or have a desire to make a spaceship-home, then cardboard boxes from household appliances will do.
Necessary materials:
- cardboard boxes (1-2 pcs.);
- colored paper, cardboard;
- Thread, fabric, felt, ribbons;
- pencils, felt-tip pens;
- Homemade glue, a hot air gun.
Making a large rocket is a time-consuming process. A child can not do it by himself.
- Body. Use the largest box for the body of the rocket. It is installed vertically. All stickers are removed from the box. In the center, on the blind side, a round hole is cut out - a porthole. Diameter depends on the size of the box. On the opposite side make a door or open passageway.
- Upper part. The nose of the rocket is made of cardboard (made and glued to the base of a pyramid) or use a flower pot, styrofoam ball or other object that looks like a cone.
- Legs. Feet are cut out of the remaining cardboard in the form of triangles. Triangles fold in half and glued to 4 sides.
- Decorating. Finished rocket decorate. It glued colored paper or paint. On the finished product glued stars of foil, colored paper. Ribbons can be made flame.
Rocket from boxes will be a great entertainment for children or decoration of the photo area for the day of astronautics.
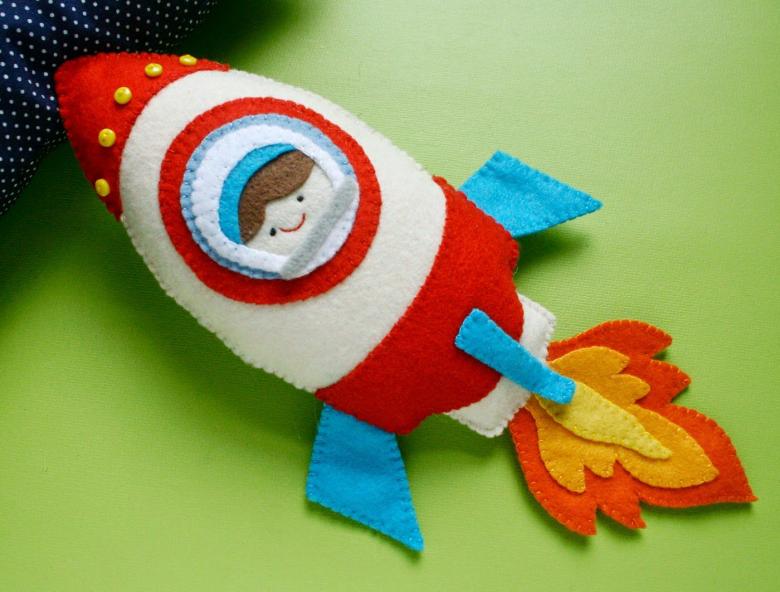
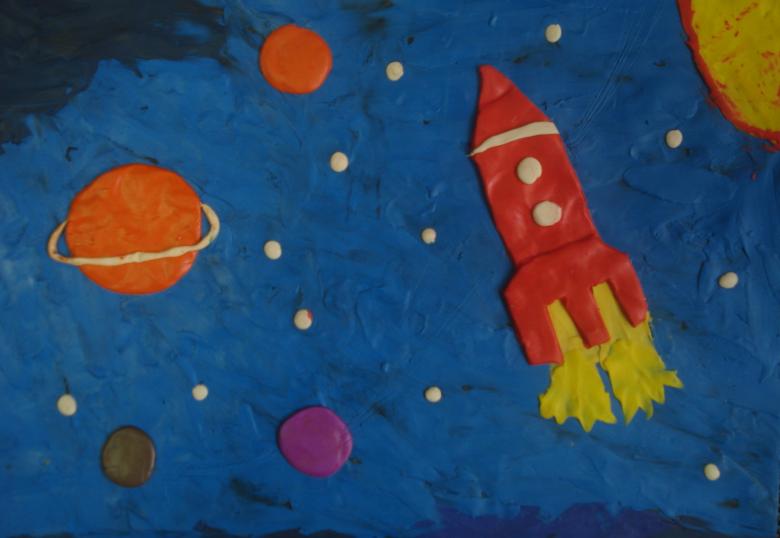
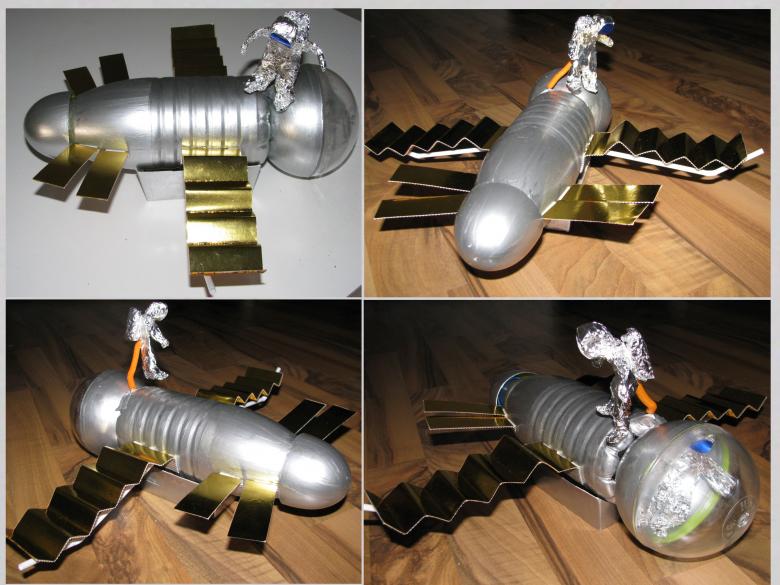
There are many other options for making a rocket. It is made in the form of applications from cereals, macaroni, sand. Interesting handicrafts are made of polymer clay or felt. The main task during work is to attract the attention of children, help them show their own imagination and develop interest in the creative process.

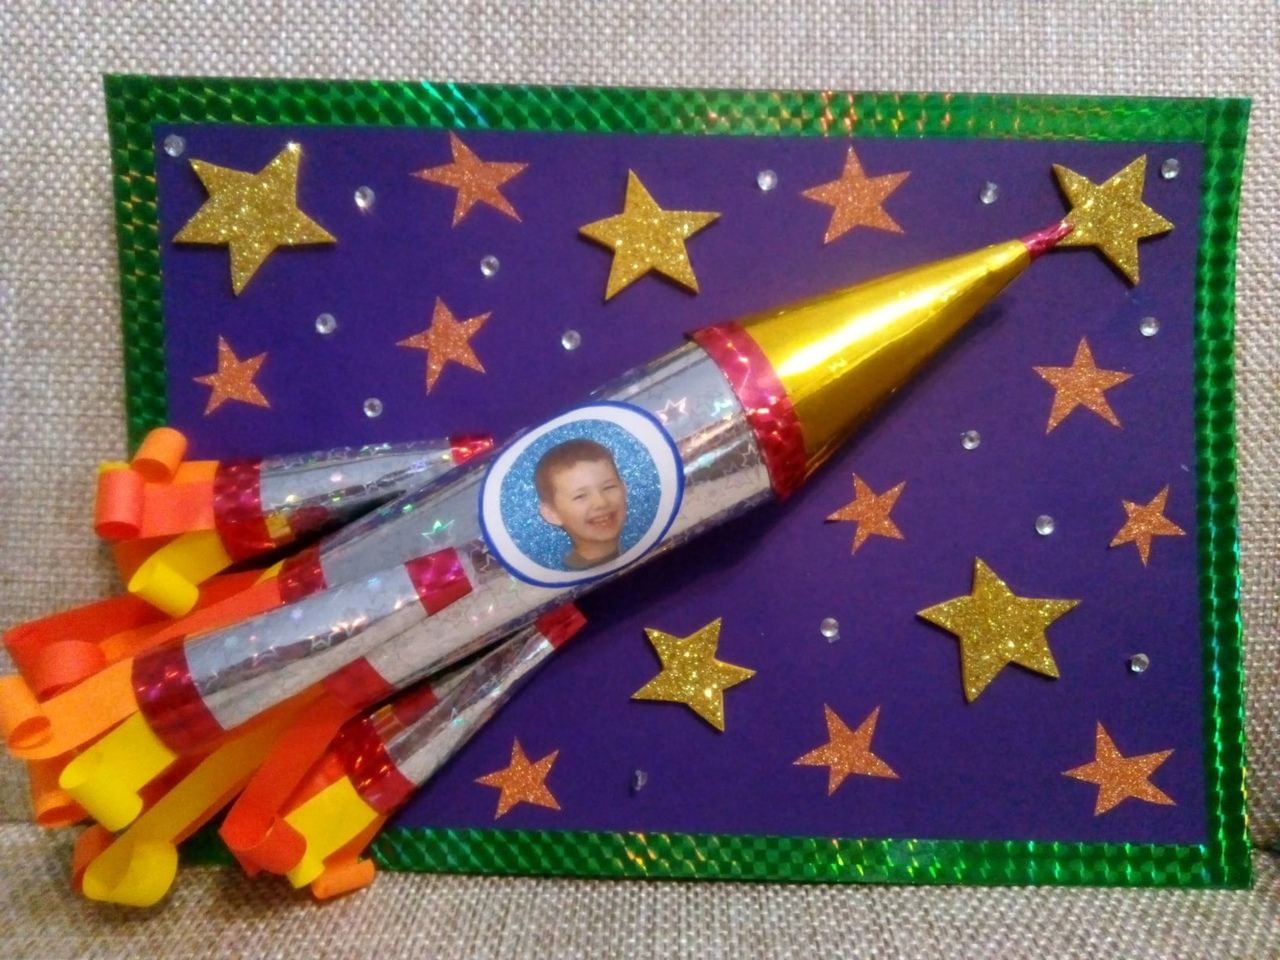
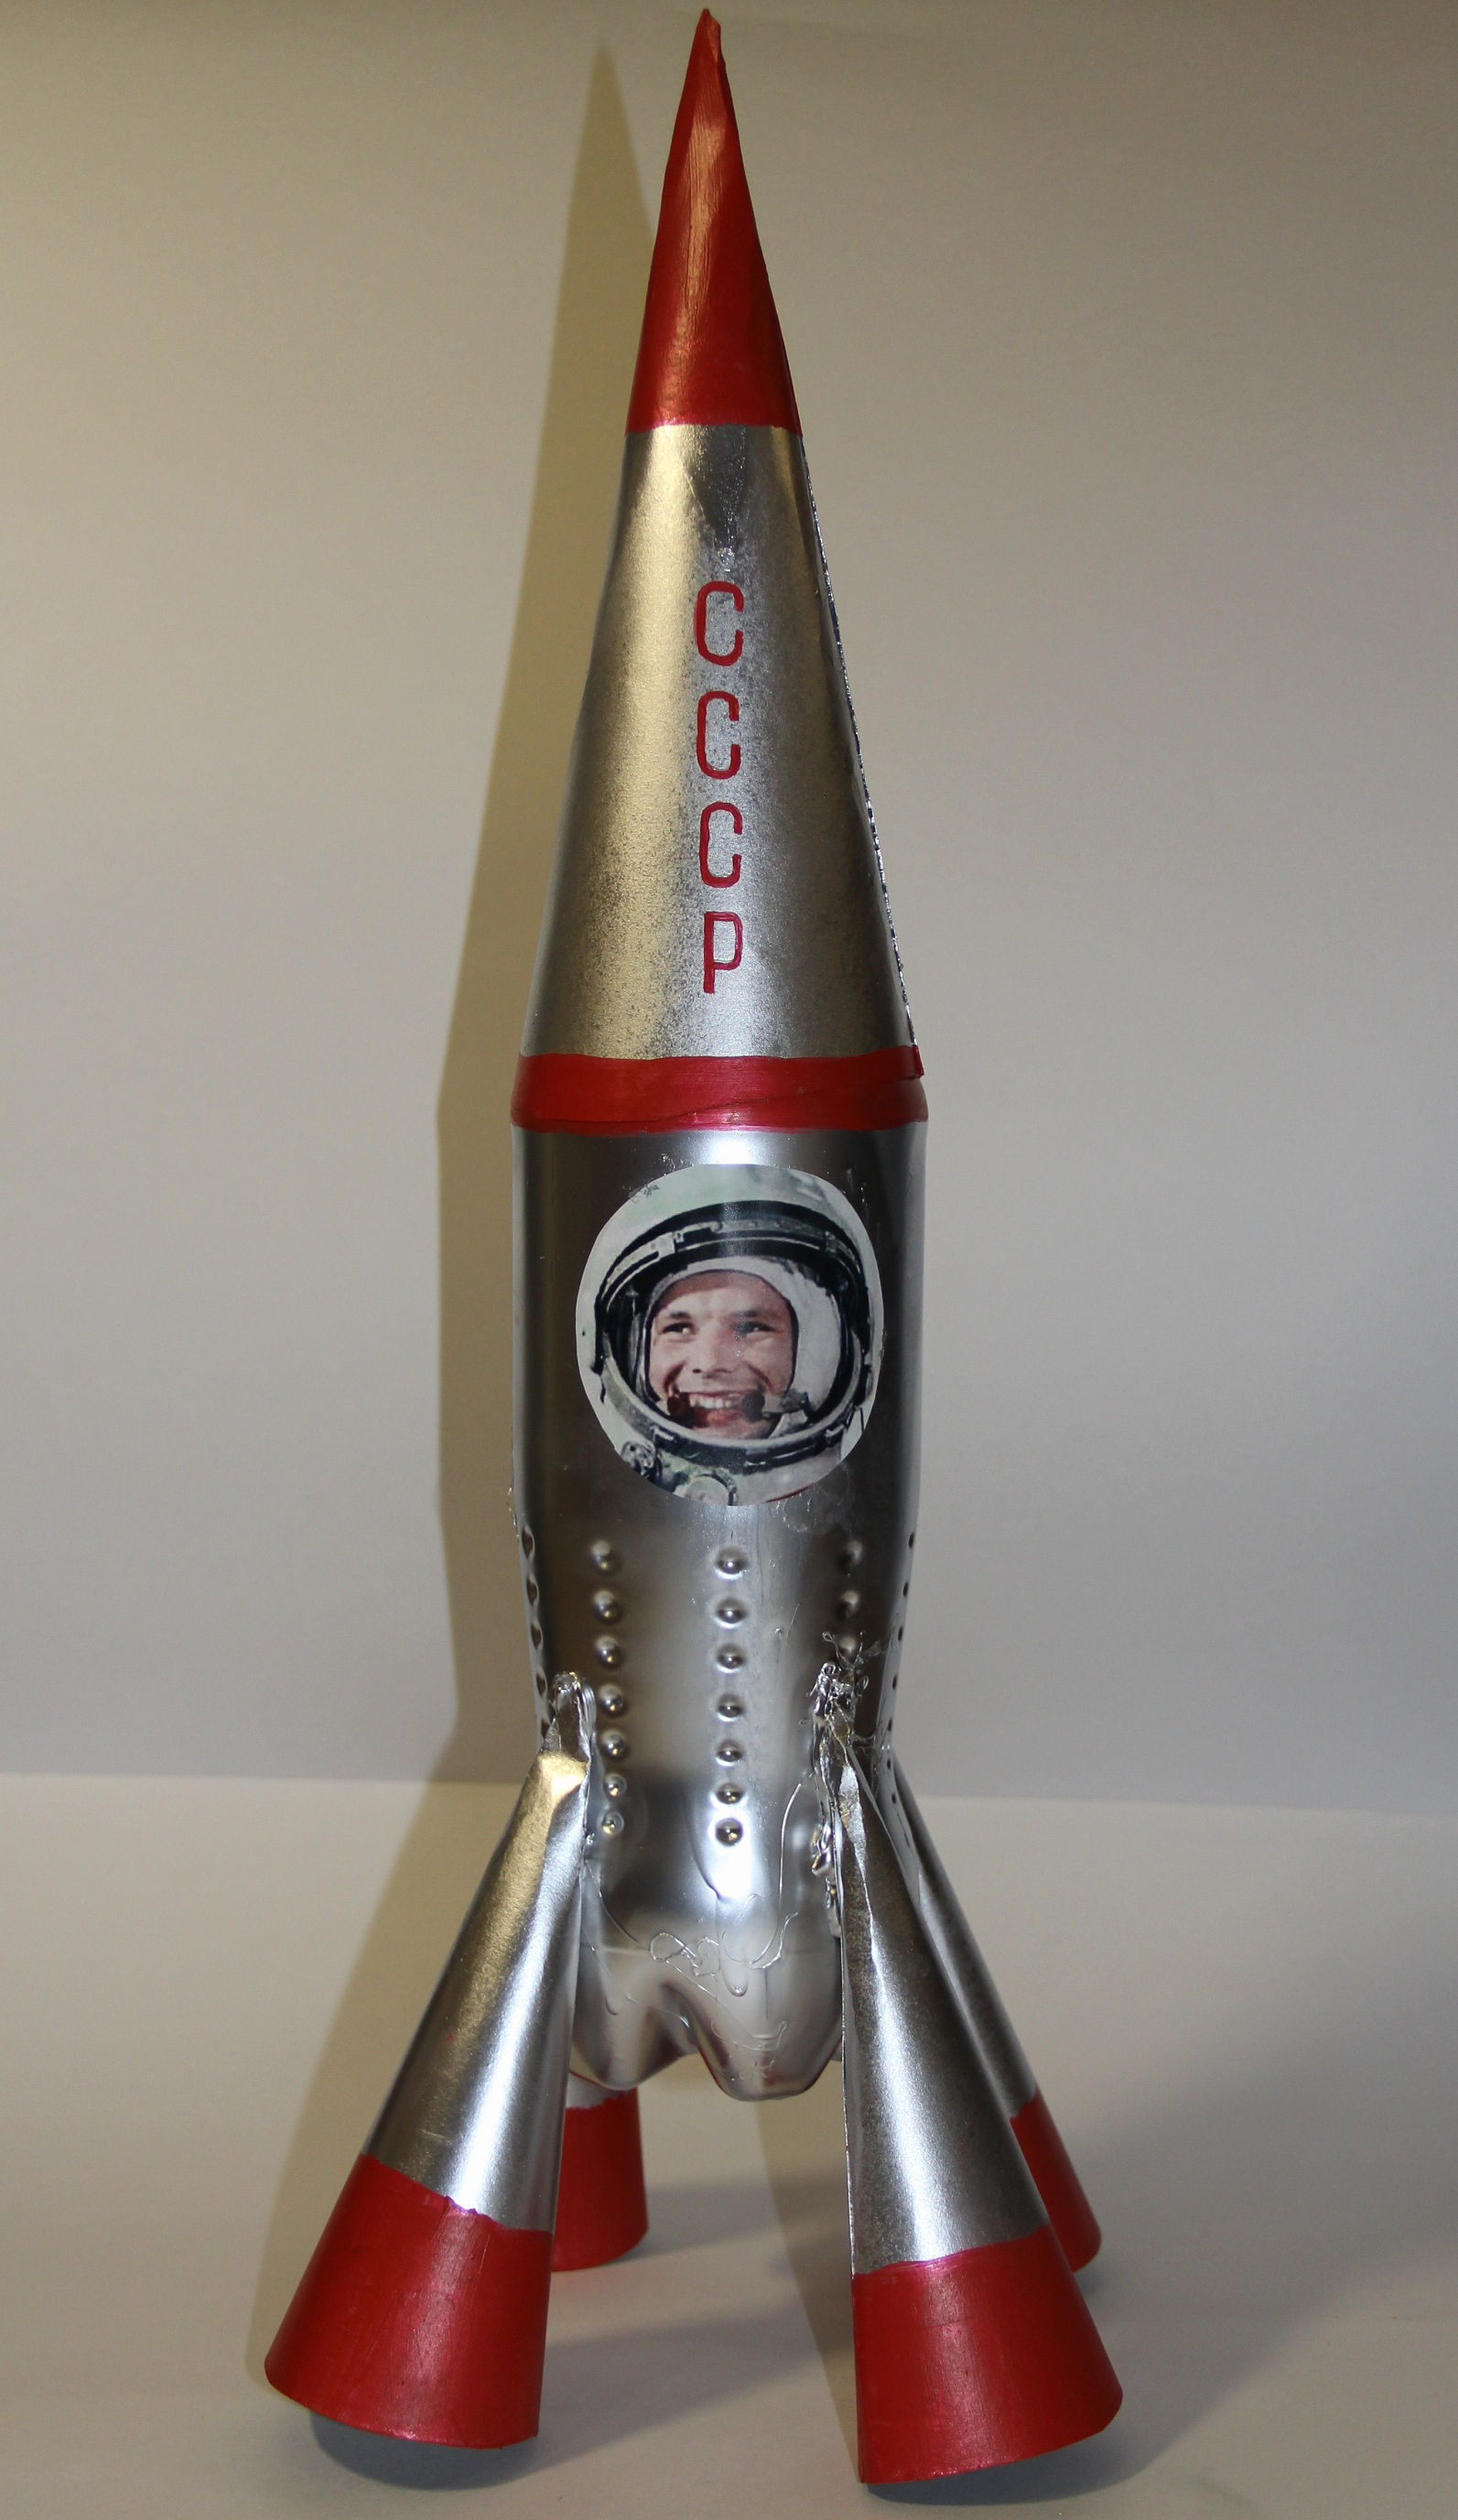
Photo of a homemade rocket idea