Beaded napkins for beginners: weaving schemes with a detailed master class
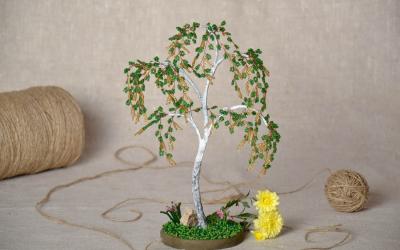
Beadwork used to be a fashionable activity. At the moment, this fashion is returning. Beaded brooches, necklaces, various jewelry, as well as napkins are becoming a great complementary decoration for your own image or home environment.

Advantages of beaded products
A beaded napkin is easy to make and has a number of advantages:
- First, it does not require washing, as dust rarely settles on it;
- Secondly, the options for making such products are as simple as possible, and even a novice craftswoman can cope with them;
- Thirdly, the napkin from the beads visually looks much more effective than a knitted product;
- Fourthly, it can be made at an inexpensive price, and the object will last a long time.

Making a napkin
To start a master class on beaded napkins, you need the following tools:
- beads (white, purple, gold),
- silk thread (fishing line),
- ordinary needle.
Step by step instructions:
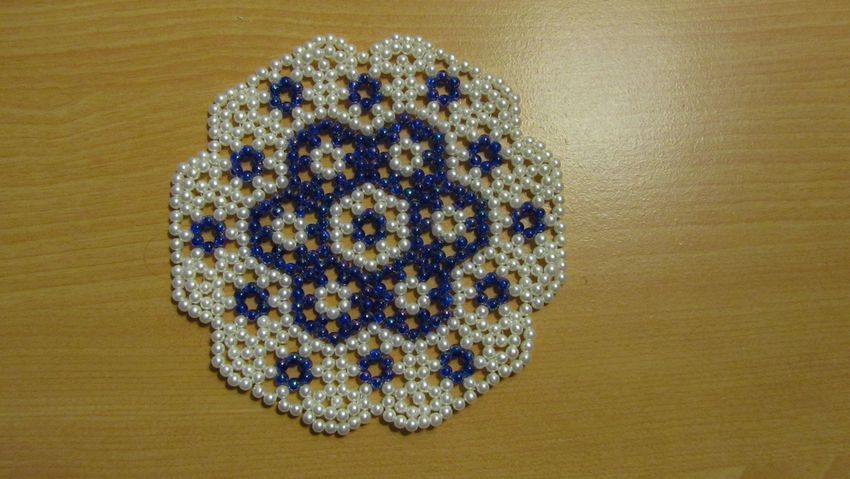
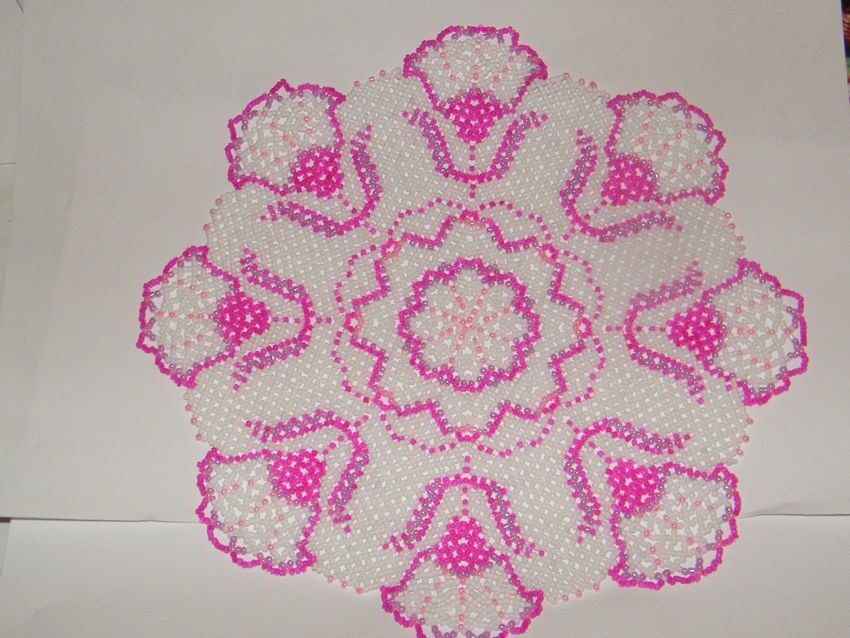
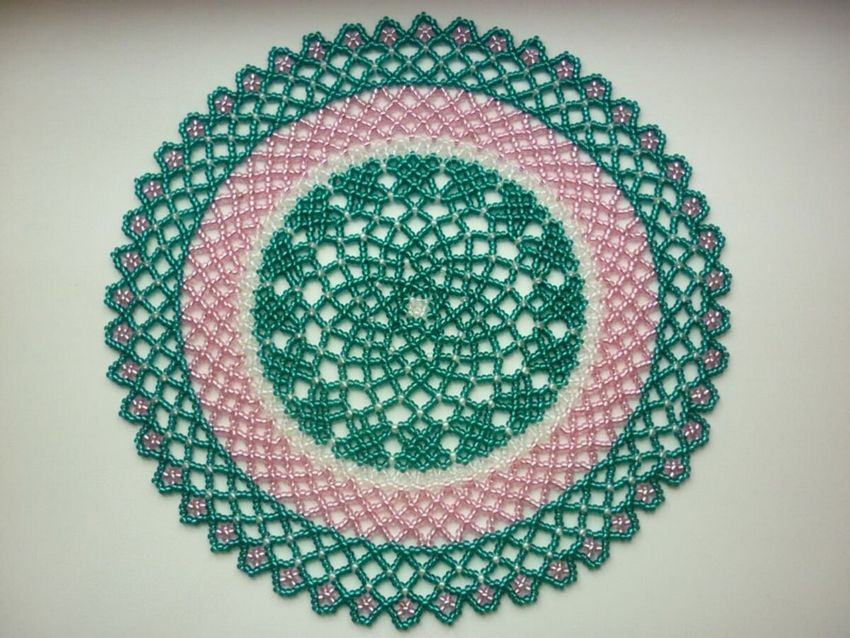
- Weaving should be done from the center and slowly move to the edges. The size of the product can be determined by yourself, it depends on the number of beads used.
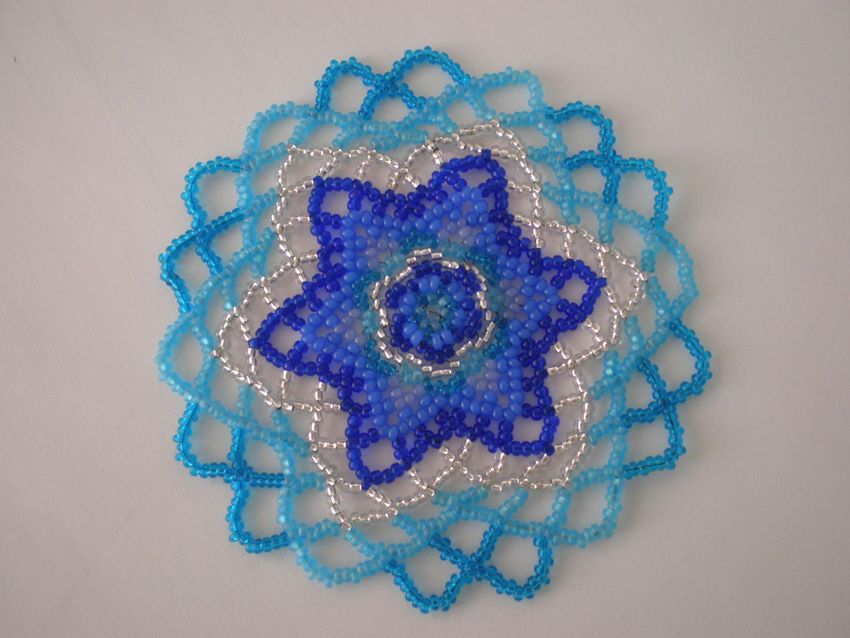
- To begin to weave the center, you need to prepare the needle, which in advance should be threaded (fishing line). On this thread thread threaded eight beads of purple color. Then you need to pass the needle again through the first three beads. The result is a figure in the form of a small triangle.
- The needle is threaded with 3 more purple beads. The thread is passed through the second bead, the first one is left "untouched". It turns out a small arc of three balls. In a circle it is necessary to do so three more times. As a result, you will get a rhombic shape.
- Continue making the third row, which consists of four arcs. It is necessary to put five beads on the needle in the following order: 2B, 1L, 2B. The finished strips of beads are fixed, the needle is threaded through the top of the arc in the second row. When the row is complete, the thread should be threaded through the two white beads so that it comes out in front of the purple glass. As a result, you get a semblance of a flower of four petals.
- Then begins weaving the next row. Above the purple ball is created a strip of three white beads. Needle slips into the white beads, skipping the purple beads. The end result should be an arc of three white beads over one purple bead.
- Then five white beads are strung, and the needle is threaded through the white glass one, which is in front of the purple one. It turns out that the five beads are threaded through the three. Then again repeat the strip of three white beads and five, alternating. It forms a star with white rays and purple center.
- Through the two beads of a small arc should pass the needle so that the thread comes out of the top of one of the rays. Then you should dial seven glass beads (3B, 1L, 3B) and pass, missing the three white in the last row. Should be eight arcs.
- After finishing the row, put the needle through three white beads, before the lilac beads are threaded. Above it again is formed a strip of three white beads.
- Then 5 beads are threaded (four white and one purple in the middle), the thread is led out in front of the purple glass in the last row. Again a strip of three beads is made, the scheme continues on the same principle. The result is 16 rays.
- The next row is made only of purple. Through the top of each of the 16 rays is threaded, on which there are 5 glass beads.
- Then begins the creation of a new row with the addition of golden beads. Seven beads are strung in the following order: 2L, 1B, 1Z, 1B, 2L. The string is threaded through each vertex of the past beads.
- The next row includes seven beads (1B, 2L, 1B, 2L, 1B), performed in the same pattern.
- The next row consists of nine beads (2L, 2B, 1Z, 2B, 2L), the scheme is the same.
- Between the beginning and end of the white elements are made arcs. Through the purple and gold beads are skipped needle, not involving them in the weaving. Arcs are made by five purple beads.
- The needle is then threaded between the arcs into the top of the purple arc and the gold beads. The arcs are performed as follows: 3L, 2B, the needle goes through the gold bead. Then 2B and 3L, then 2L, 1B, 1Z, 1B, 2L and so on to the end of the row.
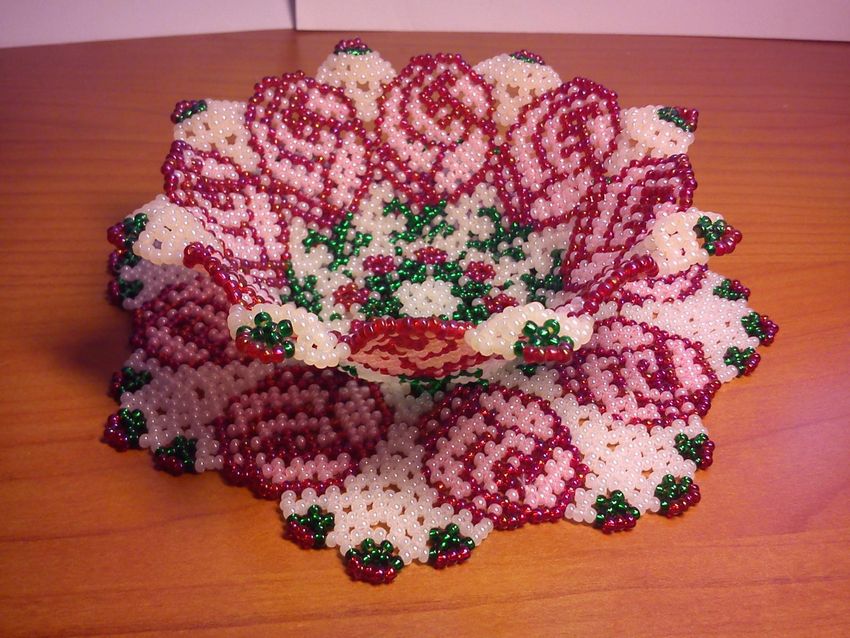
The following steps should be carried out according to the pictures below in order. Fantasy at these stages is welcome, also, if desired, an emphasis on circular elements. The main thing is not to overdo it, the product should not turn oval or have an incomprehensible shape. The result should be a perfect circle, the edges of which are not bent inward.
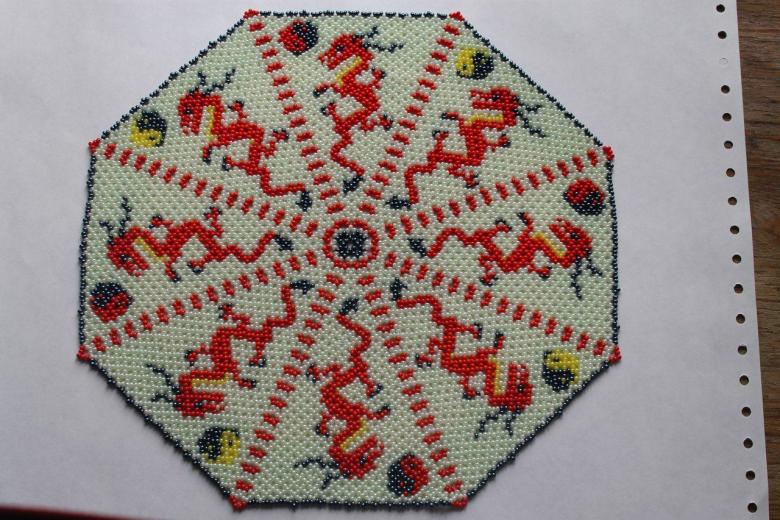
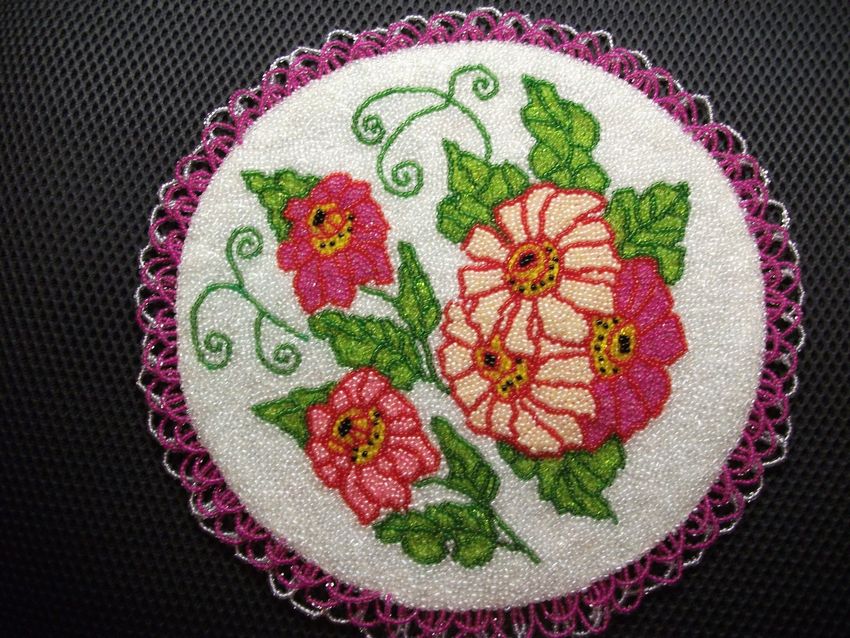
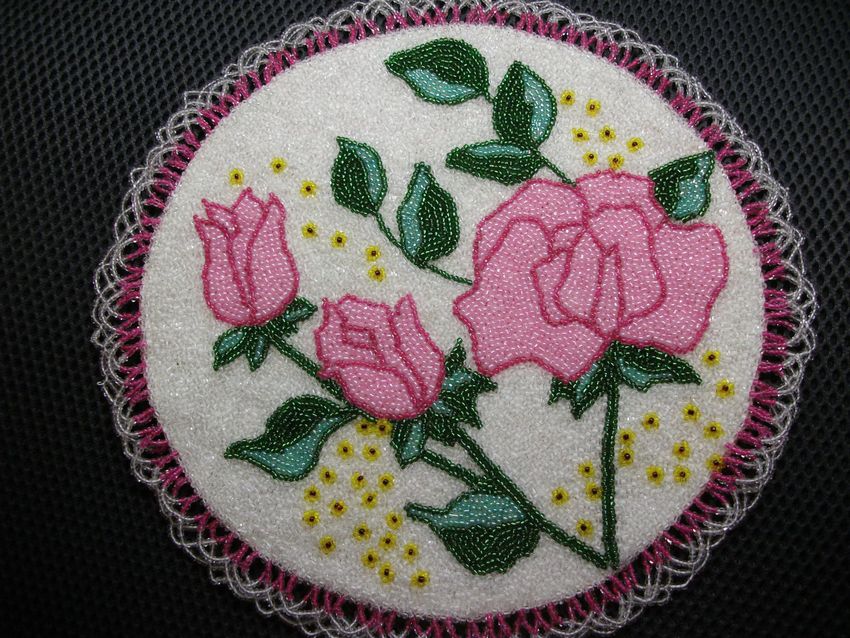
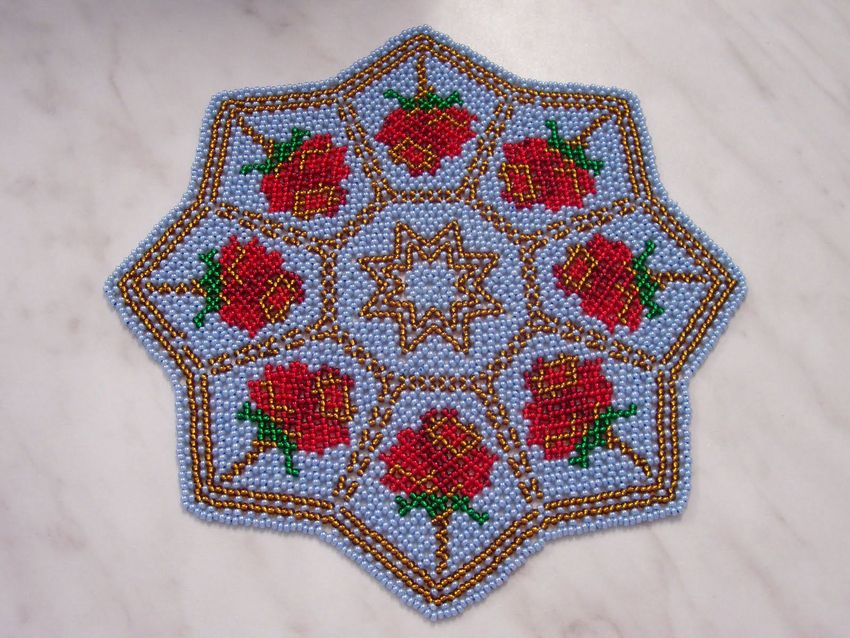
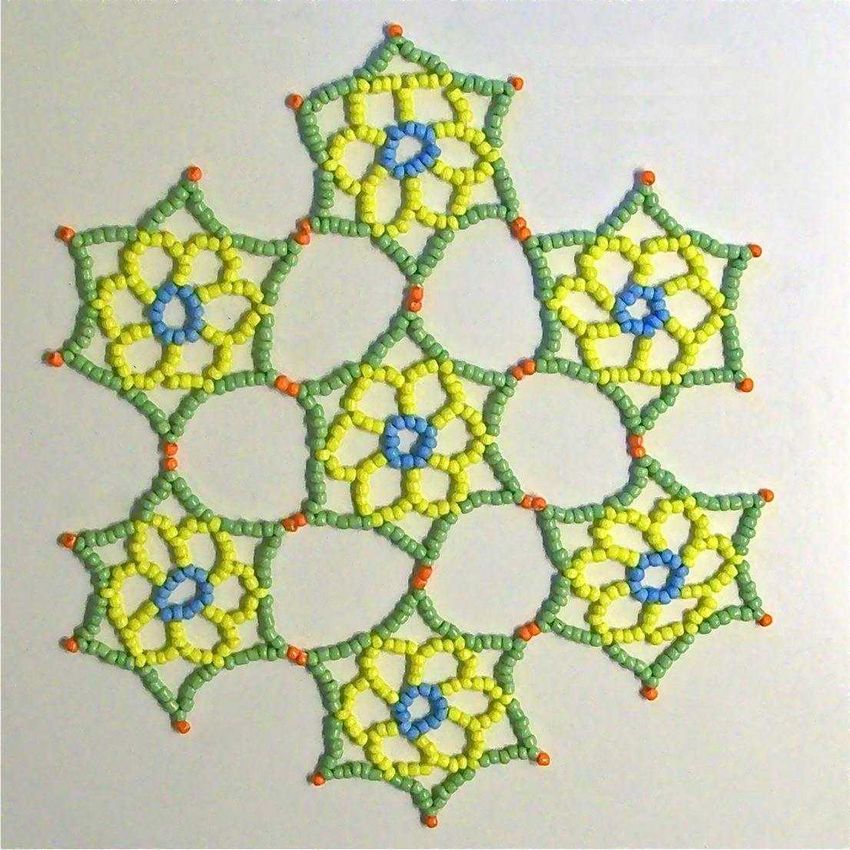
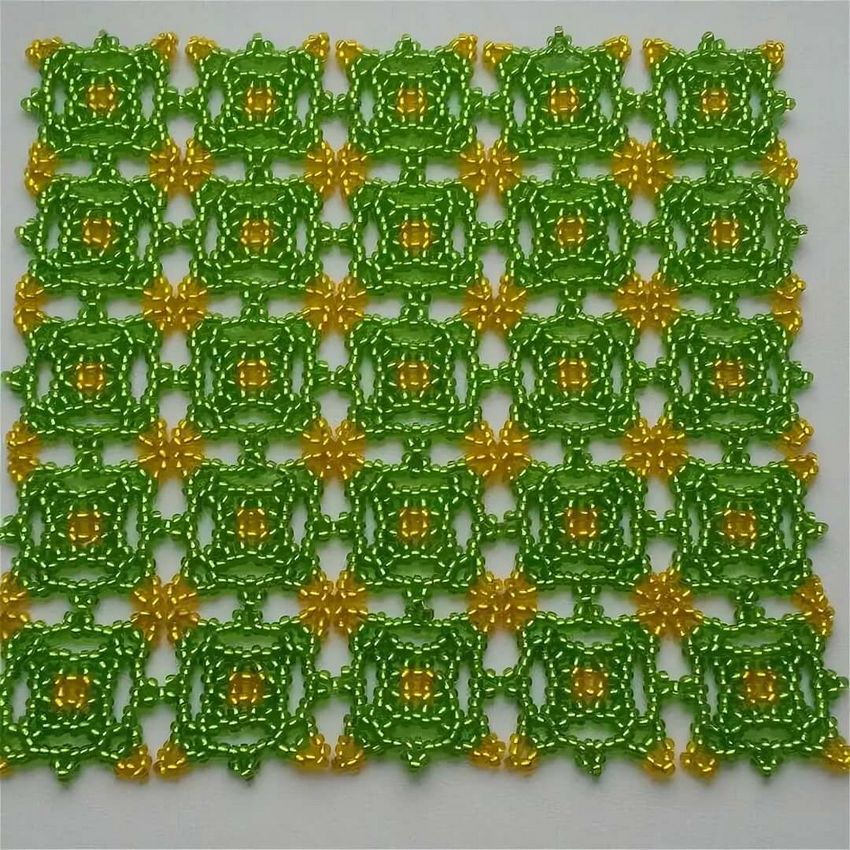
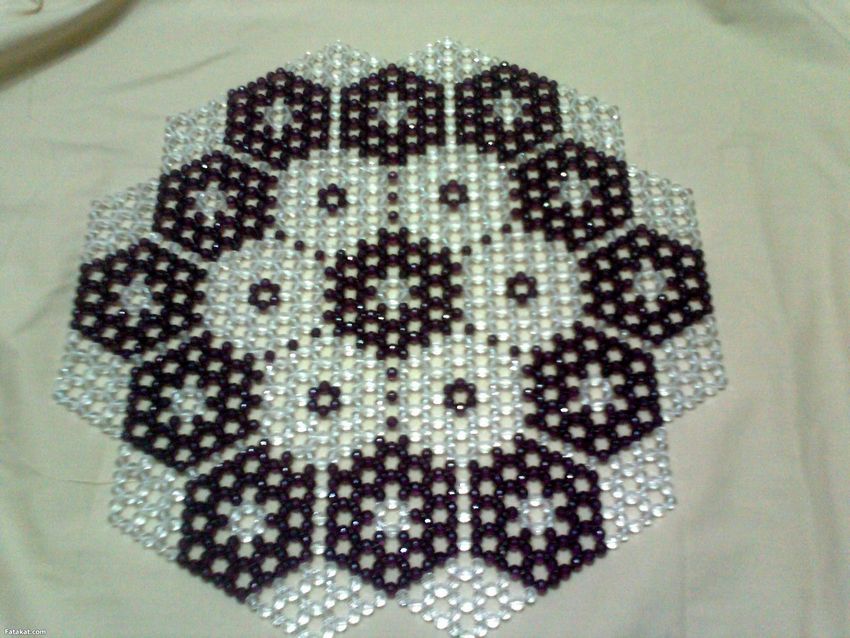
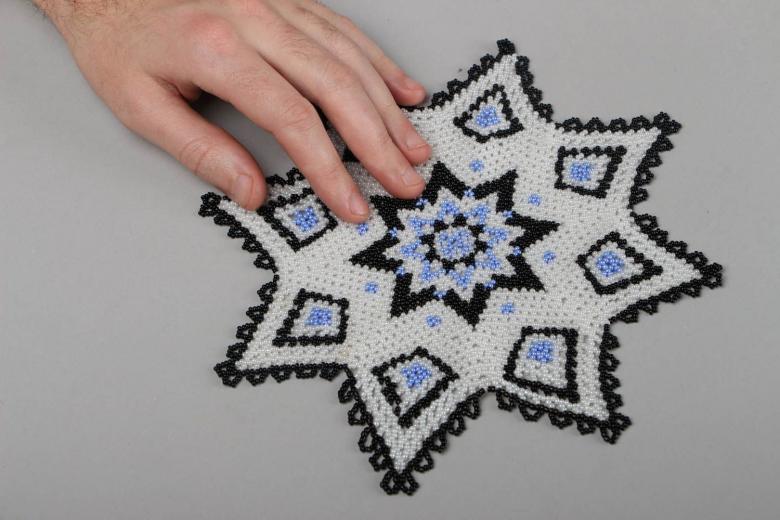
Other schemes of napkin weaving
There are many different schemes for weaving napkins from beads in terms of complexity of performance and variety of colors. It is important for beginners to understand their skill level in this business, and even from personal experience to start with, for which scheme the work will be easier.

The main thing is not to overestimate your abilities. Here are a few options for interesting layouts for making napkin products.
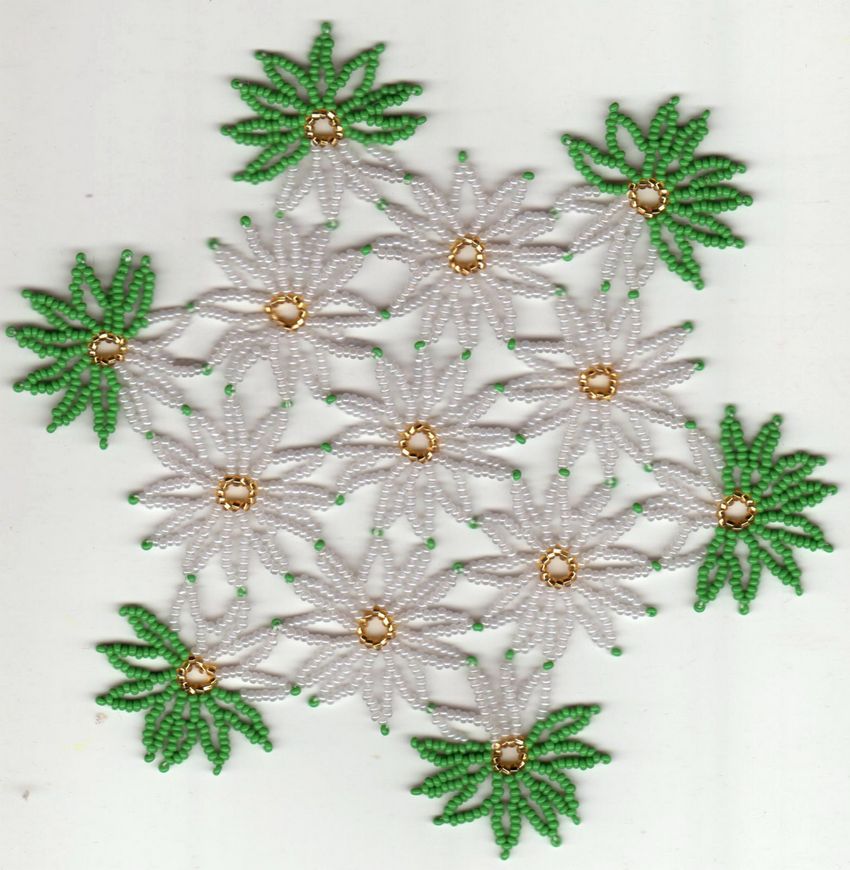
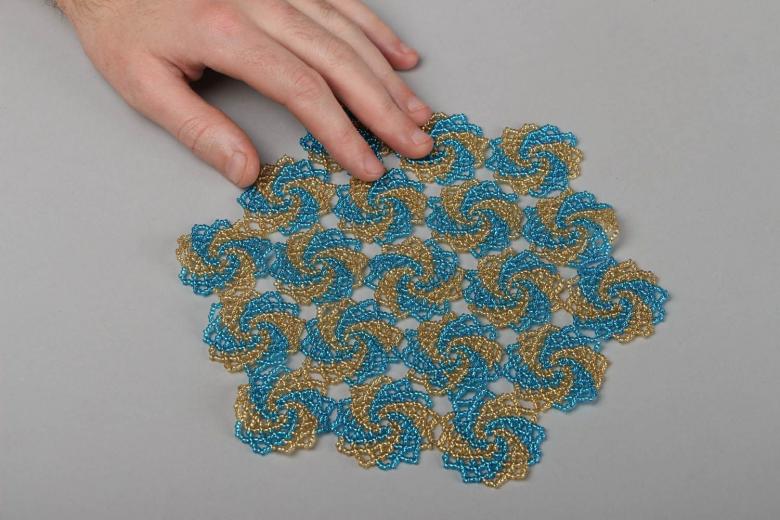
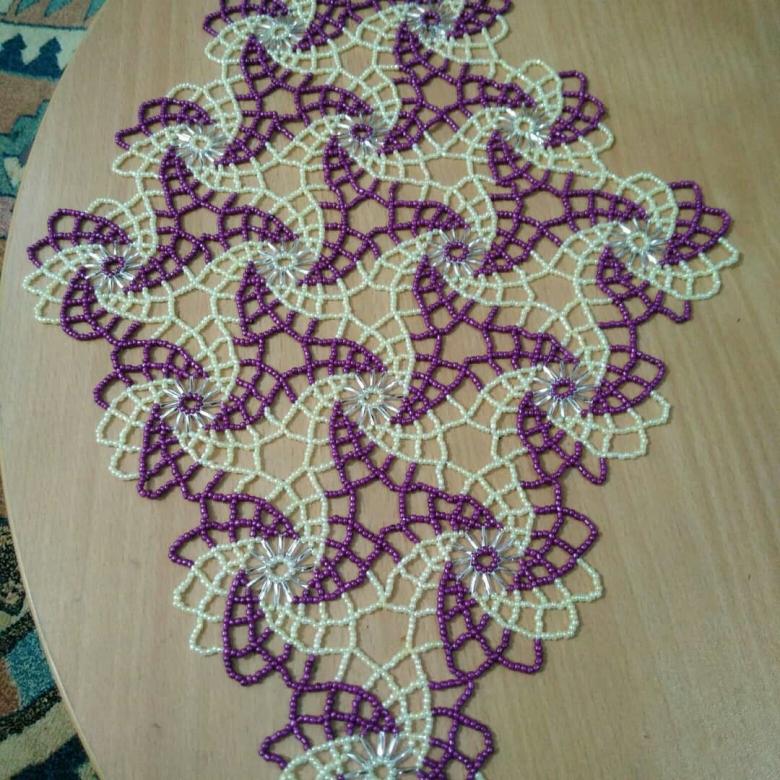
"Swirls" napkin
The "Swirls" bead napkin is woven in separate elements, which are connected to each other at the end. To make it you need: 2 shades of beads (for example, blue and yellow) and fishing line.
Step by step instructions:
- Twelve beads (2C, 2J, 2C, 2J) are dialed in and looped.
- Then the next chain is dialed according to the color. If row 1 ended in a blue shade, then a yellow one is dialed and vice versa. Row 2 includes three beads on each arc, for a total of six strips. The fishing line should be pierced by skipping one glass bead.
- The third chain is formed of five beads and six arcs in the same pattern, passing through the top.
- The fourth chain is formed from 6 glass beads also 6 times according to the color.
- The fifth row includes 5 beads of the same color and 12 arcs.
- The sixth row is formed in the same way as the fifth, fixing each arc on top of the previous one.
- The seventh row consists of seven beads of the same color 12 times. This completes one element.
- Similar elements need to make 7-9 pieces.
- Before you begin to connect them, you should see if all the swirls are directed in the same direction.
- Then fold the composition, and connect all the blanks into a single napkin.
Napkins made of beads look beautiful on any holiday tables, they can also be placed under various vases. In the past such napkins were placed even on the TV. They perfectly complement the apartment comfort and show the "taste" of the hostess.
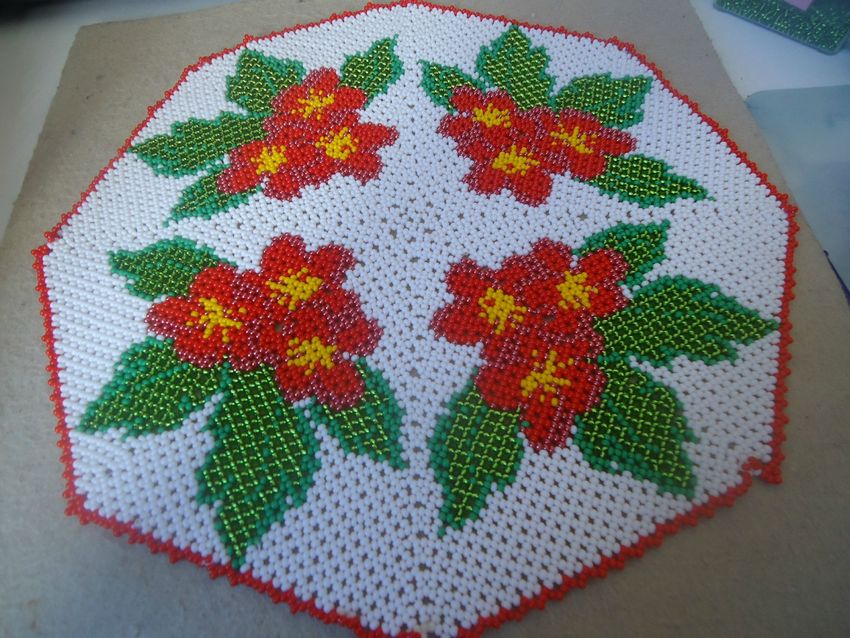
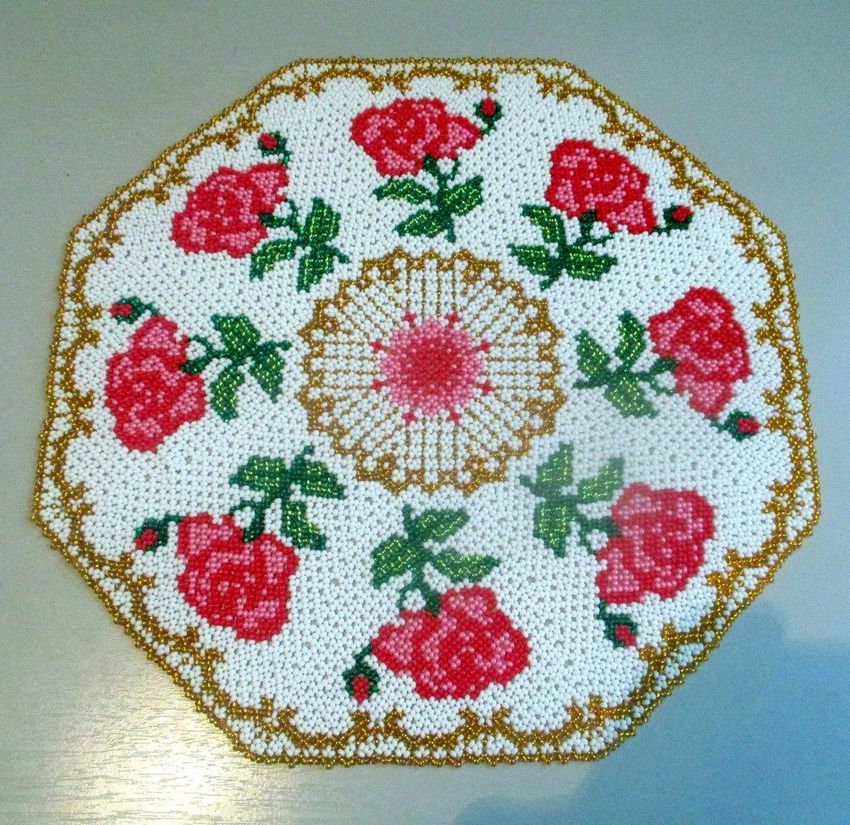
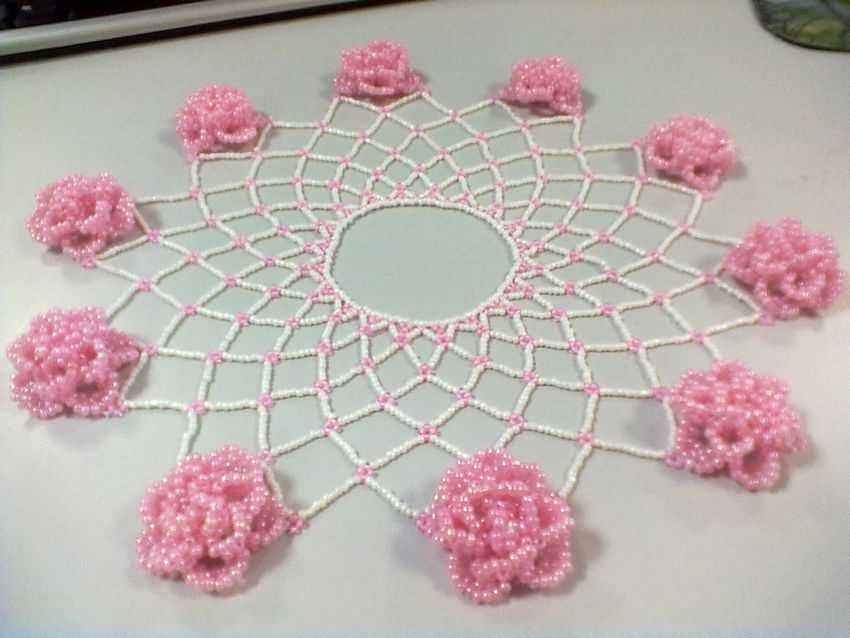
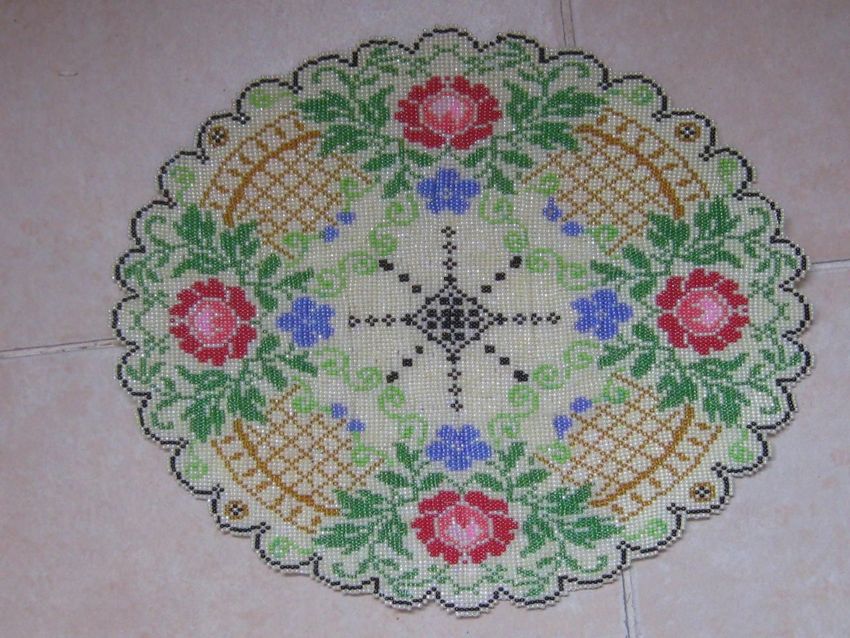
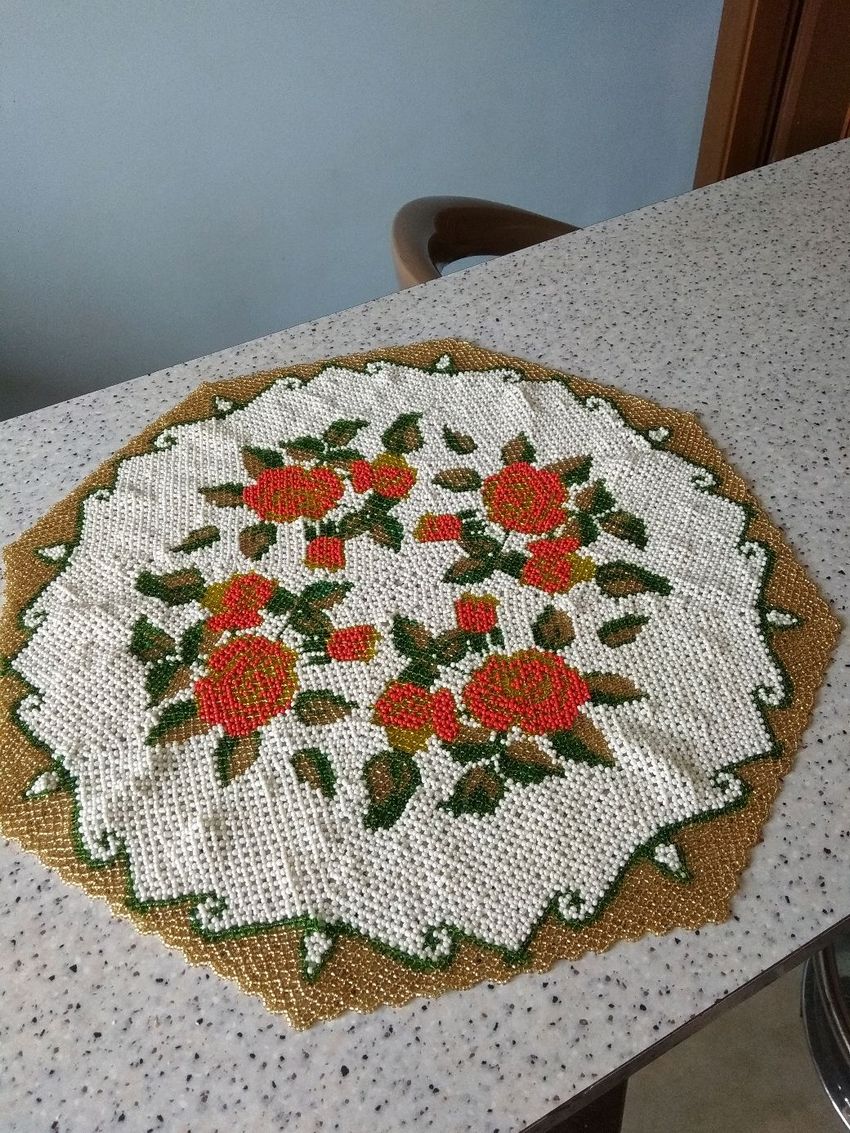
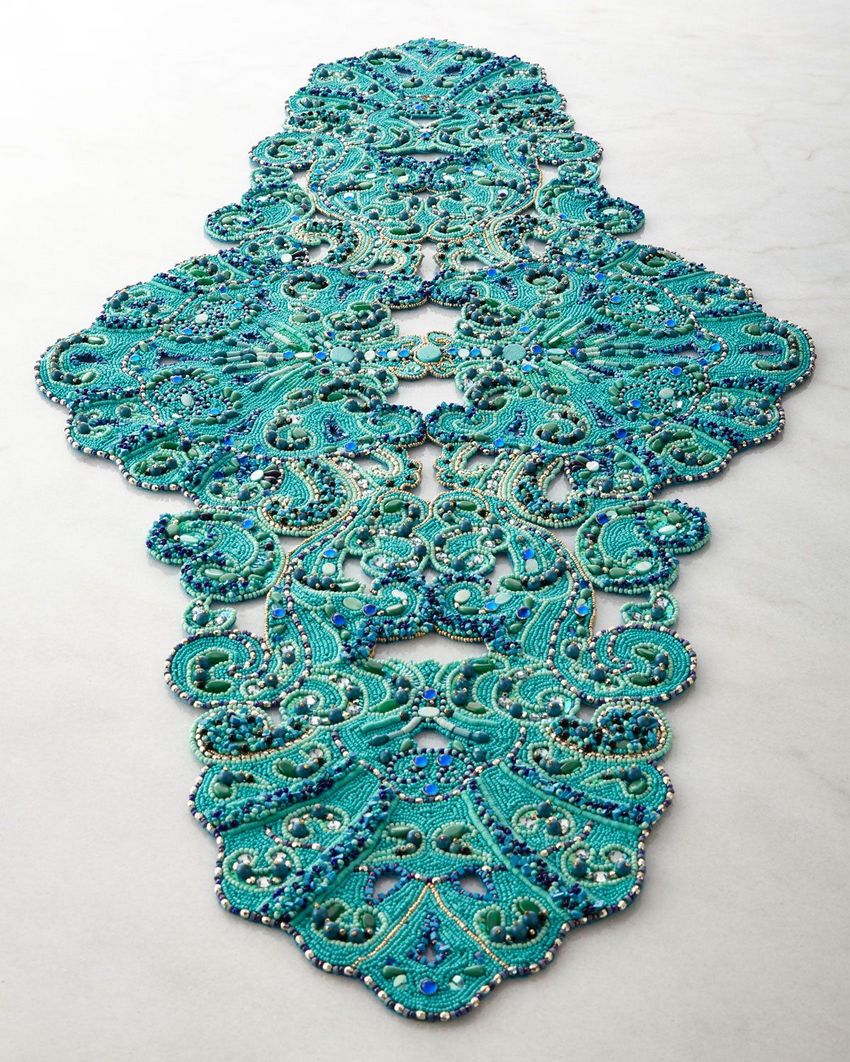
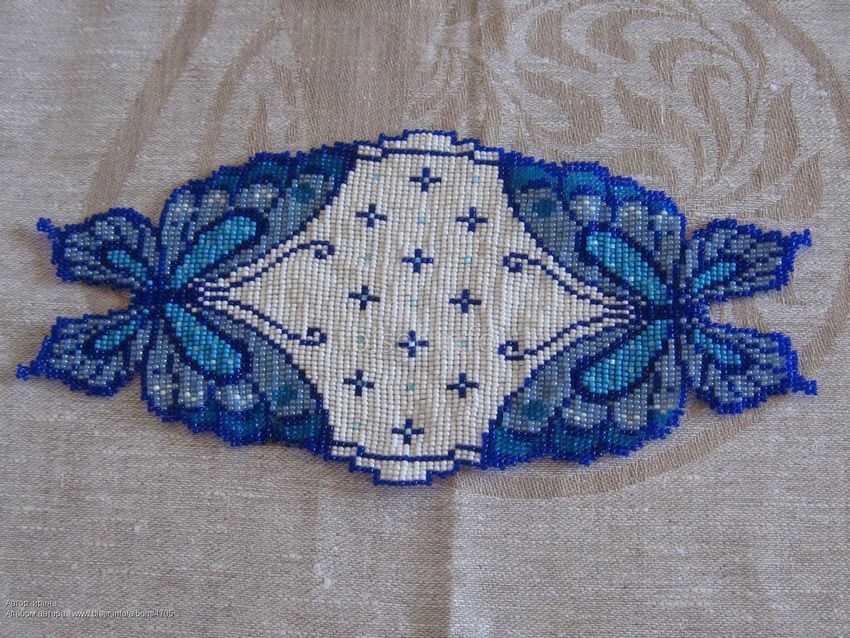
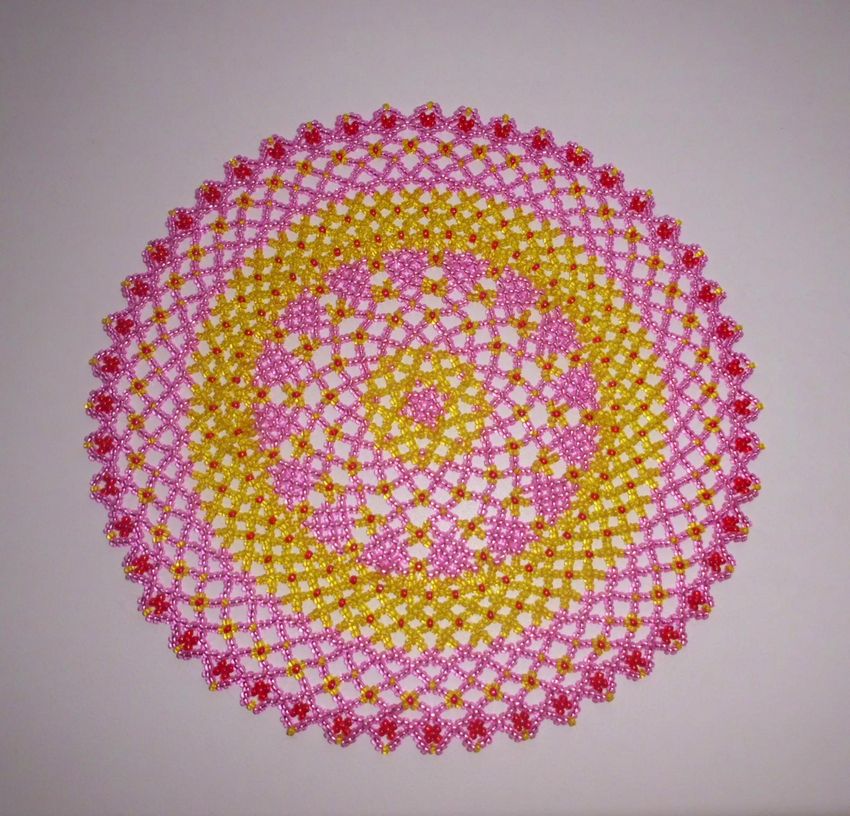
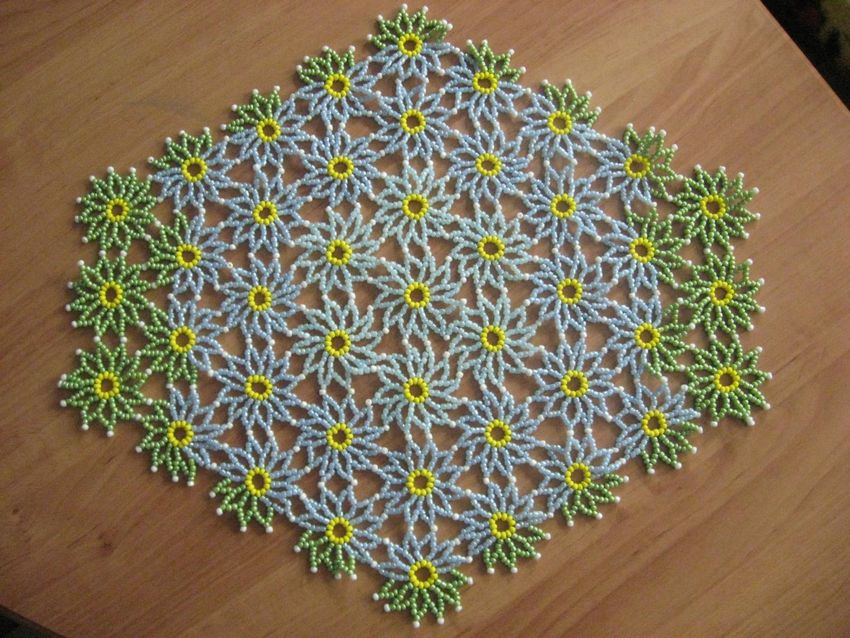
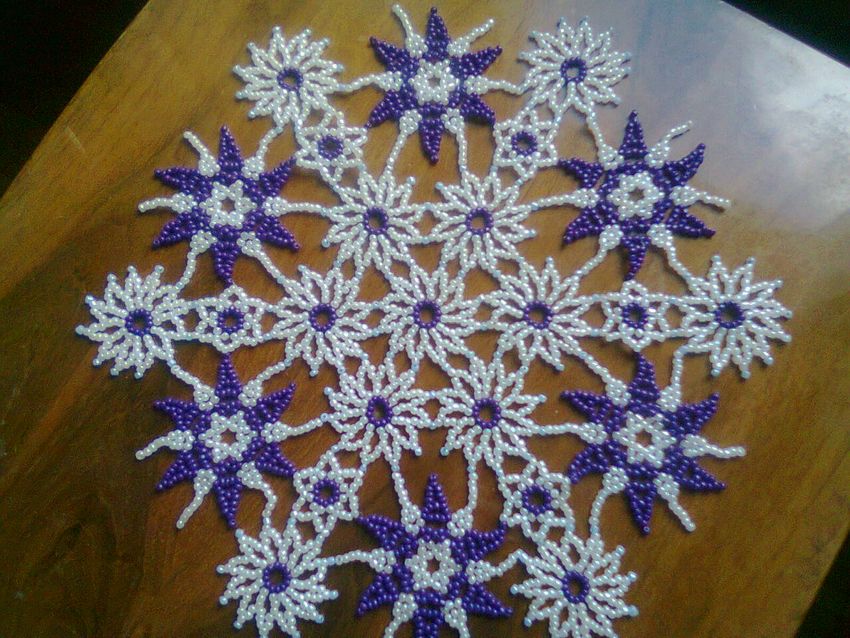
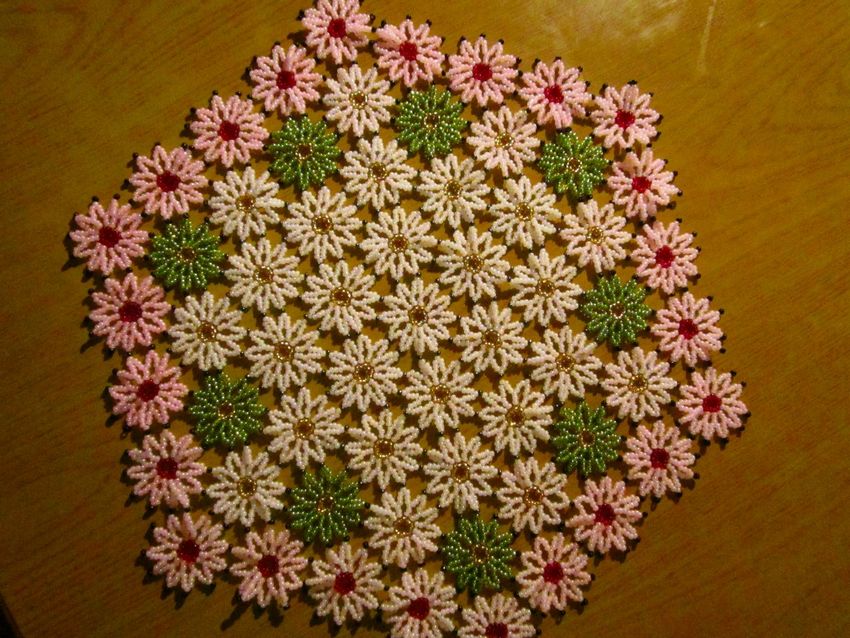
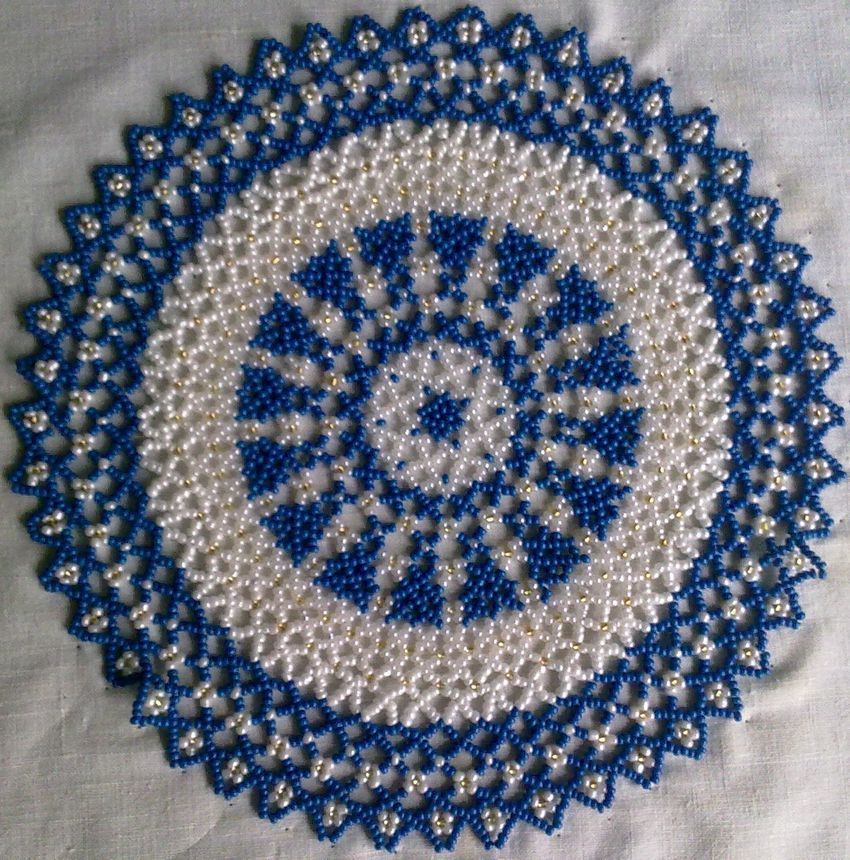
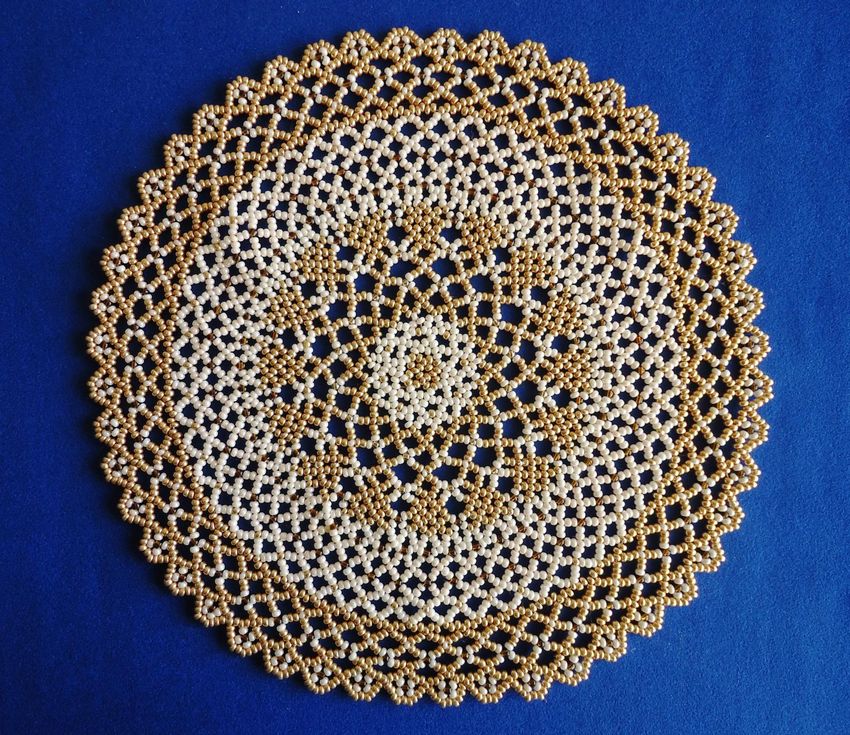
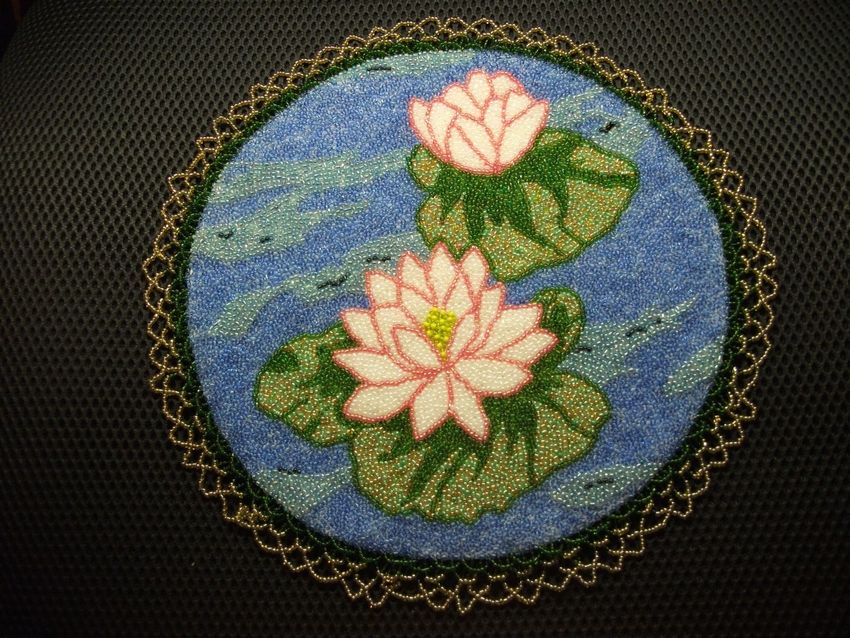
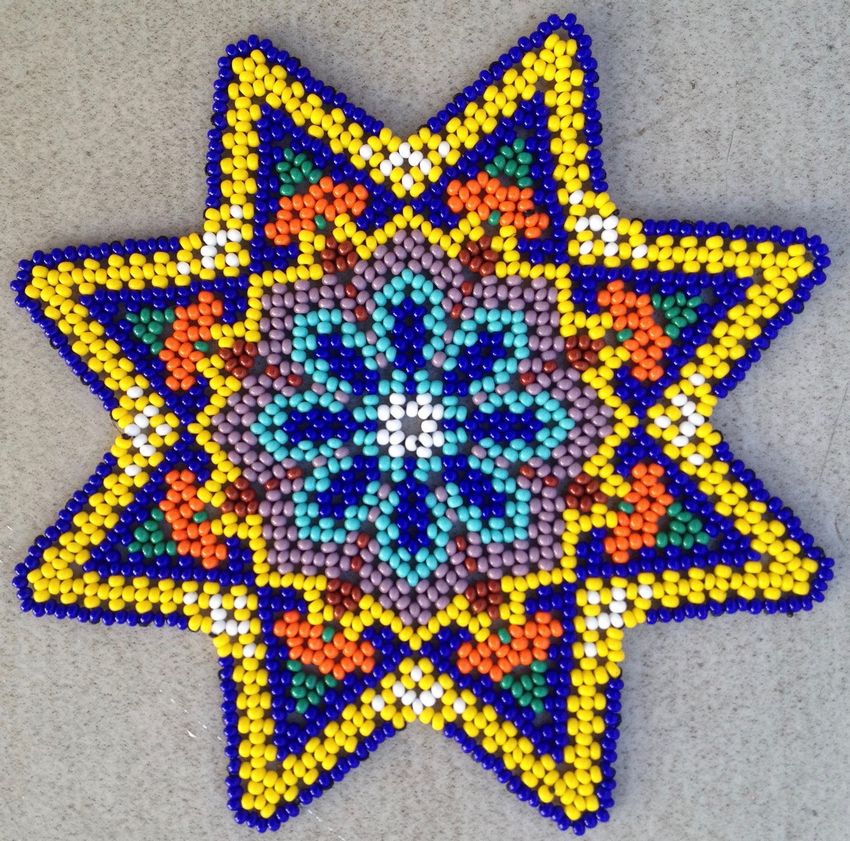
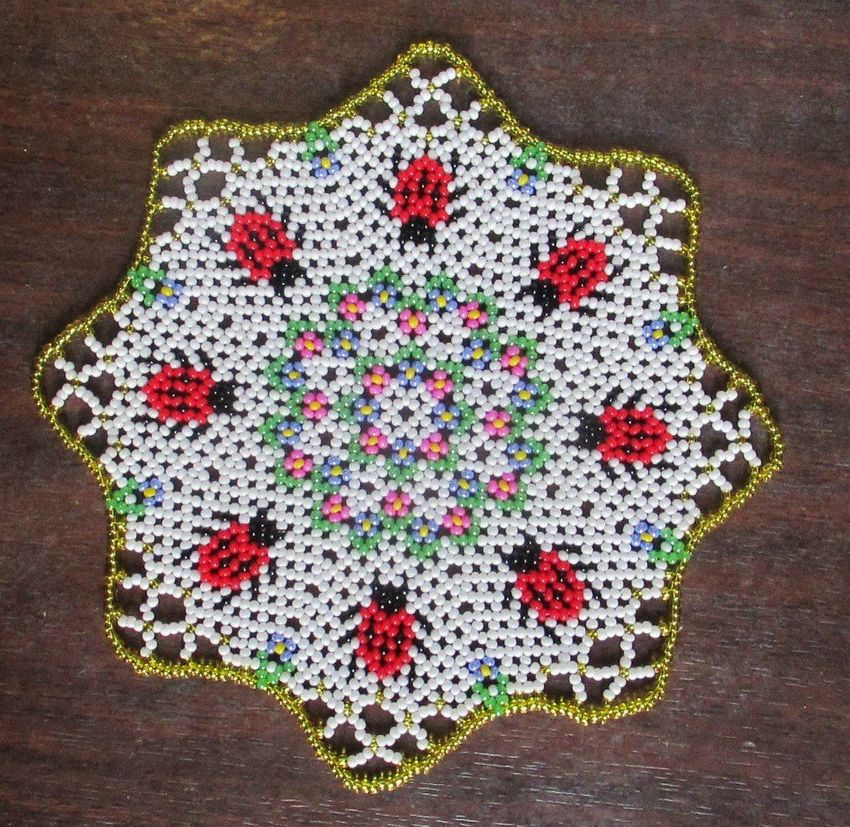
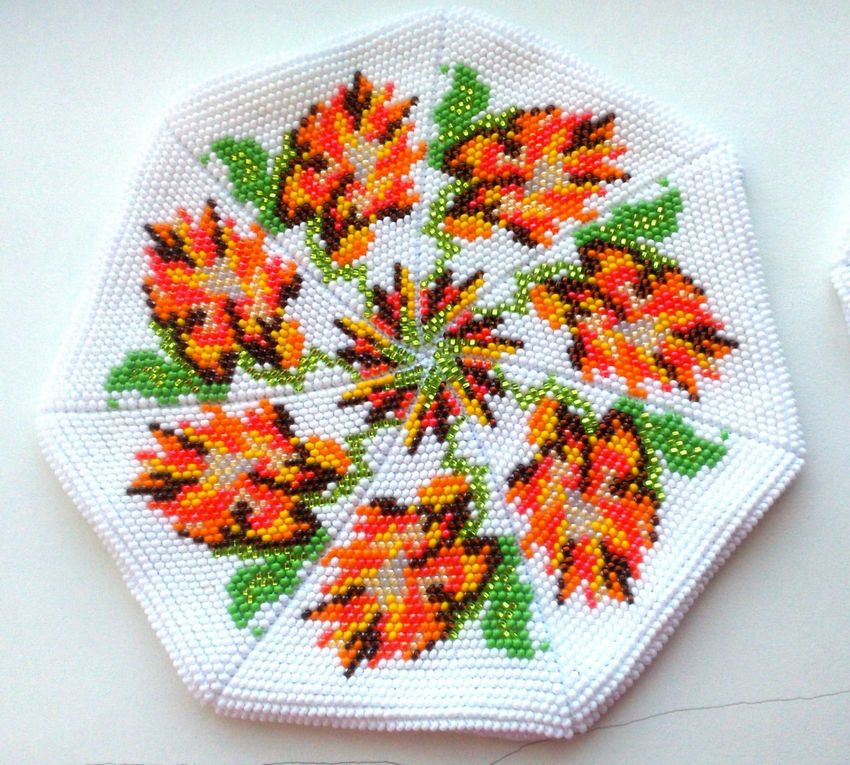
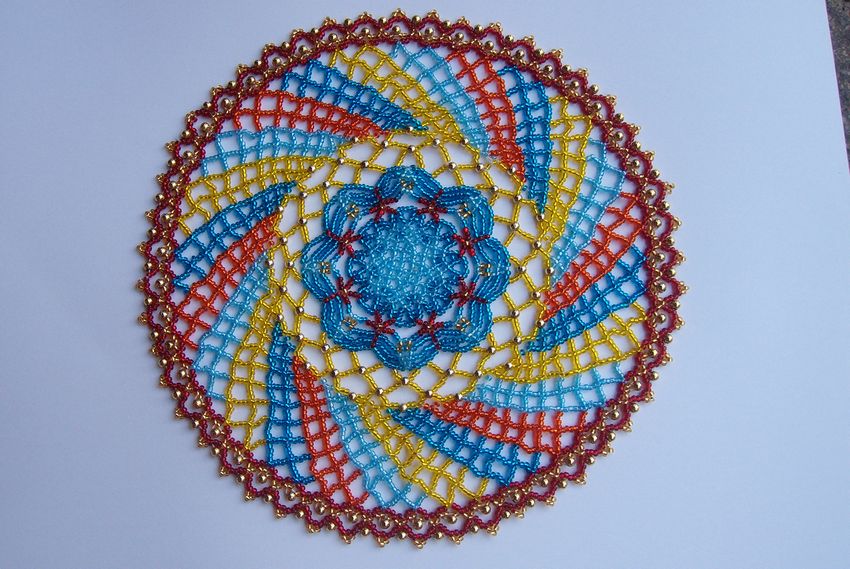
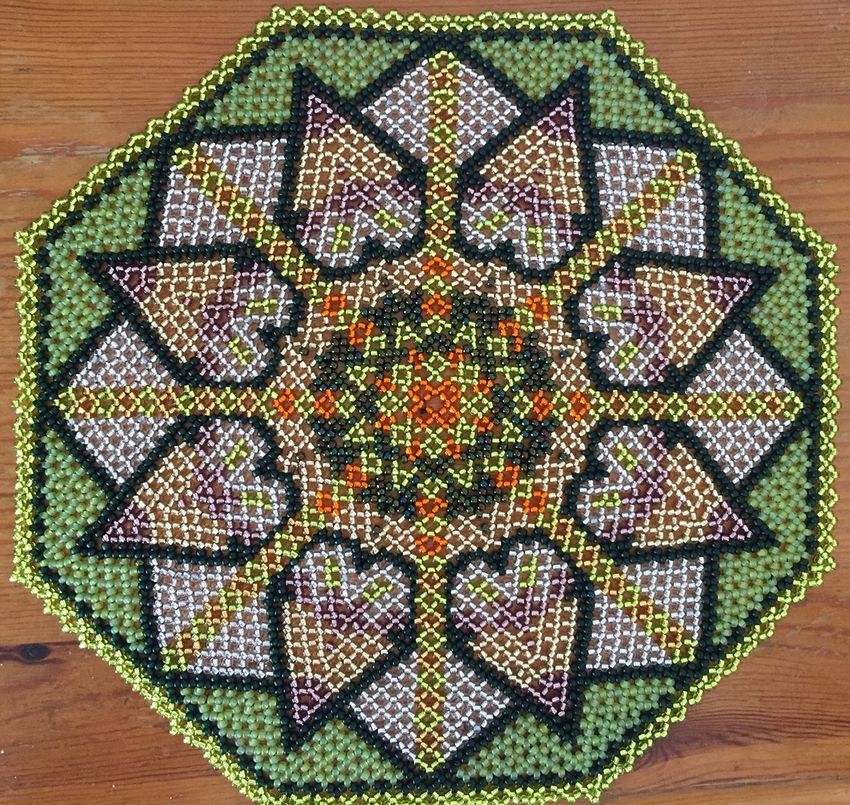
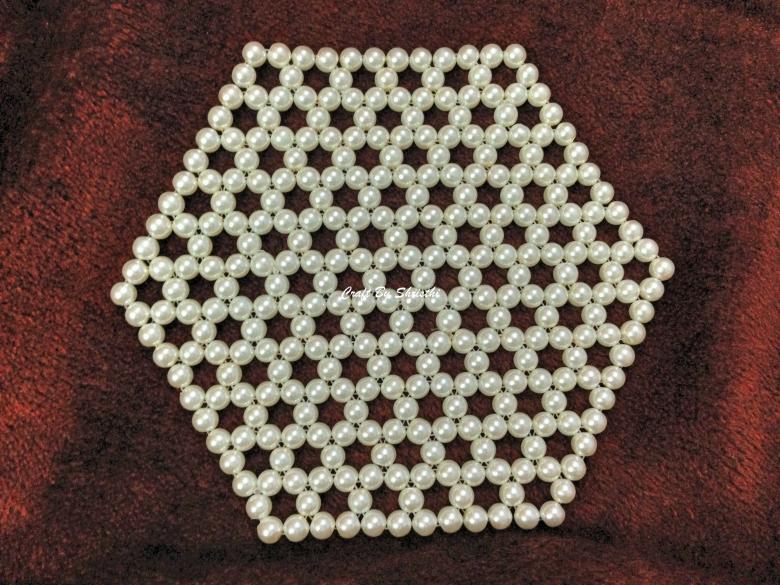
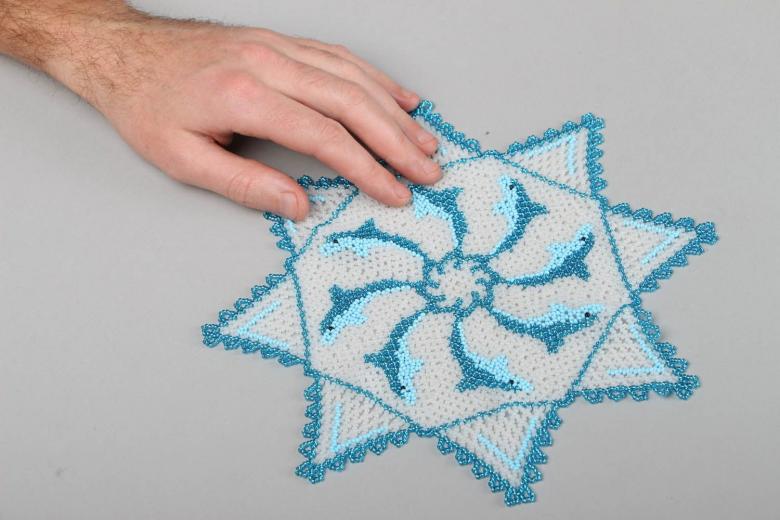
Photo ideas of original napkins from beads